Tonight I worked about 4 hours and completed the Vertical Stabilizer, except for the rear spar, which I am leaving off until the EAA Tech Counselor can come by and take a look at my work. This will give them access to view and check my riveting and assemblies. Once they sign off, I will rivet on the rear spar to both the Vertical and Horizontal stabilizers.
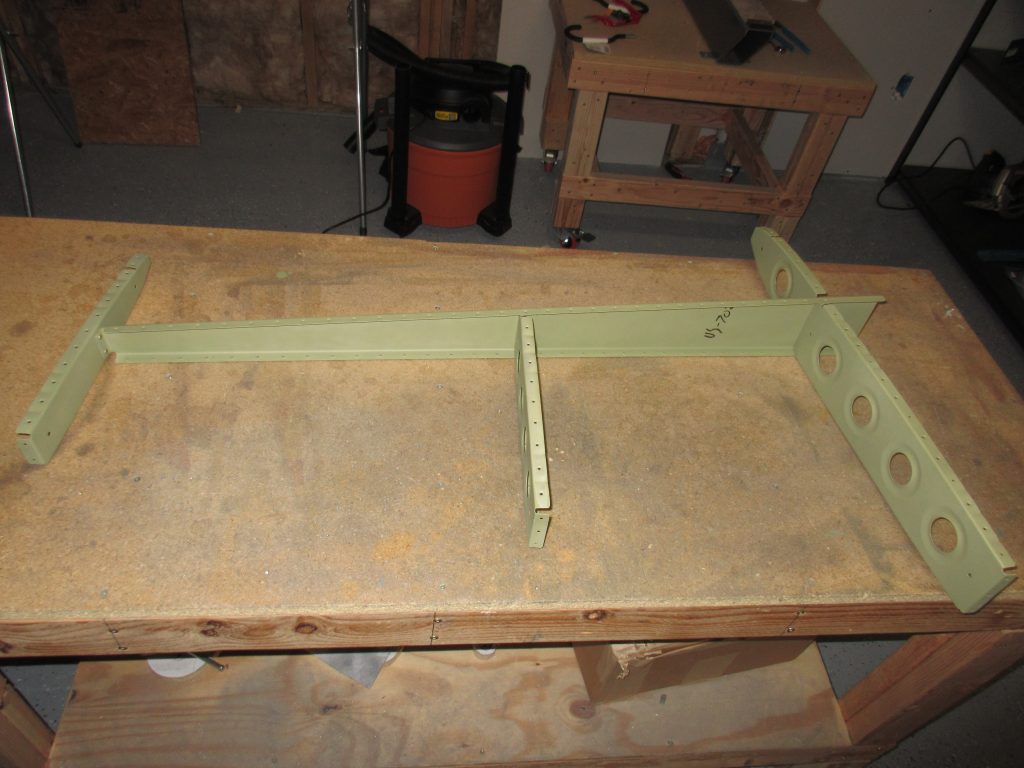
I started off tonight by assembling the skeleton for the vertical stab but clecoing VS-704, VS-705, VS-706 and VS-707 ribs to the front spar, and making sure everything still aligns correctly. I temporarily attached the rear spar to double check, and then remove it to continue on. Then I riveted on VS-706 and VS-707 using AN470AD4-4 universal head rivets. I used my squeezer on them to set them perfectly. BUT, VS-704 and VS-705 end ribs were a COMPLETE pain in the butt! The plans calls for a AN470AD4-5 rivet to hold these two ribs with the VS-703 front spar sandwiched between them. The rivet was a little long, but I trusted the plans. I could not get my squeezer in there so I had to buck them. However, I could not use a standard AN470 rivet set, because the ribs did not have any clearance even if I flexed them out of the way. I had to use an offset head, and ended up folding a couple rivets over. After drilling out a couple of rivets, I FINALLY was able to get all three of these buggers set correctly. After reading on Vans Airforce, a lot of builders have trouble with these suckers, so I’m not alone 🙂 Heres what the skeleton looks like after it was all riveted:
Once the skeleton was done, it was time to cleco on the skin and make sure it was lining up correctly. This was about the time I realized I hadn’t dimpled the skin yet…whoops. heh. So, I rolled the DRDT-2 over to the bench and spent the next 15 or 30 minutes dimpling the skin. Before dimpling, I made sure to tape up the holes along the root that are marked in the plans for nut plates to hold the fiberglass fairing in the future.
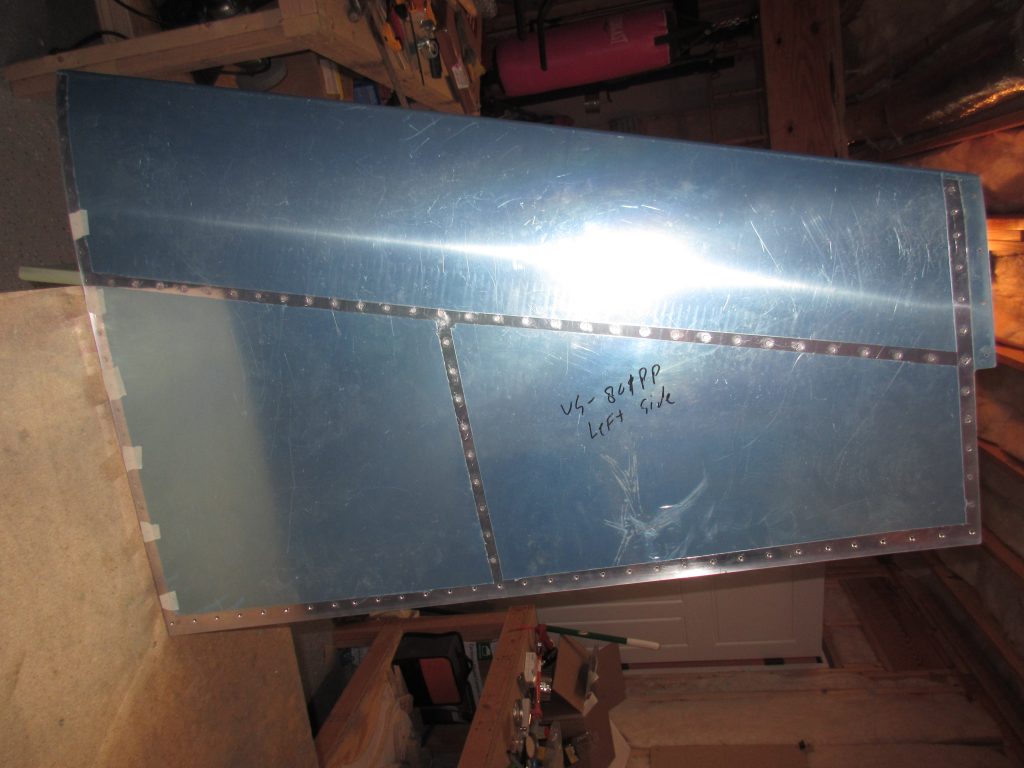
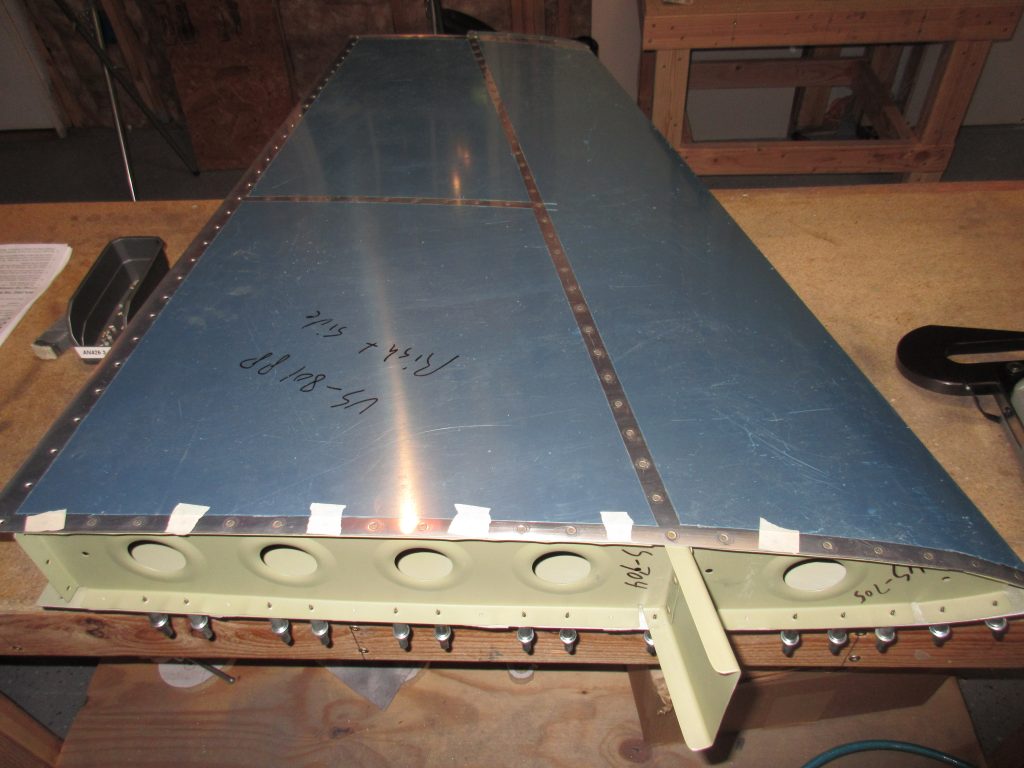
NOW, I can finally cleco the skin to the skeleton and get it ready for final riveting. I clecoed every hole on both sides because this is a large surface with some complex curves around the leading edge. I figure a little extra work of clecoing will pay off when the results are smooth and oil-can free. After the skin was clecoed fully on both sides I begin to rivet it down. The plans has us start out at the intersection of rib VS-707 and work towards the top along VS-702 front spar. This first rivet is a little longer due to the converging ribs, but thats the only one. All the others were a AN426AD3-3.5. After working up the spar to the top, I came back and worked toward the root along the front spar, alternating to the VS-707 center rib. This is to get the skin down flush and prevent pillowing or oil-canning. Once all the rivets were driven along the ribs, it was time to squeeze the ones along the end ribs. I started on VS-706 and the leading edge and worked toward the trailing edge, and did the same thing with the VS-704 and VS-705 root ribs. Once I had the left side done, I flipped it over and did the same to the right side. I am happy with the results! There’s no dents, dimpling, smiley’s or oil canning. This thing will paint up nicely along with the horizontal stabilizer. If I can keep this quality of work up, I might end up with a decent looking airplane!
After I got it all riveted up, I temporarily clecoed on the rear spar so I can hang it on the wall to keep it out of the way and safe. I am going to round up an EAA Tech Counselor tomorrow and see if they can come out and inspect them. Here’s all the photos from tonights work:
And of course the Google Photos album link: https://goo.gl/photos/z48dTJShJuPsuRUQ6
Hours Worked: 4You may also be interested in warehouse flooring; continue reading to discover more.


