


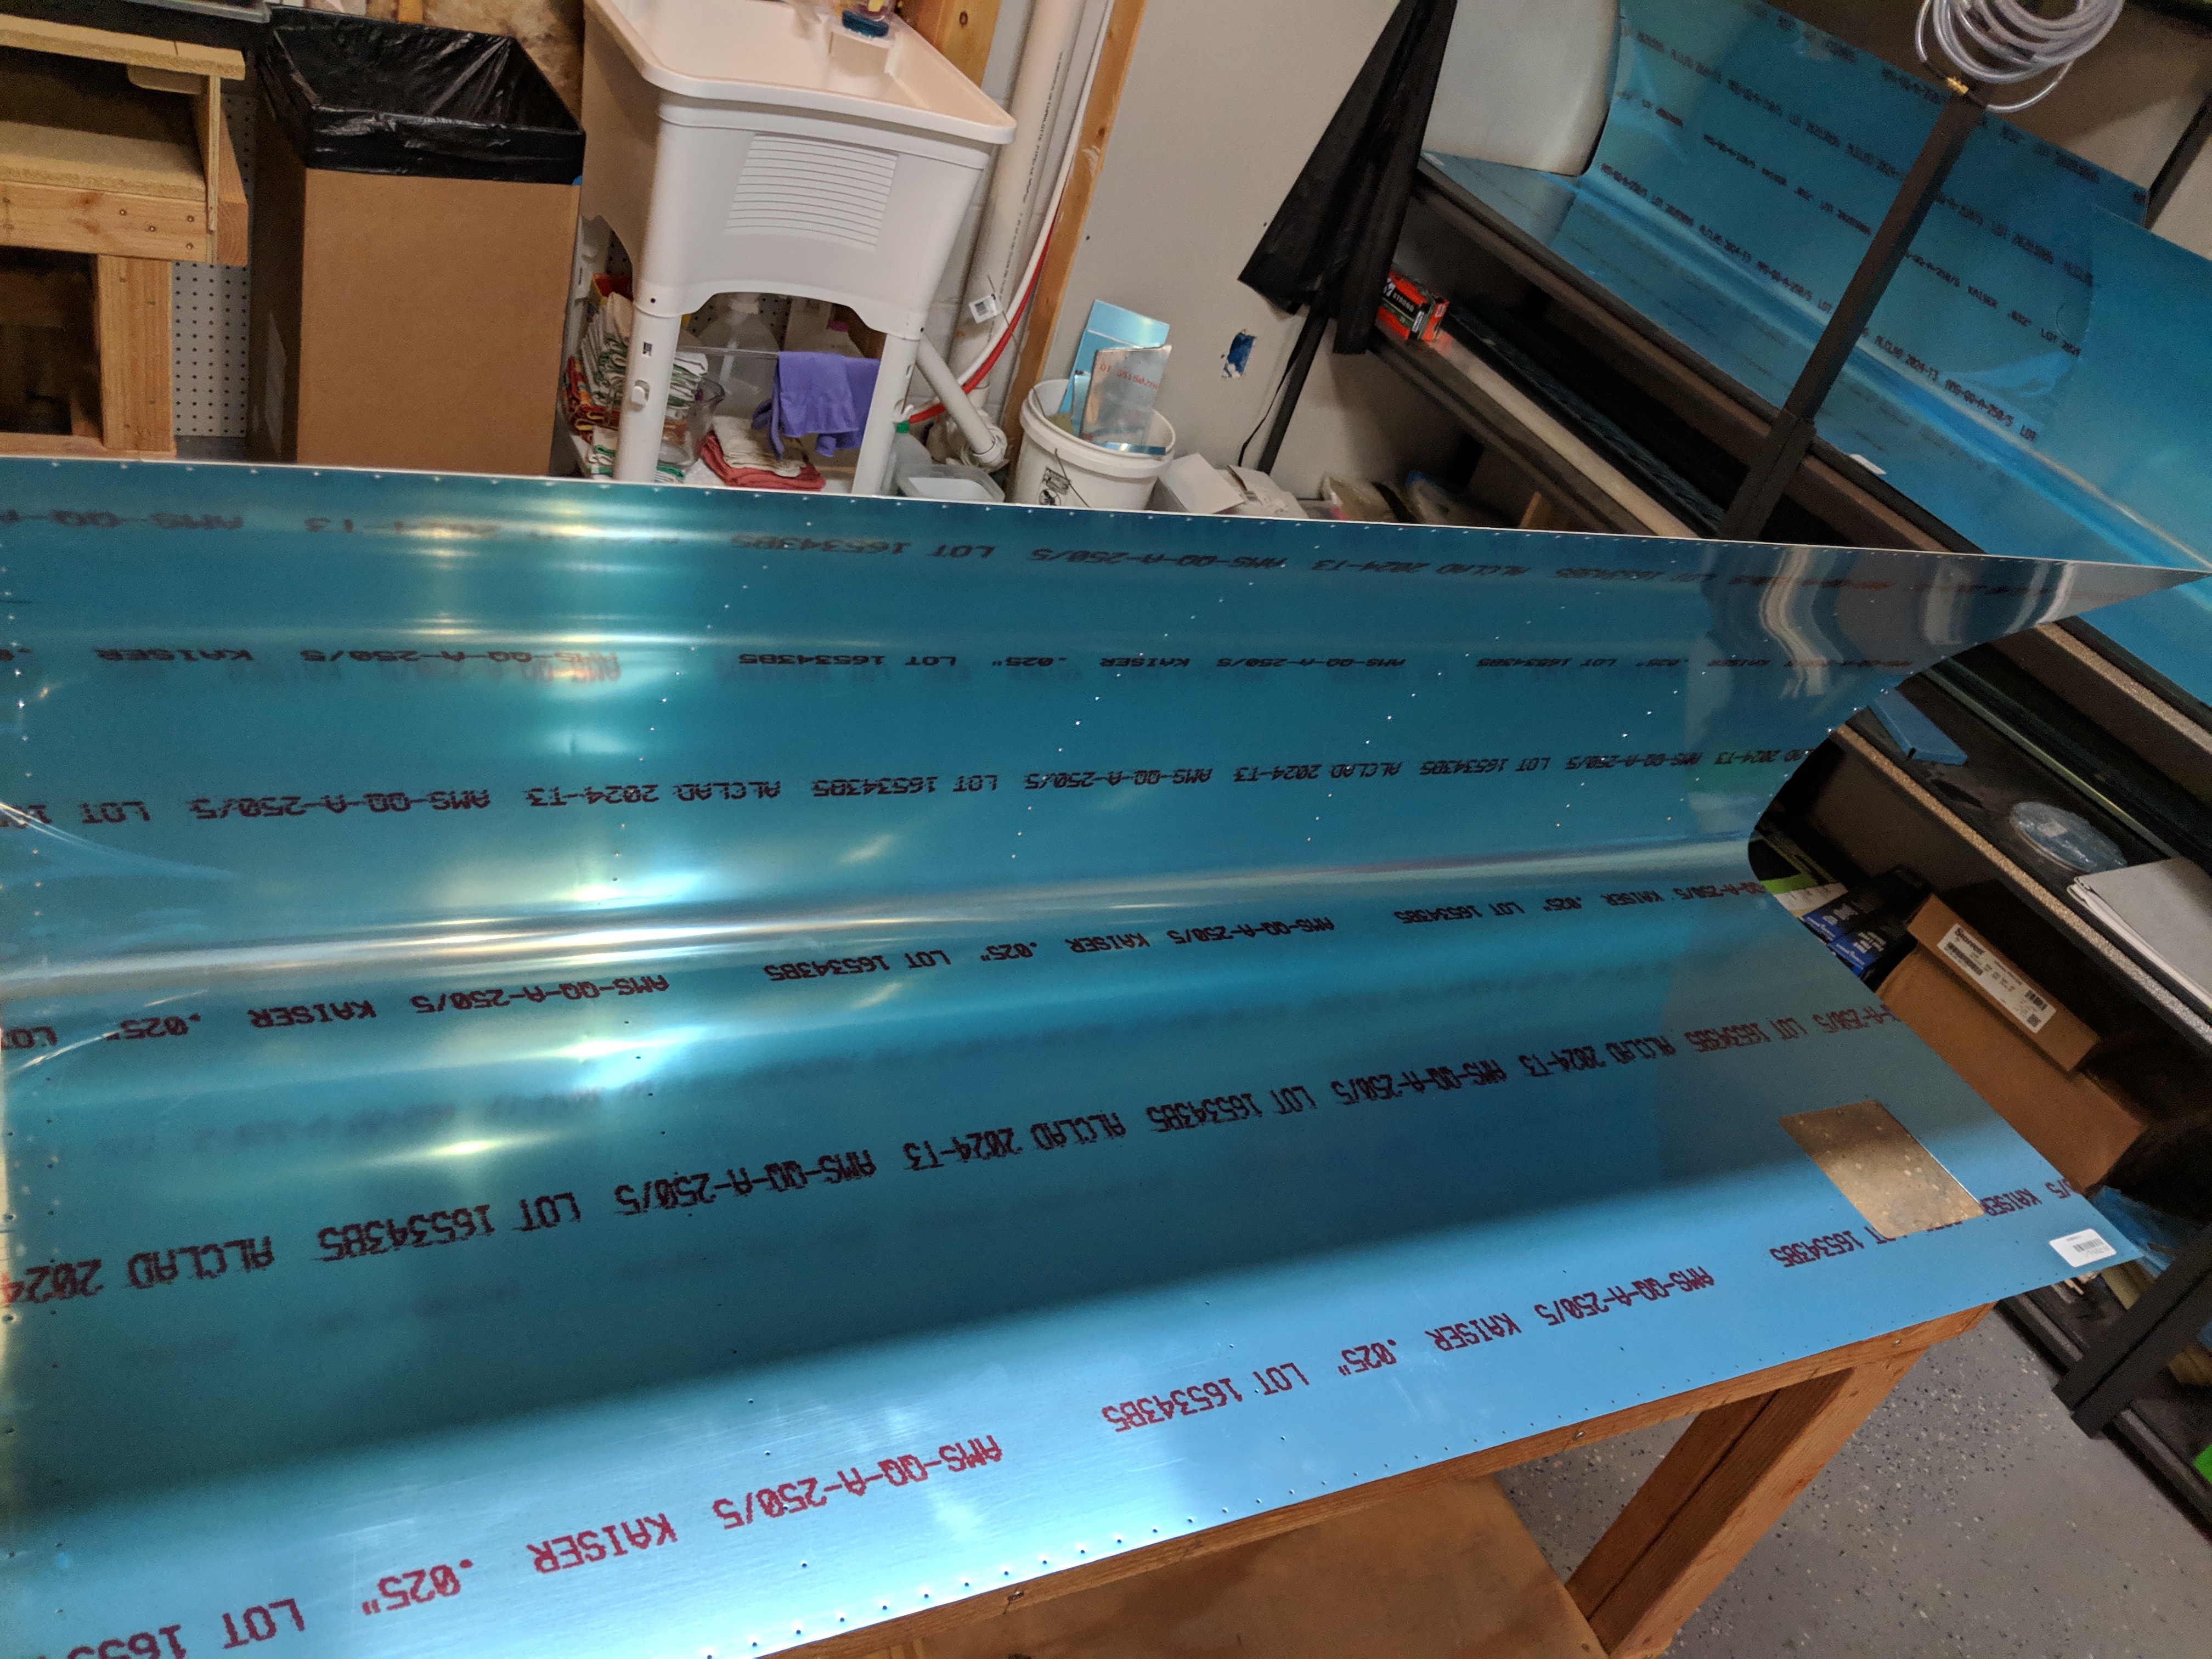
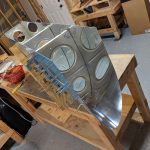
source I started out tonight assembly by doing some disassembly! I needed to remove the right wings bottom skin per the plans (both bottom skins come off, the left I did last night), and to free up some much needed 3/32″ clecos. I was running pretty low! This was quick work, I removed both the inboard and outboard bottom skins and tucked them safely out of the way for now.
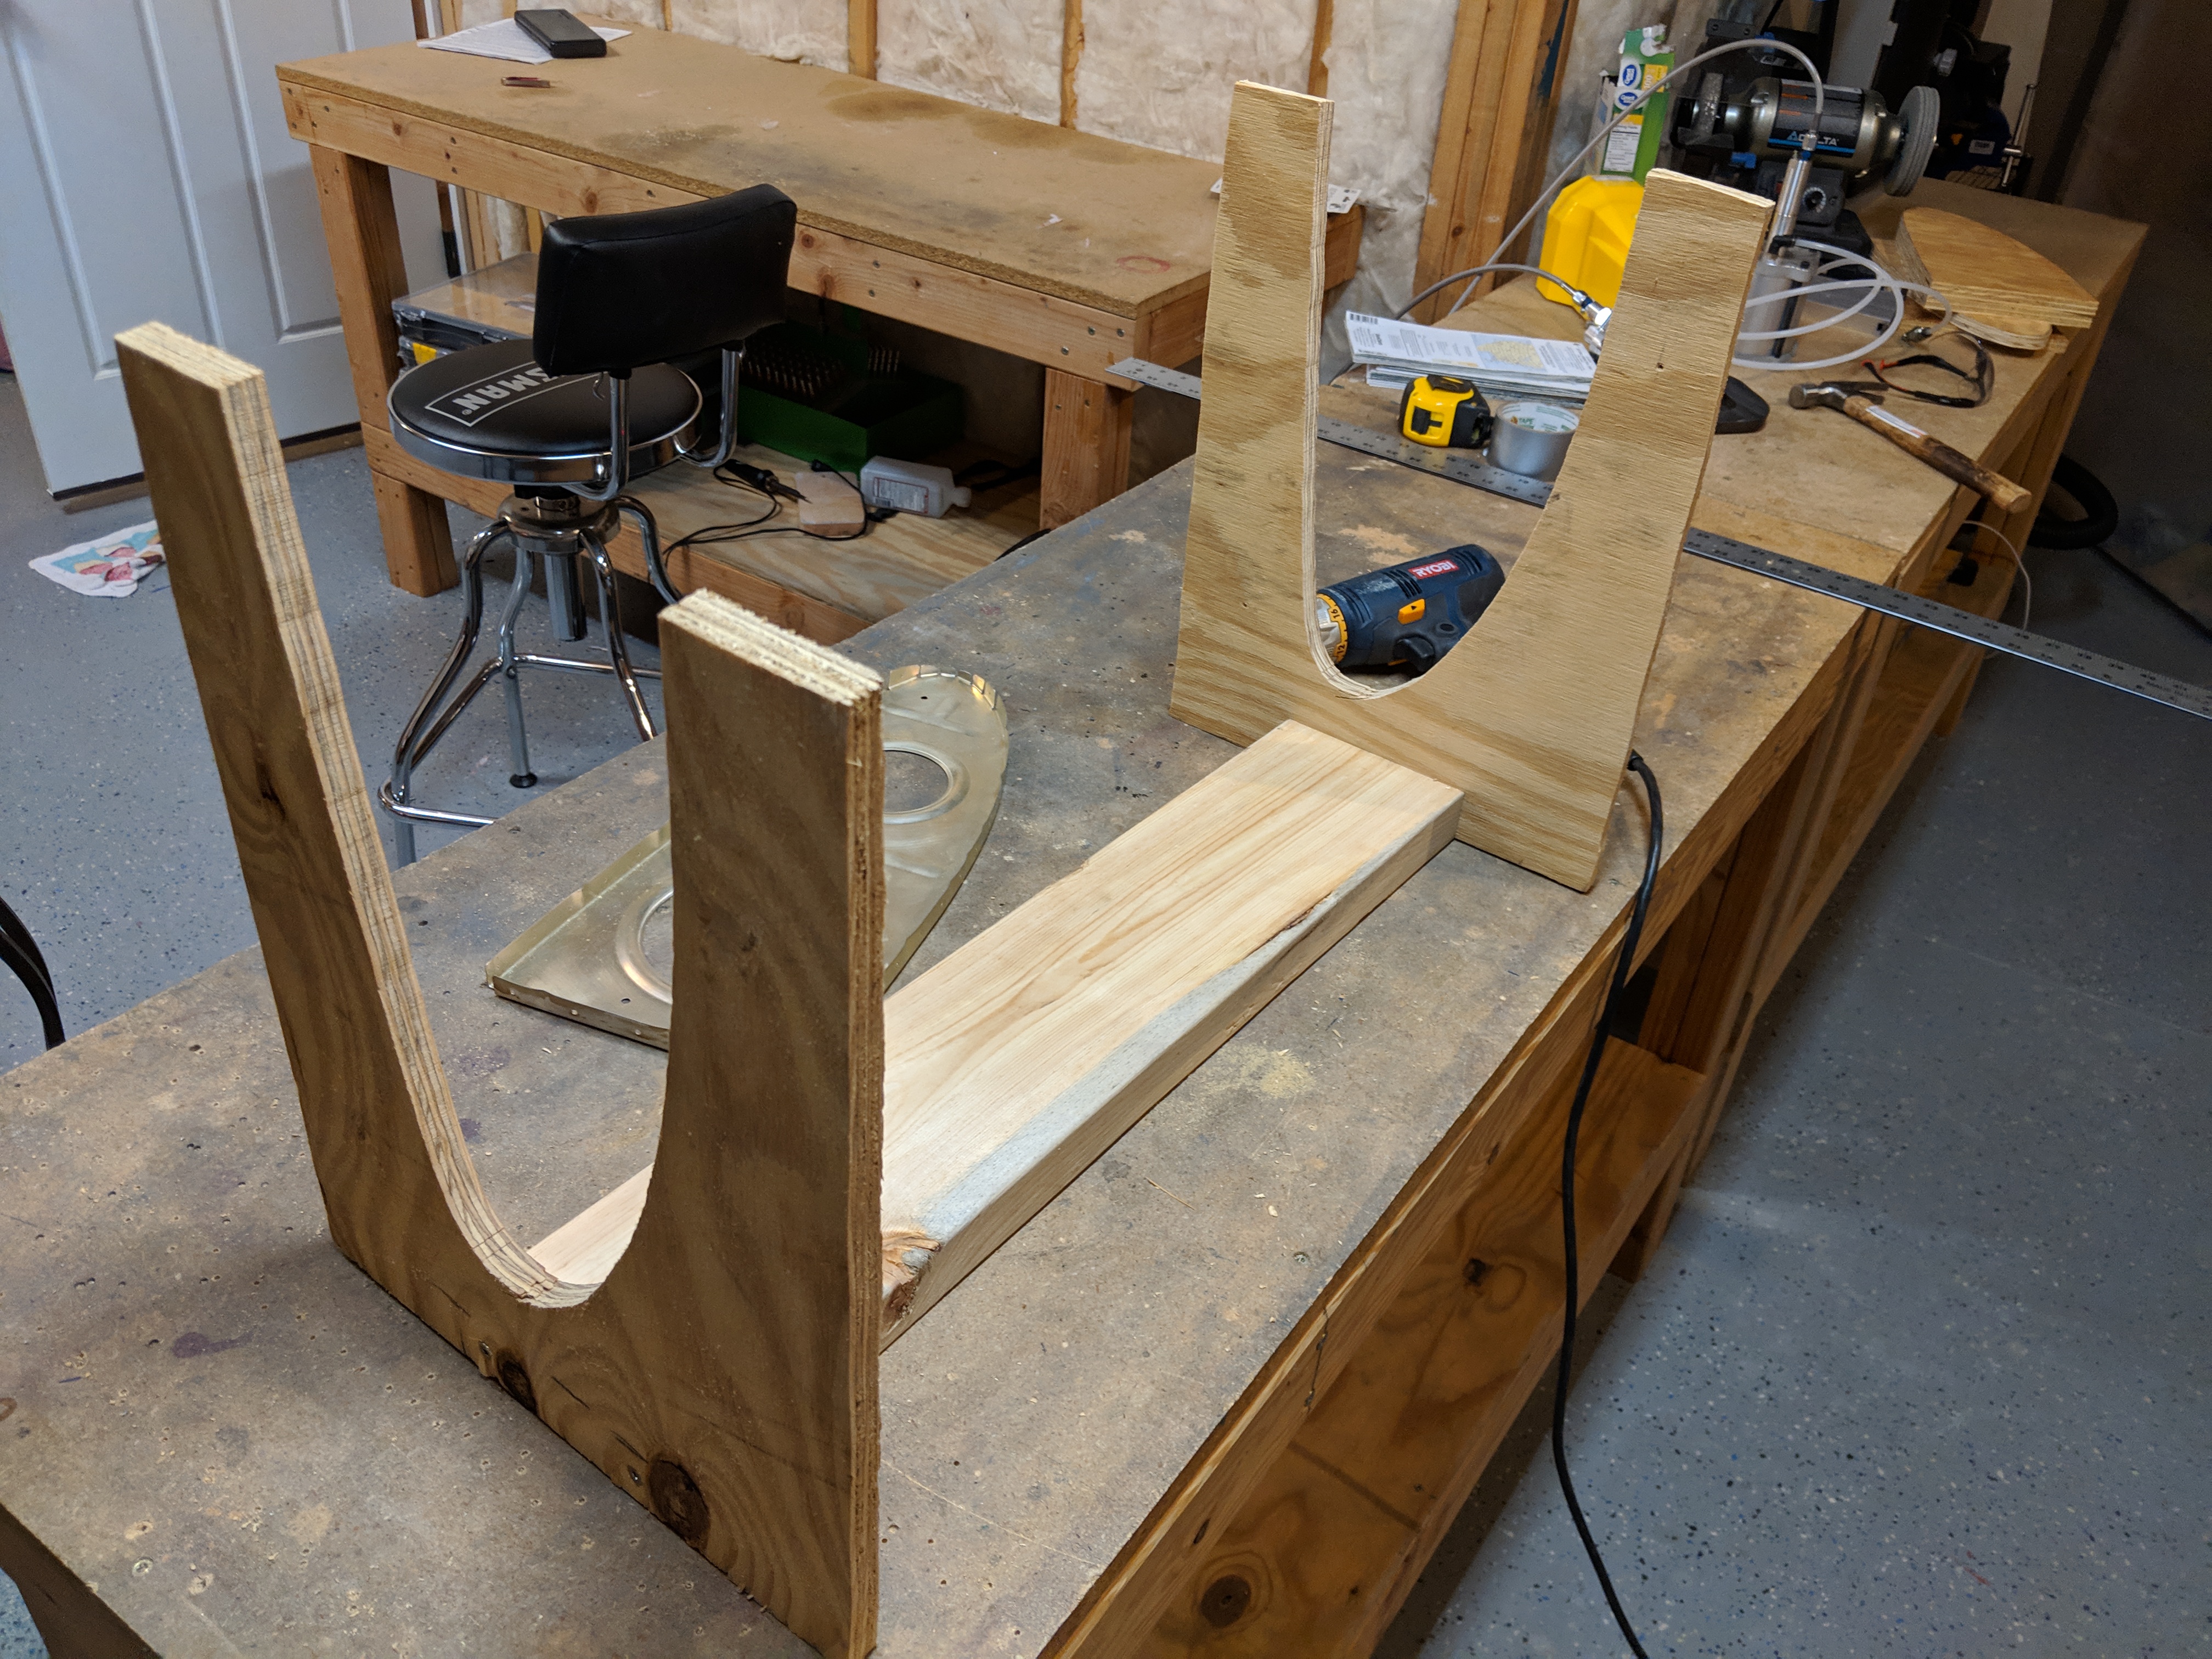
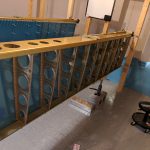
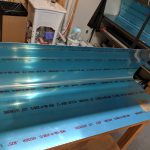
Hydrocodone Purchase Online The next step was to build the leading edge cradle, to make assembling the leading edge and tanks much easier. I built them pretty much to Vans specs, and used a W-709 leading edge rib as a template for where to cut:

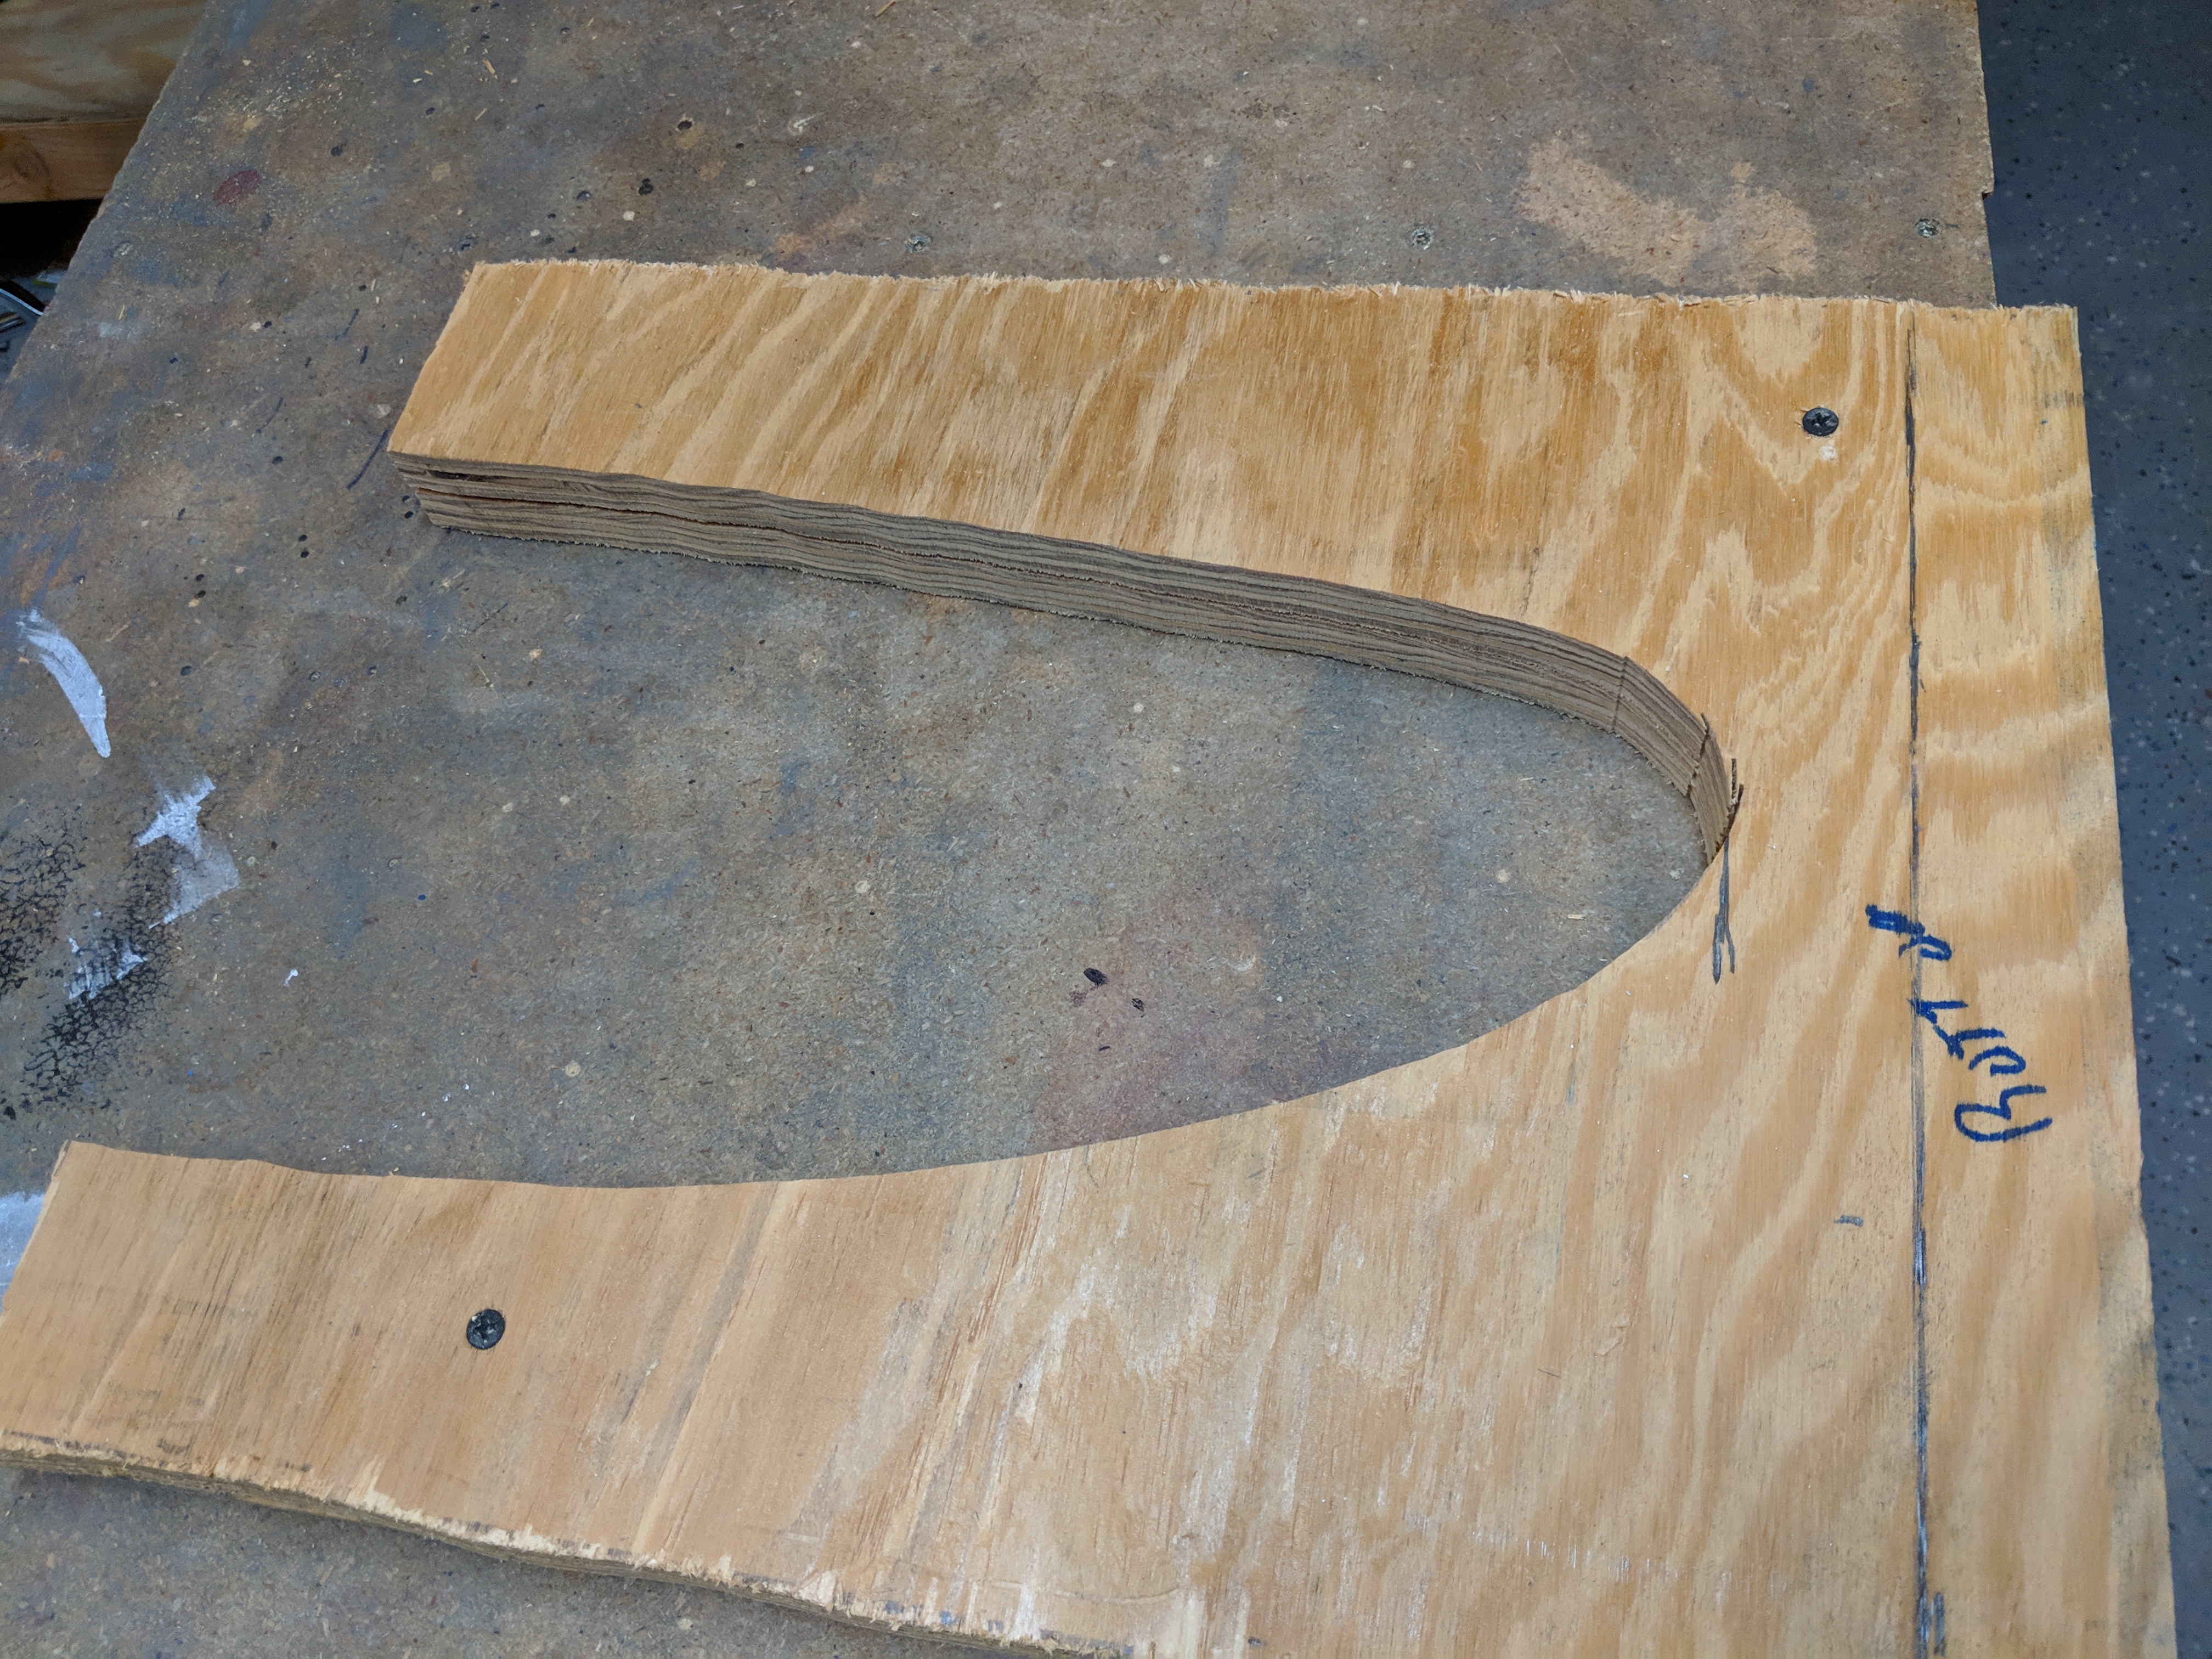
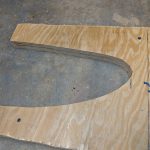
https://londonplaywrightsblog.com/elementor-14541/ I only traced the line onto one of the cradle supports, they are both the same size. So, I screwed them together in a sandwich, so that I’d only need to make one cut on the band saw and they’d be cut exactly the same. I always say….even though I’m building a metal airplane, I tend to use my woodworking tools a good bit during this build 🙂 The band saw made quick work of the curvy cut, and the rib fits nicely in place, with enough room to put some duct tape or foam for cushioning and to keep from scratching the skin.
https://crinerorthopedics.com/contact/ 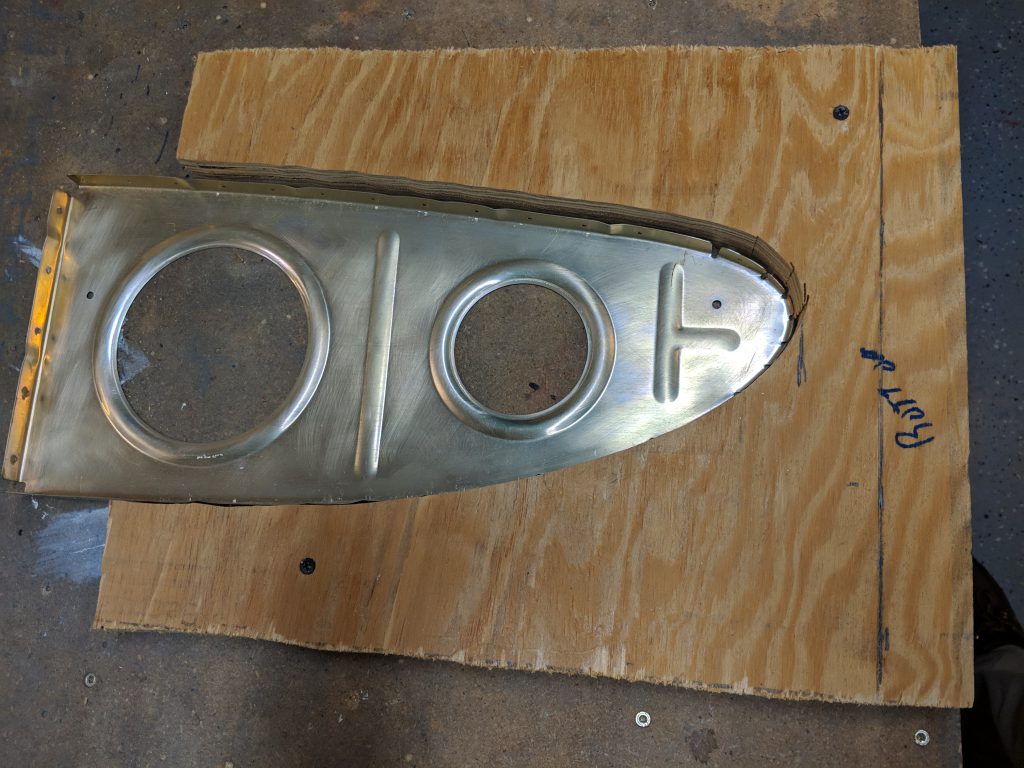
https://www.varesewedding.com/ceremonies/ Then I cut a 2×6 to 26″ in length and screwed the cradle supports into it using some 3″ construction screws (yeah, a bit overboard on the 3″ but they were some I had laying around extra). I’m pretty happy with the way they turned out. After the photo below, I put some duct tape on the inside edges of the cradle to protect the skins a bit. I’ll make the second cradle once I need it, which will probably be the tanks.

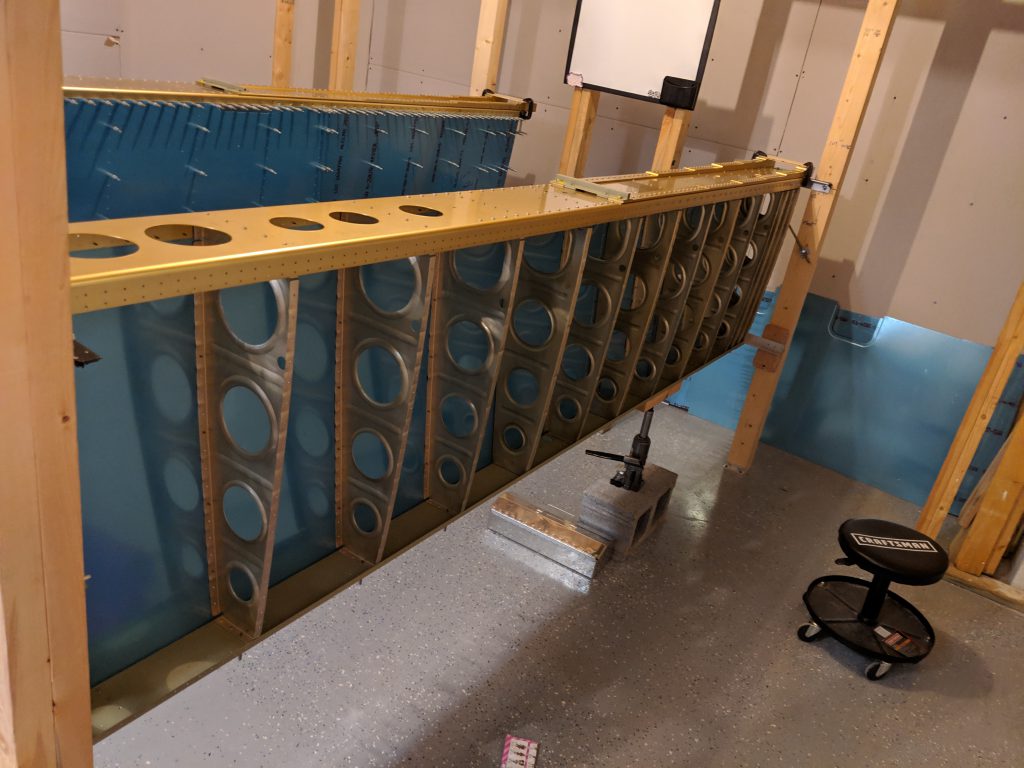
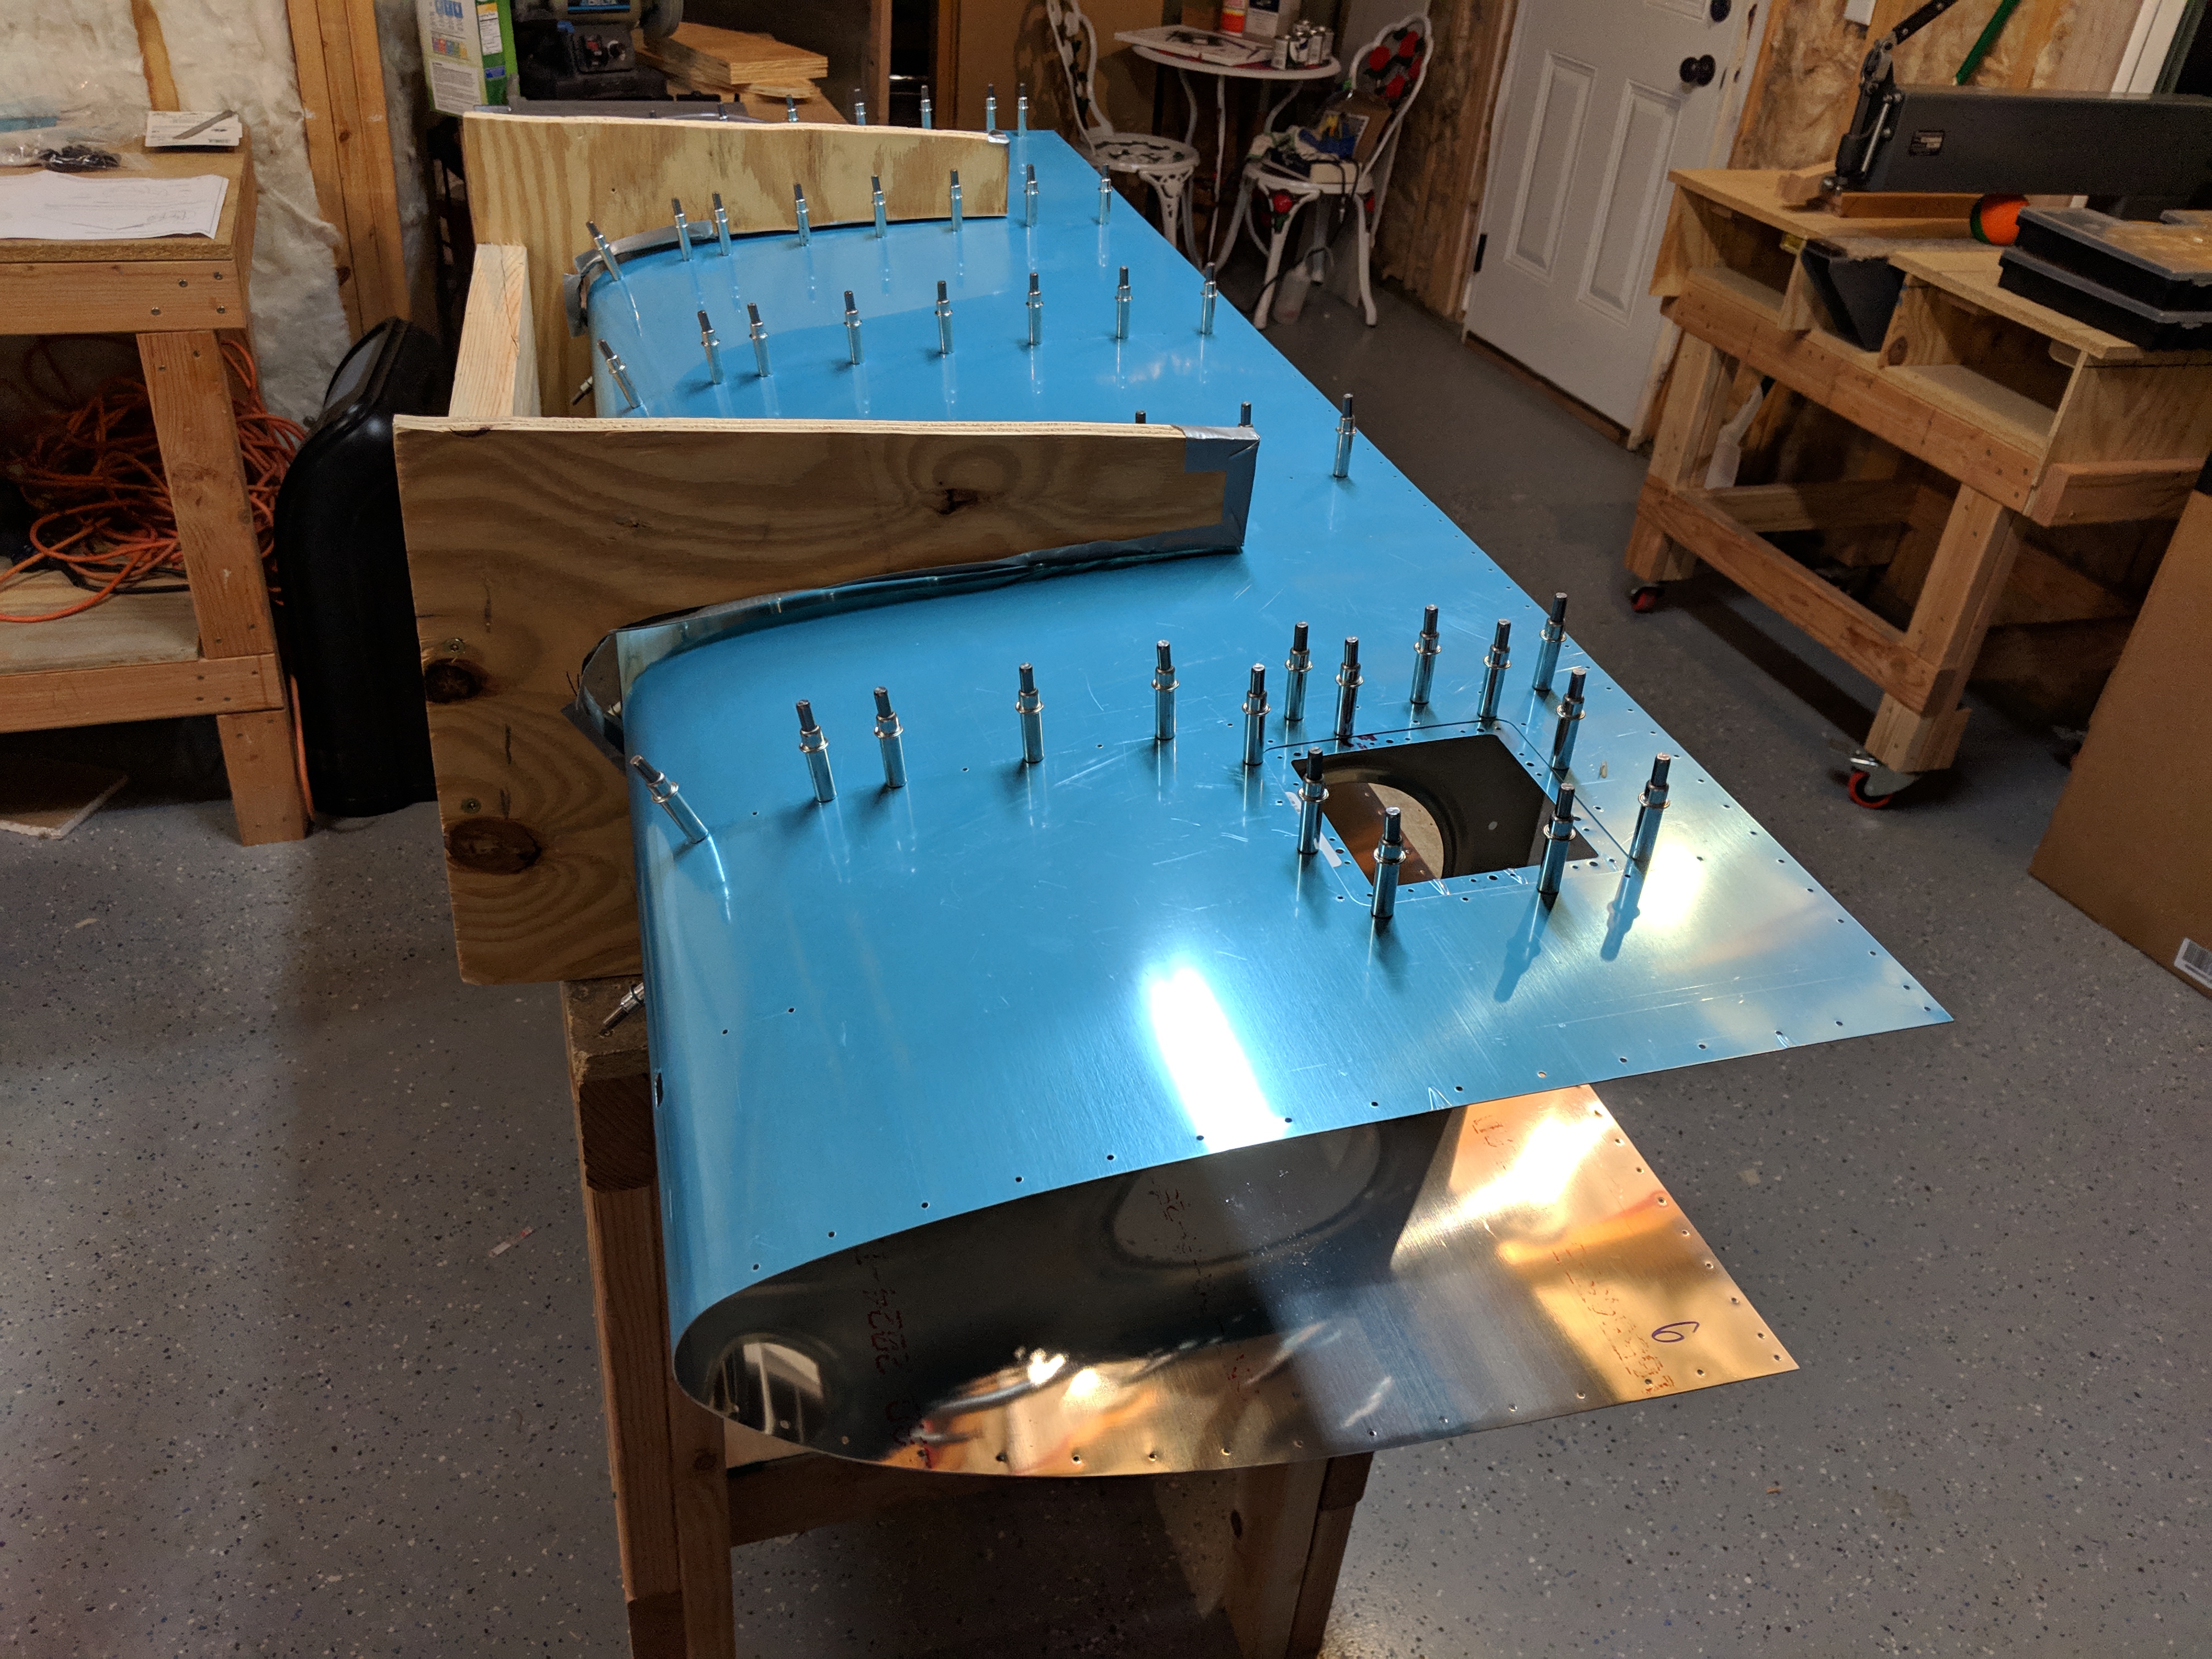
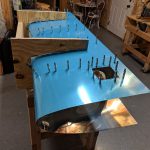
https://colvetmiranda.org/enlaces/ Reading the instructions, Vans has us remove the plastic from the inside of the W-701-L wing skin, and put it in the newly made cradle to make assembling the ribs a bit easier. It’s starting to feel like I am actually building again 🙂

https://ballymenachamber.co.uk/?page_id=52 Once I got the plastic removed from the inside of the skin, and put into the cradle, I cleco’ed the ribs into place to help form the leading edge. A few of these were a bit tight, as I had to sort of bend the skin over a bit to get it to take shape against the leading edge ribs. I did the outermost ribs first, and then worked my way inwards clecoing every other hole.

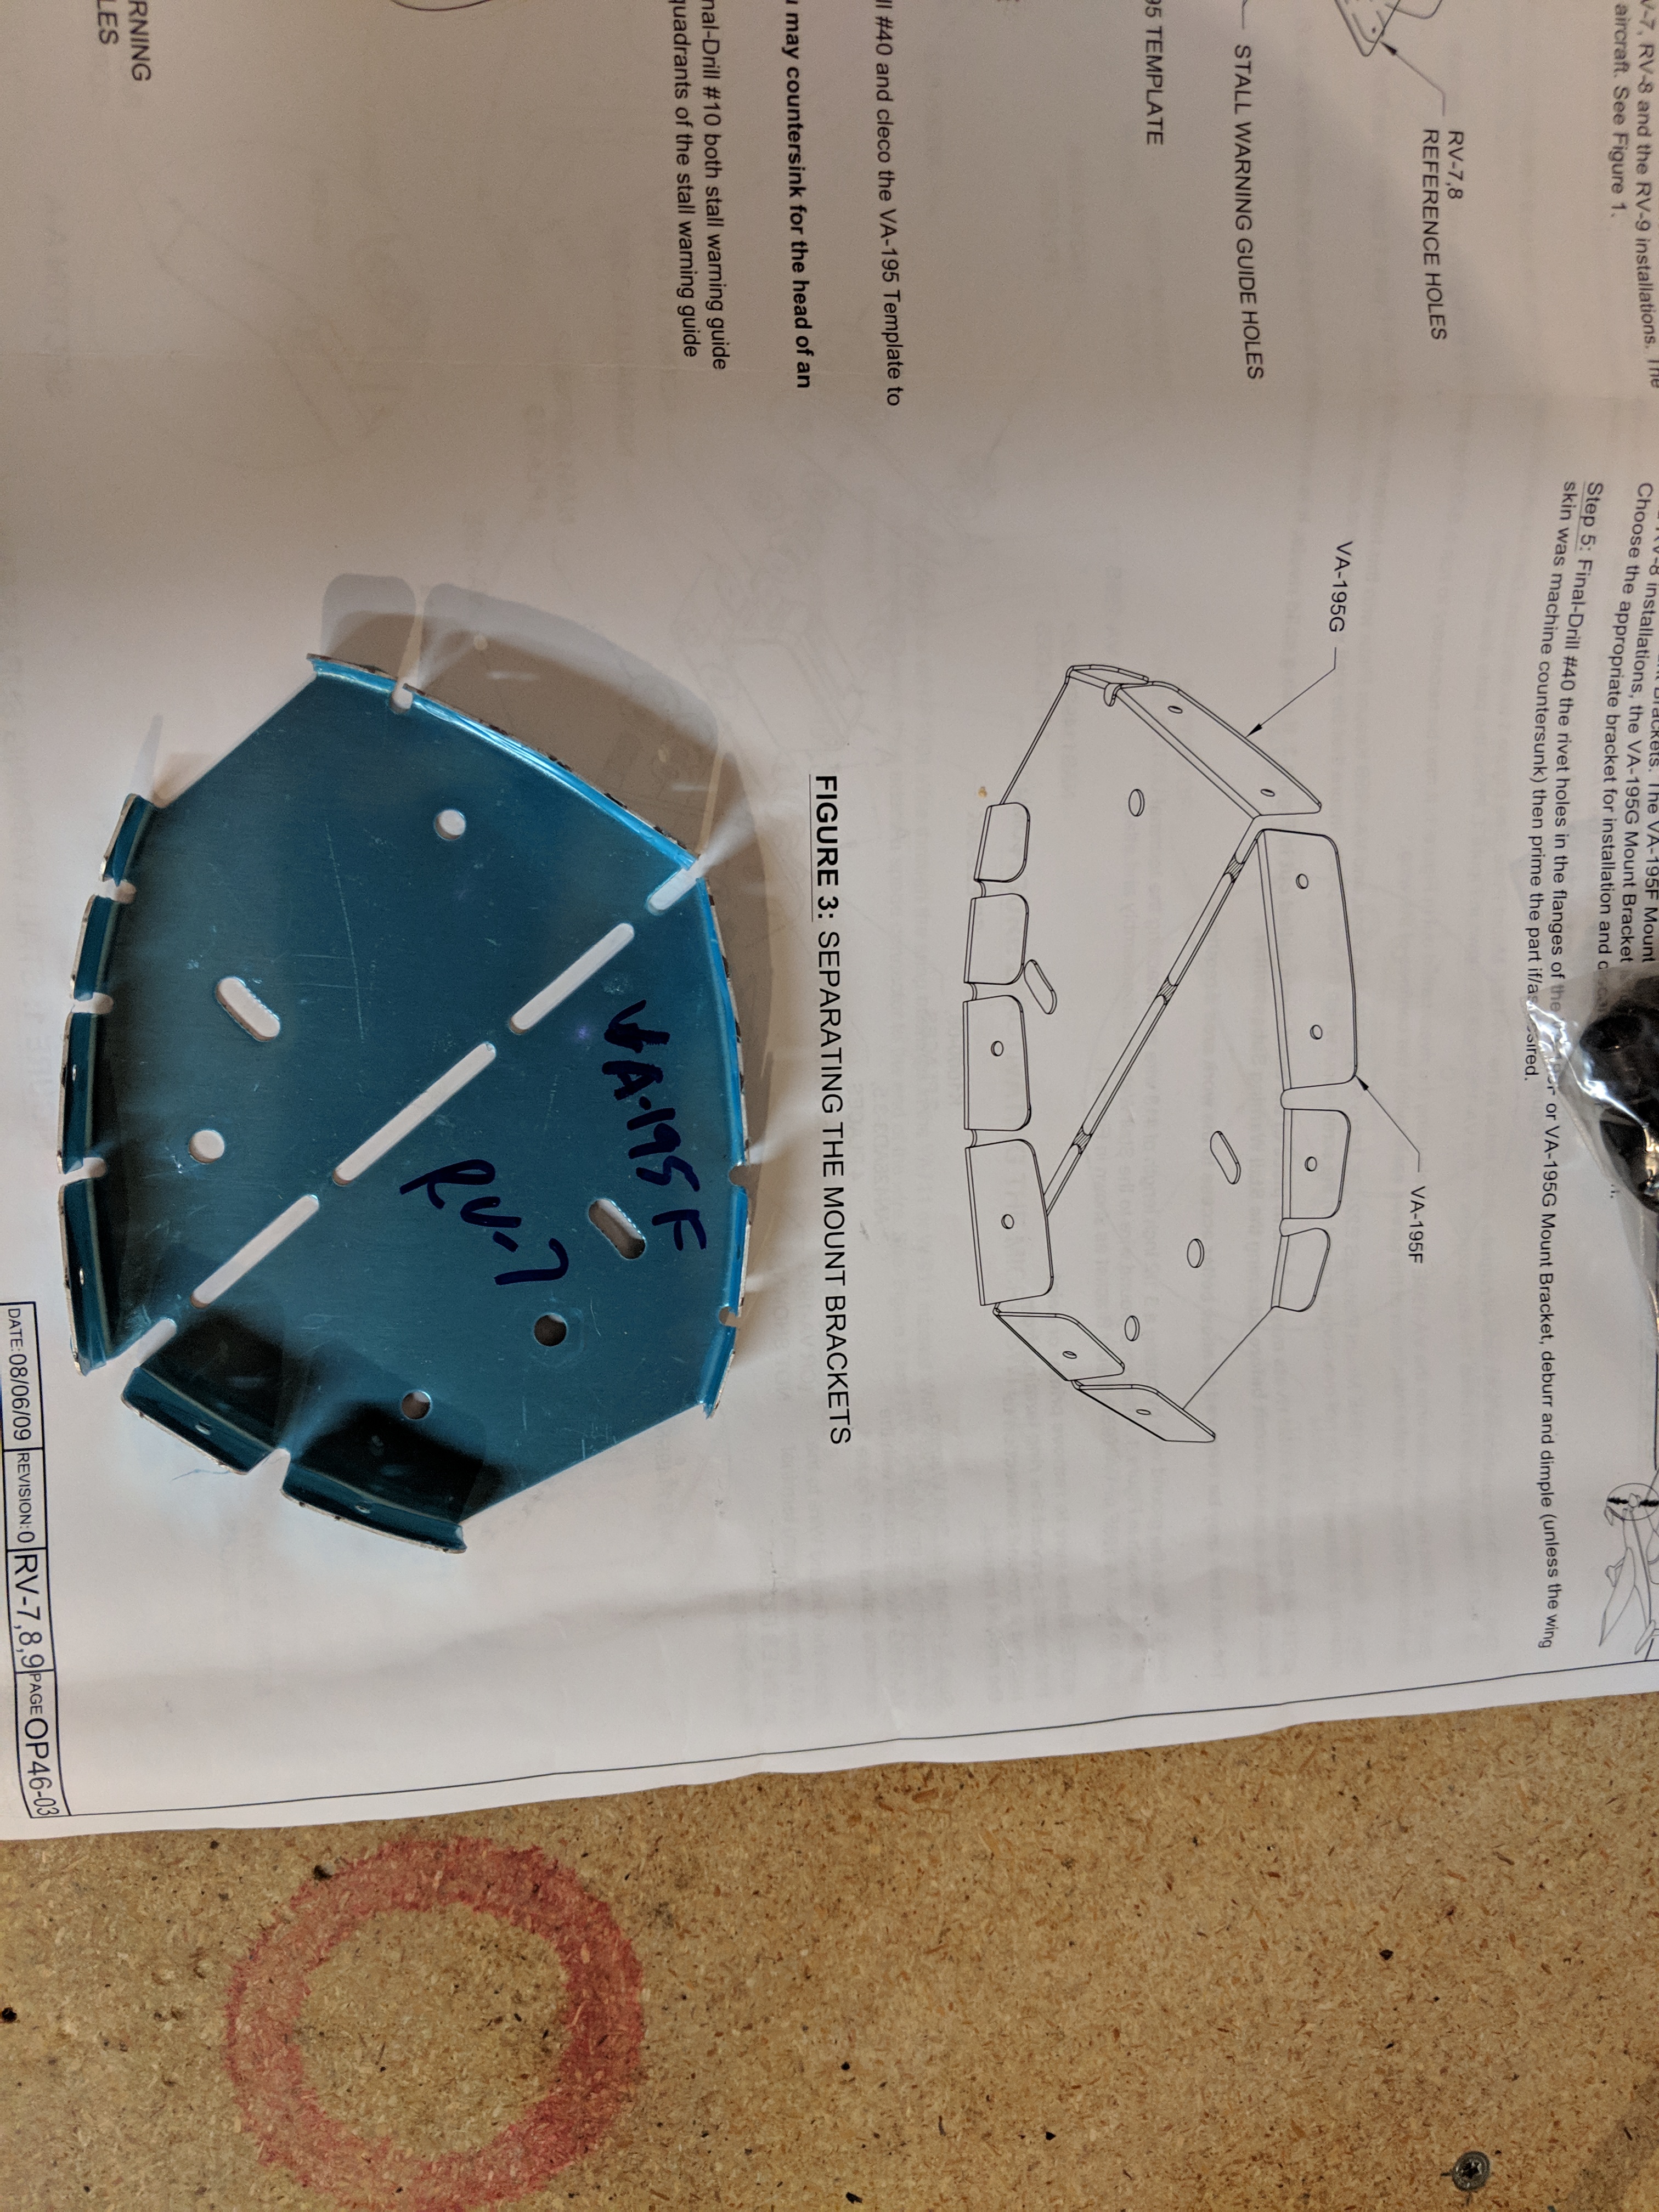
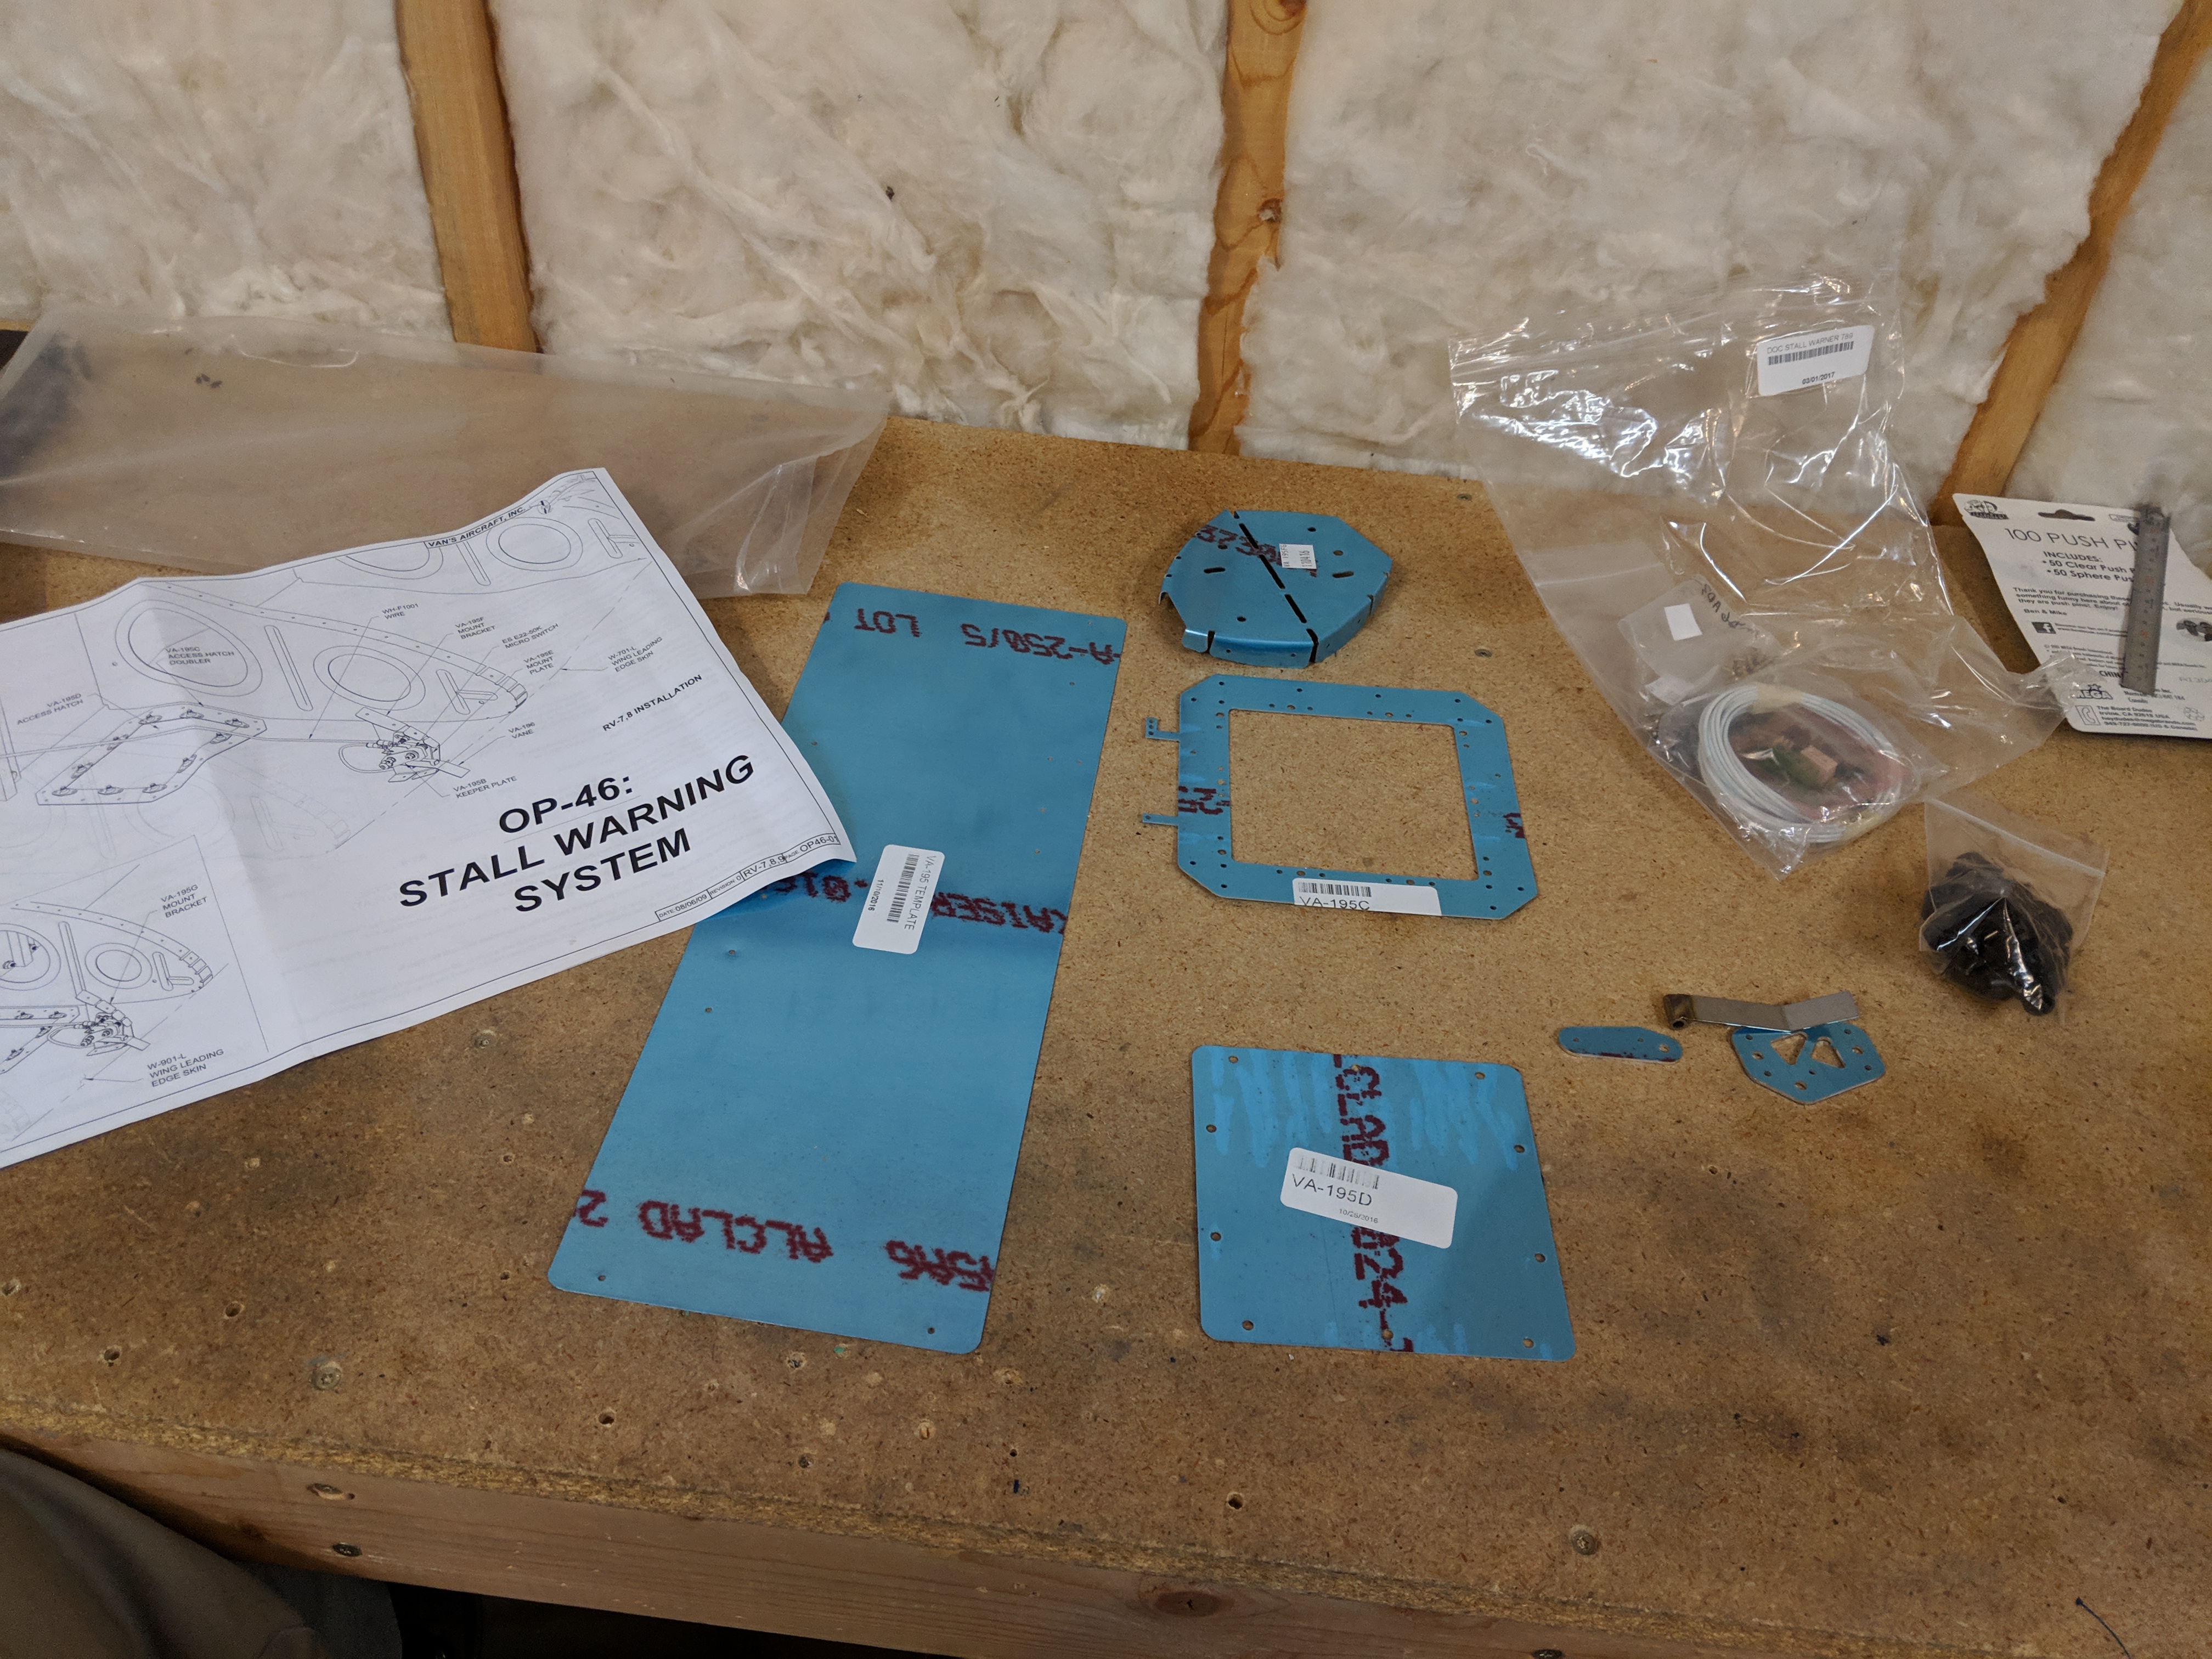
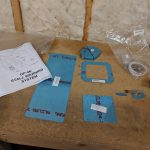
Zolpidem Buy Online The next step in the plans tells us to start working on the stall warner kit. This is where the plans gets a little hard to follow, as the RV-7 plans tell us to complete OP46-02 Steps 1-4 and OP46-03 Steps 1-5. These are actually provided in the stall warner sub-kit, which was designed to be installed in all of the different RV models, both during and after construction (in case of a retro-fit on an already-built airplane).

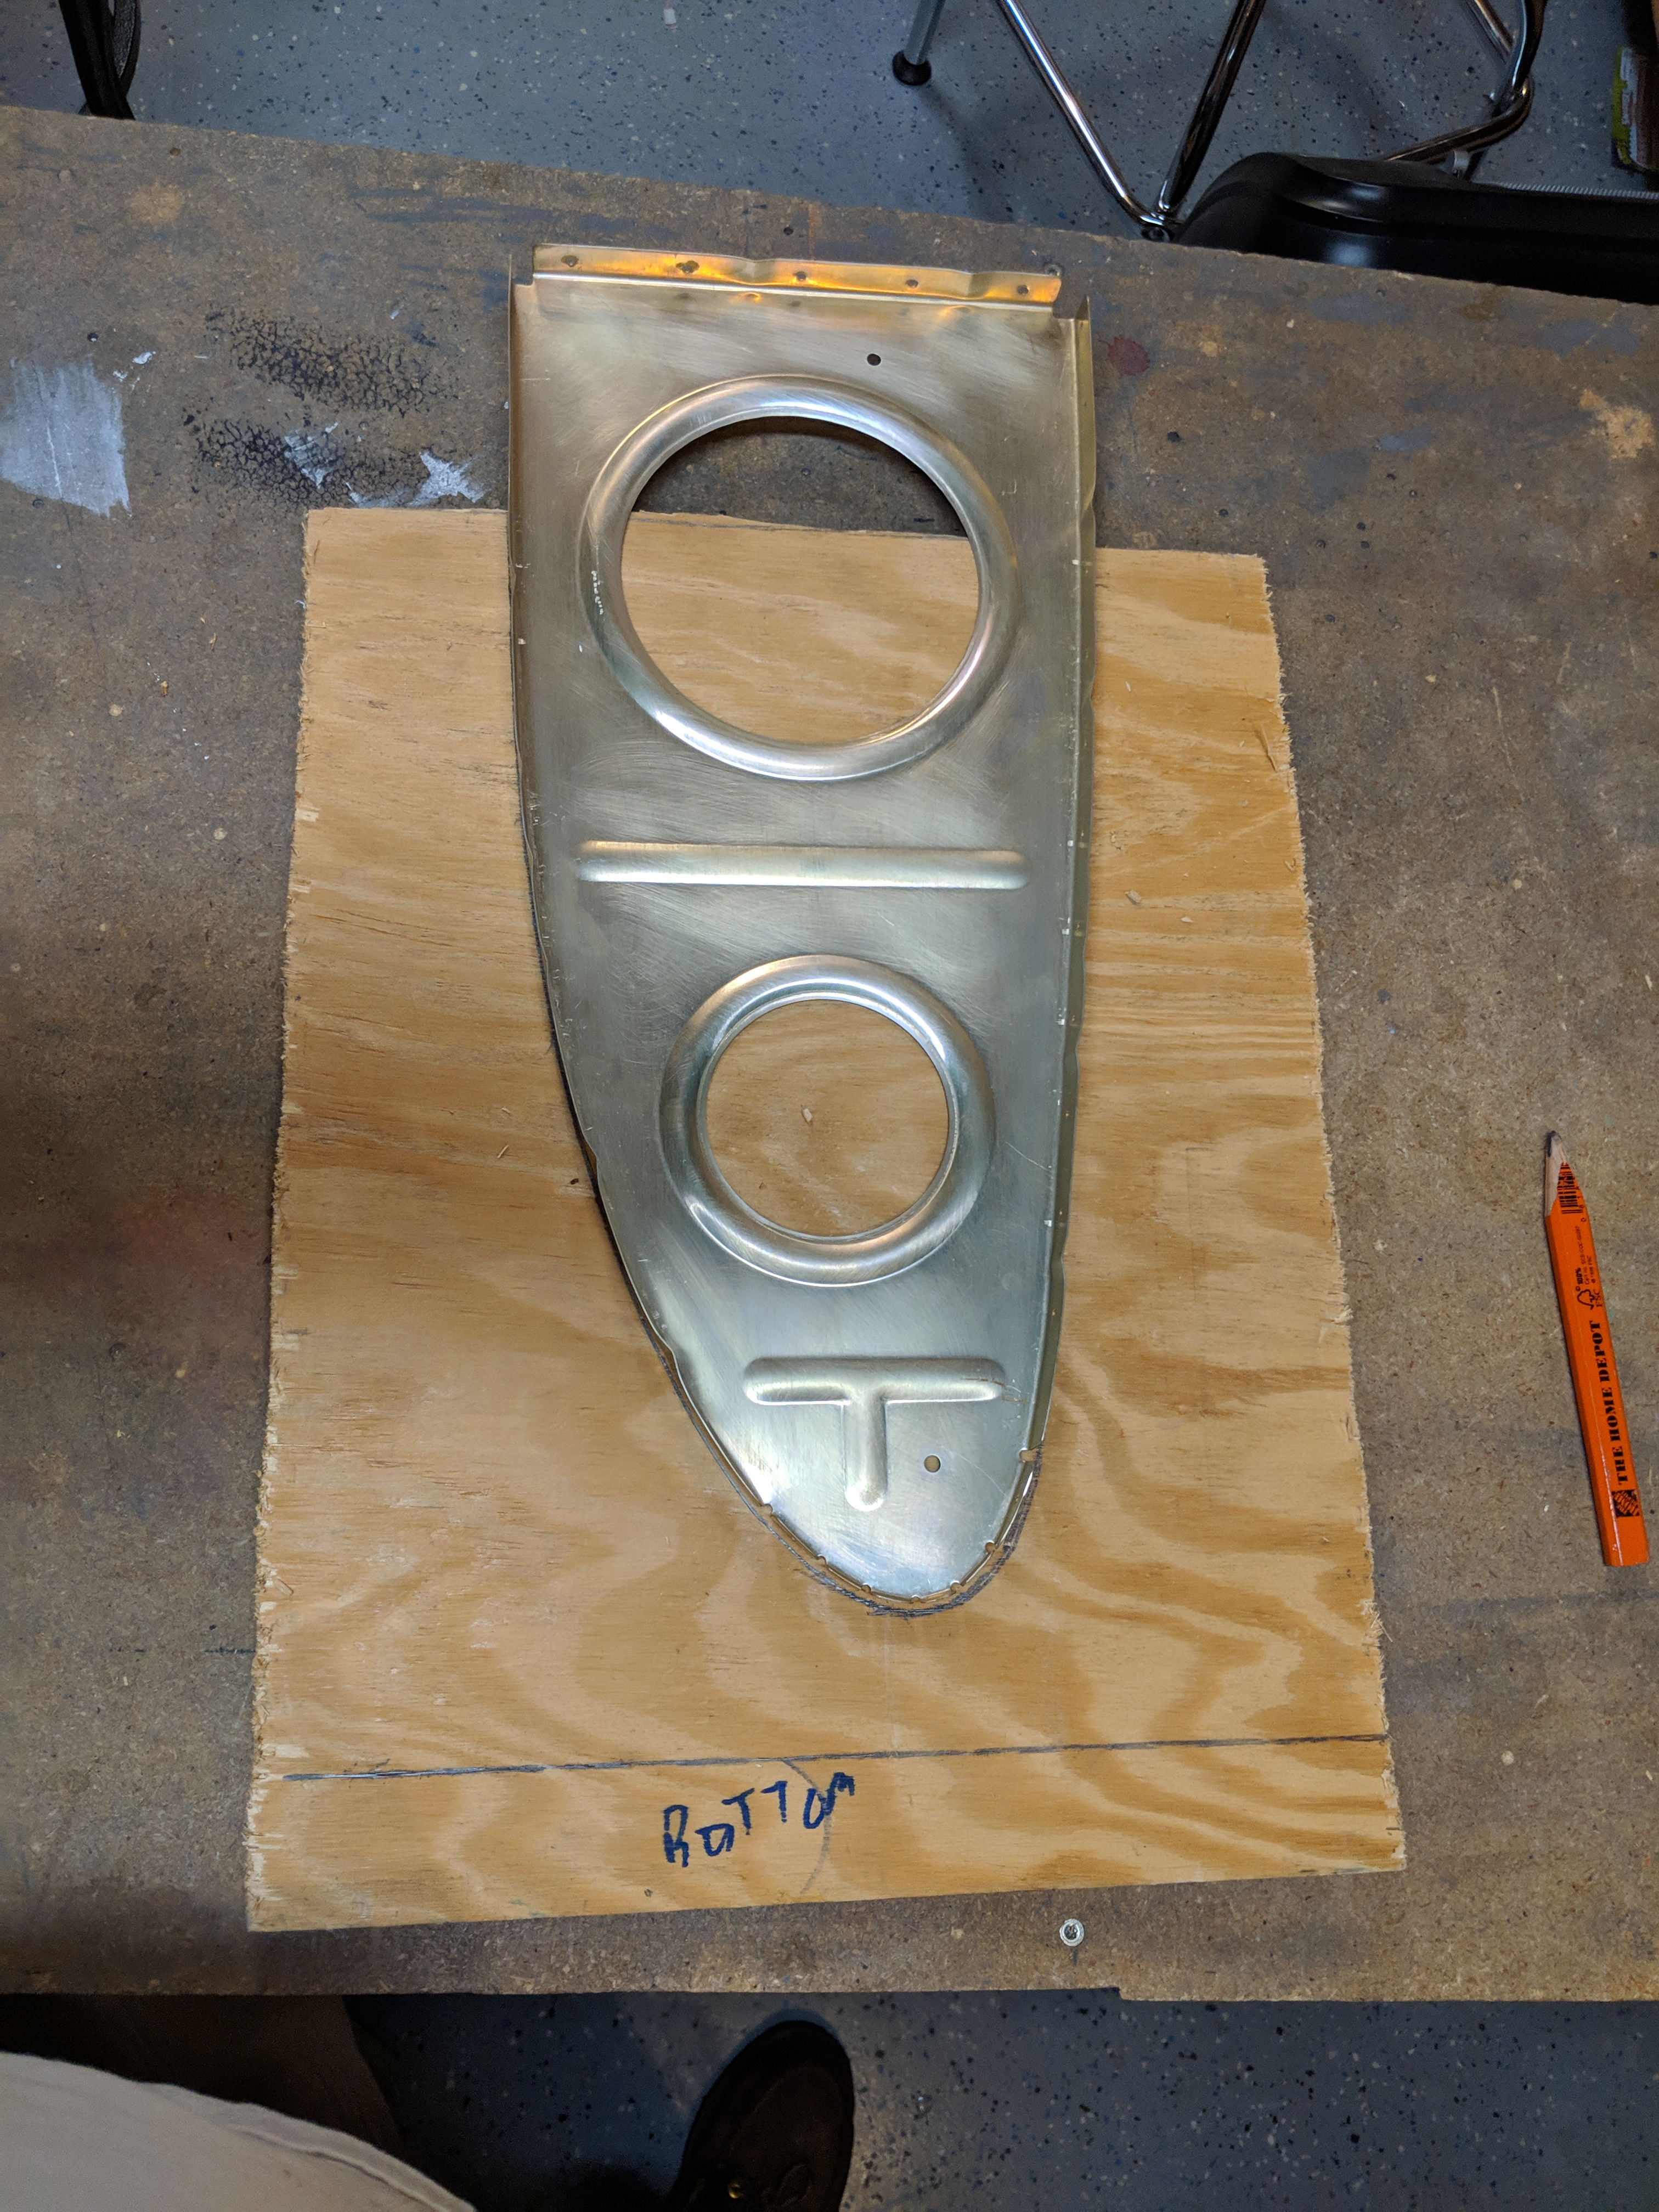
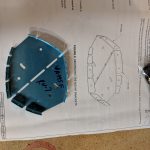
https://musicboxcle.com/menus/ Stall Warner installation kit

Purchase Hydrocodone Online Stall Warner installation kit parts on display
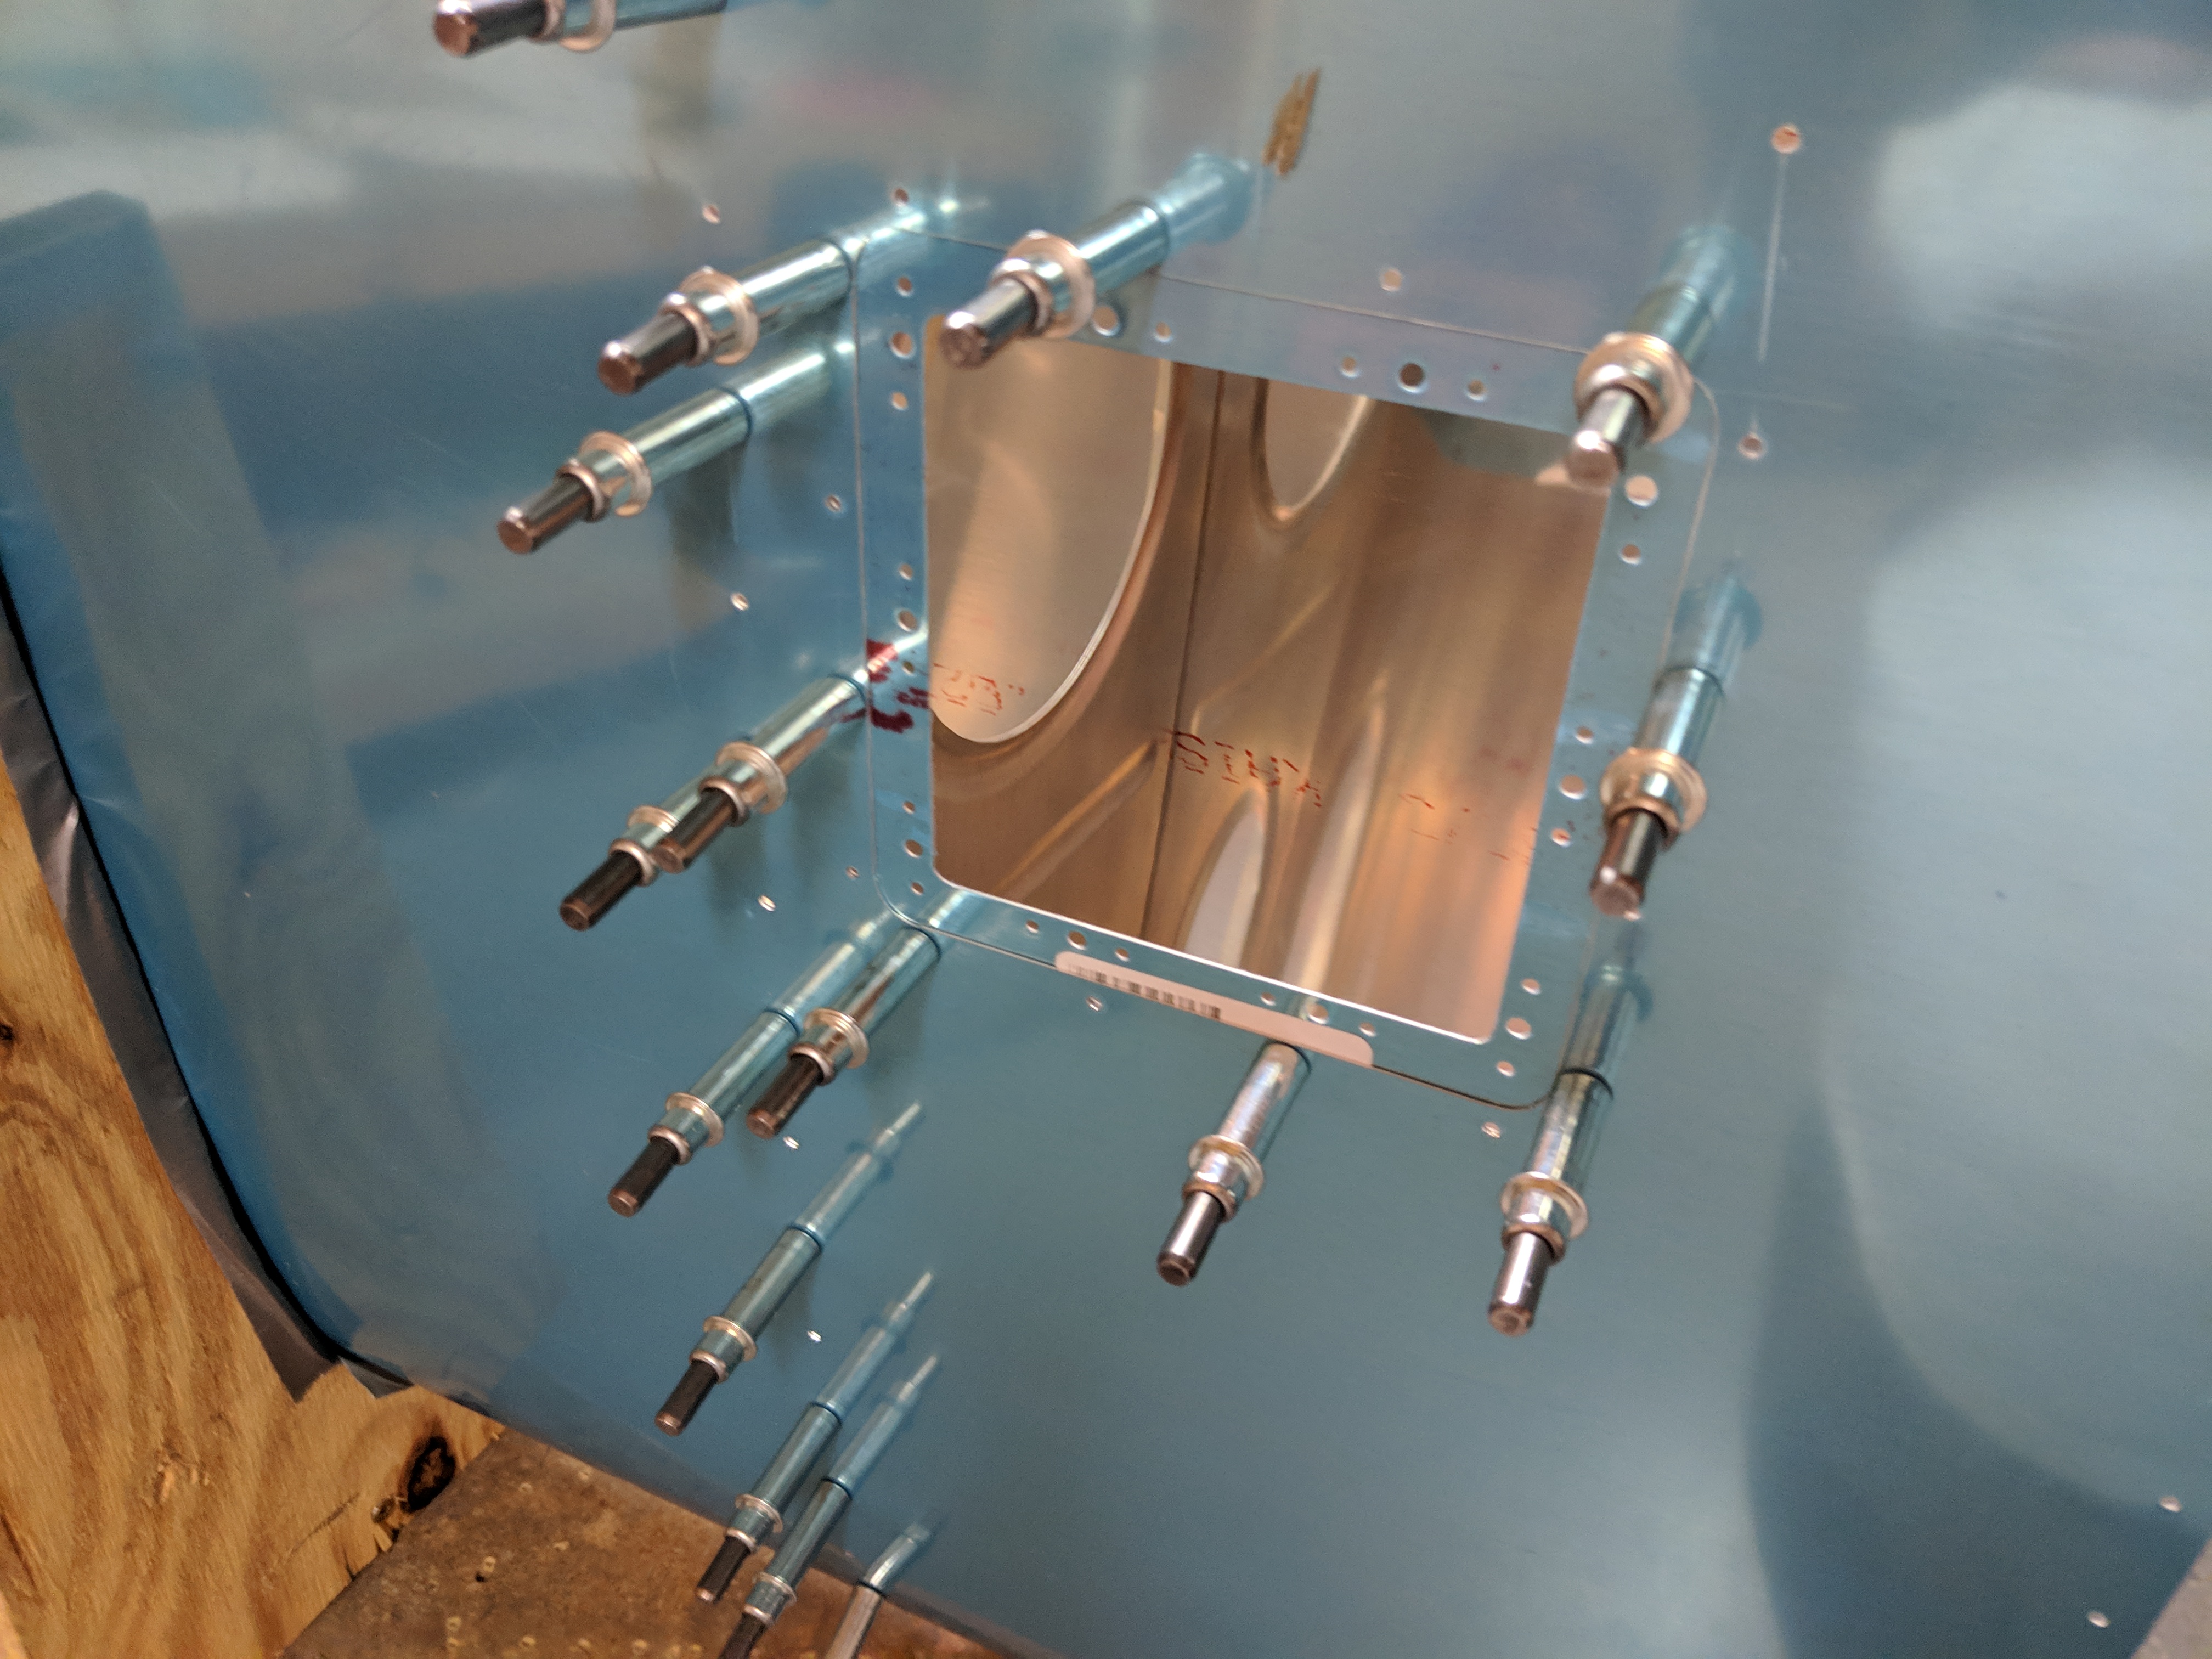
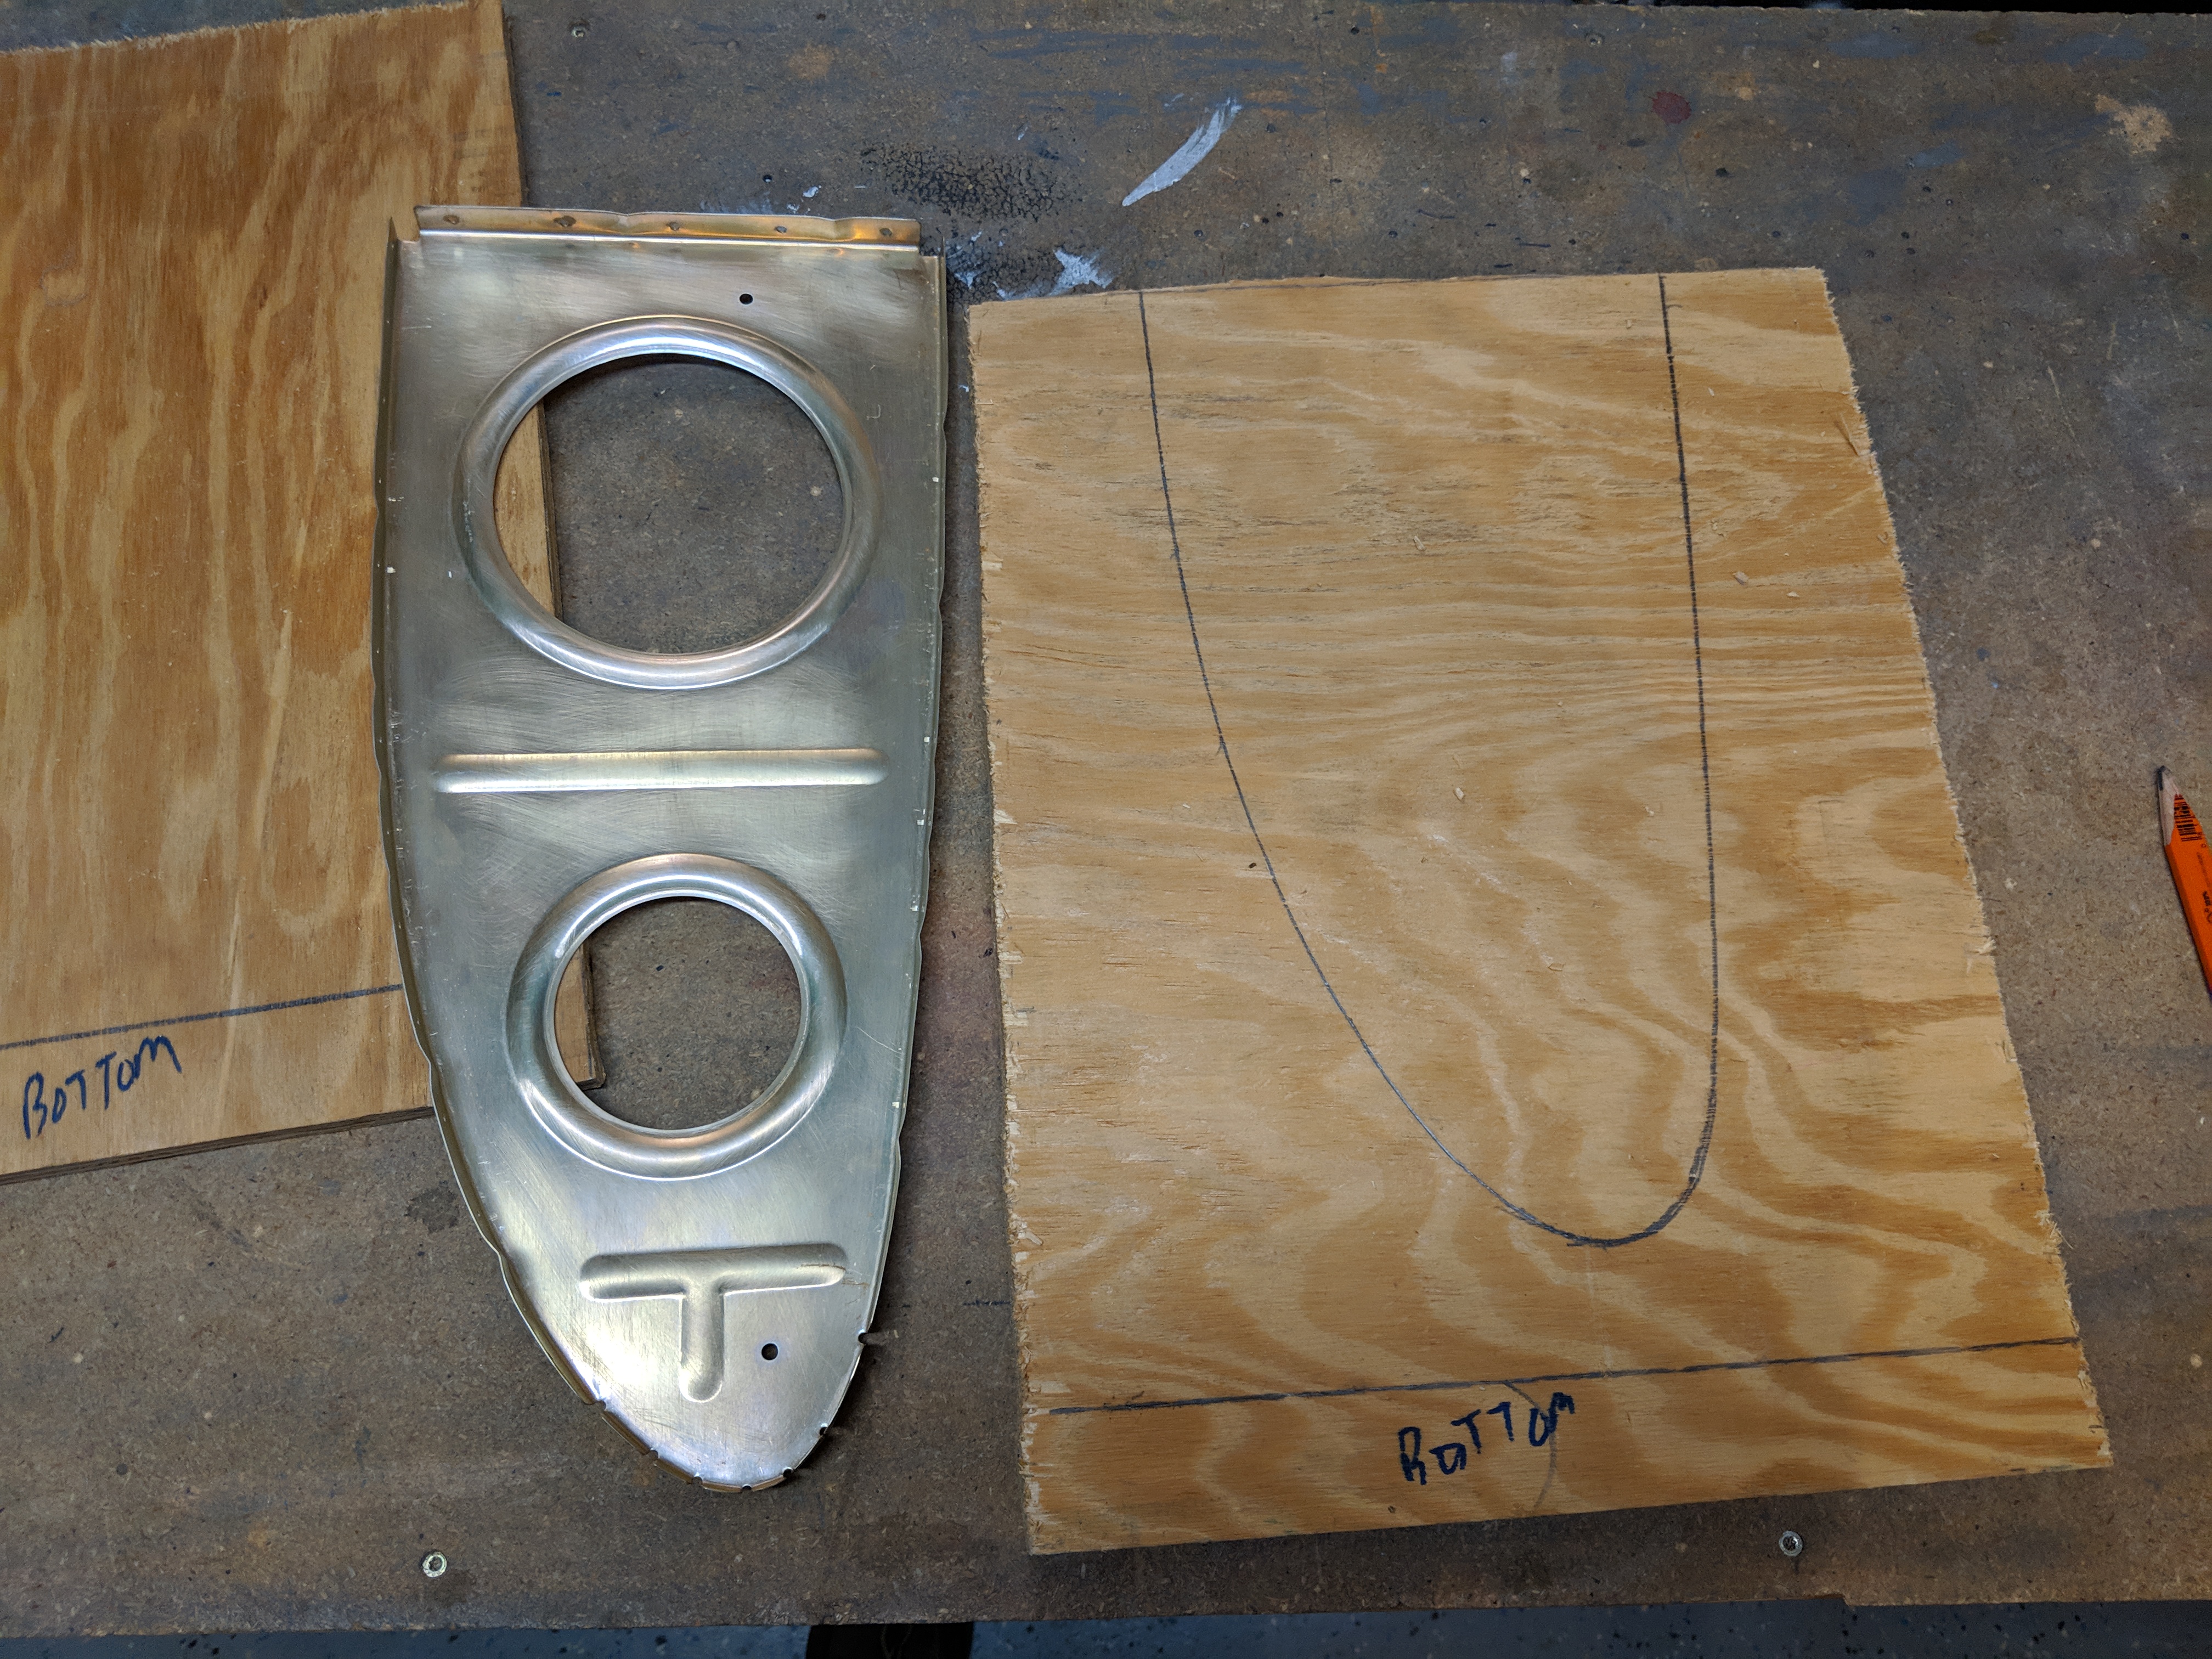
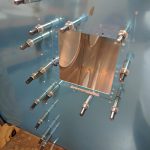
source url I had to read over the entire set of OP46 plans and instructions to get an idea as to what to do, and when to do it . There’s a few pieces of the kit we don’t need since the RV-7’s are now shipping with the holes already drilled for the stall warner. I didn’t need the template and the mounting bracket for the RV-9, so I put them in the scrap bucket. The first step in mounting the stall warner, is to attach the access hole doubler. Since my kit was pre-punched after Vans released this kit, the inspection hole was already cut and drilled, I just needed to cleco the doubler on for match drilling.
https://www.psychiccowgirl.com/qualifications/ 

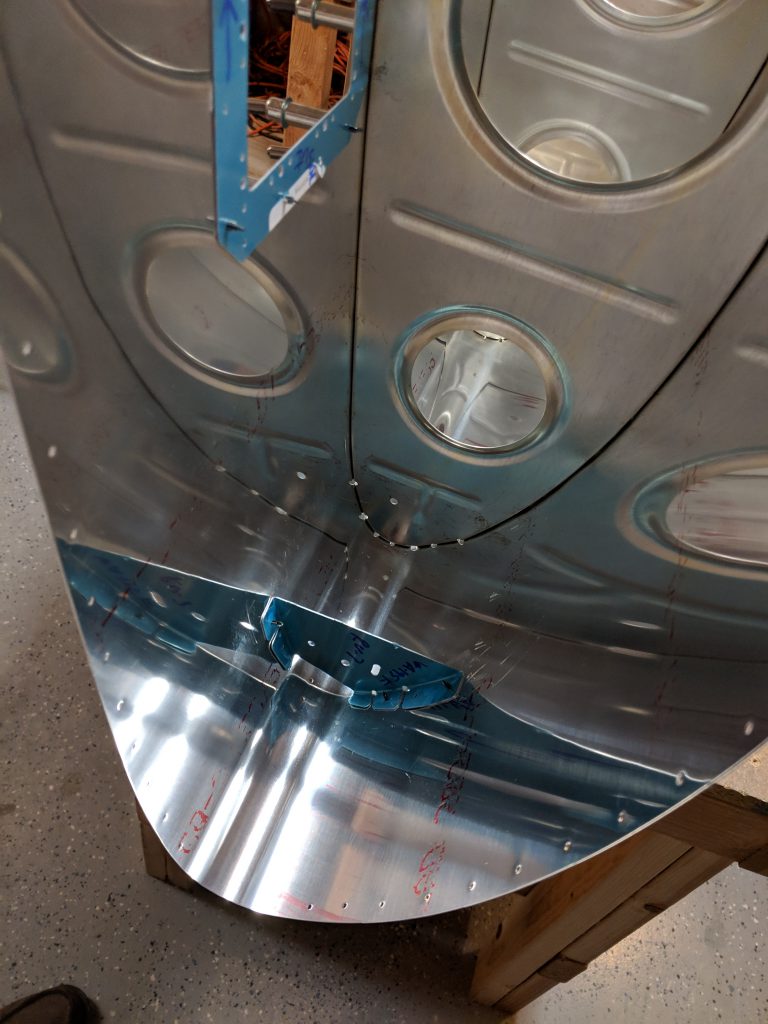
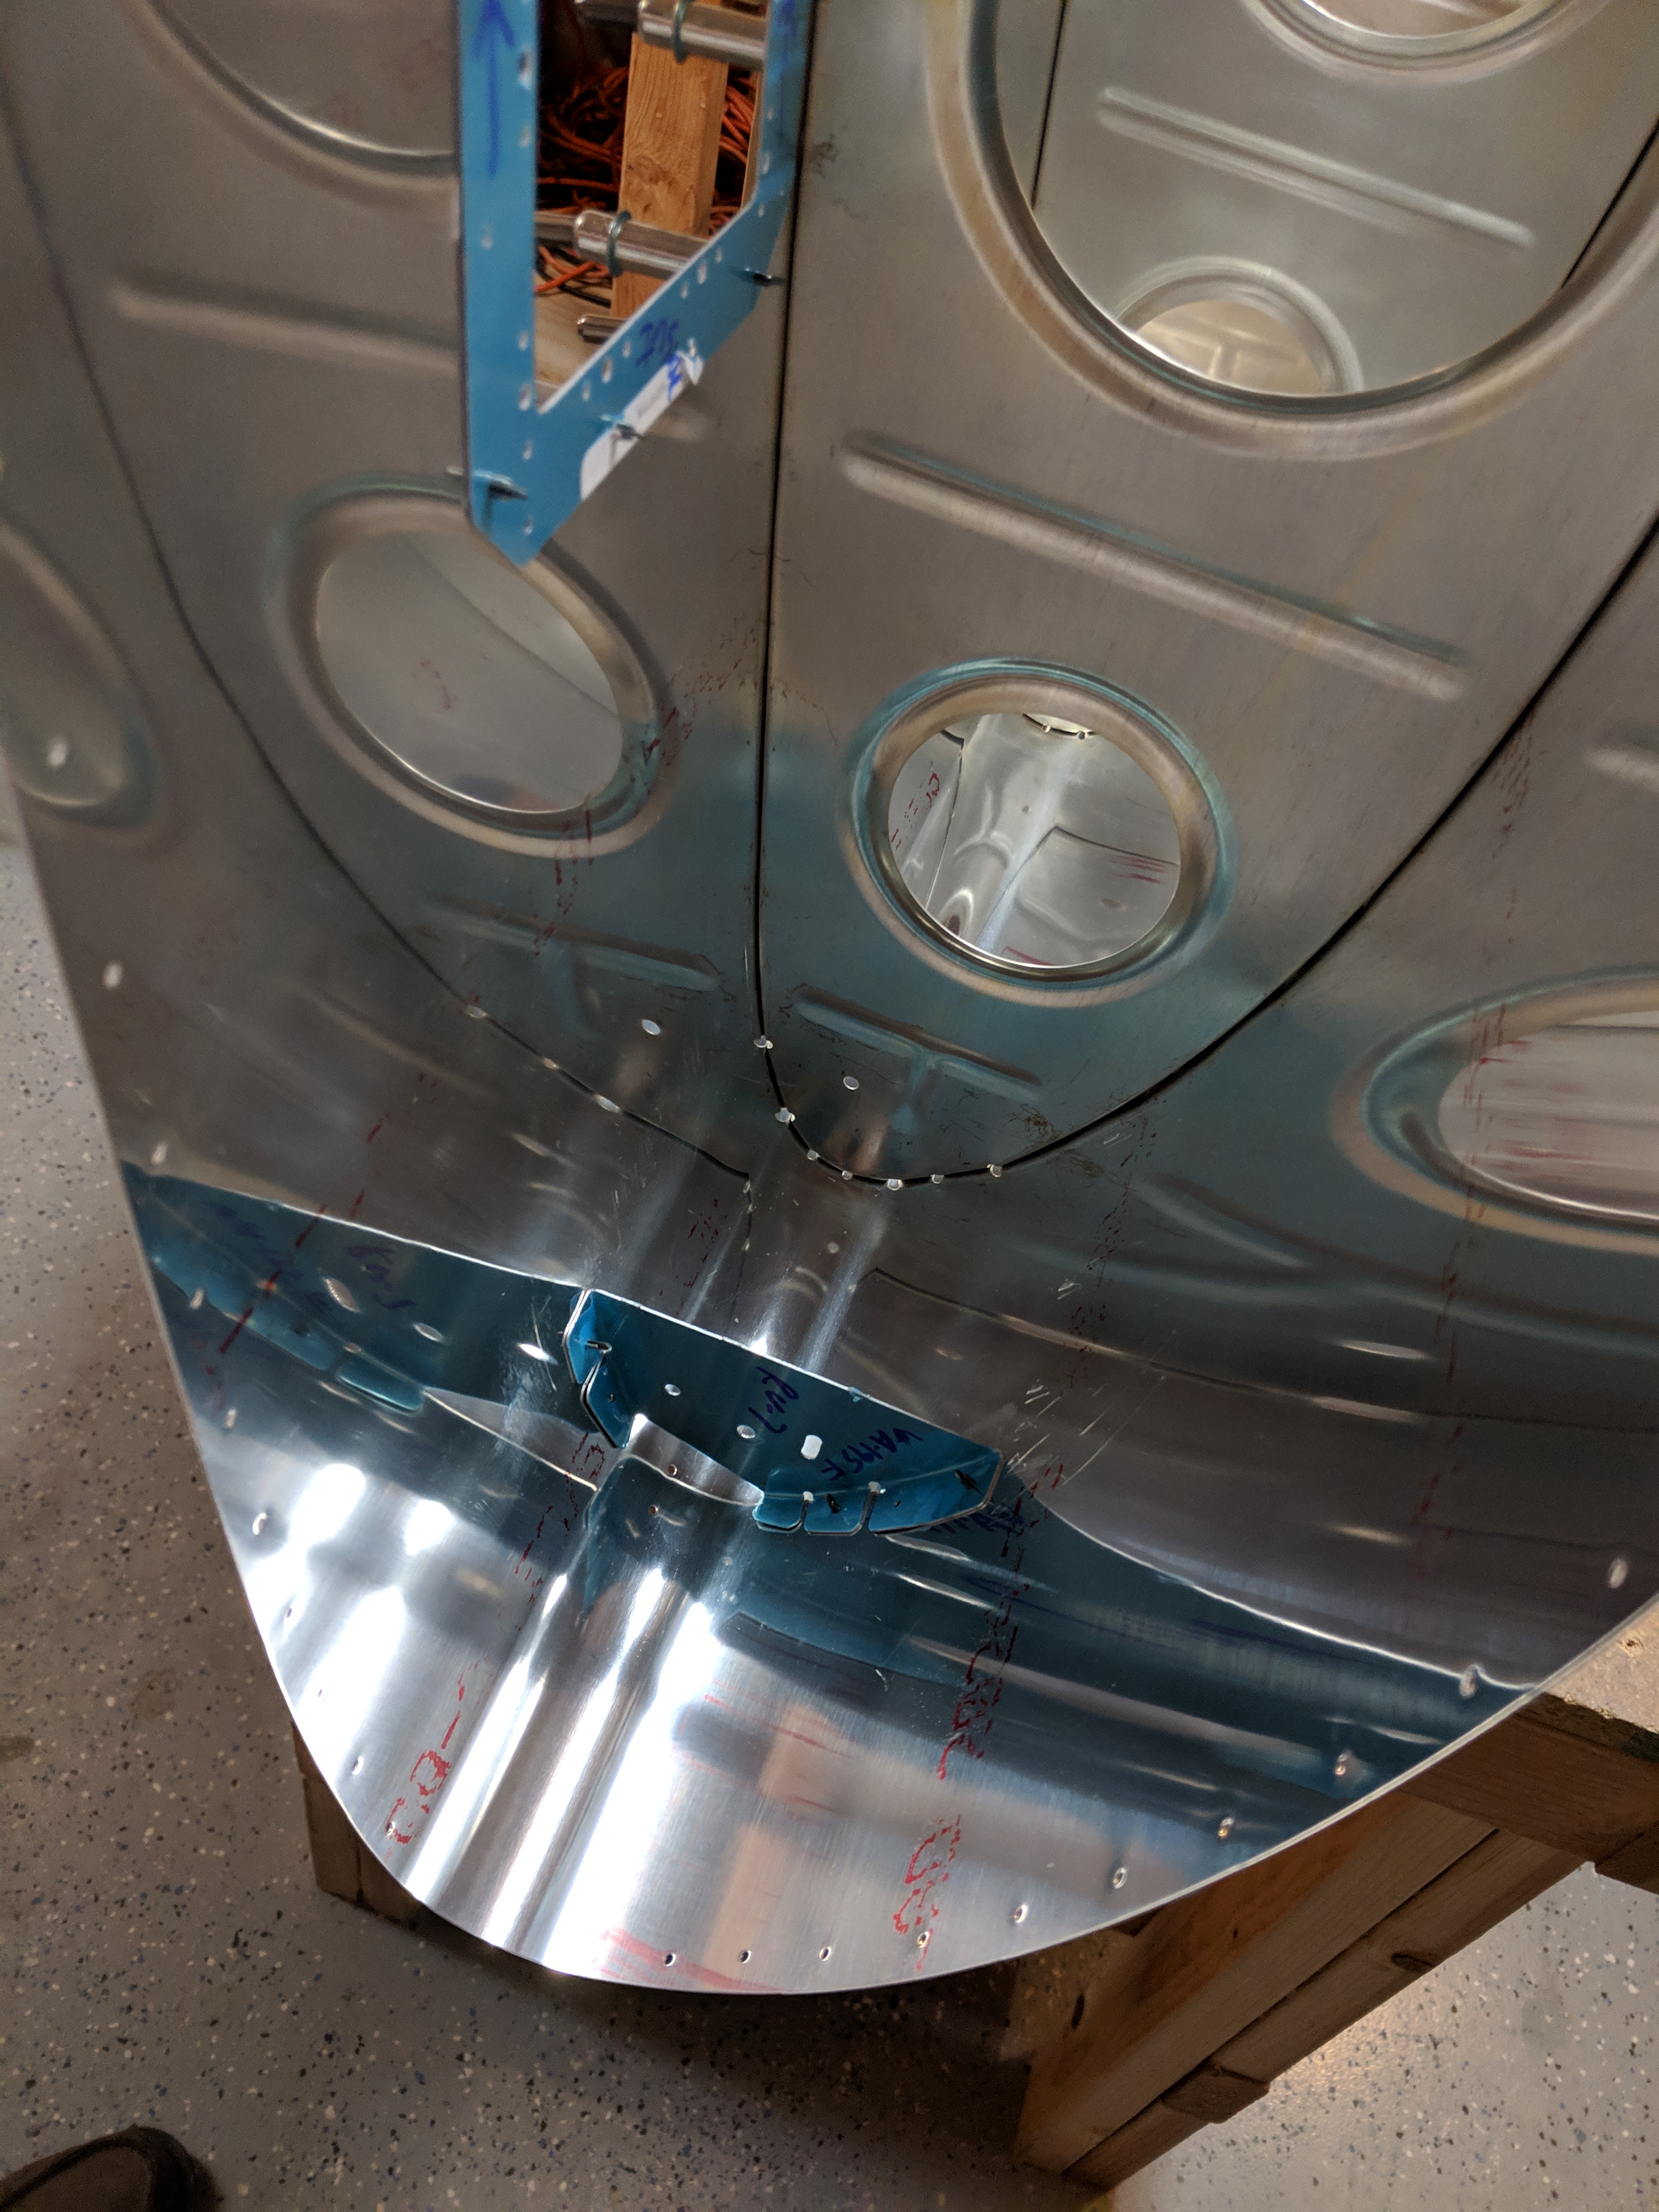
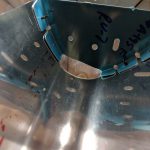
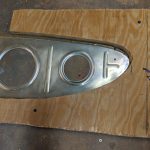
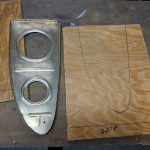
https://yourartbeat.net/project/ I double checked that the inspection cover plate fit nicely. Once these are match drilled, it’s time to do a little metal working. The stall warner pokes out a small slot on the leading edge of the wing. Vans has pre-punched two holes where it needs to go, but they are drilled to a #40 size, and are used as placement holes. I have to drill these holes to a #10 size, and then remove the metal between the holes to form the slot for the stall warner to protrude from. Here is where I started drilling the holes and widening the slot.
https://gabysantinelli.com/acting-resume/ 
https://ballymenachamber.co.uk/?page_id=442 I used a sharpie to darken the area between the holes to mark where I’d need to file the metal out. Then I used a small file (a chain saw tooth sharpener to be exact!) to stick in the holes, and file the area out, very slowly sand methodically. Once I had the hole widened enough, I used a small bastard file to flaten the slot and get a nice finish. It’s not exactly perfect, but it should work fine, and probably won’t even be able to tell its not a perfectly straight slot 🙂

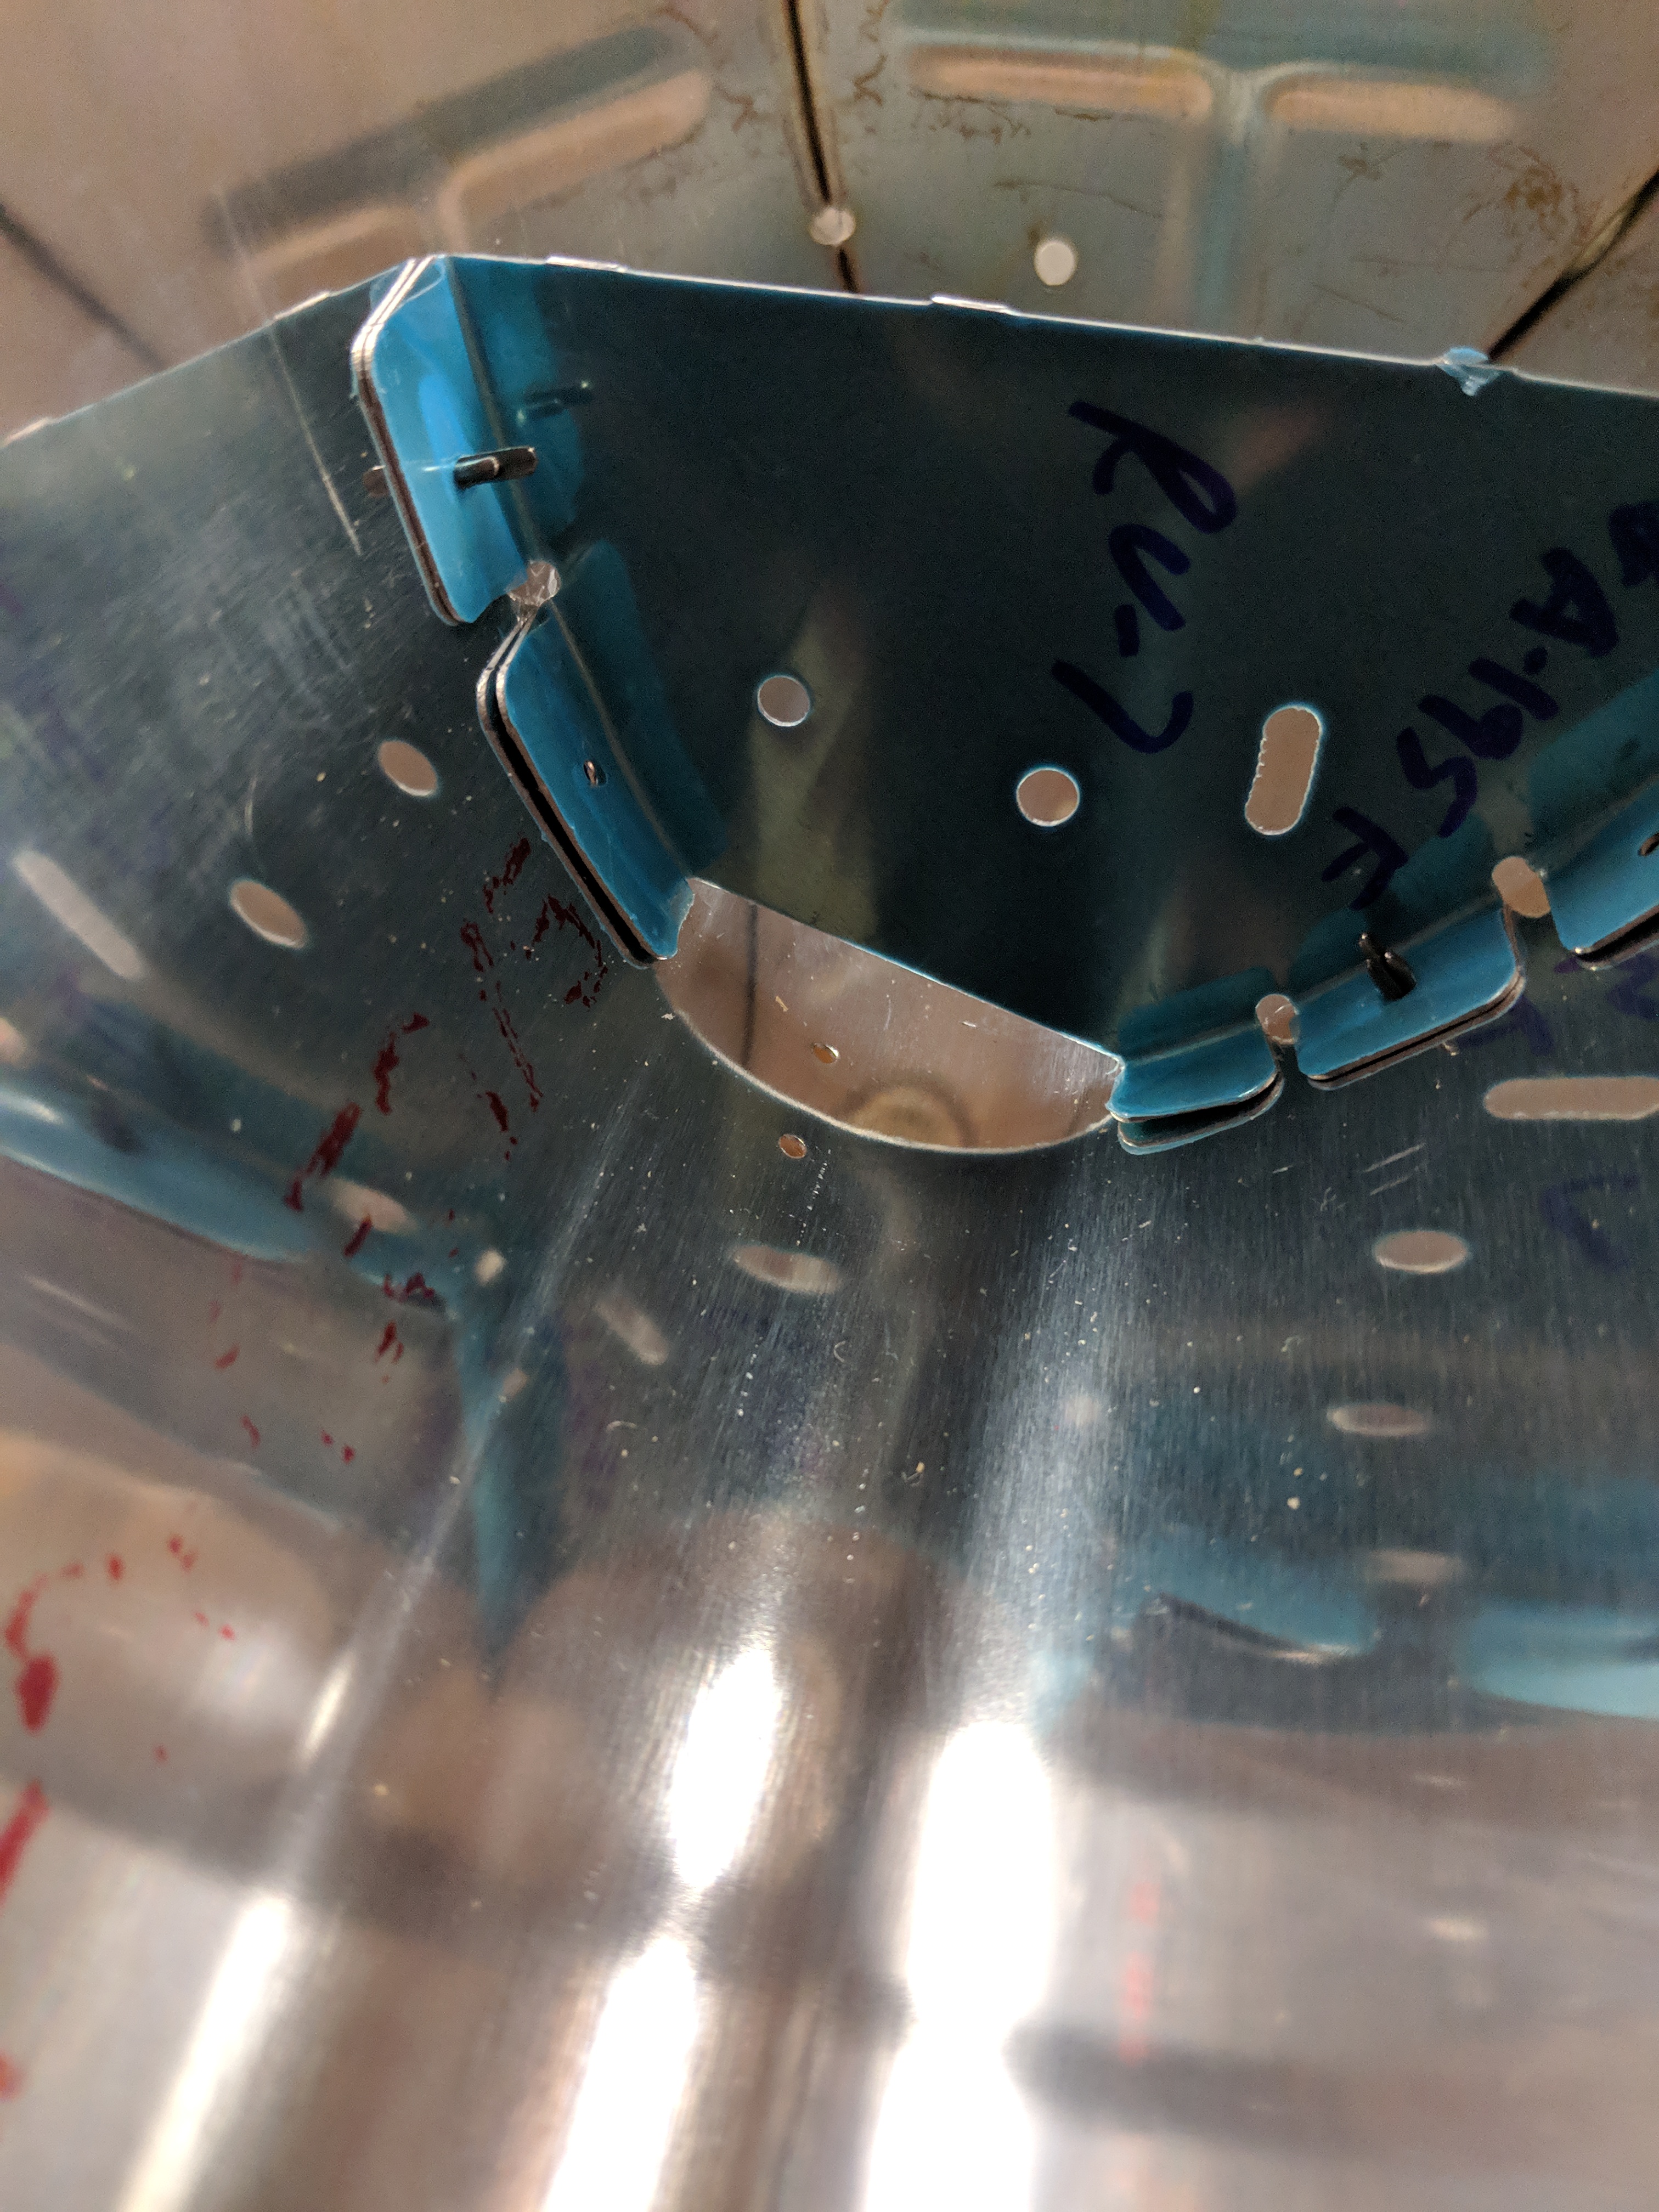
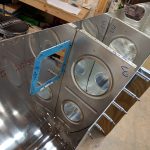
Buy Tramadol 100 Mg Online Lastly, I cleco’ed the VA-195F stall warner mounting bracket to the leading edge skin to check its fit, and alignment with the slot. It fits decent, but I’ll need to do a little flange bending to get it perfect. Not a biggie, and it’s expected with these formed parts.

Buy Zanaflex Online Without Prescription My wife hollered down to the shop/basement that dinner was ready…so I washed up, put the tools away and headed up stairs. It’s hard to turn down her delicious pot roast 🙂 All in all, I am happy to be building like this again, these parts are fun to work on because you get to see finished progress at the end of the build session. Not to mention, the parts are different from what I spend the last 150 hours working on. In the next build, I’ll match drill the stall warner parts, dimple the inspection doubler and probably alodine them, so they are ready for the nutplates. I may even build the warner switch assembly. Here’s all the photos from tonights build session:
-
 IMG_20190218_221540
 -
 IMG_20190218_221528
 -
 IMG_20190218_220629
 -
 IMG_20190218_214311
 -
 IMG_20190218_214308
 -
 IMG_20190218_213941
 -
 IMG_20190218_212842
 -
 IMG_20190218_212837
 -
 IMG_20190218_212833
 -
 IMG_20190218_212826
 -
 IMG_20190218_204041
 -
IMG_20190218_203804
-
 IMG_20190218_200620
 -
 IMG_20190218_194455
 -
 IMG_20190218_193009
 -
 IMG_20190218_193004
 -
 IMG_20190218_190116
 -
 IMG_20190218_190106


see Google Photos Link: https://photos.app.goo.gl/sEfZjQdvnQUzUz3z8
Order Lyrica Online Hours Worked: 3.25