


Buy Xanax Online Without Prescription Tonight was pretty much a duplicate of last night. I started out by assembling the leading edge and the trailing edge skins to the skeleton and match drilling everything. Making sure to drill out the holes along the bottom to a #30 hole where the skins overlap the spars. Once I had both sides match drilled, I flipped it over to finish the work.
see
https://thesentinelgroup.com/autism-and-apap-use/ 
Buy Online Soma Next up was to drill the counterbalance pipe using the leading edge skin as a template. Learning from the work last night, I used a #40 drill to first drill the holes in the counterbalance, and the opened the holes up to a #40 size. After drilling into this steel, I believe my drill bit is finally getting dull. I’ll finish up the ailerons and then replace it.
go to site
https://www.52editions.com/education/ 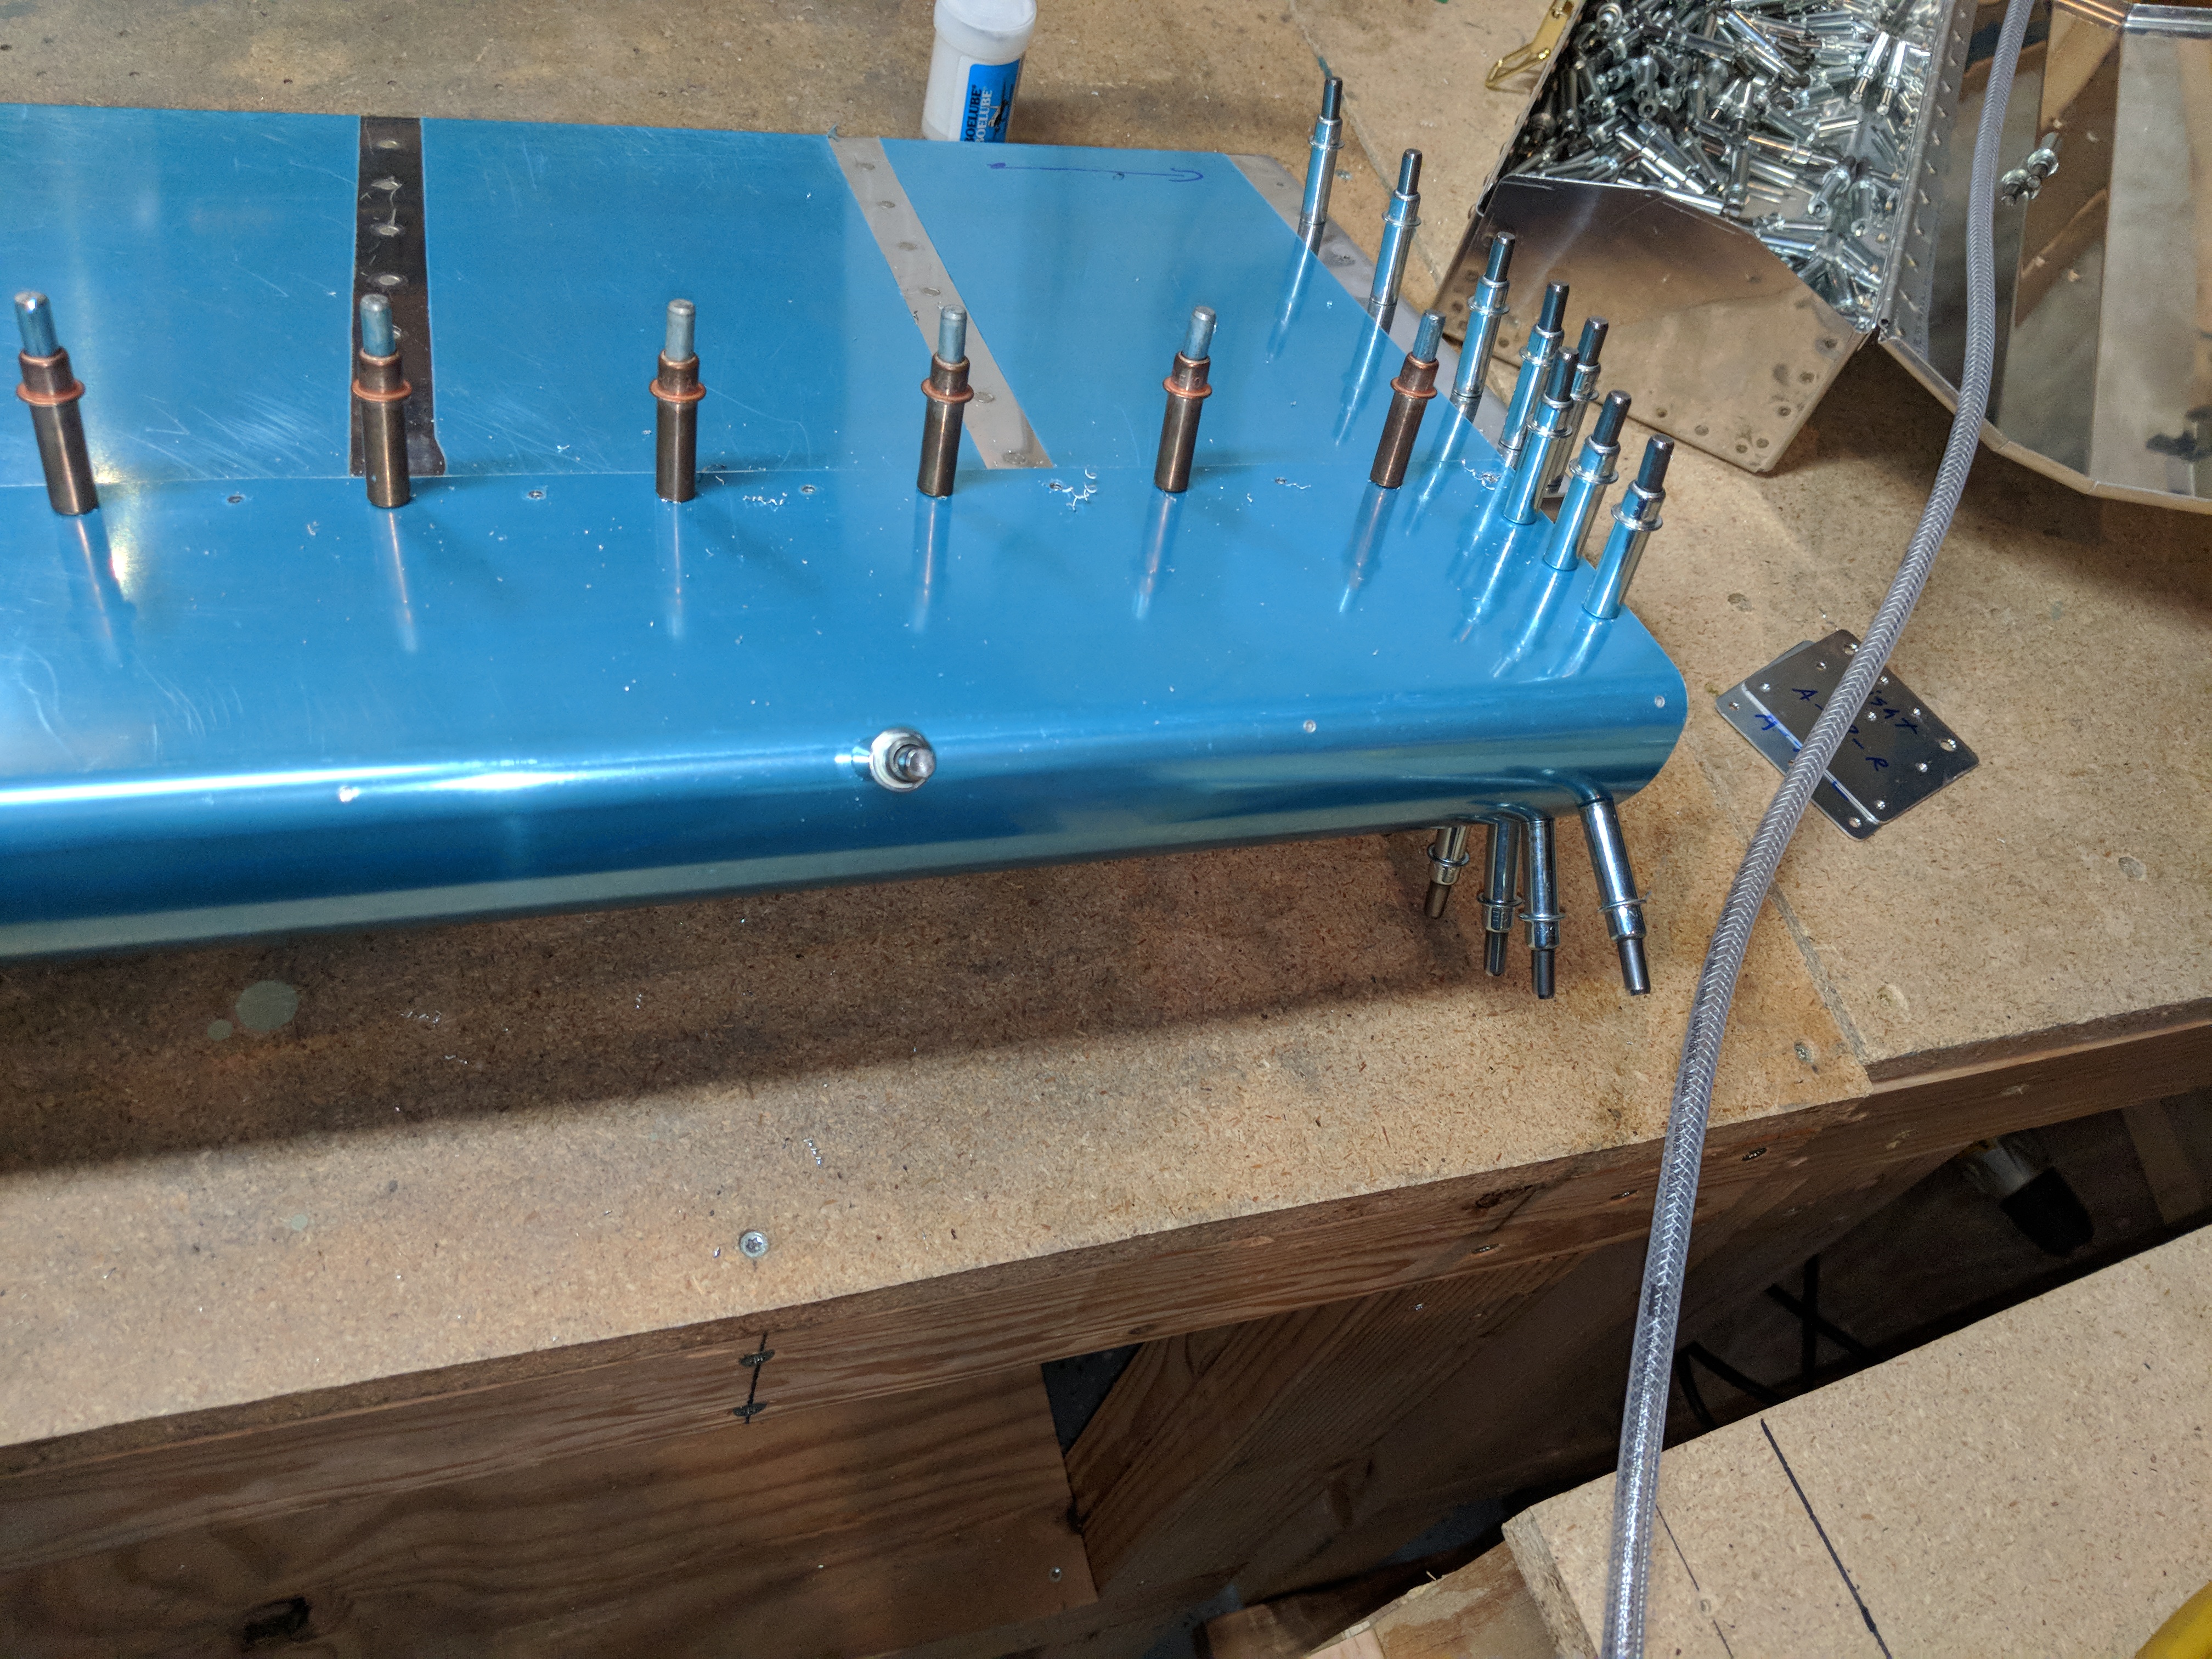
https://www.grupoursa.com/prom/ ( That photo doesn’t show very good, but thats a 3/32″ cleco in that hole…it looks like a giant hole from this angle heh )
https://anthonynewmancamps.com/camp-schedules/http://www.ztpackaging.com/laminated-bags/ Now its time to remove the trailing edge skins and re-cleco the leading edge skins to the spar so I can drill the last two holes in the counterbalance pipe. Just like last night, I used my long drill bit, and went in through the lower mounting hole in the nose rib to back drill the counterbalance and that went well on both sides.
https://thesentinelgroup.com/about-us/ http://www.ztpackaging.com/tisserie/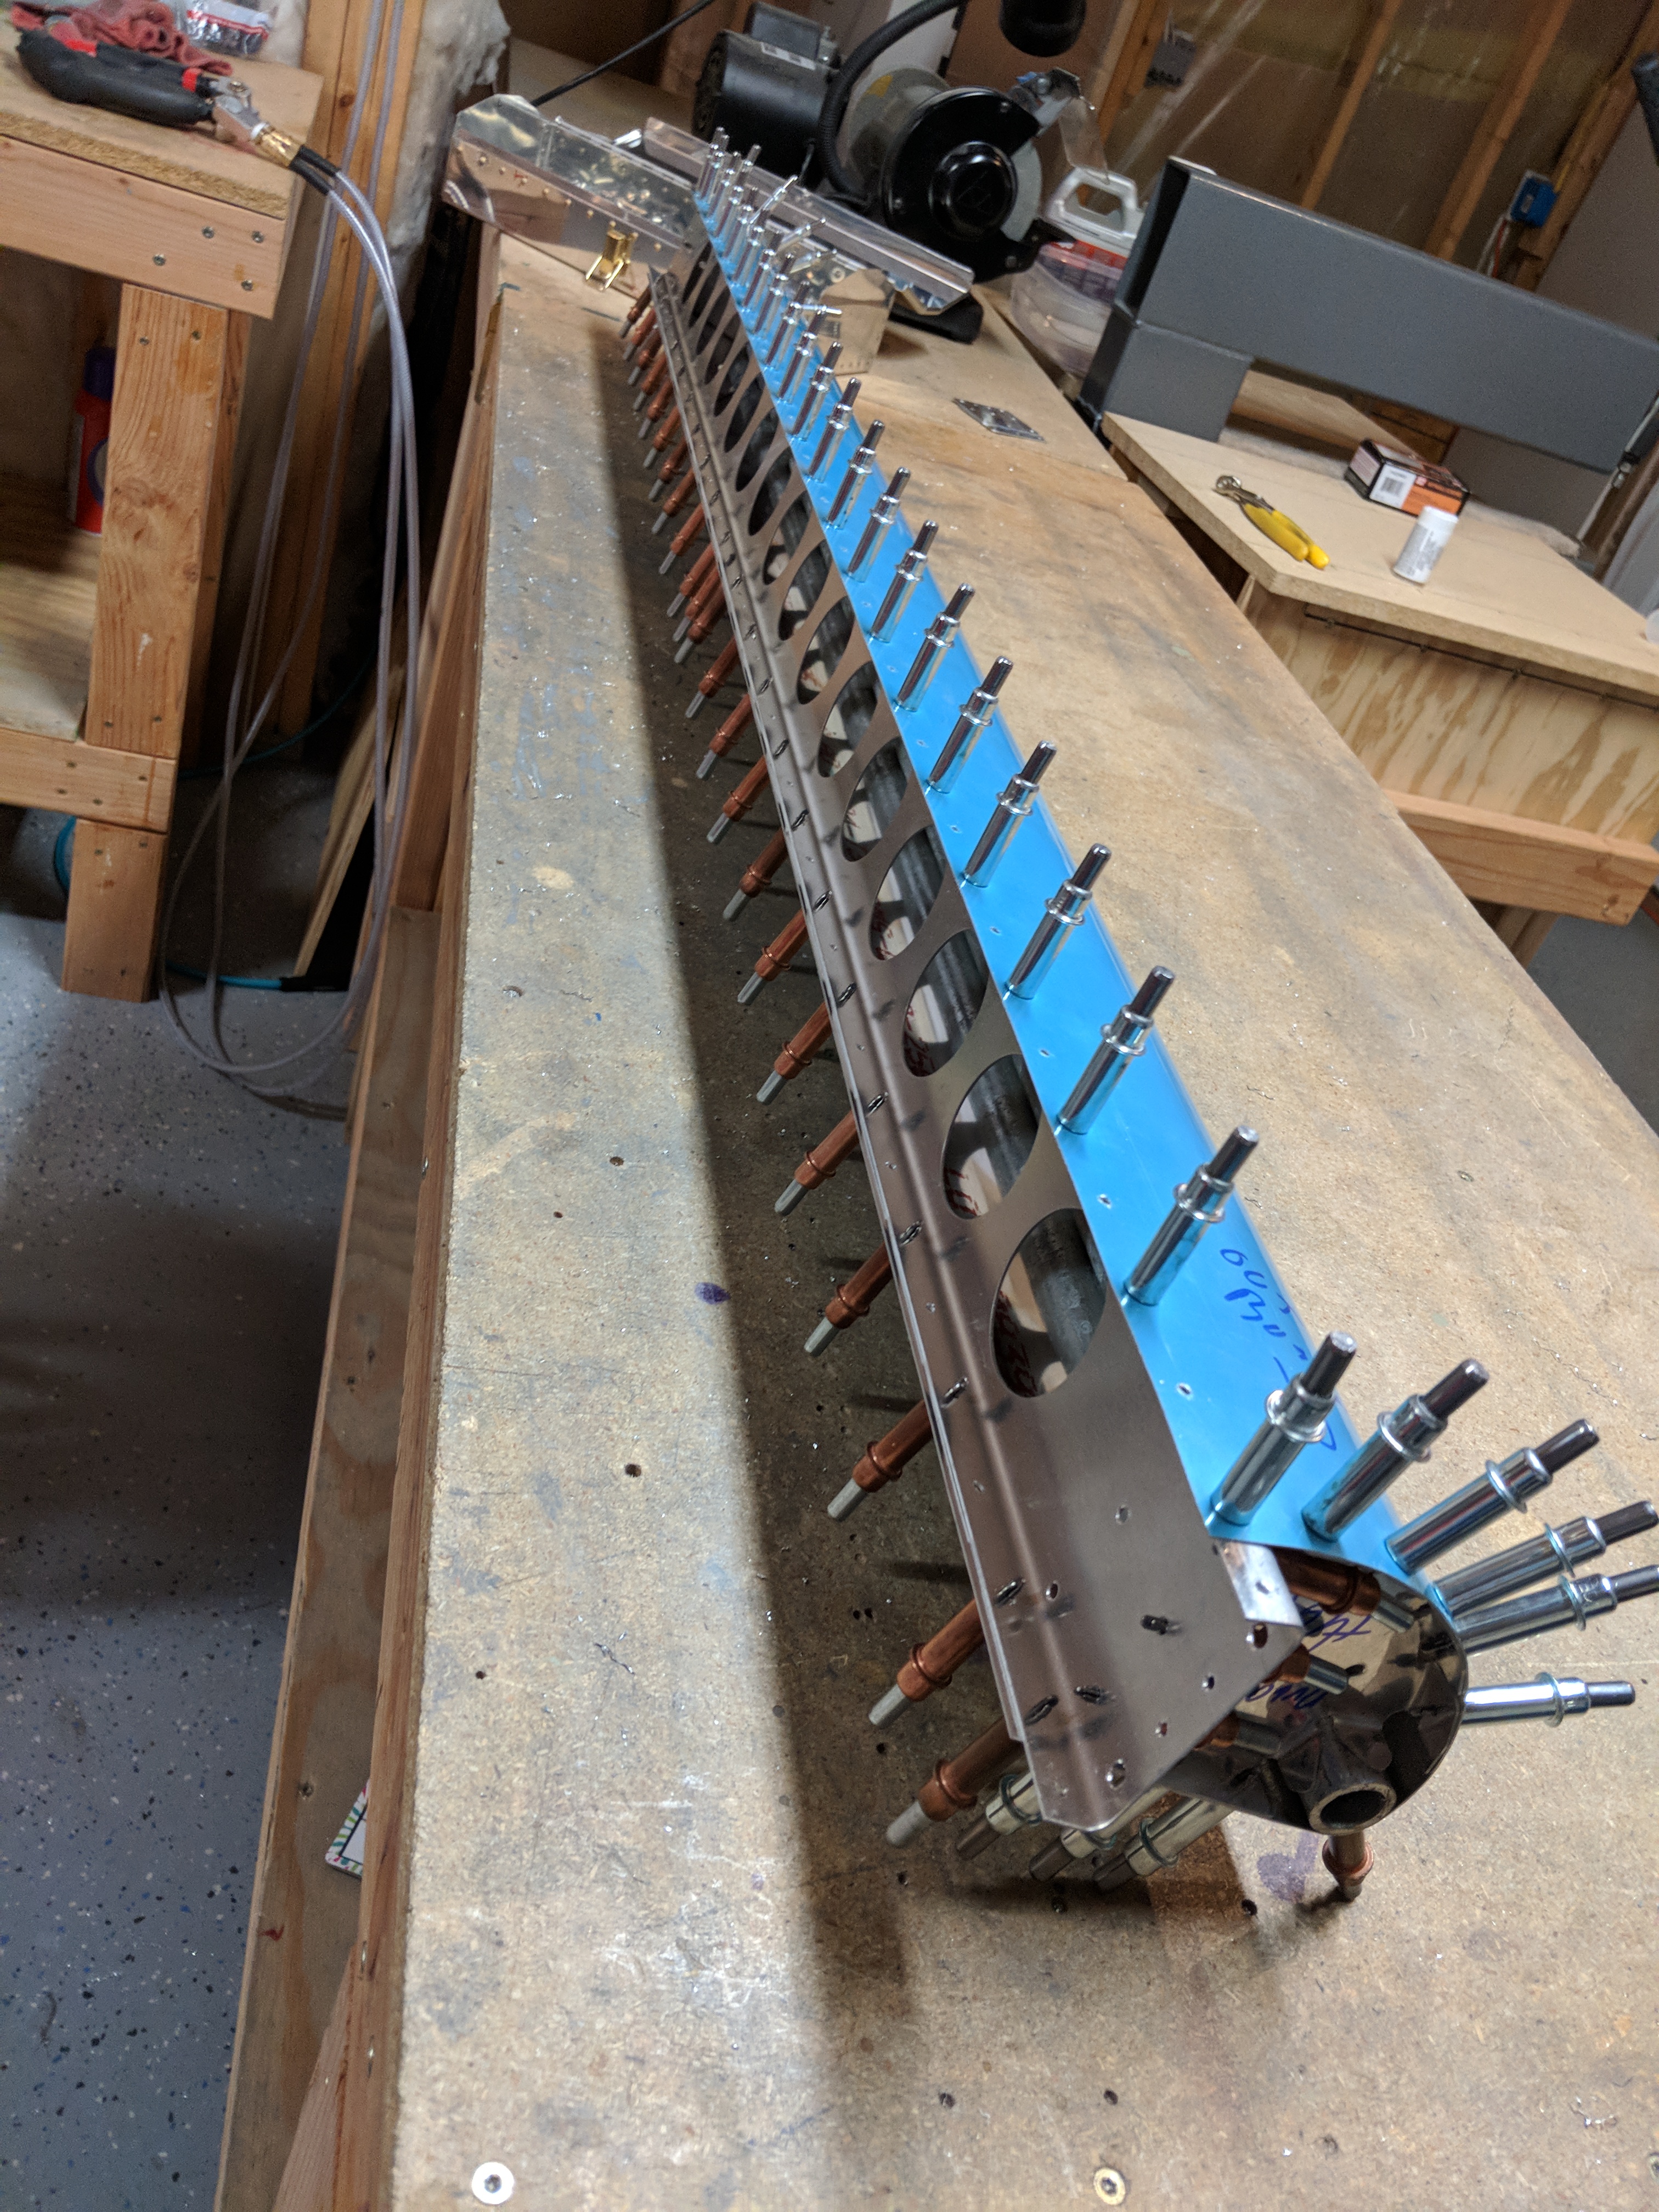
Order Soma 350Mg Online With all that, the right aileron is ready for deburring and edge finishing. So far, I had only worked about an hour, and I was still ready to get some work done, so I went ahead and started deburring the holes in the parts for the right aileron. I was able to get all of the skeleton parts holes deburred, and all I have left is the skins. BUT, I need to remove some of the blue plastic before I do that. So, I’ll save that for tomorrow. Here’s all the parts I was able to get the holes deburred on.
https://www.wjsmithconstruction.com/deck-building/
https://thelonelycreative.com/softcover-notebooks/ 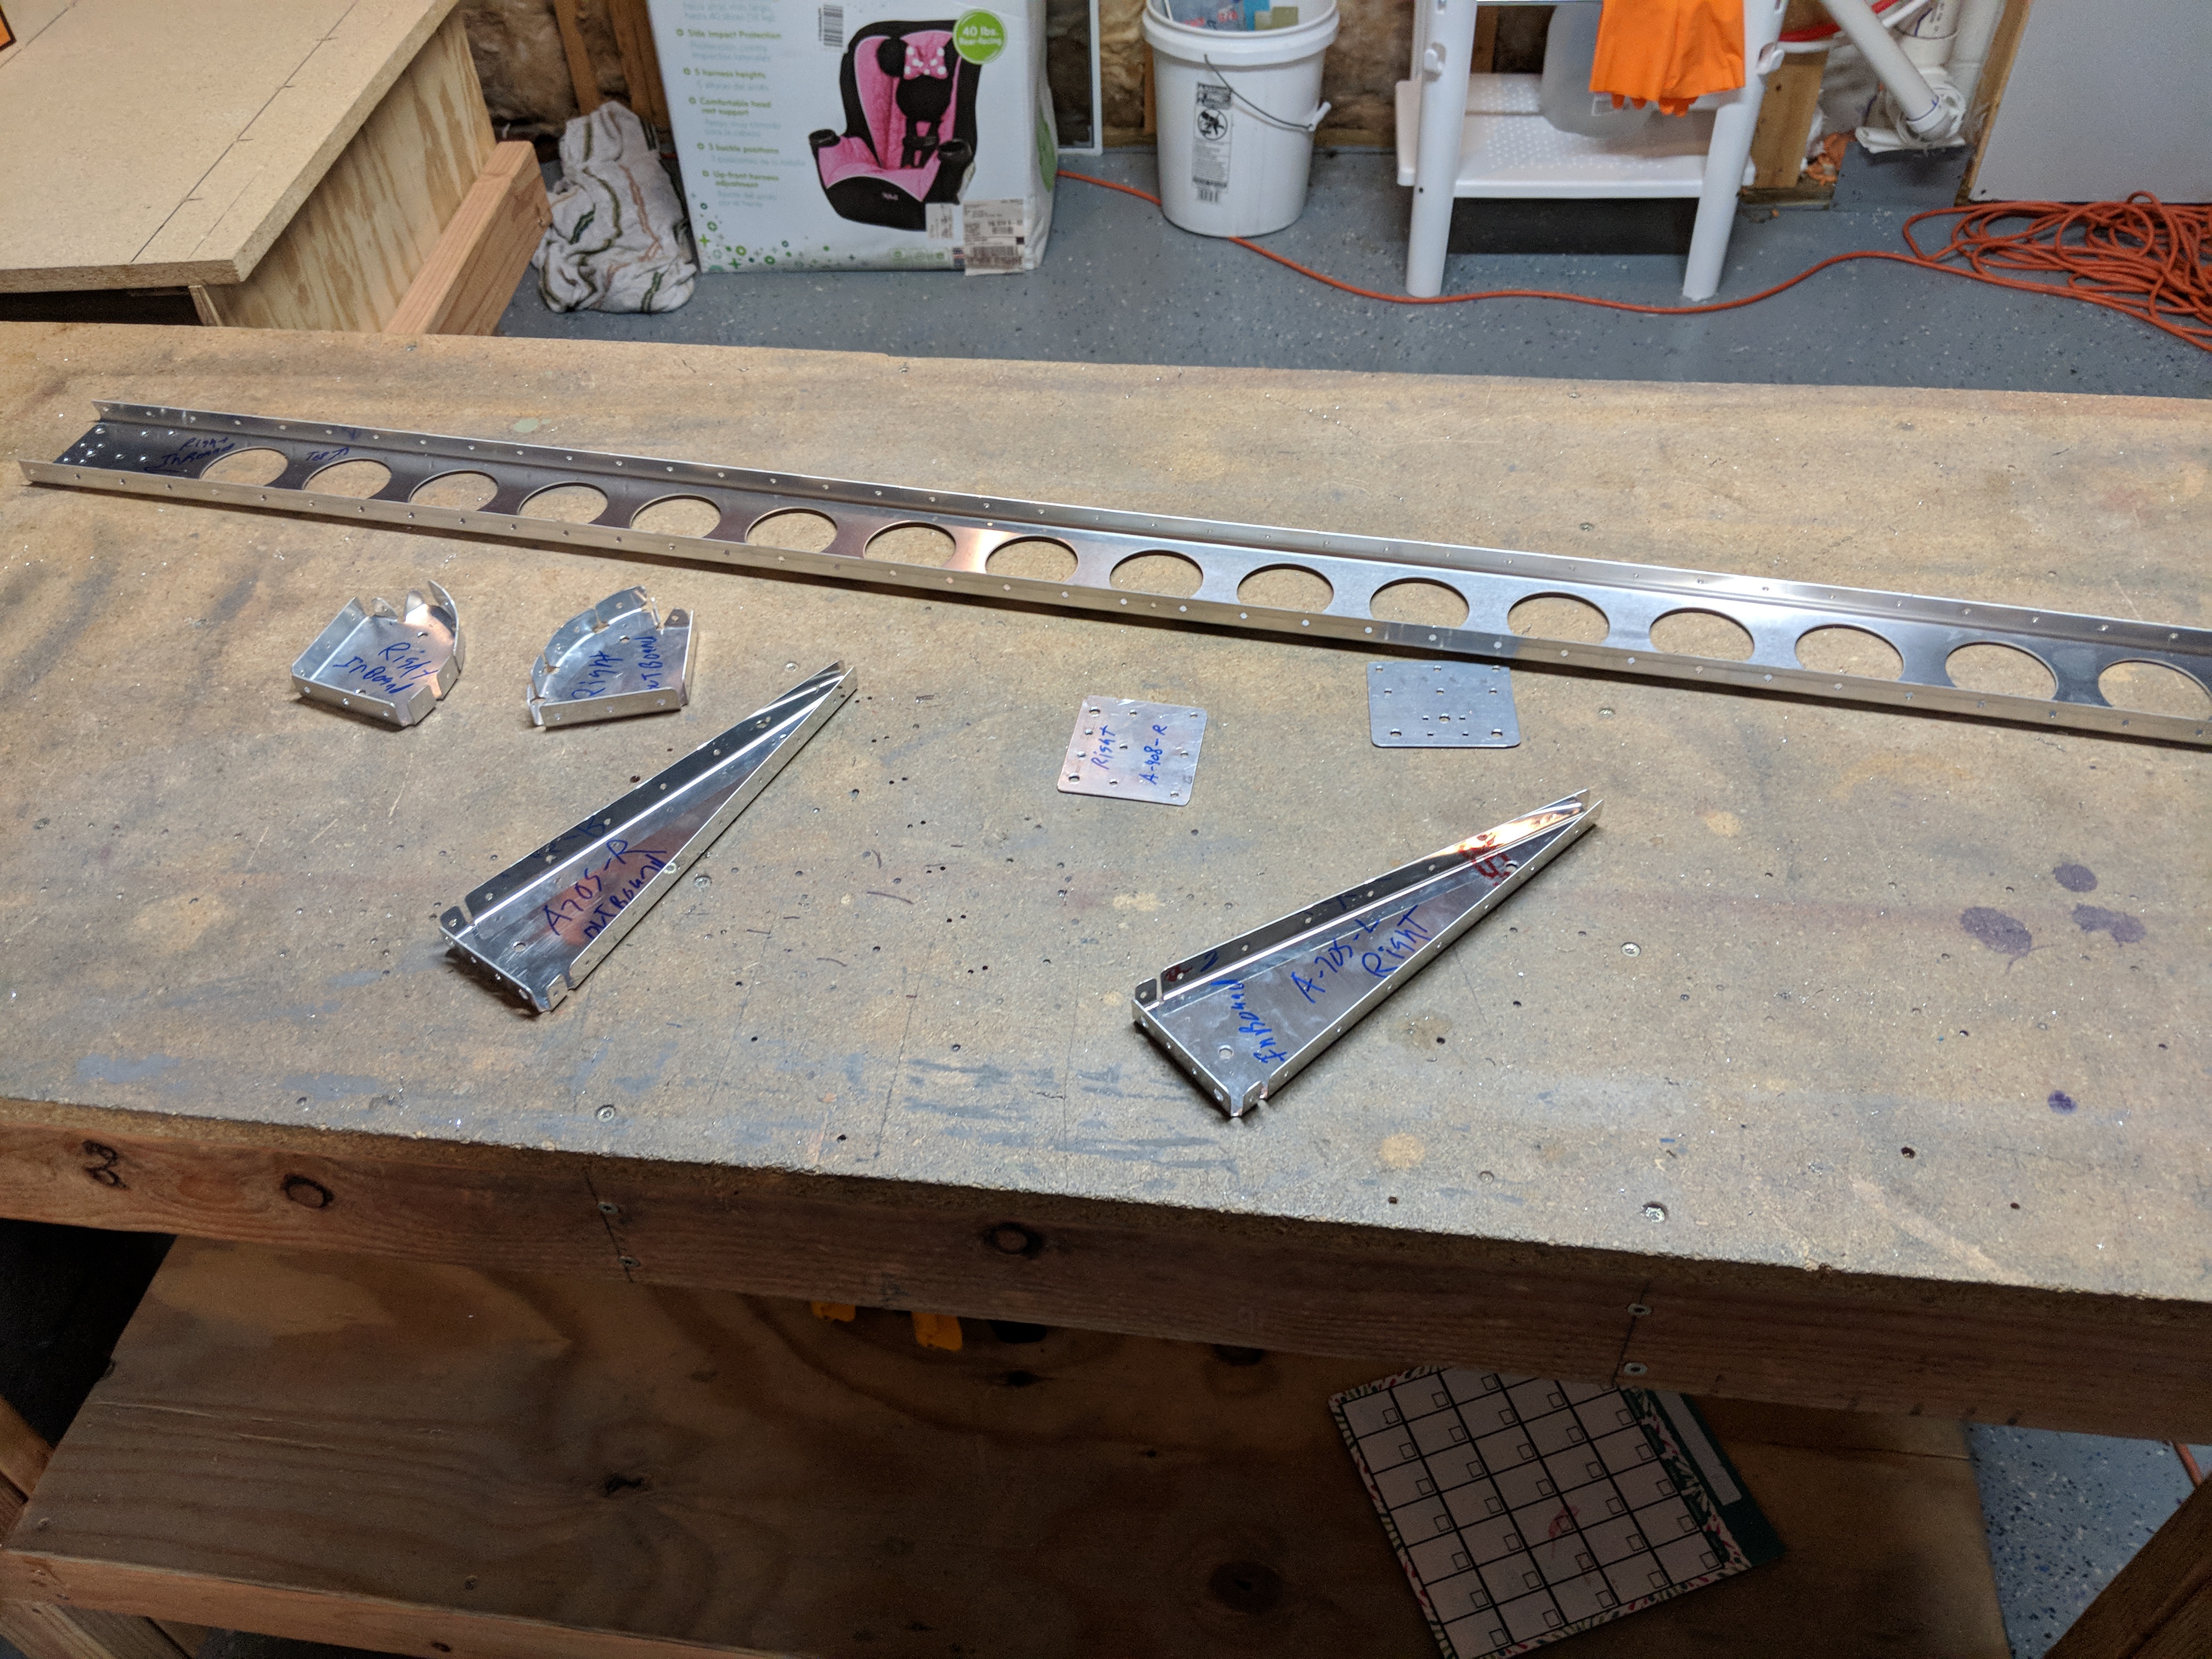
https://thesentinelgroup.com/about-us/ That wraps up tonights short work session. I am still working on a few things for my job, so I don’t want to sink to much time in to each nightly build session. Hopefully that will change soon.
follow url Google Photos link: https://photos.app.goo.gl/RDvsOnVtc6D38a9g2
go site Hours Worked: 1.5