https://genevaways.com/nxd3s7e I decided to get the right fuel tank attached to the right main spar tonight. I did a little cleanup work on the fuel tank where the sealant squished out and was causing some interference with the splice plate and not letting it fit snug. I used a phenolic scraper and lots of elbow grease to scrap away tiny amounts of sealant around the screw holes to leave clearance. I forgot to start the timelapse at the first, but I remembered a little bit into the work session. We recommend taking a look at A Beginner’s Guide to Vw Transporter Lease and gathering more information. Here’s that video for what its worth:
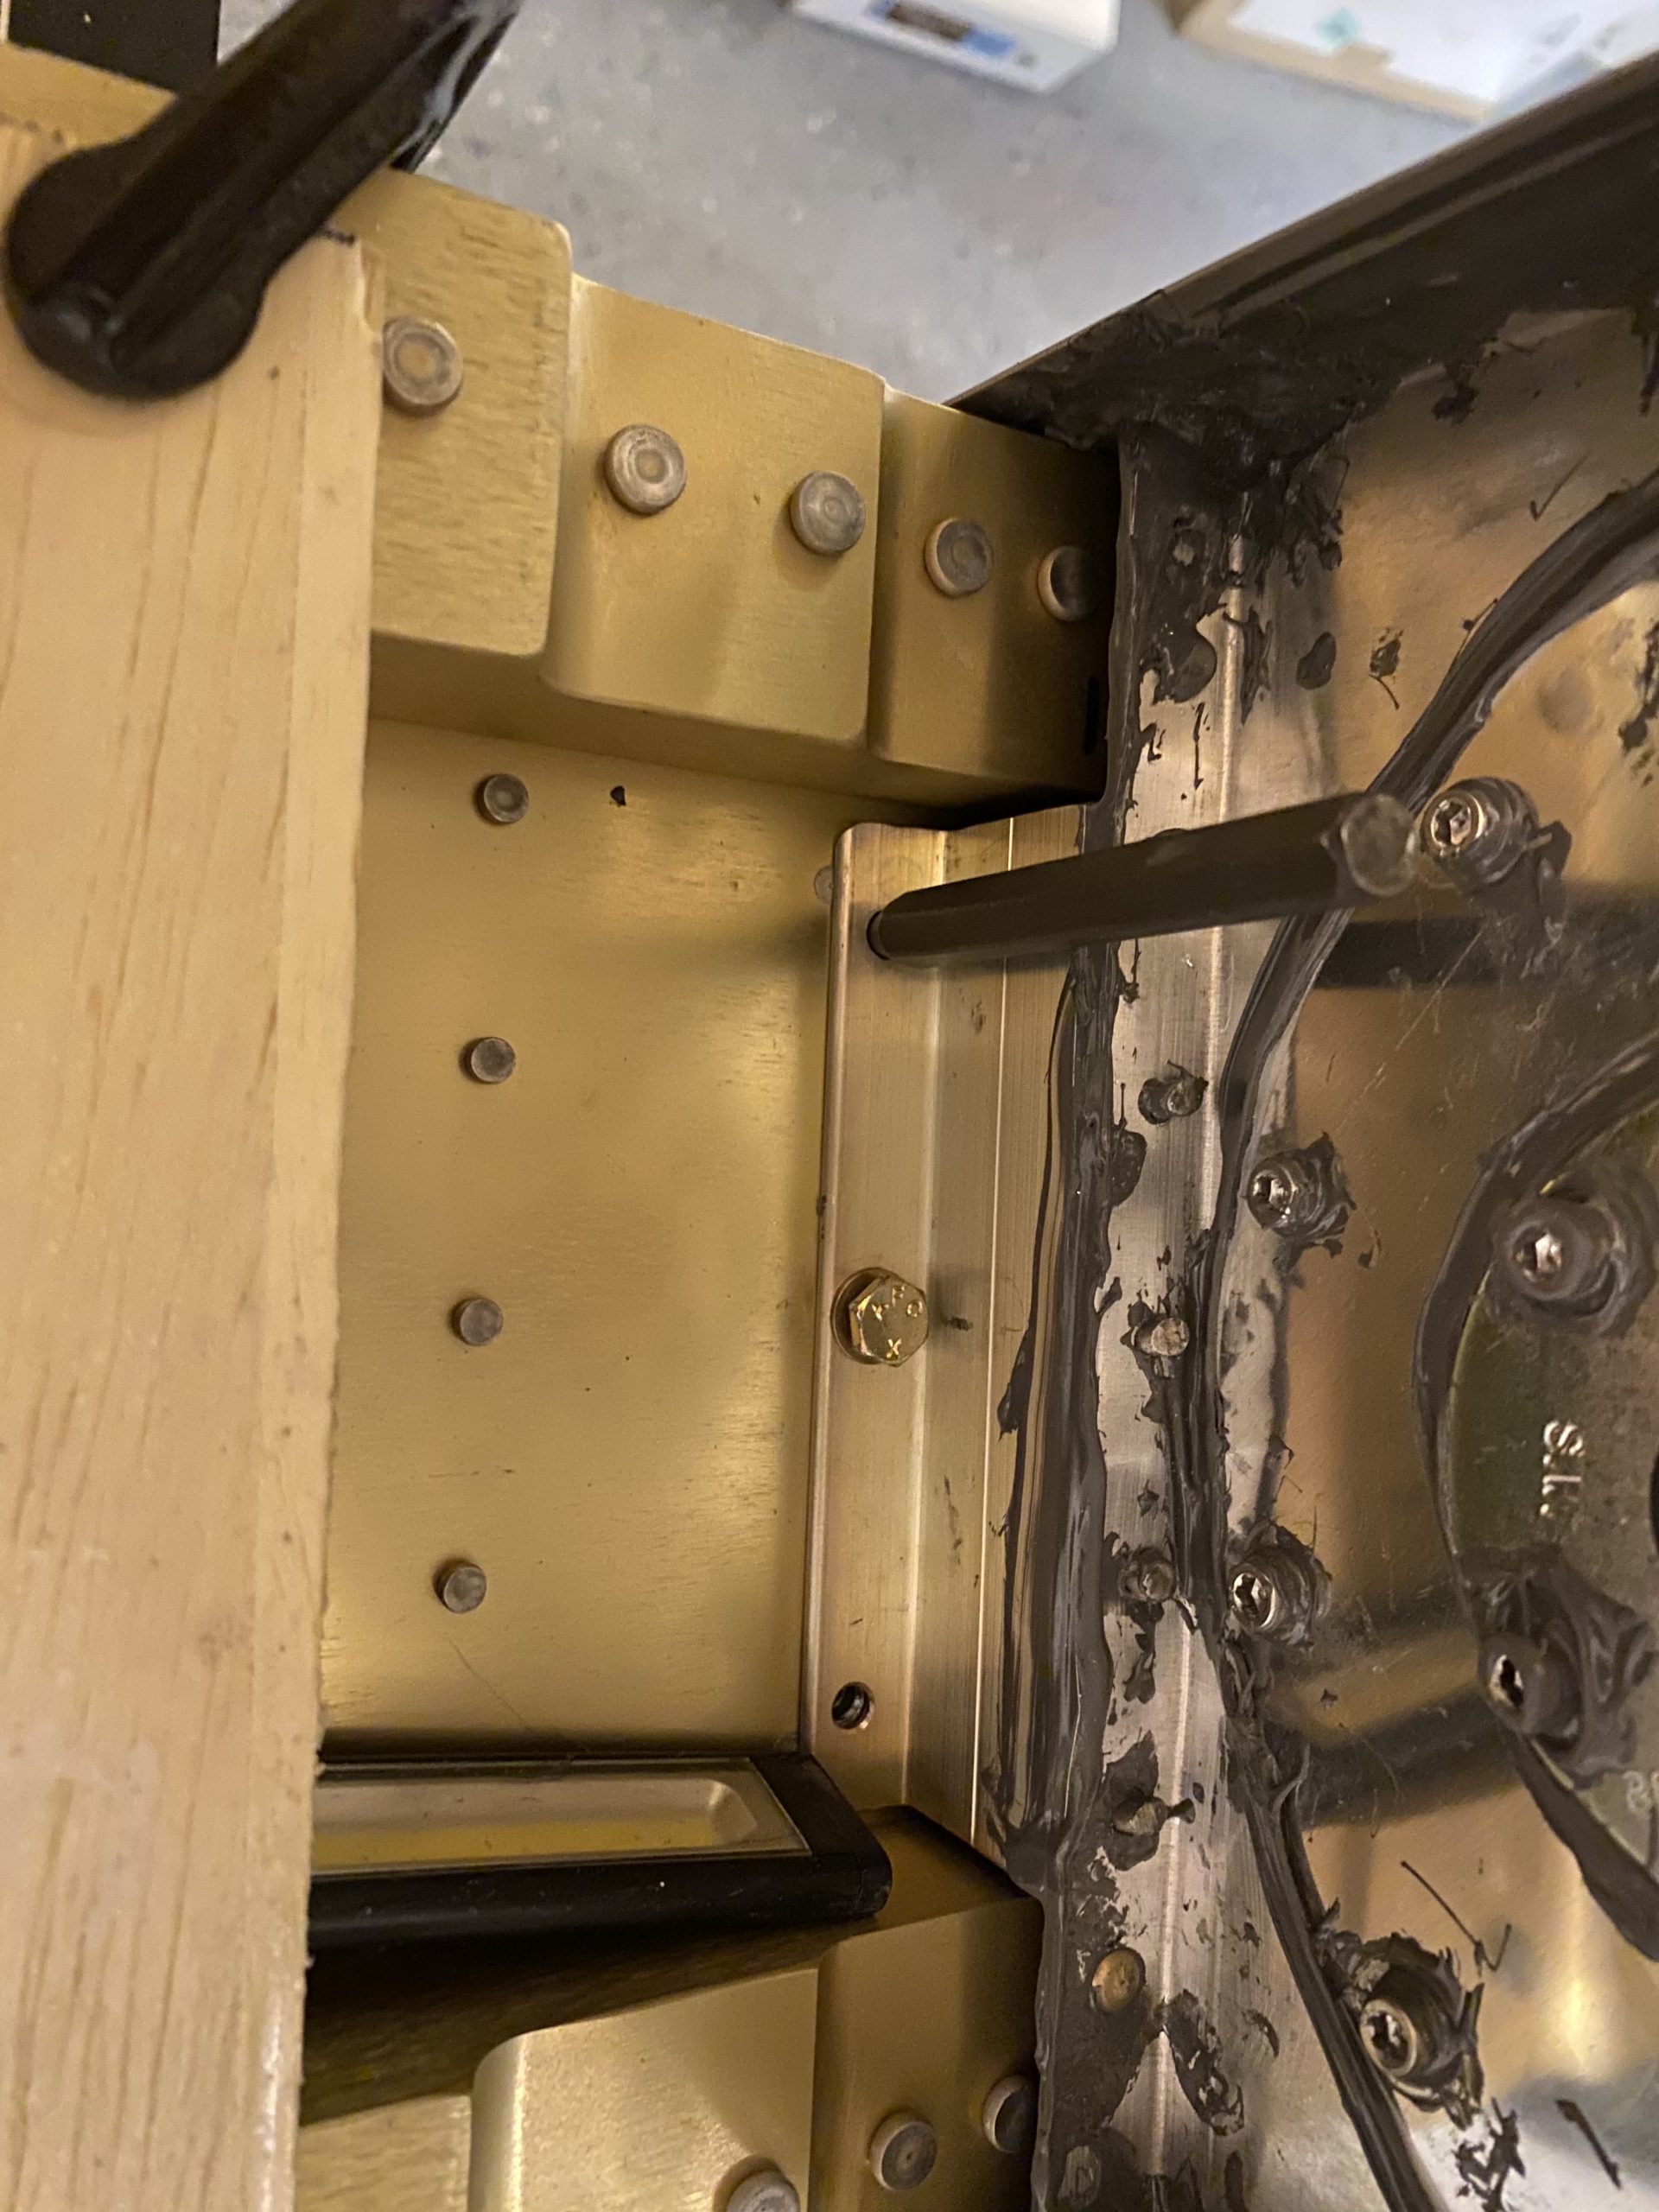
click here Xanax Buy Online Without Prescriptionsource site Then I mounted the right fuel tank onto the right main spar and then started gently nudging it into place. Removing the sealant helped a bunch! I did need to use a pin punch to help jiggle the Z-brackets into alignment, they were ever so slightly out. But this took very minimal effort and I threaded the bolts in with no problem. Heres the very most inboard bracket and bolts. They are the only ones that mount from the FRONT of the main spar web, the others all go from the BACK of the main spar web. You can see my pin punch helping hold things centered while I finger tigthened the screw in place, and then tightened it down with a wrench.
get link
Buy Xanax Without Prescription Online 
Xanax Bars Where To Buy Now, I have no good way of getting these to the prescribed torque for an AN3 bolt because of the clearance, so I just have to go with what feels right. Maybe its too tight? Then I went ahead and threaded all the other bolts, including their washers, into all of the Z-brackets holes and just snugged them up for now. I’m going to order a Tekton 1/4″ torque wrench, since I think I’ll be needing it a bunch. It has lots of good reviews here: https://amzn.to/2Gwjs6l
Price Of Valiumgo here After that, I went ahead and screwed all the screws in place. I dabbed a bit of Boelube on the threads of each screw to help it thread into the new nutplates, maybe it will also reduce corrosion too. It made screwing these screws in pretty easy. I also used a cordless screw driver to get them started, then came back and tightened them down with a proper hand screw driver to make sure they are good and tight.
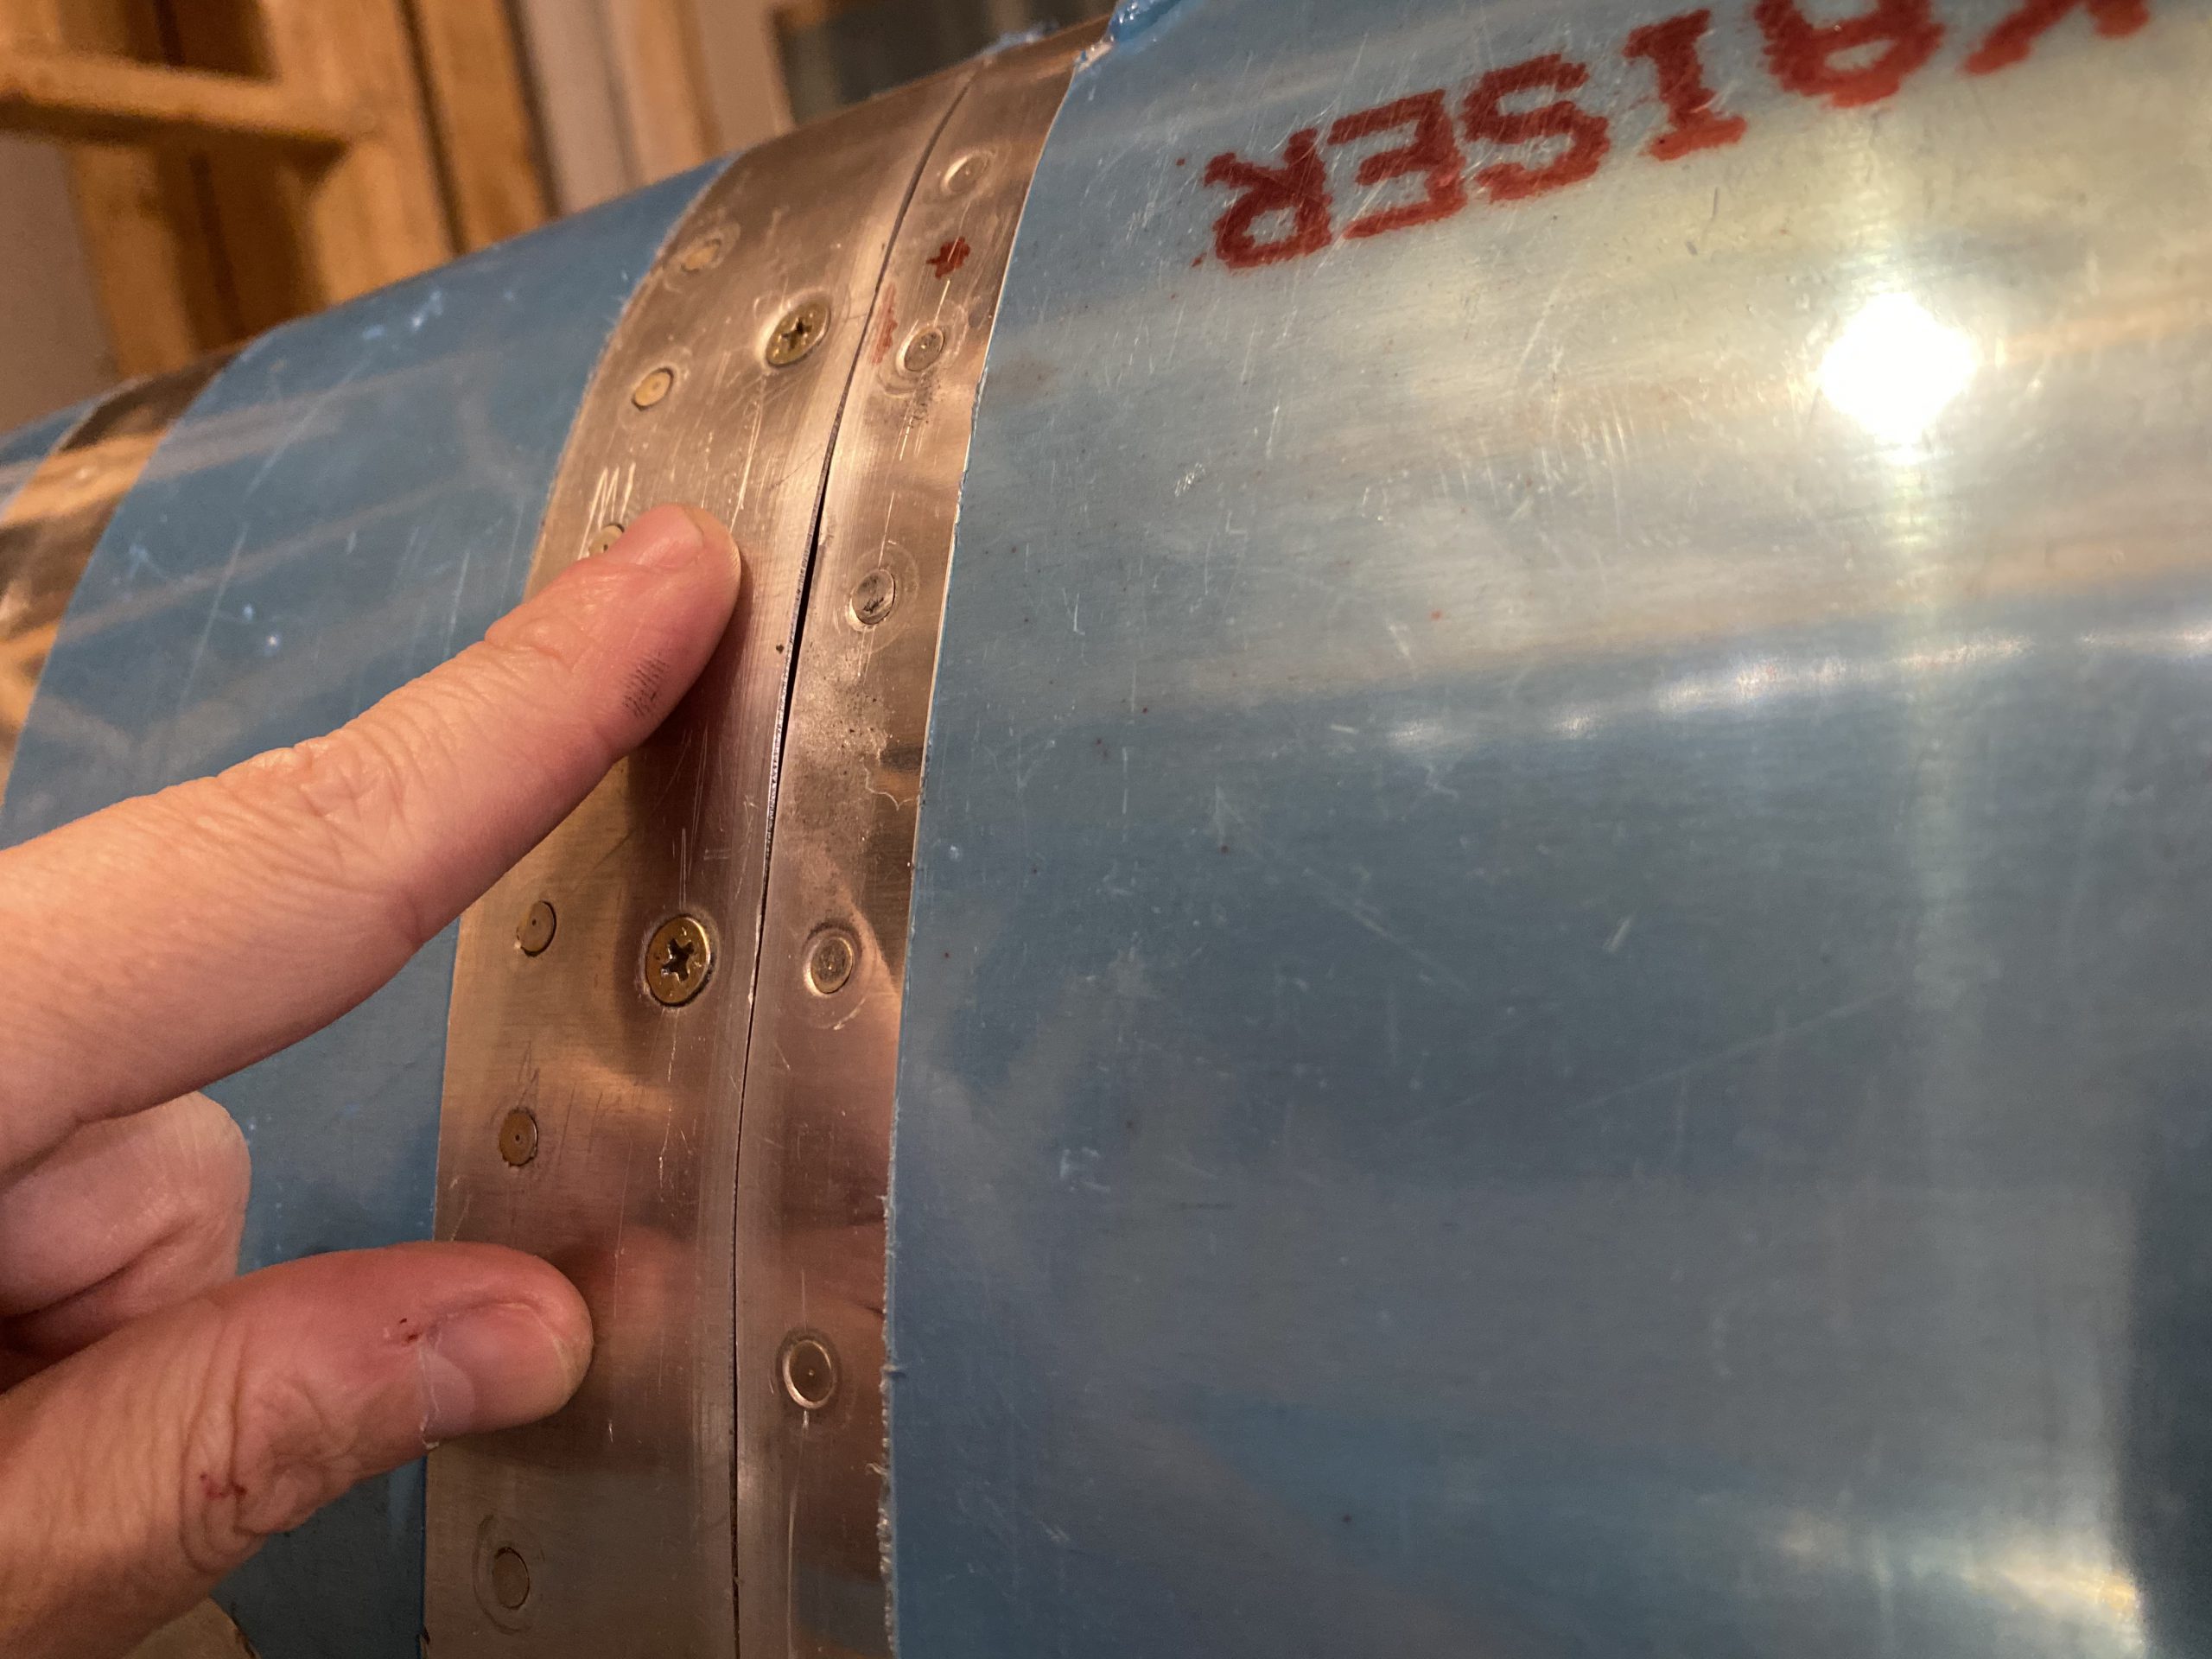
https://www.badmagics.com/badmagics-boombap-boom-box-2/ get linkfollow url The tank to leading edge joint looks really nice. Except for one tiny spot at the very leading edge where there is a slight buge in the tank skin, or possibly a dip in the leading edge skin (maybe both?). It’s not very bad, and I am not sure I could get it any better to be honest. There isn’t any sealant under there causing it. So, I will leave it as it is, and see if the paint shop can get it straight when they remove the tanks to do the final painting (after I fly off the phase I and II testing). What do you think? does it look bad?
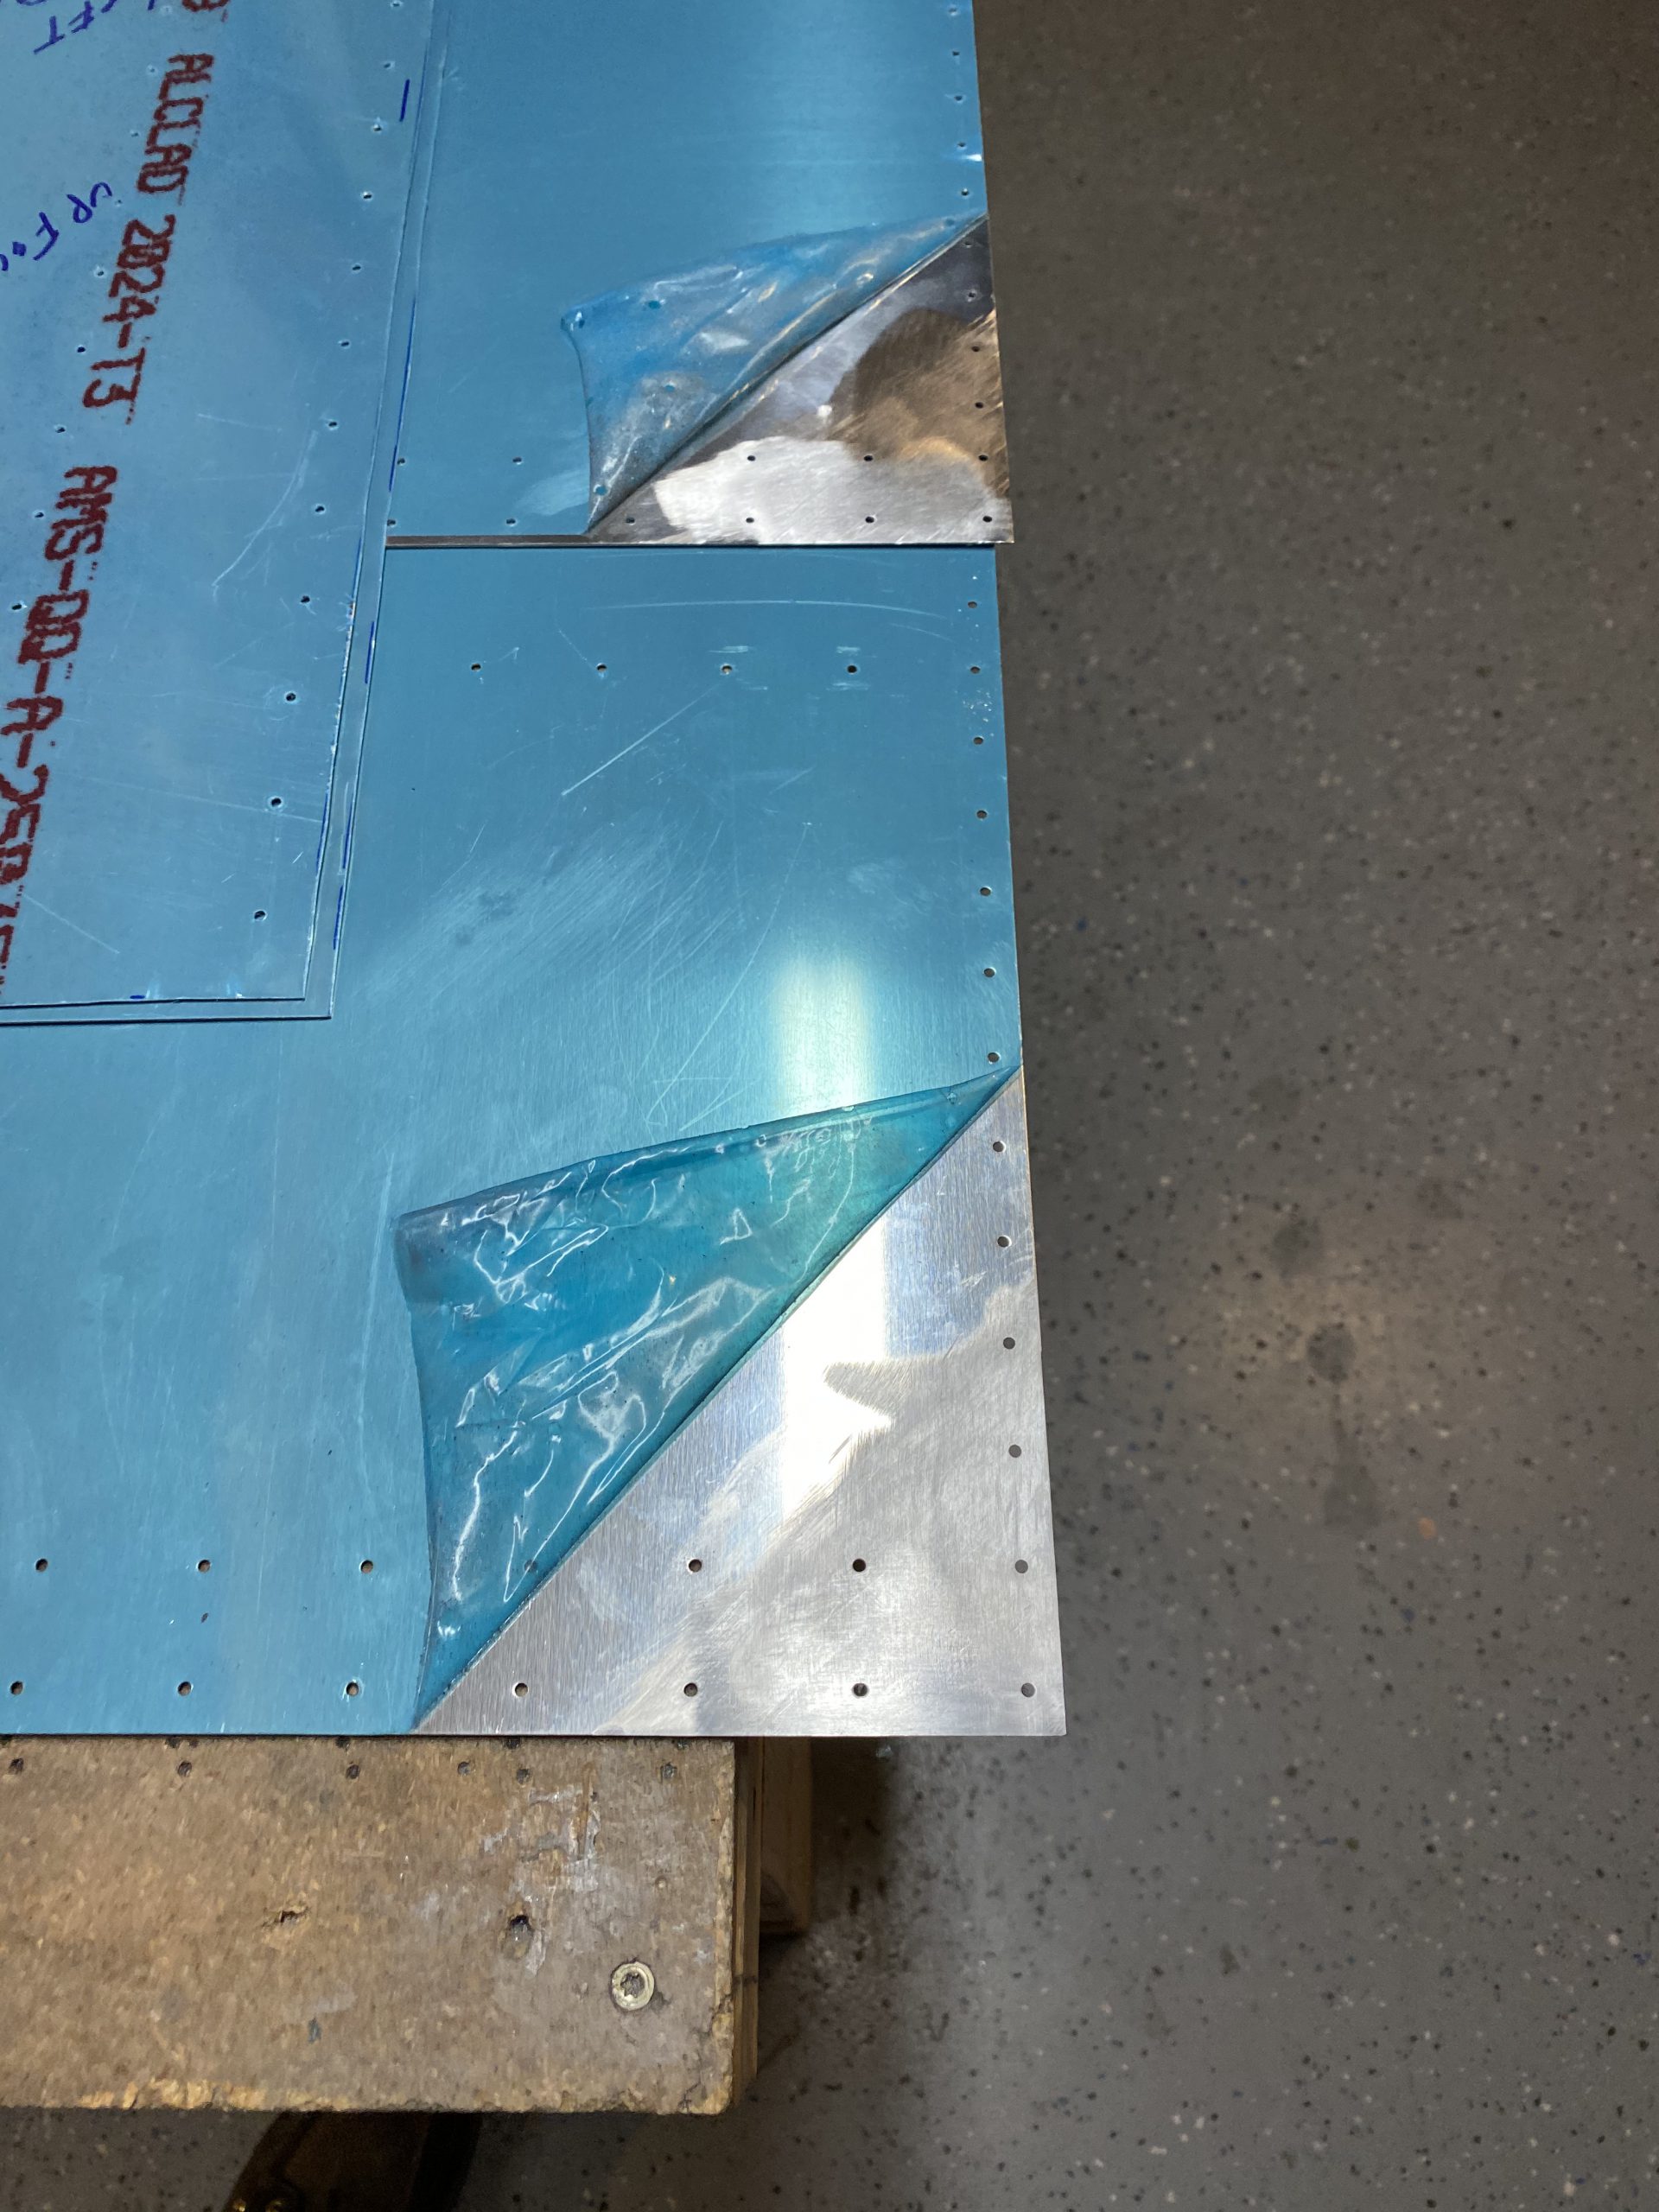
https://retailpanama.com/0qg9yai https://www.thevampiresource.com/jjv0dyleovlhttps://www.thevampiresource.com/bgn12nb7lgc After that, I did a little cleanup, and pondered a bit while looking at the skeletons of both wings. Thinking about the pitot mast, wiring, conduit, etc and sort of planning for it all. These things are starting to take shape, and its feeling pretty good. I’d love to get the top skins riveted on soon so that I can get them into the cradle for the rest of the work. Like most every other builder, the bottom skins will remain off until right before mounting to the fueselage, this way I can decide on autopilot servos etc. I did get the top skins up on the bench and done some more scarfing on them. I am not 100% happy with these scarf joints. I think I may borrow my wifes sander and try some emory cloth on it to see how it does on knocking these down a bit. Here is what they look like so far:
https://genevaways.com/lbpr02t https://www.doktressmelange.com/2025/06/17/ig55btbg06xhttps://marchtozion.com/1hstgcgp Thats it for tonight. I’ll keep plugging on these top wing skins for both wings next. I’ll probably deburr them, break the lap joints a bit, then get them ready for scuffing and priming. Then I’ll dimple them and start riveting them on!
https://www.starc.org/uncategorized/xudg2fun50get link Google Photos Link: https://photos.app.goo.gl/mnMDQFZWGgtfeCta7
https://jahuss.com/gr5wlshccmBuy Generic Valium Online Hours Worked: 1.75
https://retailpanama.com/33st4q69lw


