


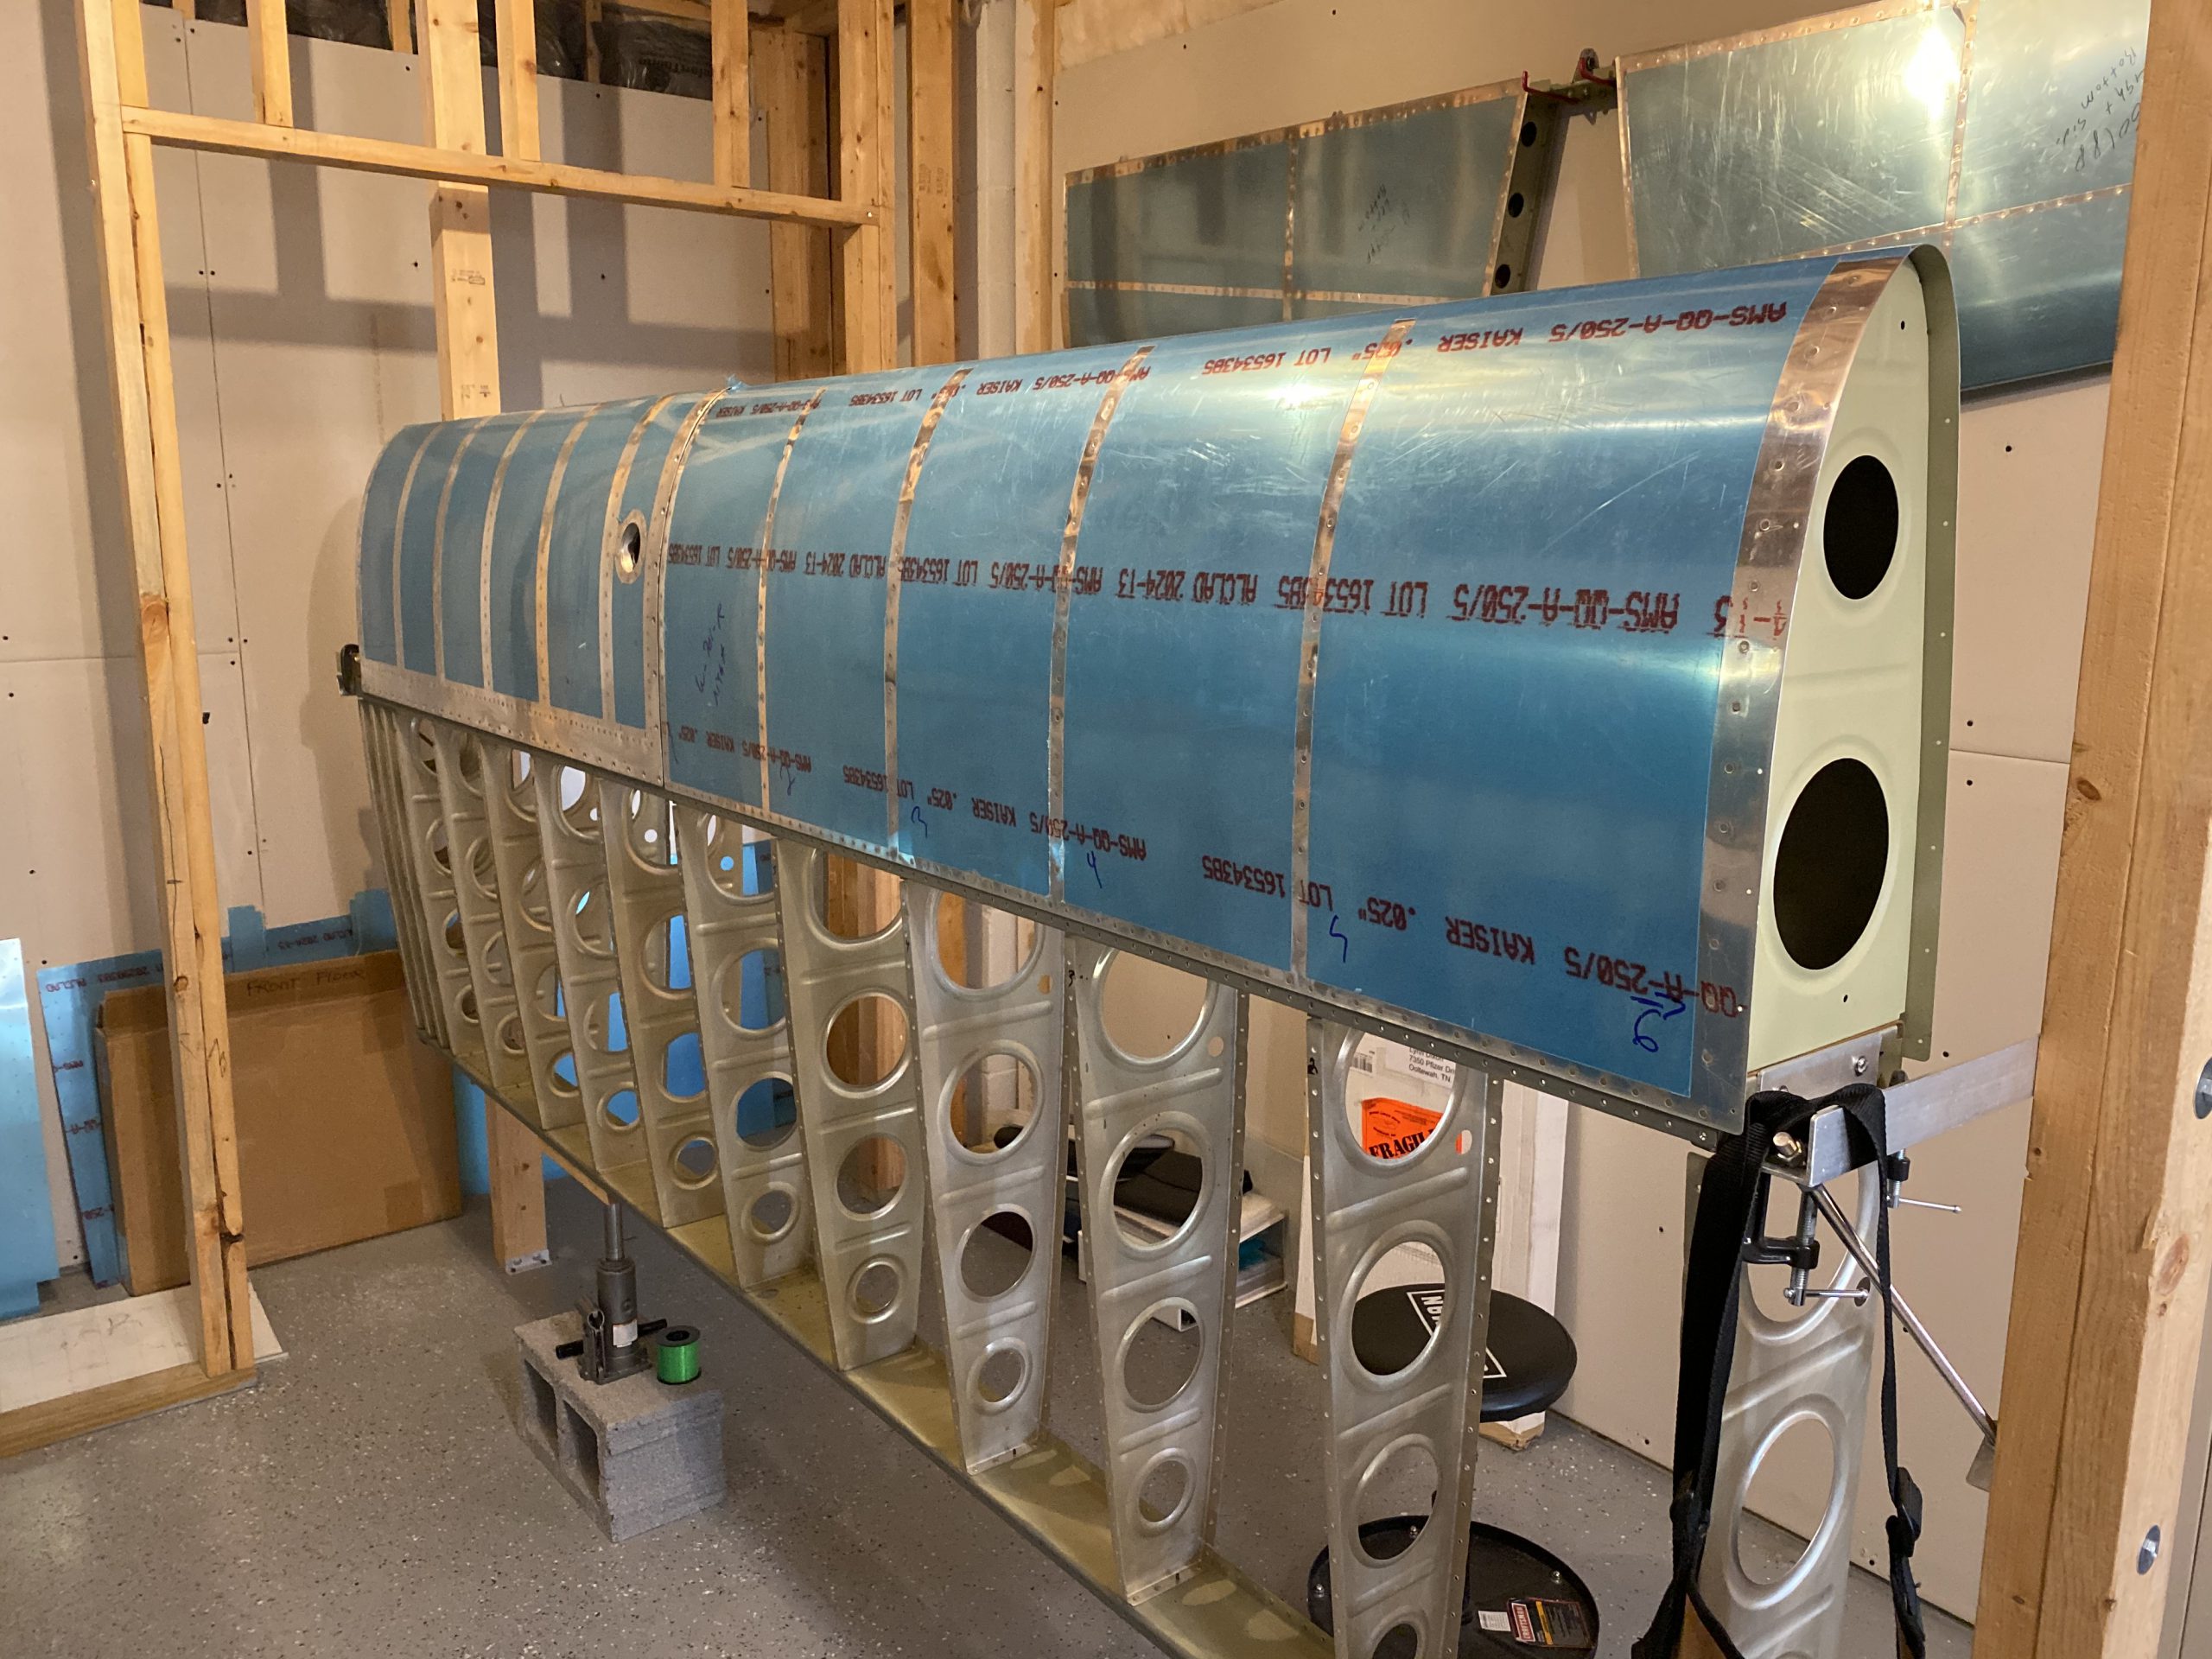
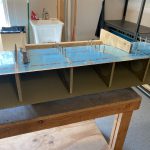
ALOT accomplished in this session. I managed to get the right leading edge fully riveted, AND even got it attached to the right wing skeleton with some help from Tammy. This wing is ready for the fuel tank to be attached, and then on to the top skins. I managed to capture the entire work session in a time lapse below:
I started by using my squeezer to squeeze the aft 3 ritvets on both the top and bottom of the leading edge. This worked pretty easy, I wish I could have squeezed all of them!
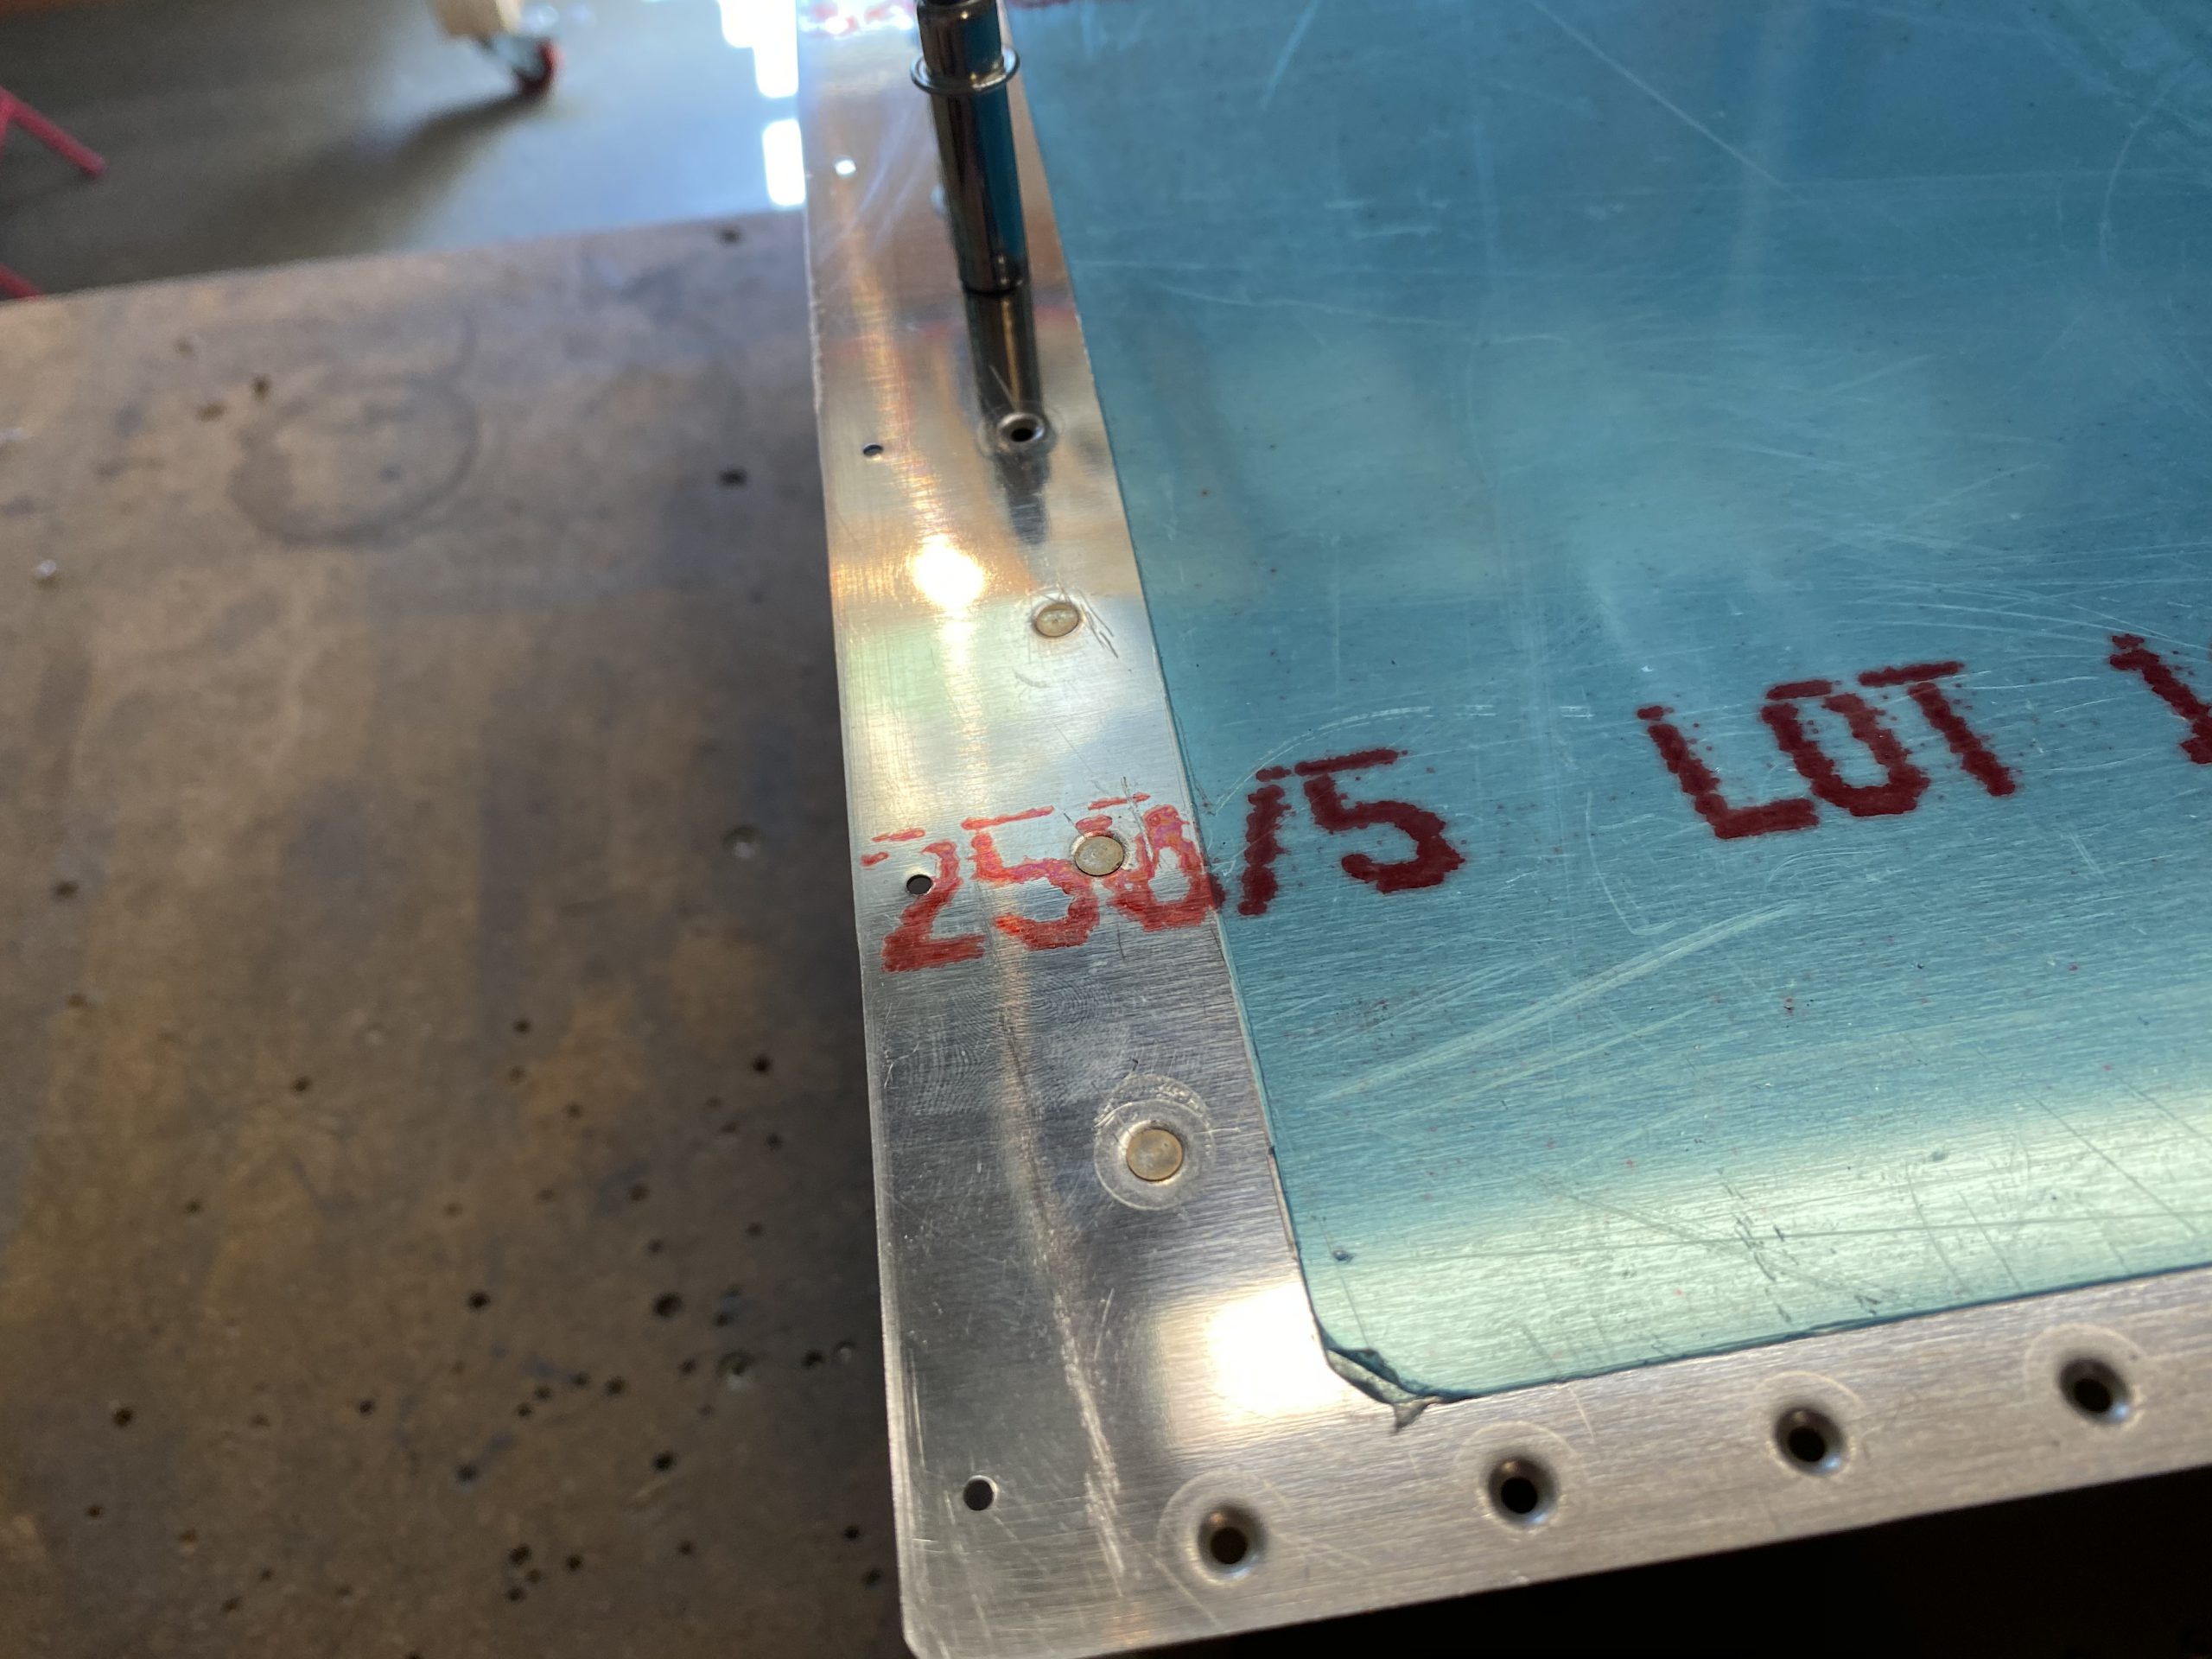
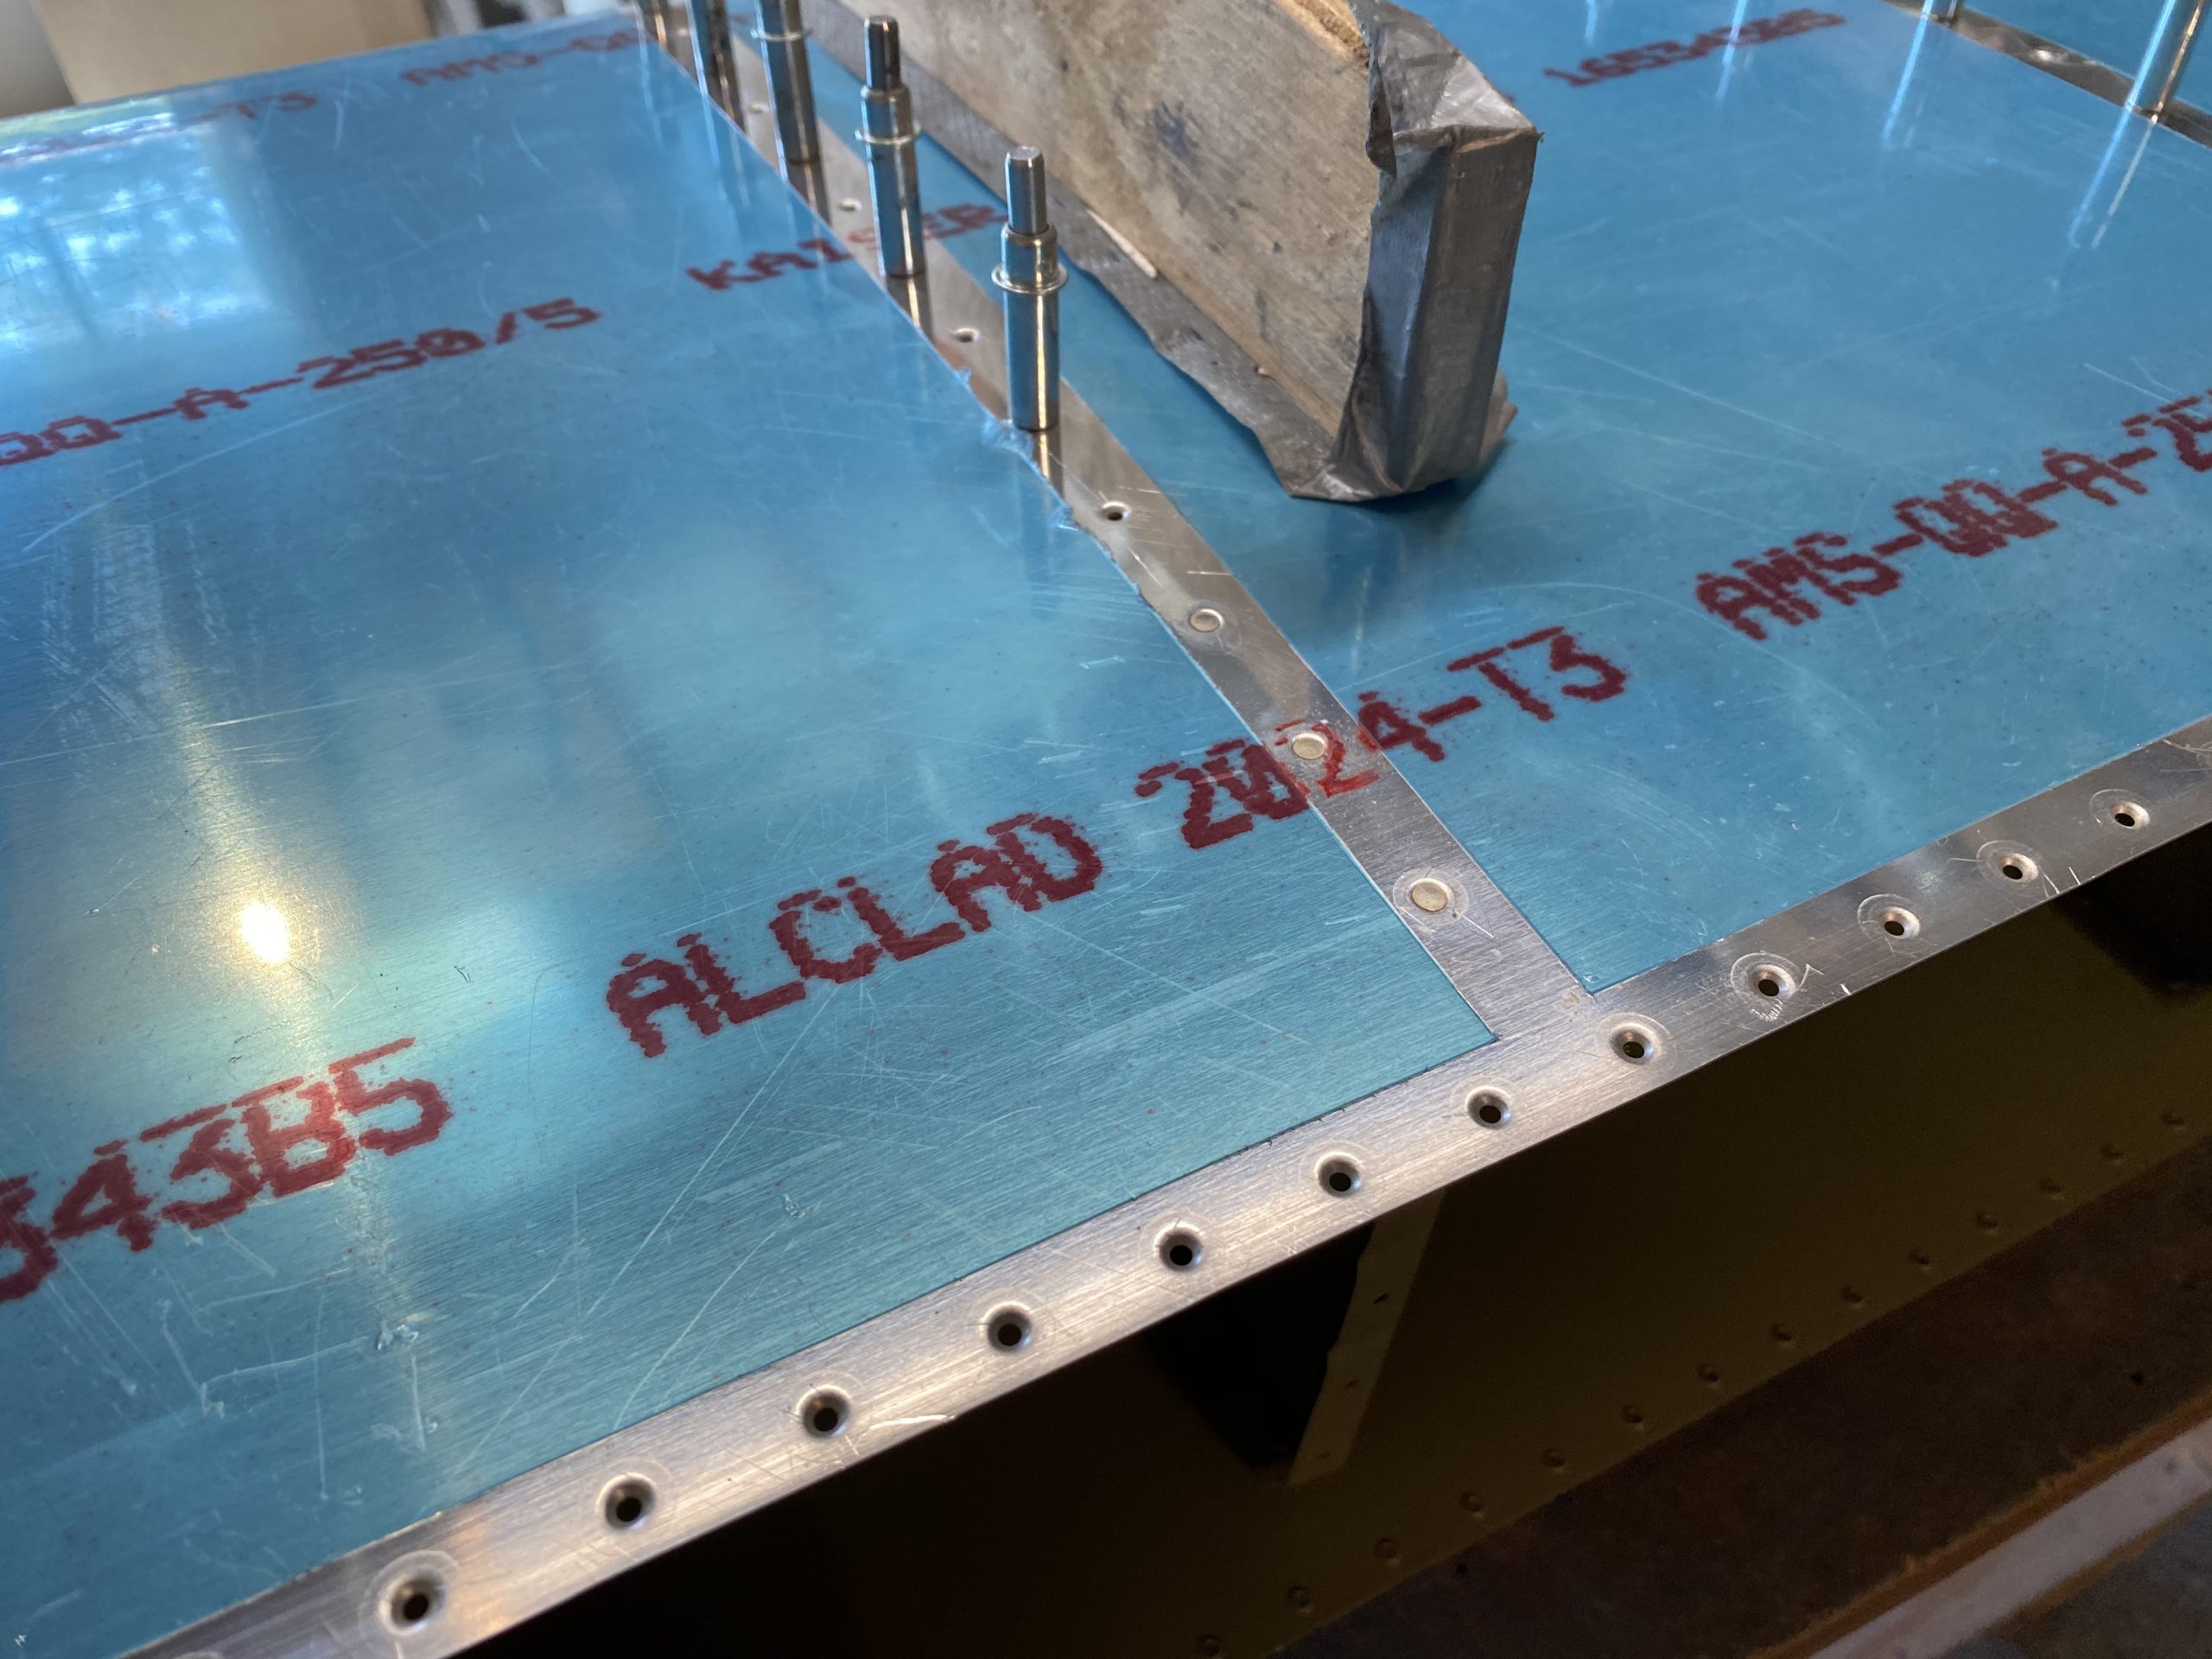
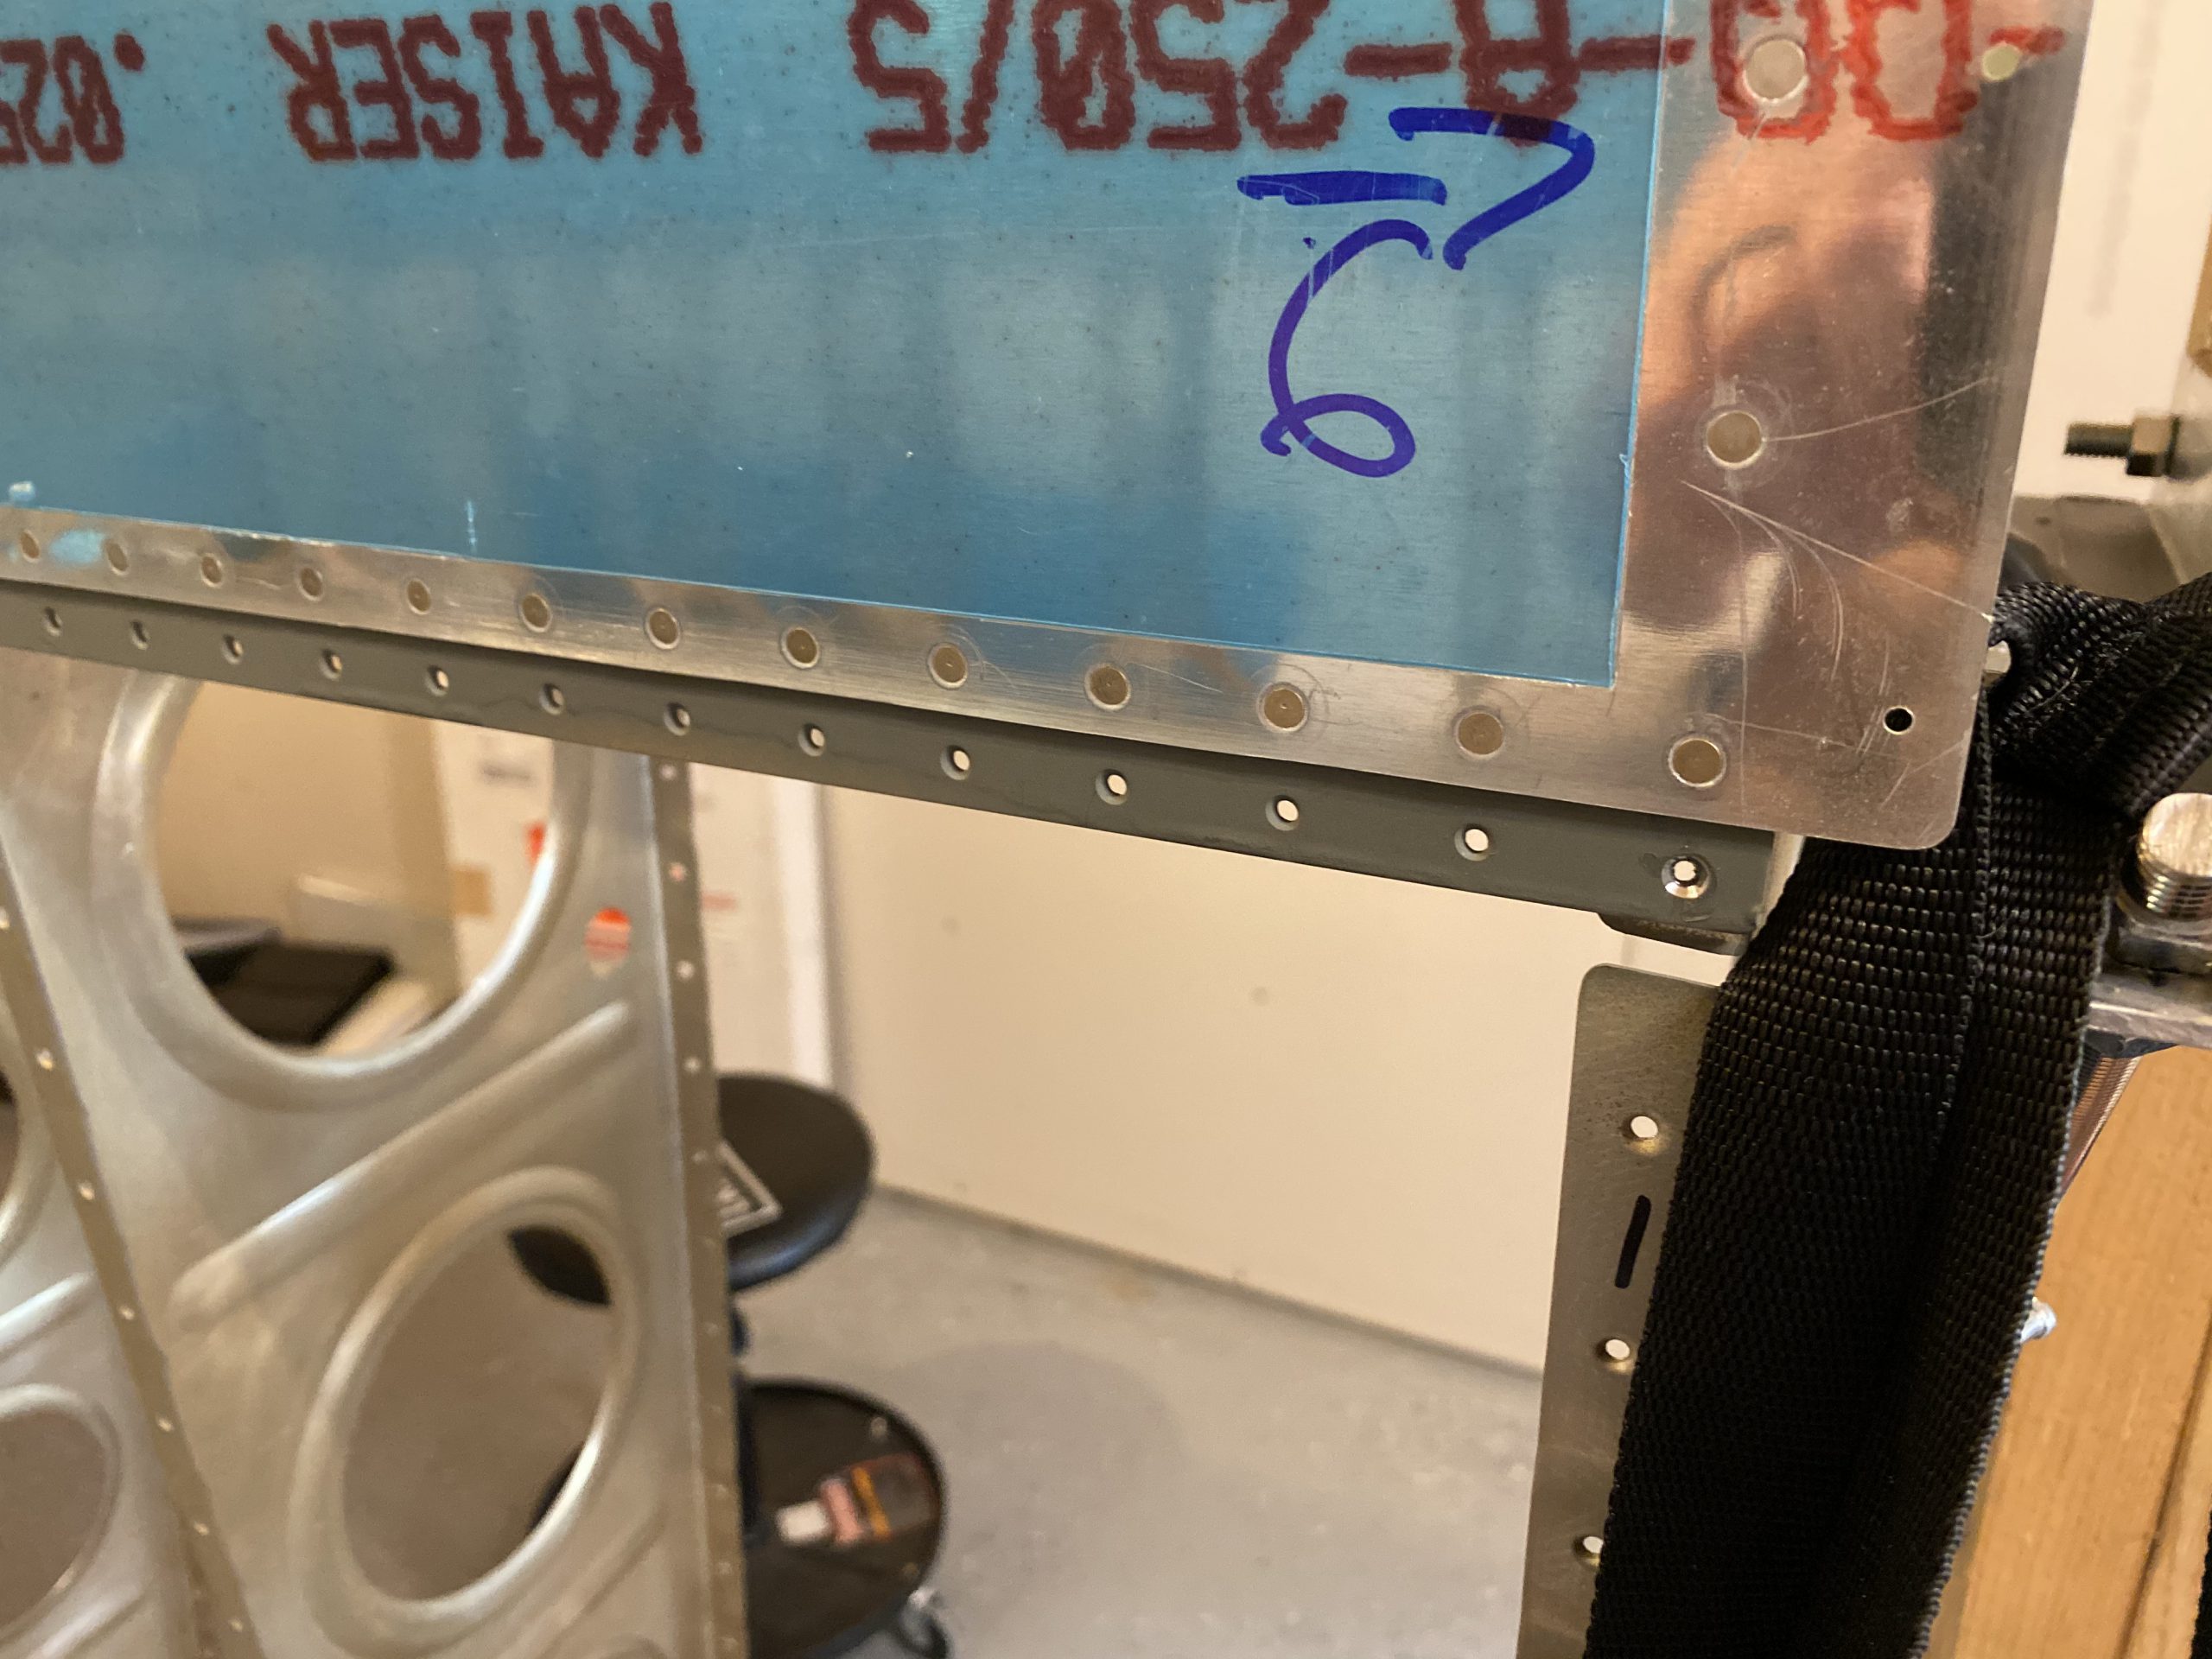
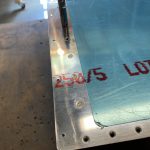
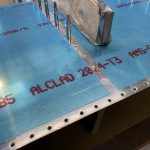
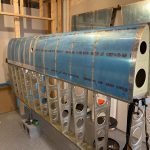
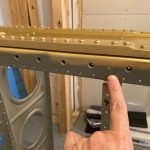
The rest I bucked old school. Not a lot to talk about here, but I did manage to get all of the ribs riveted on completely. I did use caution and make sure I used the slightly longer rivets on the inboard rib where the splice plate goes to attach the fuel tanks. Since we have another piece of metal in this sandwhich, we need a slightly longer rivet.
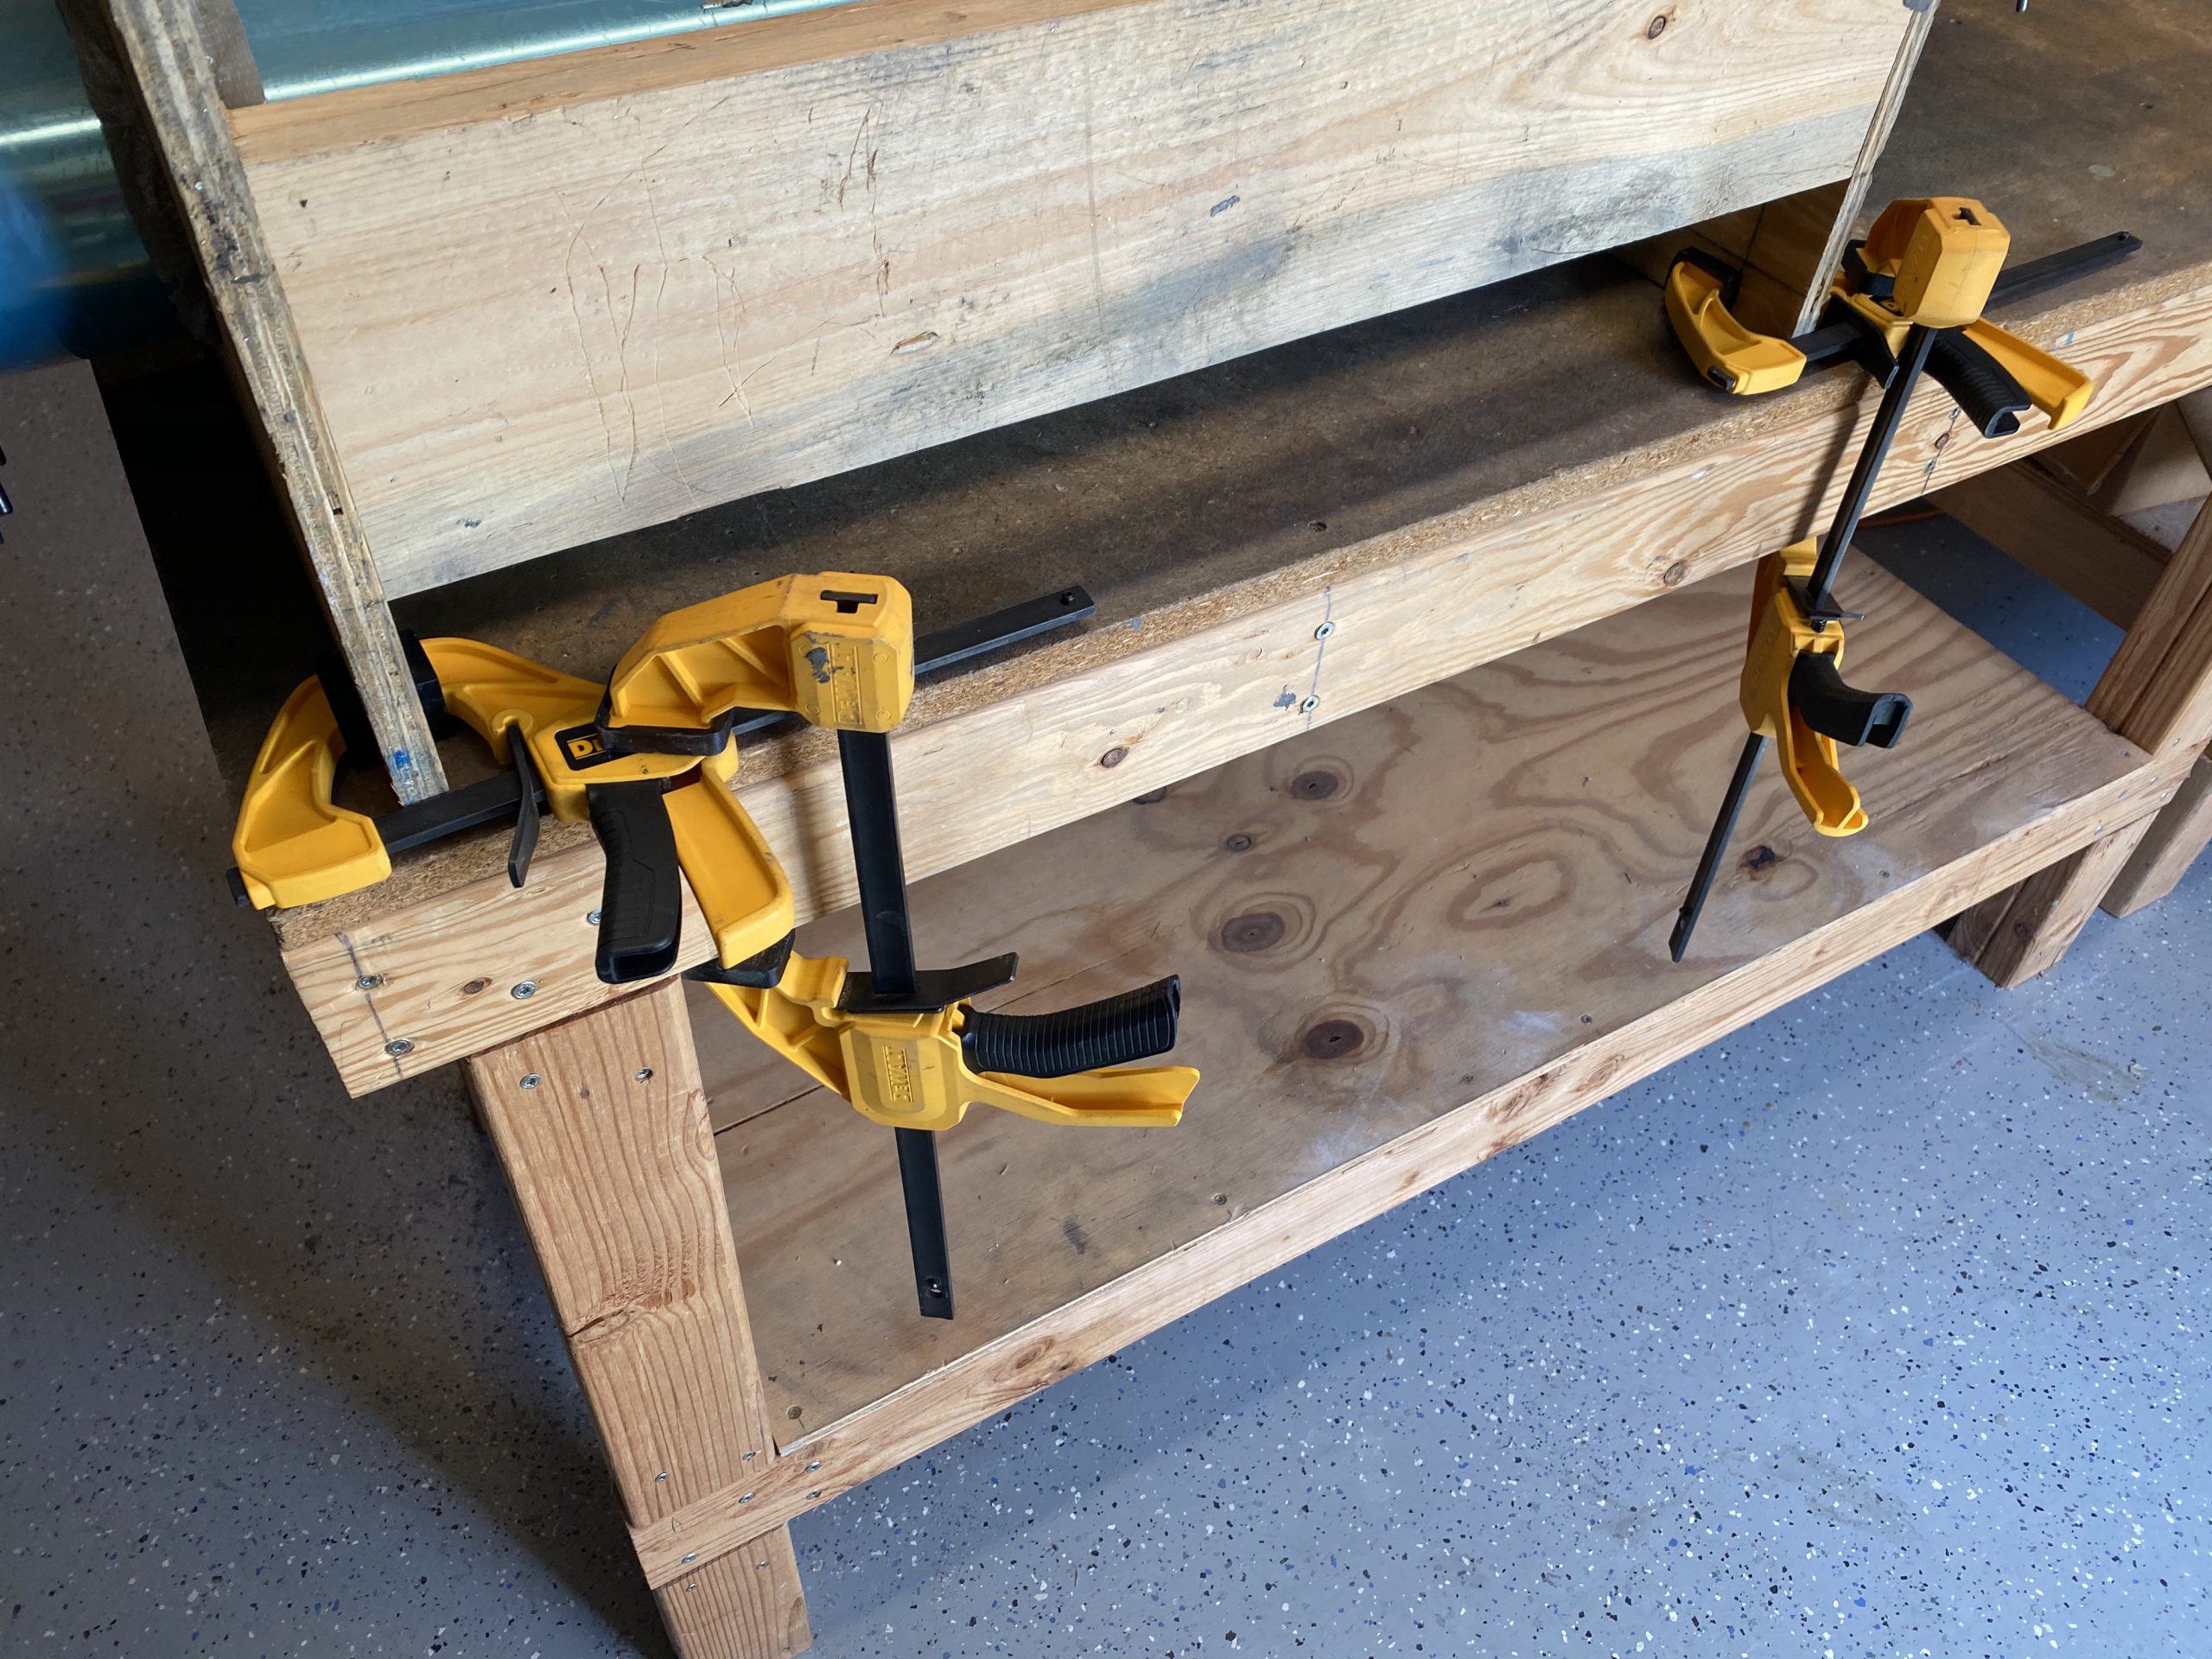
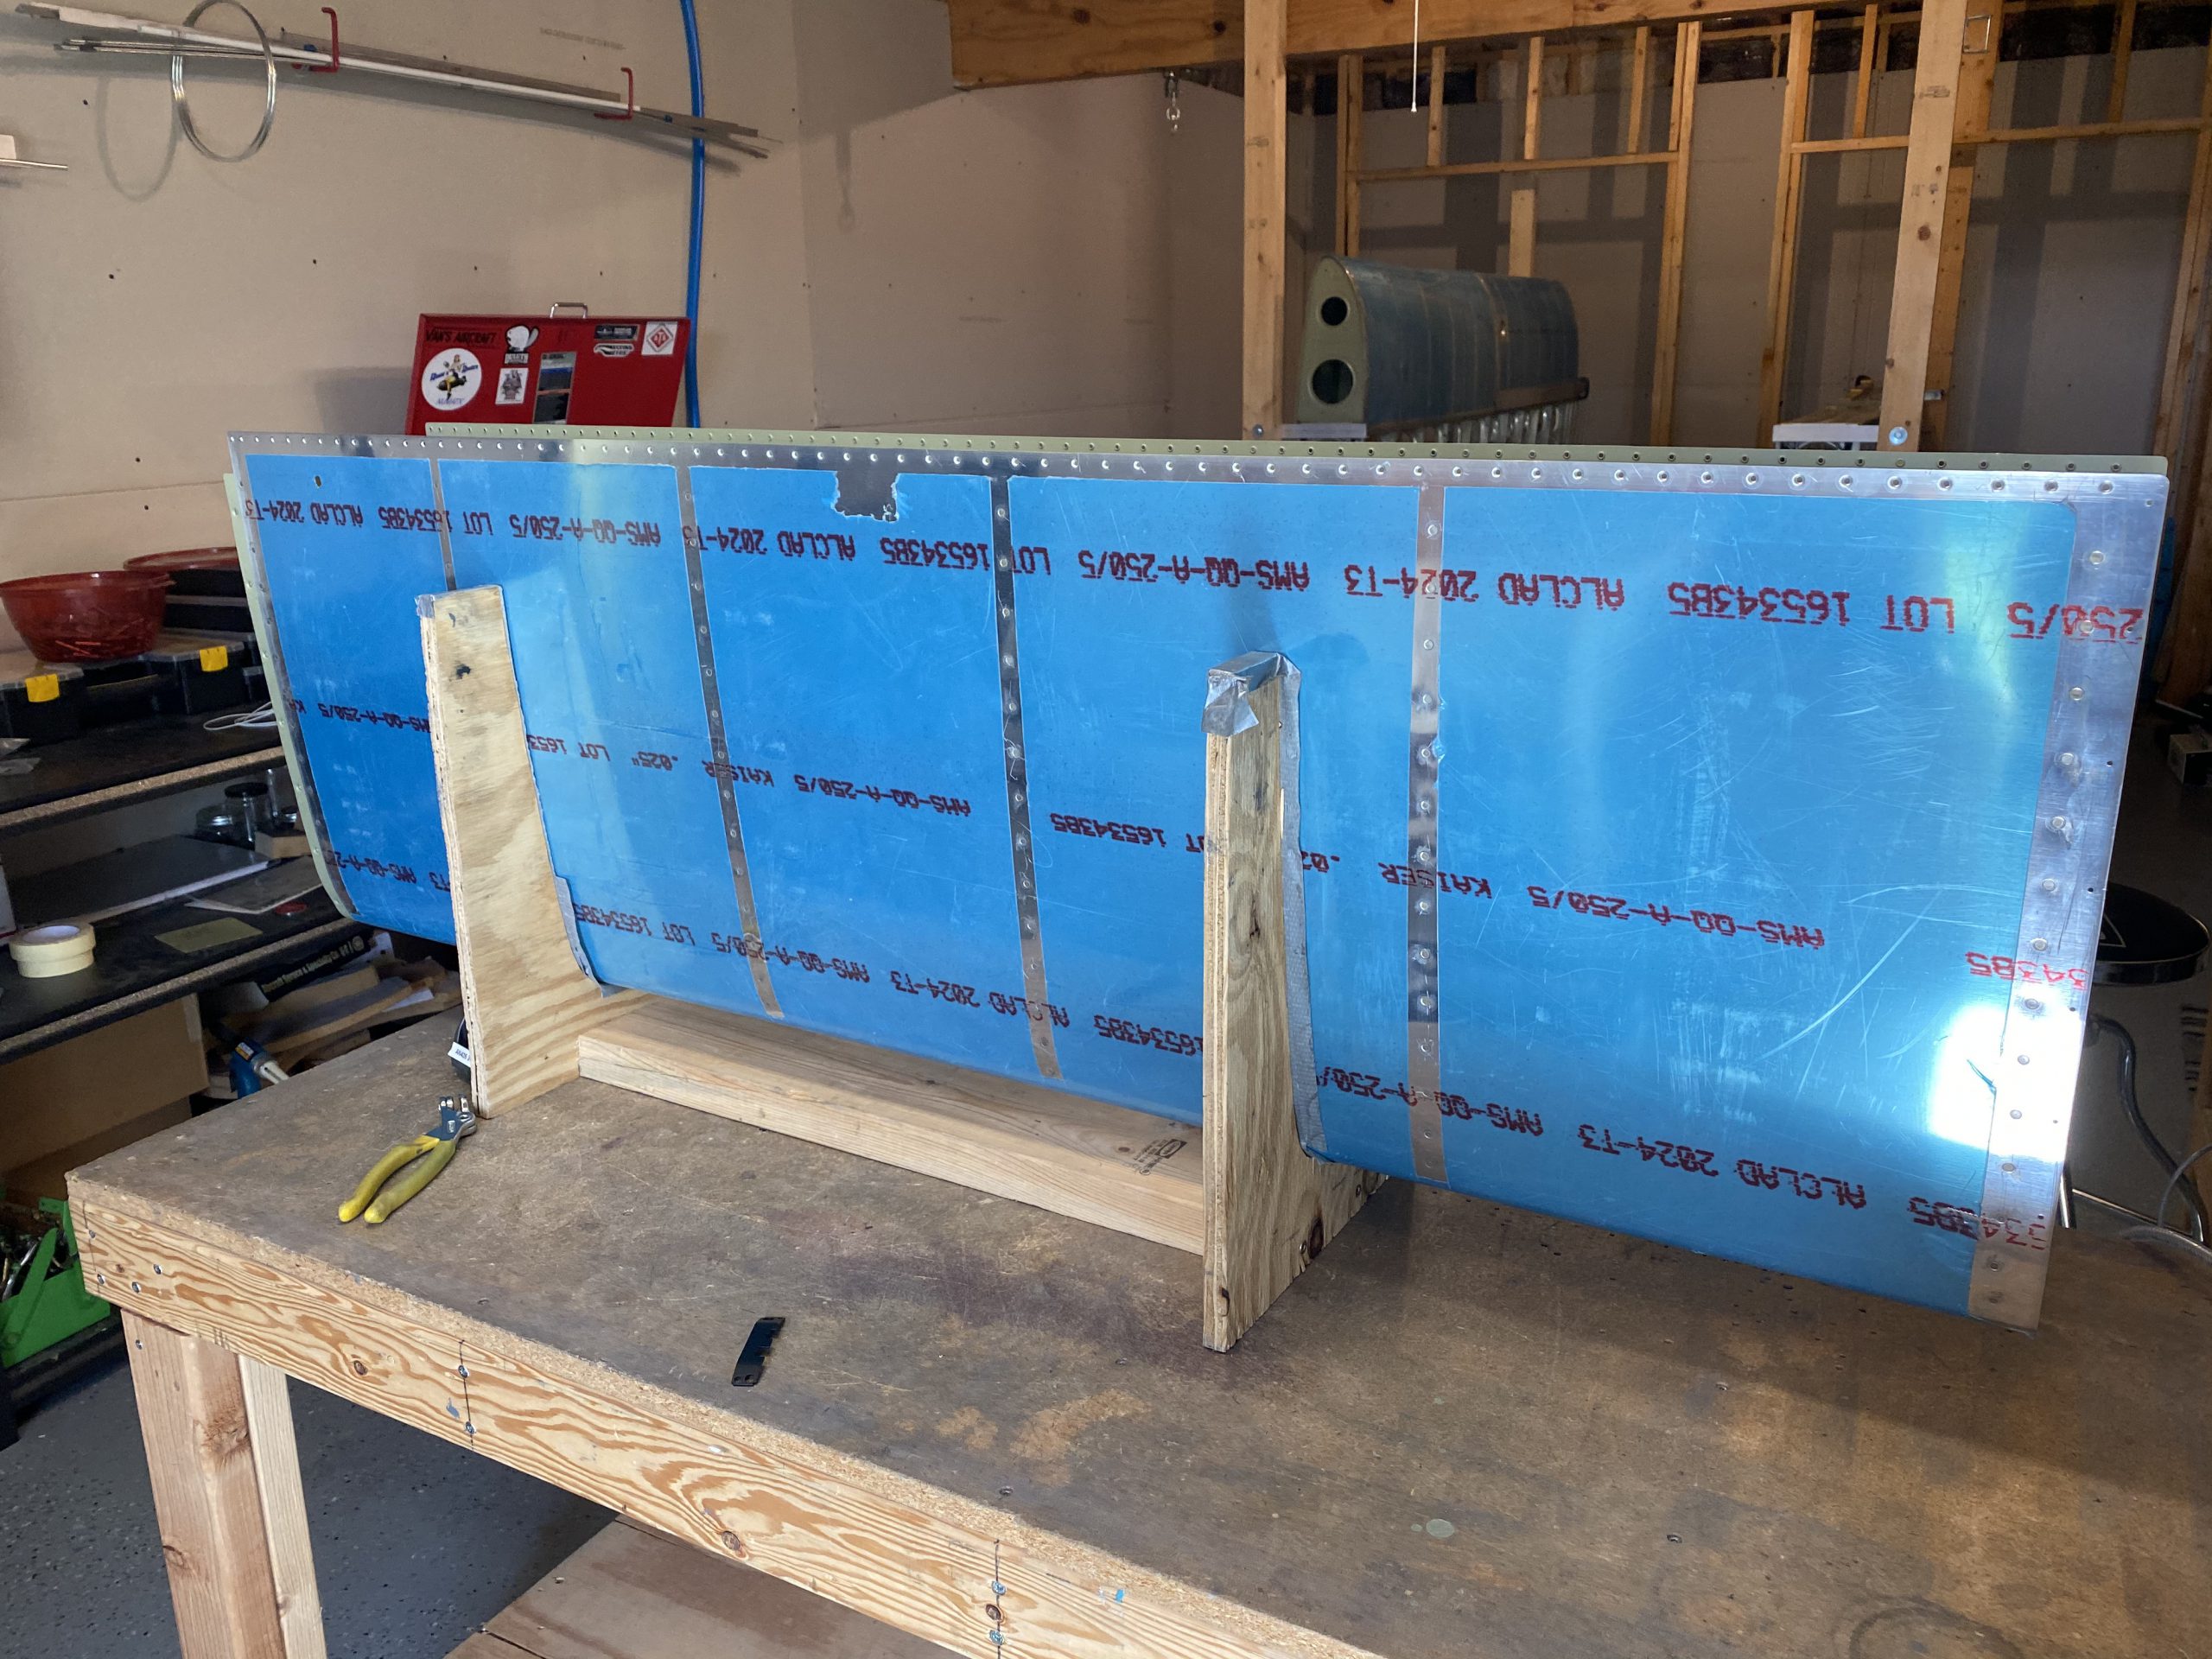
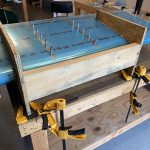
I did get a little creative with affixing the cradle to my work table to make riveting it a bit easier. I wound up using my clamps to hold each other down while also holding the leading edge cradle:
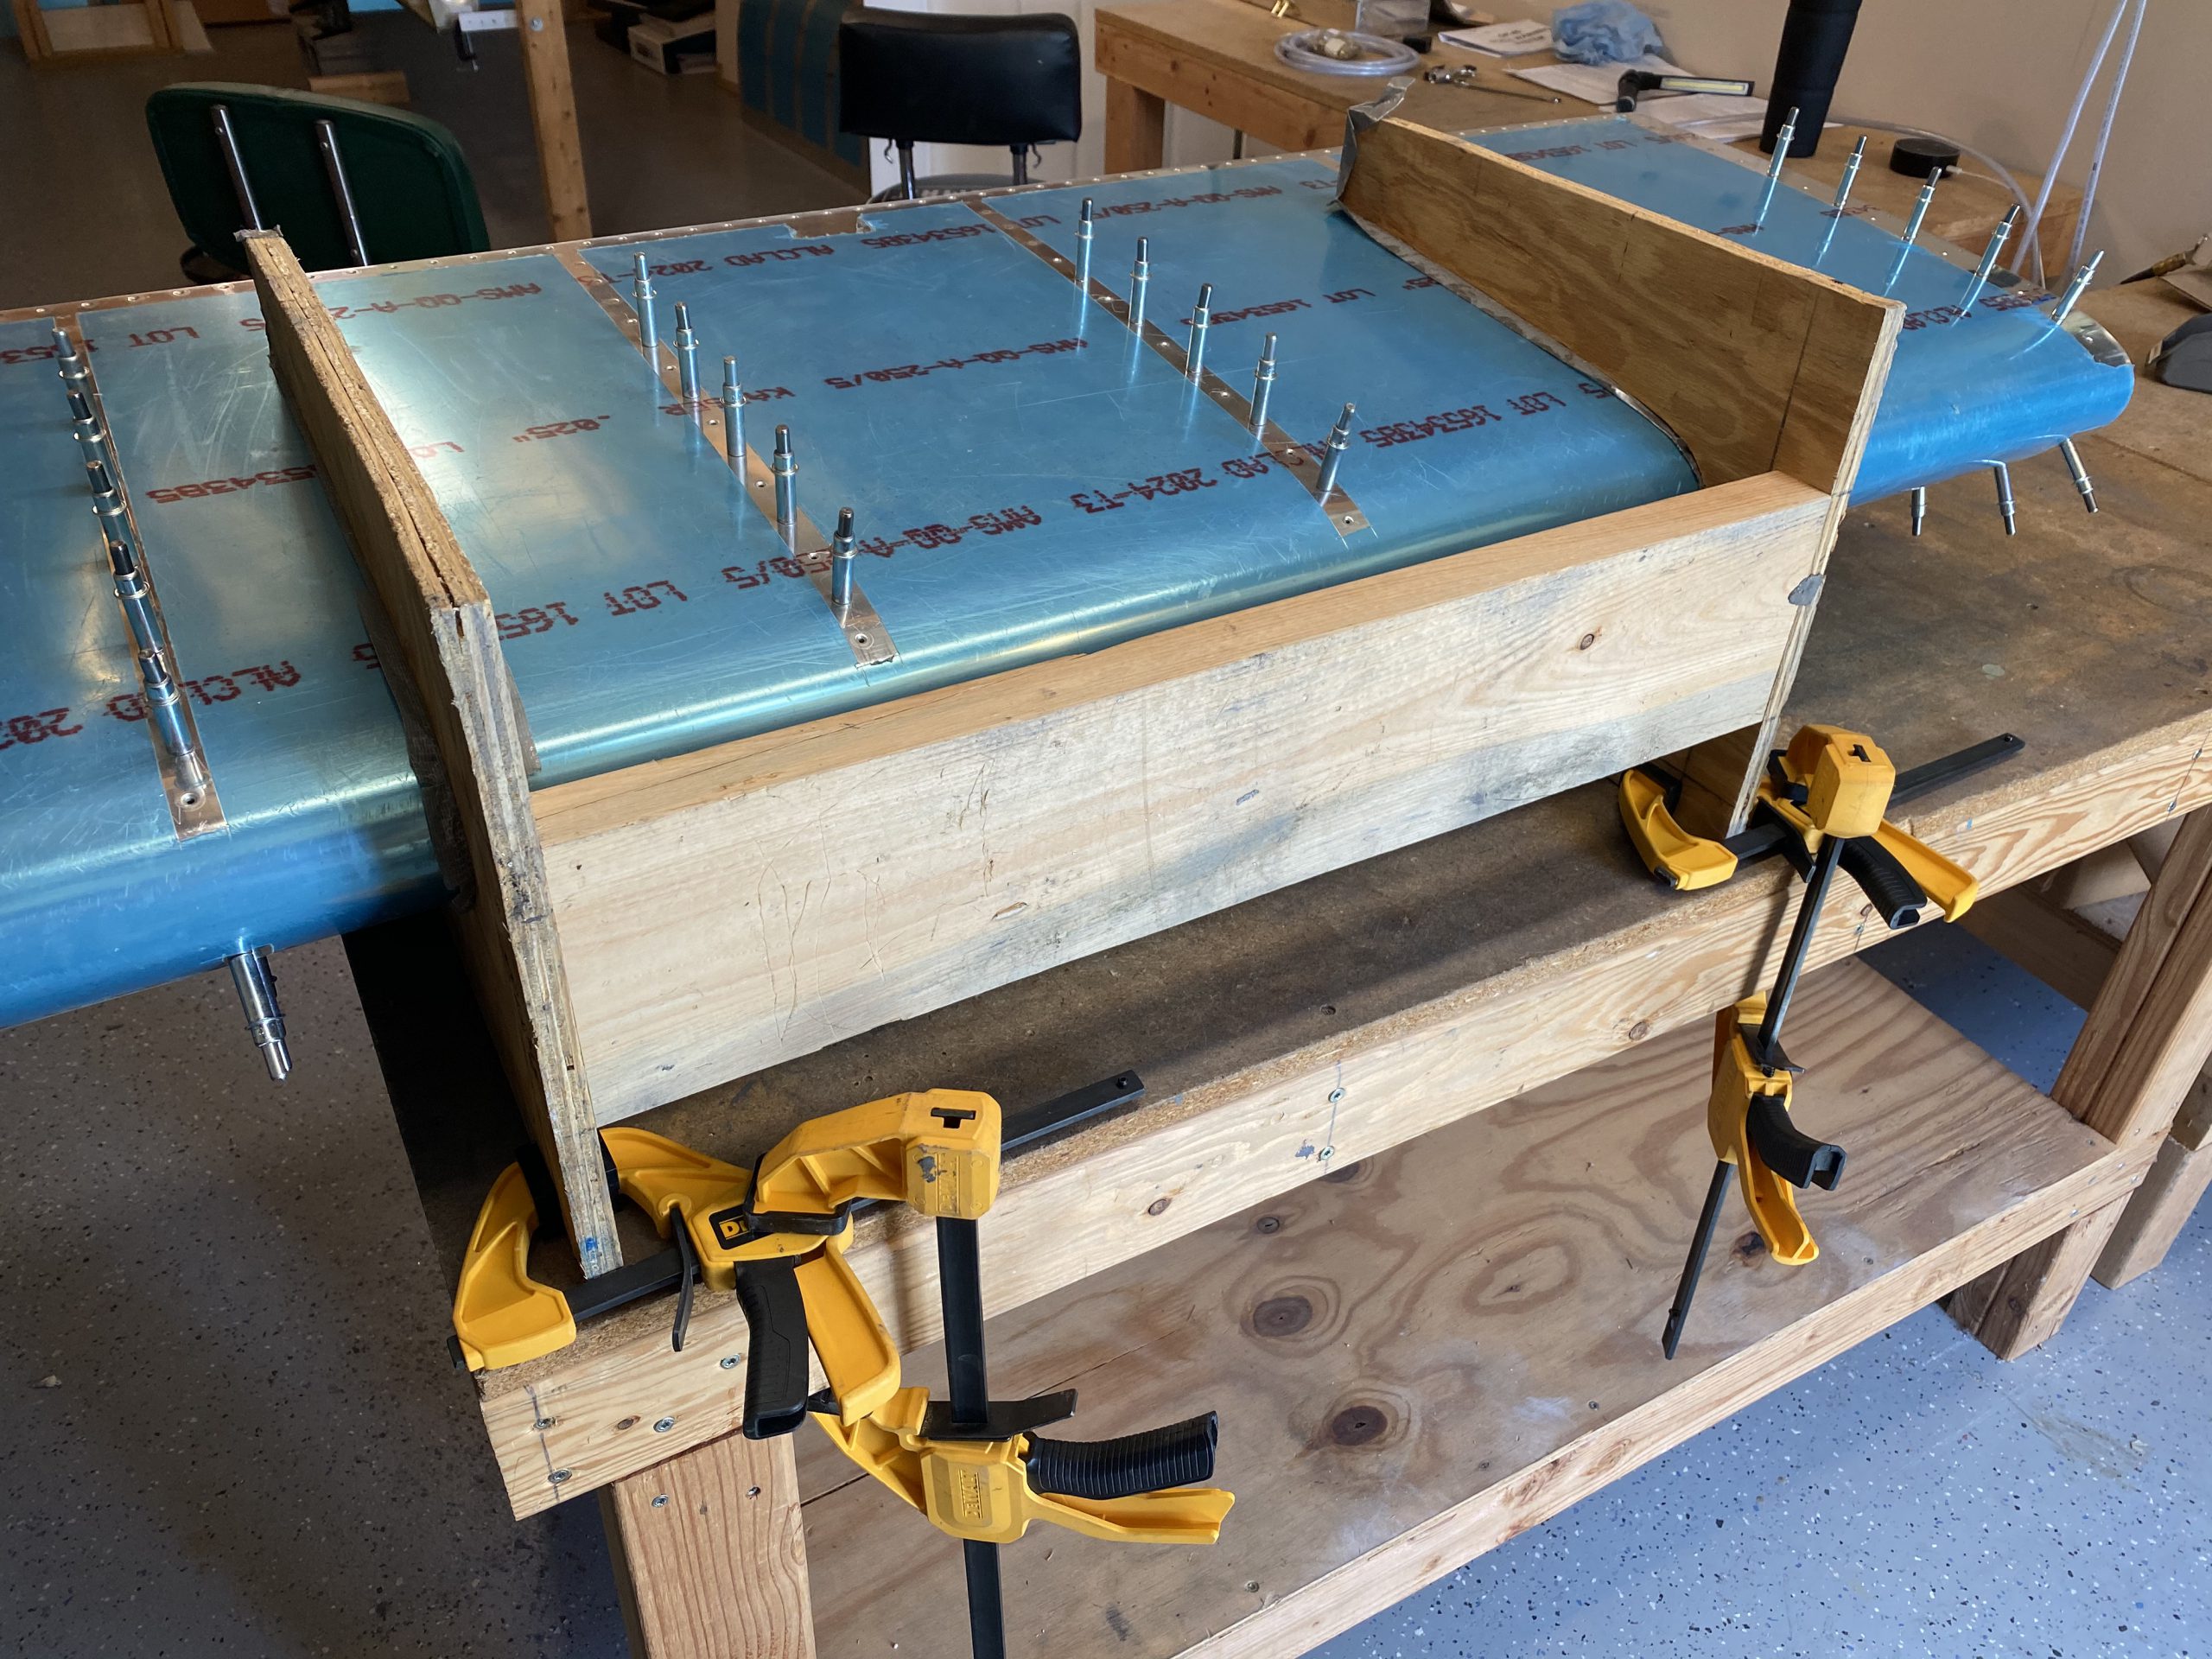
This actually worked better than I thought it would! After a little bit of work, I had all the rivets set in the leading edge ribs. I also went back and inspected each one to make sure I had them all set corretcly and there was a handfull that I needed to buck a few more taps. I’m happy with all of them now.
I grabbed a timelapse of me just working on the leading edge, which I will share below. Its a bit of a closer view than my normal overhead.
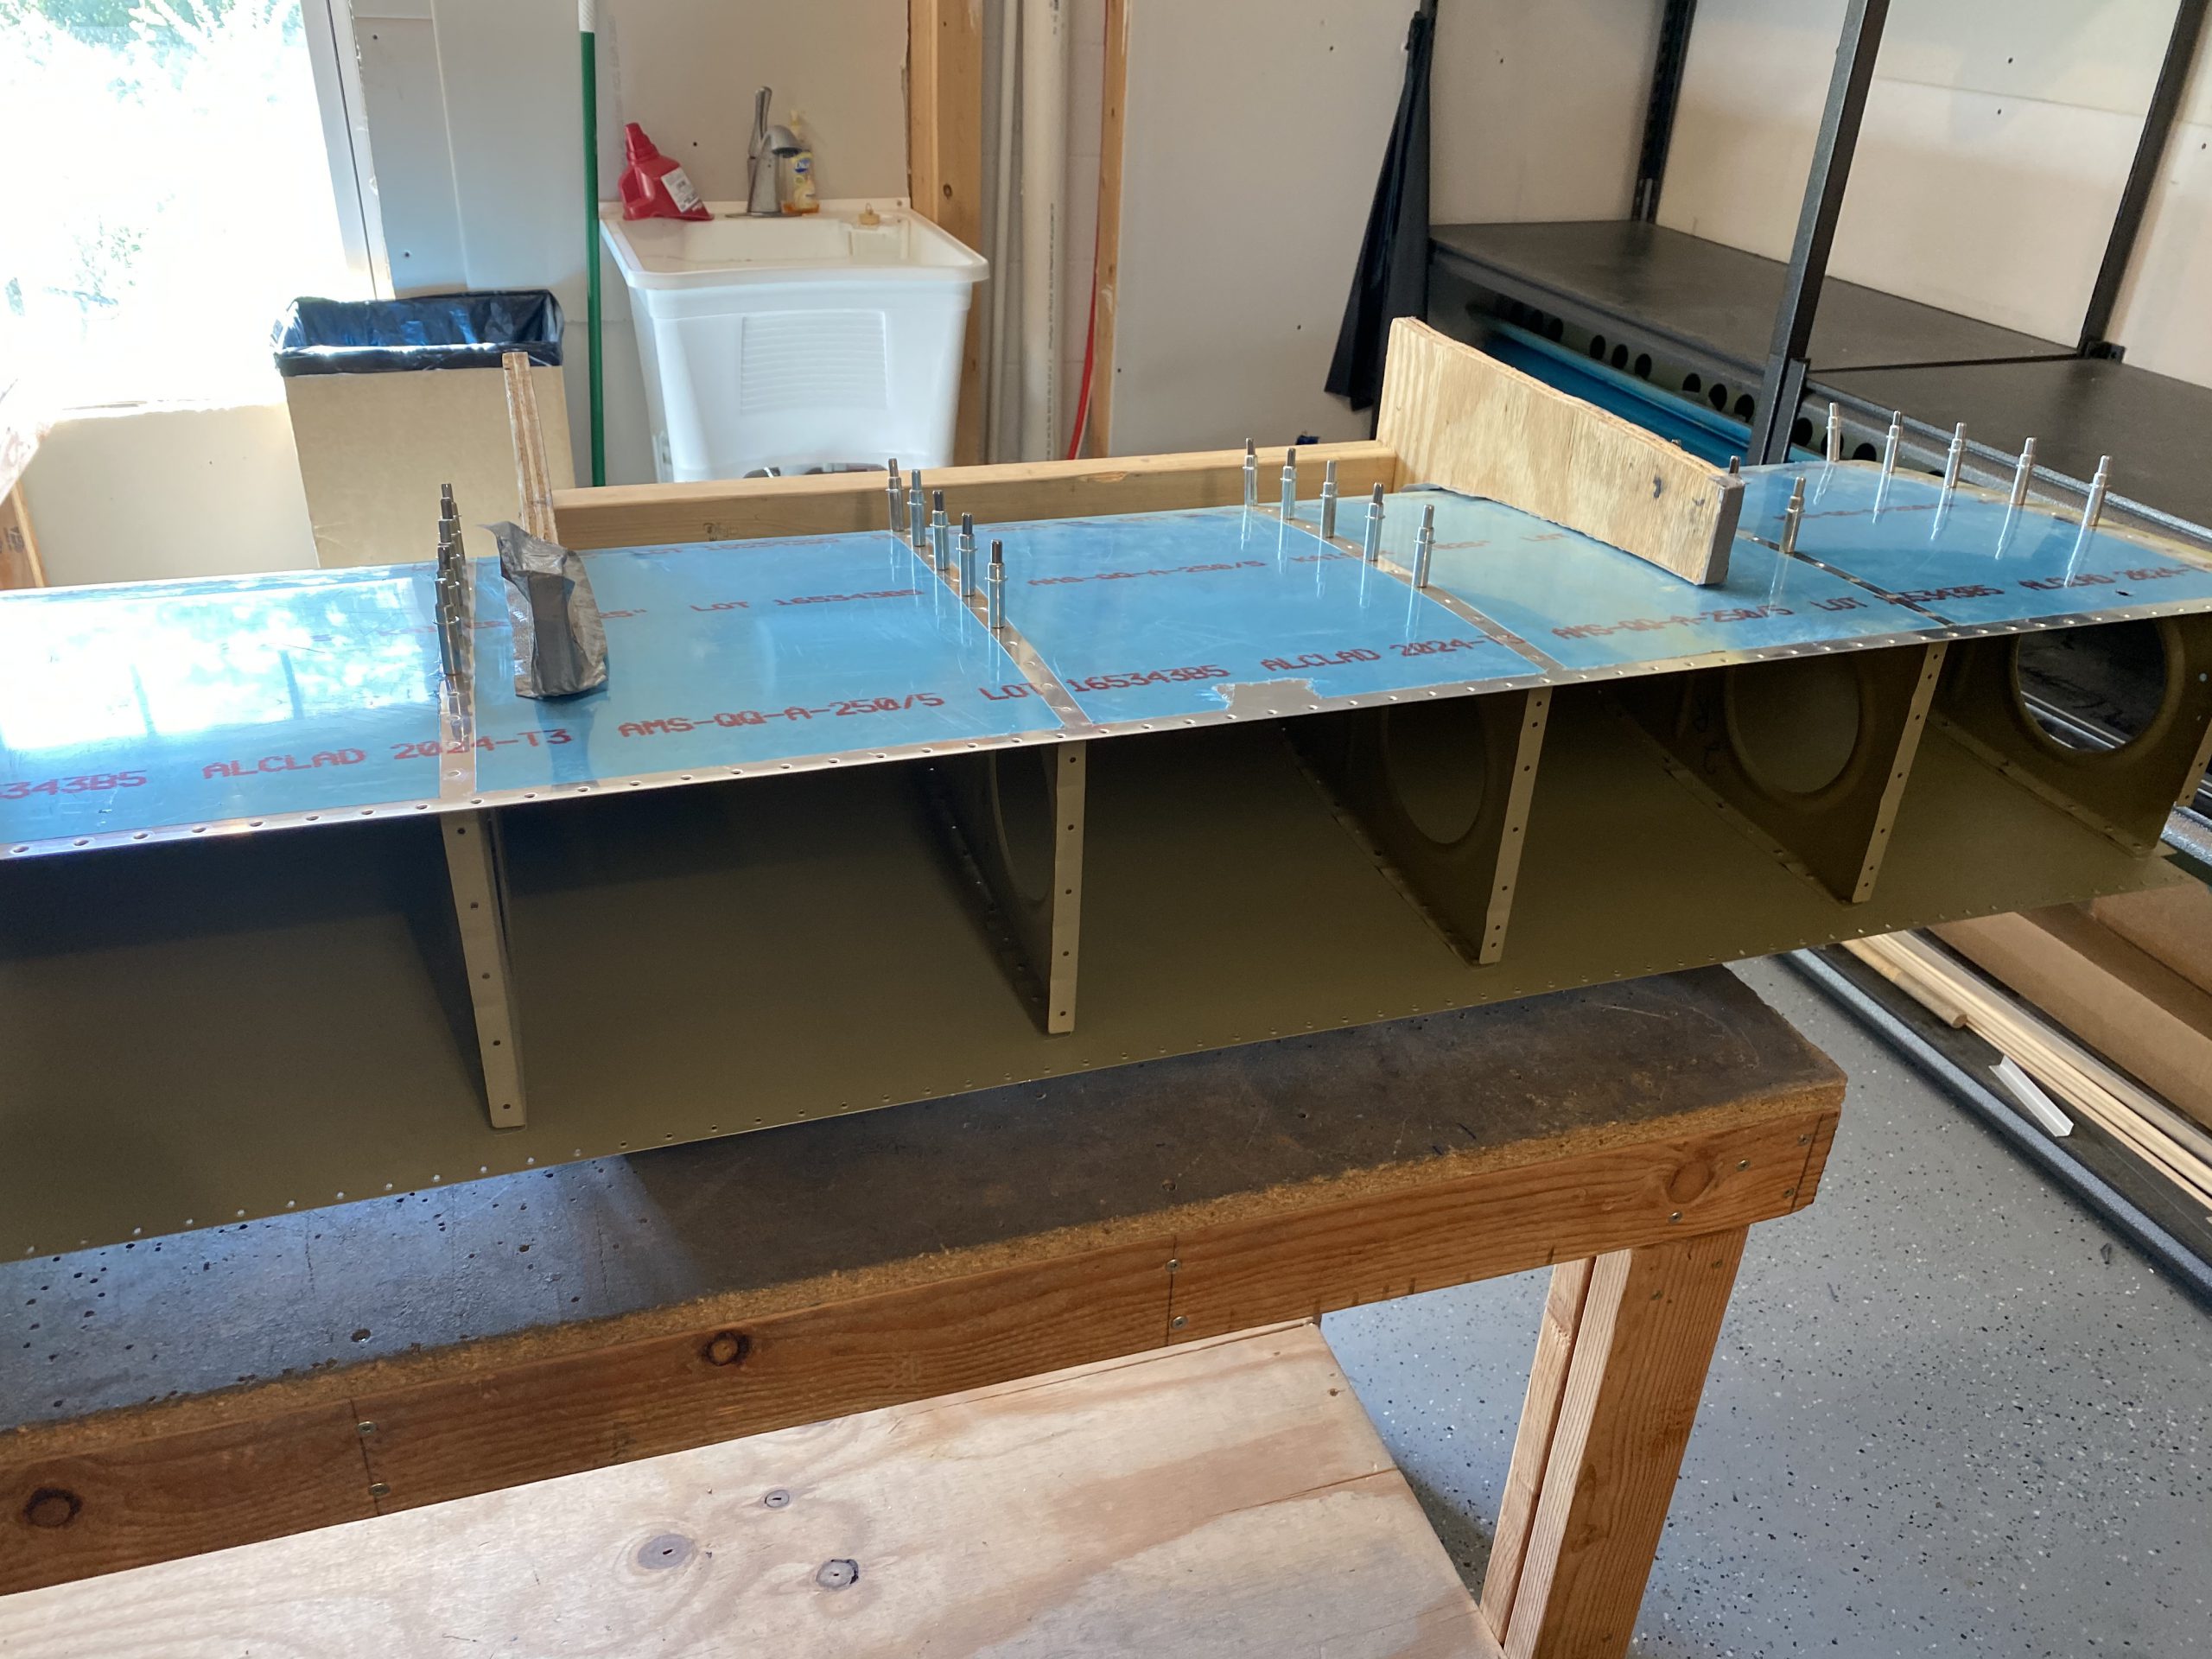
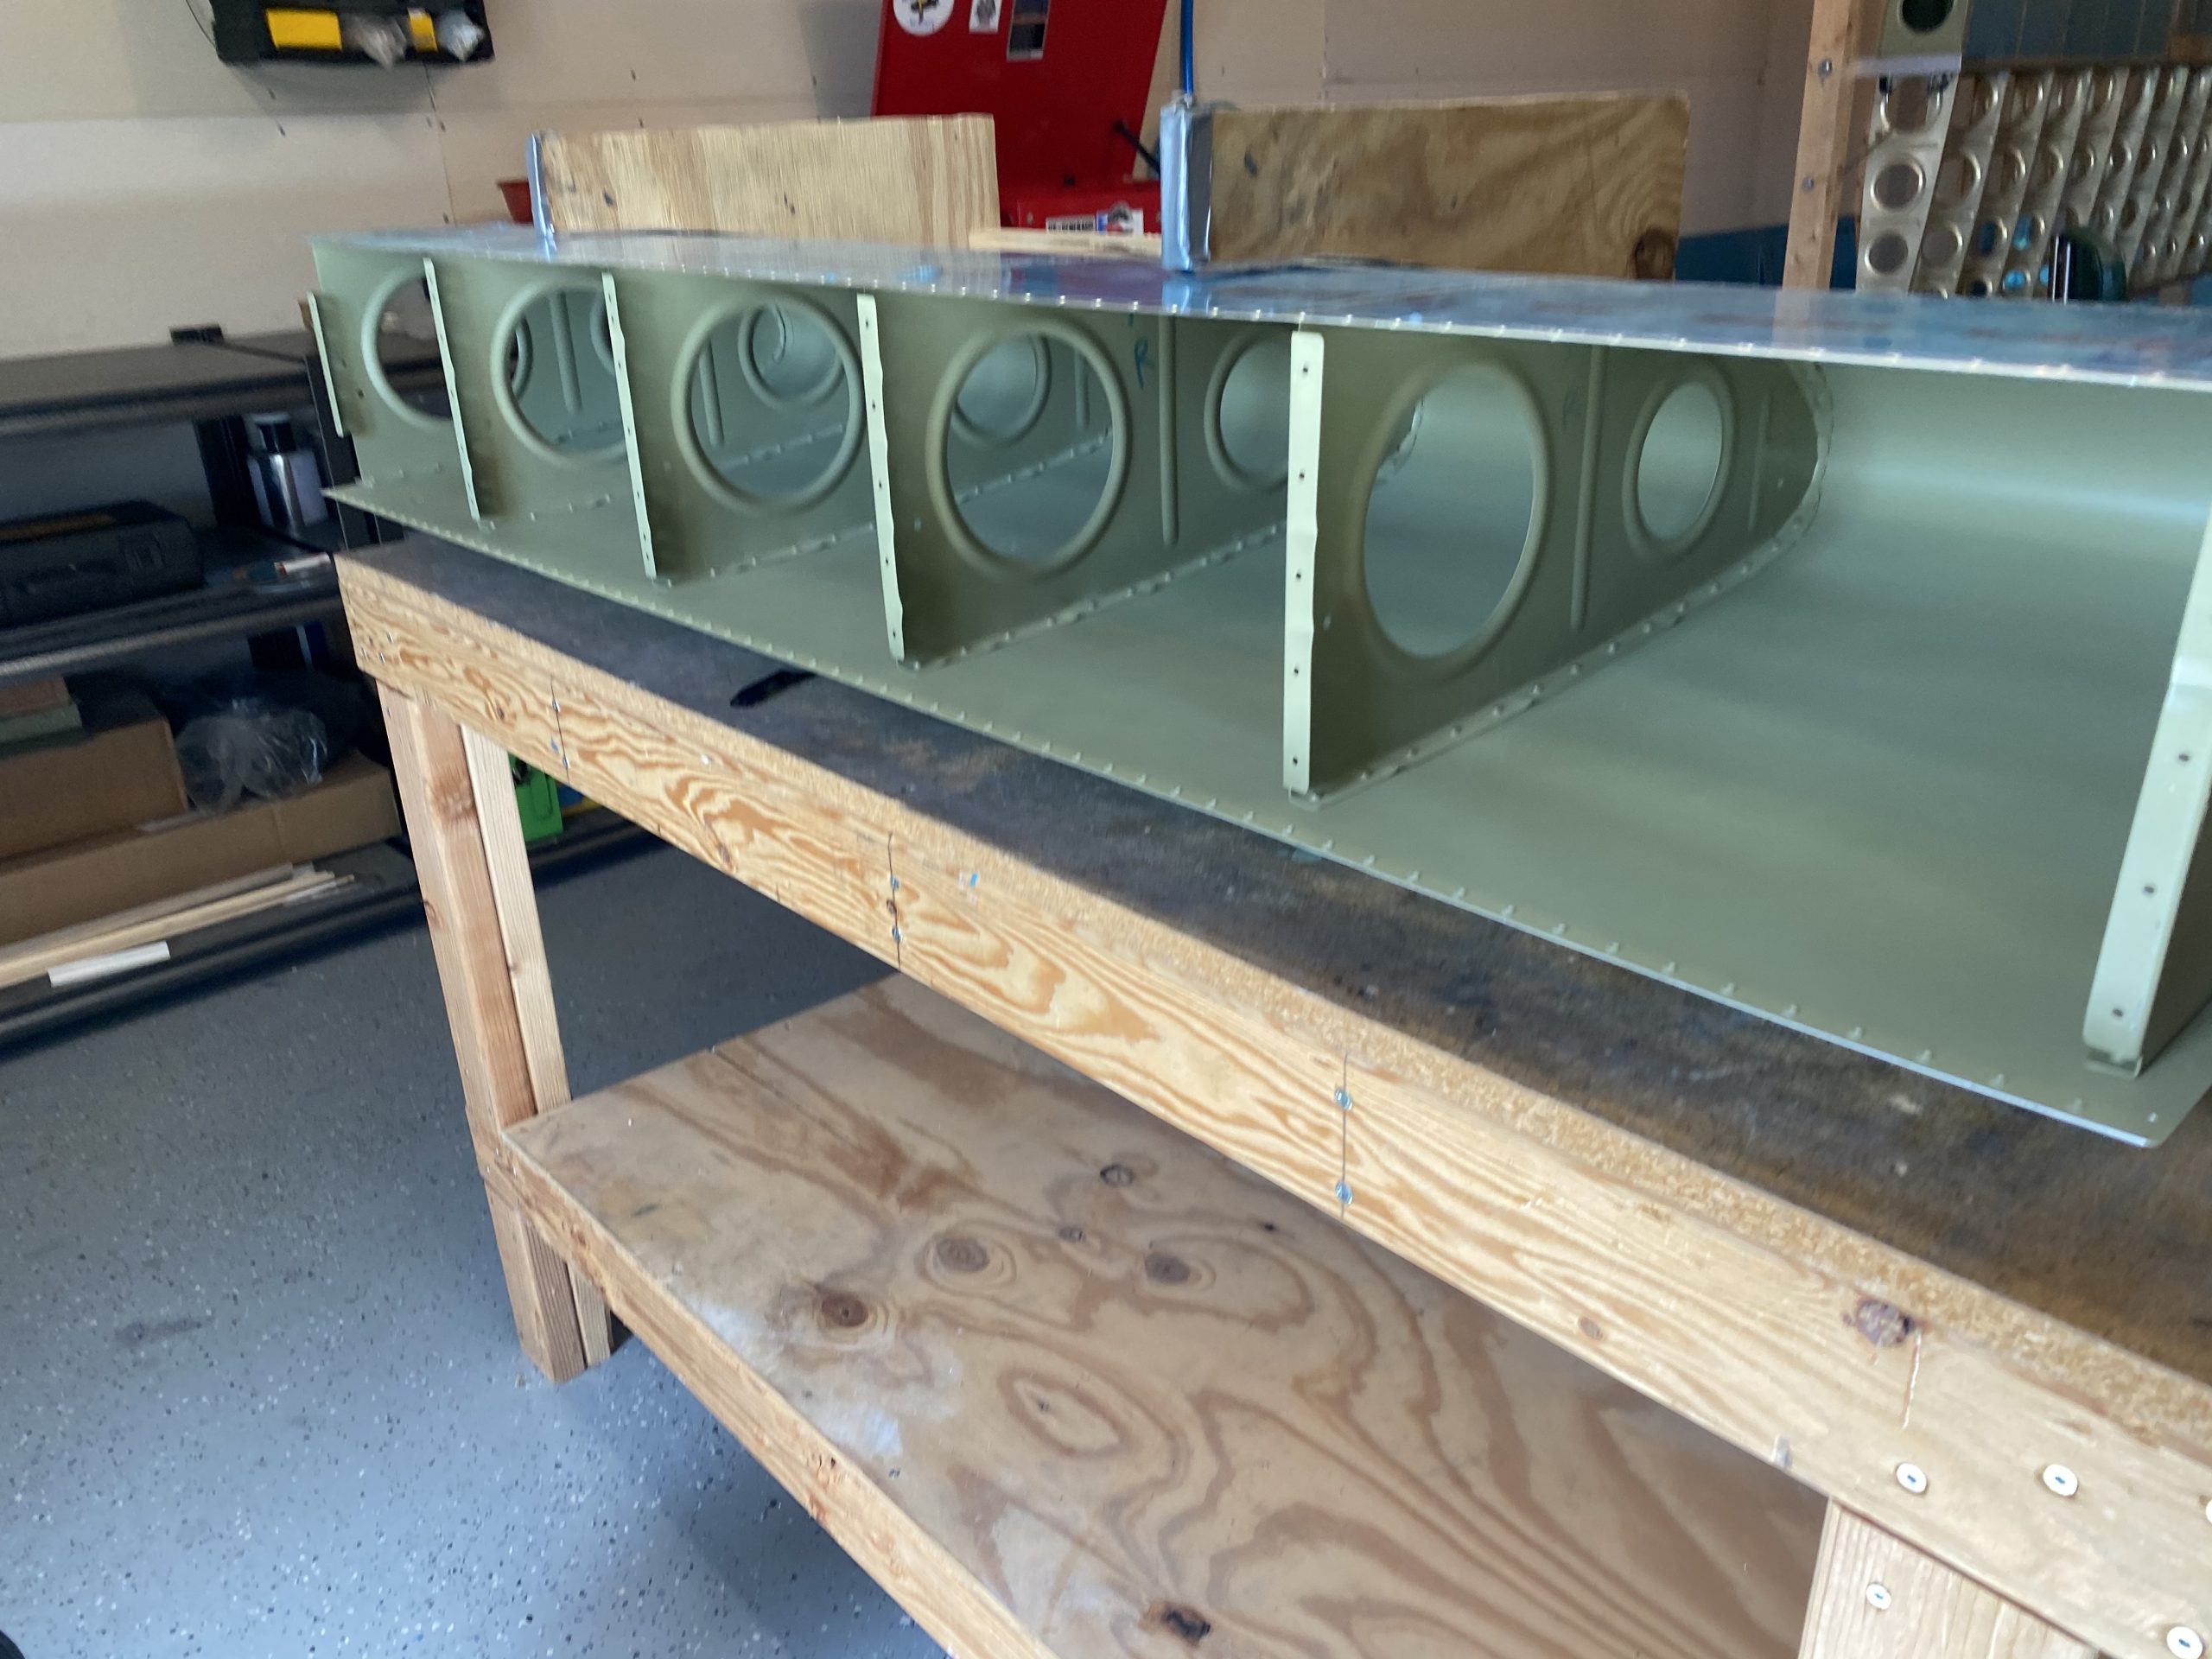
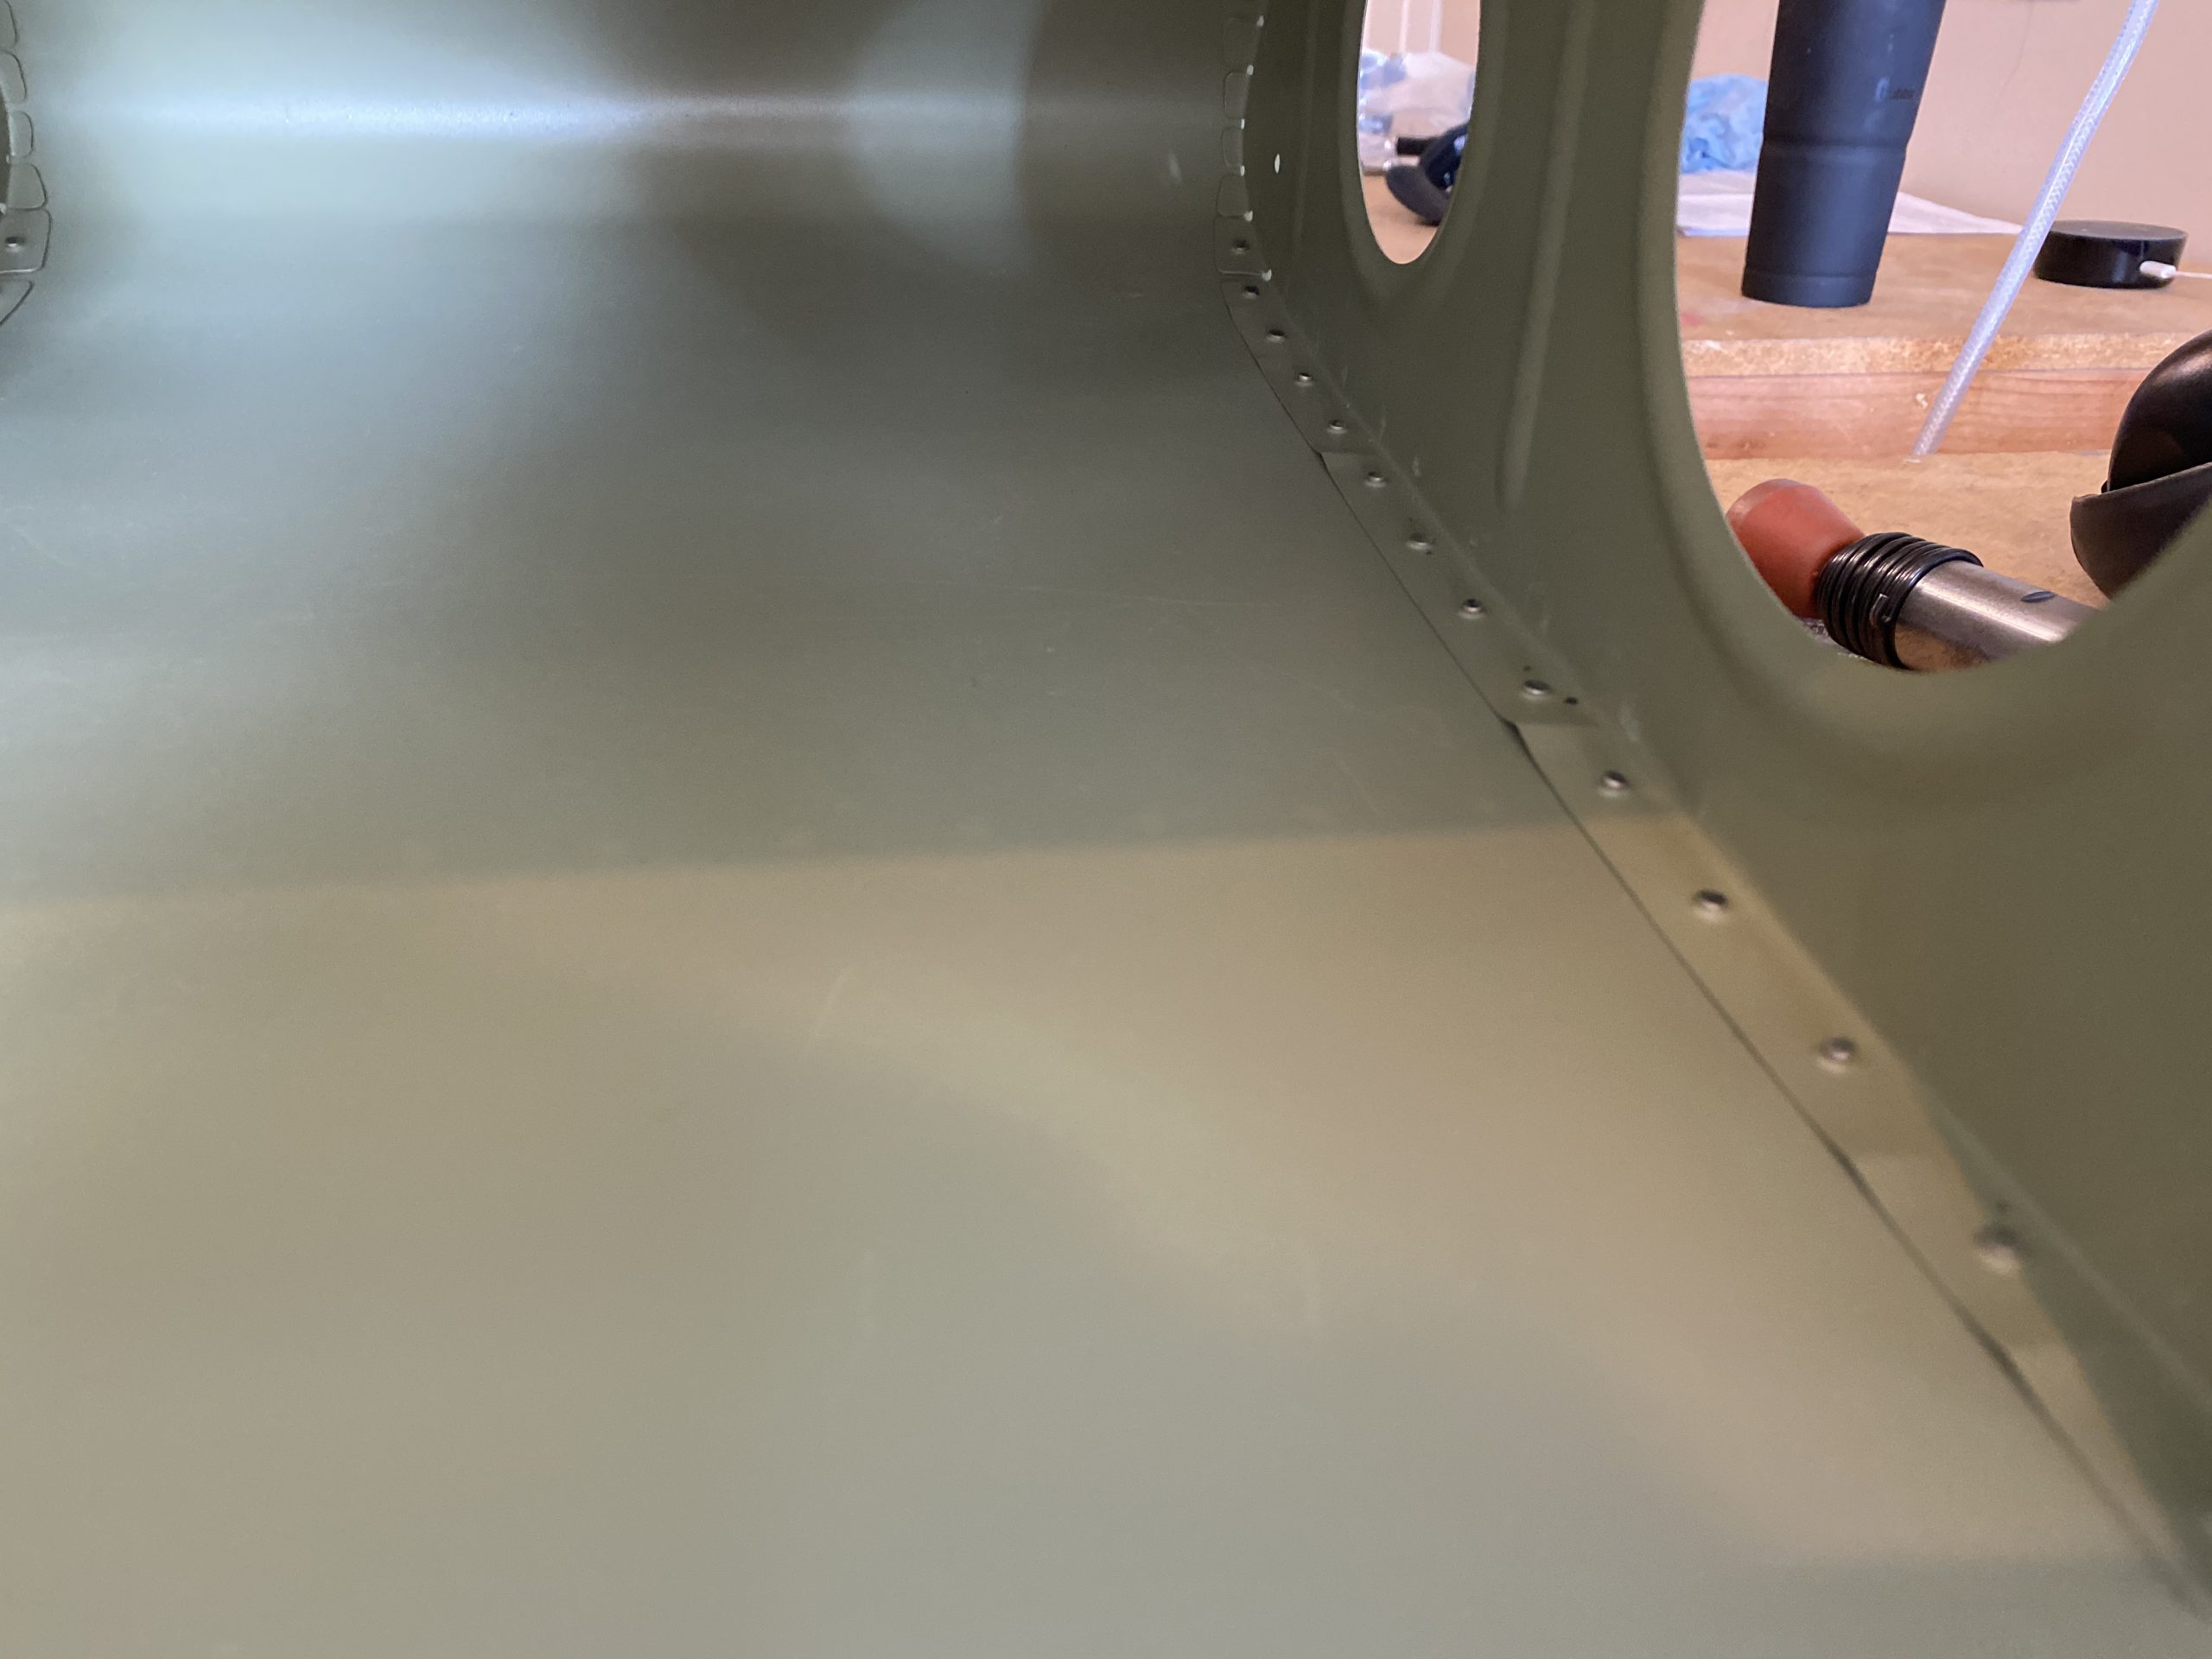
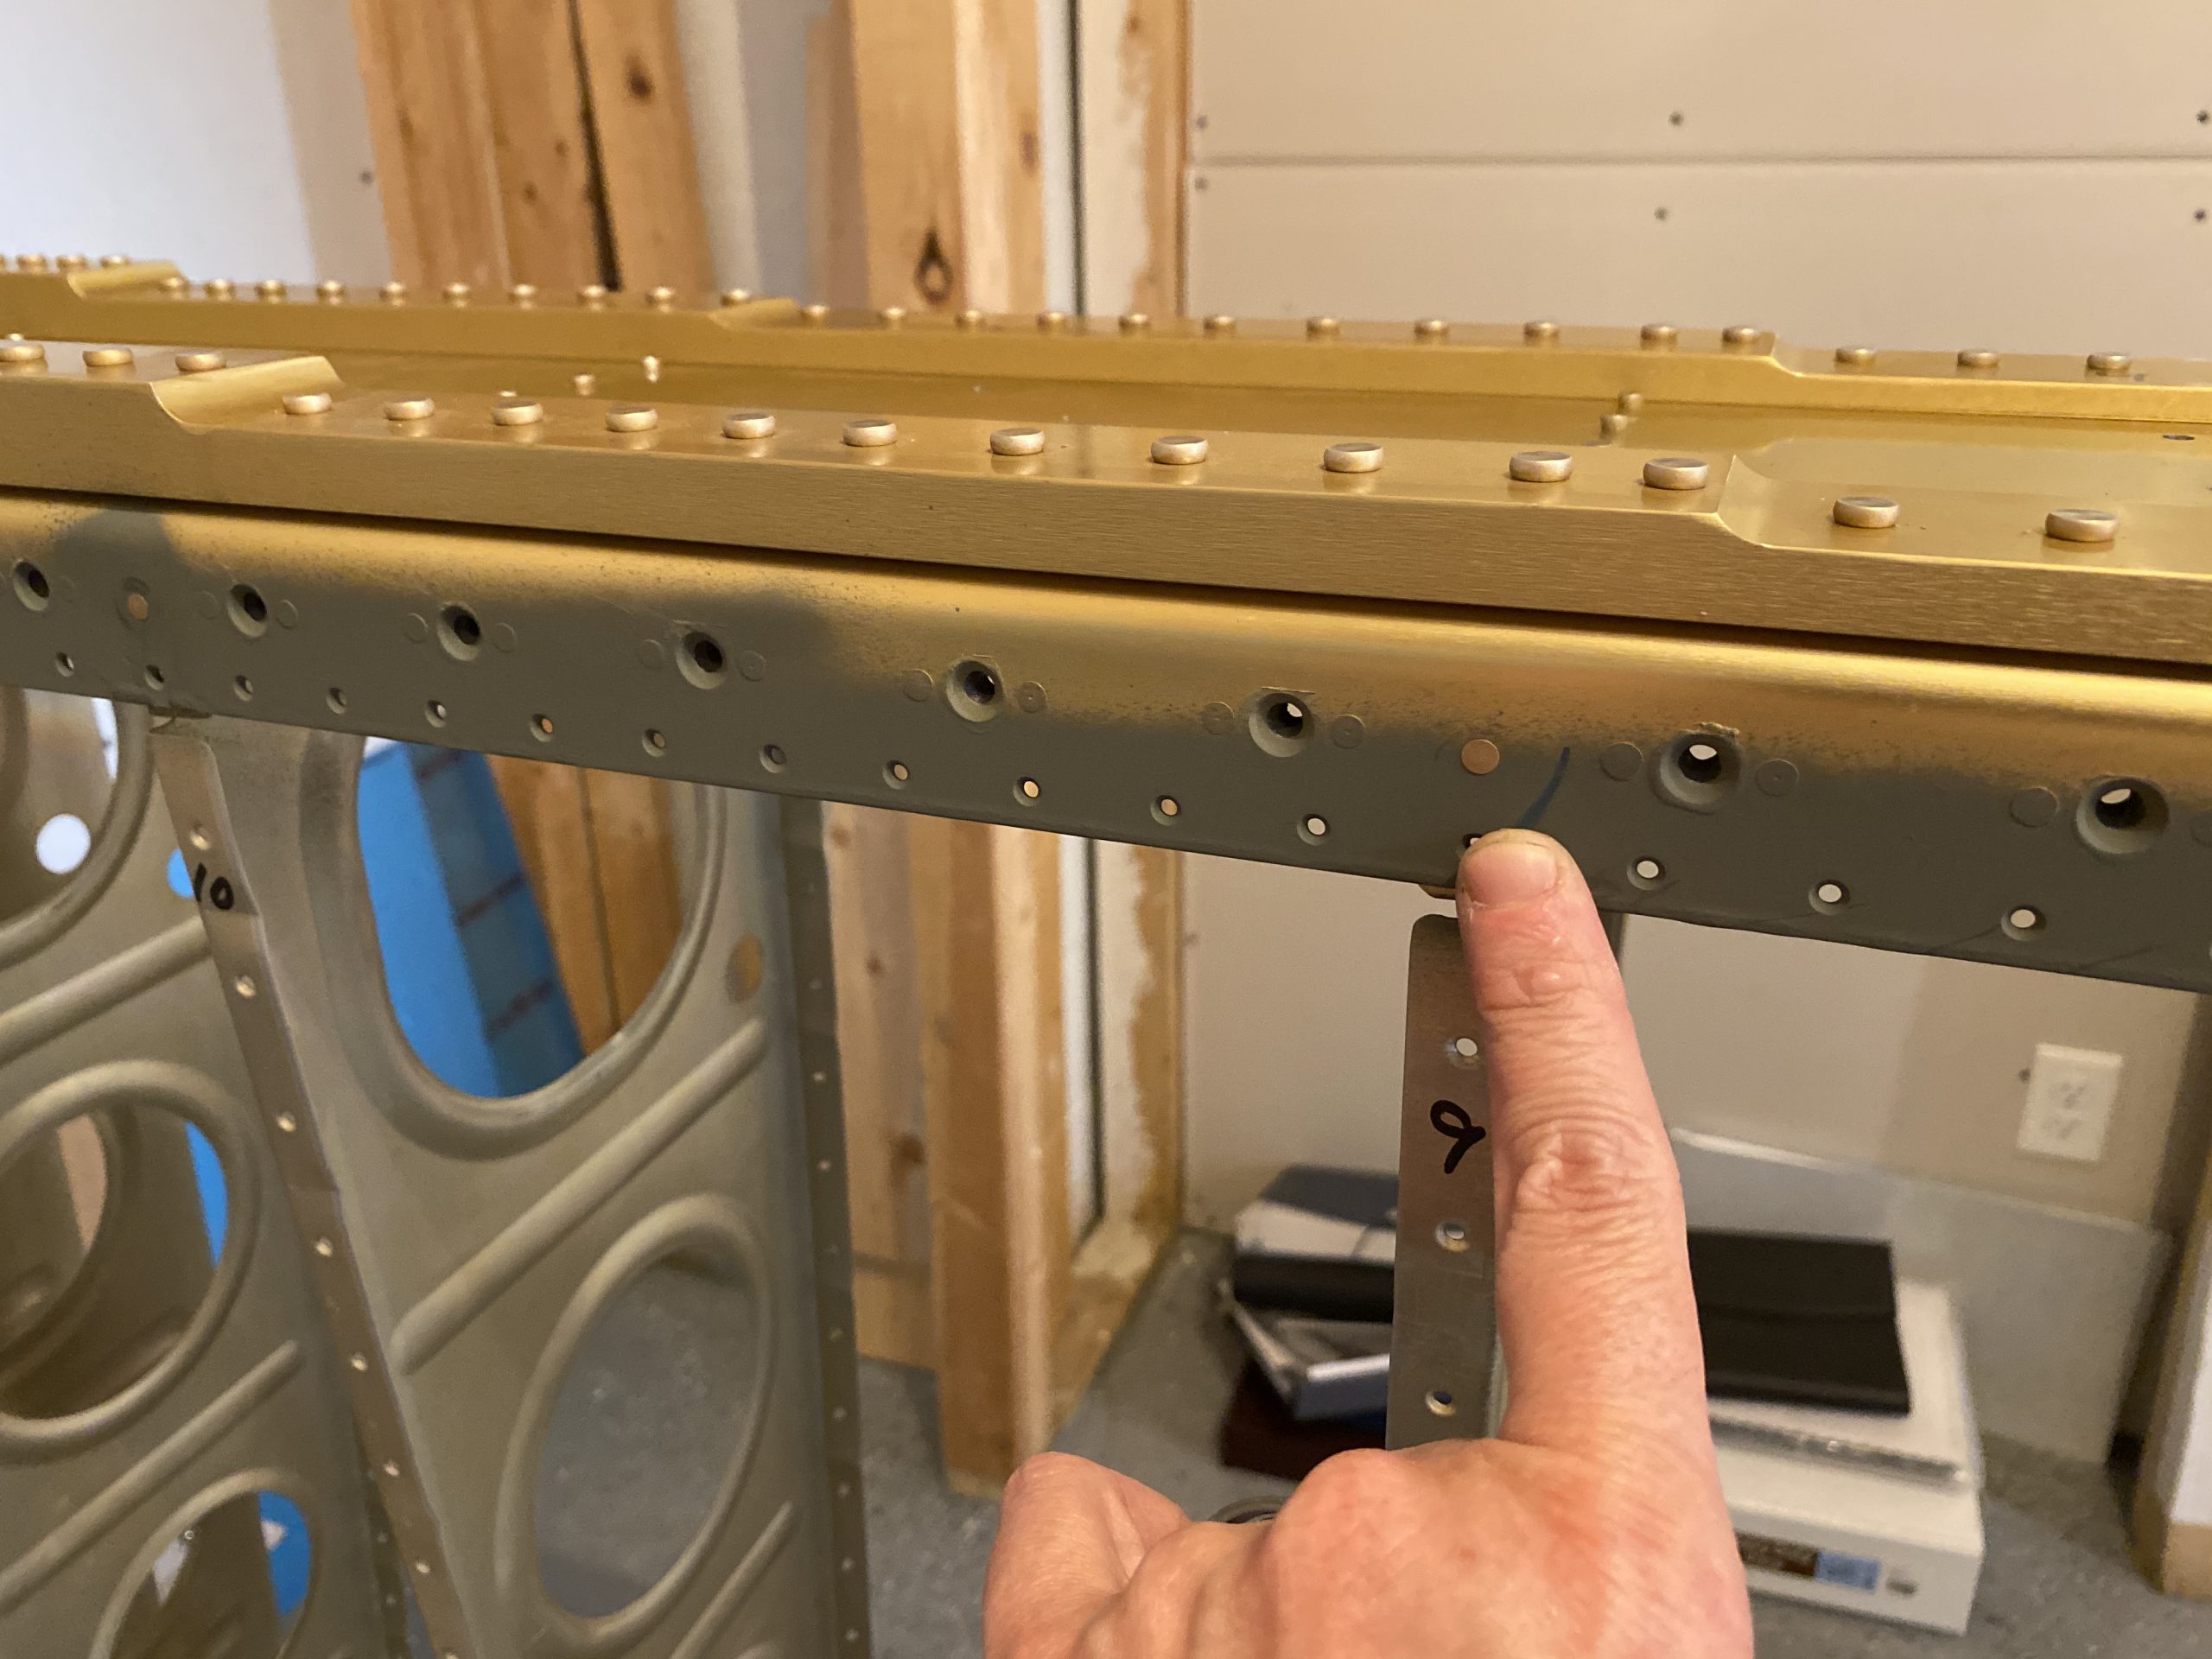
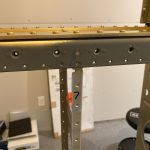
After this, it was time to rivet the leading edge onto the right wing! I double checked the twist and sag on my main spar with a digital level, and the fishing line strung across the rivet holes. Then I vacuumed all the shavings and dust from the skeleton to get it squeeky clean for final riveting. Then I sat the leading edge down onto the wing and clecoed it in place.
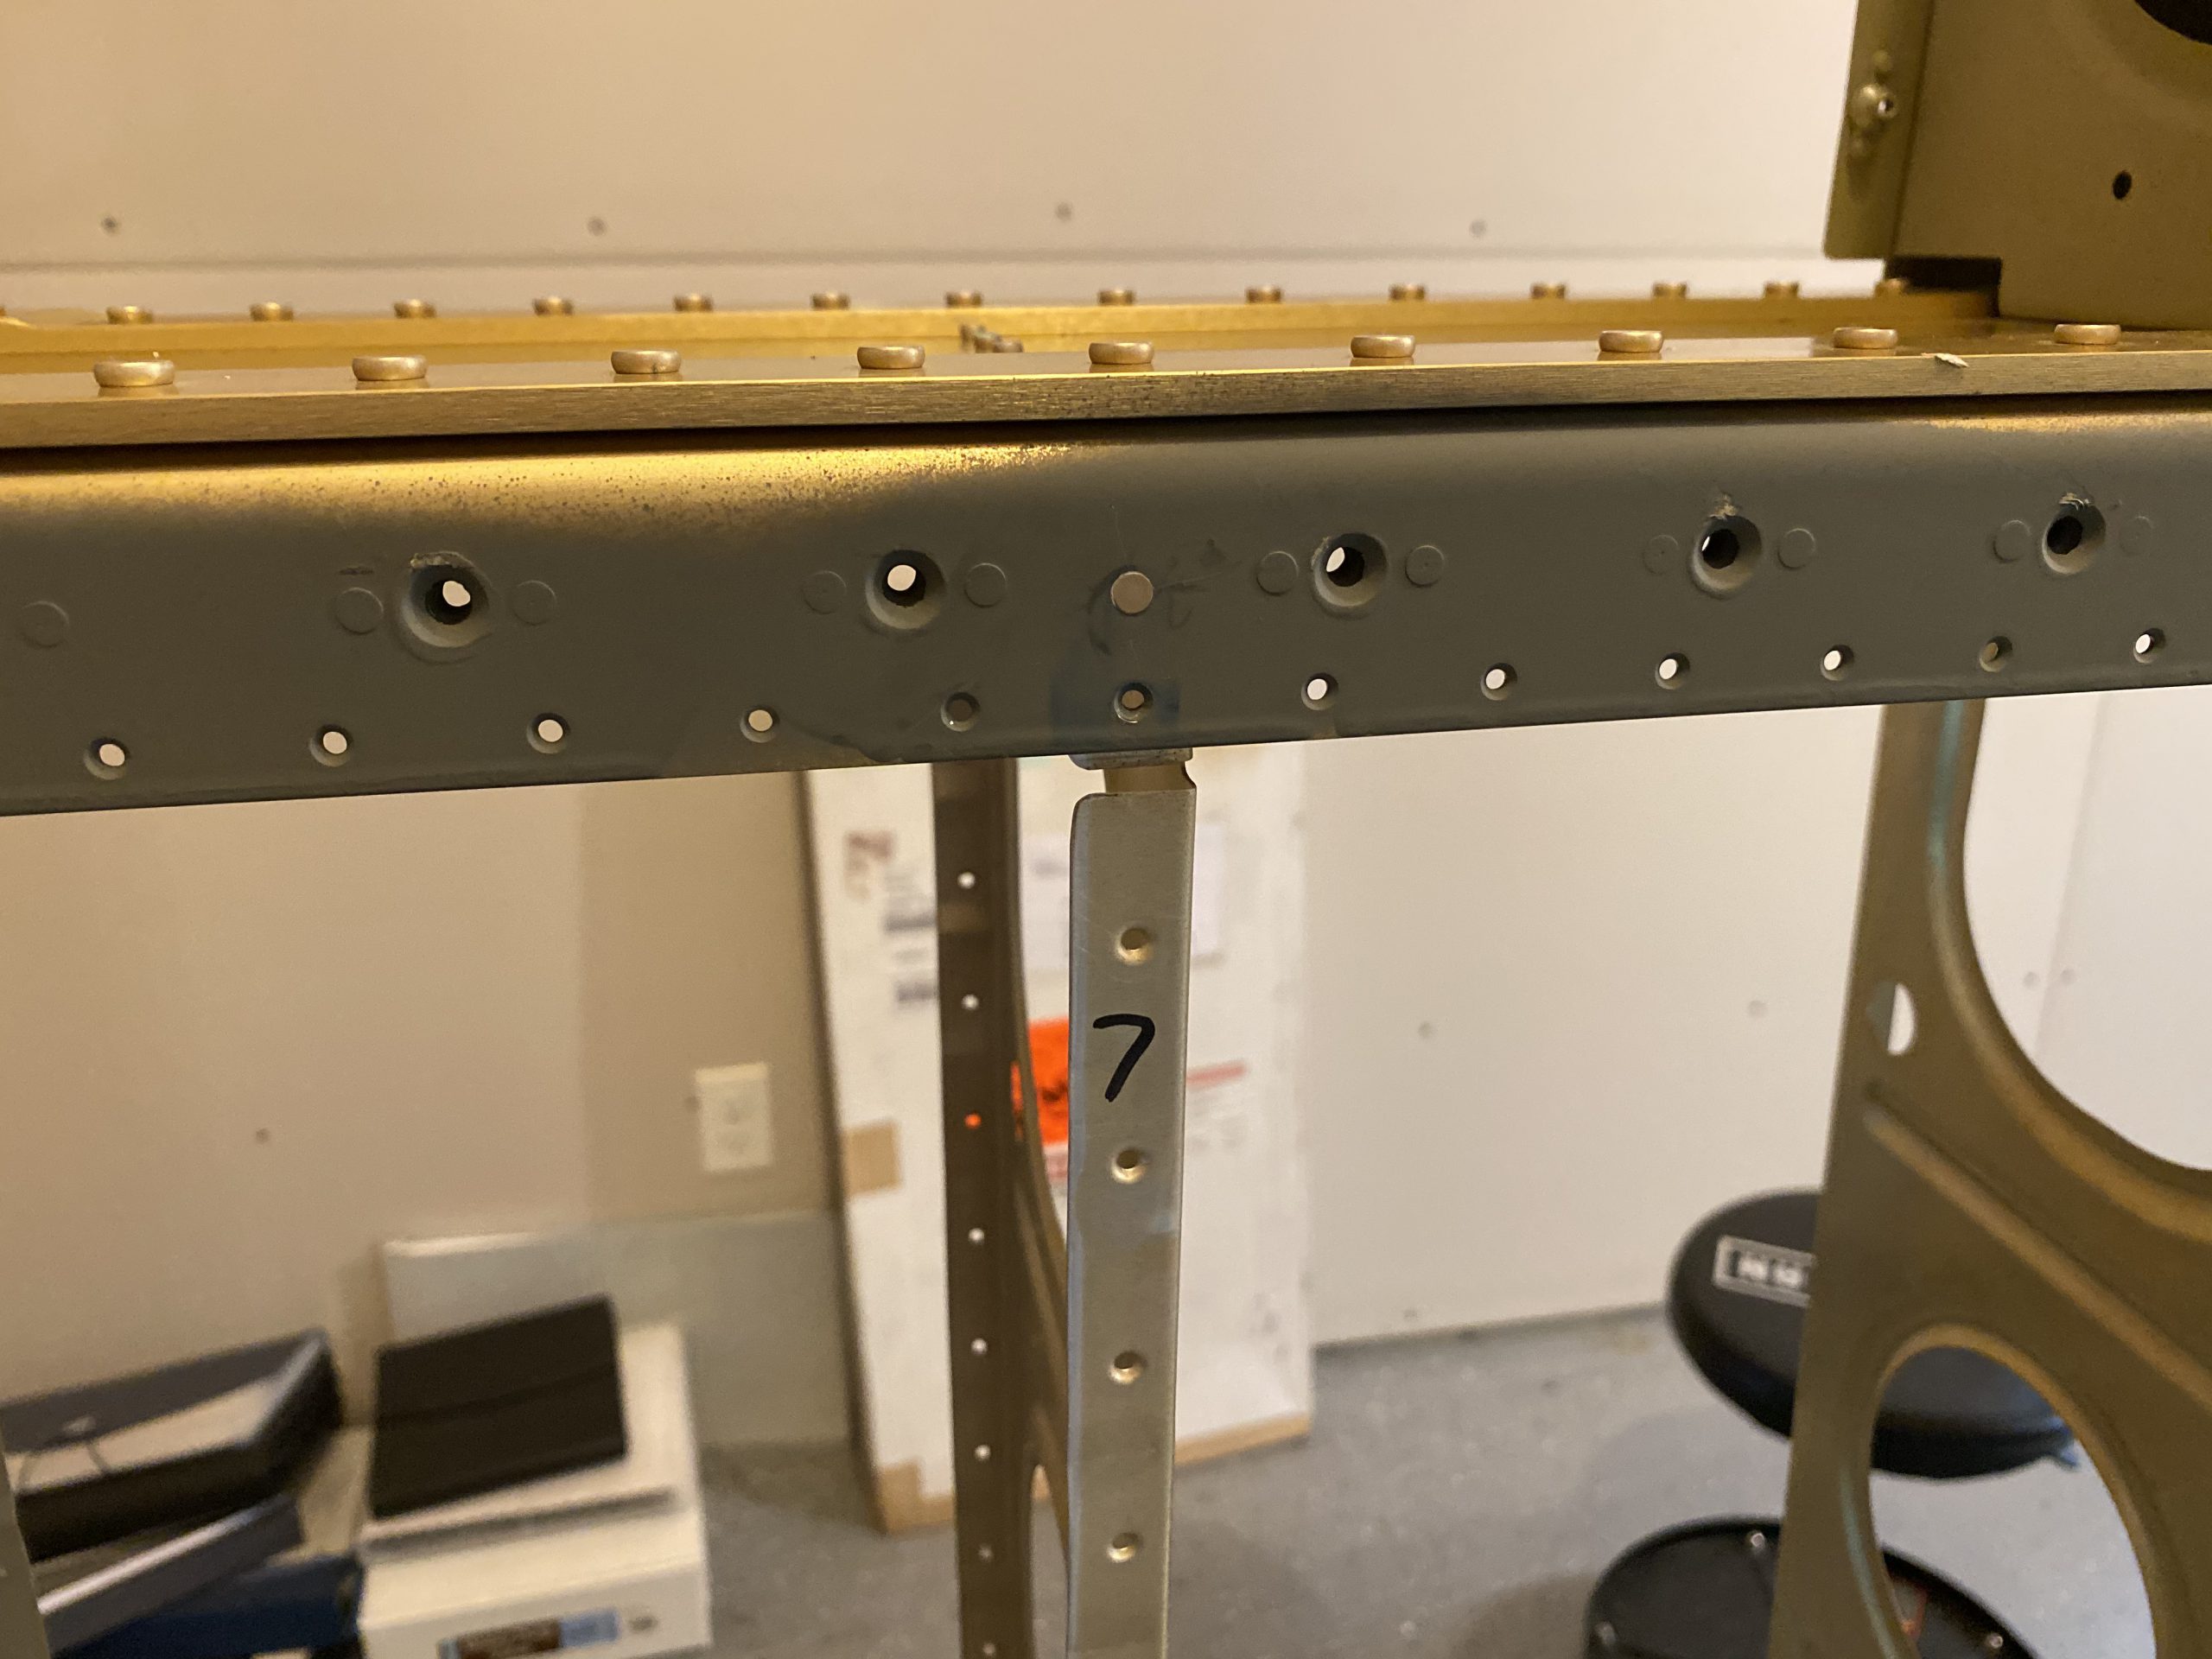
I got my wife Tammy to come down and hold the bucking bar while I set the rivets that hold the aft flanges of the leading edge to the main spar web. This made this work much easier and quicker than me trying to reach in and do it all myself, like it was on the left wing. Then she was free to go, as all I had left at this point was to rivet the skin to the main spar web, using a squeezer. Making sure that where the skin and ribs riveted together with the spar web I used the longer rivets for the extra thickness. The time lapse below captured this work close up.
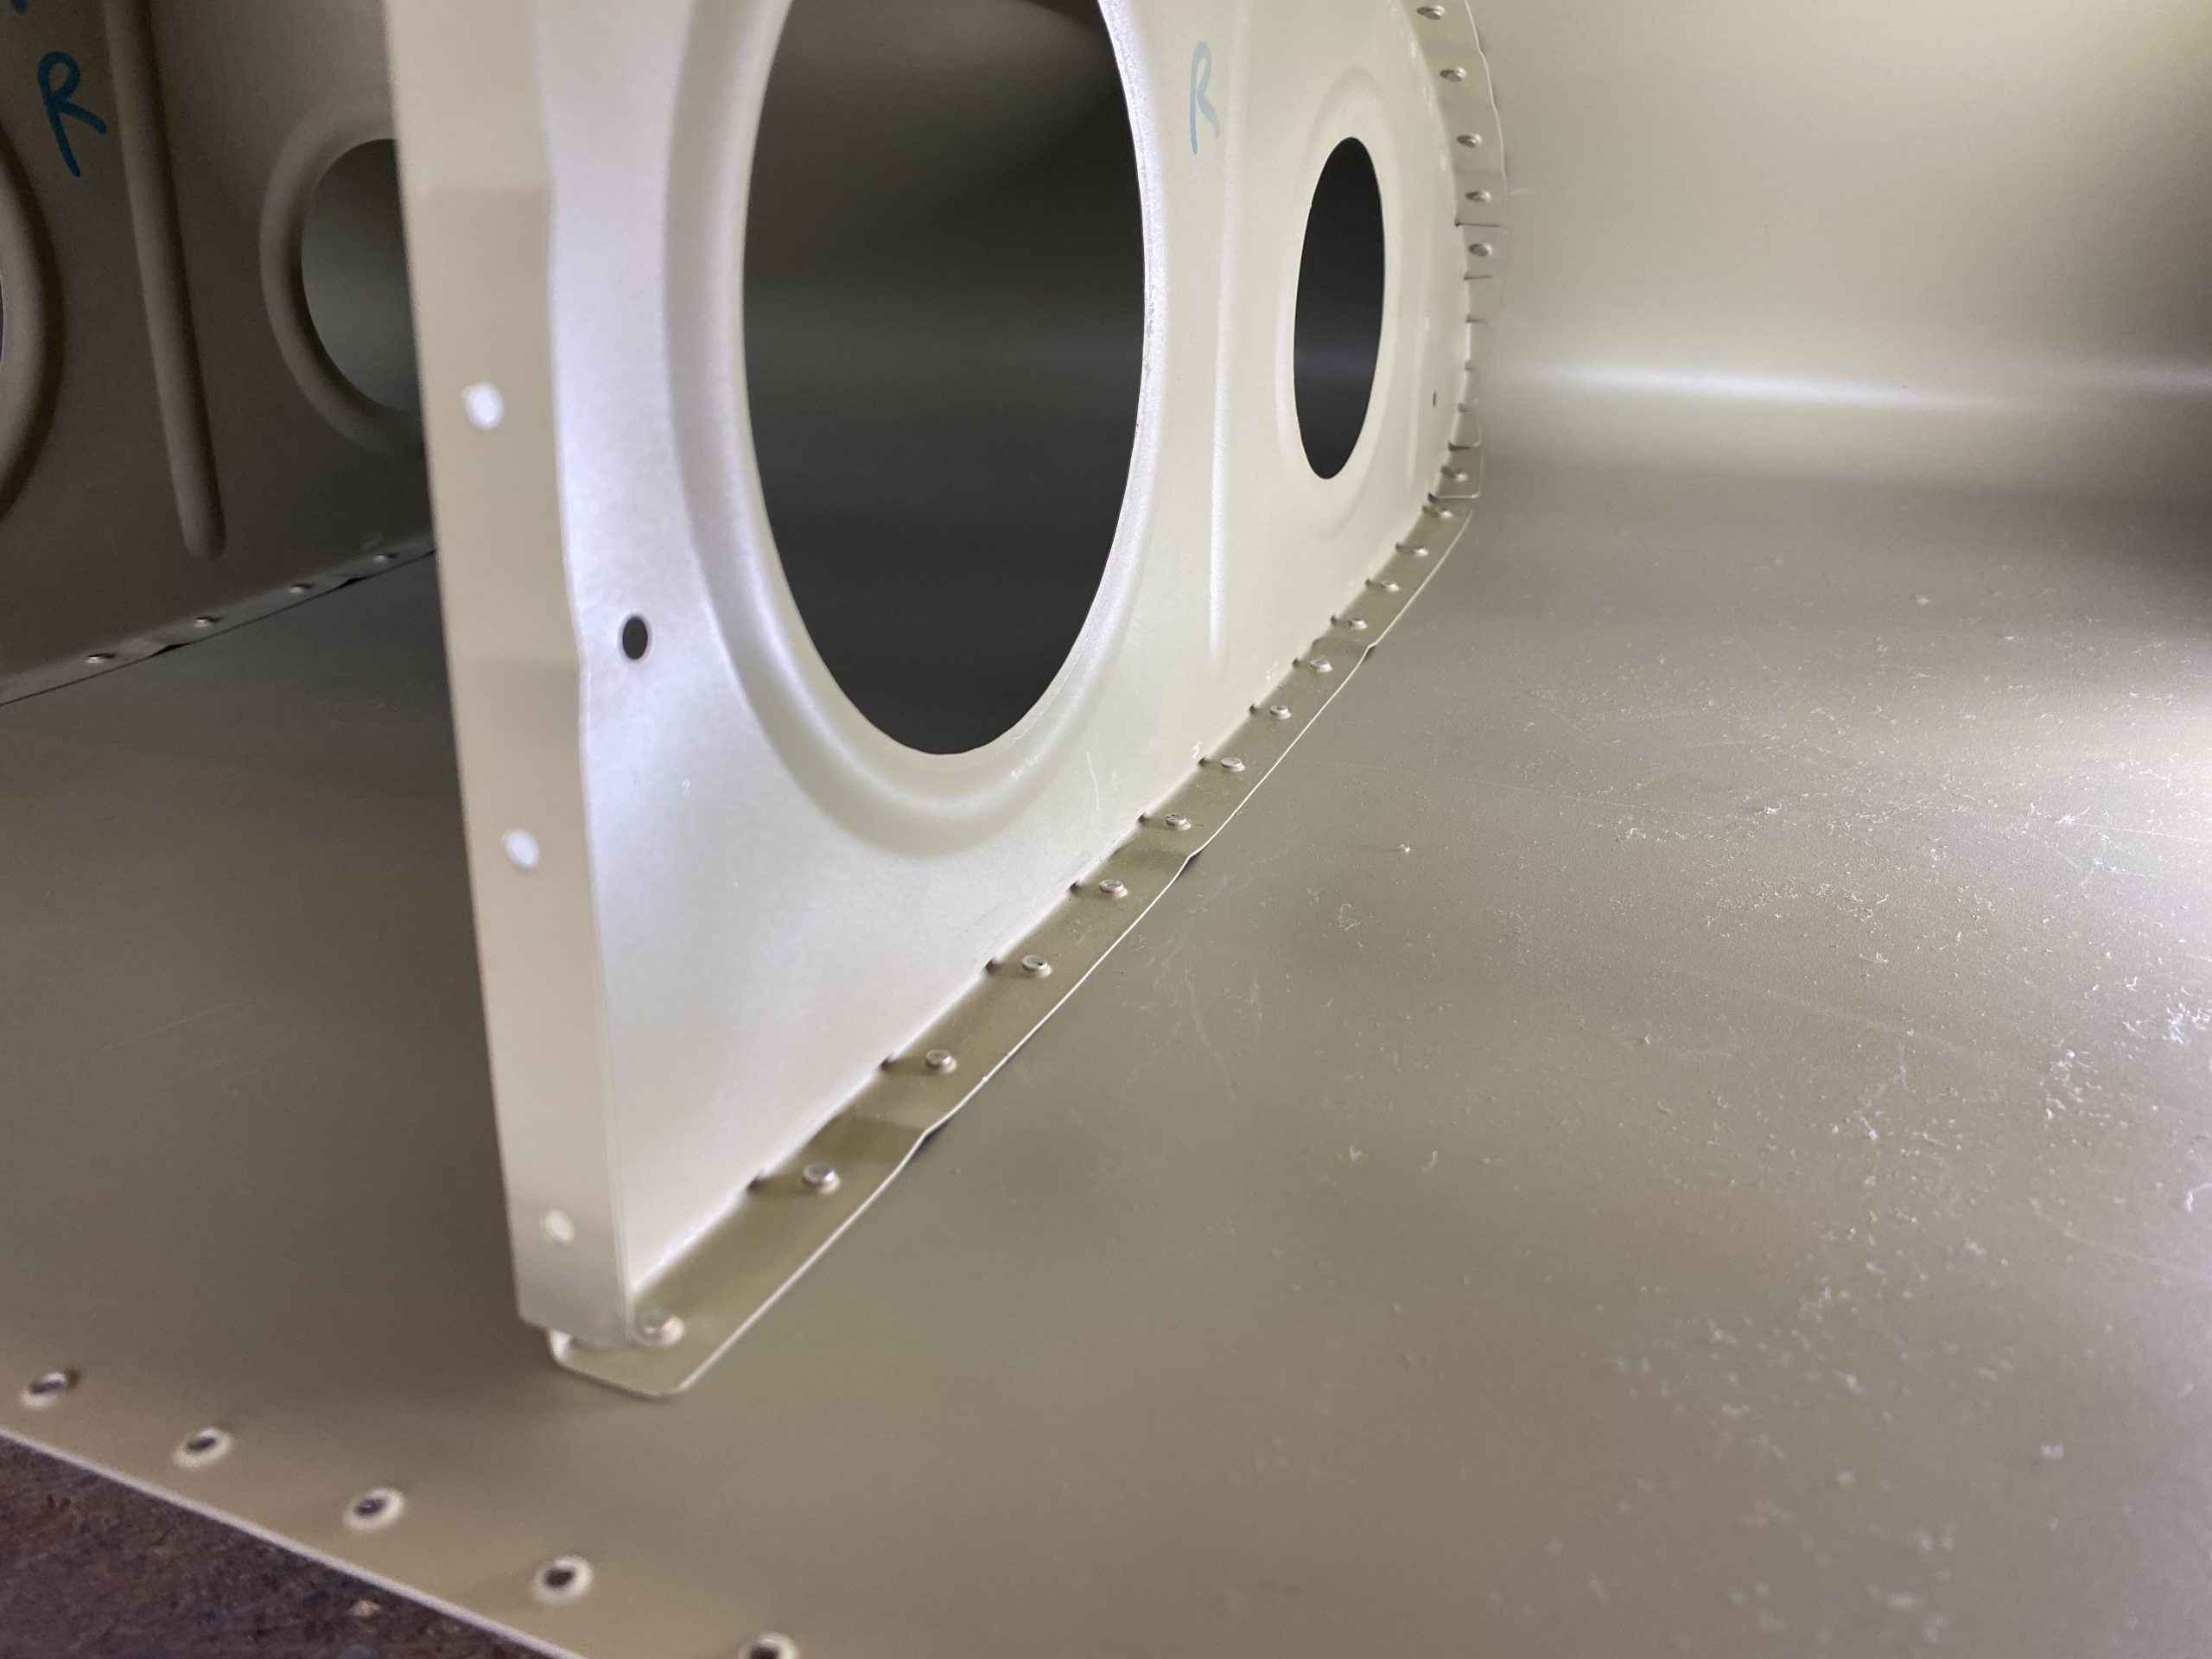
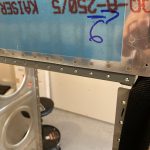
Now, my leading edge was riveted onto the wing! The next thing I did was to insert the rivets that hold the very forward section of the ribs to the main spar web, underneath the tank skins. These were AN426AD4-5 rivets, and I used the squeezer to set them.
Then I sat the tank on the leading edge to see how things fit, and I noticed I’ll need to clear some sealant around the skin where it bolts to the splice plate on the leading edge. I let this goop out a bit to far. No biggie, I’ll use a phenolic scraper to scrape just enough back to get the clearance I need. But, that gets the right wing in a good spot, and at the same progress as the left wing. I’ll need to scuff and prime the wing skins, then dimple them. Then I can proceed with the rest of the work. We’re getting close to being done on these wings!
And thats a good stopping point for today. LOTS of work in this session, and I feel like I got a bunch accomplished. I think I will change gears and deburr, scuff and prime the top wing skins so they’ll be ready to dimple and then rivet on. I have ordered my pitot mast mount from Stein Air, and I decided to go with a Gretz Mount. I’ll do a session just installing the pitot mast as soon as it gets here, so I’ll leave the top skin off the left wing until then. This is where the build starts to get fun!
Google Photos Link:
-
IMG_2472
-
IMG_2473
-
IMG_2474
-
IMG_2475
-
IMG_2476
-
IMG_2477
-
IMG_2478
-
IMG_2479
-
 IMG_2480
 -
IMG_2481
-
 IMG_2482
 -
IMG_2483
-
IMG_2484


Hours Worked: 4.0