


go to site With the right elevator all closed up, one of the last remaining steps is to bend the leading edge. This is a bit tricky to do, and I am using the tried and true method of using a wood dowel rod and some strong Gorilla Tape to get the bend just right. I started off tonights build by first breaking the top edges of the leading edge using an edge break roller tool. This little tool has two rollers welded to the end of a pair of vise grips. You insert the skin edge and gently pull it along the edge, creating a slight bend / break along the edge. This allows the lap joint between the top and bottom skins to fit snug together once they are riveted.
source site
https://gottbs.com/chemical-products-laboratory/ 
enter site Then, I began by bending the smaller section of leading edge on the outboard side. I bent the bottom first, and then the top by securing a large section of gorilla tape to the leading edge, and wrapping it around a dowel rod. Then I used some channel locks to slowly rotate the dowel rod and curled the leading edge ever so gently to get the bend angle. Once I had the top skin done, I done the bottom skin. Then it was time to get a bit physical with the metal, and form the remainder of the shape with my hands by brute force and squeezing. Eventually, I had the leading edge of the smaller section where I like it, and clecoed it together.
https://londonplaywrightsblog.com/masterclass-theatre-royal-haymarket/Buy Soma Online I moved on to the remaining sections of leading edge, but this time I decided to bend the top section first, followed by the bottom section. This seemed to make the lap joint much tighter and more rounded. Once I had all the bends done, I clecoed everything in place. The plans has us drill the #40 holes to a #30 in order to fit the AD-41-ABS blind rivets, so I removed one cleco at a time and drilled to proper size, replacing it with a 1/8 cleco.
here follow url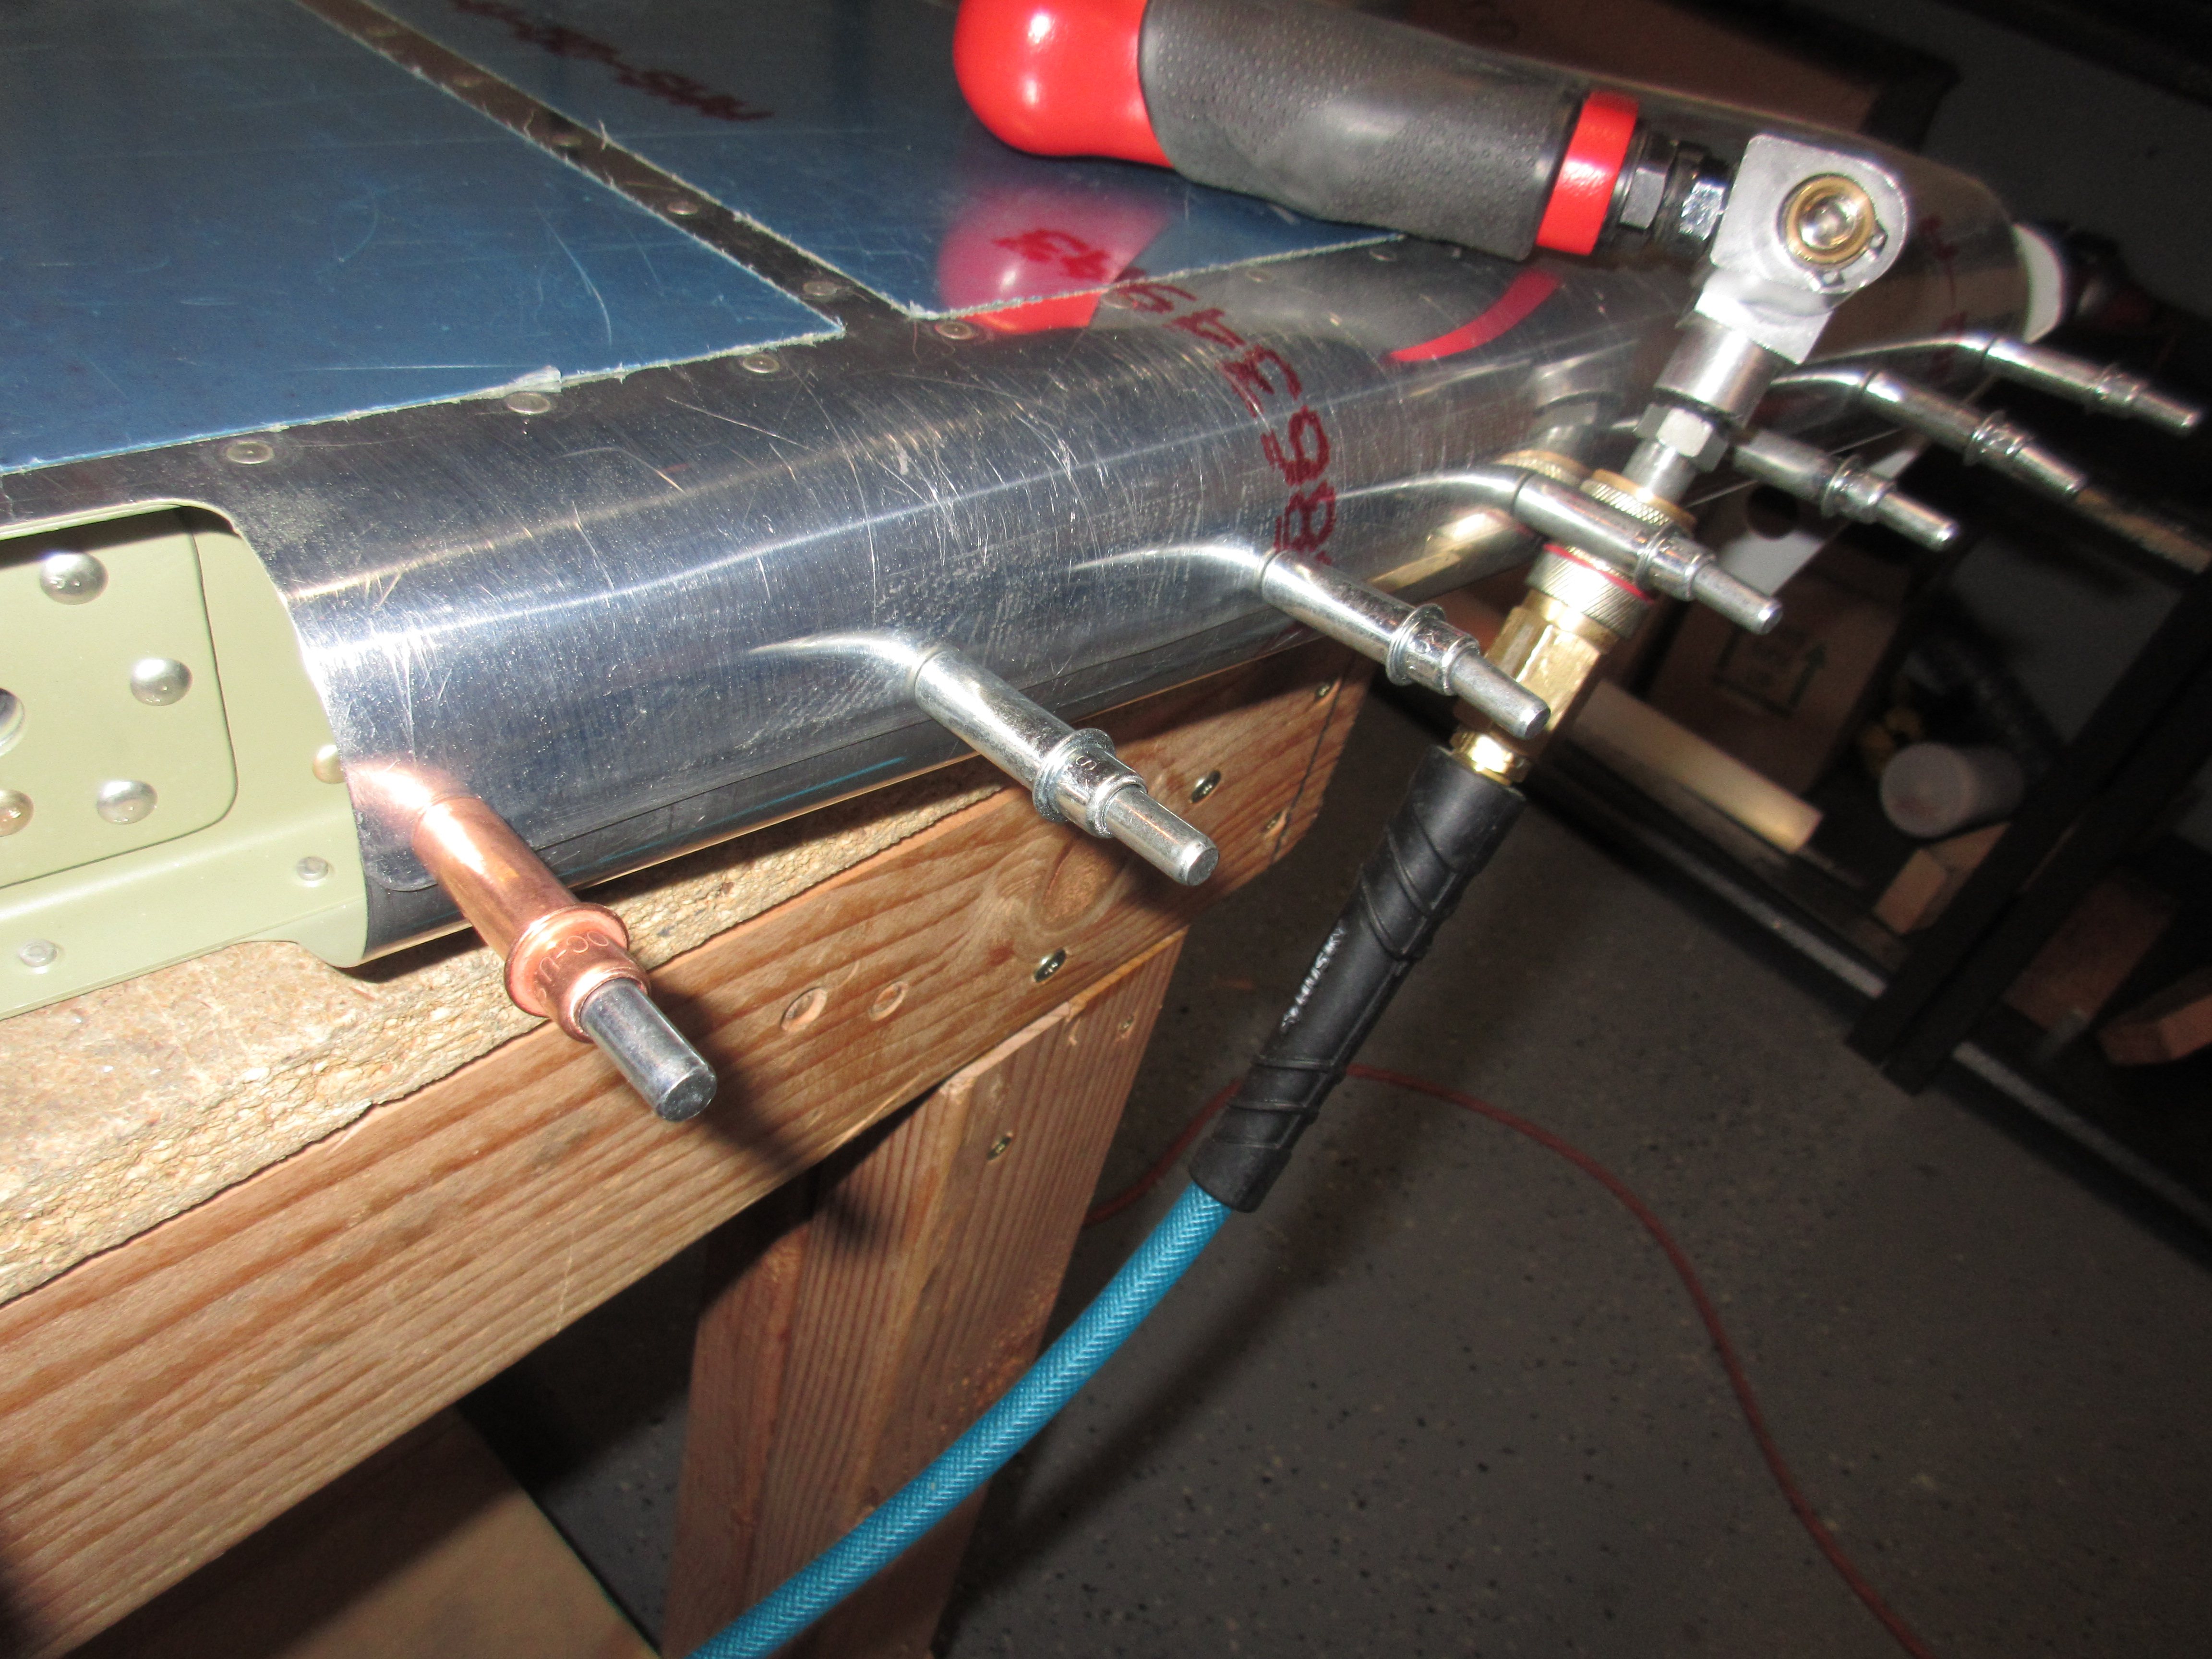
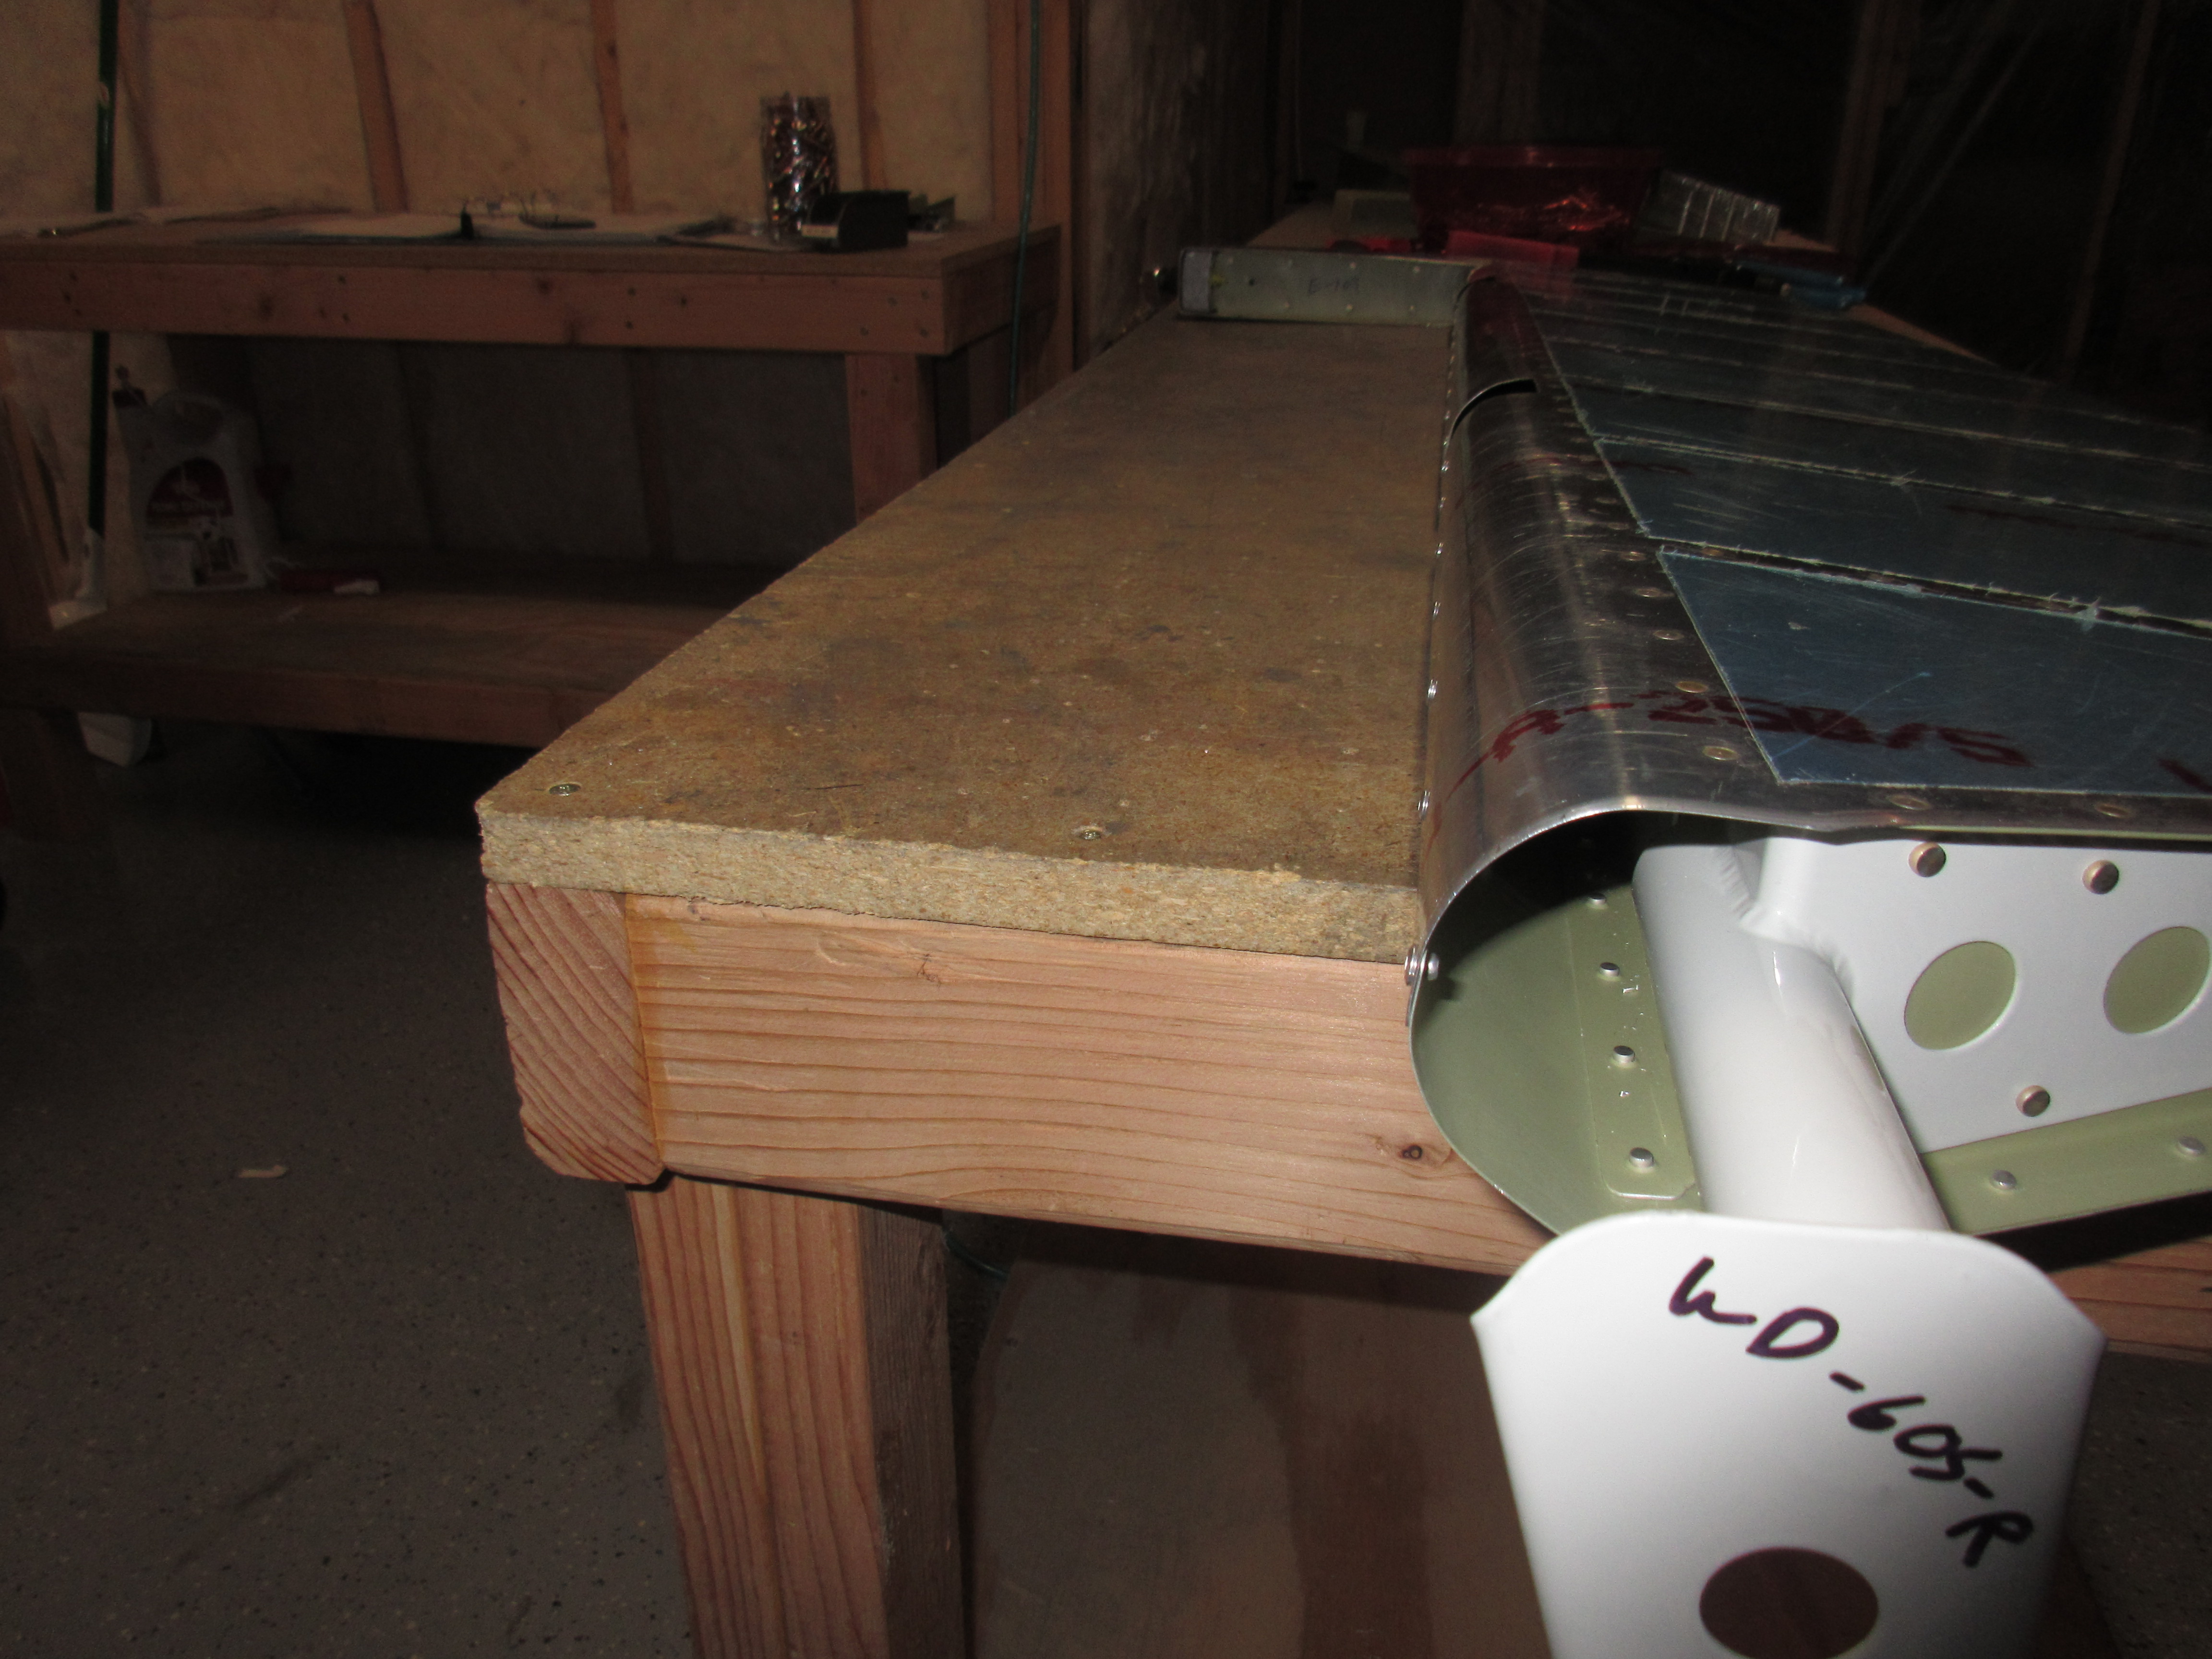
enter site Finally, I had all the bends where I wanted them, and the holes properly sized, I used my pop rivet tool to set all of the AD-41-ABS blind rivets into their holes, one by one leaving the clecos in place to help hold the metal to its shape. It didn’t quite turn out perfect, but I am happy with how it looks.
go here click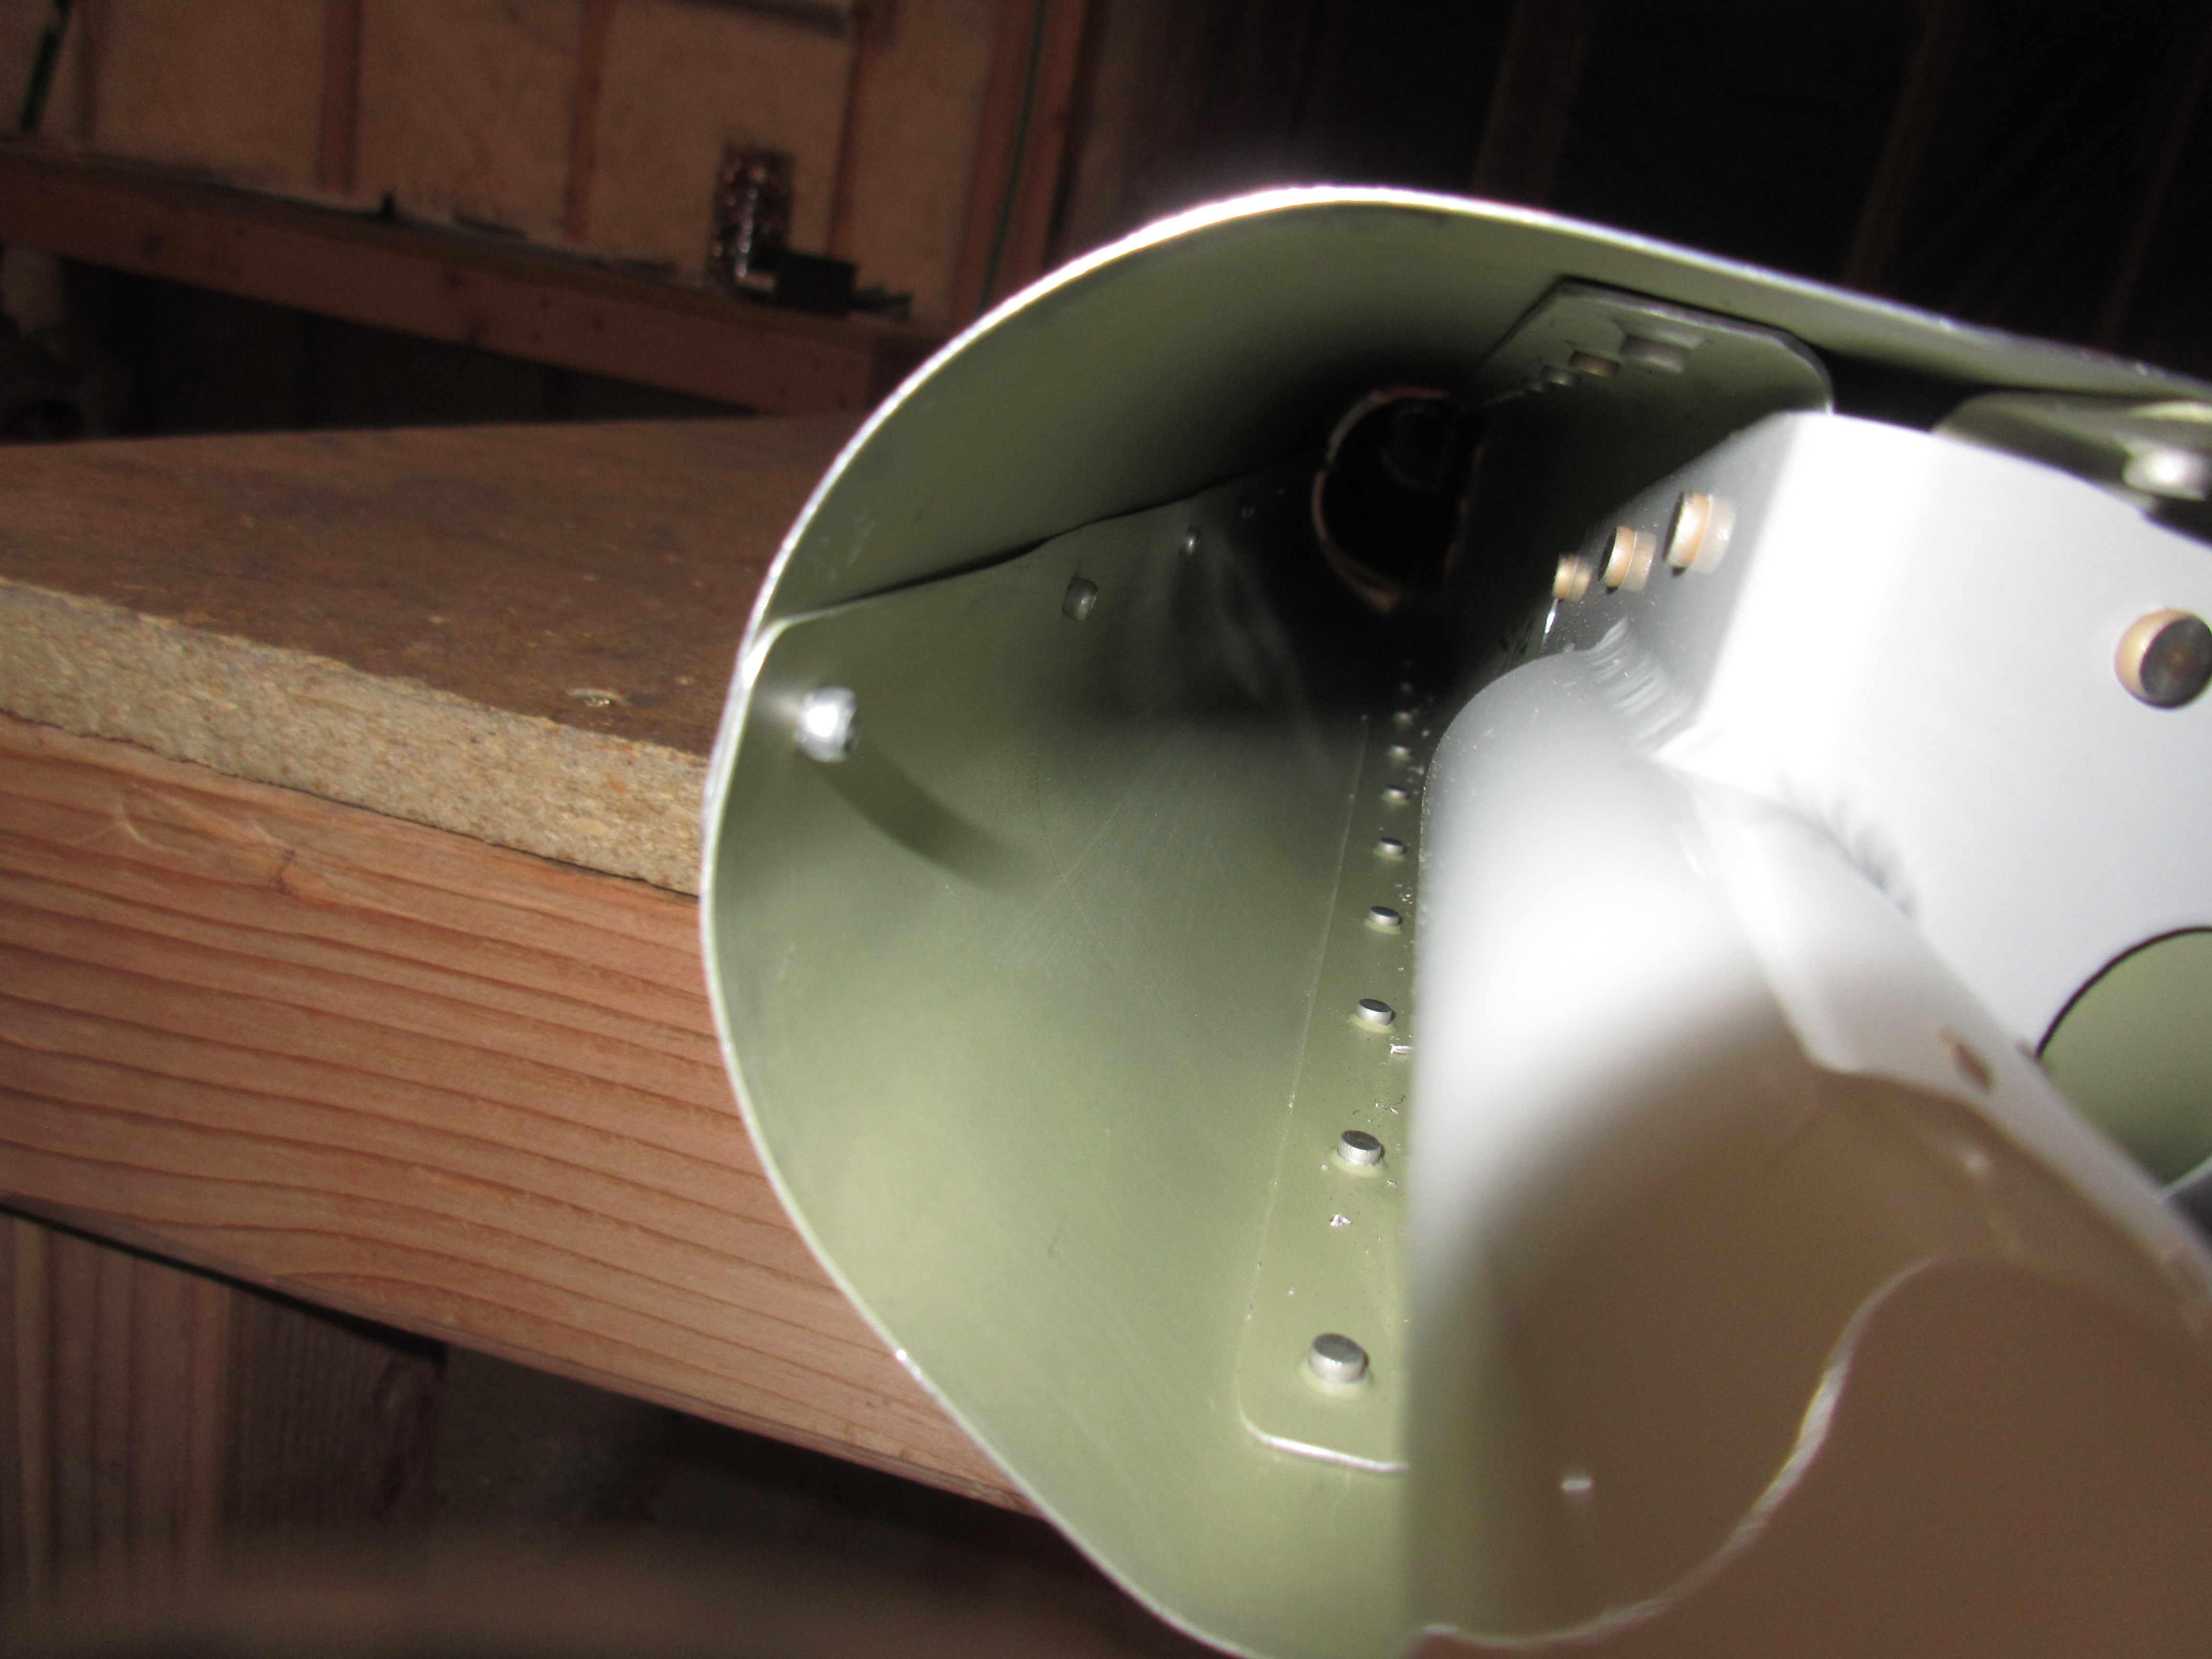


https://www.fogliandpartners.com/elena-baron/ The last thing I did was to insert the rod ends into the nut plates. I do not have the home made tool to get these to the right depth, but thats something for another session. For now, I just threaded on the AN316-6 jam nuts to the MD3614M rod ends , and then screwed them into the nutplates on the spar. I’ll come back and adjust these to the right depth and torques later on. I have made a note in my plans to do this.
Buy Alprazolam No Prescription Eszopiclone Lunesta Buy Online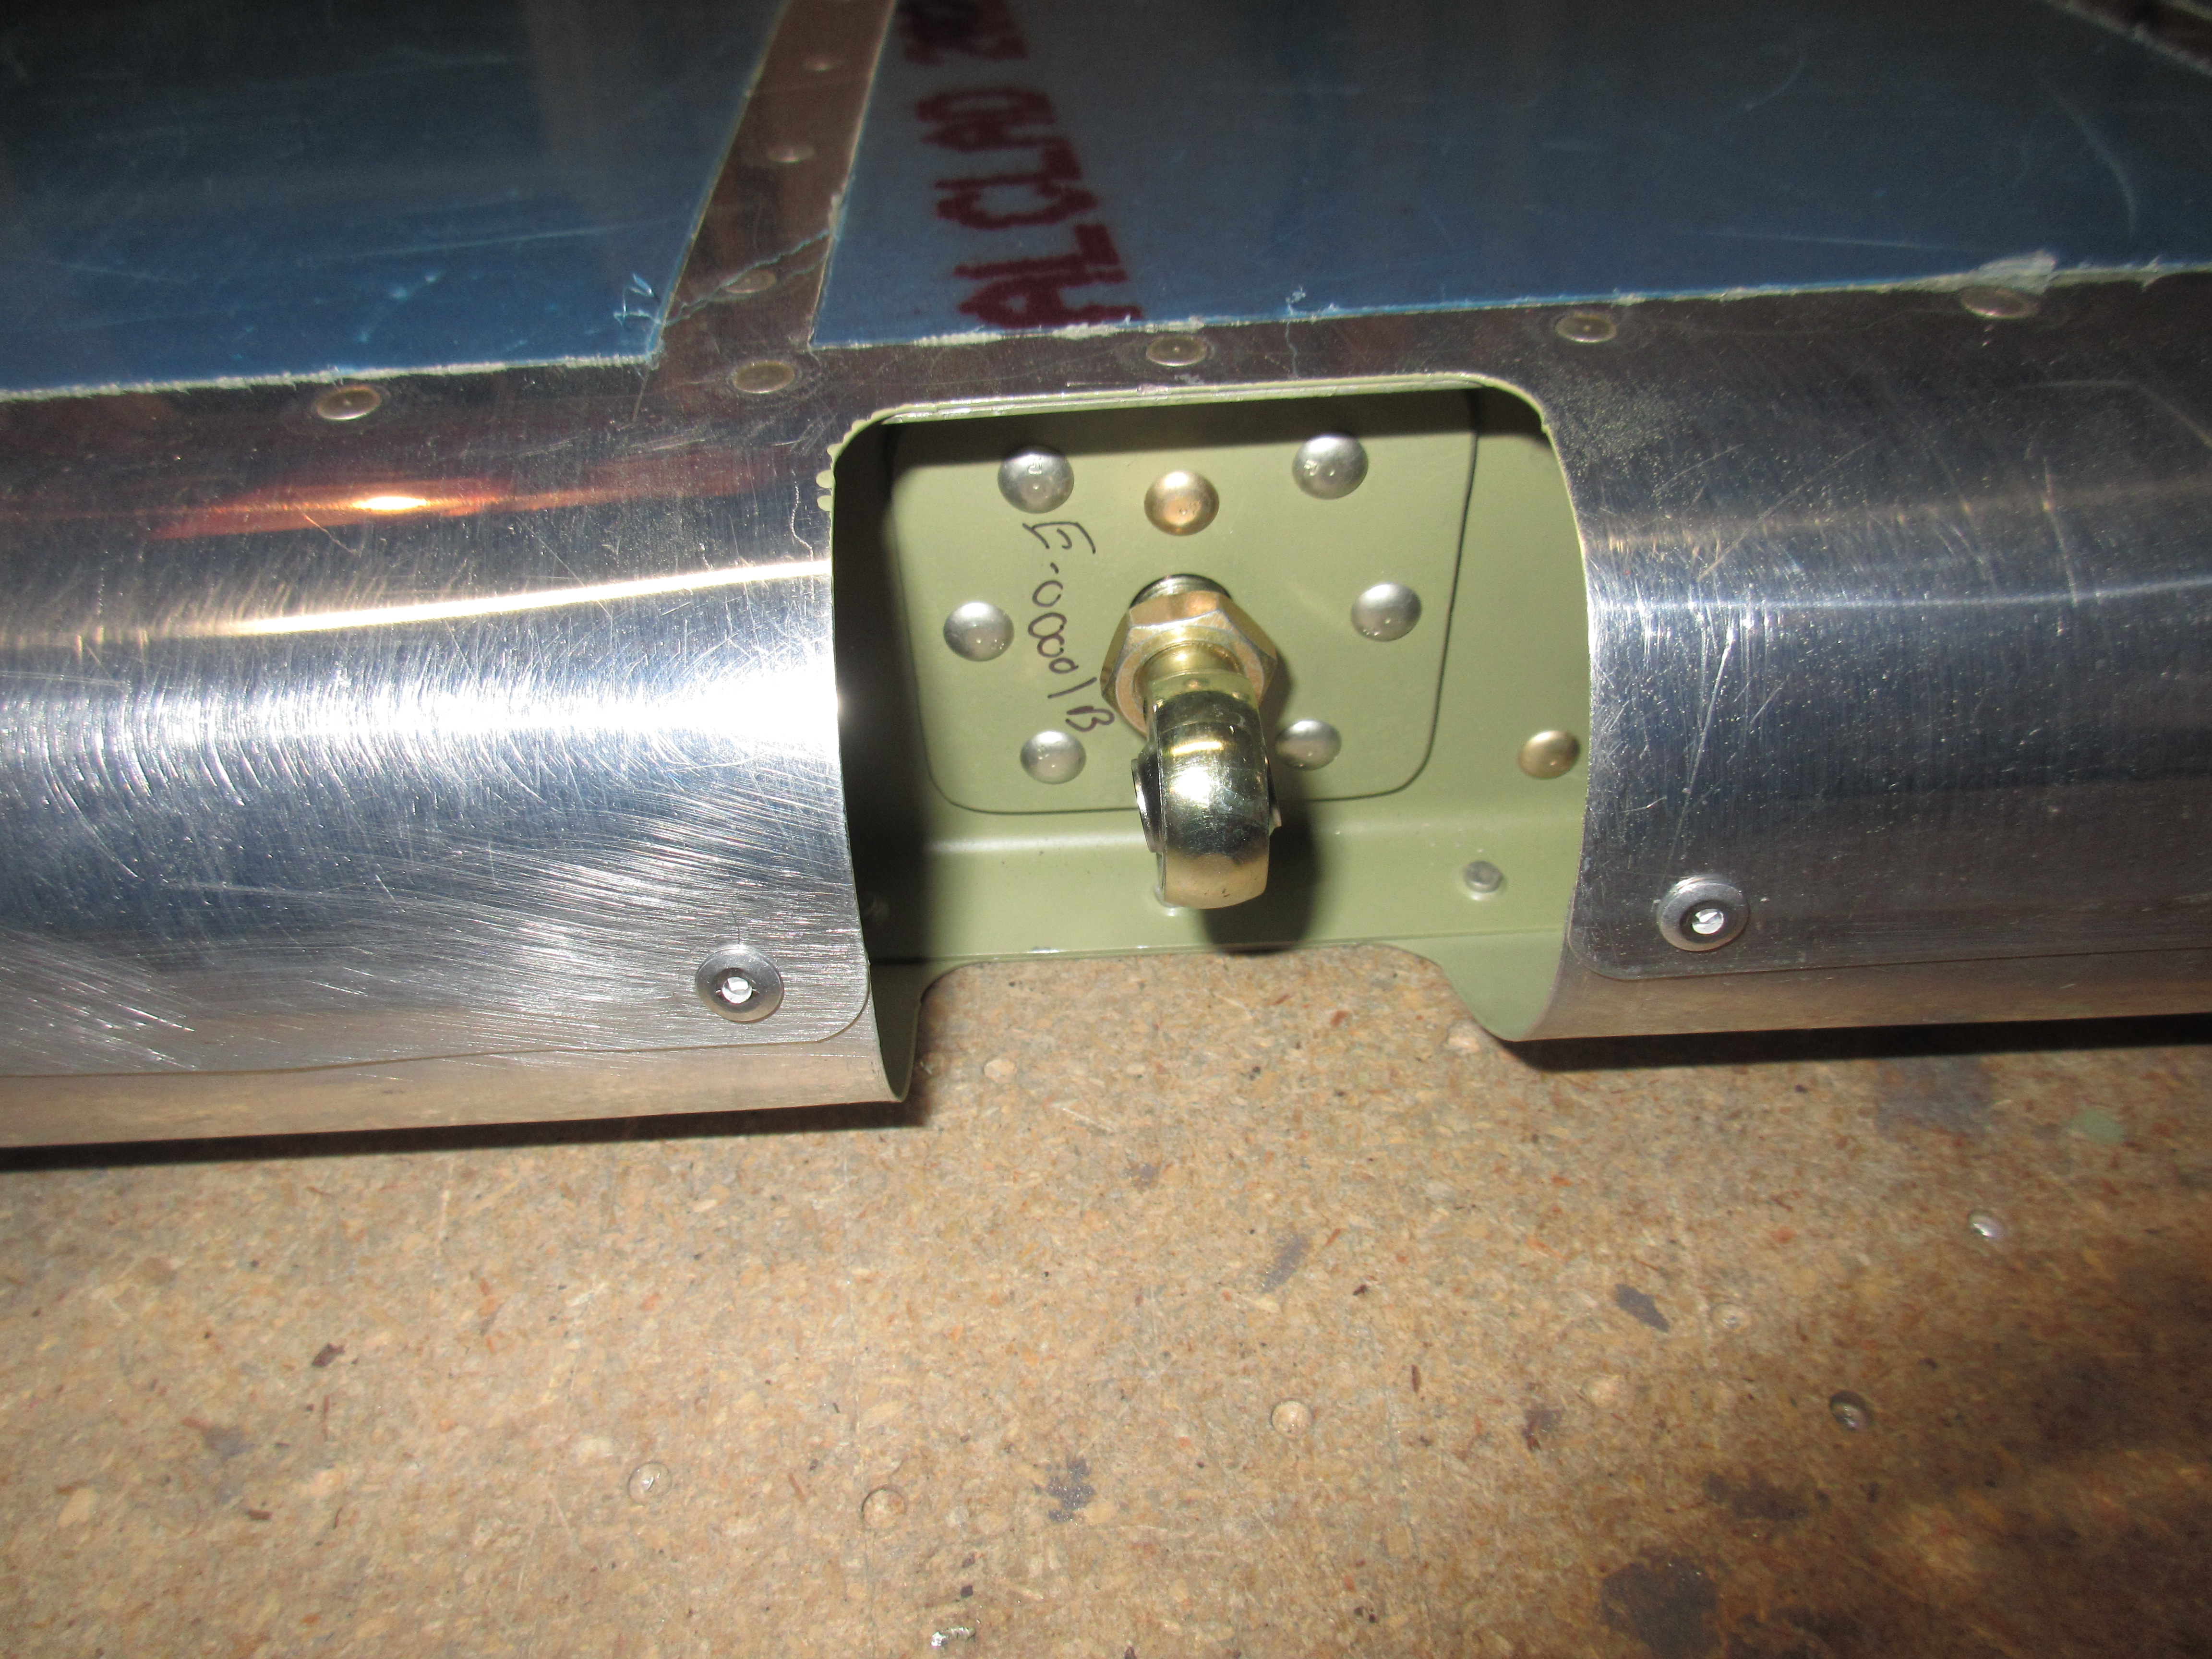
Order Klonopin Online That’s all for tonight. A total of about 2 hours getting these bends just right. I was hoping to knock both elevators out tonight, but only got one. The other will have to wait till next time. Here’s the photos from tonight:
follow sitehttps://londonplaywrightsblog.com/elementor-14541/ This slideshow requires JavaScript.
go here I also took a time lapse of this work, and posted to Youtube:
https://arquine.com/horizontes-de-sentido/ Google Photos Link: https://goo.gl/photos/6Vi1DWoDC3t9vPEk8
Hours Worked: 2