go I wasn’t quite sure what category to put this work under at first, but I soon realized I spent ALOT of time on the fuel tank portion, so I’ll put it under there. I needed to get the scarf joint done on the two wing skins where they overlap, but I also needed the fuel tank secured in order to judge how well the scarf joint fits at the skin overlap, fuel tank, and leading edge intersections. I did capture a timelapse, but it doesn’t show much of the tank attach work. Here it is in any case.
https://www.brdnug.org/jobs/https://detoxofcolorado.com/referring-professionals/
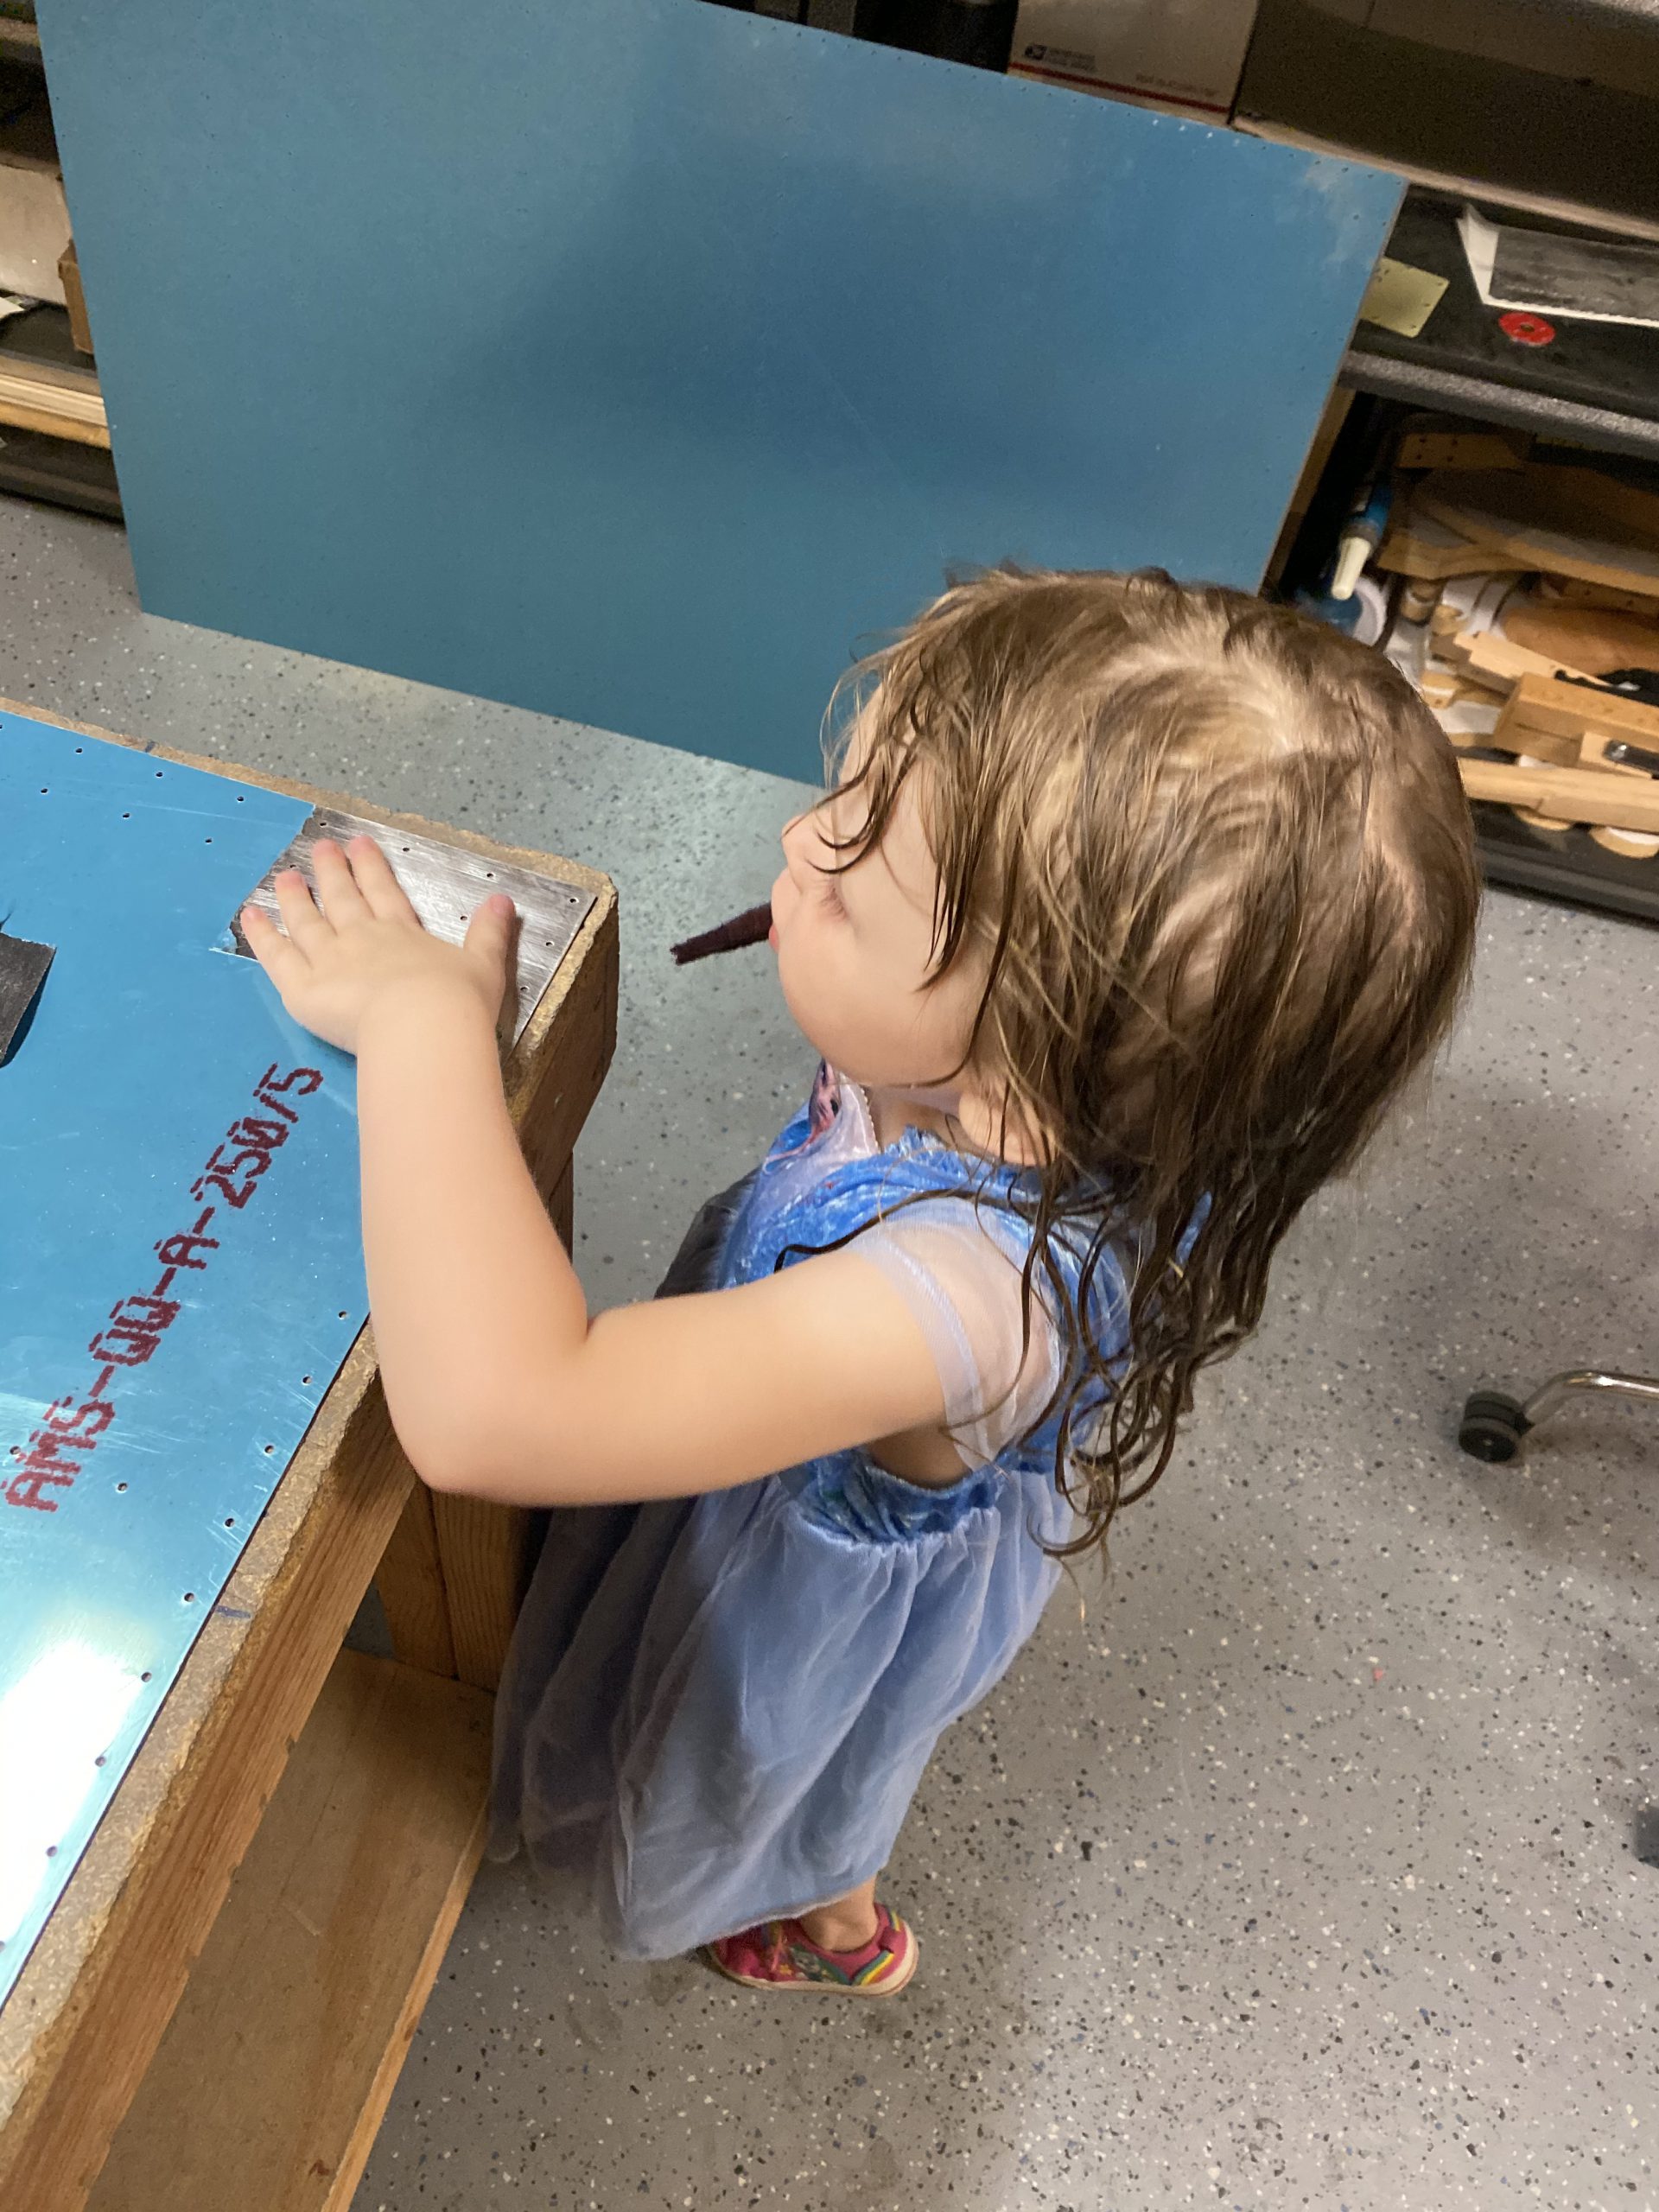
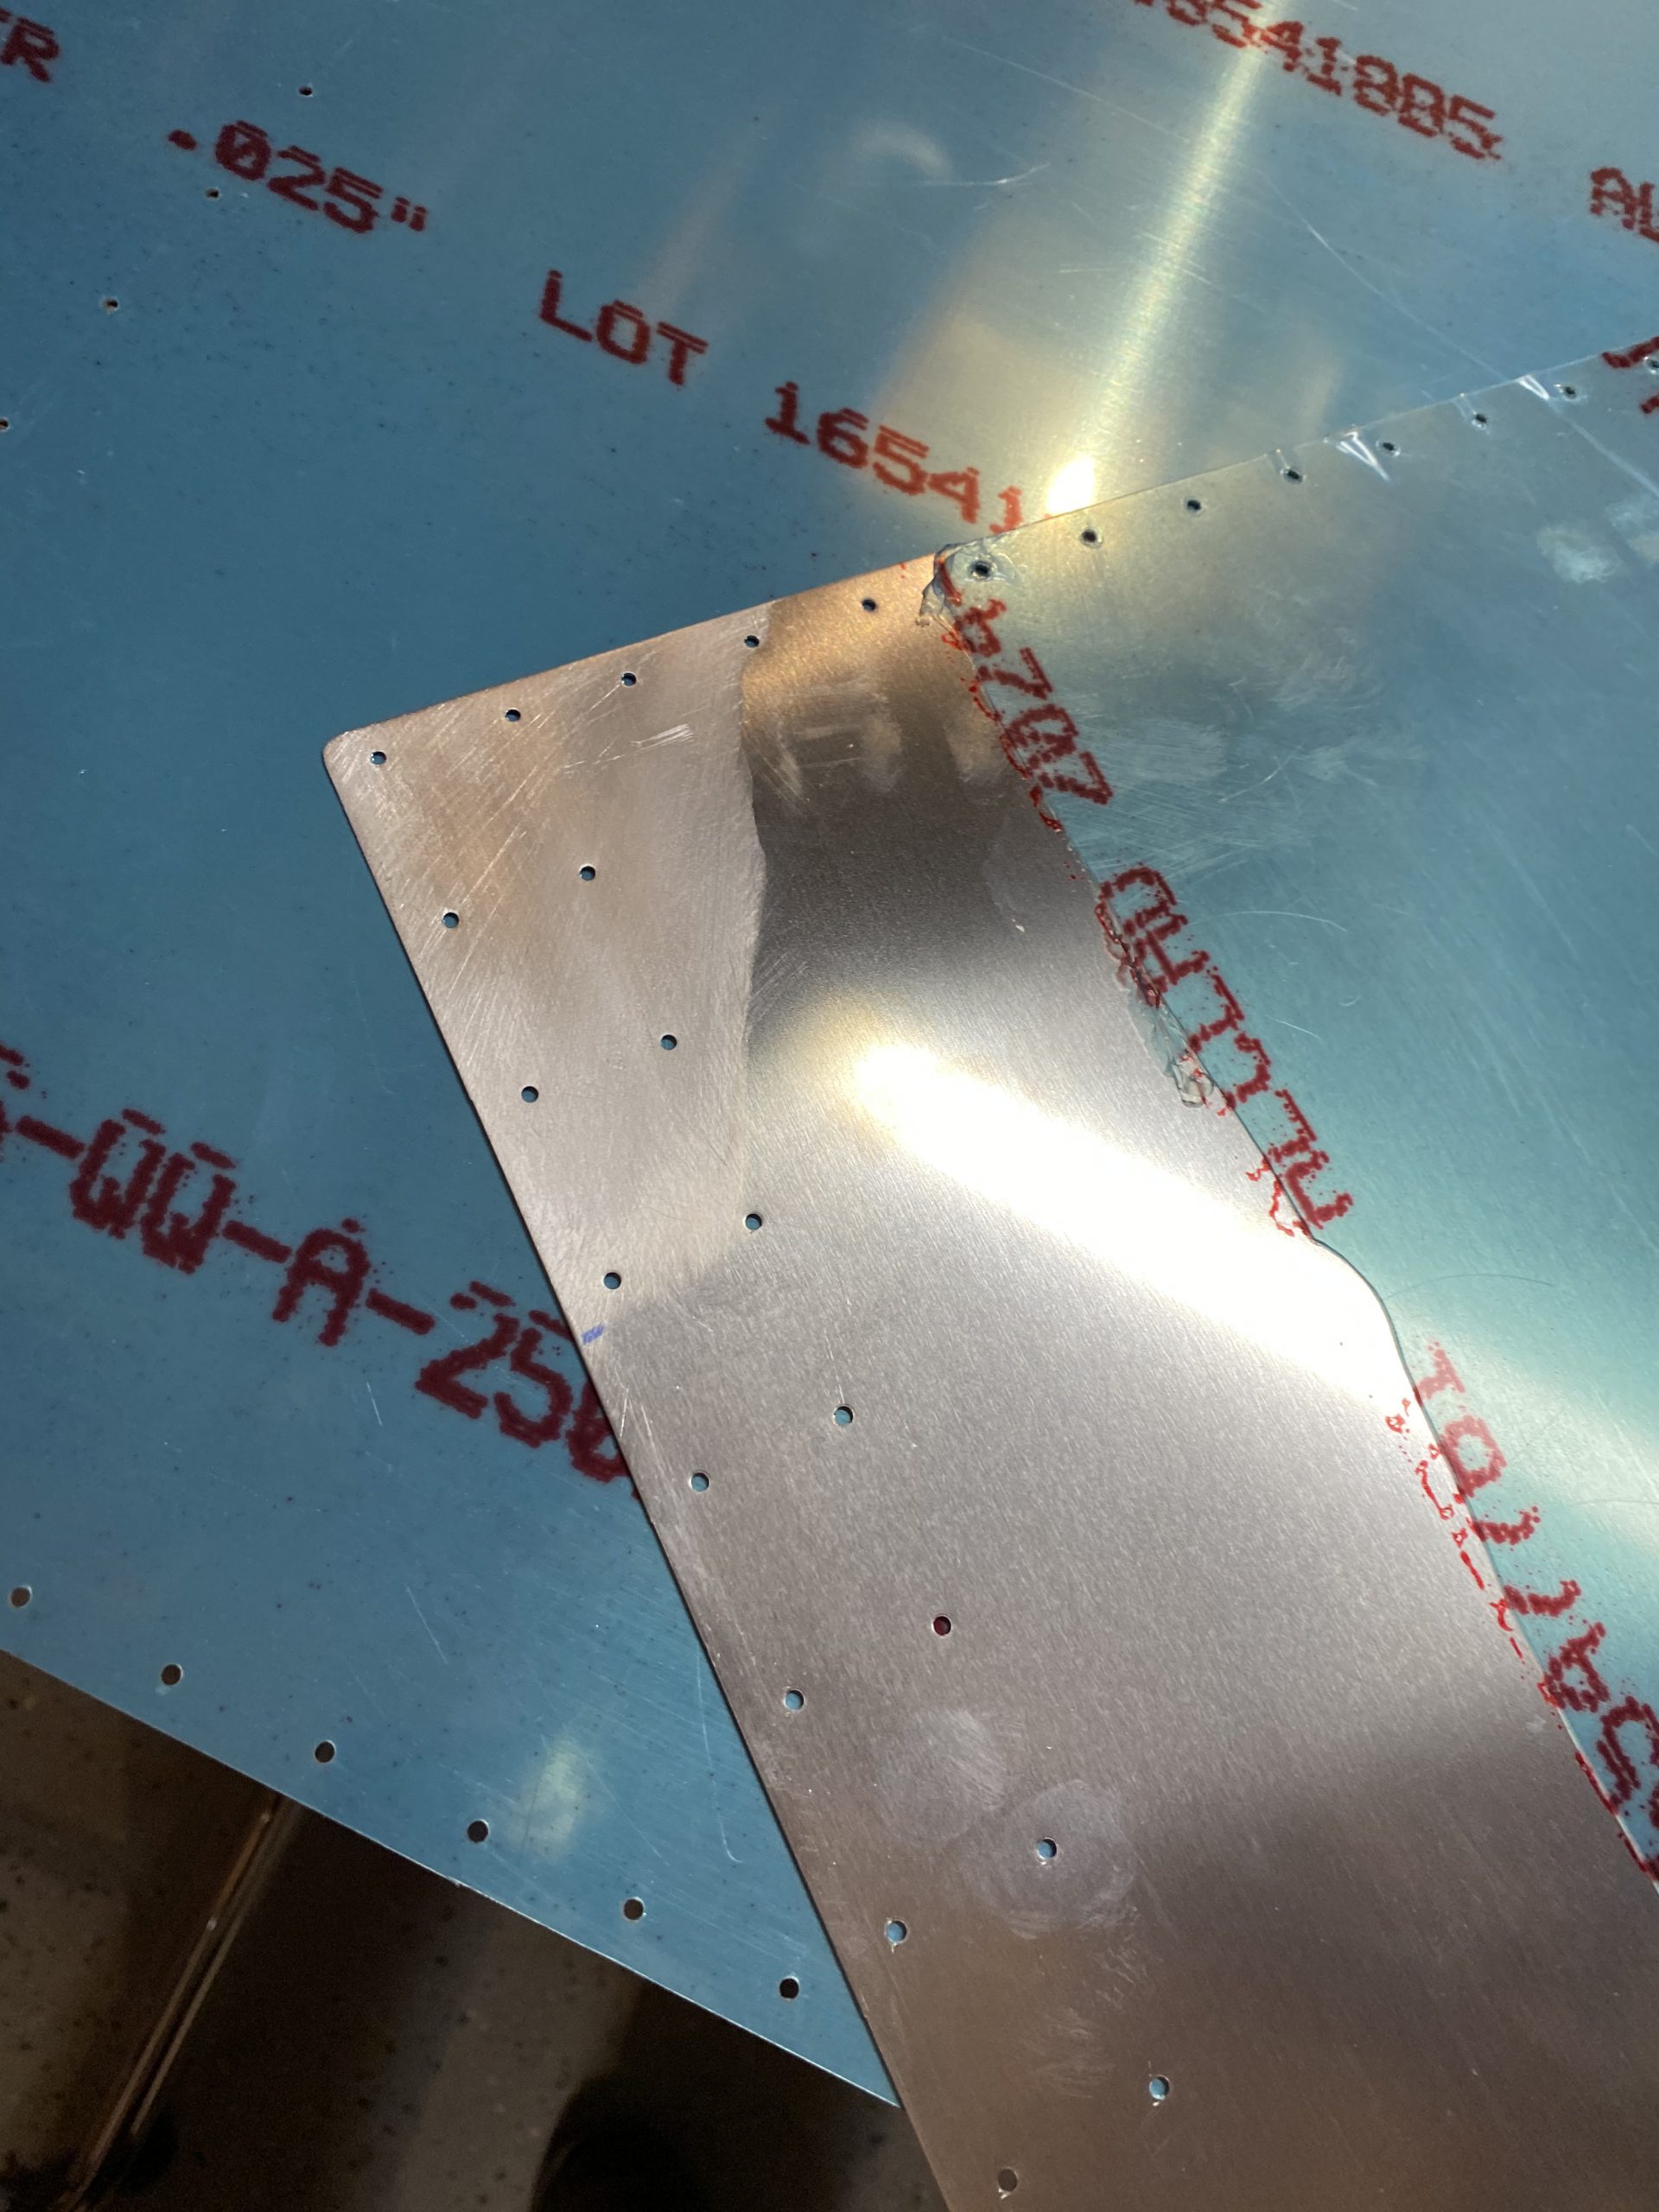
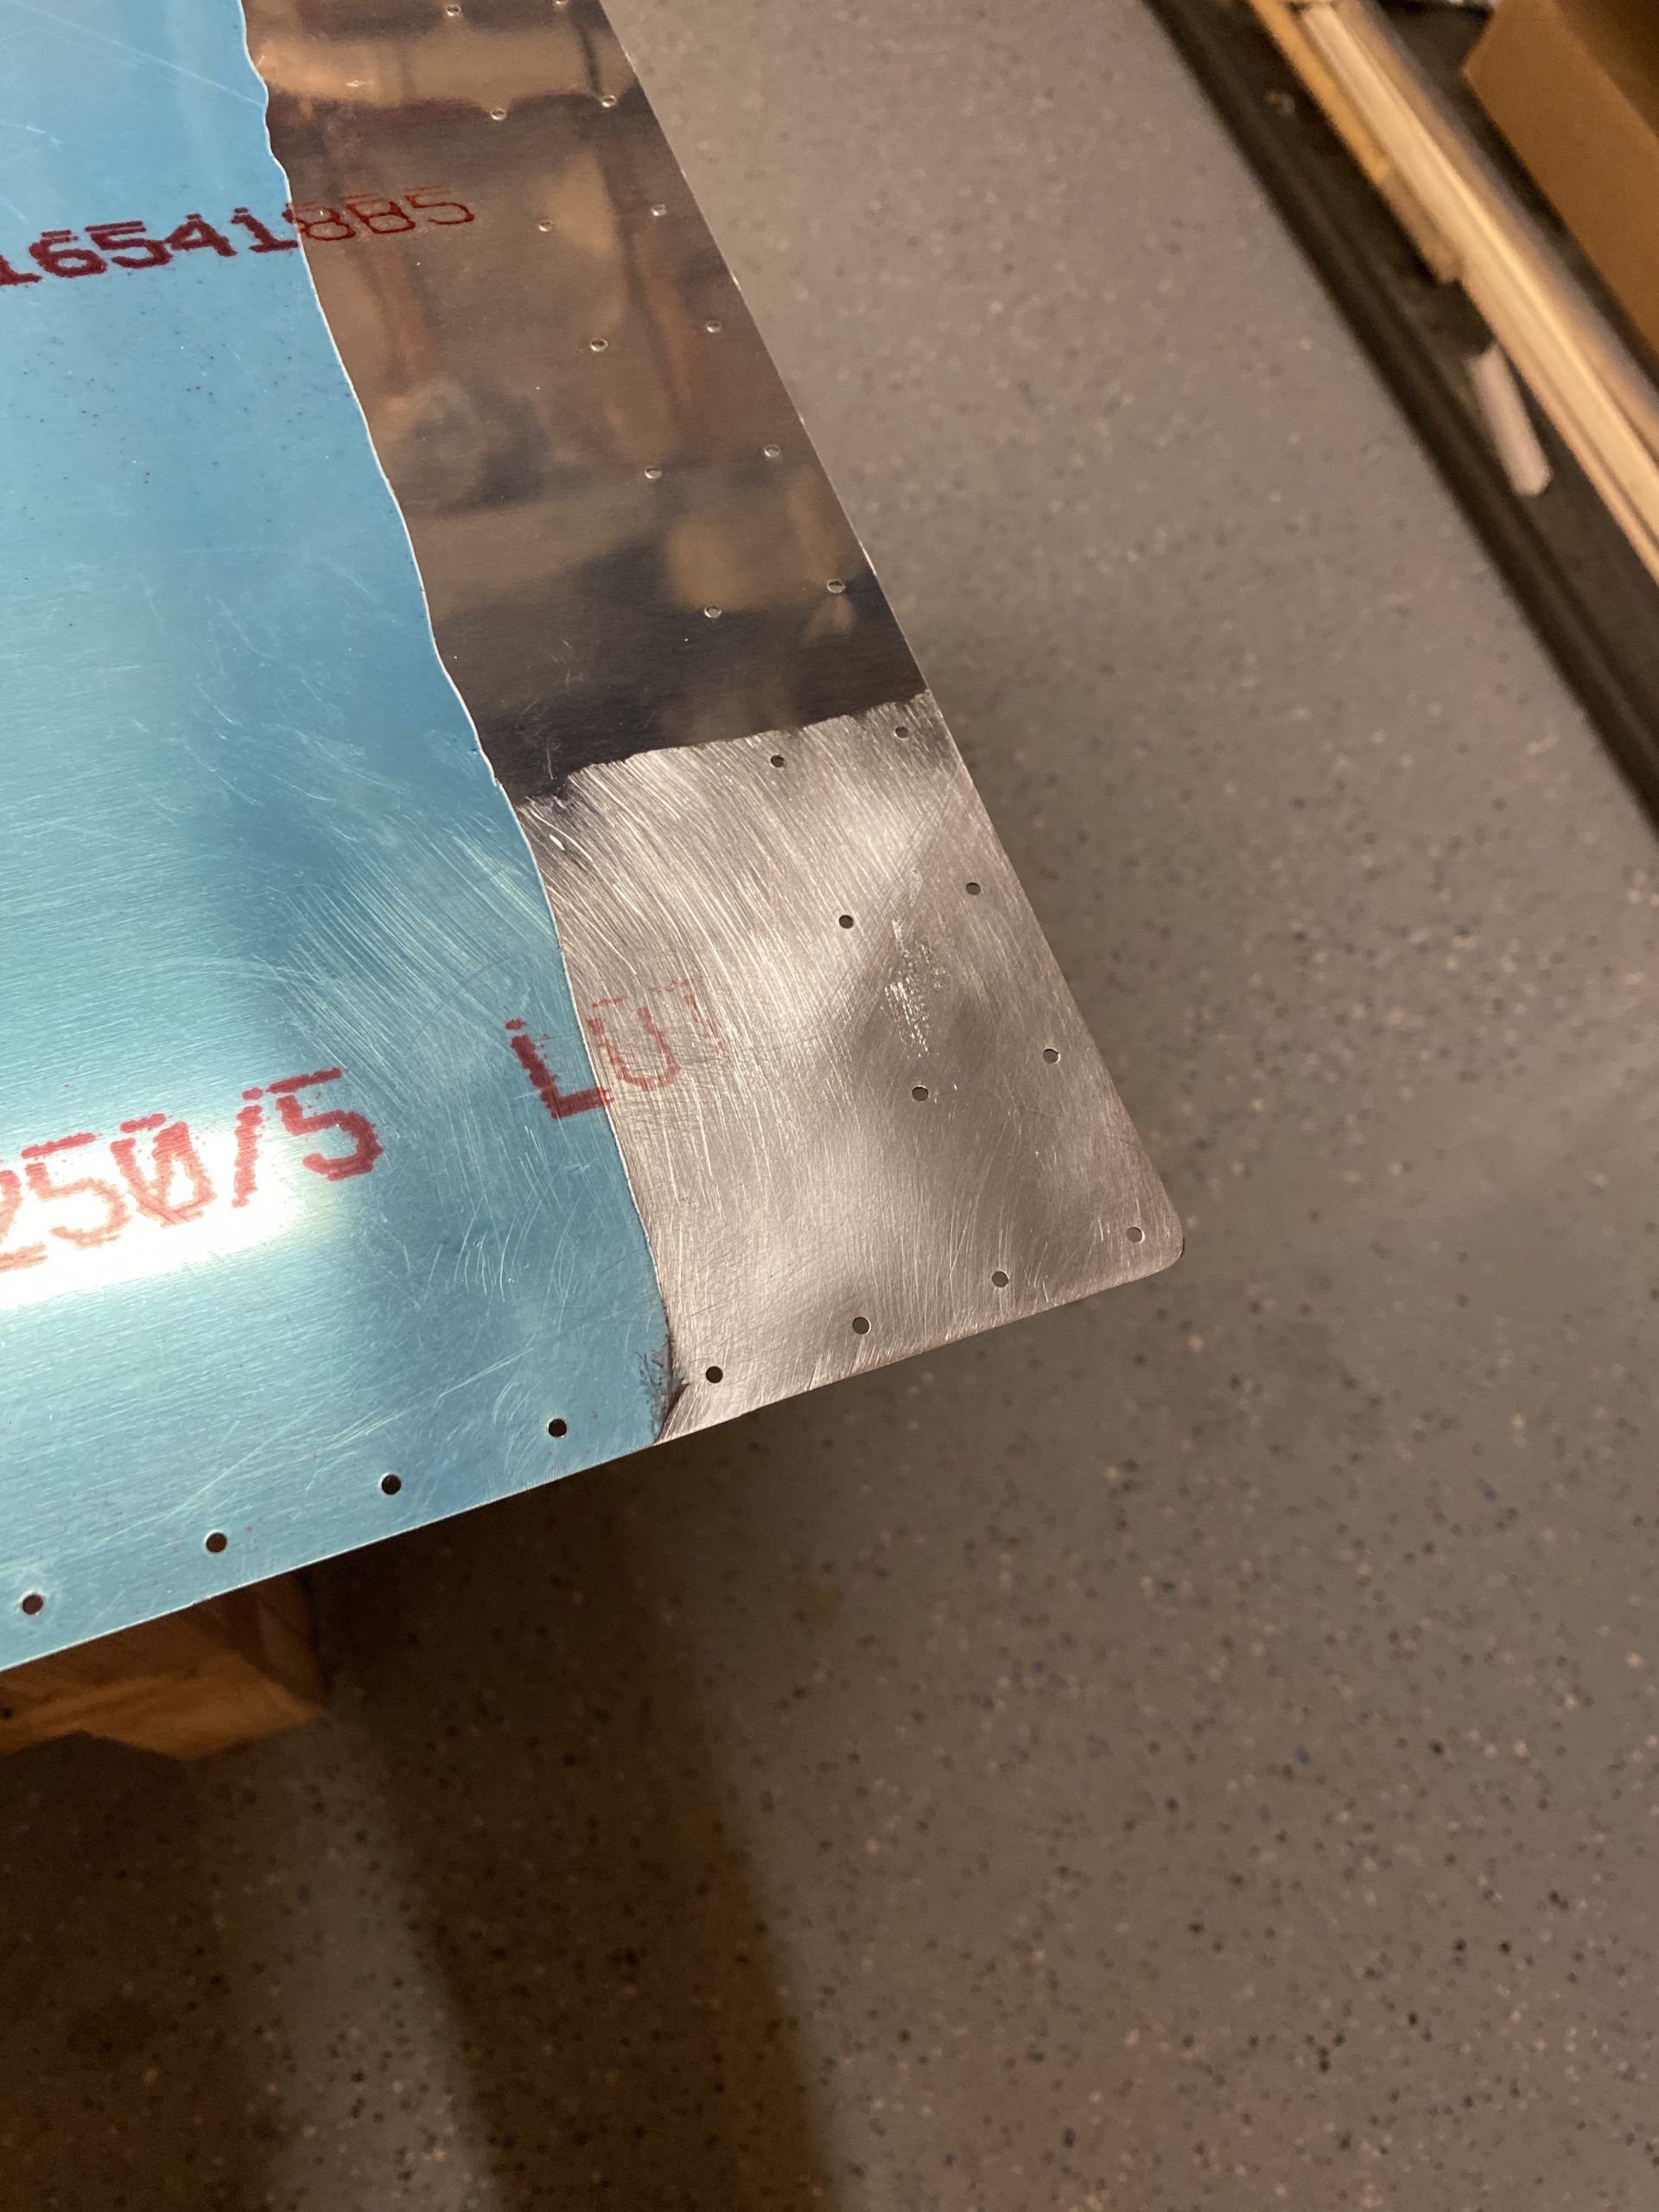
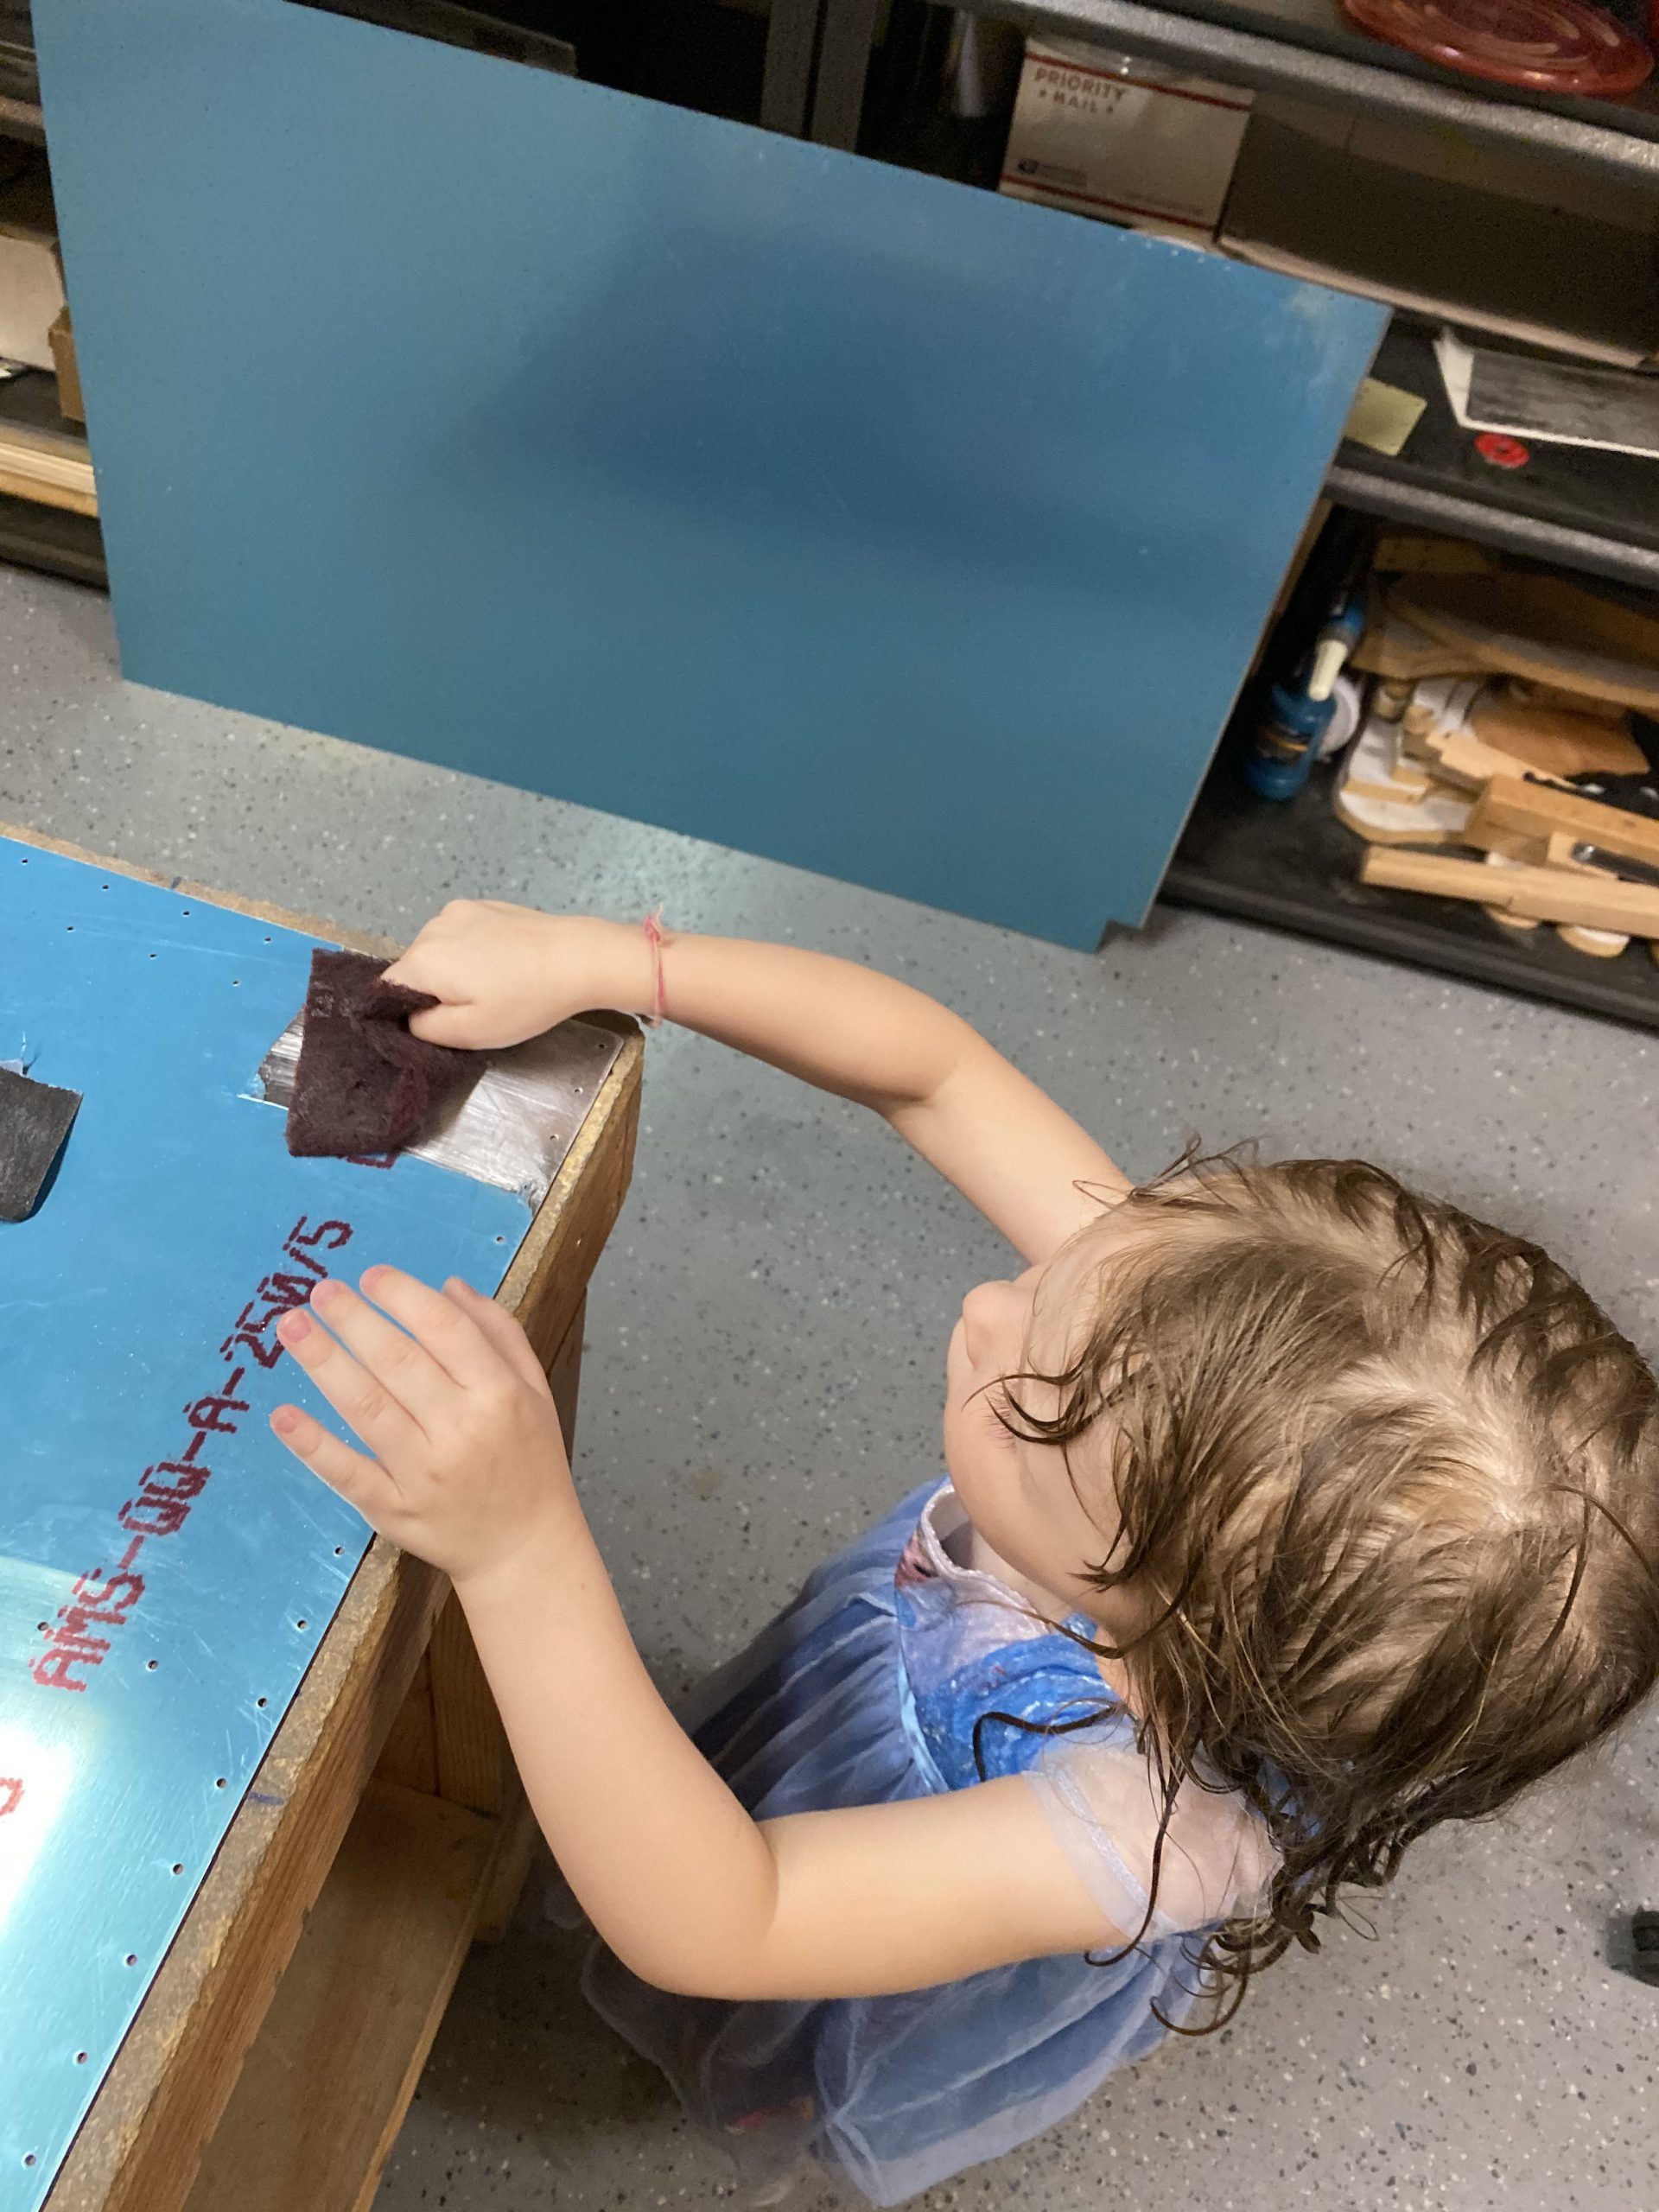
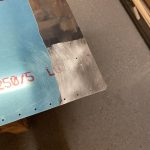
follow linkgo I started out by clecoing the skins back on and marking out where I needed to scarf their overlap with a sharpie. Then I put them on the bench and used a variety of tools to file down the skins. From a dremel with a sanding disk (didn’t work to good since it wasn’t a disk for aluminum, and clogged up QUICK), to a bastard file, to emory cloth and scotchbrite. What seemed to work best for me was the bastard file, followed by emory cloth and finished up with a scotchbrite pad and wheel to get it nice and smooth. This was quite a bit of work, but I managed to get it done. I even had a little helped come down and do some filing! She had her Elsa Princess dress on to work in of course! I got a quick video of her helping, and learing how to do a scarf joint:
Buy Ambien Online OvernightGet Online Xanax Prescription This was just my initial test of the scarf joint, but to make sure I had it right, I needed to get the tank bolted on, at least the top edge, so I can check the scarf joint is flush. Heres a photo of my helper, as well as the scarf joints we done so far. I went ahead and rounded off the corners here as well. I still need to fully deburr the edges of these skins later on.
Buy Valium Online Without Prescription So I moved on to the tank. The plans tells us to install the tanks, putting a screw in every other hole on, and then installing about half of the bolts for the Z-brackets. So thats what I did. I had read that smearing some Beoelube on the AN509-8r8 screw threads before inserting them to help them tighten easier into the nutplates, and also help against corrosion. So I gave it a try and it worked great! The screws went in very nicely, and I was able to get every other screw installed on the top side of the tank with zero issues.
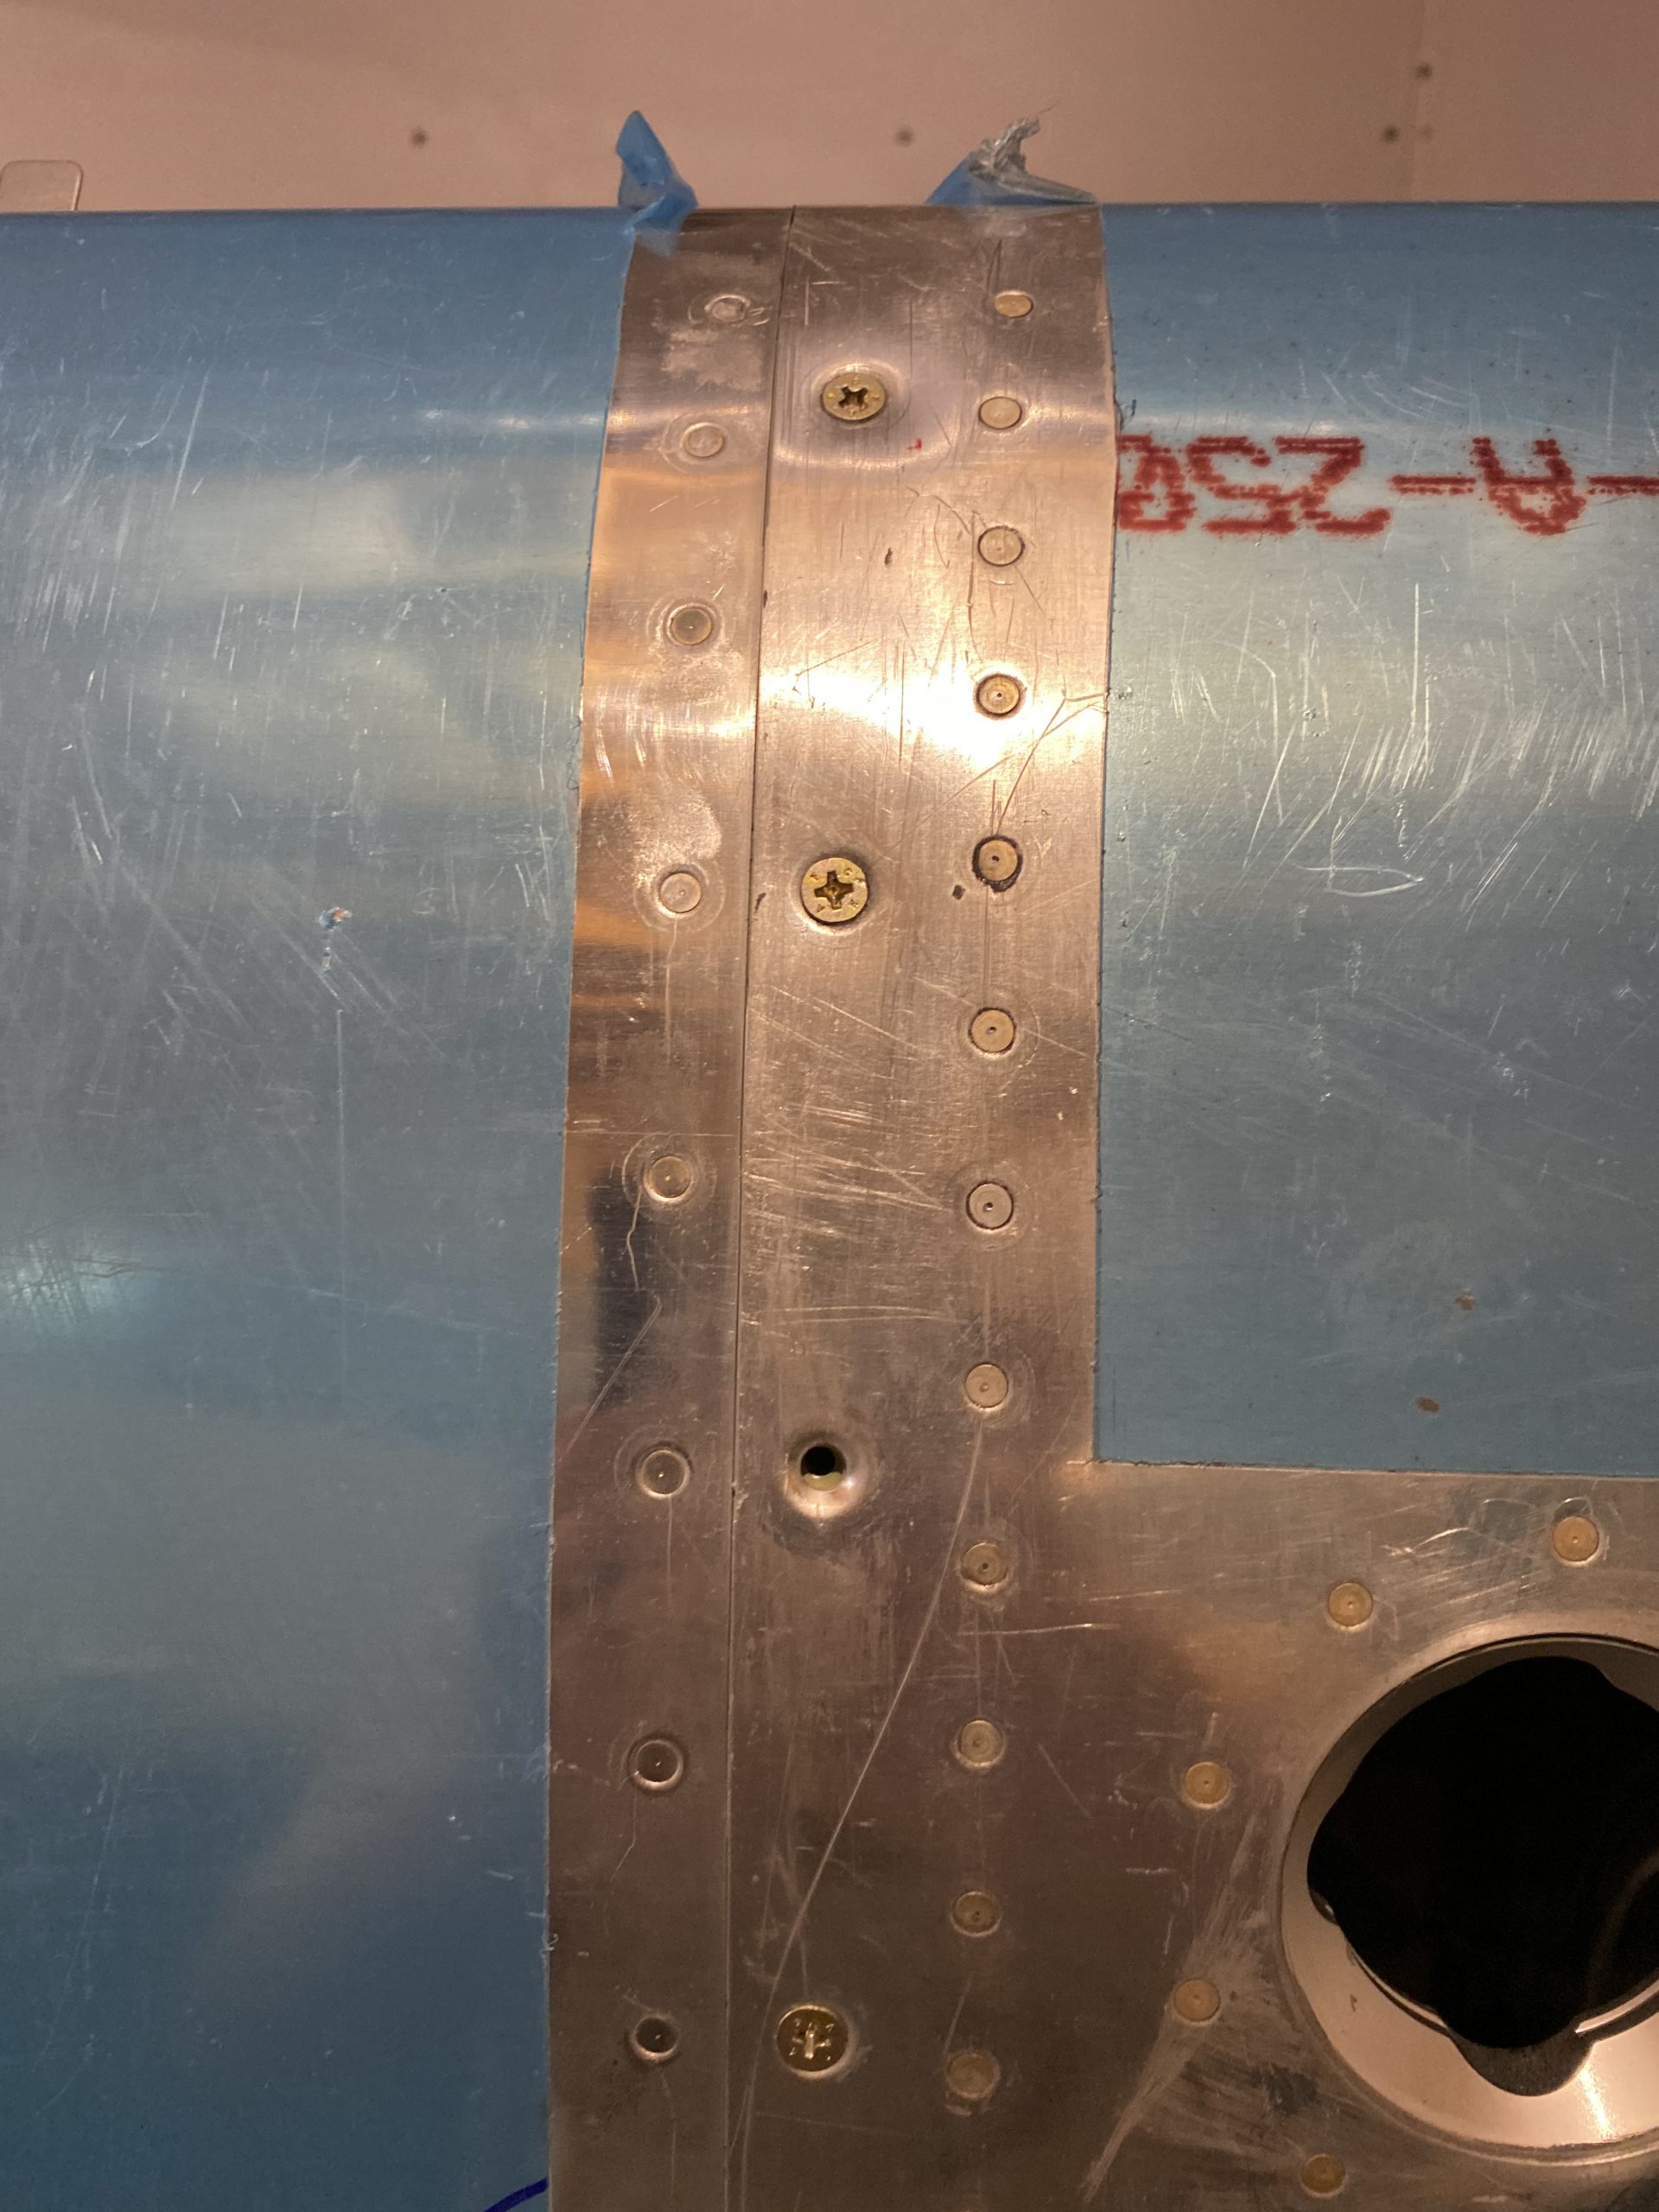
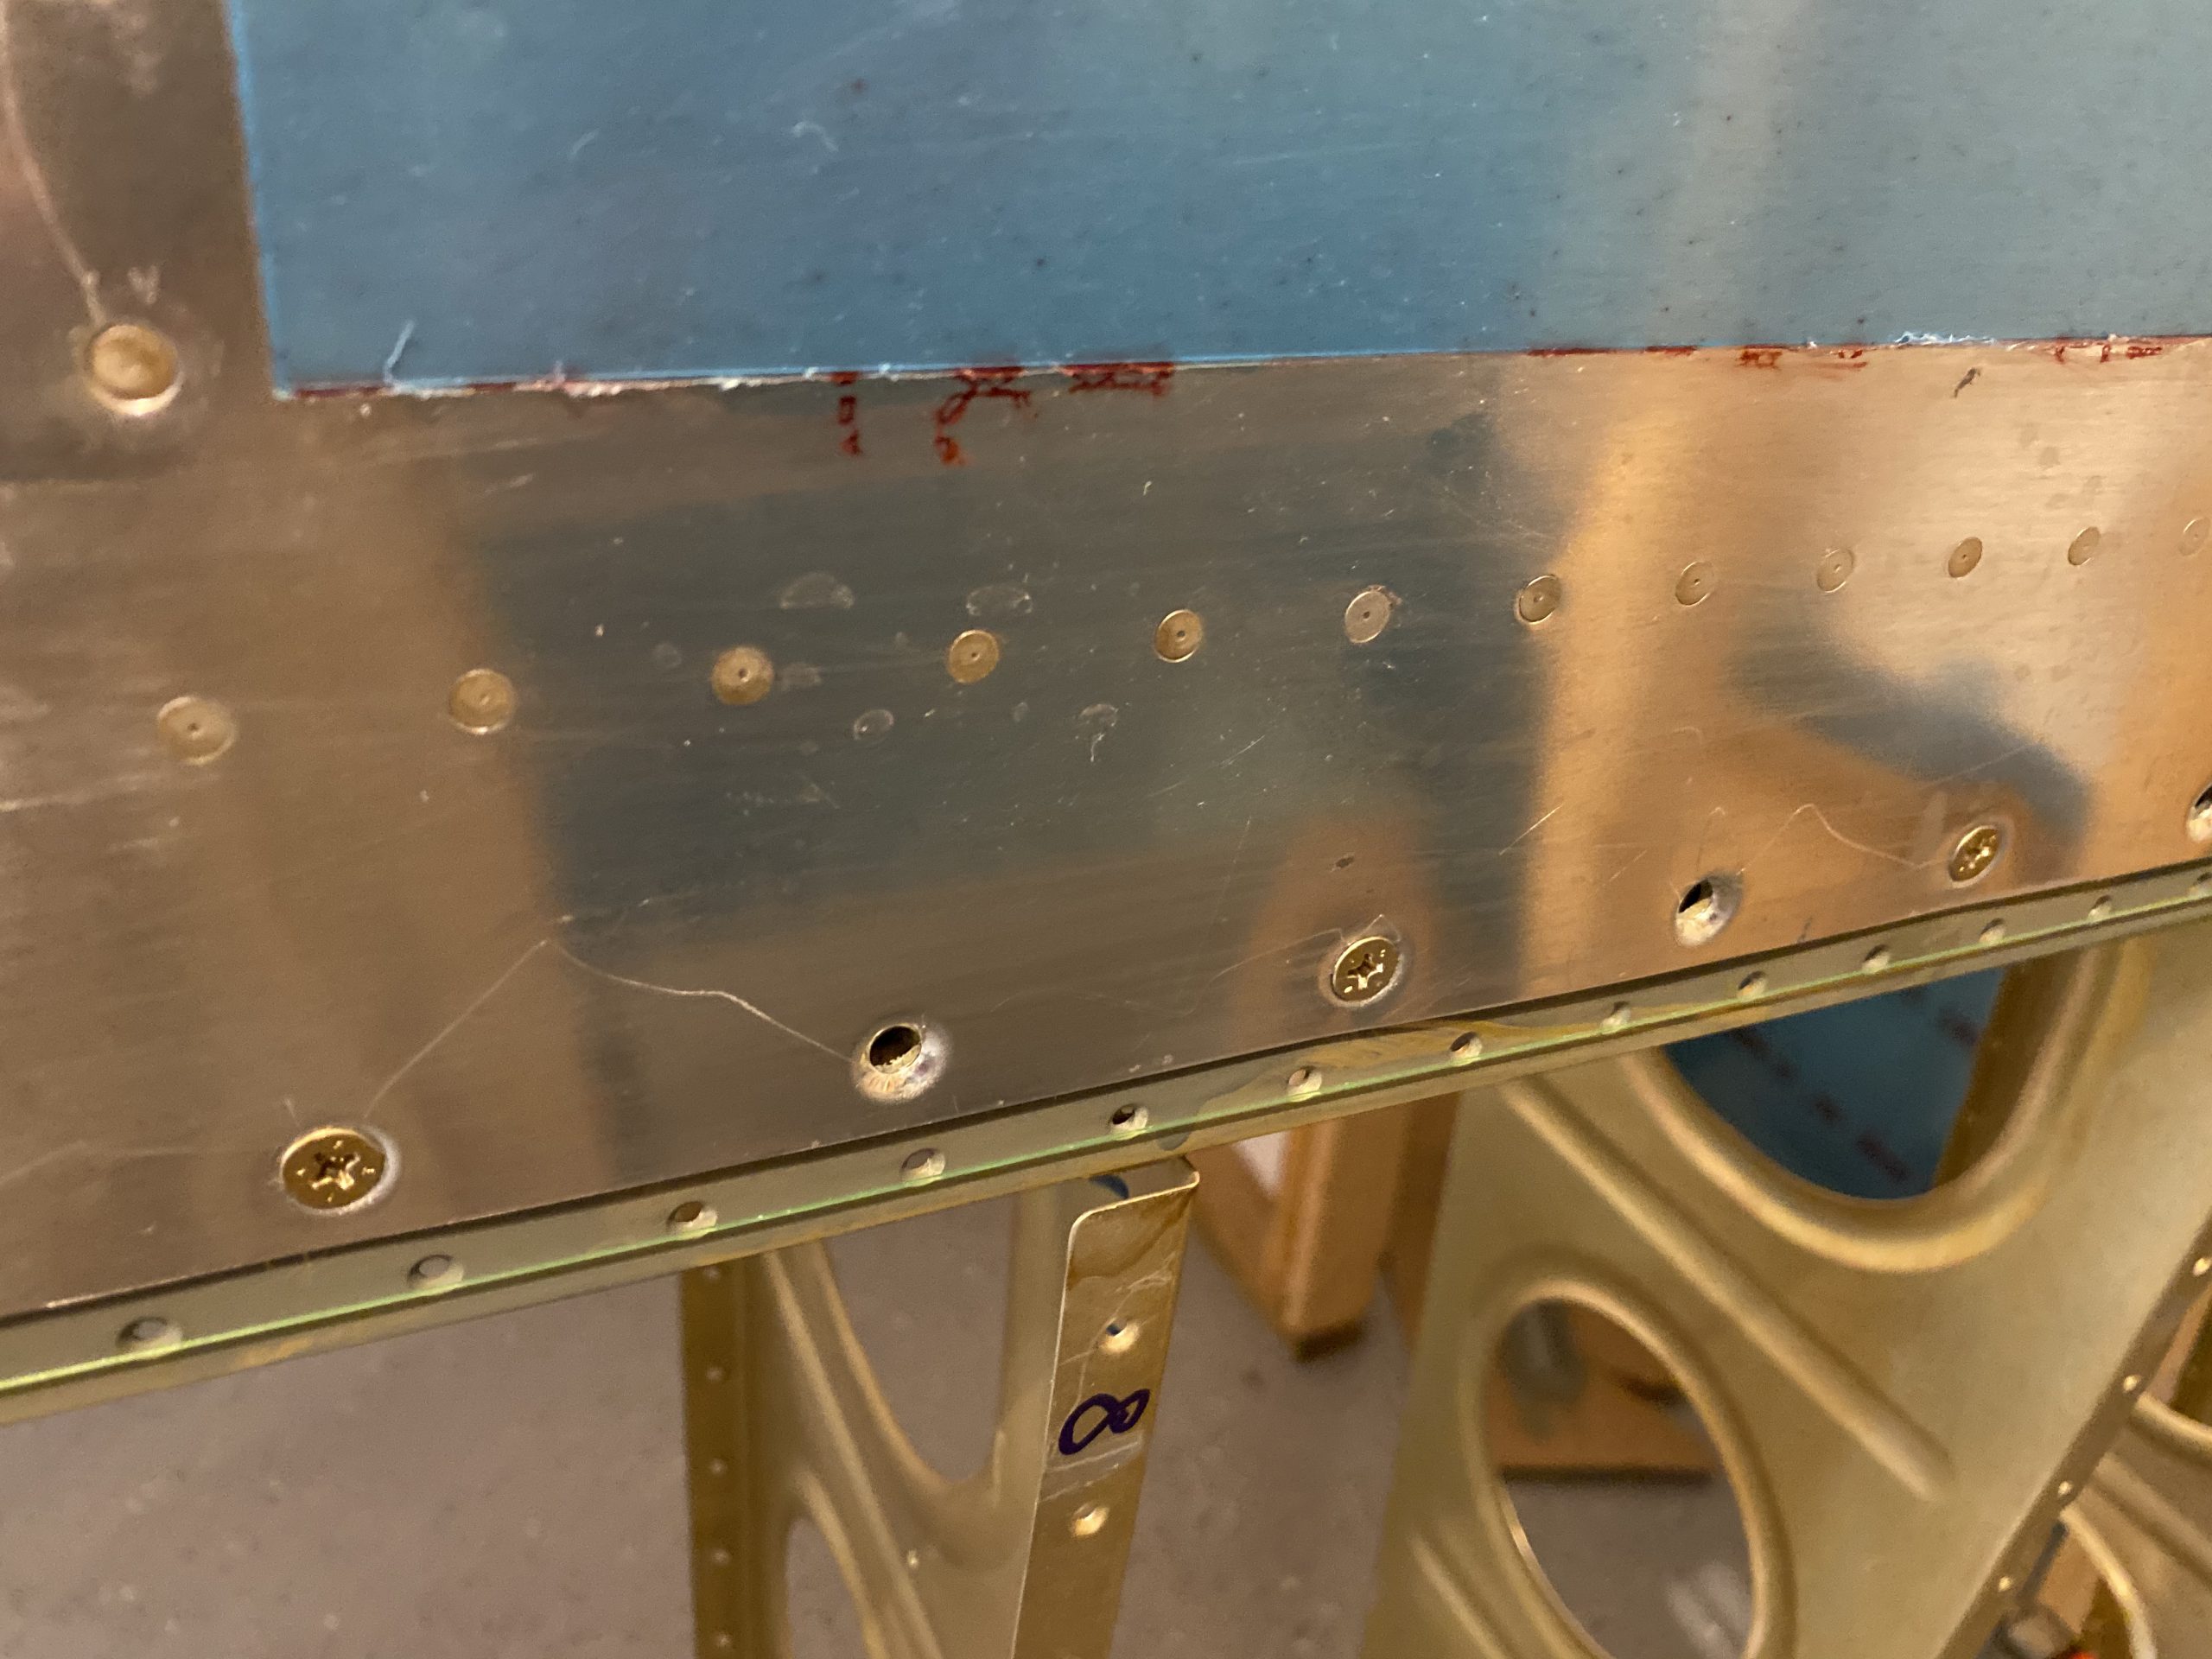
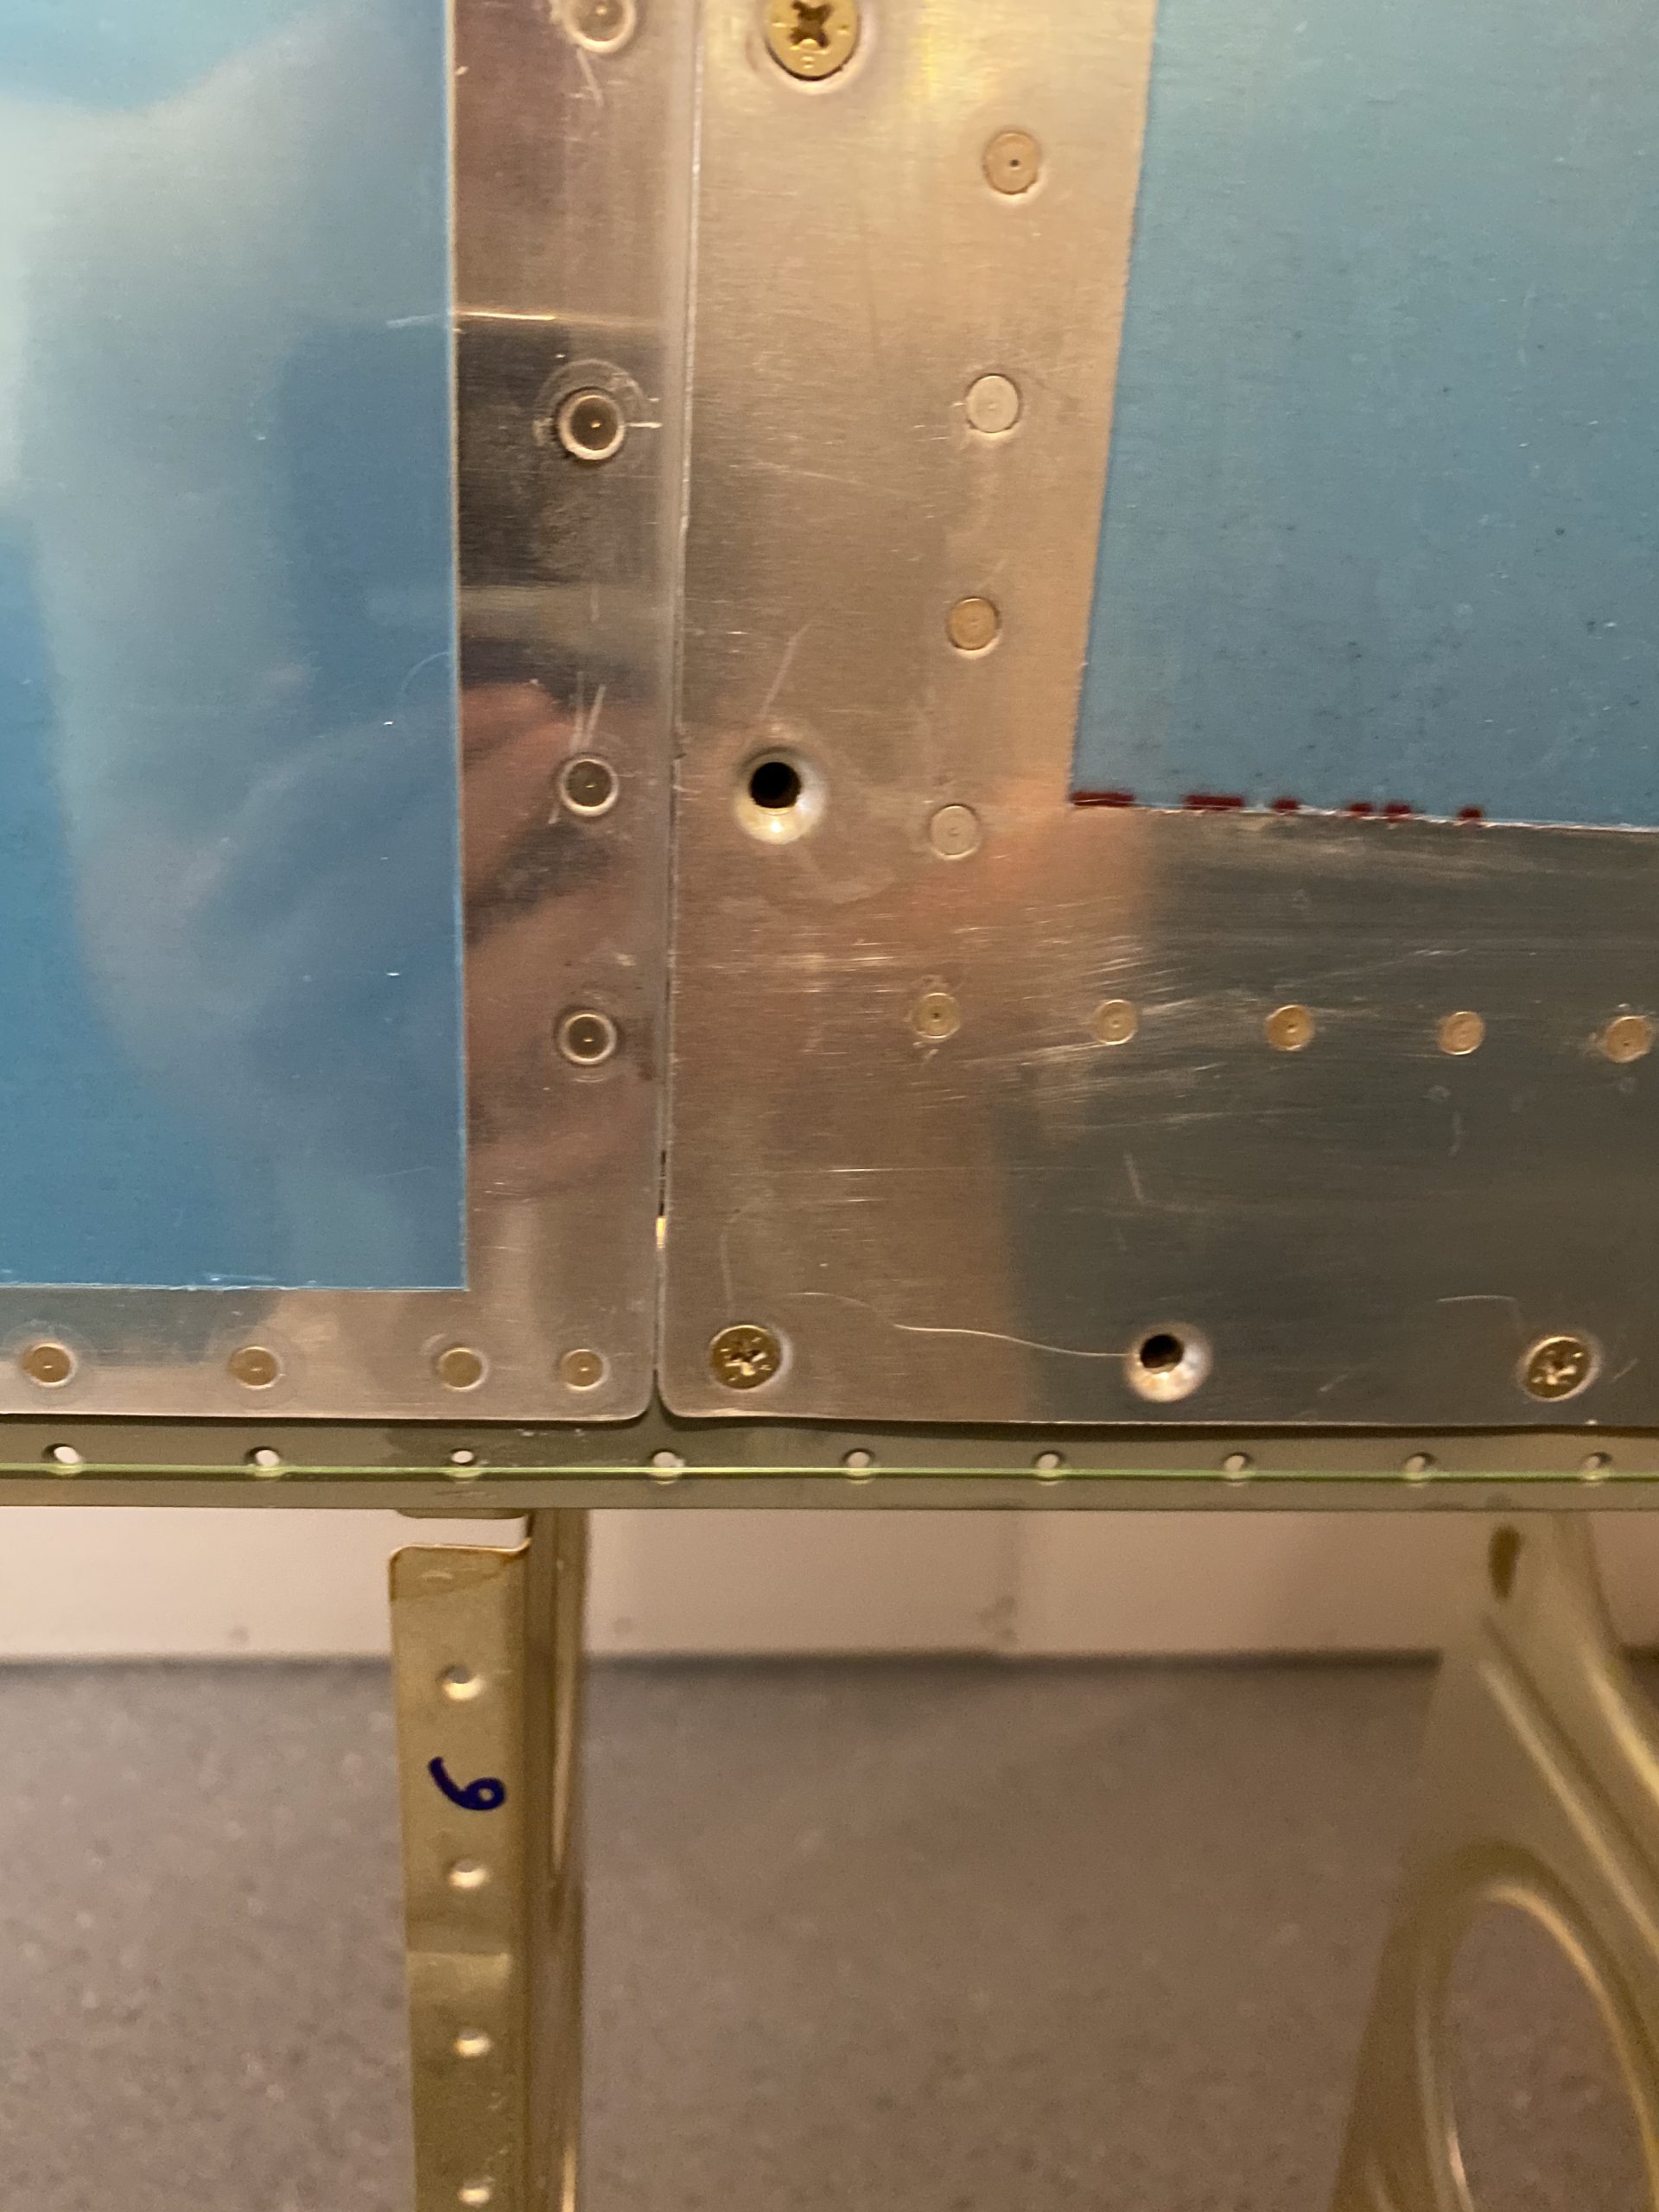
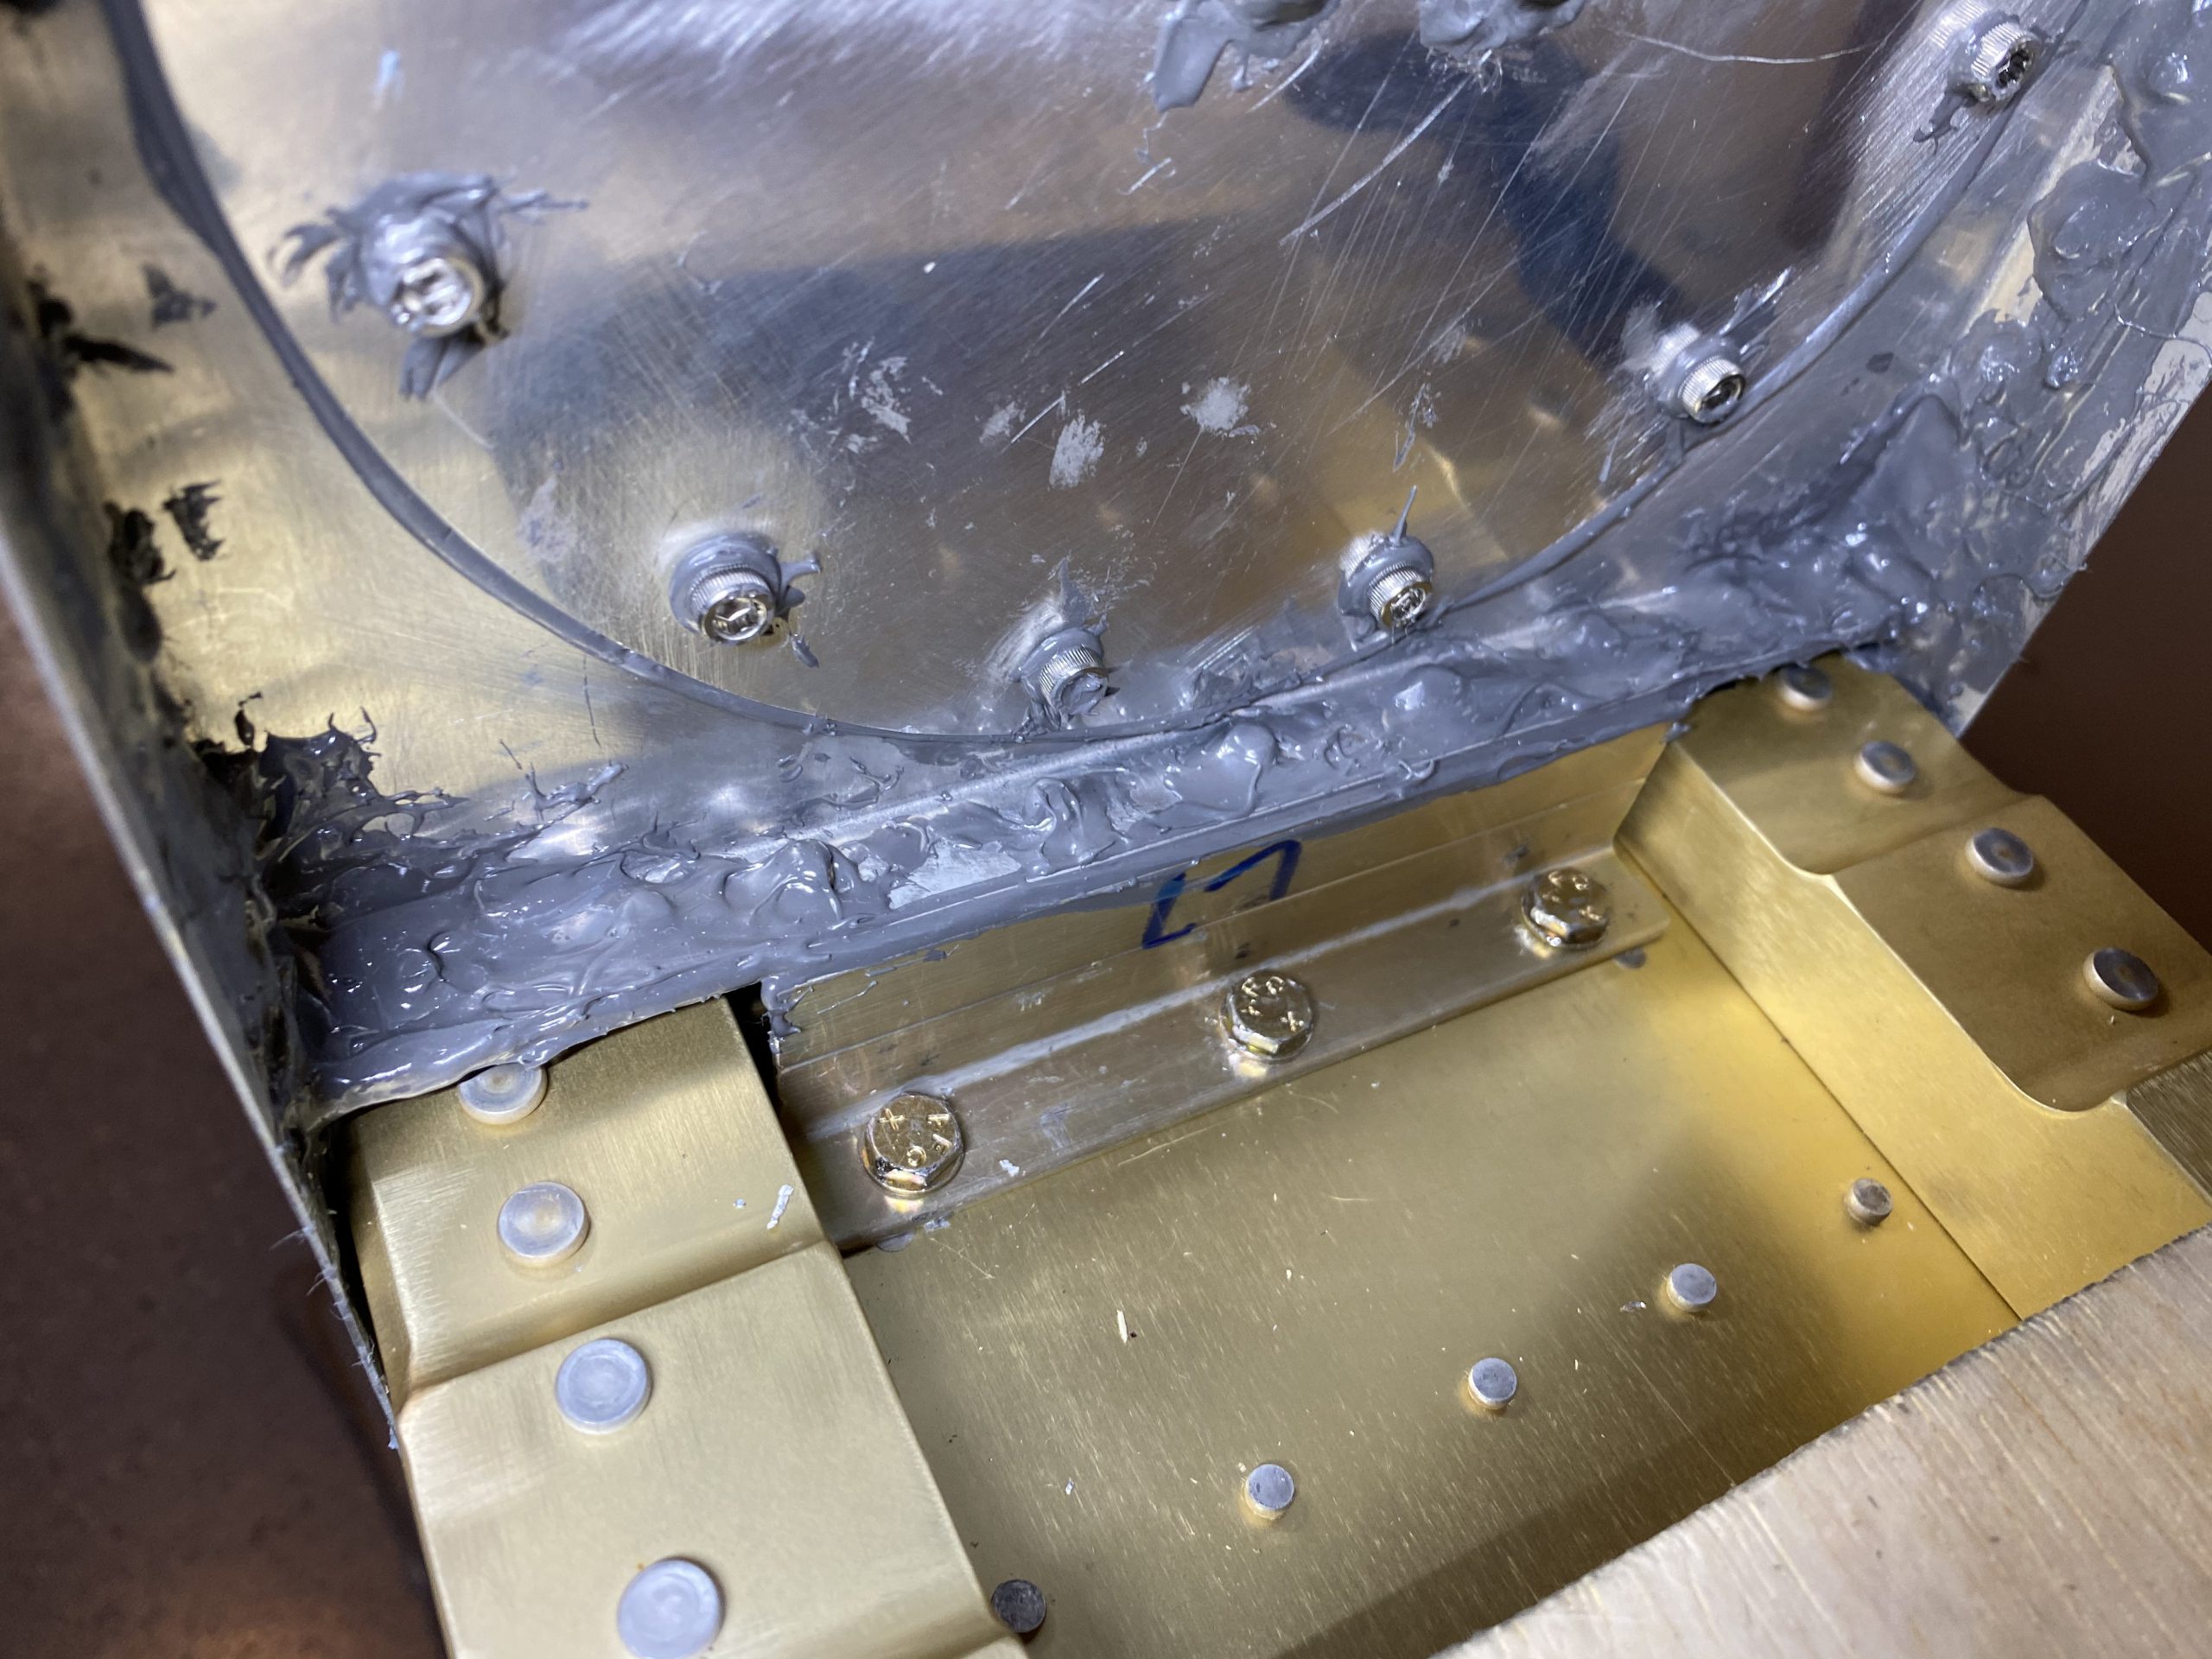
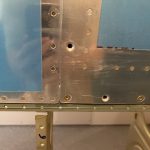
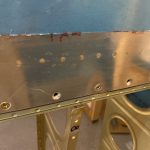
source site The camera had some shadows on the edge of the skin, but its laying very nice and flush against the main spar flange and fit nice and snug. I also am very happy with the fit between the tank edge and the leading edge at the splice plate. Its a very nice and flush fit! Now, I moved on to inserted the AN3-4A bolts and AN960-10L washers into the tank attach z-brackets. I did about half on each tank bracket, and most of them threaded right in with no hassle. I had a few that I had to use a center punch to jiggle the bracket from the screw hole to get it lined up, which I am attributing the Z-brackets shifting a little when they were pop riveted on the baffle. At most there was about 1/16″ of an inch I had to jiggle on a couple. now the inboard most bracket (the one where the bolts thread from the opposite as the rest of the brackets), was a PAIN IN THE BUTT! For some reason it had moved about 3/32″ or so and the holes would not line up enough for me to get the bolts in. It took a LOT of slow and gently tinkering with all sorts of prying tools to get it to line up. It wasn’t that it was hard to move, but rather just very little room to work in this area. Once I managed to get one of the bolts to thread in, it pulled the bracket into alignment, and the other two threaded in nicely. BUT, because these are SOOO close to the web of the Z-bracket I could not use a socket, I had to use a wrench, which only had about a few degrees of room to move. It took a lot of tedious wrenching every 5 degrees or so to get all three bolts tightened down properly. Unfortunately, there is no way for me to use a torque wrench on these, so I had to use my ole “Calibrated Elbow”, and guess. All of the other bolts I simply snugged up for now. Here is the aftermath.
https://brunobianco.com.br/o-espaco/ I think I will spray some primer in this area just to cover the scratches on the bolt heads and where the alodine was very lightly scratched from all my wrenching. This way its nice and protected. I am NOT looking forward to the day (hopefully it never comes) when I have to remove these fuel tanks. This is where I decided to stop for the night. I still need to torque all the other Z-bracket bolts down to spec, and mark them with torque seal, then install the screws on the bottom of the tank. I’ll knock that out in the next session.
https://www.aminhaclinica.com.br/exames/ Google Photos Link: https://photos.app.goo.gl/JxtNLh1qq4GCjmbC7
https://eternaclinic.com/contact/ Hours Worked: 2.25


