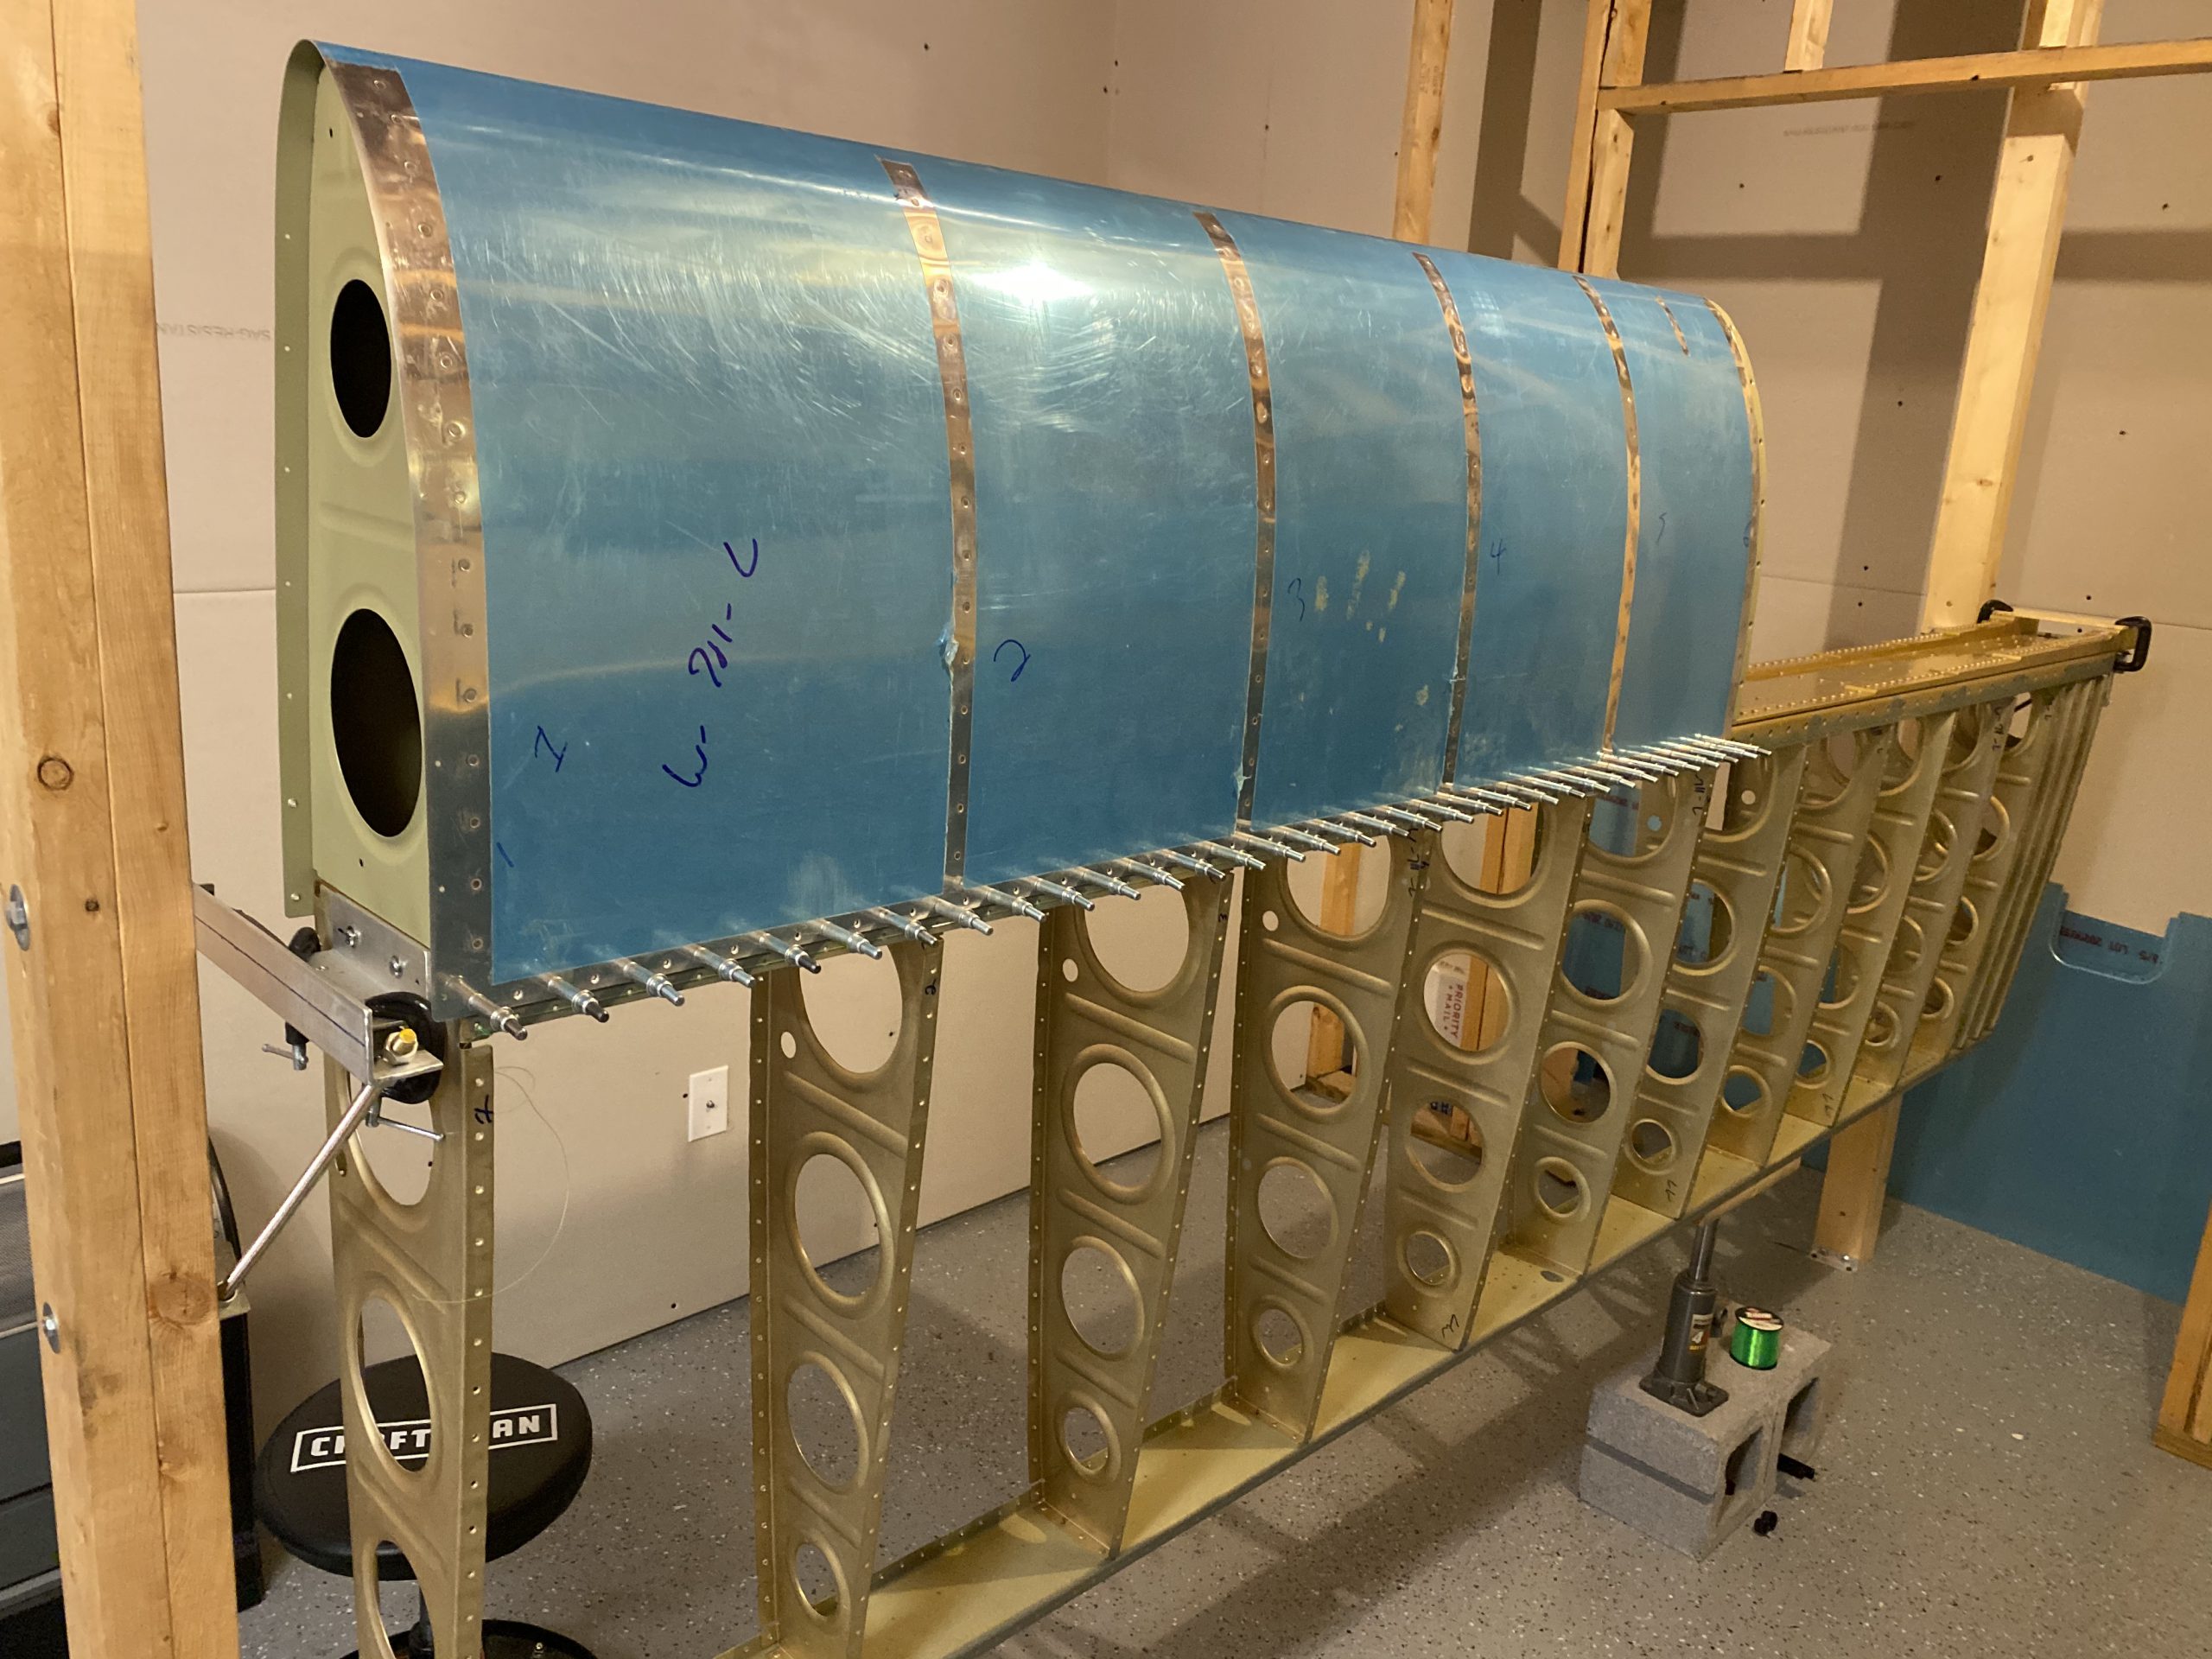
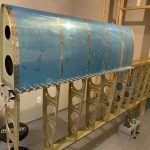
https://www.starc.org/uncategorized/ca1r6mwfc7 Wing is taking final shape! I was able to get the left wing leading edge completely riveted on to the main spar tonight, and its looking like a wing! I also captured two time lapse videos, one closer view, and another overheard. Here’s those videos:
https://estherbarniol.com/anxwqflh Ambien Tablet Buy OnlineBuy Xanax Online Overnight Shipping And here is the overhead looking at the majority of the shop. It gives a little more context as to what I am doing off screen.
source url https://elien.ca/533fpjilqClonazepam Without A Prescription I started out by removing the fully assembled leading edge from the cradle, and clecoing it onto the left main spar. Then I tied my fishing line across the main spars front flange rivet holes so I could adjust the sag out of it because this it the point where things get riveted into their final position. I realized I didn’t start the timelapse video, so I didn’t capture this part. I will probably take a short video to explain how I use the fishing line when I do the right wing. I clecoed every other hole along the skins attach point to the spar flange, and then where the aft flange of its ribs attach to the spar web.
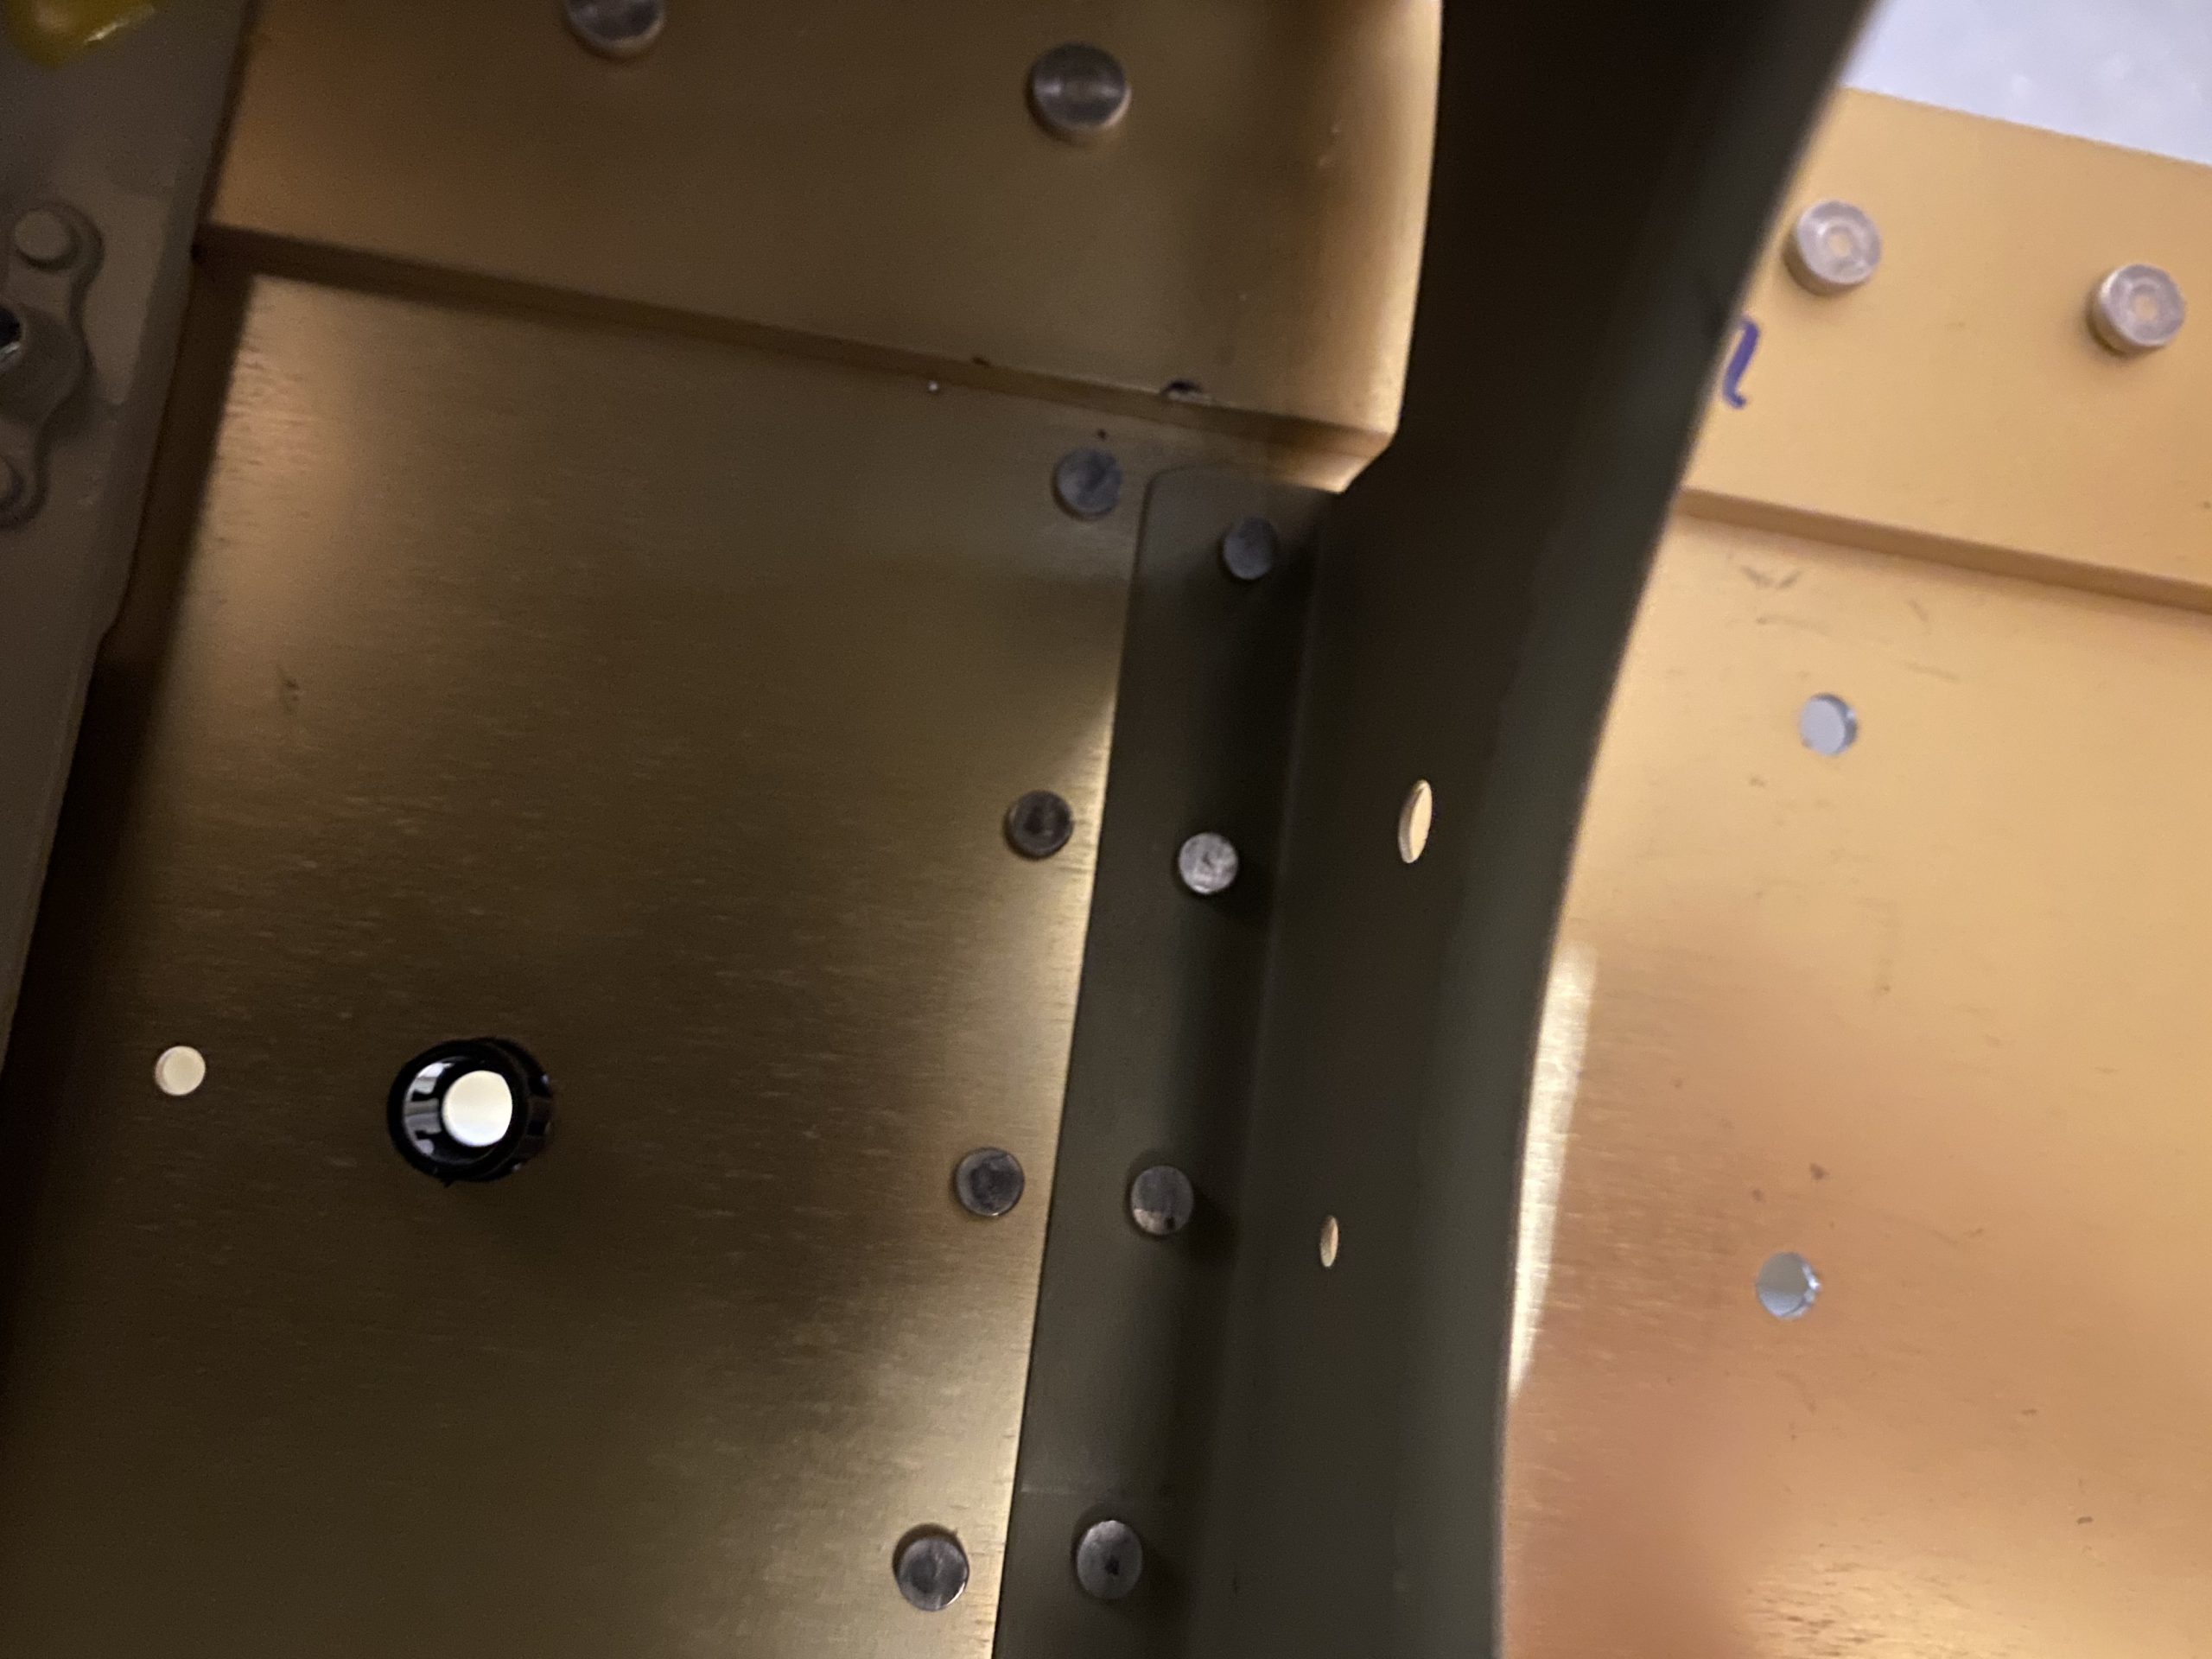
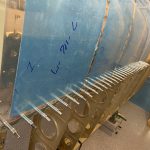
https://www.starc.org/uncategorized/lnpk3b6i25 https://serenitycareandcompassion.com/6f6jmy69x5https://estherbarniol.com/kjr9cp75 Then I started riveting. I bucked all of the rivets on the aft flanges of the leading edge ribs to the main spar web using the AN470AD4-5 rivets called out in the plans first. Further inboard, the spar web reinforcement plates add more thickness, so the plans steps up the rivet length to an AN470AD4-7 so take note. These were the most challenging rivets to set to date. The manufactured heads are VERY VERY close to the ribs, and you have to use an offset rivet set to get to them. Even then, they are still very challenging to get centered in the rivet set. Then, you have to reach inside the access holes with the bucking bar and sort of feel around until you find the rivet and hope you are setting the tail nice and straight. I went slow and deliberate on these so I could get them right. They will be very difficult to drill out. Here is about the only photo I could snap of the rivet tails, from the very inboard rib.
https://jahuss.com/aqs4hqvag https://junkcarboys.com/characters17https://serenitycareandcompassion.com/3m9z5g8lke Once those aft flanges were riveted, I moved on to riveting the skin to the main spar flange. This was super easy because I had plenty of access by leaving the top and bottom wing skins off the skeleton. I was able to get to them with my squeezer, which made very nice and perfect rivets. I started out by riveting every other hole, EXCEPT the holes that had the wing ribs. These wing ribs need a larger rivet, and a little more attention to make sure everything is straight. So I left them till last.
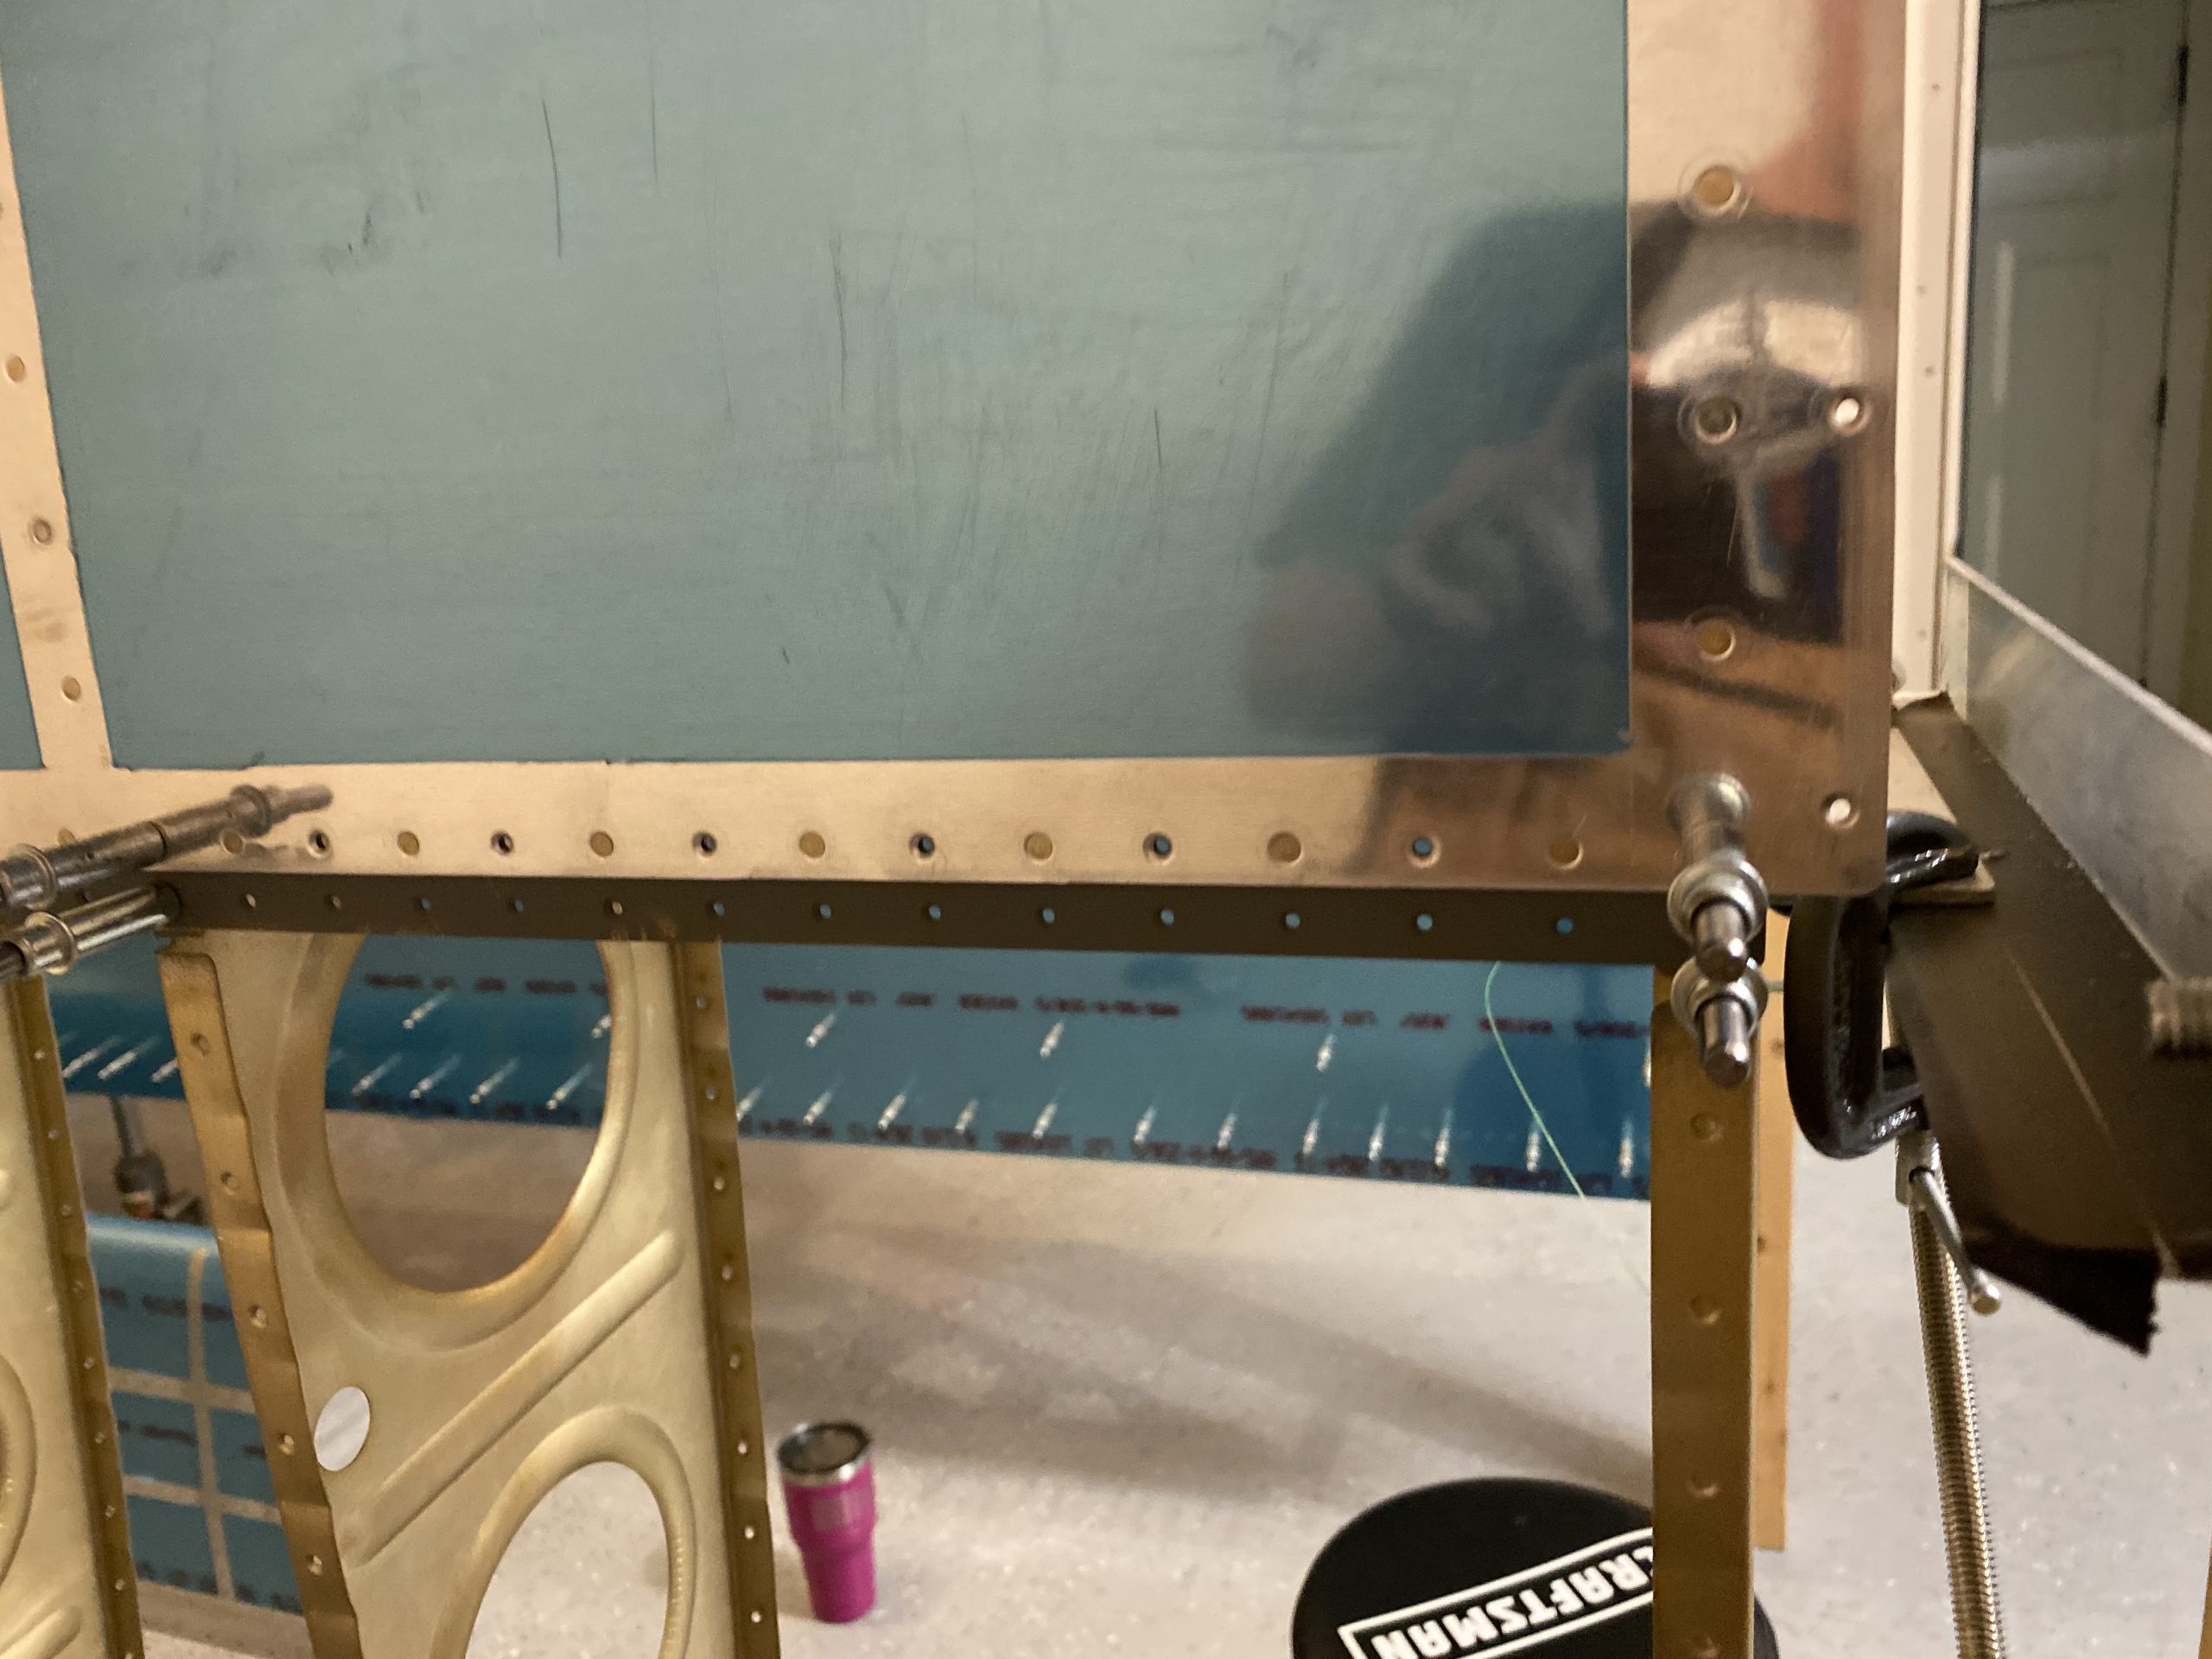
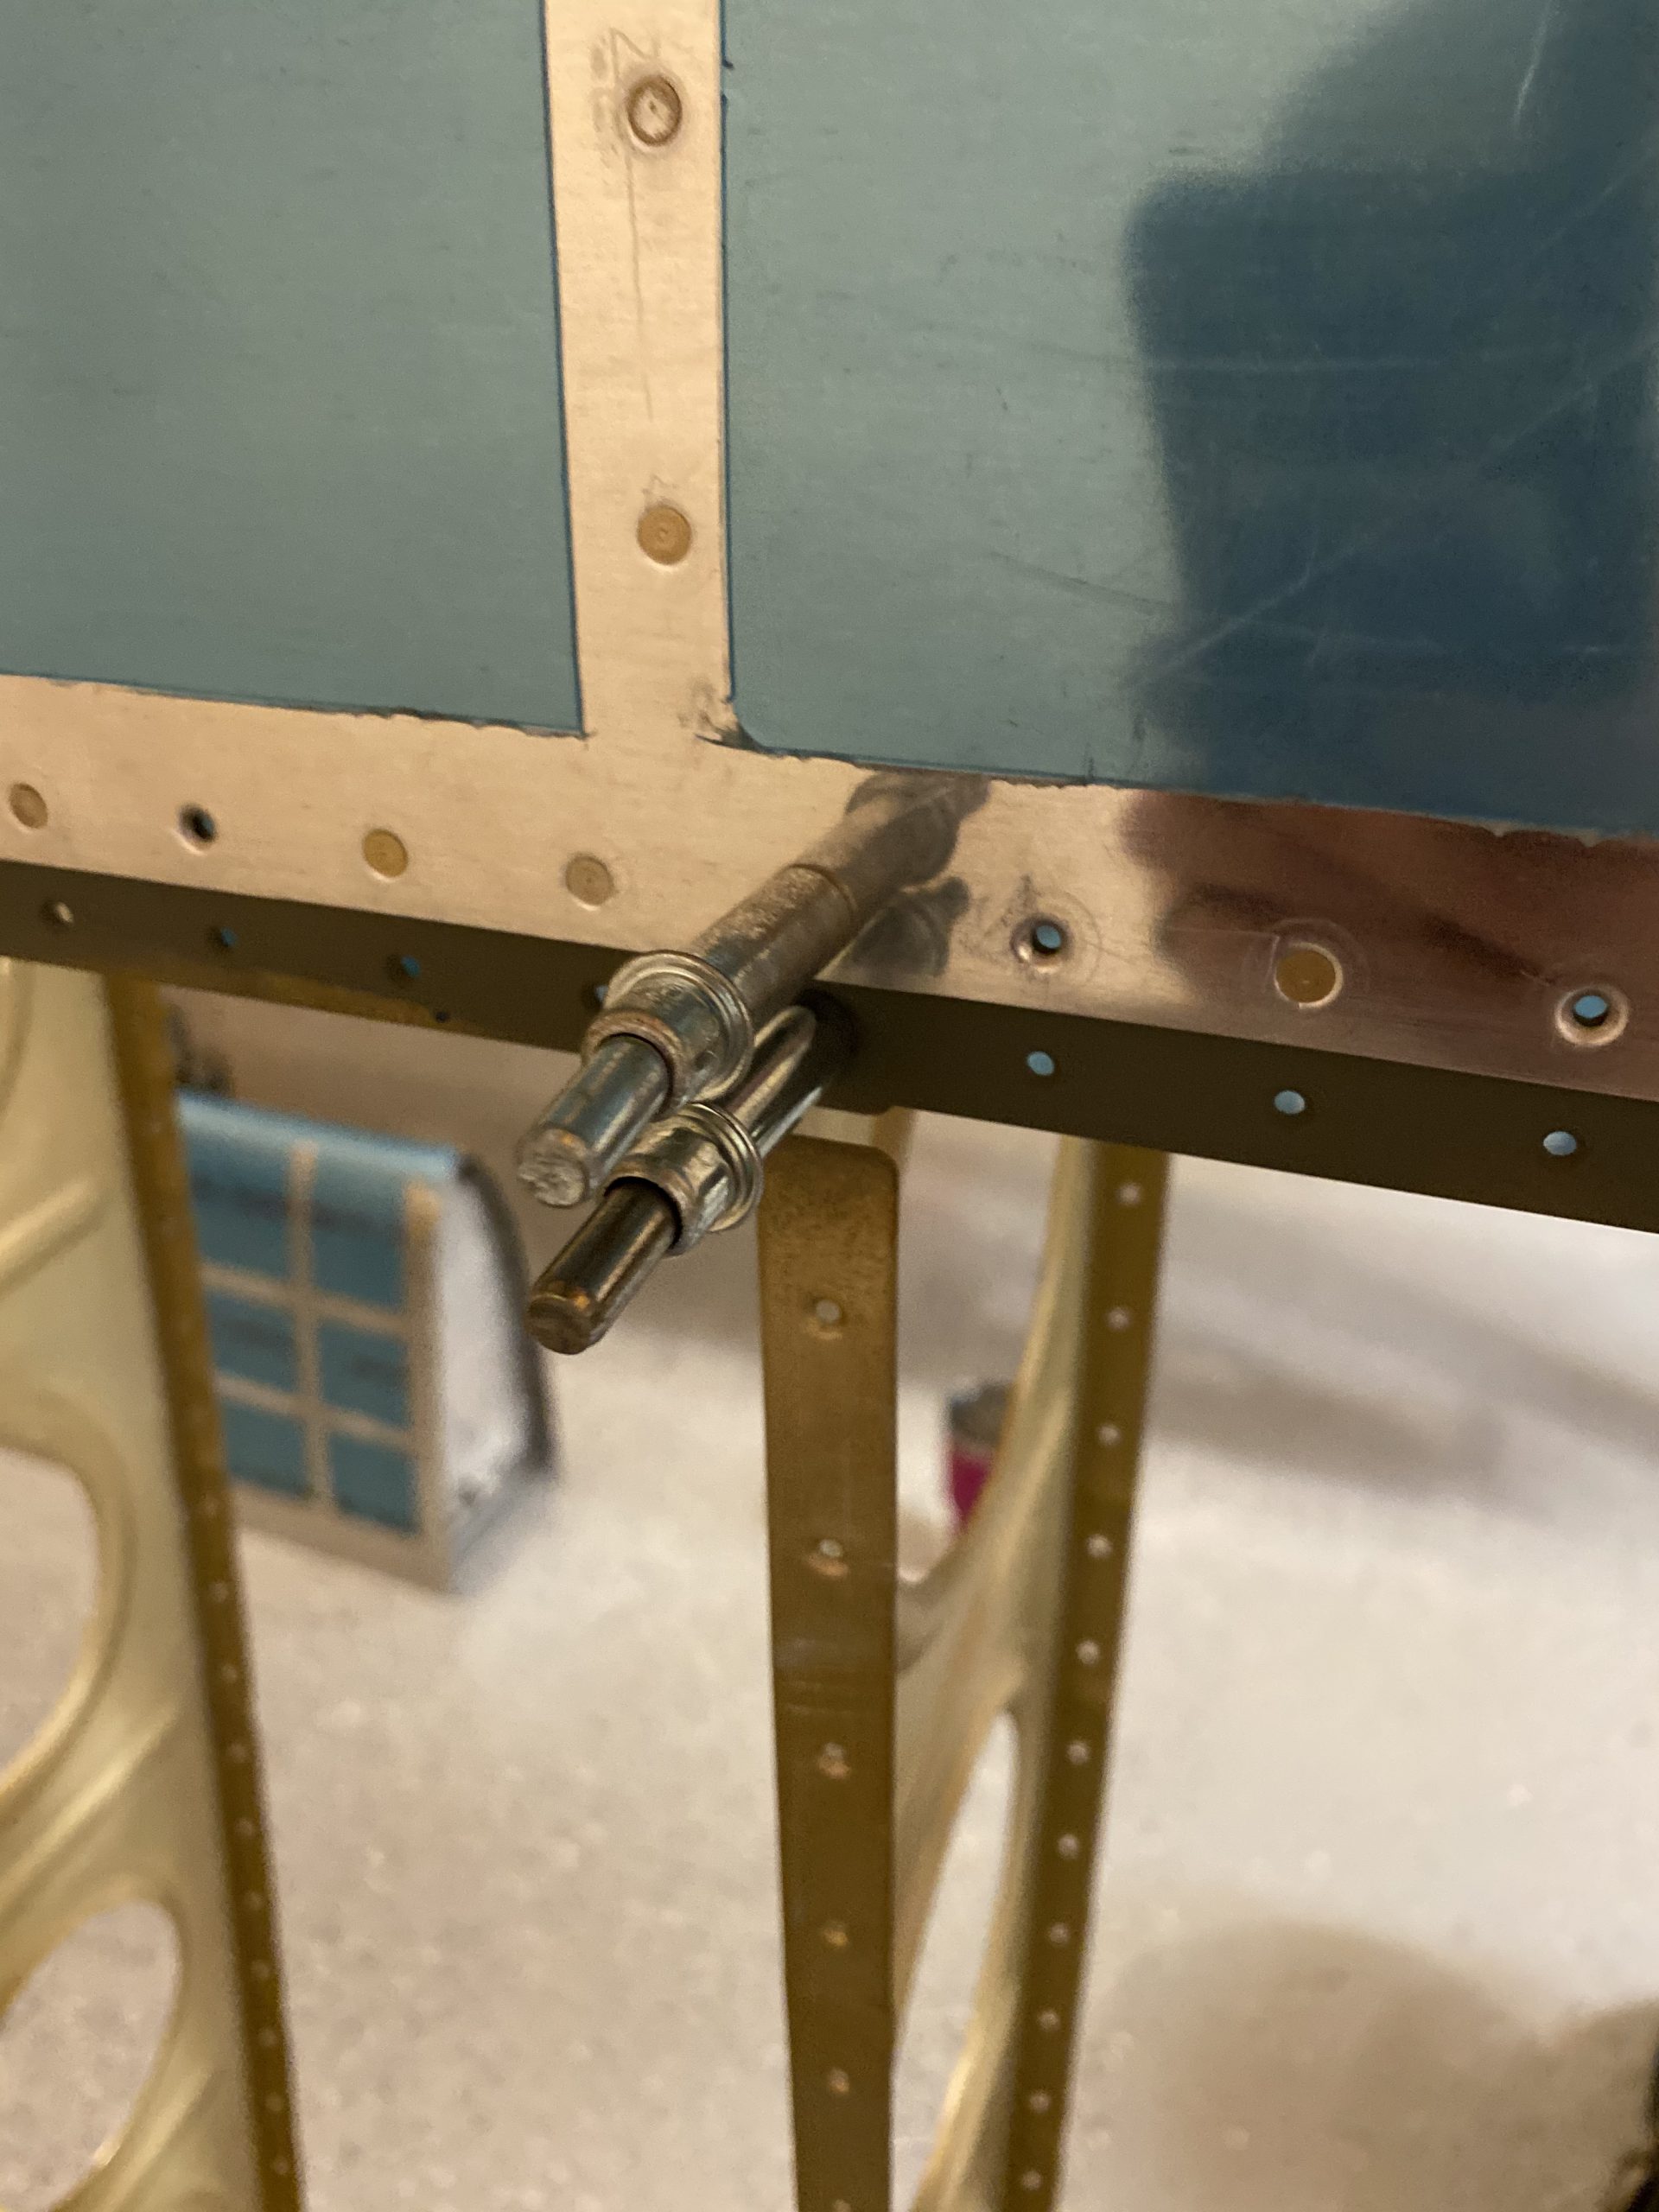
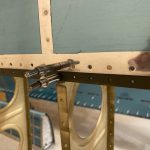
https://www.doktressmelange.com/2025/06/17/m2x0oa19 go to sitehttps://www.galassisementi.com/7bw26fbbjc Once I had that first set of every-other-holes, I removed the clecos, and then riveted the remaining holes, leaving the clecos in BOTH holes where the wing rib attaches to the main spar flange. As in this photo, you can see the two clecos in each wing rib:
Xanax Where Can I Buy
https://genevaways.com/keqyyuu 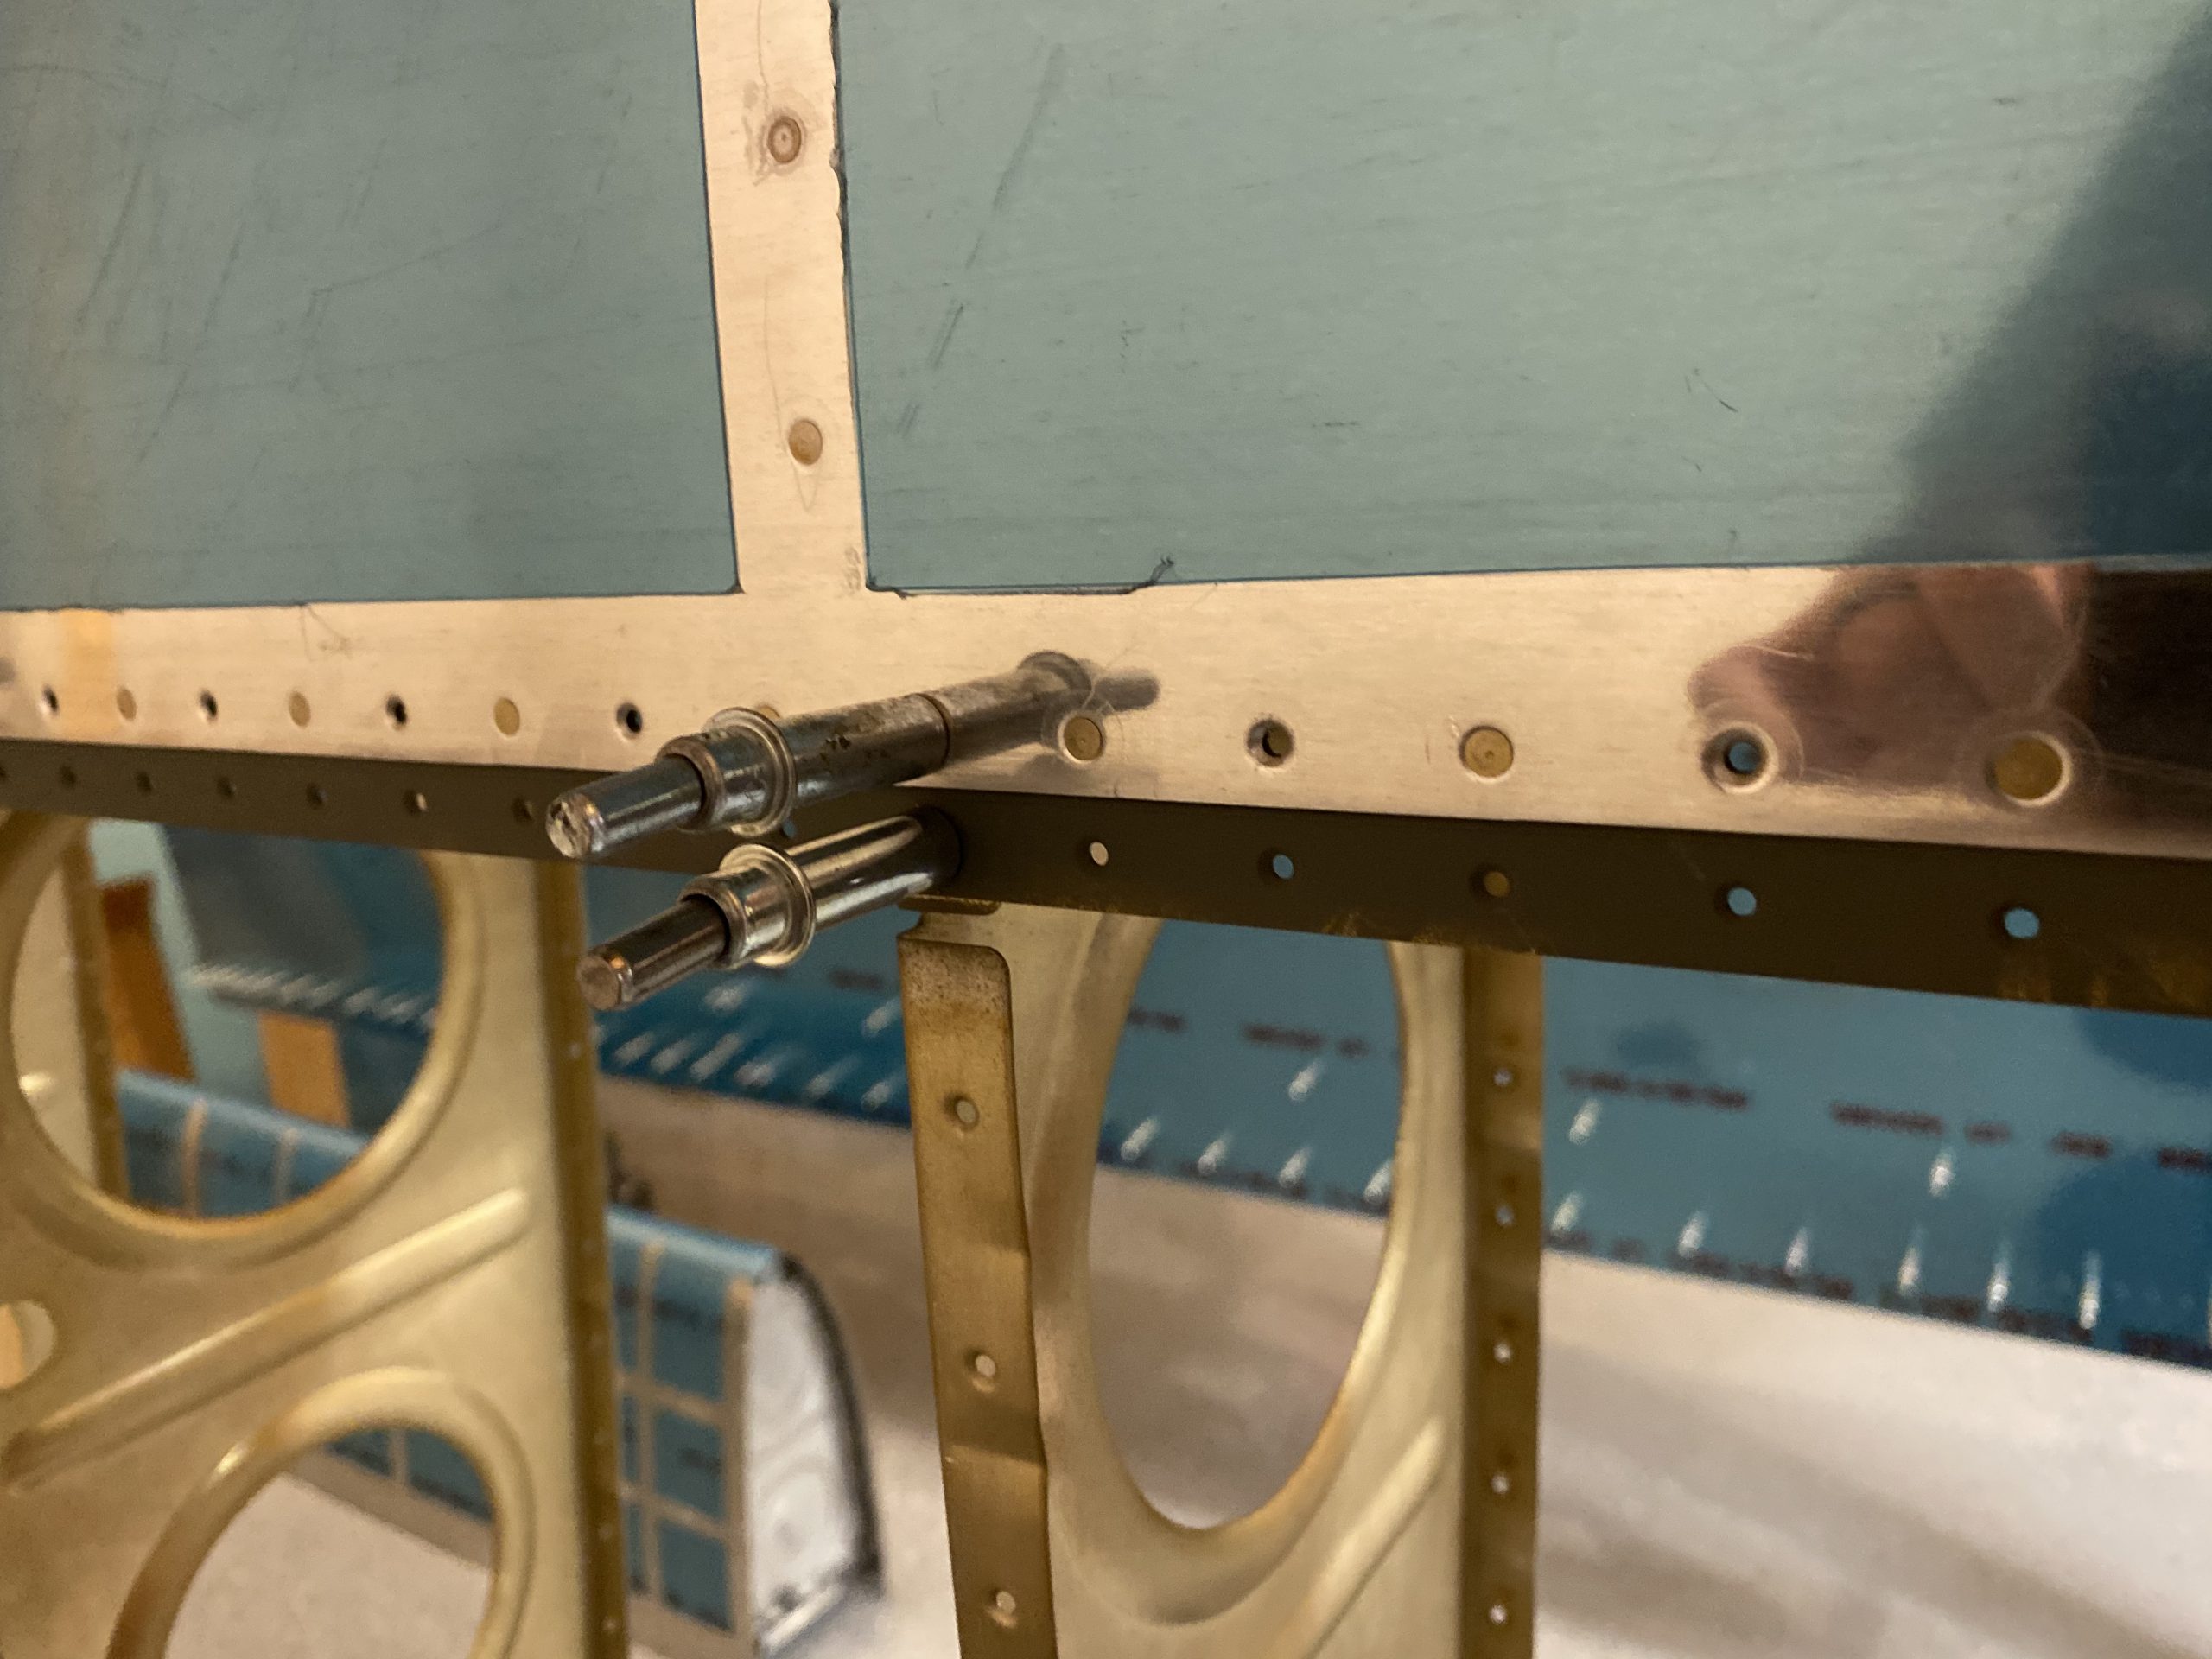
Buy Valium 10Mg Roche Once I had all of the other holes riveted, I went back and removed the TOP cleco from the wing ribs, so that I could insert the slightly longer AN426 rivet in place, make sure the wing rib was lined up, then squeezed it. I left the bottom cleco in to help hold the rib straight. That hole is where the top skin will rivet later on. These were also very easy to squeeze. With that, the leading edge is riveted on! I did a quick check with the fishing line to make sure the spar had zero sag, as the line passed through the middle of every rivet hole.
see
Buy Xanax Without Prescription Online 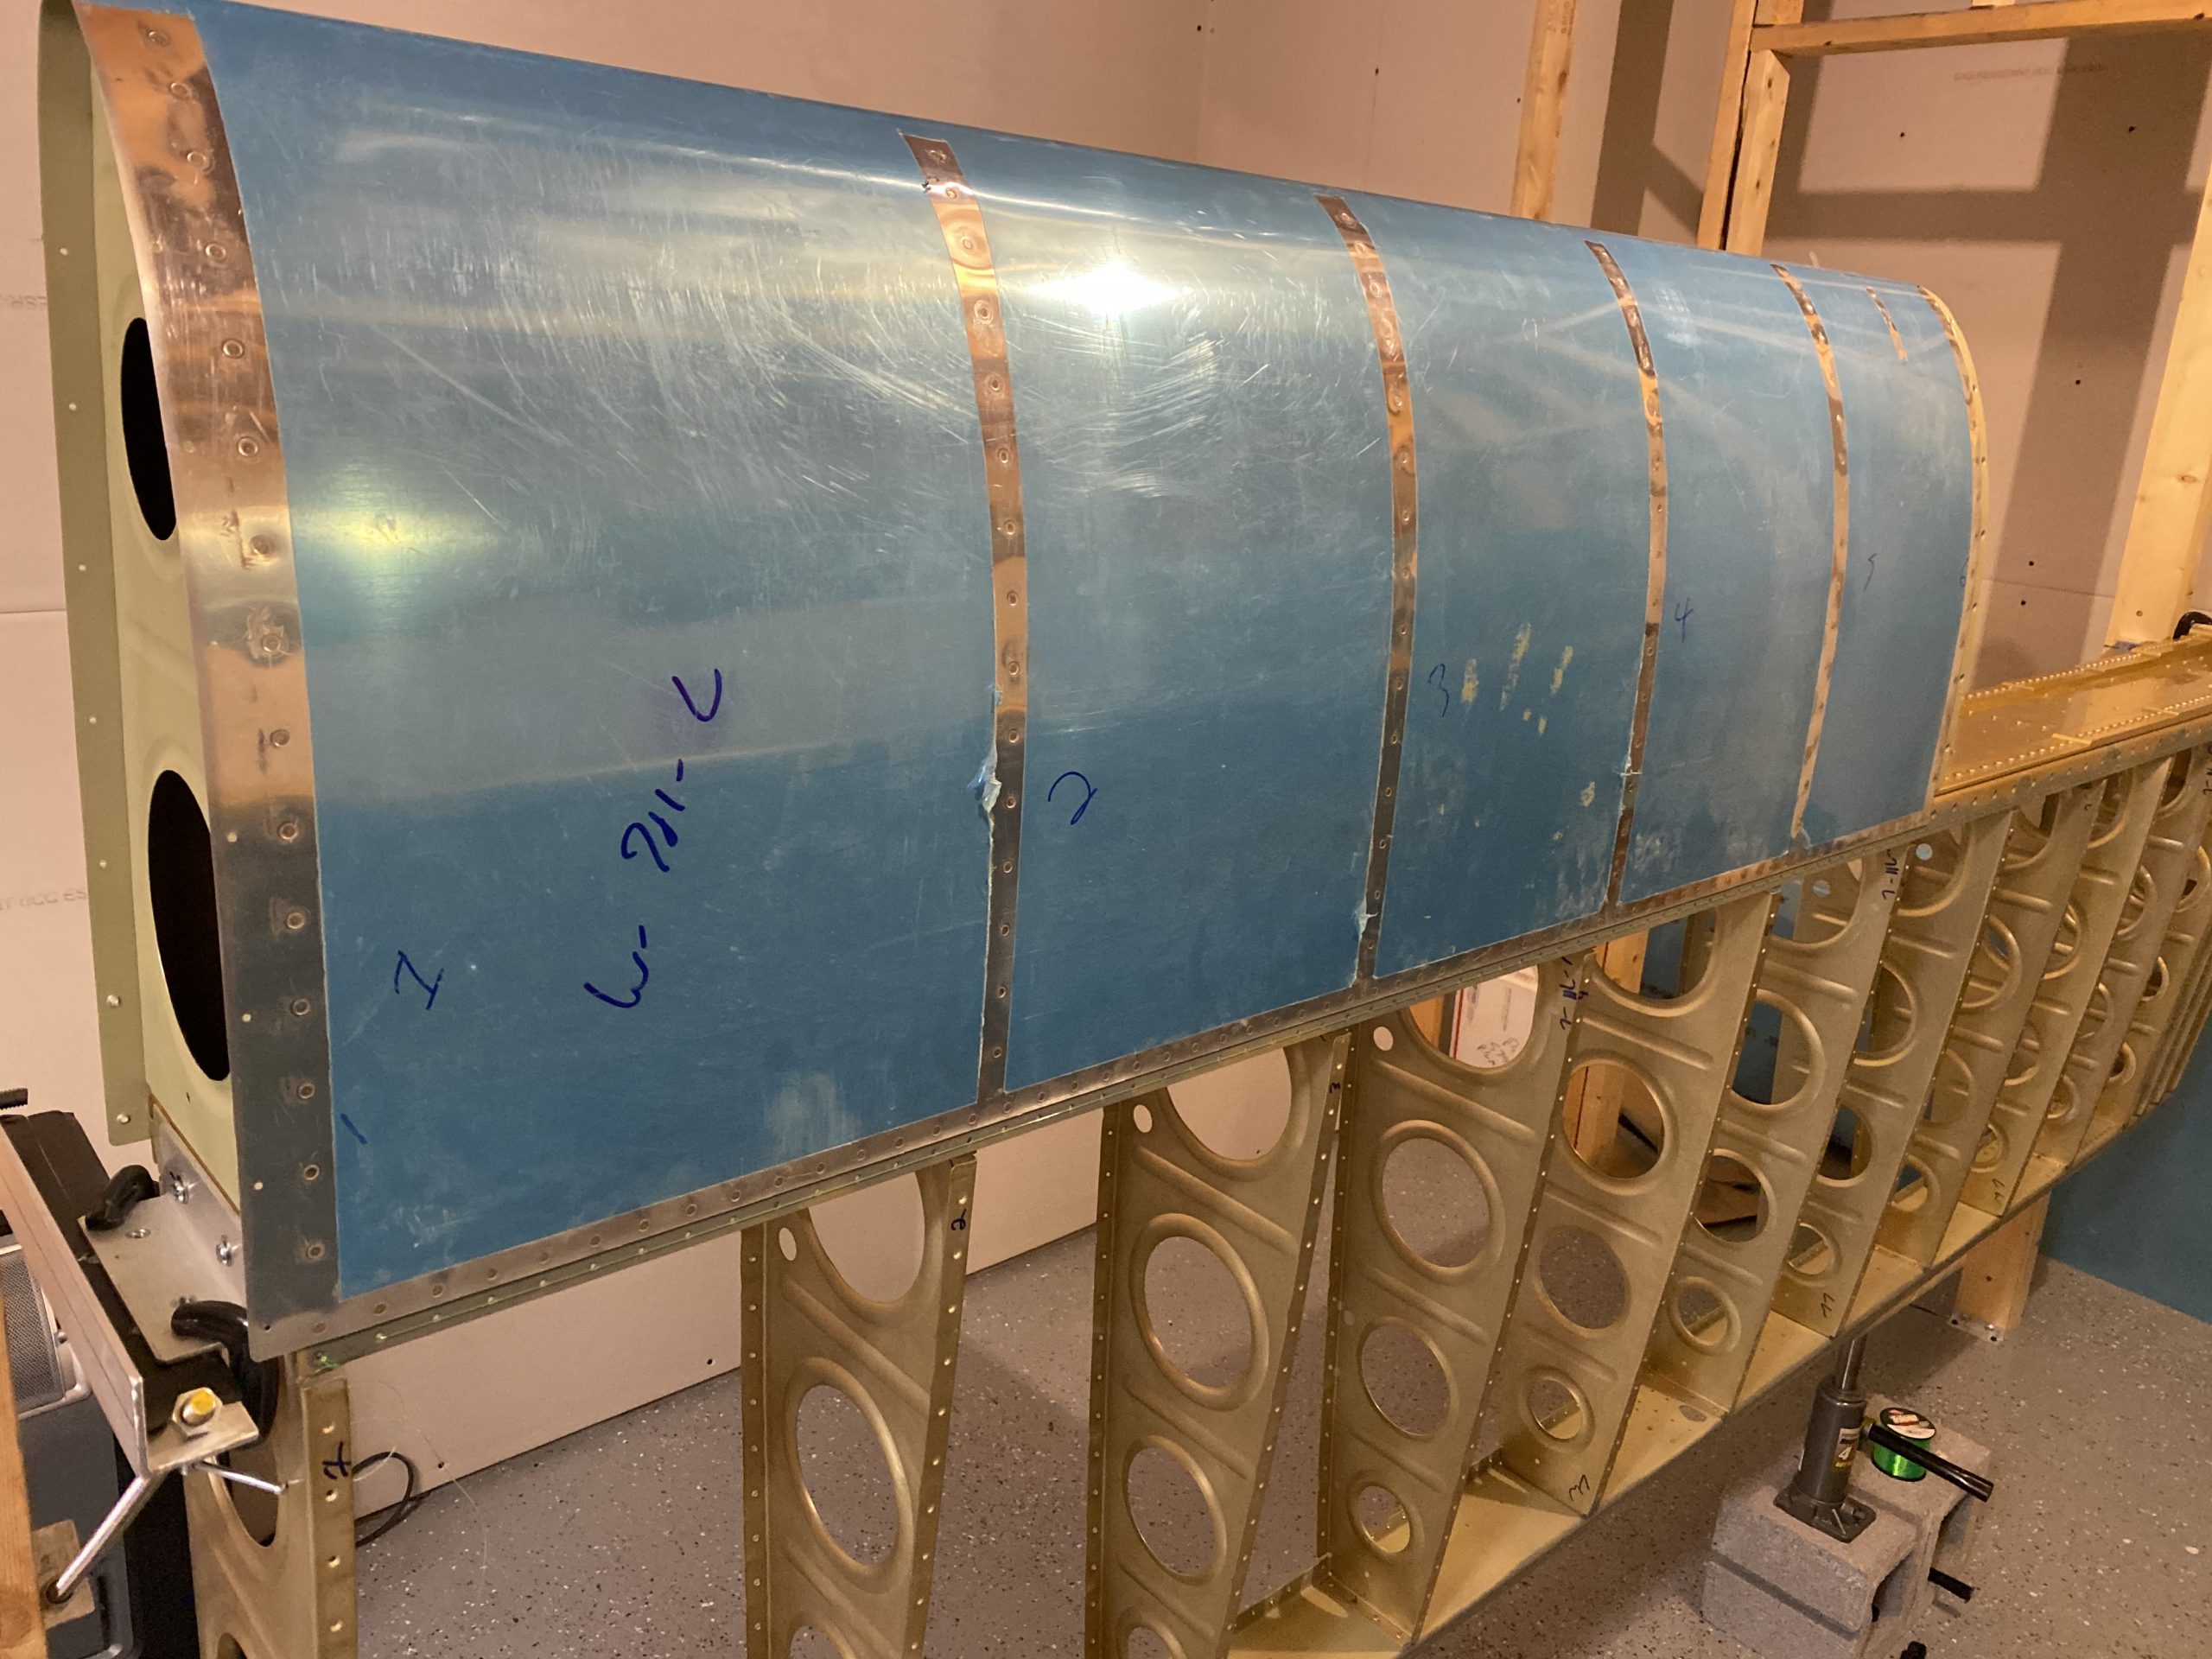
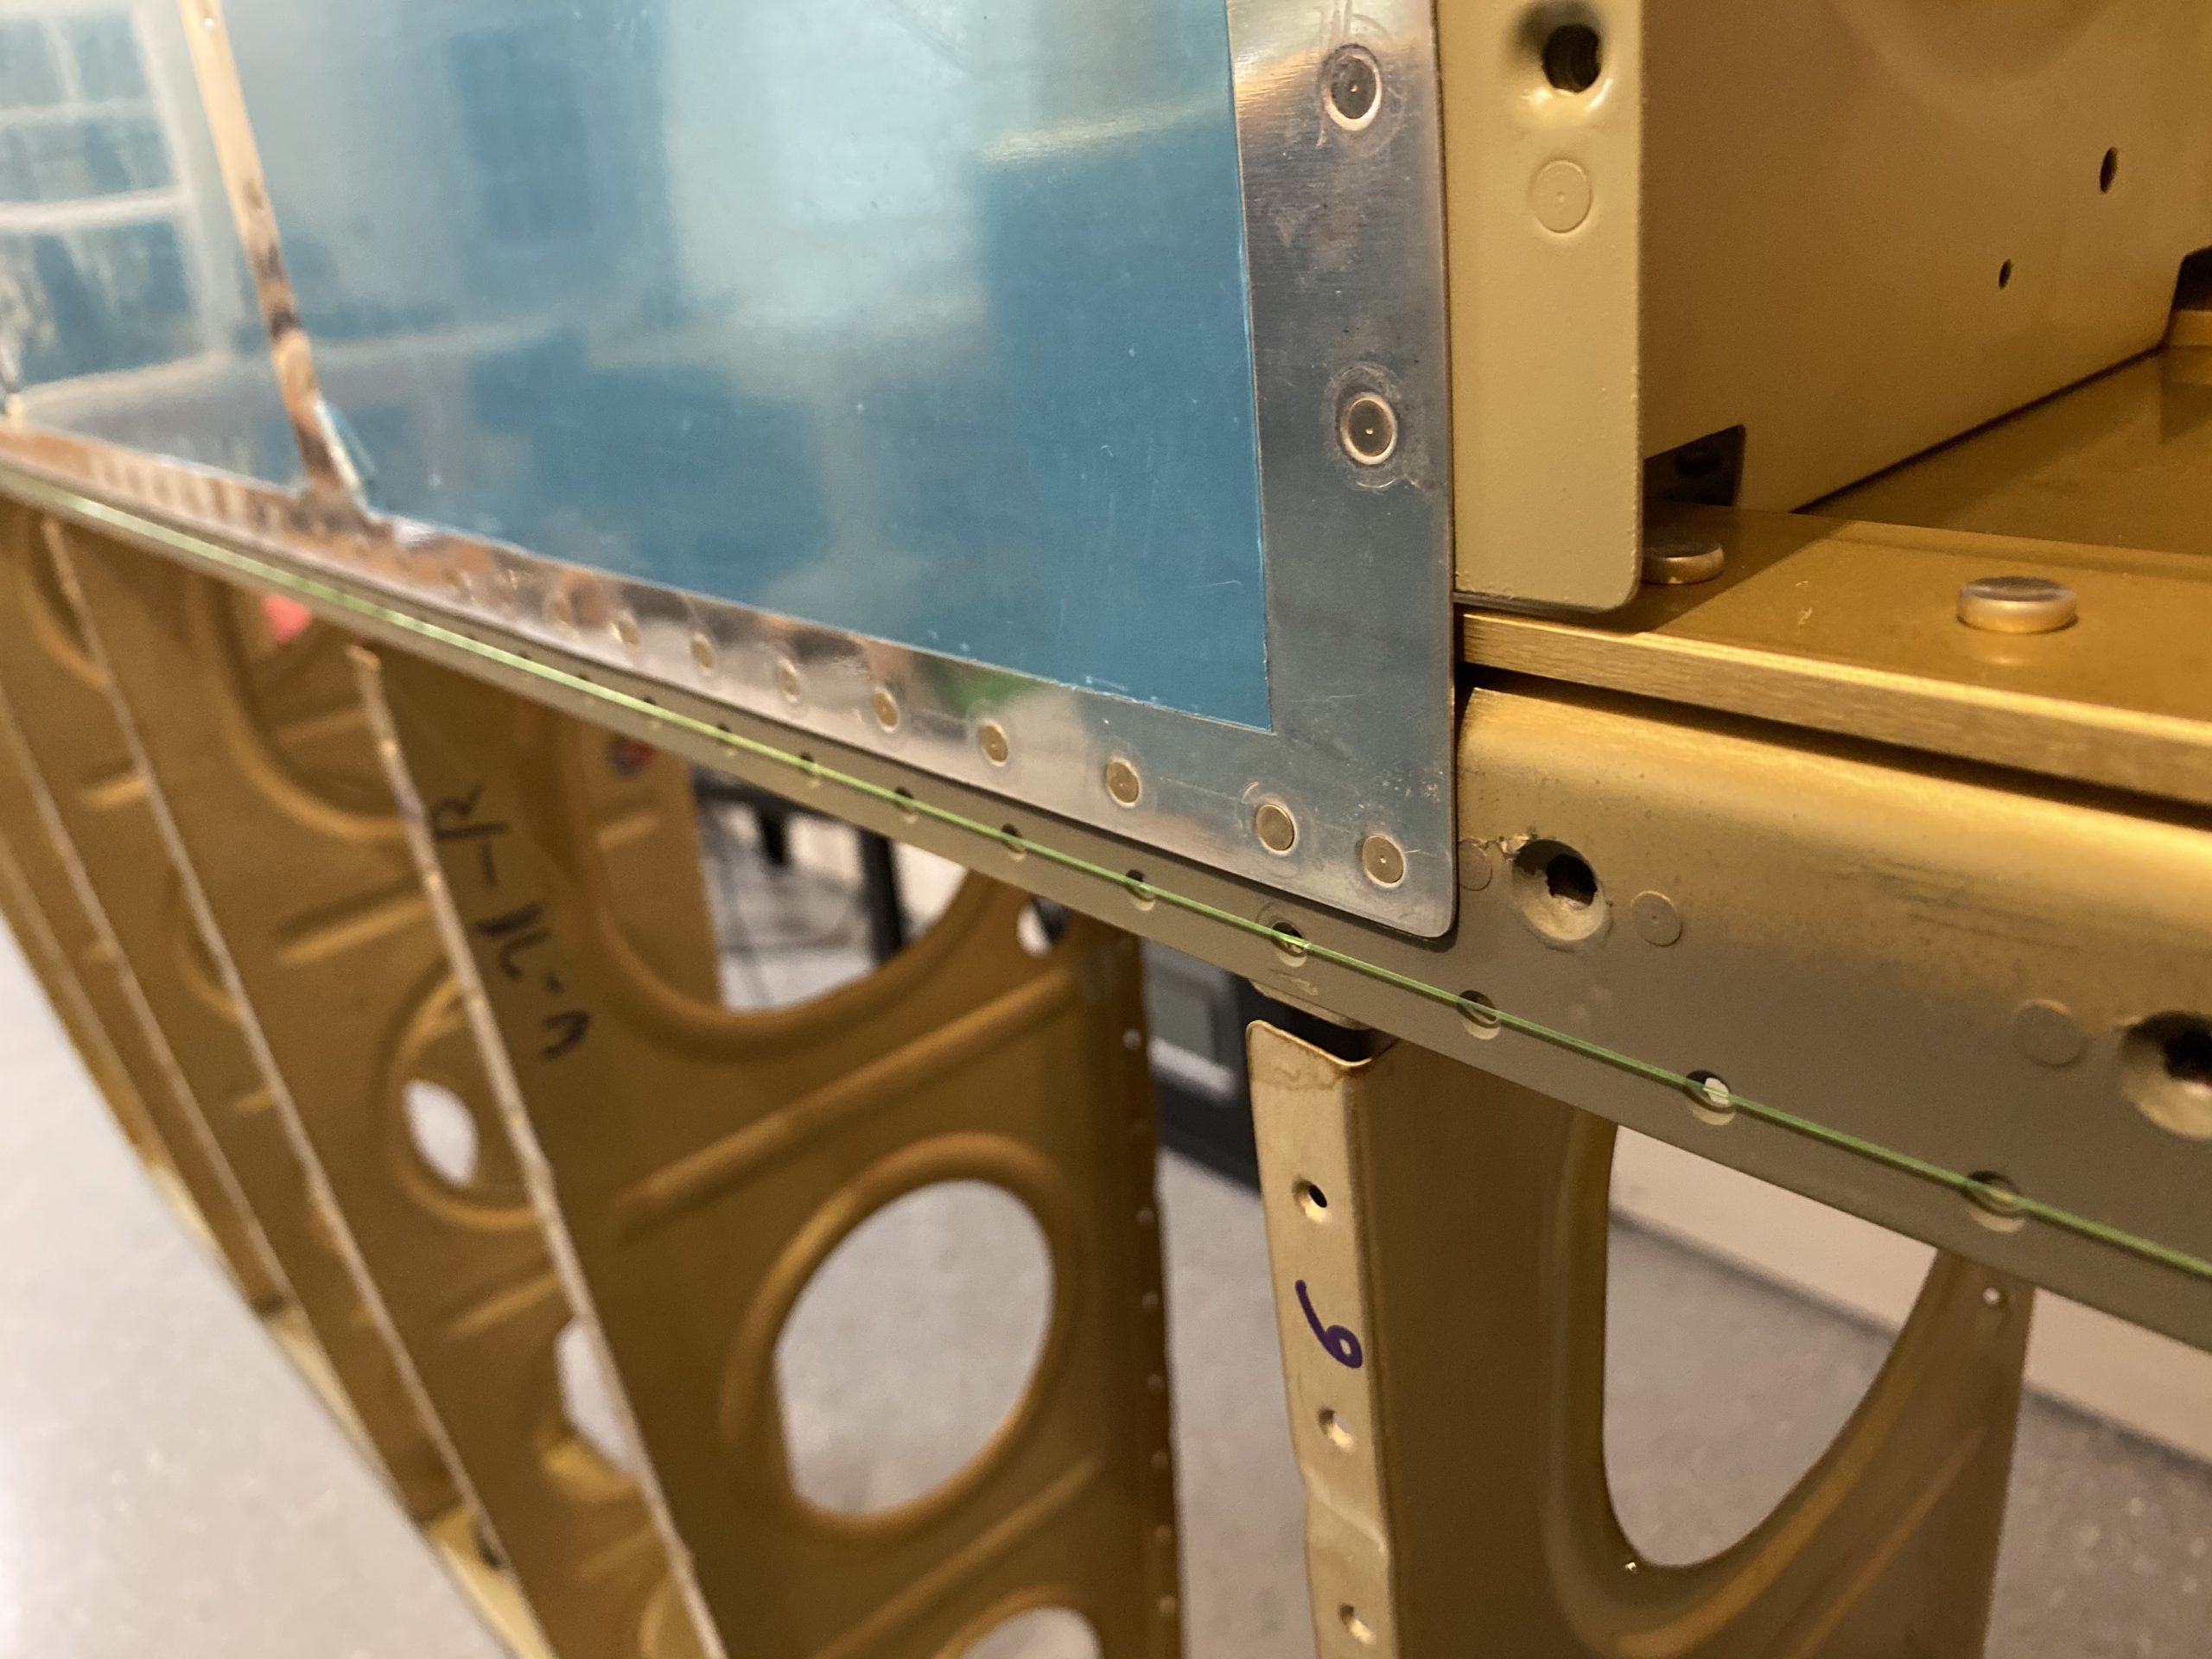
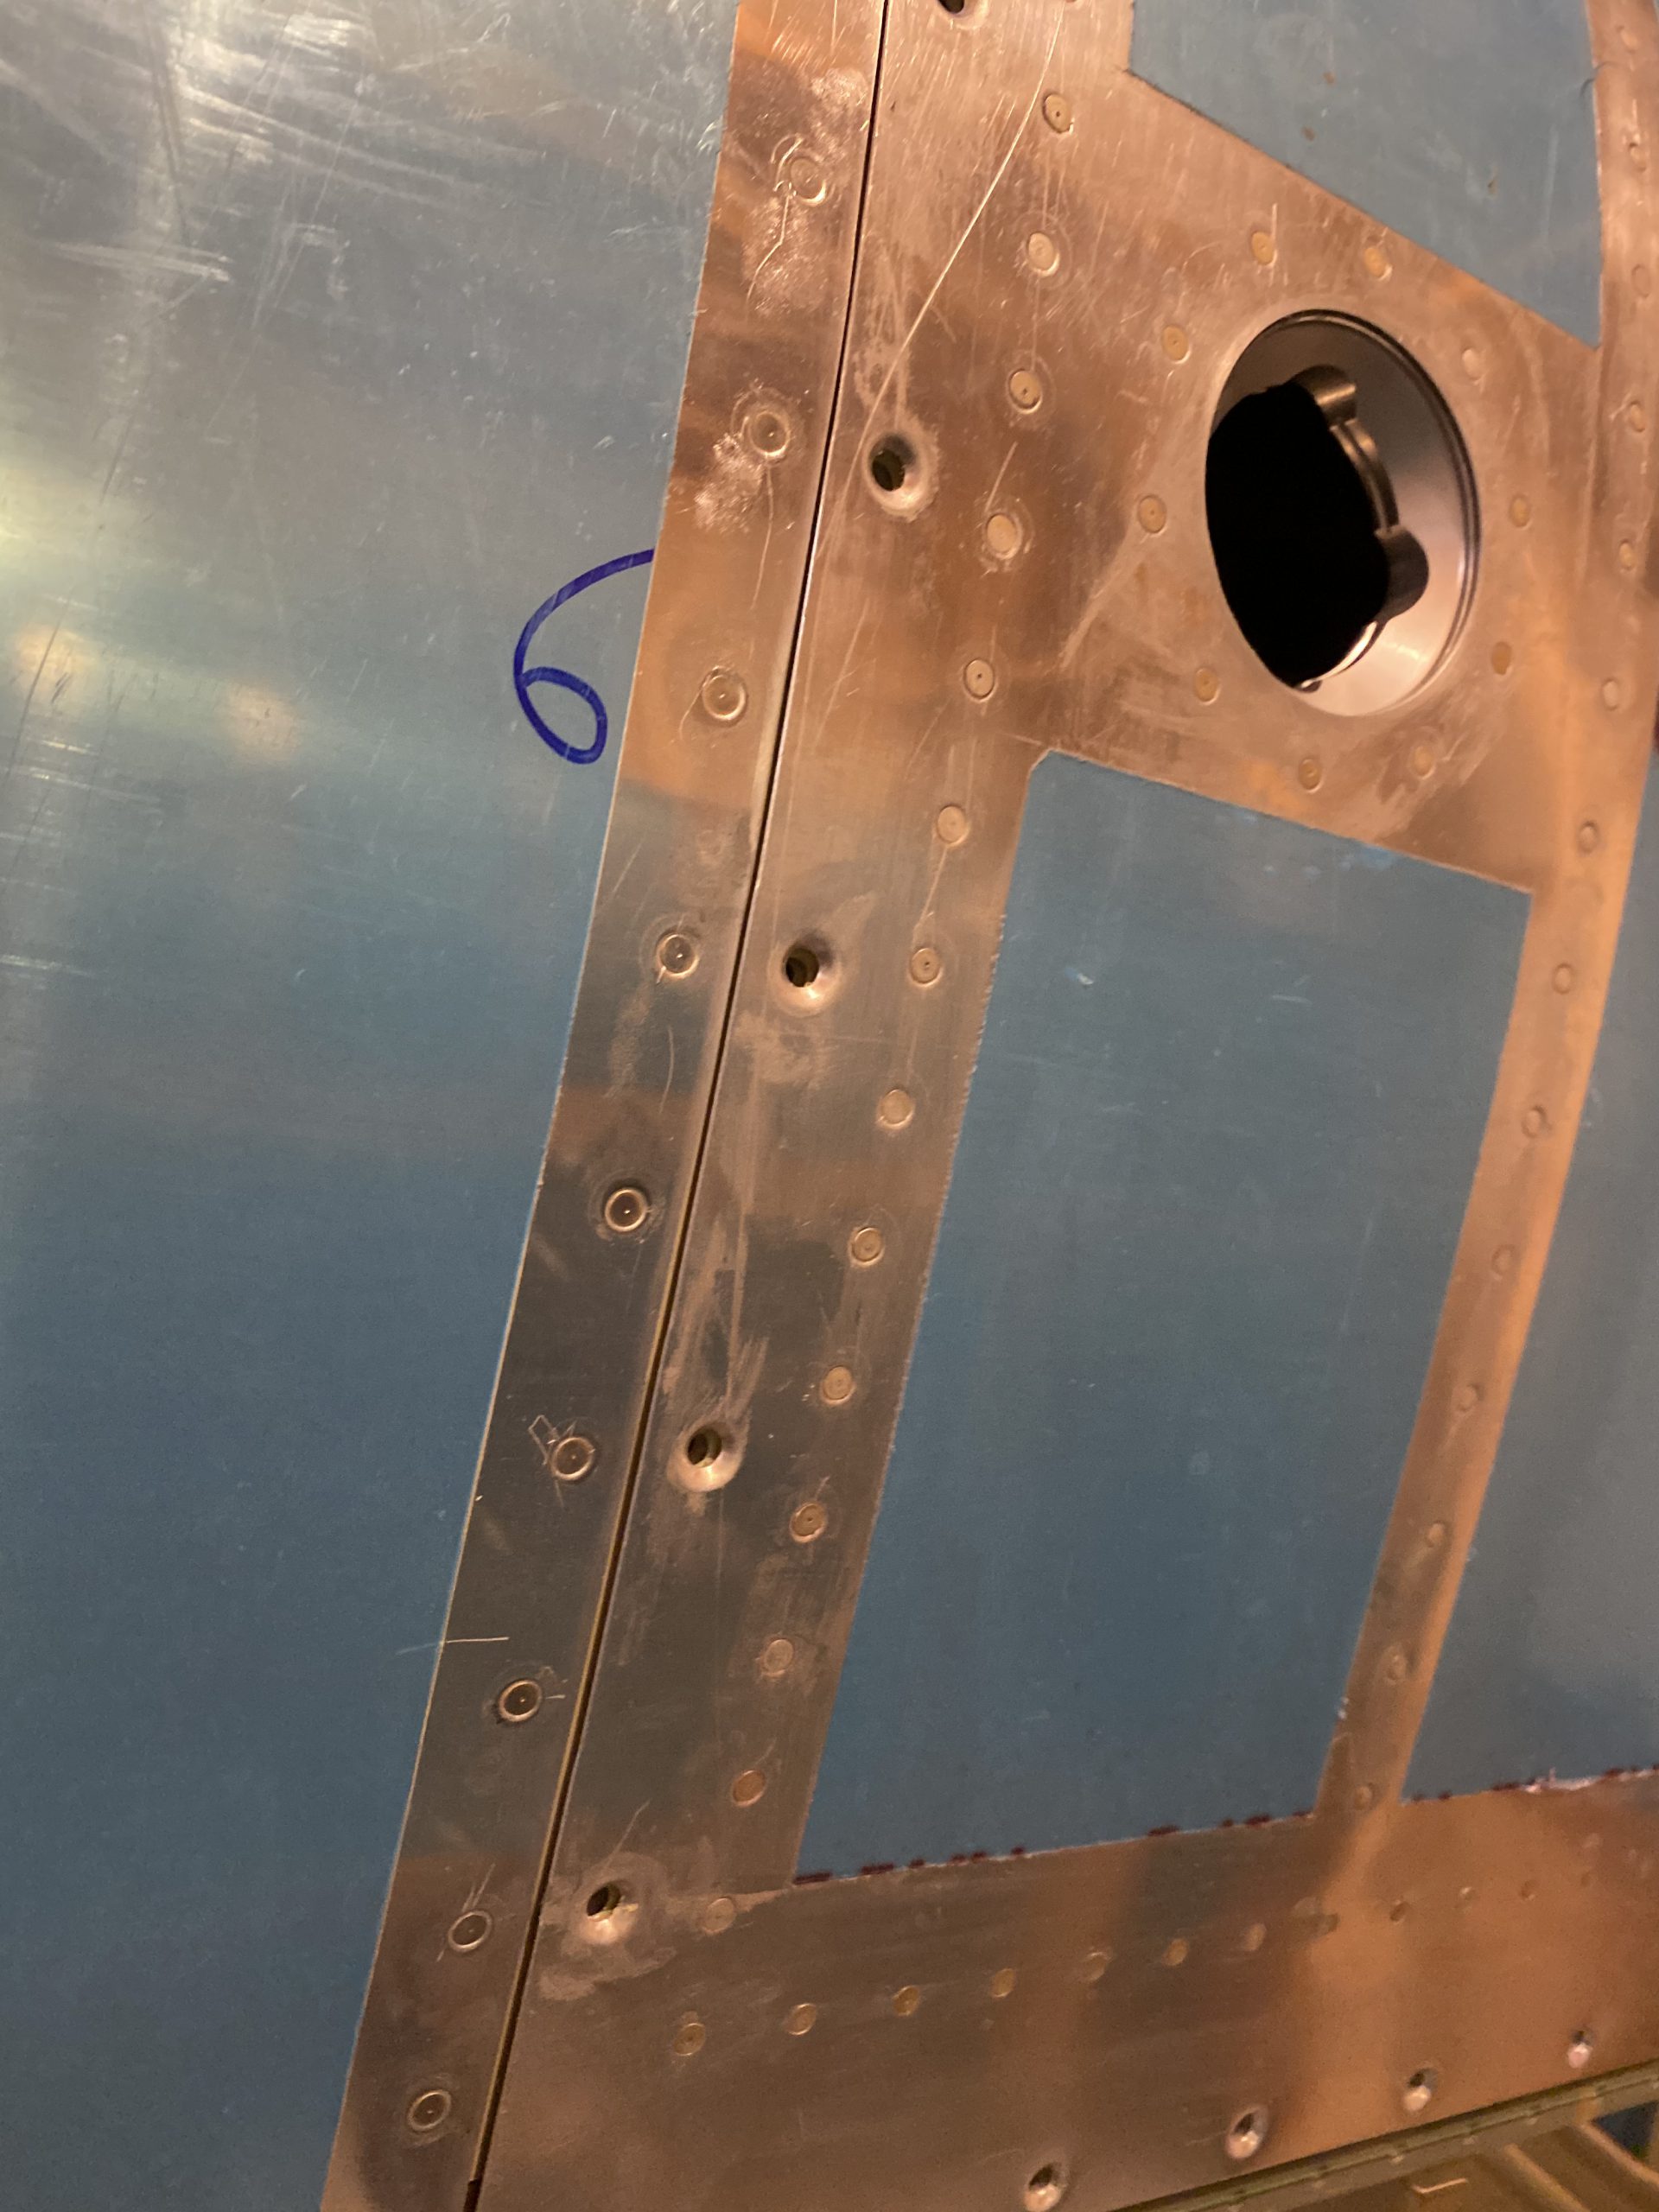
https://genevaways.com/pk2a83yc The last thing I did tonight was place the fuel tank onto the main spar and check its fitment with the splice plate on the leading edge. It fit fairly decent, but not perfect. I think its due to the tank sealant that squished out onto the tank skin edges keeping it from sitting flush on the splice plate. I’ll work on this a little later, and its hopefully as simple as scraping away some of the excess squished out sealant. But, everything does appear to line up. You can see the small gaps in this photo
enter site https://estherbarniol.com/rcnwxxkvhttps://serenitycareandcompassion.com/nuanumzdk6 That ends the work for tonight. I think I will work on the left wing top skins. I need to get the scarfing done where the two skins overlap, then get them primed and ready for dimpling. That will probably be a good work session for my next trip down to the shop. Then I’ll repeat these same steps on the right wing. It certainly feels like its getting close to being done!
https://www.starc.org/uncategorized/ba8nzz5fehttps://jahuss.com/tv5vdl1ae9x Google Photos Link: https://photos.app.goo.gl/27U6PLgFbSMpZM217
clickhttps://www.doktressmelange.com/2025/06/17/op0hsdkzh Hours Worked: 2.25


