


Man! Got a lot knocked out today! The left wing leading edge is completely riveted, and ready to be attached to the wing skeleton, including the stall warner. I got a text from Tammy mid-build s her BMW overheated, and was low on coolant, so I had to pause and rescue her, dropping the car off at a mechanic. Hopefully that bill won’t be too bad when they check it out Monday. Here is the first part of the timelapse:
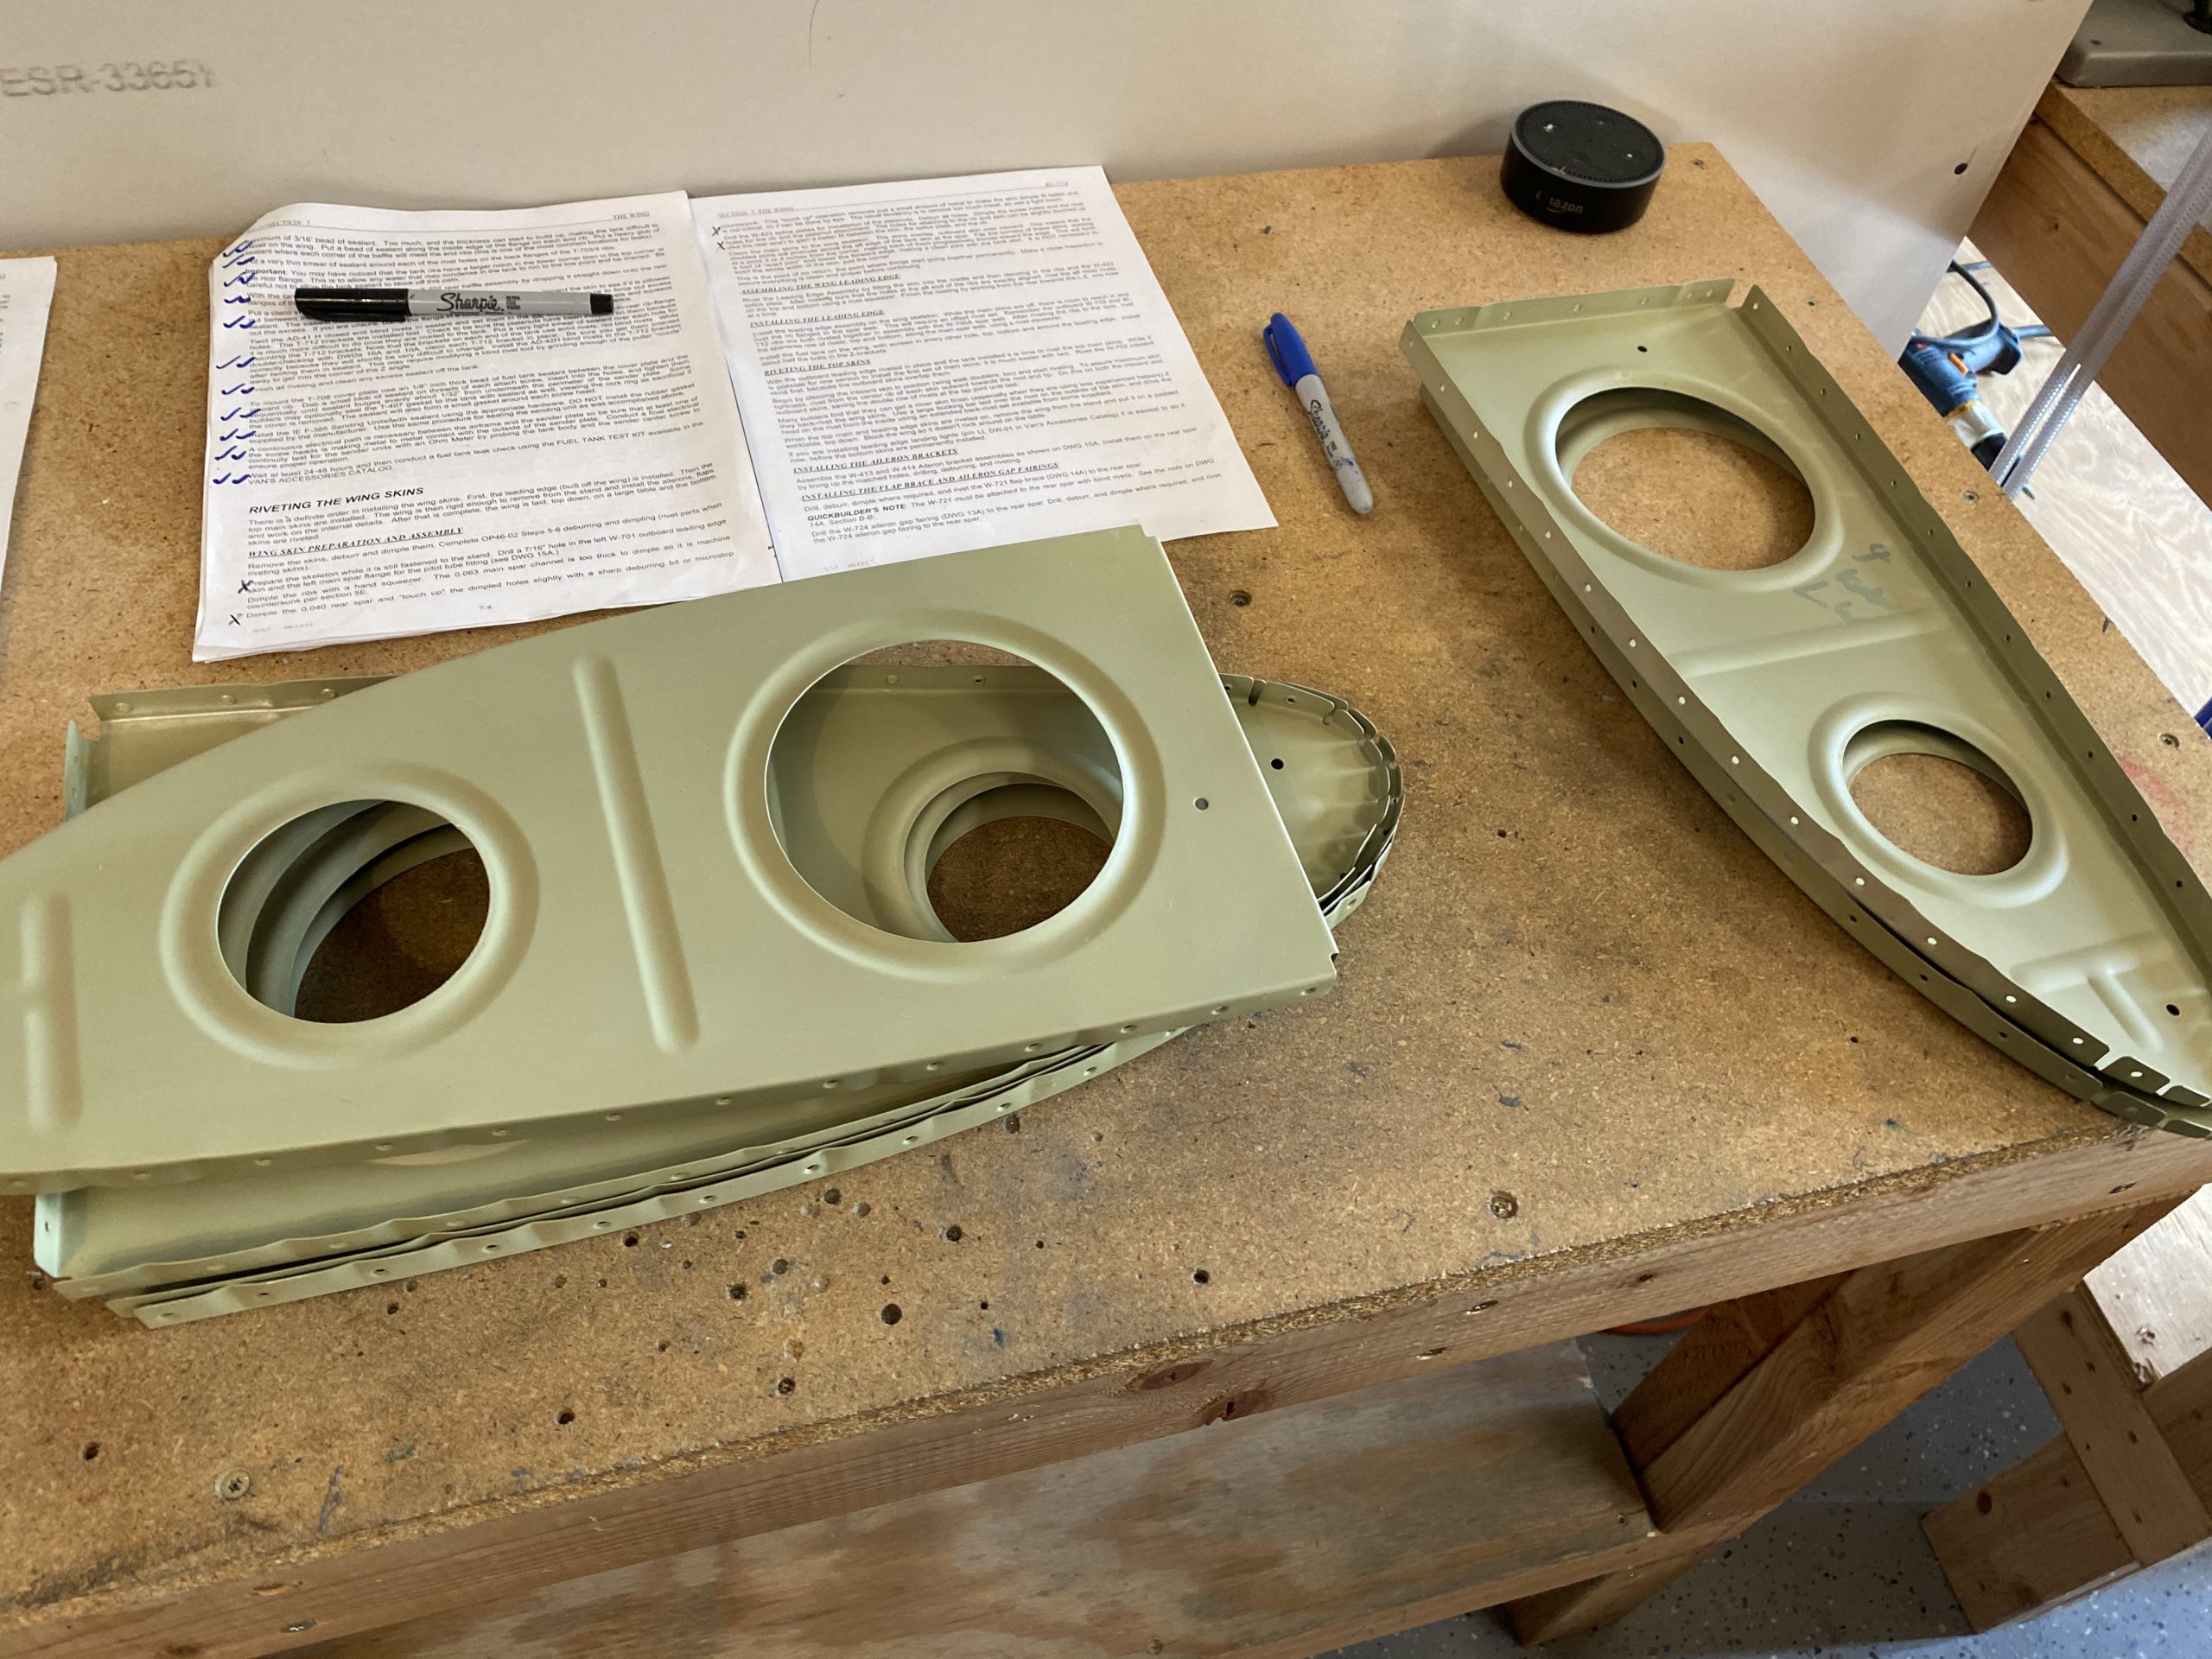
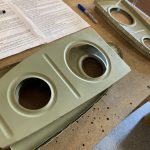
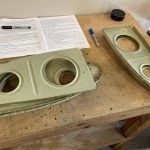
I pulled the left leading edge parts from the paint booth, as they are cured and ready for work. Then I wiped them down with a shop towel to get rid of any overspray that may have landed on them. After that, I put the leading edge back into the cradle, and started assembling it. Heres how nice the parts look!
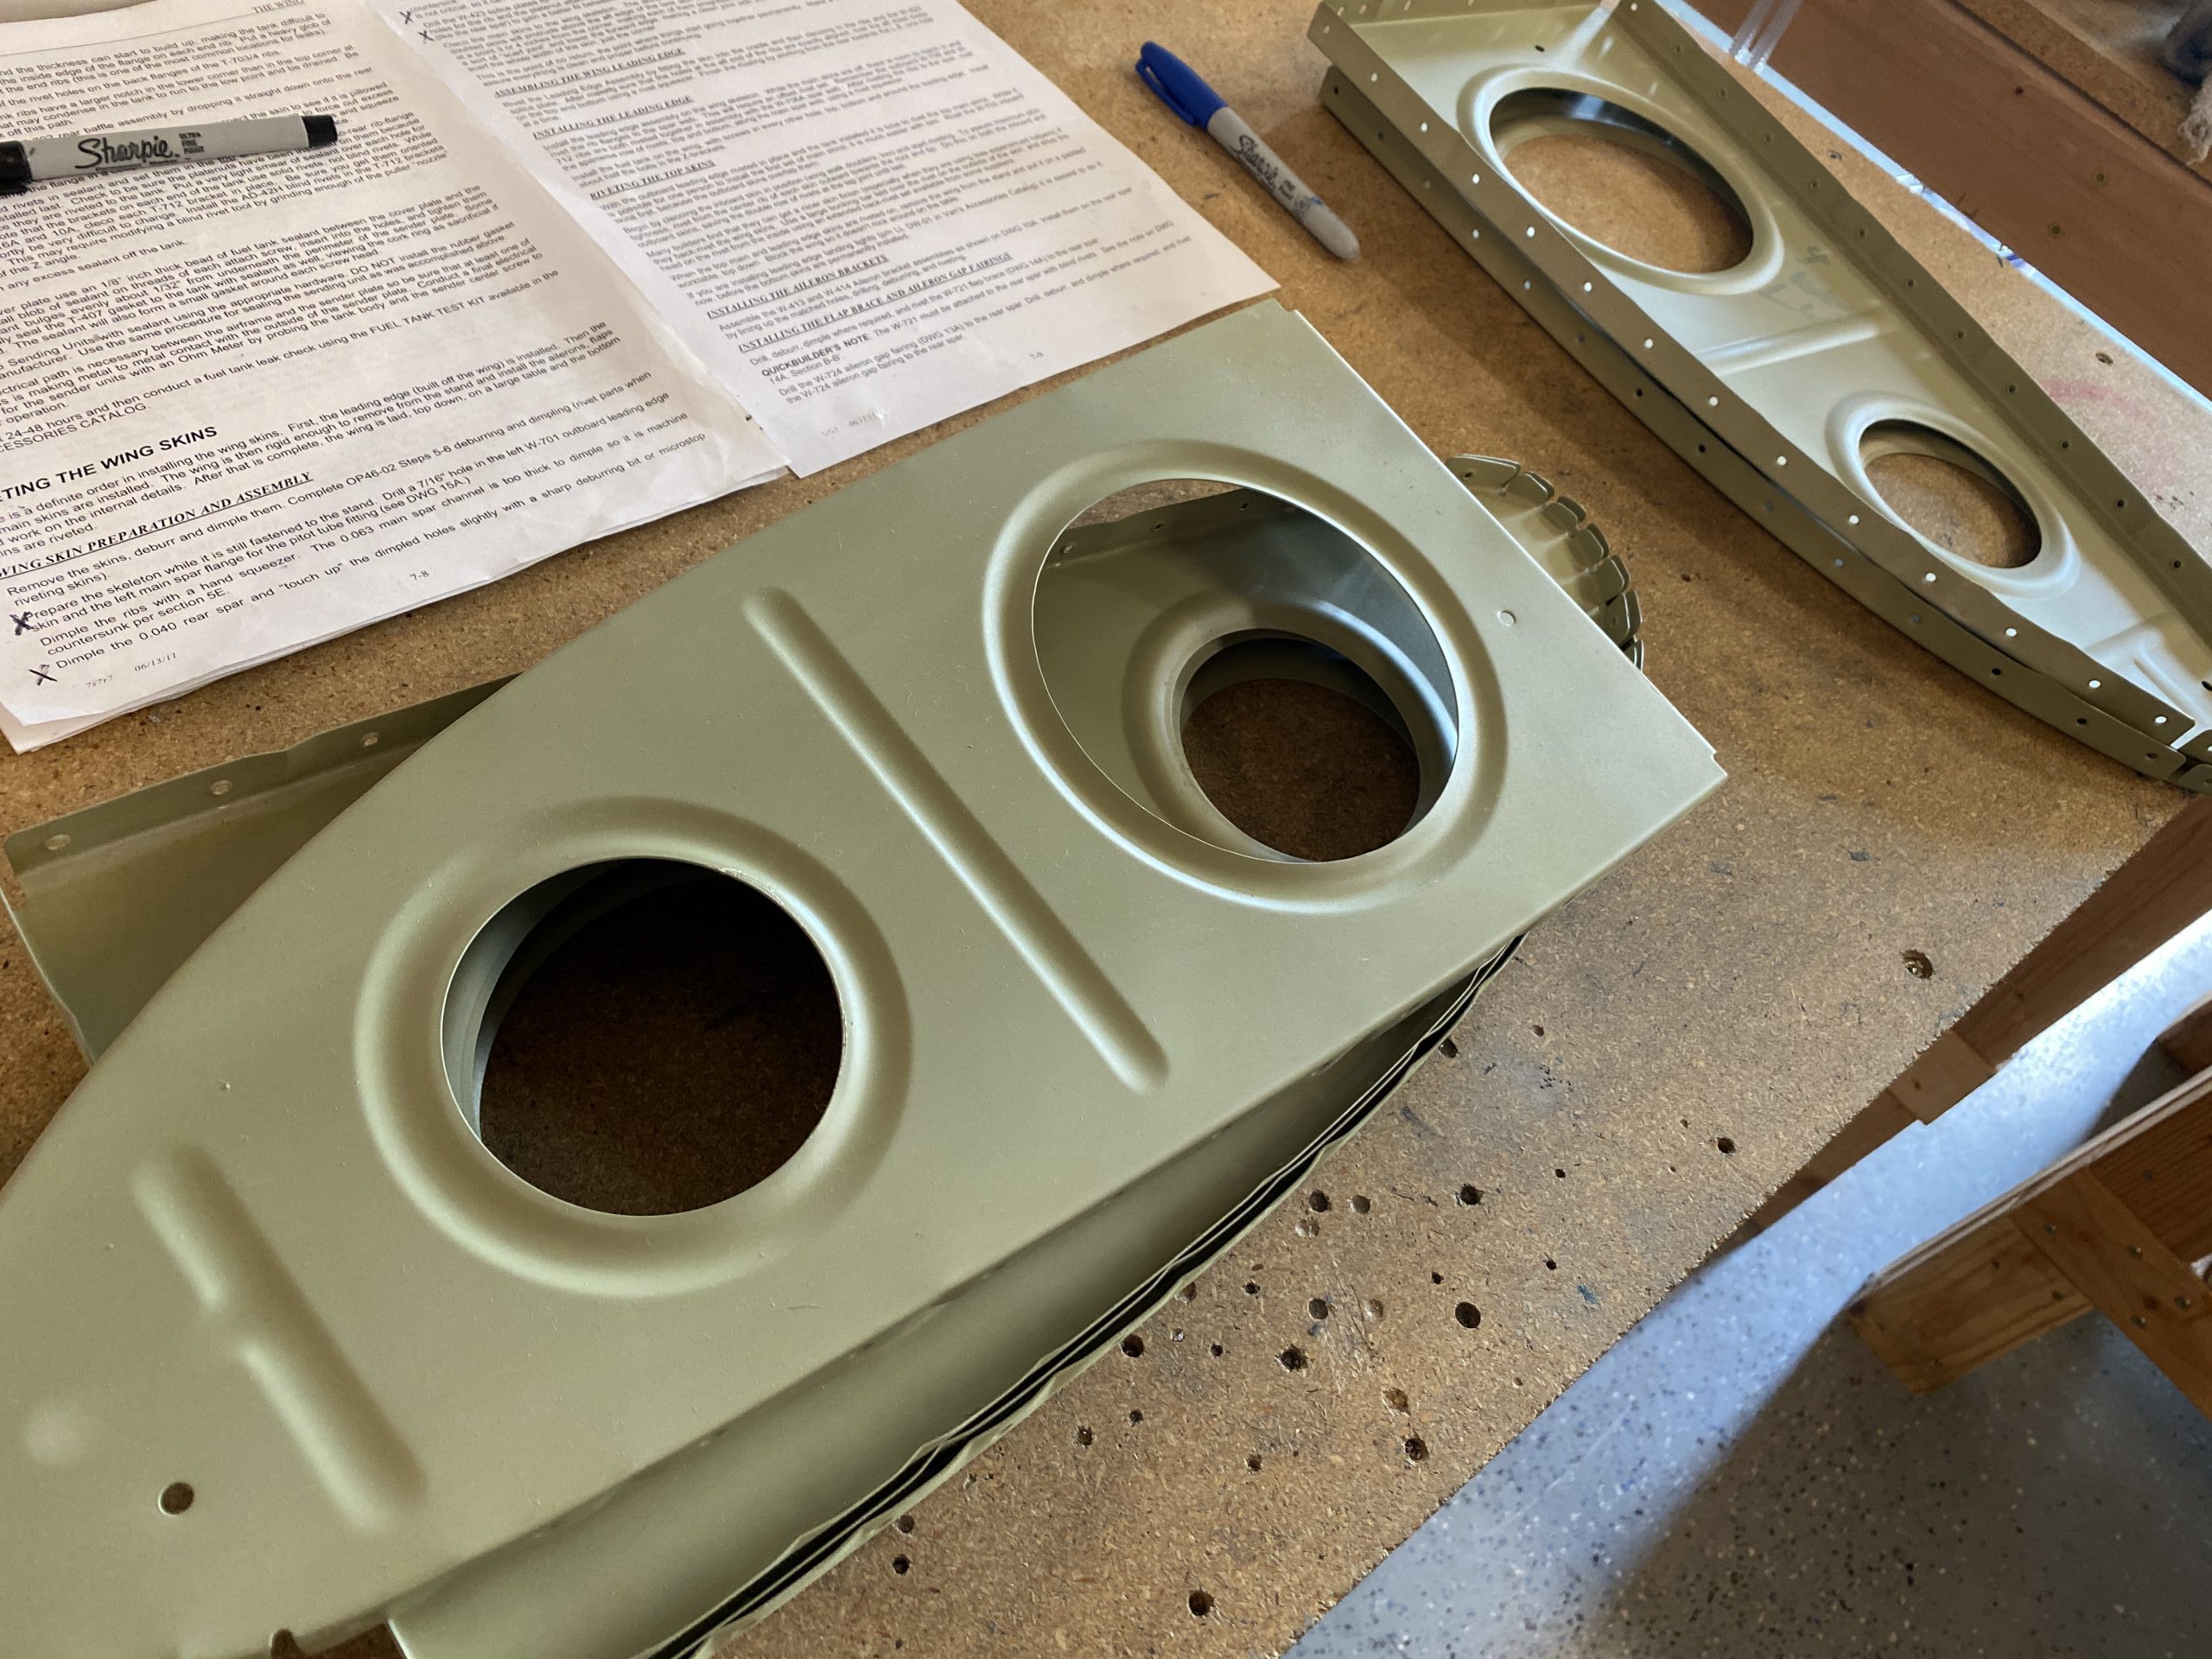
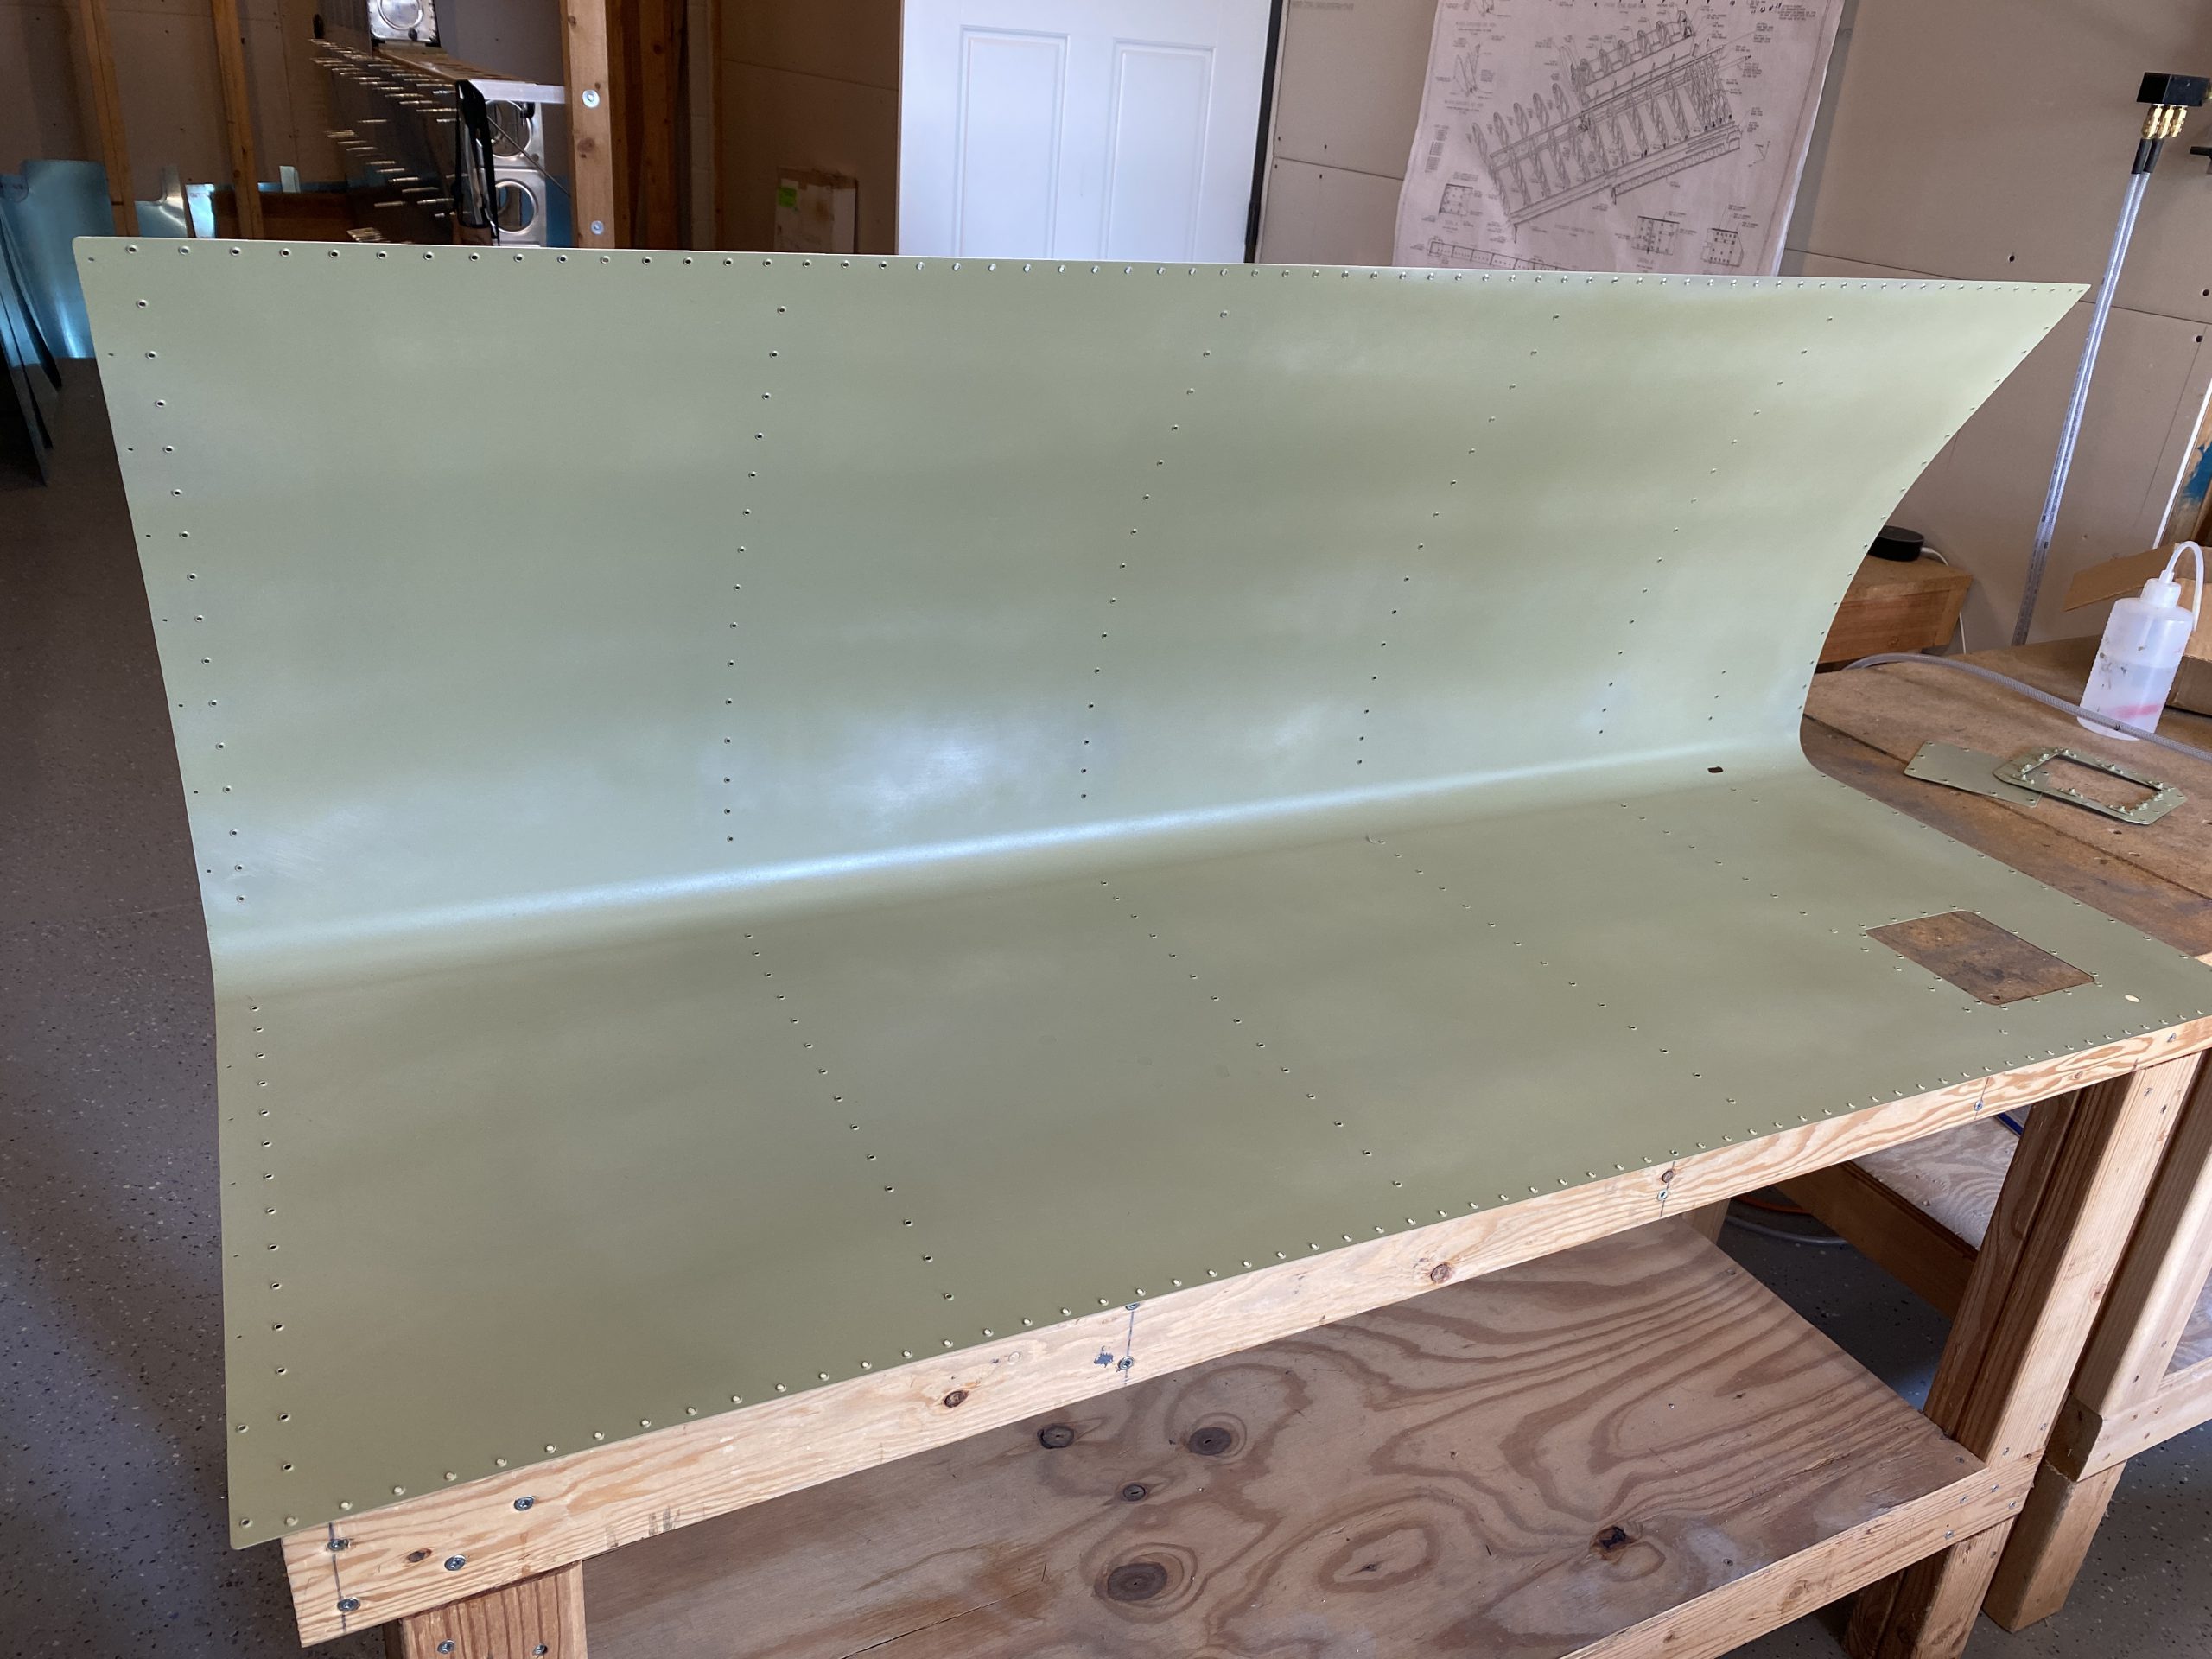
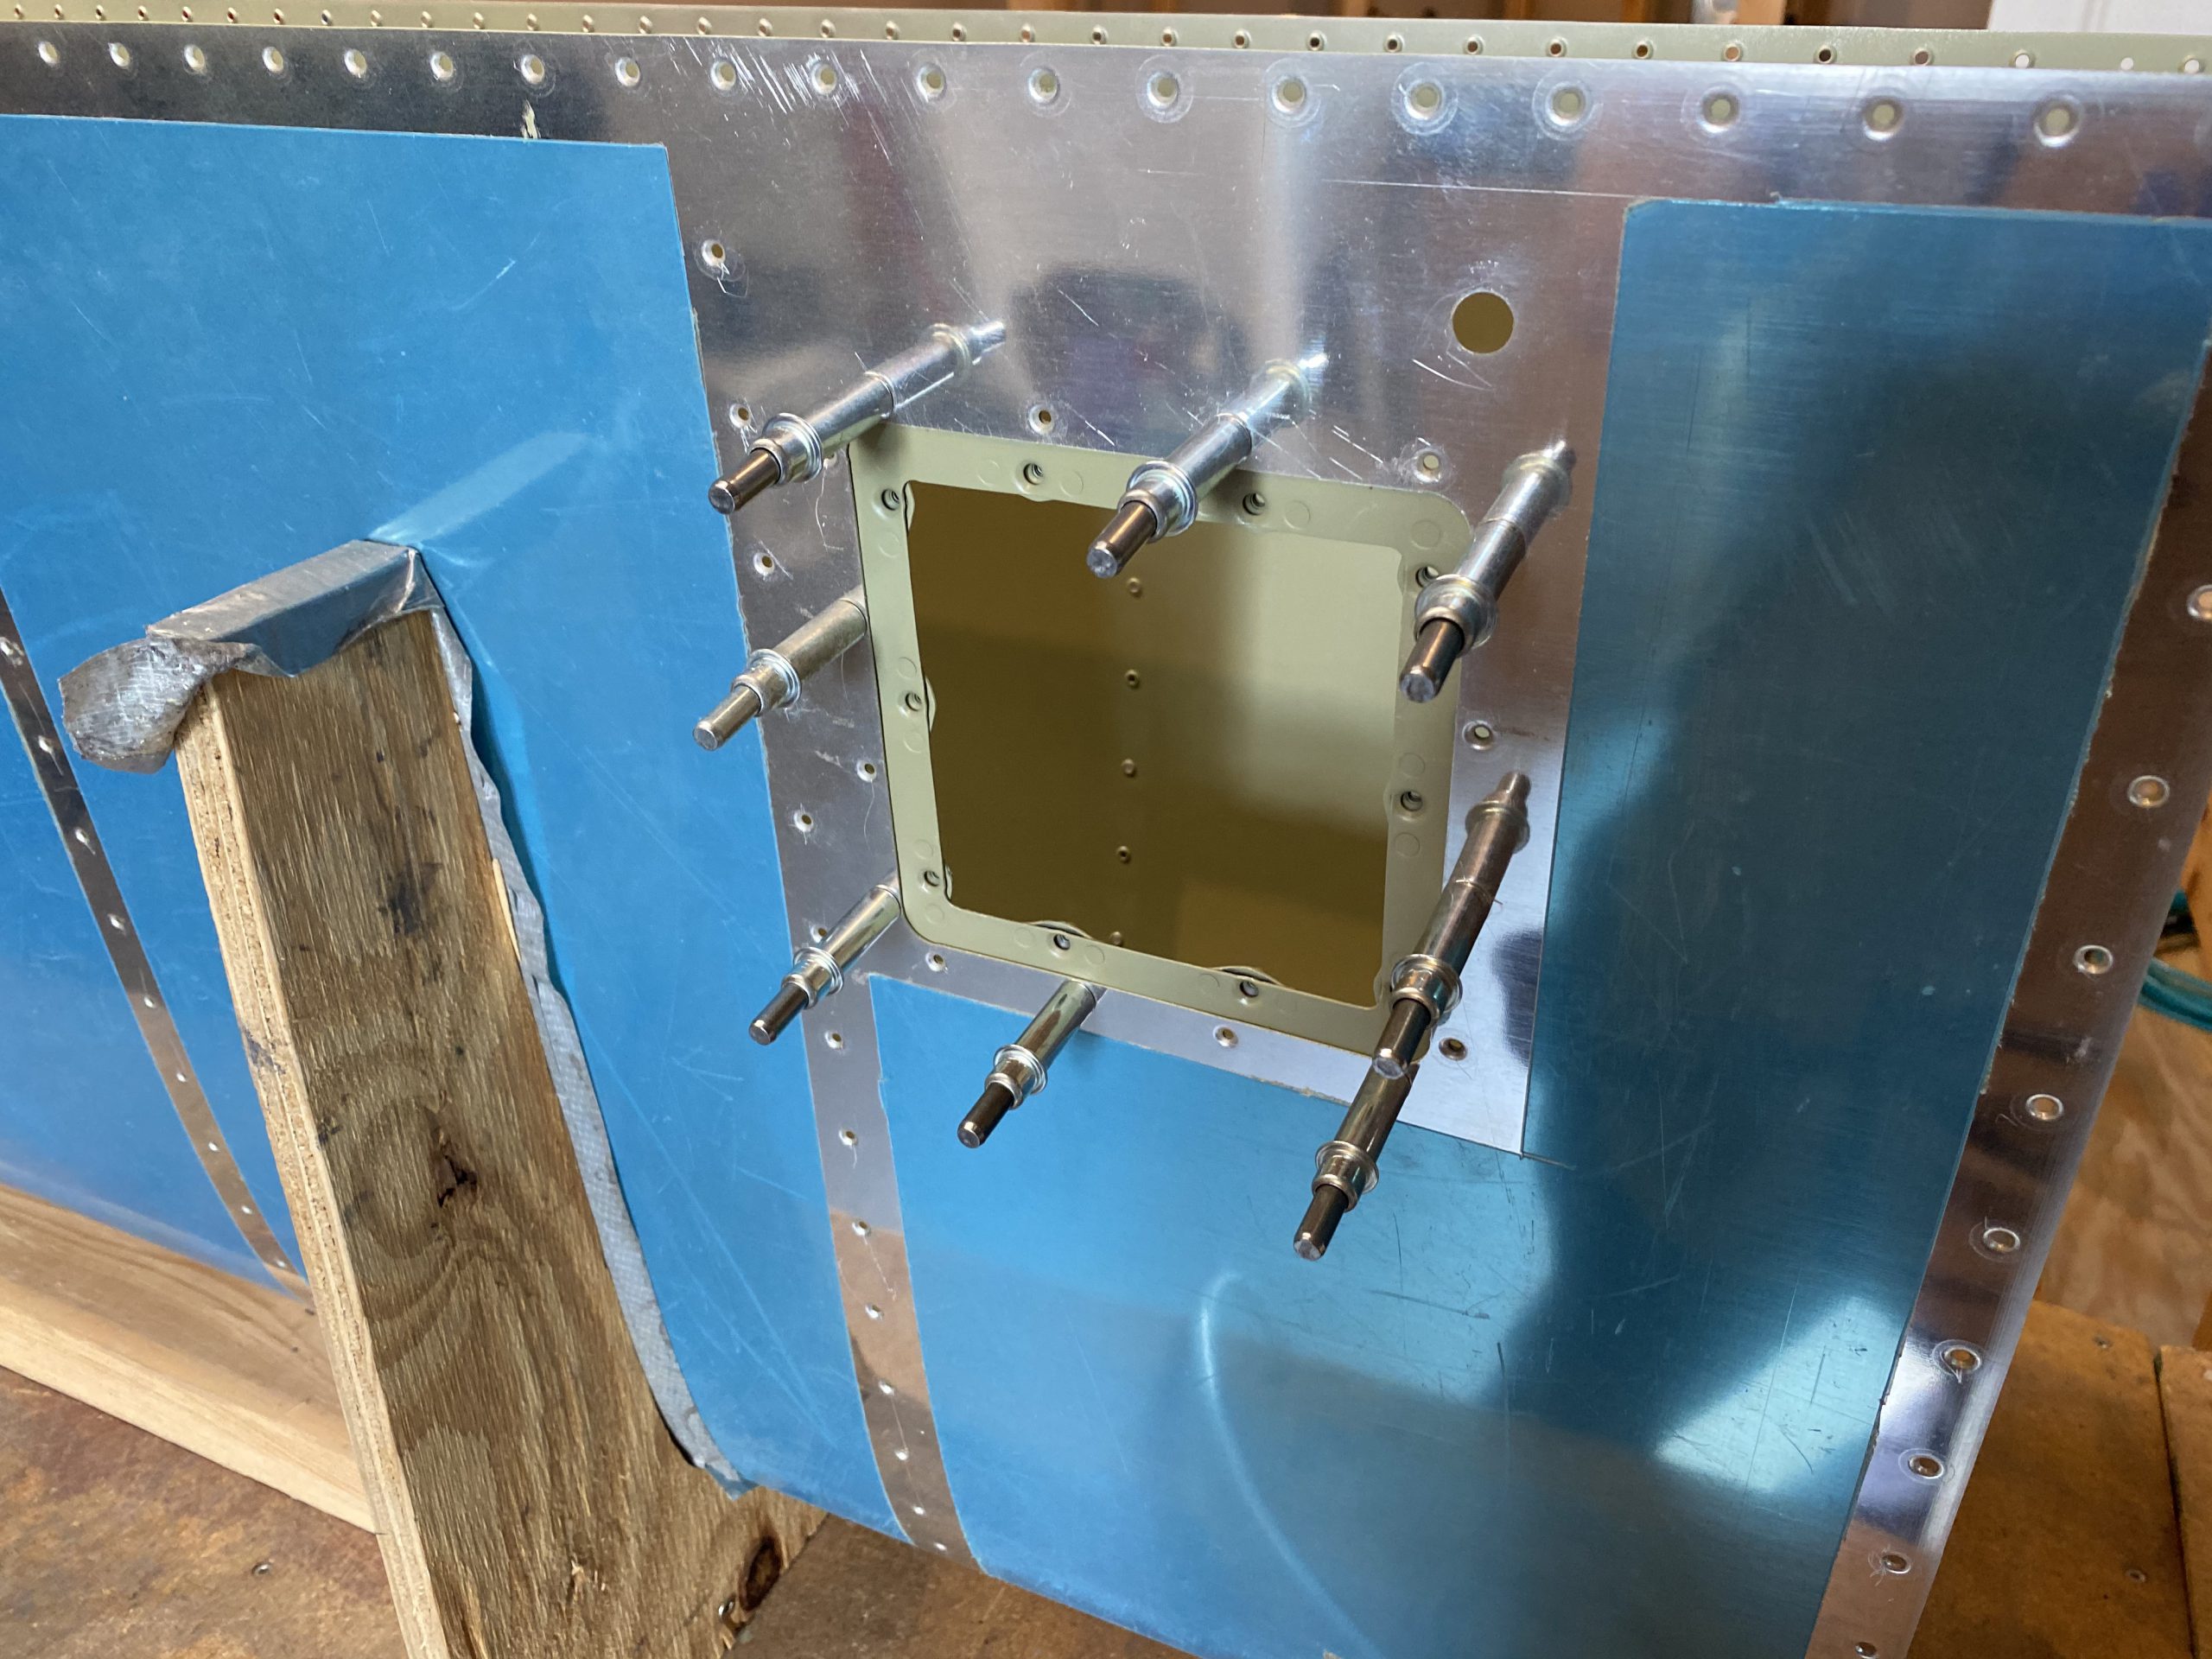
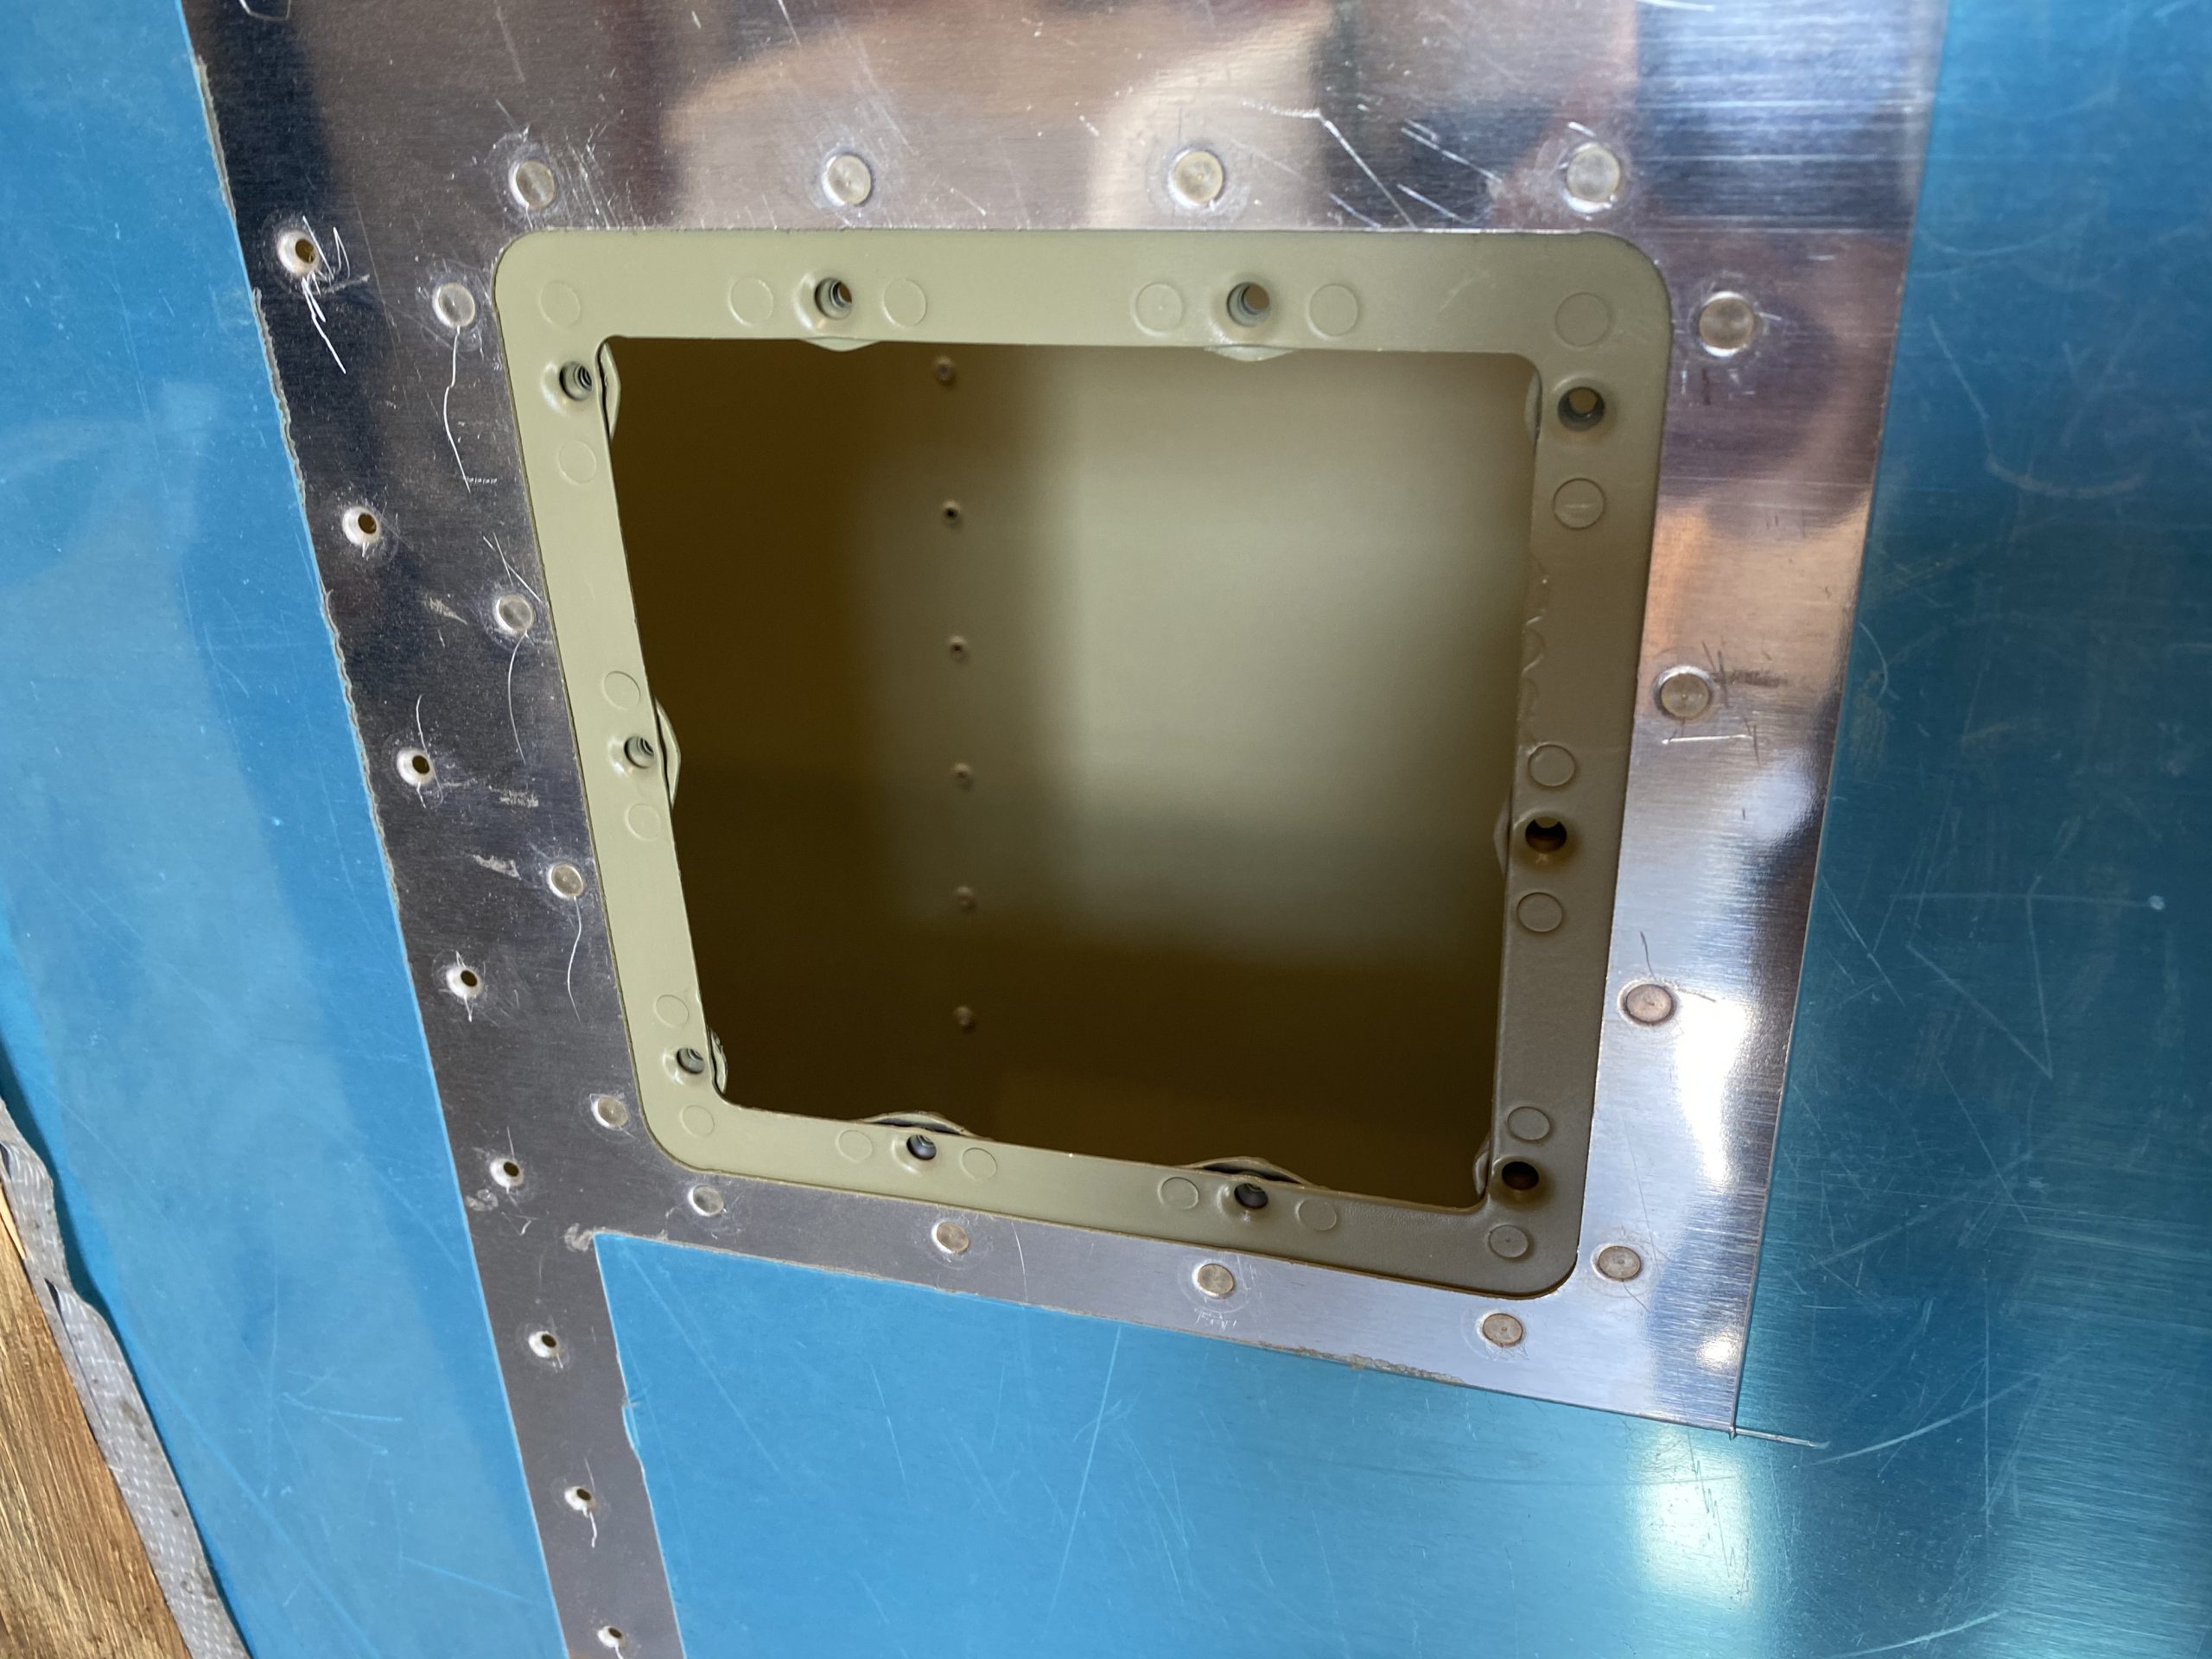
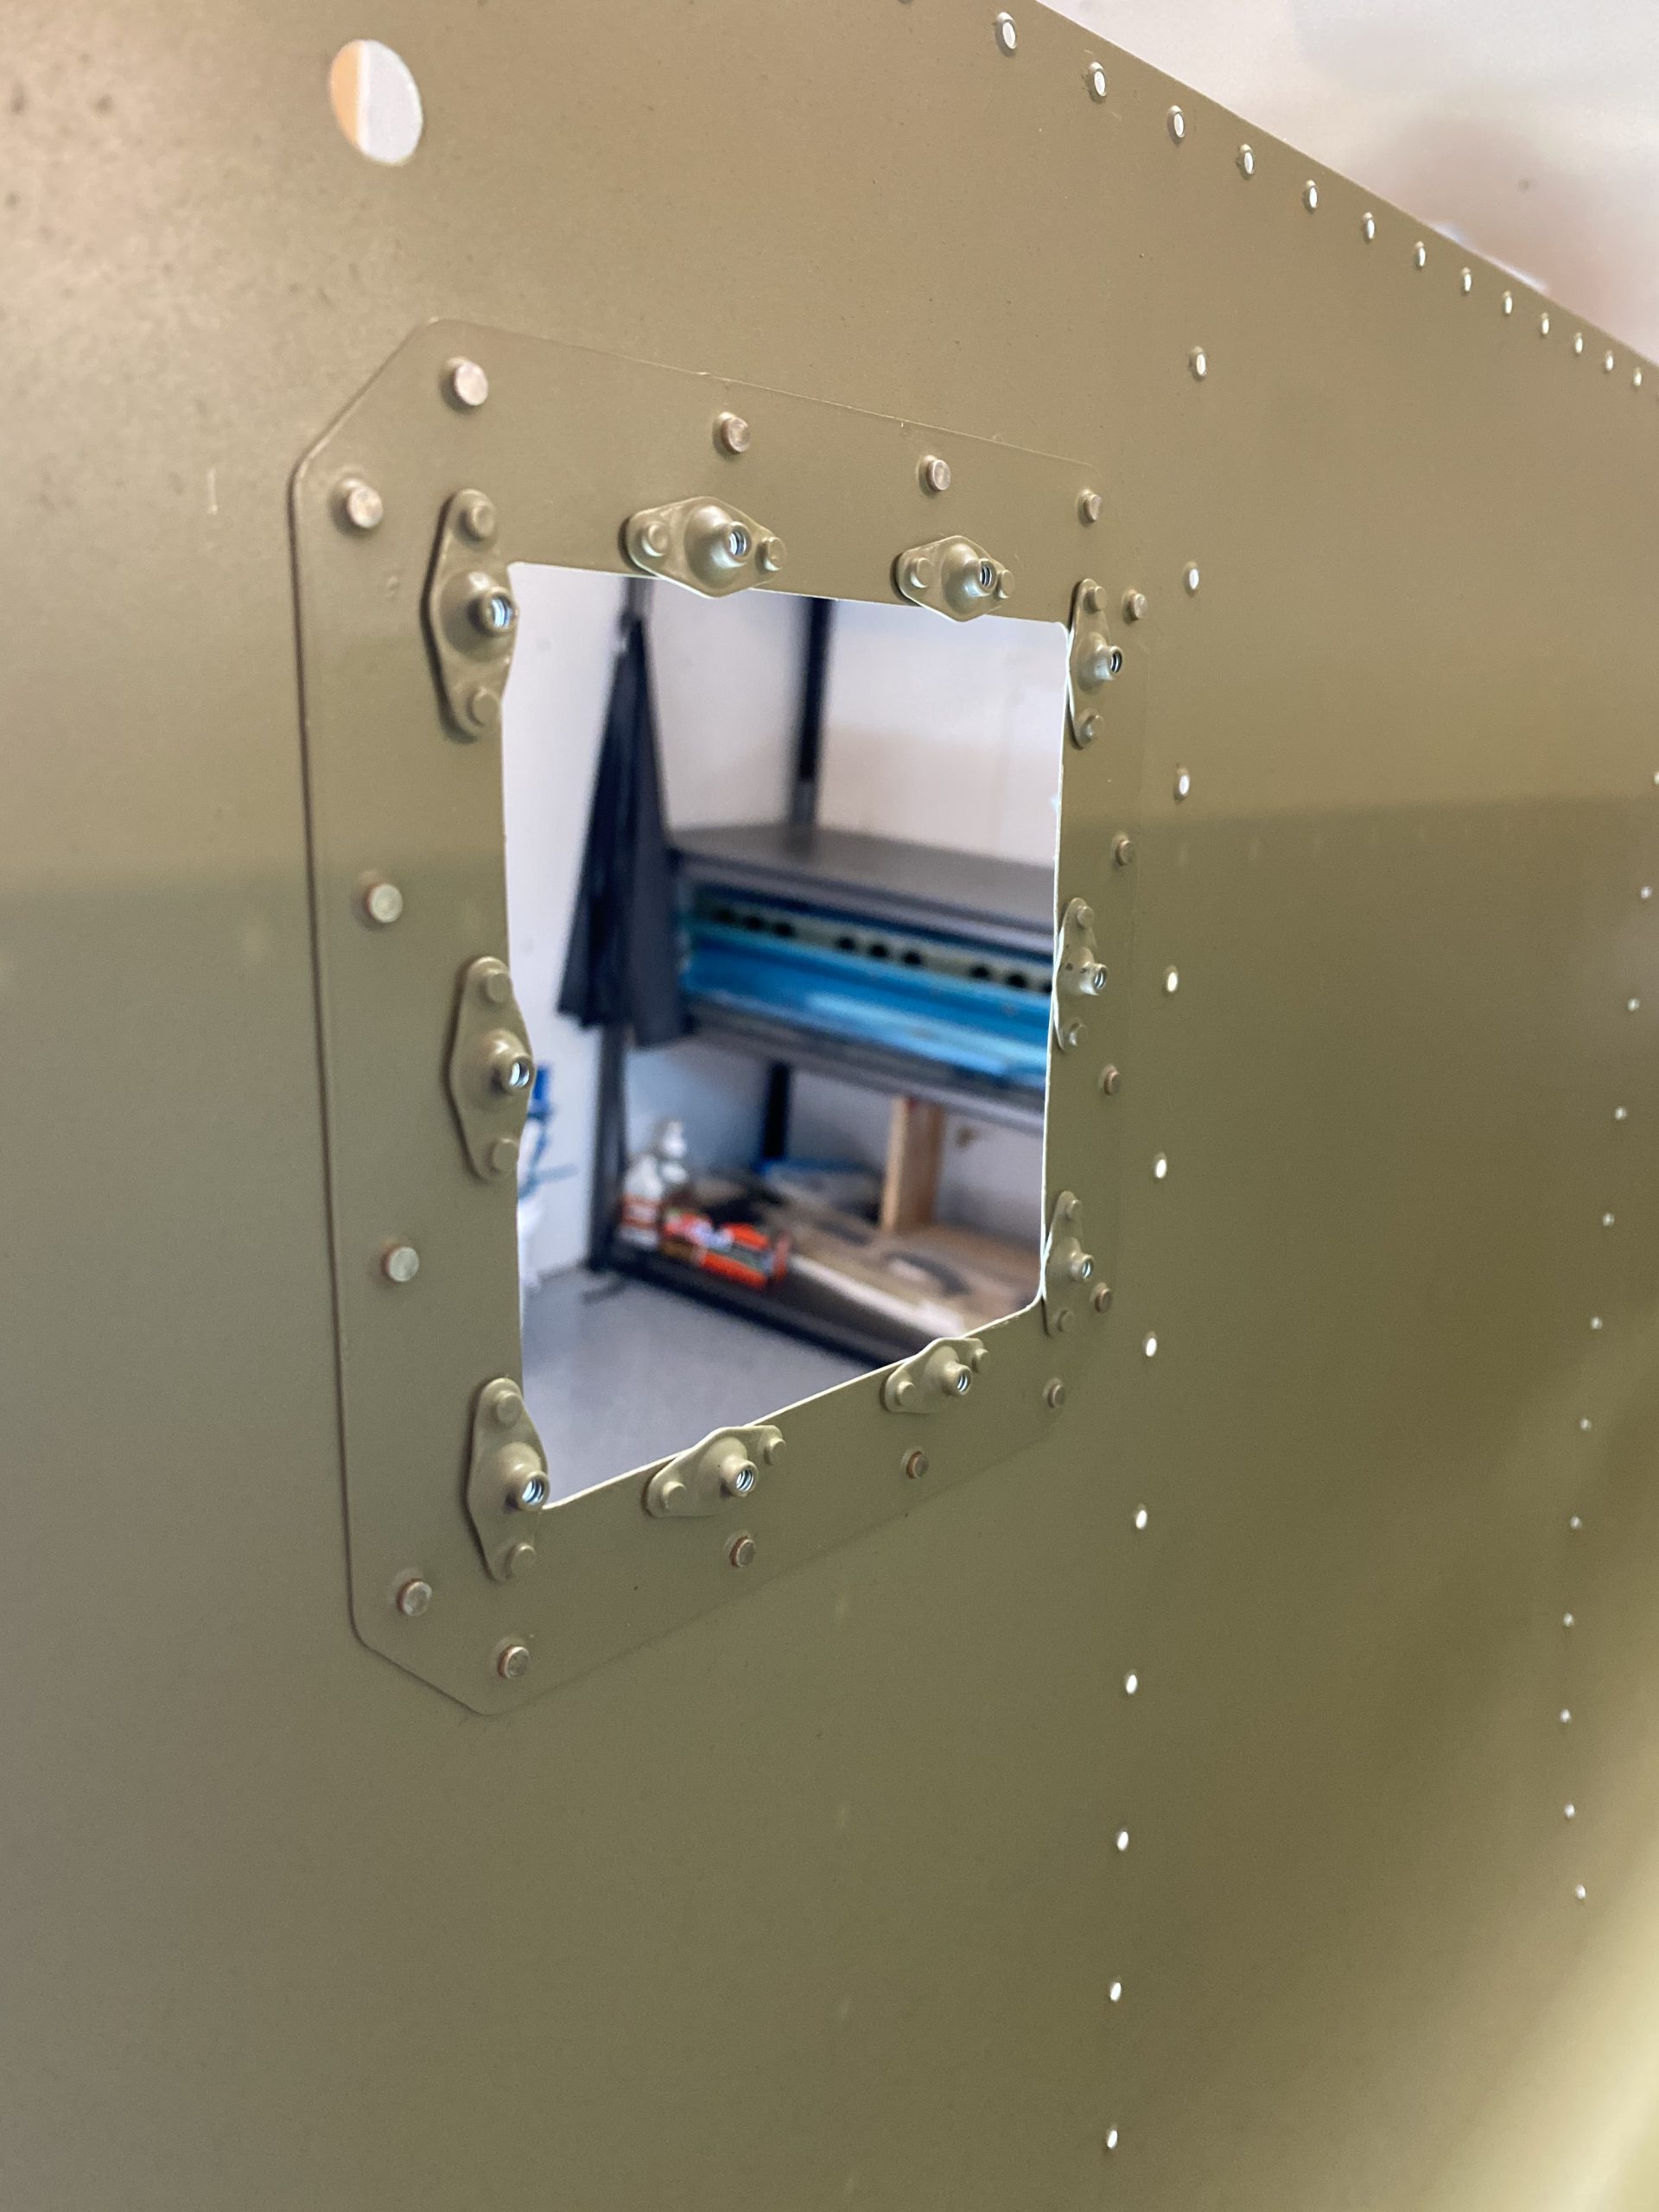
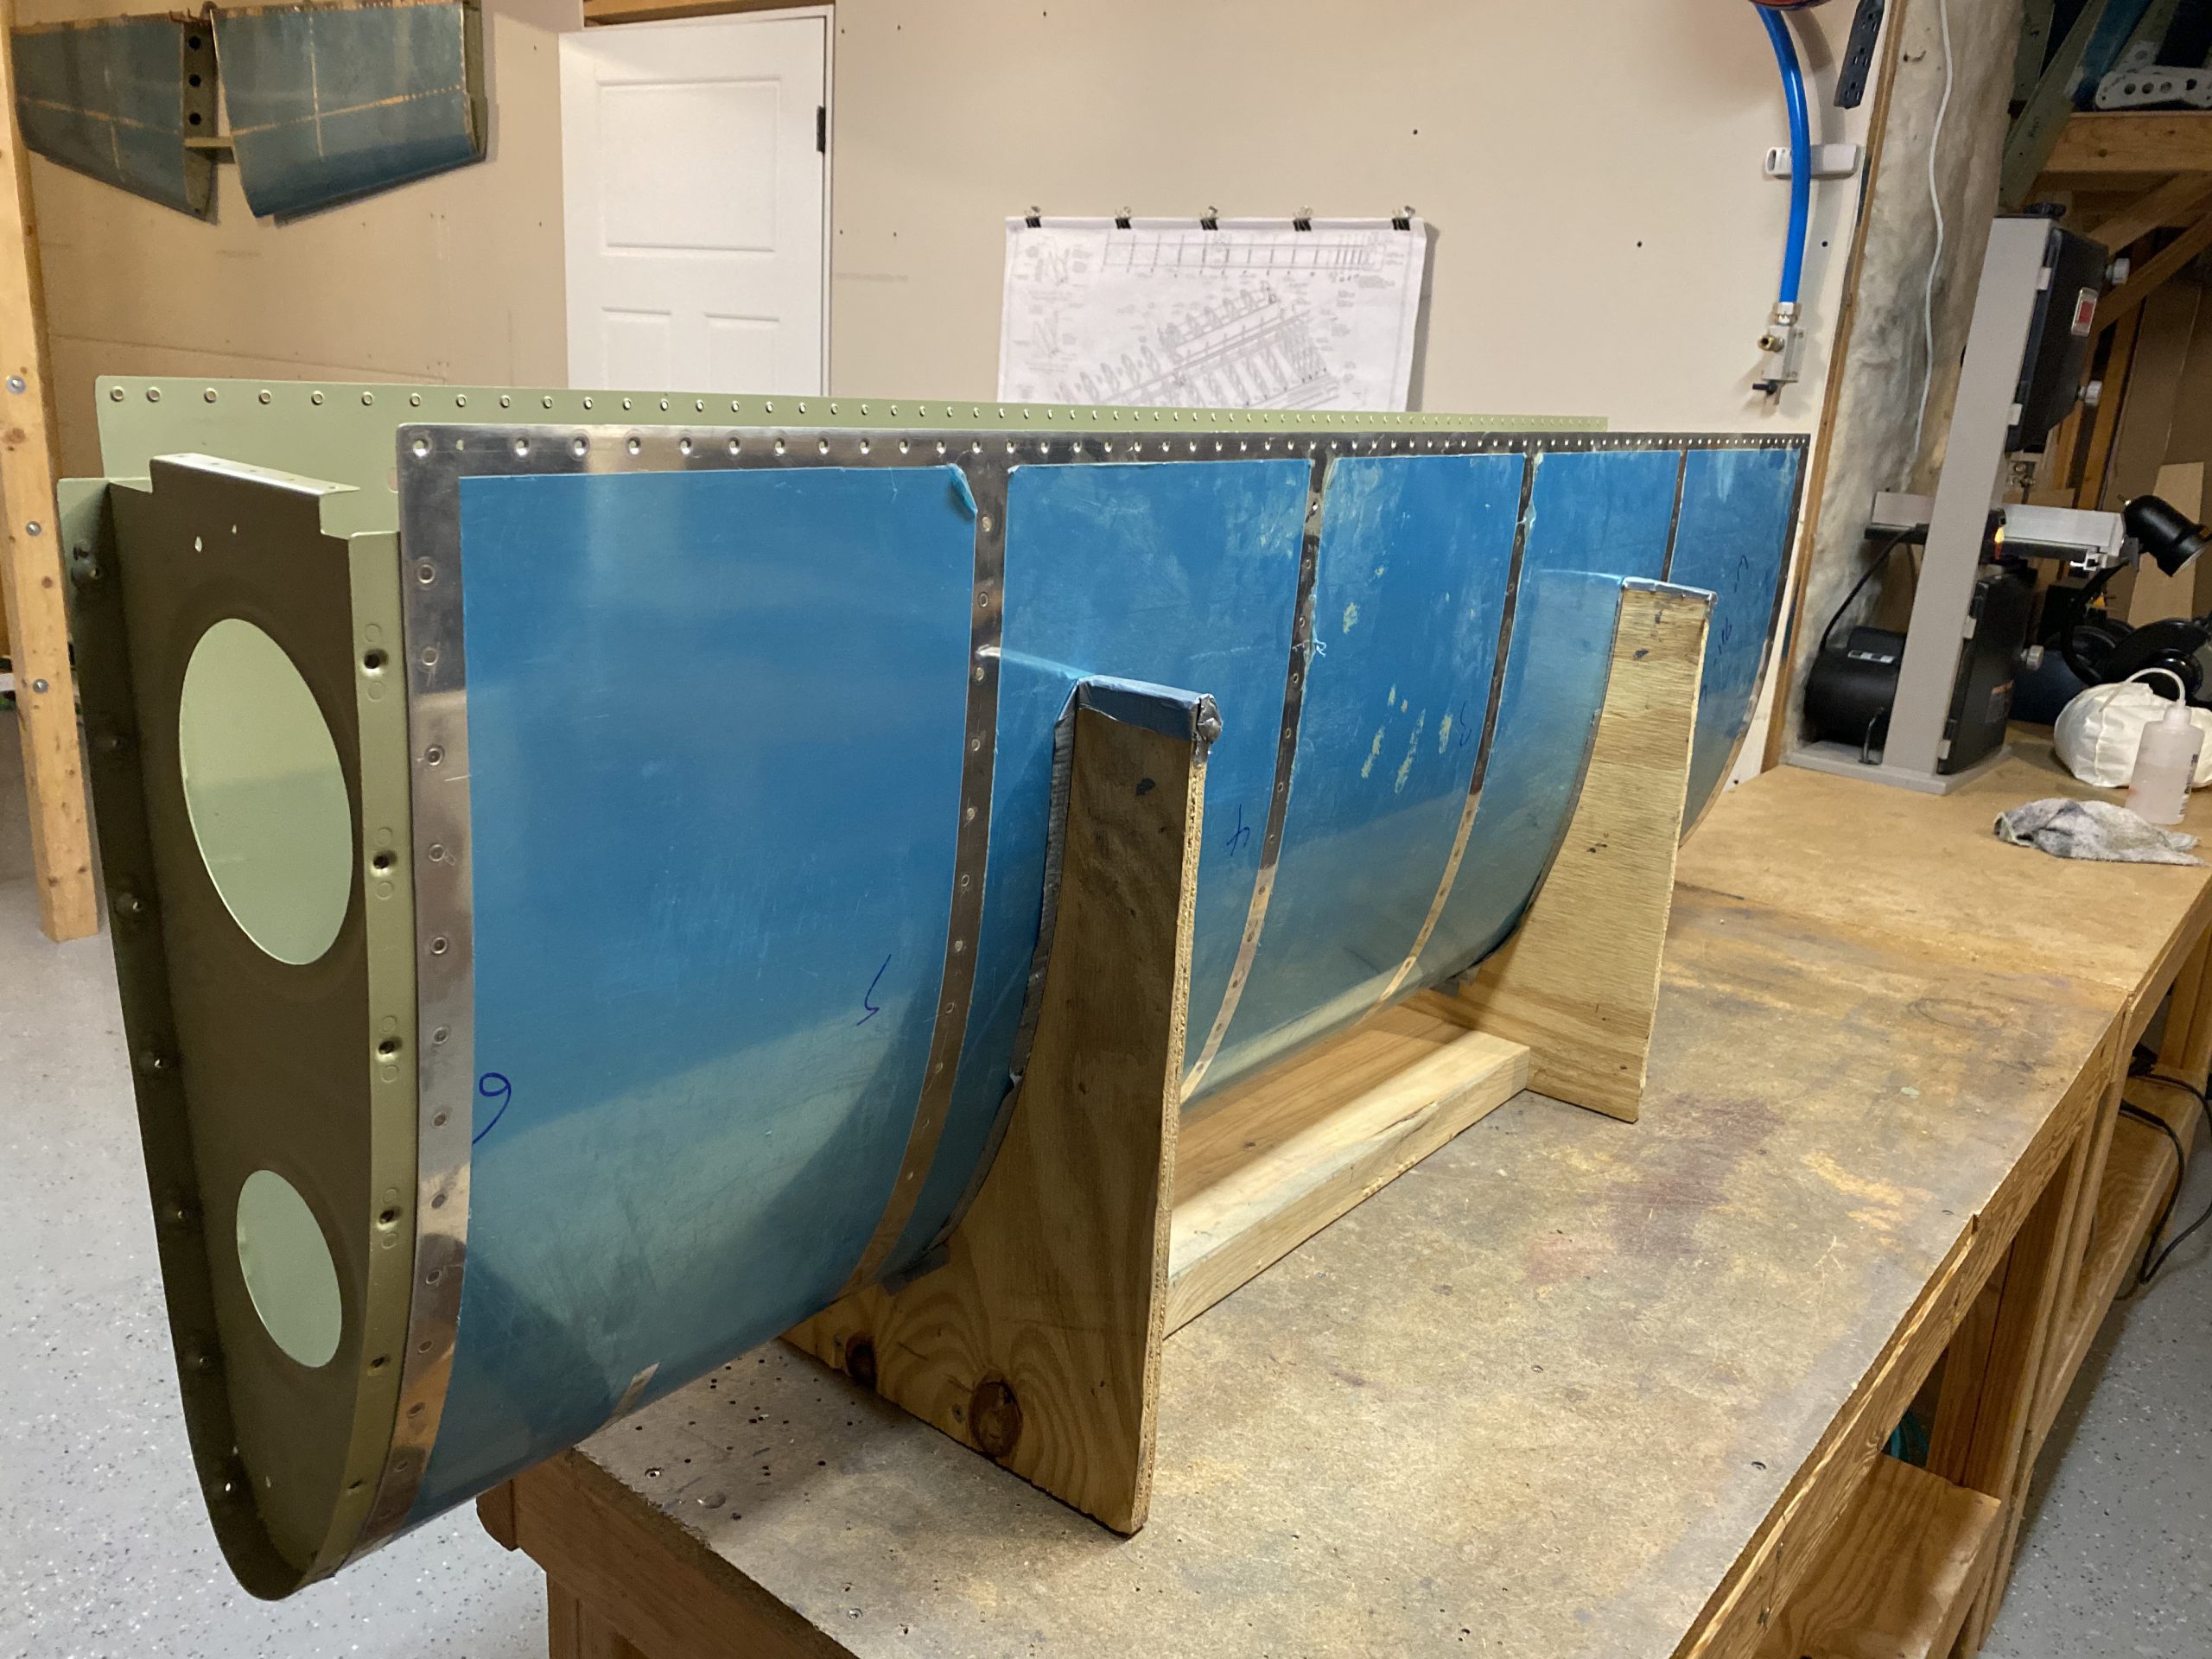
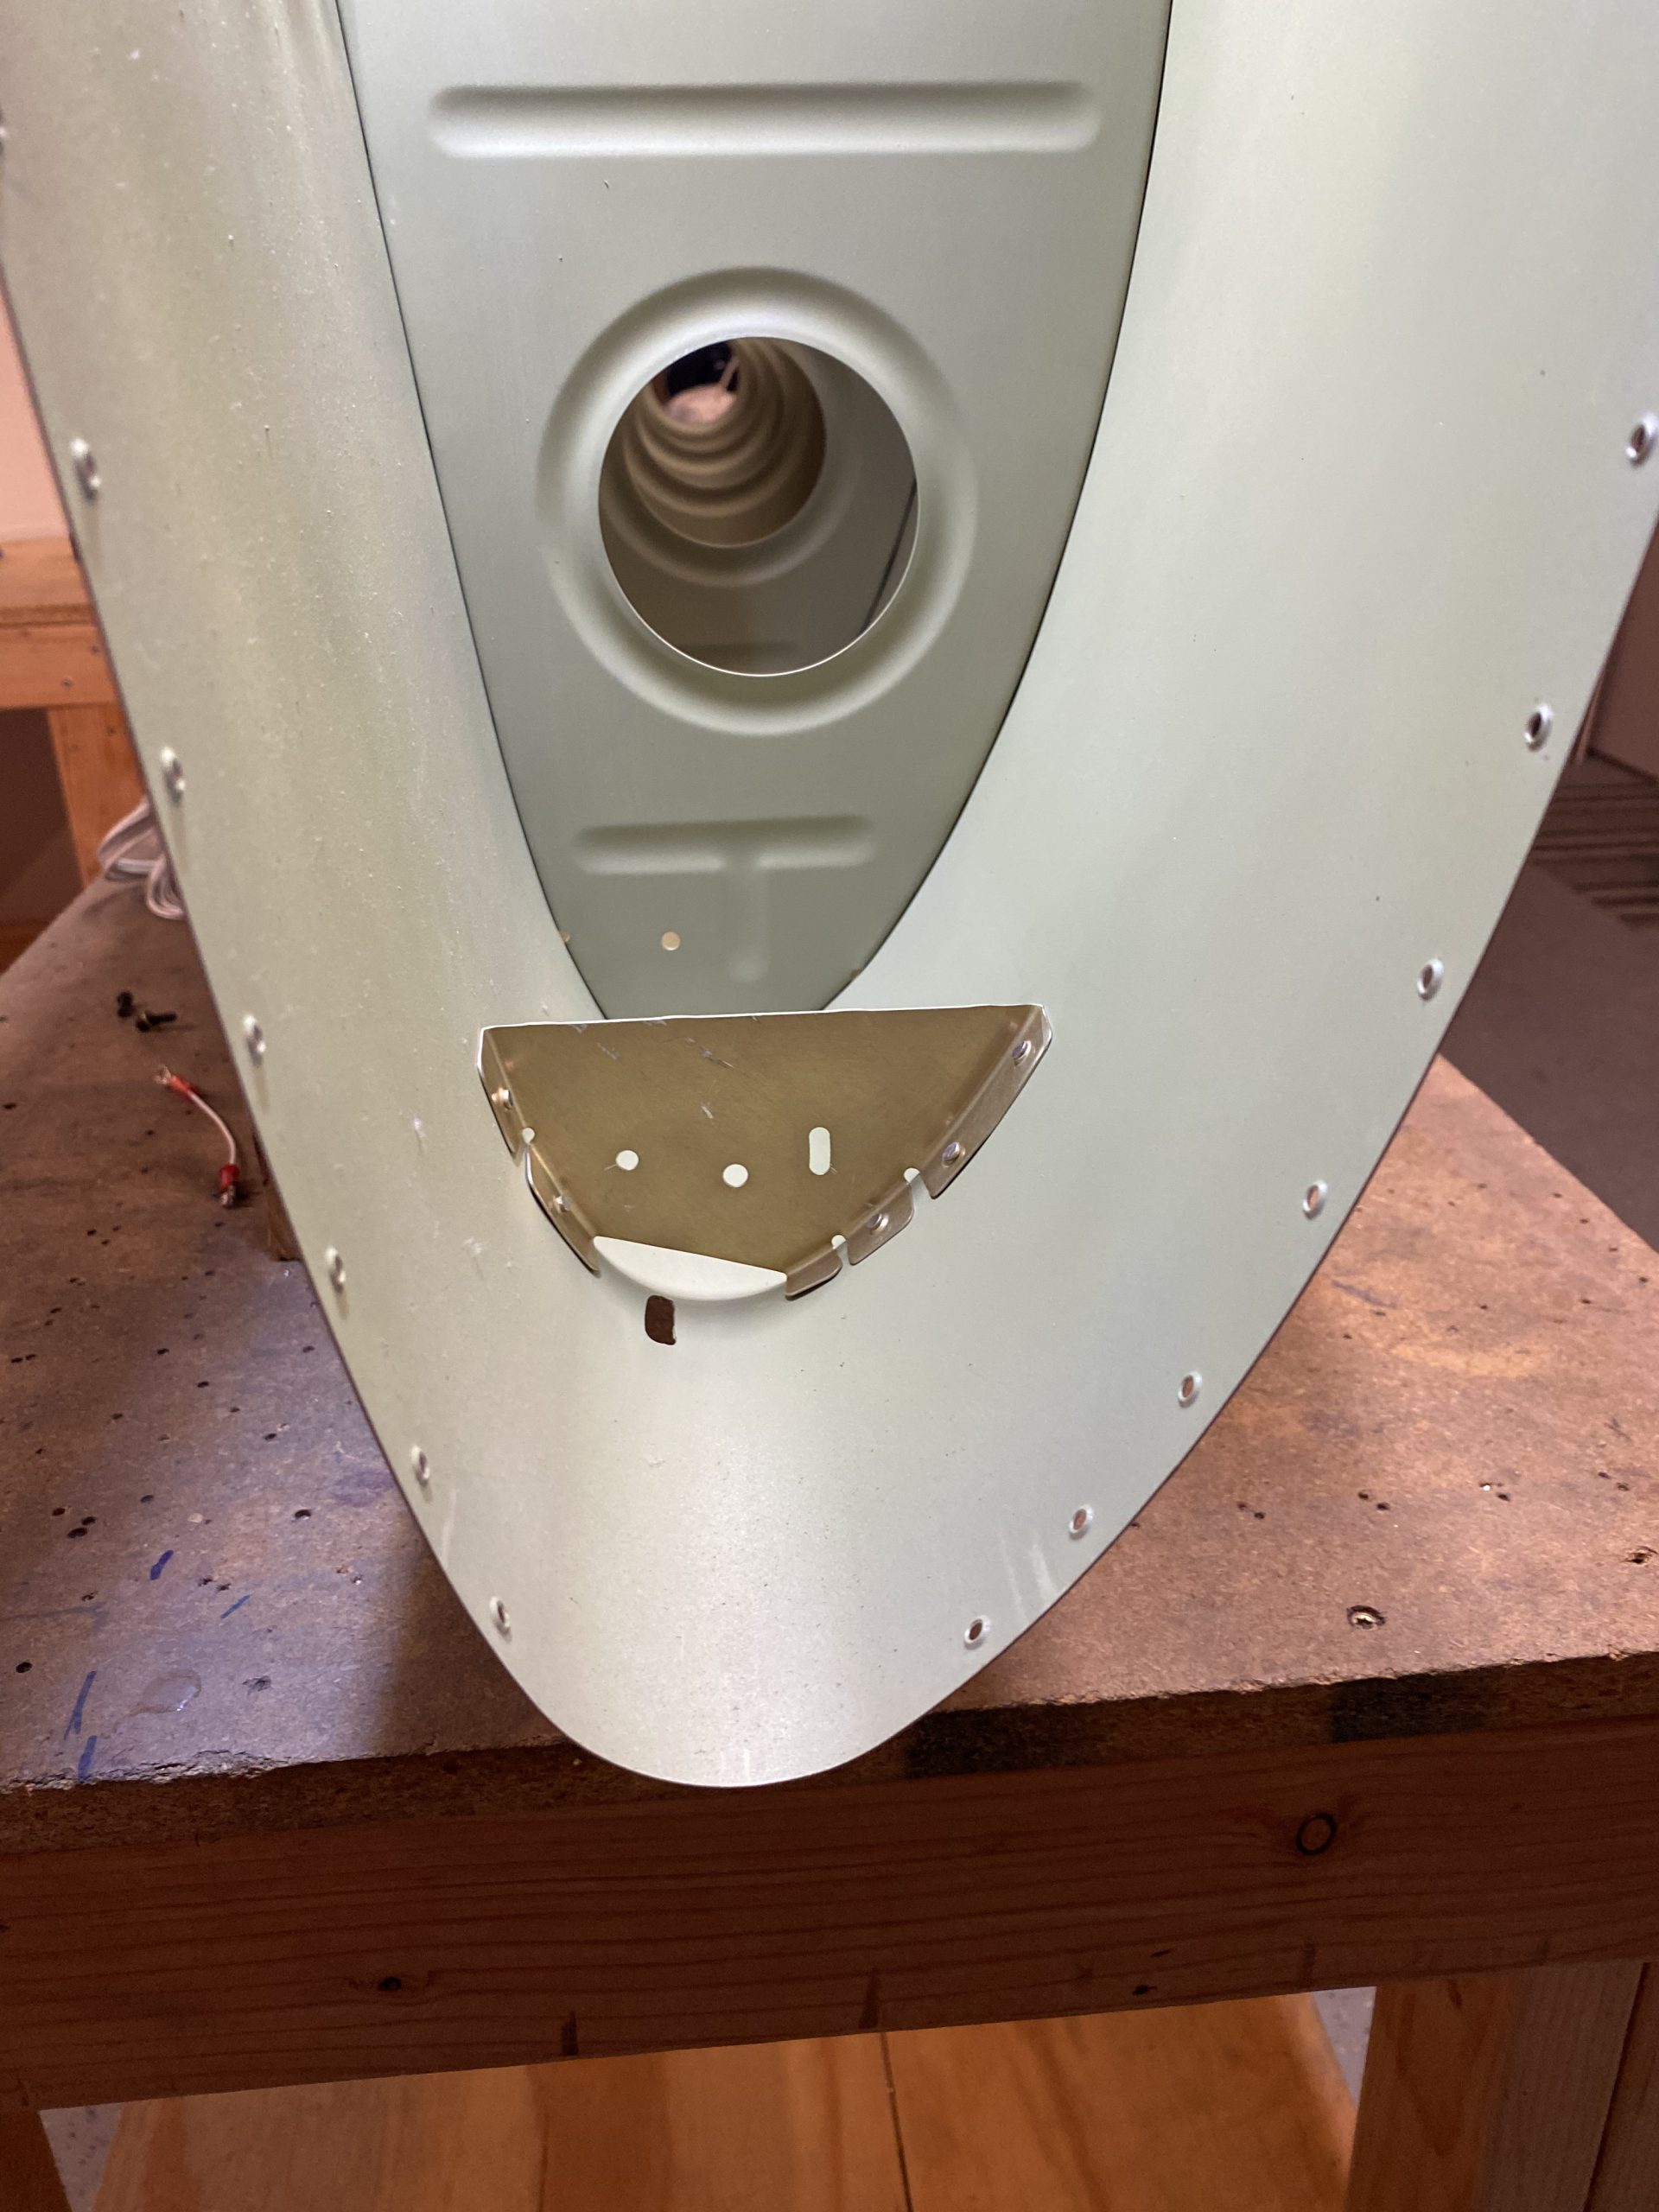
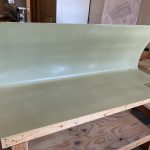
After getting the skin in the cradle, I clecoed all the ribs into place, every other hole since its time to rivet them! But first, I needed to get the doubler plate installed for the access panel for the stall warner. I primed it and its ready to install. I’ll leave the actual access plate off for now.

I clecoed it in place, and then used my squeezer to set these rivets nice and flush to the skin. I did check that the cover plate fits nicely as well, but Its going back on the shelf until its ready to be closed up for good. Probably a LONG way away.
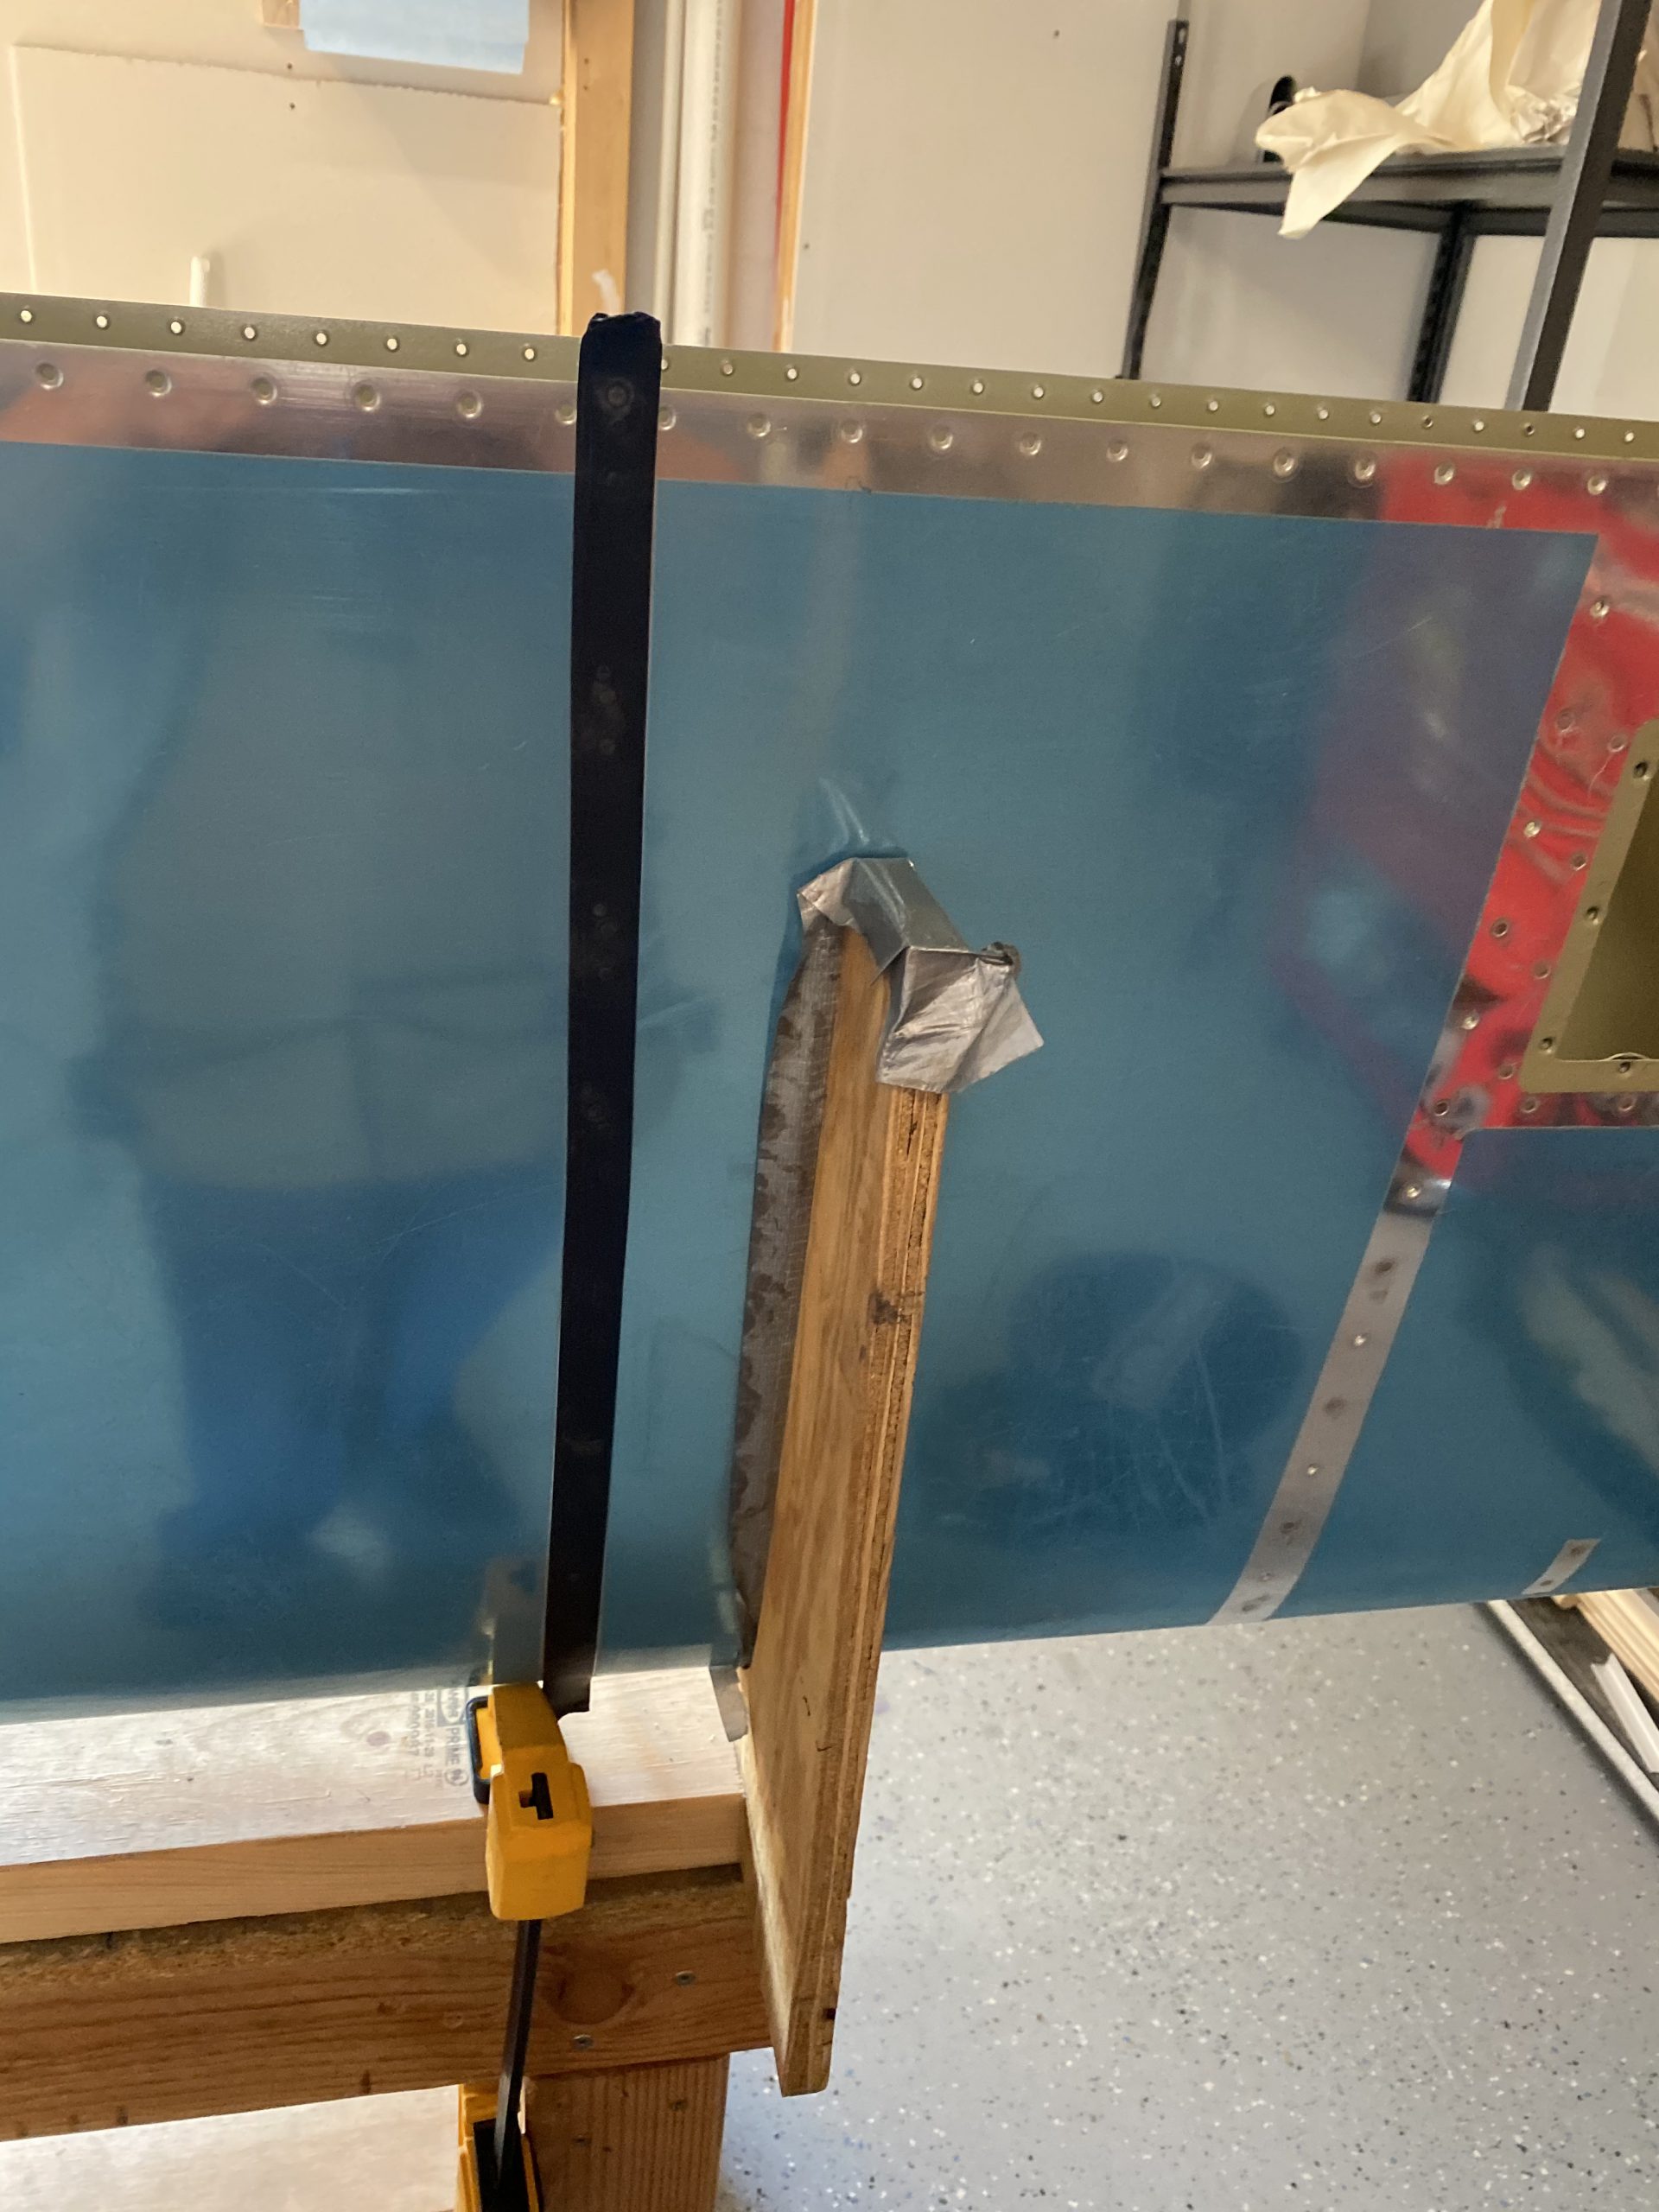
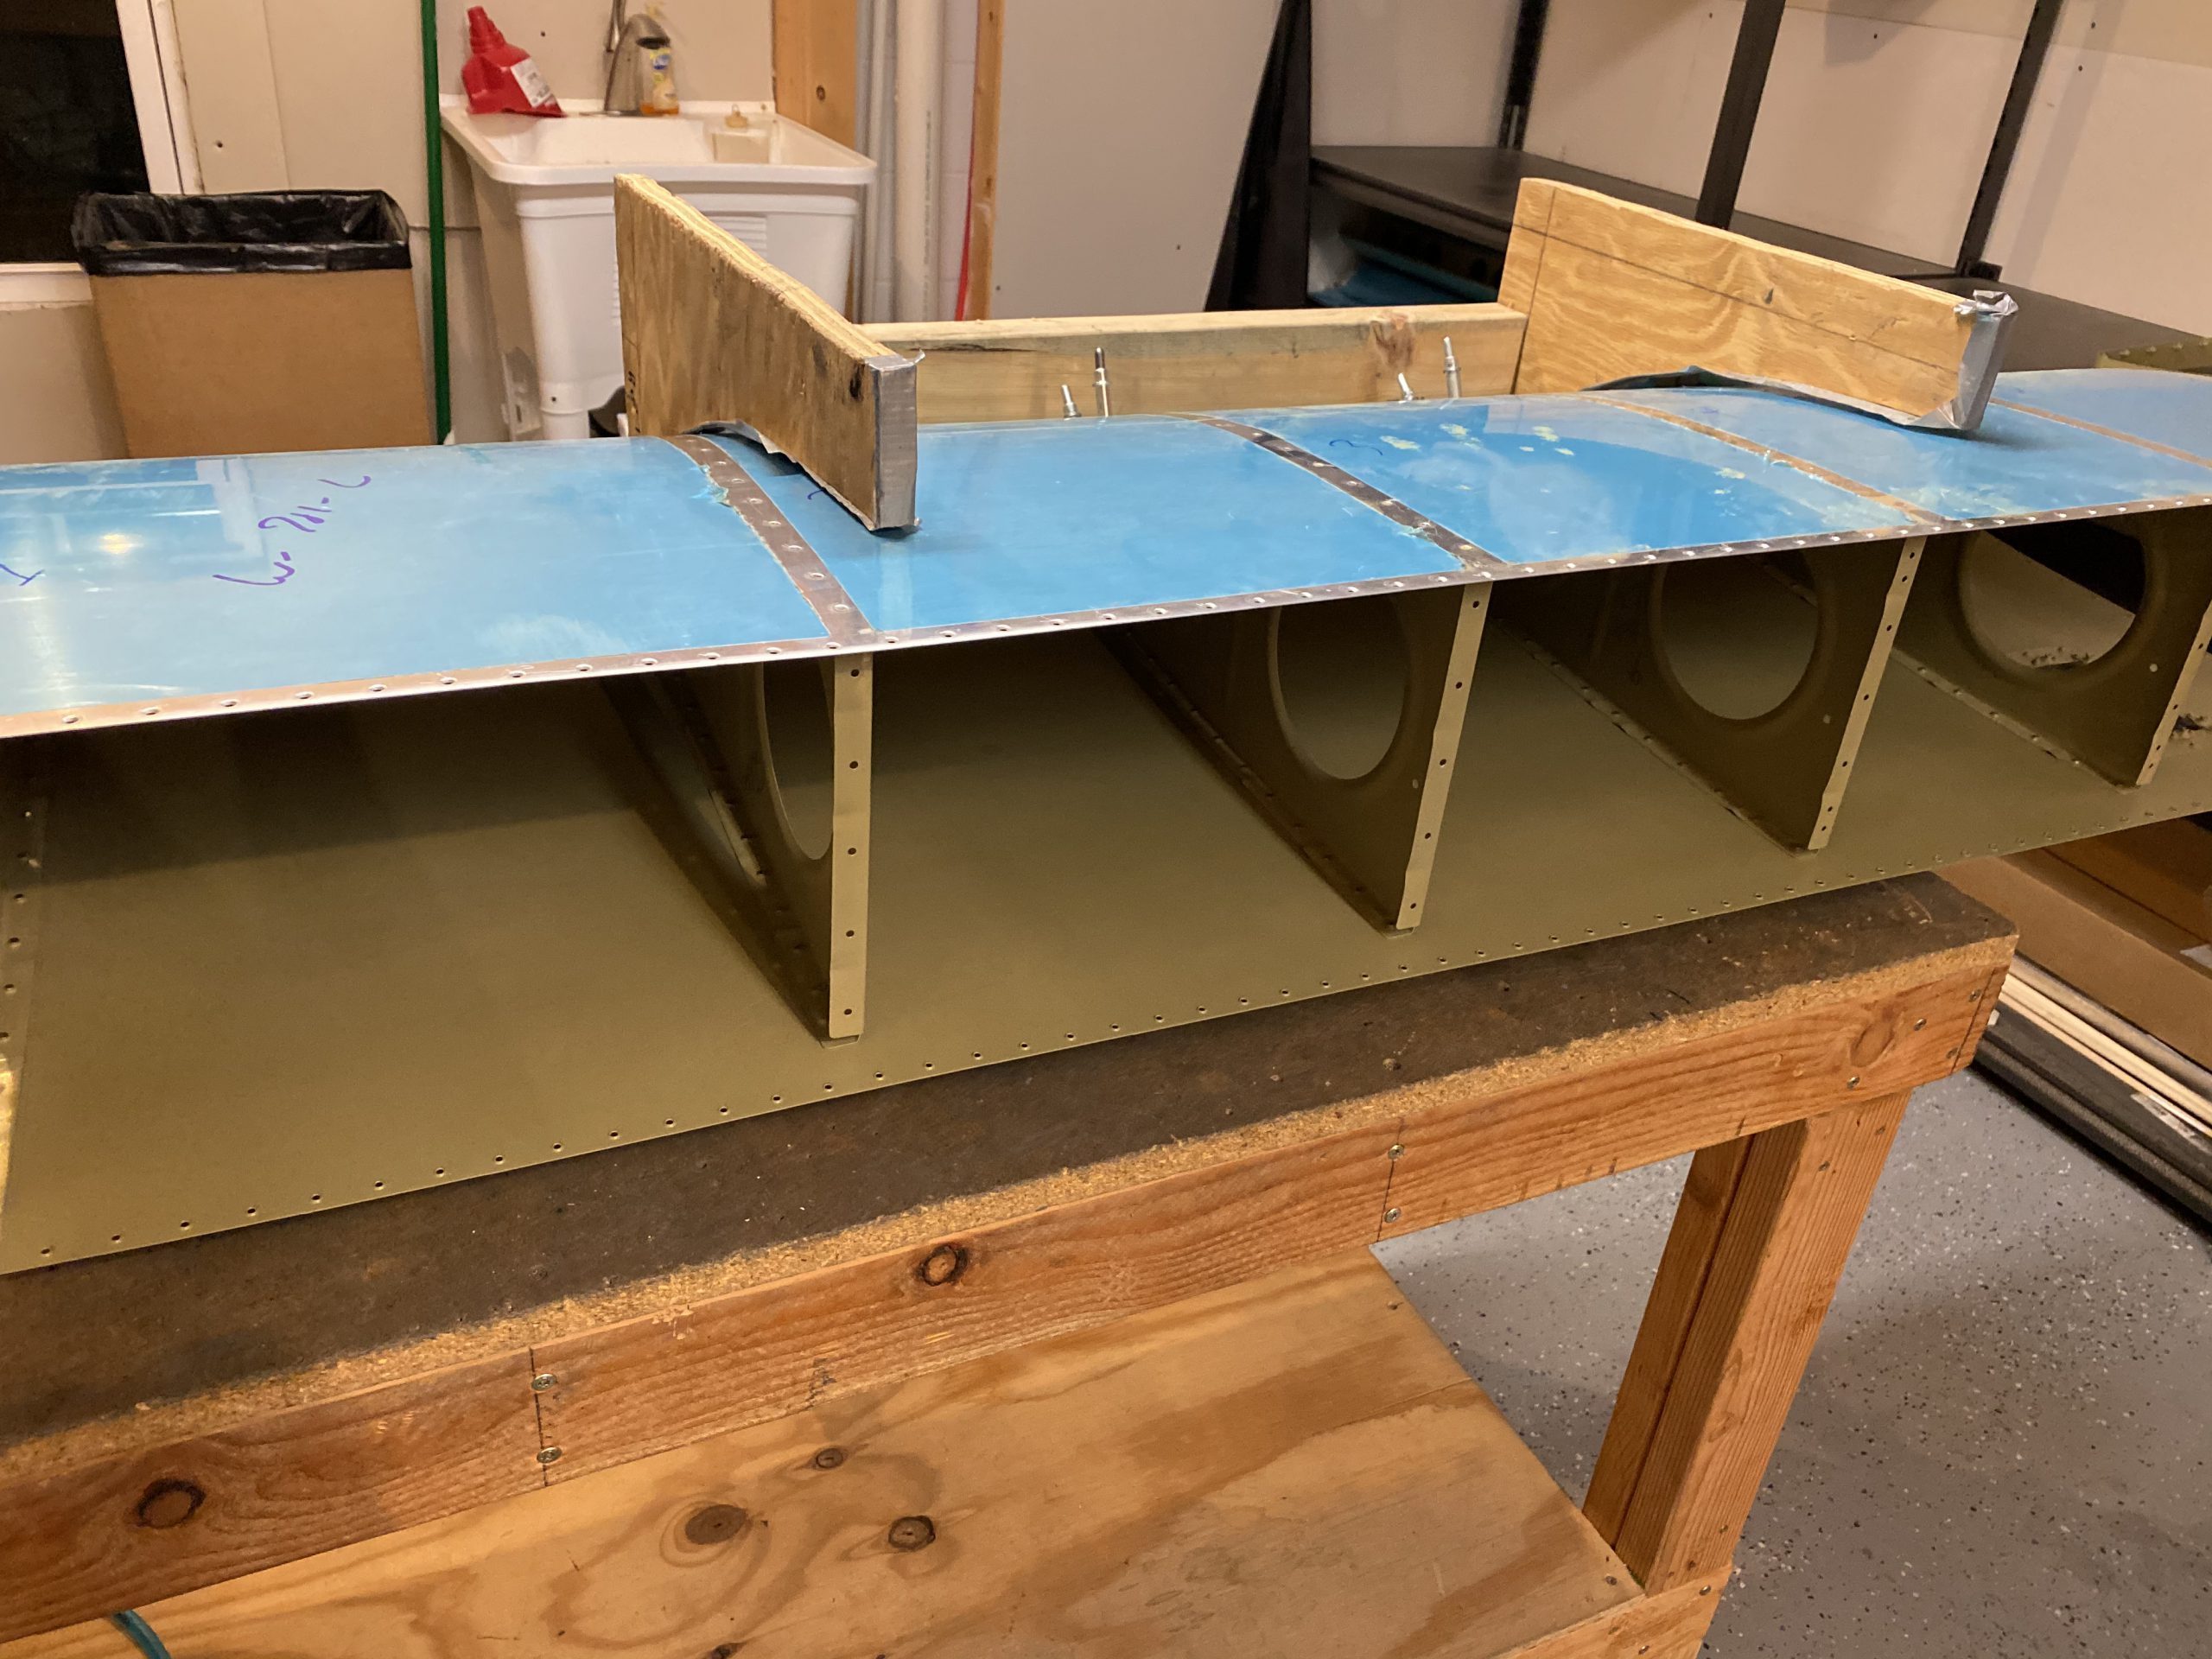
With that done, its time to set all the rivets for the ribs. You’ll see in the timelapse, that I carried the clecoed leading edge over to the wing, and placed it on the spar just to double check that all the ribs lined up correctly, and the holes for the aft flanges on the ribs lined up with the holes in the spar webs. They looked good, so I went ahead and riveted all the ribs using by bucking them. I also used some electrical tape to help hold the rivets in place, which worked pretty good (and cheaper than rivet tape!)
I left the inboard rib and splice plate off for now, as it made it a tad easier to reach in and rivet the tiny rib for the stall warner, and also made it easier to install the stall warner assembly. Which was the next thing I did. About this time was when I got the text from Tammy needing me to help her with the overheating BMW. So, I stopped the timelapse, and picked her and Acacia up. Once I got home and settled after dinner, I came back down to finish this up. I’ll leave this in one session, as it makes sense that way. Just had a small break in between them. Here is the second time lapse:
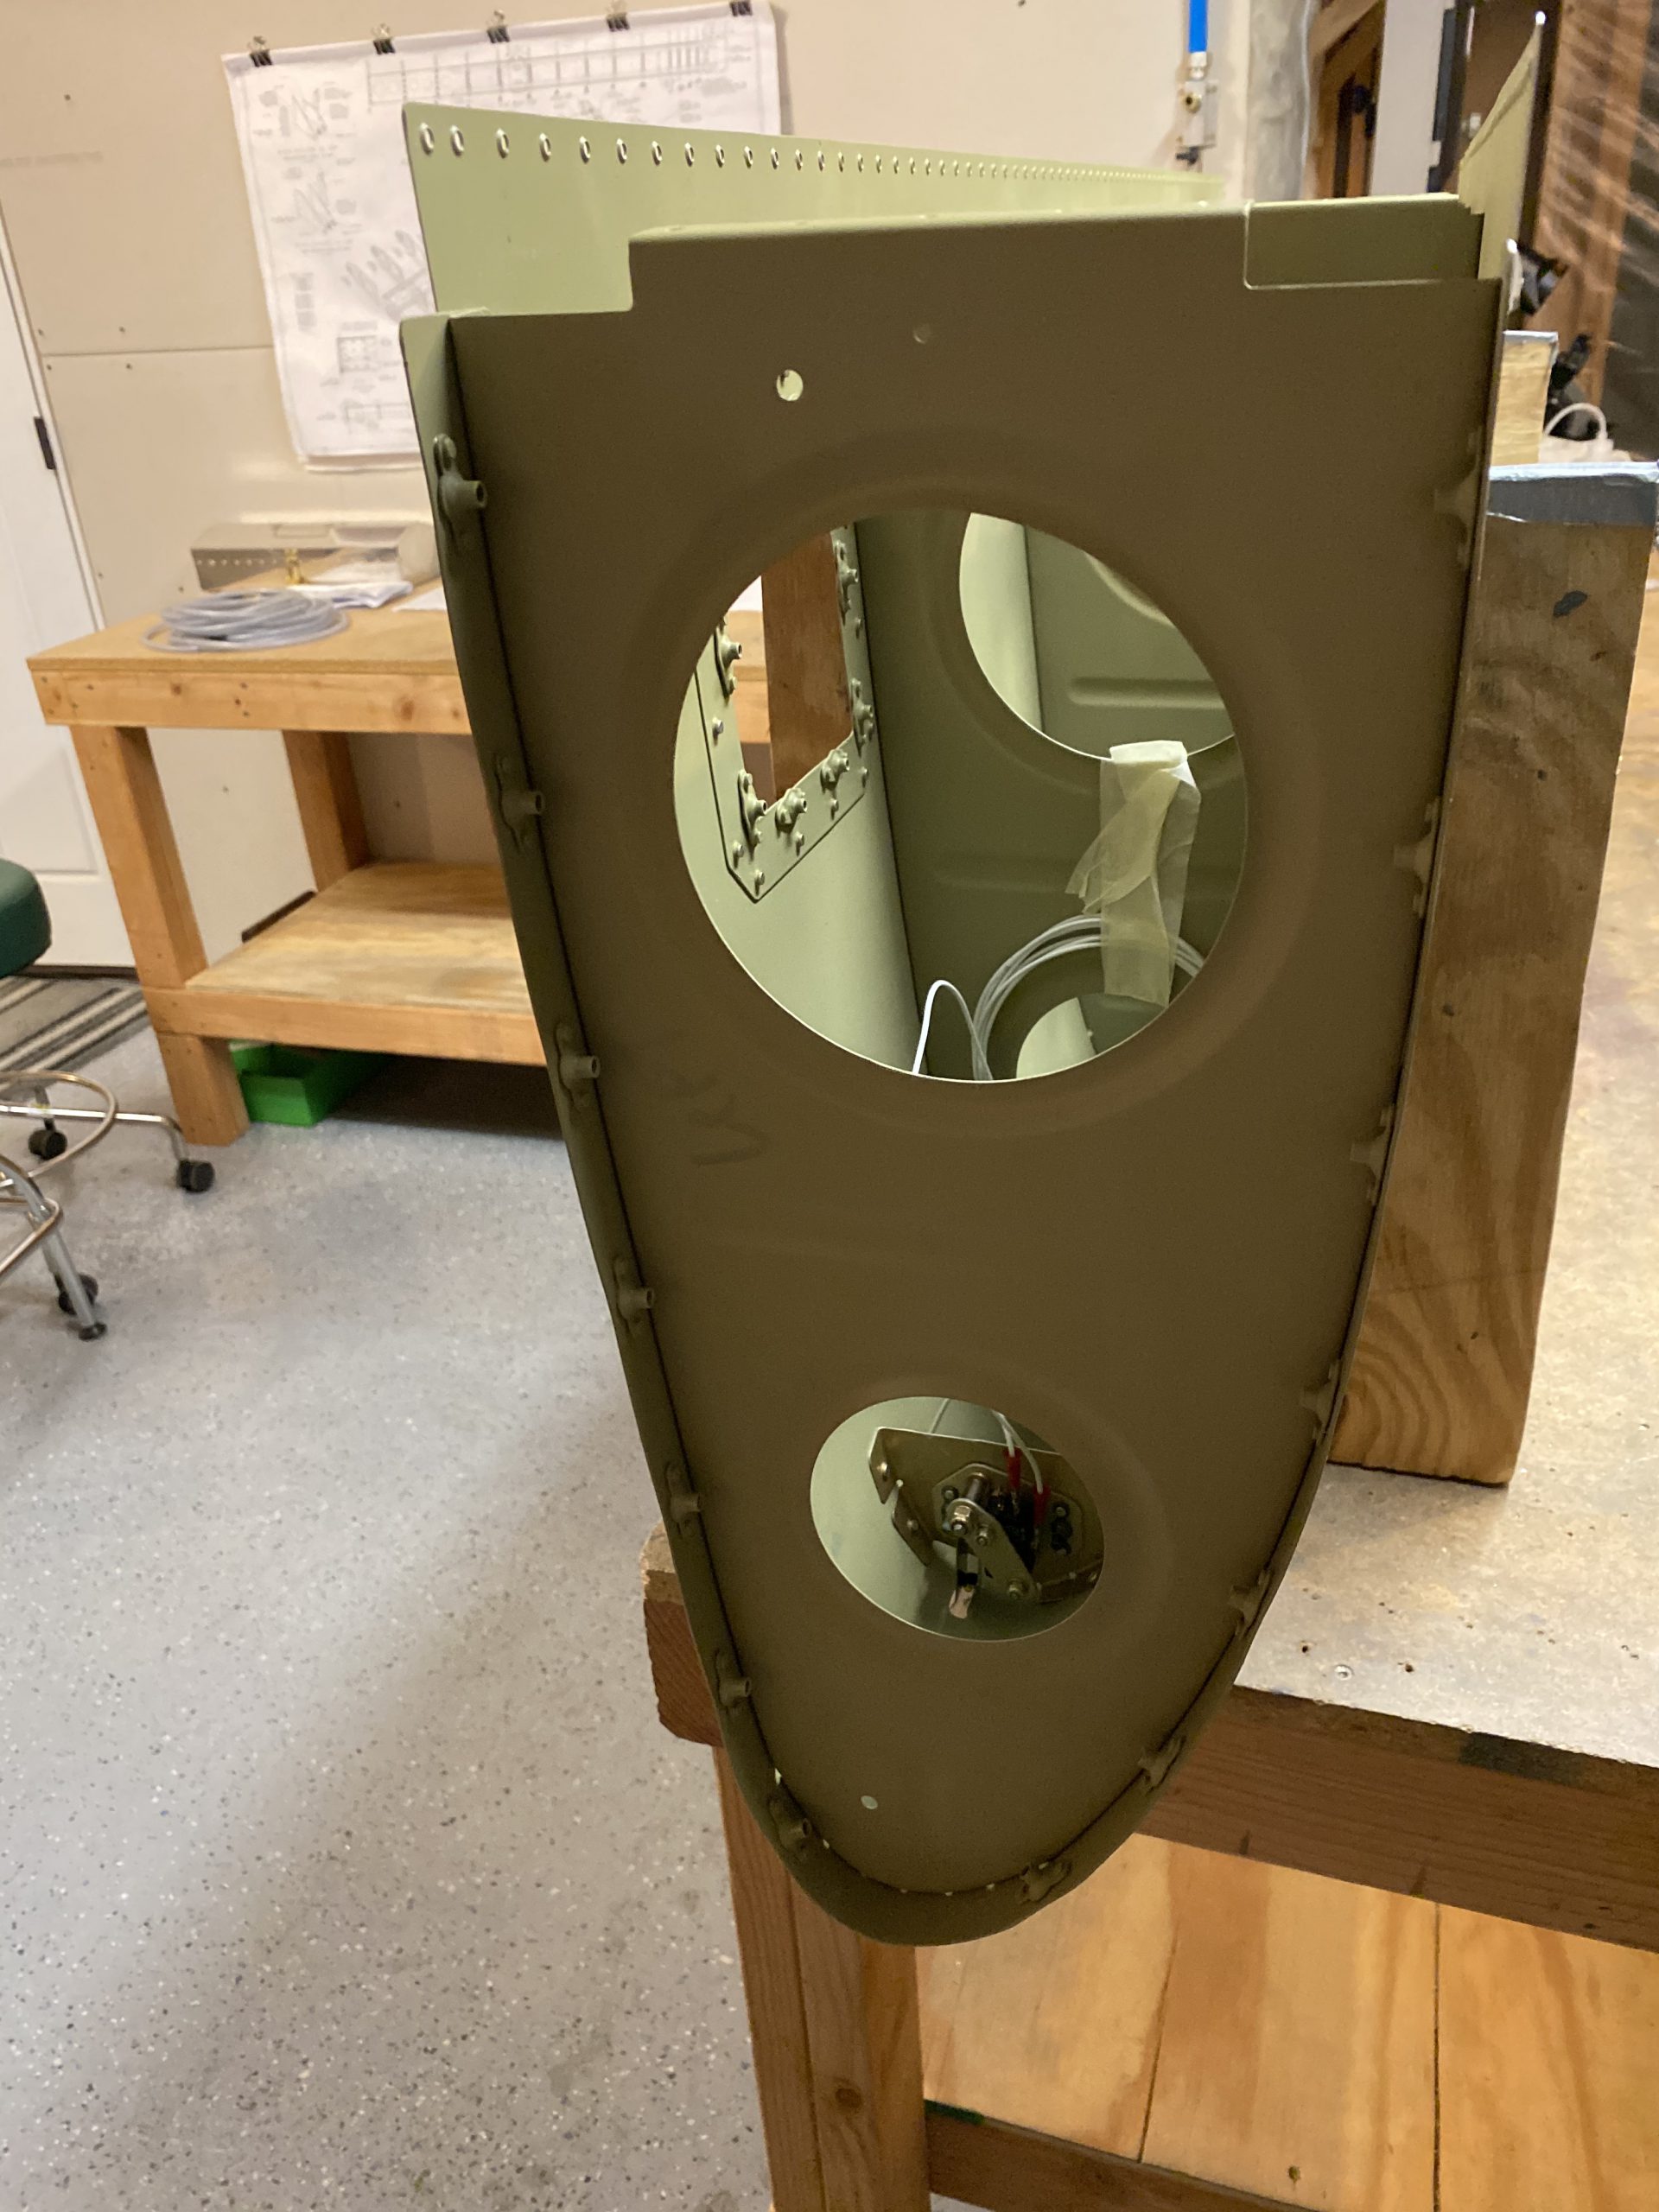
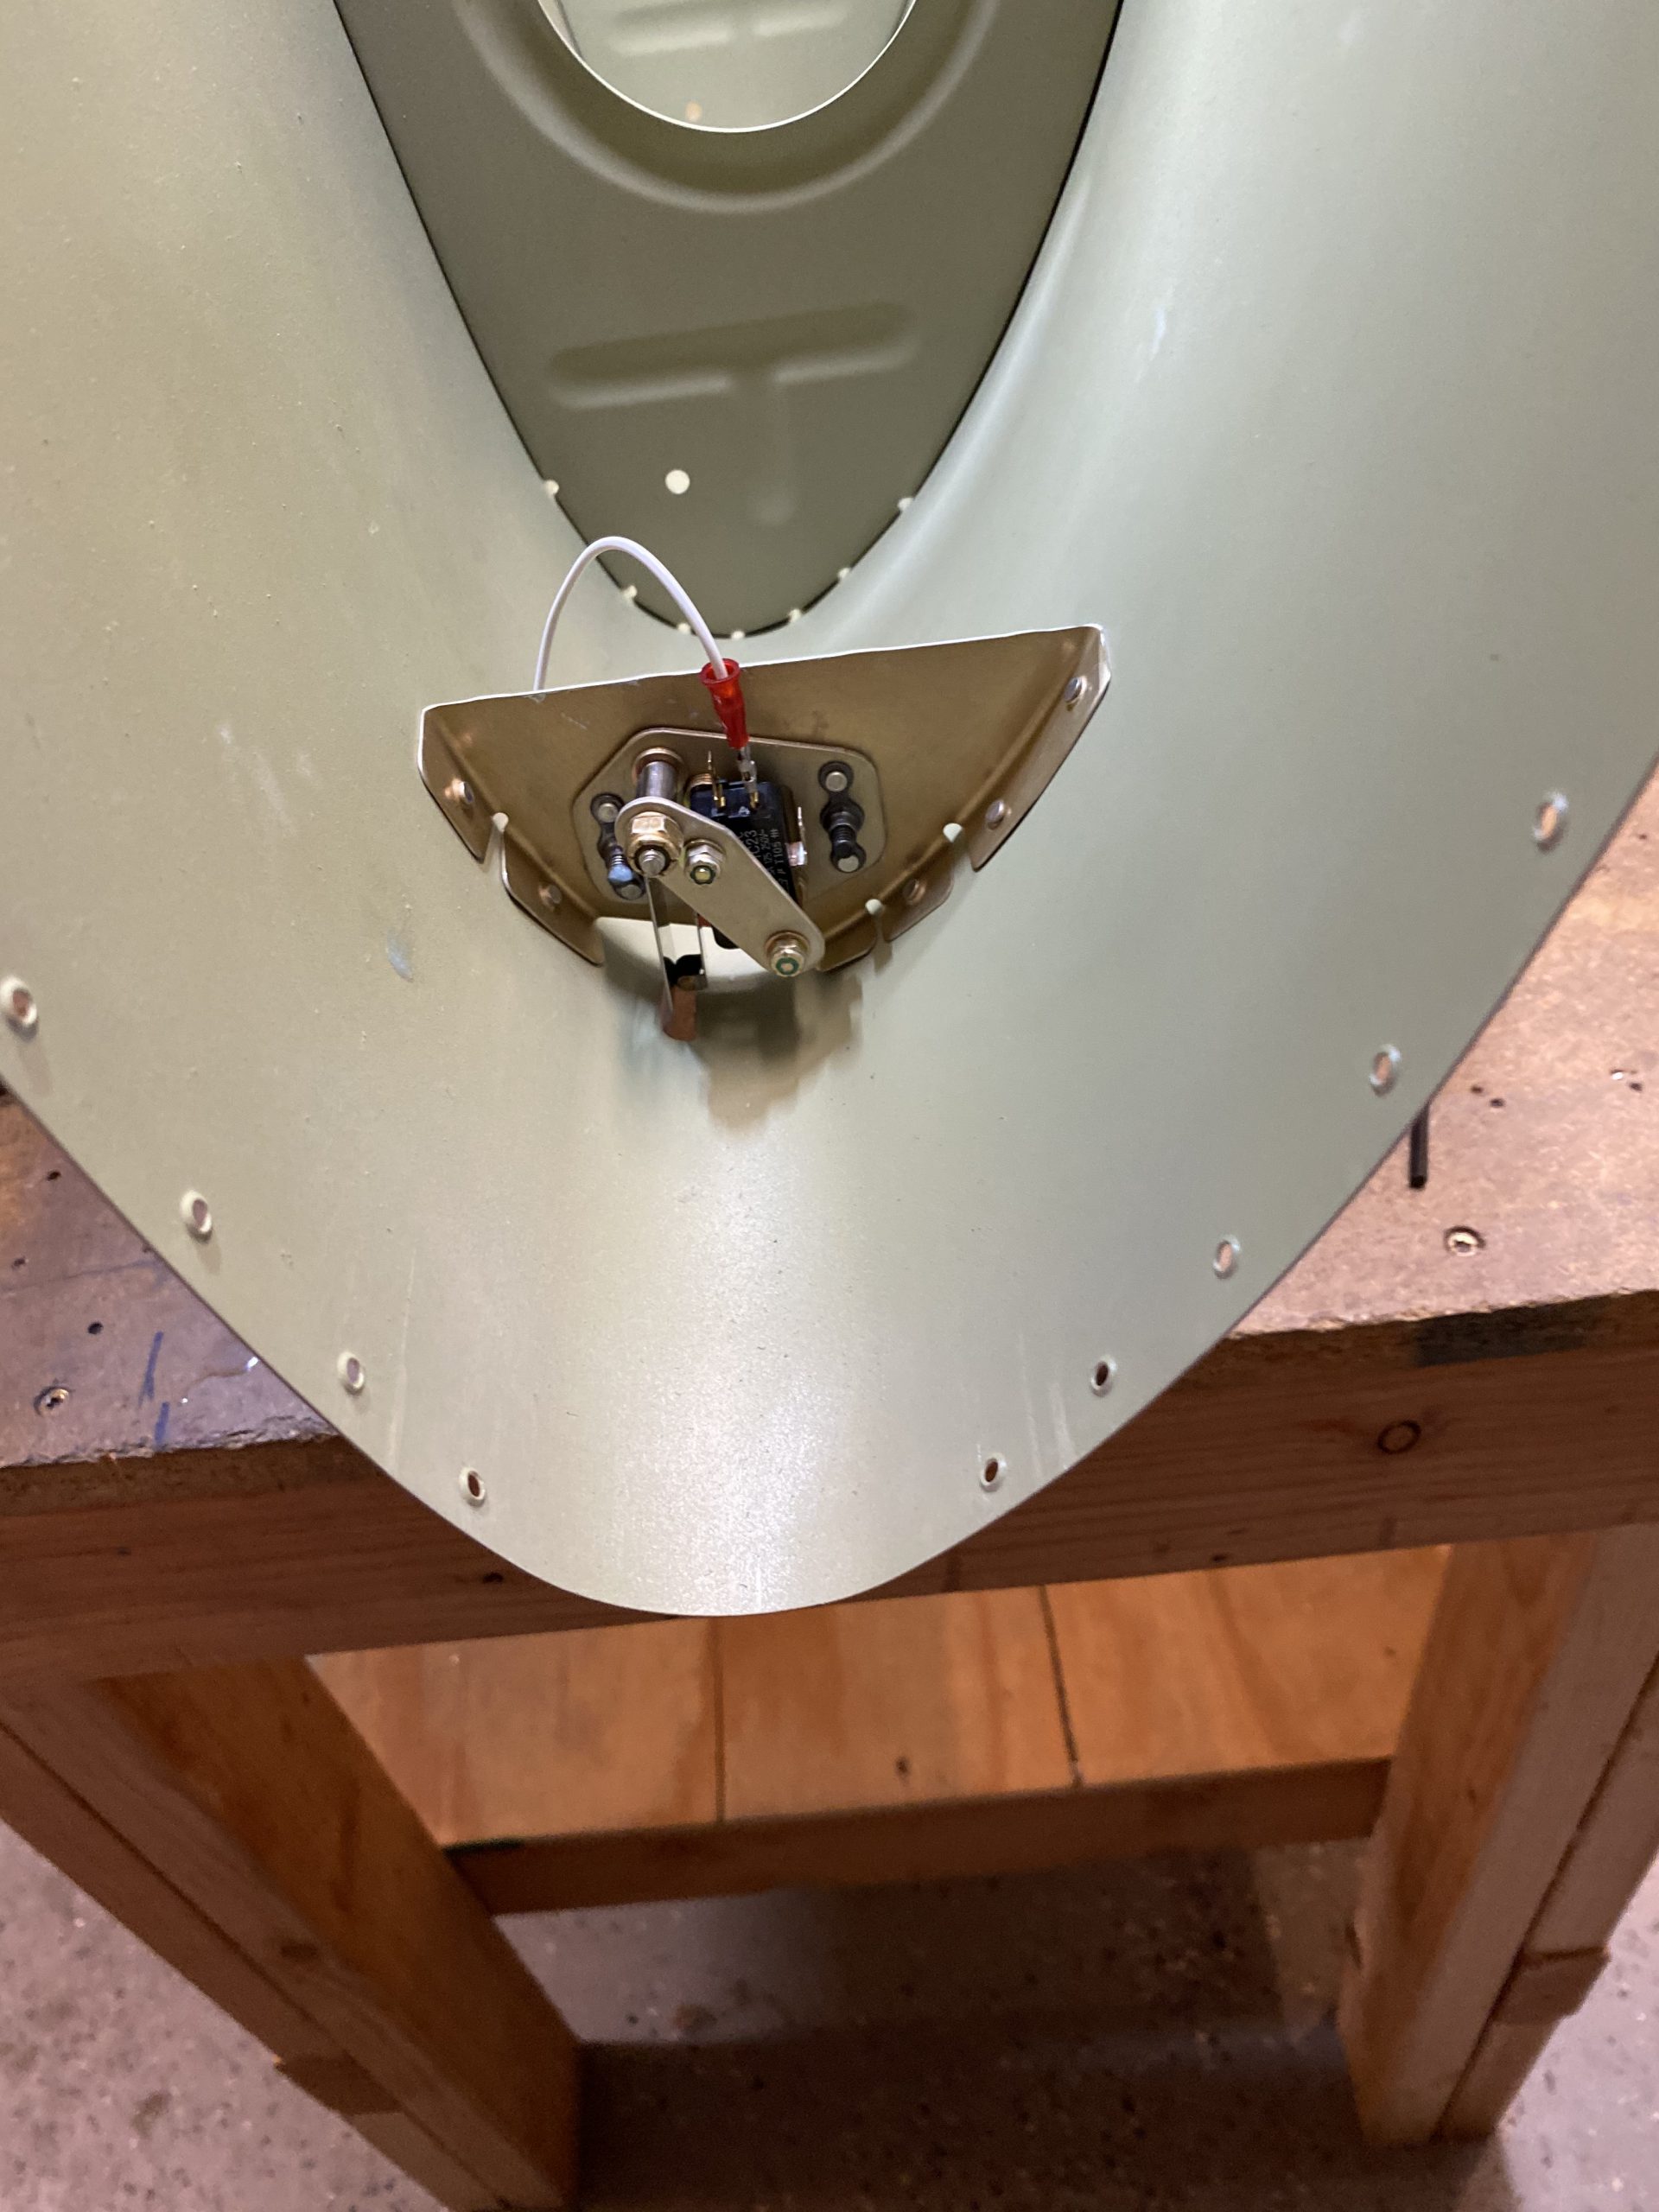
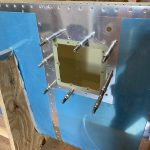
This is where I installed the stall warner assembly. I got all the parts for it, and re-read the instructions and plans to make sure I remembered correctly. In previous sessions, I had already assembled the warner assembly, I just needed to bolt it to the little rib, and adjust it, and hook up the wires. Easy.
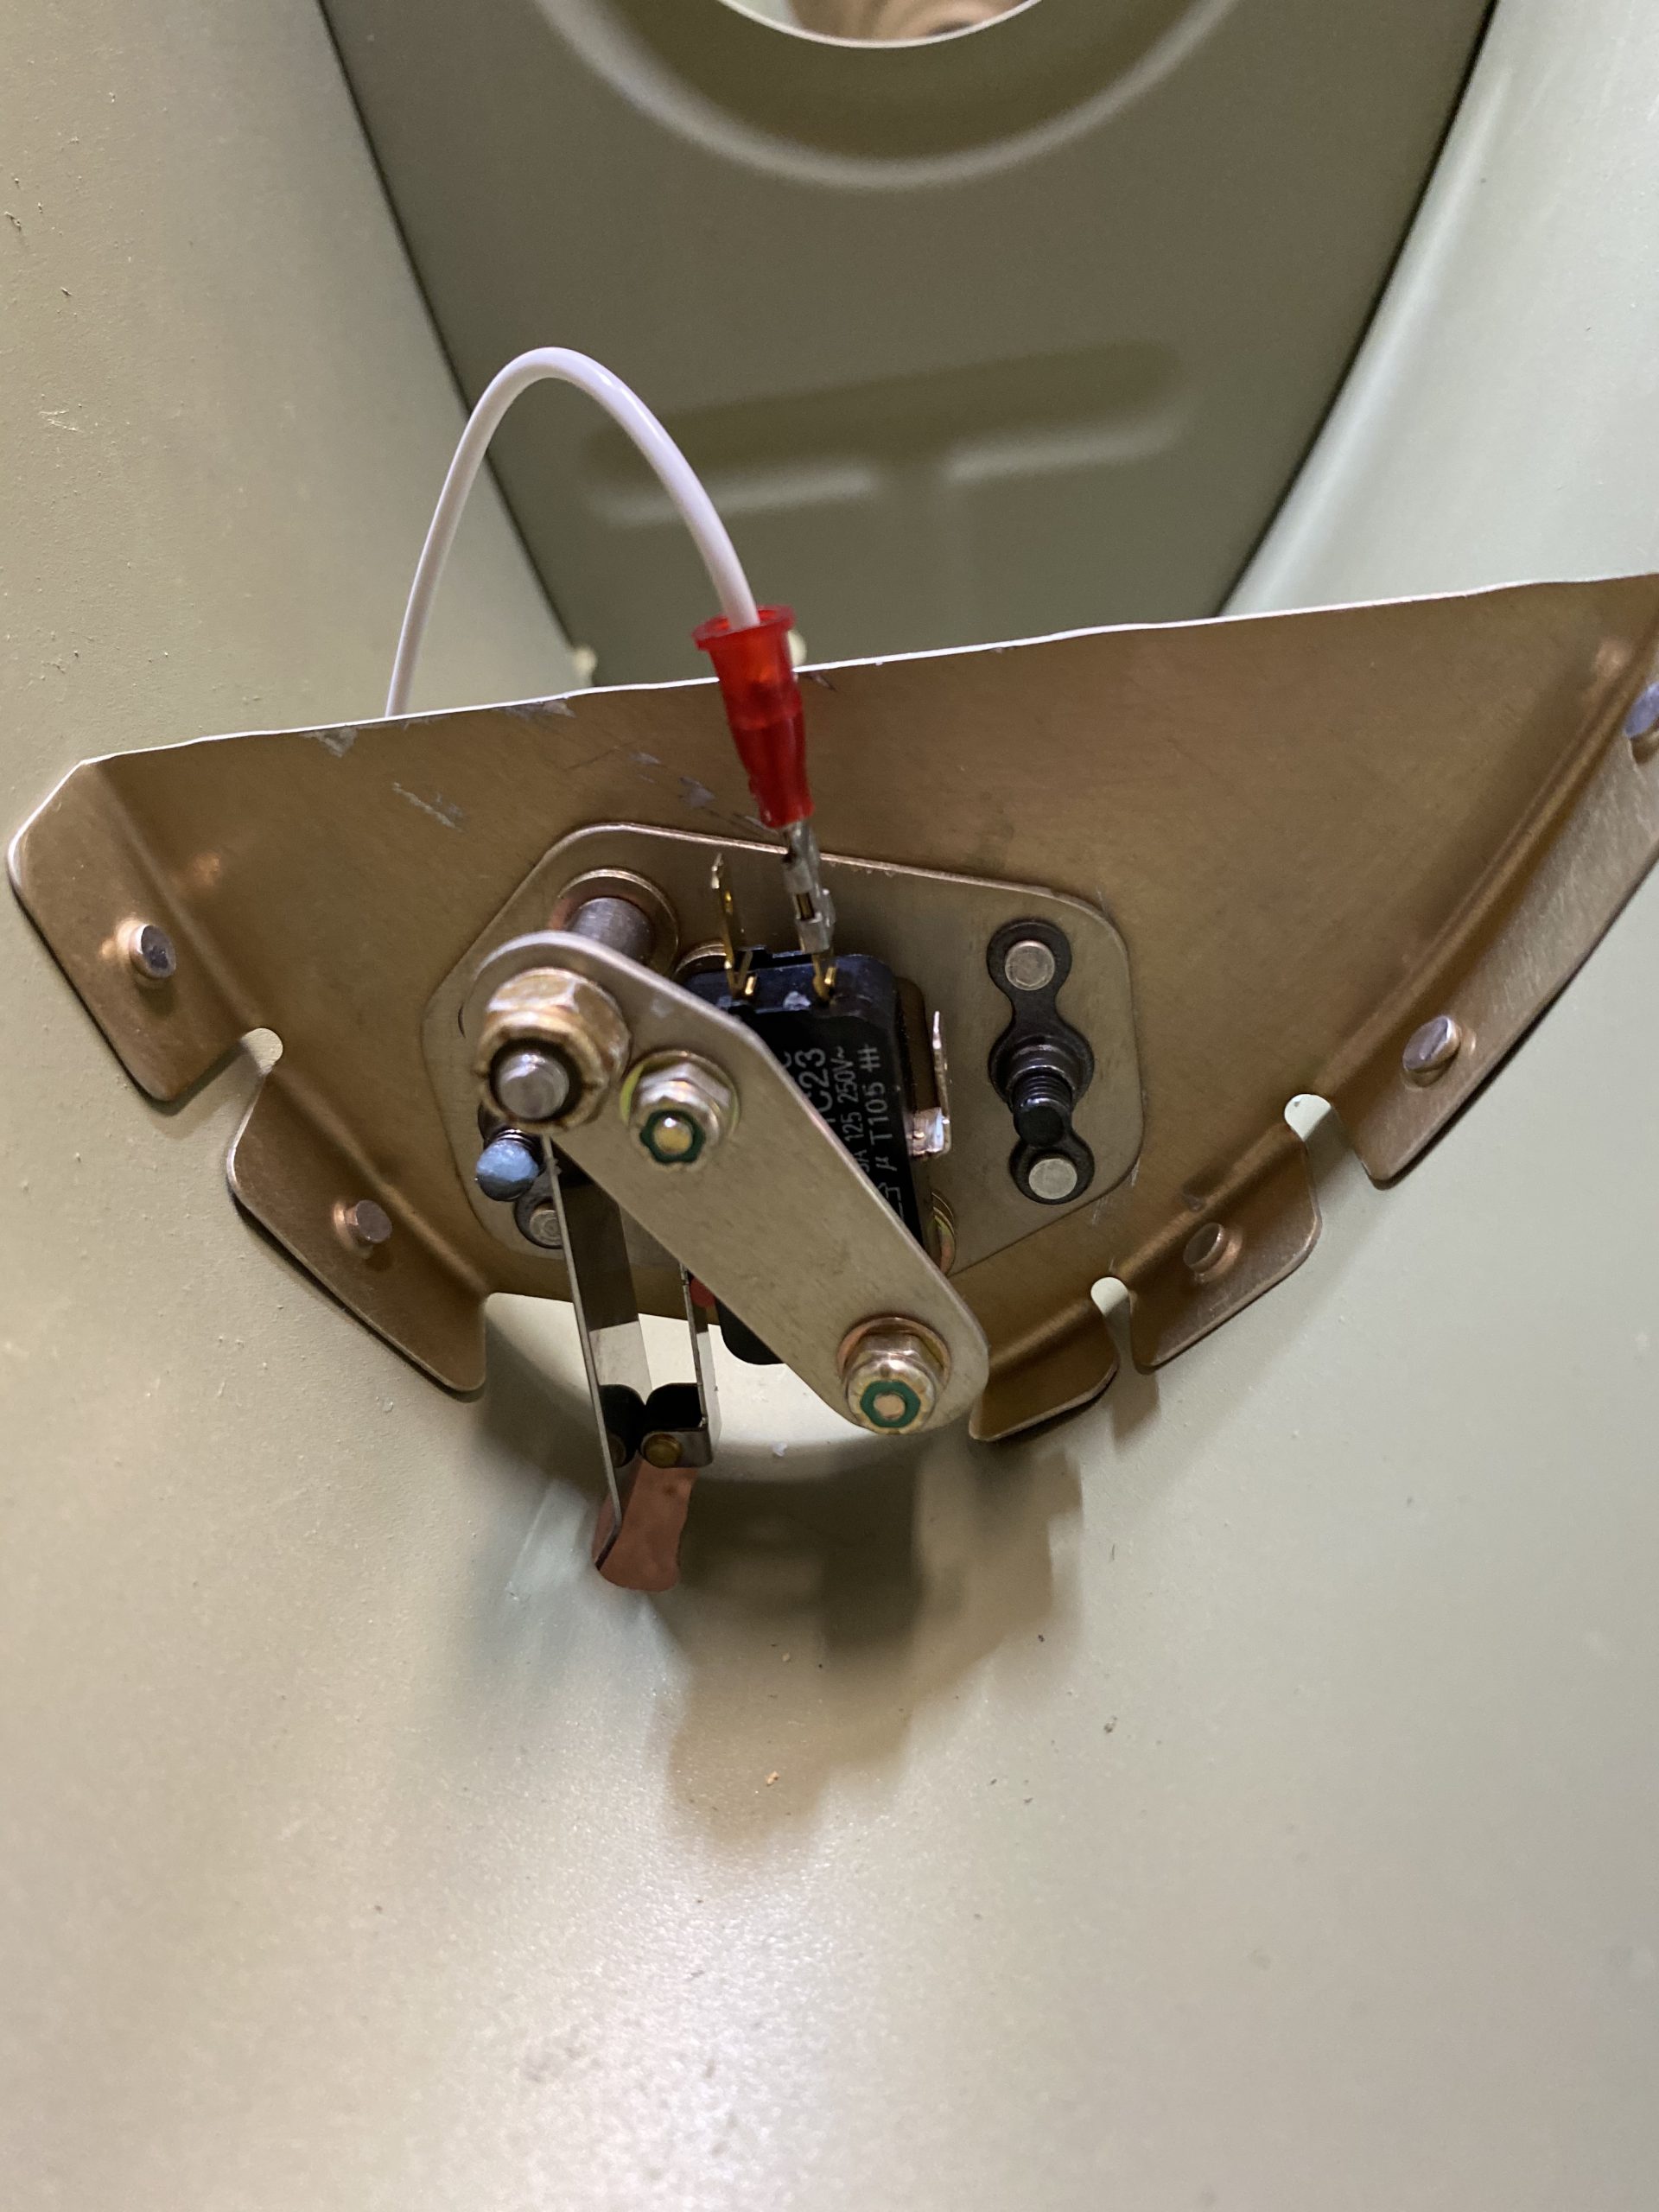
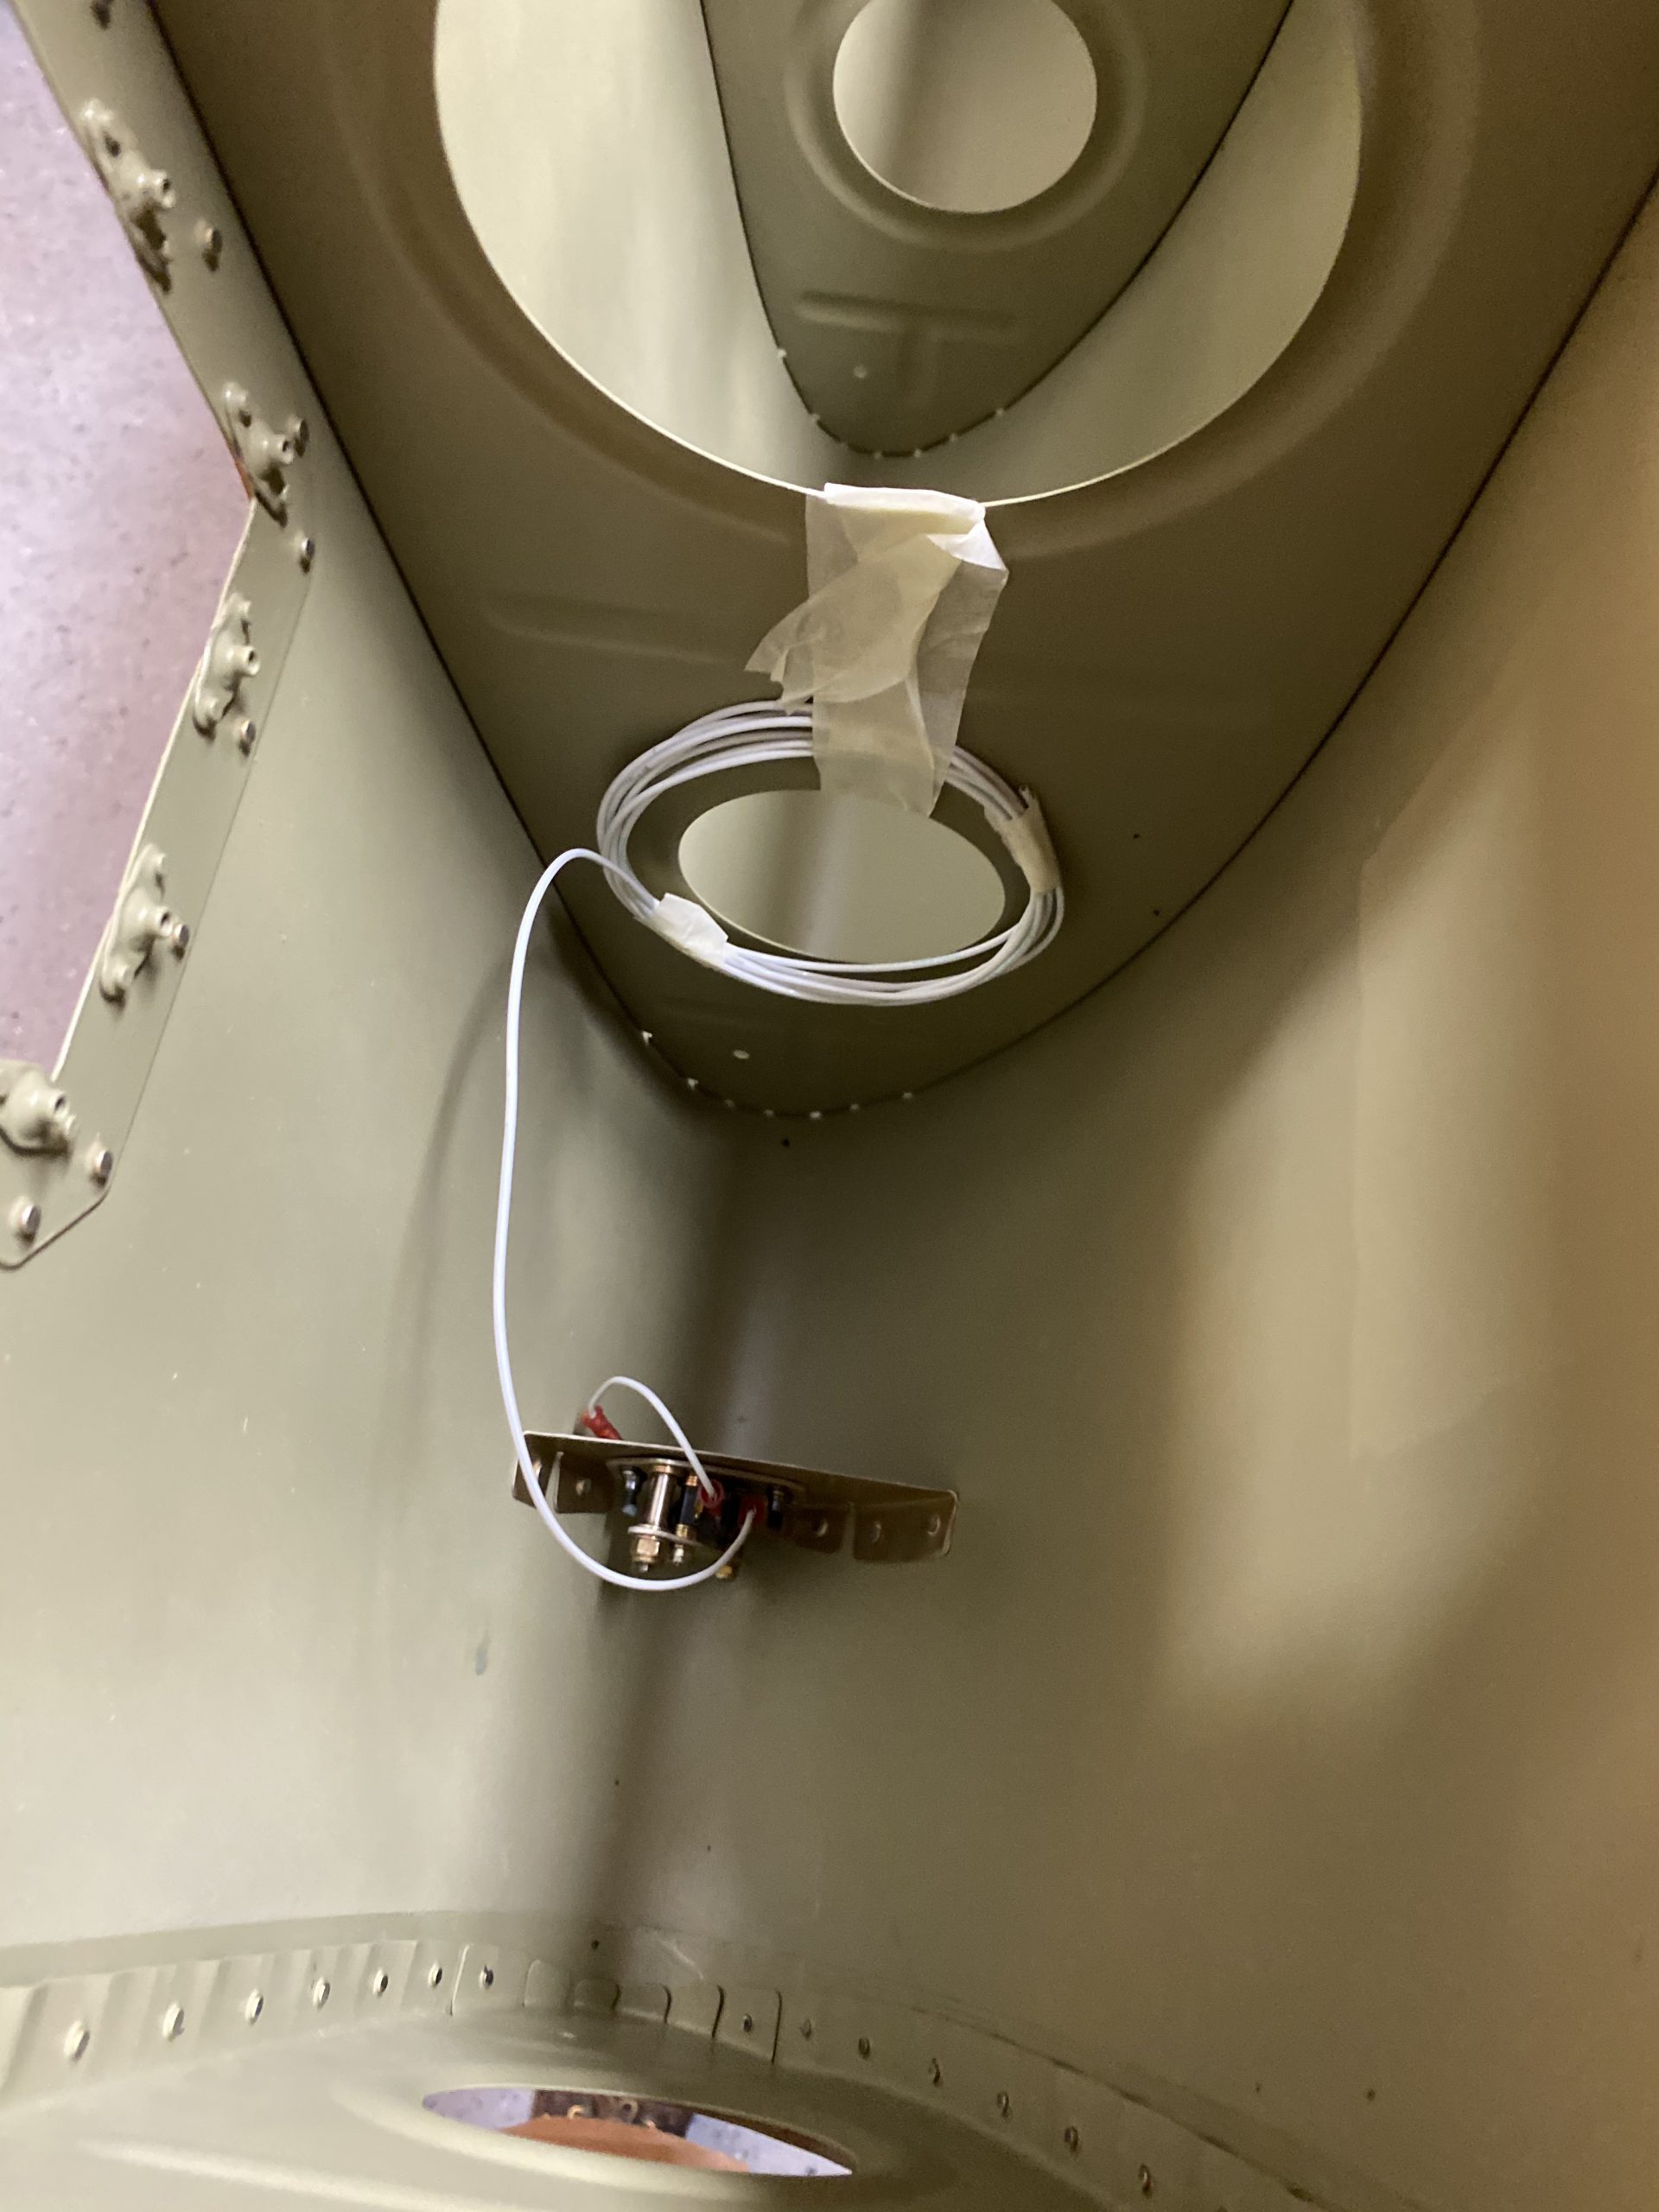
I made sure to get the adjustment per the plans, where it says to adjust the assembly so the minimal amount of movement from the vane causes the switch to engage. I did that, and then tightened down the mounting screws. Then I made up the 8.5 feet of 18 guage wire that snakes through the wing, crimped on the female spade, and connected it to the warner switch per the diagram. I also fired up my Fluke to test that the switch went to ground as soon at it tripped. I tested against the bare aluminum skin with one probe and the common lead from the switch with the other probe. This is why I DID NOT spray primer on the little rib that mounts the warner assembly. I wanted it to be a good conductor to ground via its rivets to the skin. It is alodined, so it won’t corrode.
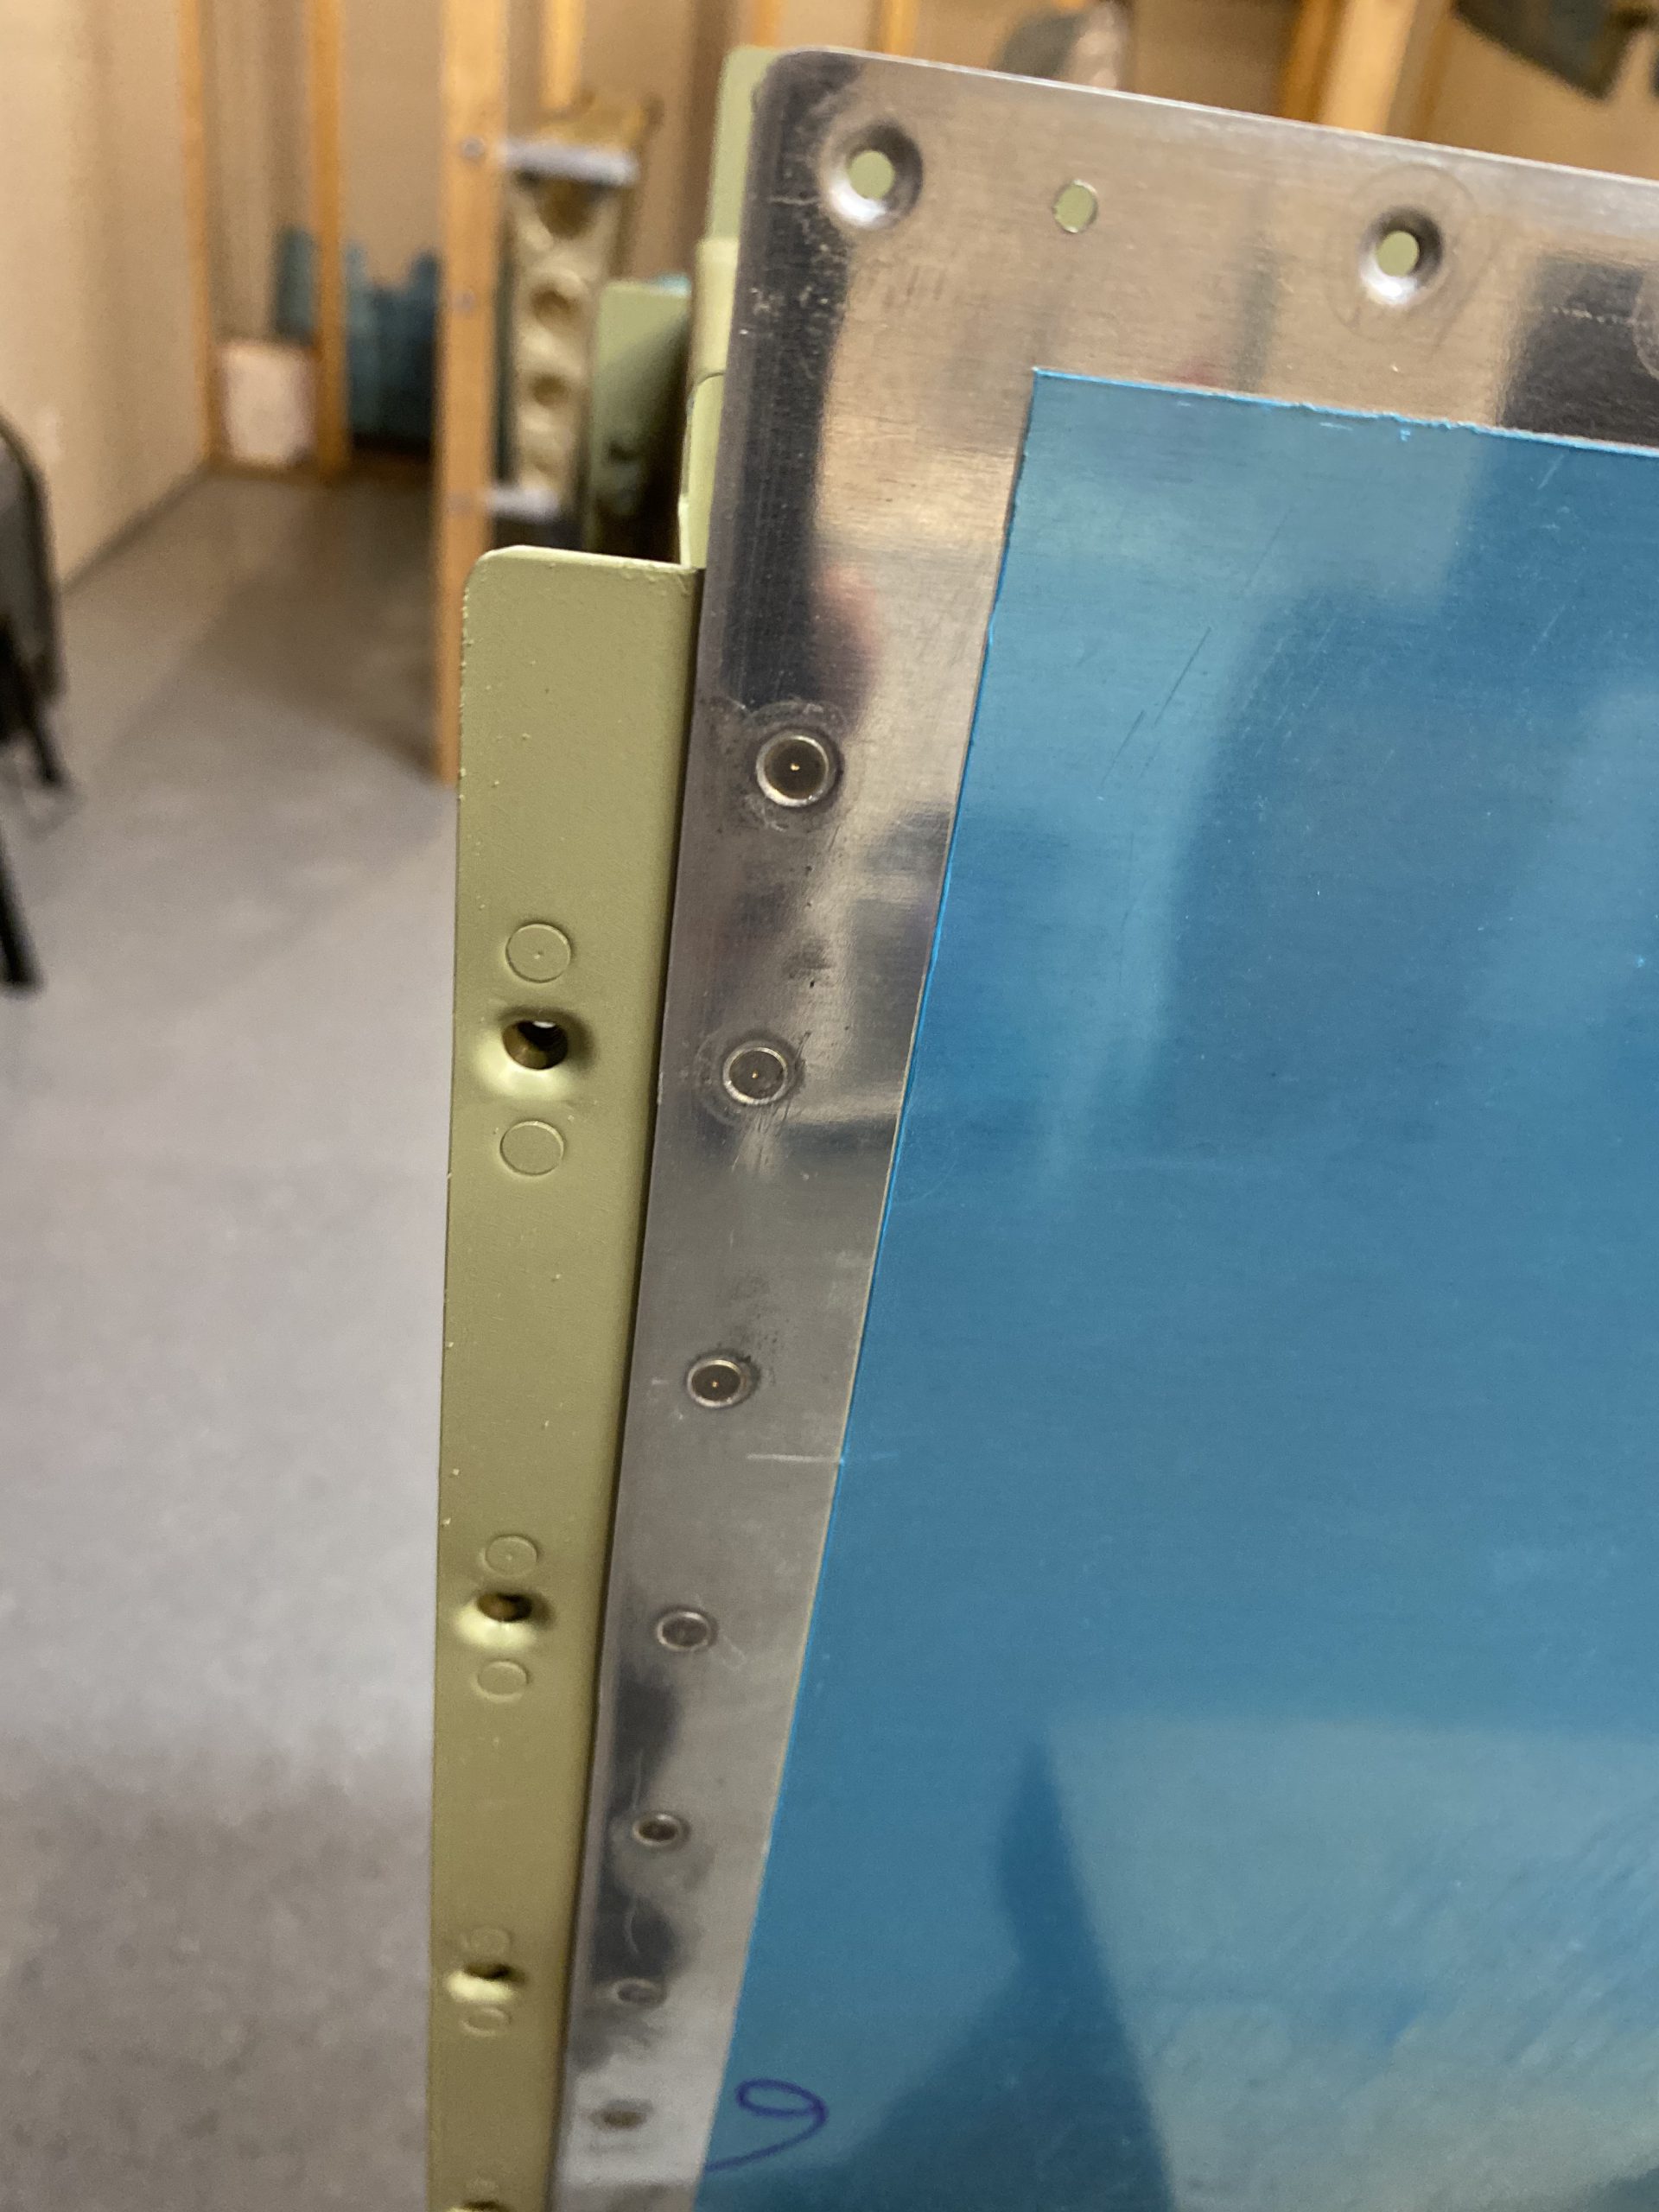
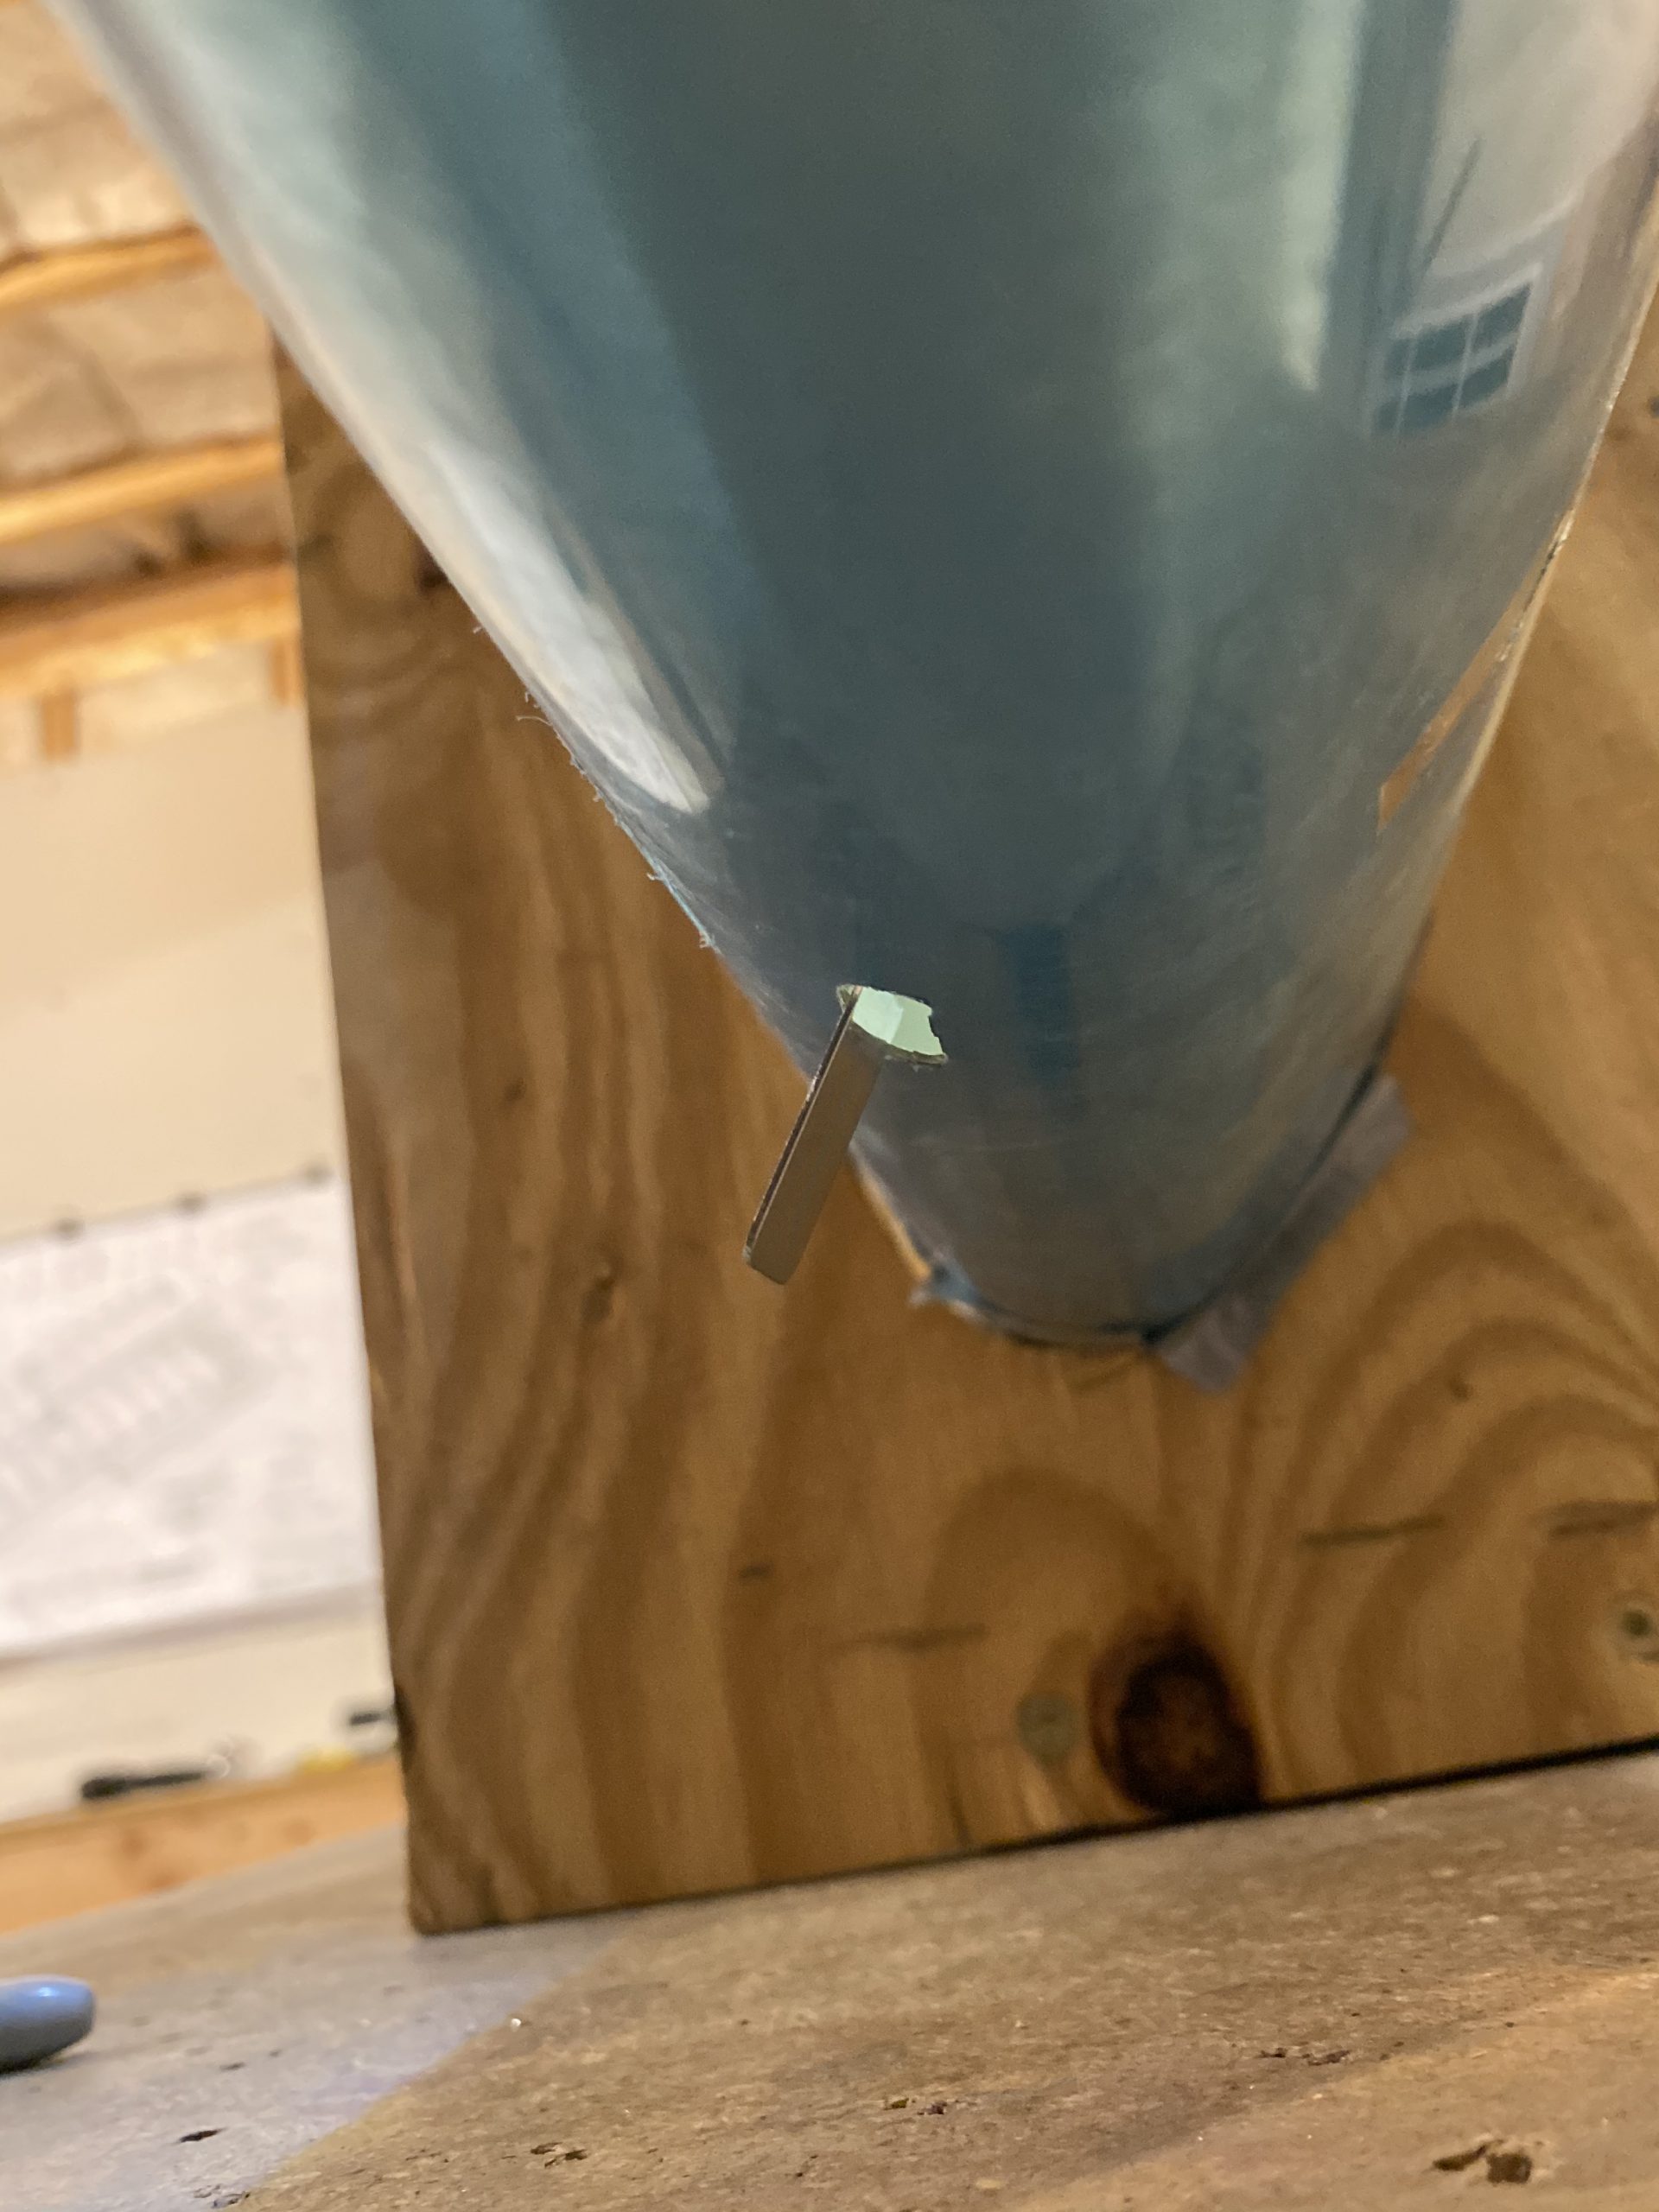
All that was left was to rivet the inboard end rib and splice plate to the leading edge, and its done! This actually went a lot easier than I thought it would. I recall the three (rib, skin, splice plate) being a PAIN to work with, but oddly enough, they clecoed together without much fuss. I fitted the leading edge to the wing spar, and then fitted the fuel tank to make sure it was all correct before riveting. I bucked all of these rivets as well.
Thats it for this session. I cleaned up my work area, and then took a few photos of the final assembly. Then I did a quick check of all the rivet shop heads using a rivet gauge to make sure they were all in good shape. There was a few I decided to give a few more taps to set fully, and one hole I completely forgot to install a rivet in. Easy to fix now, which is why I like to do a full inspection before mounting any skeletons like this. Heres the final product!
Google Photos Link: https://photos.app.goo.gl/epnqtjC4fZLwe2Az5
-
62042614636__811C2ABD-4CC5-4716-A072-7129EAB2749E
-
62042635052__5D1785B7-777B-42A1-9625-424EDCDE20DE
-
IMG_2309
-
 IMG_2310
 -
IMG_2311
-
IMG_2312
-
IMG_2313
-
IMG_2314
-
IMG_2316
-
 IMG_2317
 -
 IMG_2318
 -
IMG_2319
-
 IMG_2320
 -
IMG_2321
-
IMG_2322
-
 IMG_2323
 -
IMG_2324
-
IMG_2325


Hours Worked: 3.75