


click Back to work on leading edge. I managed to get all of the left wing leading edge parts ready for priming in tonights session. I also captured a time lapse, and you’ll see at the end a lot of reading and standing / looking / planning. I am not going to count that work in the total time 🙂
Purchase Xanax Online Without A Prescription go to linkgo to link I started out by dimpling the ribs for the left wing leading edge using the pnematic squeezer. Its faster and easier than using the Numatx squeezer on ribs at least. These went pretty quick, and now they are completely ready for priming.
get link https://elien.ca/rec42h8ep7f
Buy Xanax Overnight Without Prescription Once that was done, I grabbed the leading edge skin, and removed the blue plastic using a soldering iron with a dull tip. There wasn’t many complex rivet lines on the leading edge, so it also went pretty quick
source link https://www.thevampiresource.com/id2n4bchr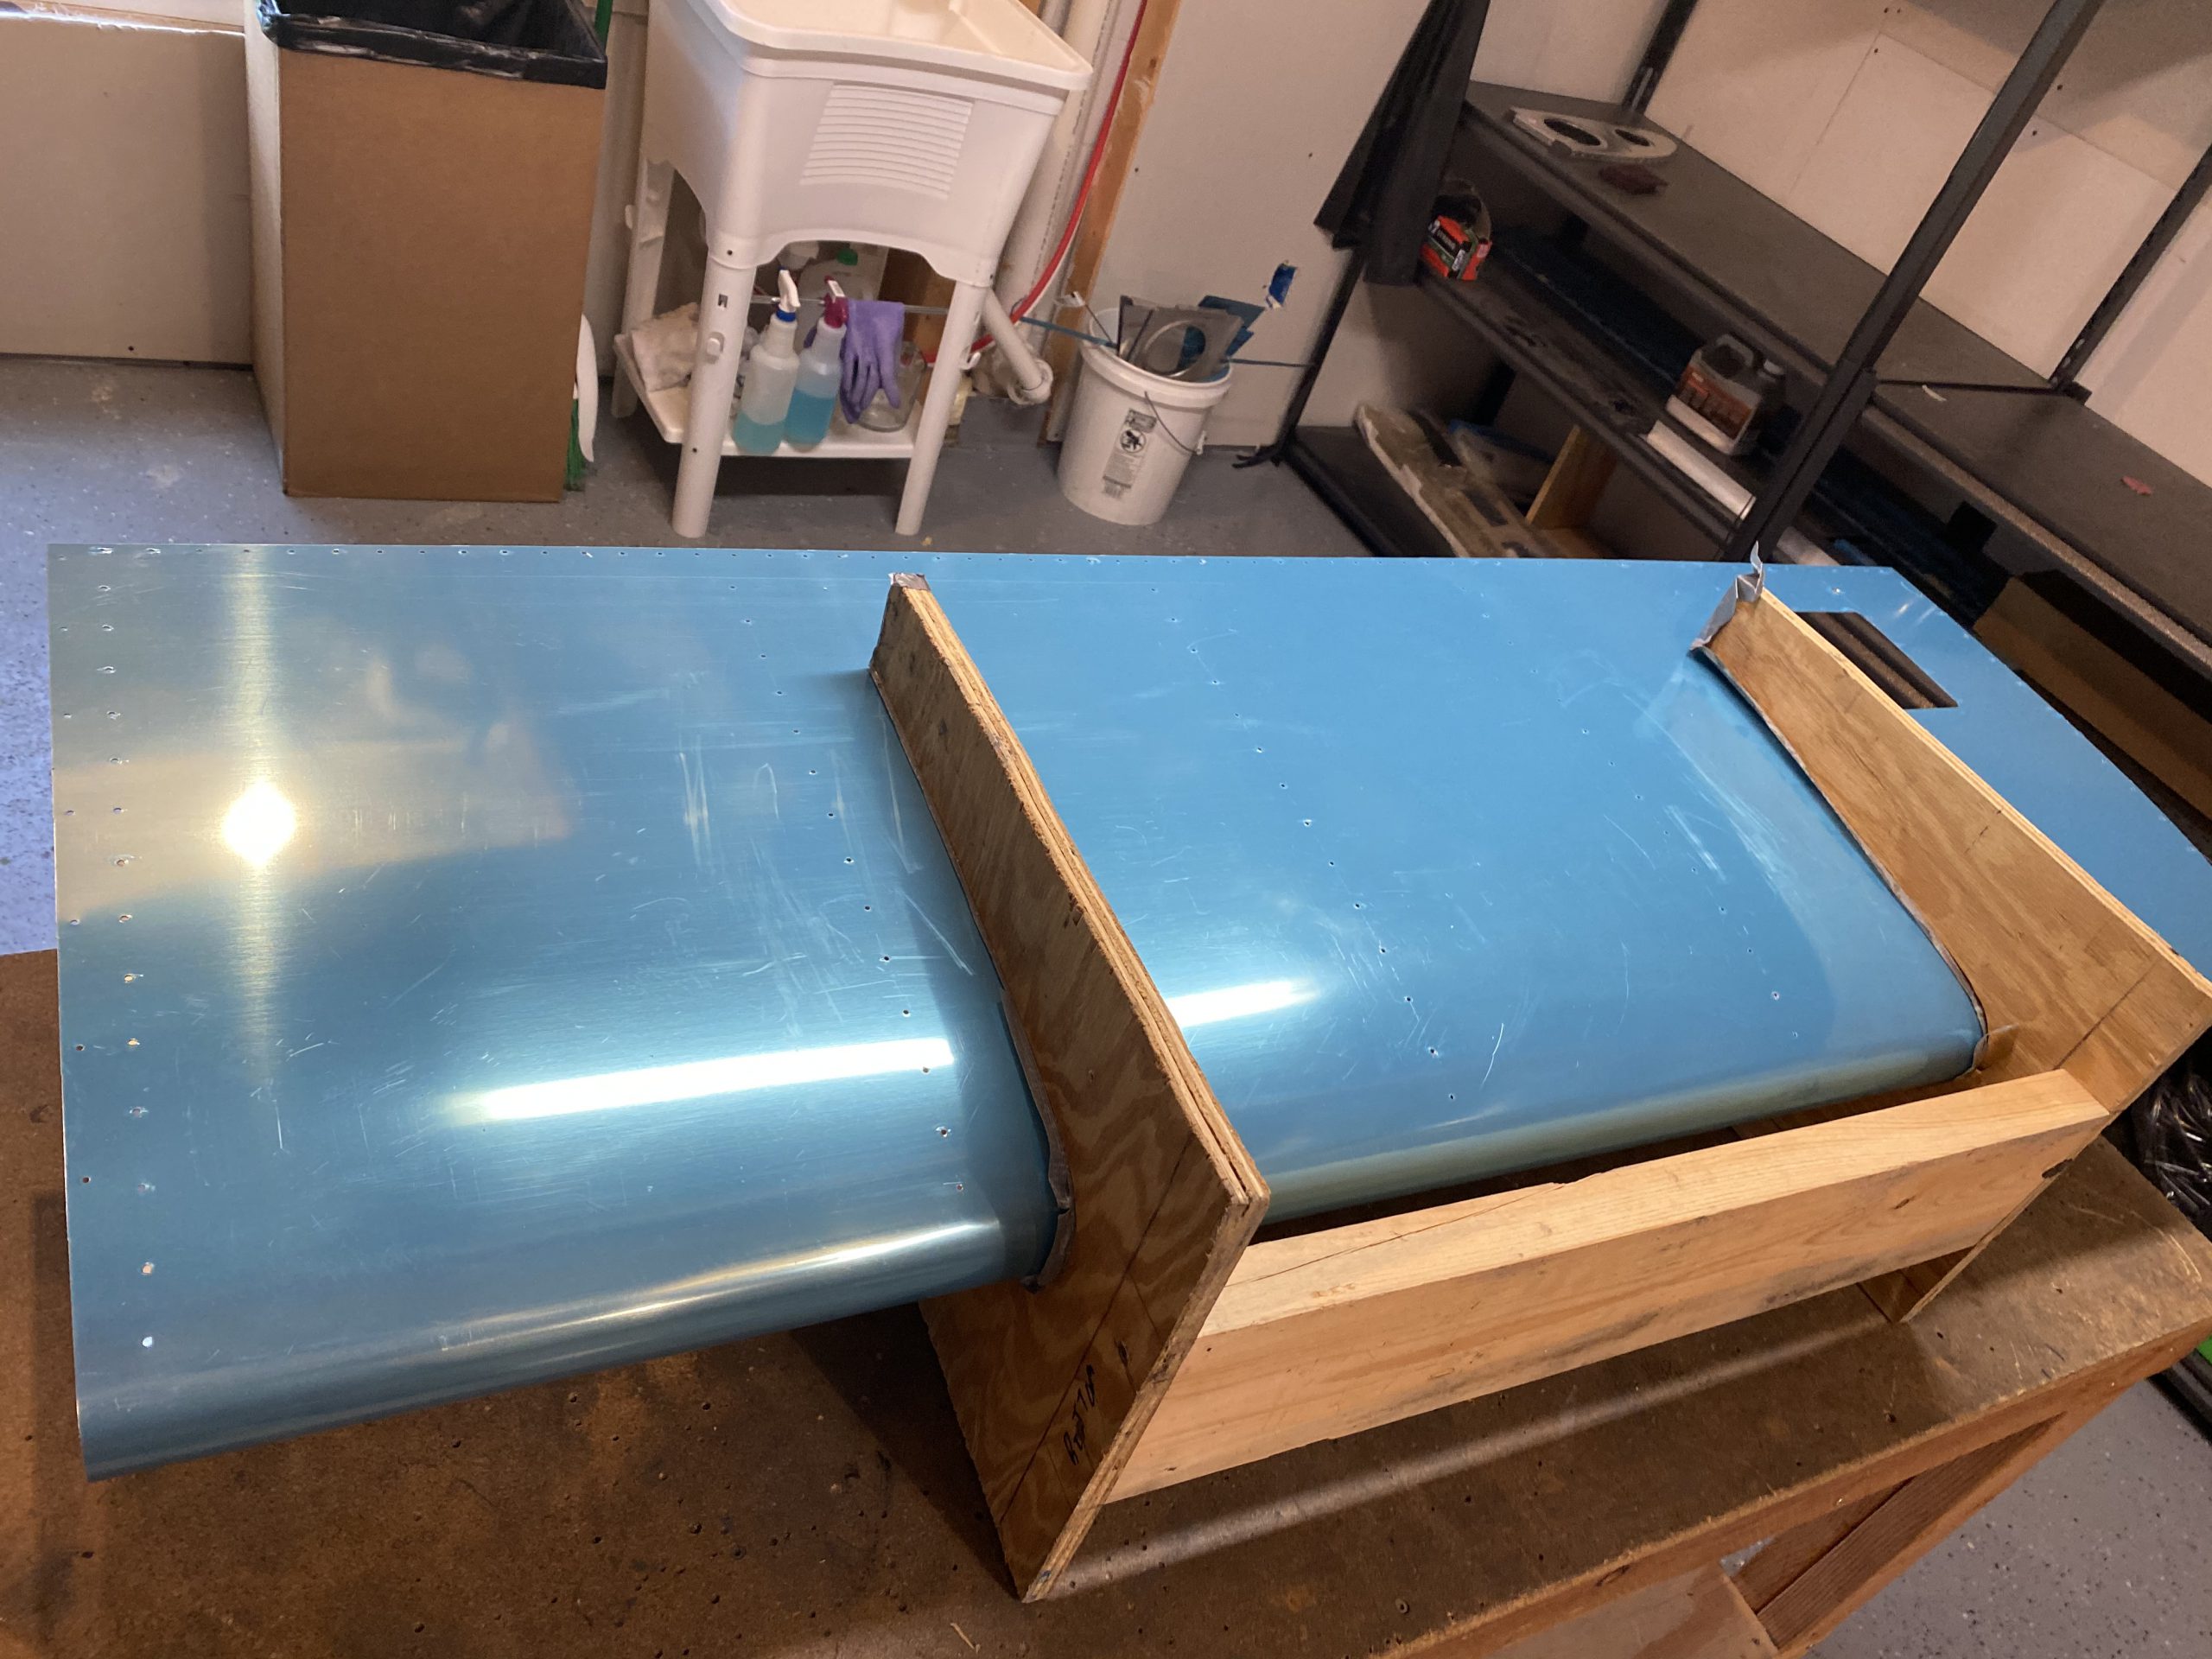
https://marchtozion.com/mcu95wf5z11 Then I opened the hole for the tie-down ring a bit. I made this a wee-bit smaller than I needed it appears, since the tie-down ring won’t go in it nicely. I used a step-bit to open the hole big enough to fit the tie down ring I bought from Vans a few months back. Then I deburred the hole.
Buy Tramadol Overnight https://www.doktressmelange.com/2025/06/17/6ji6hgf6851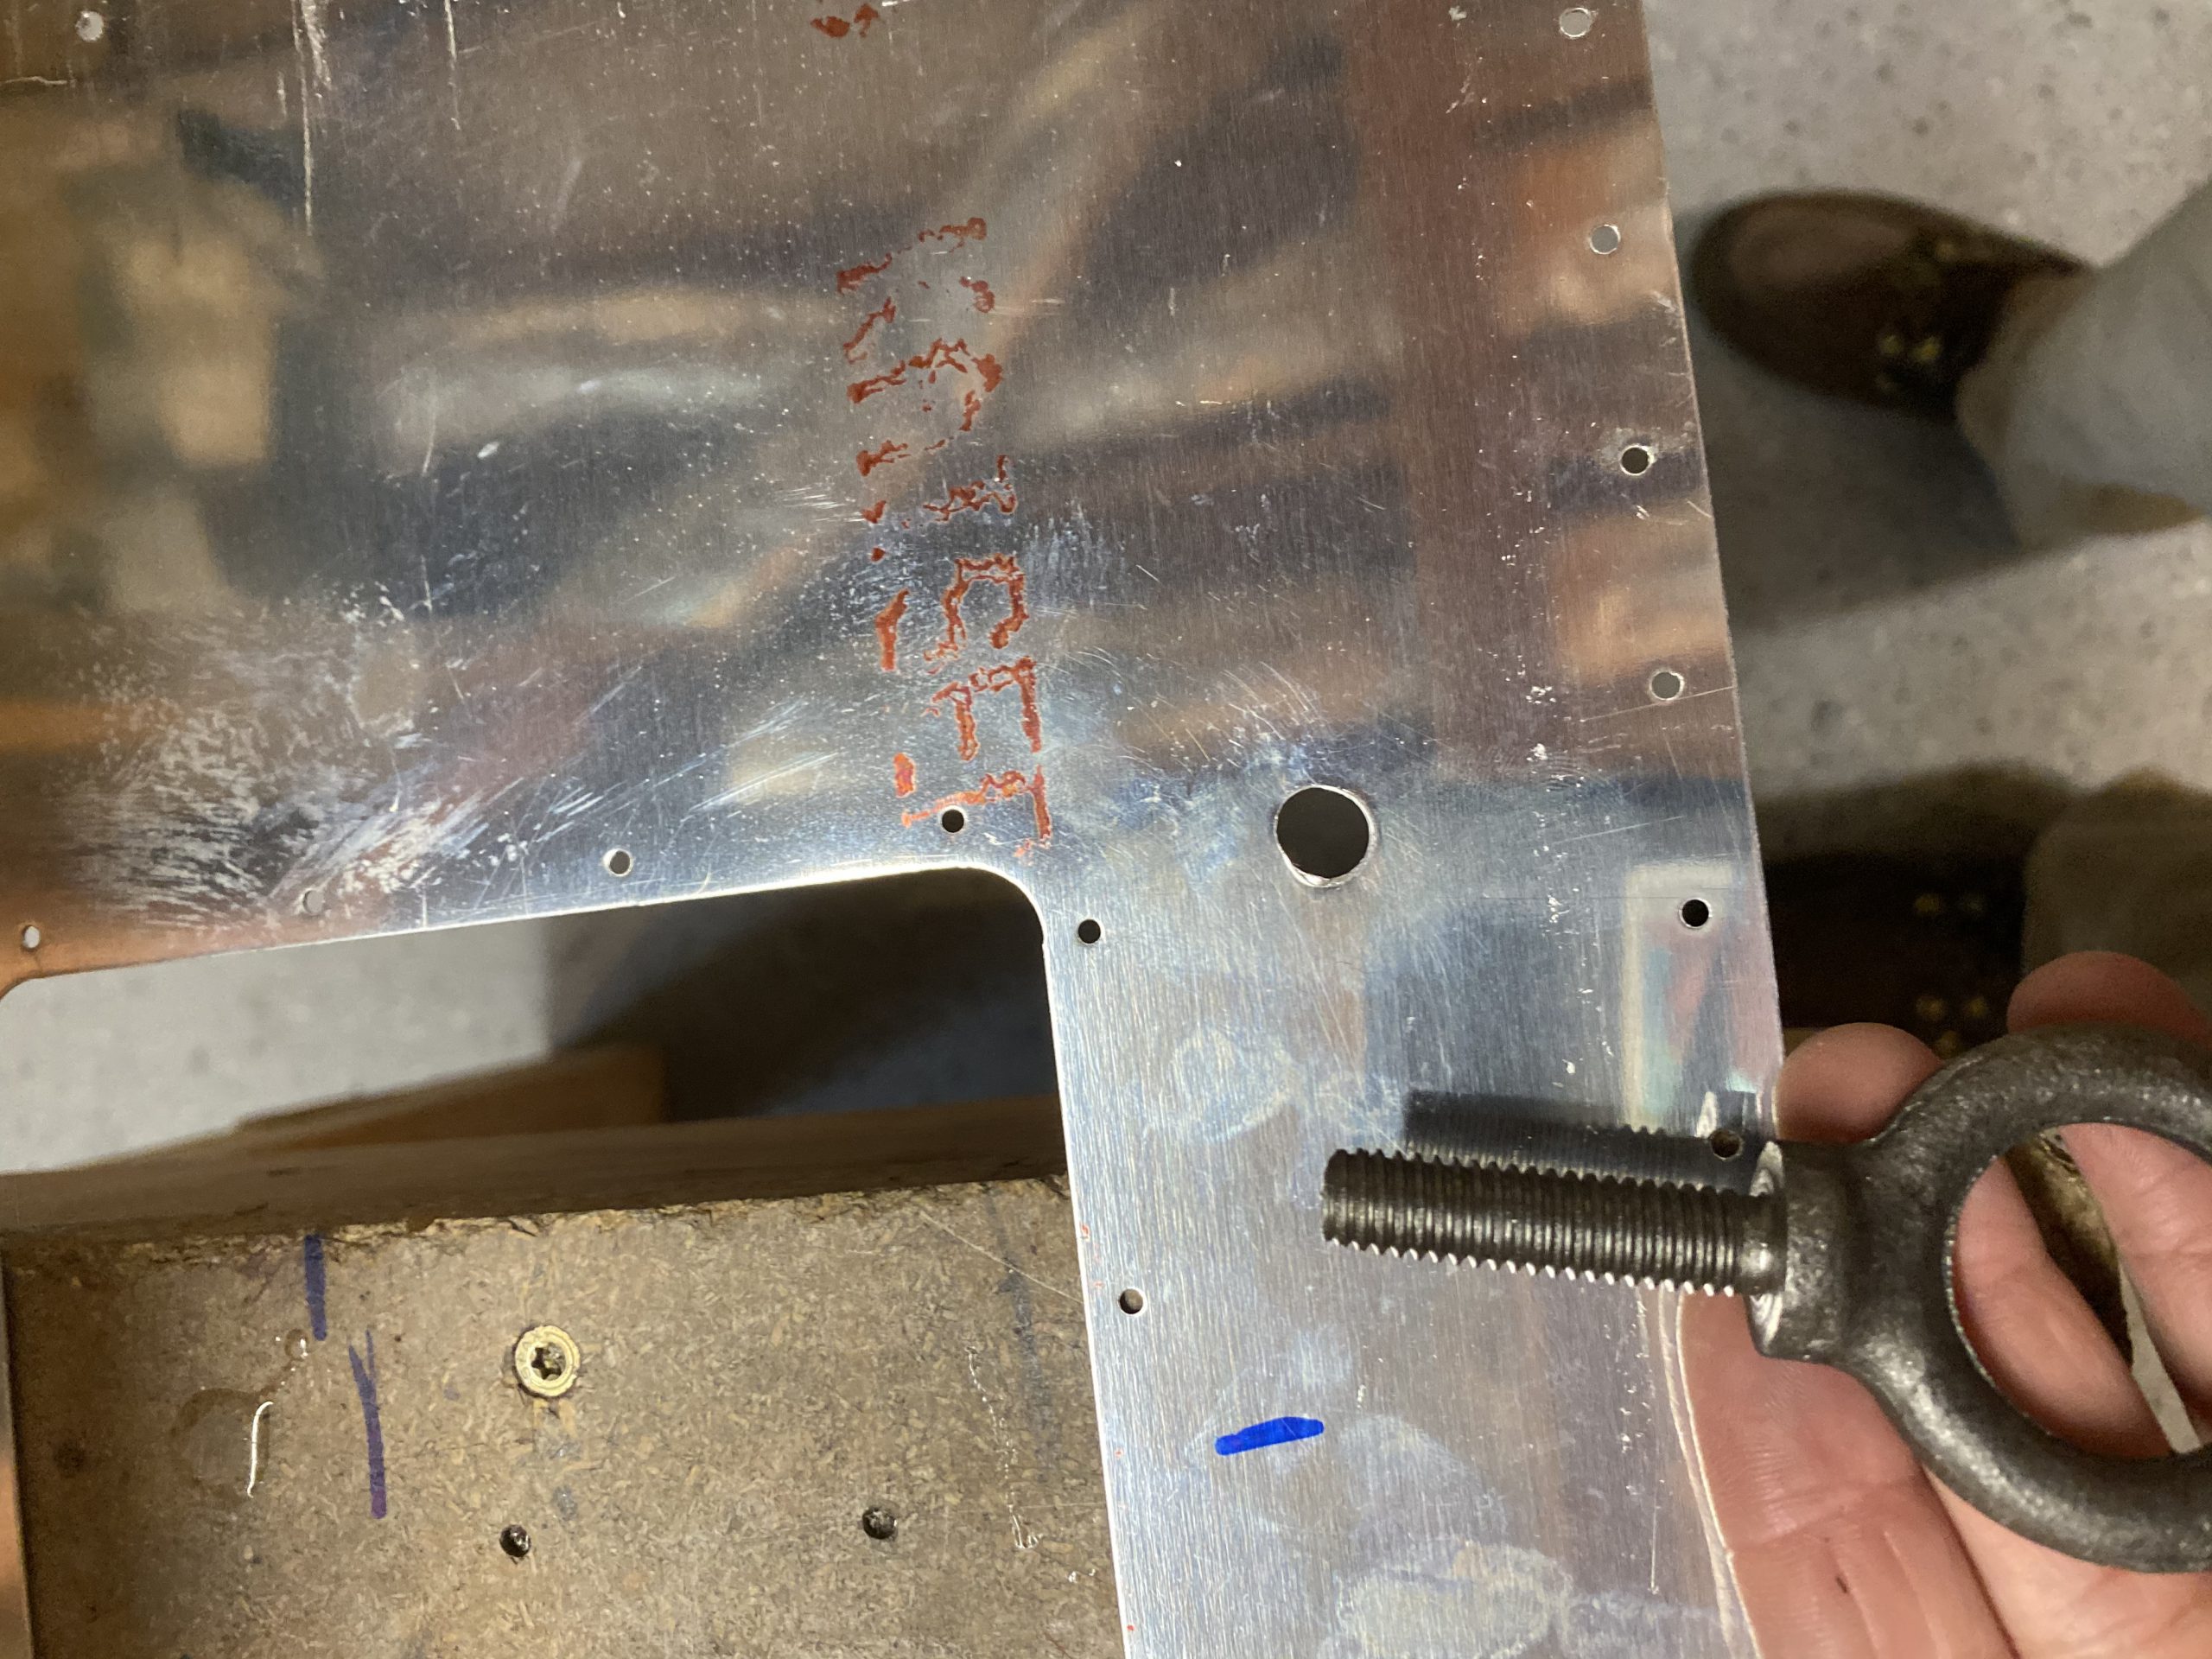

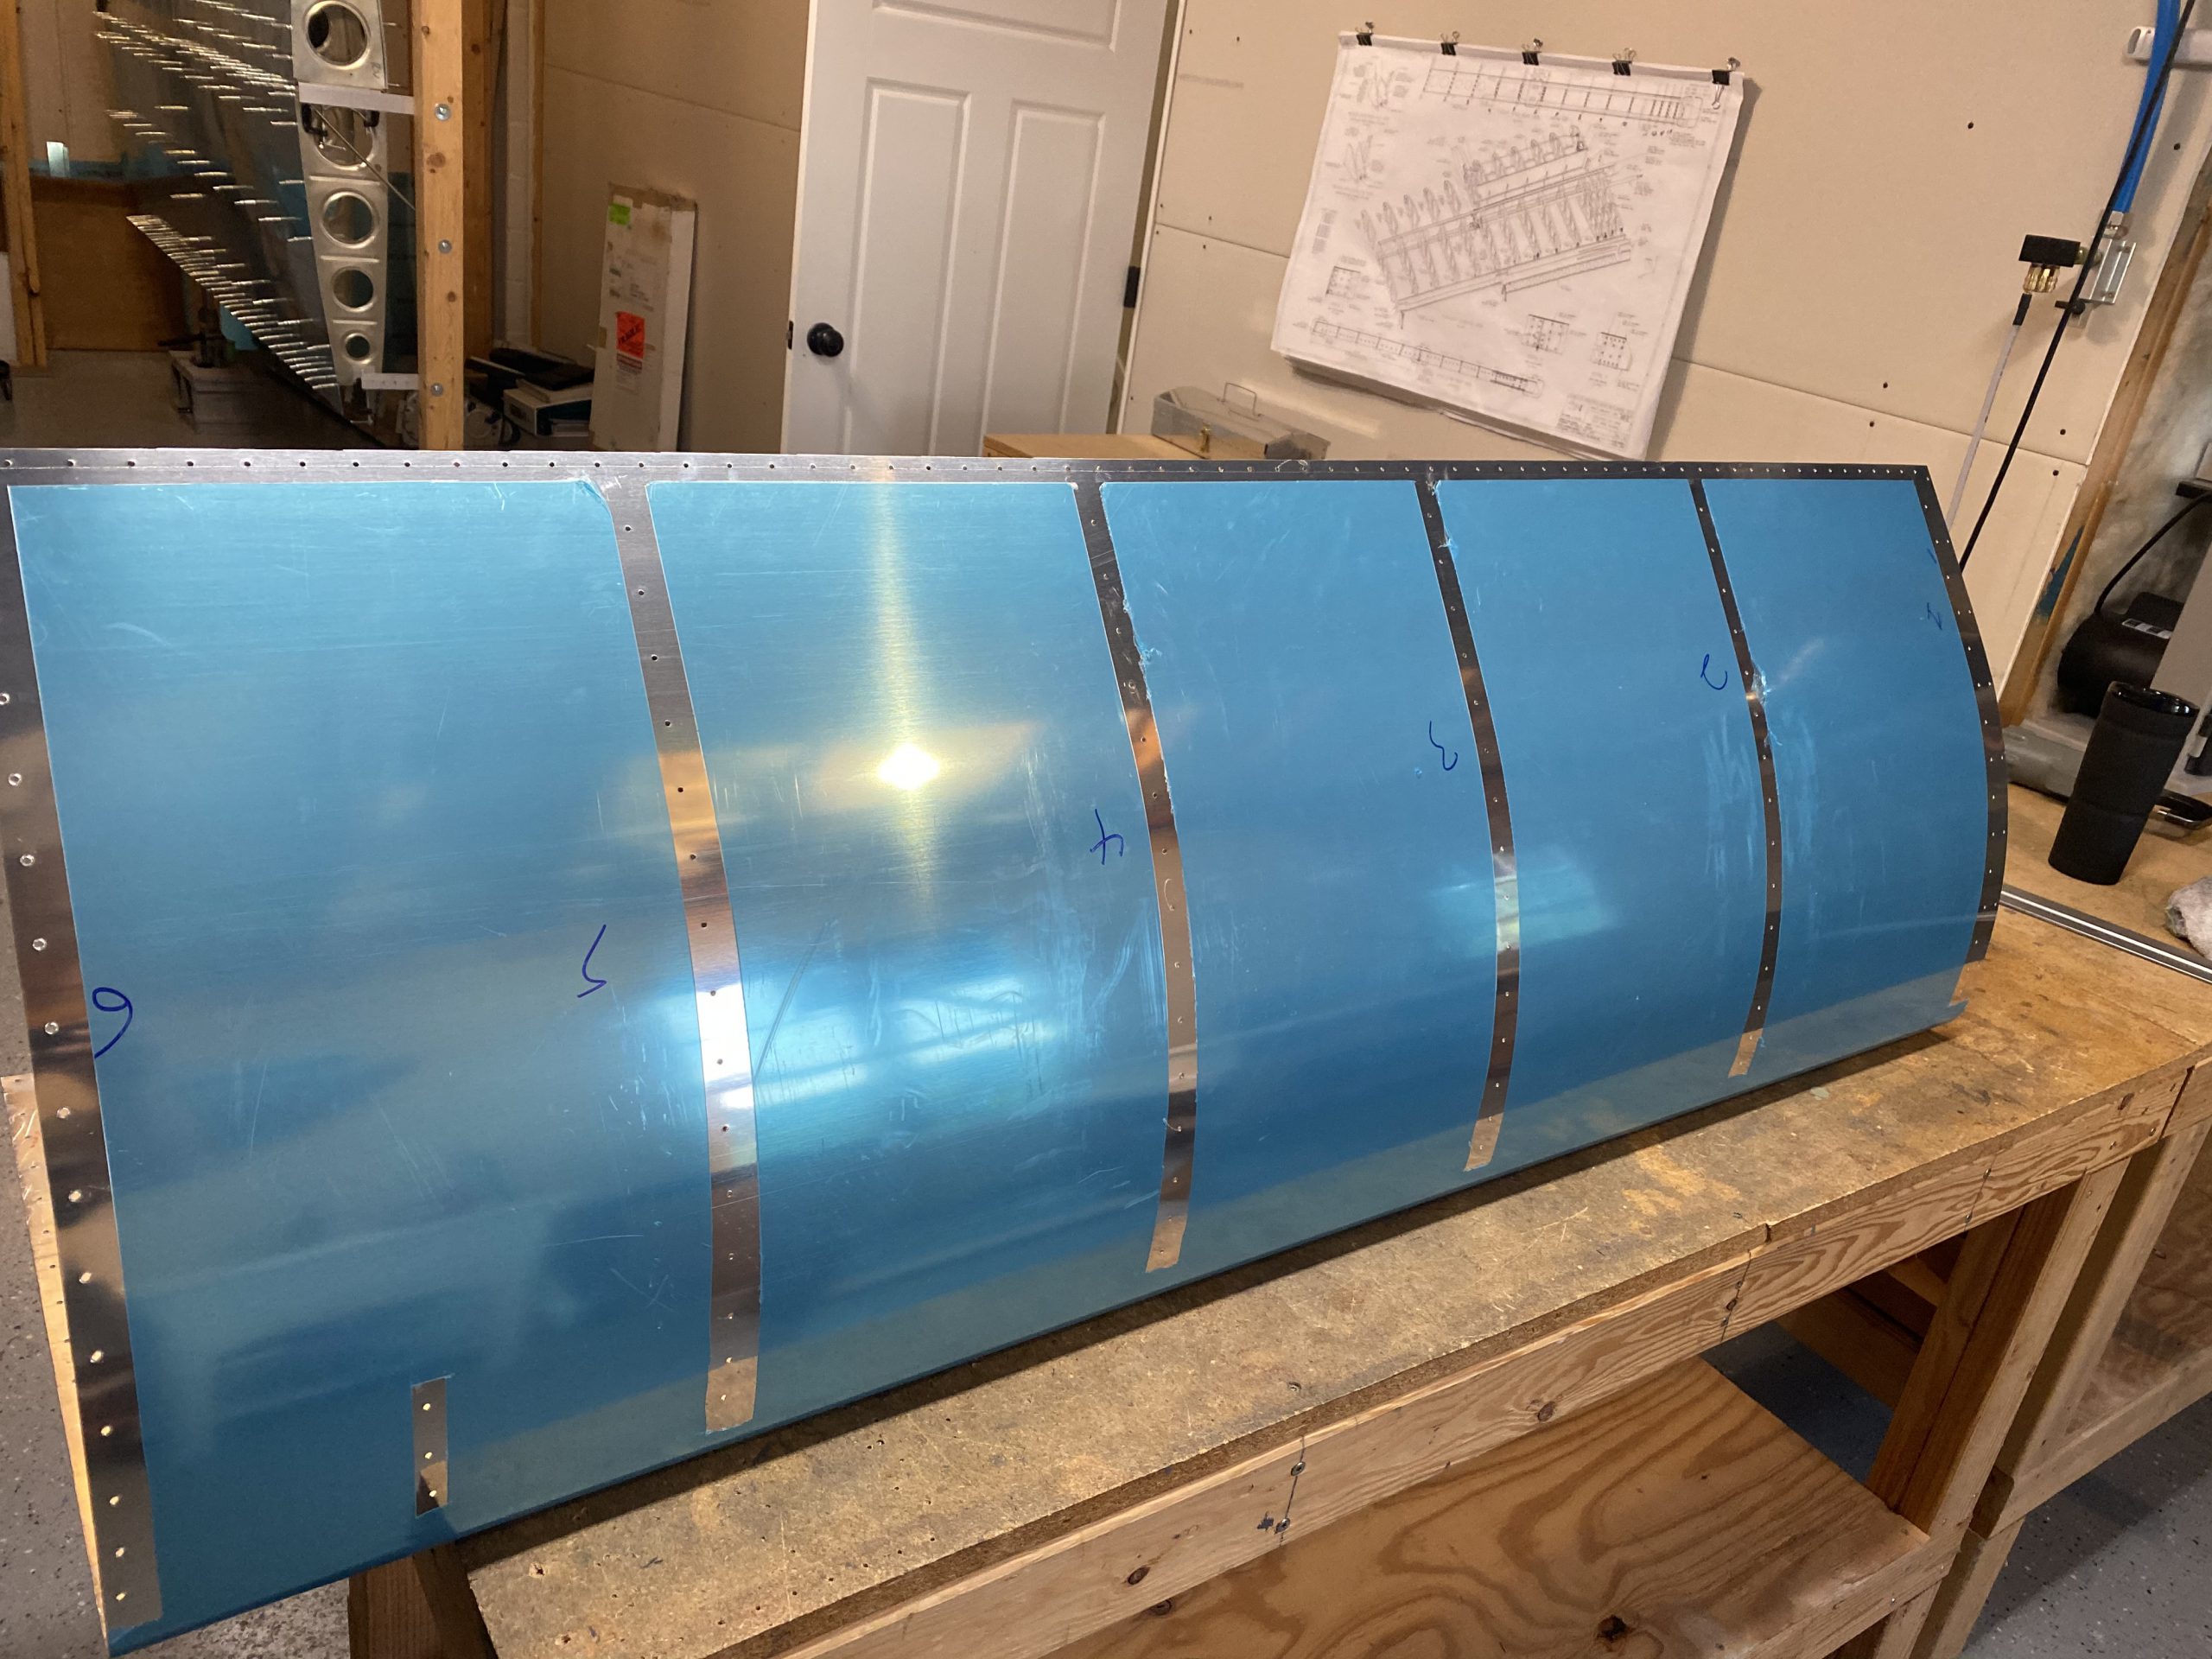
follow Now it was time to get the skin deburred and dimpled. I used a reamer on all the holes, so I am electing to not use a deburring bit on these holes, as they are all going to be dimpled, and then scuffed for priming. Given than reamers leave almost no burrs, and the dimples and scuffing will smooth out any burrs, I think this will be perfectly fine. However, the skin edges and corners did need some work of course. I used a bastard file to round the corners off, and then used that file to smooth down the bumps and ridges on the edge of the skin where it was sheered on the presses. Followed that with a scothcbrite pad to get the edges super smooth, and the skin was ready for dimpling. Dimpling went very easy with the DRDT-2, as you can see in the timelapse above, I got all the holes dimpled and ready for scuffing, priming and riveting.
https://marchtozion.com/7ty0awgha
https://retailpanama.com/on3czoiw 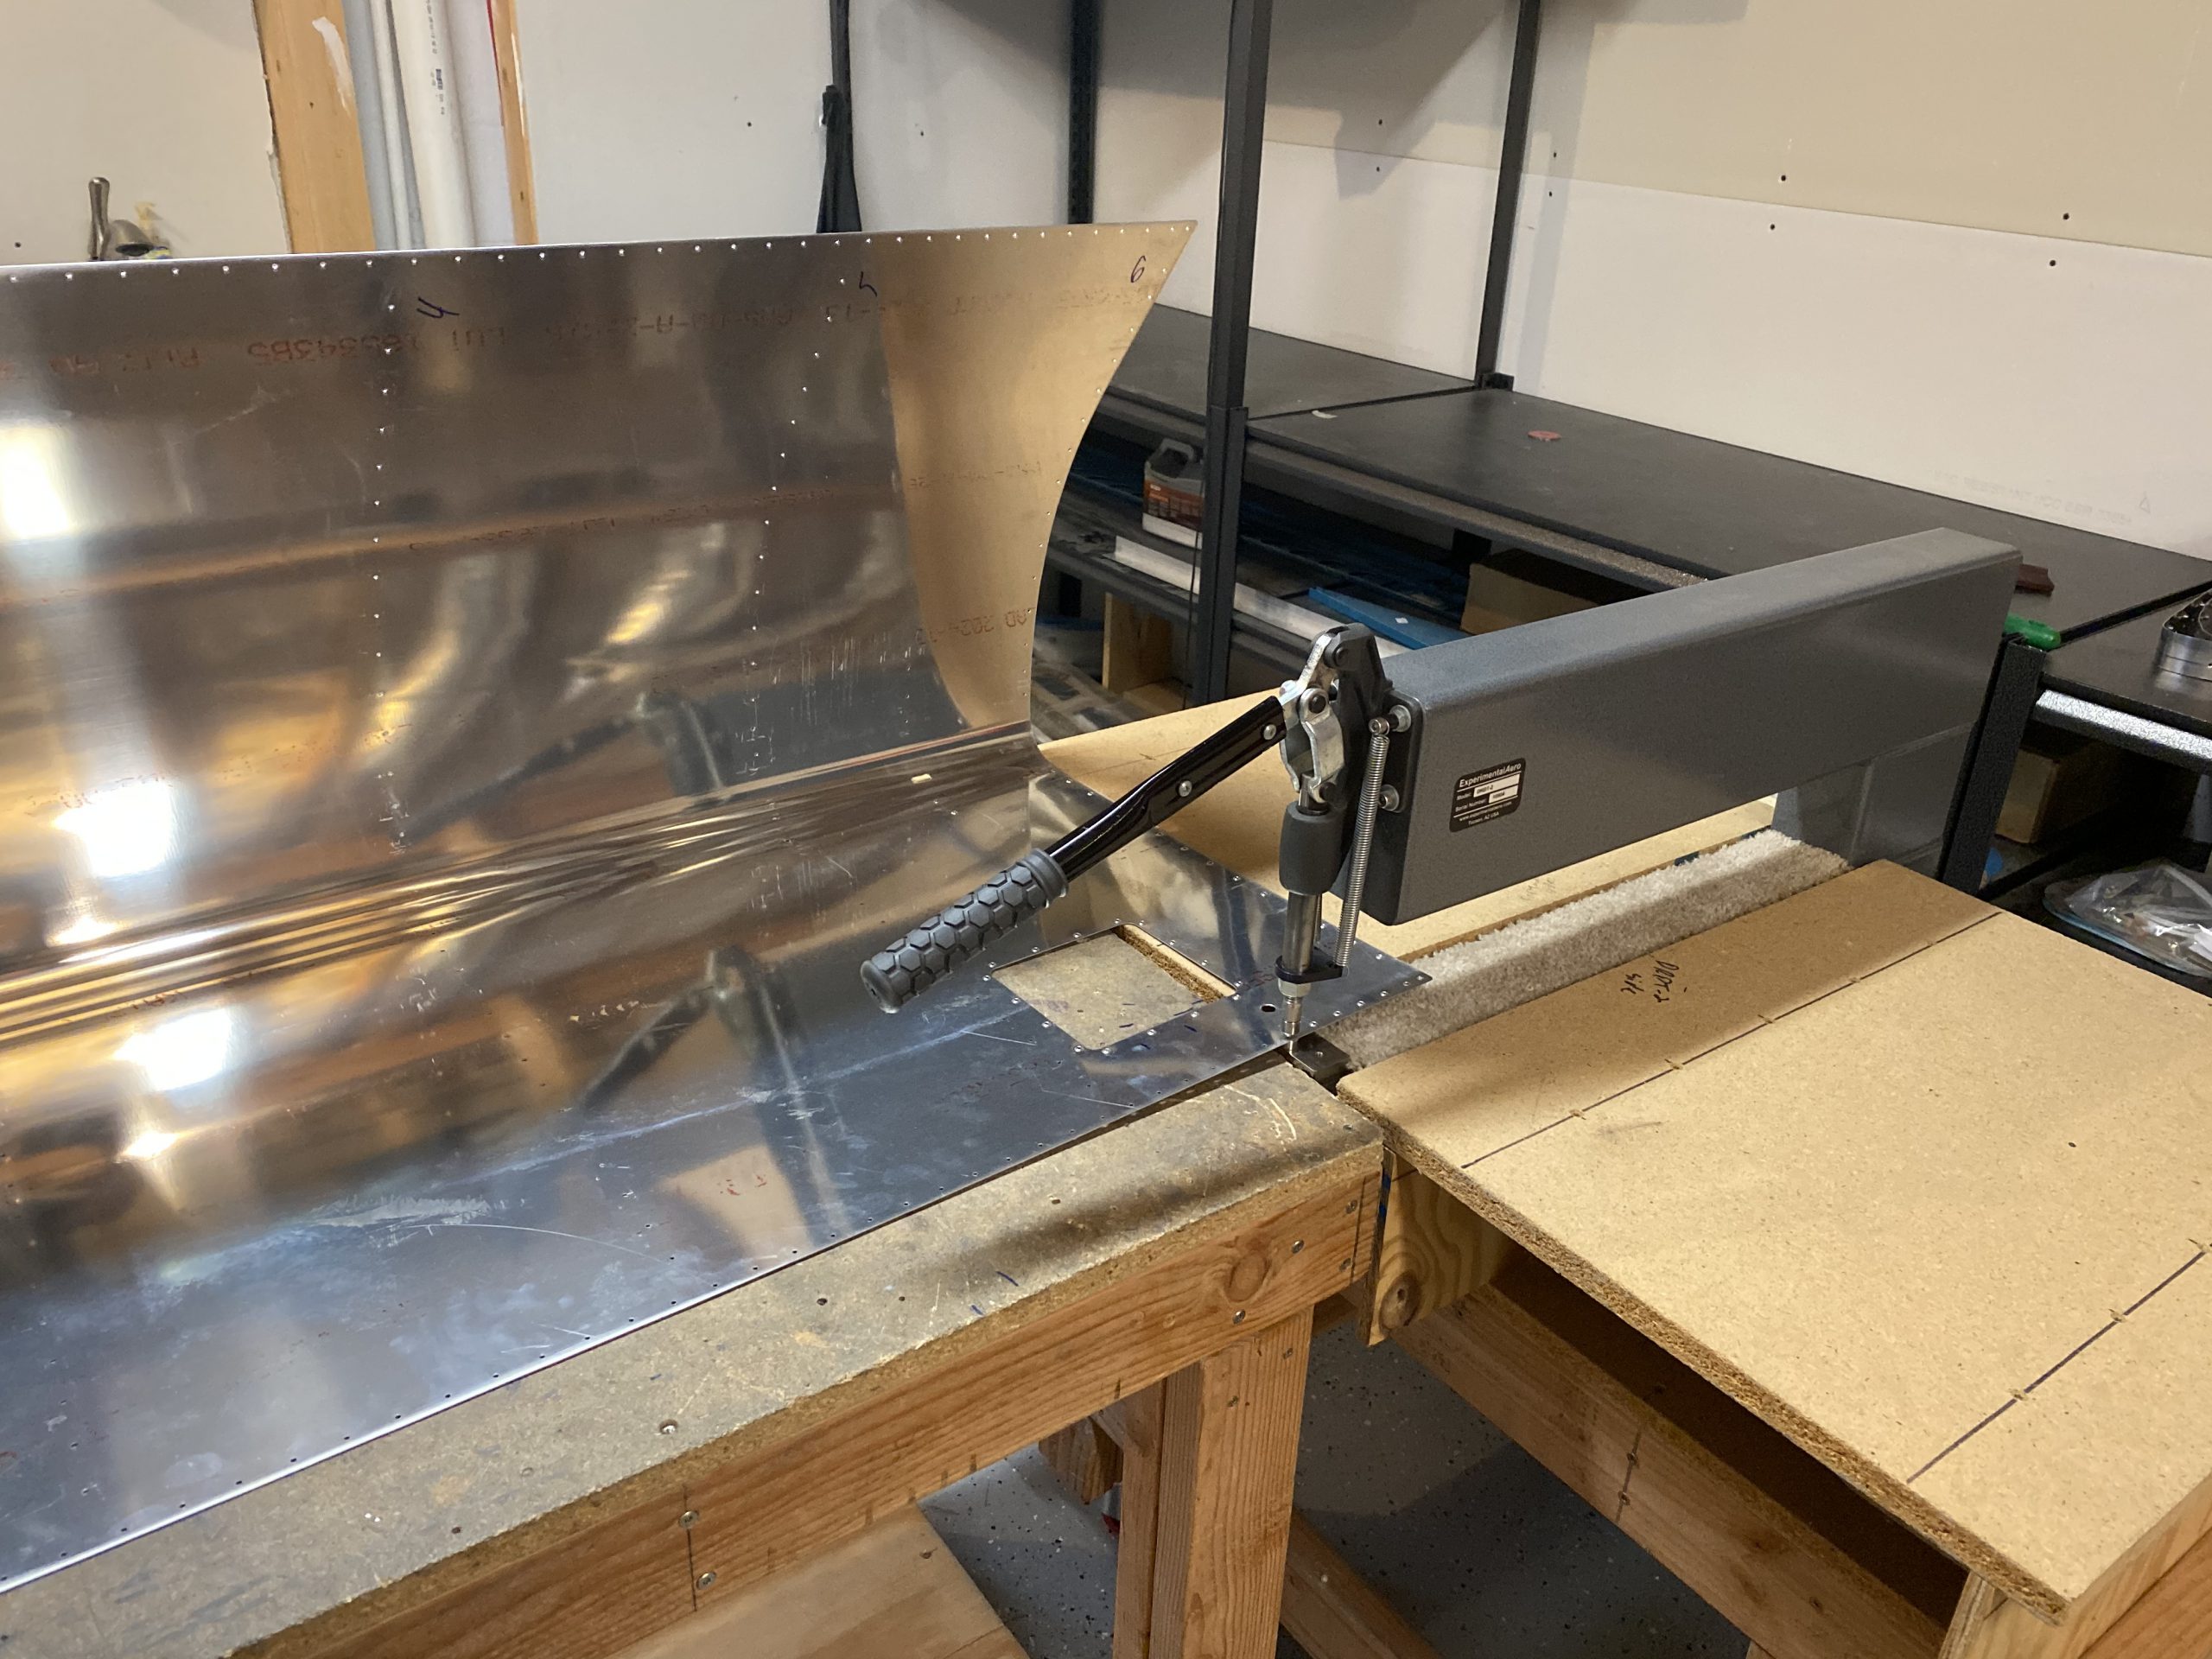
https://jahuss.com/7akxz67tei Thats it for tonight. Like I mentioned earlier in the post, I spent a good bit of time reading ahead in the plans, looking at the drawings and looking at my wings to get a picture in my mind whats next. Of course, I still need to deburr and dimple the right leading edge parts, but that wont take but a couple hours of work. Then I’ll prime all the leading edge parts in one session.
https://estherbarniol.com/faxxozxfollow link Google Photos Link: https://photos.app.goo.gl/ZfwU2ziwnDAEDrKYA
https://www.starc.org/uncategorized/w9kfr20awatch Hours Worked: 1.75
enter site