


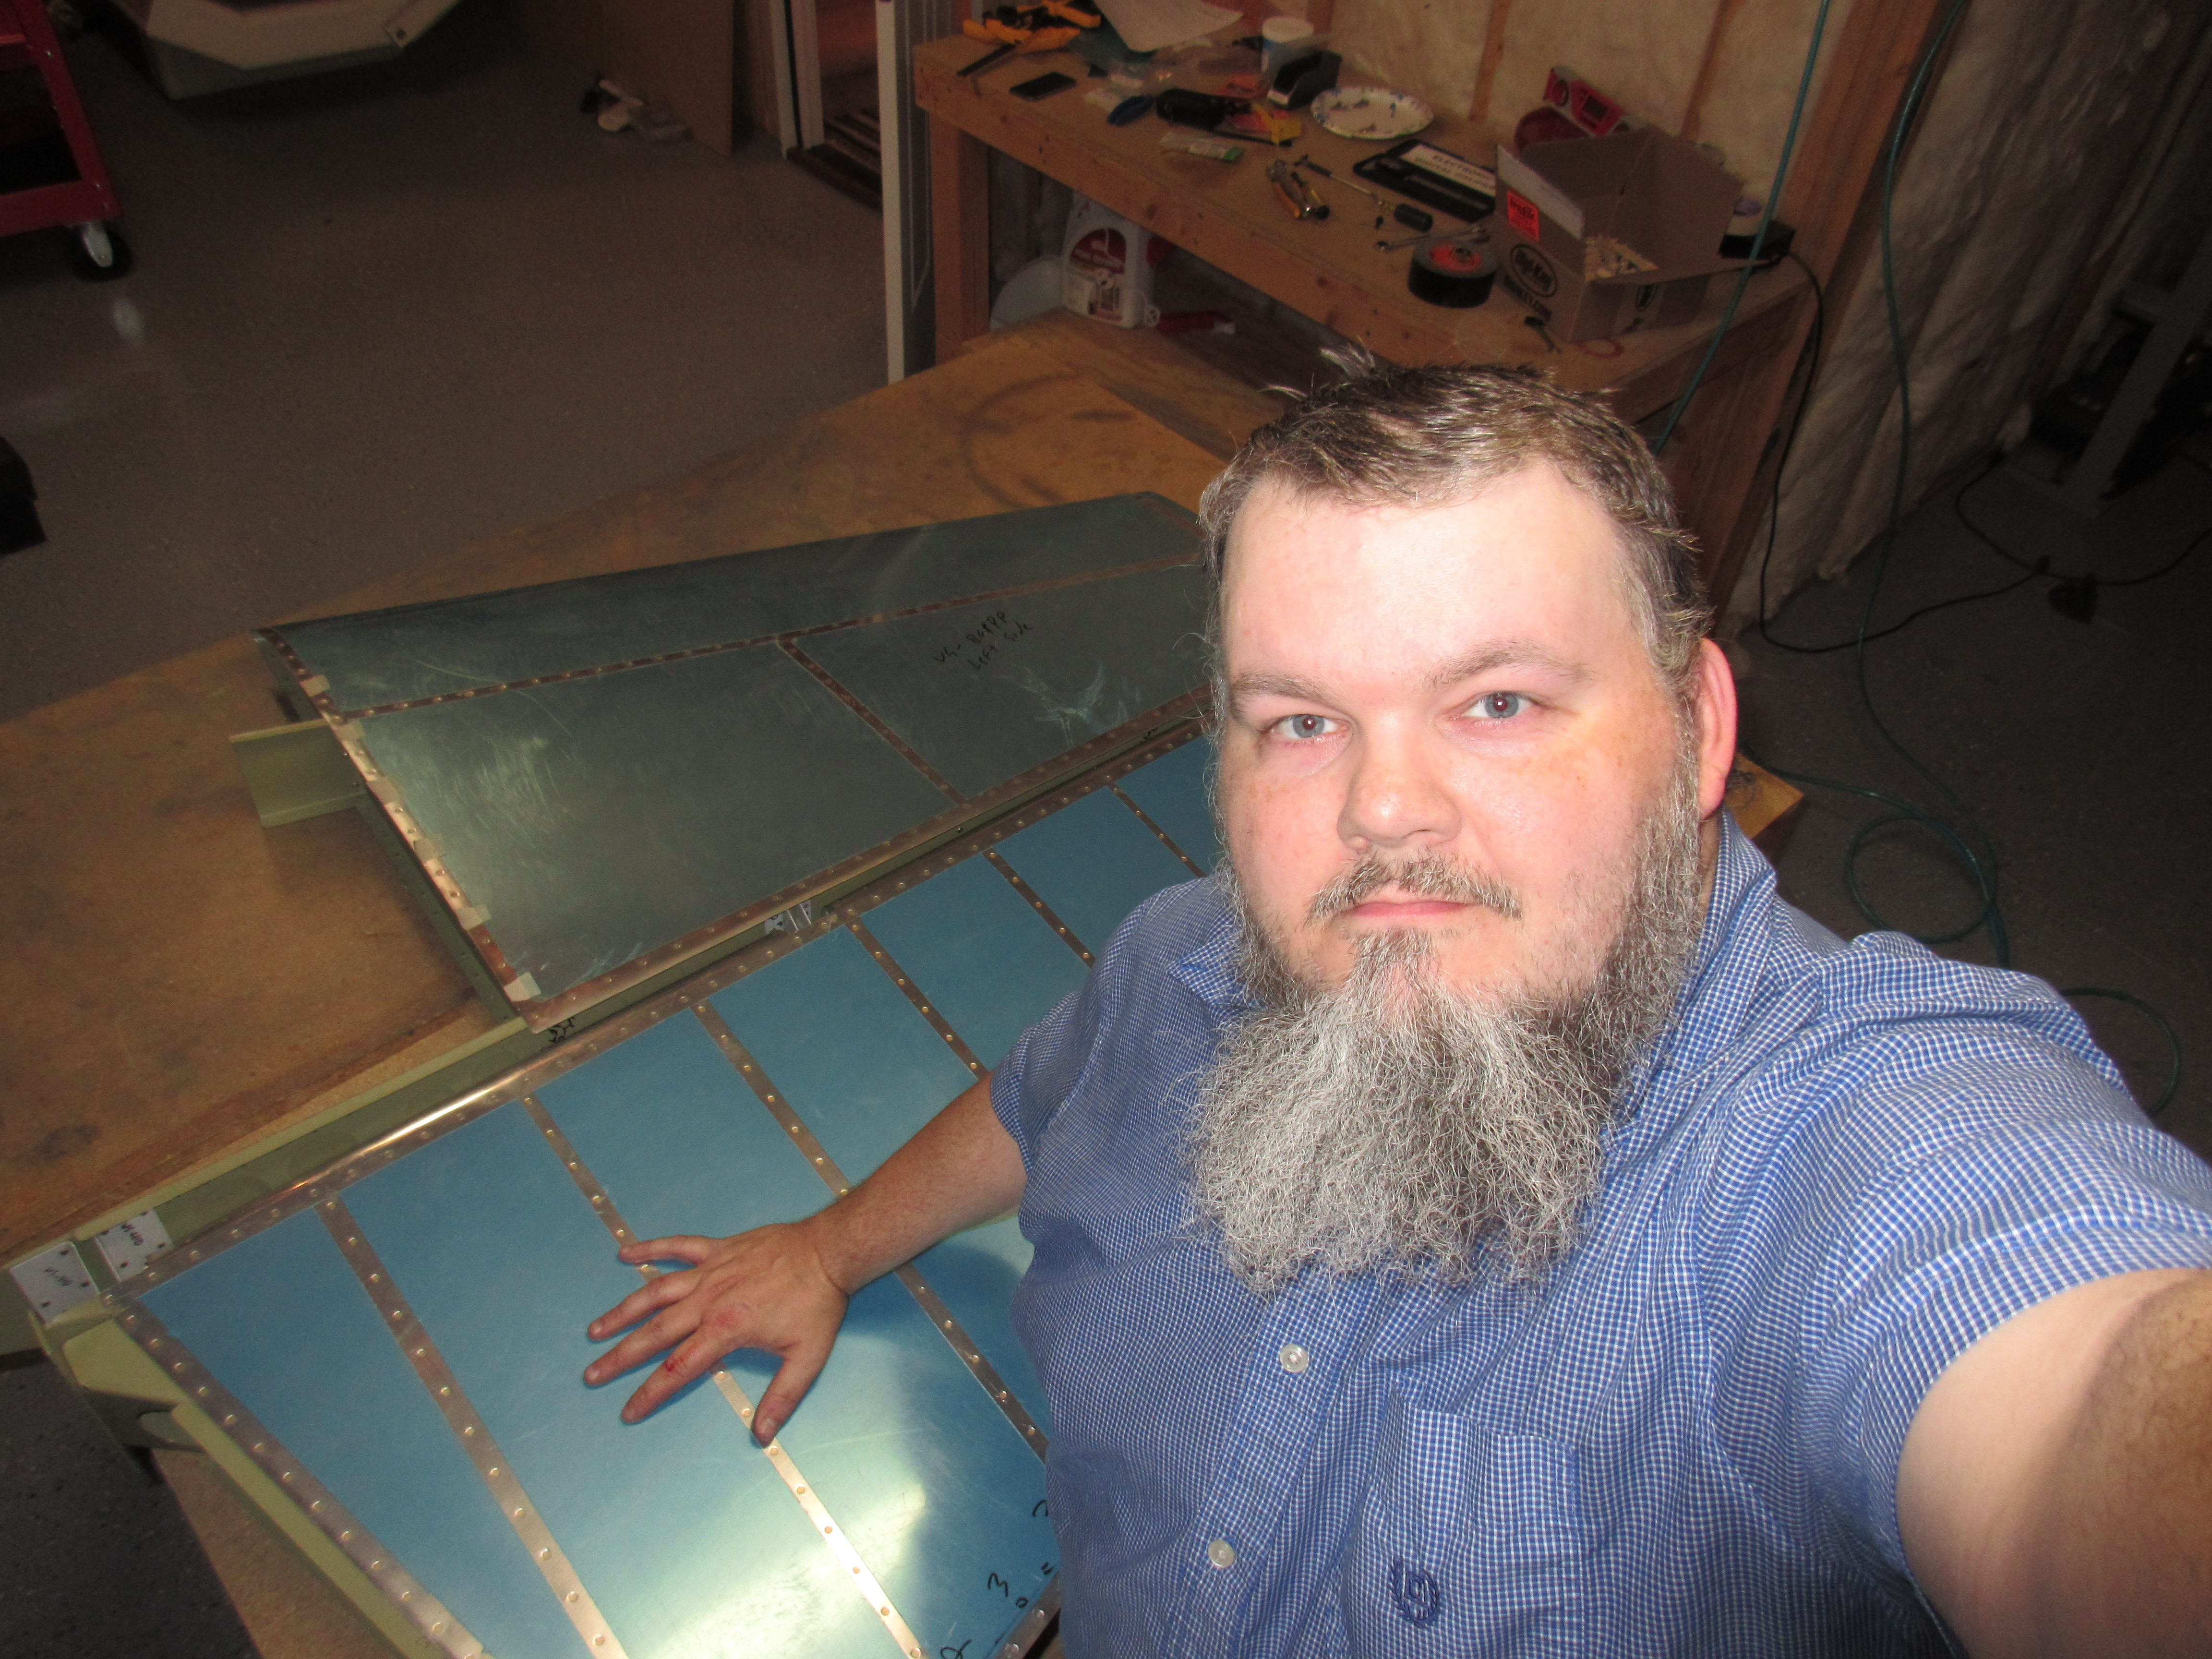
source This is pretty much the last step on the empennage kit! It’s time to double check all the measurements and alignments and drill the last holes on the tail….the elevator horns. I have read horror stories of people not getting this done correctly, and having to have the horns welded up and re-drilled. So, I approached this with caution. Before mounting the elevators, I measured the eye bolts one last time with my dial calipers to make absolute certain that they were all to plan specs. Then I started off by mounting both elevators and measuring them yet again through its entire travel. I was getting well within the limits of Max up/down travel so I decided its time to drill.
Buy Prednisone Online Without Prescription 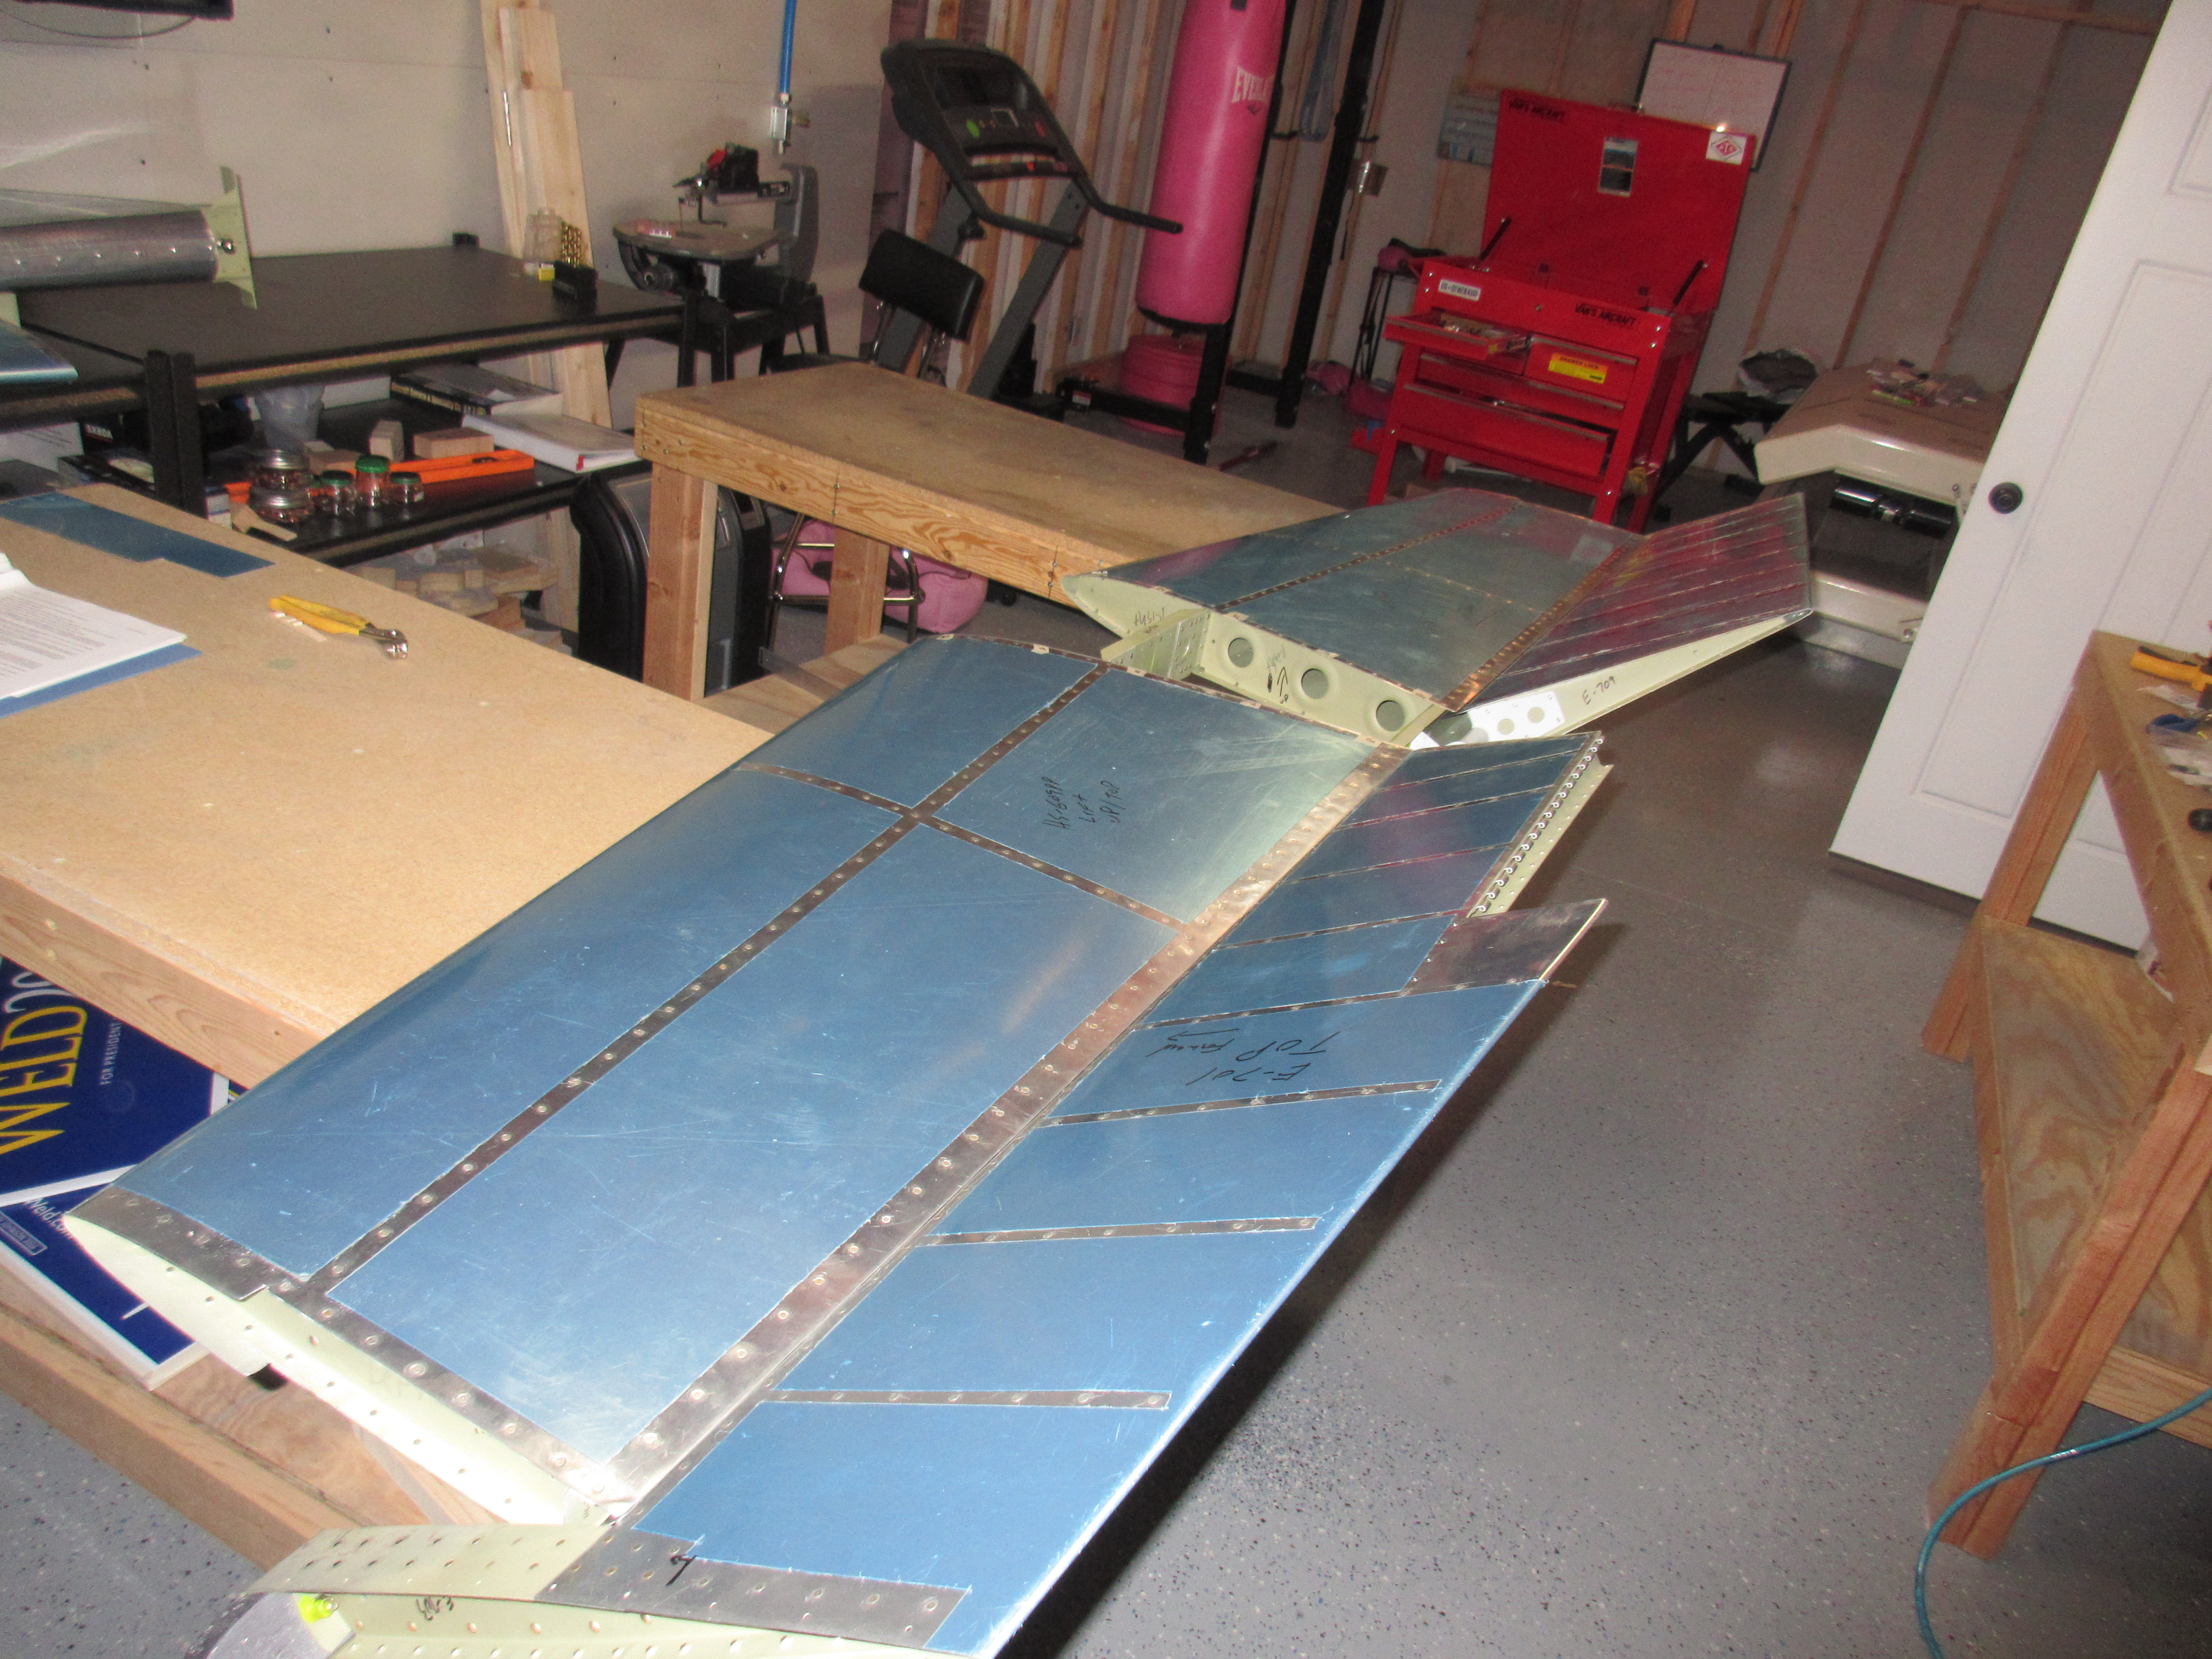
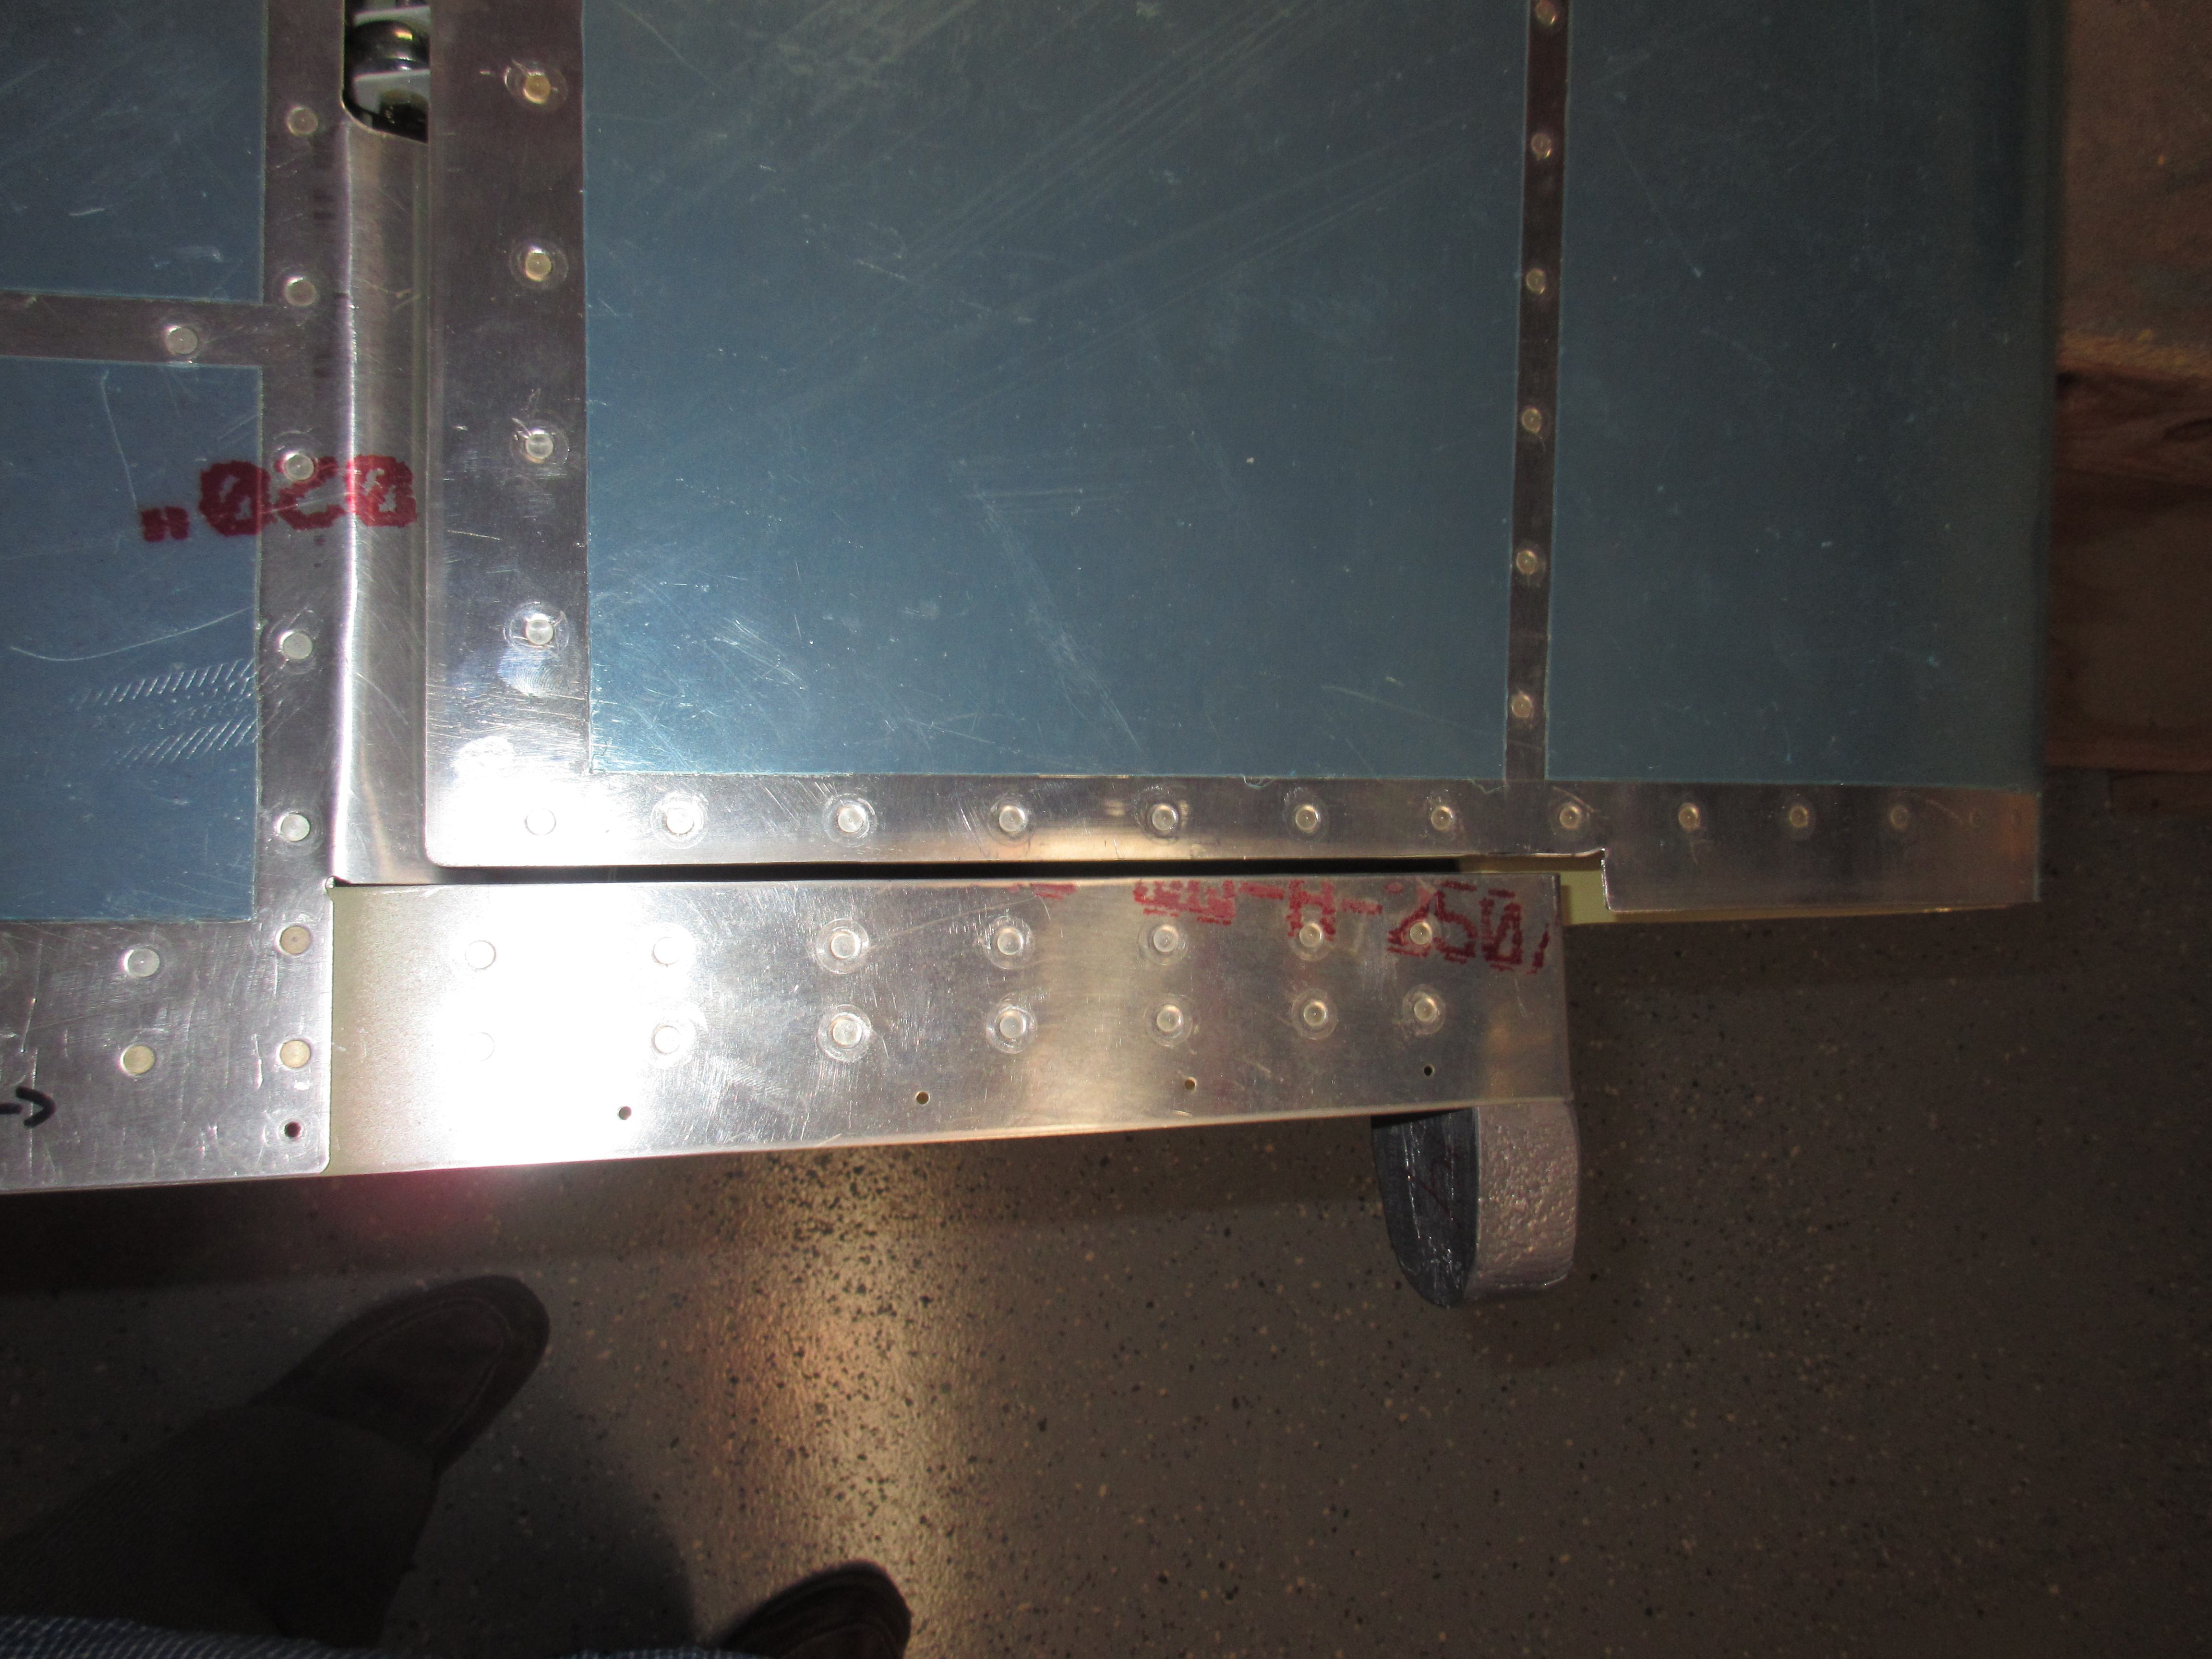
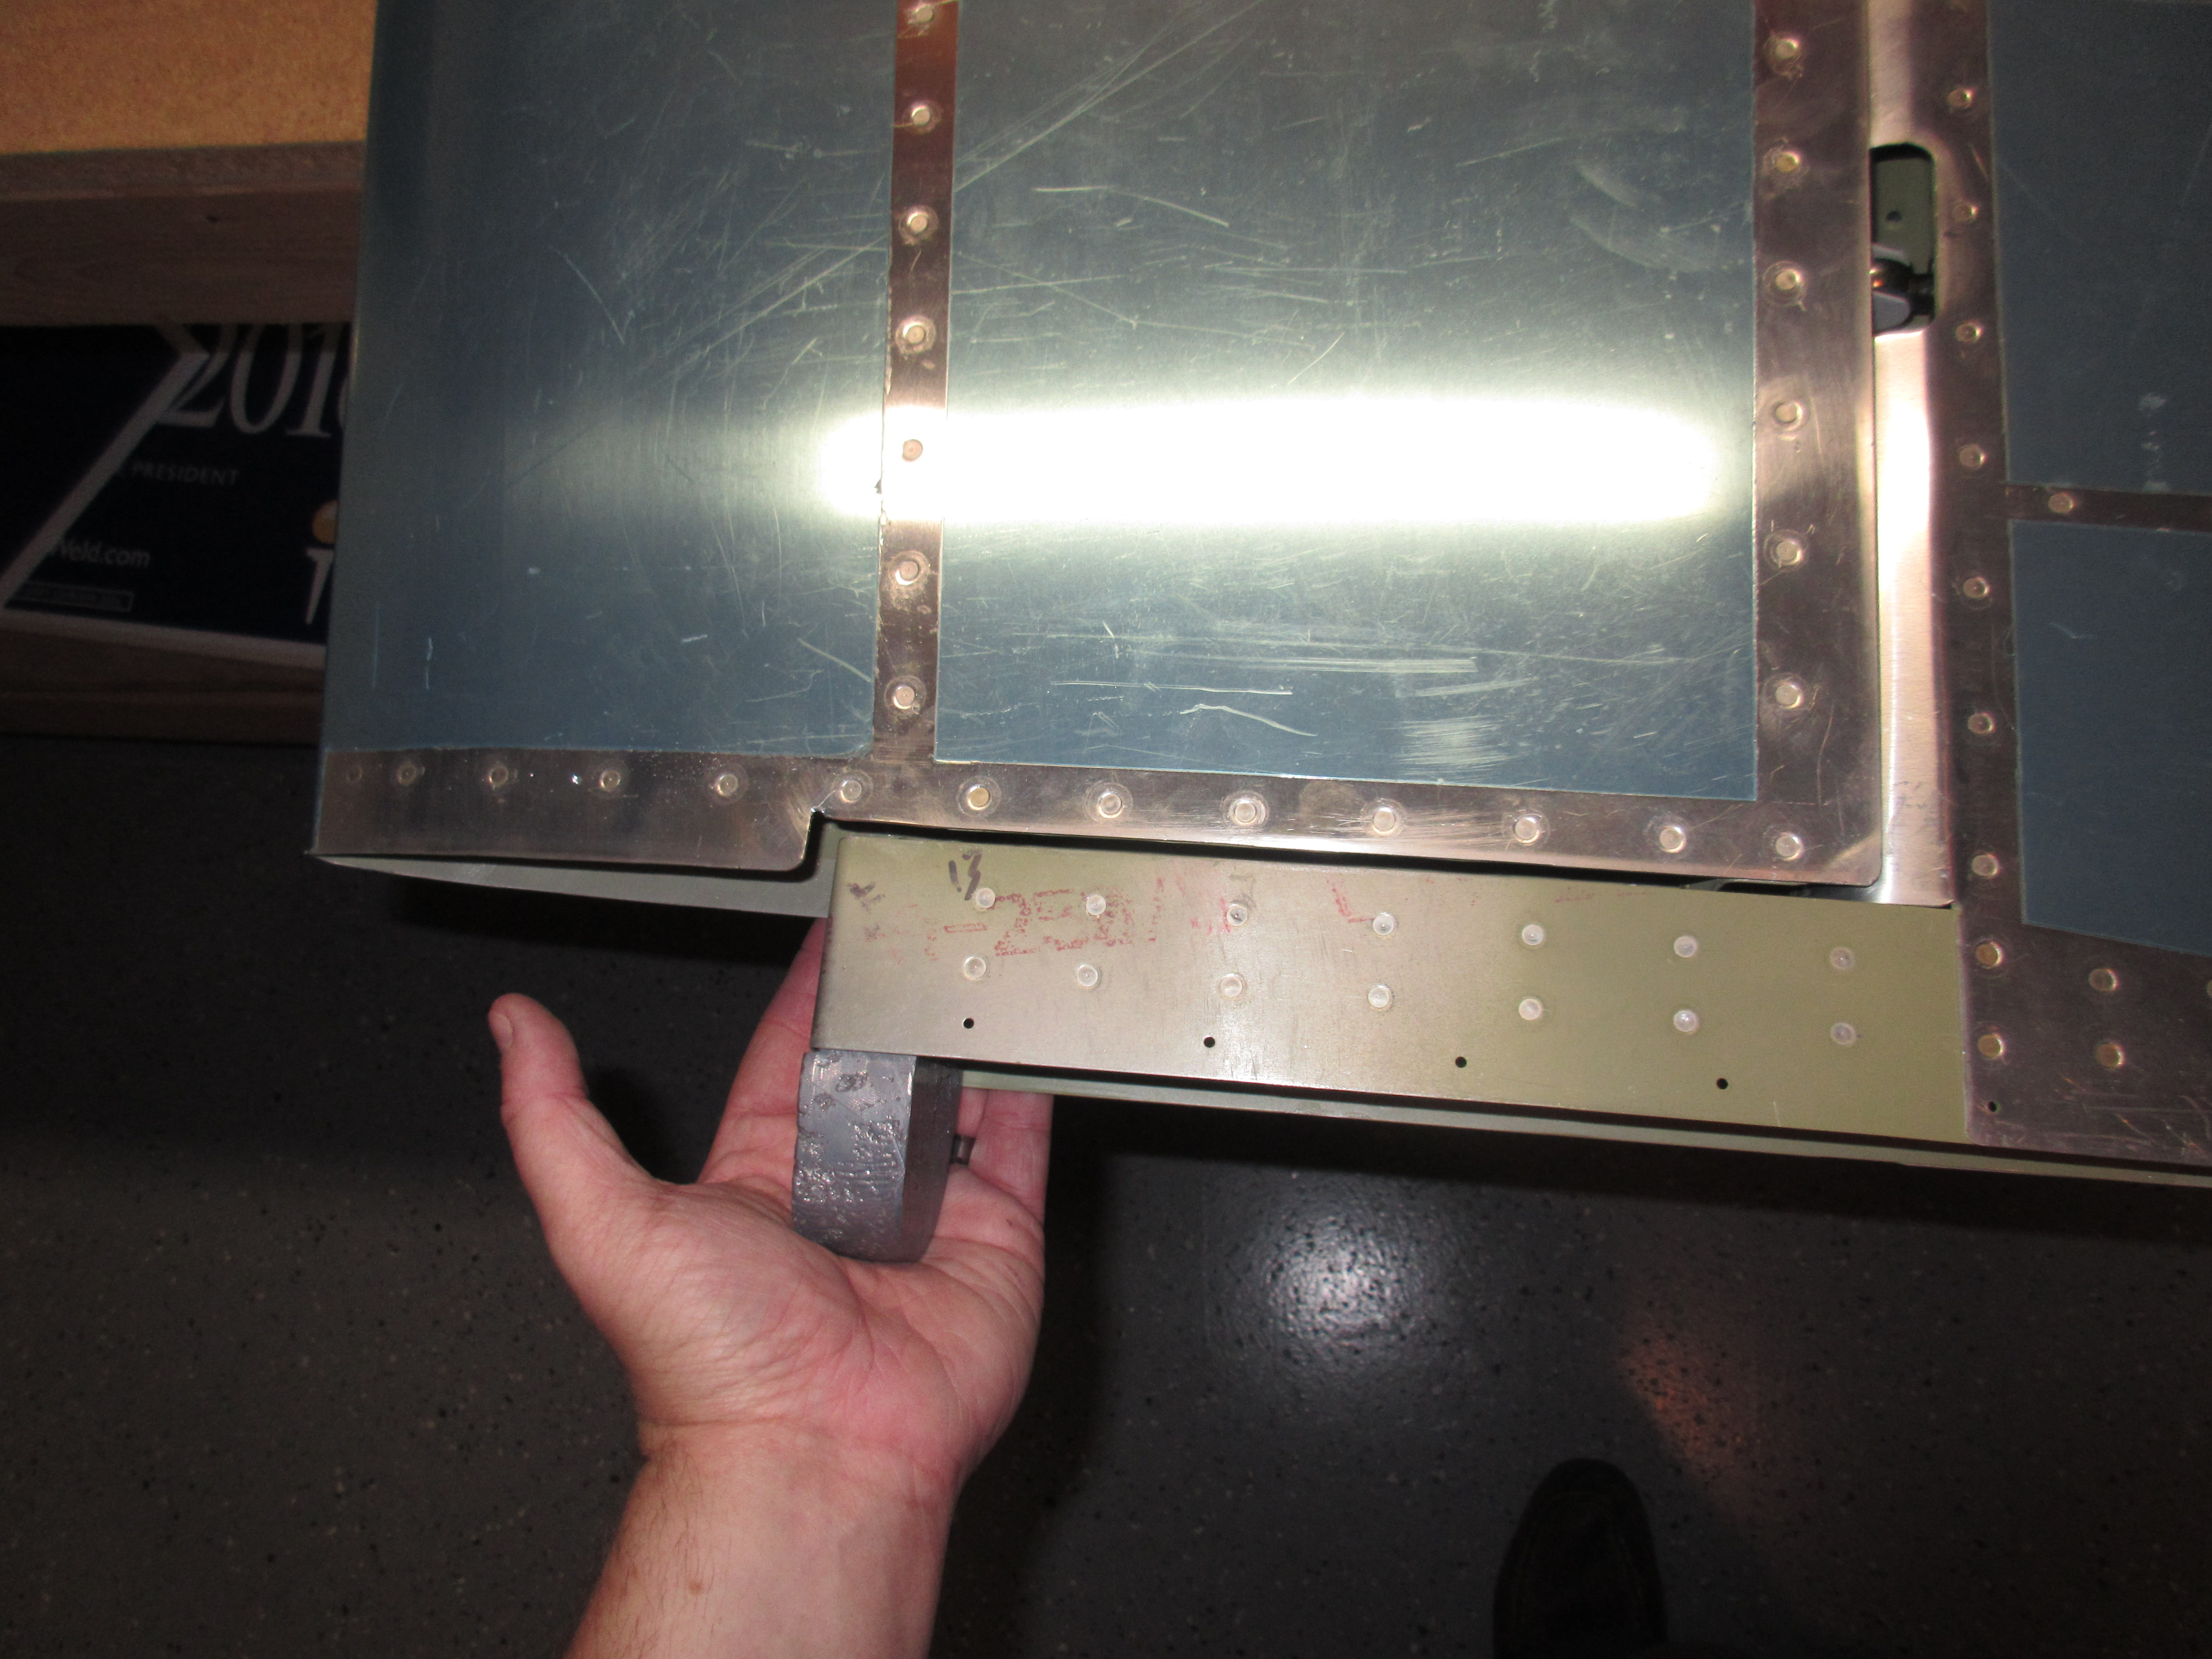
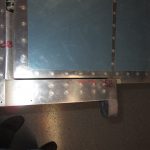
Zolpidem 5Mg Order Online I started off my removing the right elevator so I could drill the horn for the left. Then, per the plans, I clamped the elevator so that its in trail with the chord line of the horizontal stabilizer. We do this by clamping the elevator counterbalance skin to the horizontal stab skin using some scrap sheet aluminum and a few clamps.
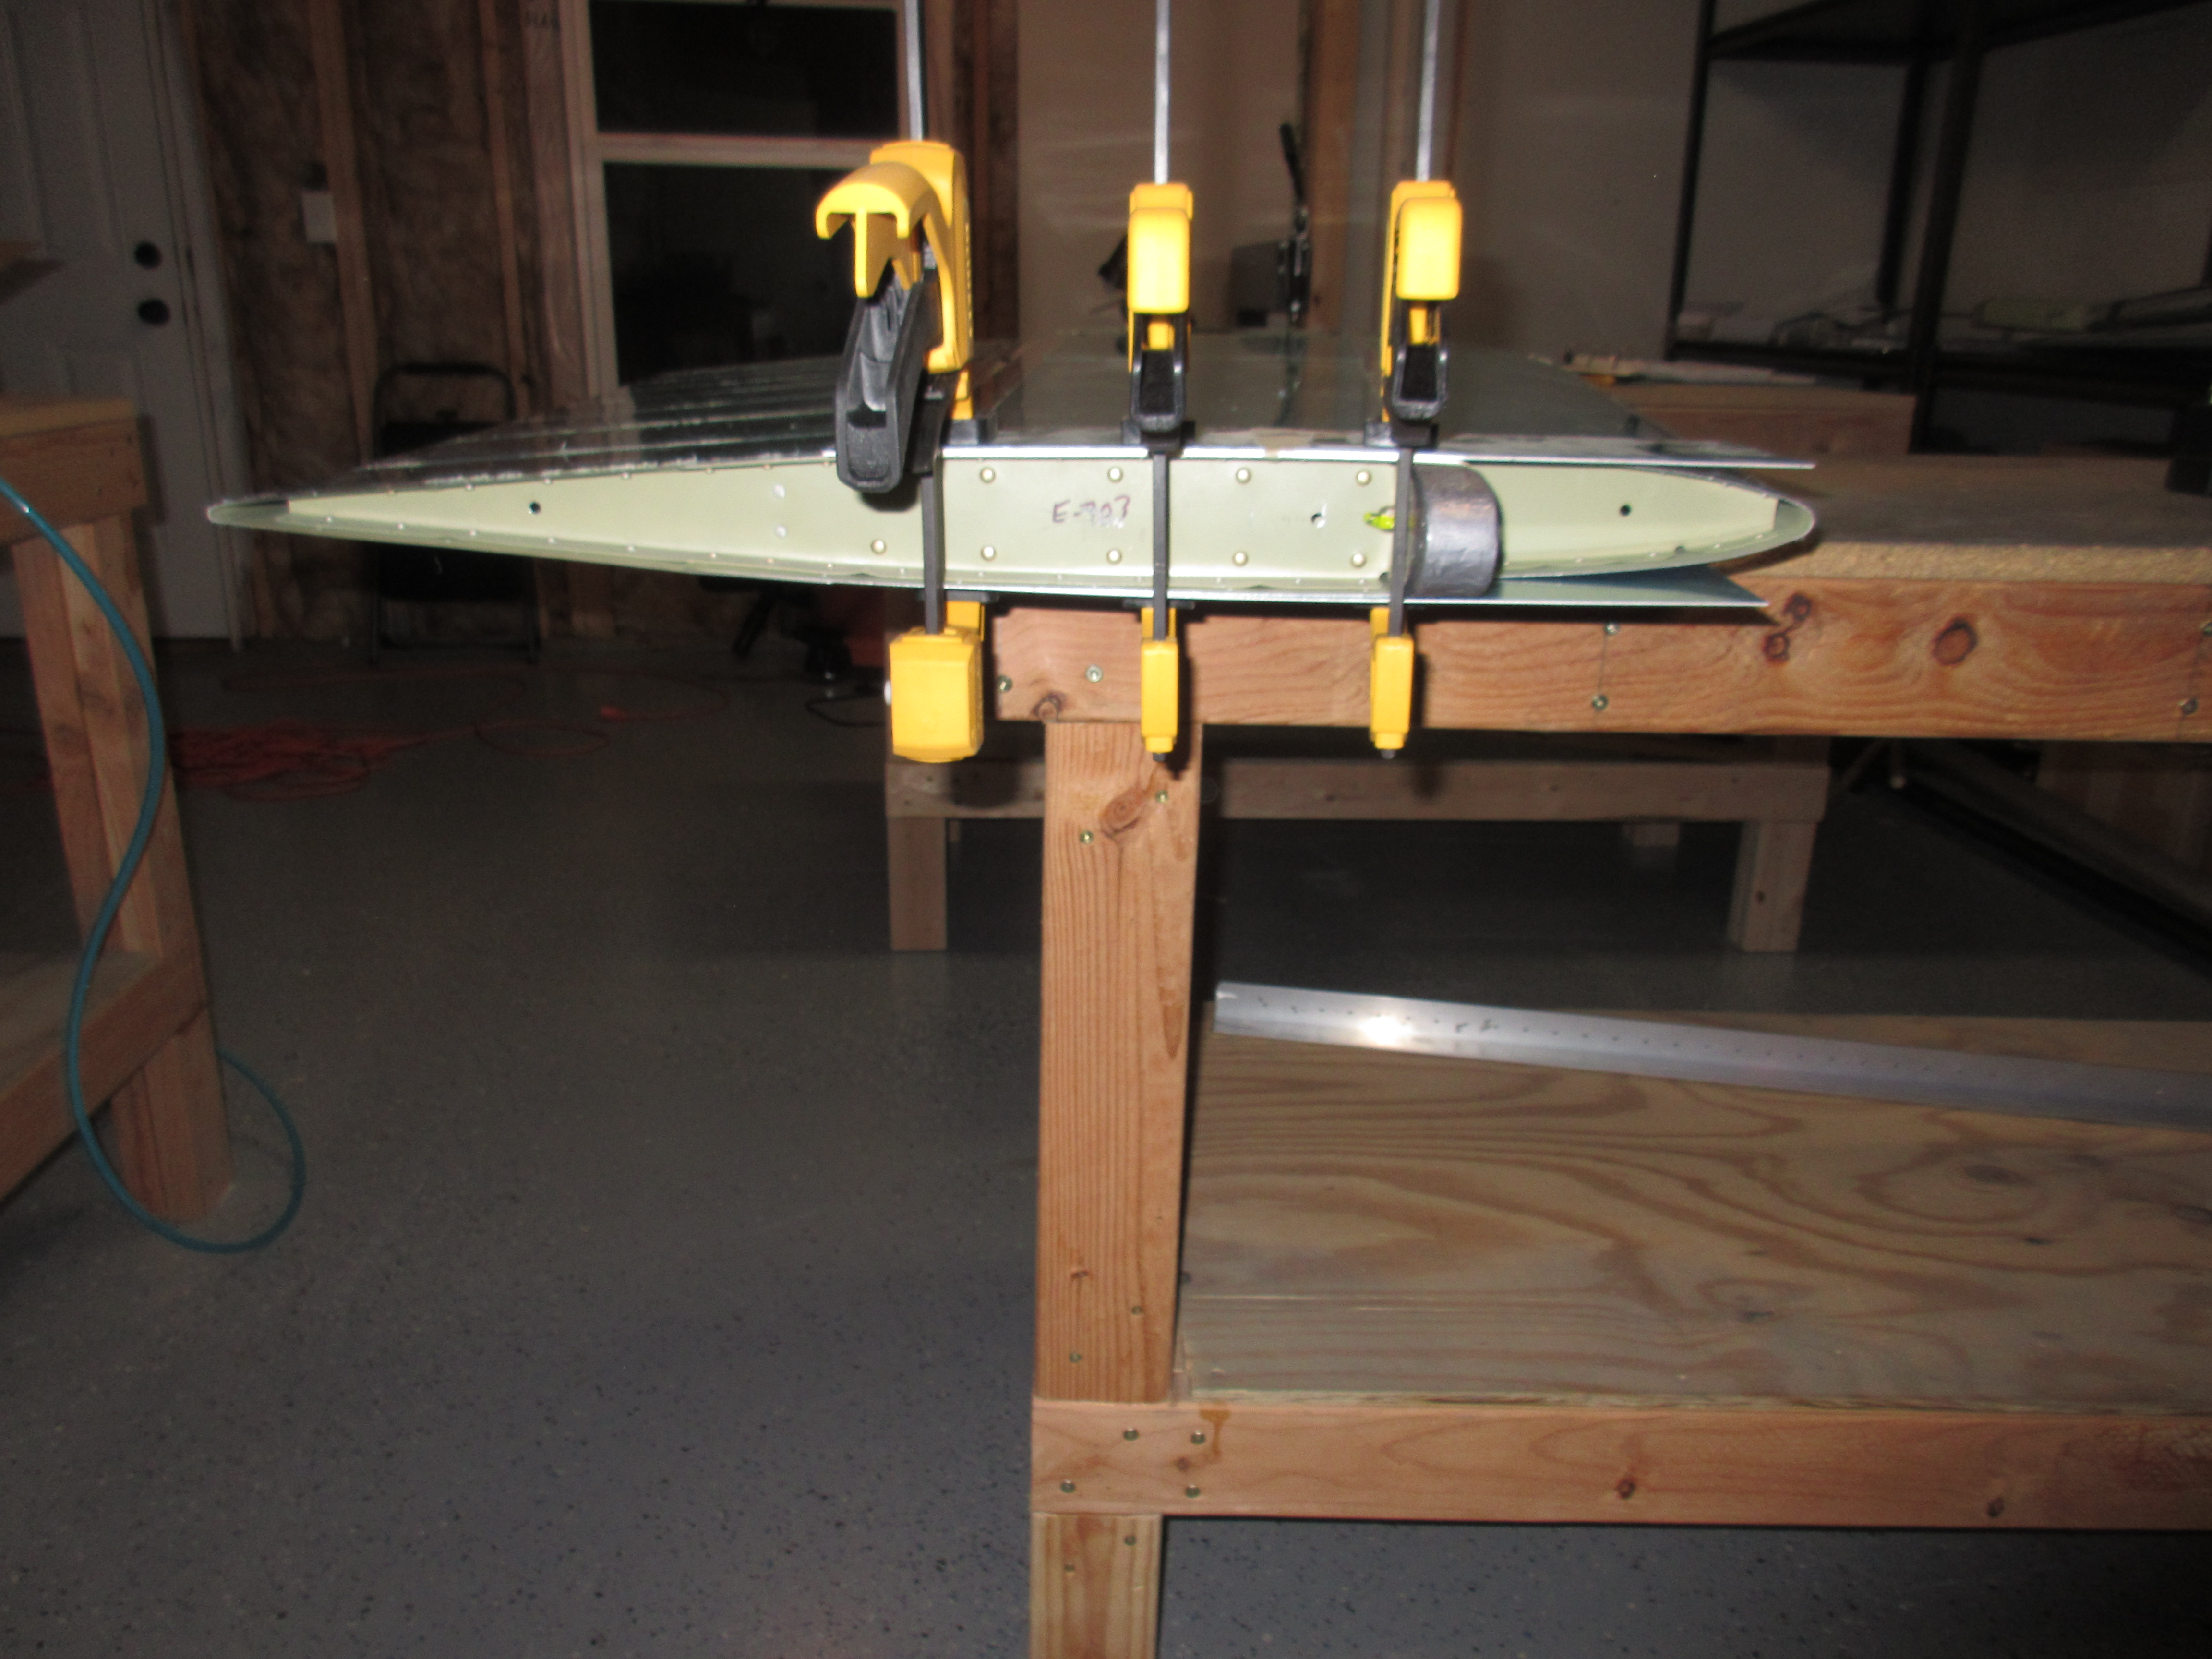
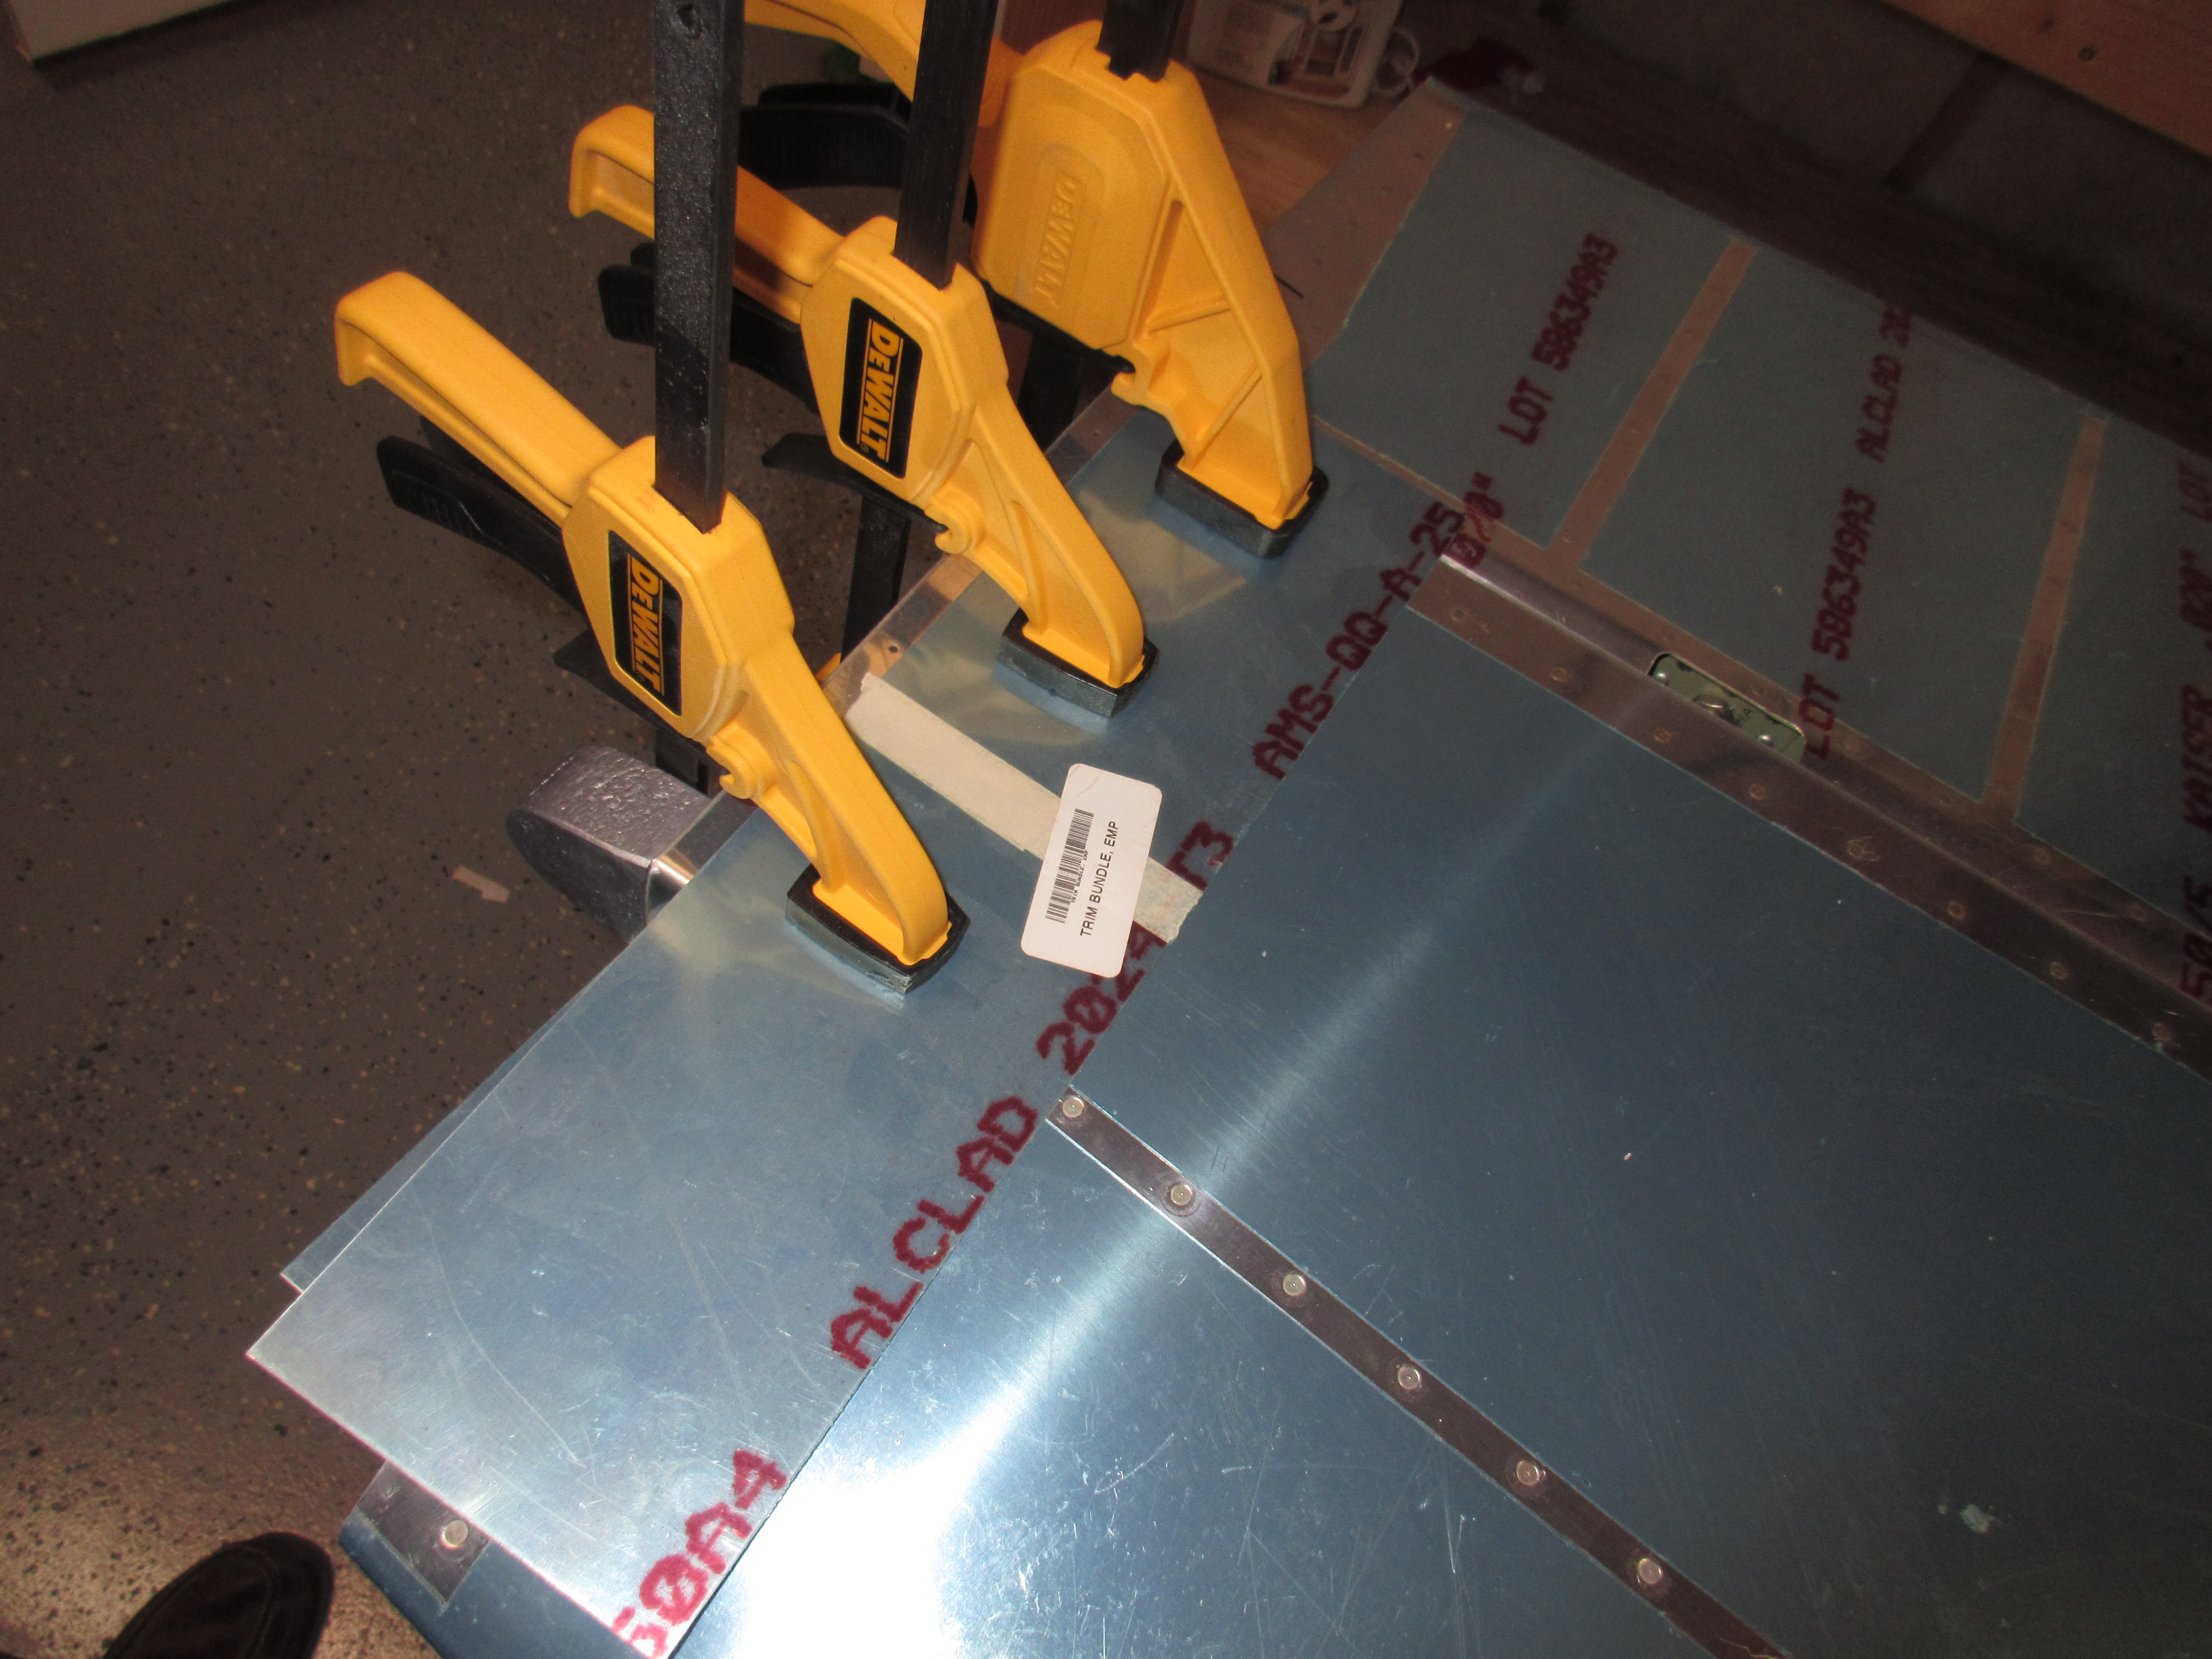
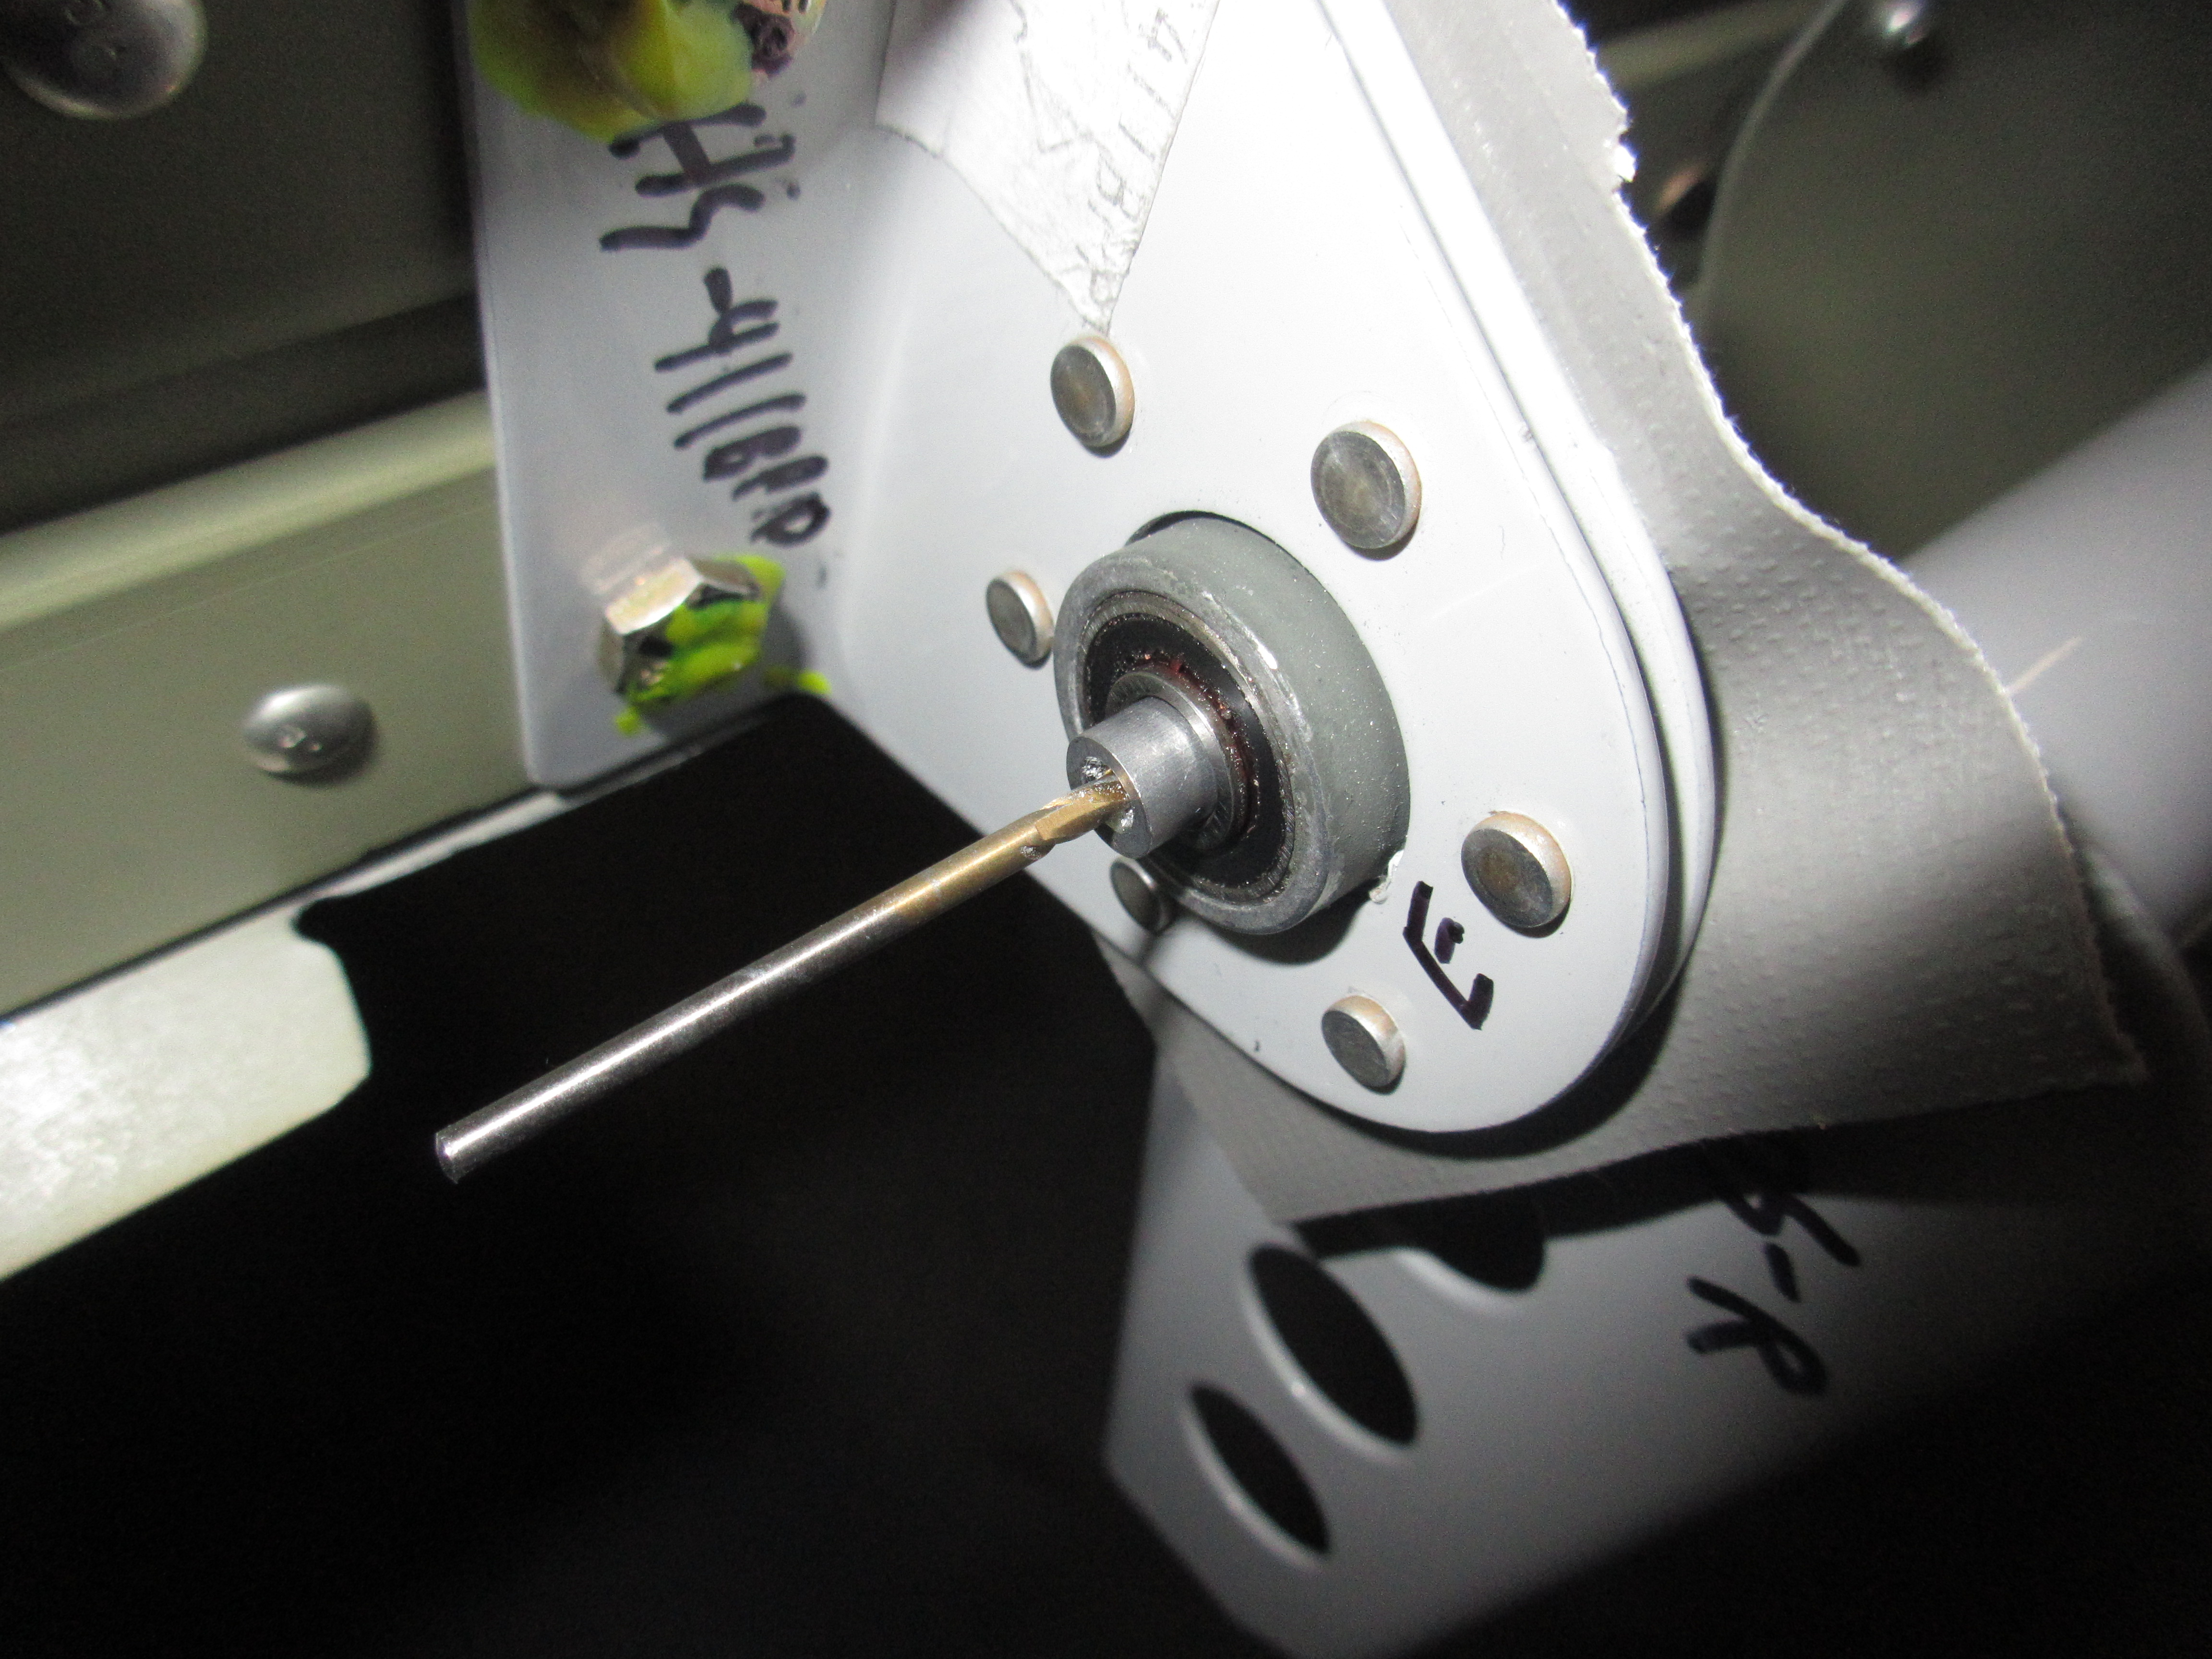
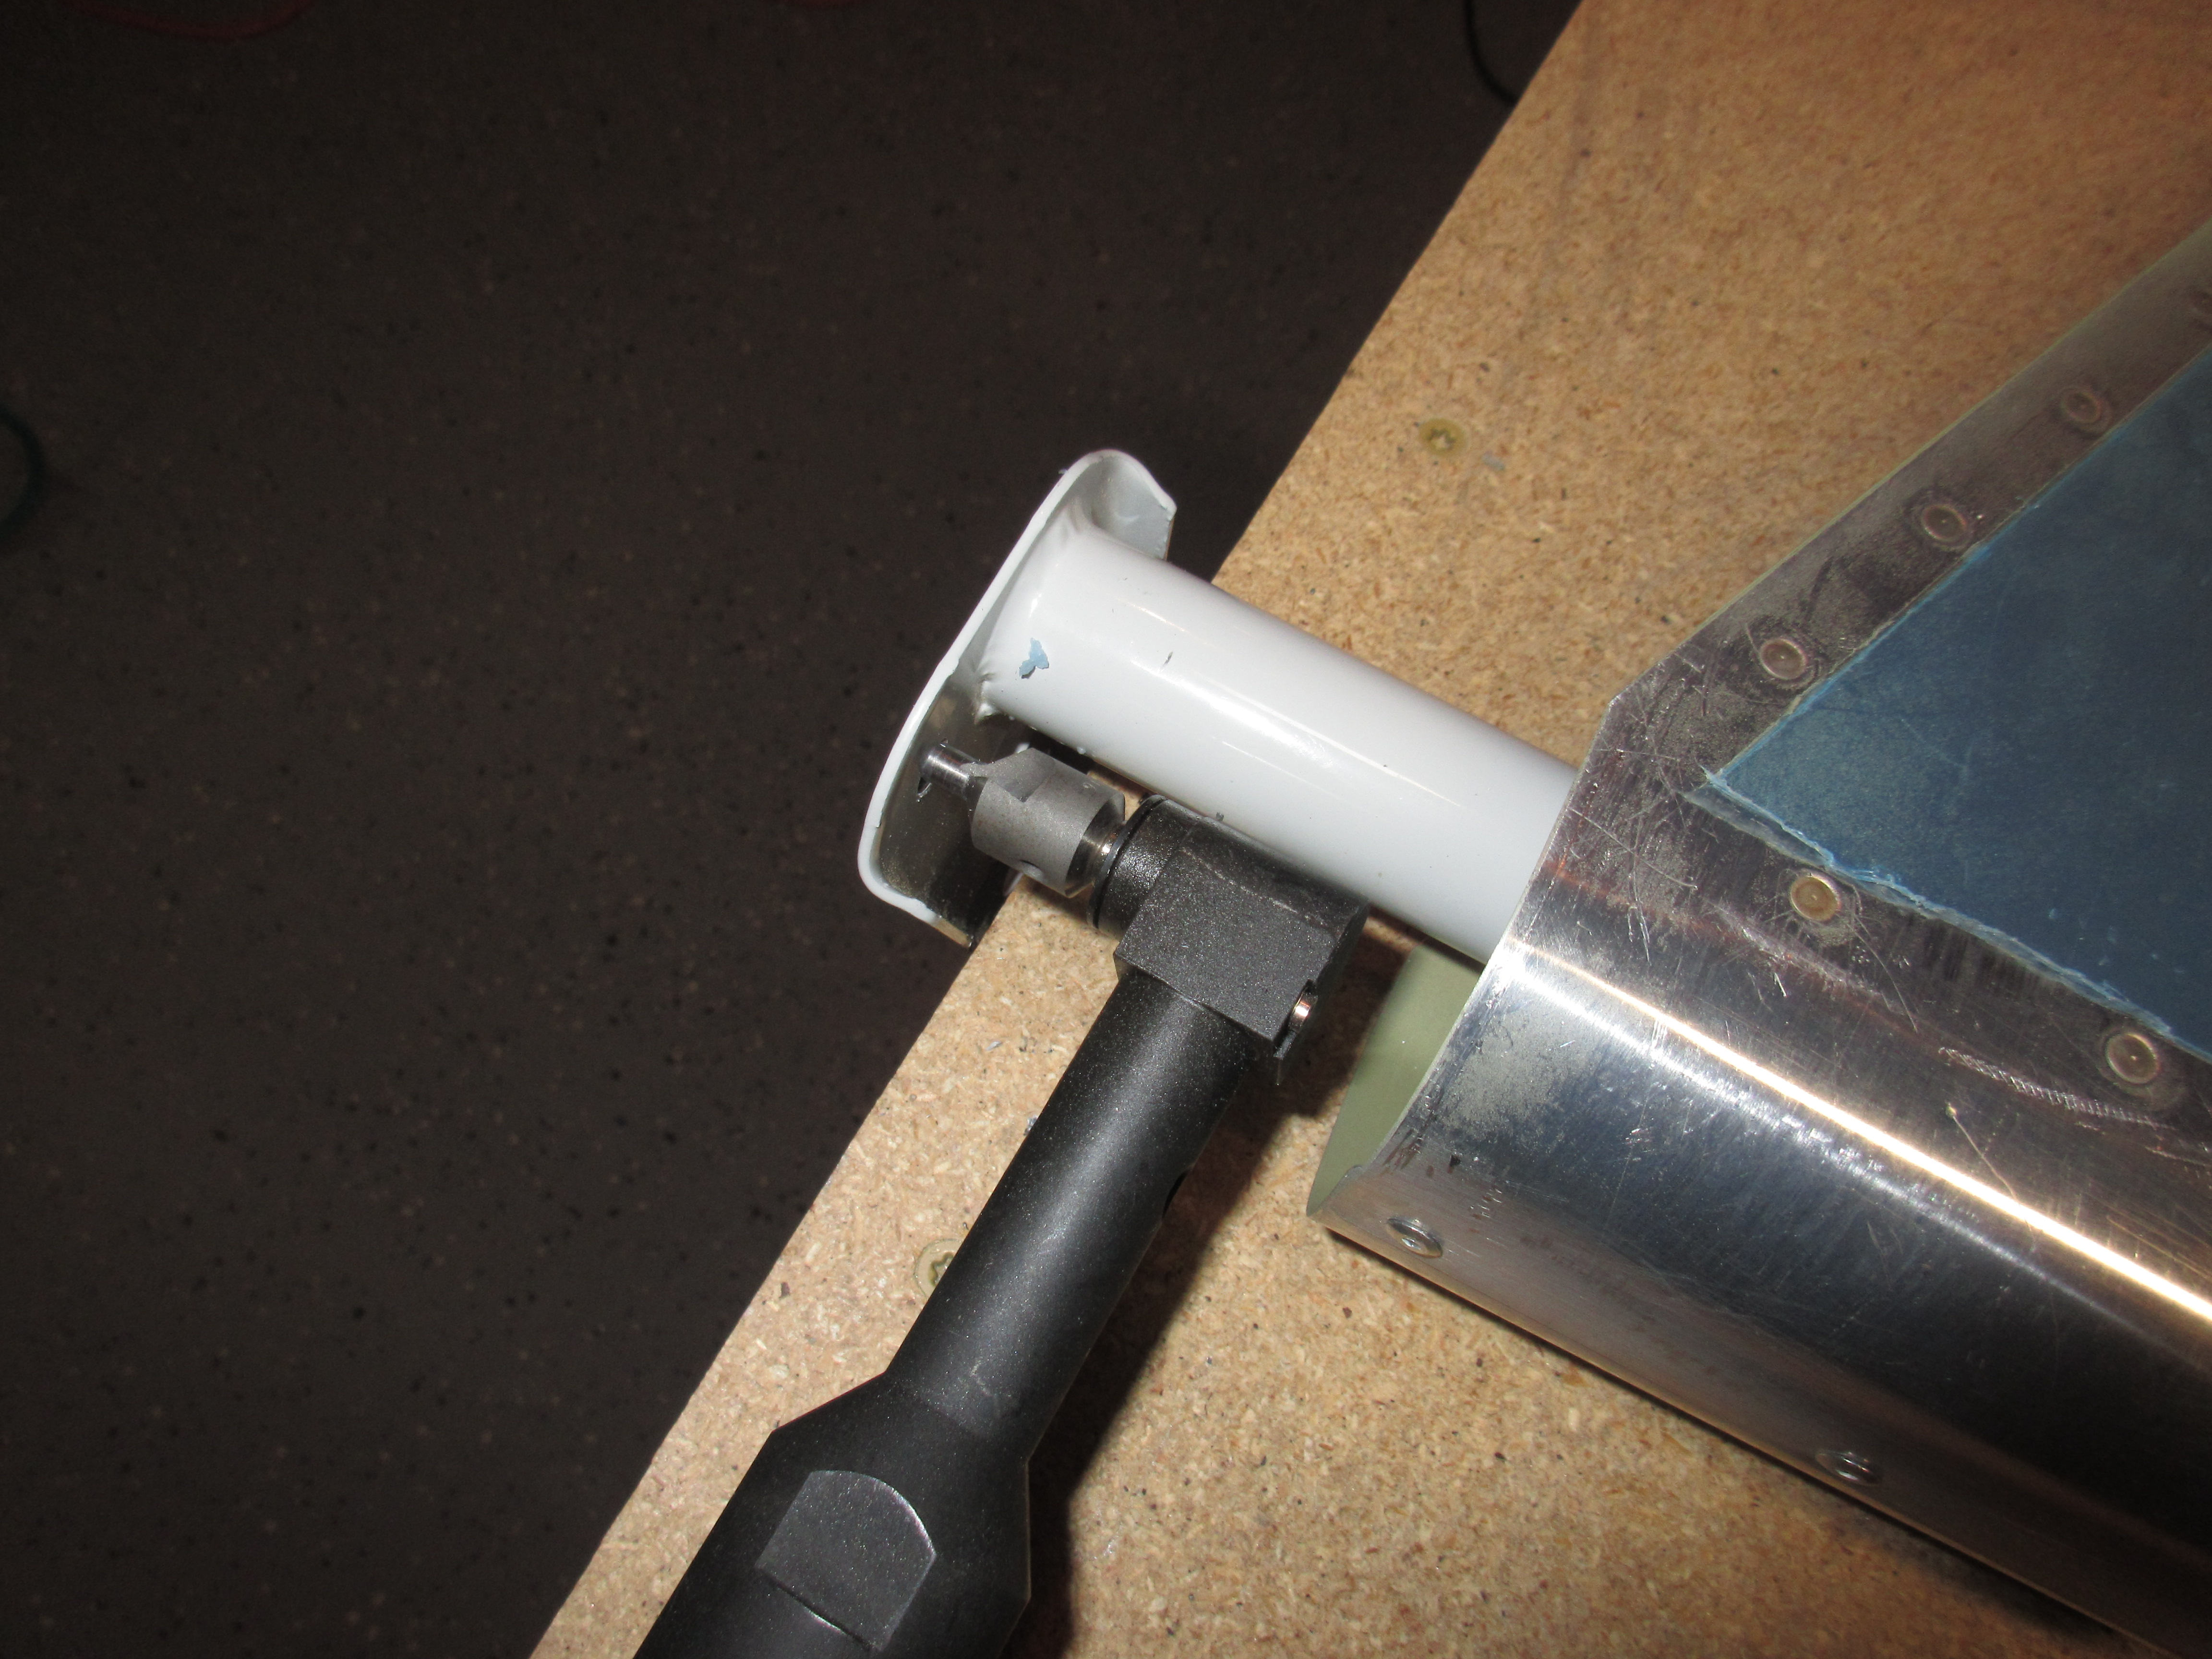
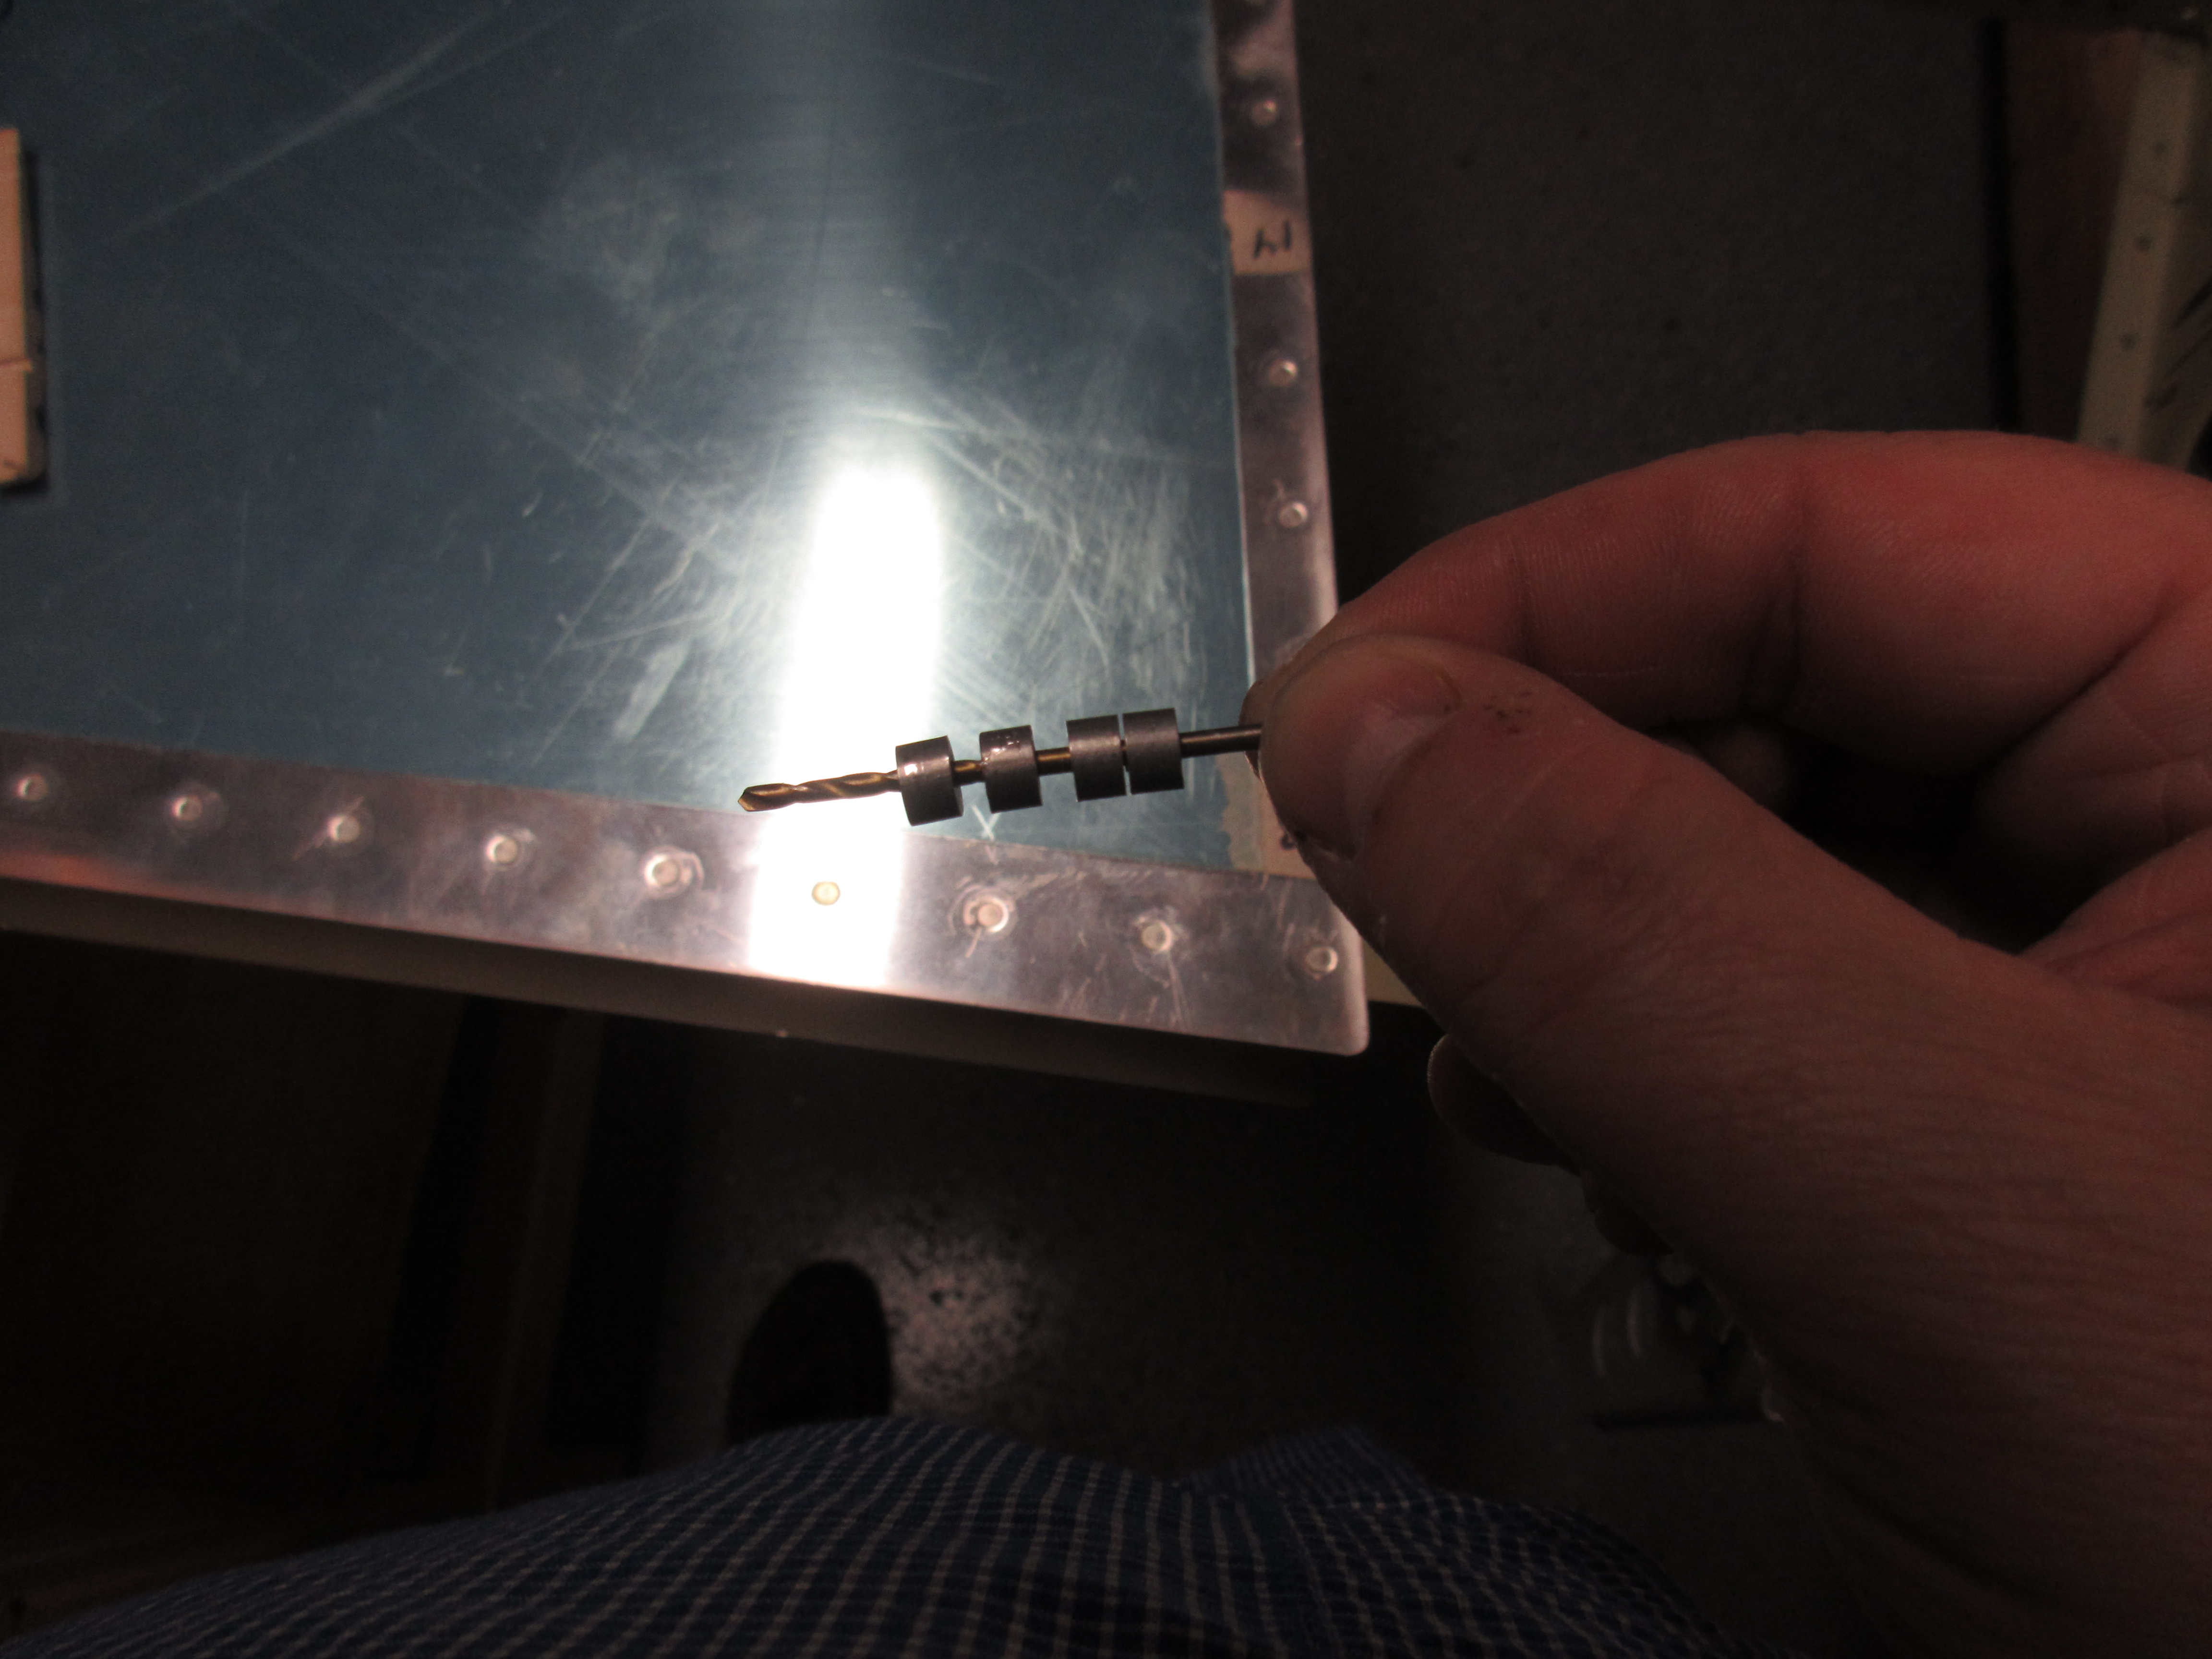
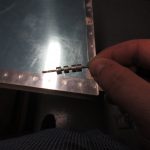
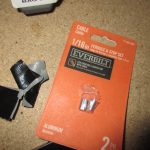
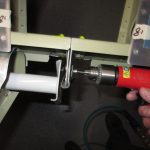
enter Then I did a real good eye ball check to make sure the horn was going to be lined up, and I wouldn’t have any clearance issues after it was drilled. This is something I had seen crop up on other builders, and some of the had issues getting the bolt head and nut to clear the horn assembly. Luckily everything looked good, so I decided to drill. Van’s tells us to use a drill bushing in the VA-146 bearing assembly to help align the hole on the horn. I had picked up from some other builders that a 1/16″ ferrule and collet seem to work really great as a drill bushing and they are cheap at Lowes / Home Depot. So, I visited the aviation section of my local Home Depot and picked up a few packs of these things:
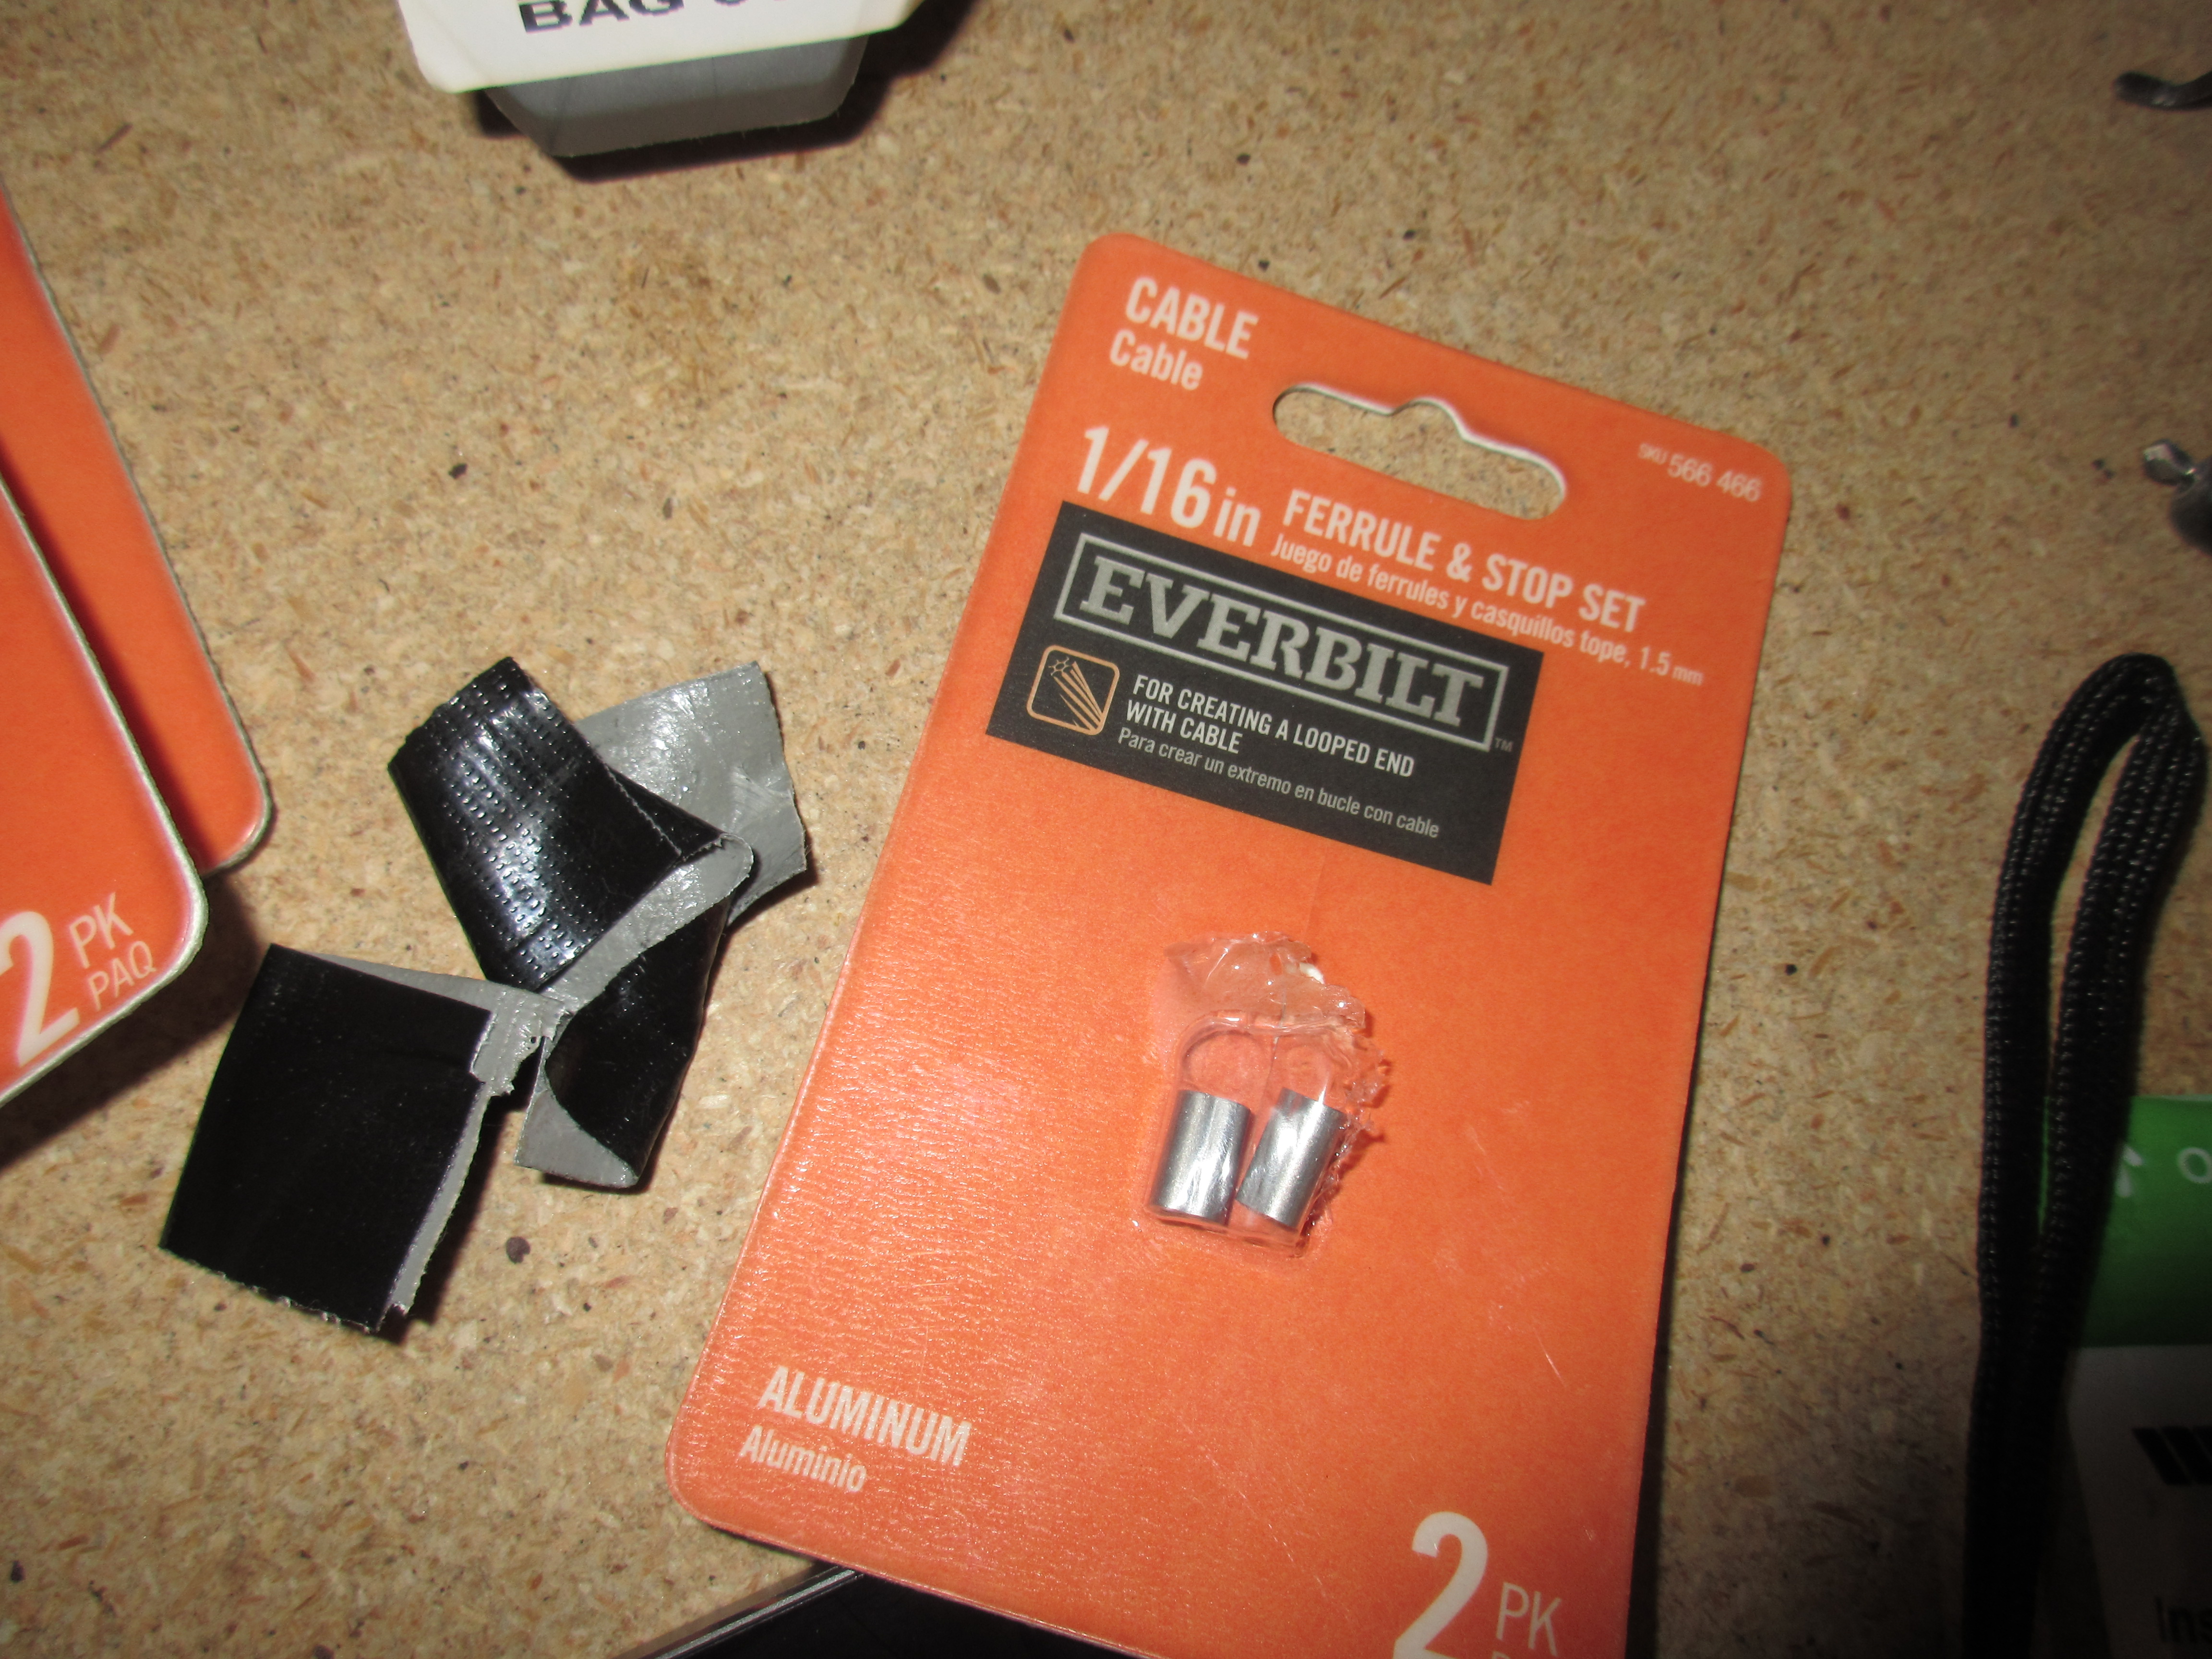
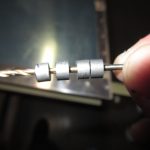
Zolpidem Online Order The little collets are exactly 1/4 outside diamater and they fit perfectly in the bearing! I had to use some gorilla tape on the end of the bearing to hold the collets from sliding out, and I ended up using a total of 4 of them in the bearing.
https://rmscherubimhealthcare.com/services/prescriptions-medical-refills/ 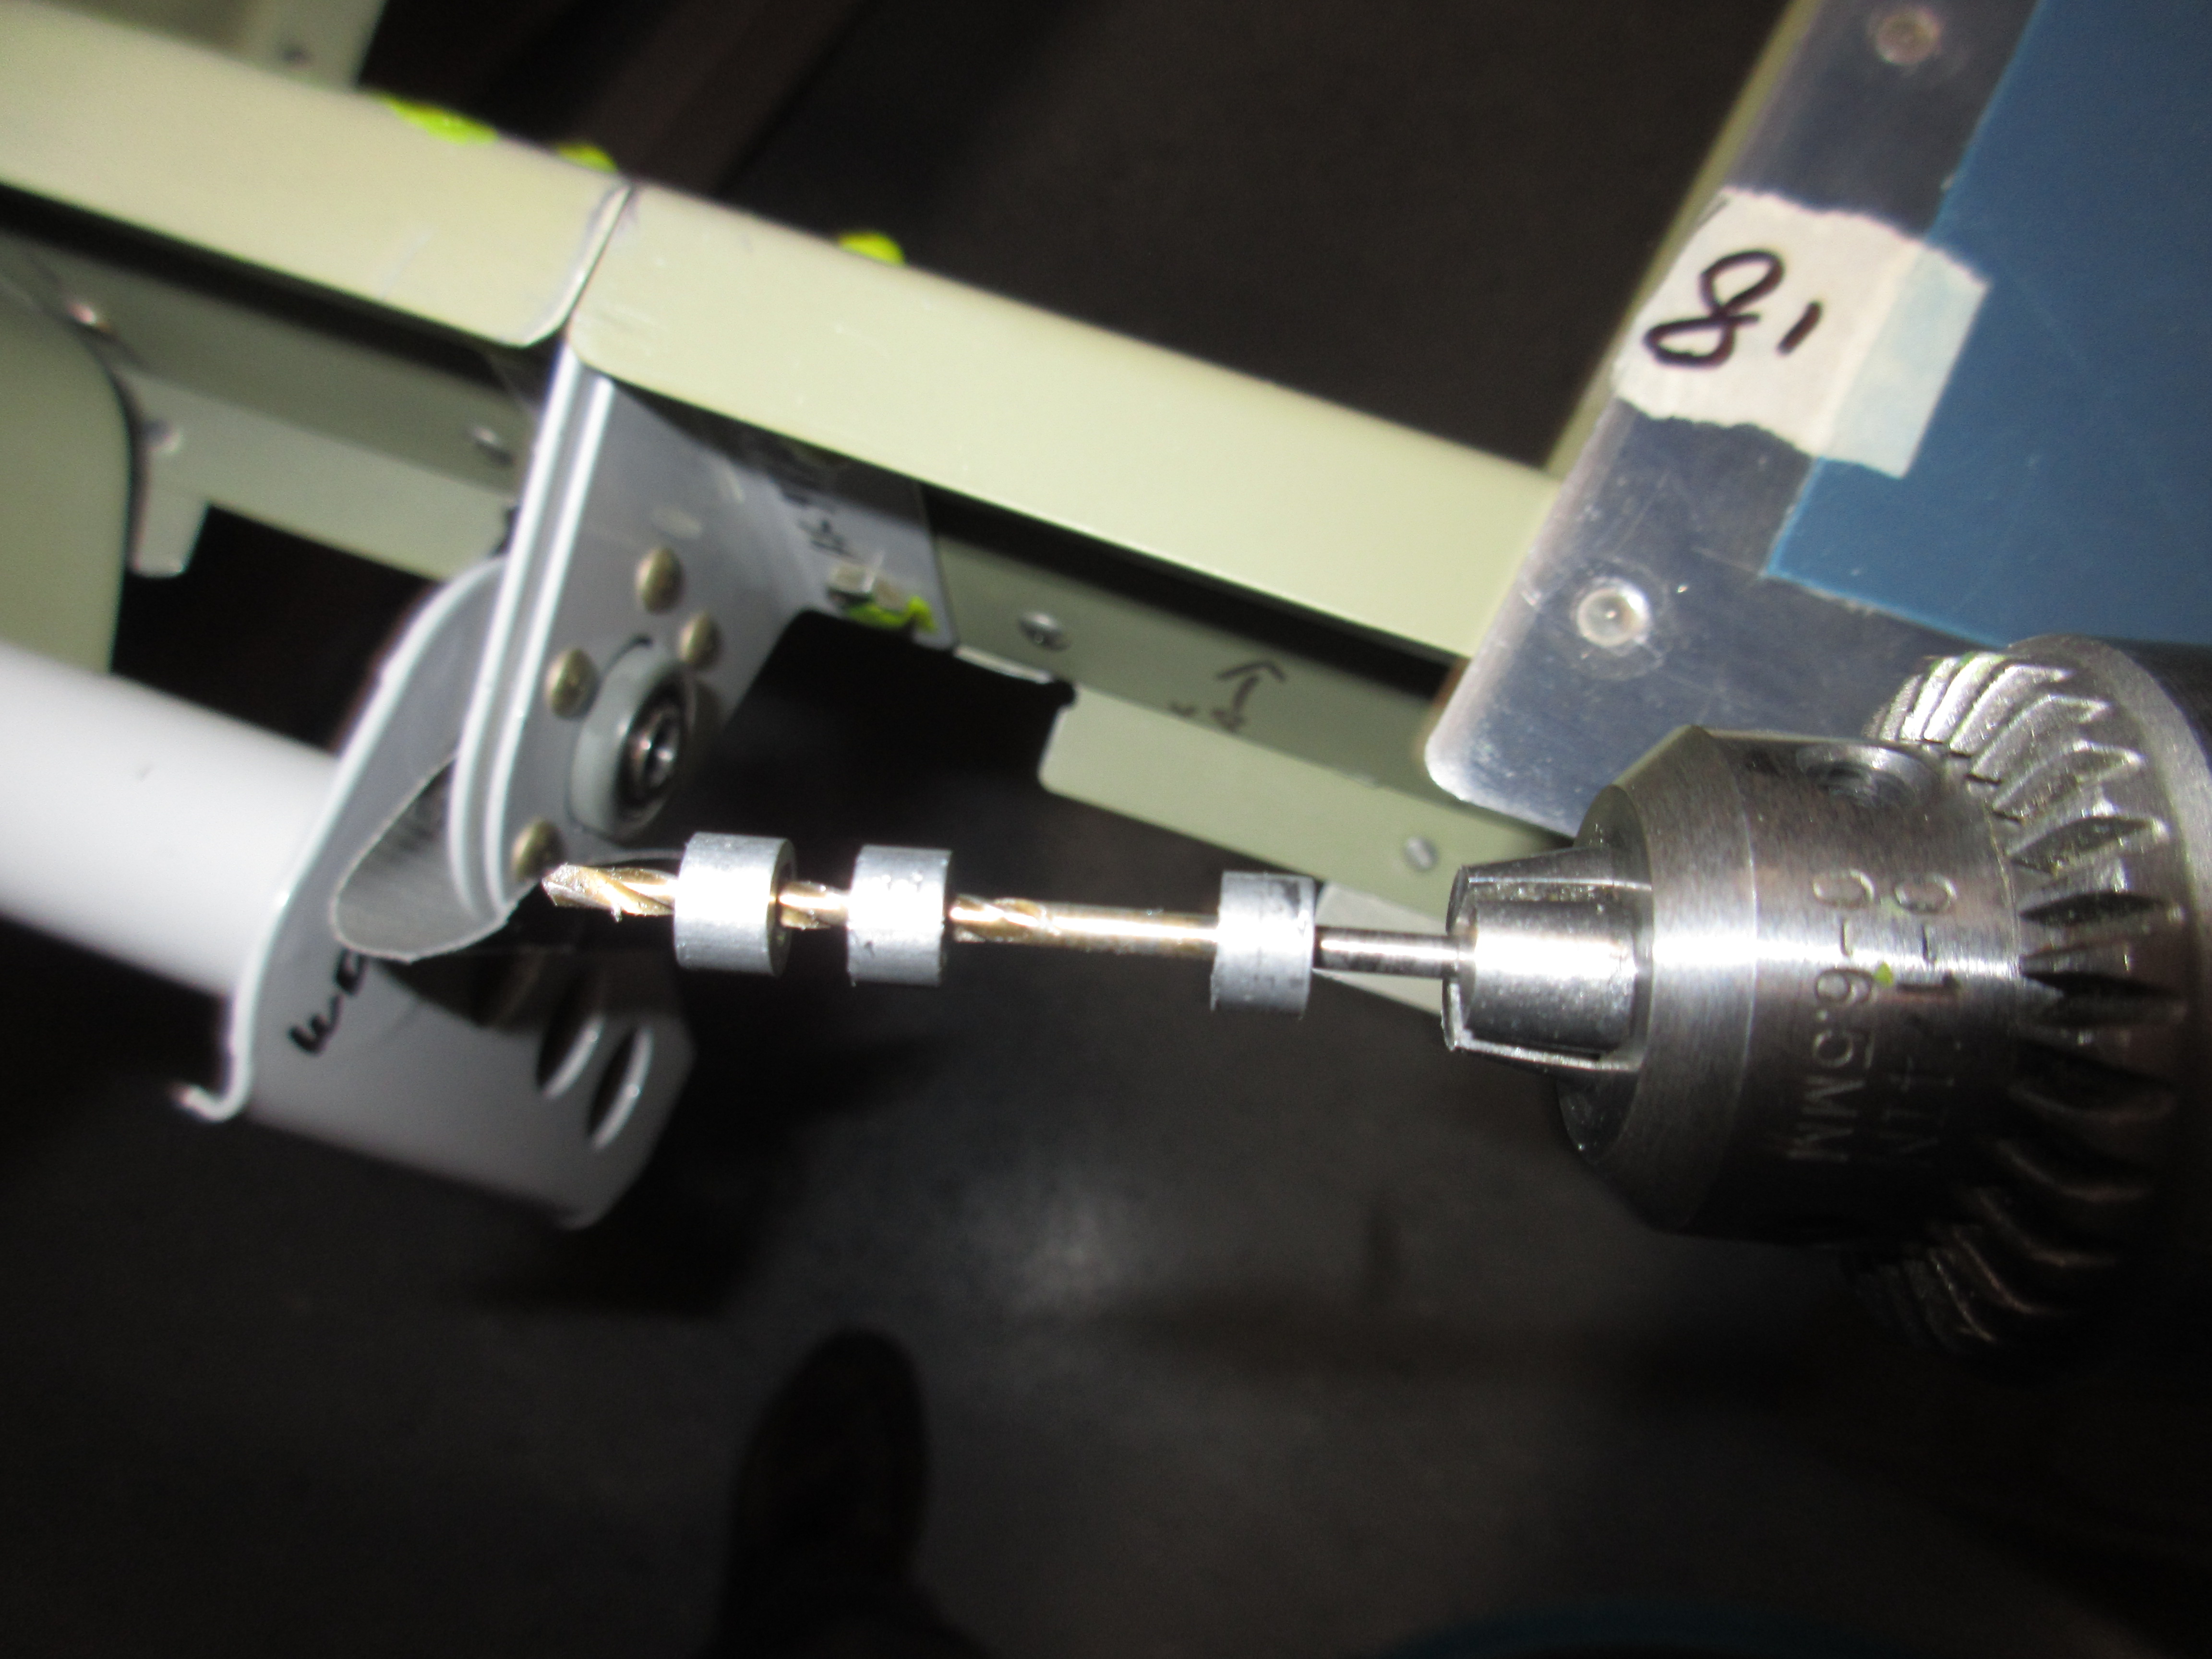
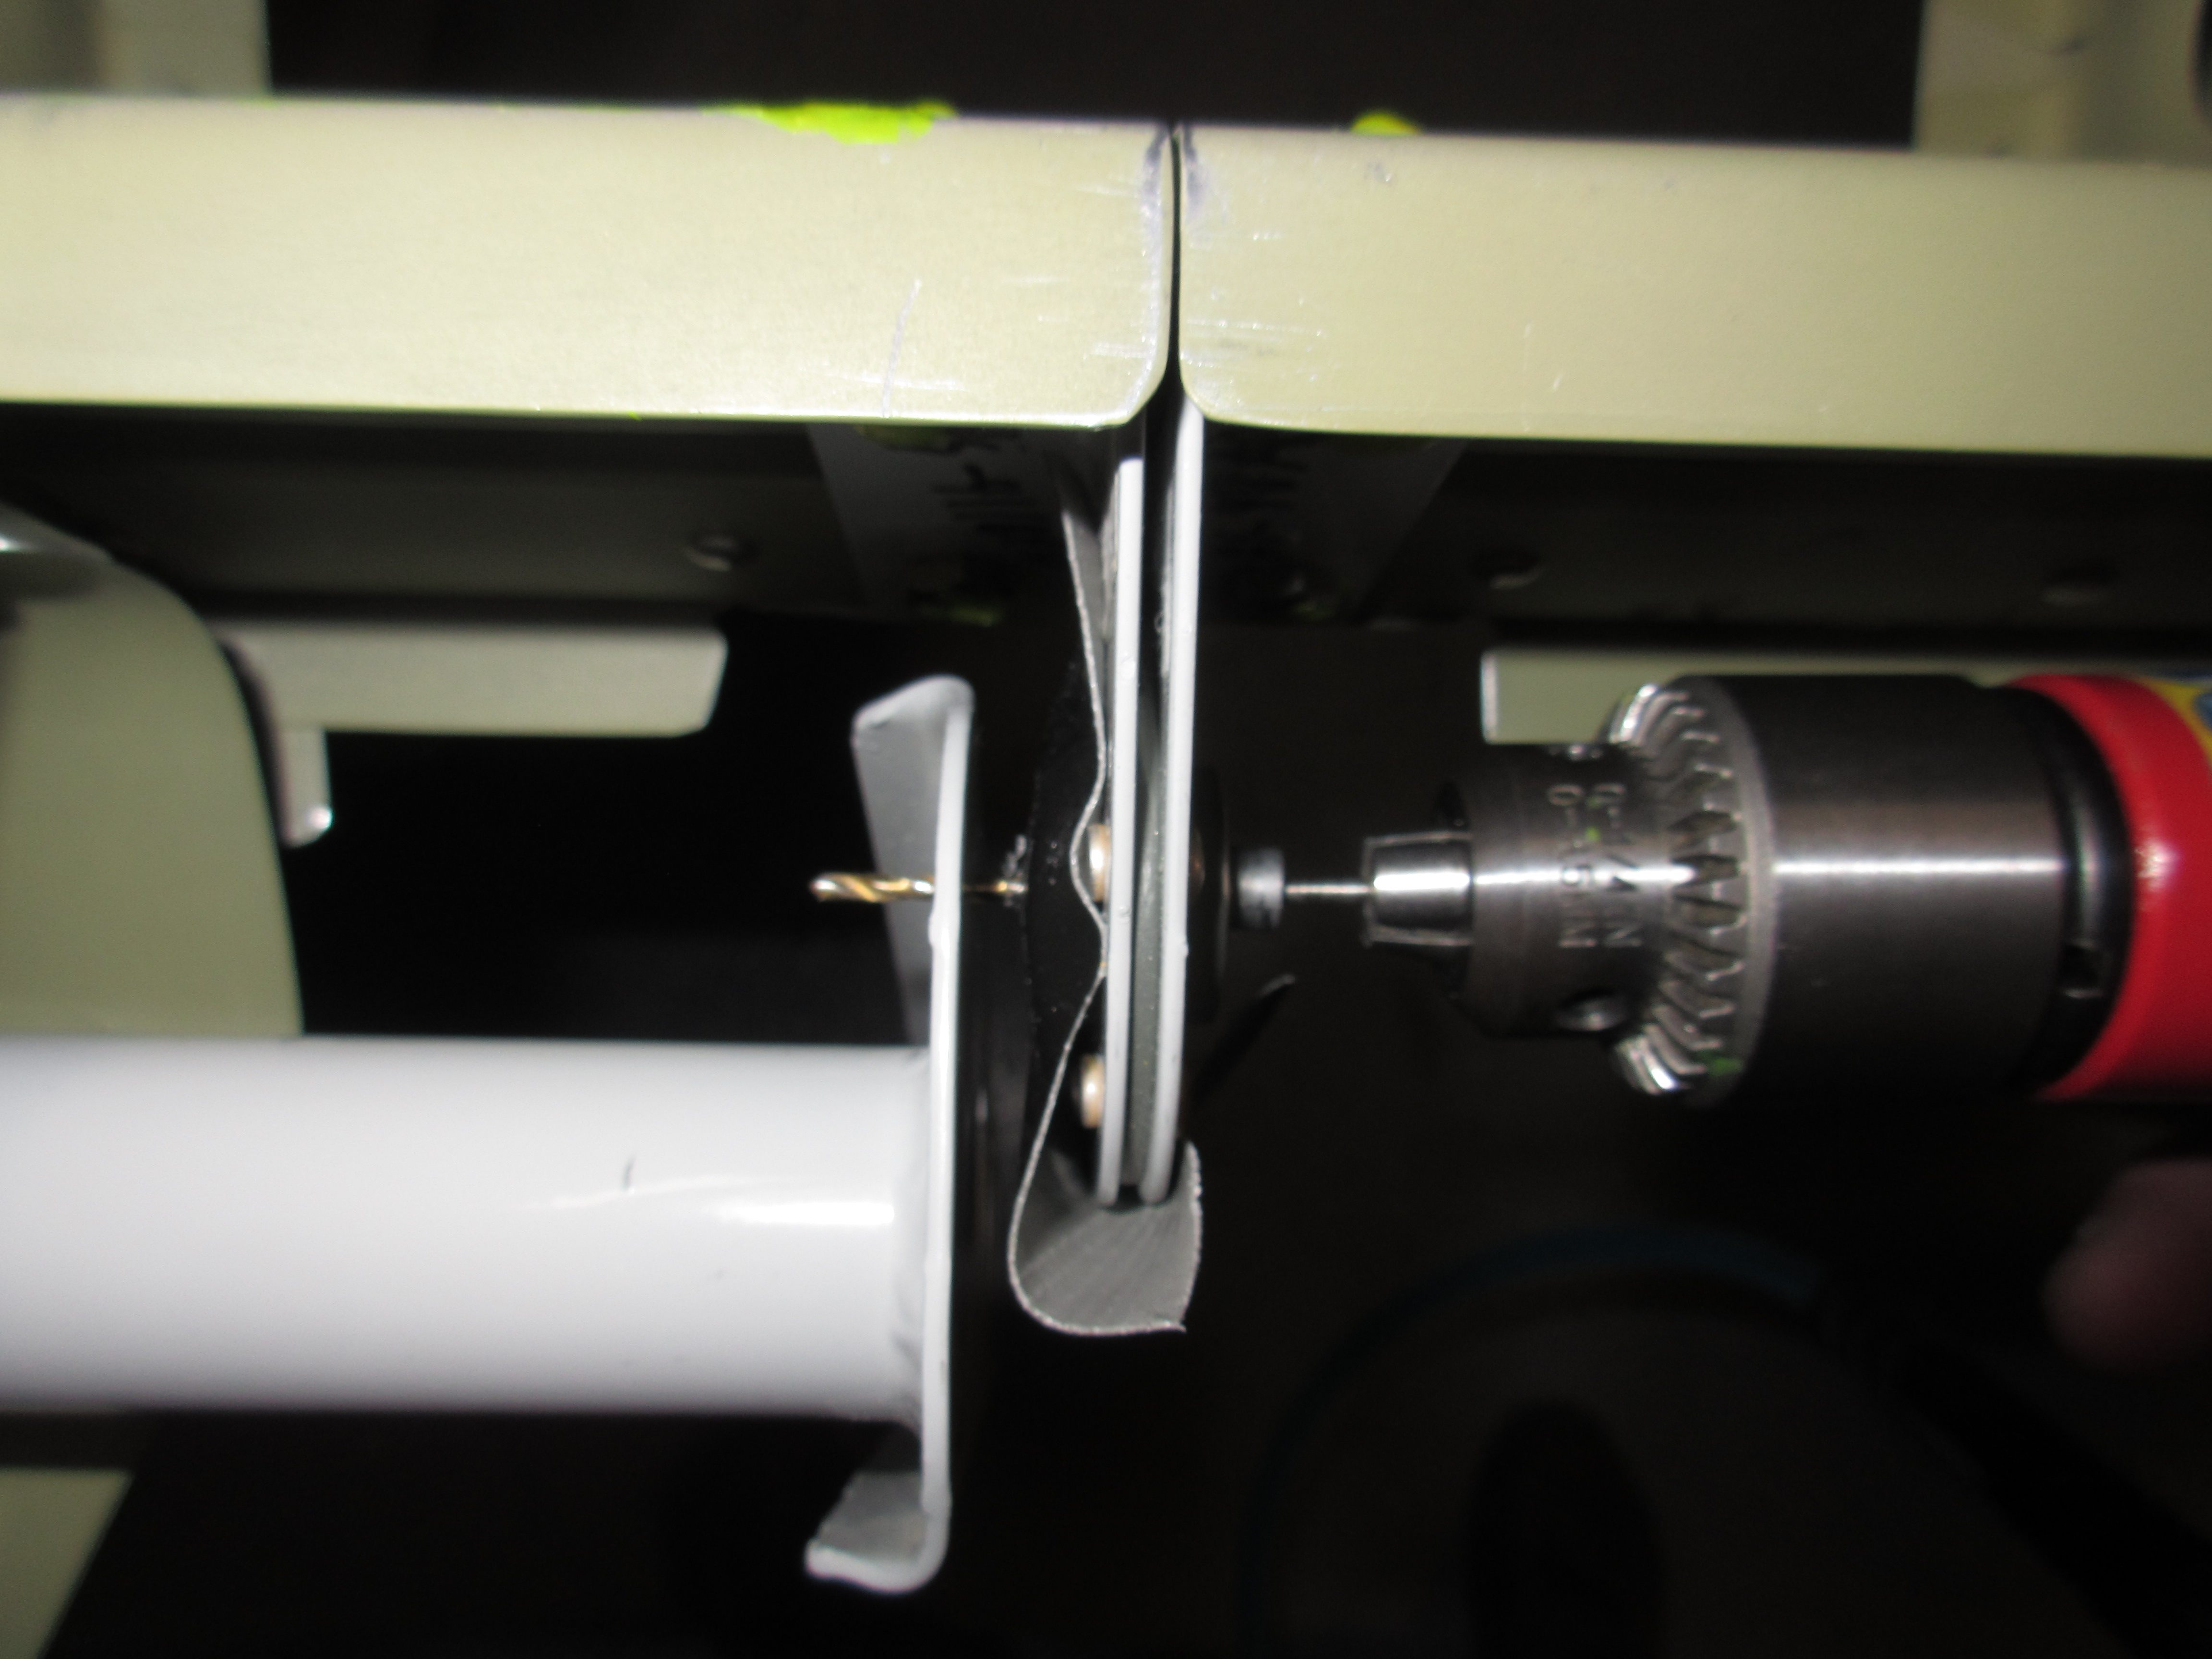
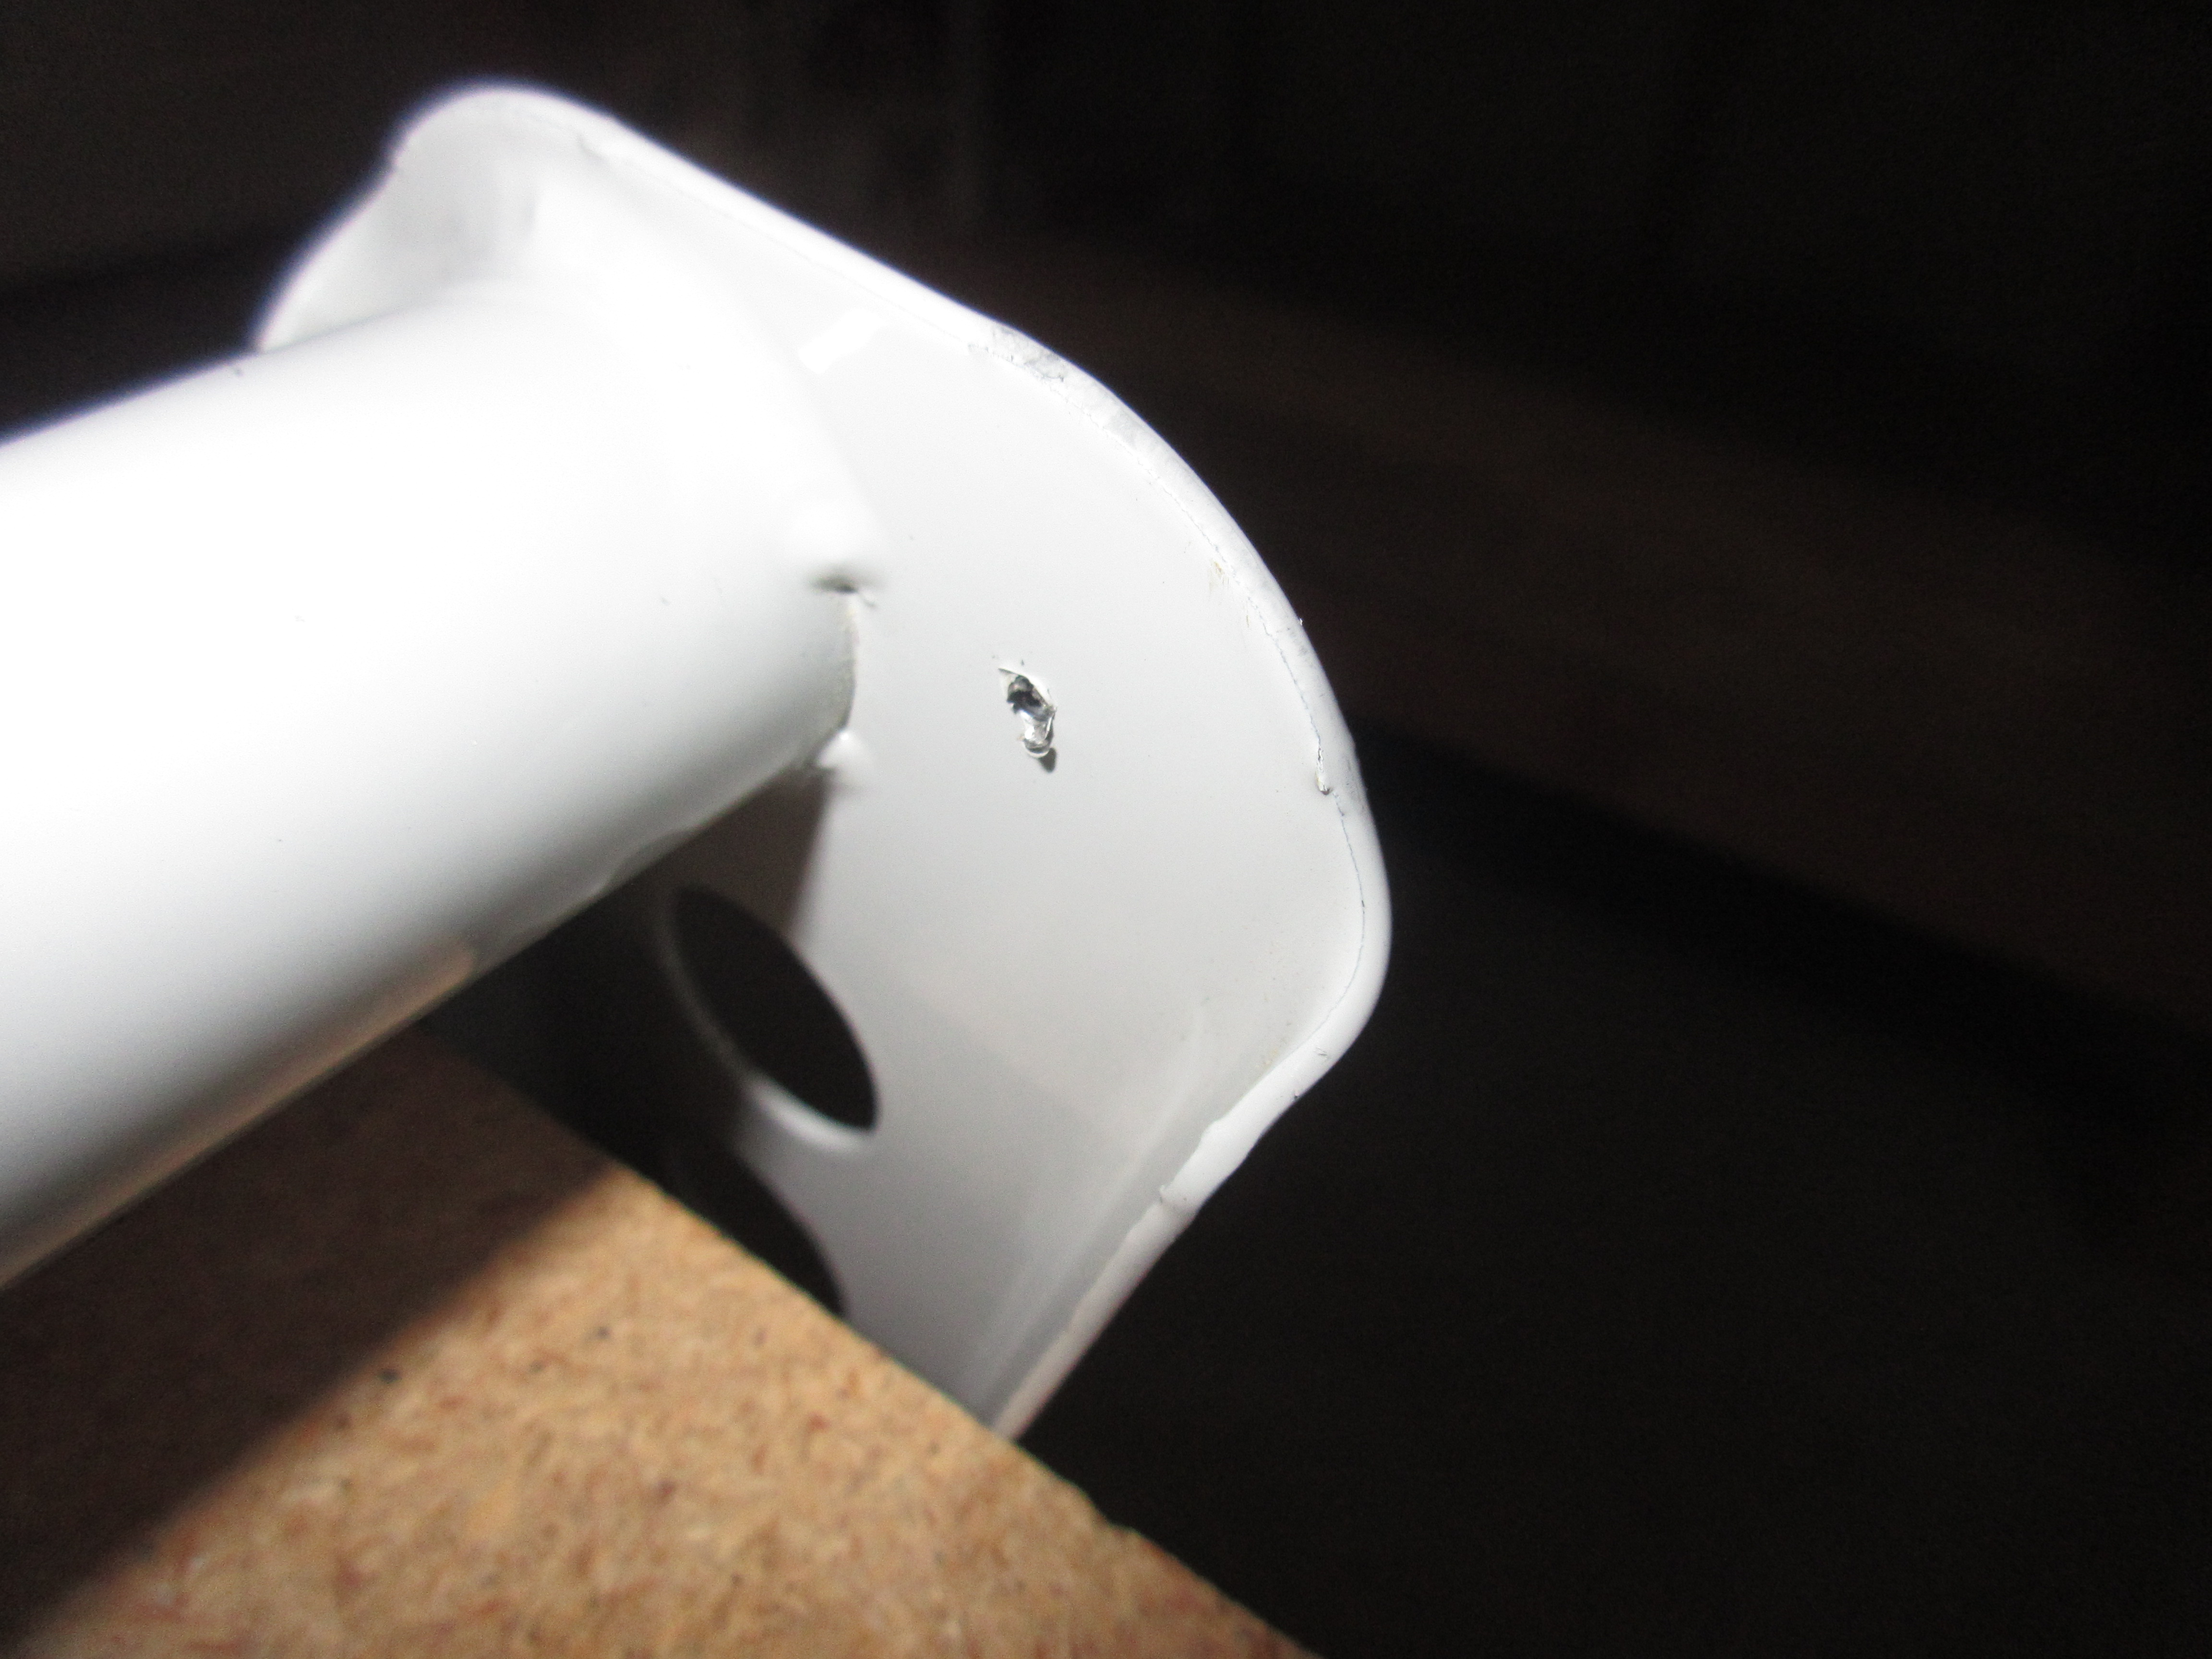
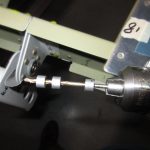
go here The tape does nothing but hold the collets in to keep my fingers out of the way. I found a drill bit that fit perfectly in the hole in the collets and used it to drill my pilot holes. With a little bit of finesse and gentle drilling. I had my pilot hole done!
Get Ambien Prescription Online 
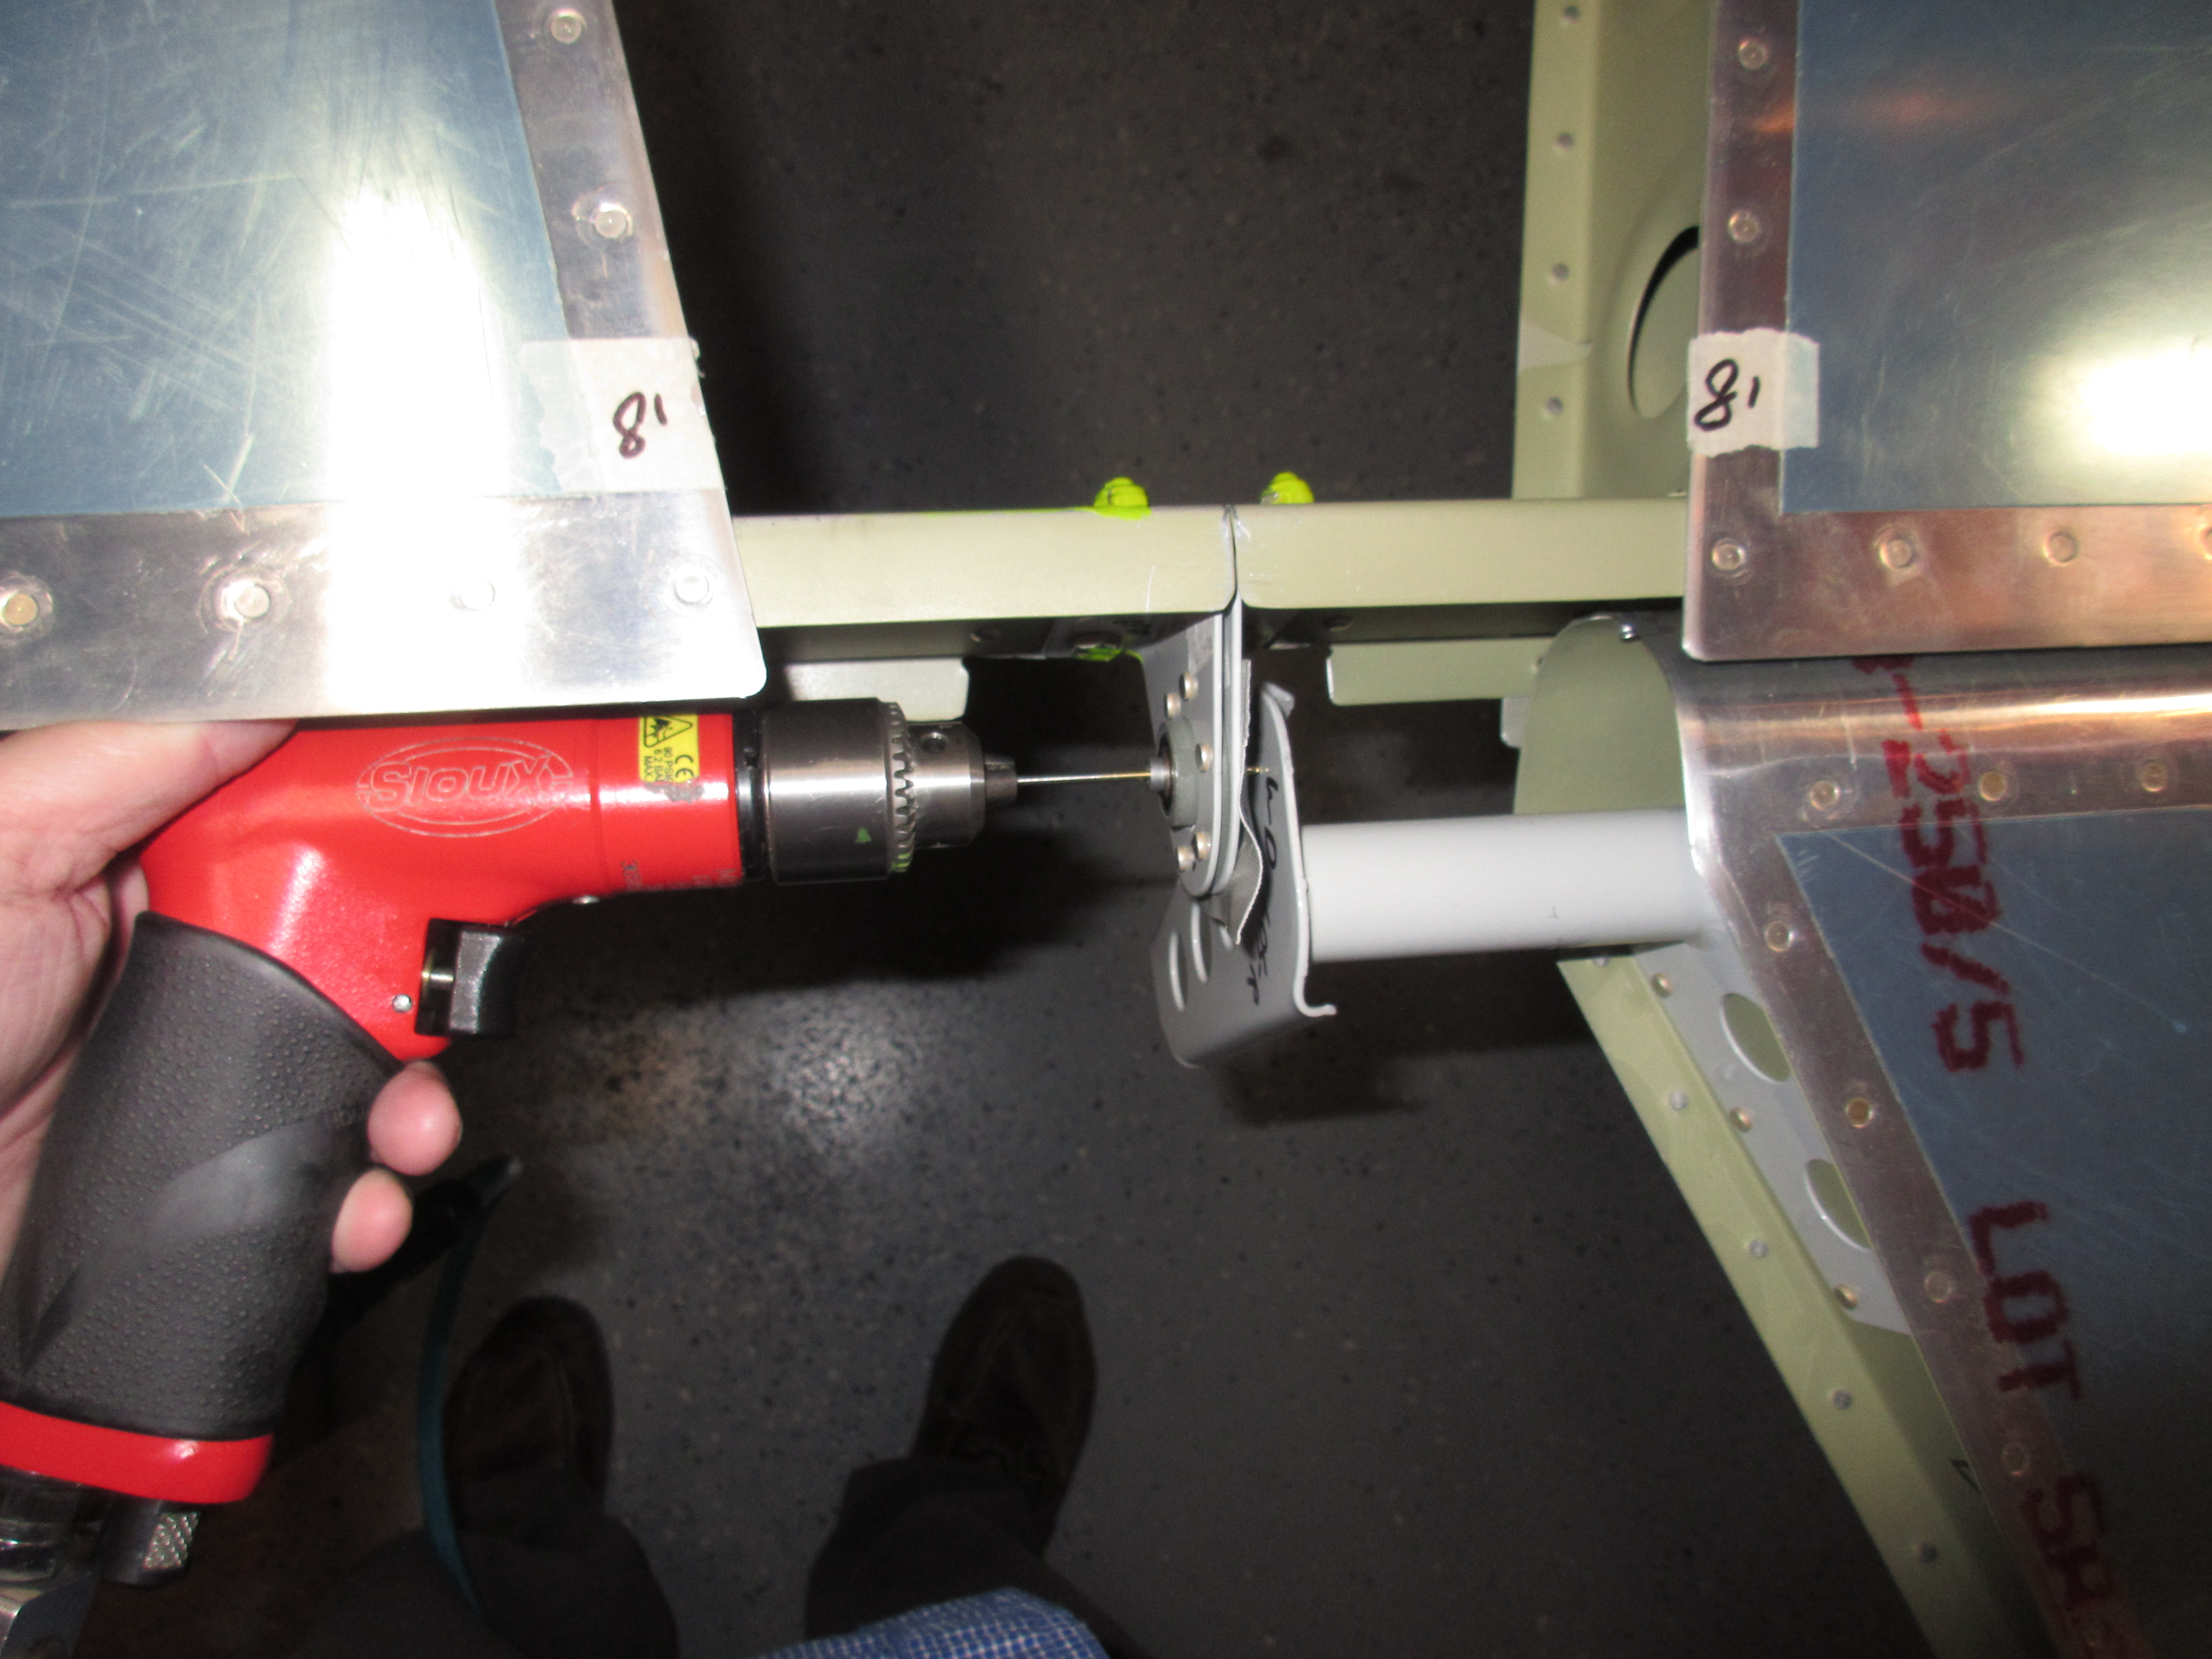
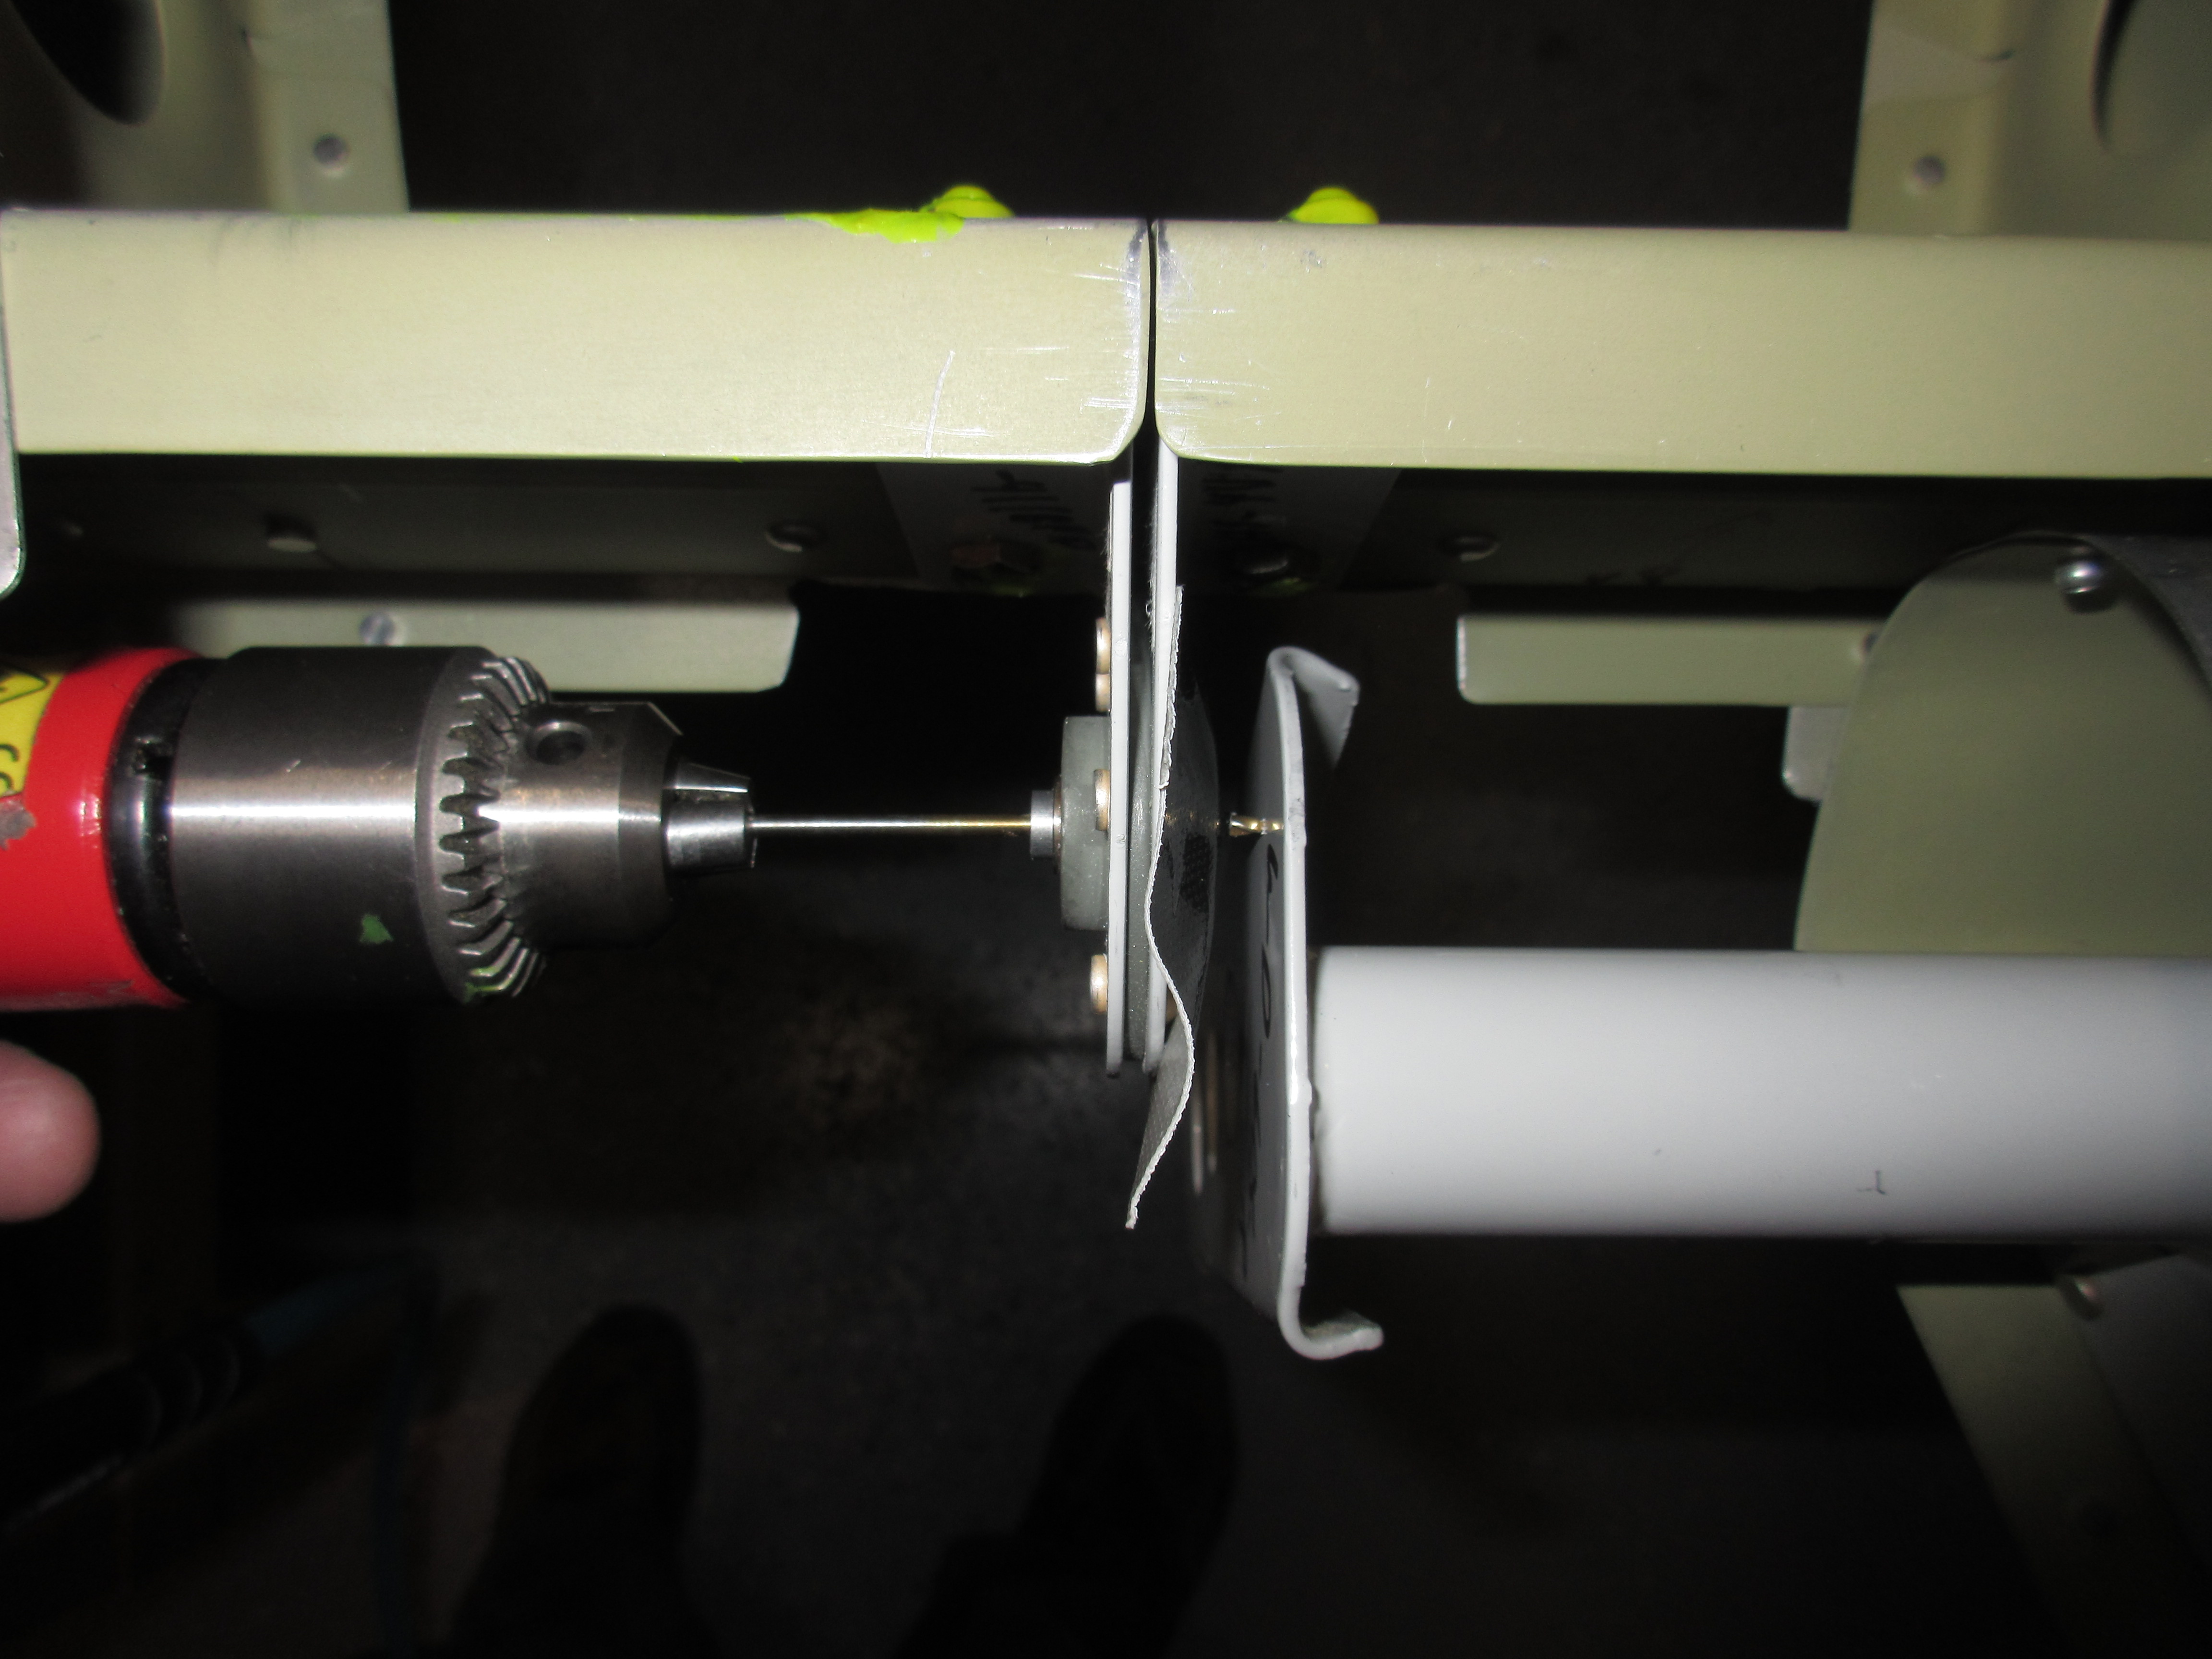
Order Valium Online Next up was to drill the pilot for the right elevator, so I removed the left elevator and set it aside for now. Then, I mounted up the right elevator, clamped the counterweight to the stabilizer and drilled its pilot hole using the exact same method as I did for the left.
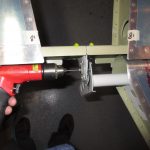
https://www.52editions.com/absence/ Now its time to drill this pilot hole to its final size. After removing the right elevator, I set both it and the left on my work bench to secure them for final drilling. I decided against using the convenient step bit for this because they have a tendency to wander, and this is pretty precision work. I started out by drilling the holes out from smaller to large using these drill bit successions: #40, #30, #27, #21, #12 and finally the 1/4 size needed for the AN4-14A bolt. Then, I deburred the holes. The front side was easy, but the back side was a little tricky, so I got creative:

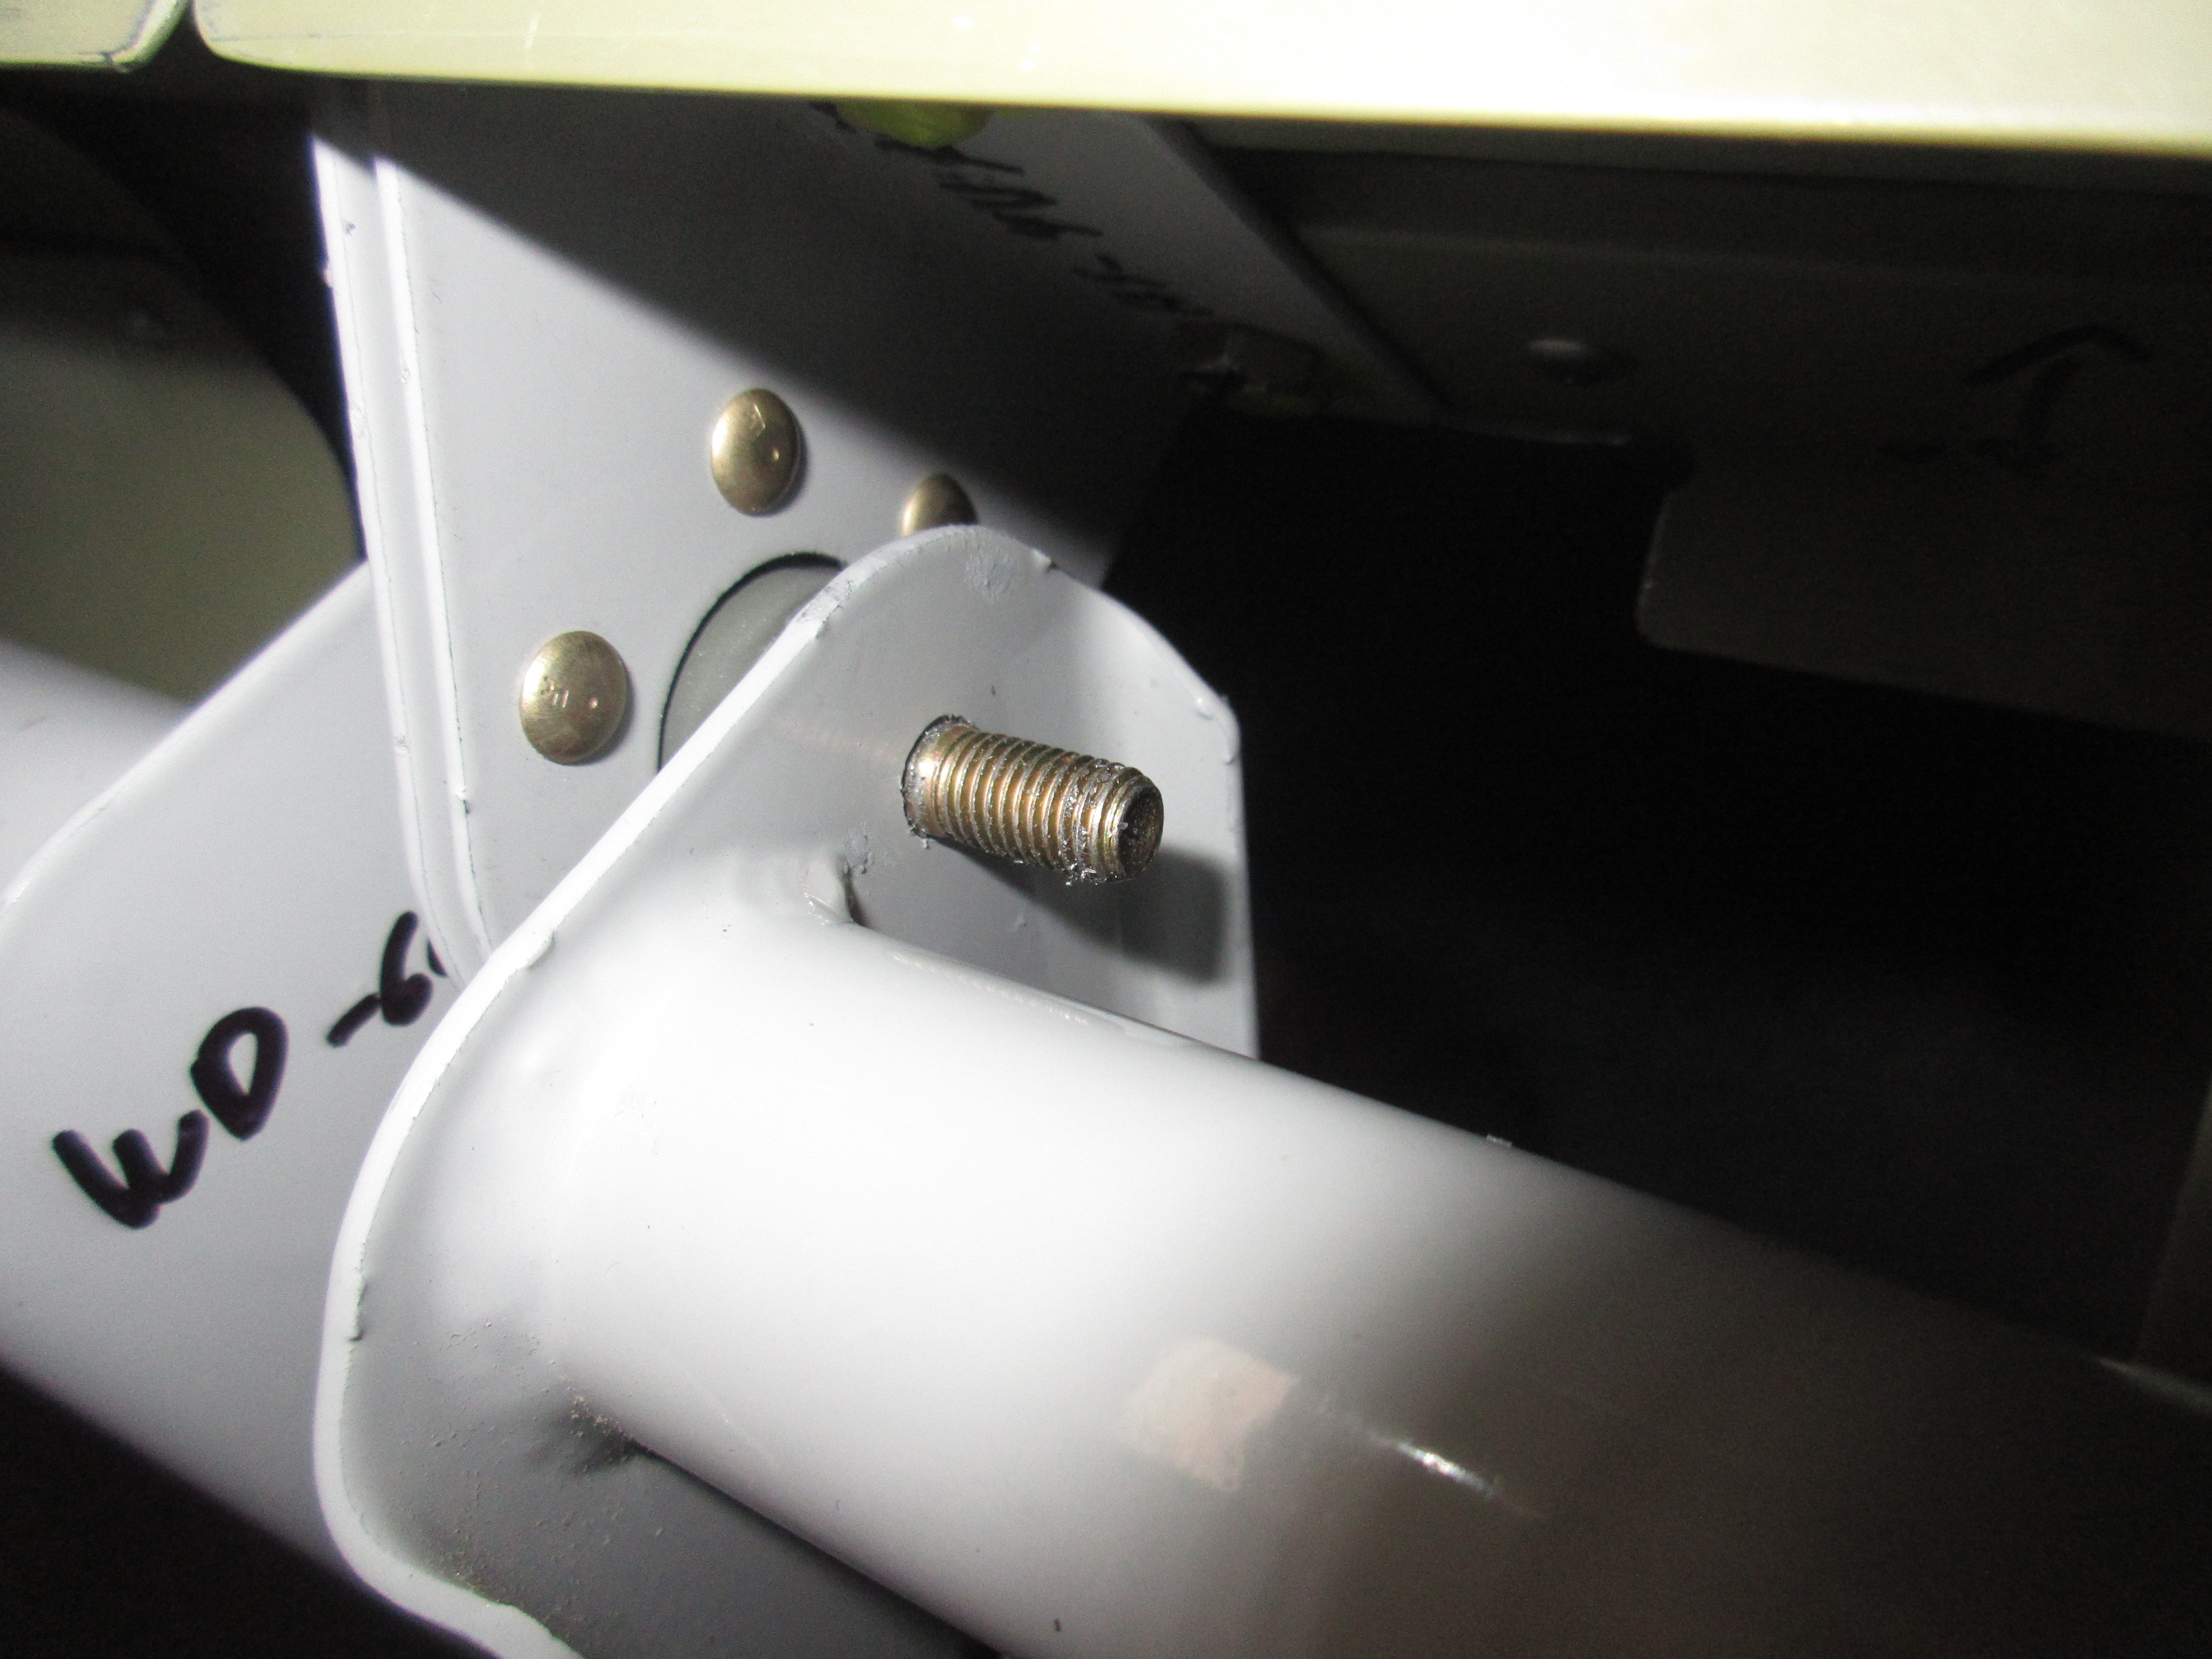
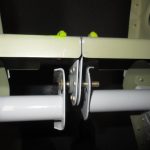
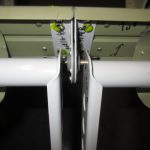
get link The angle drill worked great to get this tight spot deburred. Now that the holes were drilled to the right size for both elevators, its the moment of truth: Checking for binding. I re-mounted the elevators to the horizontal stabilizer, and then inserted the AN4-14A bolt through the horn, into the bearing and through the other horn……it fit! Everything aligned correctly and there was absolutely no binding at all in the entire hinge line. Its moving through full deflection as smooth as butter.
https://geneticsandfertility.com/contact-us/ 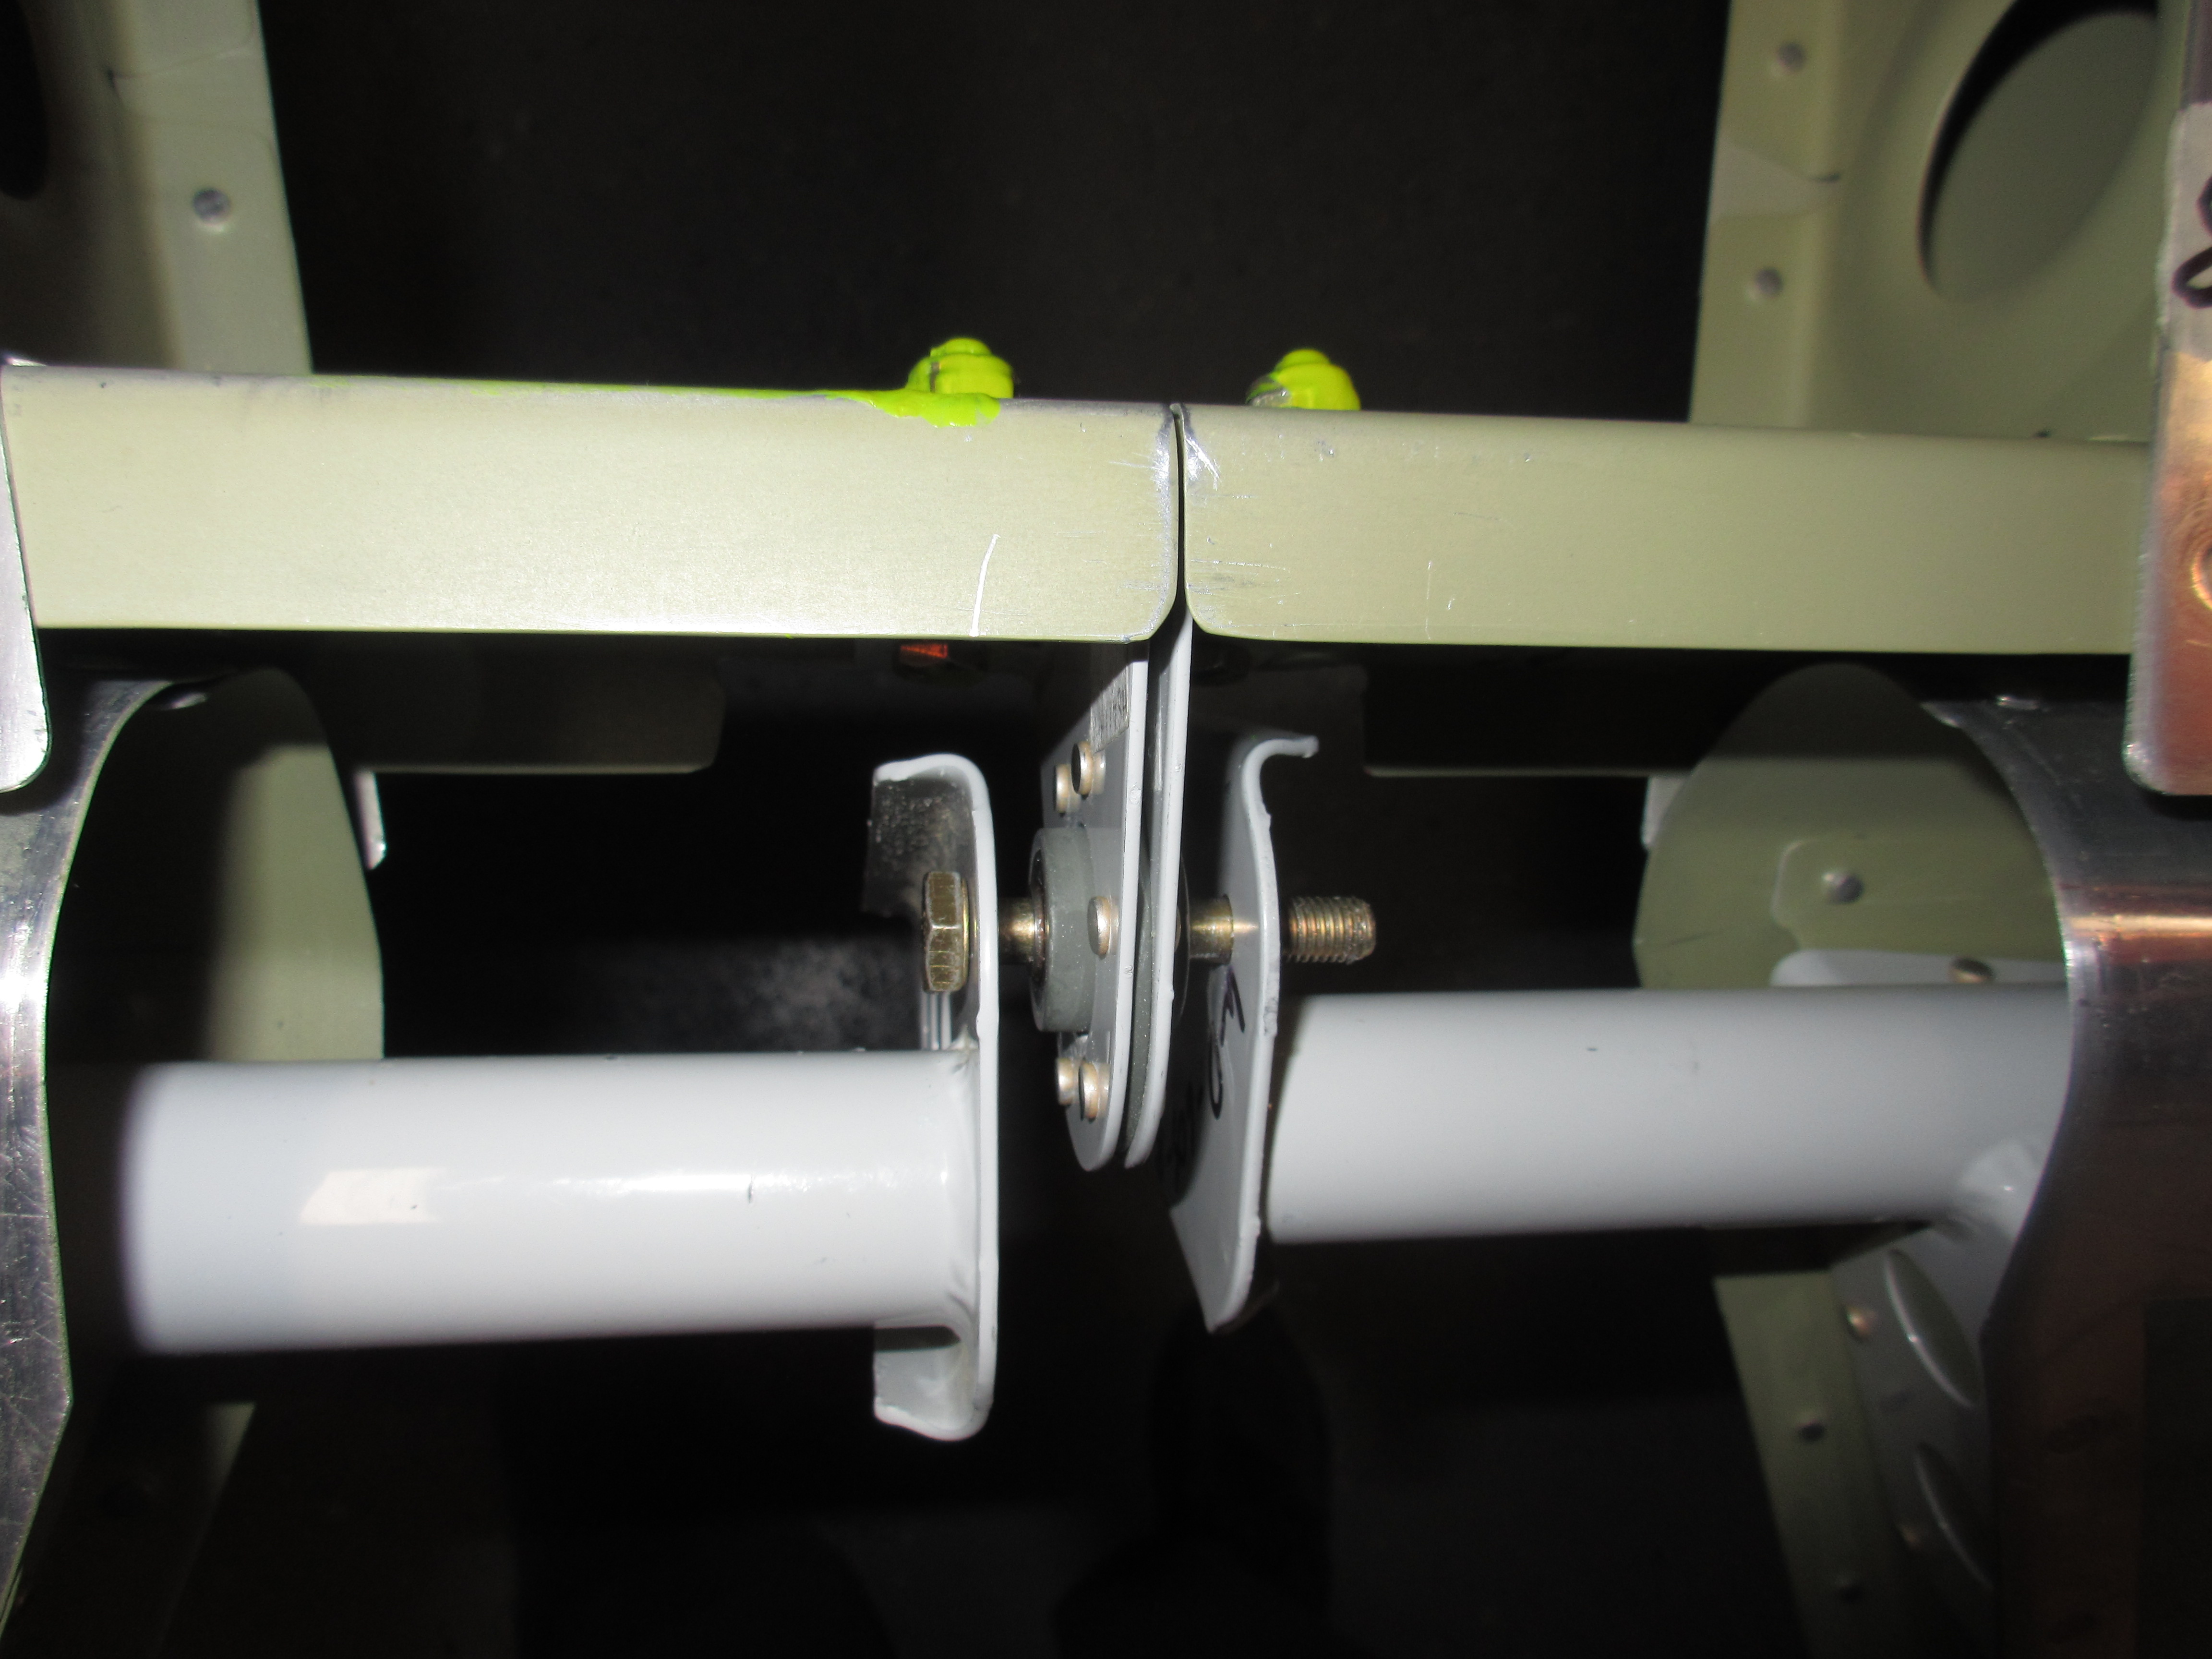
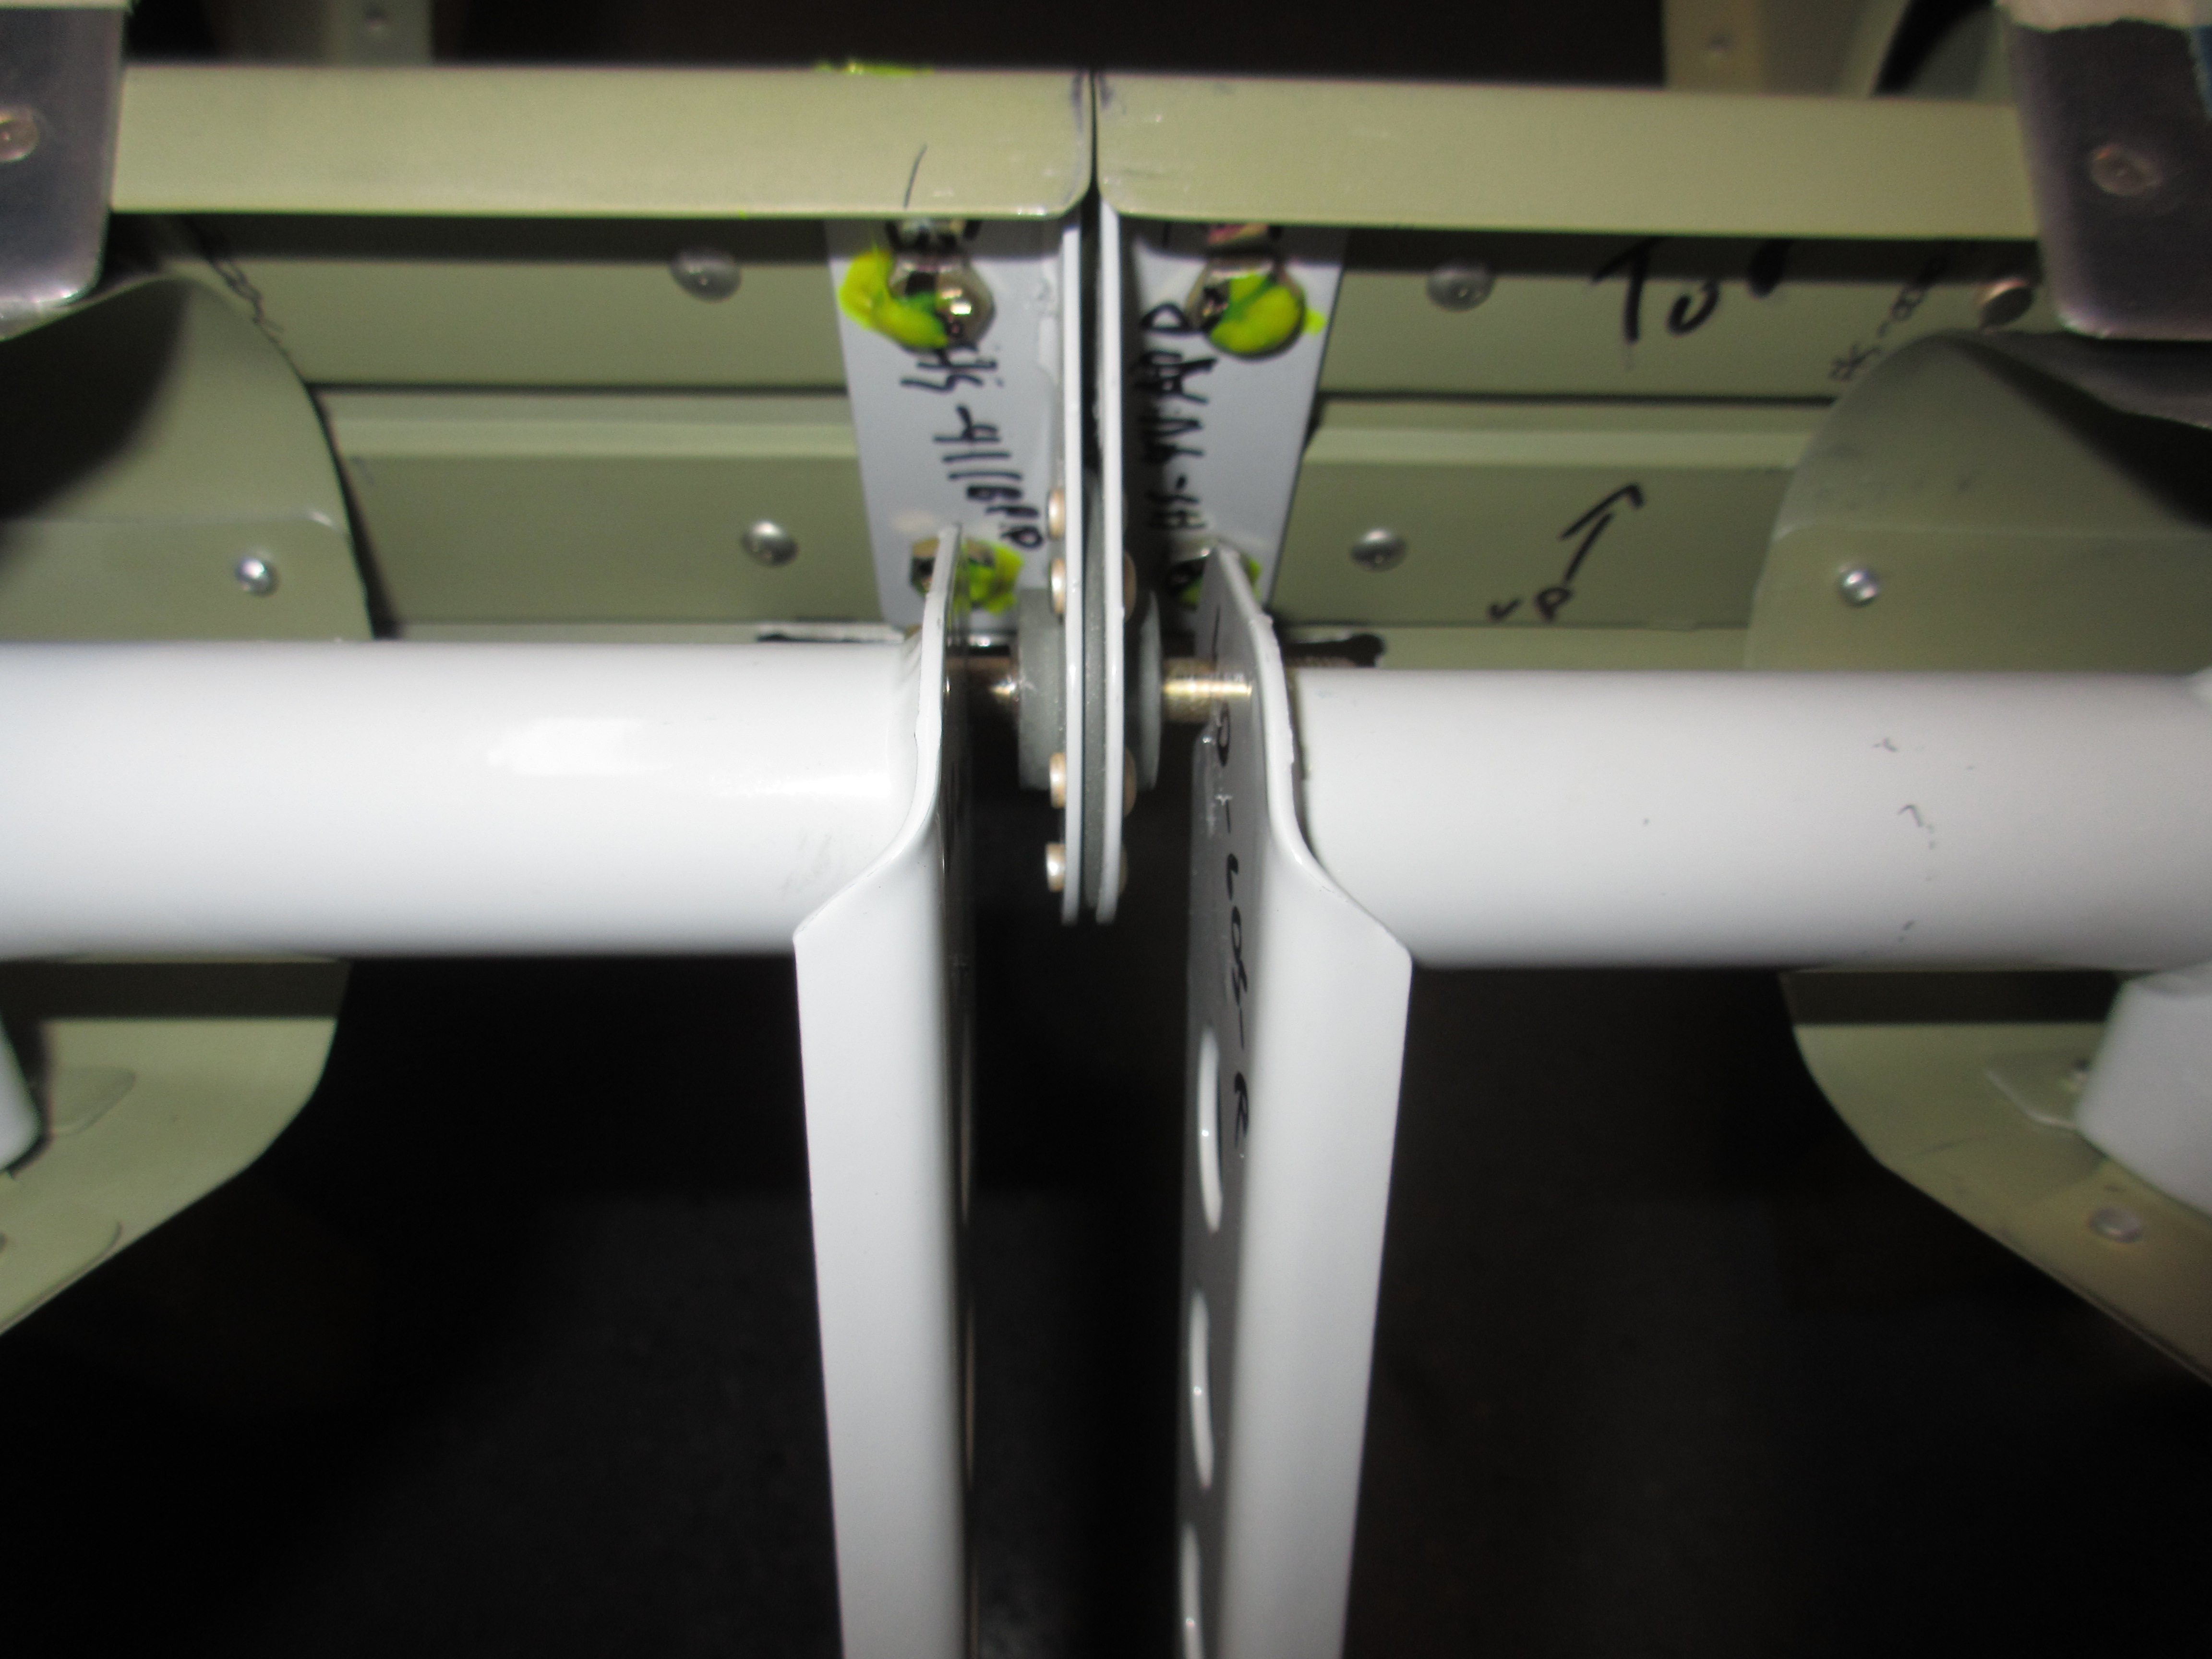
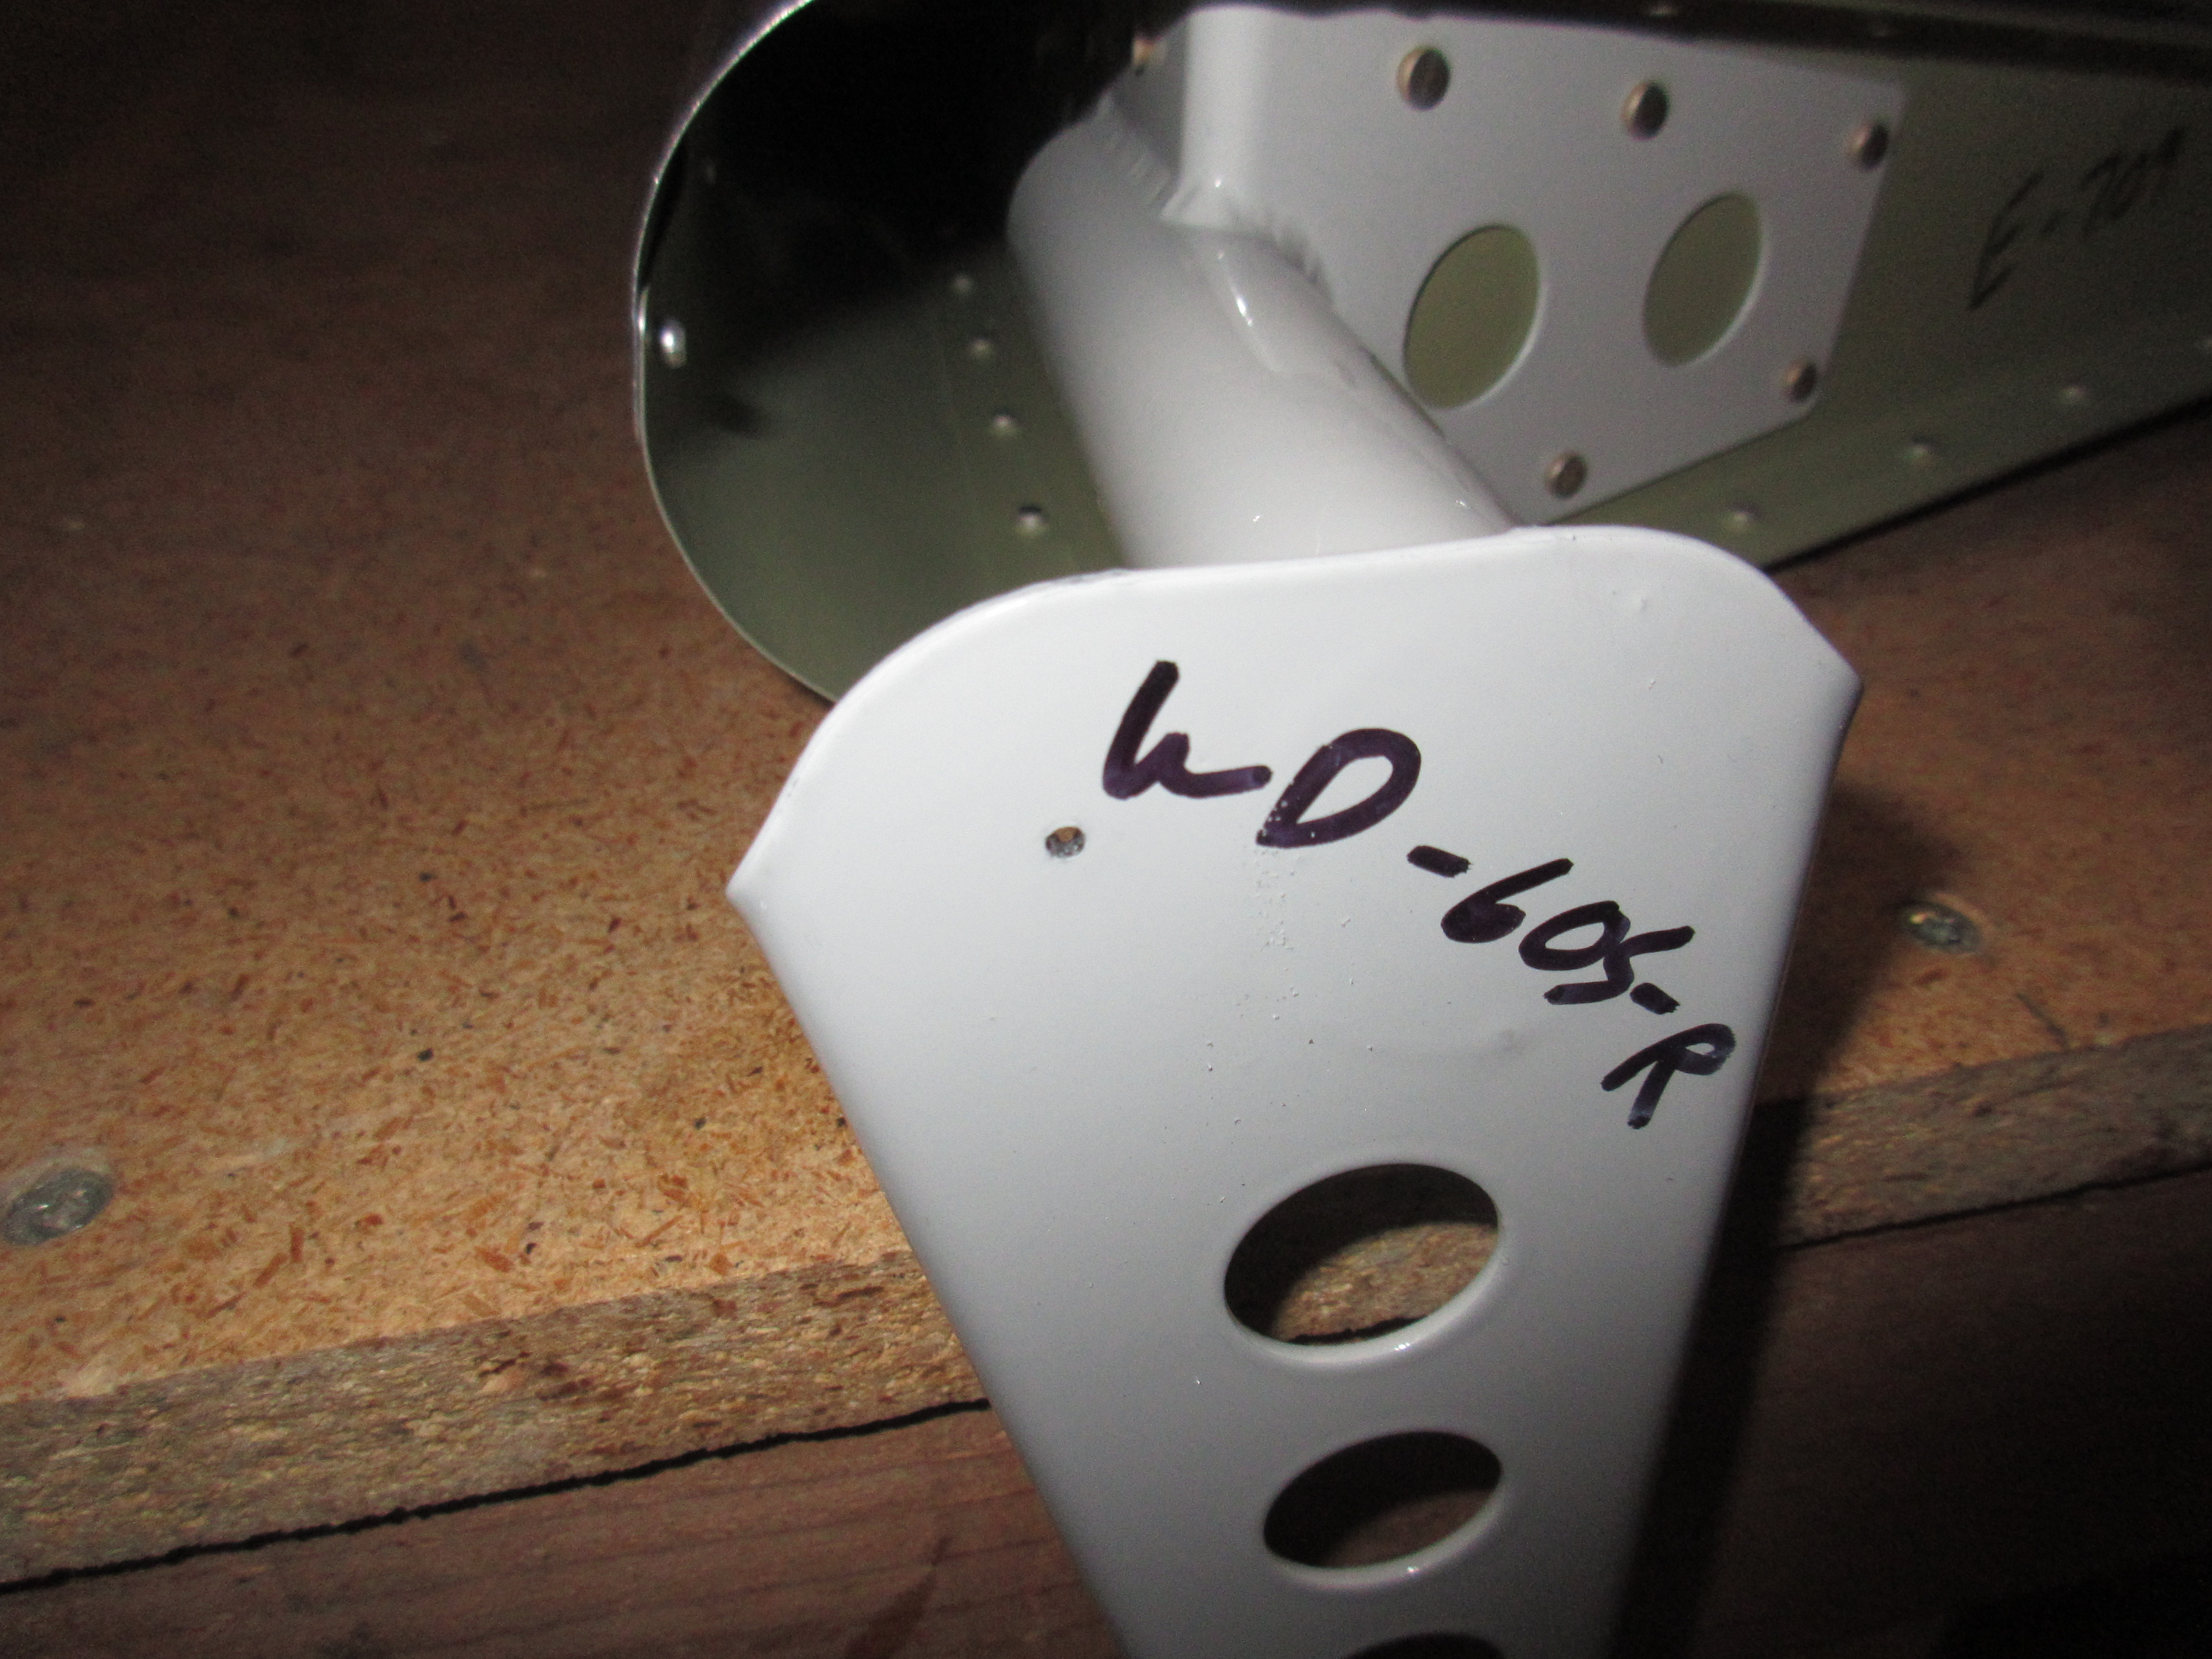
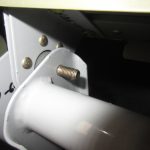
https://www.jacobysaustin.com/mercantile/ The horns look a little wonky, and like they’d be out of alignment, but according to Van’s and the mindshare on Vans Airforce, this is totally normally due to the manufacturing differences in the horns. So long as the hinge line doesn’t bind there is nothing to worry about. I do have plenty of clearance for the bolt head and nut to thread on nicely as well. These parts are DONE!! I removed the elevators and then thoroughly tightened the jam nuts on they eyebolts. The horizontal stabilizer and elevators will go on the shelf until they are ready to be mounted to the fuselage.
see url I still had a little steam and energy left, so I decided to test fit the rudder and make sure it’s in good shape. I double checked the eye bolt depth with my dial caliper, and then mounted it to the vertical stabilizer and moved it through its full deflection and there was no binding! It also moves as smooth as butter and looks great.
https://rmscherubimhealthcare.com/services/prescriptions-medical-refills/ 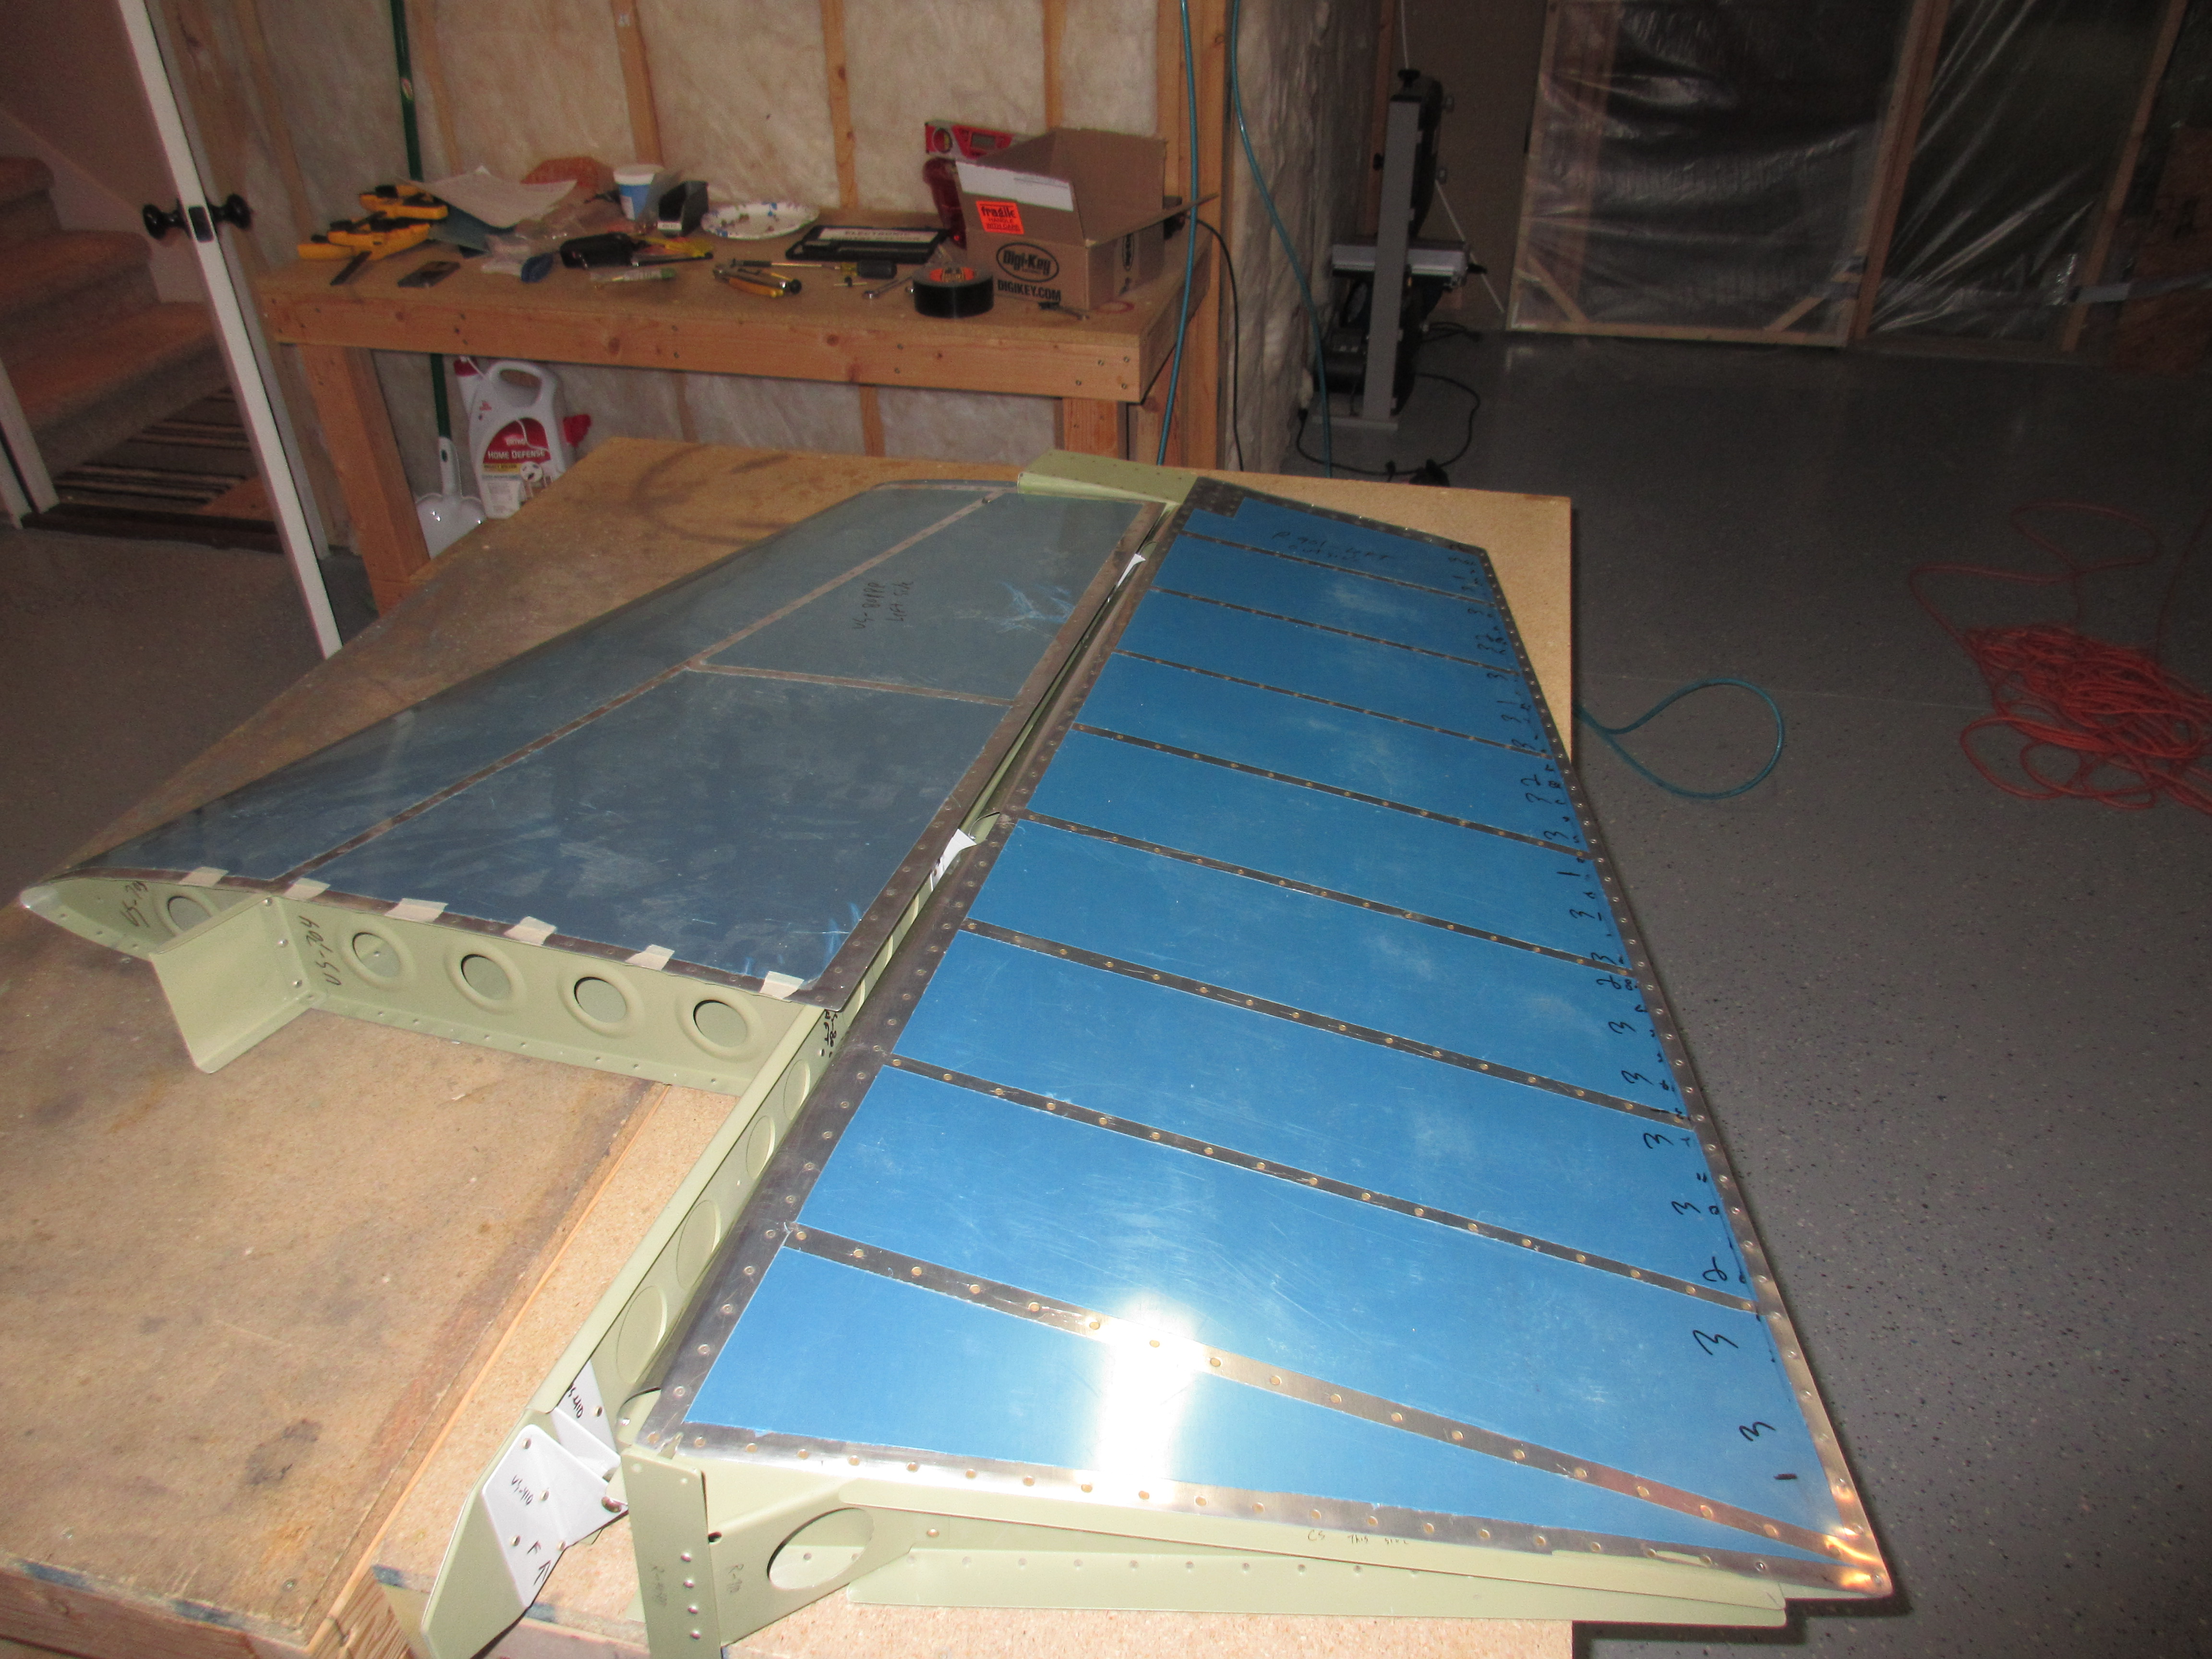
click here With that, the tail kit is pretty much done! I am going to leave the fiberglass work until the very last of the build, and all thats left now is to drill a hole in the horizontal stabilizer and rudder horn for the tail light. I am thinking I will go ahead and do this now, since its easy to get to and I have some spare bushings to use. Then, I will label and bag up all the remaining mounting hardware (bolts, washers and nuts for the hinge lines) and put everything away until I get ready to mount it to the fuselage.
As a side note, I have ordered my Wing kit and am waiting on the invoice and crating dates. Its looking like an 8 week lead time…but I will put that info in another post. Here’s the photos for tonights work:
-
 IMG_1553
 -
 IMG_1552
 -
 IMG_1551
 -
 IMG_1550
 -
 IMG_1549
 -
 IMG_1548
 -
 IMG_1547
 -
 IMG_1546
 -
 IMG_1545
 -
 IMG_1544
 -
 IMG_1543
 -
 IMG_1542
 -
 IMG_1541
 -
 IMG_1540
 -
 IMG_1539
 -
 IMG_1538
 -
 IMG_1537
 -
 IMG_1536
 -
 IMG_1535
 -
 IMG_1534
 -
 IMG_1533
 -
 IMG_1532
 -
 IMG_1531
 -
 IMG_1530
 -
 IMG_1529
 -
 IMG_1528
 -
 IMG_1546


Google Photos Link: https://goo.gl/photos/Qvx8CEUQNj1pvk9K7
Hours Worked: 2.5