


4 months? Has it been that long since I last done any work on this thing? Yep. It has. I decided to mozy down to the shop to get a little work done on the plane tonight. I have been busy with work, family and travel, and the Cardinal, that I just haven’t had any spare time to work on the build. I got down to the shop and first had to do a little housekeeping as it had gotten cluttered over the 4 months. I’m not counting that time in the build though. After I got things organized into my “shop” again, I decided I’d pick up where I left off. The Z-brackets.
In my last post, I also said I needed to place an order with Van’s to replace the messed up W-408 end ribs. I am going to get that order placed tonight / tomorrow and also toss in the pro-seal and some other bits and bobs I need to complete the last little pieces of the leading edge and stall horn. It won’t impede progress of the next step or the fuel tanks thank goodness. I started off by doing lost of refresher reading, including some videos on Youtube and looking over Mike Bulloks post about them. Folks seem to have the best results using the Checkoway method, which I was I did as well. I measured 11/32″ from the outside edge of the web on the Z-bracket and made my centerline. This lets the nut plates (the ones used to bolt the tank to the spar) get as close as possible to the web to give you more room on the opposite side of the web to pull the blind rivets that go into the baffle.
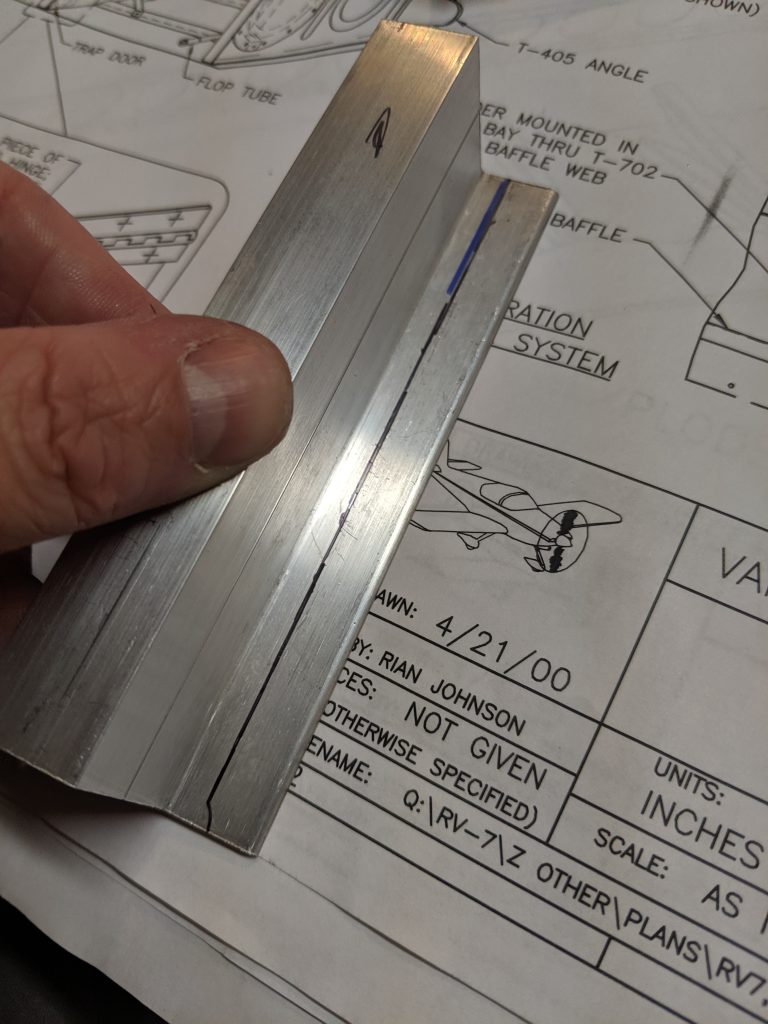
Once the centerline was done, Vans has us mark and drill the very center lengthwise for our first bolt hole. My Z-brackets were 4.5″ long, so I marked my hole at 2.25″ using my square.
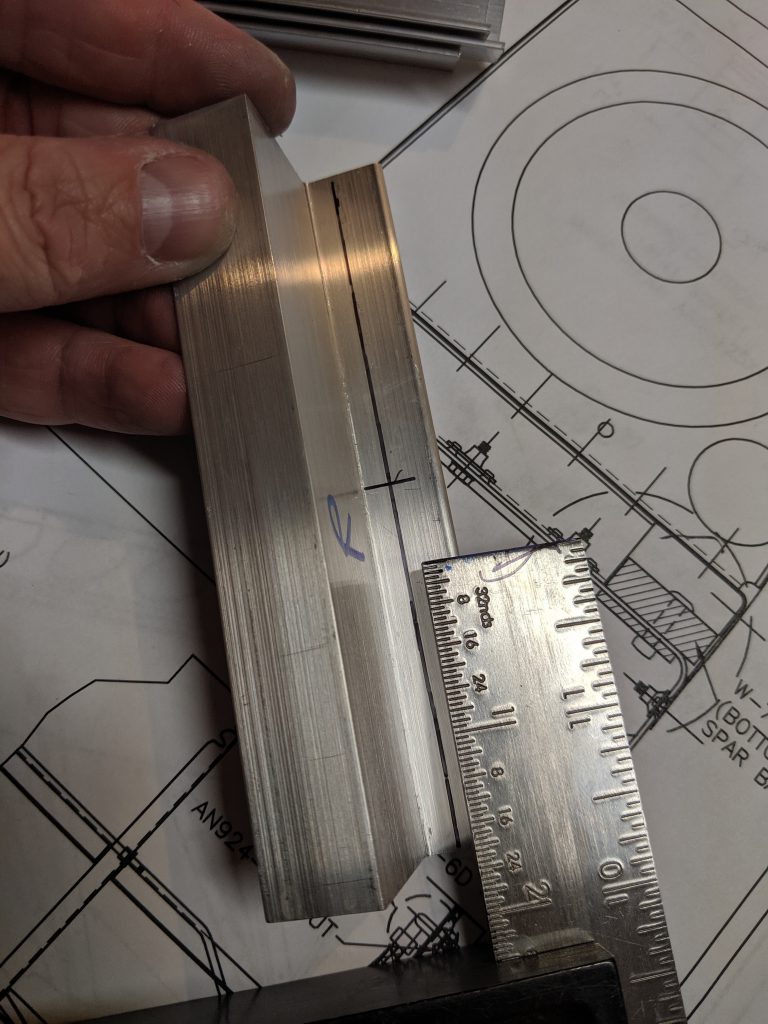
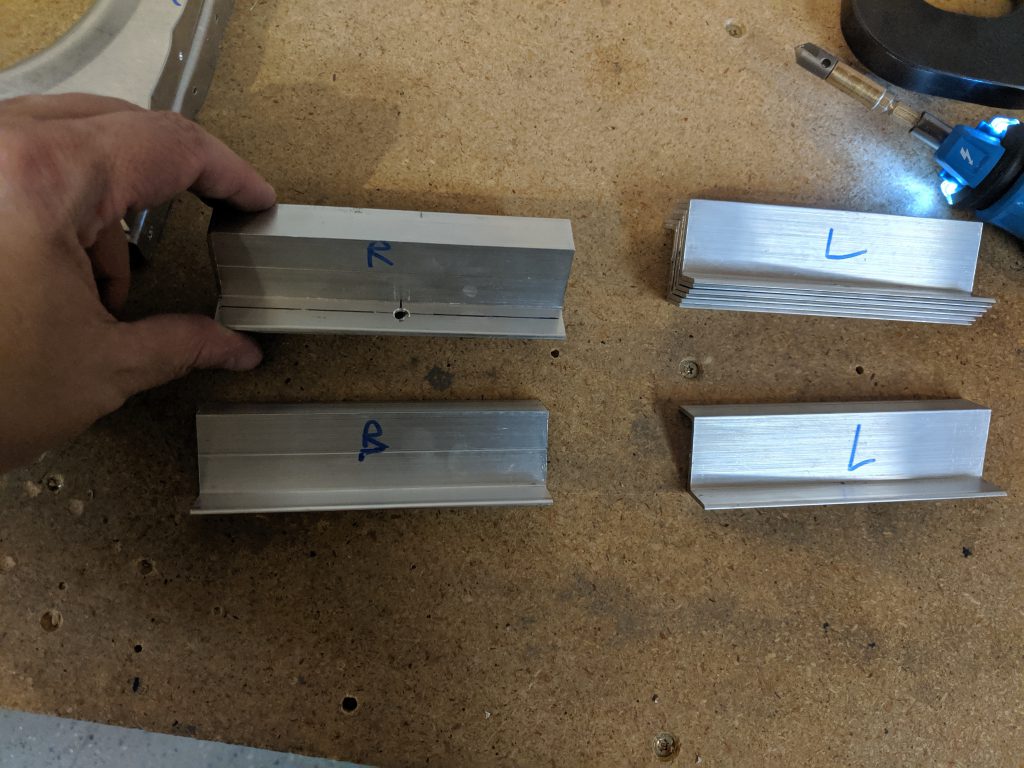
There are 7 brackets for each wing/tank. We are only going to drill these 11/32″ holes in 6 from each side, as the inboard z-bracket is mounted a little different. So, for now, I jigged these 12 brackets up in my drill press and drilled the holes with a #12 drill bit. Coincidently, I noticed my drill quill also had a bit of wobble in it, so I spent probably a half hour trying to adjust it out. I got it good enough for now, but not where I want it. I’ll use this guide when I have some spare time: drill_press_tune-up
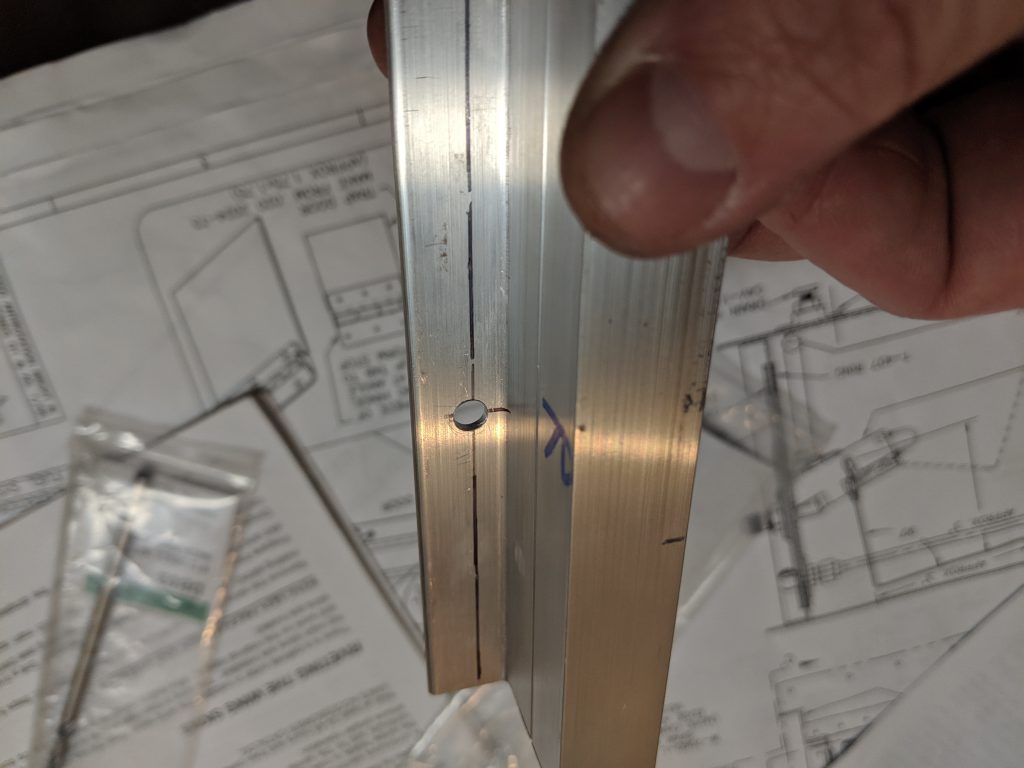
The holes came out good enough for me. These will get an AN3 bolt, and like Mike Bullock, I decided I will use a spare AN3 bolt, washer and nut to temporarily clamp them down on the spar and use a square to get them lined up perfect so I can back drill the other two holes in the Z-brackets. BUT….of course I didn’t find any junk or spare bolts in my bins or garage to use, so I will hold that for another build session. I did get all the 12 brackets center holes done though:
And that is where I’ll stop tonight. I’ll run by Ace and get a couple of AN3 sized bolts, nuts and washers to use to hold these to the spar for back drilling. I don’t want to use the “official” hardware for that. I’ll save those for the real assembly. I’m headed for Houston tomorrow (on Labor Day no less!) for work so it might be another week or so before I get back after it.
Google Photos Link: https://photos.app.goo.gl/ZLrsMNSYi8q7DLtL8
Hours worked: 2.25