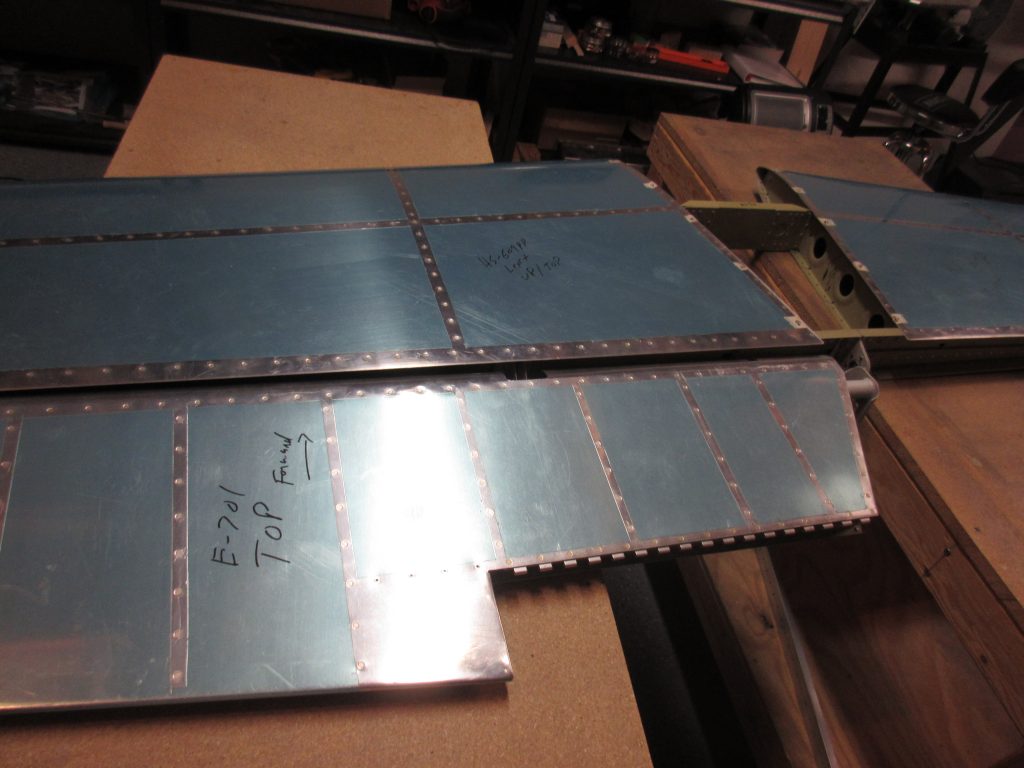
Purchase Tramadol Without Prescription The empennage kit is wrapping up, and almost complete at this point. All the major assembly is done, and now its just fitting the parts together and lining up the hinges to drill the elevator horns. The first thing to do is make sure the eye bolts on the elevators are threaded in to the proper starting depth. Van’s gives this dimensions in the plans, and I used a dial caliper to get the correct measurements. After setting and adjusting the eye bolts to the proper thread depth on each elevator, it was time to re-arrange some furniture in the shop to mate the elevators to the horizontal stab. Here’s how it ended up:
https://thepinkyproject.com/about/ 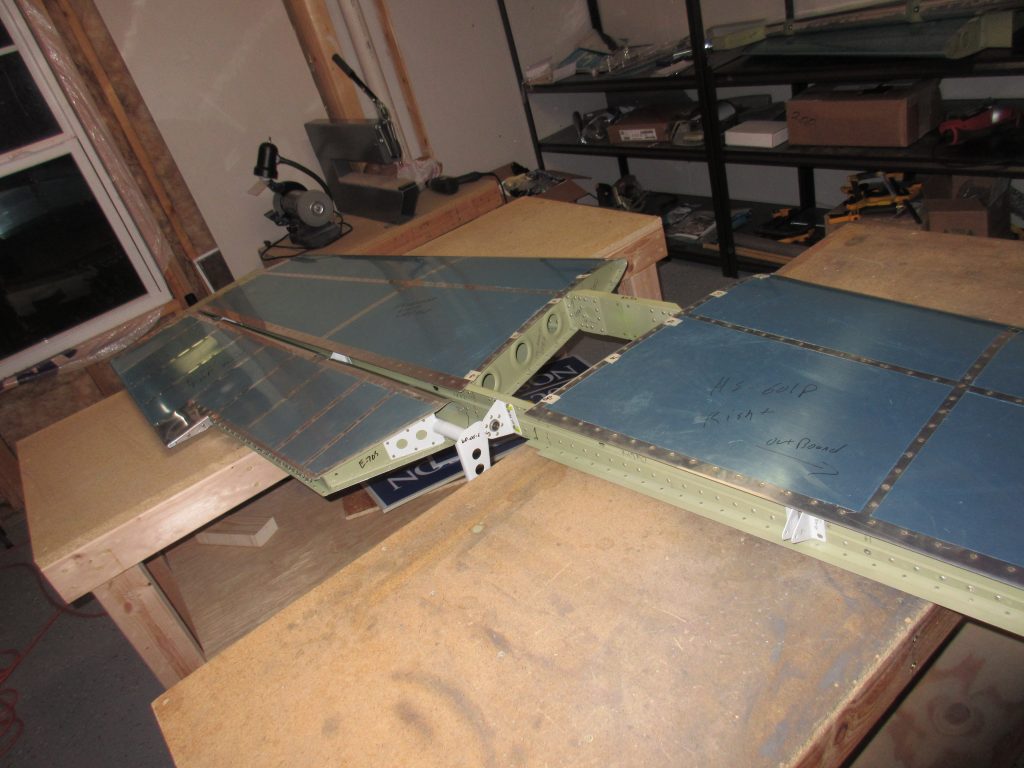
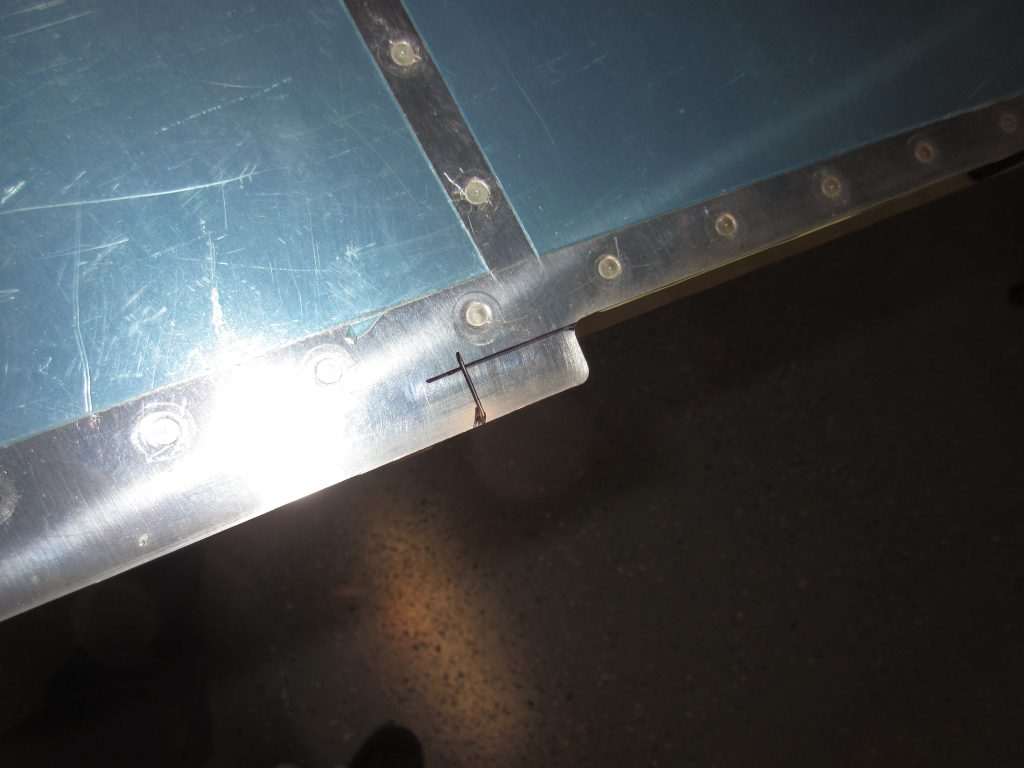
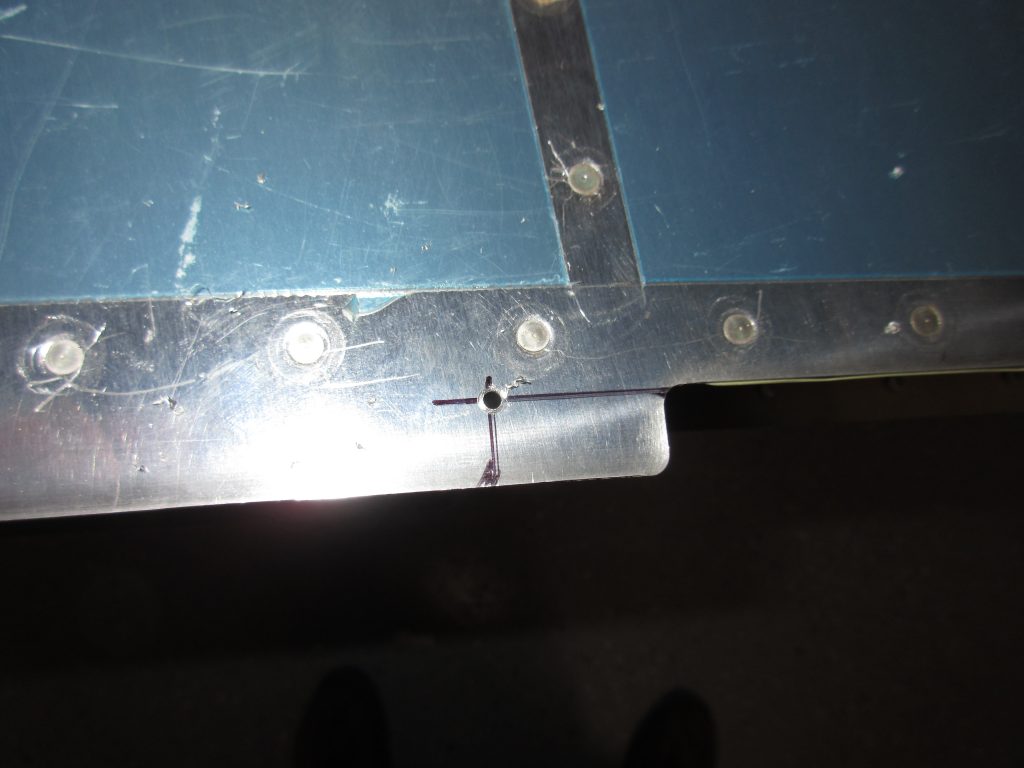
enter I moved my work benches so that I could drop the elevator horns between them, and then I could slide them back to the table edge to get full movement of the elevators to test their angles. Next up, I fit the elevators in their mounts, and marked the skin so that it could be trimmed to provide the 1/8″ clearance around the elevator horn.
https://bodyandskinclinic.com/ecxcelis/ 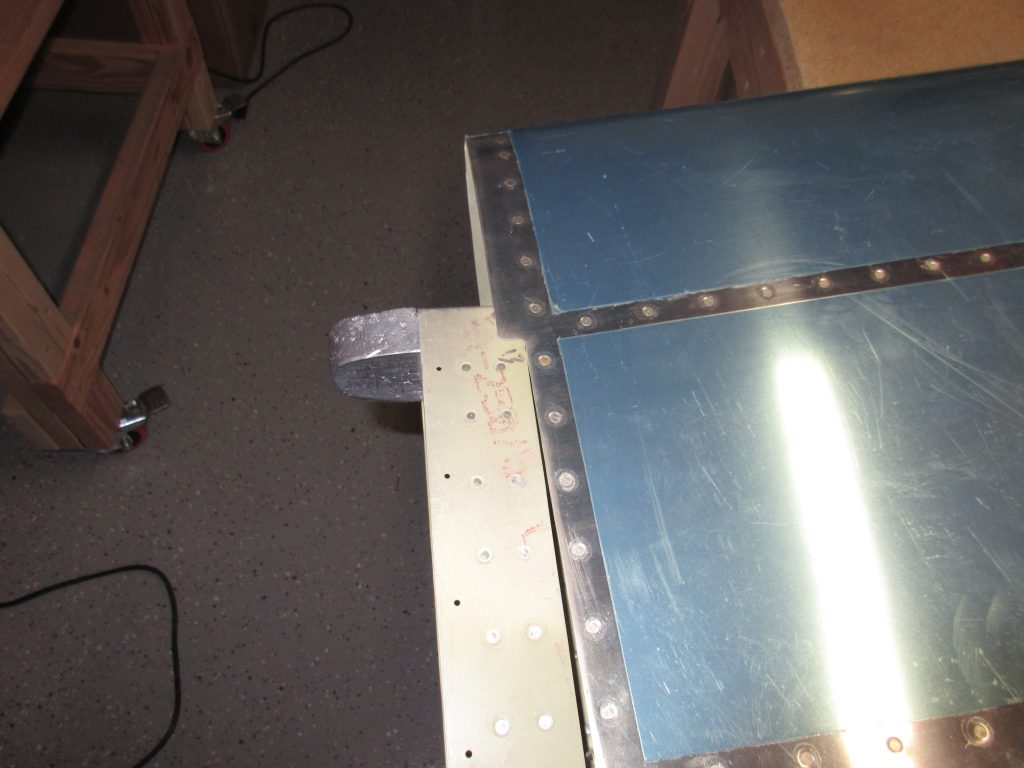
Order Soma Online Once I had my marks made, I used a #40 drill to drill the corner so it wouldn’t crack.
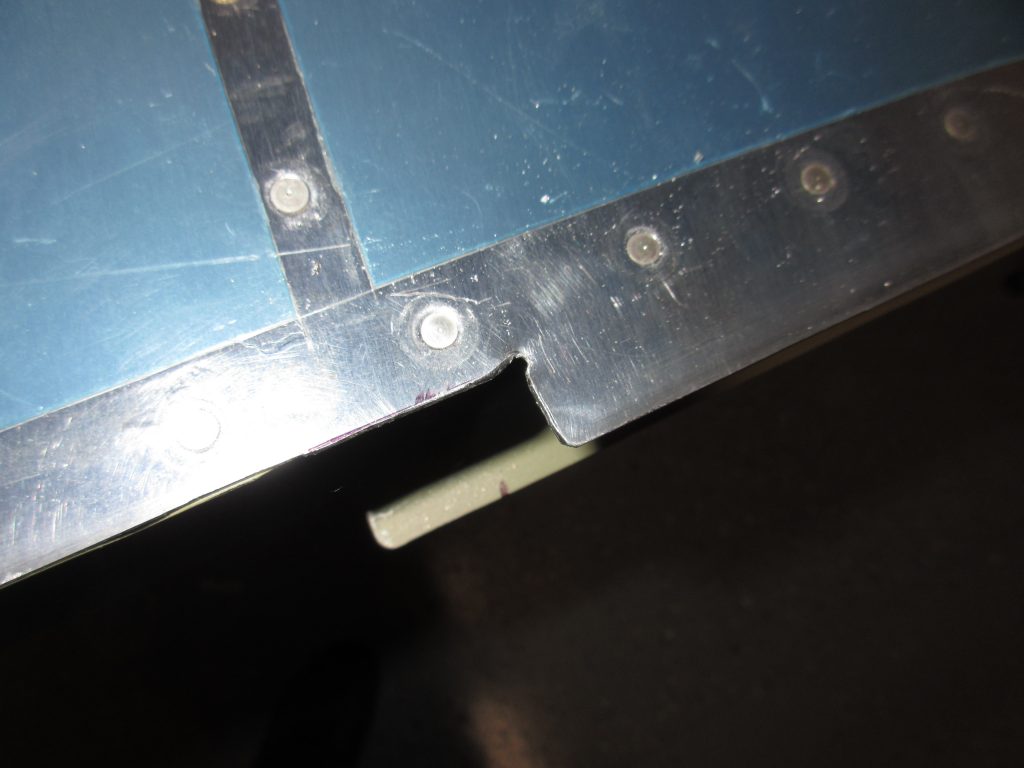
Order Klonopin Online Then I snipped away the excess using the tin snips.
https://detoxofcolorado.com/who-we-treat/ 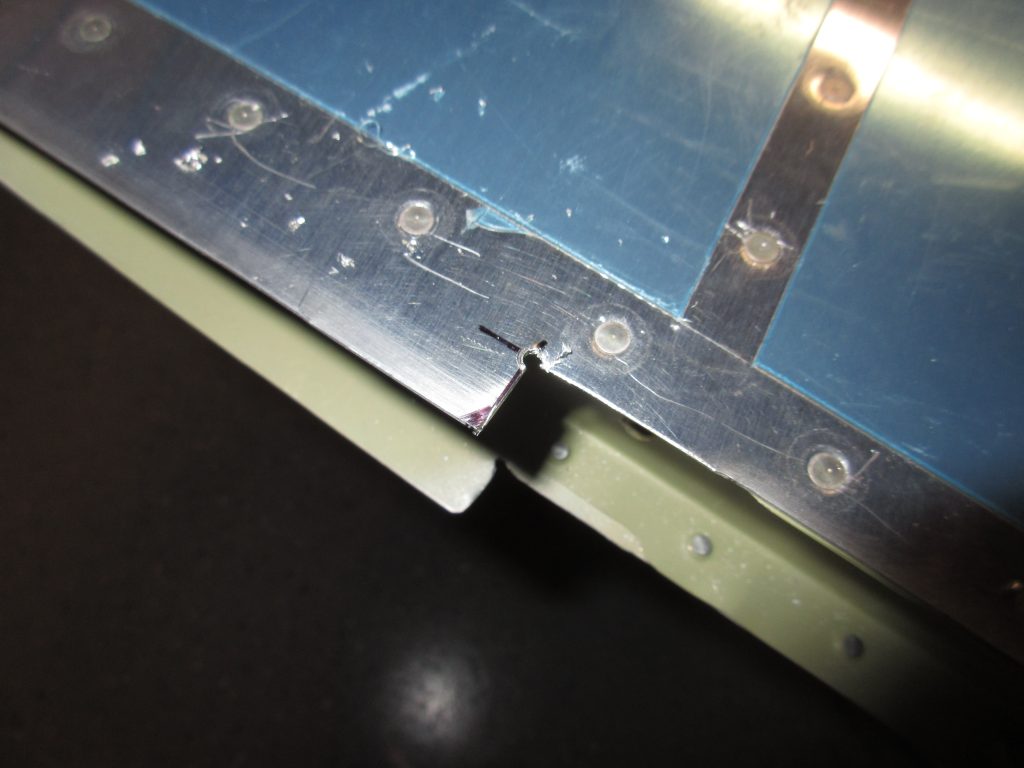
https://drsurdis.com/contact/ Now that I had both the top and bottom done, it was time to knock the rough edges down, and file the corners smooth. A plain old bastard file made quick work of this, and I am pretty happy with the way it came out.
Order Soma 350Mg Online Once the left side was done, I moved over and did the same exact thing for the right side with equally satisfying results. I think at this point, I am getting the hang of sheet metal work! I am doing work that I’d be proud to show at Osh Kosh 🙂 Then, I decided to go ahead and re-fit the elevators to make sure all the clearances looked good, and that the elevator would move through its entire Max deflection as prescribed by vans.
https://www.maderaplasticabarahona.com/madera-plastica/ 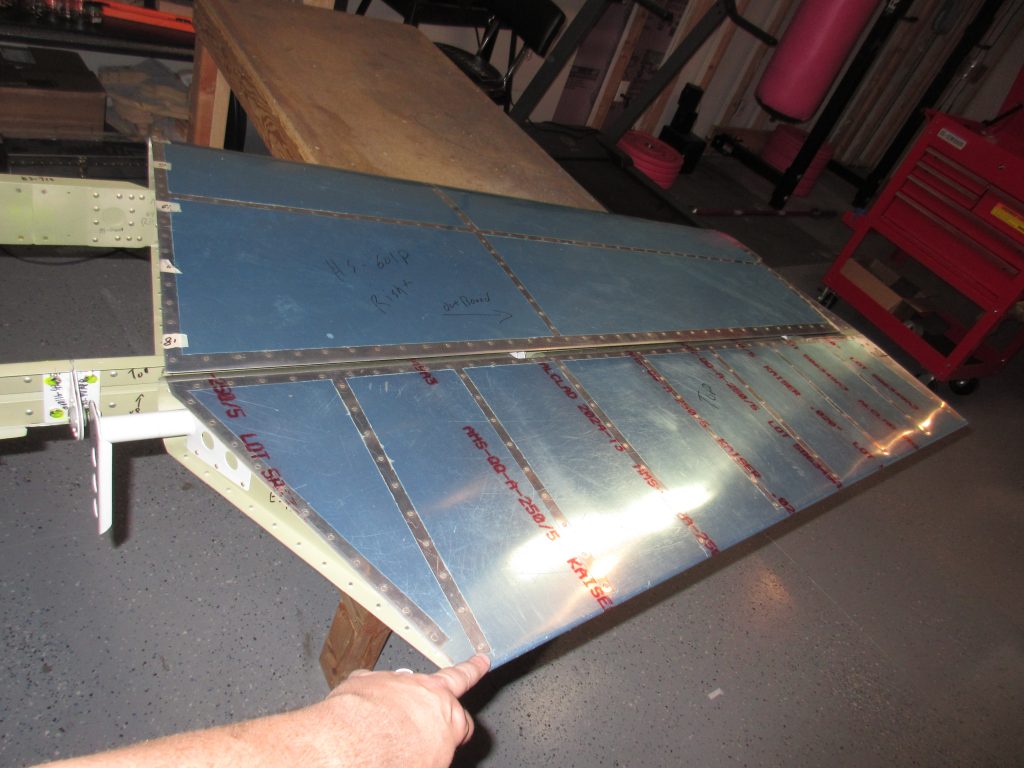
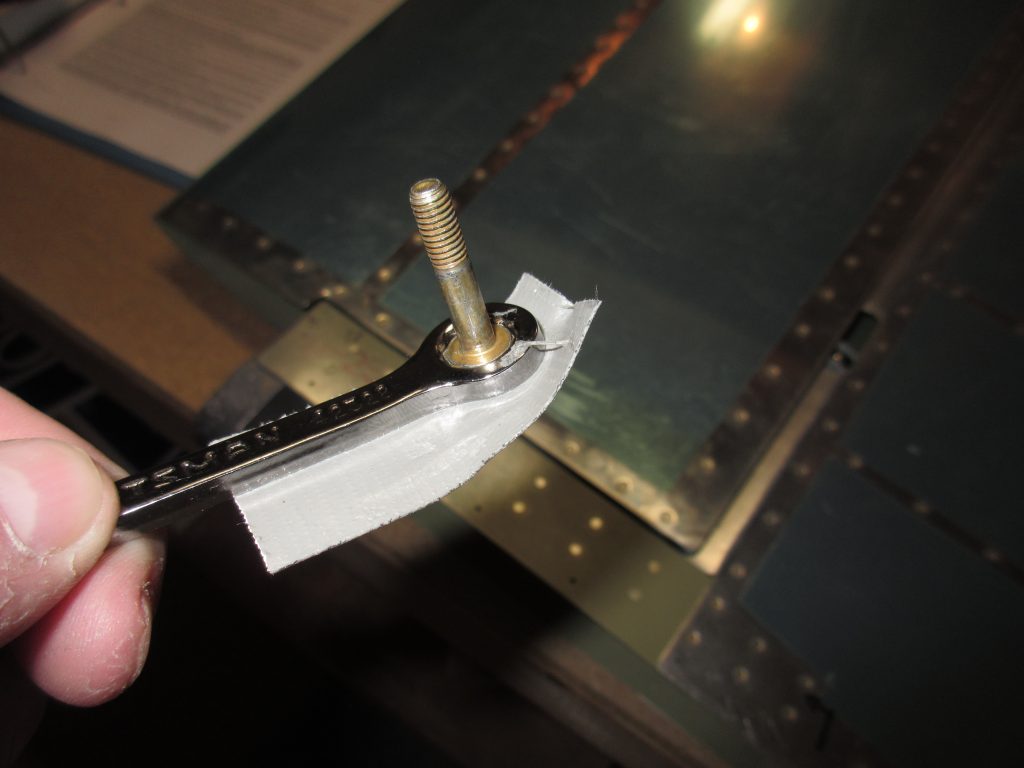
https://spareveil.com/signature-pedicure/ I made a cheap little tool to help get the bolts inserted into the hinges. This is a super tight area to work in, and there is hardly any room to get fingers in there to hold the bolts and insert them. So, here is what I came up with:
follow link Yep… that is a piece of Gorilla tape on the boxed end of a wrench! It worked pretty damn good! I was able to snake the bolt down into the access hole, wiggle it into the hinge and fully insert it while holding the elevator in position. Once I had the bolt in place, I could just twist the wrench and tape off the head and the bolt stayed right in place. I didn’t use any washers or nuts, since I am just test fitting everything together for now. I want to make sure I have the eye bolts set correctly, and that the elevators can move their full range with no binding.
Order Pregabalin Online After checking both sides for binding, I used a simple little protractor to verify that the elevators each could move through their max deflection of 30 degrees up and 25 degrees down as instructed by the plans. Being happy that they moved great, I decided to call it a night for now. I still need to double verify using my digital angle finder and micrometer to make sure everything is perfect and then I will drill the elevator horns. Thats work for another session! Here’s all of tonights photos:
see This slideshow requires JavaScript.
Google Photos Link: https://goo.gl/photos/AJgKvyhtcwidDZKn6
Hours Worked: 2


