


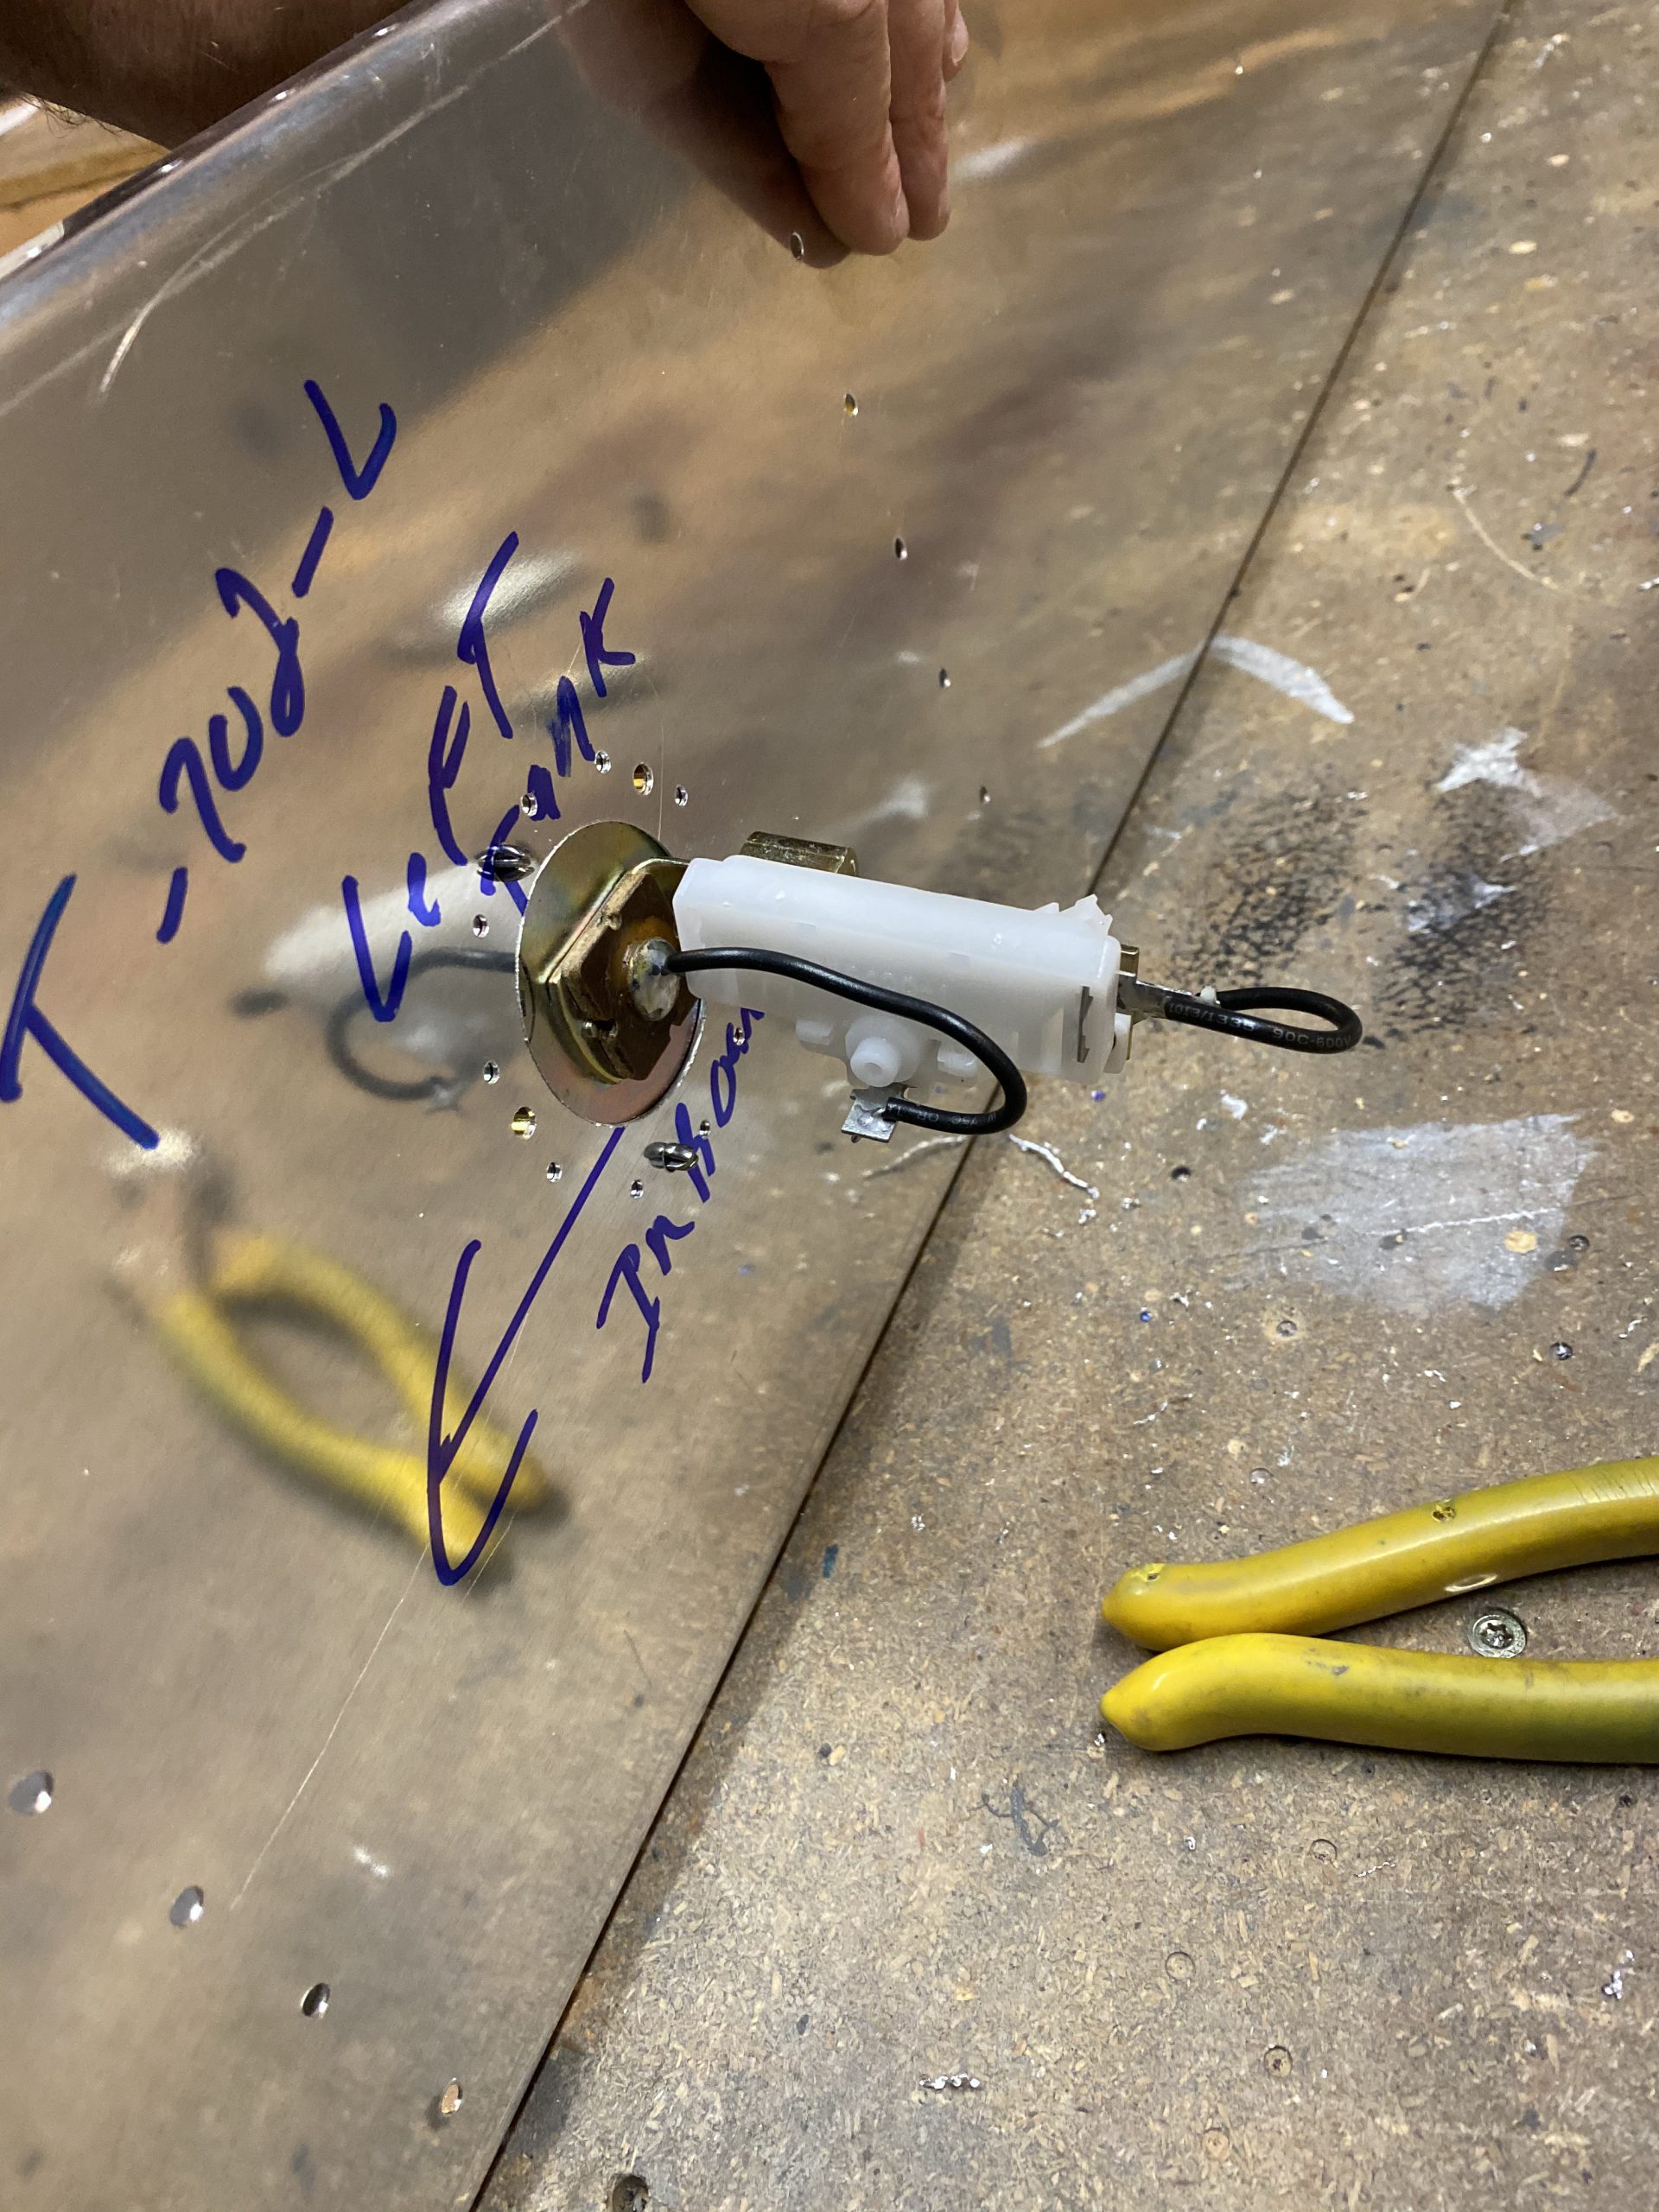
Tonight I was able to accomplish a part of the fuel tanks that I’ve been worried about. The left tank fuel sender. My left tank is my “acro” tank, and as such has a flop tube installed in the inner most bay, and that forces us to move the float style fuel sender into one of the inner bays. That brings its own problem: You can’t use the end rib access plate to install the sender, leaving you to custom cut and mount the fuel sender in the baffle itself! I’ve read up on this for a bit, and put a bunch of thought into it, and I decided a way to tackle it. At this point, I am also out of rubber gloves so I can’t do any more sealant work, and with COVID-19 going on rubber gloves are sort of hard to find! So, I figured I would work on this as its coming up REAL quick and this would be a good time to go ahead and get this done.
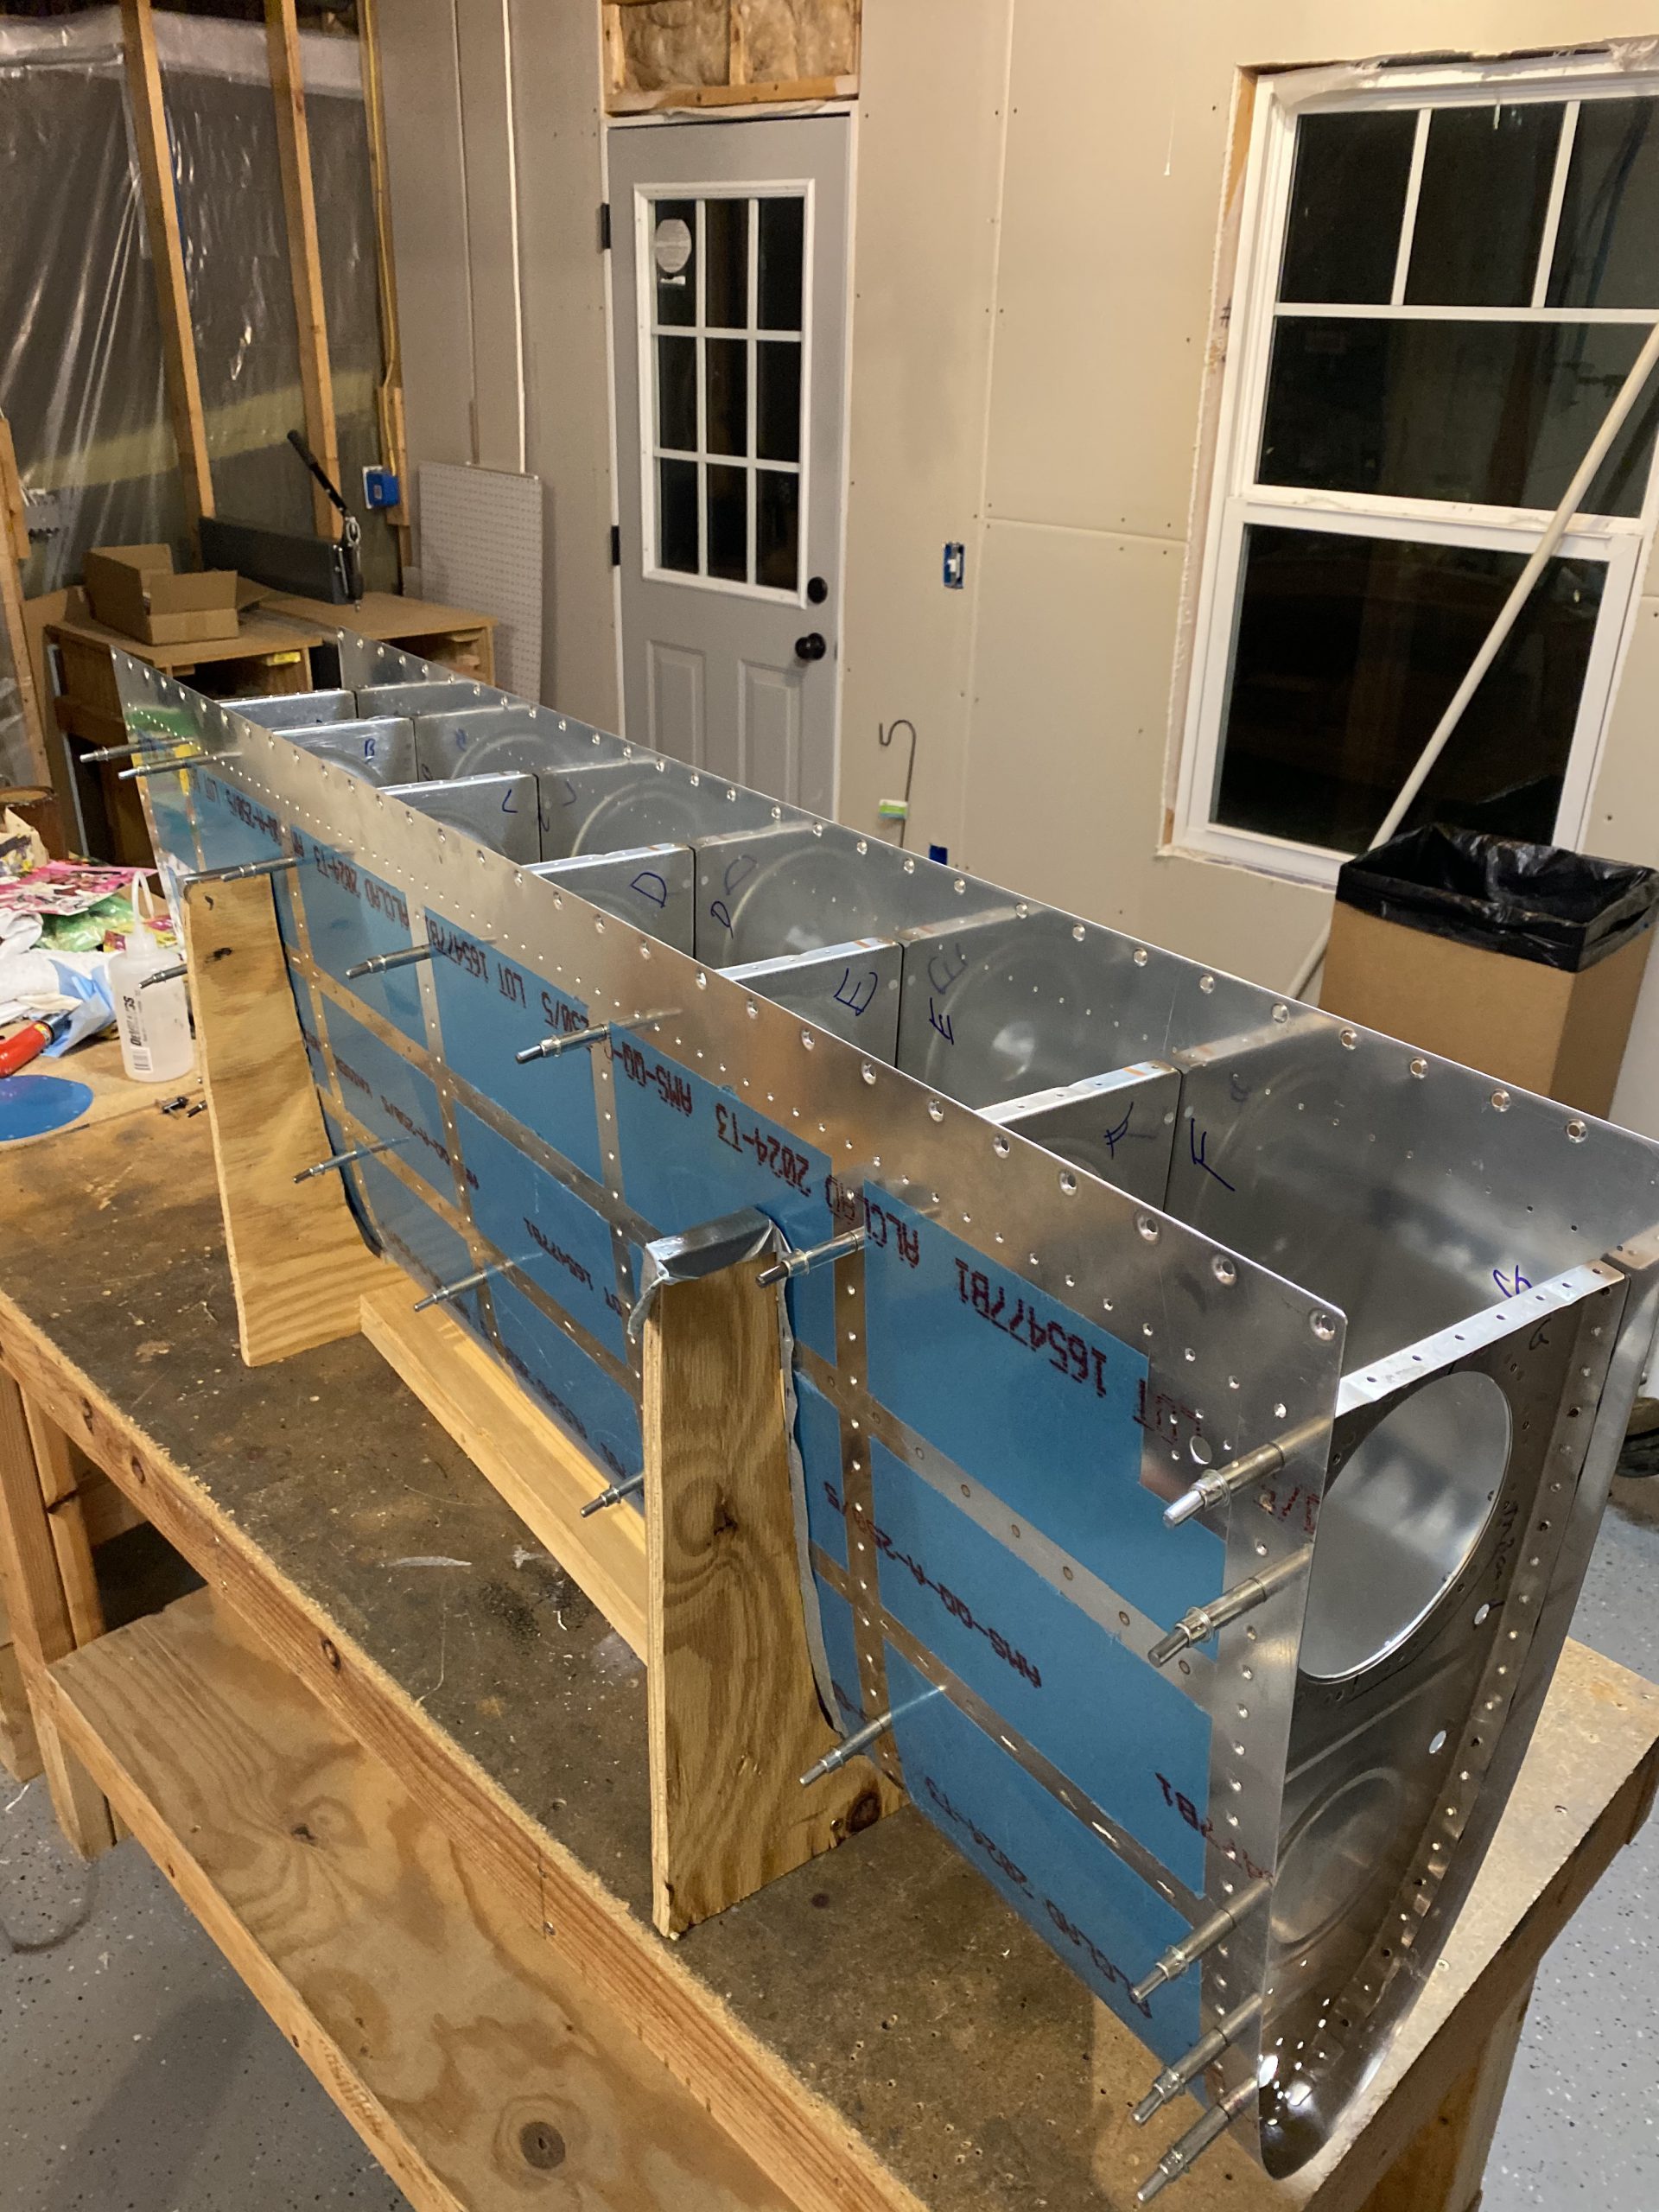
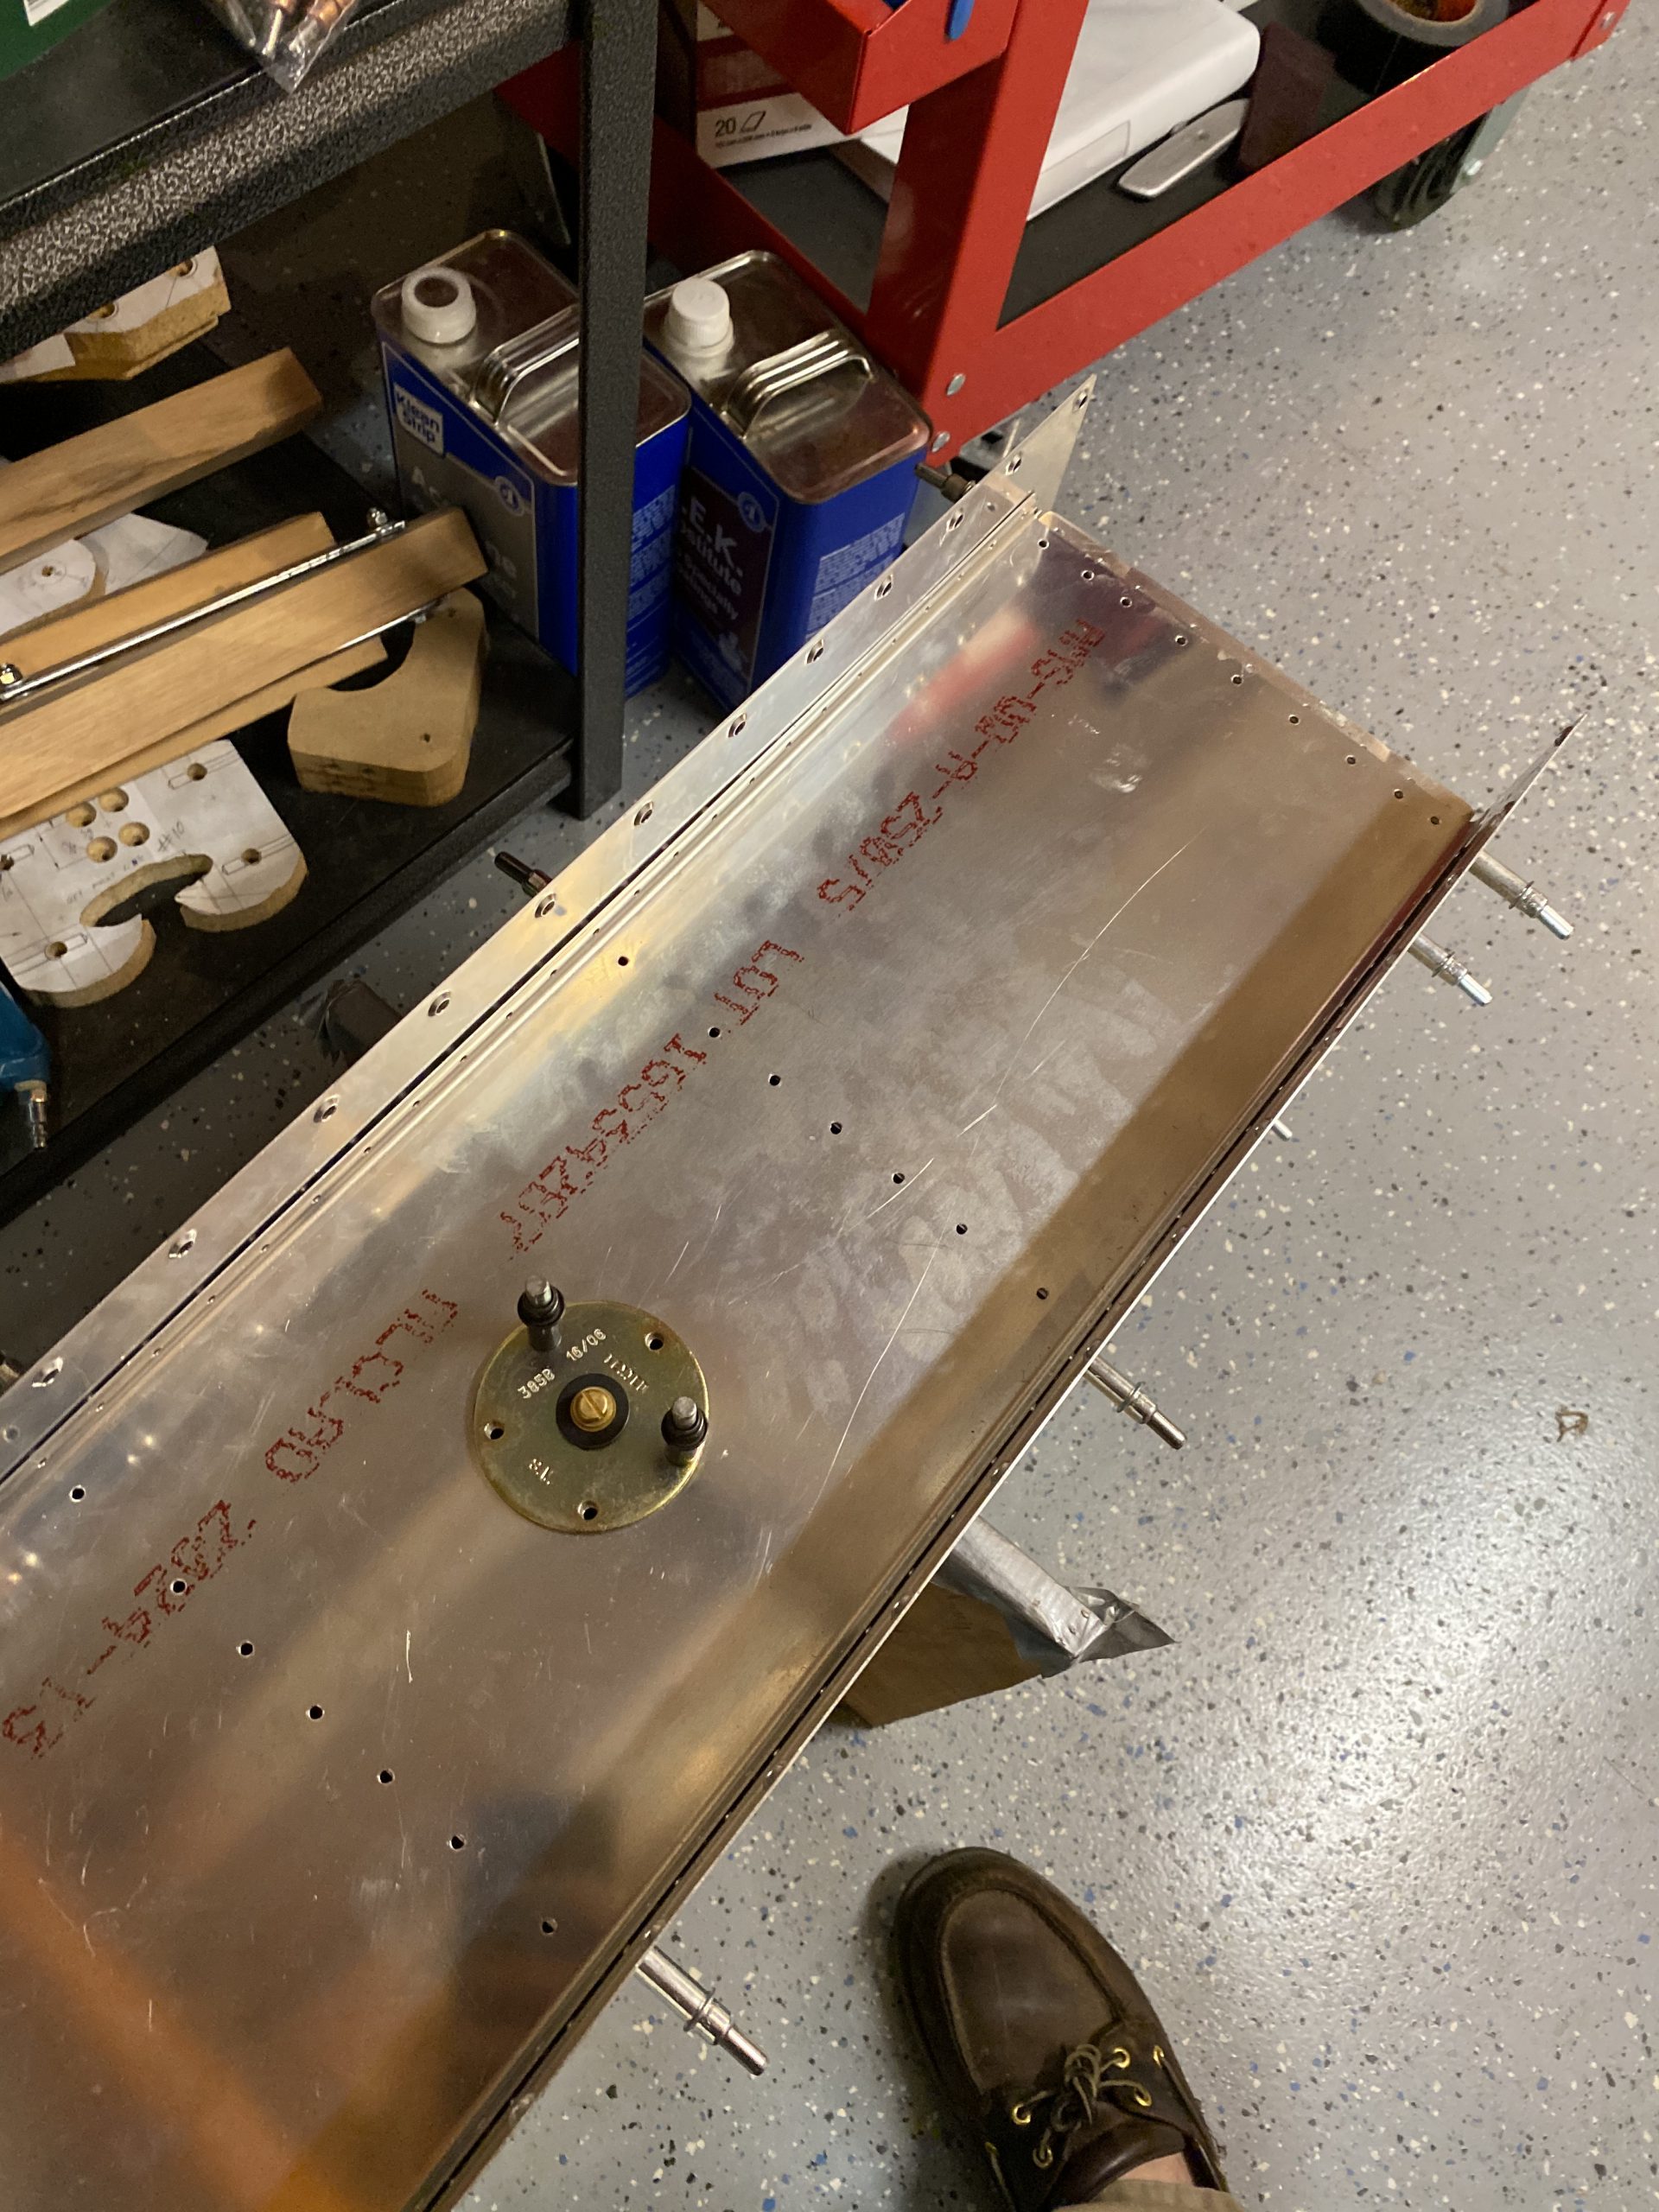
I started out by sticking the left tank into the leading edge jig, and fitting the ribs back in and clecoing them in place. I left out the two inboard ribs, so that I could see the sender and be able to adjust the float wire accordingly.
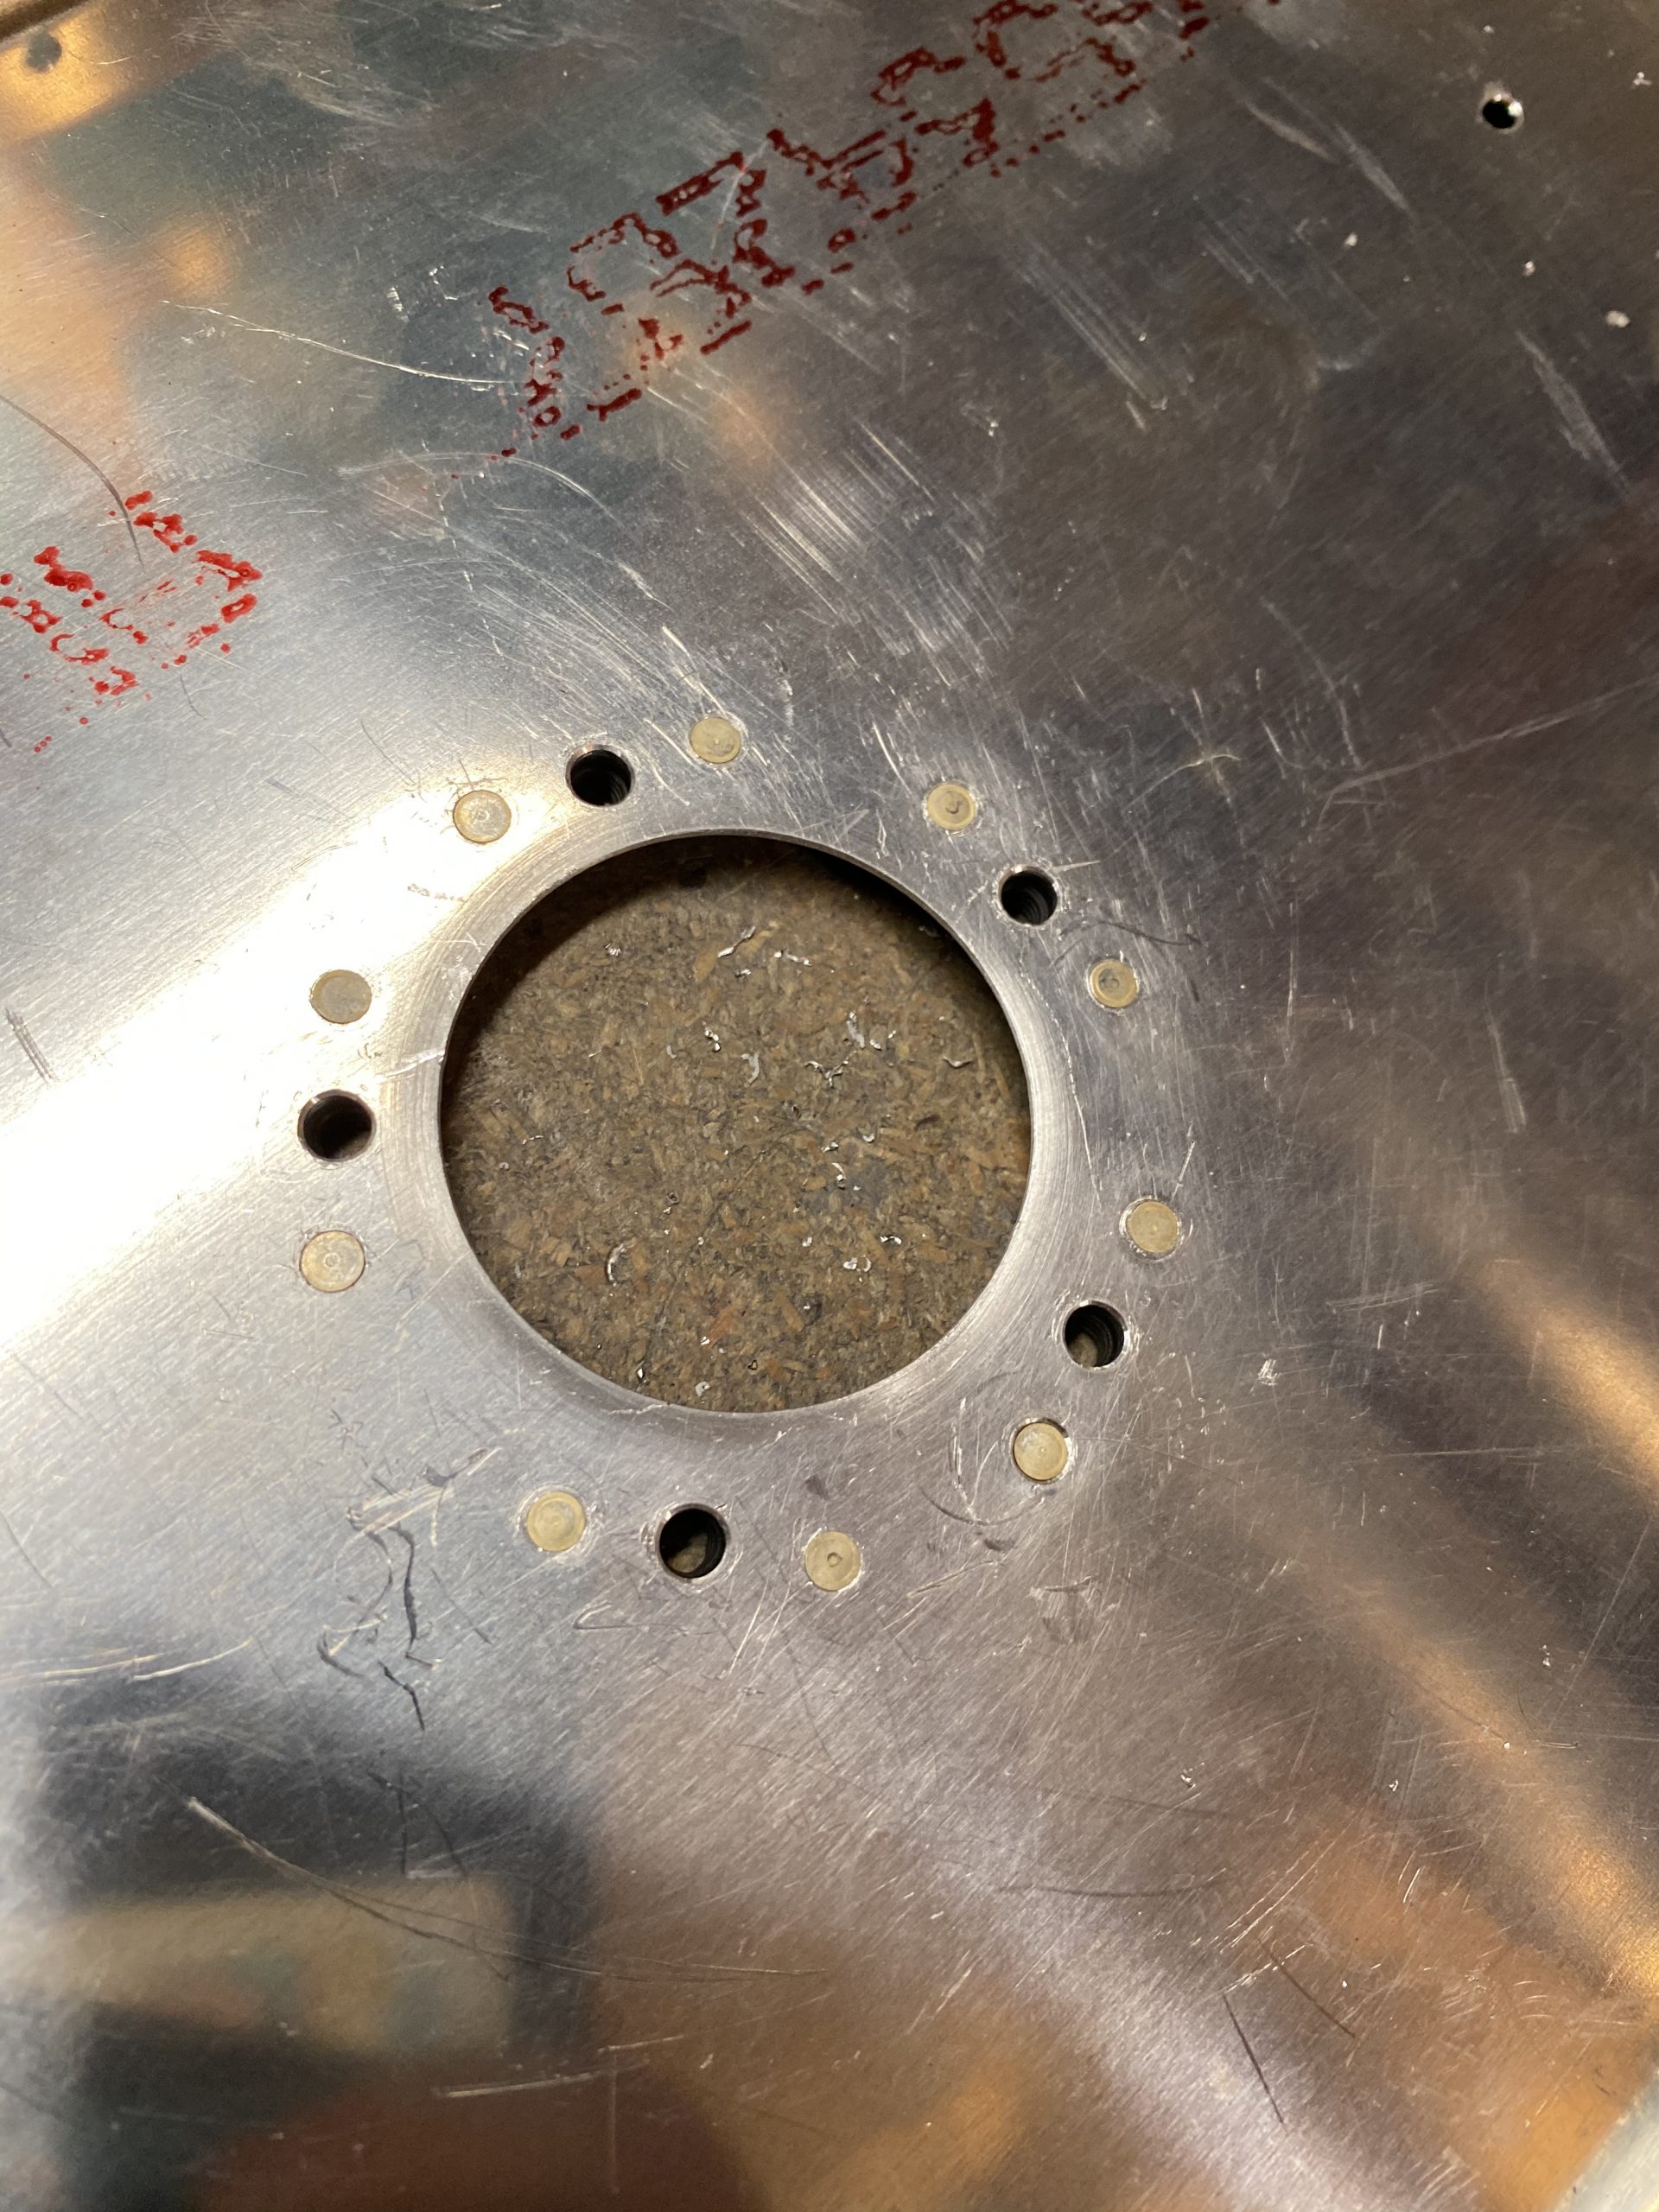
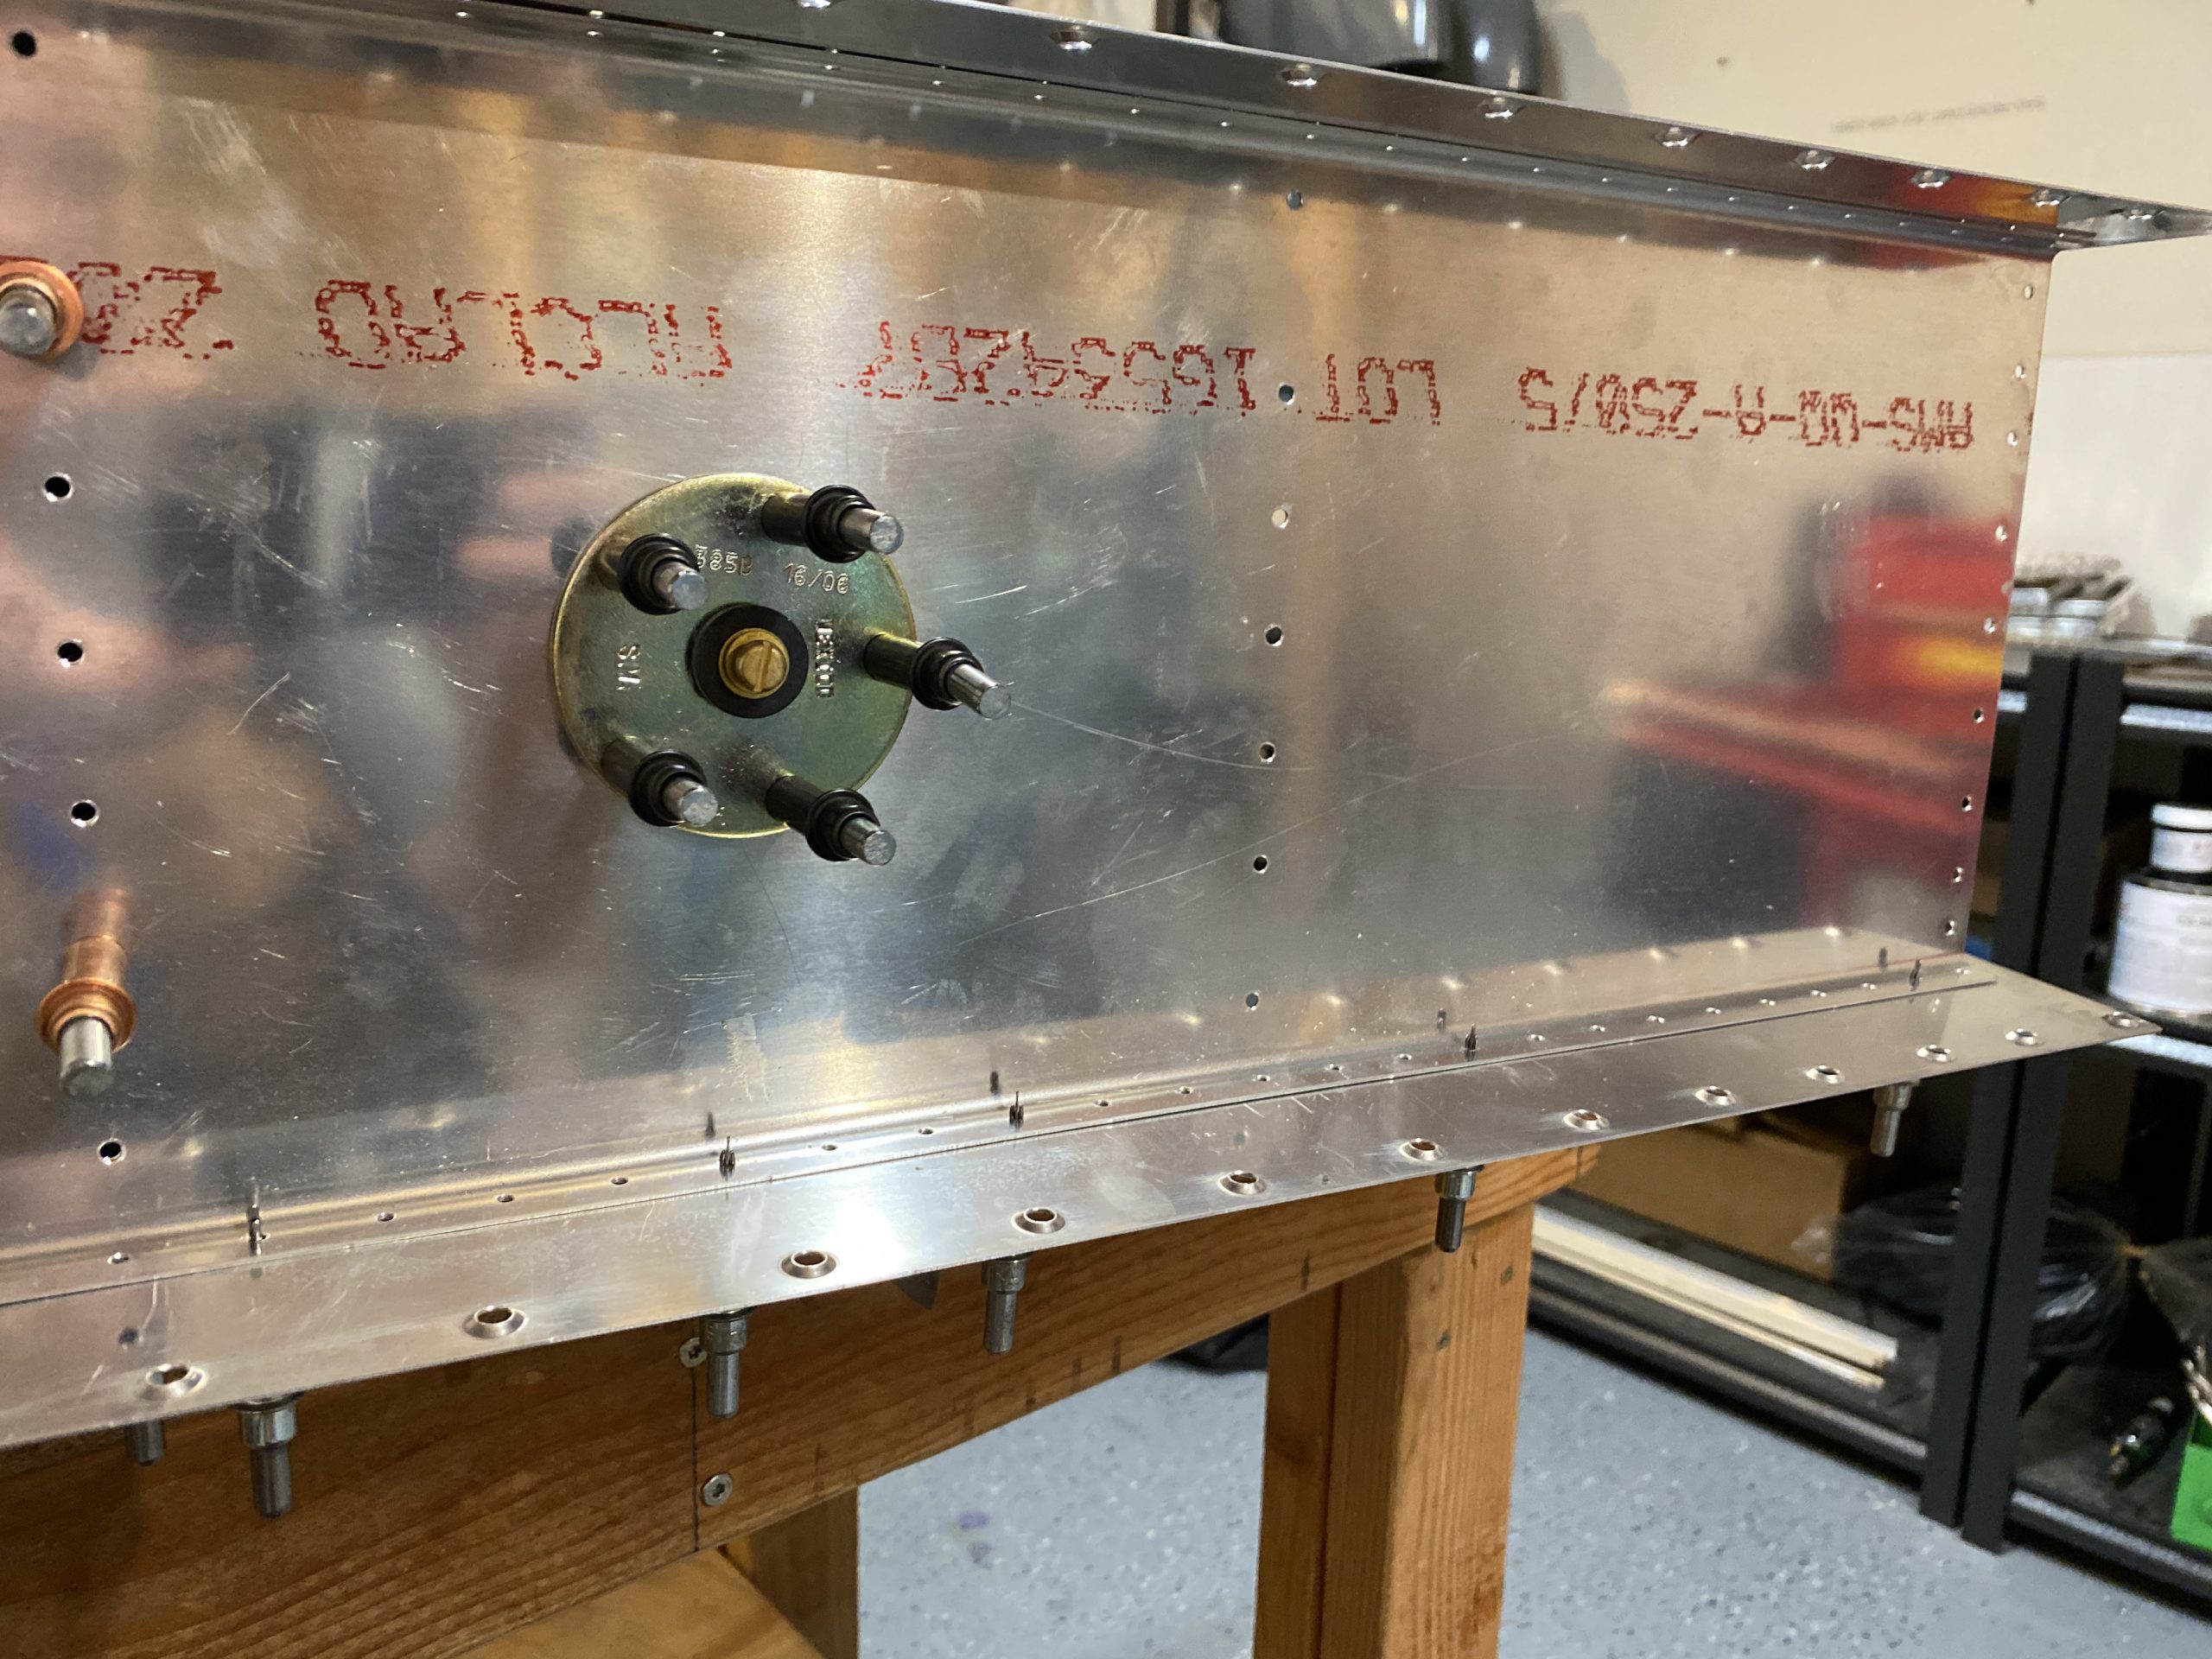
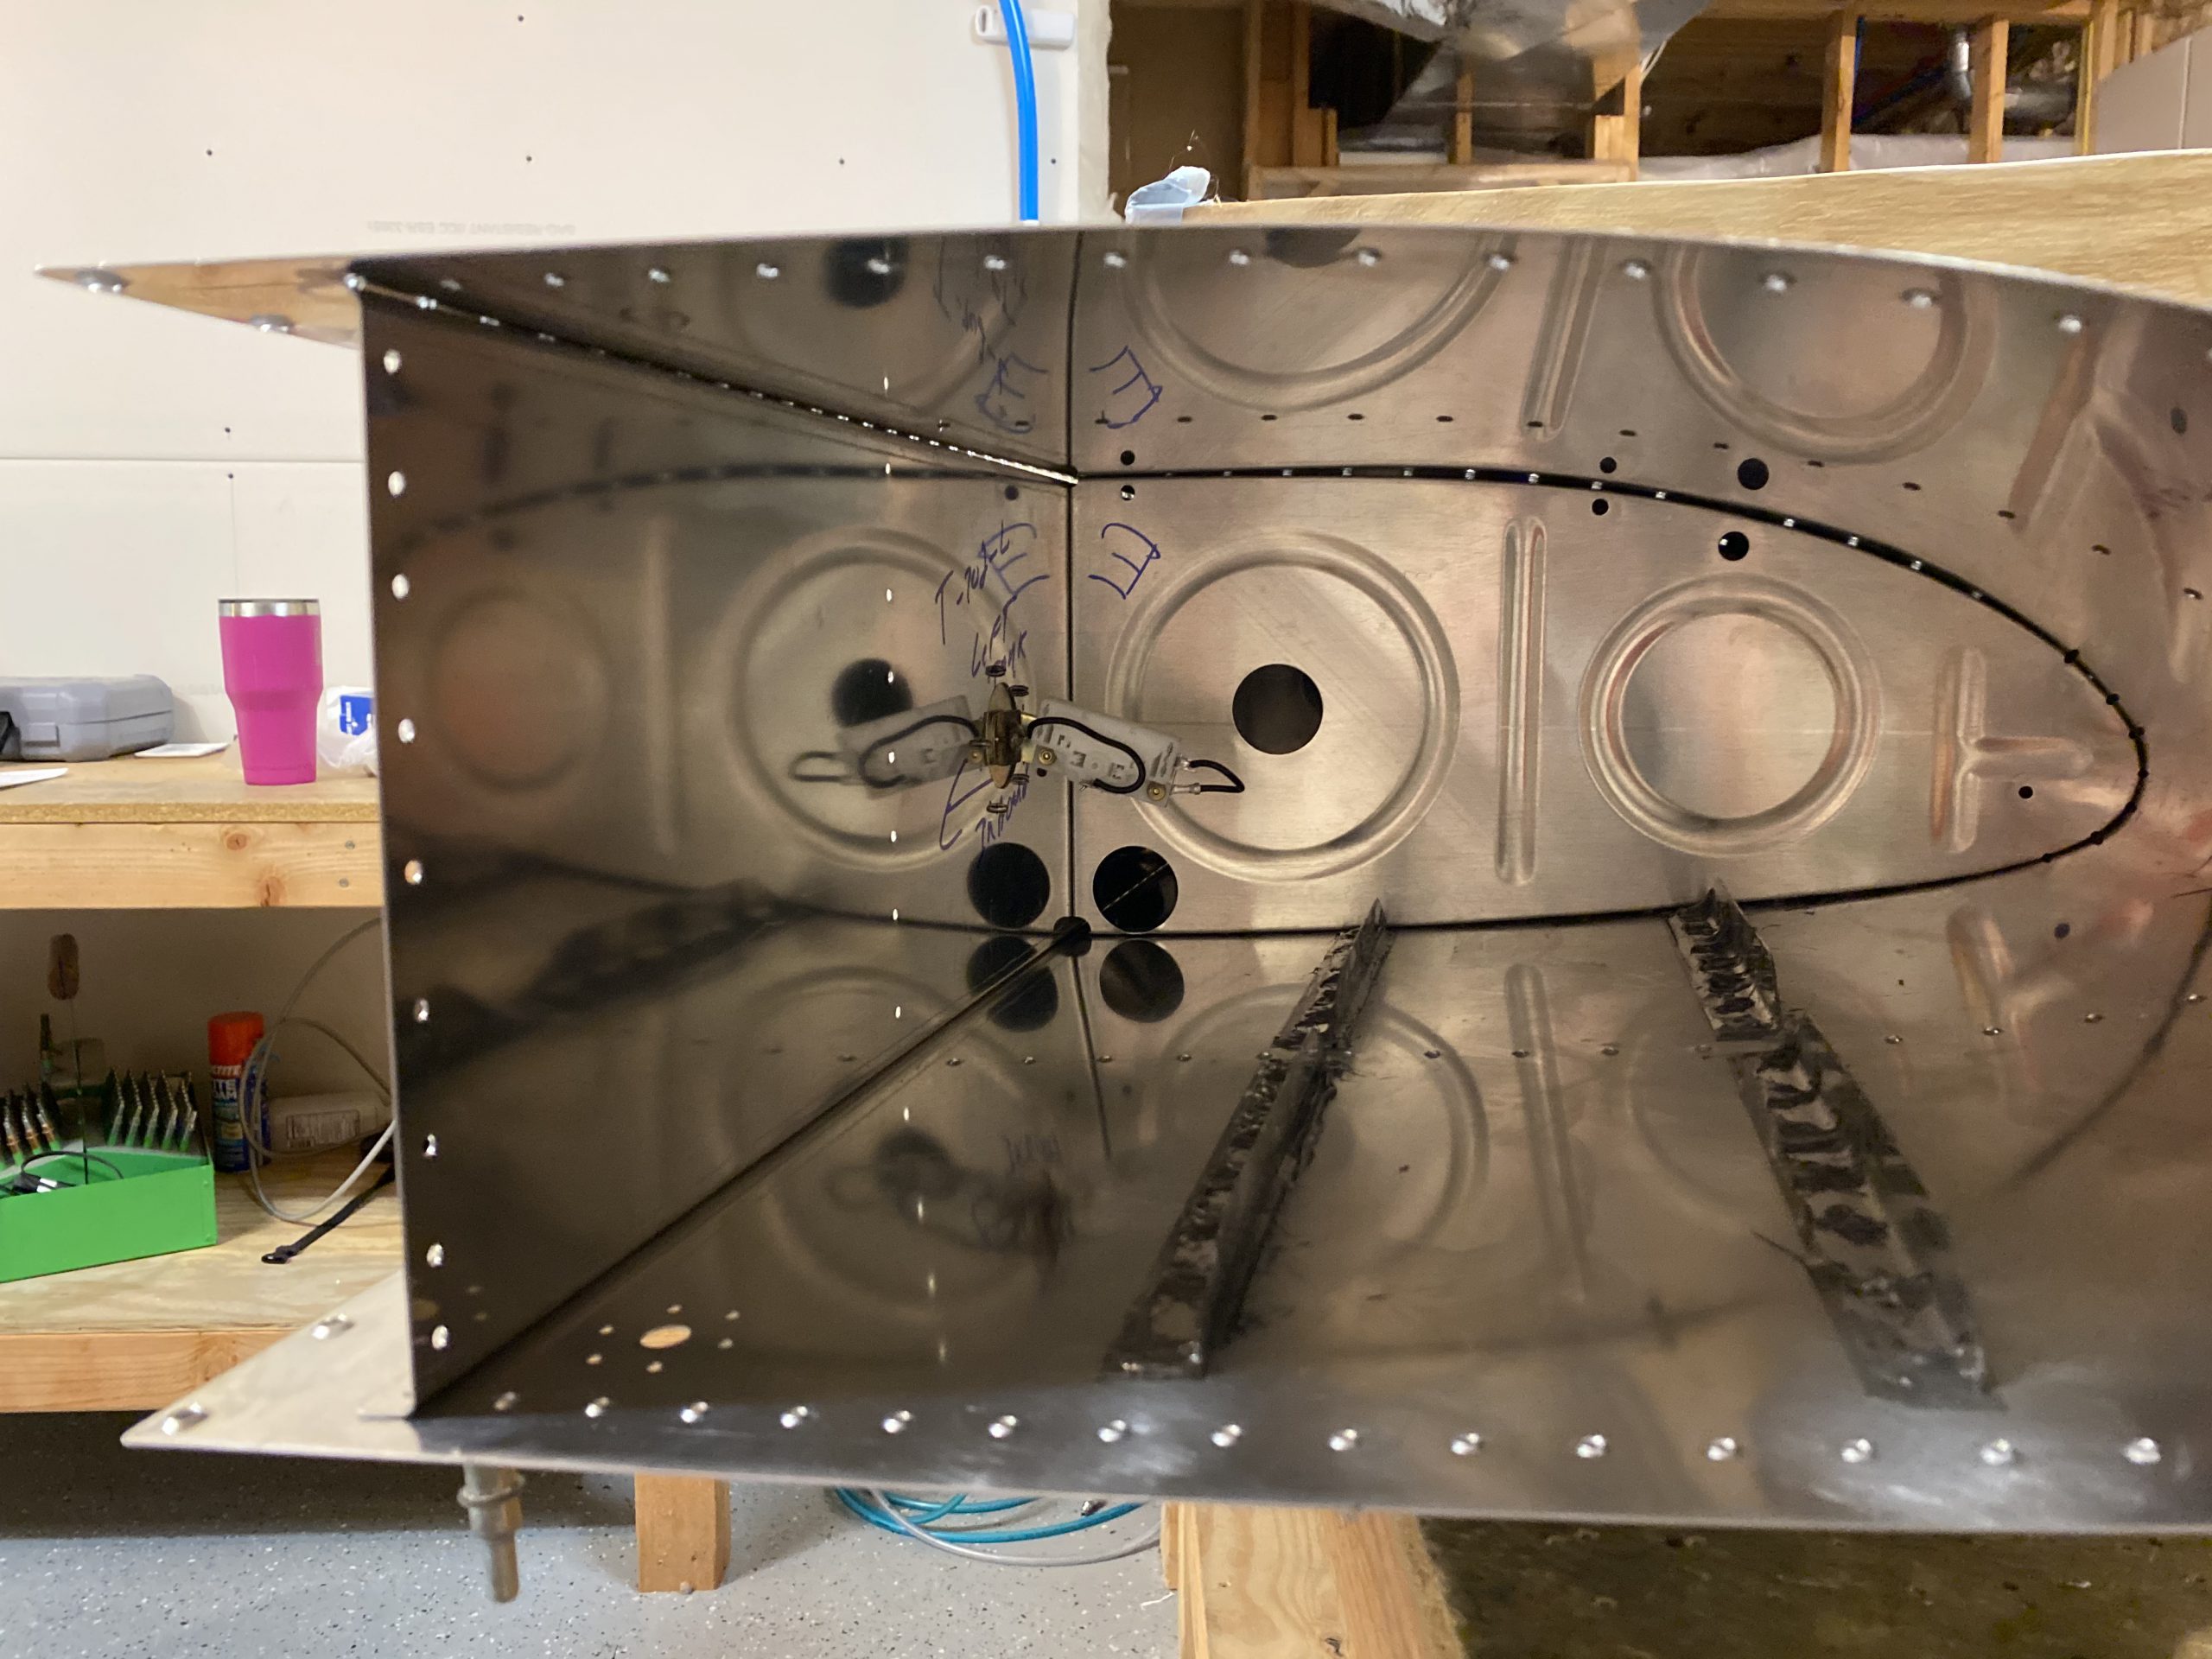
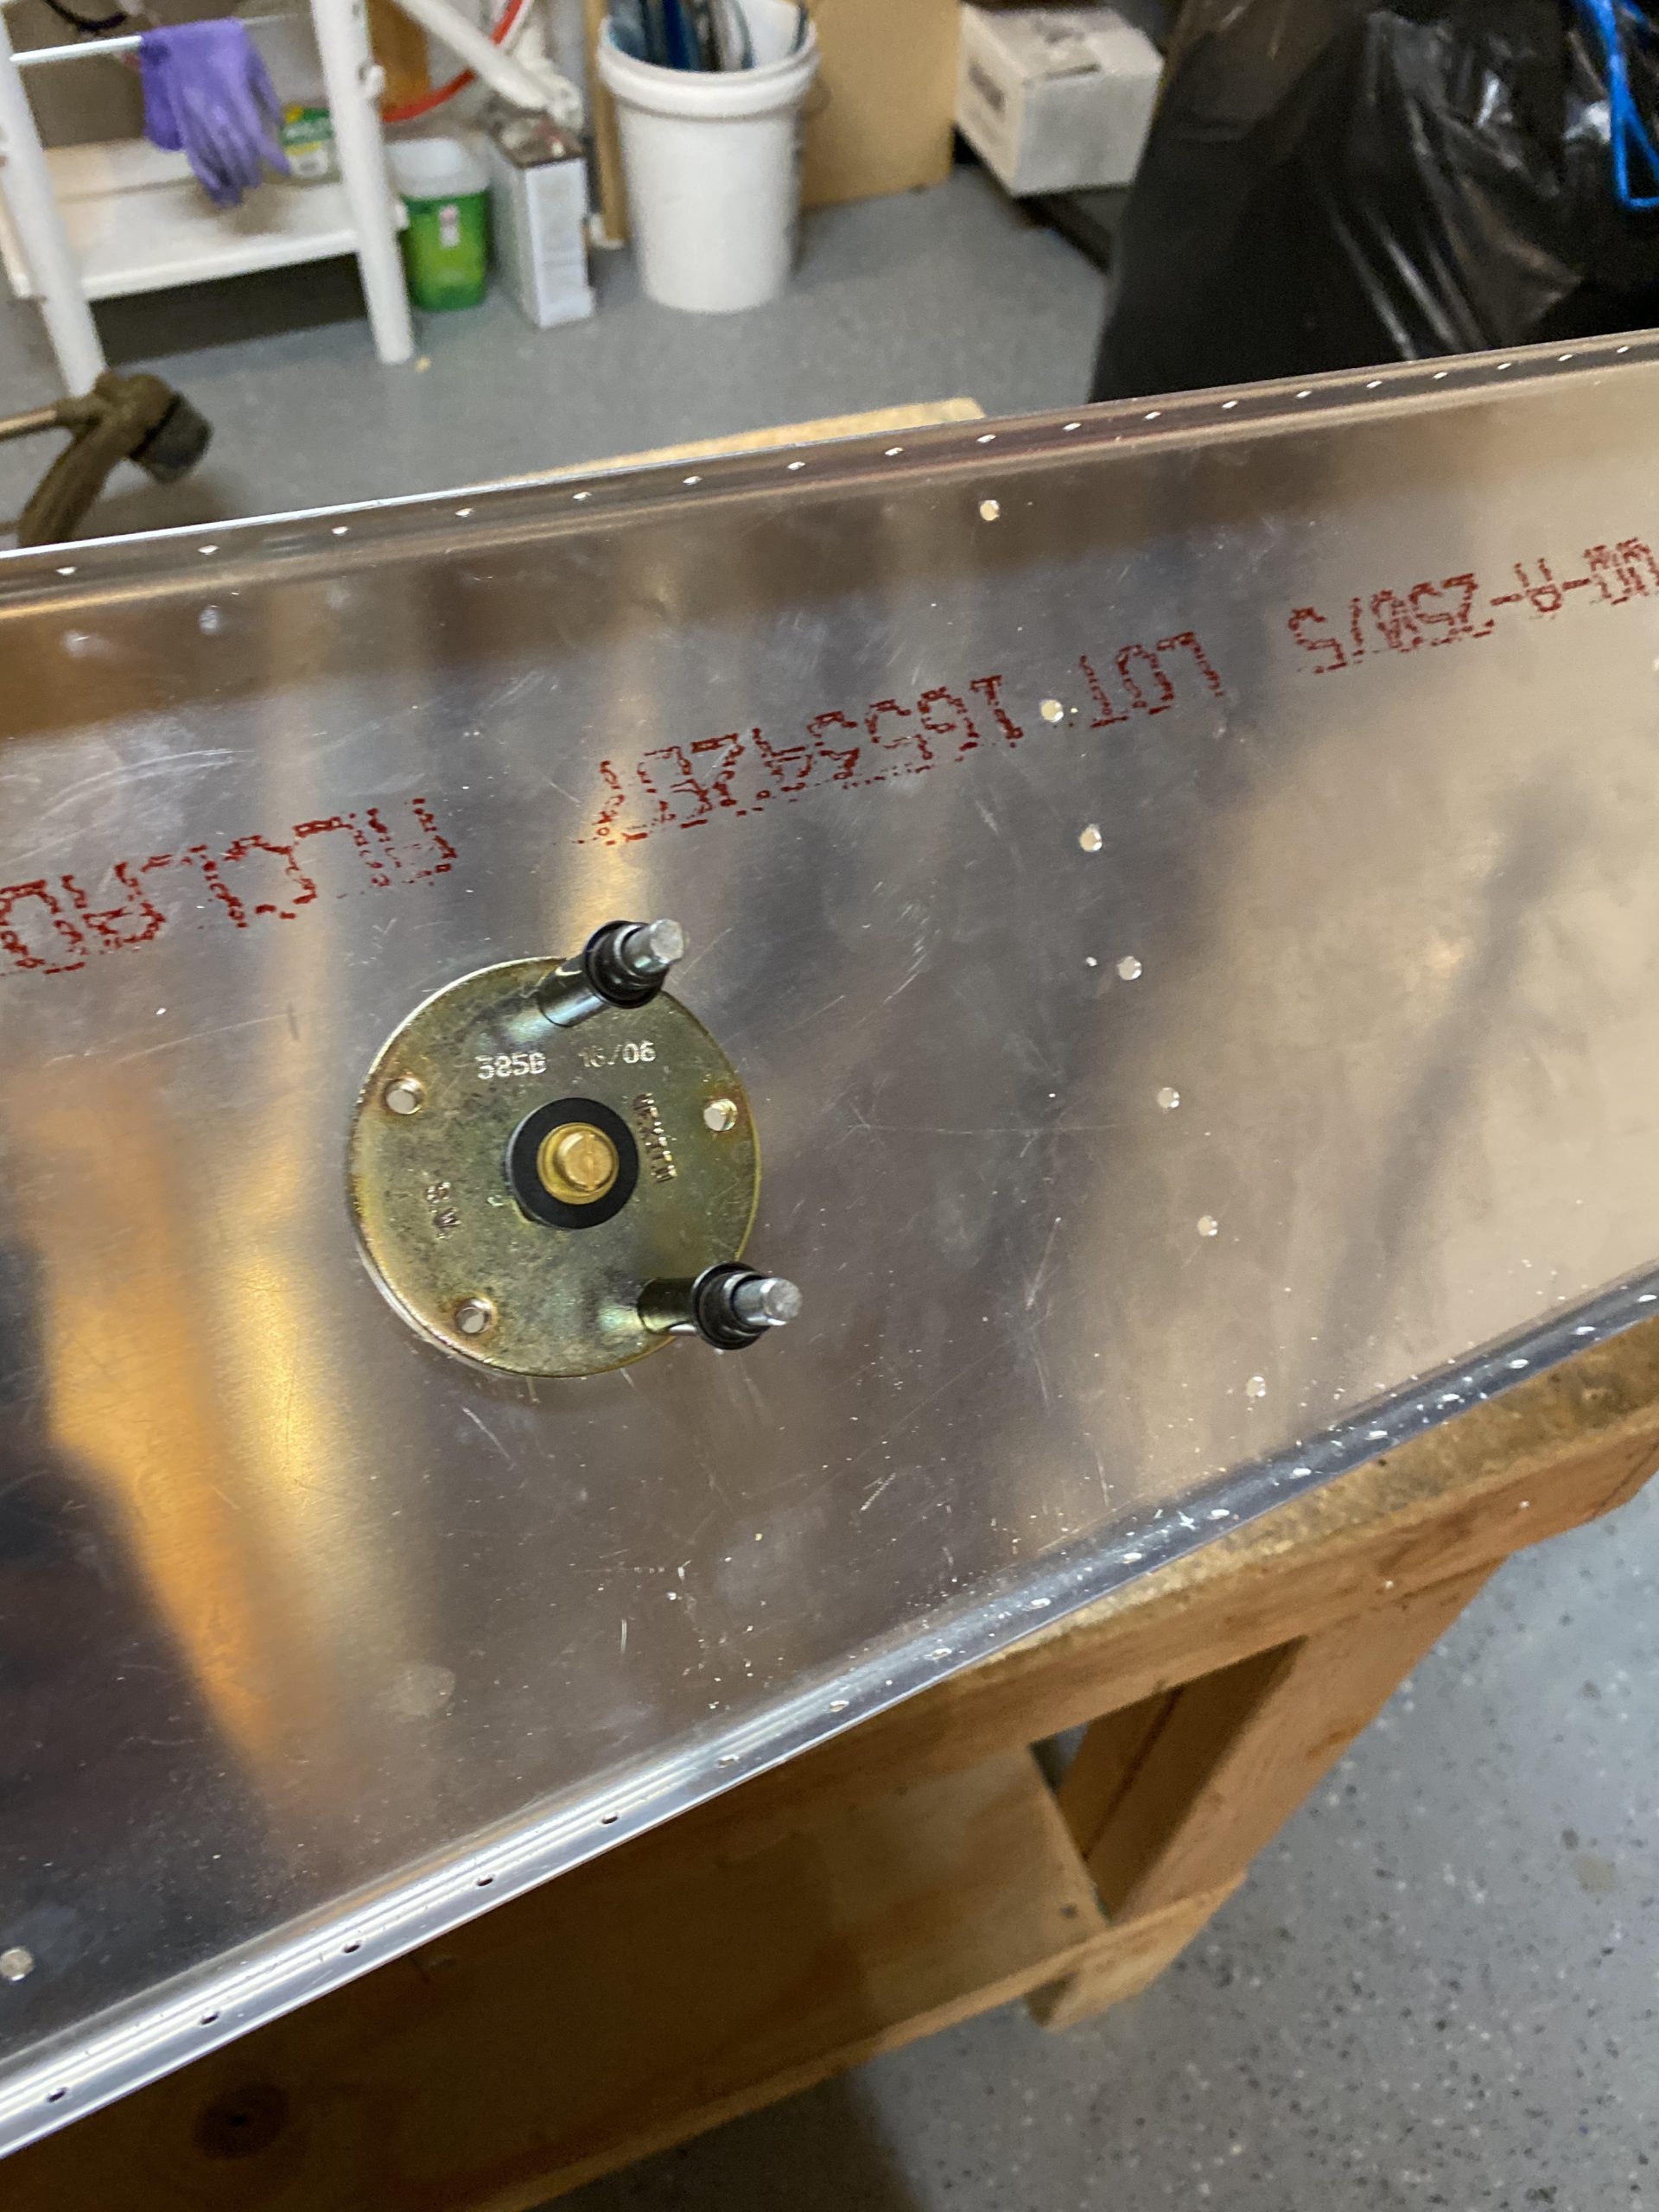
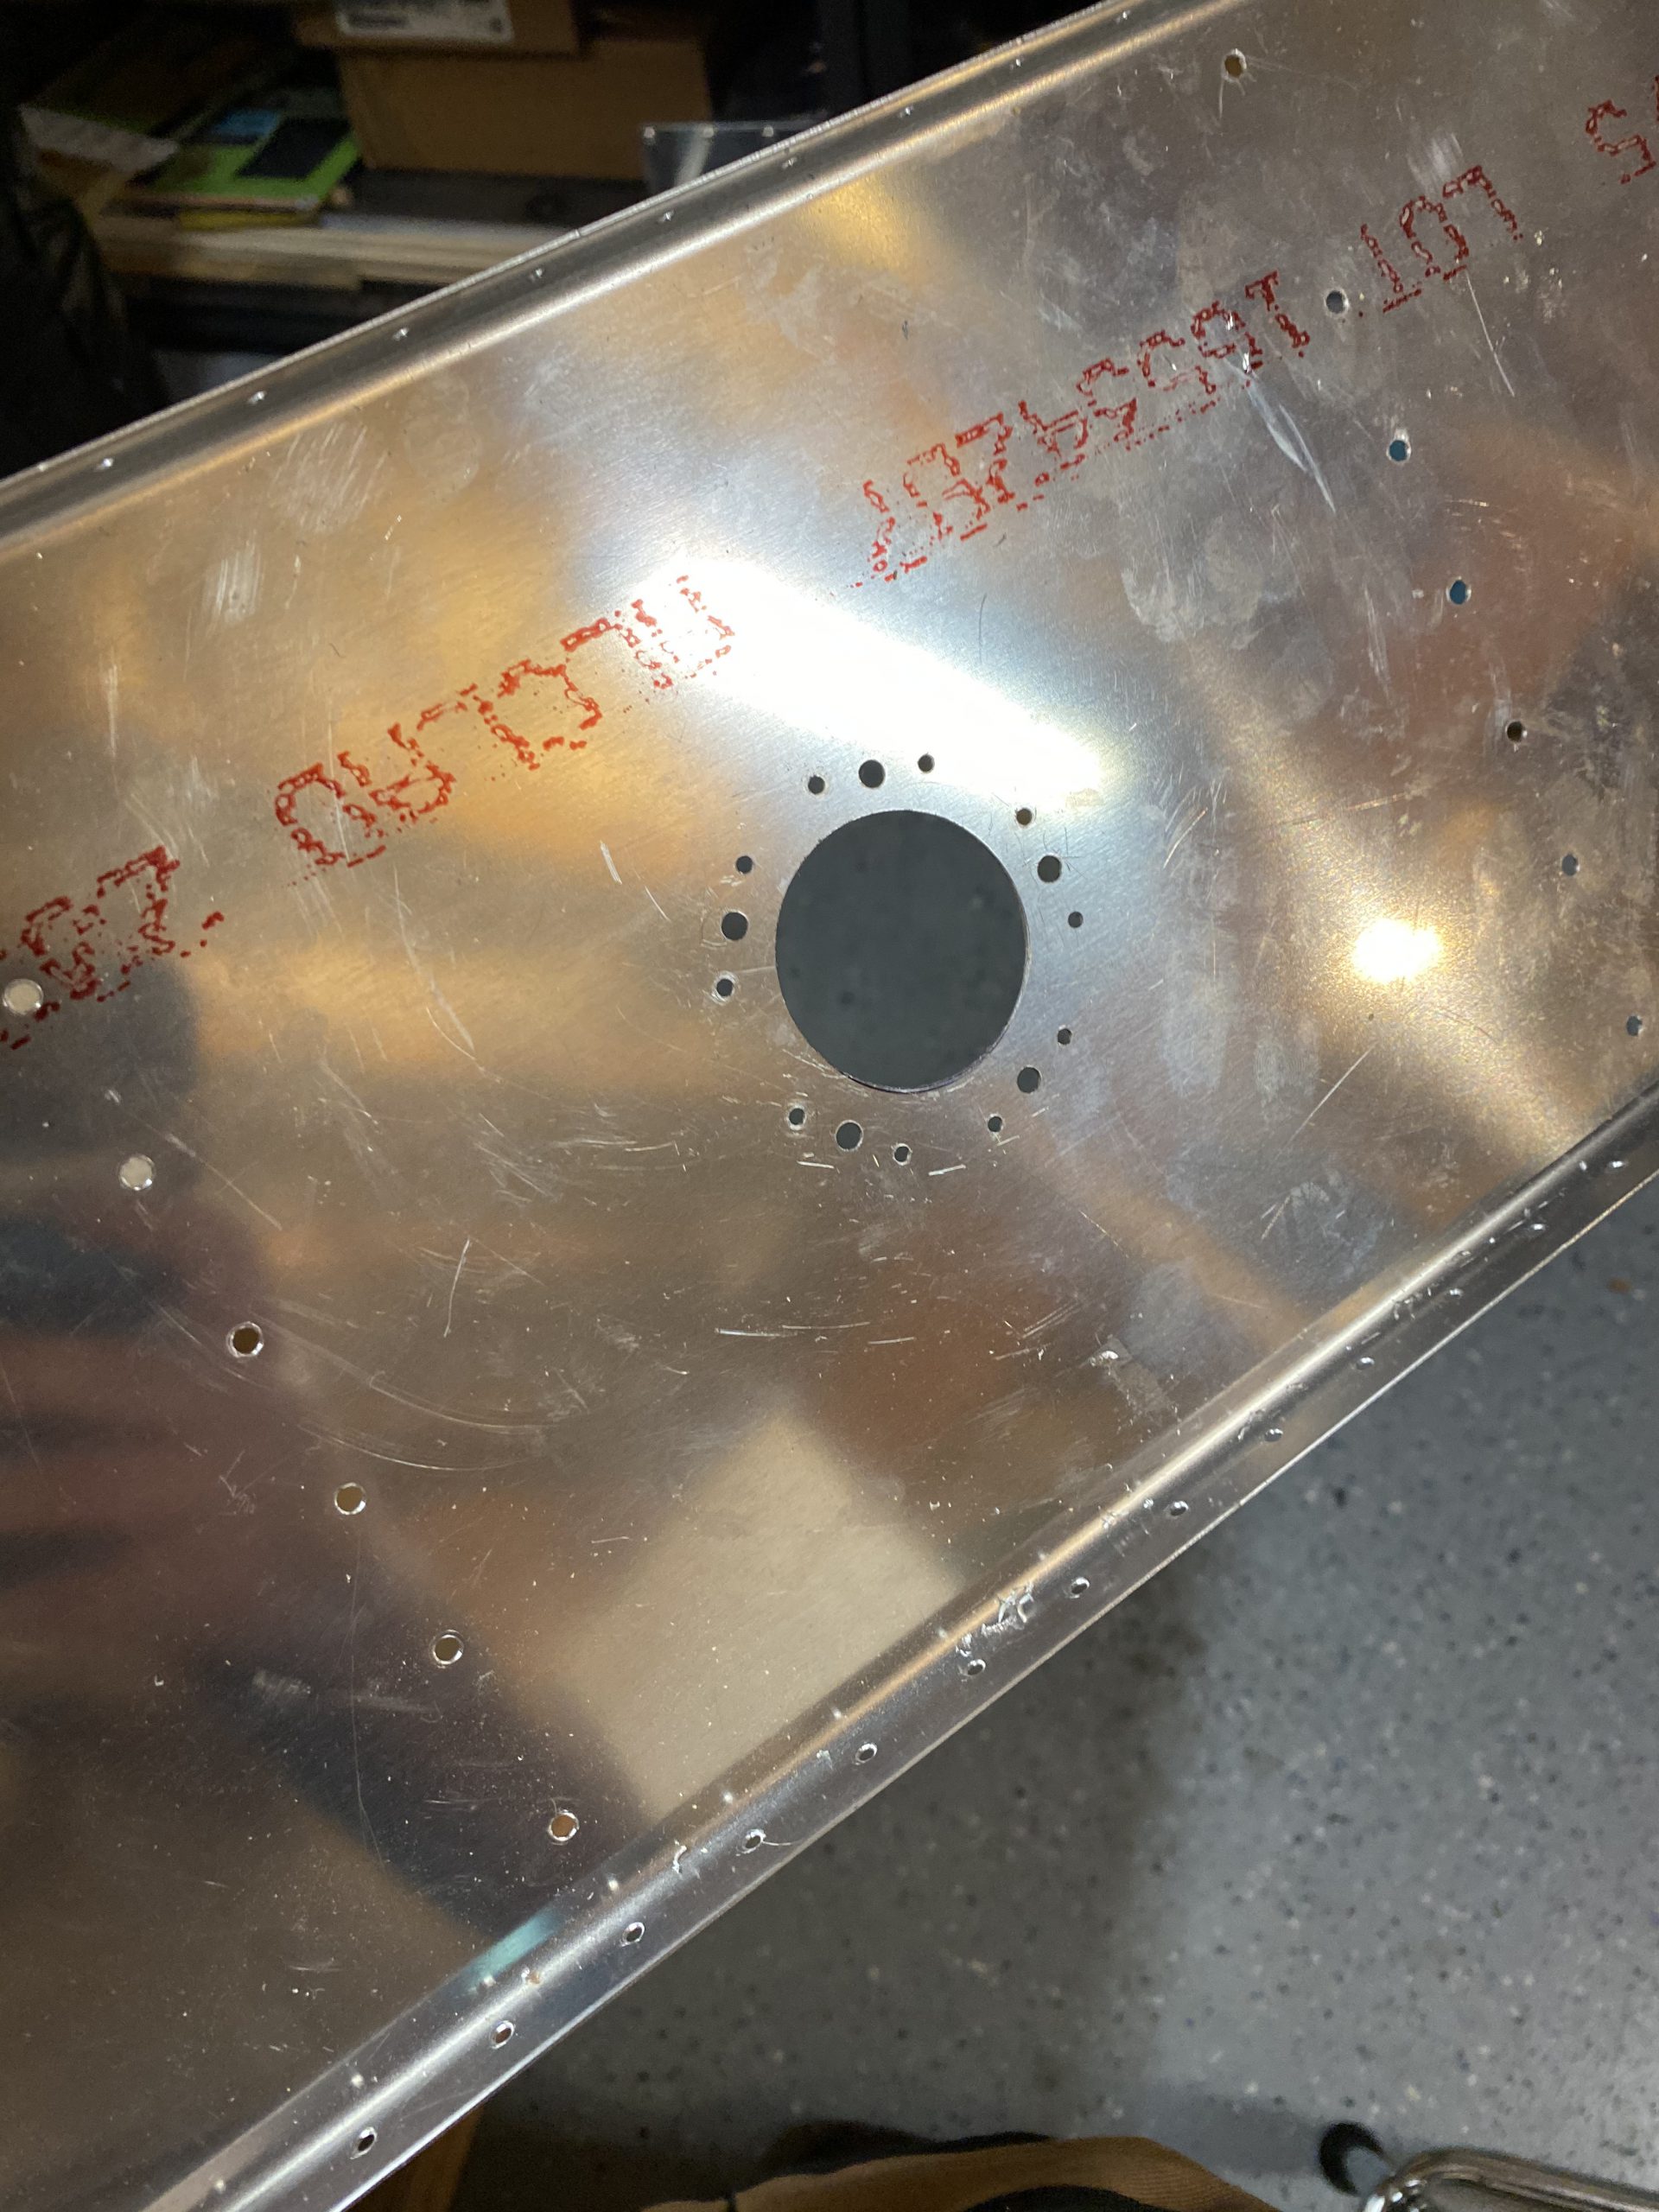
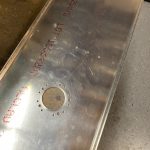
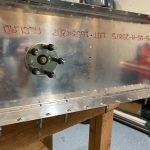
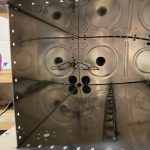
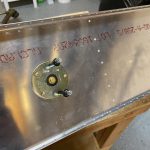
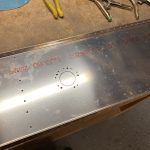
Then I grabbed the baffle and started working out where I’d install my fuel sender. Luckily, my kit came with a now unused access cover that was pre-drilled for a sender, so I used that as a jig to gauge where it needed to be installed, as well as my drill guide. I made sure everything was clocked correctly as the sender has a certain way it needs to be installed. The photos below show where I ultimately decided it should be installed. I also used the right tank to measure the distance from the bottom of the tank to the bottom of the access plate to make sure I had this sender going in the right spot vertically on the baffle. Then I clamped it down with some C-clamps and drilled.

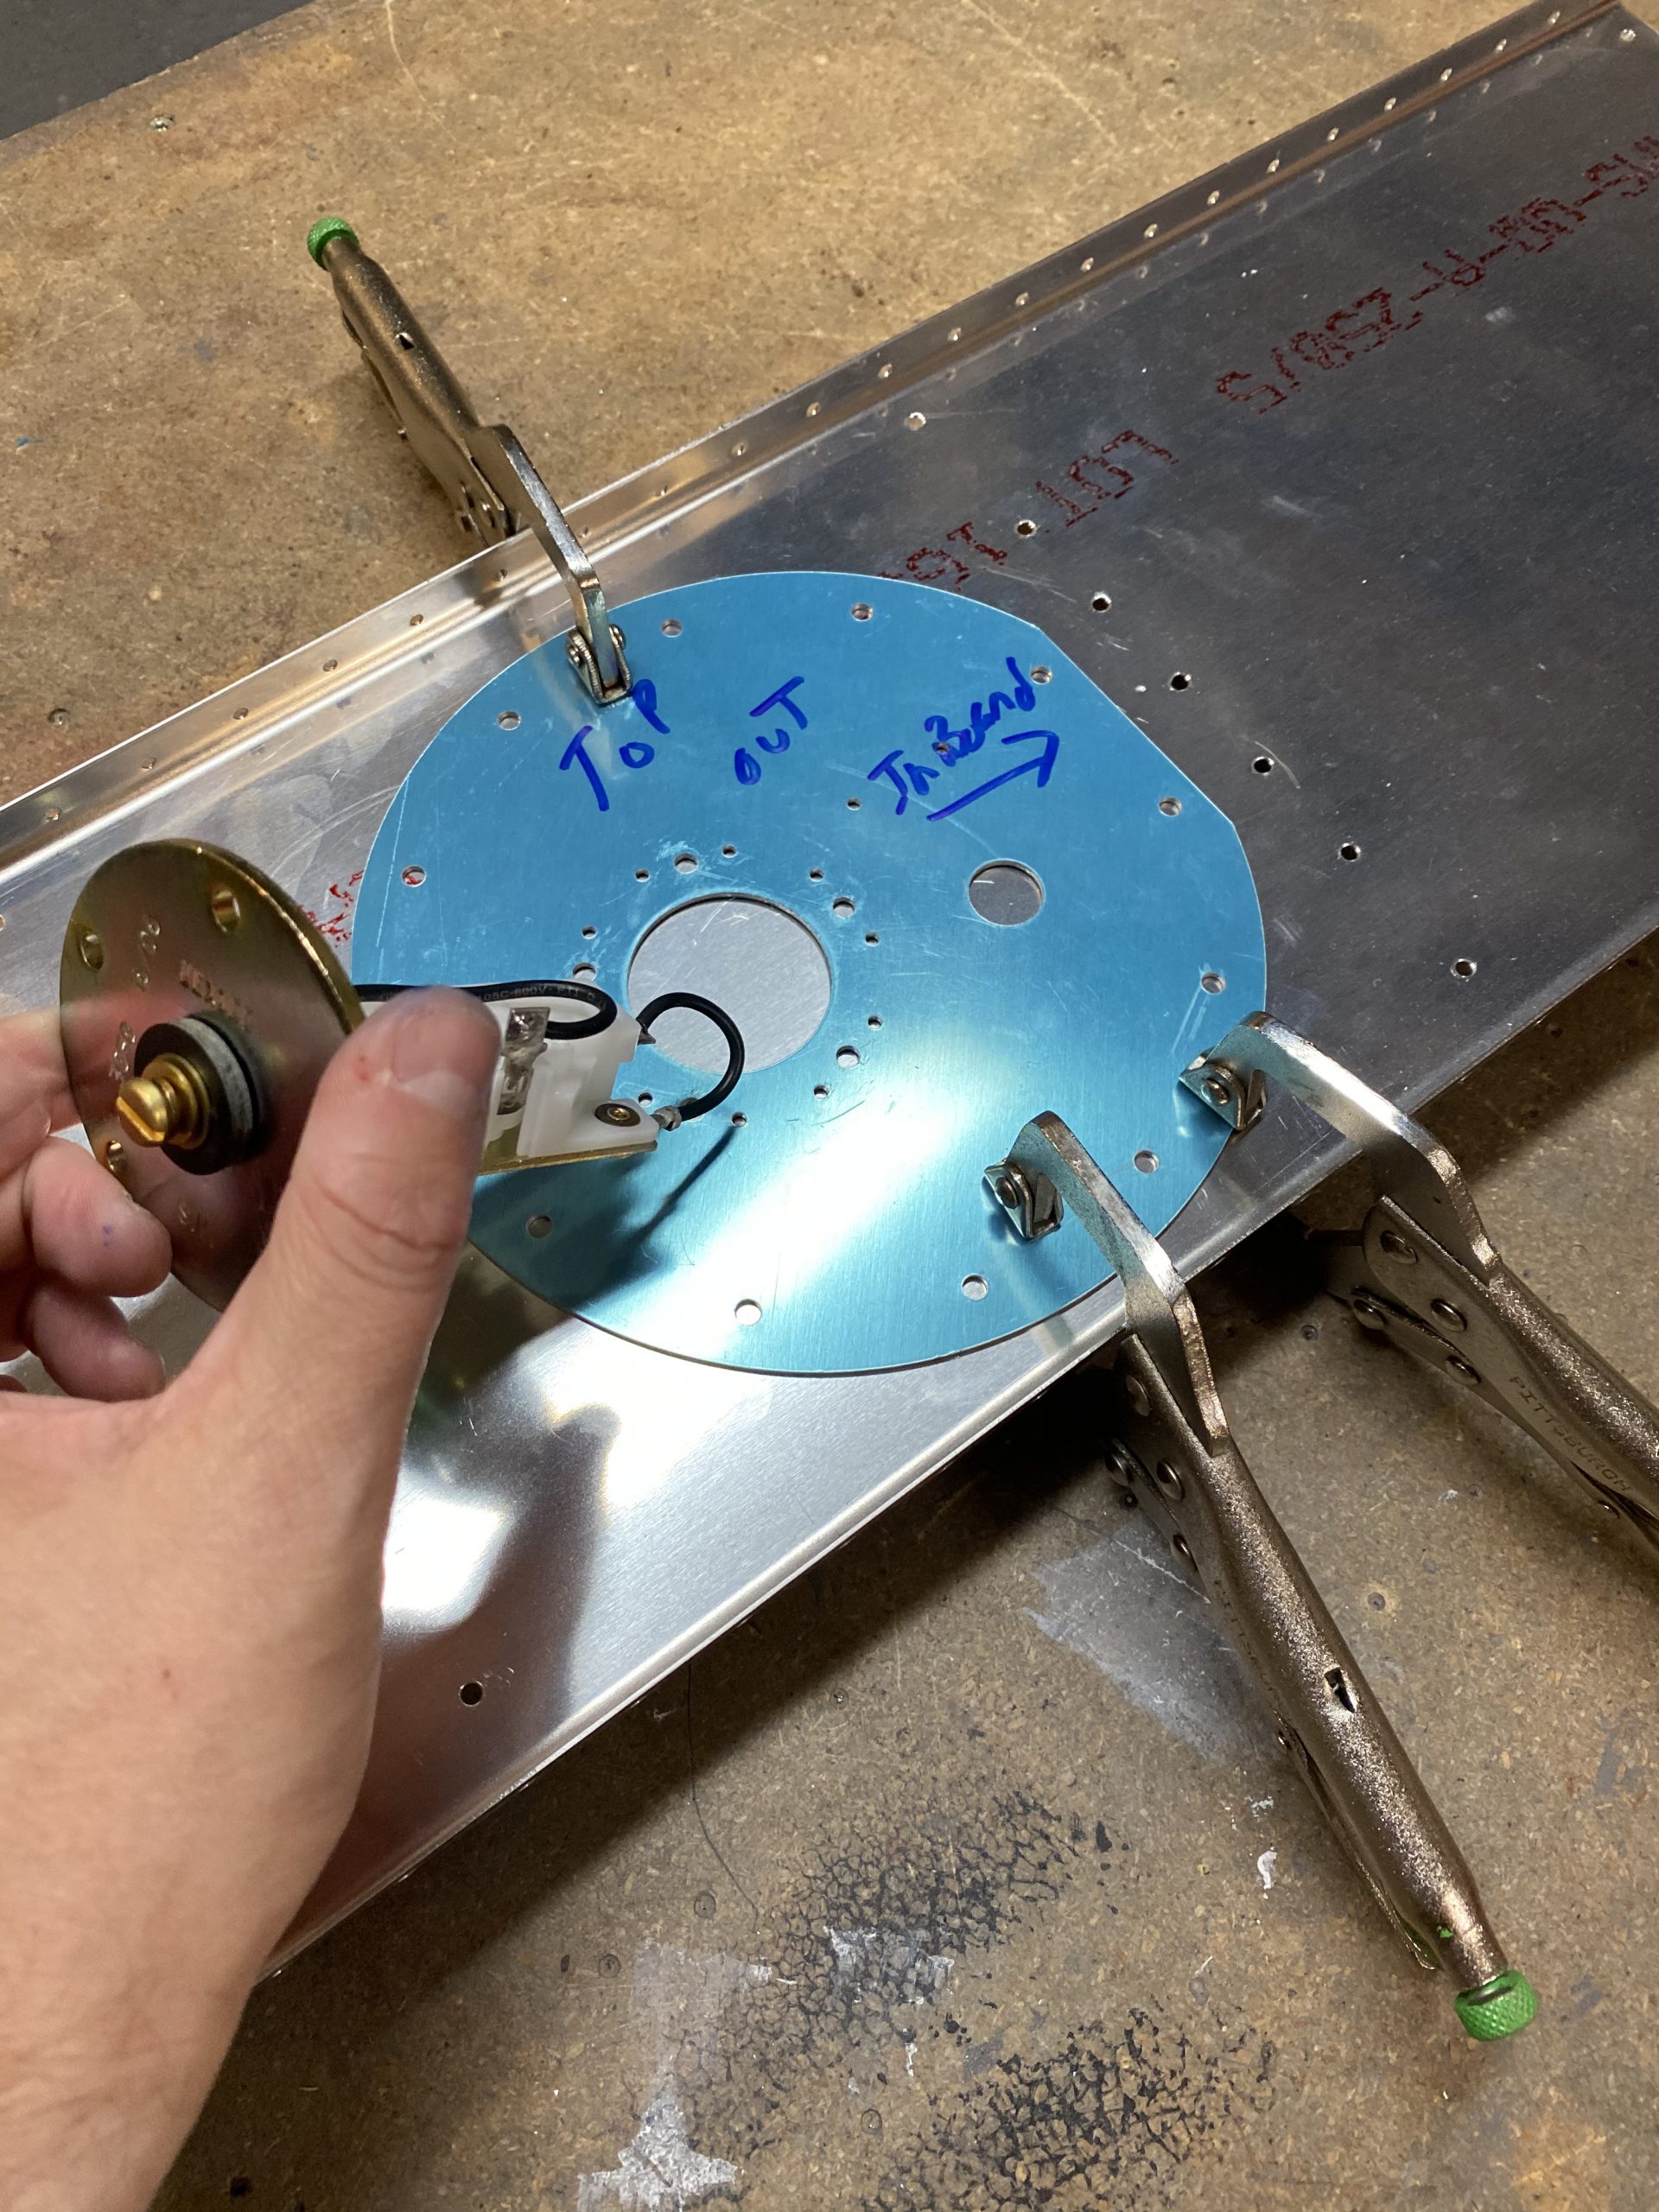
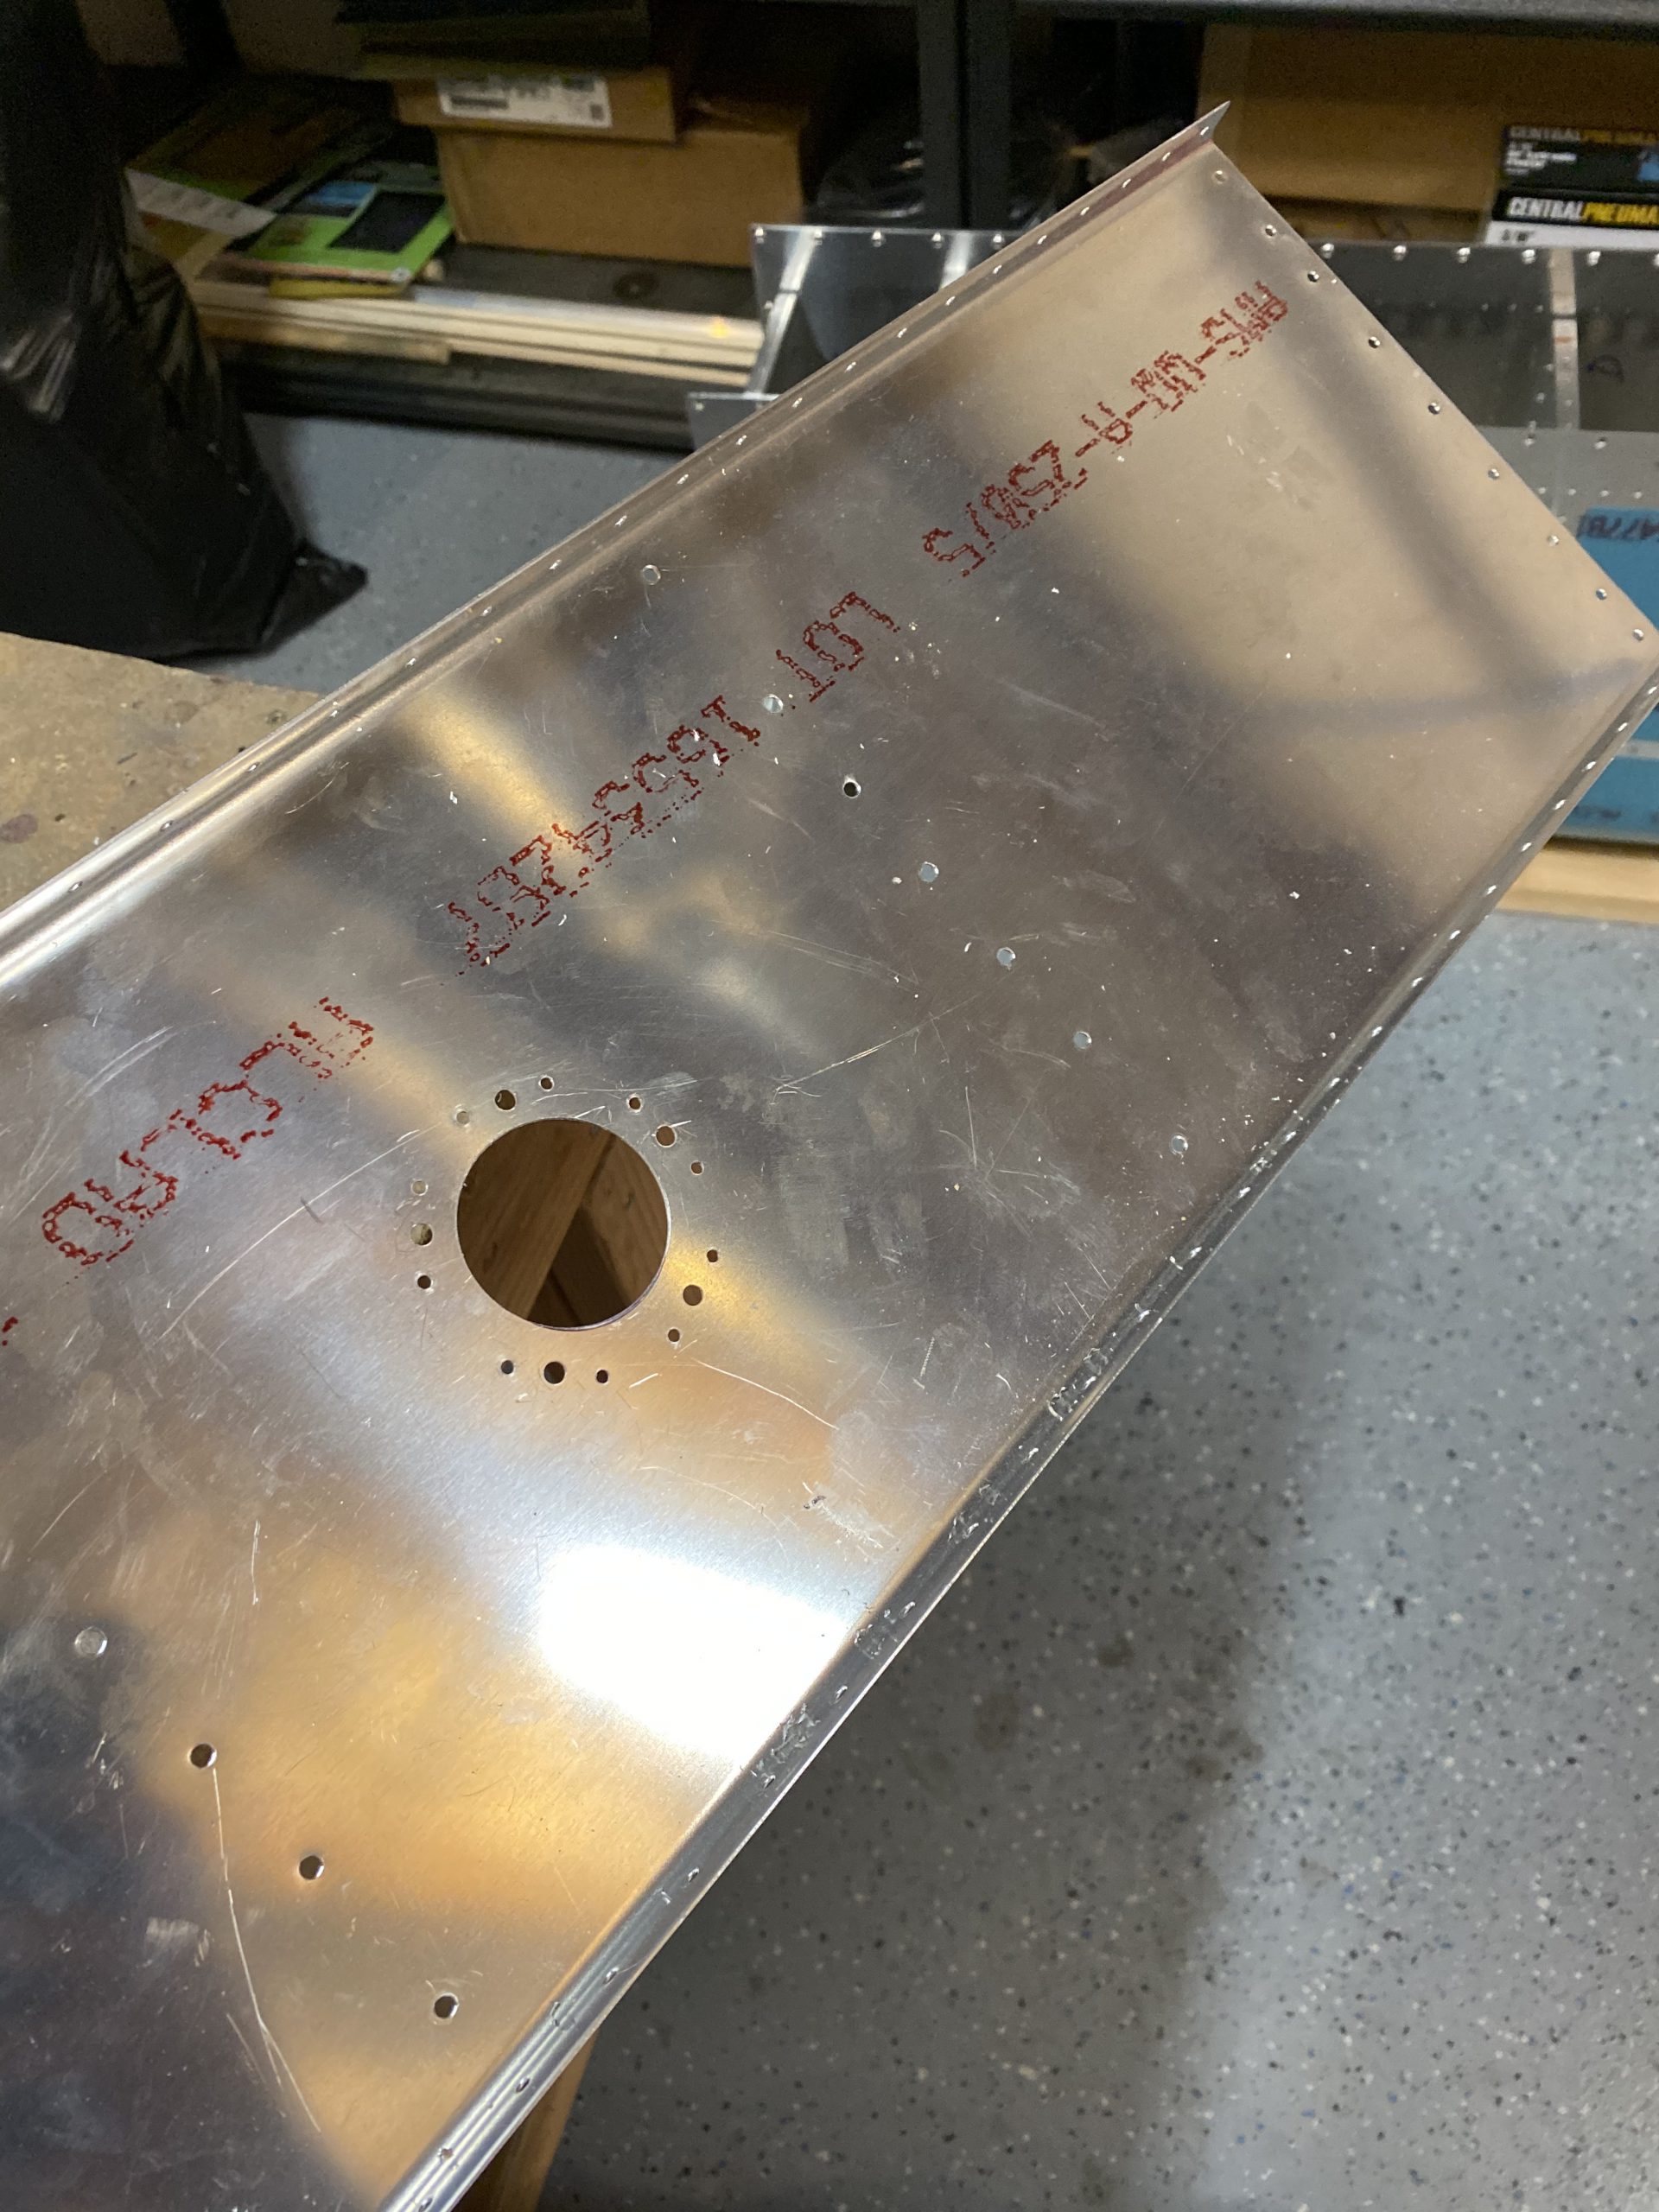
I used the holes in the access plate as my drill guide to drill the #40 holes for the K1000-8 nutplates, and then the larger screw holes were drilled with a #19 drill bit to fit the screws. I also outlined the hole for the sender with a sharpie. I’ll need to cut this out.
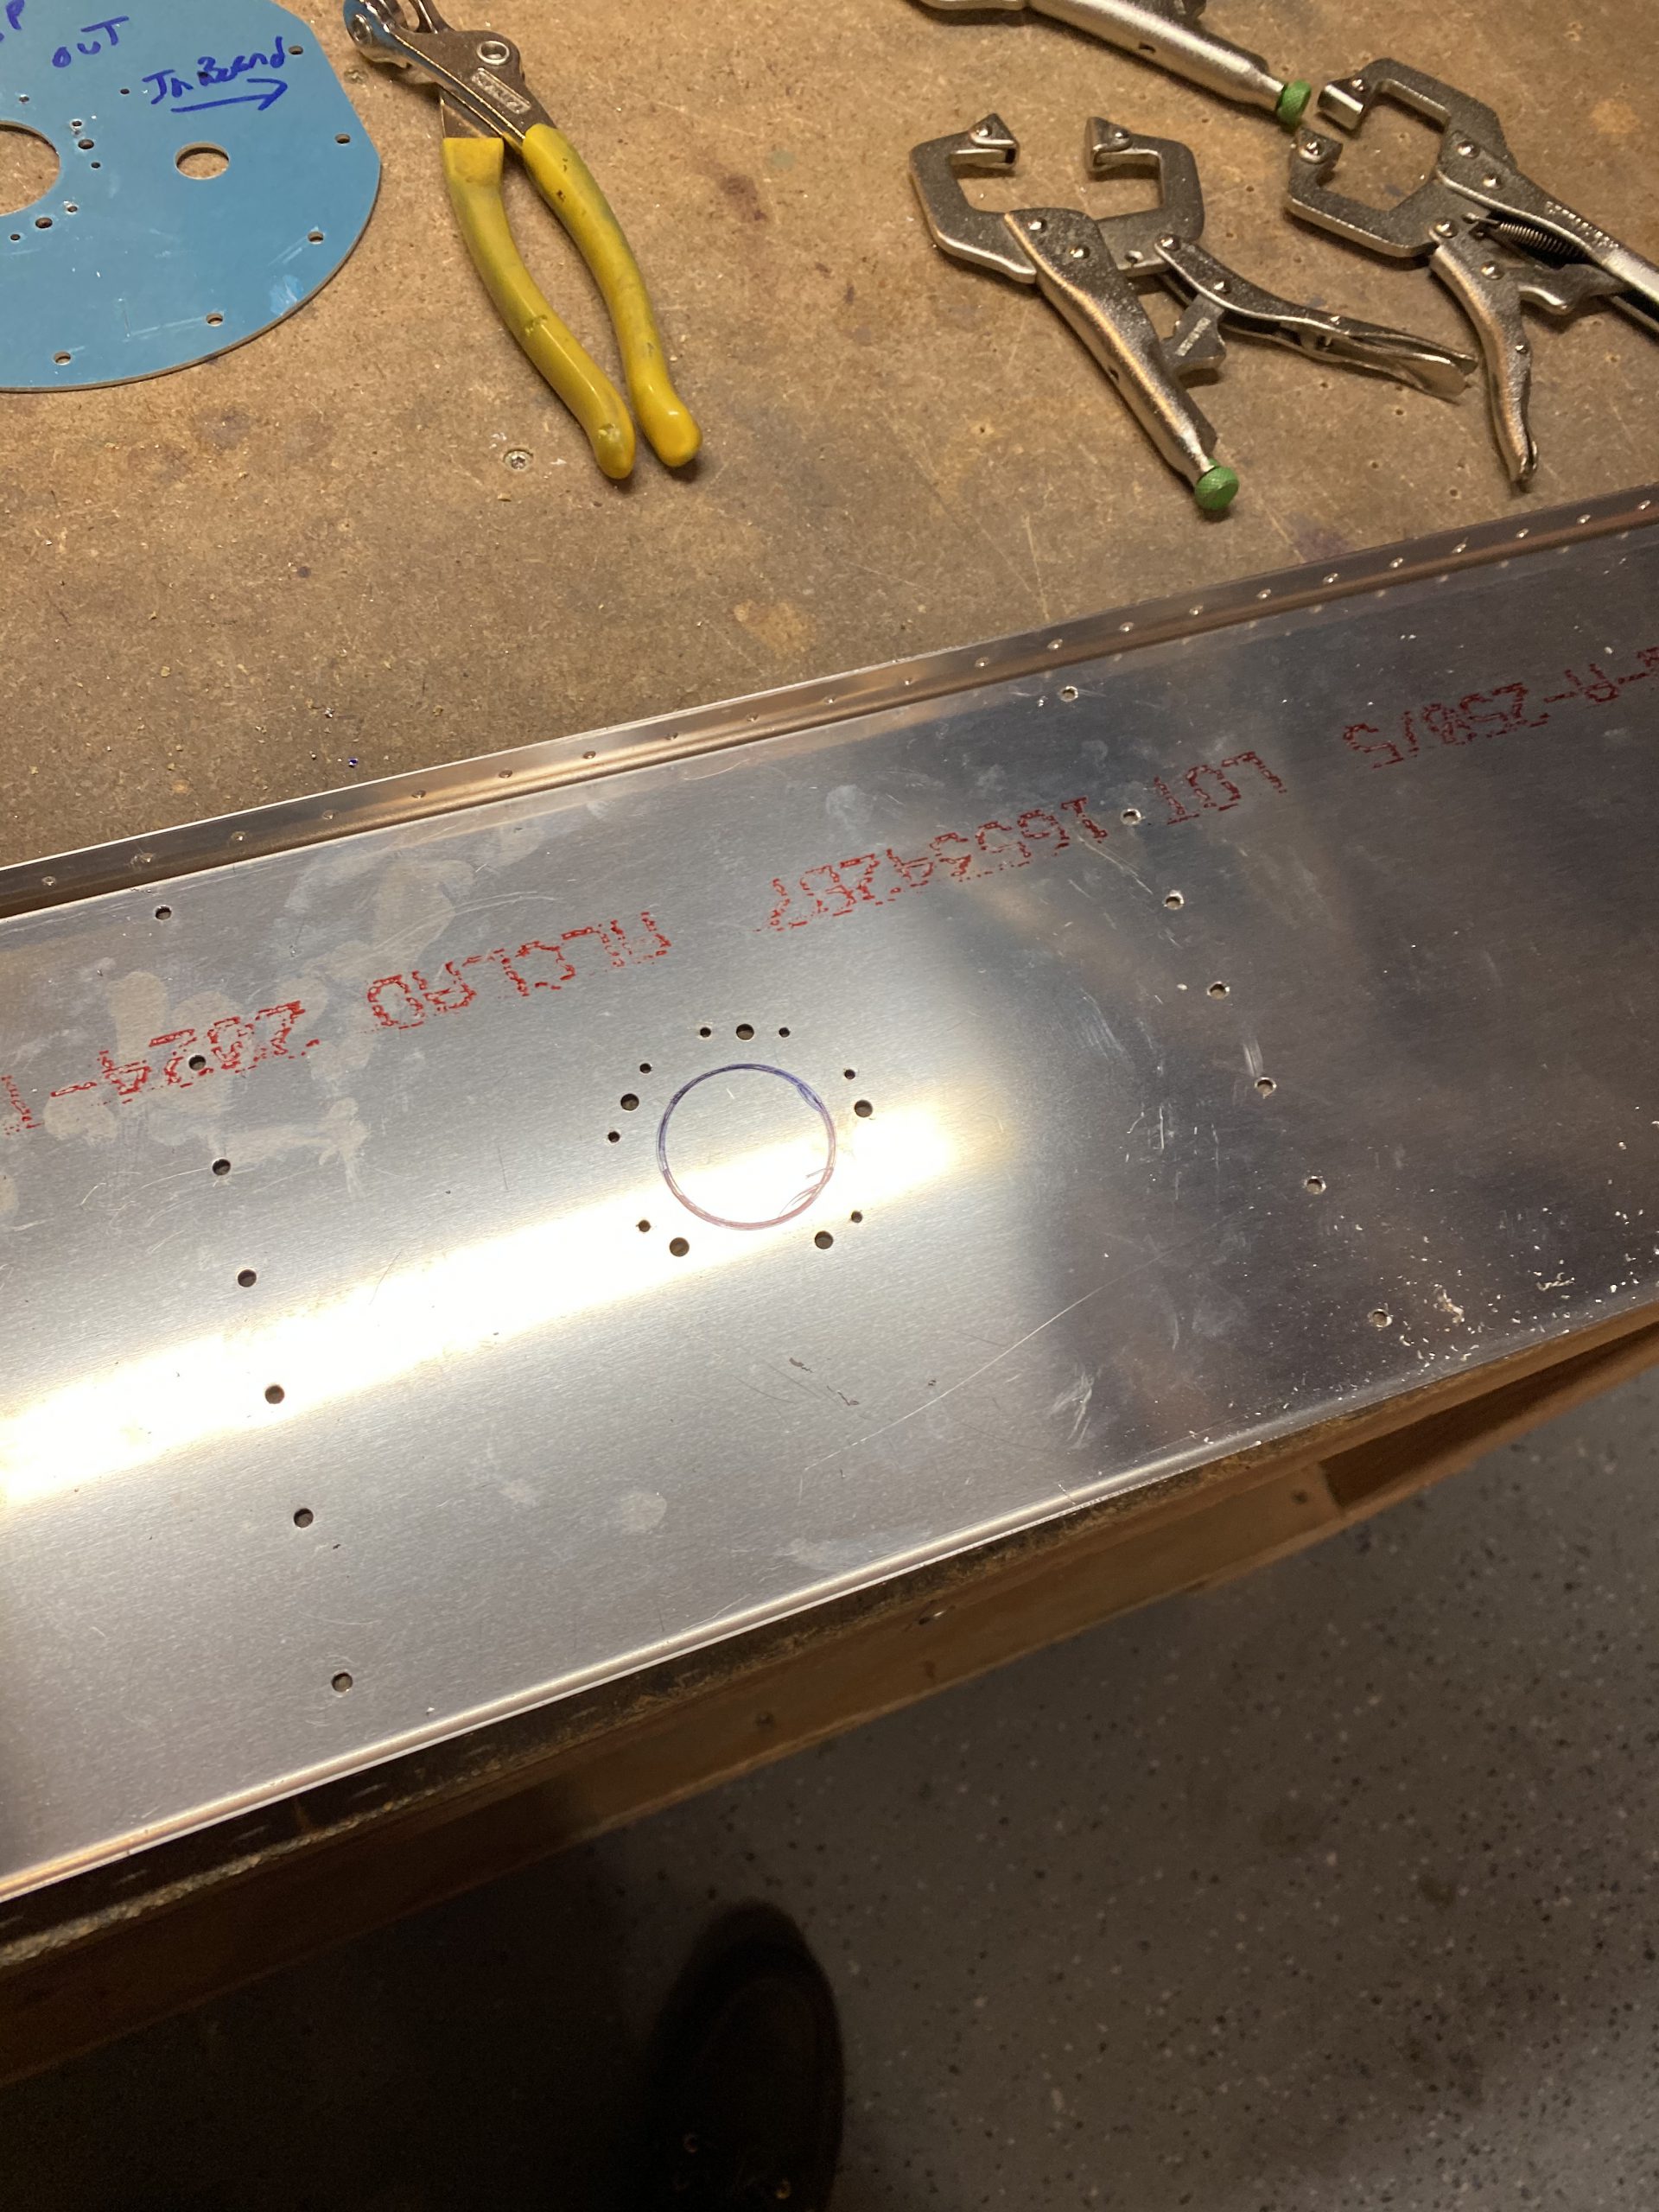
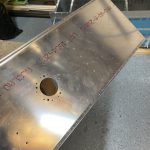
Then it was over to the drill press where I chucked up my fly-cutter and got everything centered up and the fly cutter adjusted to cut just to the outside of my sharpie outline. GO SLOW!! Set your drill press to a slow speed and use light pressure when using a fly cutter. That seemed to work really well for me, and gave me a nice round and smooth hole!
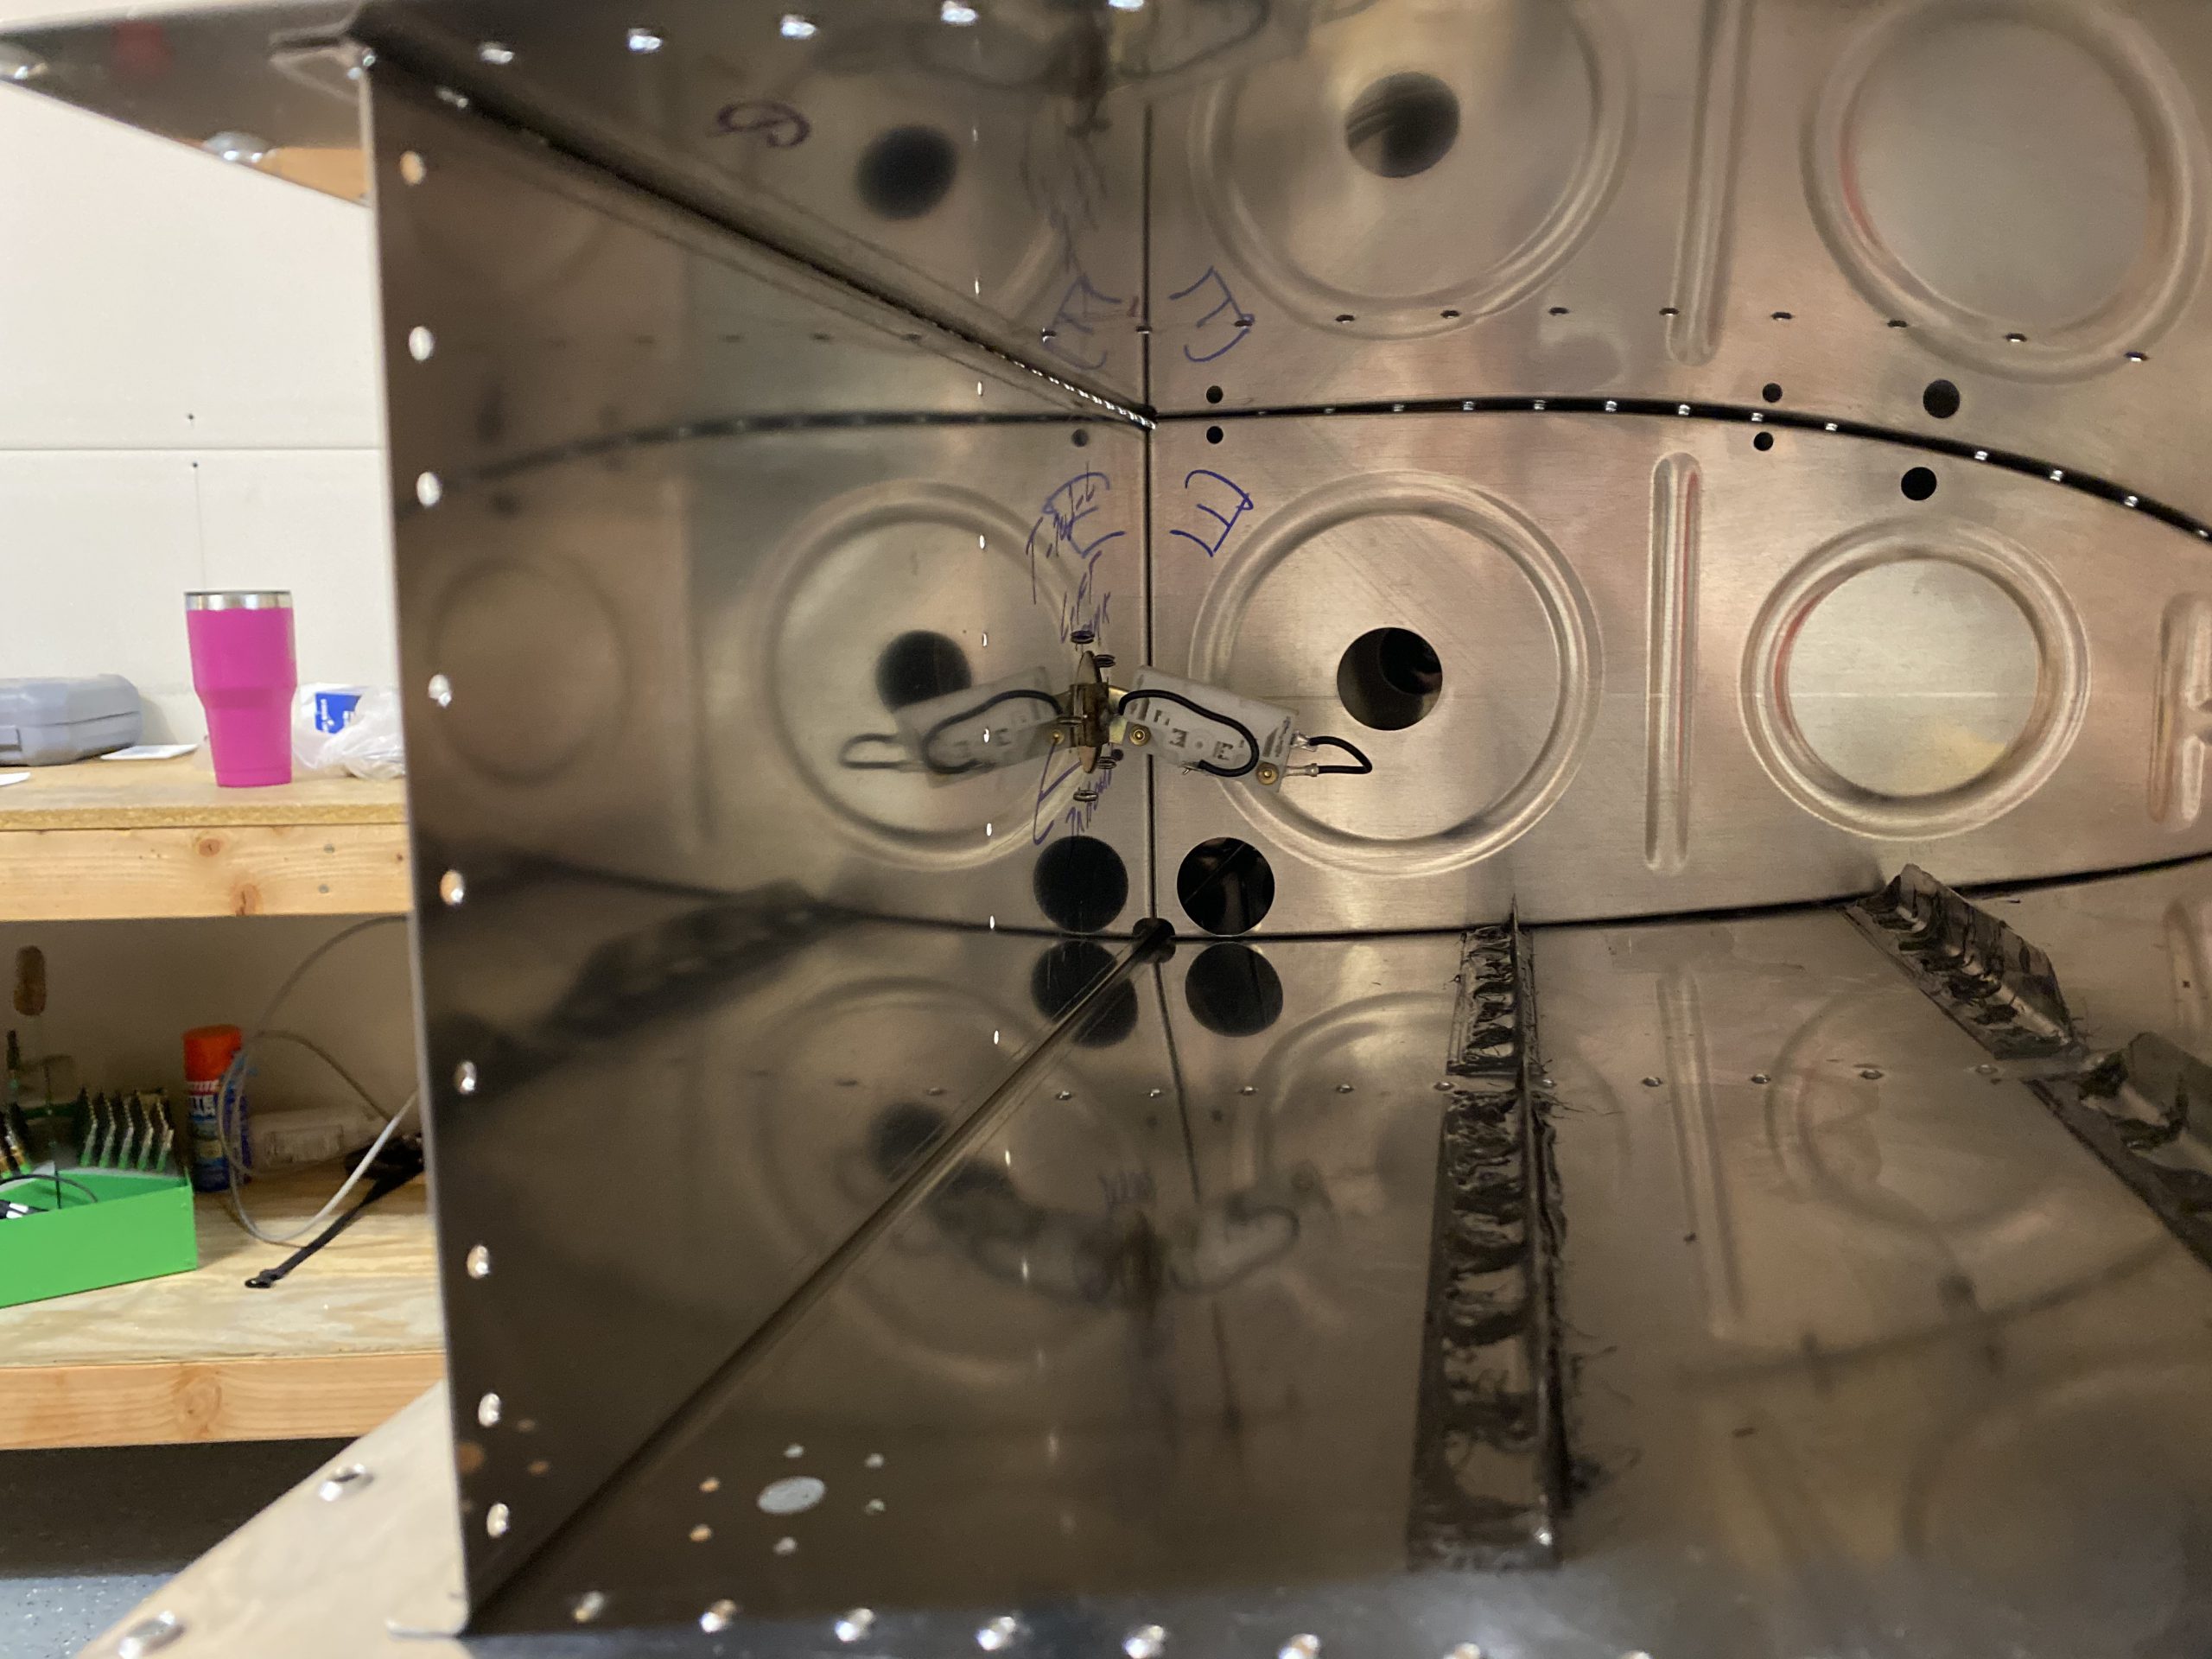
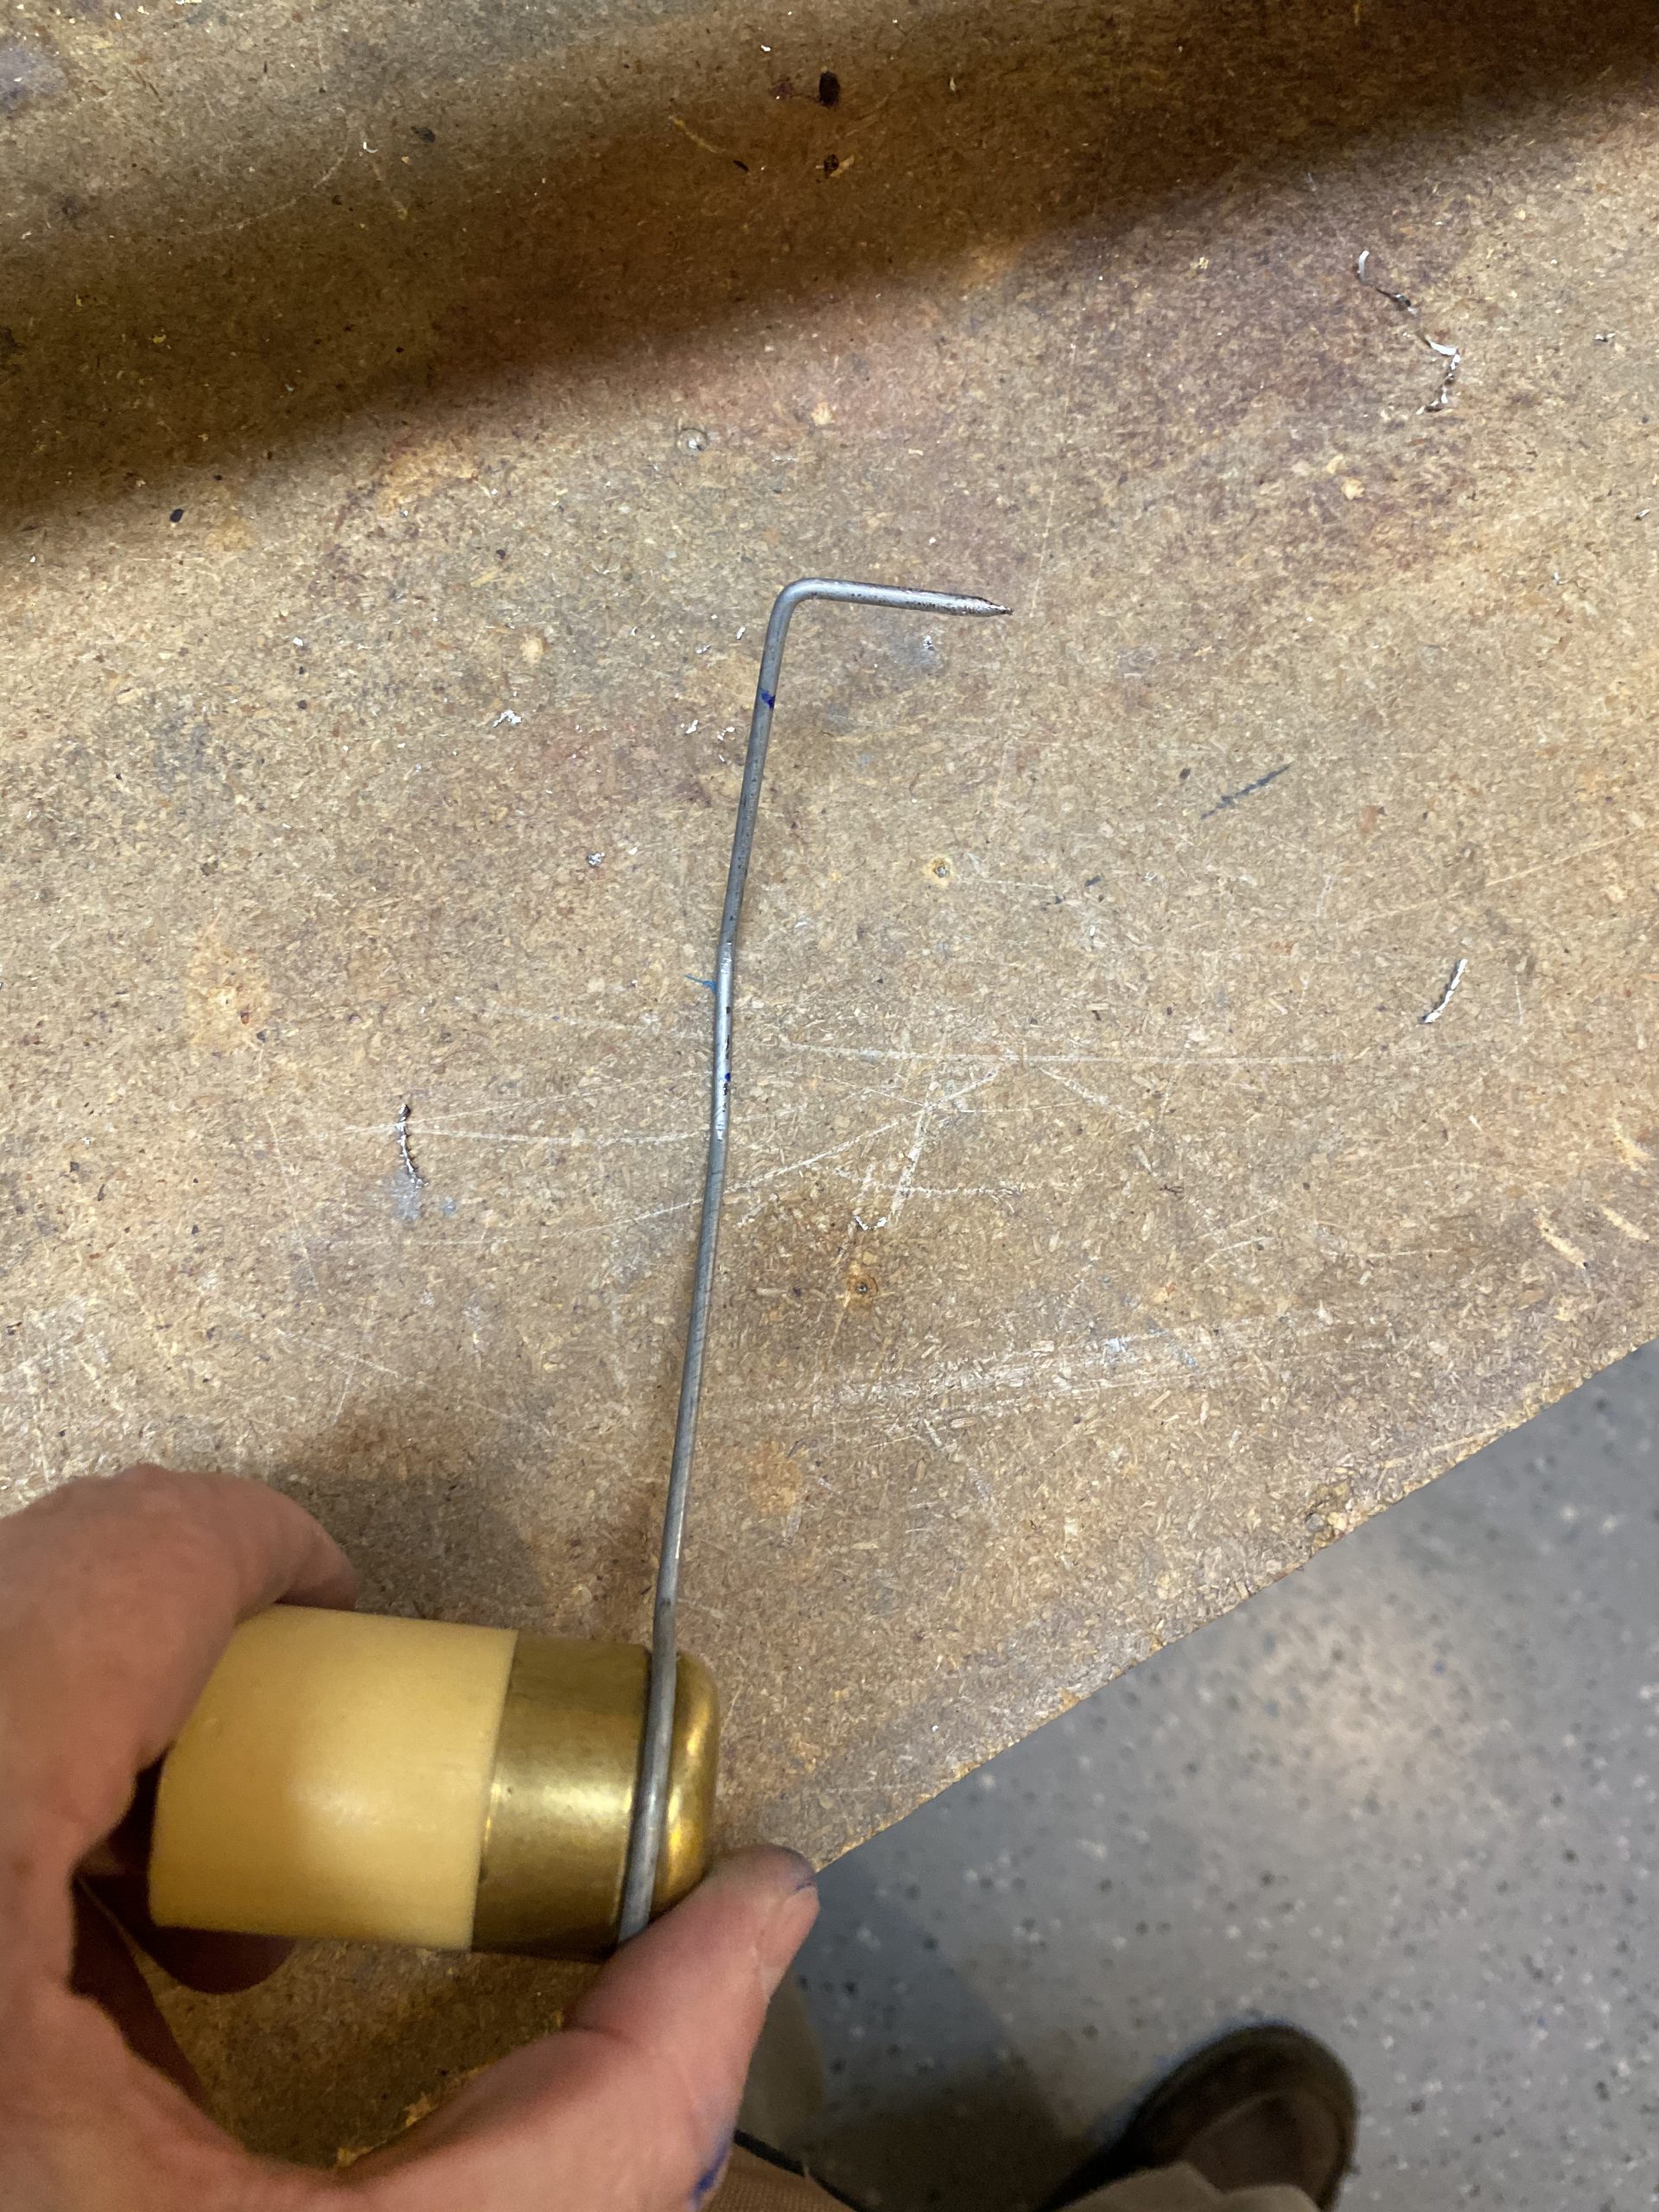
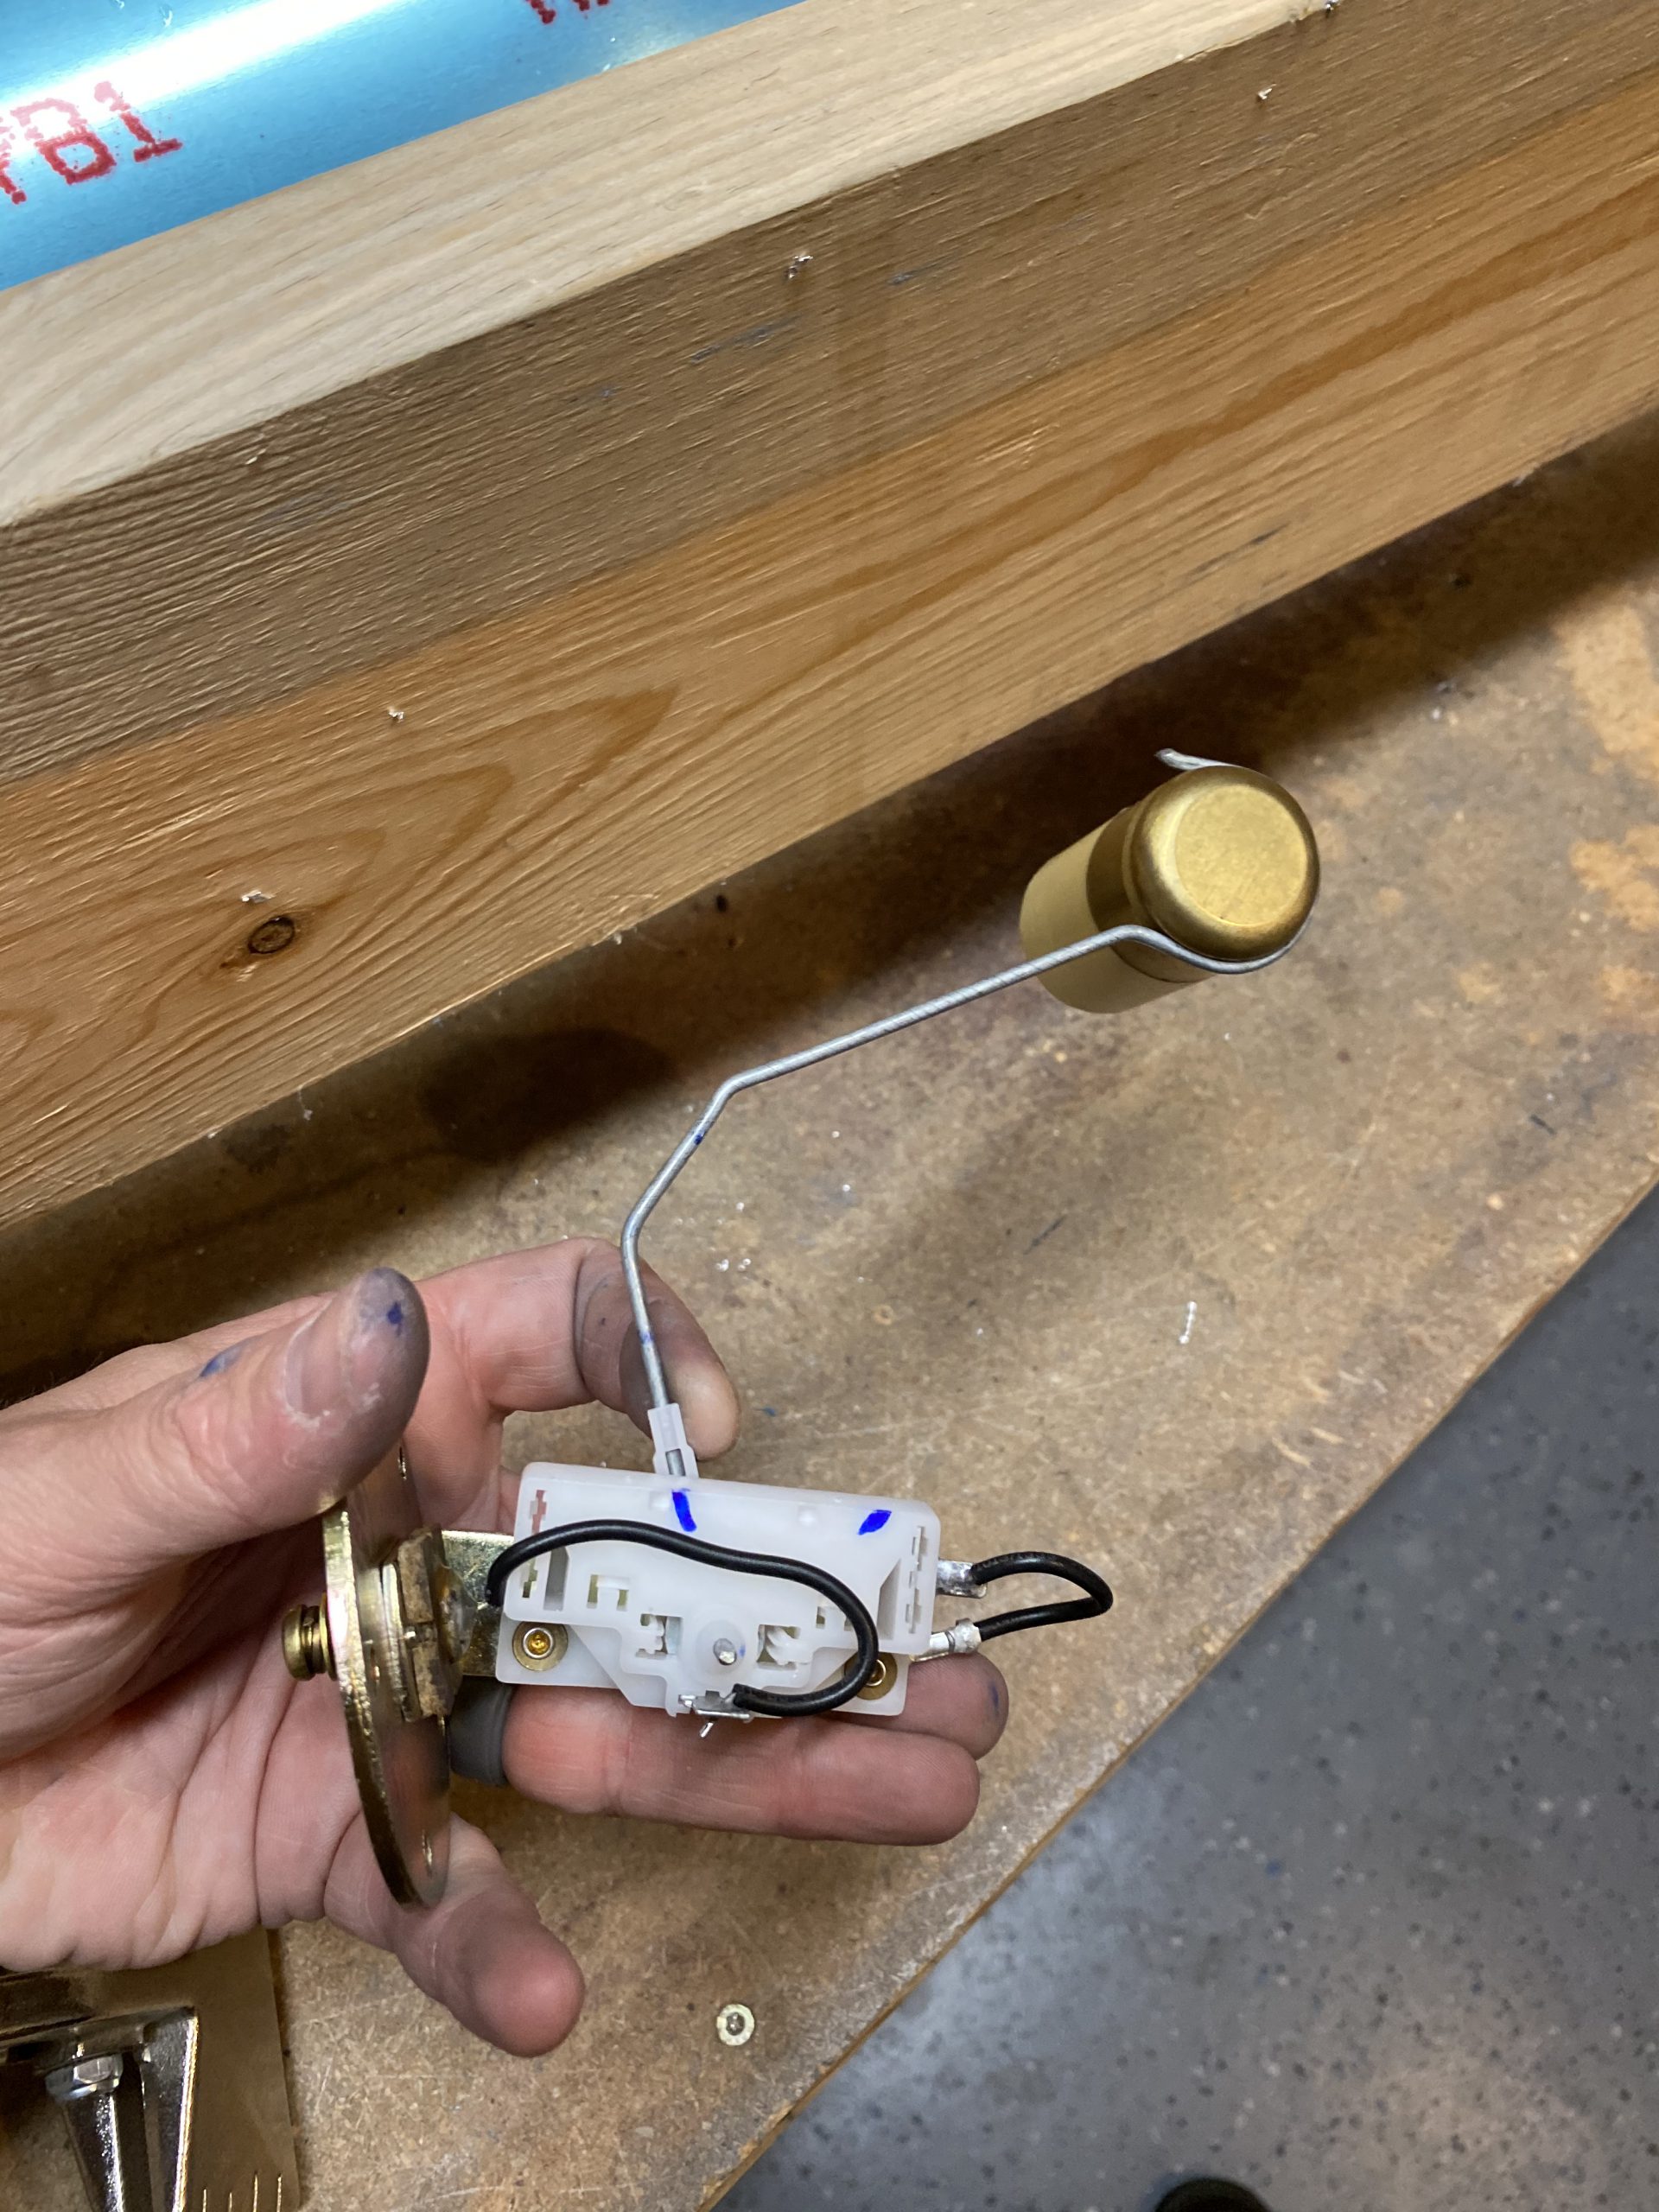
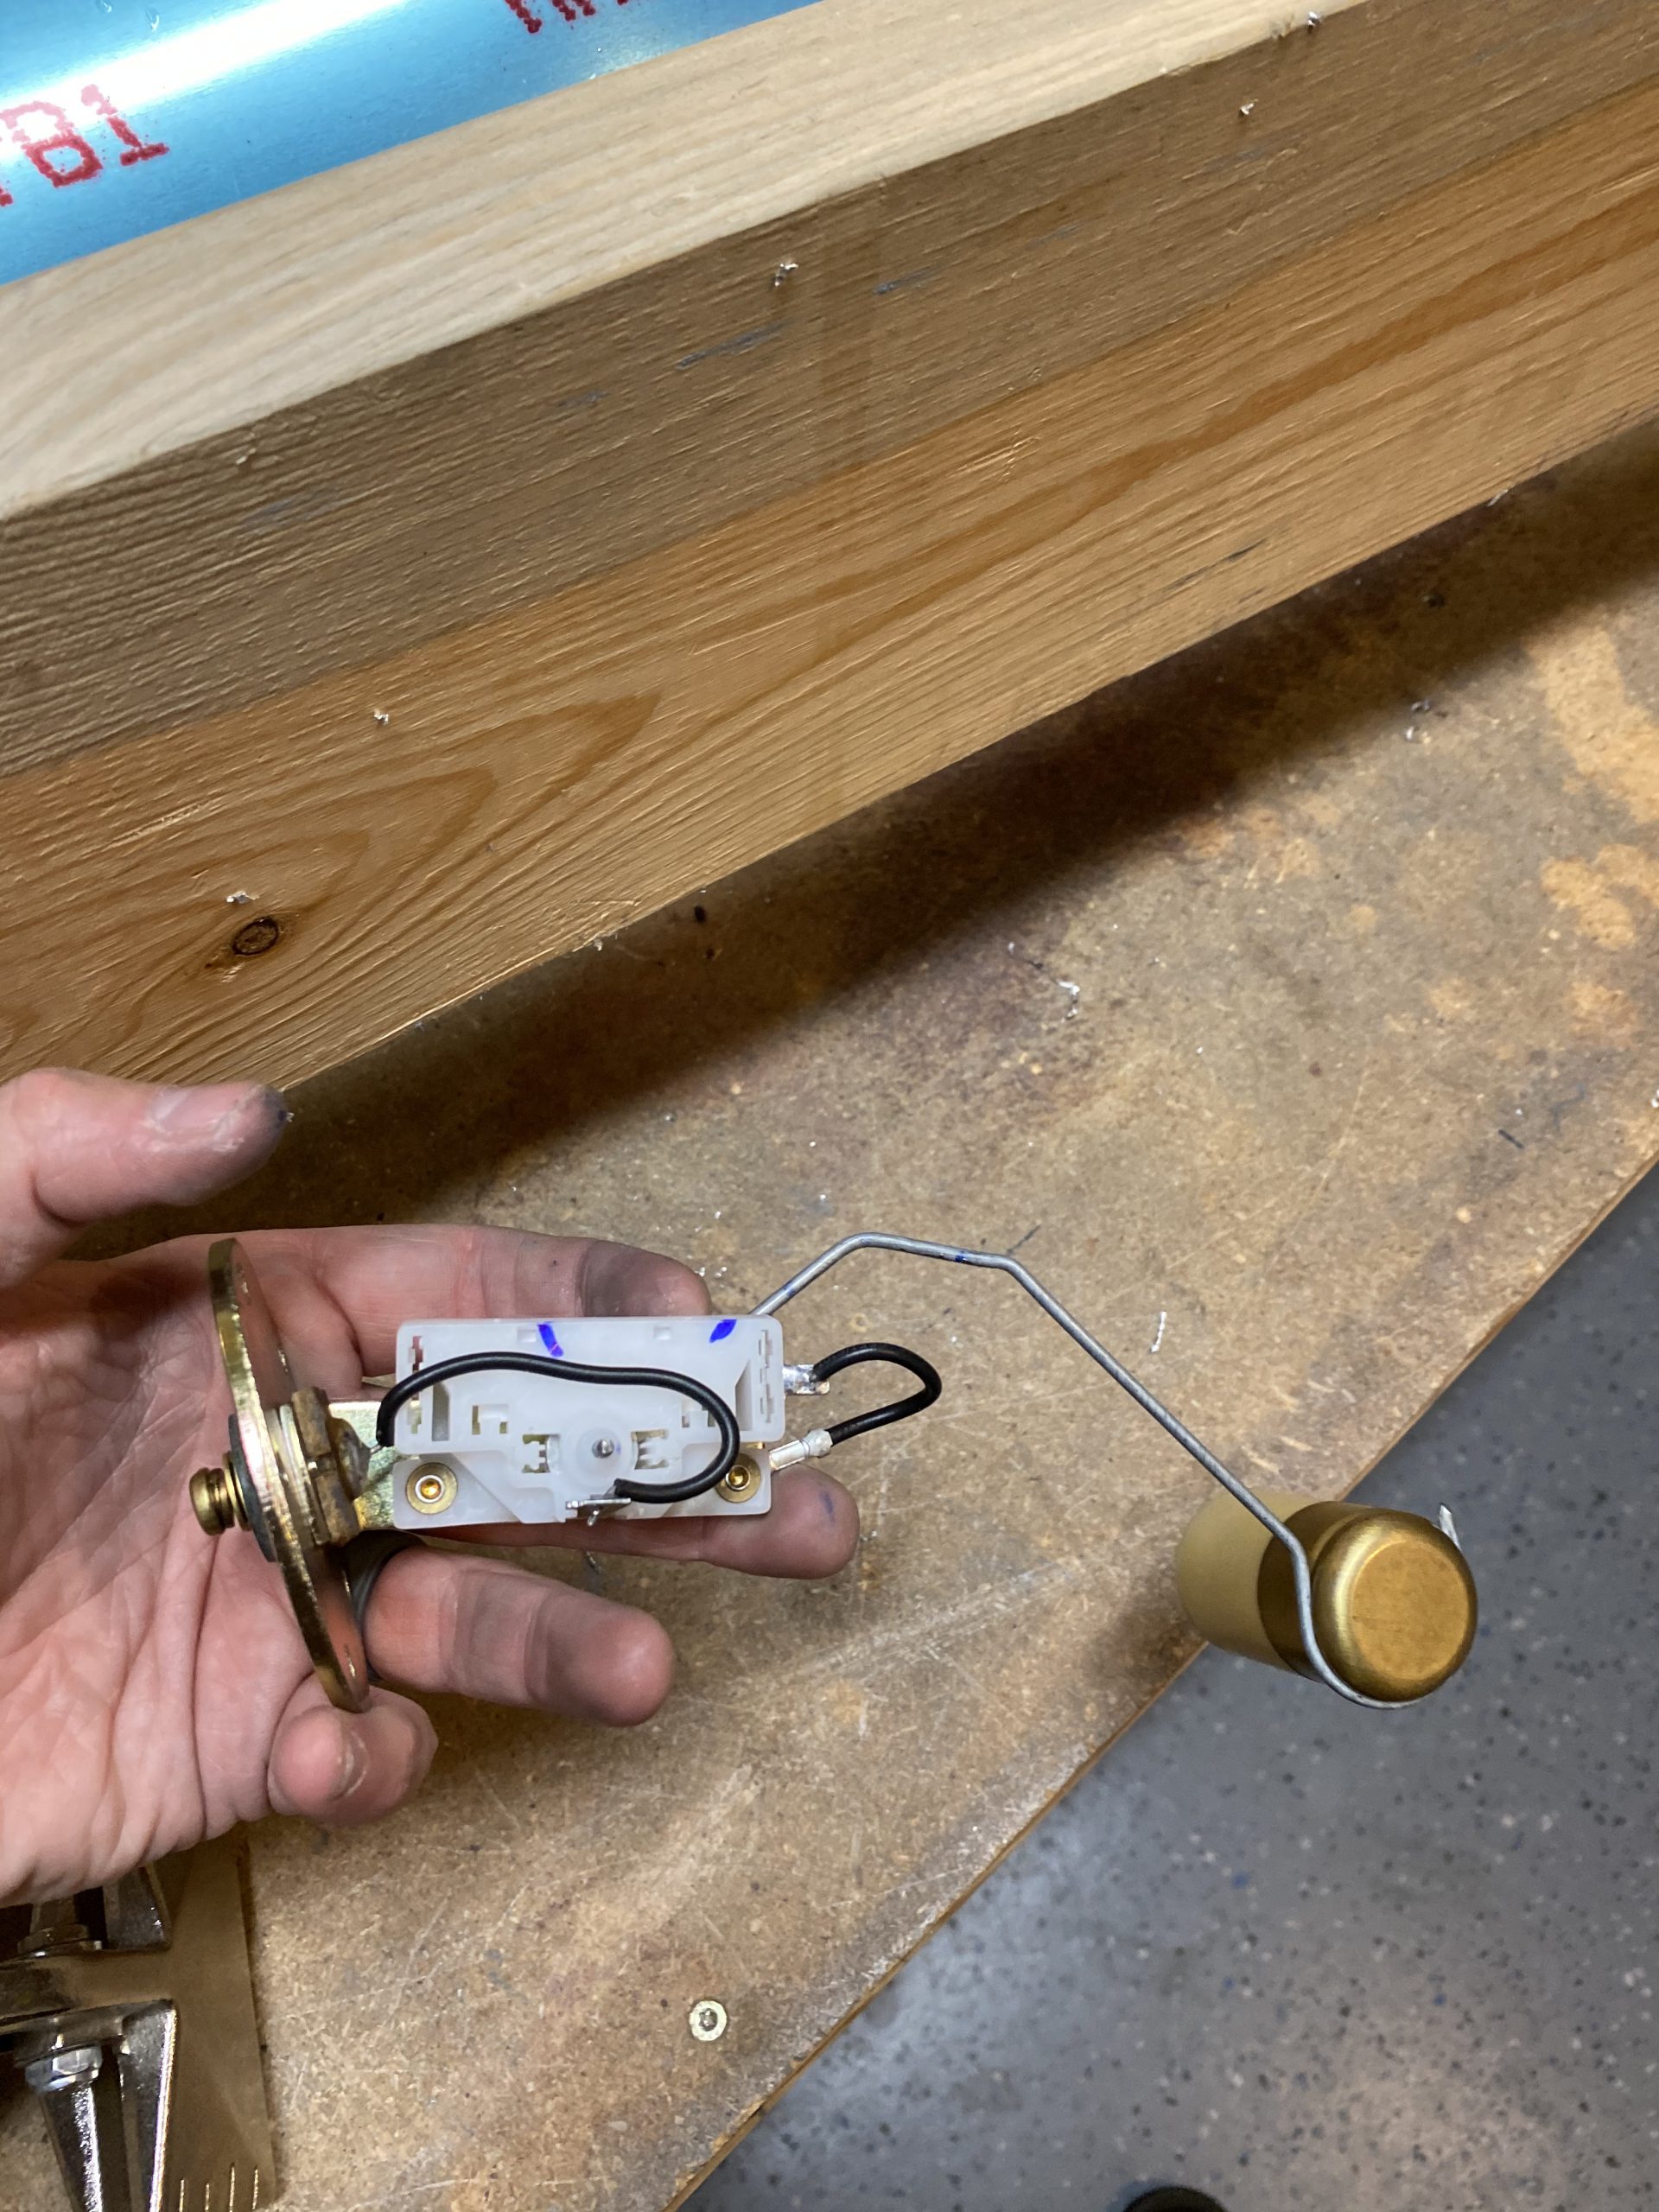
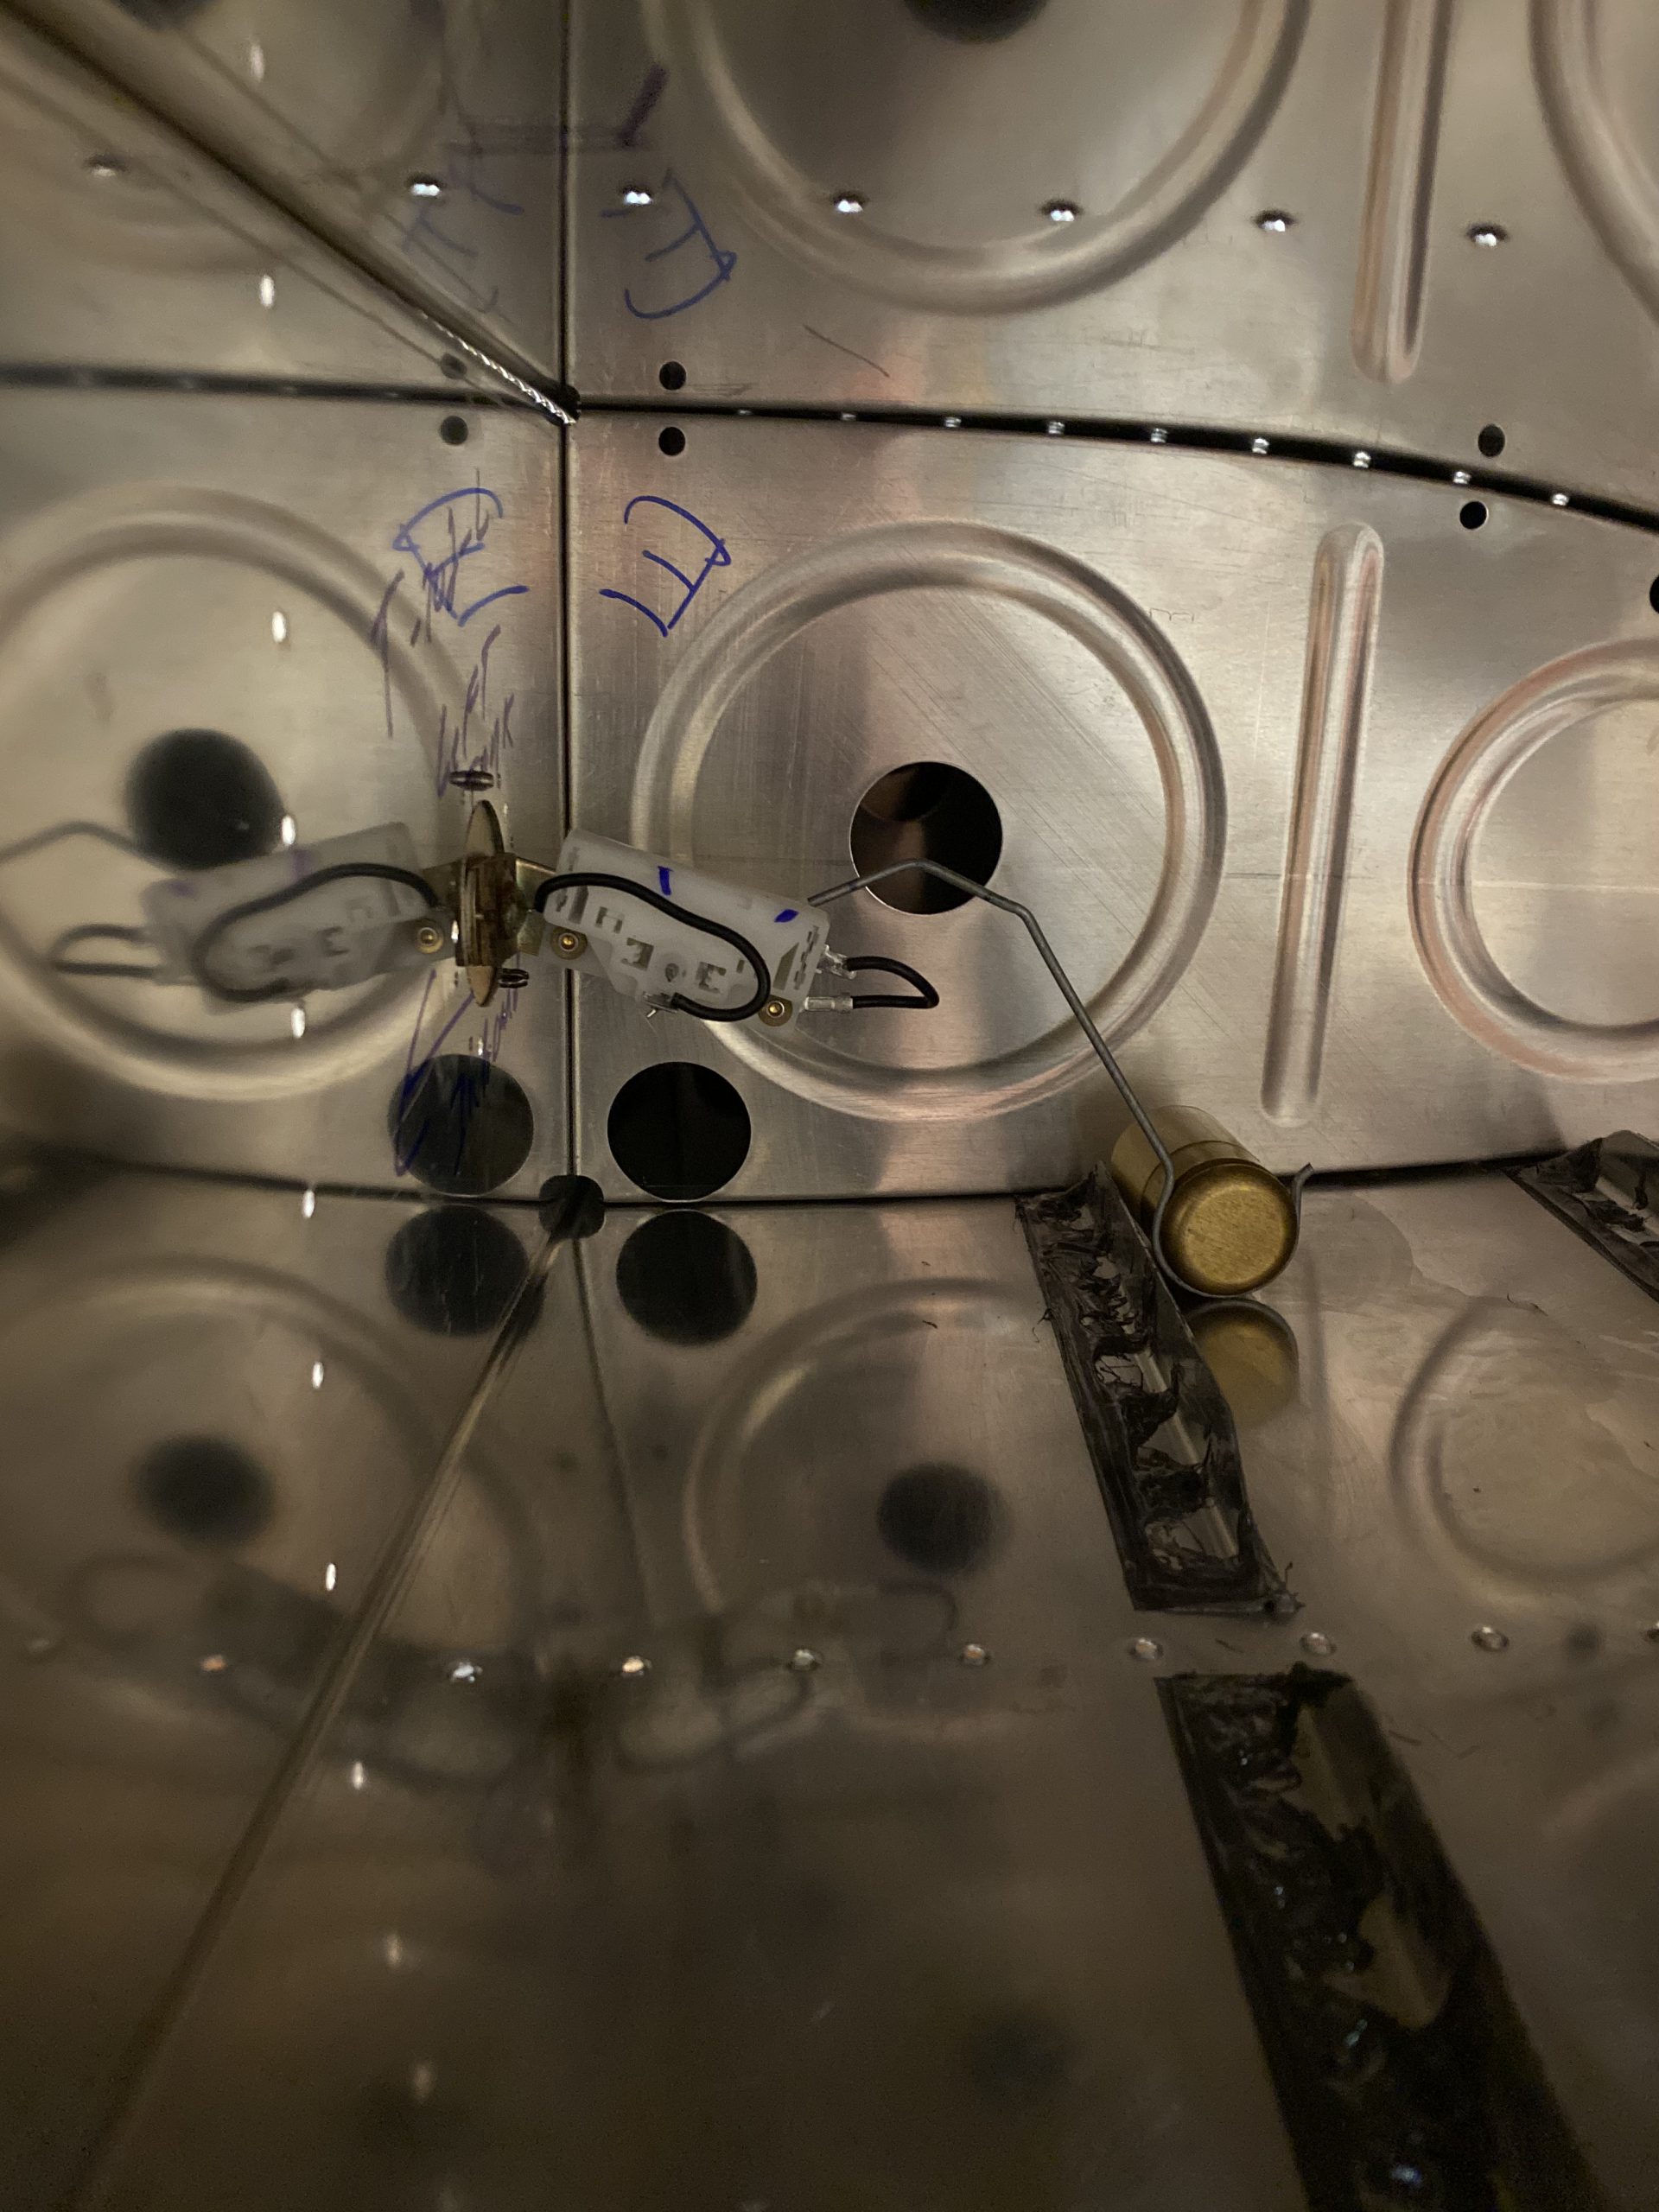
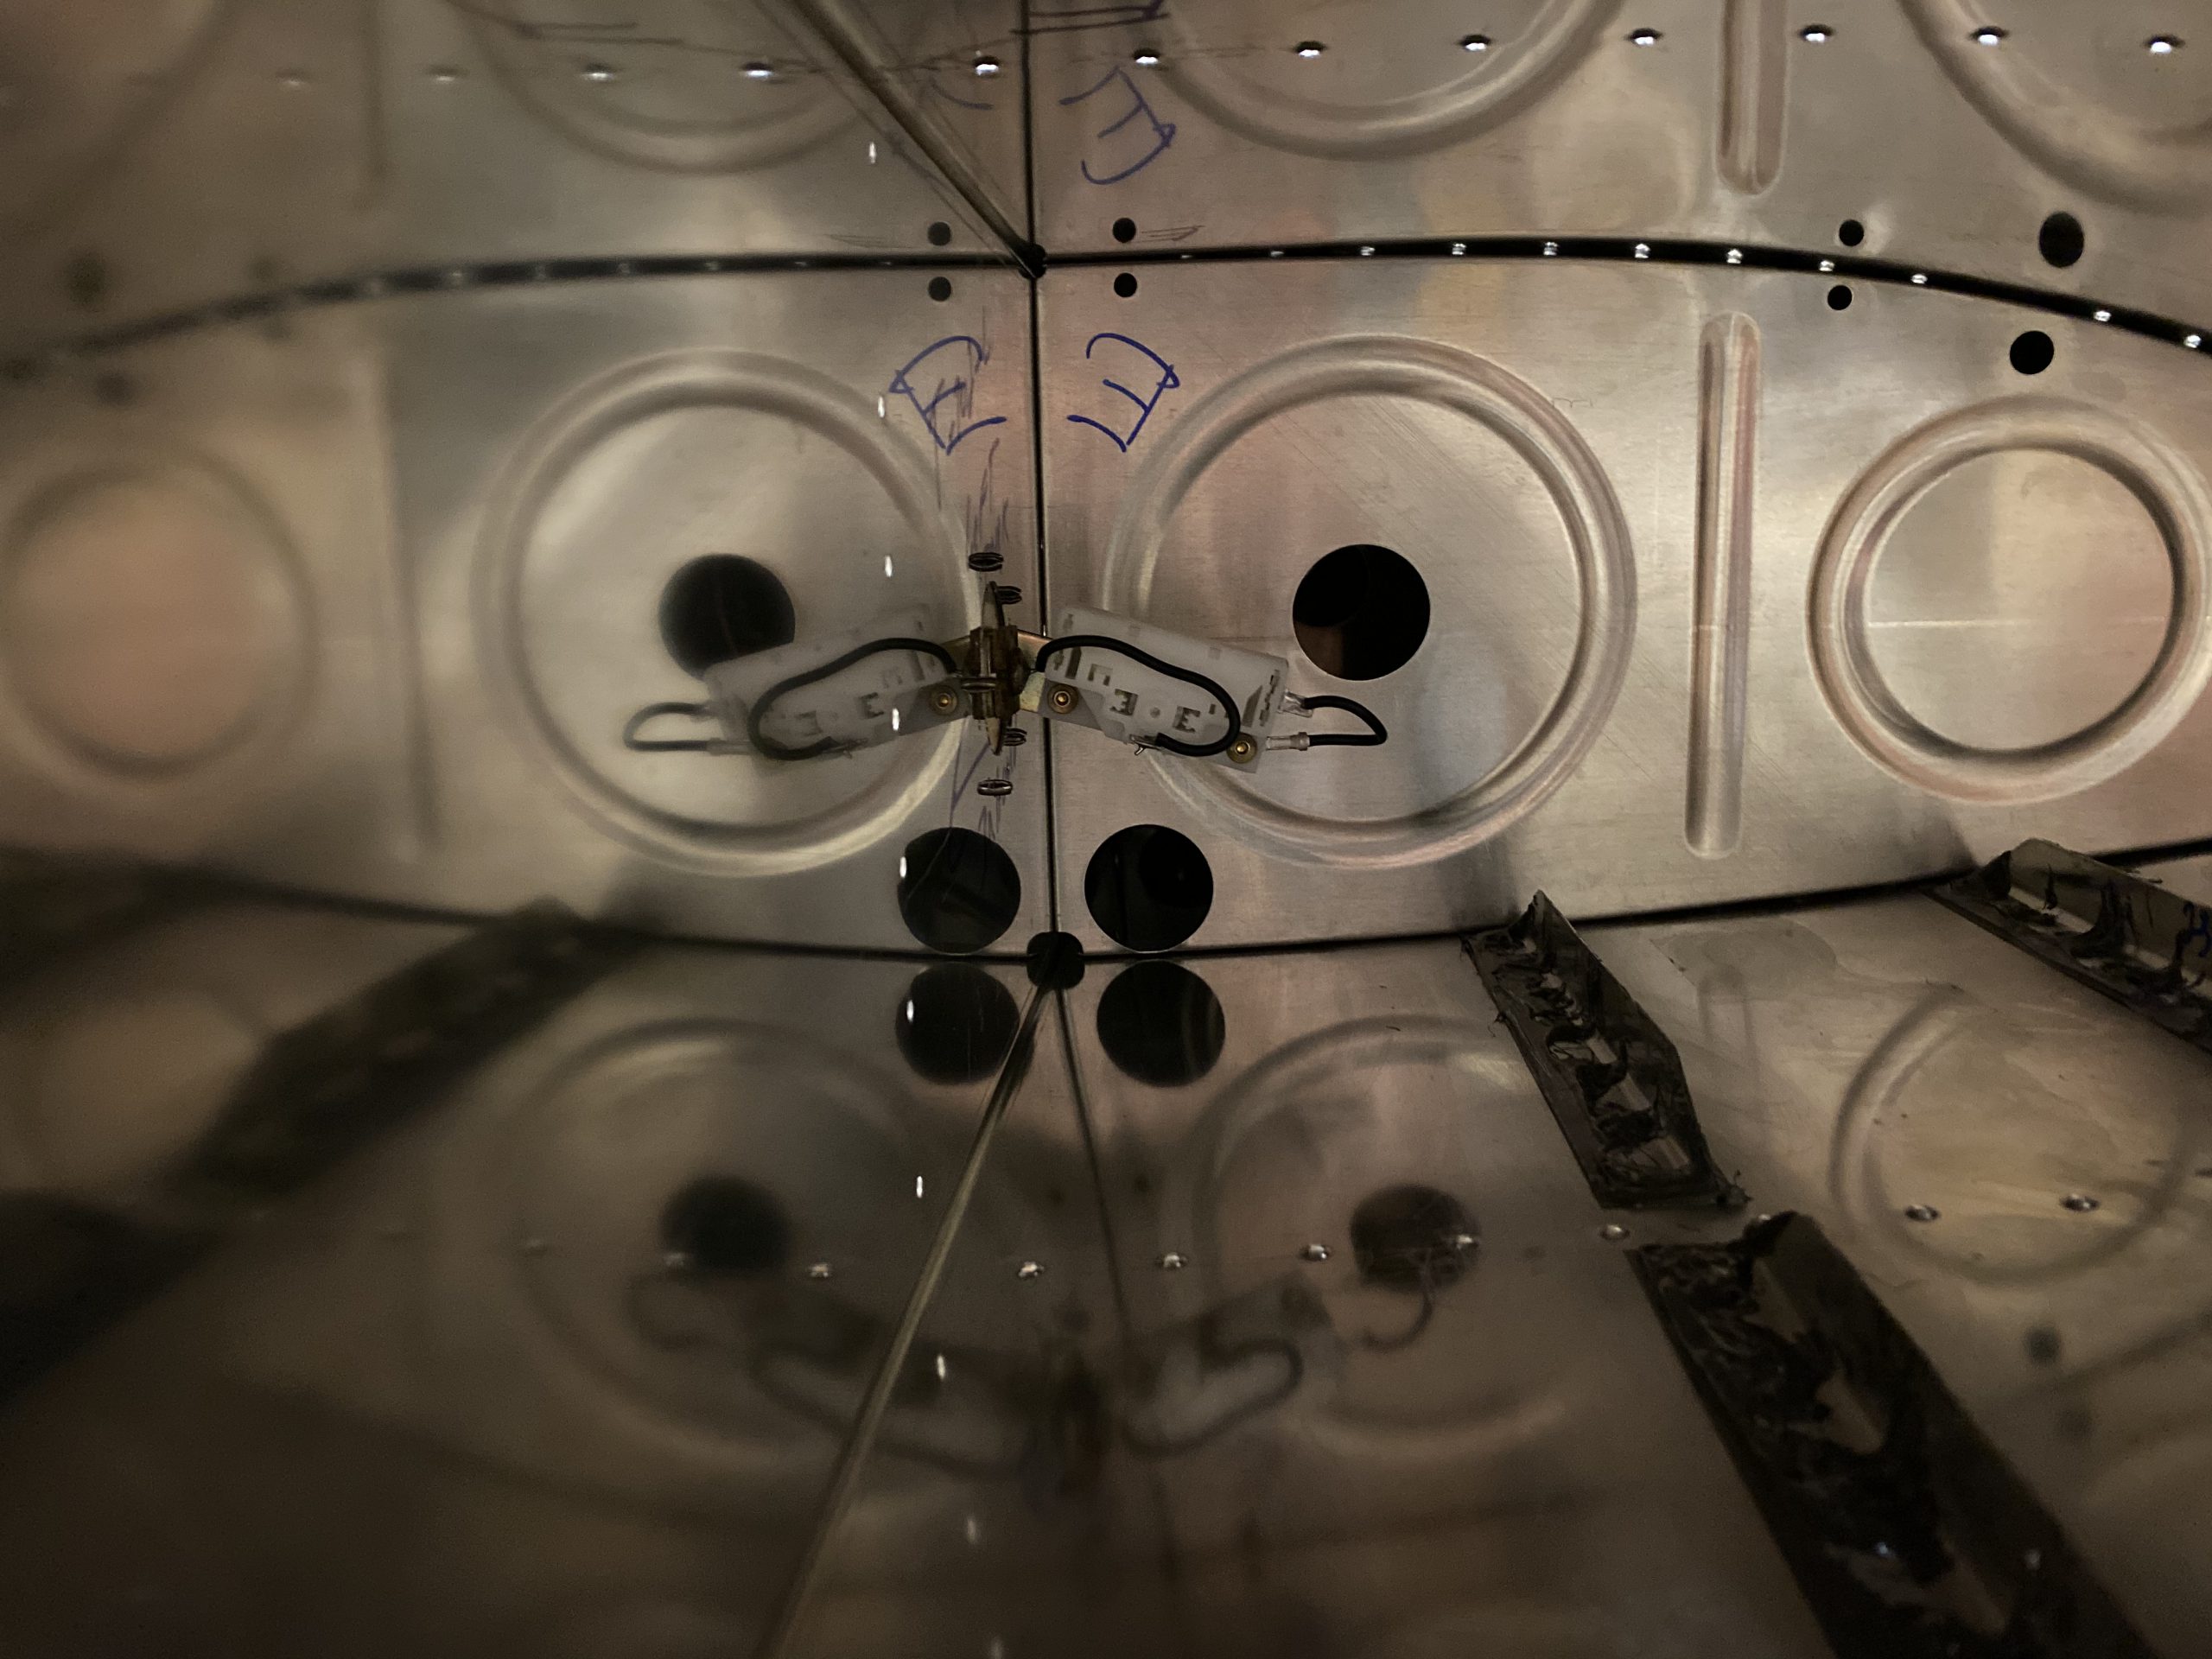
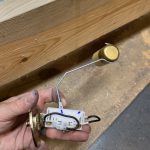
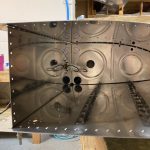
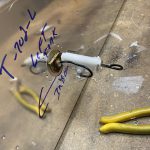
Now its time to bend the float sender wire. The senders will ship with a float that has plenty of stiff straight wire attached to the float-bobber, and its up to the installer to get the bends set correctly to read full and empty. So, I clecoed the baffle onto the tank making sure I got the skin nice and flush so I could get an accurate measure on these bends. I installed the sender and clecoed on the baffle!
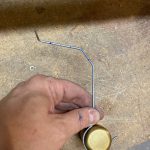
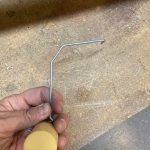
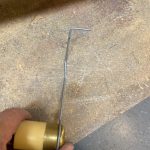
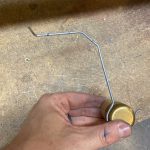
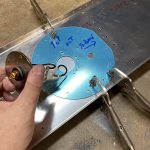
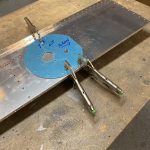
This is where I spent A LOT of time. It took a lot of trial and error, and testing and bending and fitting to finally come up with a shape that seemed to have worked. I started off by doing the first bend at 2 3/4″ inches where vans normally recommends 3″. Then I sort of eyeballed it, and trimmed off the excess, and made a few test bends. There really wasn’t any sort of “system” or “tips” to make this easy. Fit the float, and then use a sharpie to mark where you want to bend and see if it works. Thankfully, the wire on the float is stiff and it seems to be fine being bent multiple times. The three photos below show what I wound up with.

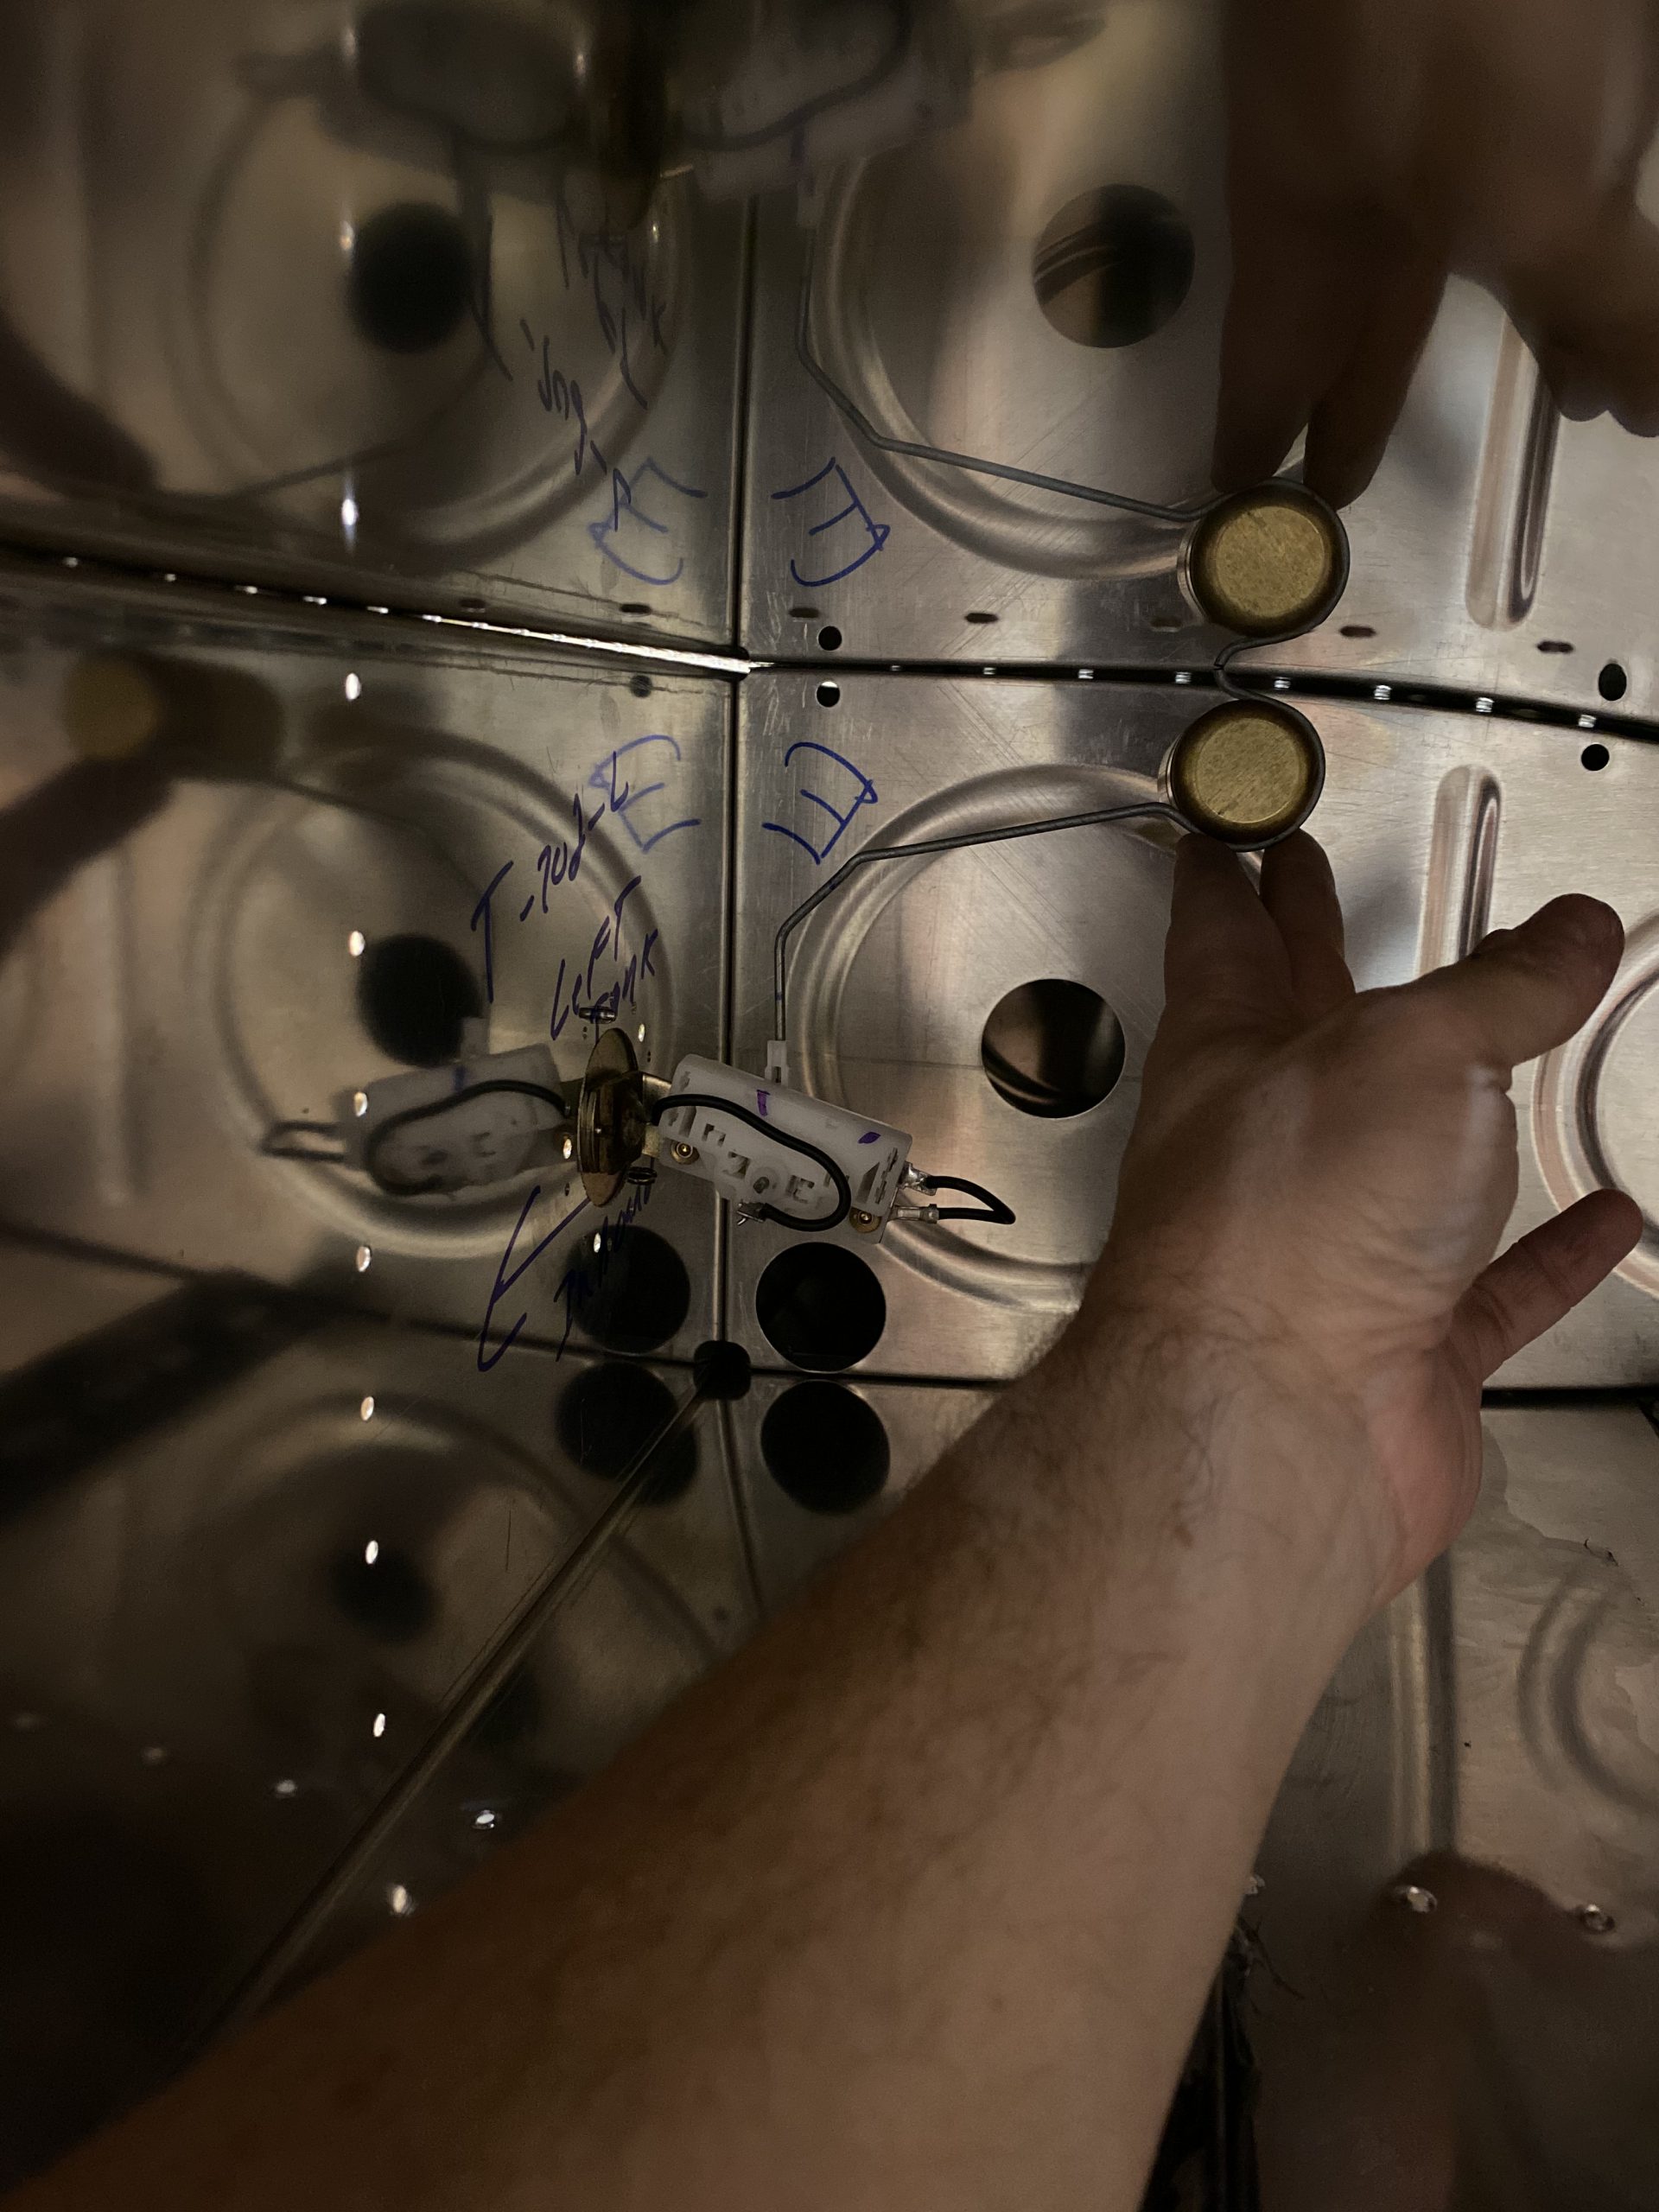
I wanted the float to land just in front of that stiffener, so it would sit JUST above the skin when reading fully empty. I was able to find a series of bends that did just that, while also giving me a decently correct full position. The float is maybe 1/8″ of an inch from touching the top skin at the FULL position, which is perfect. I want these things to read more accurately close to empty than full anyways. With this sender being outboard by another bay, and sitting a little more forward towards the leading edge, when they read EMPTY, there will probably be close to 3-ish gallons of fuel left in the tank, with about 1/2″ gallon being unusable. This is a good enough safety margin for me, so when it reads empty, I’ll still have a small reserve. Here is what I came up with as far as my bends.
 .
. 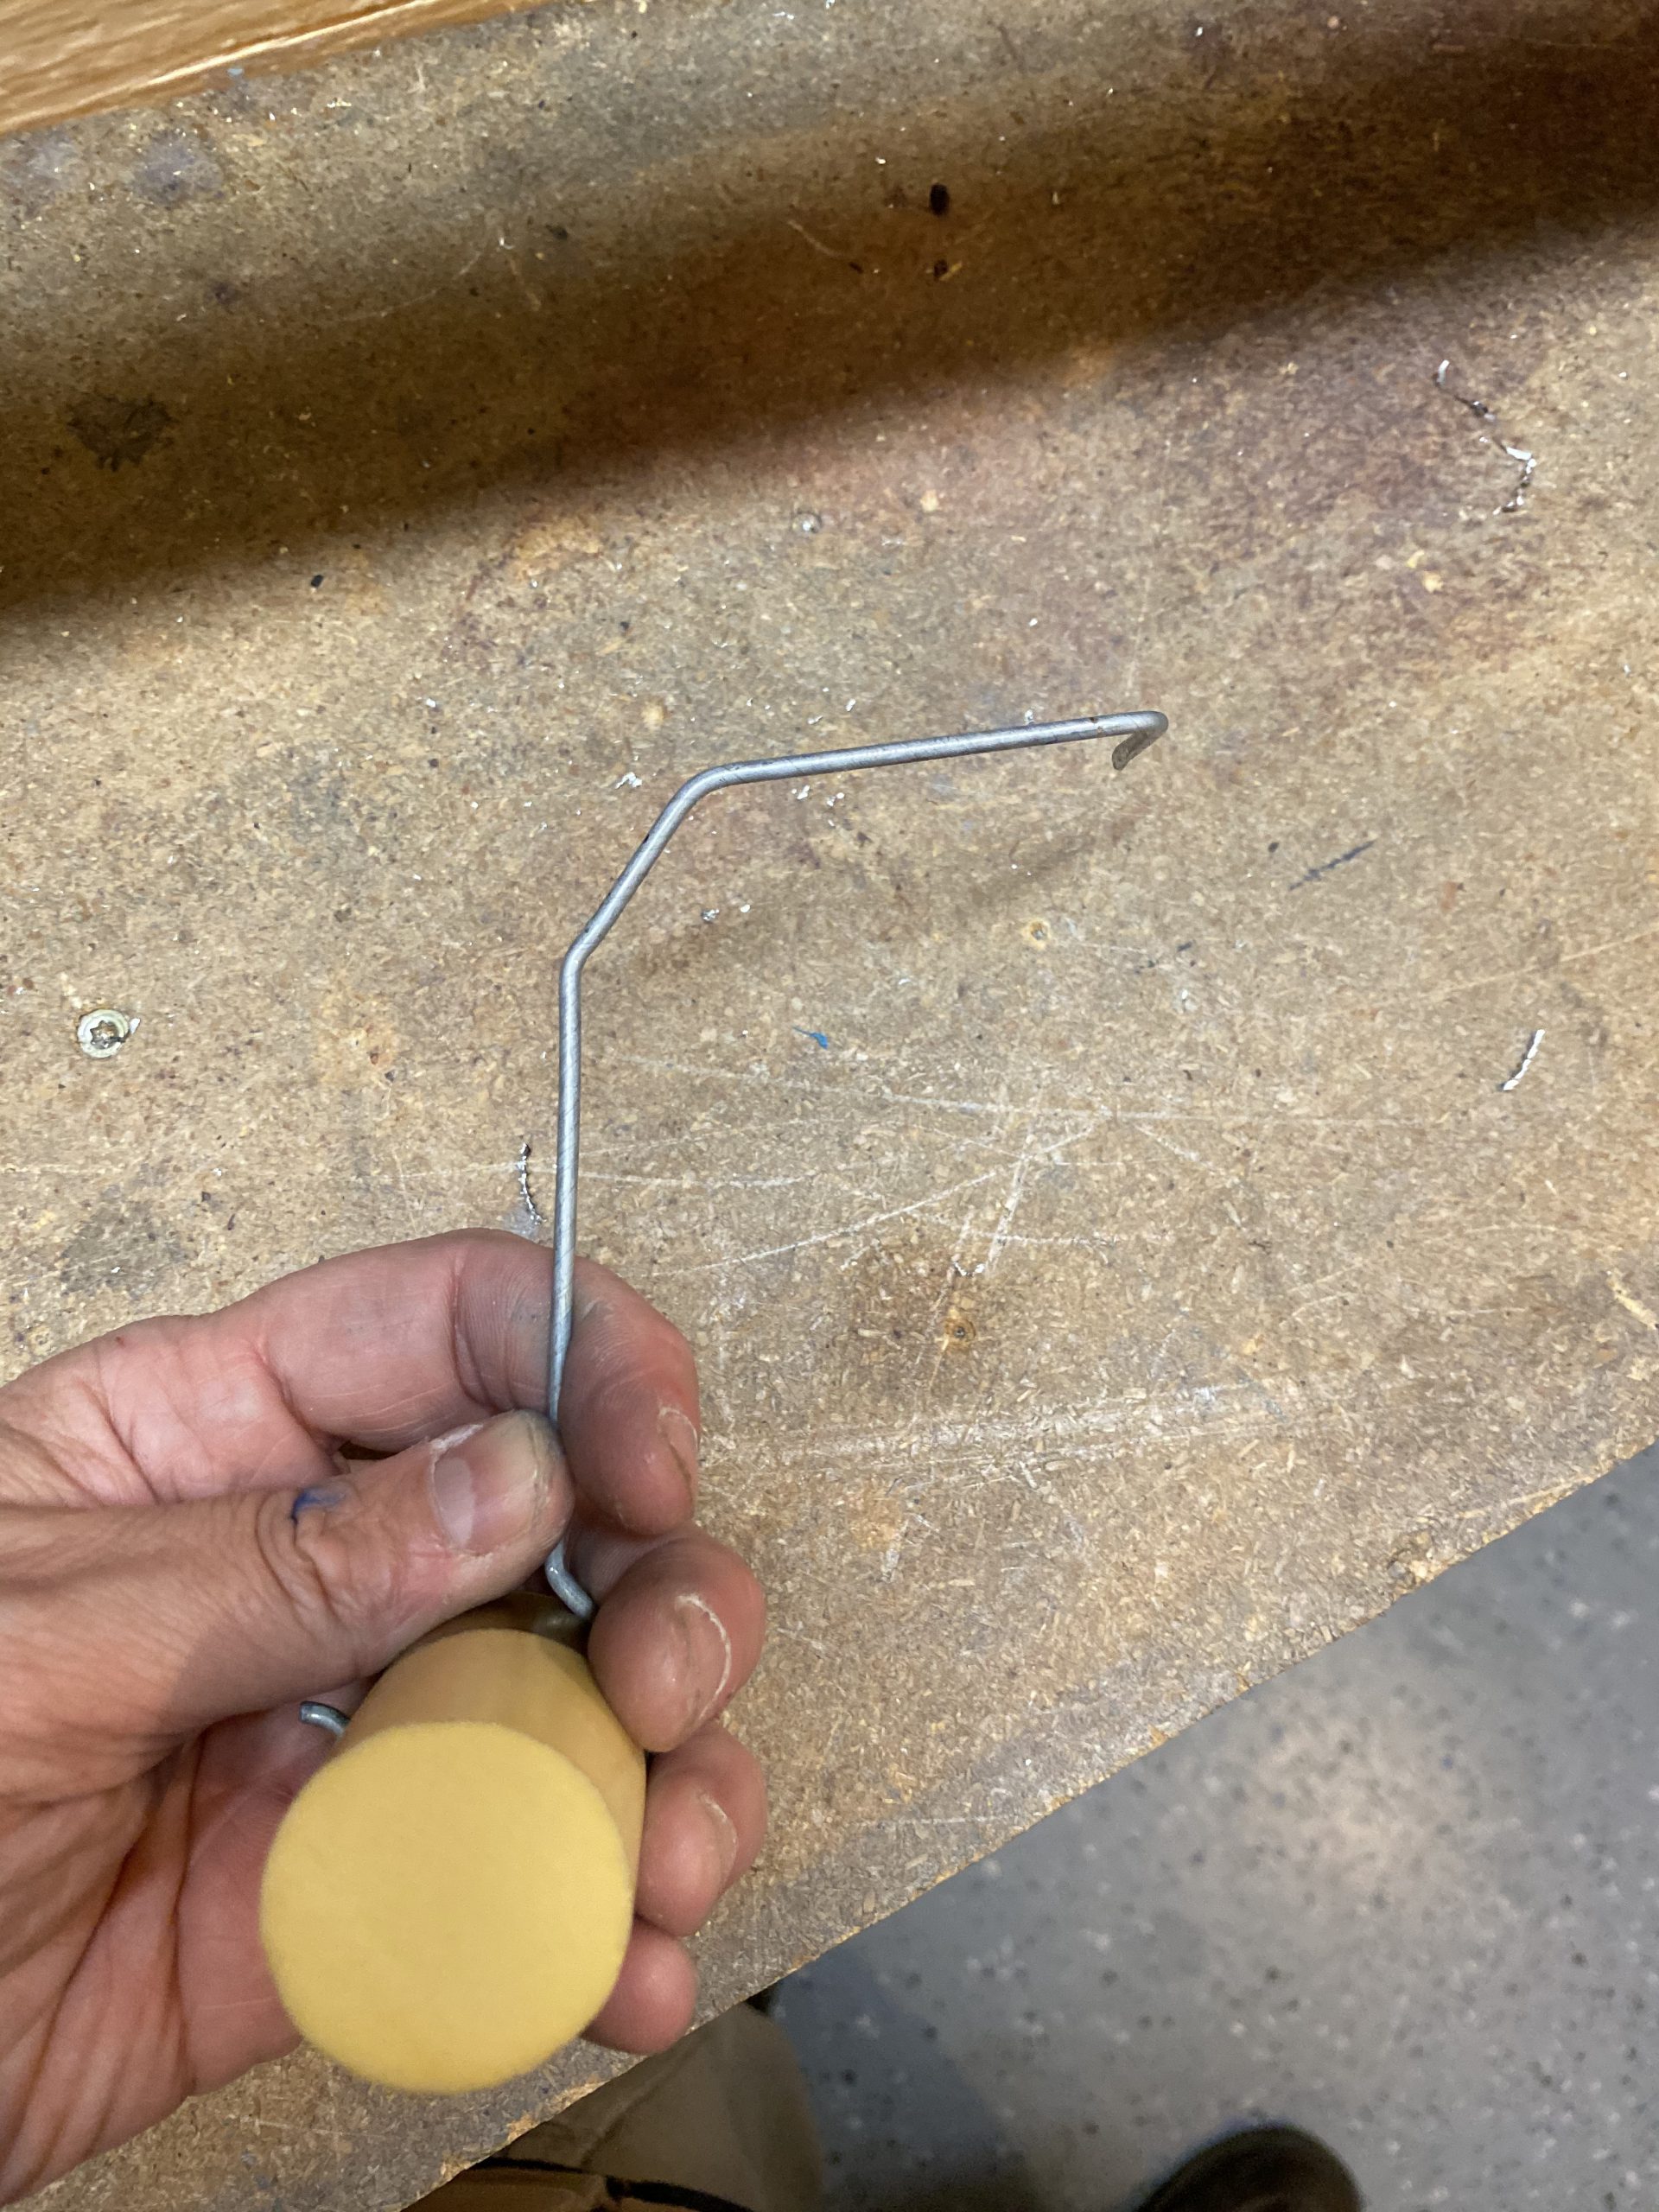
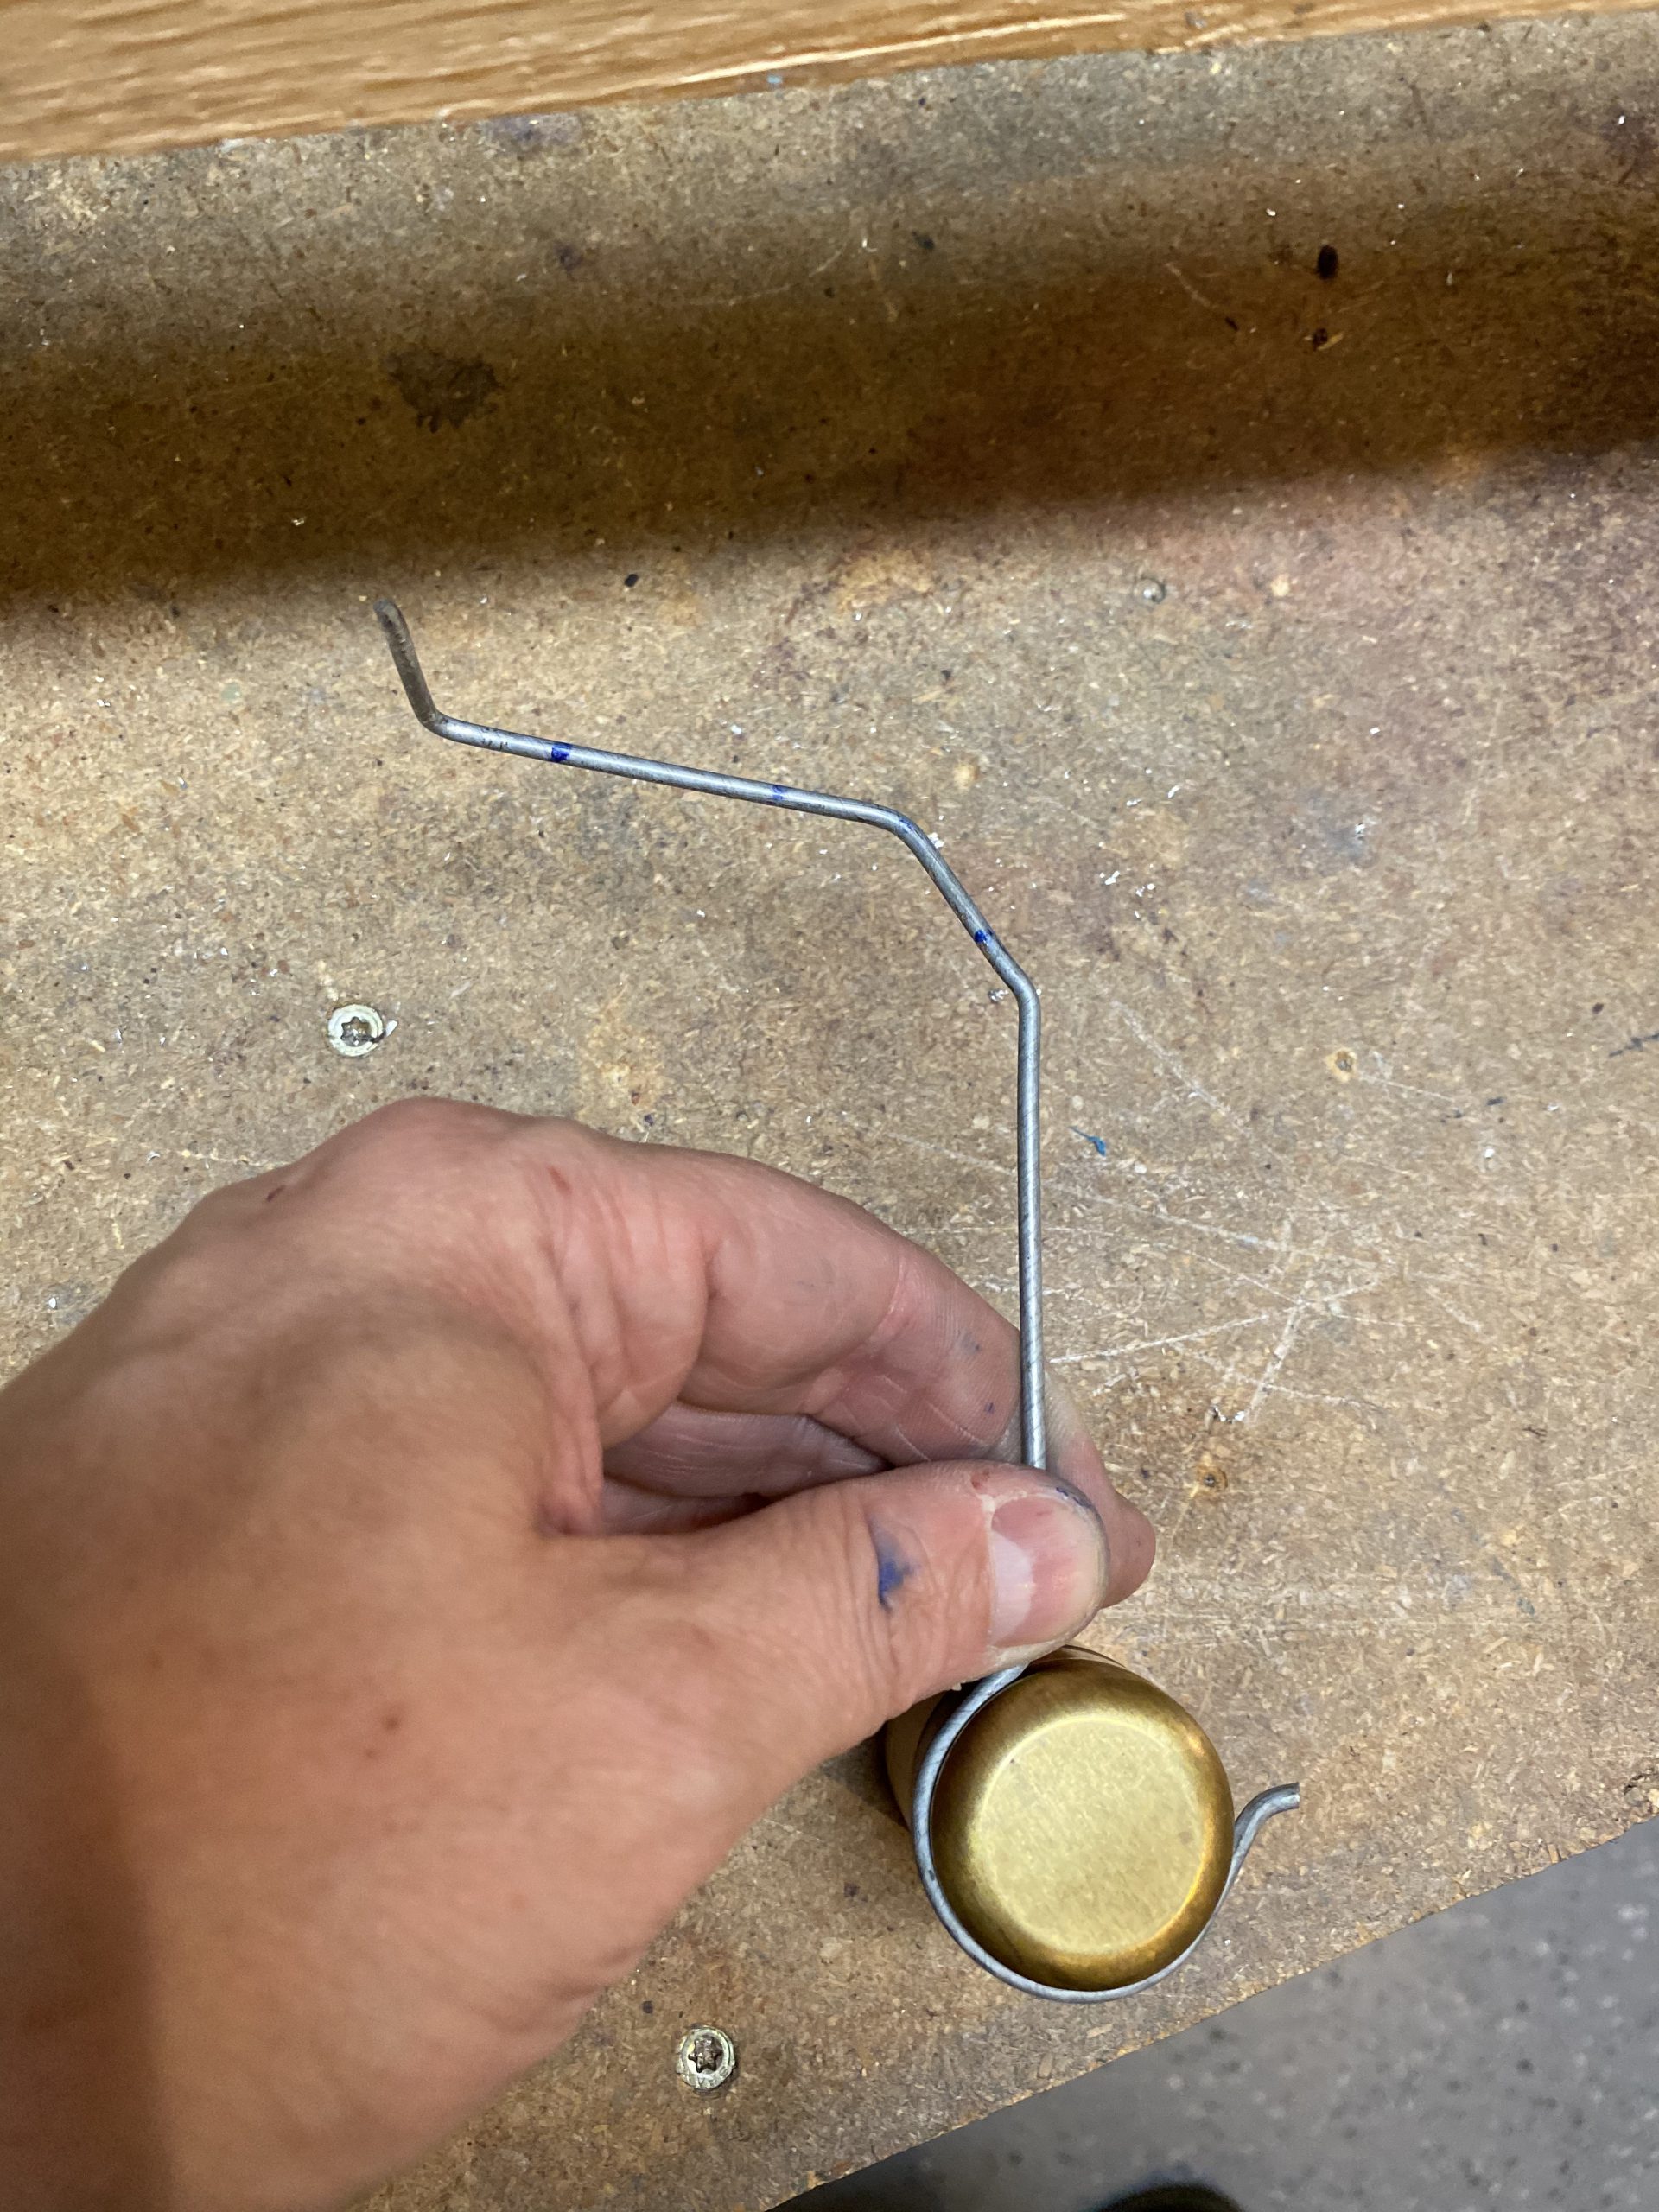
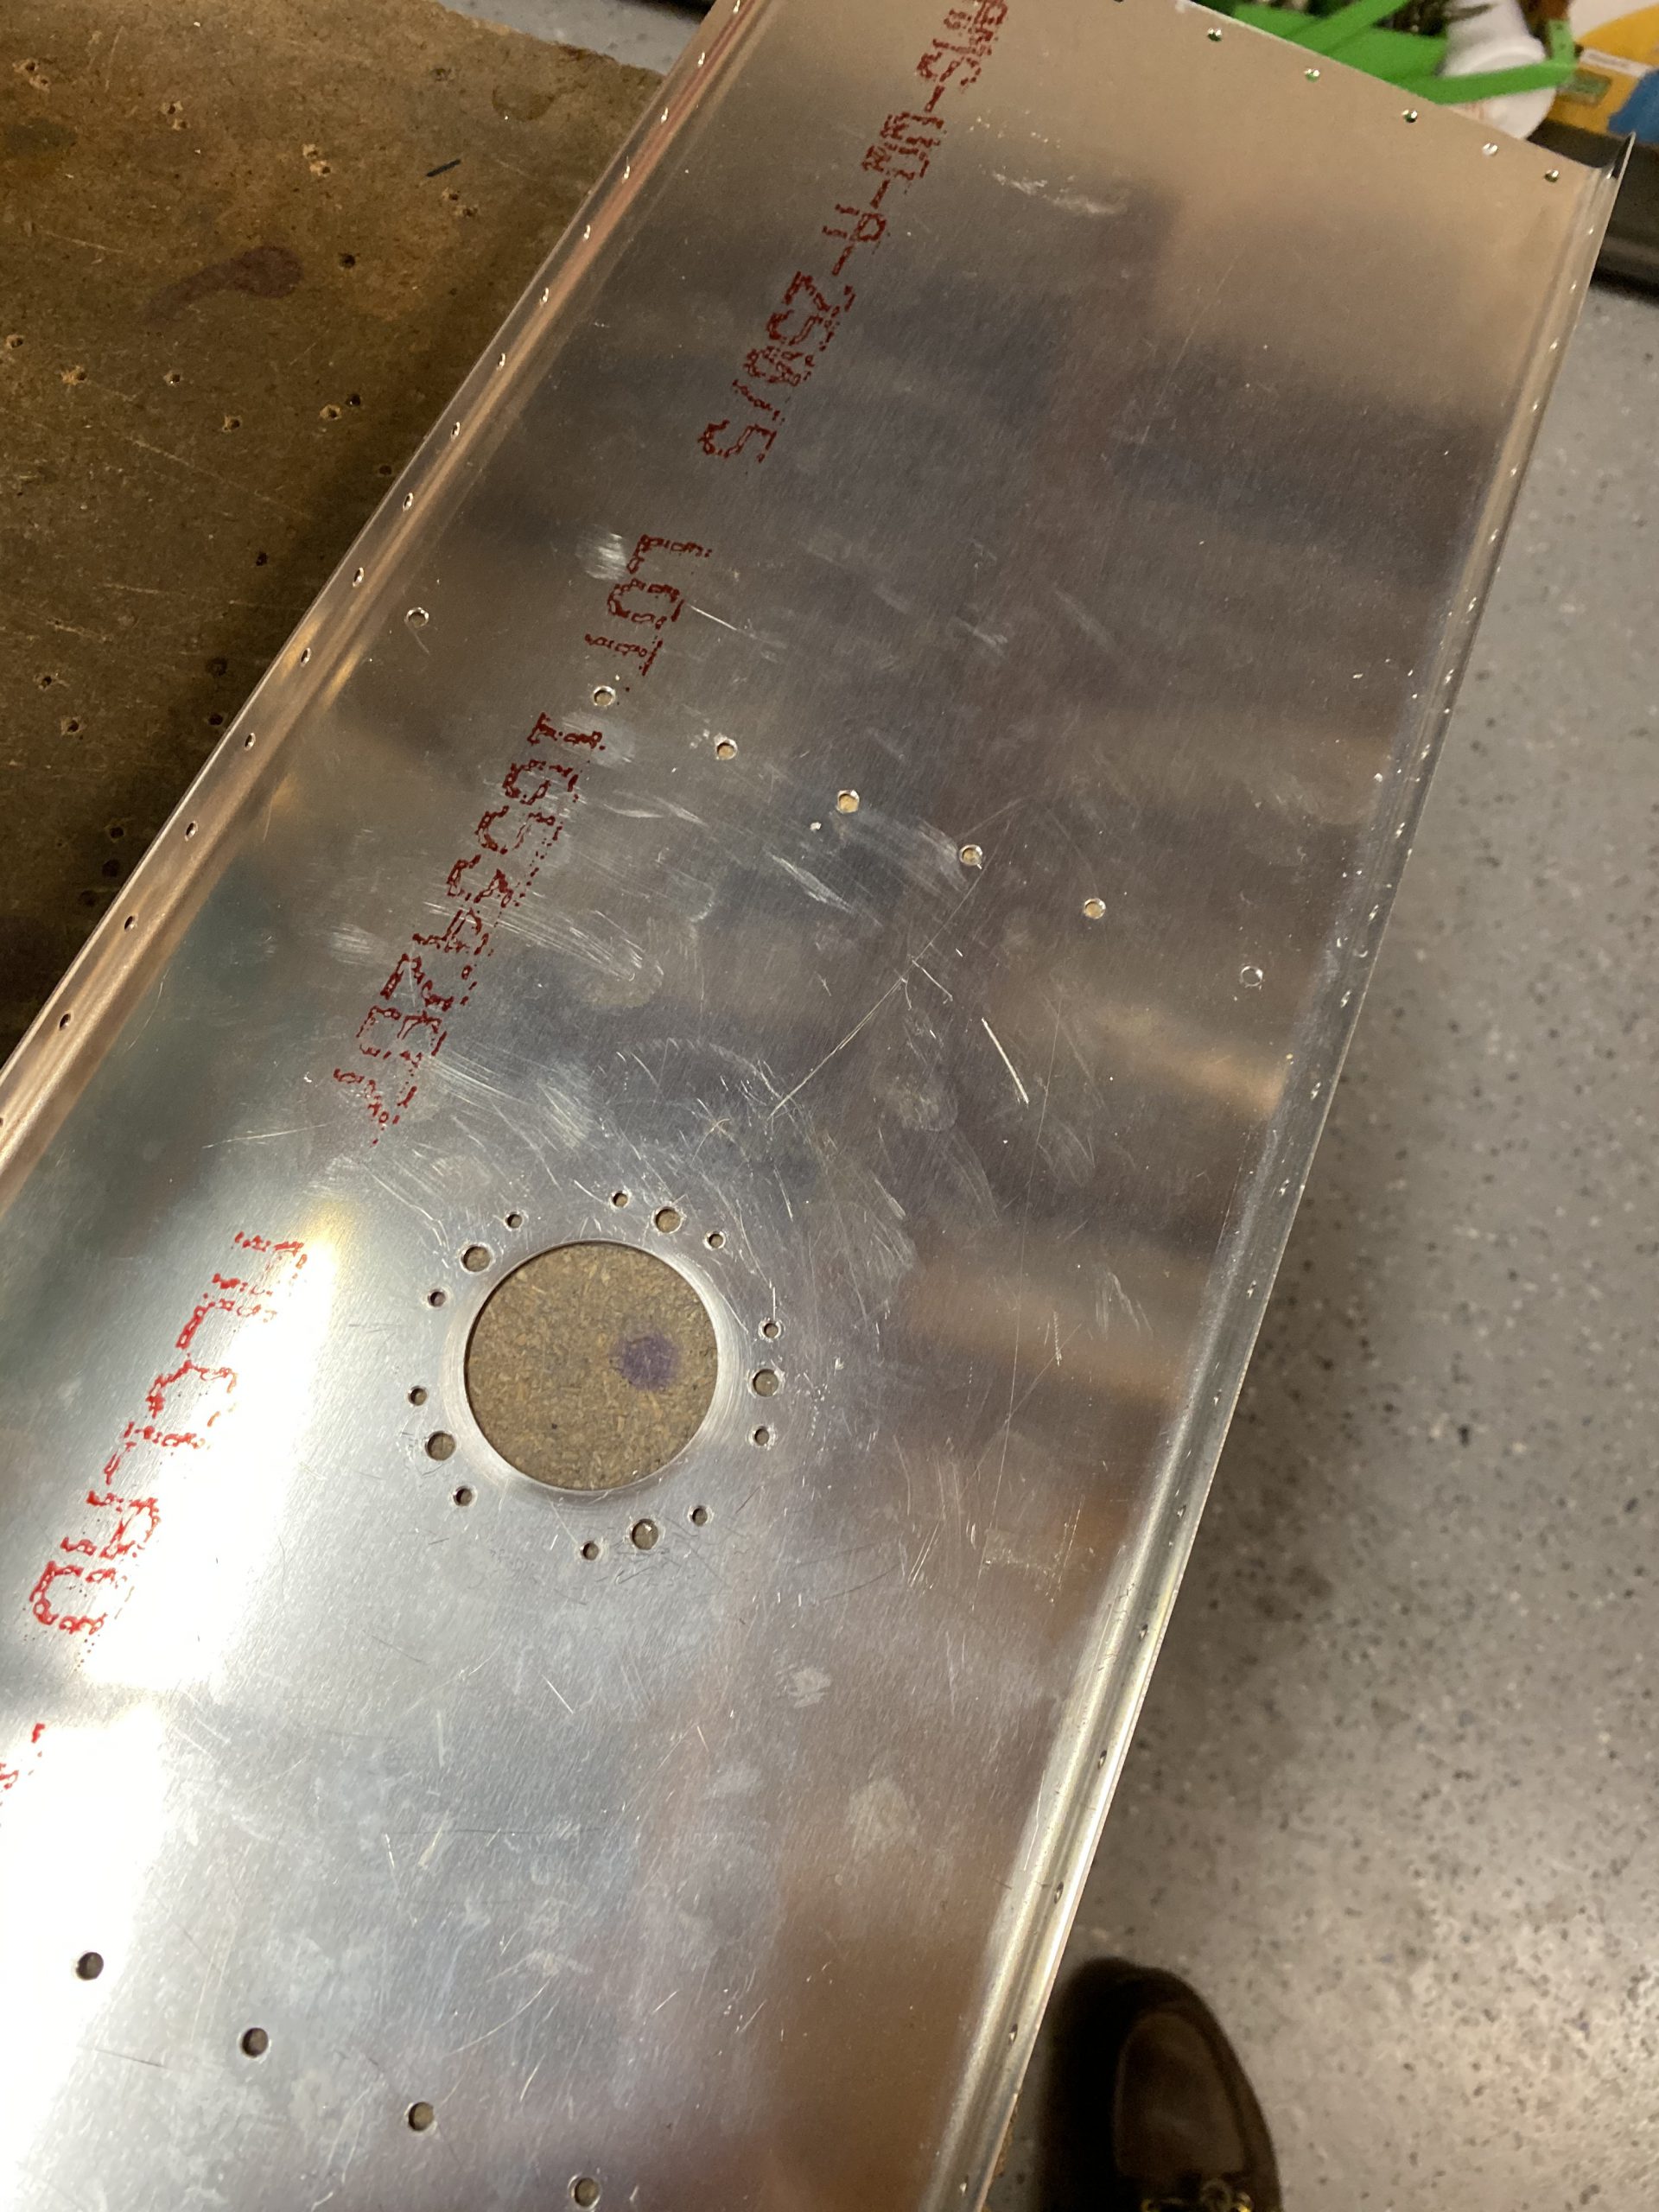
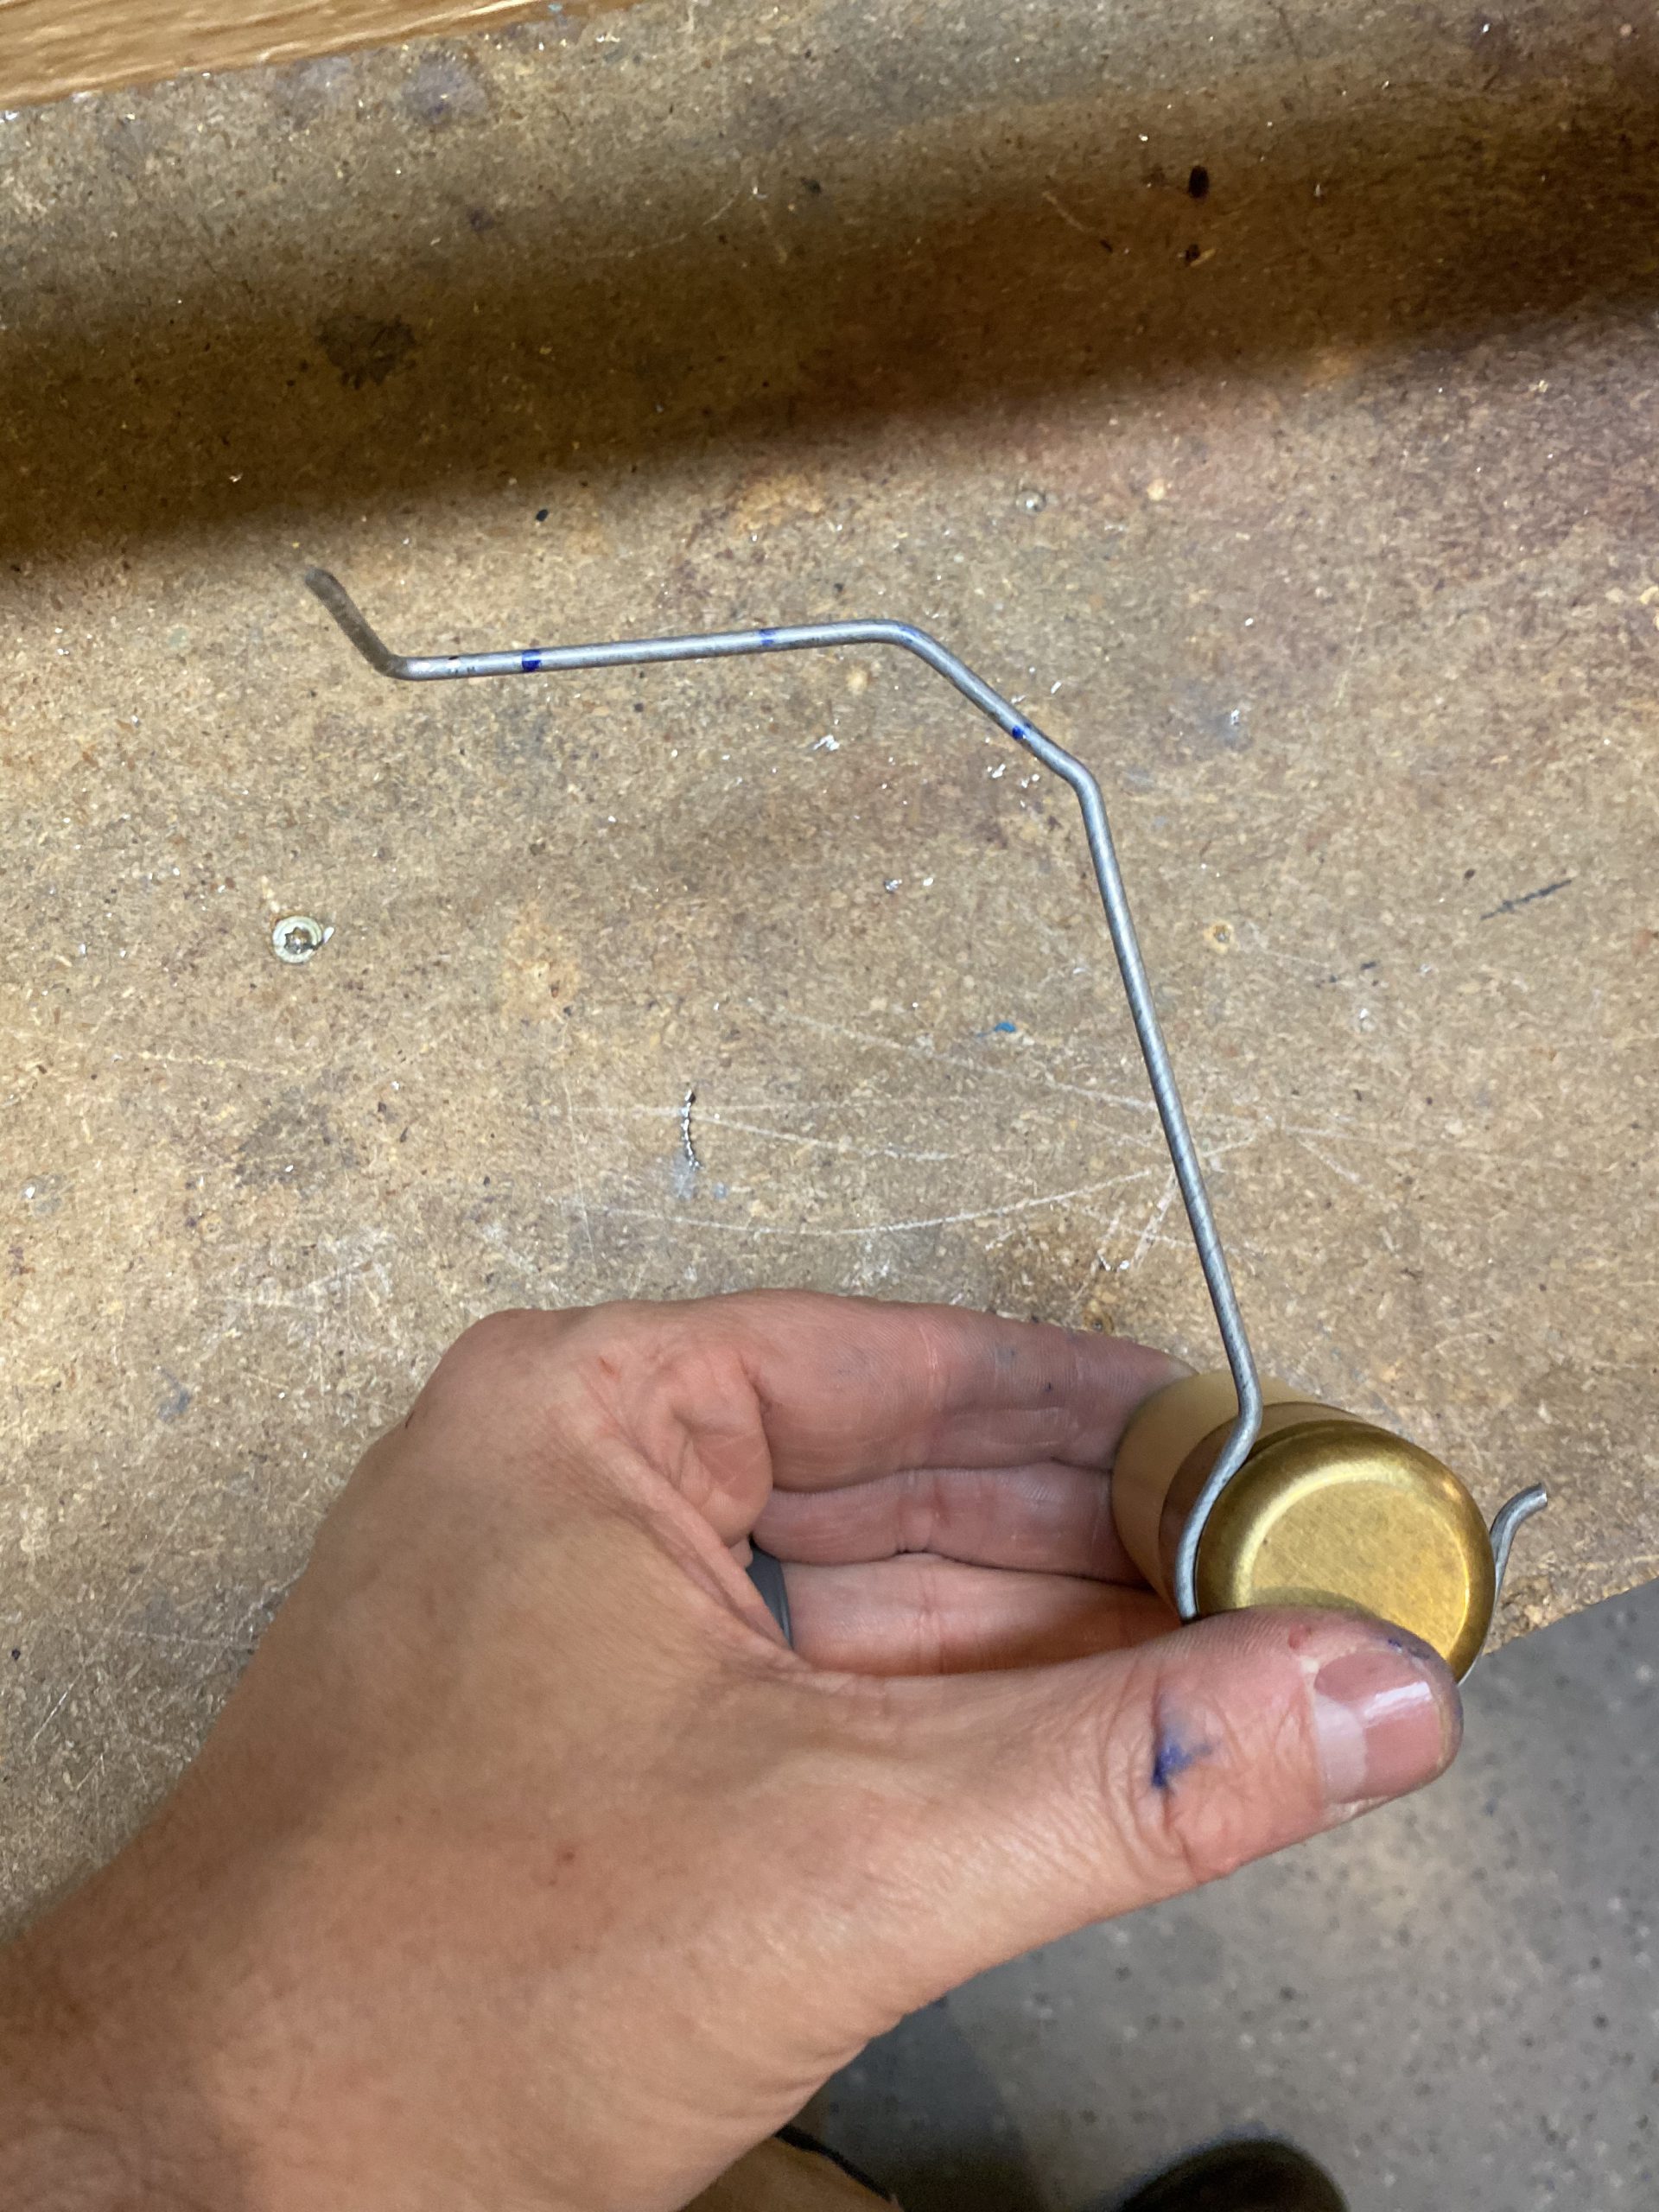
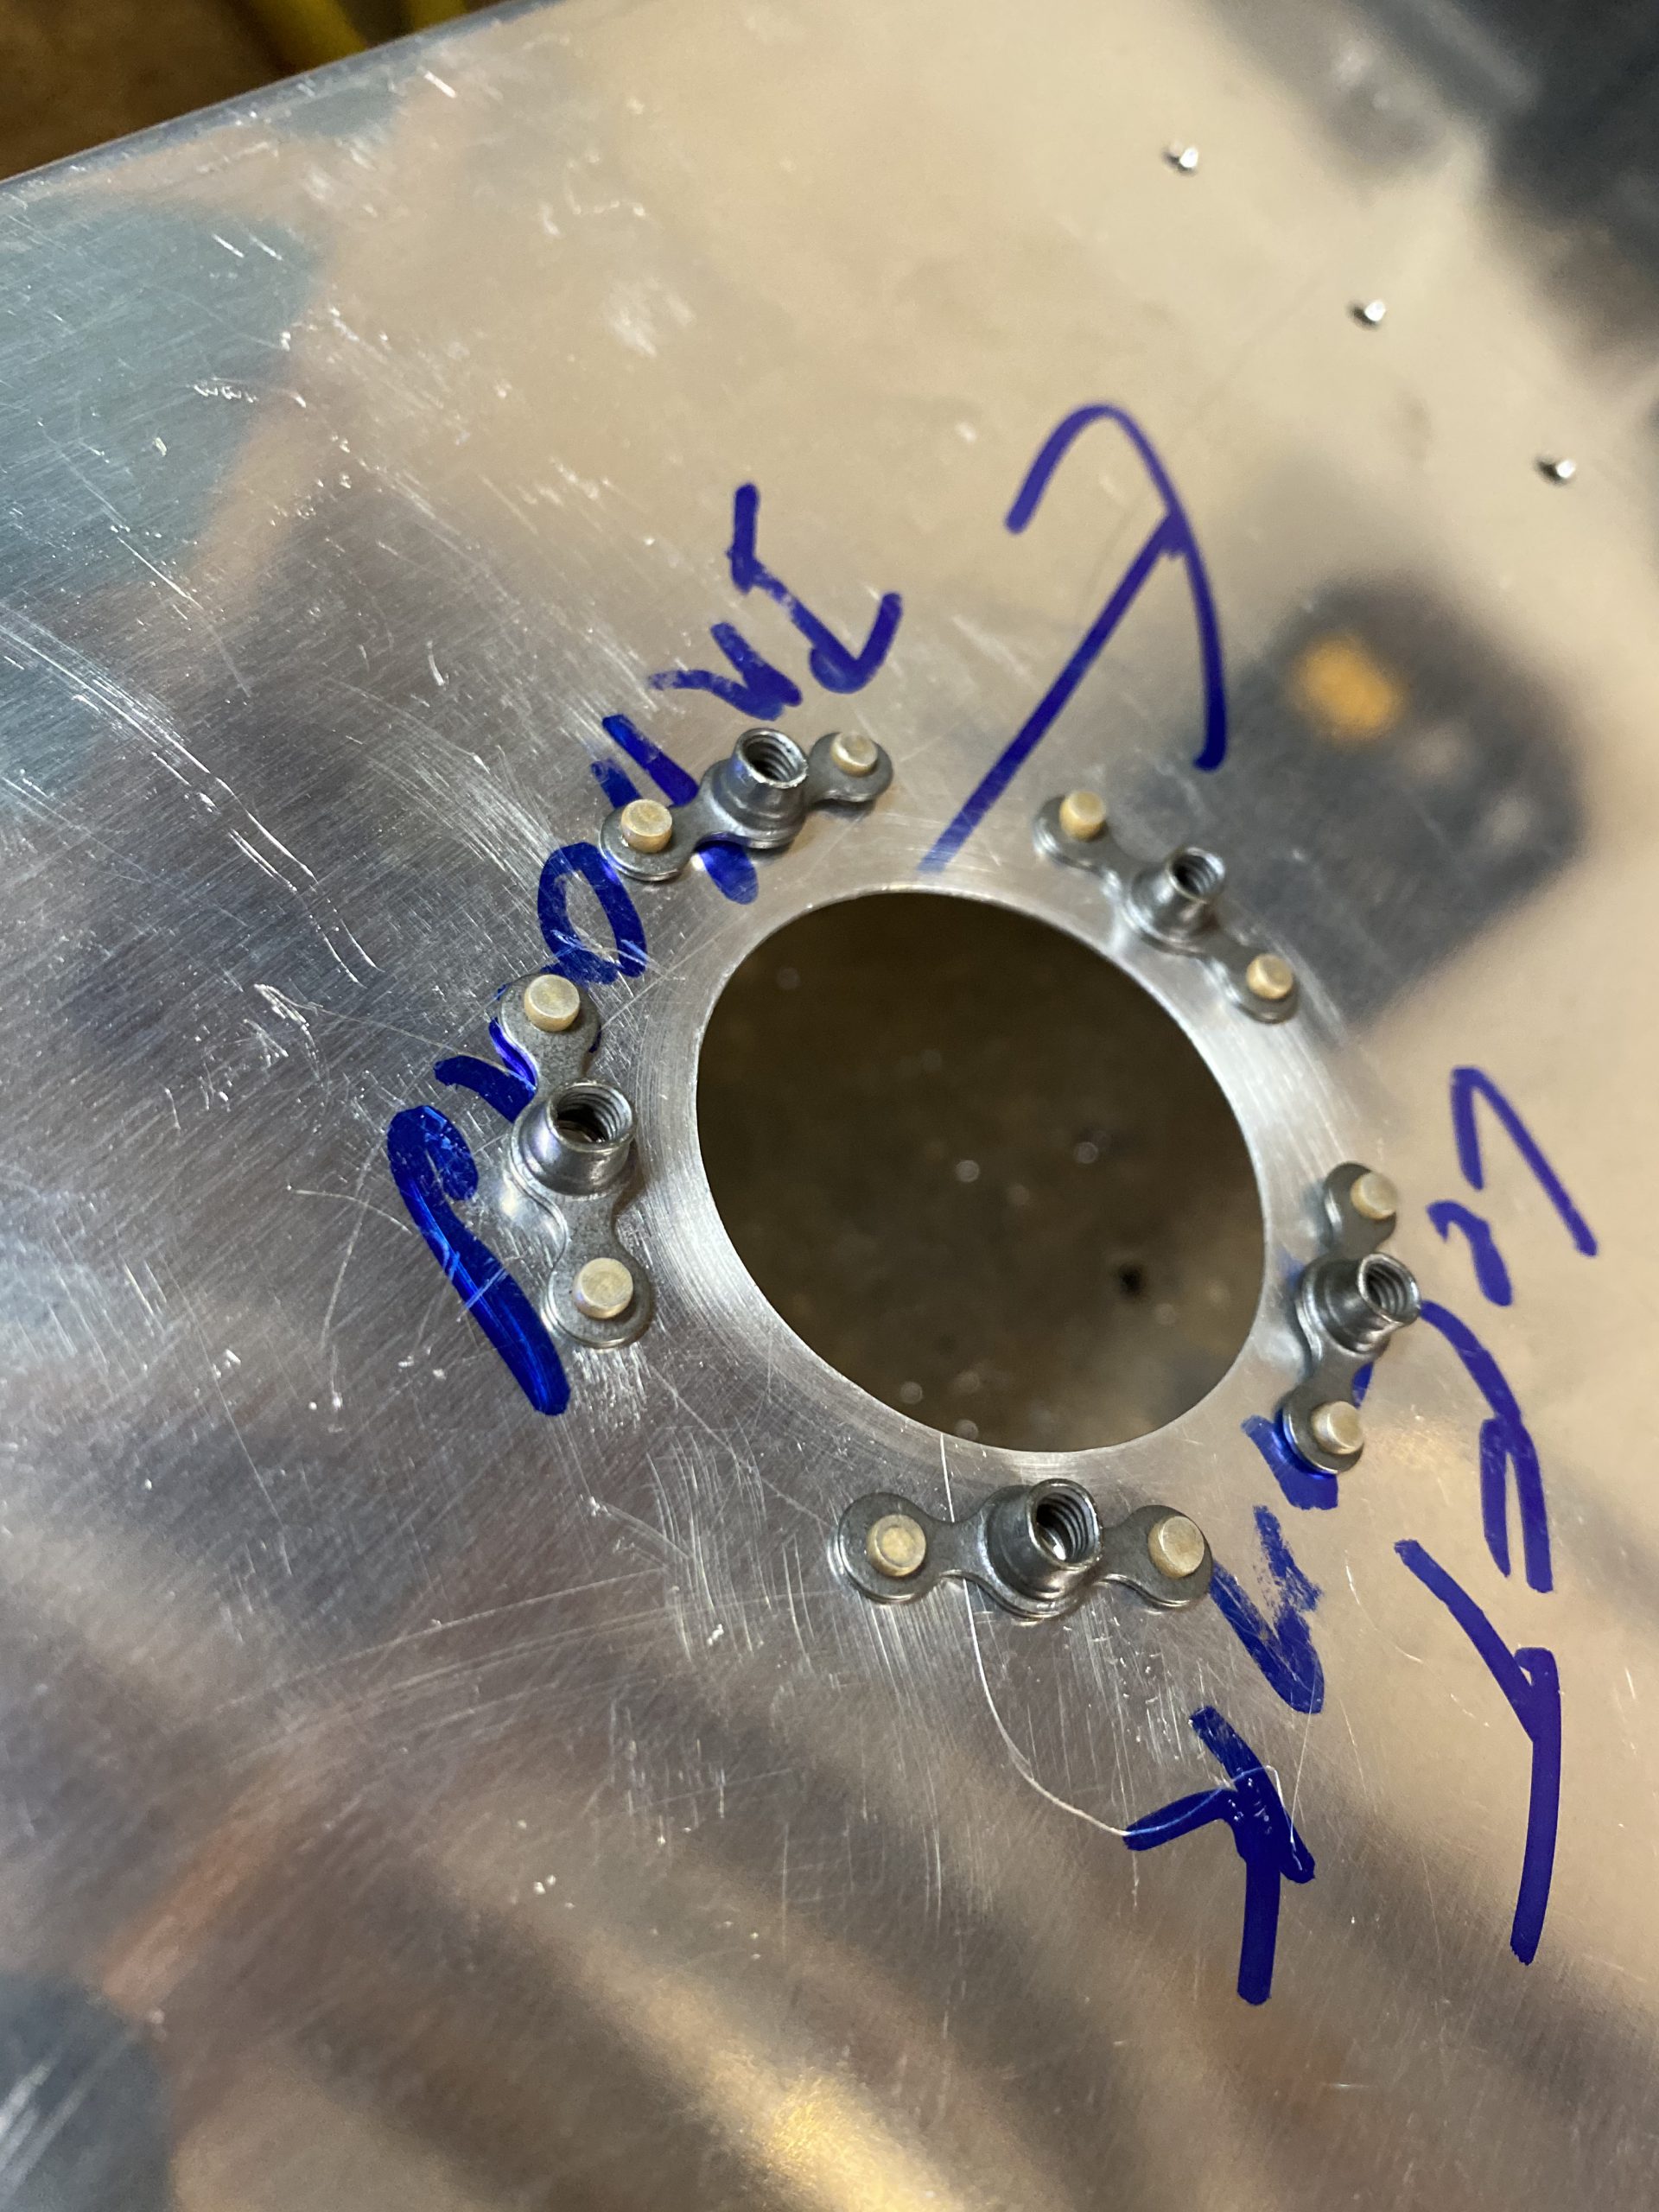
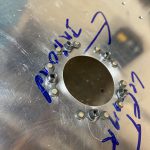
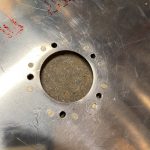
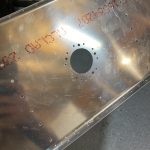
It’s not very helpful without measurements, but honestly, those measurements would vary a bit depending on where you wound up mounting the sender in the baffle anyways. But, the shape itself is hopefully helpful to any future builders so they can see what worked for me. Roughly, the float to the first bend is about 2 3/4″. Then the little distance between the 45 degree bents is about an 1″ to 1.25″. Then probably another 2.75″ before getting to the 90 degree bend that nests into the sender itself. With all this hard work of getting the bends done, there wasn’t much left to do, but finish up the mounting holes. So, I deburred the holes, as well as deburring the larger hole made by the fly-cutter, making sure it was very smooth on all edges. Lastly, I decided to use some NAS1097 “oops” rivets for an AD426AD3-3.5 hole and do a very easy countersink on the outside rivet holes so that the sender sits perfectly flush and seals good.
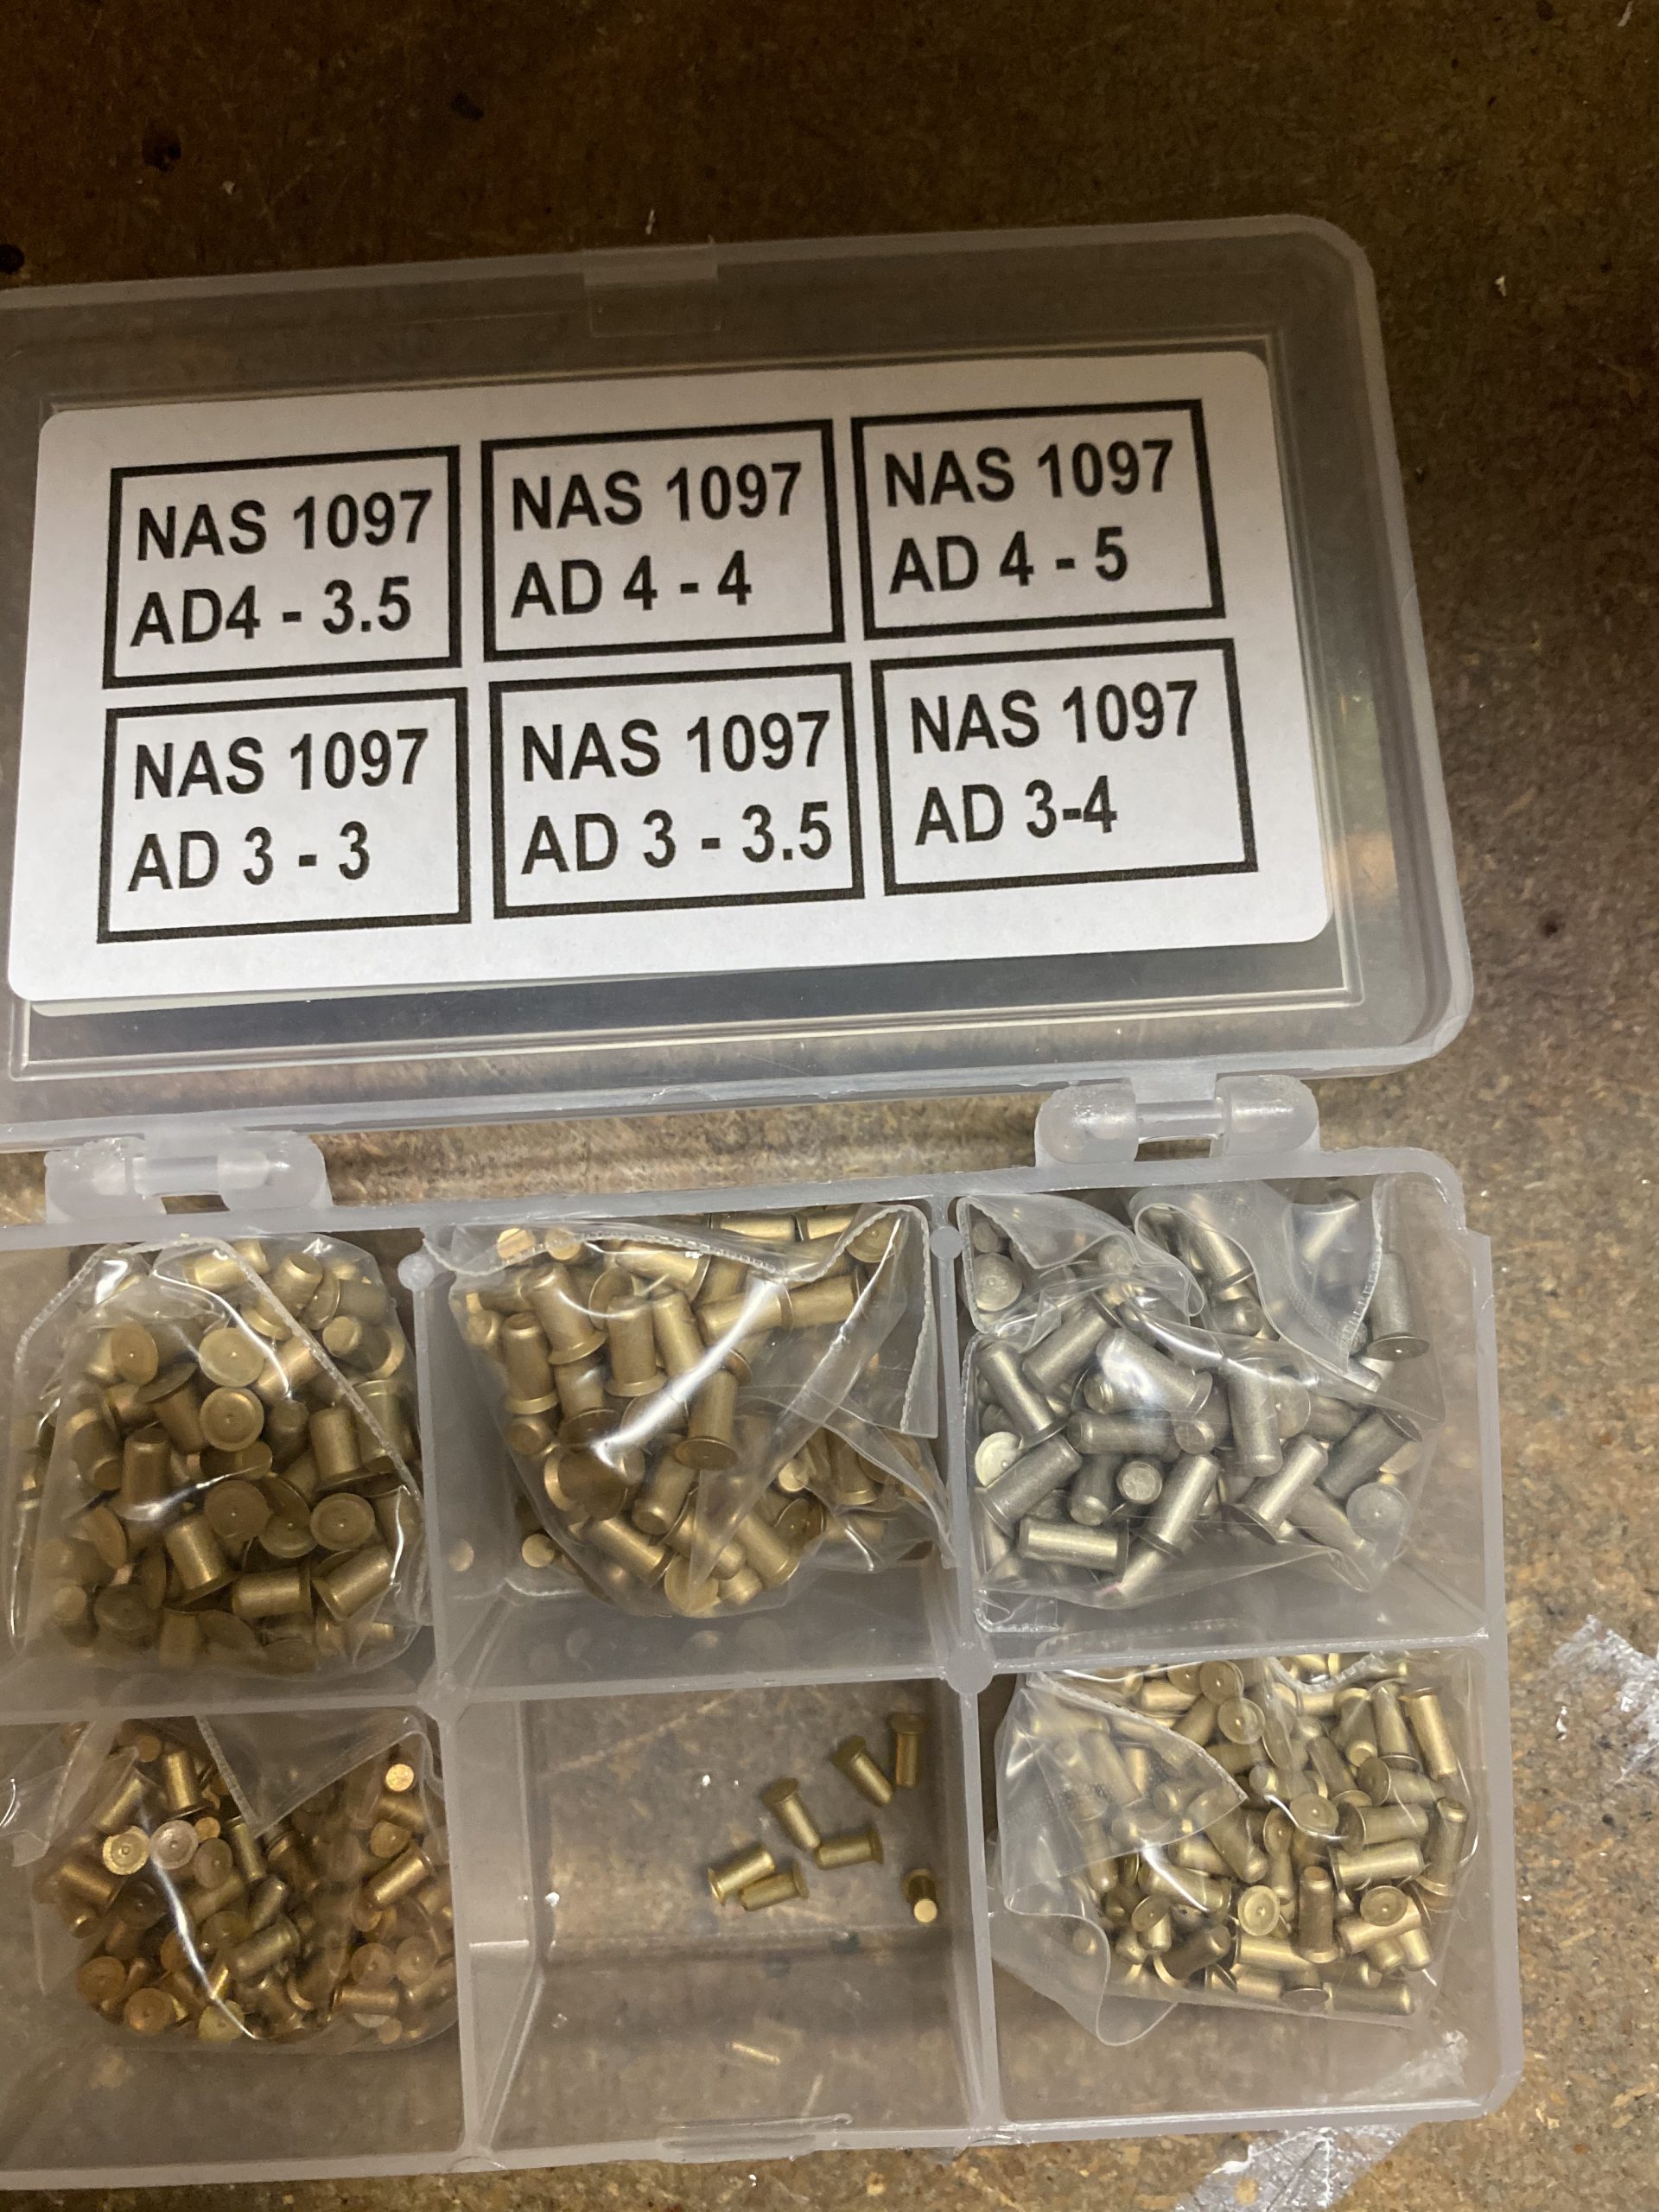
I used my hand deburring tool to get the gentle countersink done just right for these “oops” rivets, since it doesn’t take very much at all. I tested each hole to make sure it was perfect. Then I clecoed on the K1000-8 nutplates, and squeezed the rivets using my squeezer. I’m pretty happy with the way this turned out!
It feels good to FINALLY get this part done. I’ve been worried about it for a while, and put a bunch of thought into how I wanted to do it. I contemplated making a doubler, but decided that wasn’t needed since the sender itself serves as a doubler. I’m happy with the results! this was a good stopping point for tonight.
Google Photos Link: https://photos.app.goo.gl/j55S1A1HFjNzhipw5
-
IMG_1615
-
 IMG_1614
 -
IMG_1613
-
IMG_1612
-
 IMG_1611
 -
 IMG_1610
 -
IMG_1609
-
IMG_1608
-
IMG_1607
-
IMG_1606
-
IMG_1605
-
 IMG_1604
 -
IMG_1603
-
 IMG_1602
 -
IMG_1601
-
 IMG_1600
 -
 IMG_1599
 -
IMG_1598
-
IMG_1597
-
 IMG_1596
 -
 IMG_1595
 -
 IMG_1594
 -
 IMG_1593
 -
 IMG_1592
 -
IMG_1591
-
IMG_1590
-
IMG_1589


Hours Worked: 3.0
Hi Lynn, I purchased my RV7 project with the wing tanks built. I believe I have the same capacitive fuel tank system as you describe however, I do not have any information about them. I’ve sent a note to Van’s but no response as of yet.
The tanks are closed and tested, but I don’t have any other components to the system such as capacitance converter etc. Do you have any mfg information on your system, such as a part number for the converter you’ve used? I don’t see these systems on the Van’s site.
Hey James, sorry for not seeing this sooner! I think most modern EFIS can be used on the capacitive senders out of the box with a few settings tweaks. Do you have the BNC connectors on the outside of your tanks somewhere?