


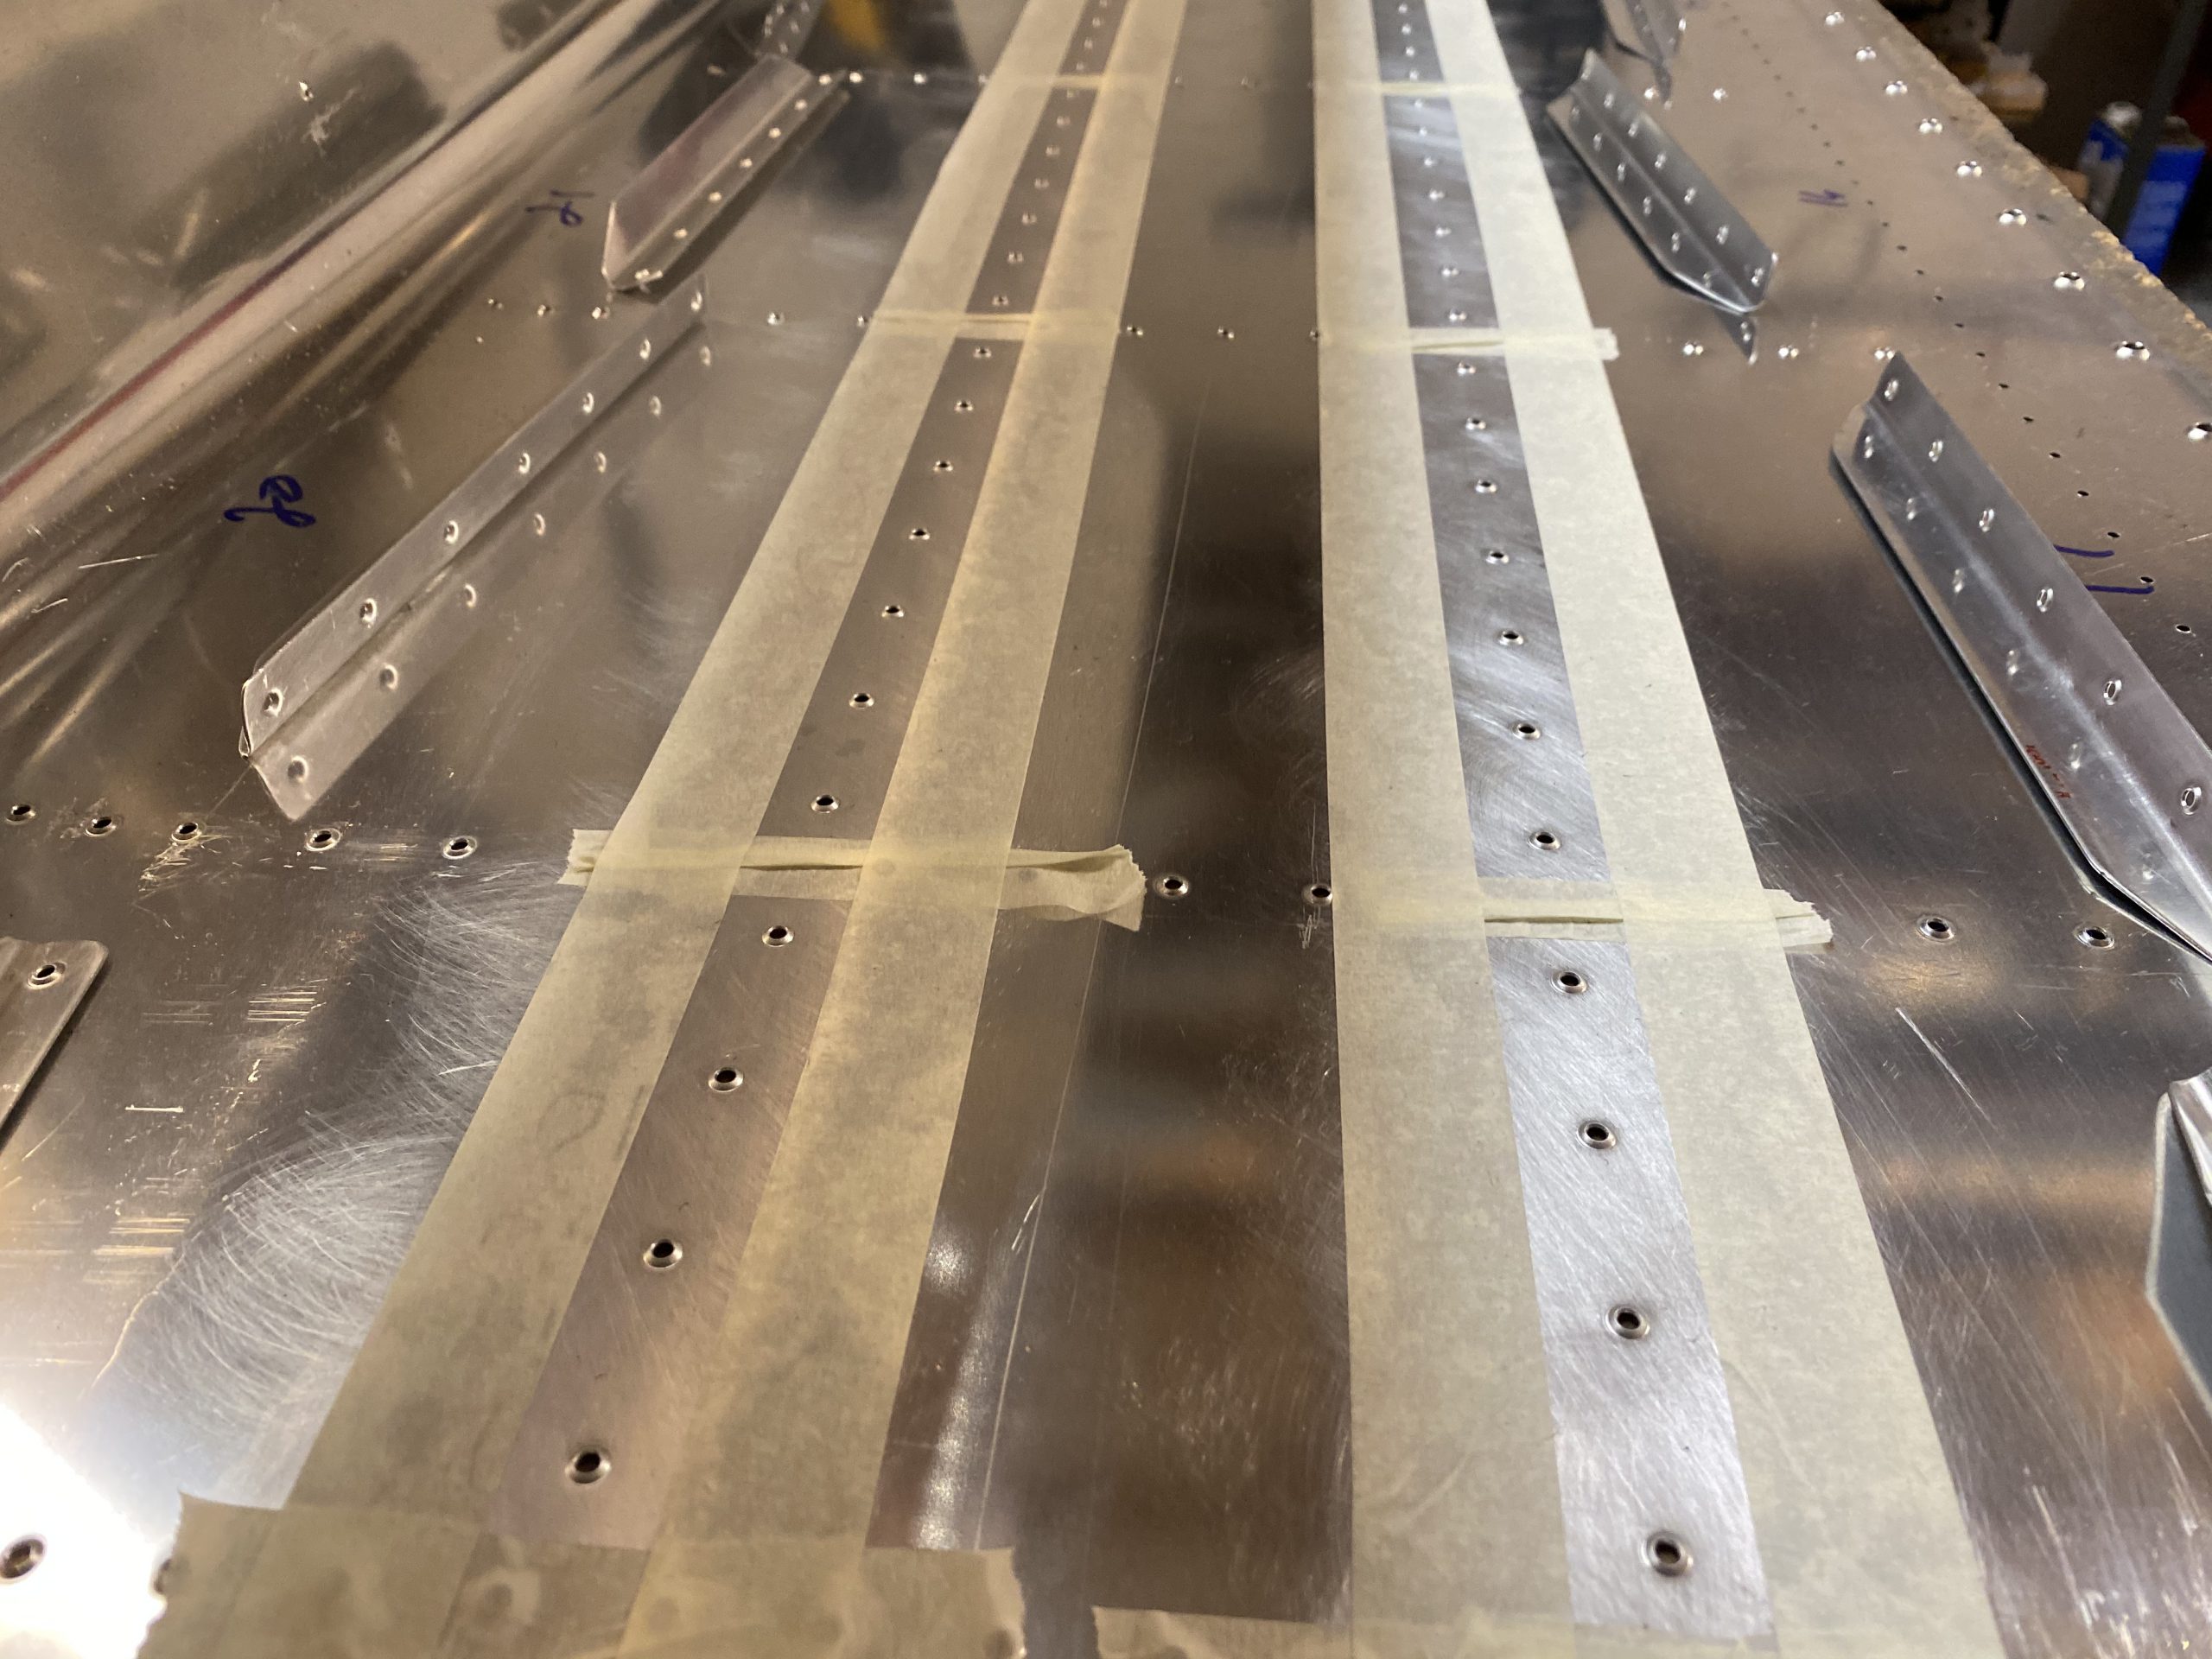
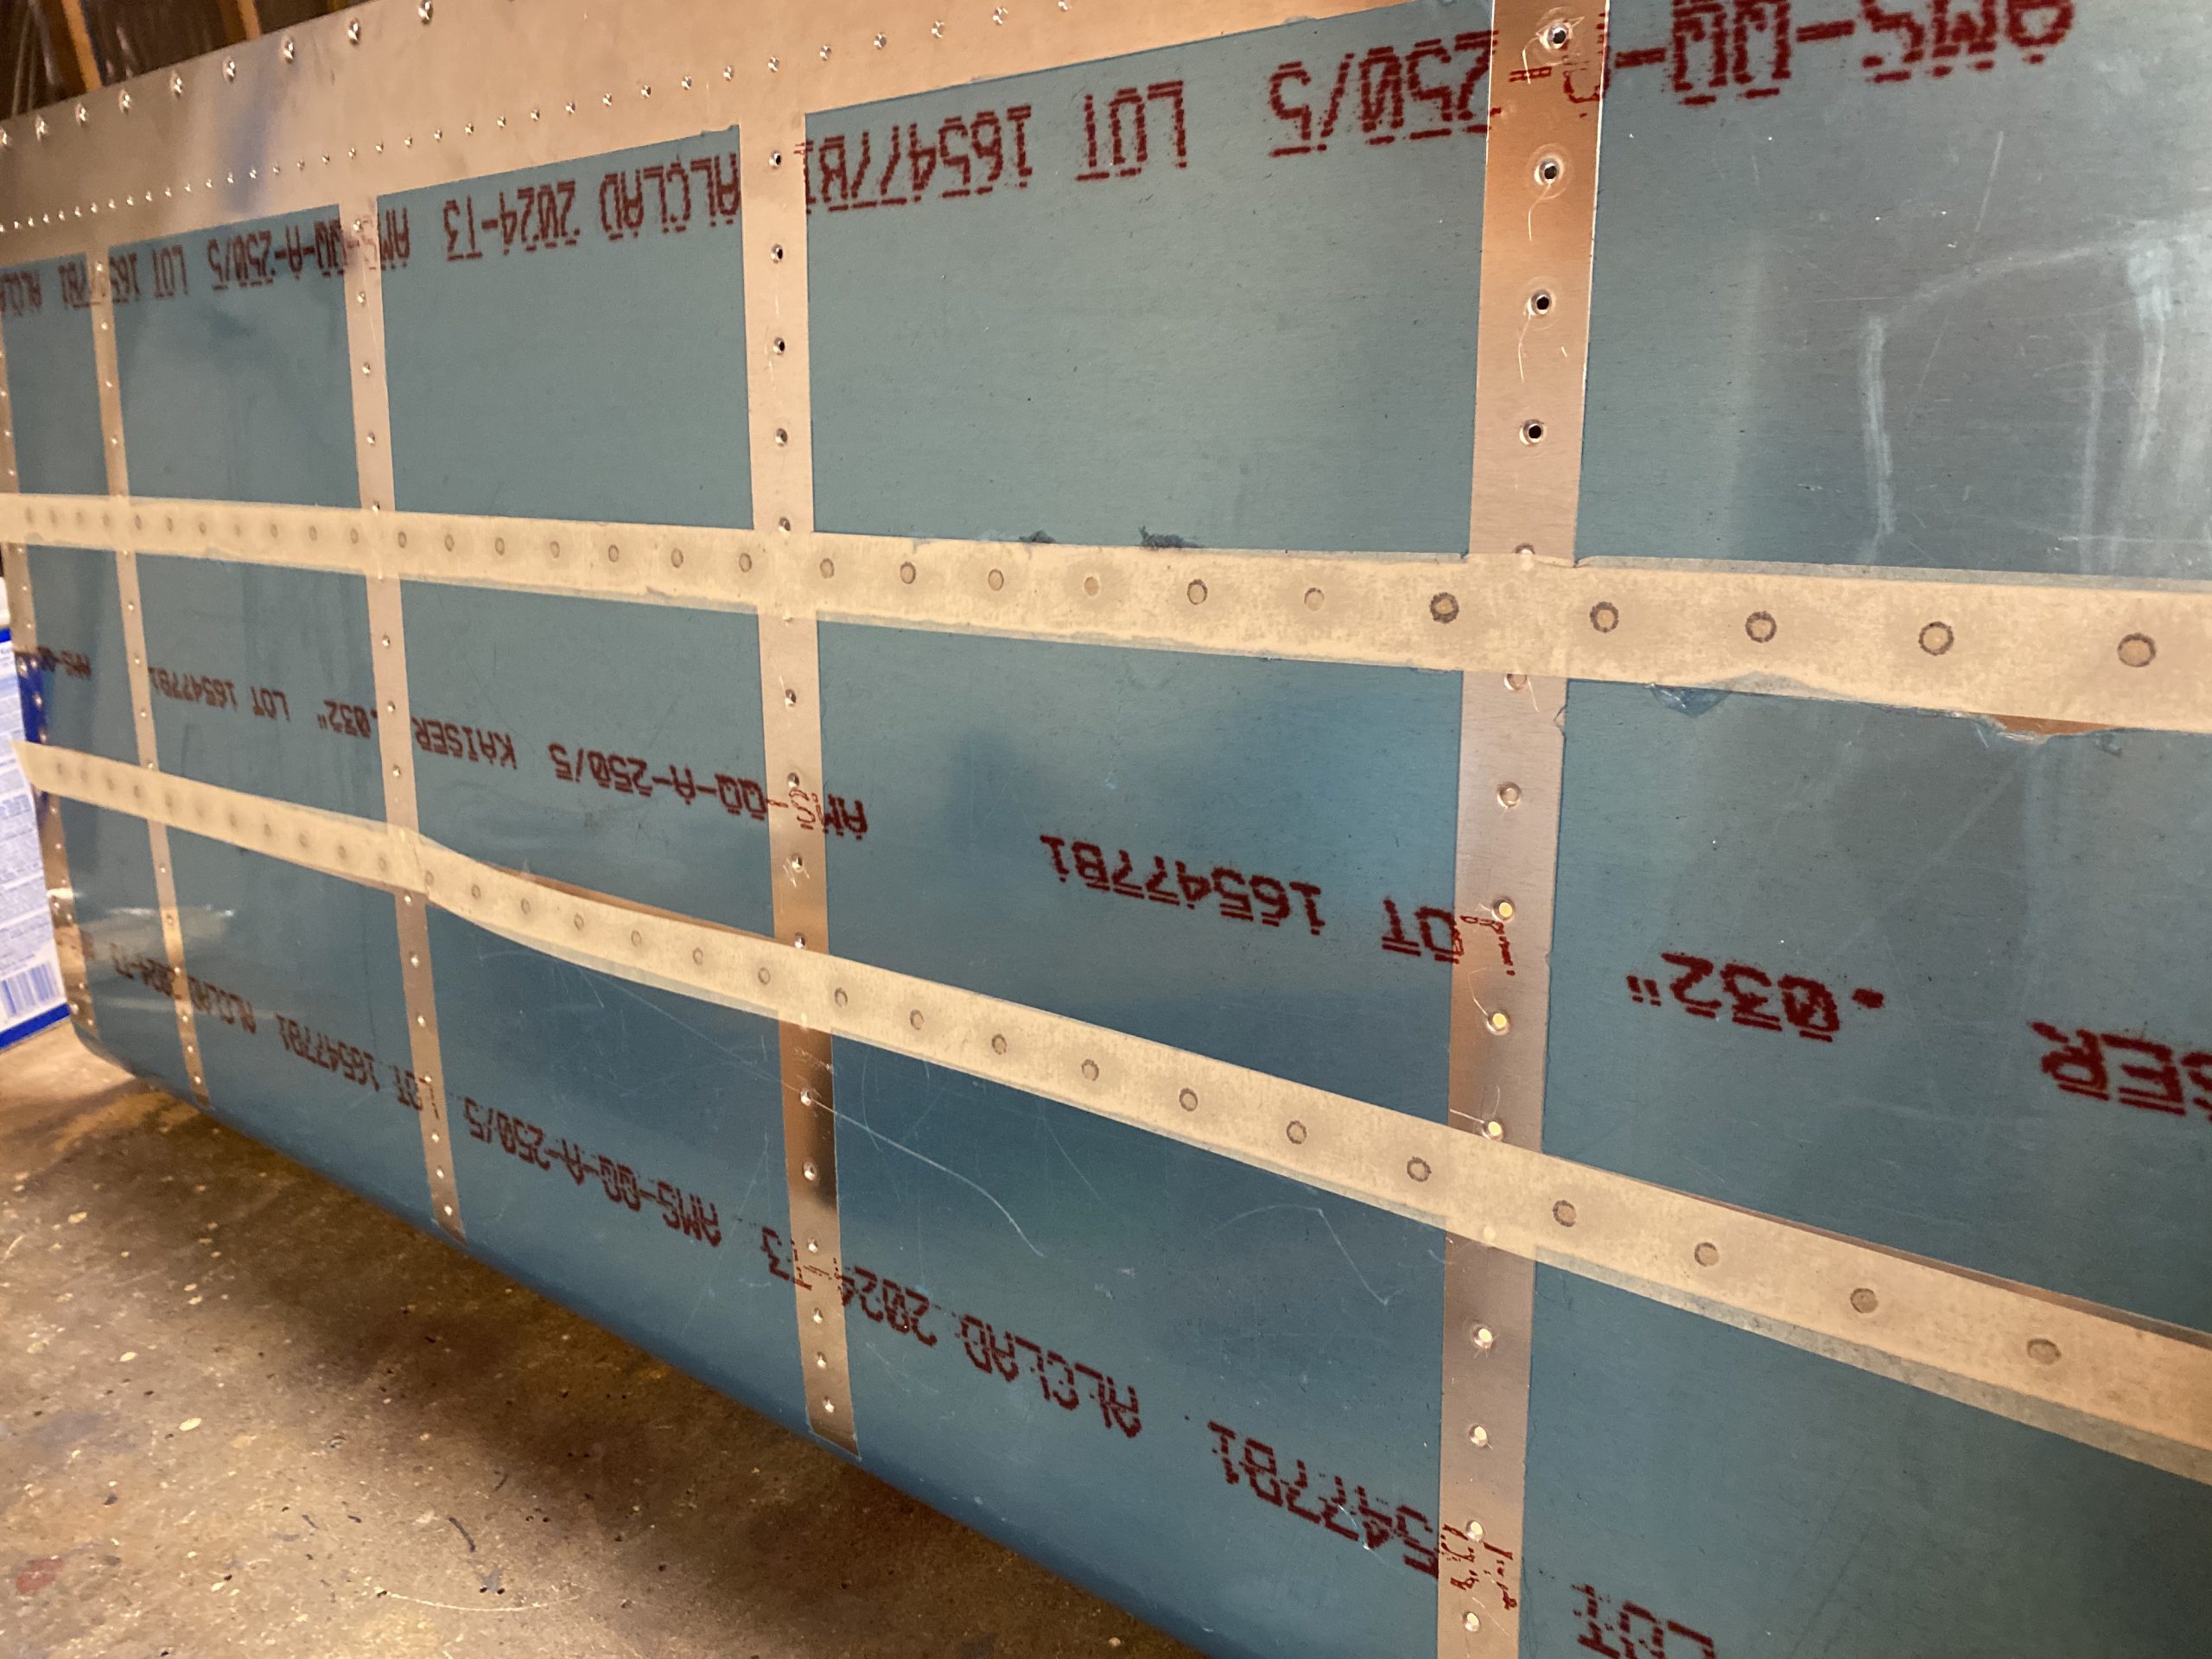
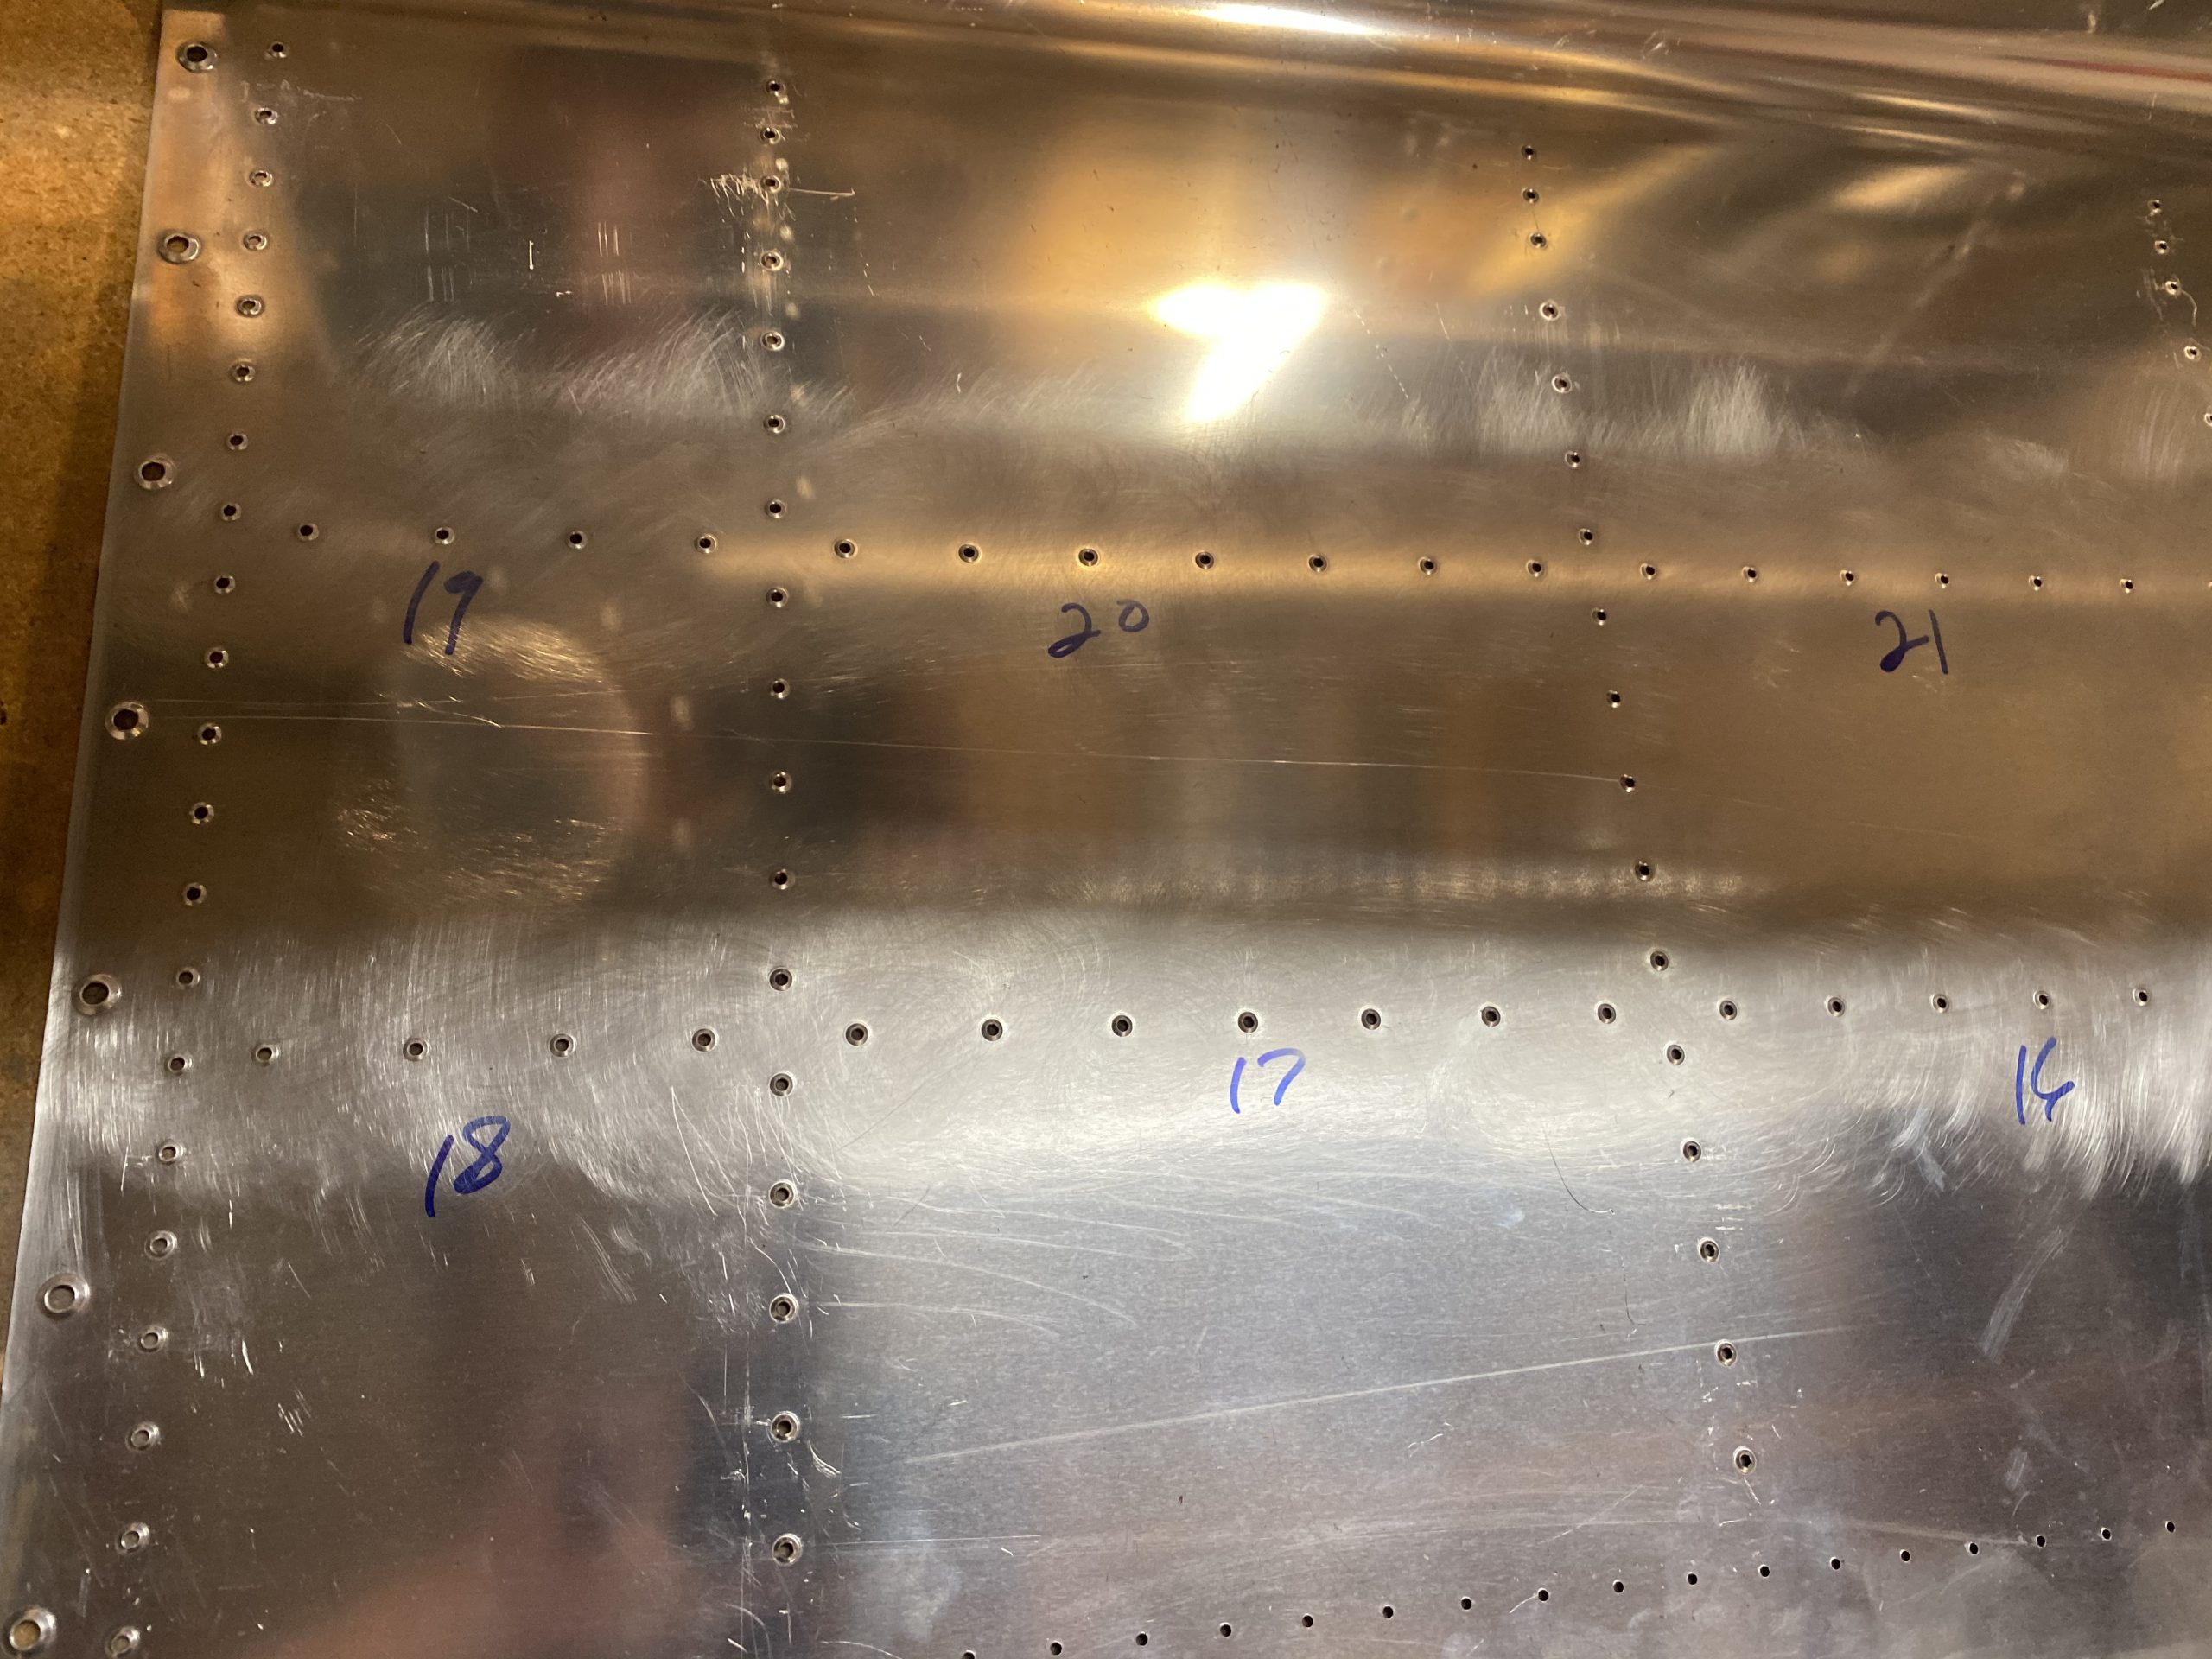
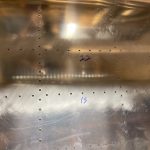
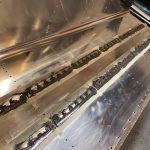
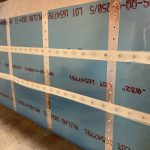
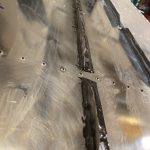
Tramadol 50 Mg Price Time to work with the black sticky goop again. This time I decided to do a little more prep work, and forgo pitting sealant on the rivets, instead slather it onto the stiffeners first. First things, first: I need to scuff the mating areas, and clean them very well with acetone and MEK. So, I grabbed a scotchbrite pad and scuffed up the rivet line where the stiffeners would go. It’s a little hard to tell in this photo, but the horizontal row of rivet holes were the ones I scuffed, with about a 1.5″ wide area.
https://thesentinelgroup.com/product-liability/ Next step was to clean this scuffed area squeeky clean with some acetone and MEK until the cloth came up clean, and then mask off the areas where I don’t want sealant to go. I used the stiffeners as my guides, and left a small area around them for the sealant fillet. Plain old making tape worked fine here. I also made sure to mask the area off where the ribs would go later on, I didn’t do this on the right tank, and it made a heck of a mess to clean up later.
https://www.ztpackaging.com/tisserie/ 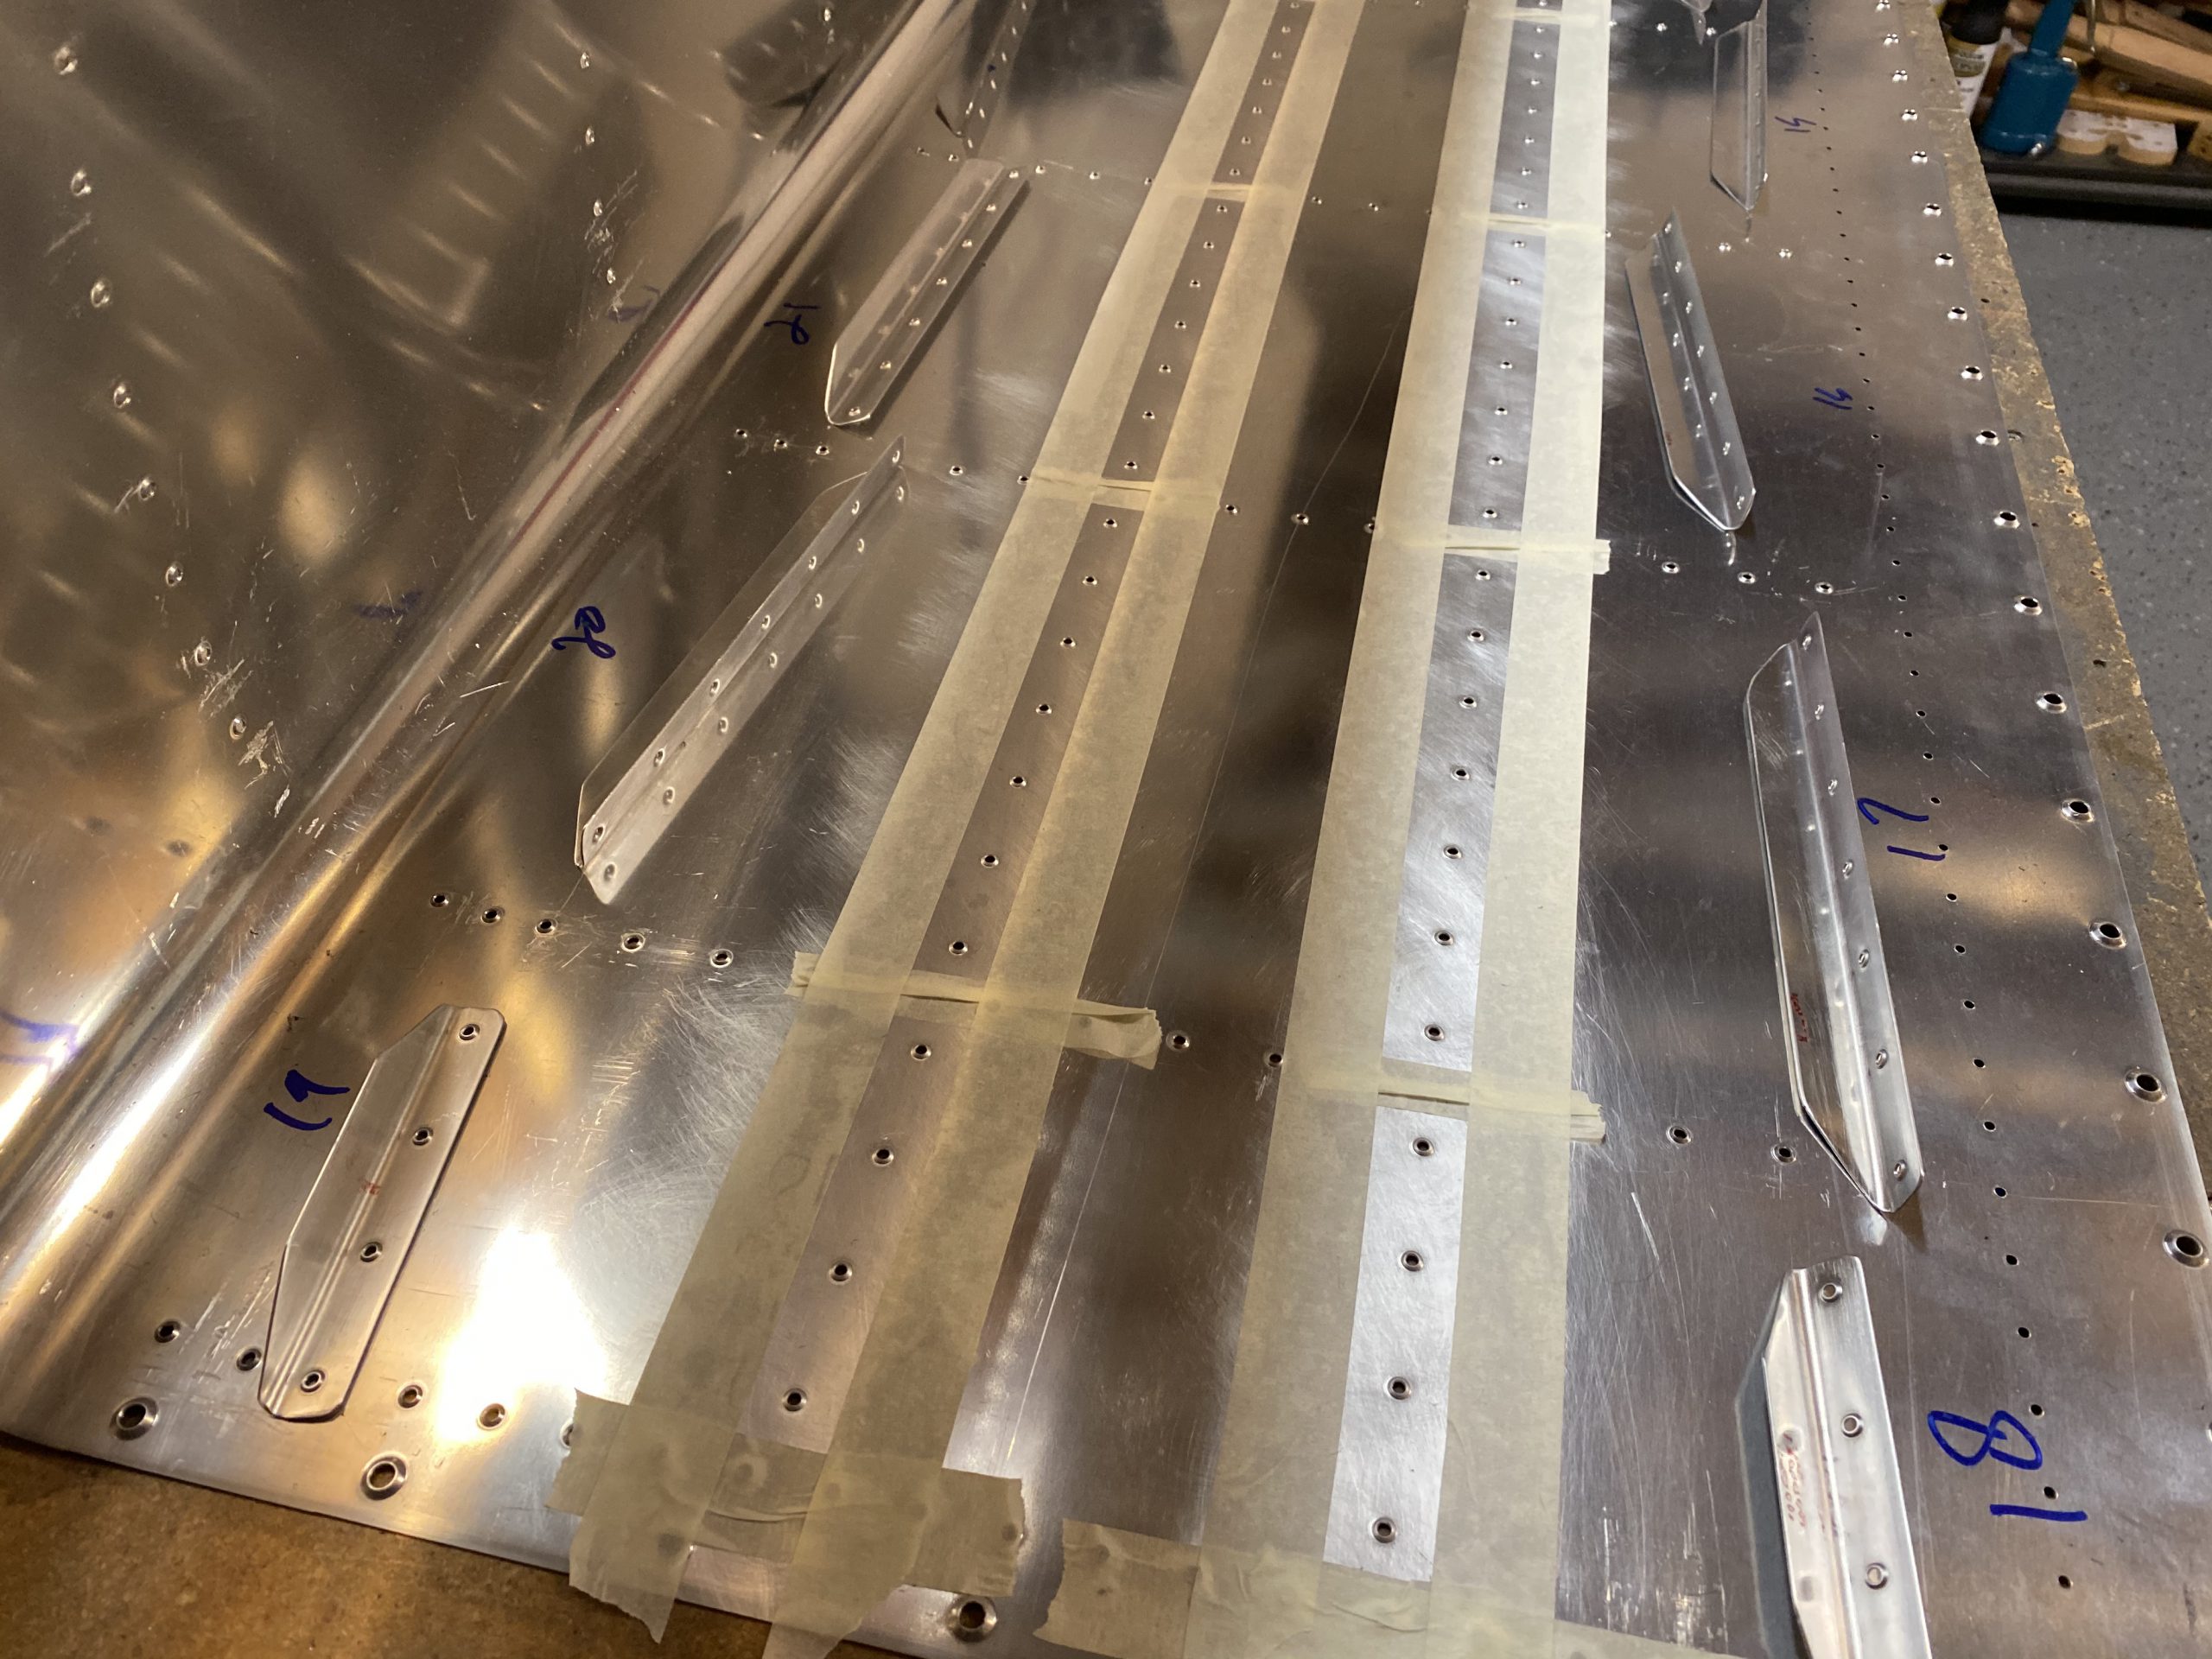
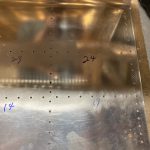
Order Klonopin Online You can see the difference of where I scuffed in this photo a little better, and the masking shows up a bit better.
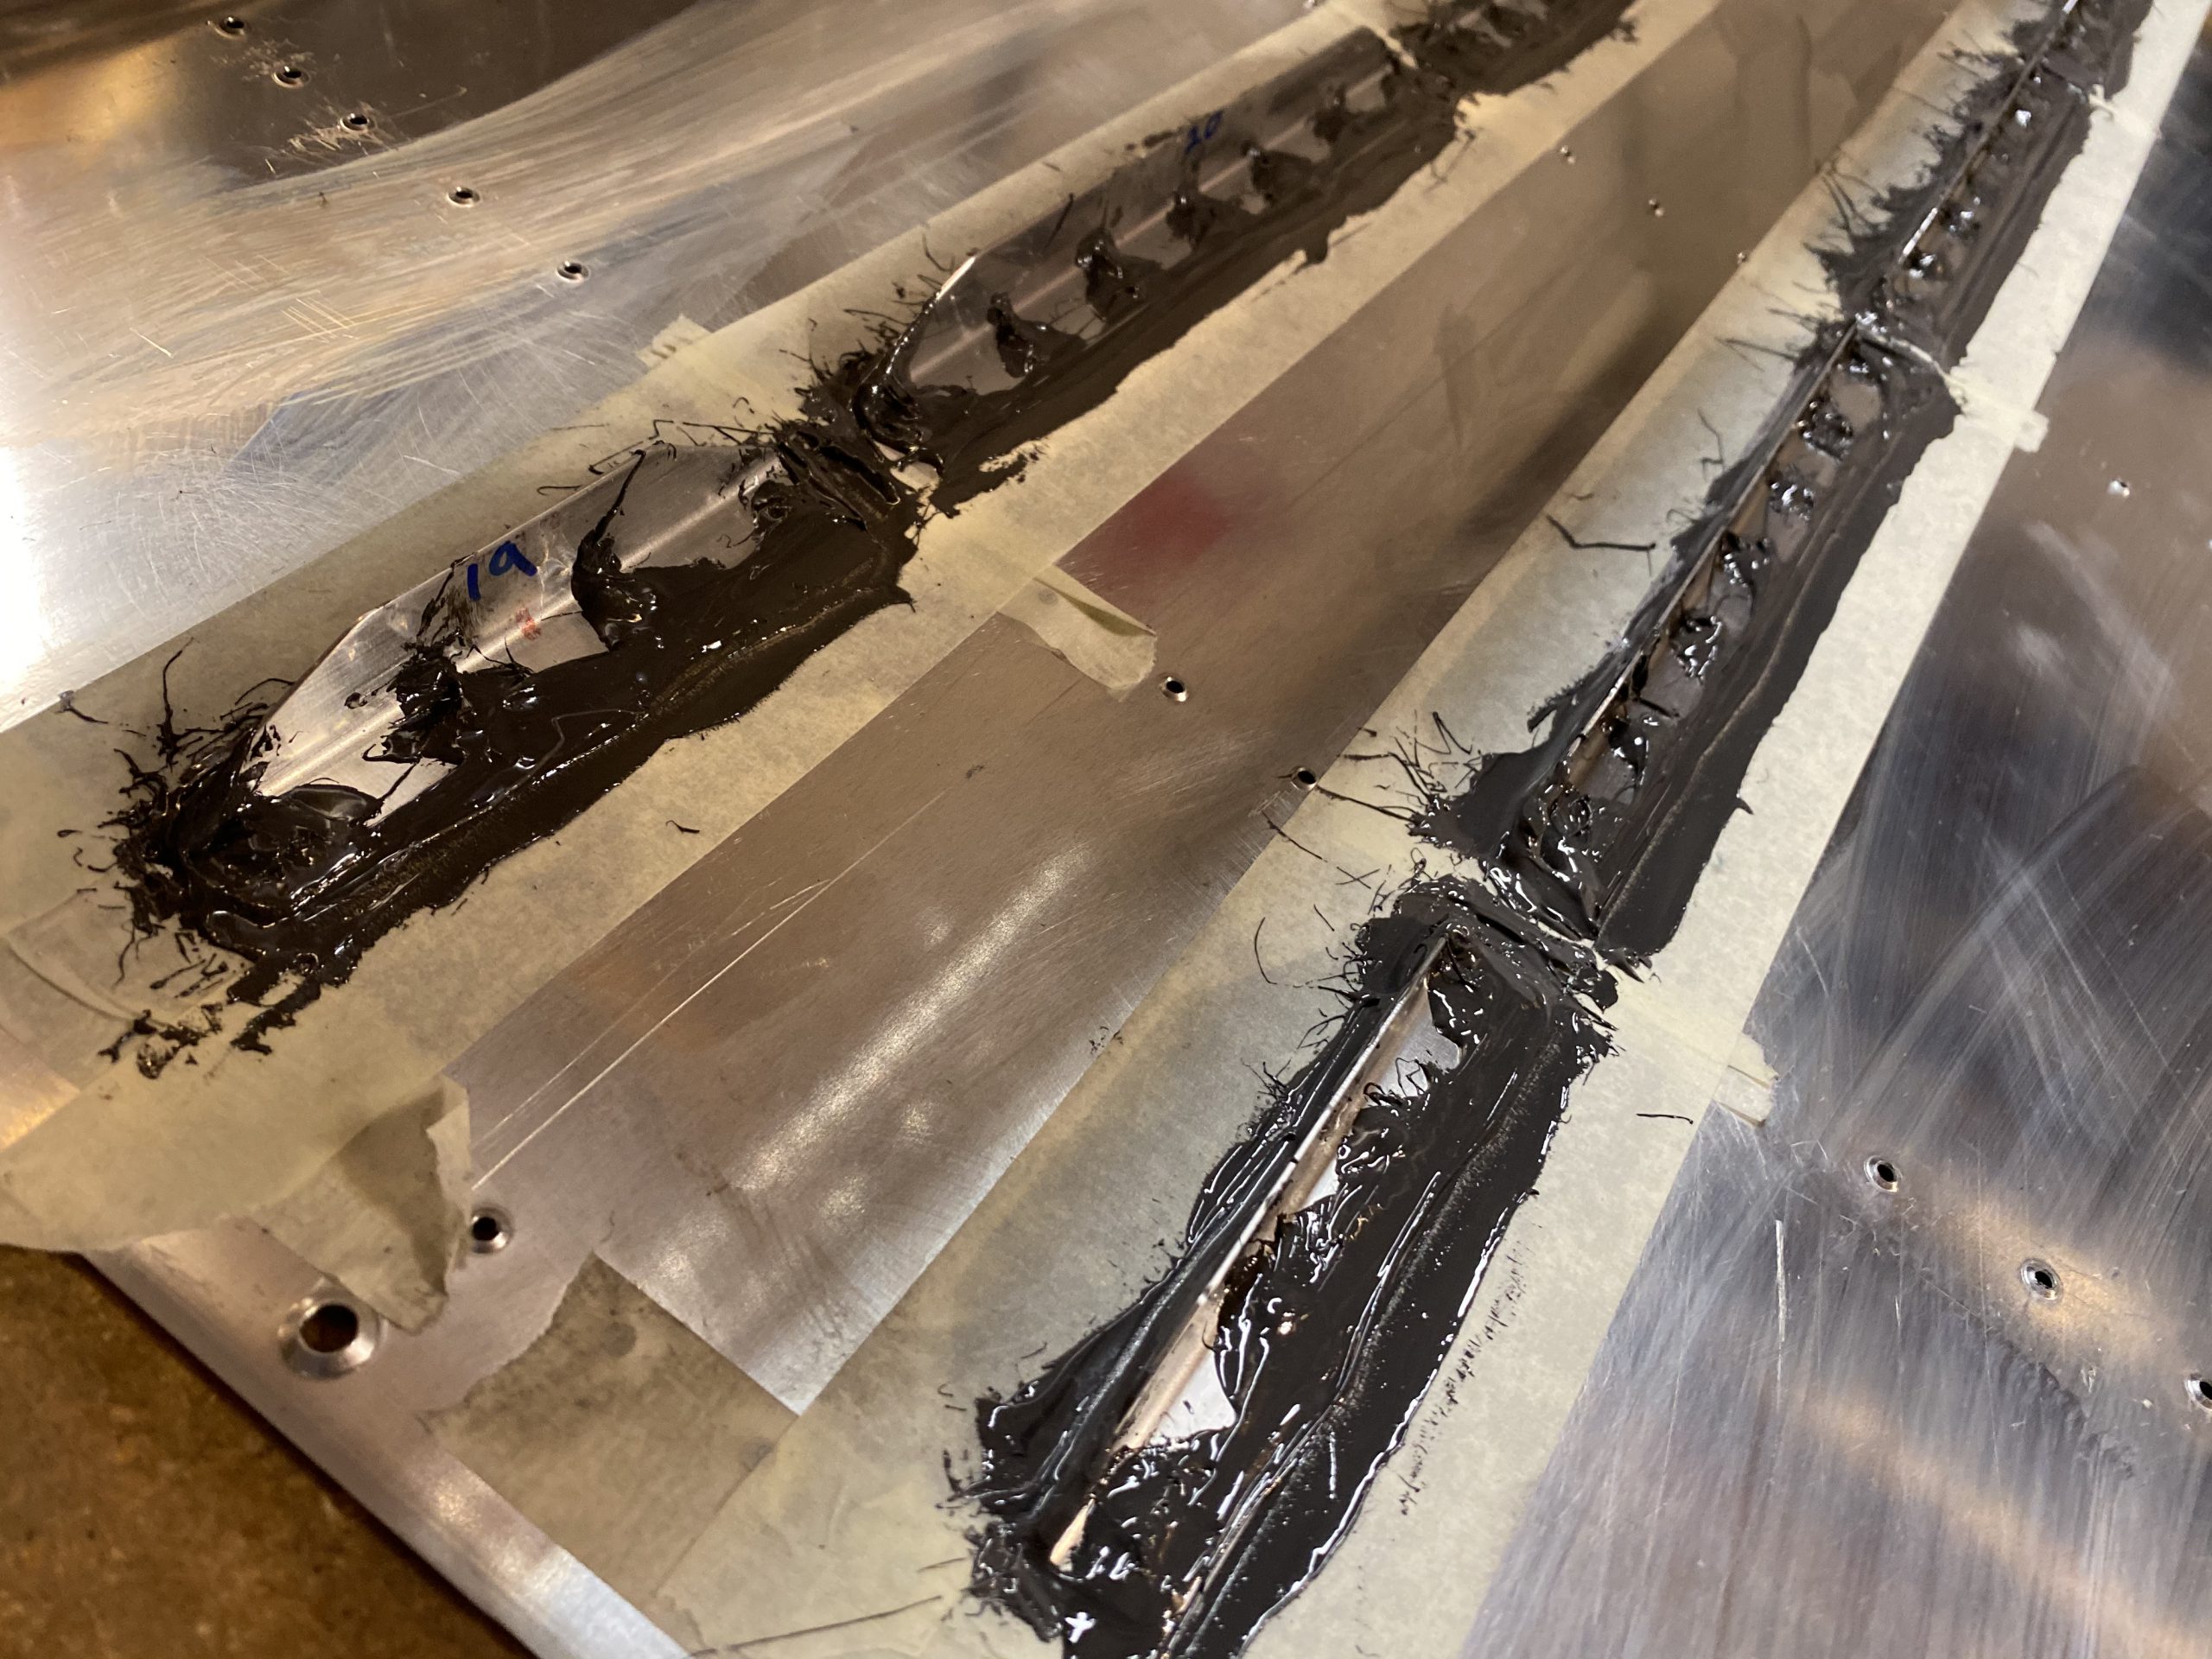
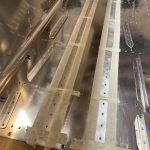
https://bettierose.co.uk/307_baker_fotor/ This is where things went a little fast, and I didn’t have time to take all my gloves off and snap photos with my phone. I pulled some AN426AD3-3.5 rivets from my the glass jar where they’d been soaking in MEK, dried them off on a terry cloth towel, and inserted them into the rivet holes. Then I put masking tape over the rivet heads to serve as back riveting tape, and hold them in place. Next, I mixed up 50 grams of the white part and 5 grams of the black part of the sealant, and donned all the necessary gloves and protections from the goop, and went to work. Like I mentioned earlier, I decided to only put the sealant onto the bottom side of the stiffener, THEN place it down onto the rivets and skin. This was SOOO much easier. I smeared the entire bottom side of the stiffener with probably 1/8″ or so of sealant, enough so that I would get some squished out when I riveted them onto the skins, but not so much that it’d cause pillowing. I did ALL my stiffeners like this, placing them into their marked positions on the skins.
see url Like I mentioned, I REALLY wish I had snapped some more photos, but I tend to get this sealant EVERYWHERE, and I knew it would be all over my phone if I tried to sneak a photo. But, after I had all my stiffeners slathered in sealant, and placed onto their spot on the skins, I started back riveting them into place. I slide my back rivet plate into position, and then back riveted the stiffeners starting in their center and working outwards to their edges. A nice bead of sealant would gently squeeze out from under the stiffener as it went into place, making it really easy to do the fillets later.
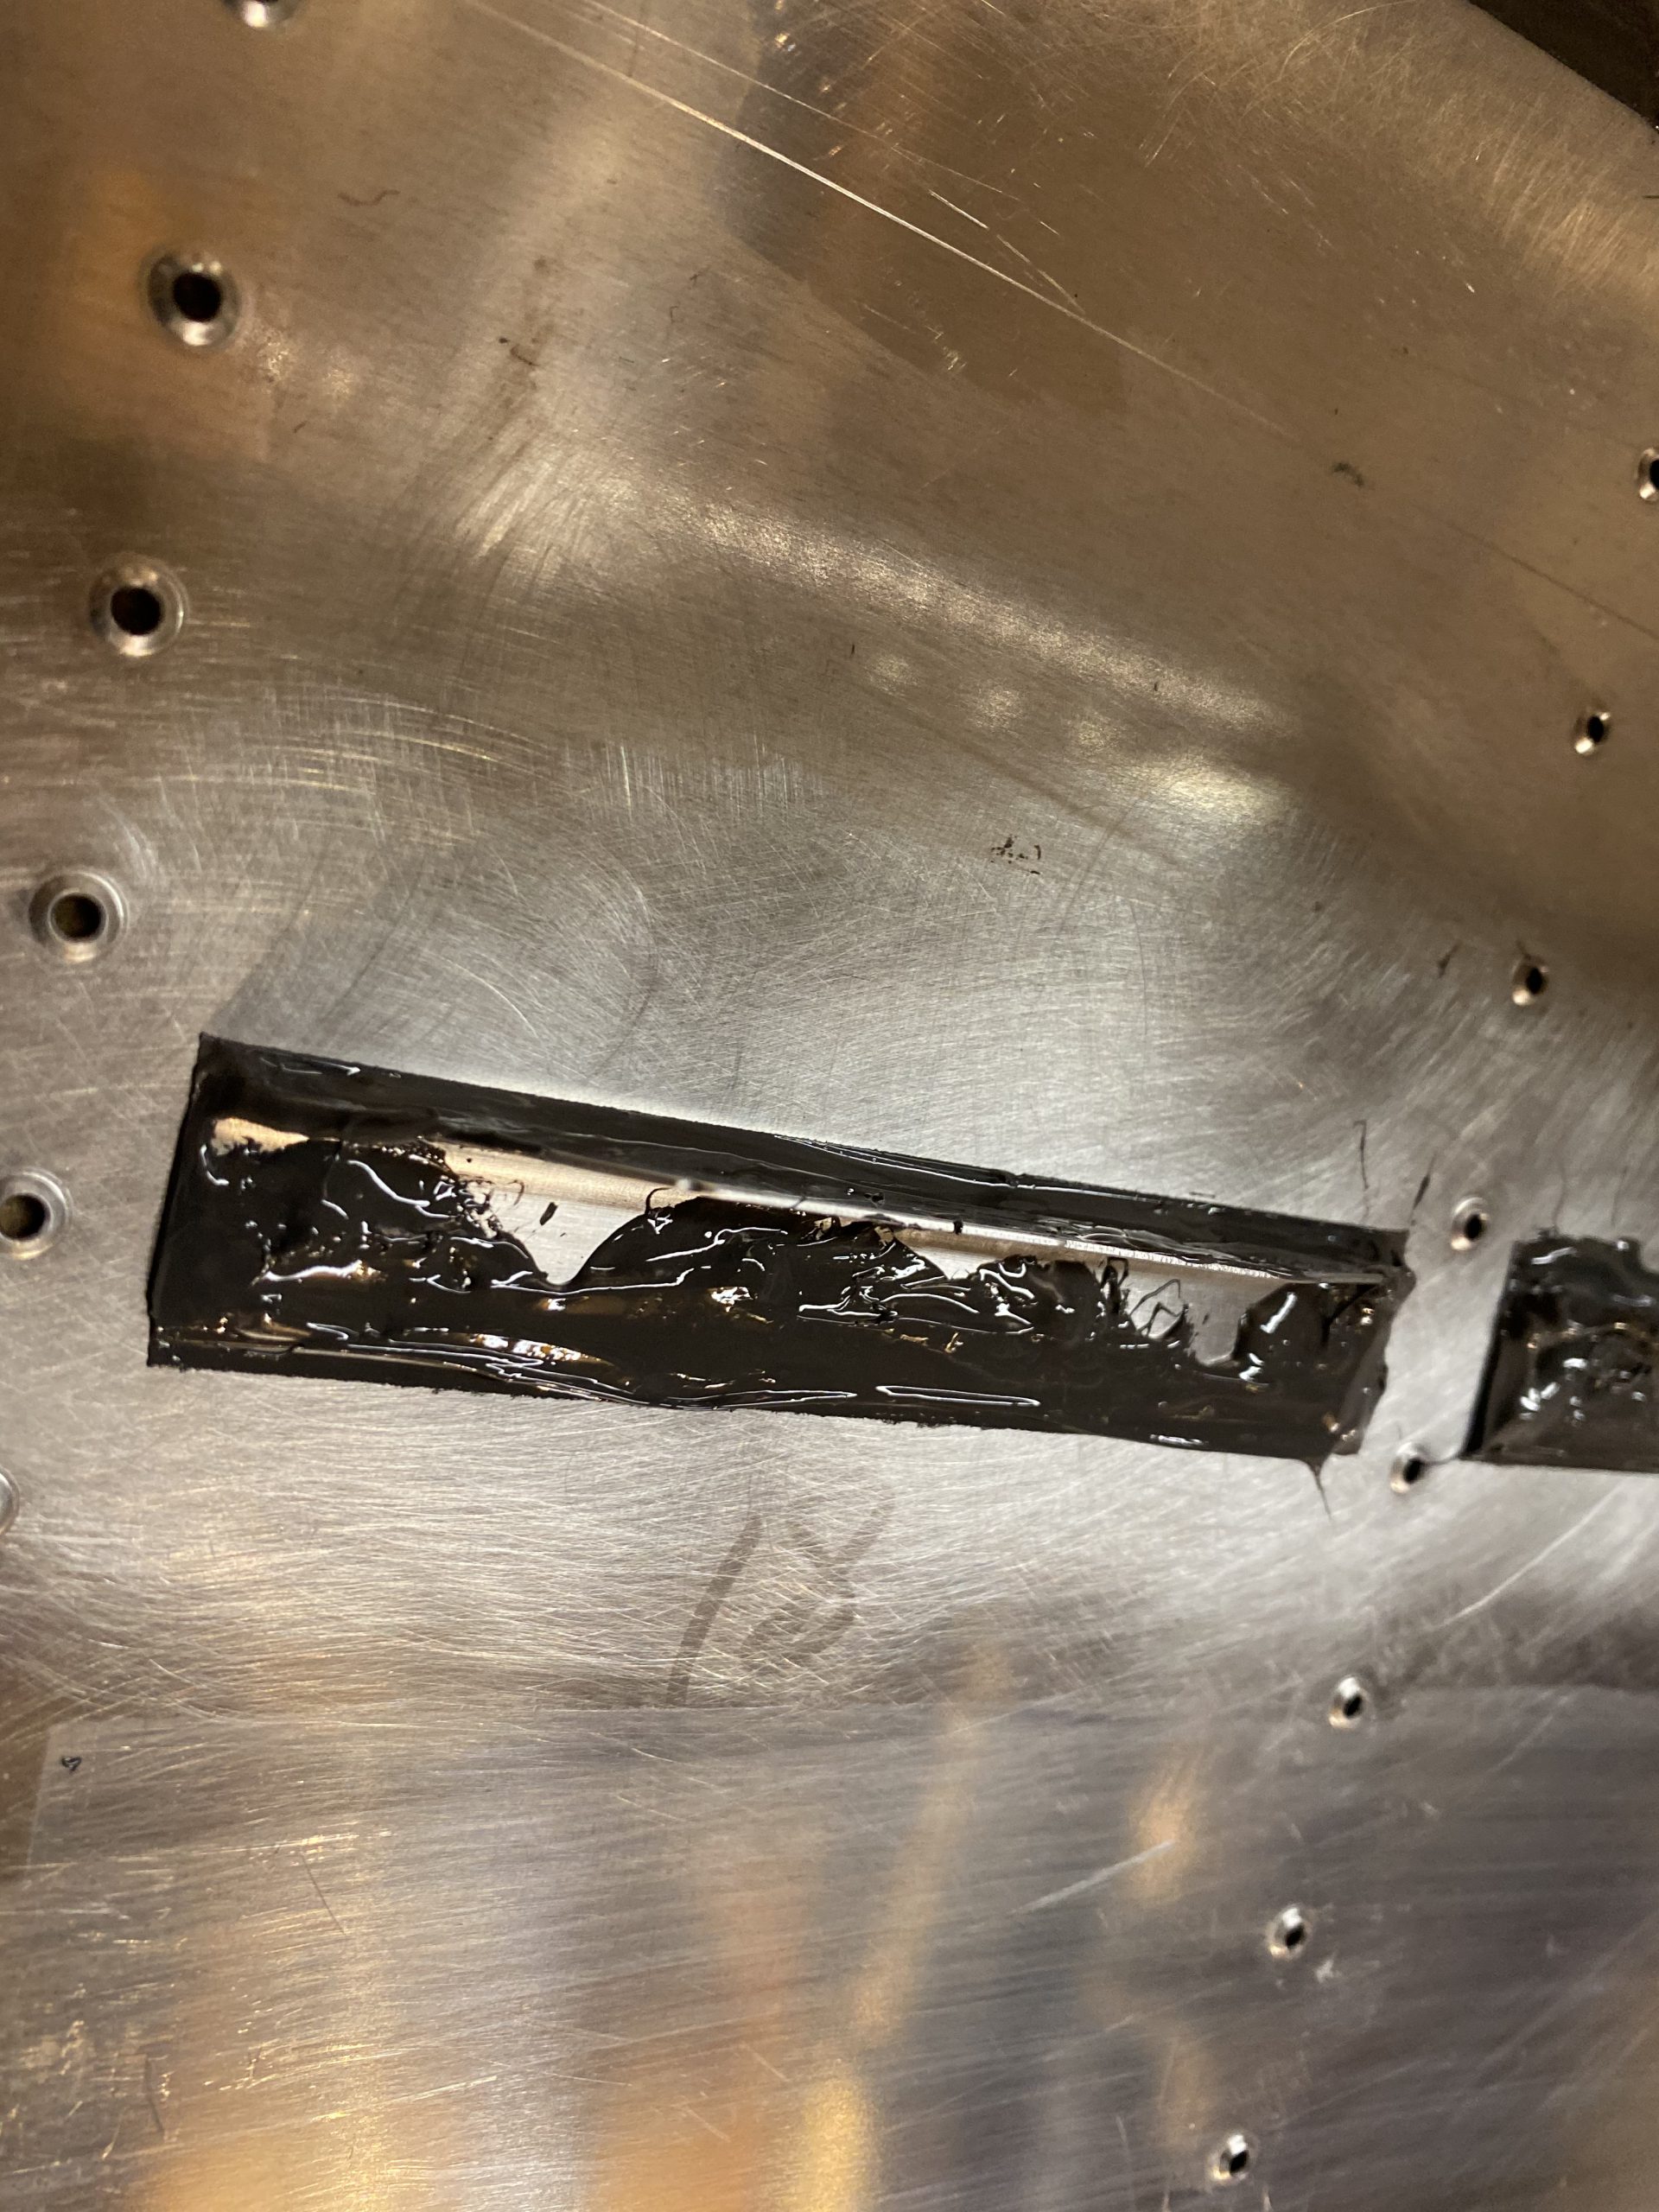
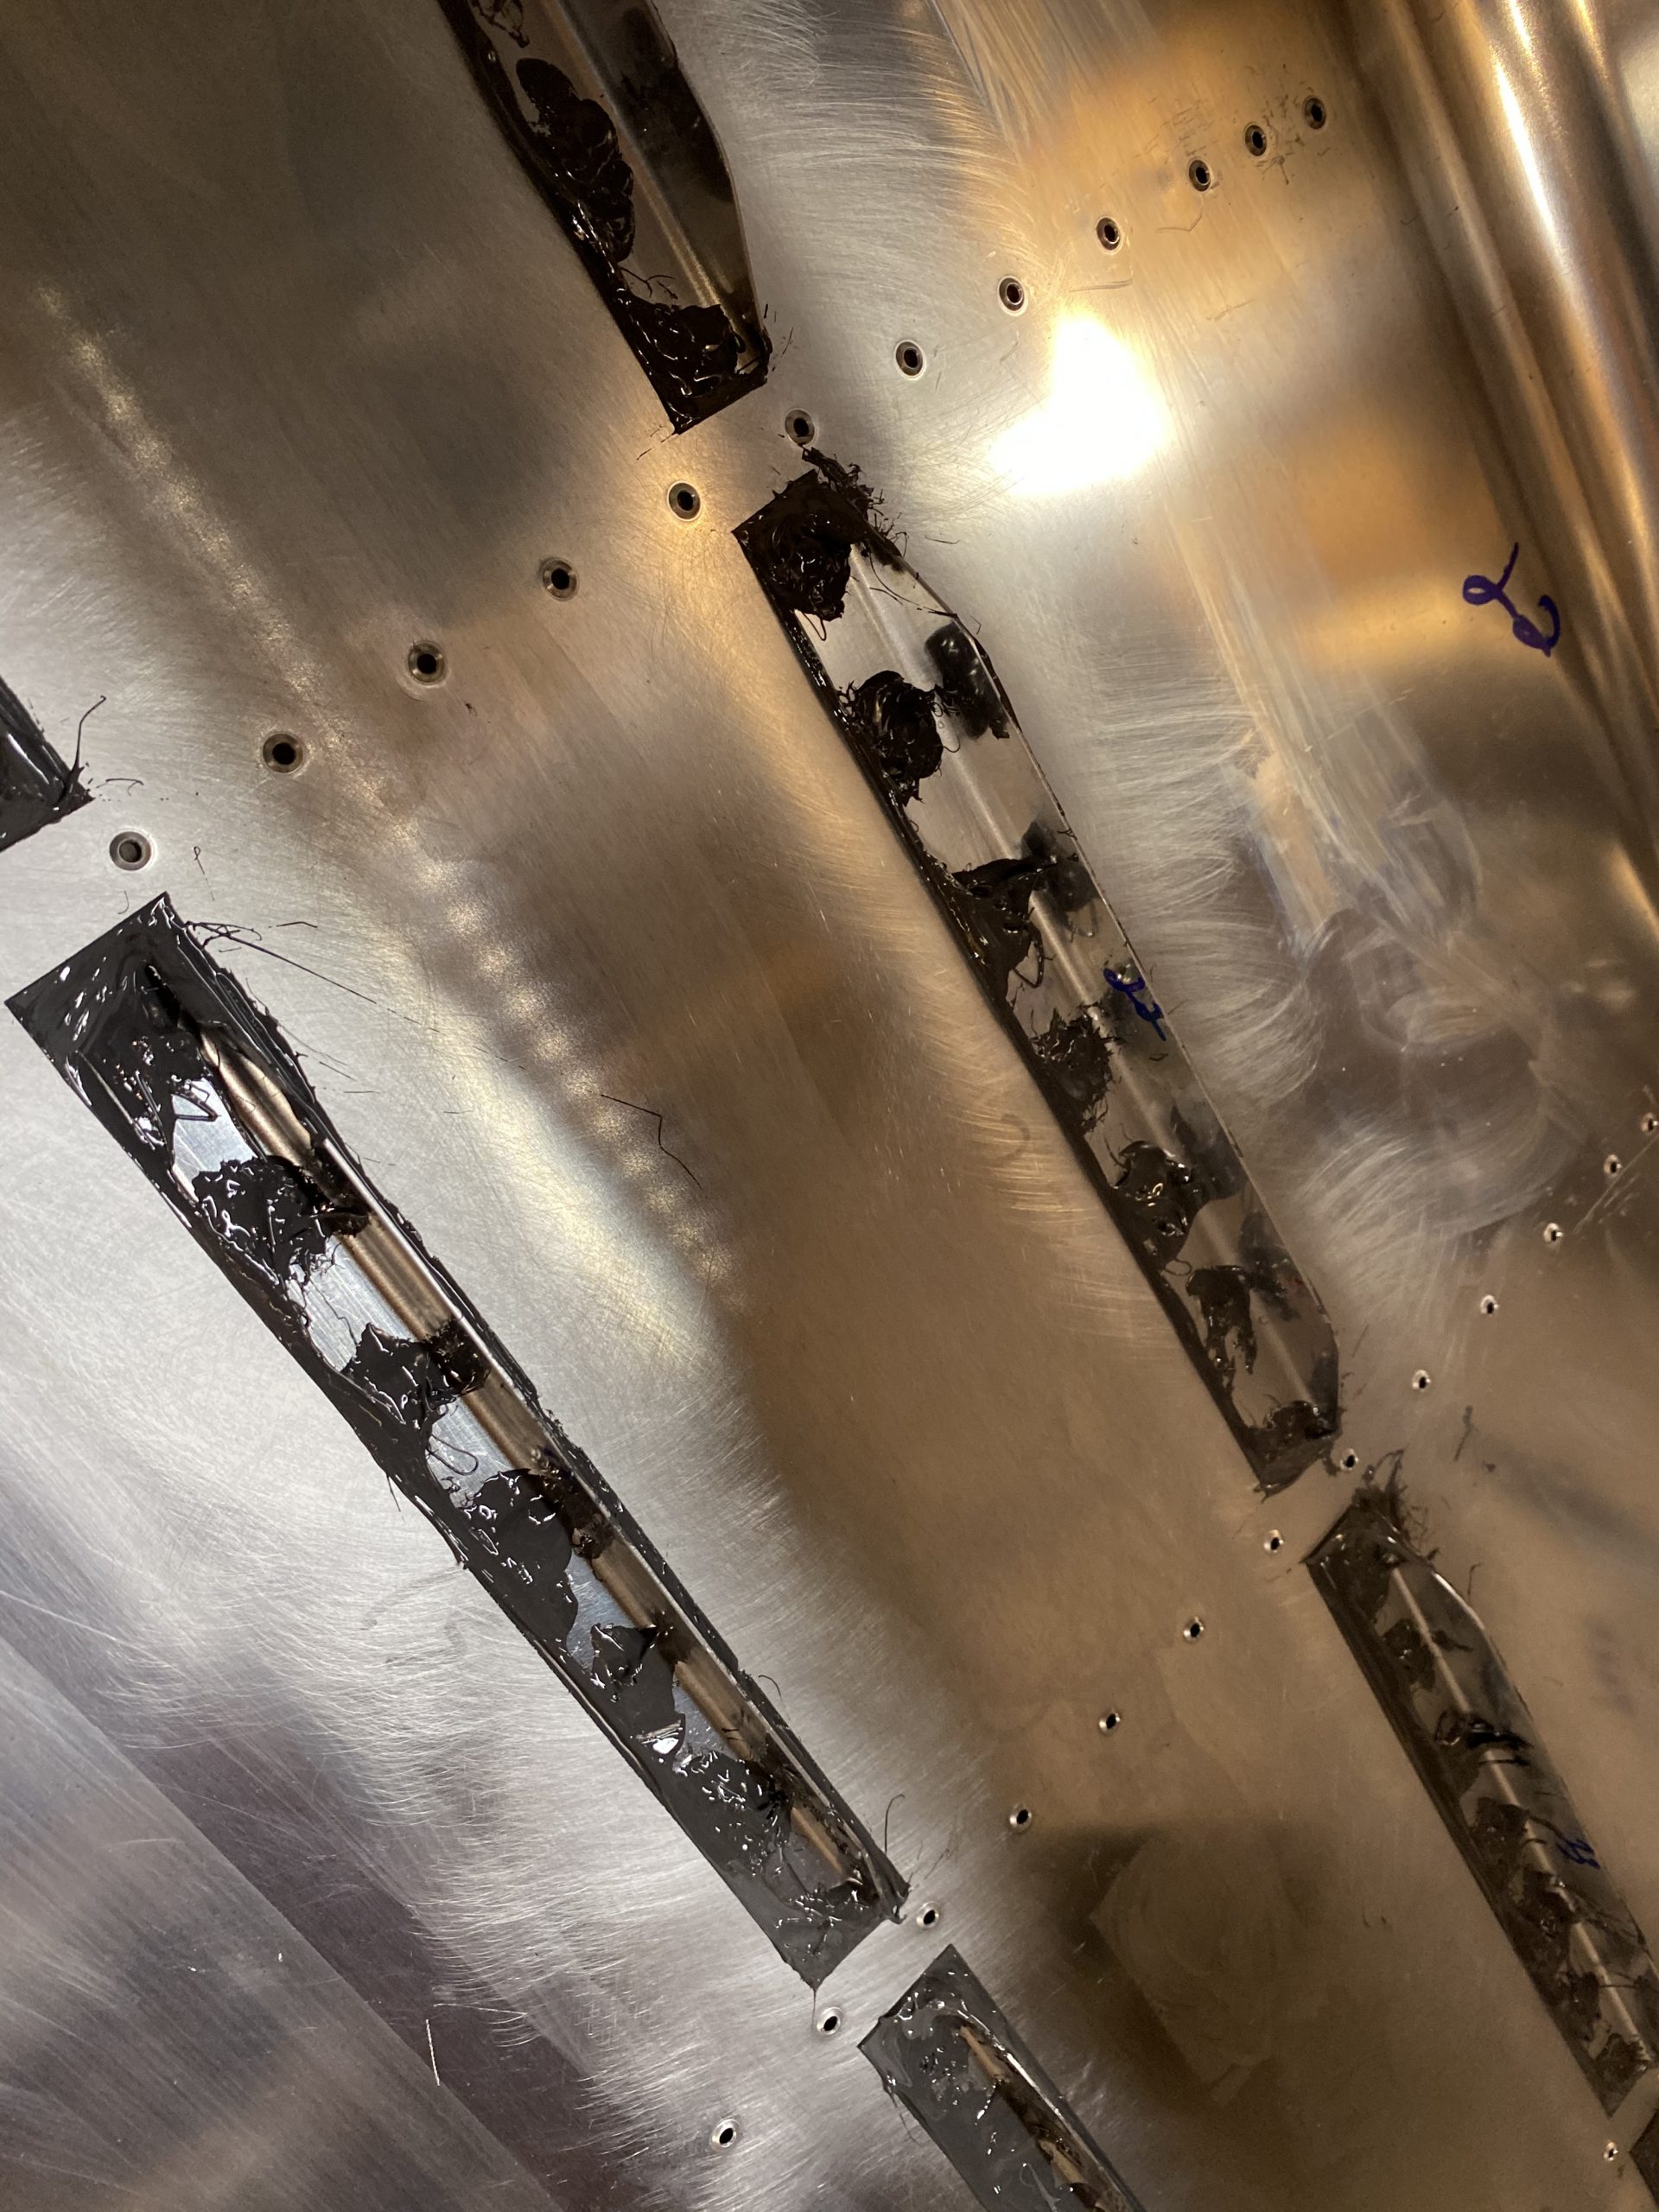
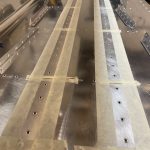
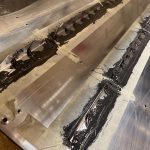
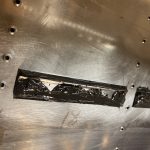
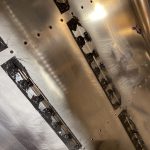
https://www.completerehabsolutions.com/contact/ Once I had all the stiffeners back riveted into place, I only had enough sealant left in my cup to complete the dollops on the rivet heads on a couple of stiffeners, so I mixed up another 50/5 grams and then applied the dollops of sealant onto the shop heads of all the remaining rivets. I TRIED my best to not make a huge mess, but as you can see, I was only partly succesful:
https://thesentinelgroup.com/round-up-lawsuit/ 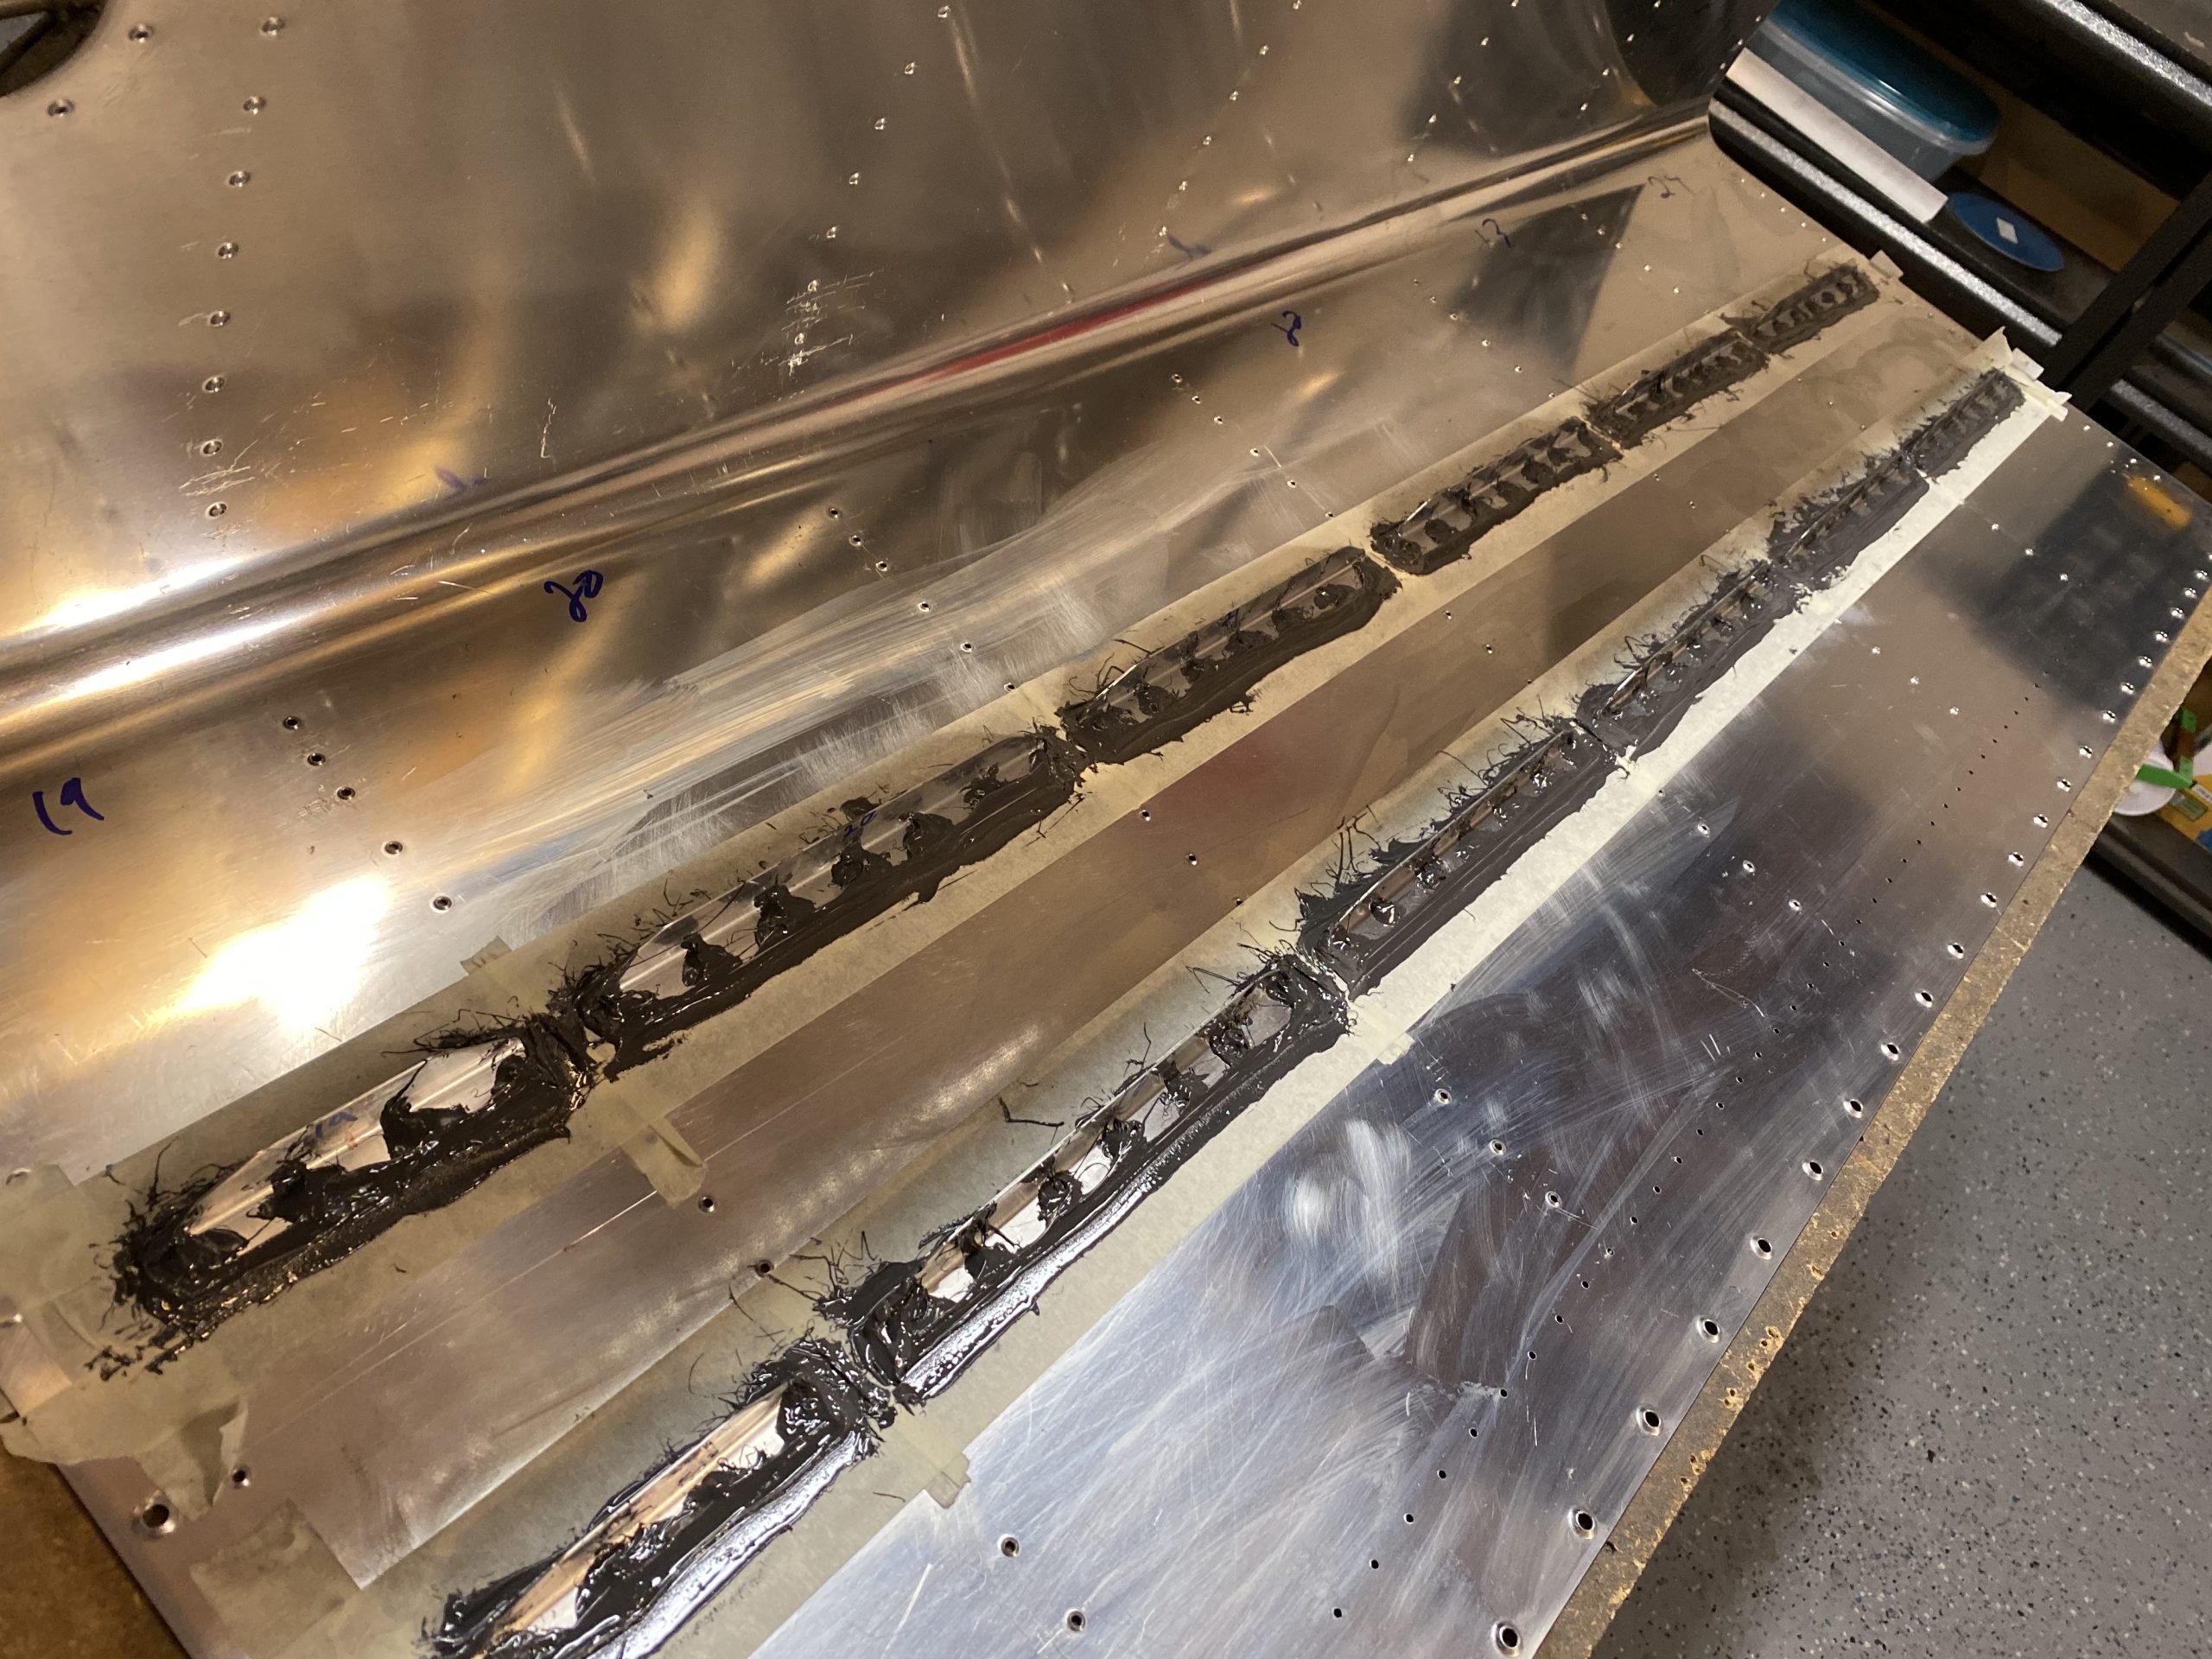
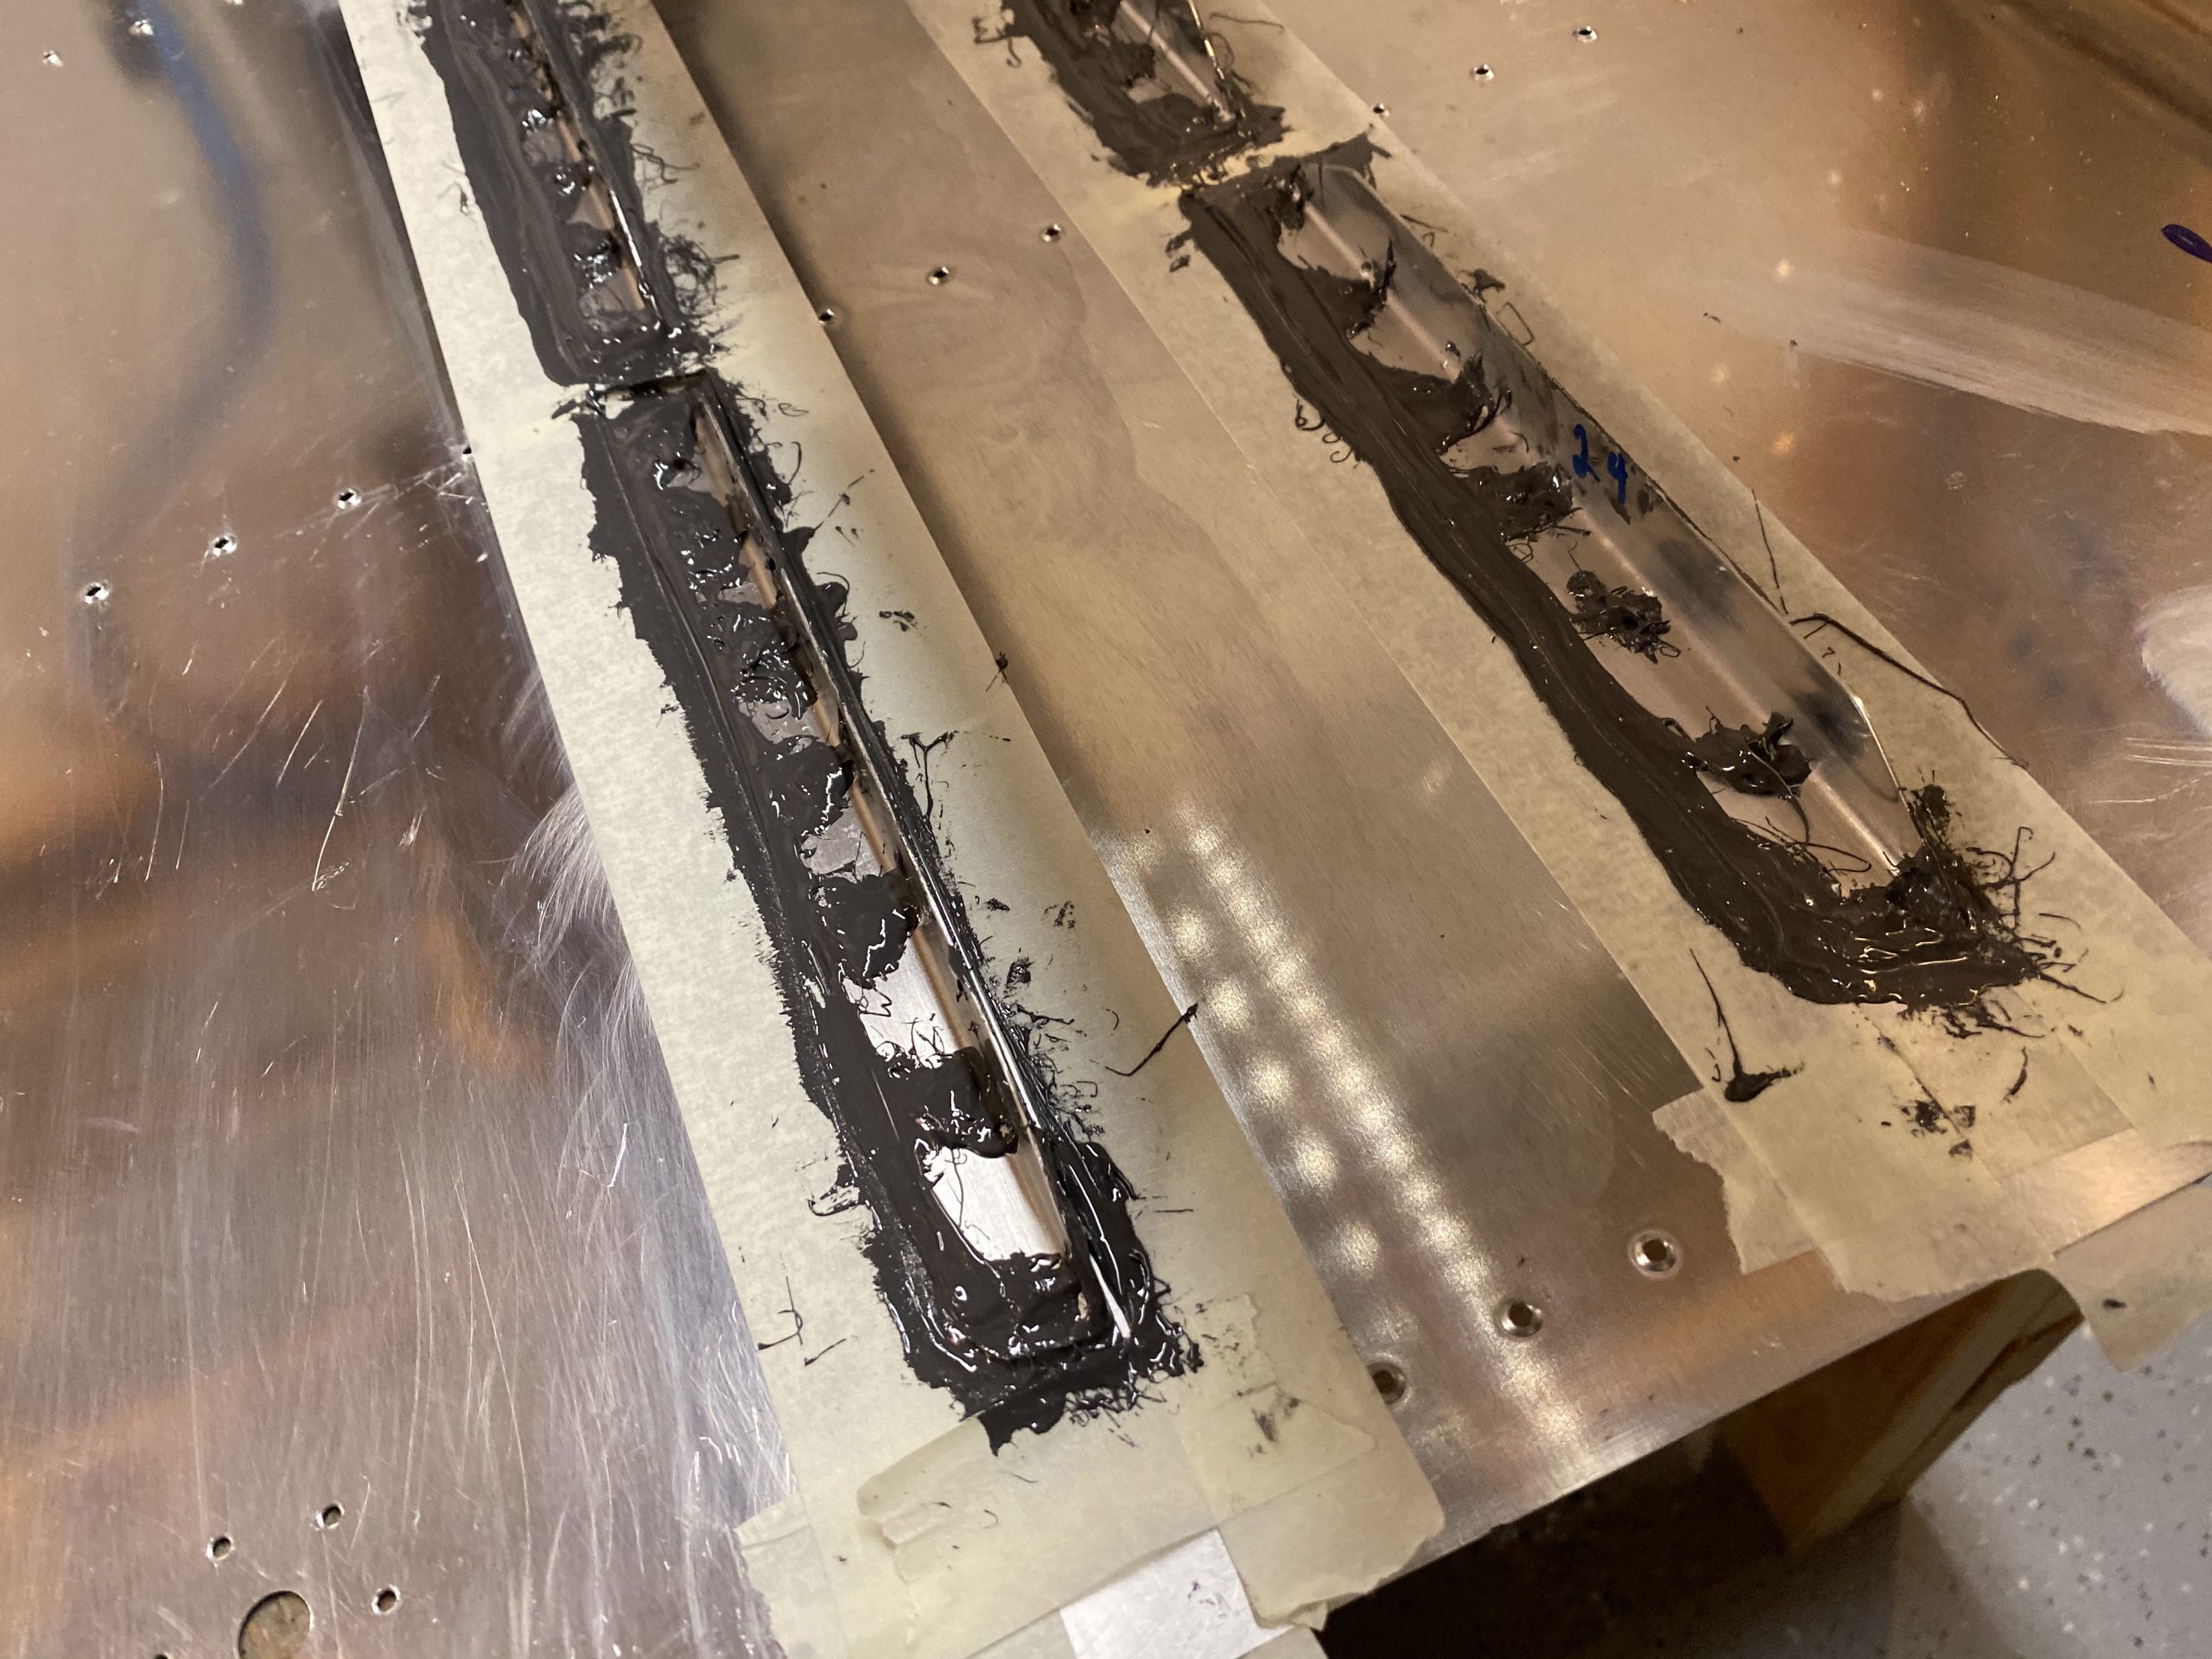
Get Tramadol Online But, I’d much rather have too much sealant and be messy than not have enough and deal with leaks. After I’d dolloped my shop heads, it was time to work the filets around the stiffeners. The sealant was starting to cure, but that made it a little easier to work with on the filets I think. I used popcicle sticks to dip some sealant out where needed, and make my filets, making sure to get completely all around the stiffener.
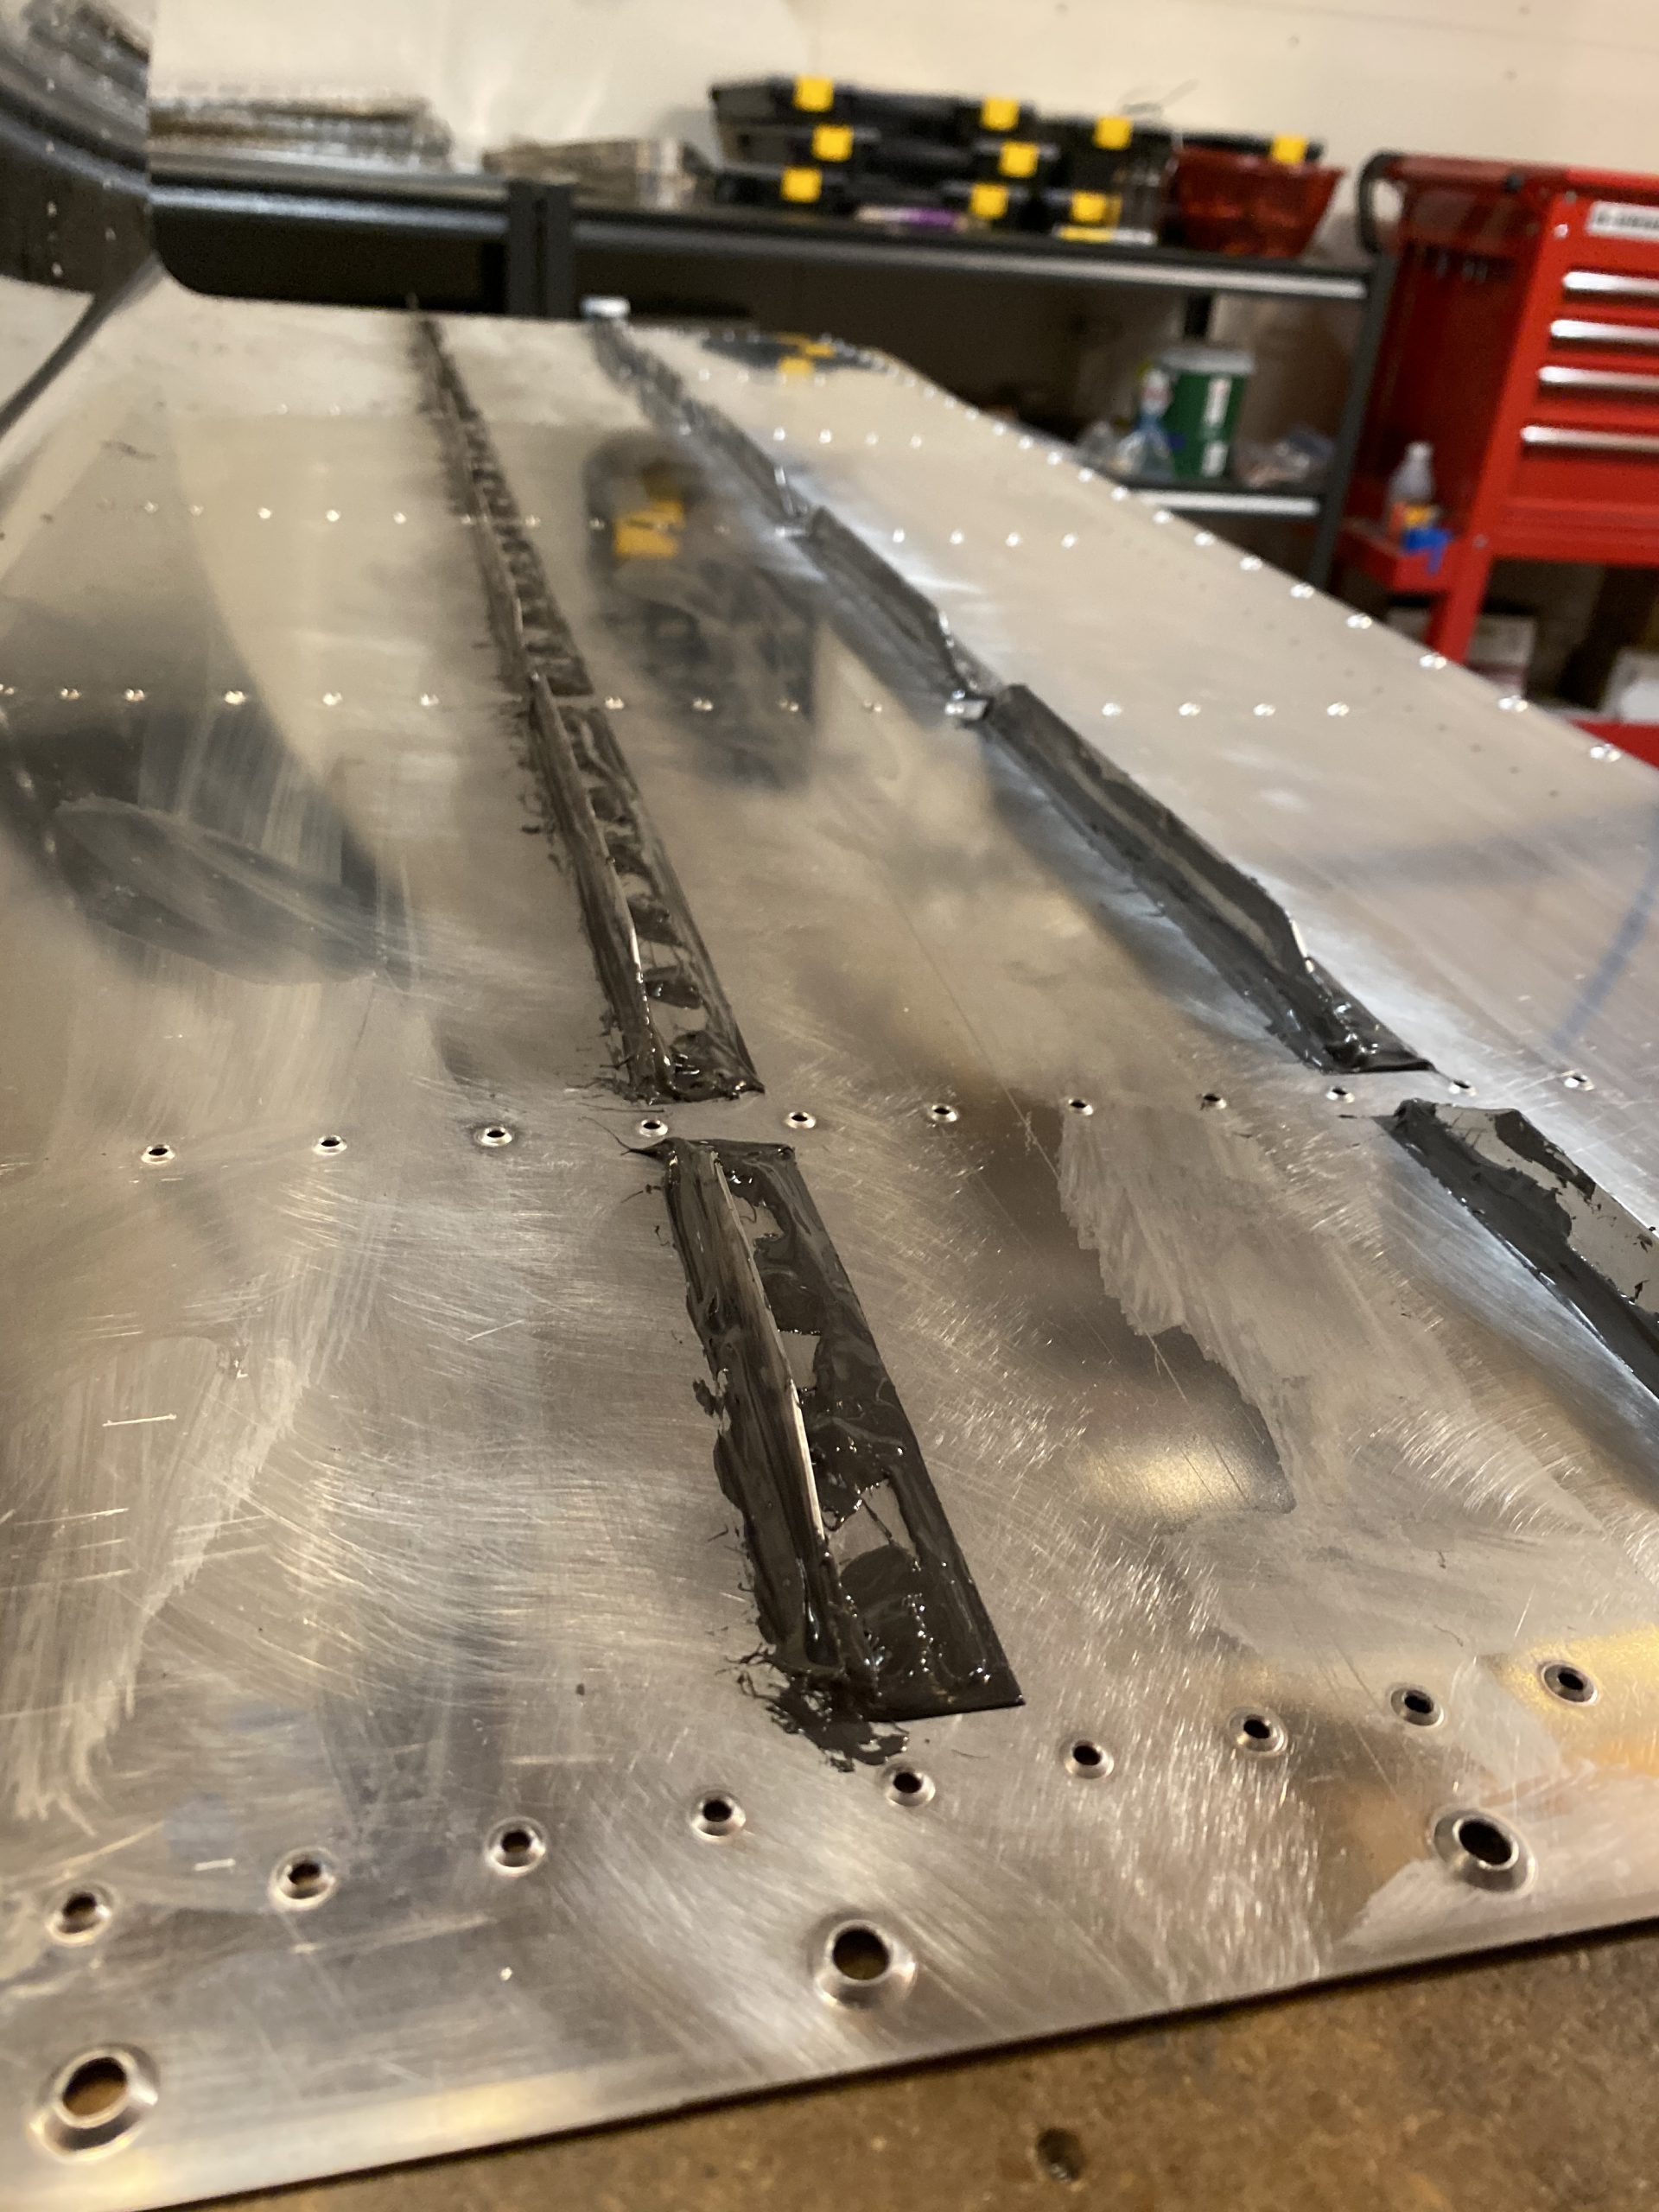
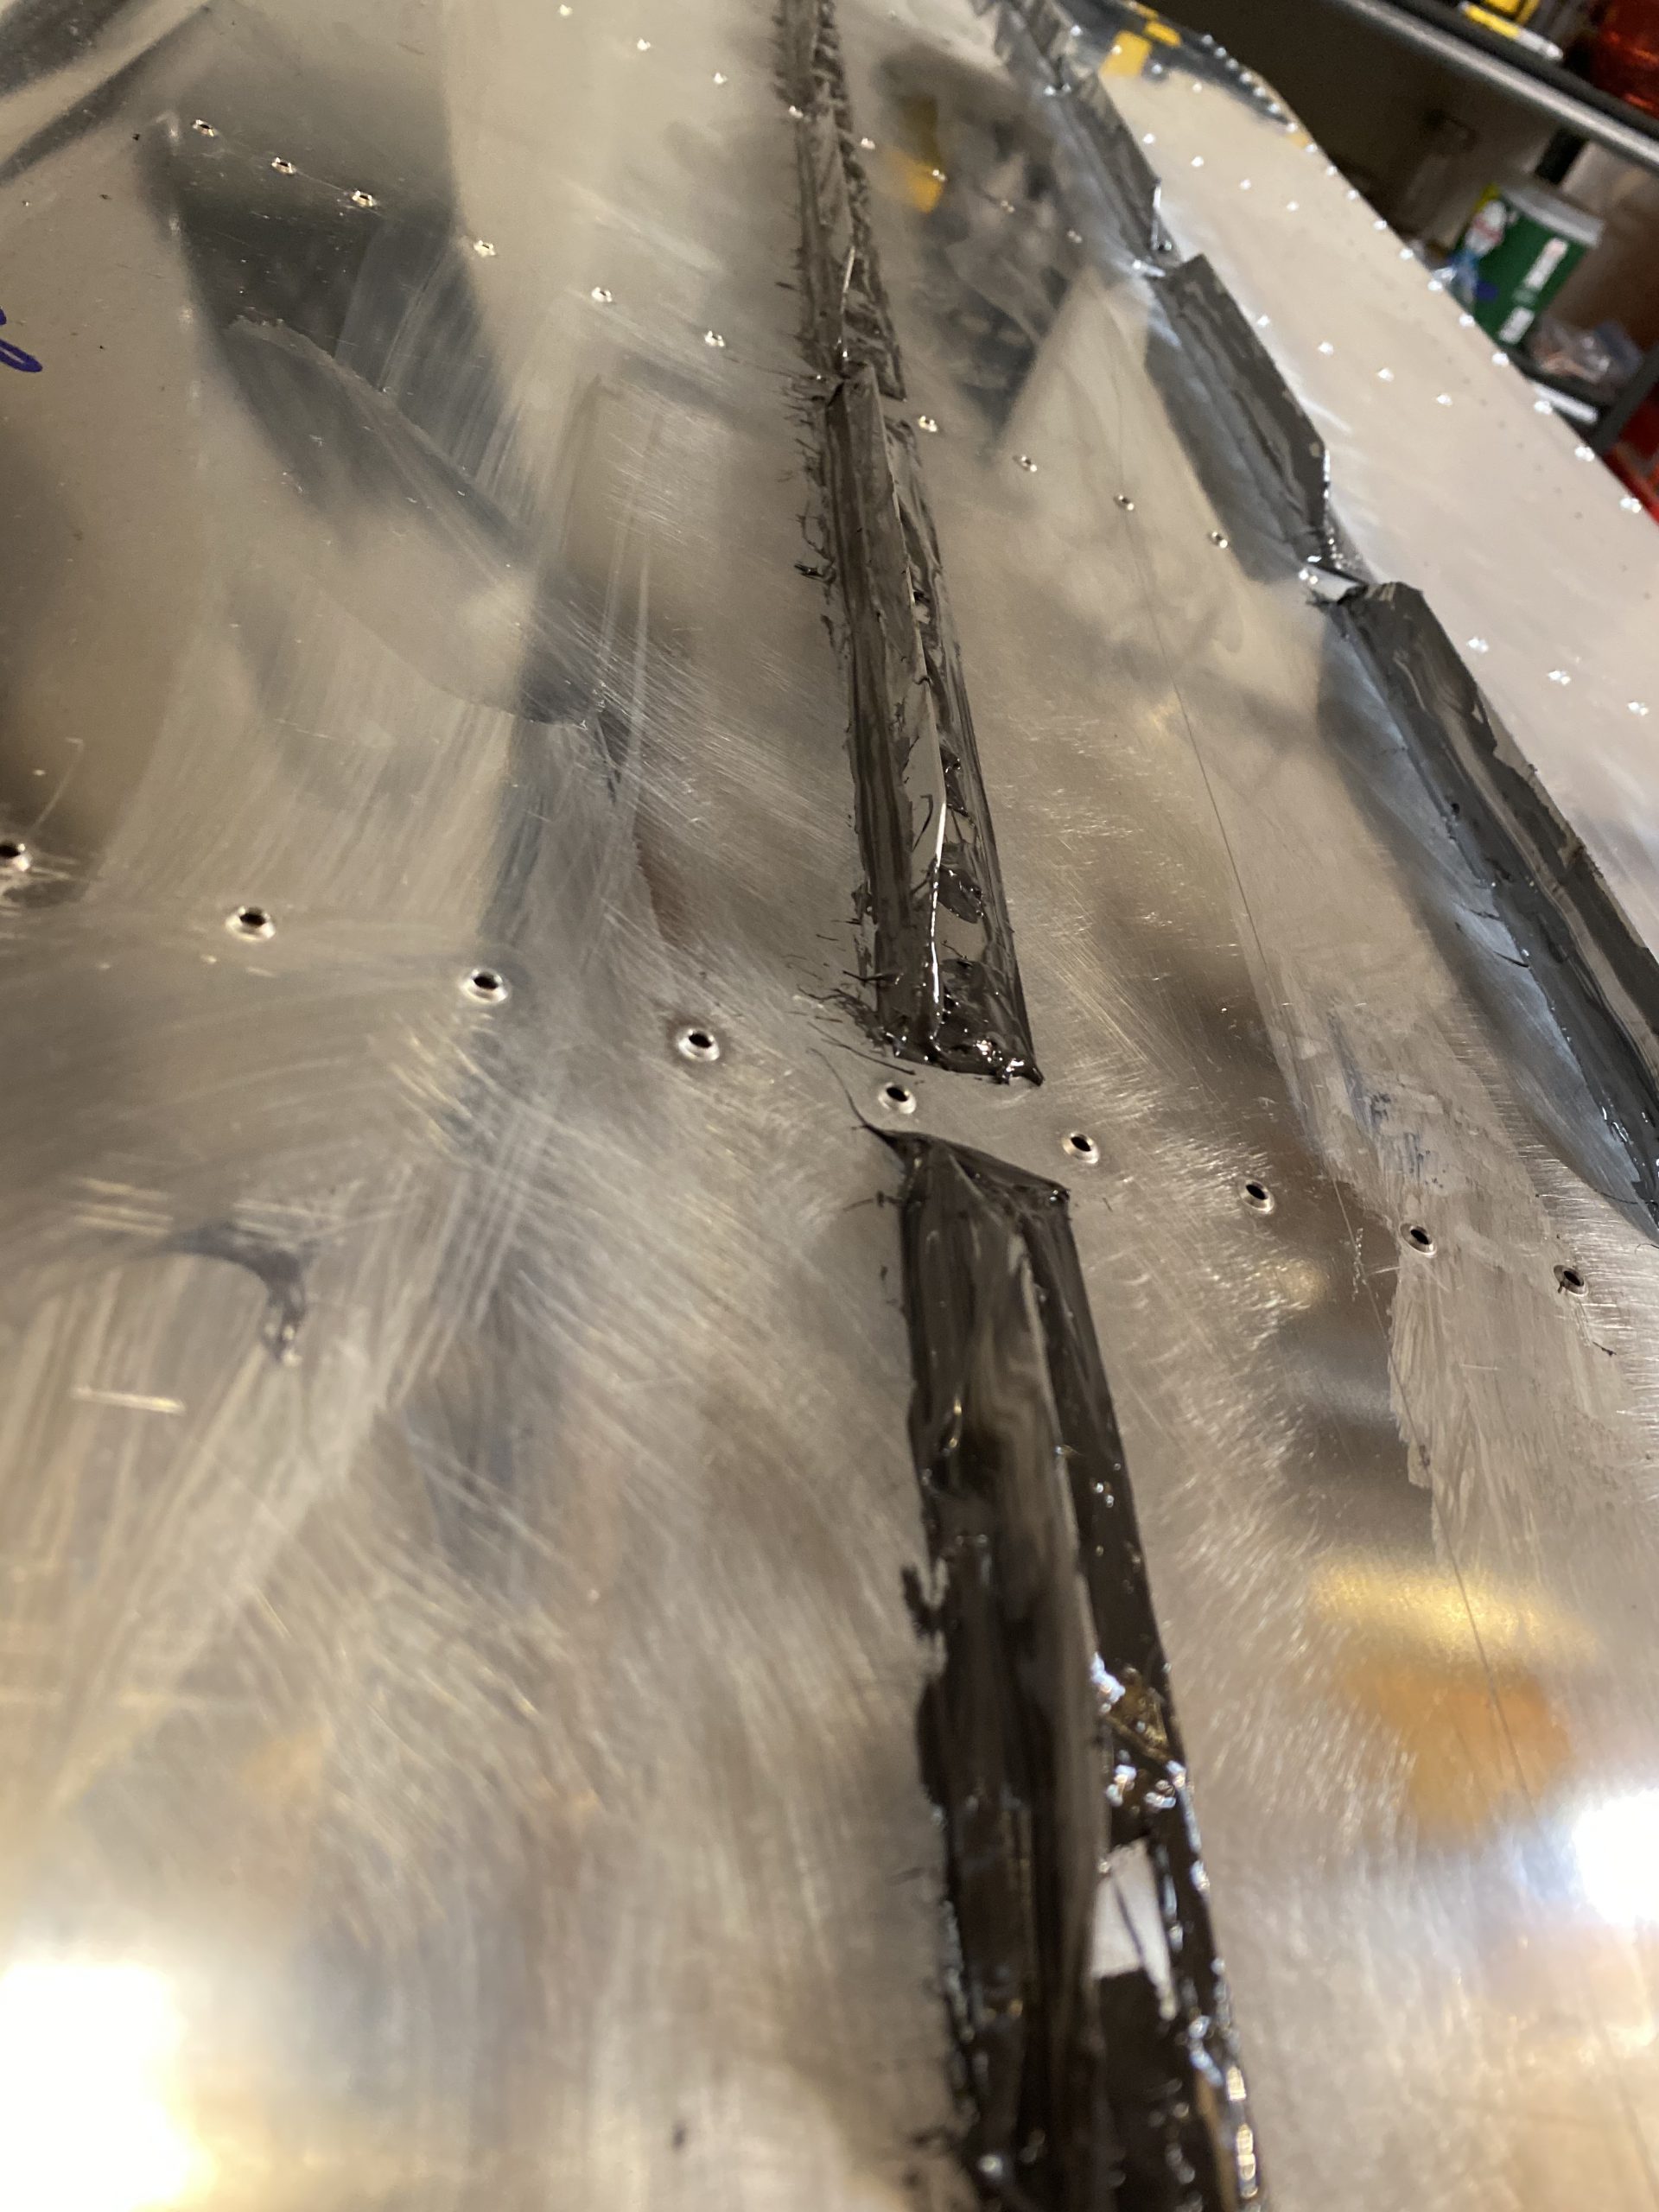
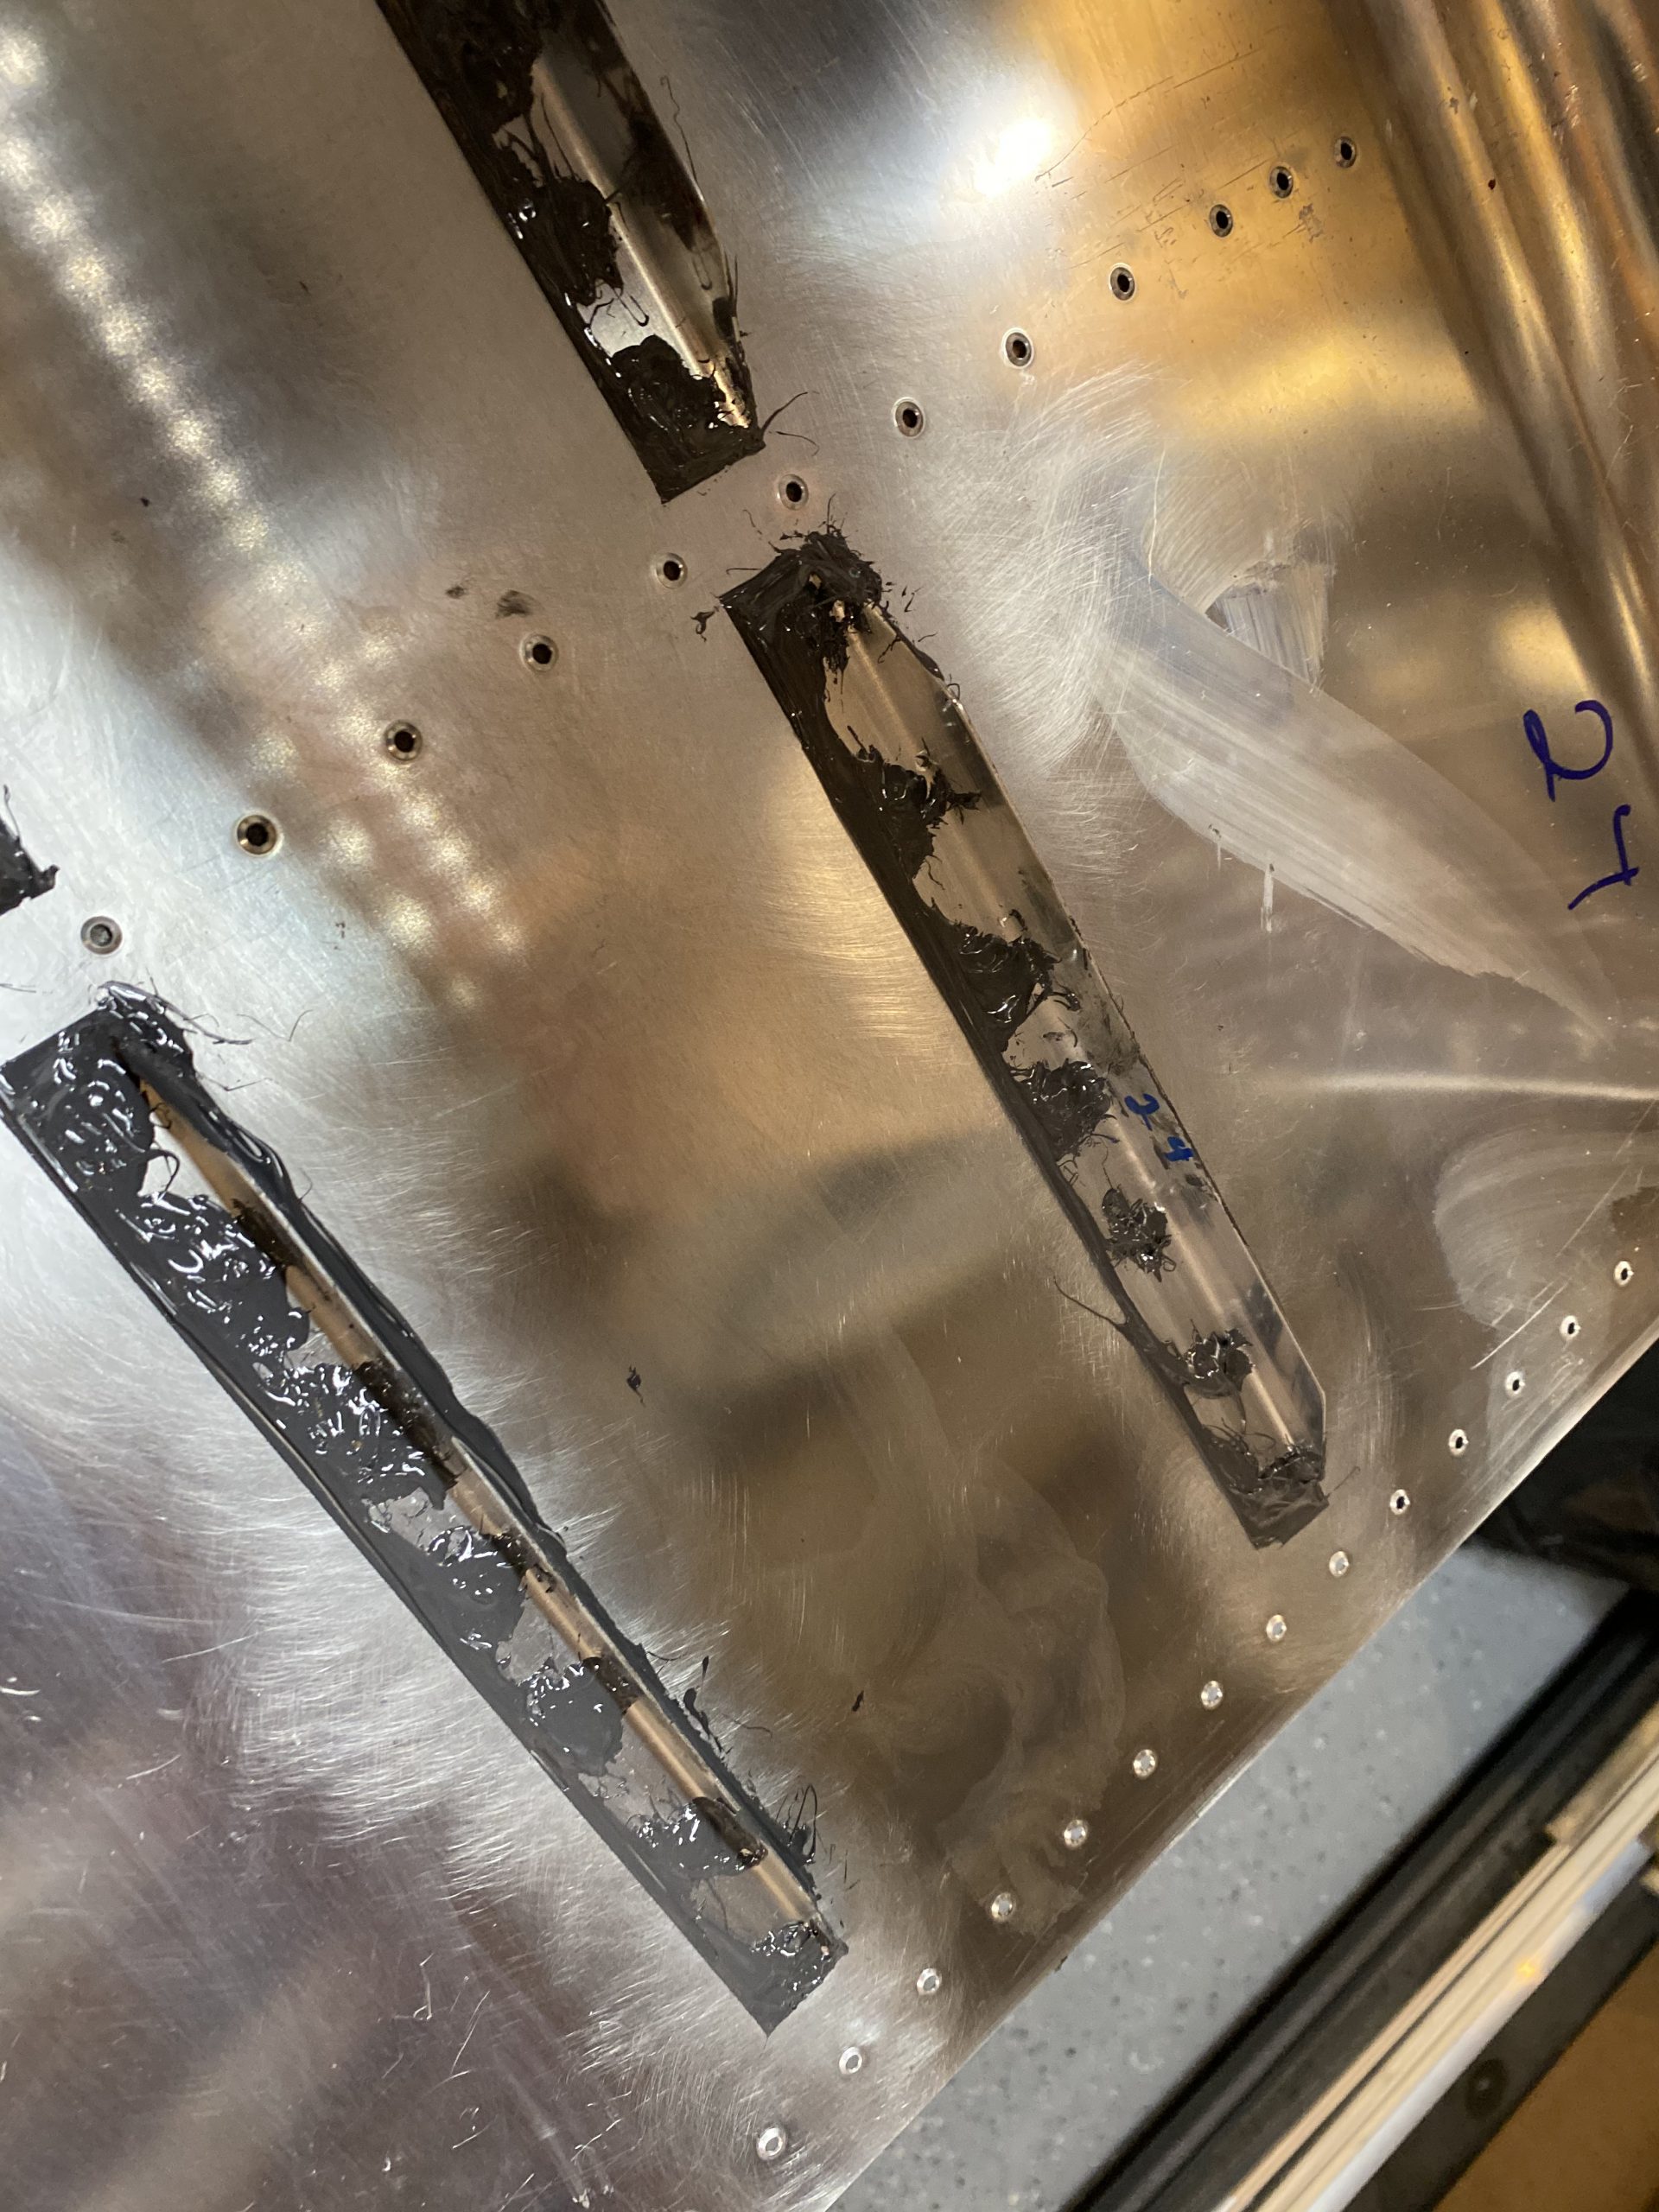
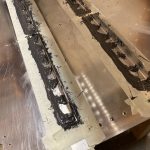
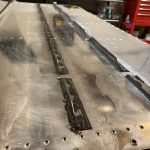
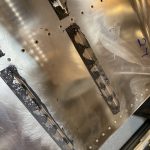
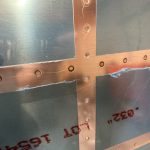
enter site Thank goodness for the masking tape, because I was making a helluva mess. Once I had all the filets made, I double checked everything looked good, and the removed the masking tape so that the sealant would self level as it cured, and not have any tall ridges where the masking tape was. The tape came off easy, and left some very clean looking lines!
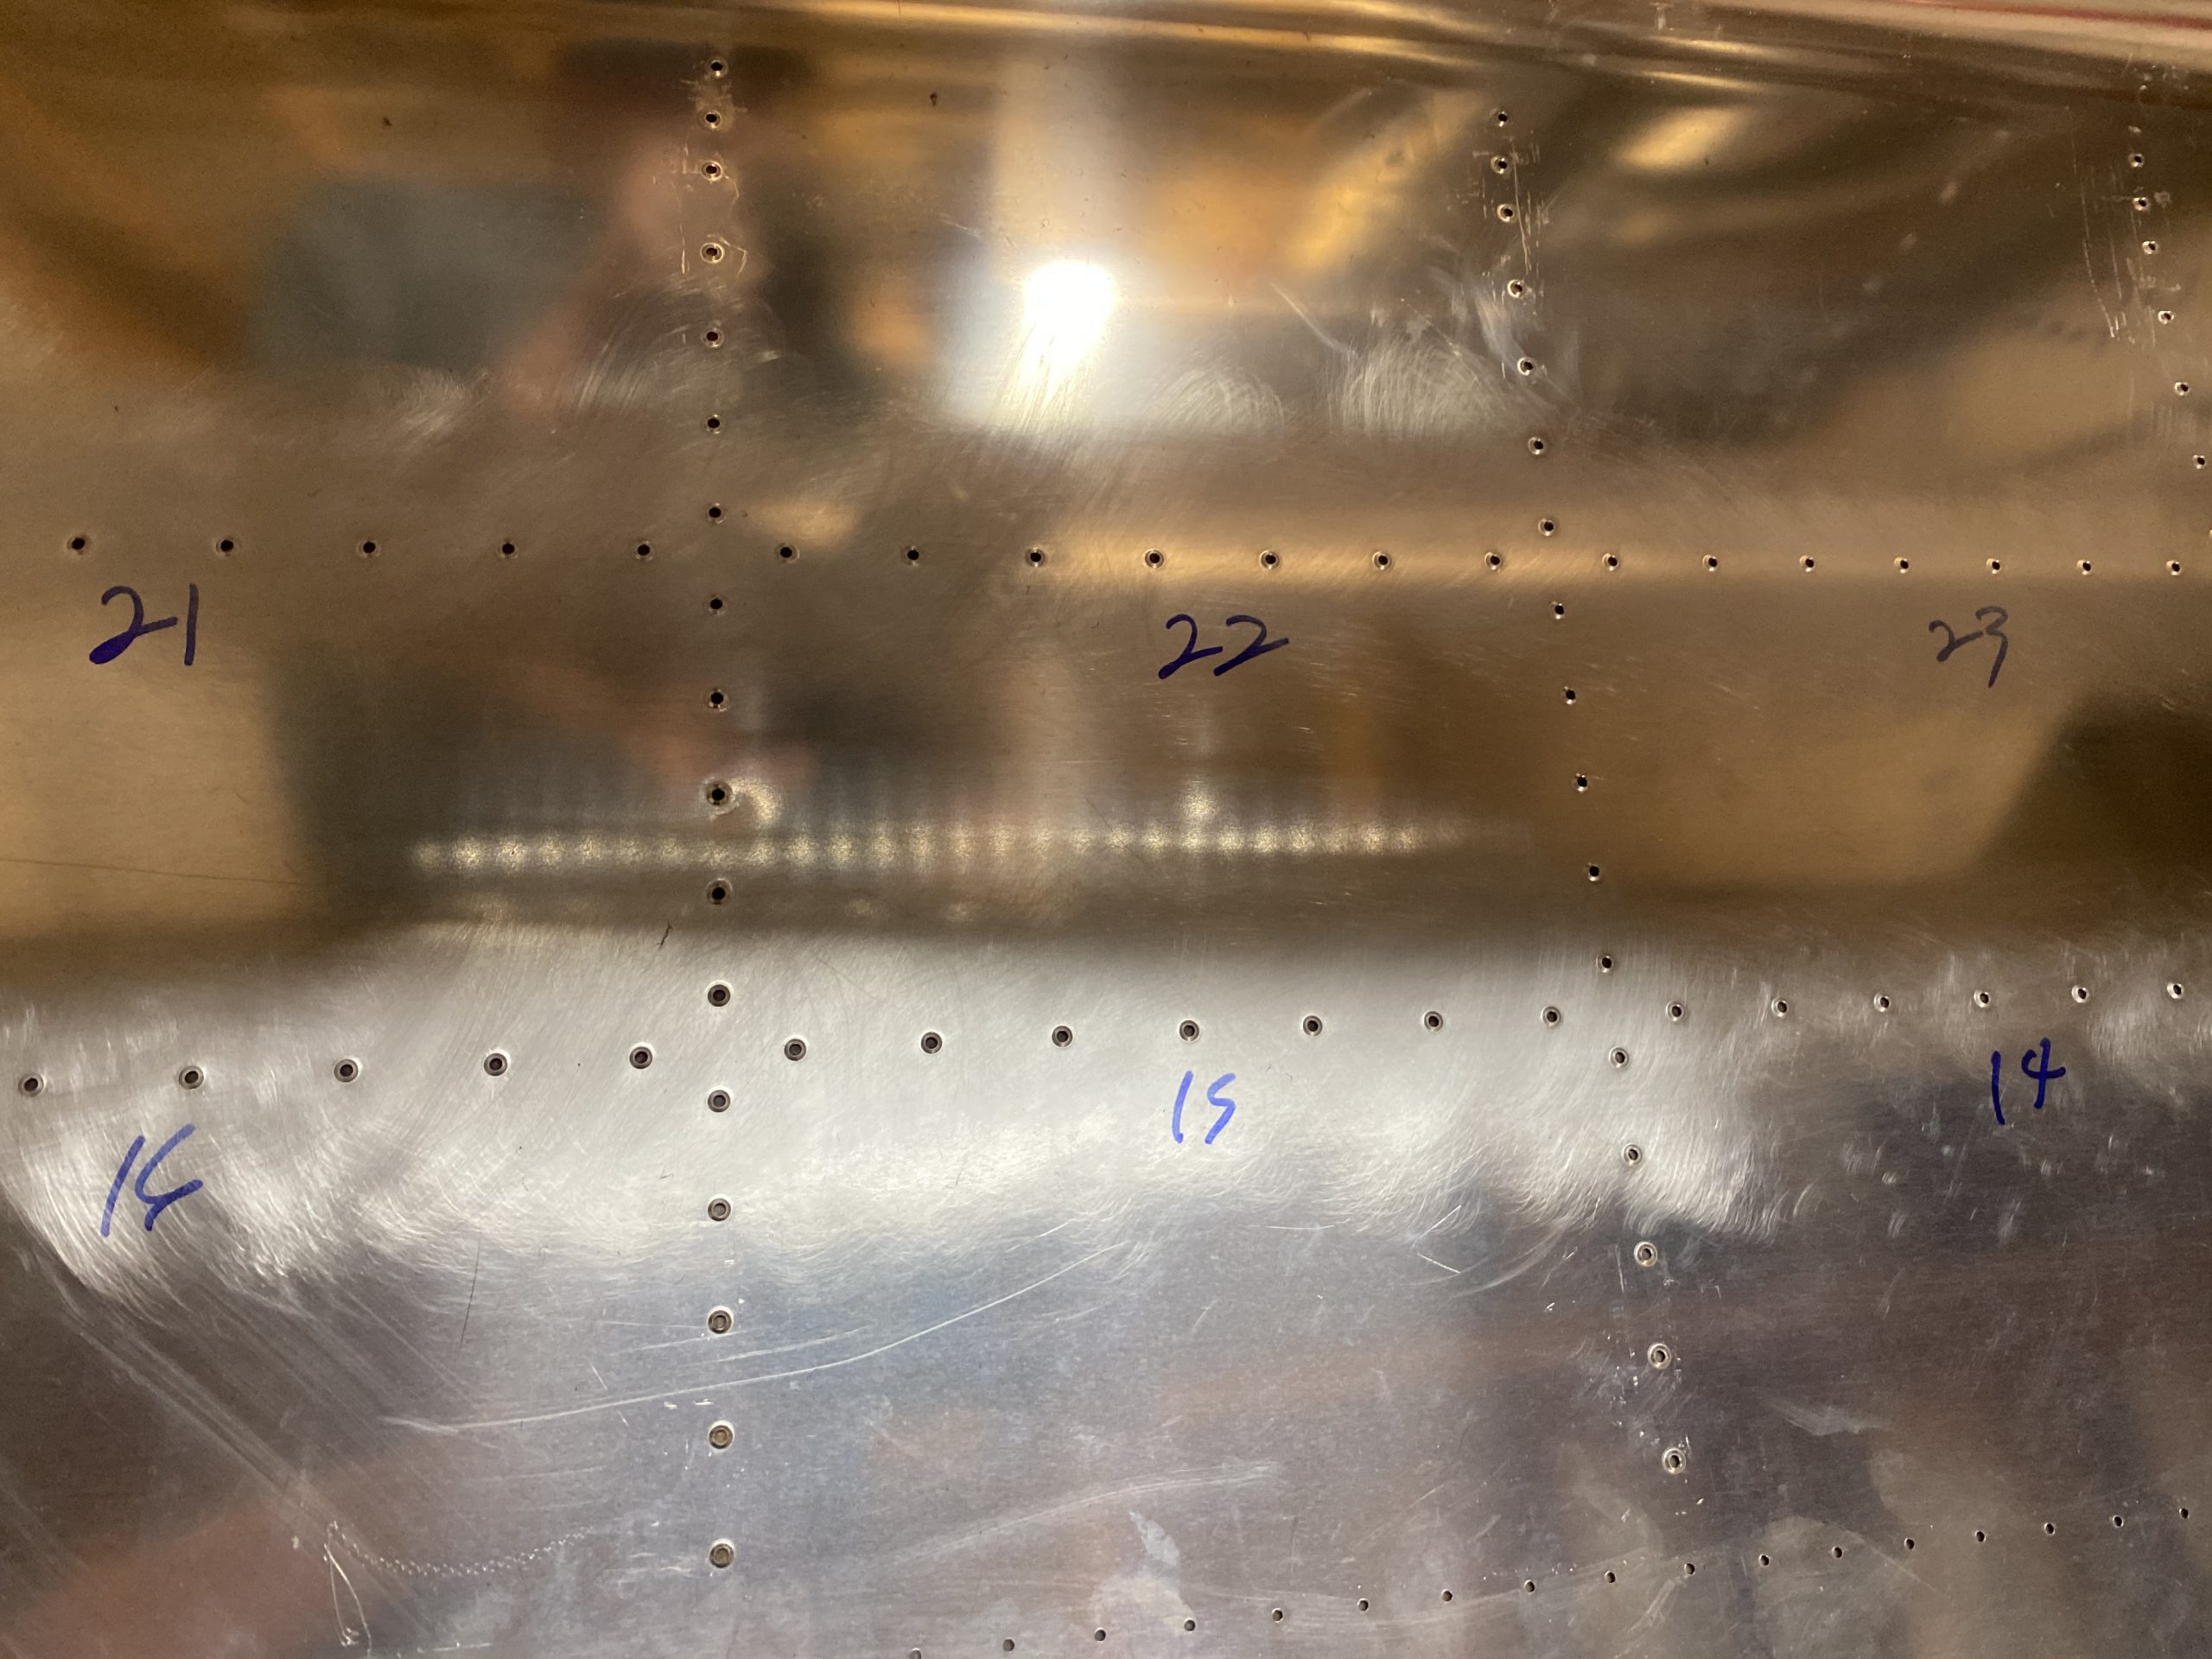
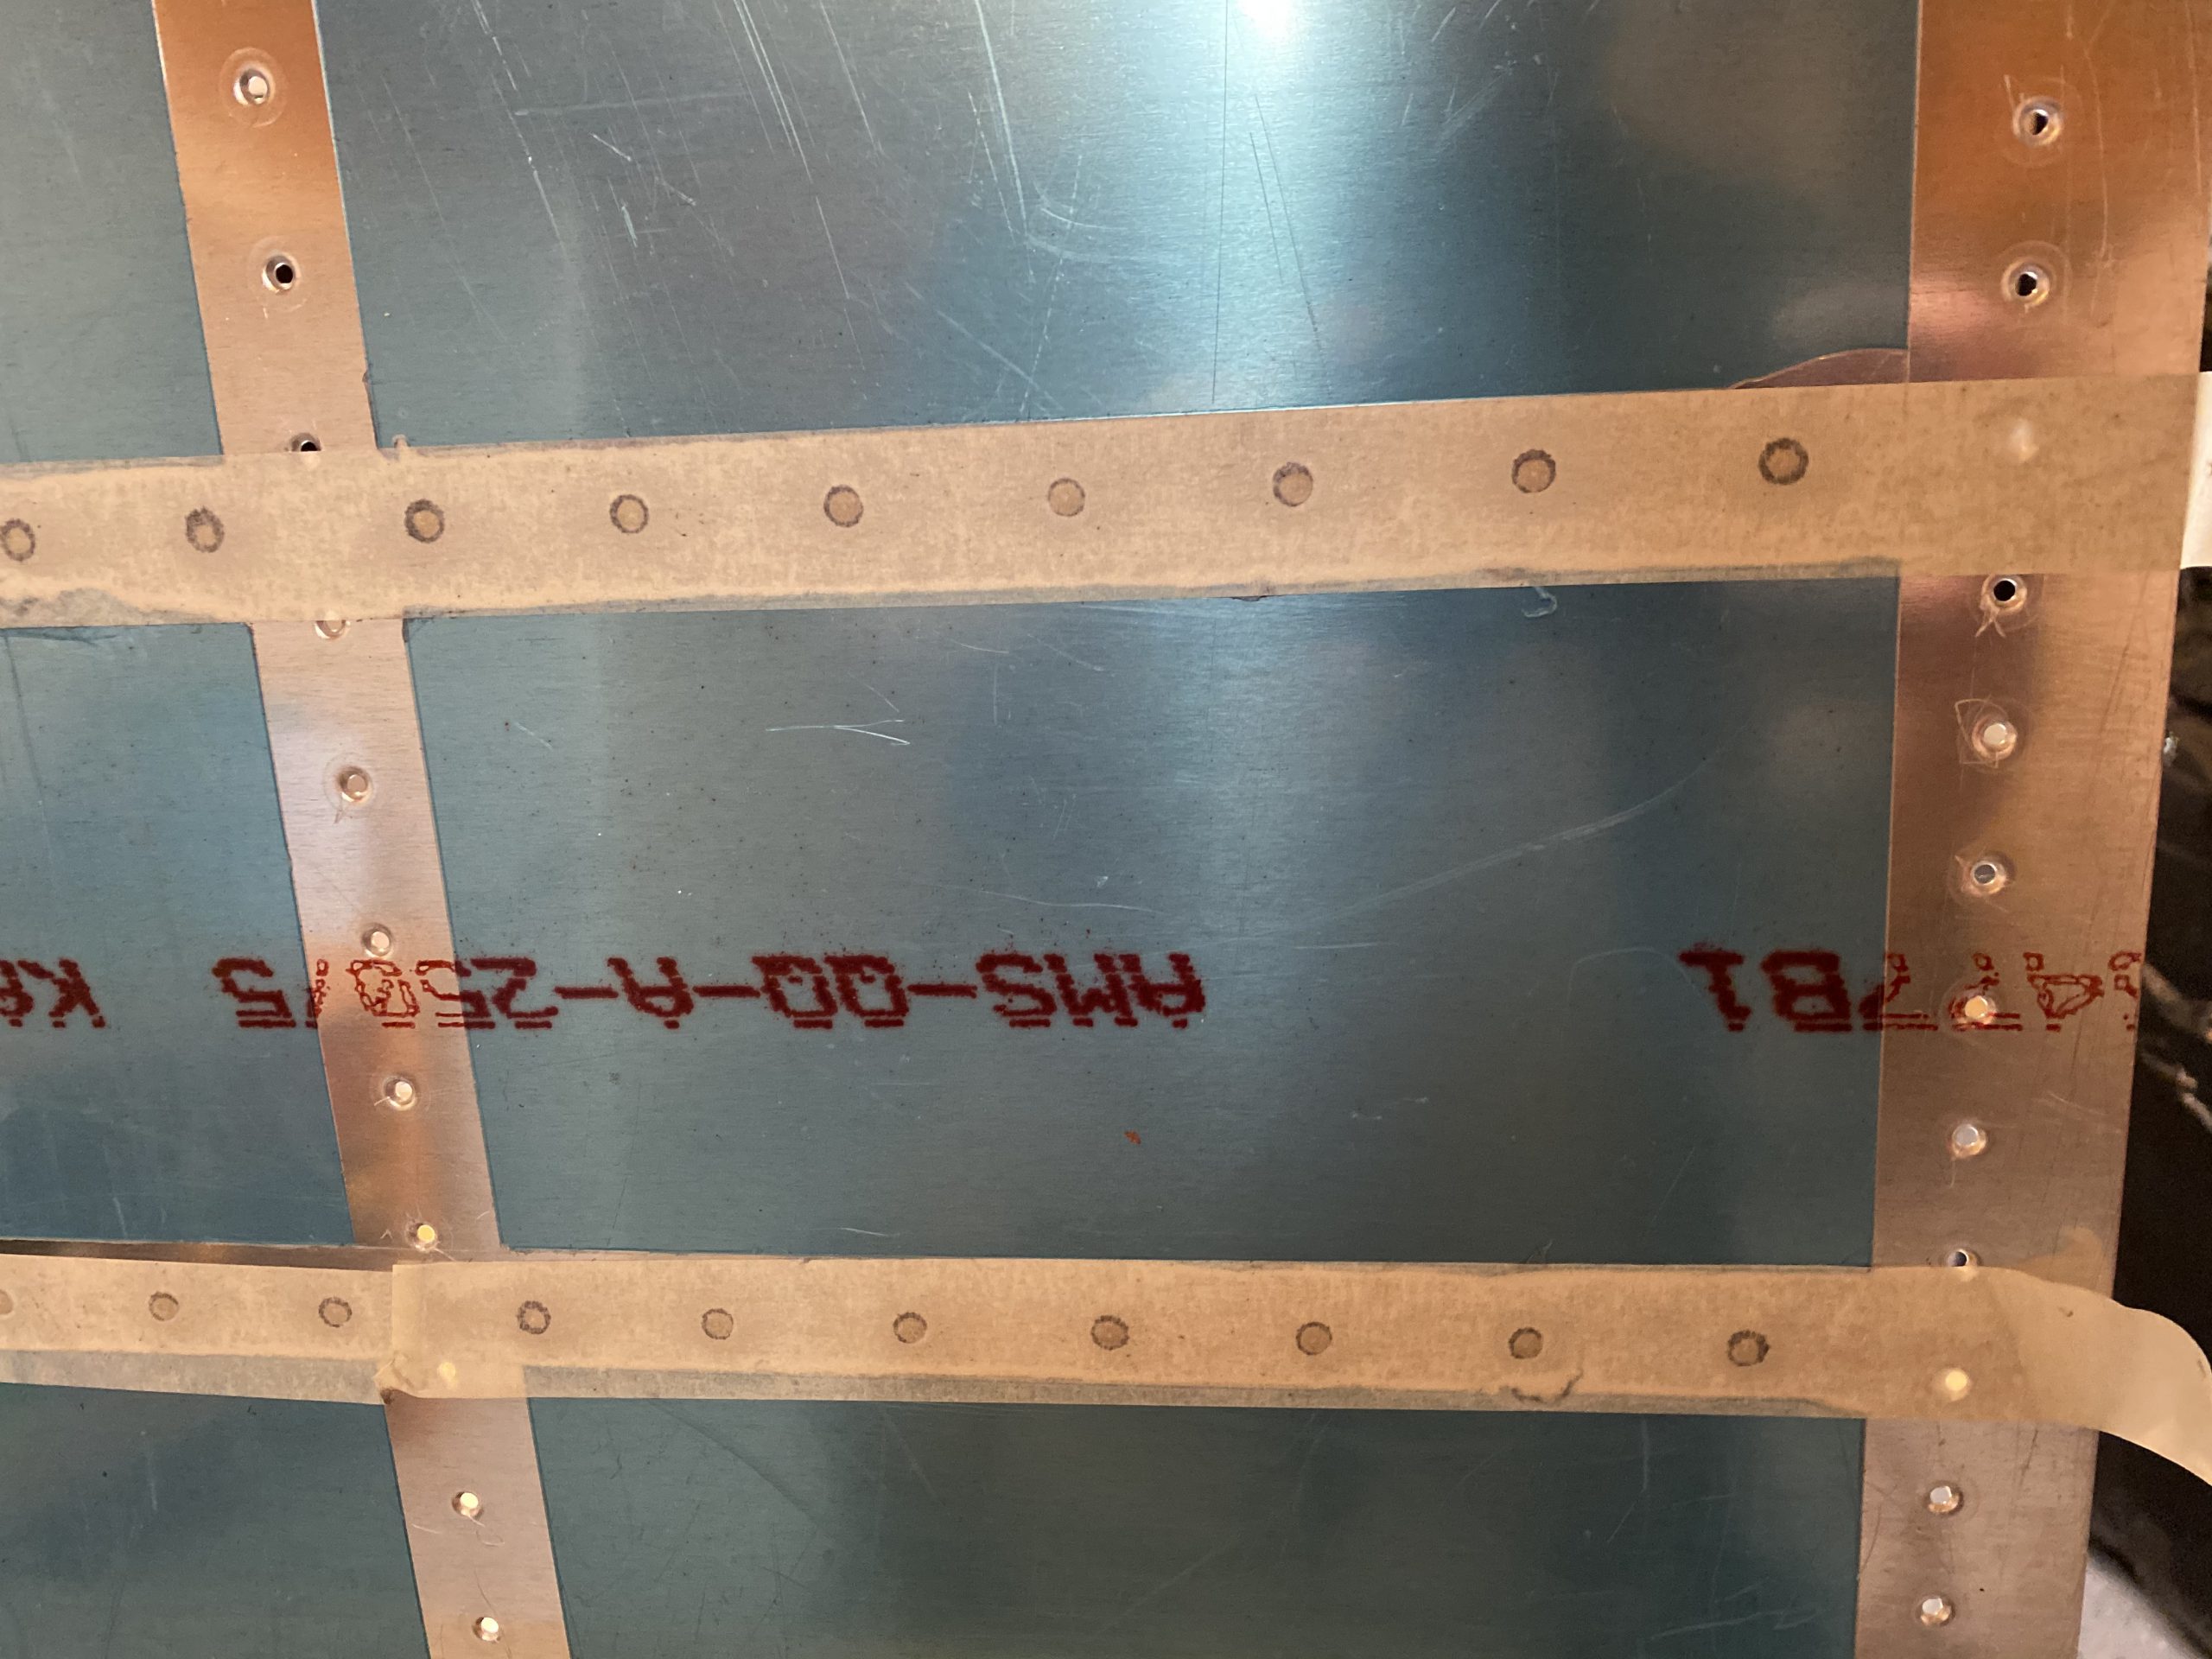
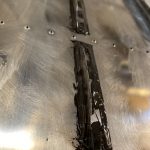
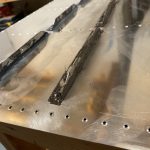
Ambien Without Prescription As you can see above, there were a few spots where I went back and touched up a bit after pulling the masking tape. I still managed to make a little bit of a mess, but this won’t be hard to clean up once its cured. Lastly, I decided to check the manufactured heads on the rivets to make sure I had some sealant squeeze around the heads in the dimples from riveting to help seal them. To my surprise, this process worked very nicely on getting sealant all the way back into the dimple! You can see the dark circles around the rivet in the masking tape in this photo:
https://www.jacobysaustin.com/grandmas-strawberry-cake/
Buy Lyrica Without Prescription
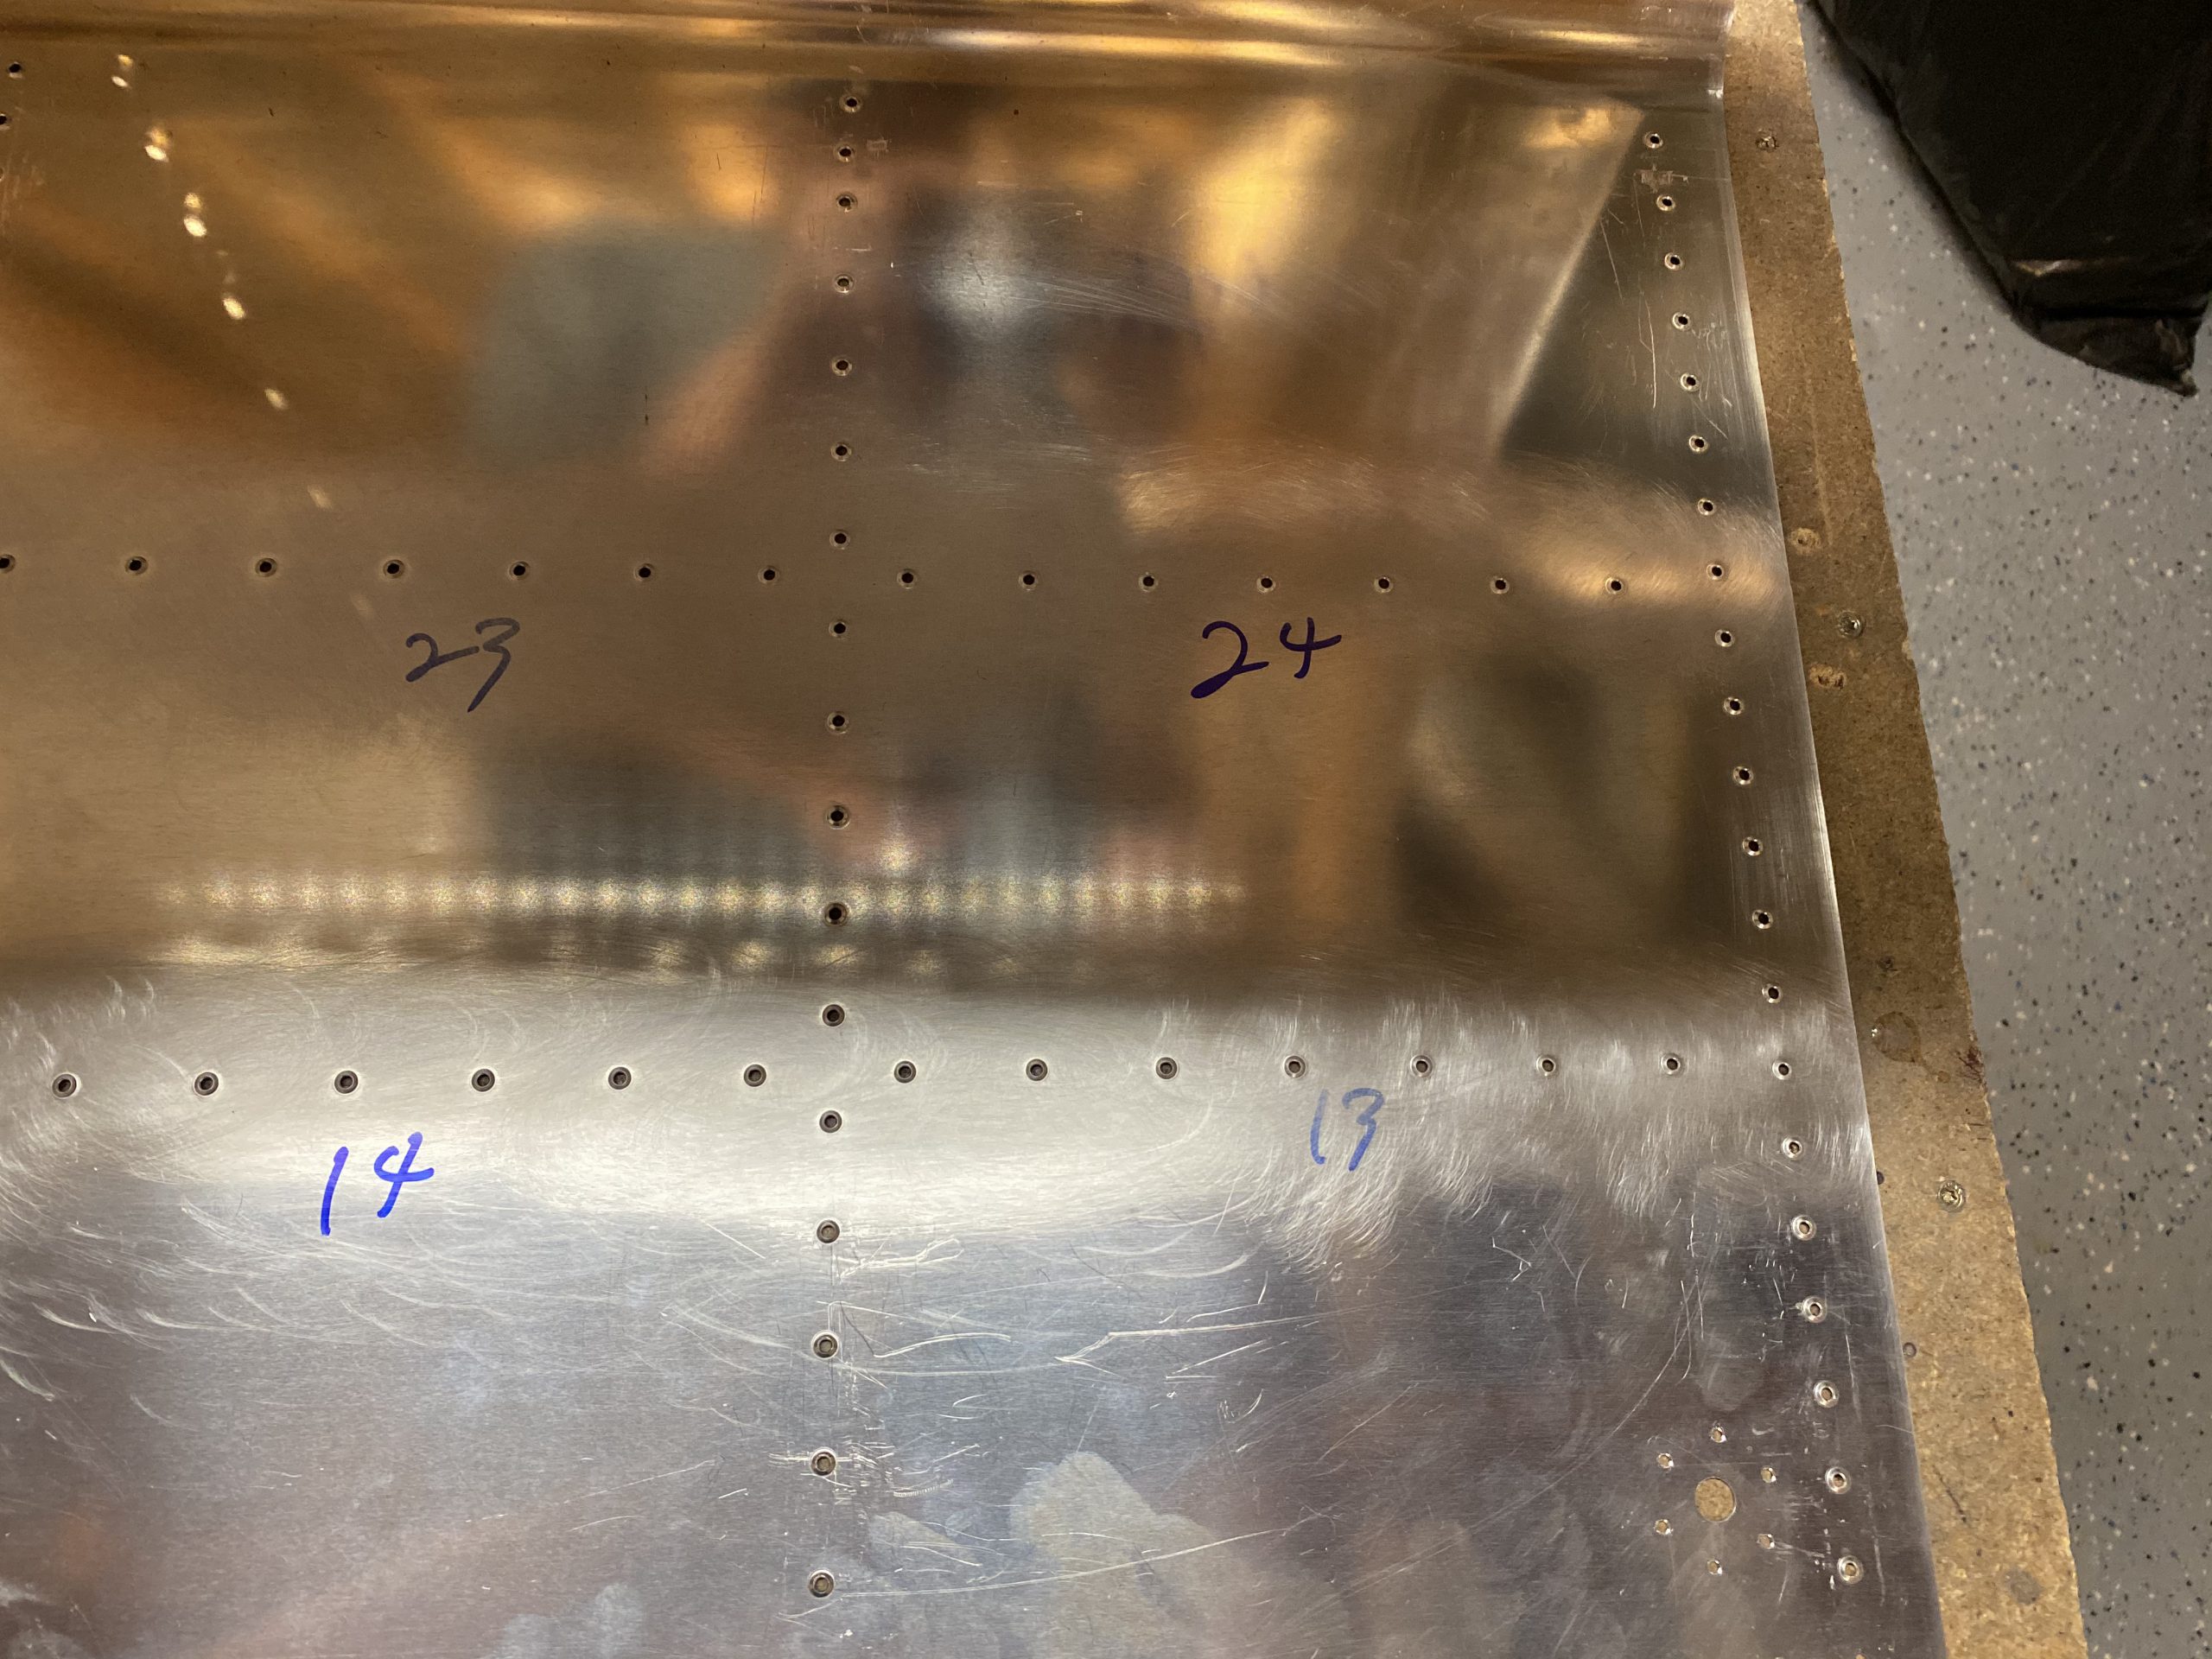
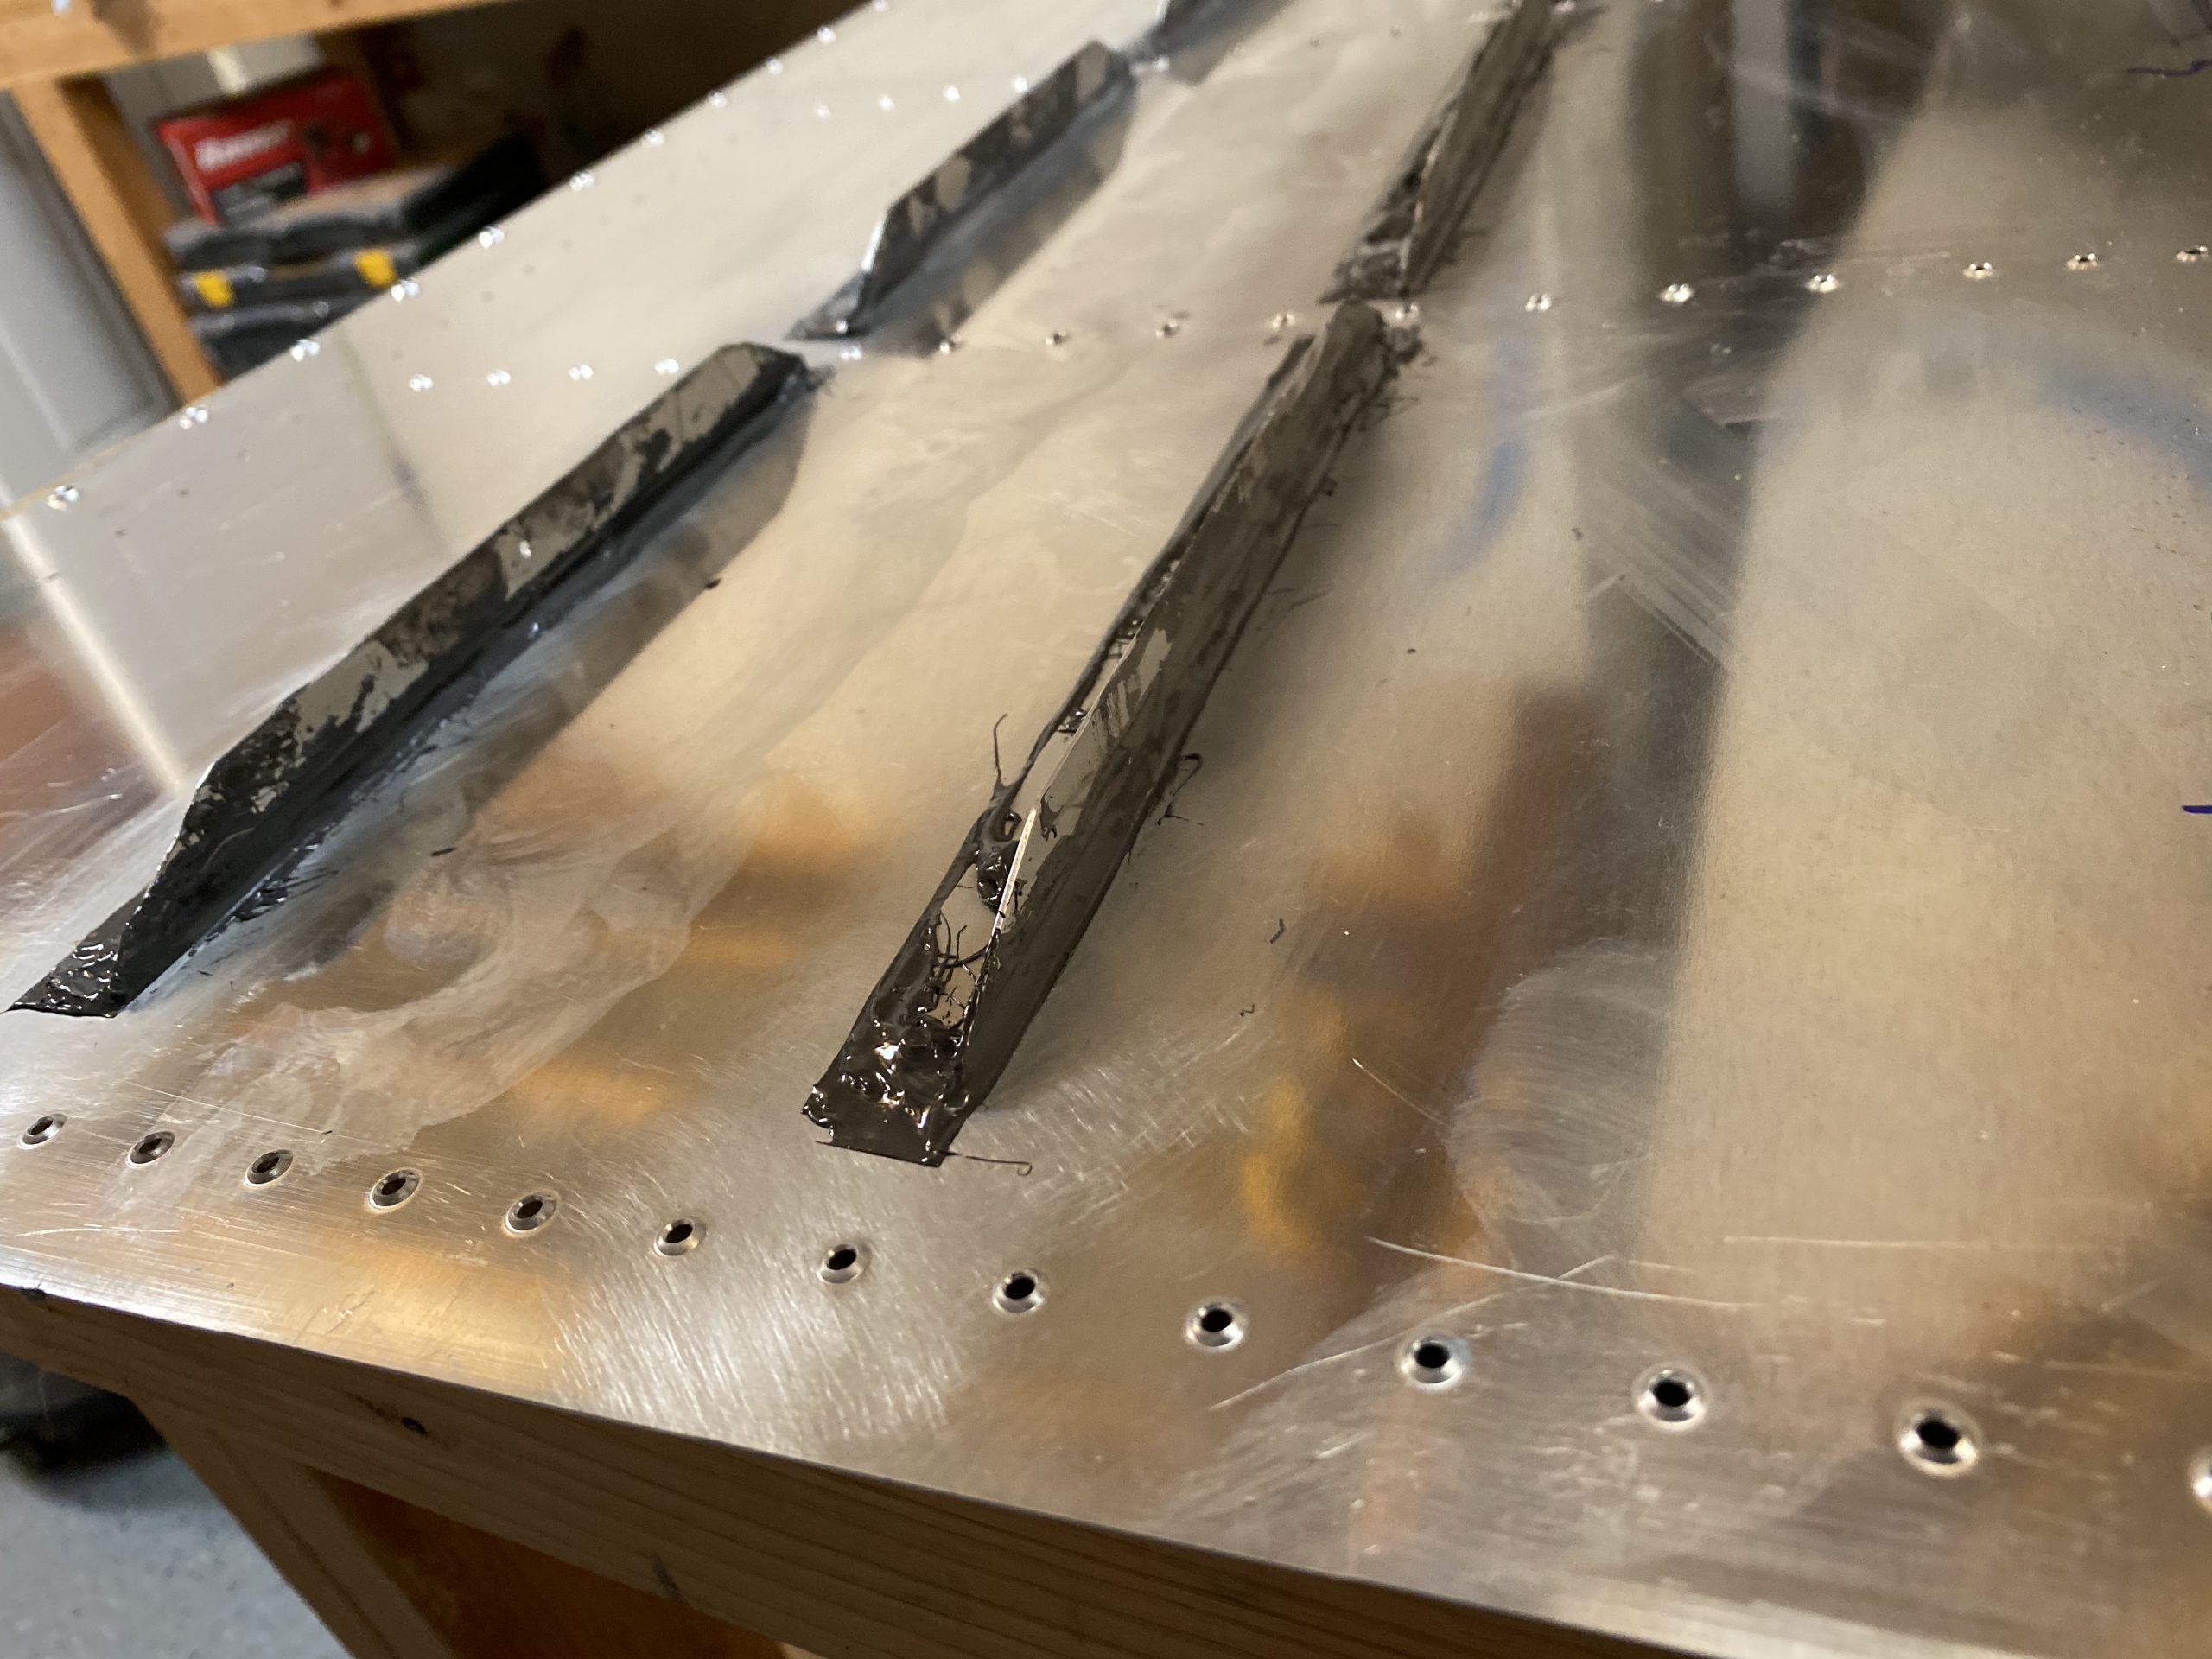
https://www.completerehabsolutions.com/services/ And this photo is with the masking tape removed. You can see where the sealant did a nice job of squishing down into the dimple from the other side! I didn’t wipe this away for now, as I want to cure a bit to make a good seal, it will get sanded away during the painting process anyways. The rivets were all set perfectly and looked great!
go here Then it was clean up time. I only had to clean off my back rivet set in some MEK, as nothing else got contaminated due to the masking job. It’s well worth the time to mask this stuff off first, and save a ton of clean up time in the end. I had learned that lesson on the right tank stiffeners 🙂 I’ll leave more photos in the gallery below to show some of the filets and dollops on all the other stiffeners.
https://anthonynewmancamps.com/soccer-camps/ Google Photos Link: https://photos.app.goo.gl/QpdfysyHz4afXB2m9
-
 IMG_1551
 -
 IMG_1552
 -
IMG_1553
-
 IMG_1554
 -
IMG_1555
-
 IMG_1556
 -
 IMG_1557
 -
 IMG_1558
 -
 IMG_1559
 -
 IMG_1560
 -
 IMG_1561
 -
 IMG_1562
 -
 IMG_1563
 -
 IMG_1564
 -
 IMG_1565
 -
 IMG_1566
 -
 IMG_1567
 -
 IMG_1550
Hours Worked: 2.75