


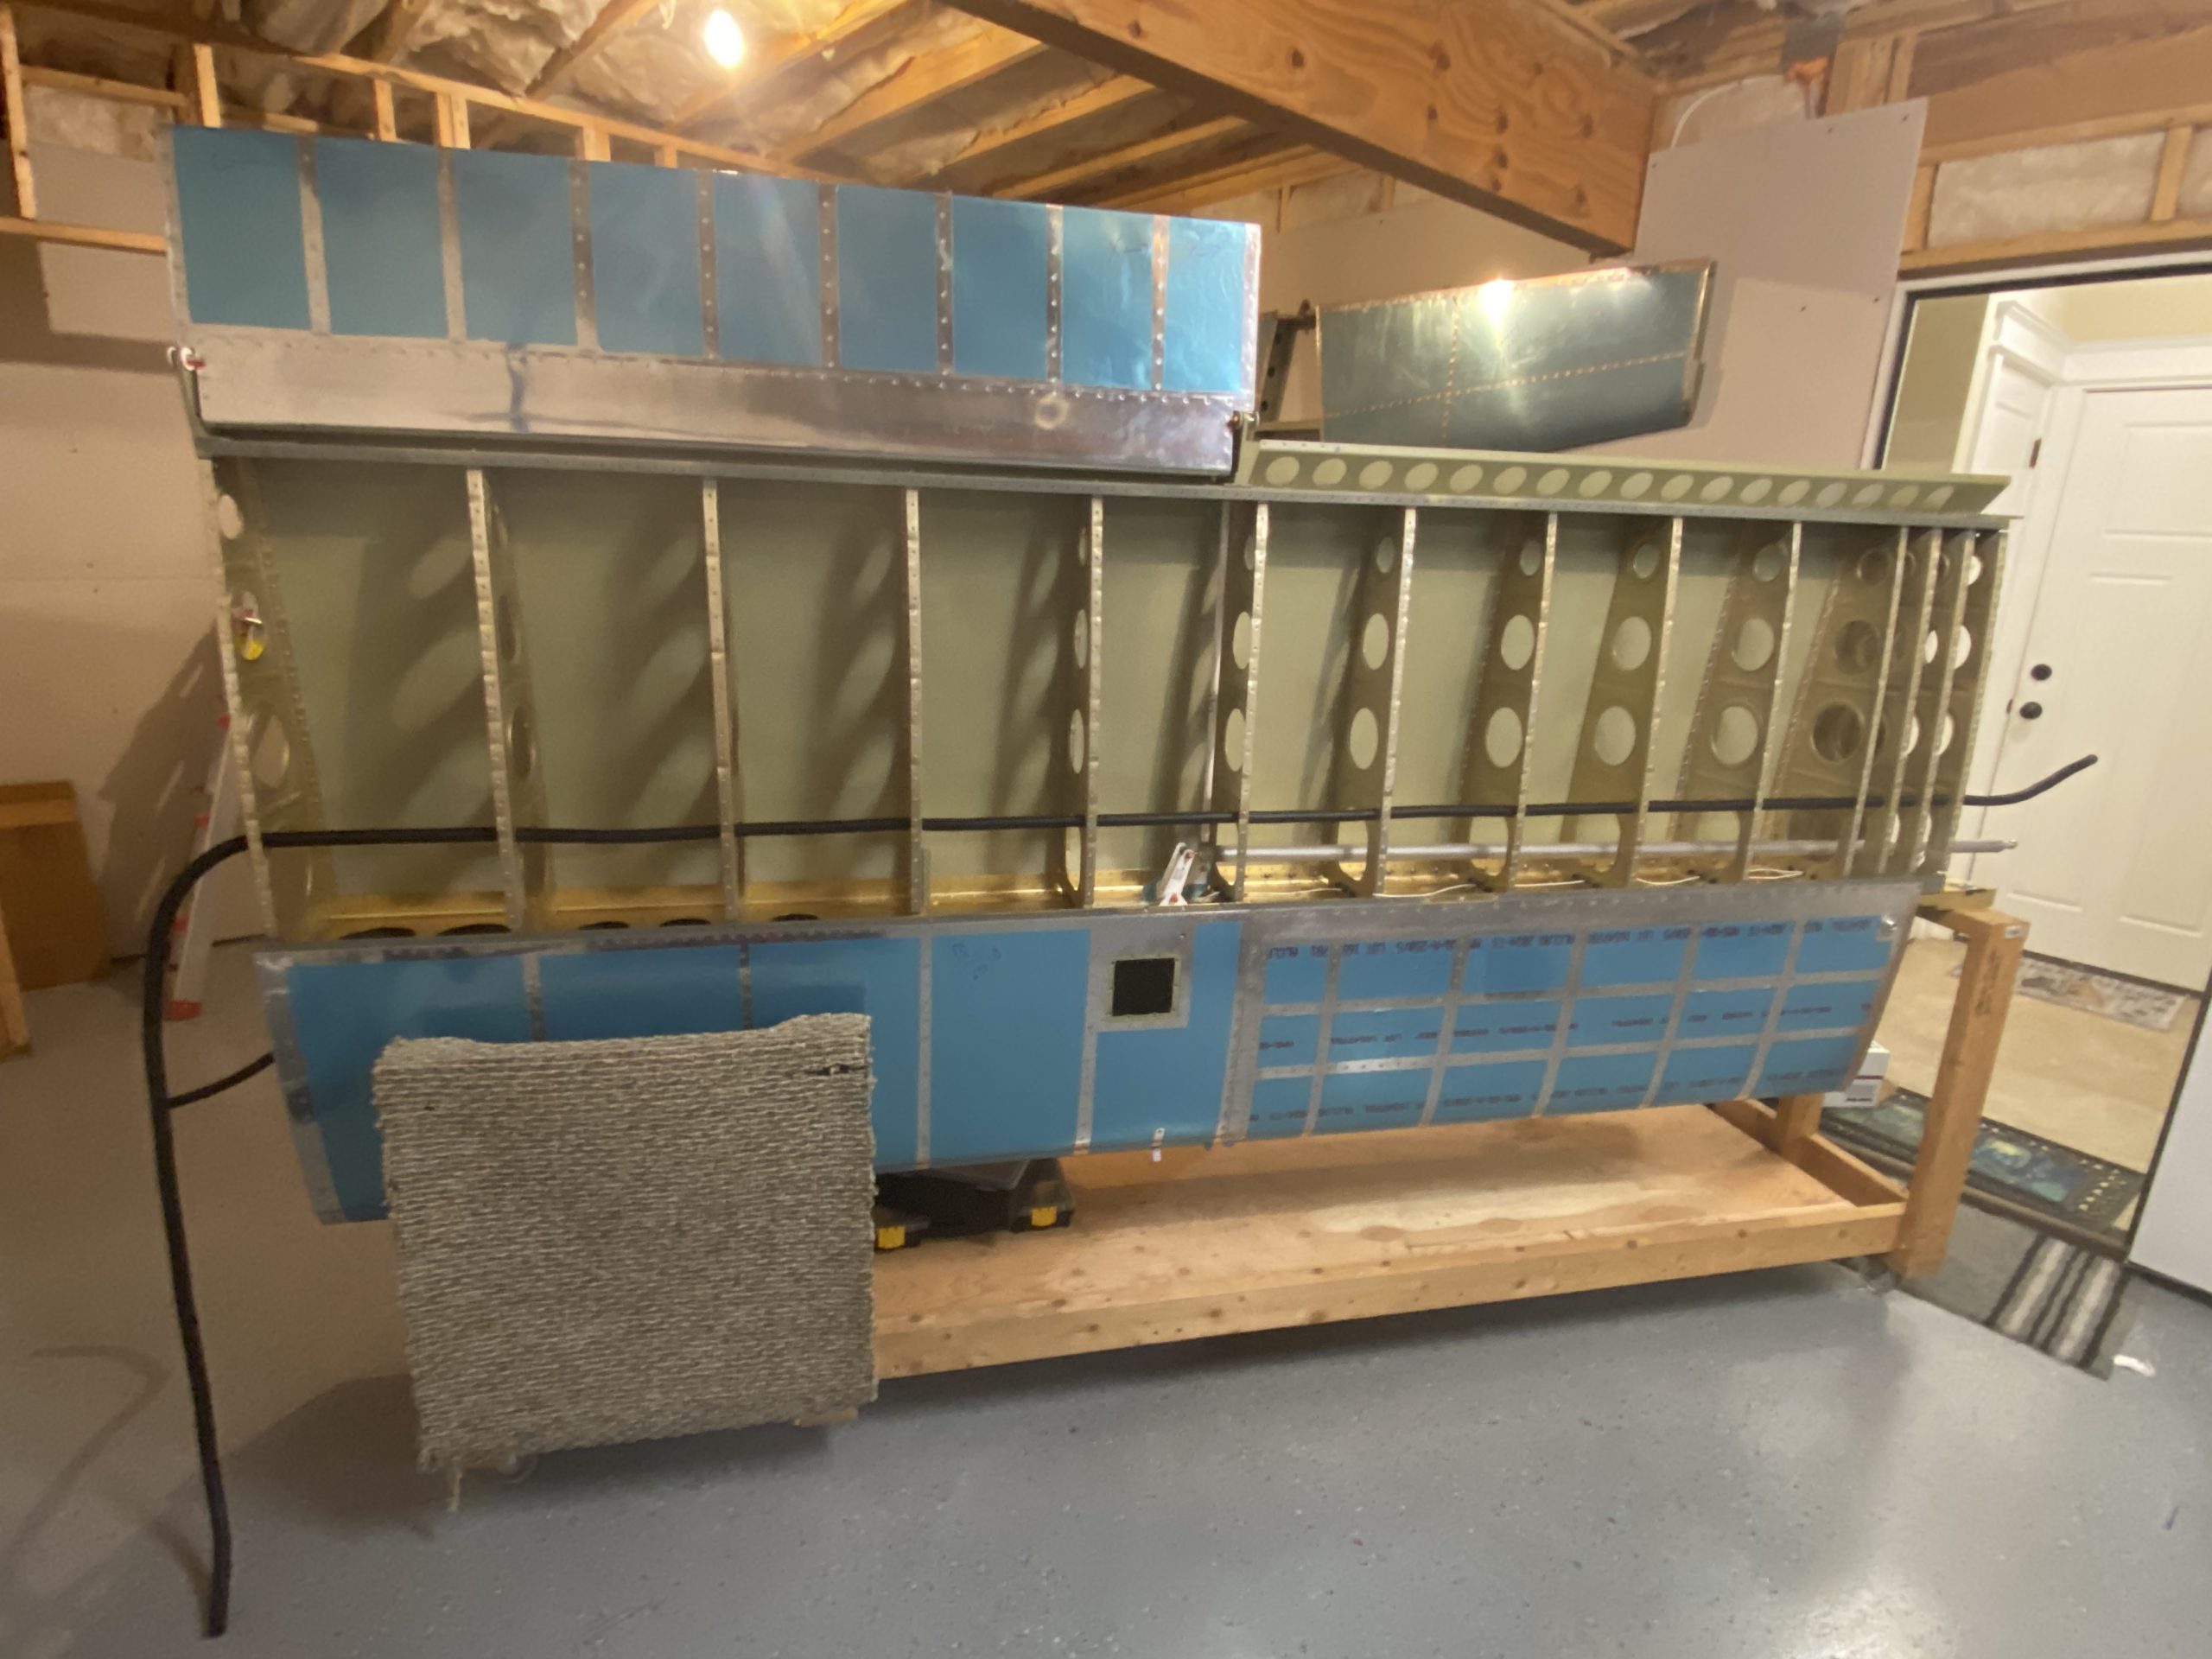
Another quick working session tonight. I installed the nylon wiring conduit in both wings, and captured two views of the time lapse. Here they are:
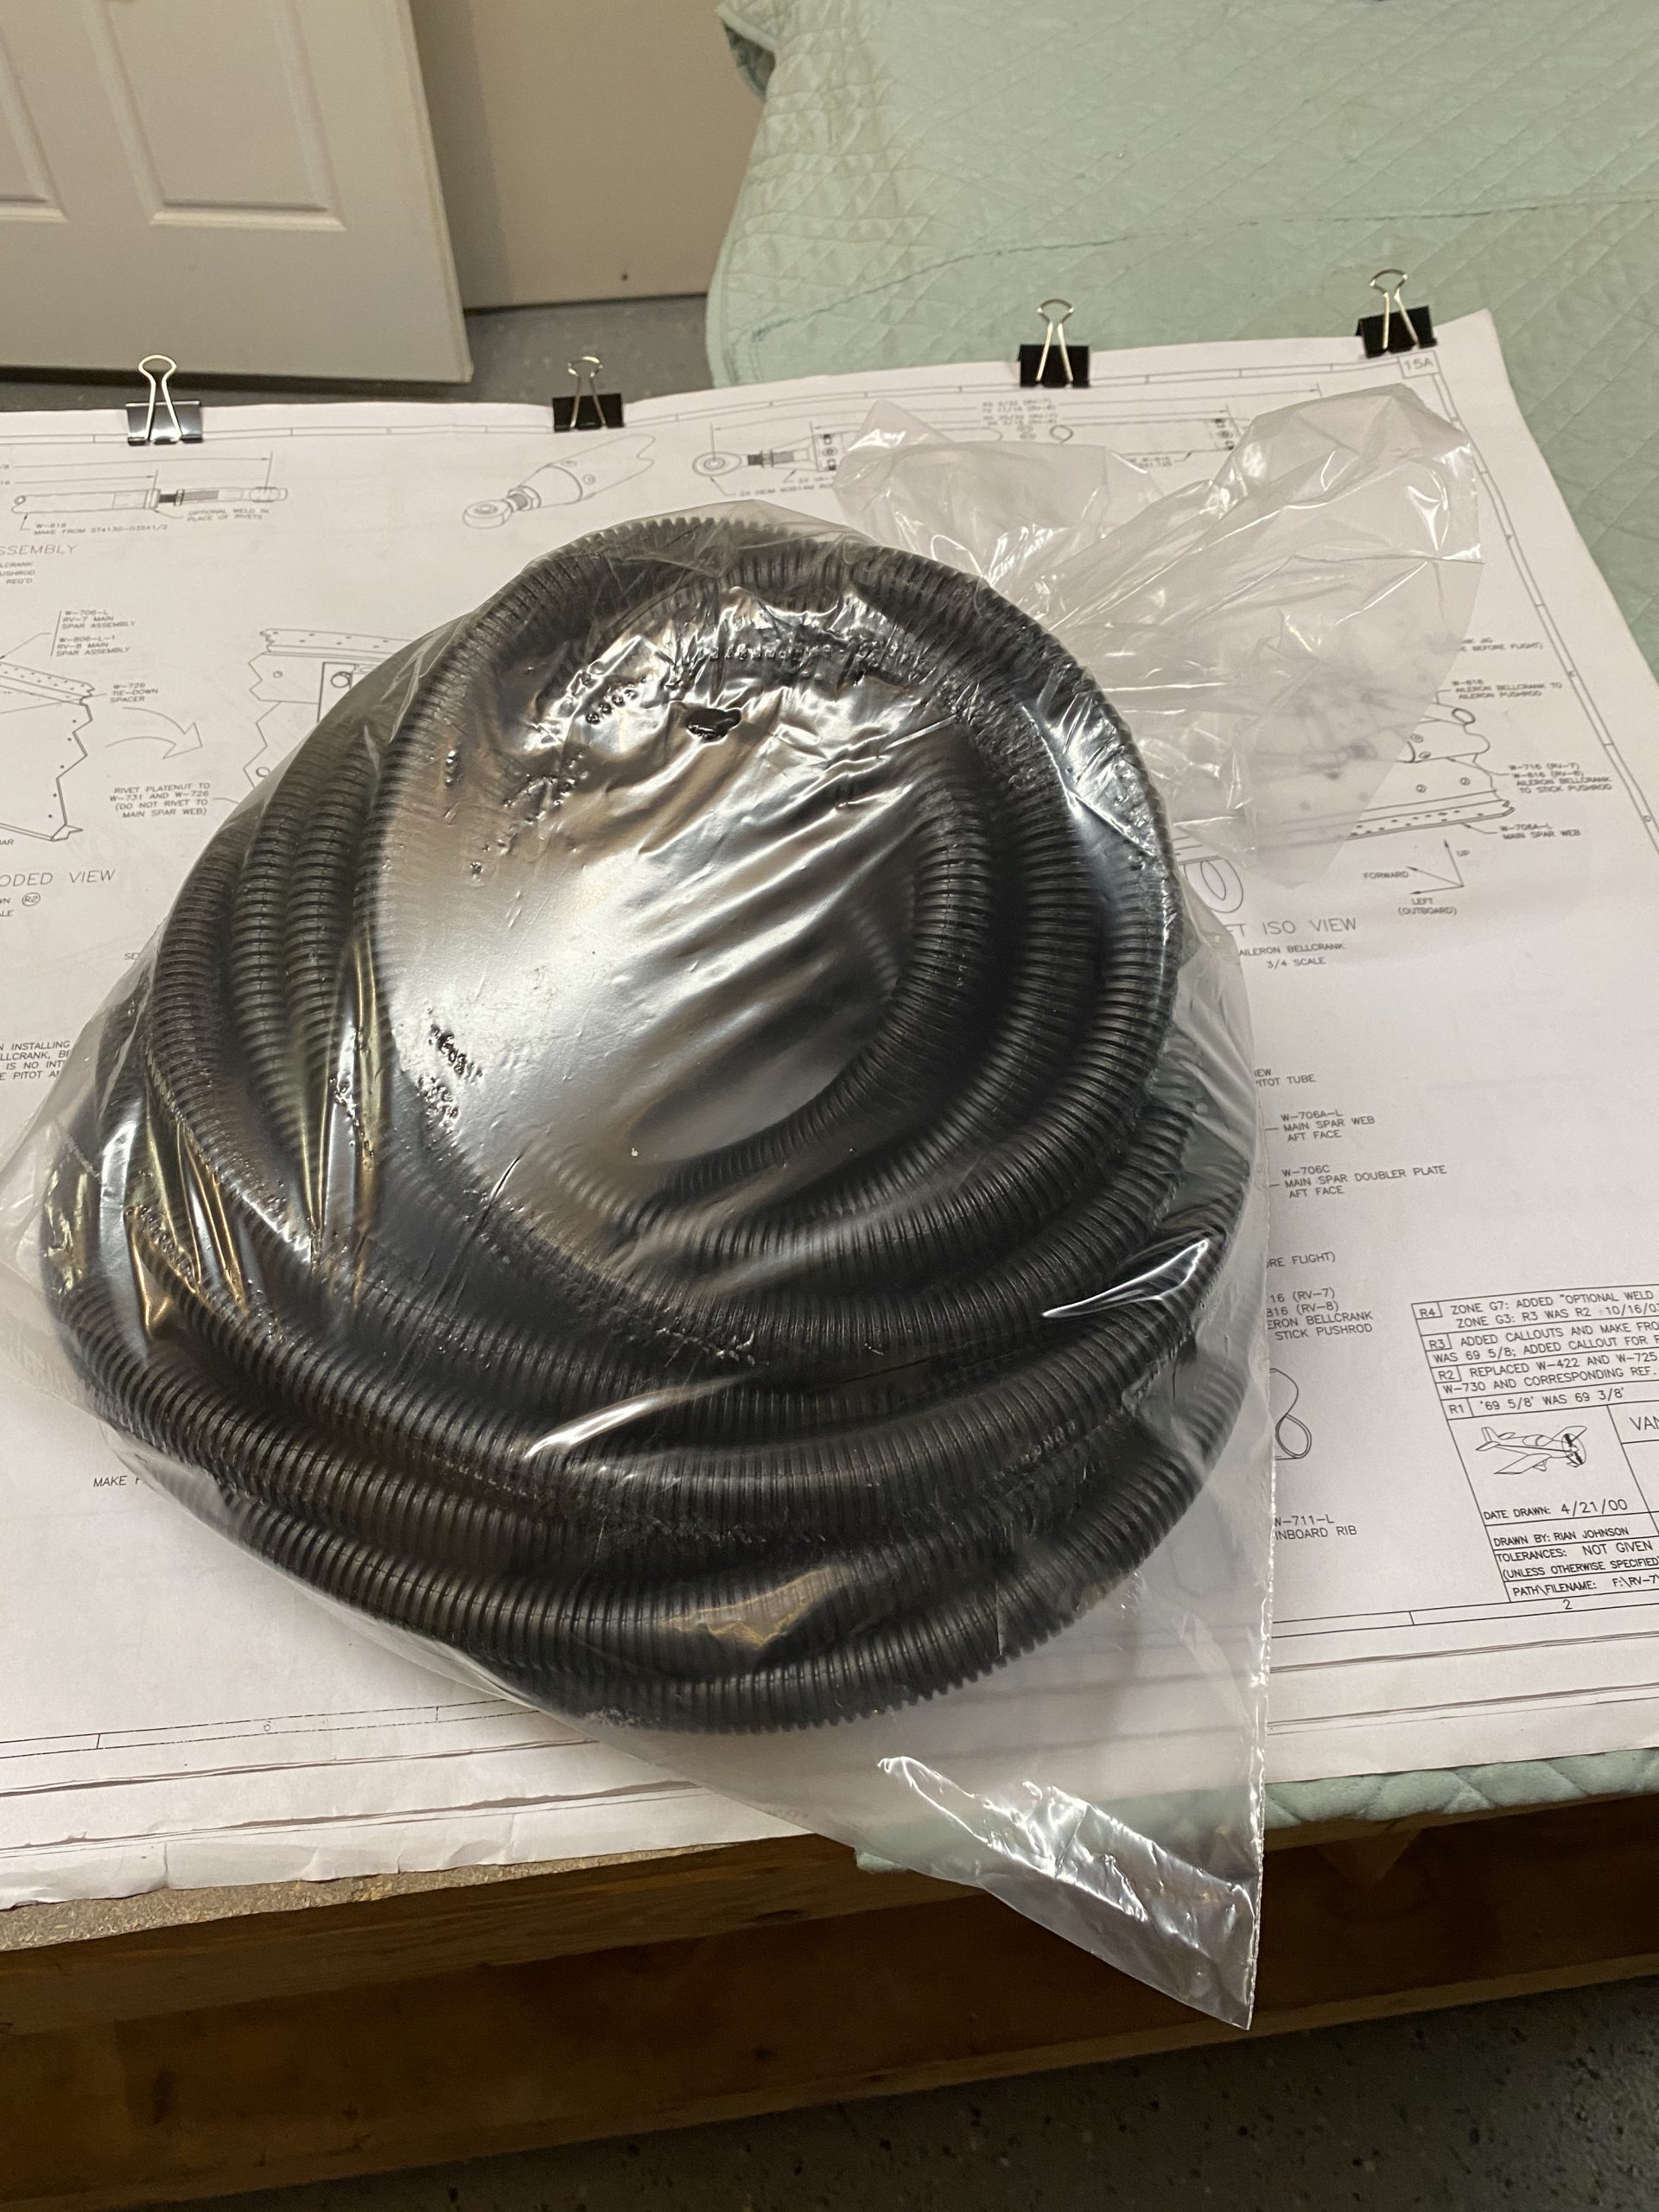
I pulled the 50′ spool of conduit from its shelf, opened the bag and uncoiled it to make it a bit easier to work with. I had bought this from Vans a long while back, and figured I’d get a big spool since its pretty cheap.
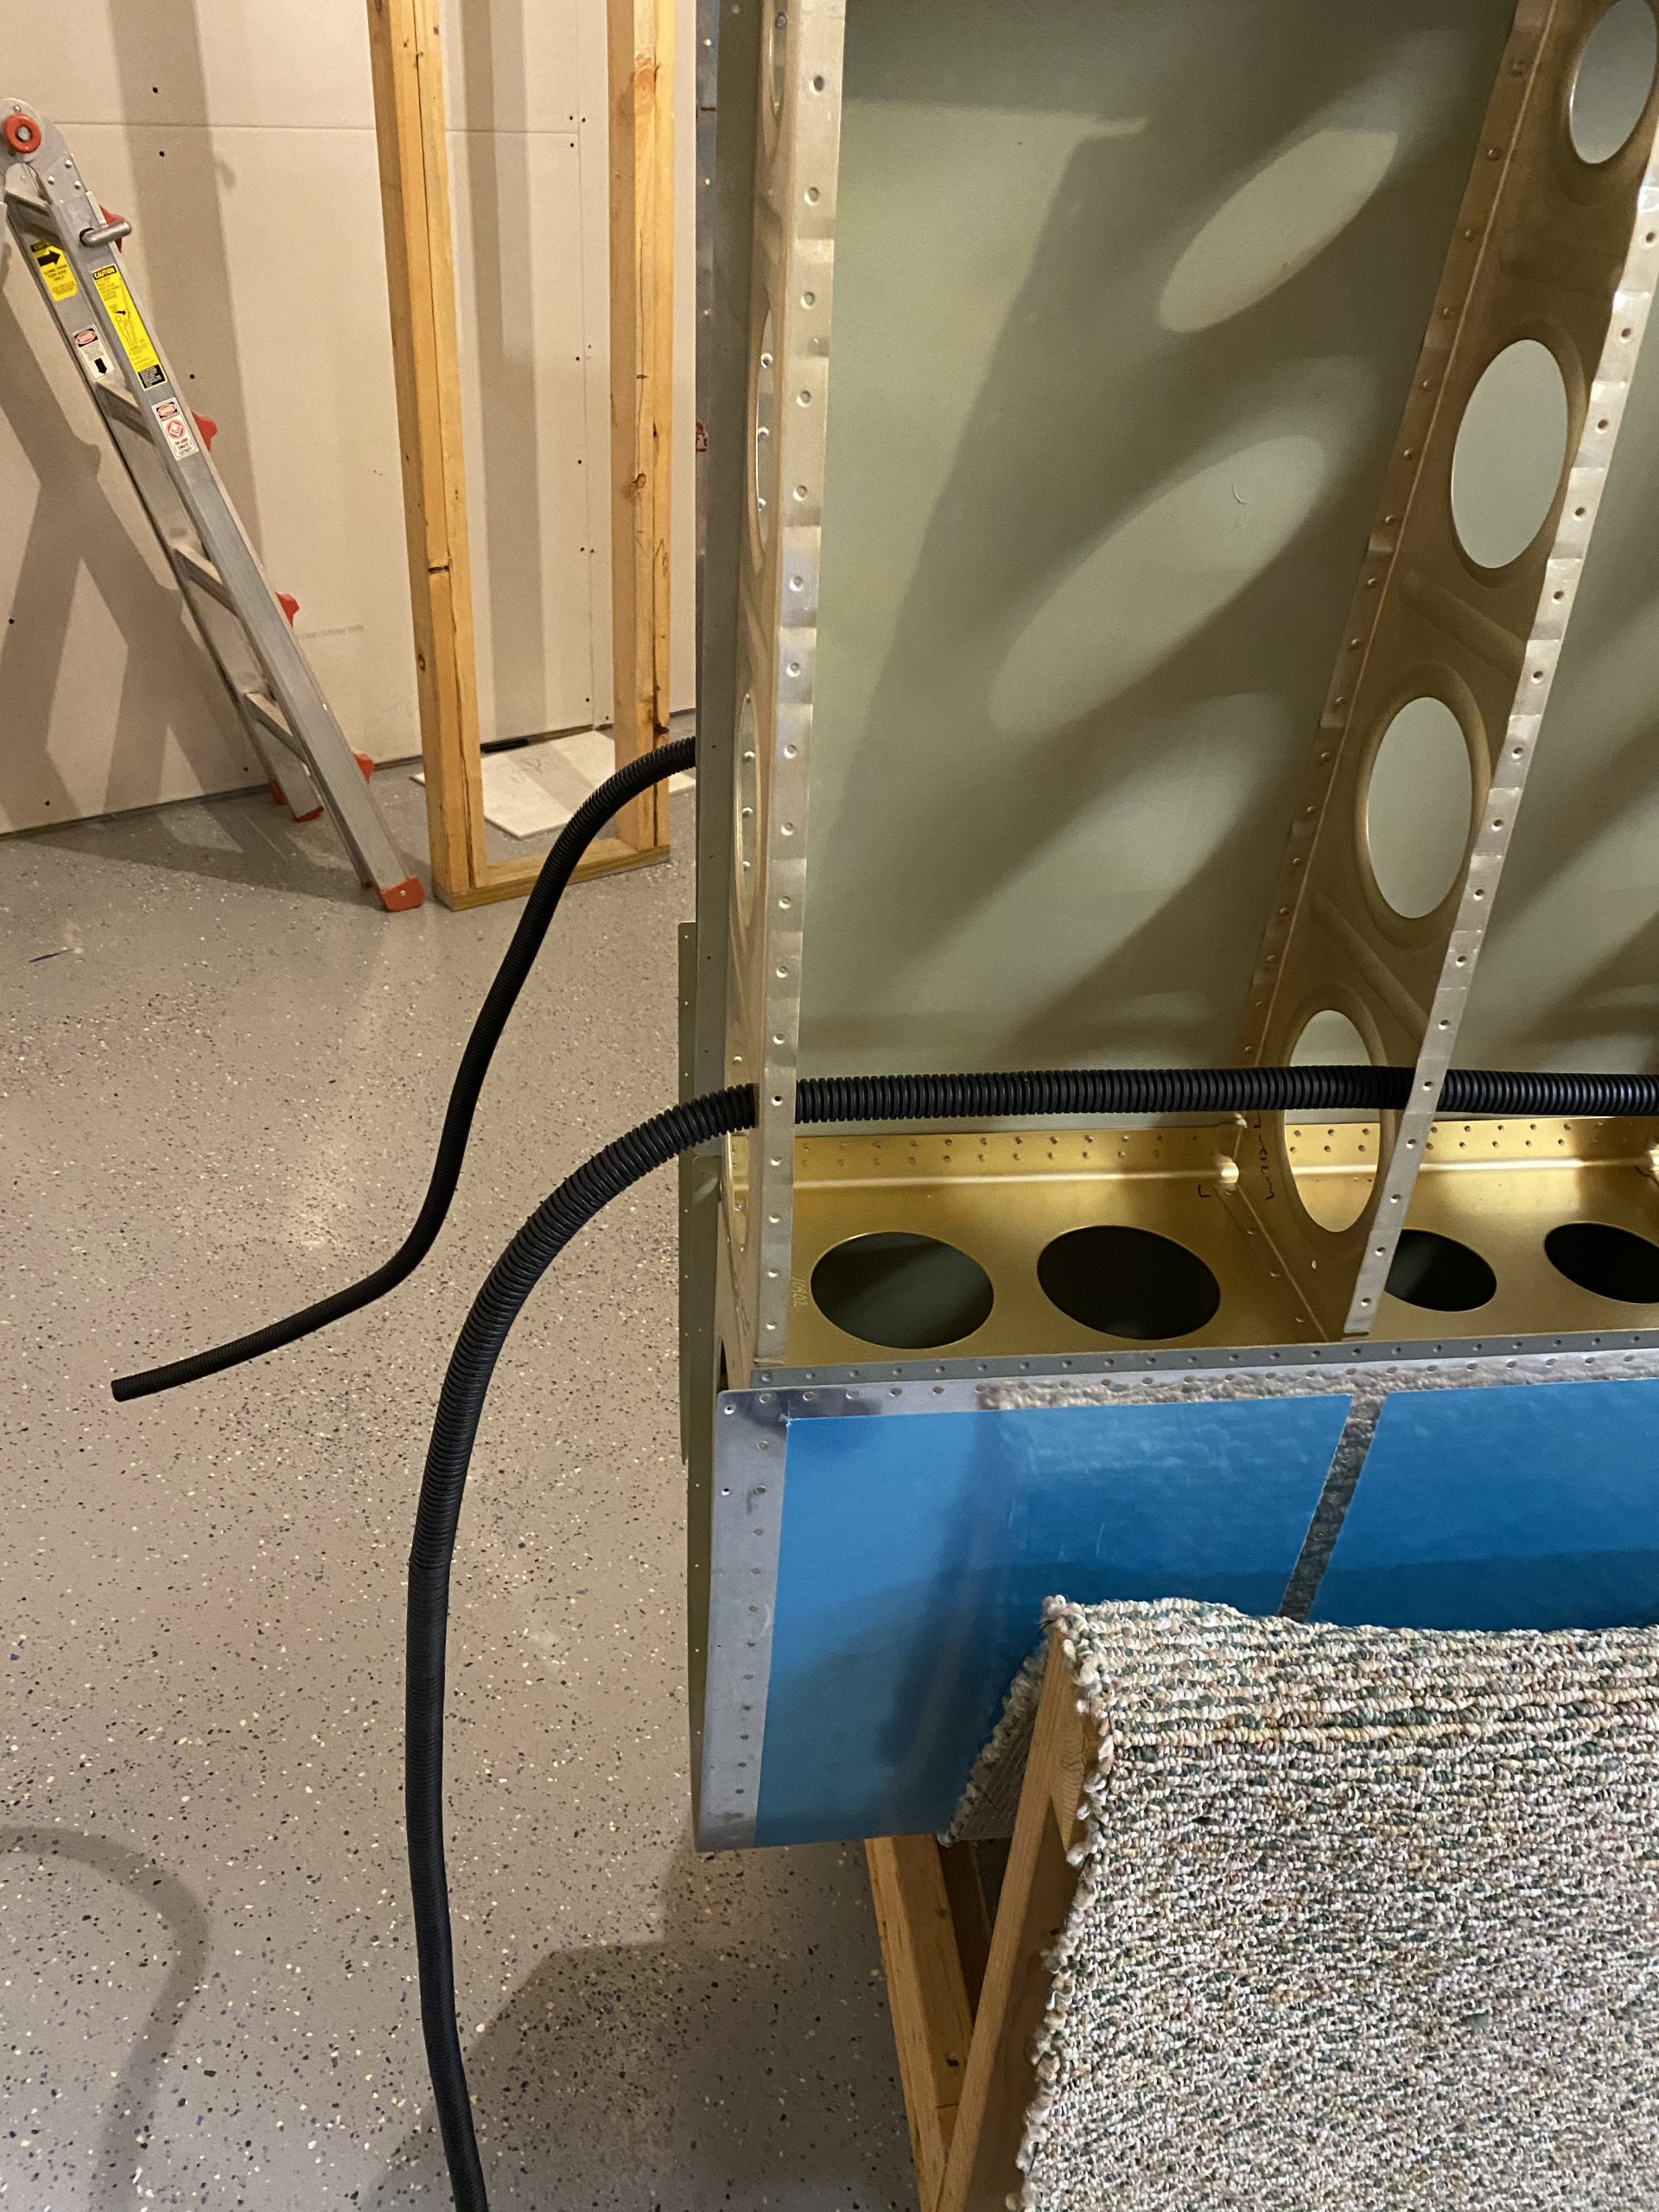
I first started by pulling the conduit from the outboard most rib, through the holes I had drilled in each rib way way back. This worked OK, but it took some effort. The conduit is very tight in the holes, as it should be, but that makes it a bit of a challenge to pull through each rib. It’s also quit noisy and the ribbed plastic pulls through the ribs and echoes in the wing structure! I used my ear muffs to protect my hearing. With a lot of elbow grease, I managed to get one strand pulled all the way through the outboard and out the inboard side, leaving some slack just in case.
The next wing, I decided to star in the center and work my way out to each end. This was probably the better idea, as it made it a little easier to pull, not much though. Starting from the center meant it was much easier by the time I got to each end, as I wasn’t trying to pull this stuff through all the ribs. I had to pull some slack into a bay, thread it into the ribs hole, then pull slack into that bay plus the previous one I did. Repeat this until its all installed.
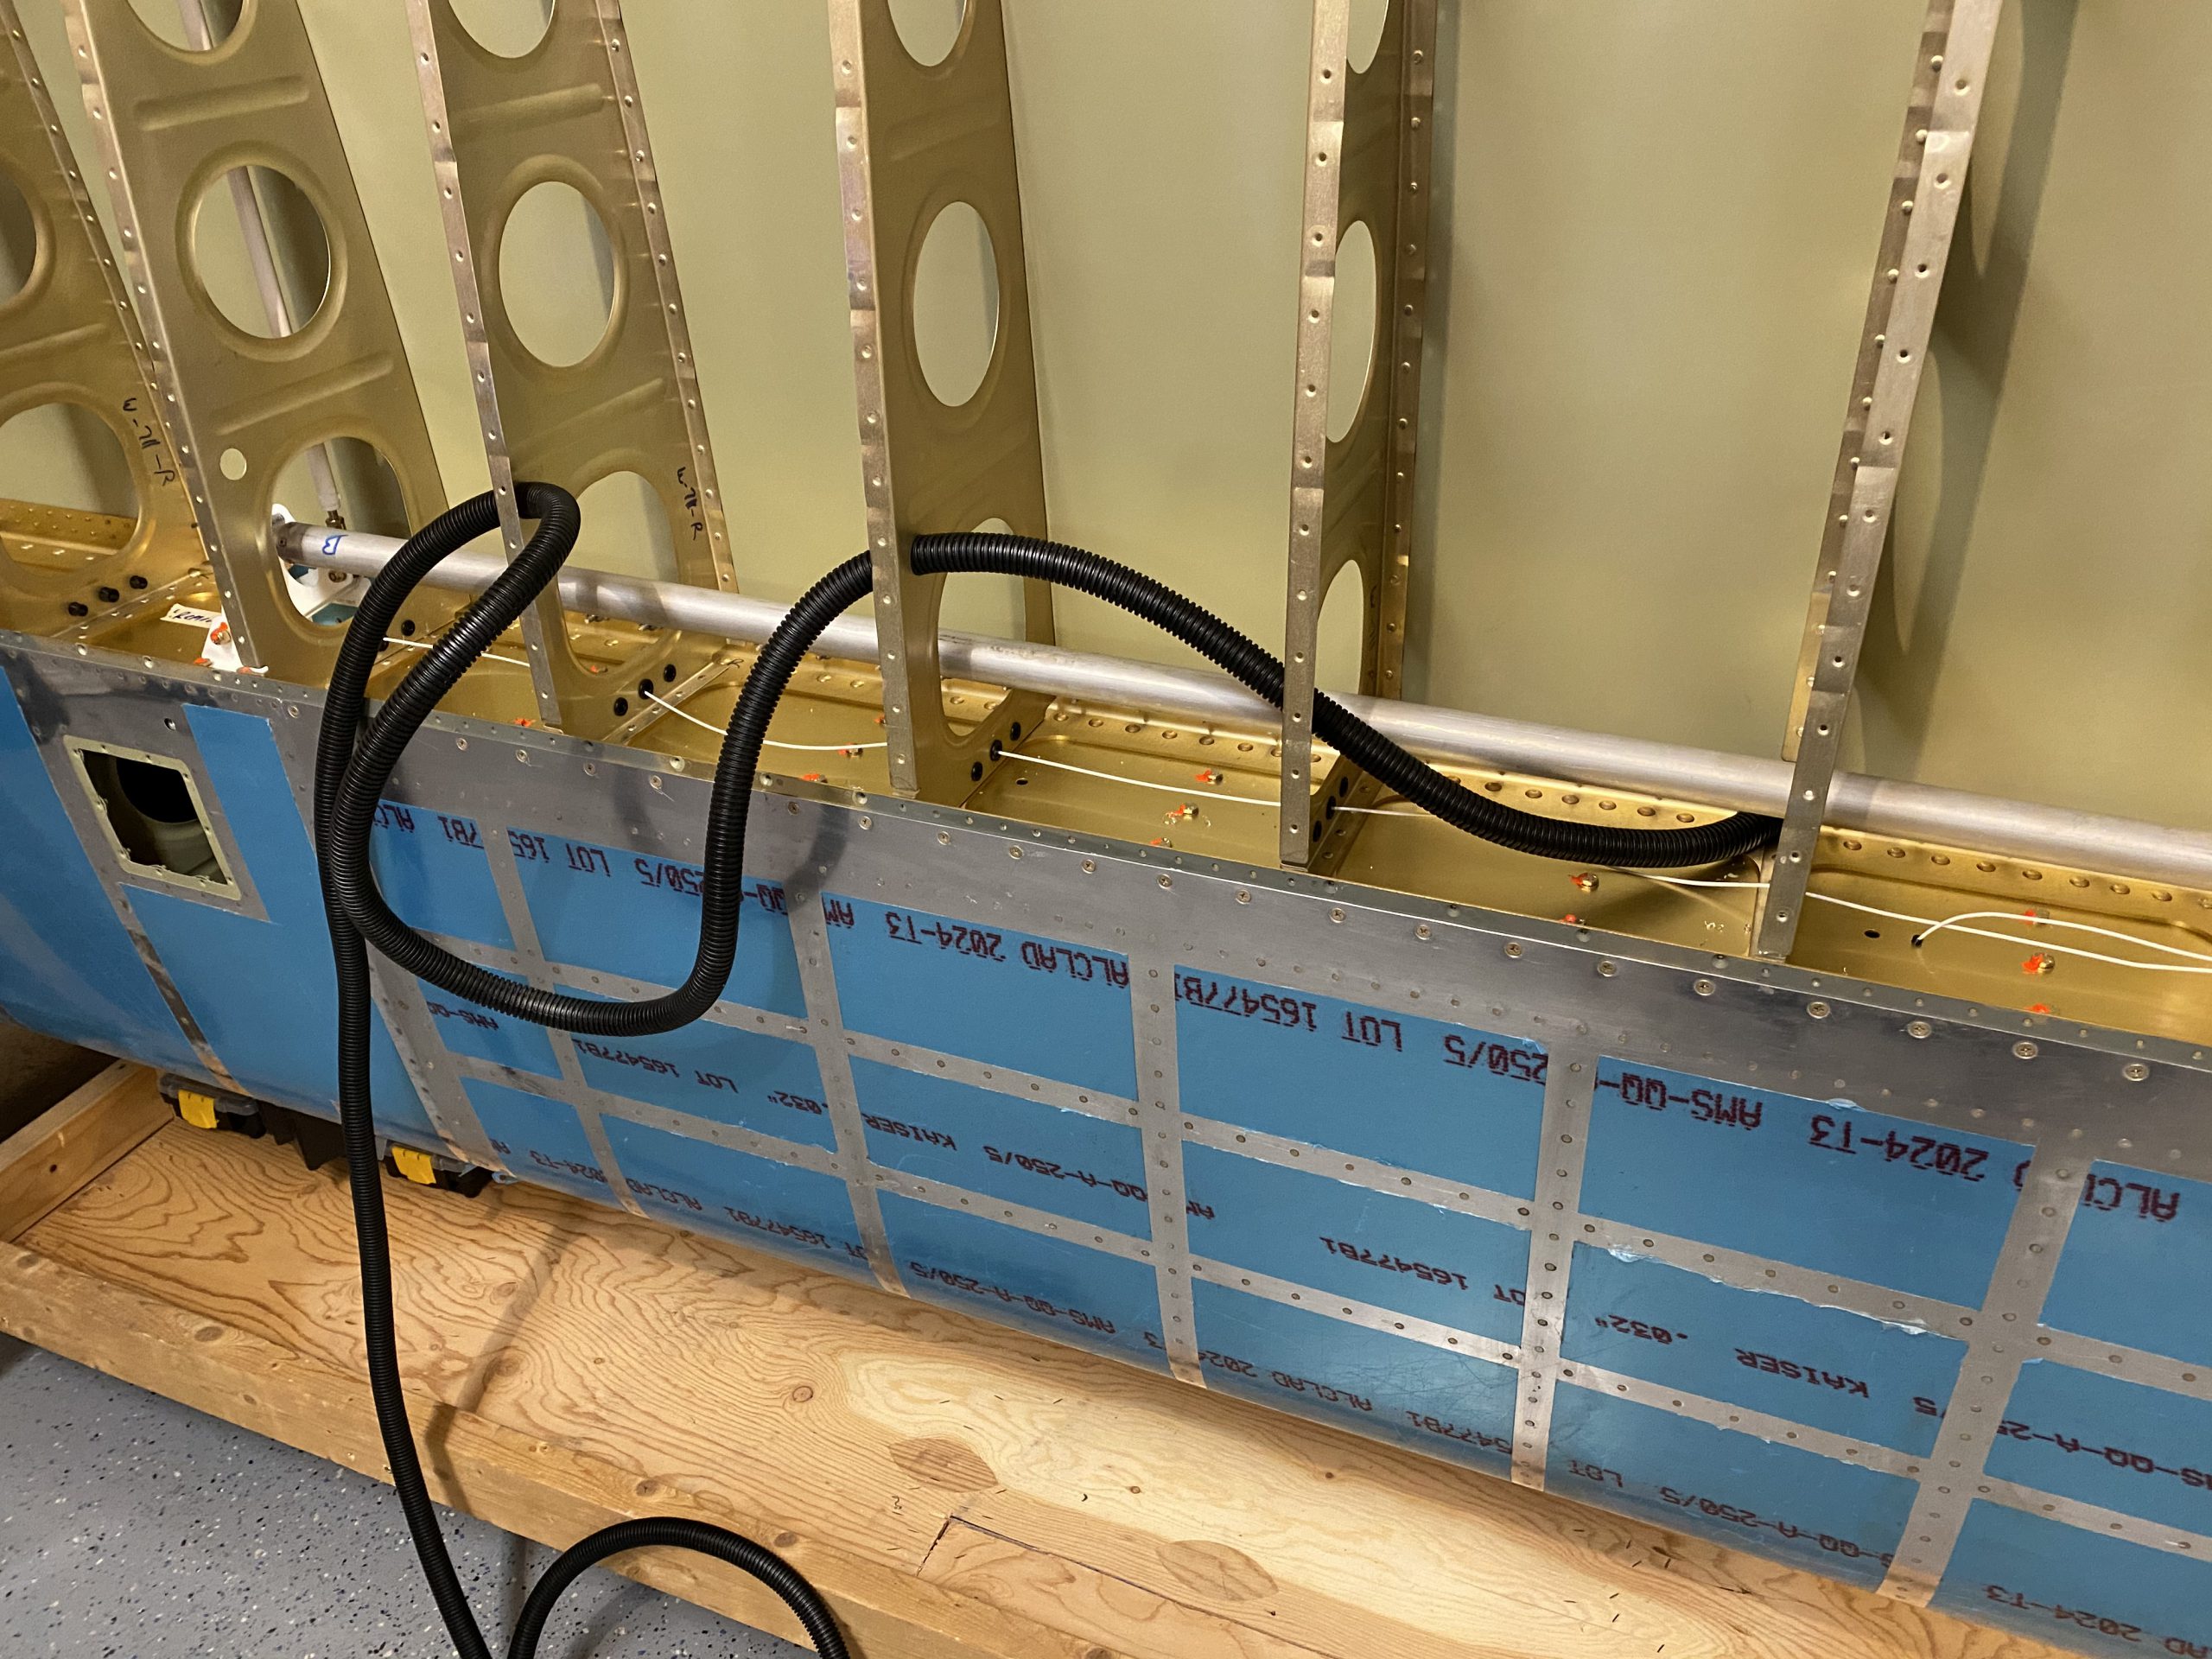
I found that if I stretched the conduit by pulling on each side of the rib, I could more easily slide the conduit through the rib given it has been “shrunk” temporarily by stretching it with some tension as I pulled. This wasn’t a terribly hard job, just a little tedious. Eventually, though, I got the conduit pulled.
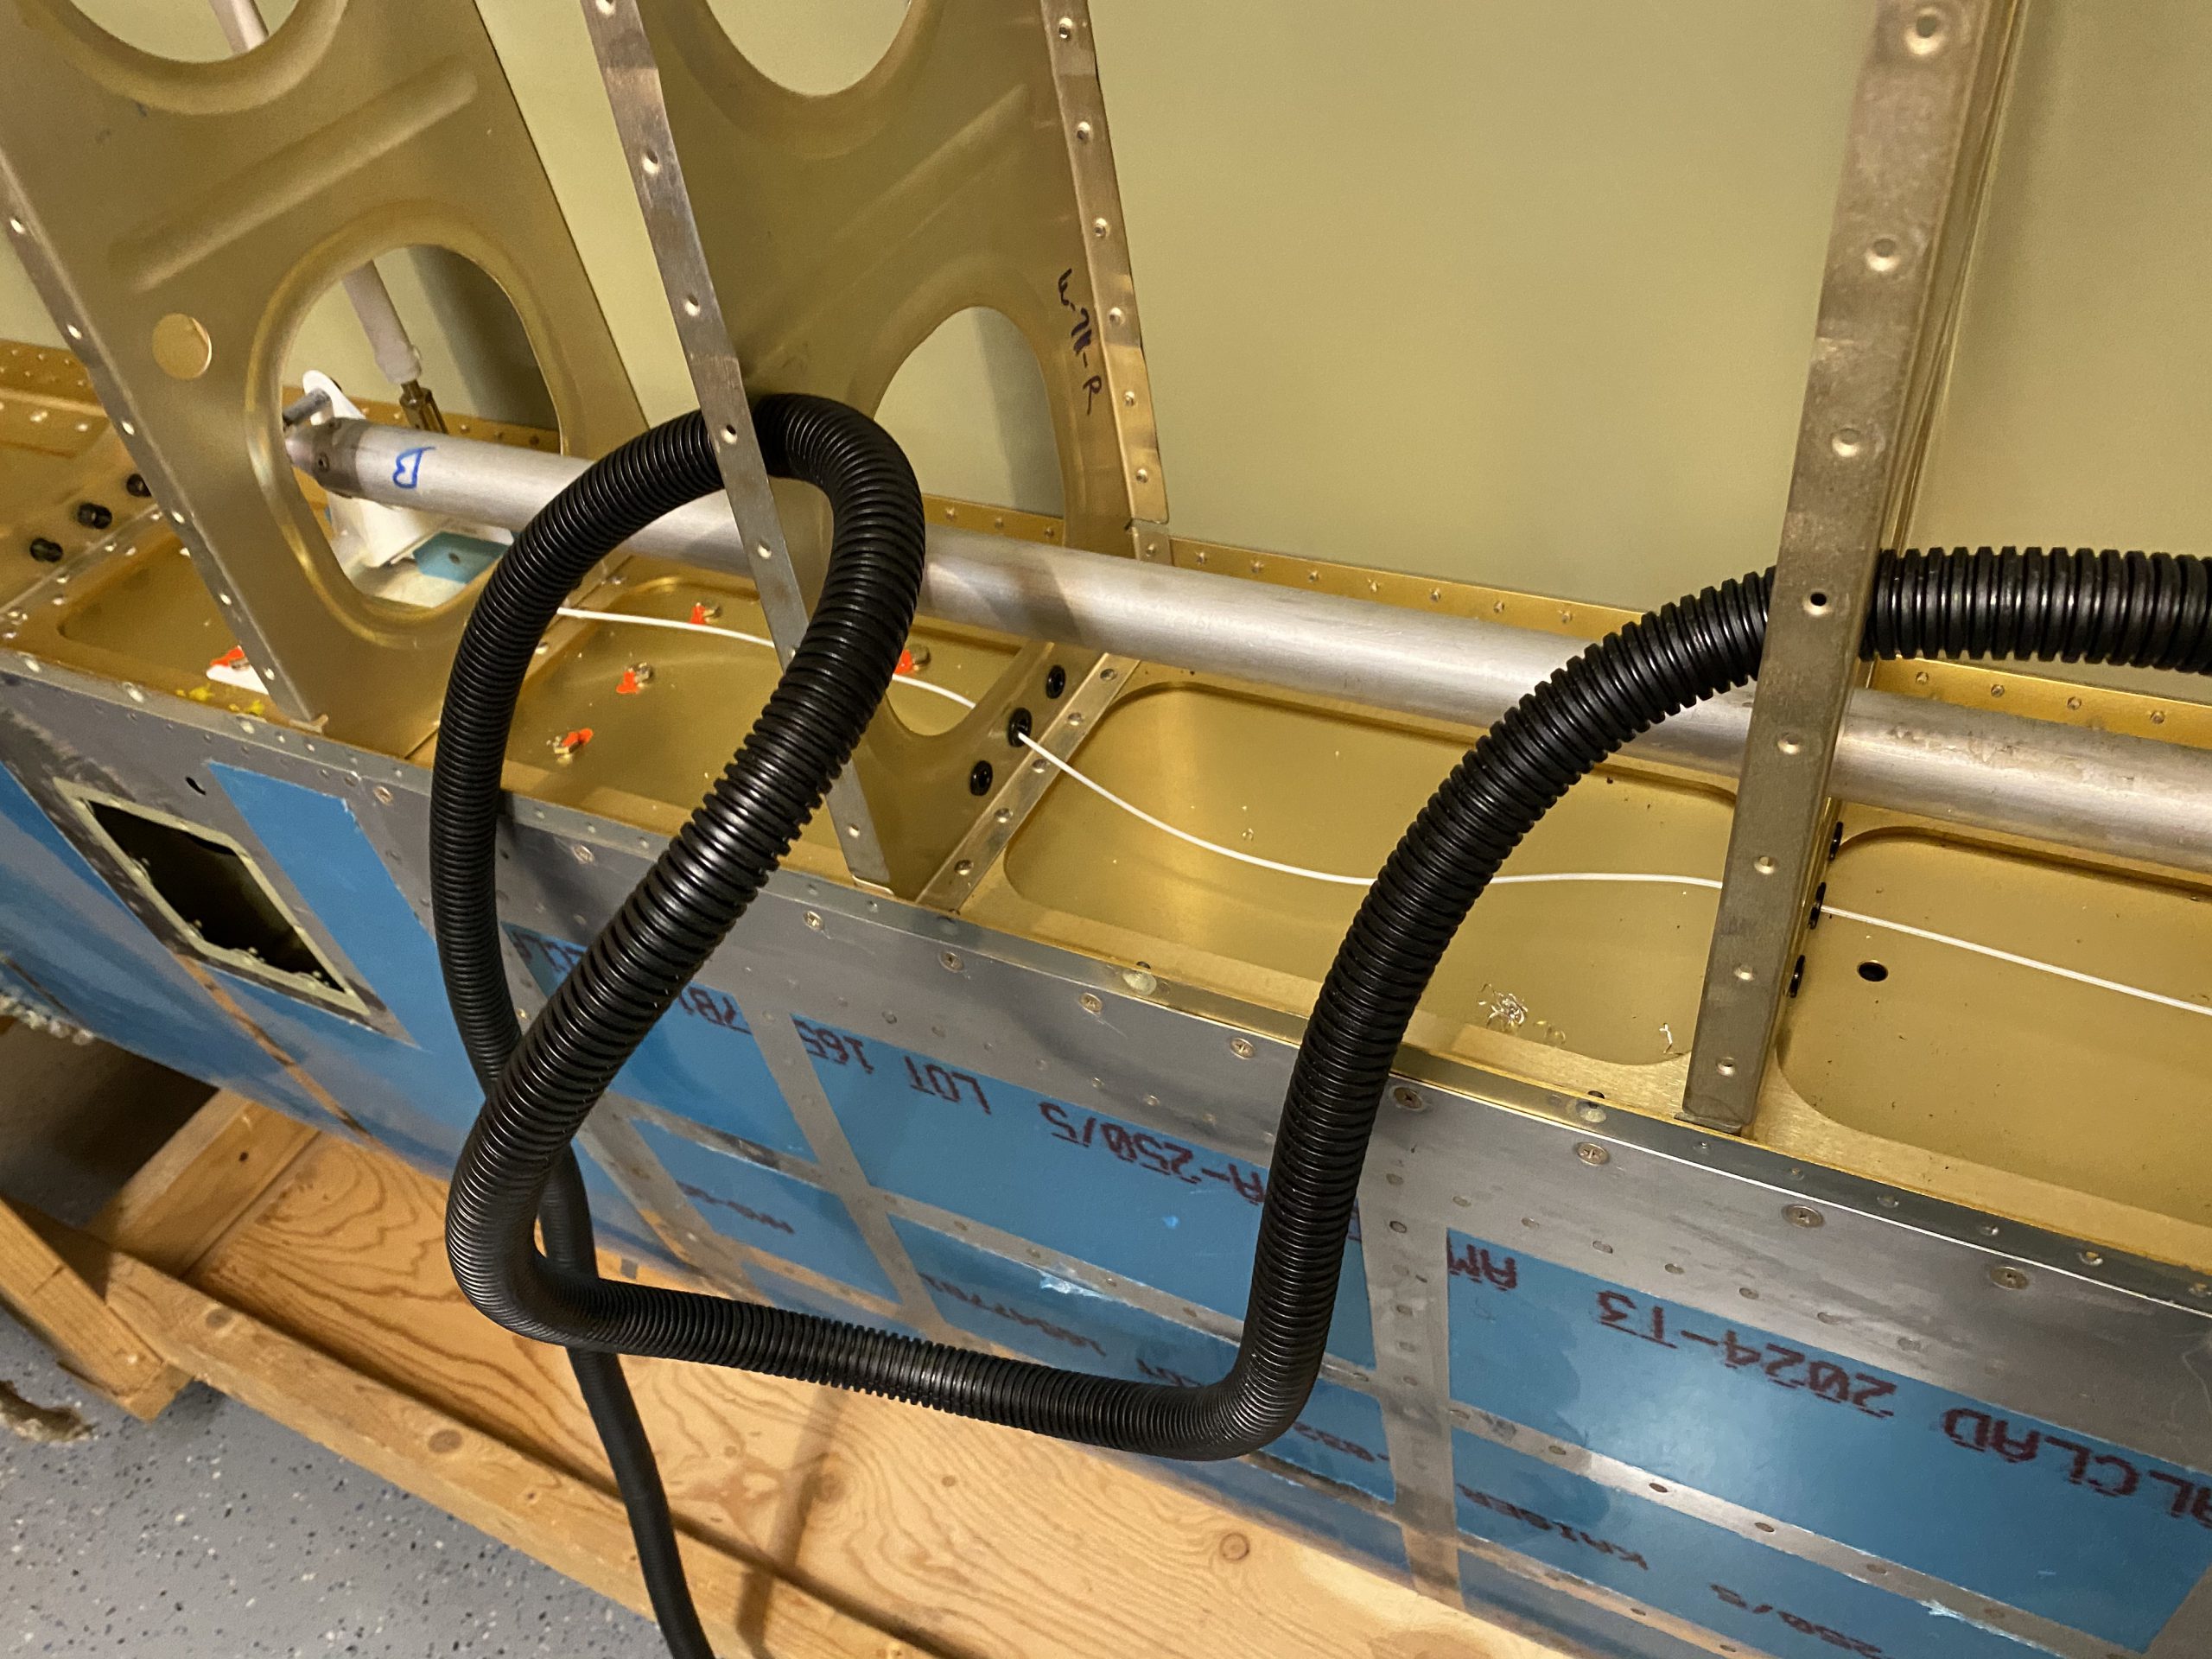
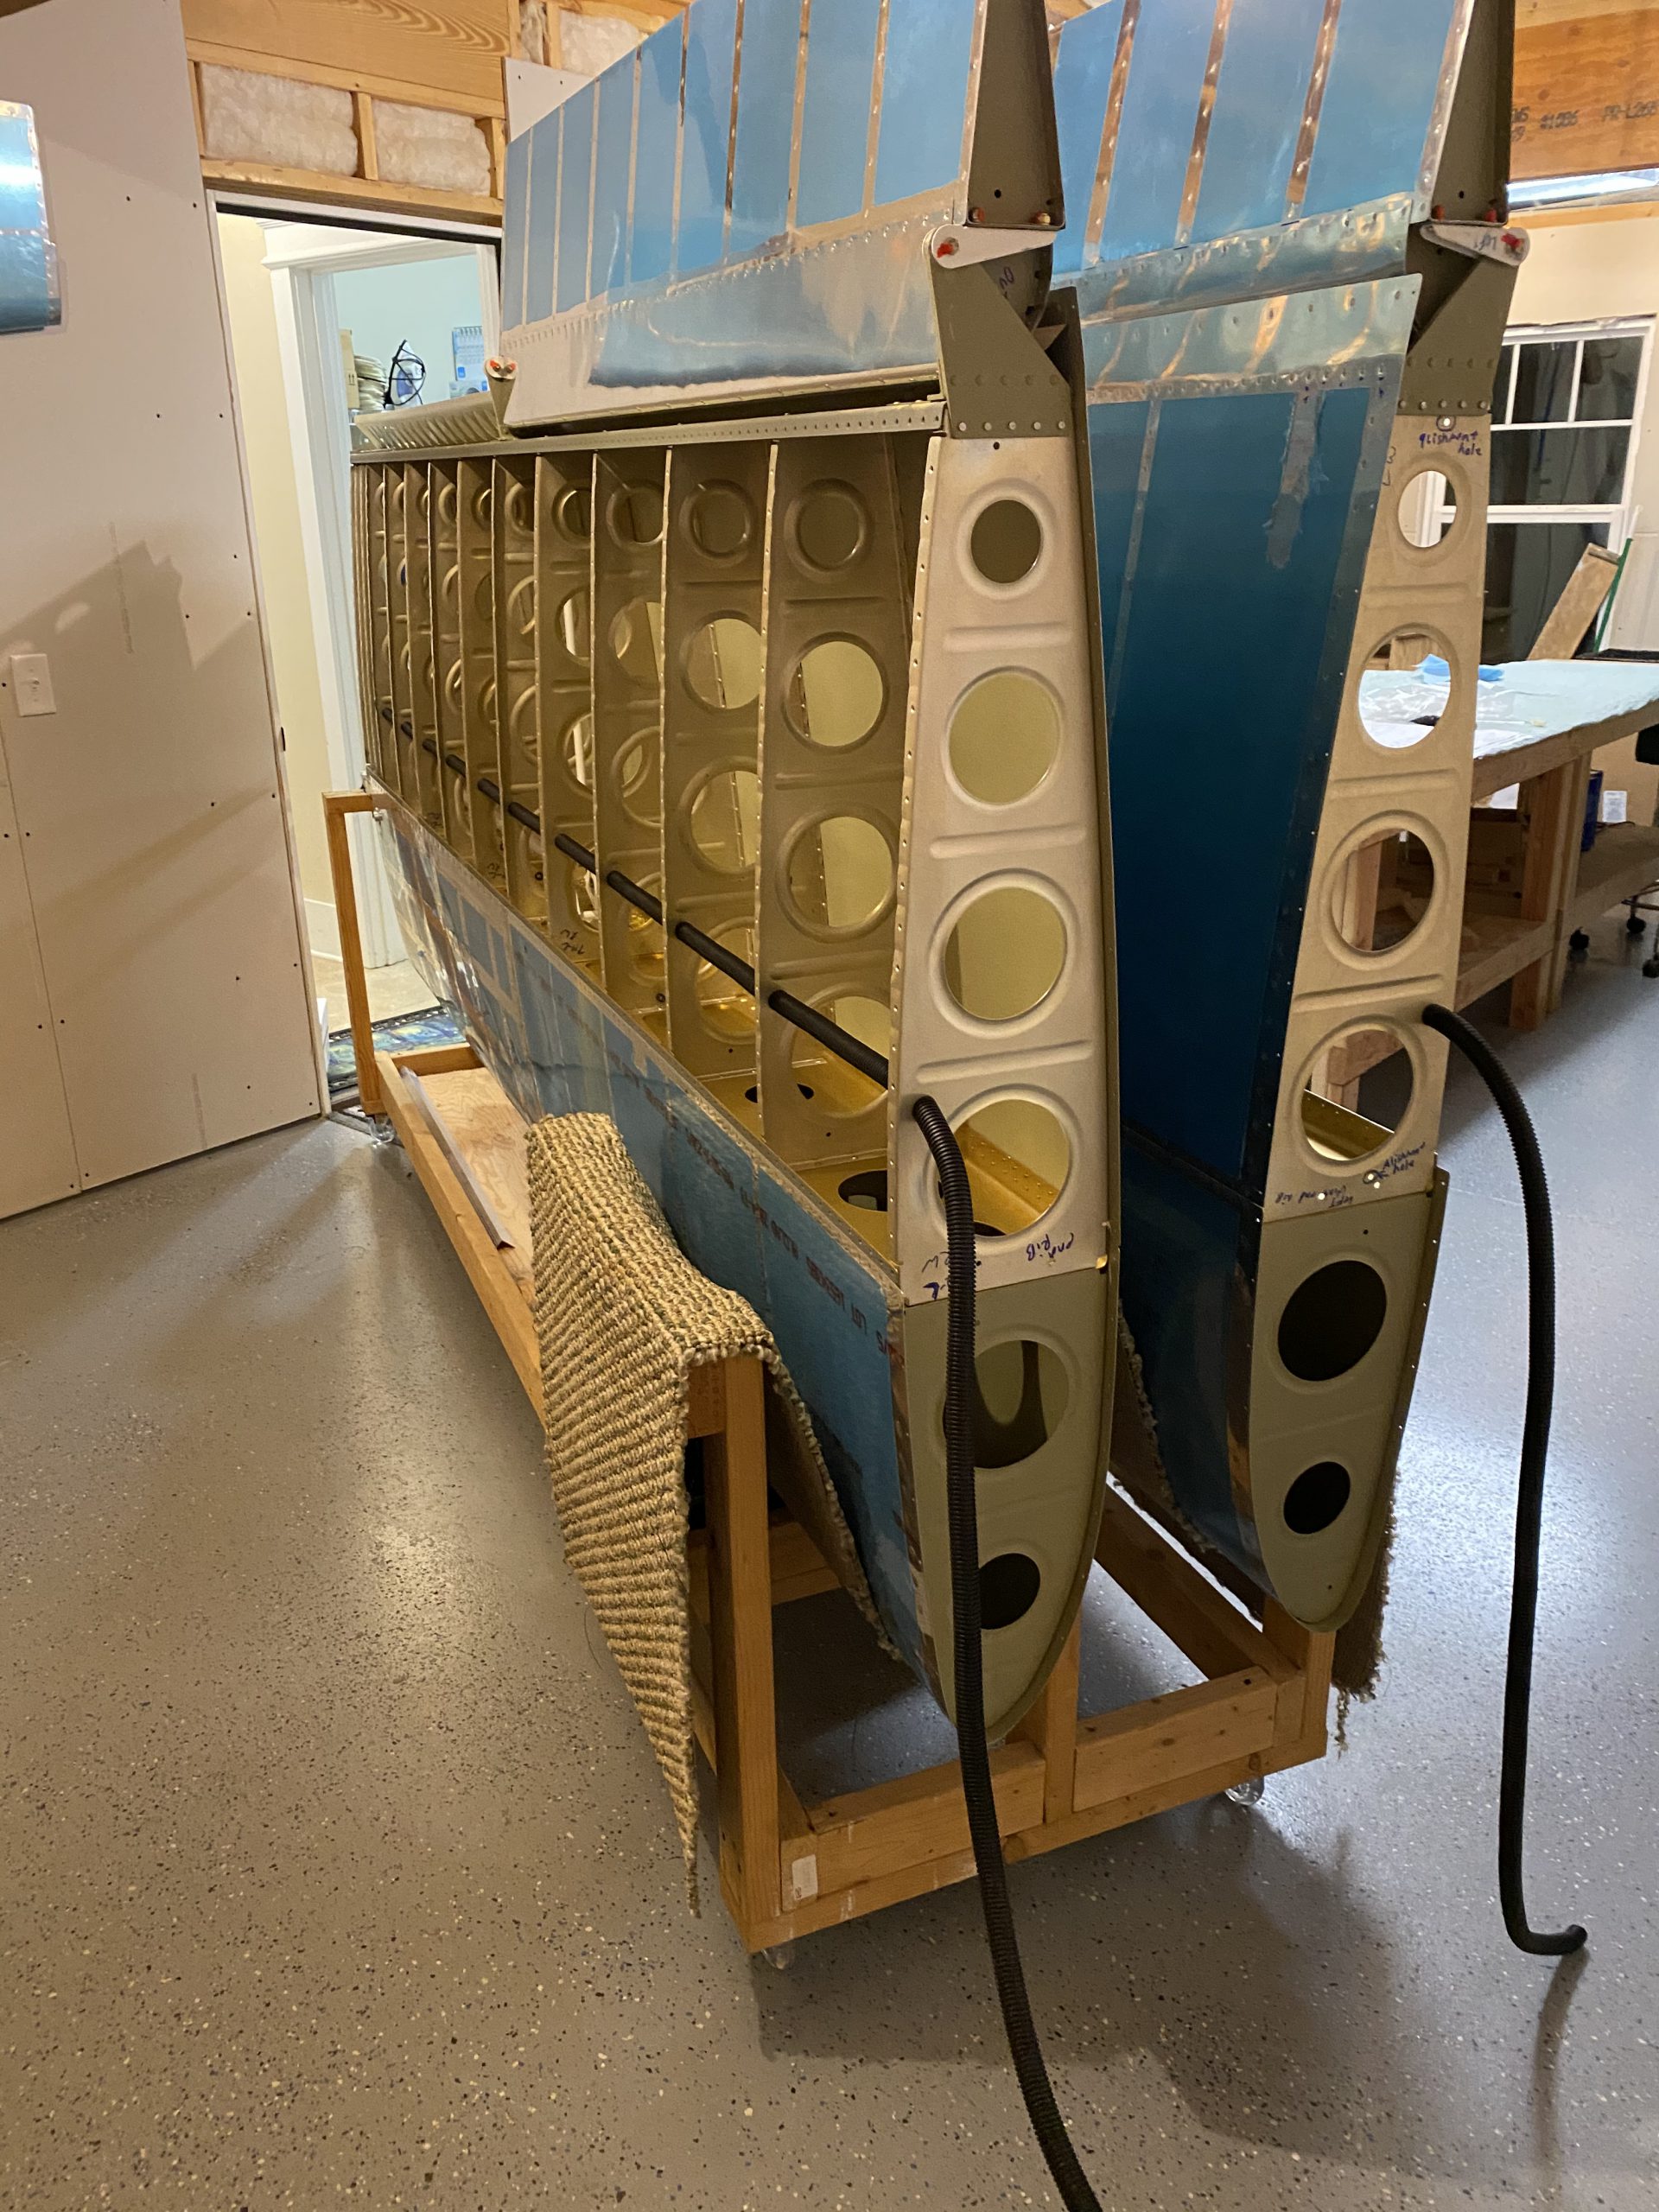
I left plenty of slack on both ends of the wings just in case. I’ll of course trim these down before final assembly. Likewise, you’ll need to cut off a few inches off each end because it gets chewed up a bit from the install process. For now, I tucked the excess into the leading edge of the wing, using the lightening holes. This job’s done, and its ready for wires to be pulled.

Google photos Link: https://photos.app.goo.gl/WRg4c2H1ayRLHfLBA
Hours Worked: 1.0