


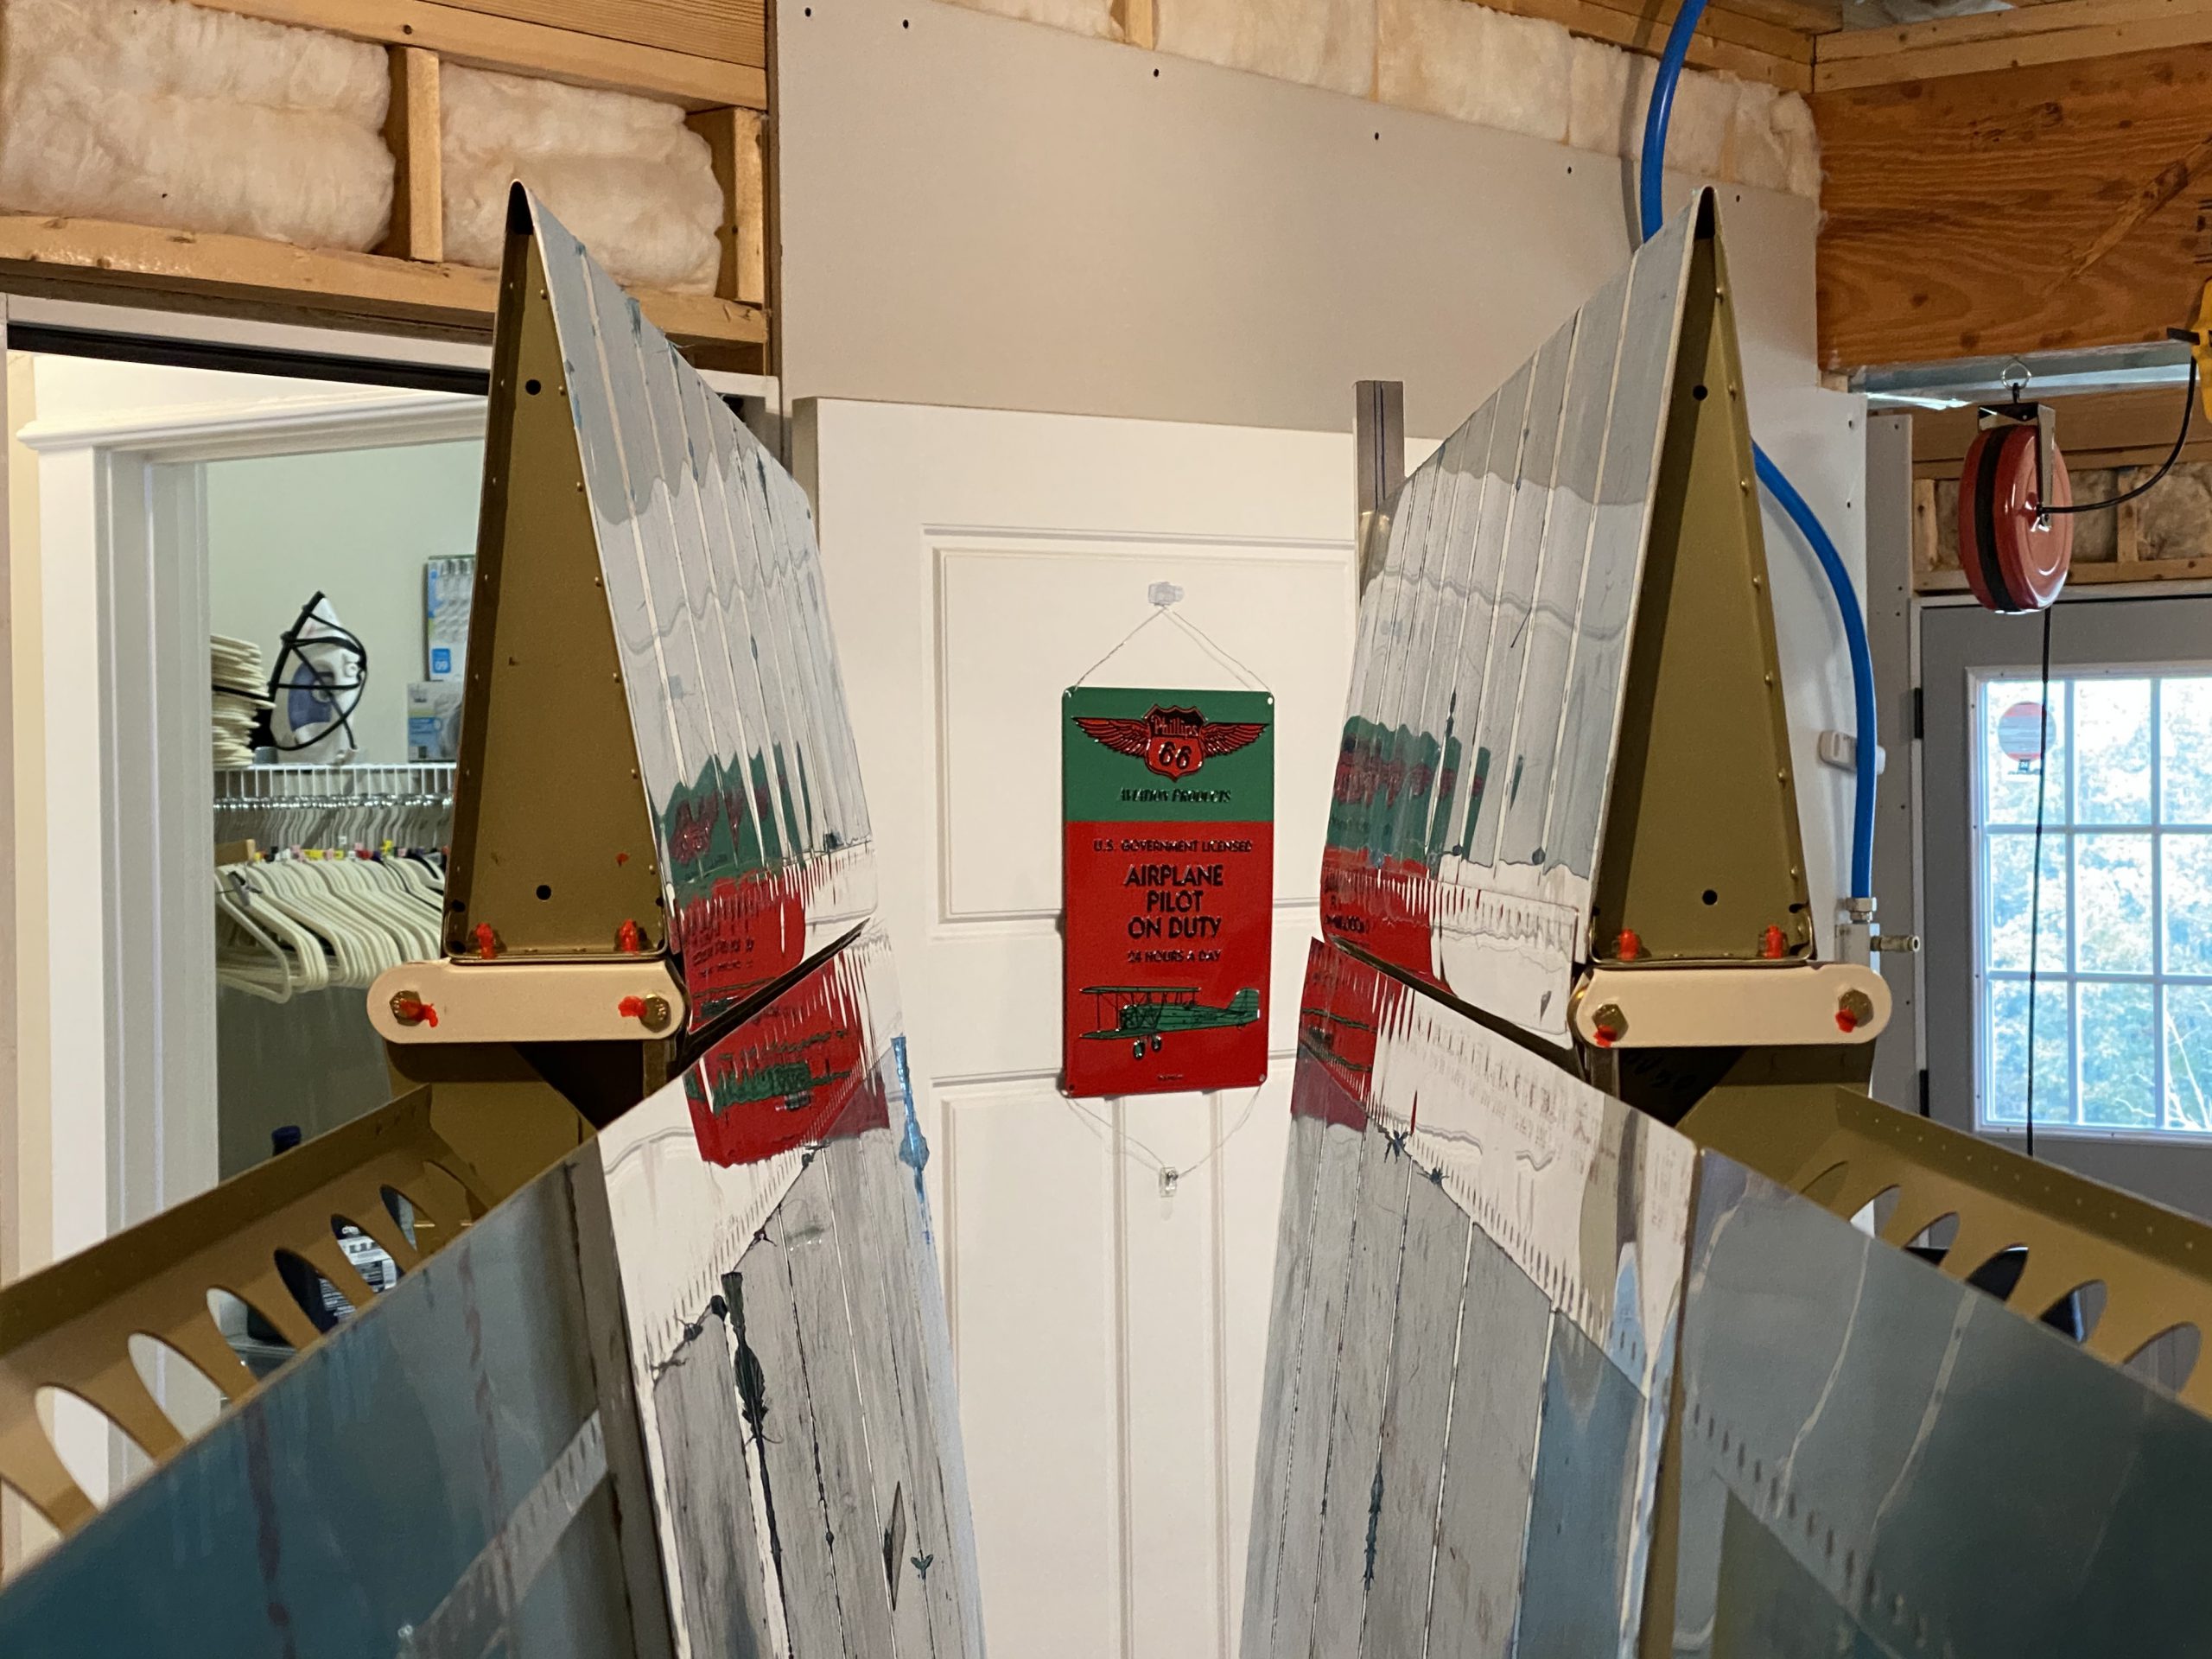
follow link Another good milestone tonight! The ailerons have their pushrods installed and they are set to neutral position and aligned. Things are wrapping up quickly. I captured two time lapses of the work tonight.
https://thesentinelgroup.com/product-liability/
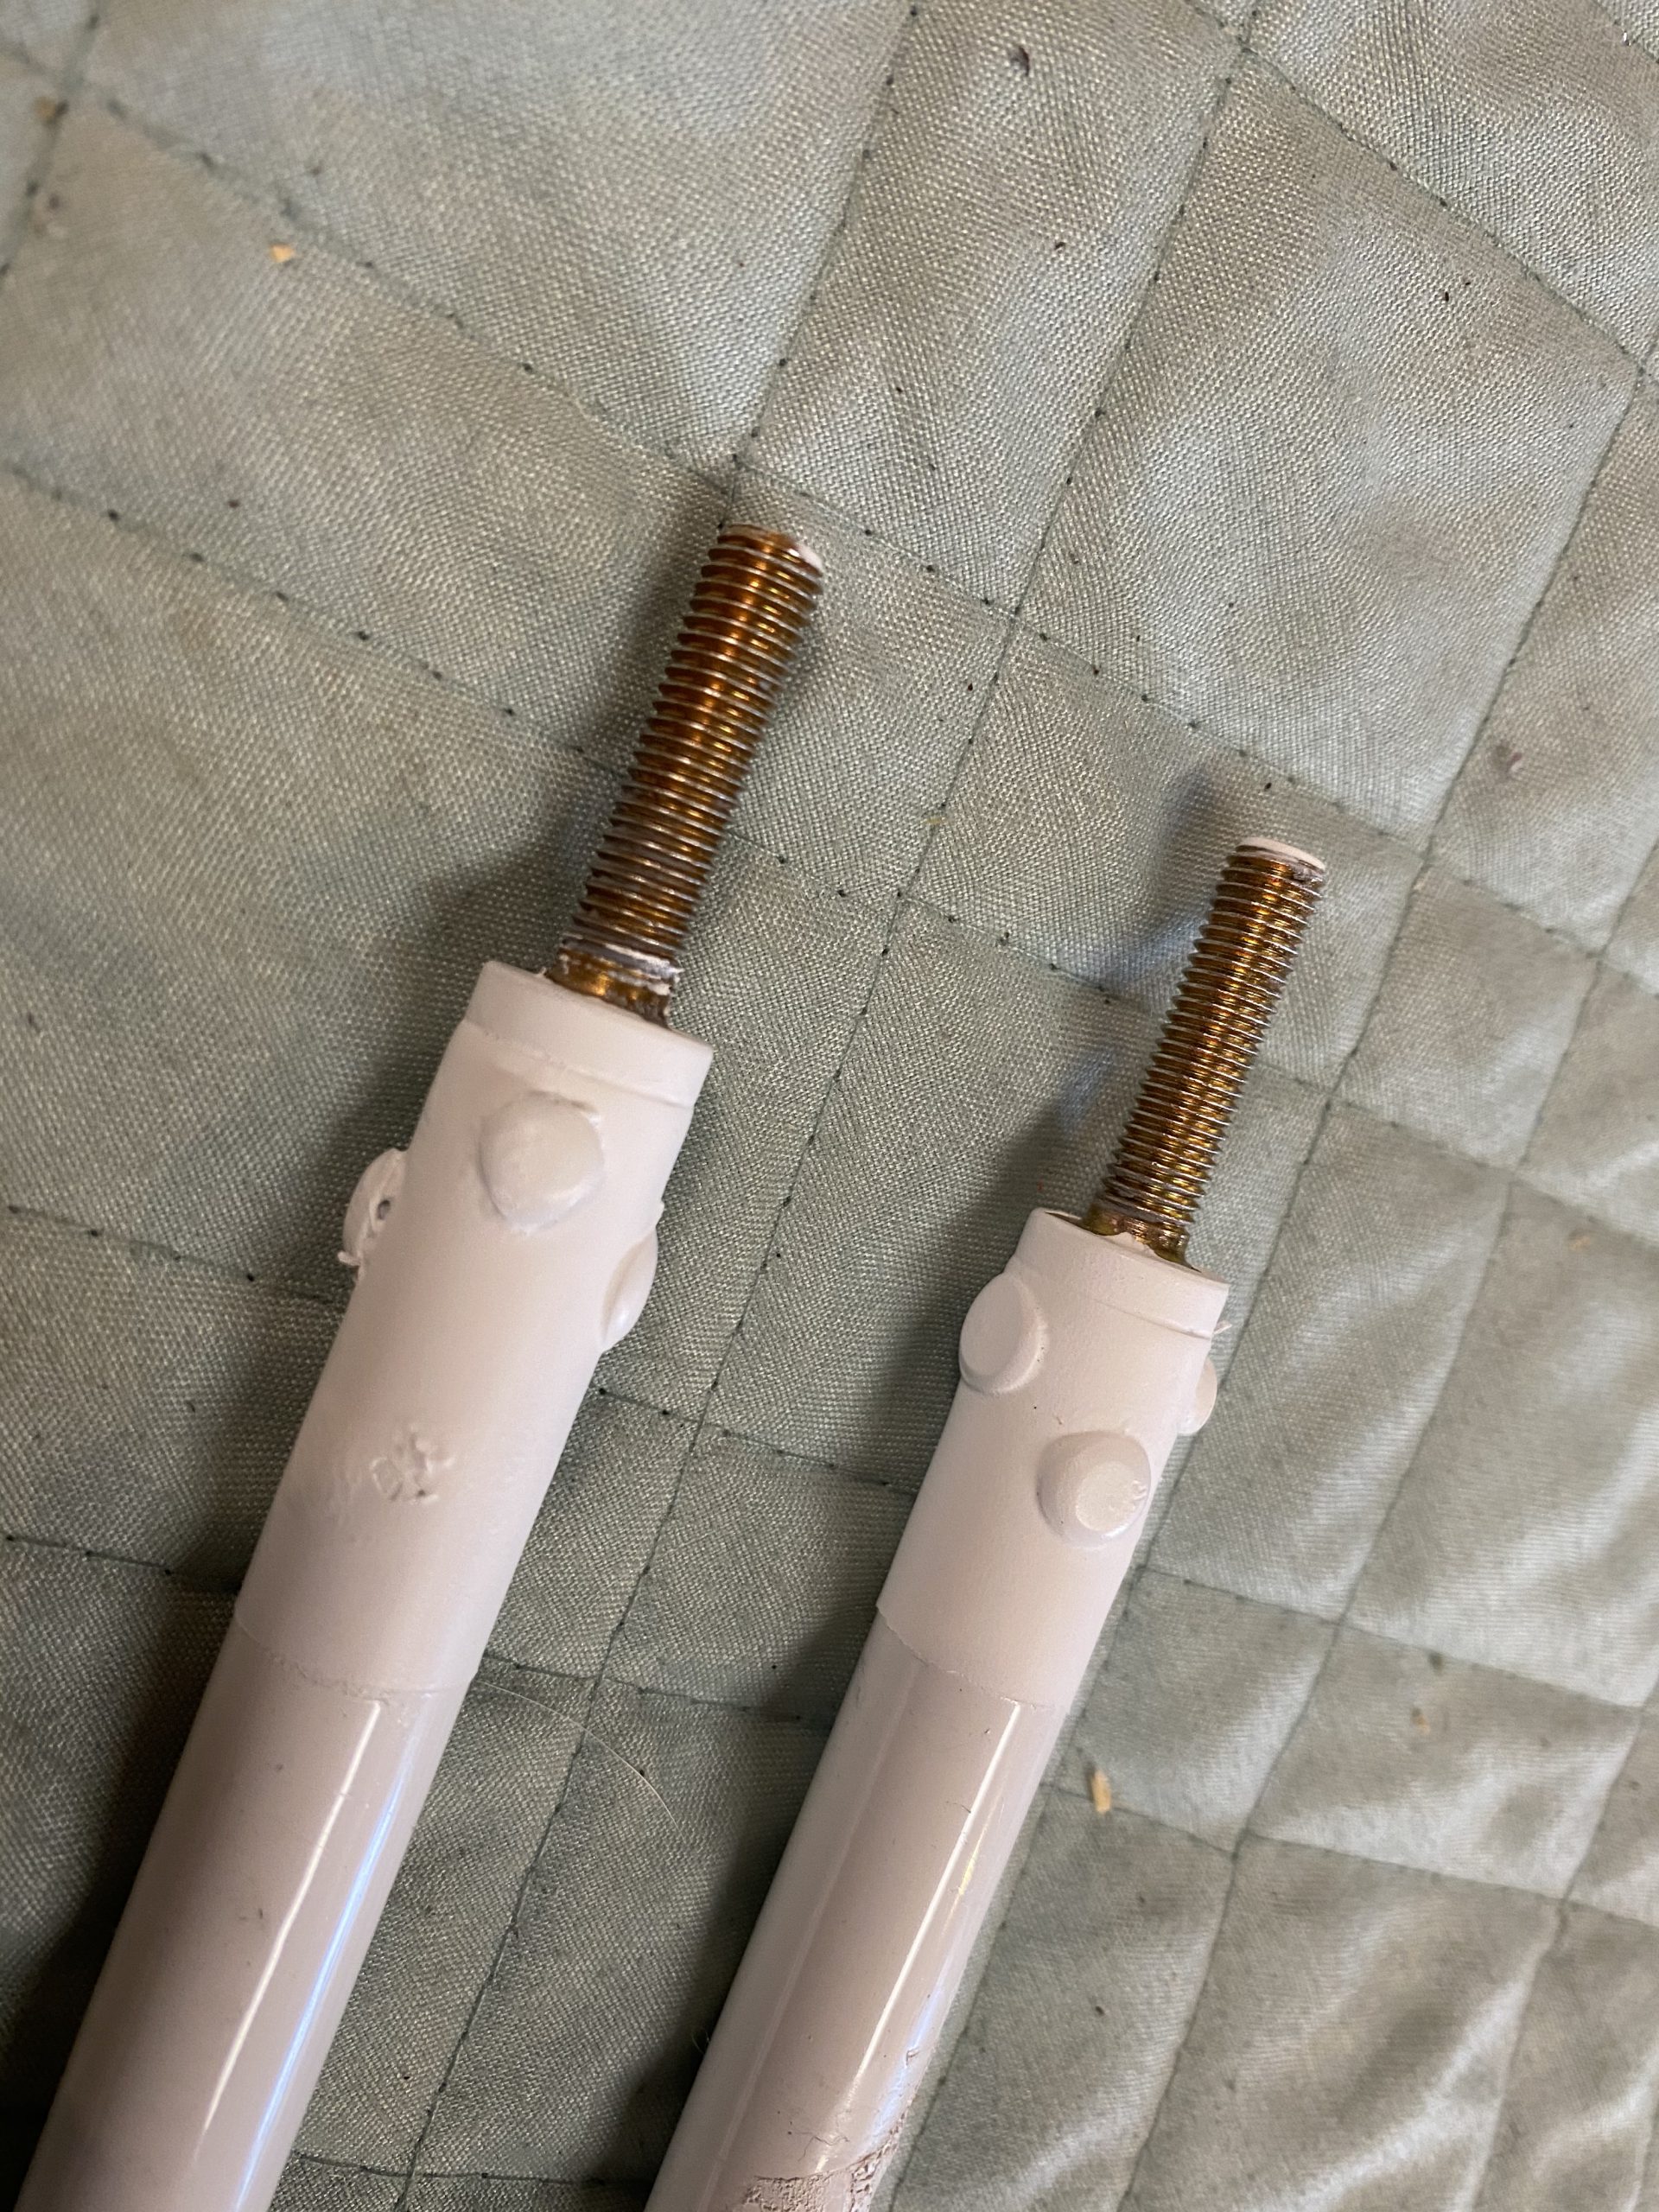
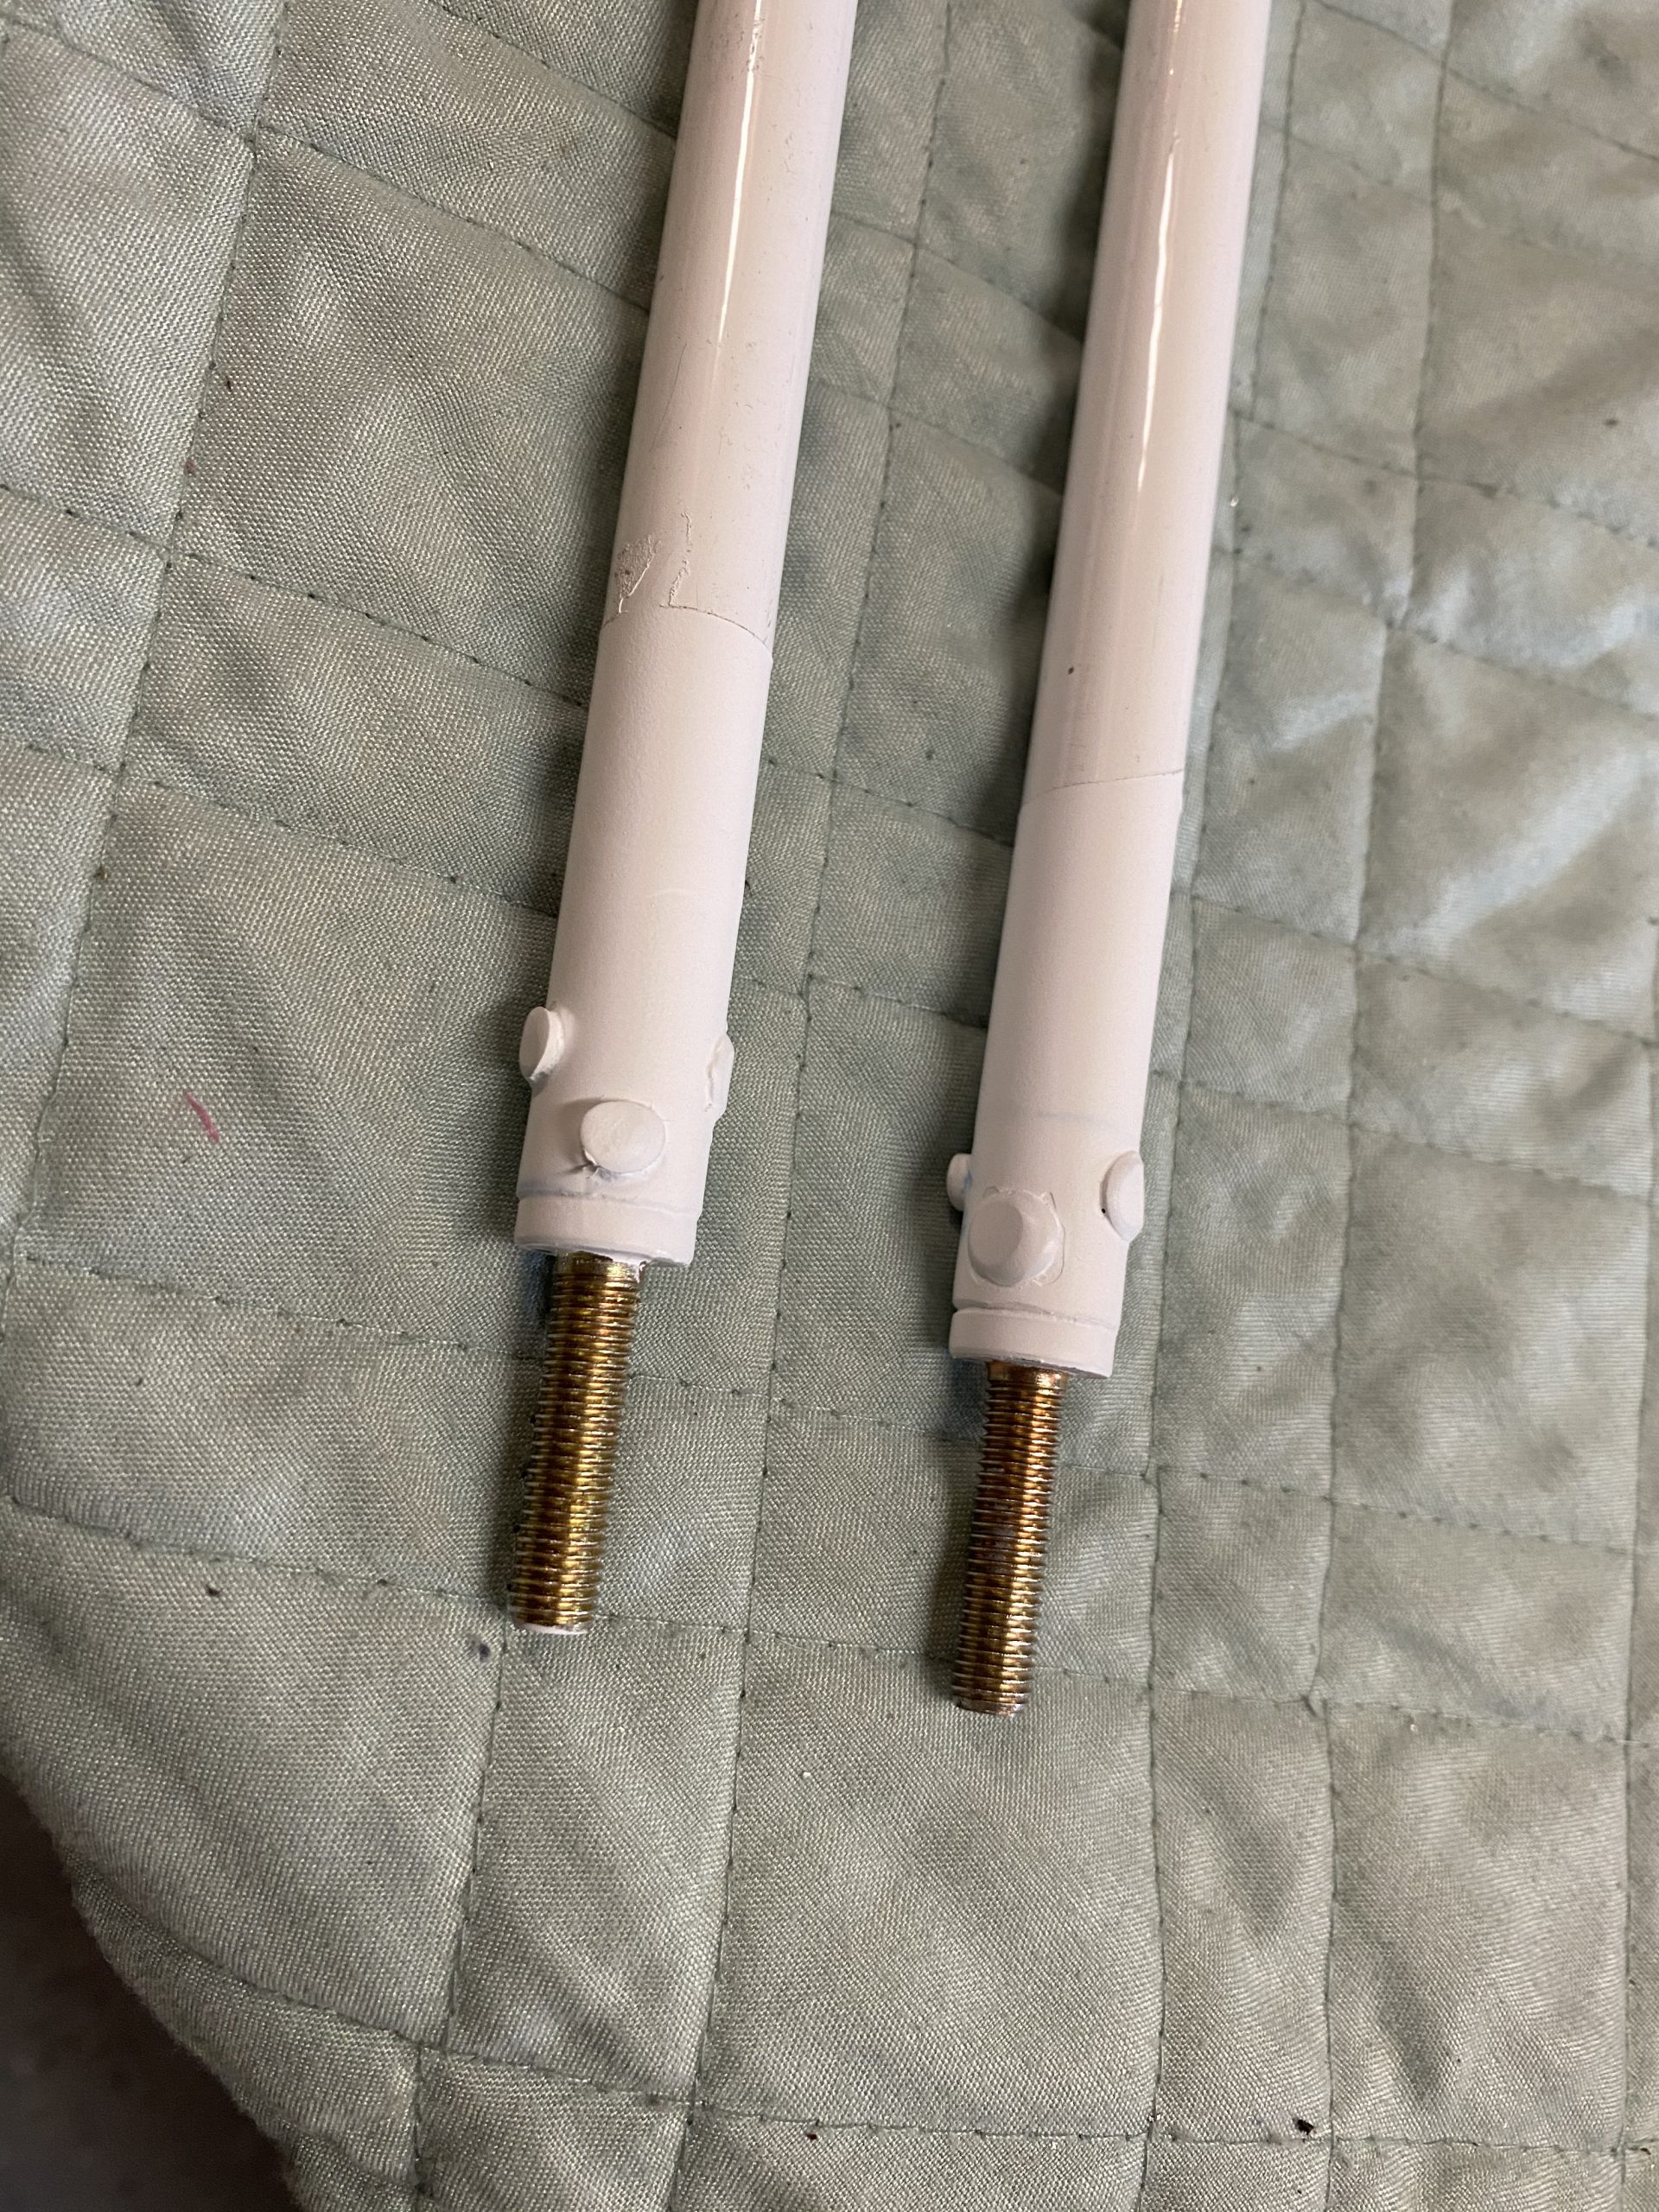
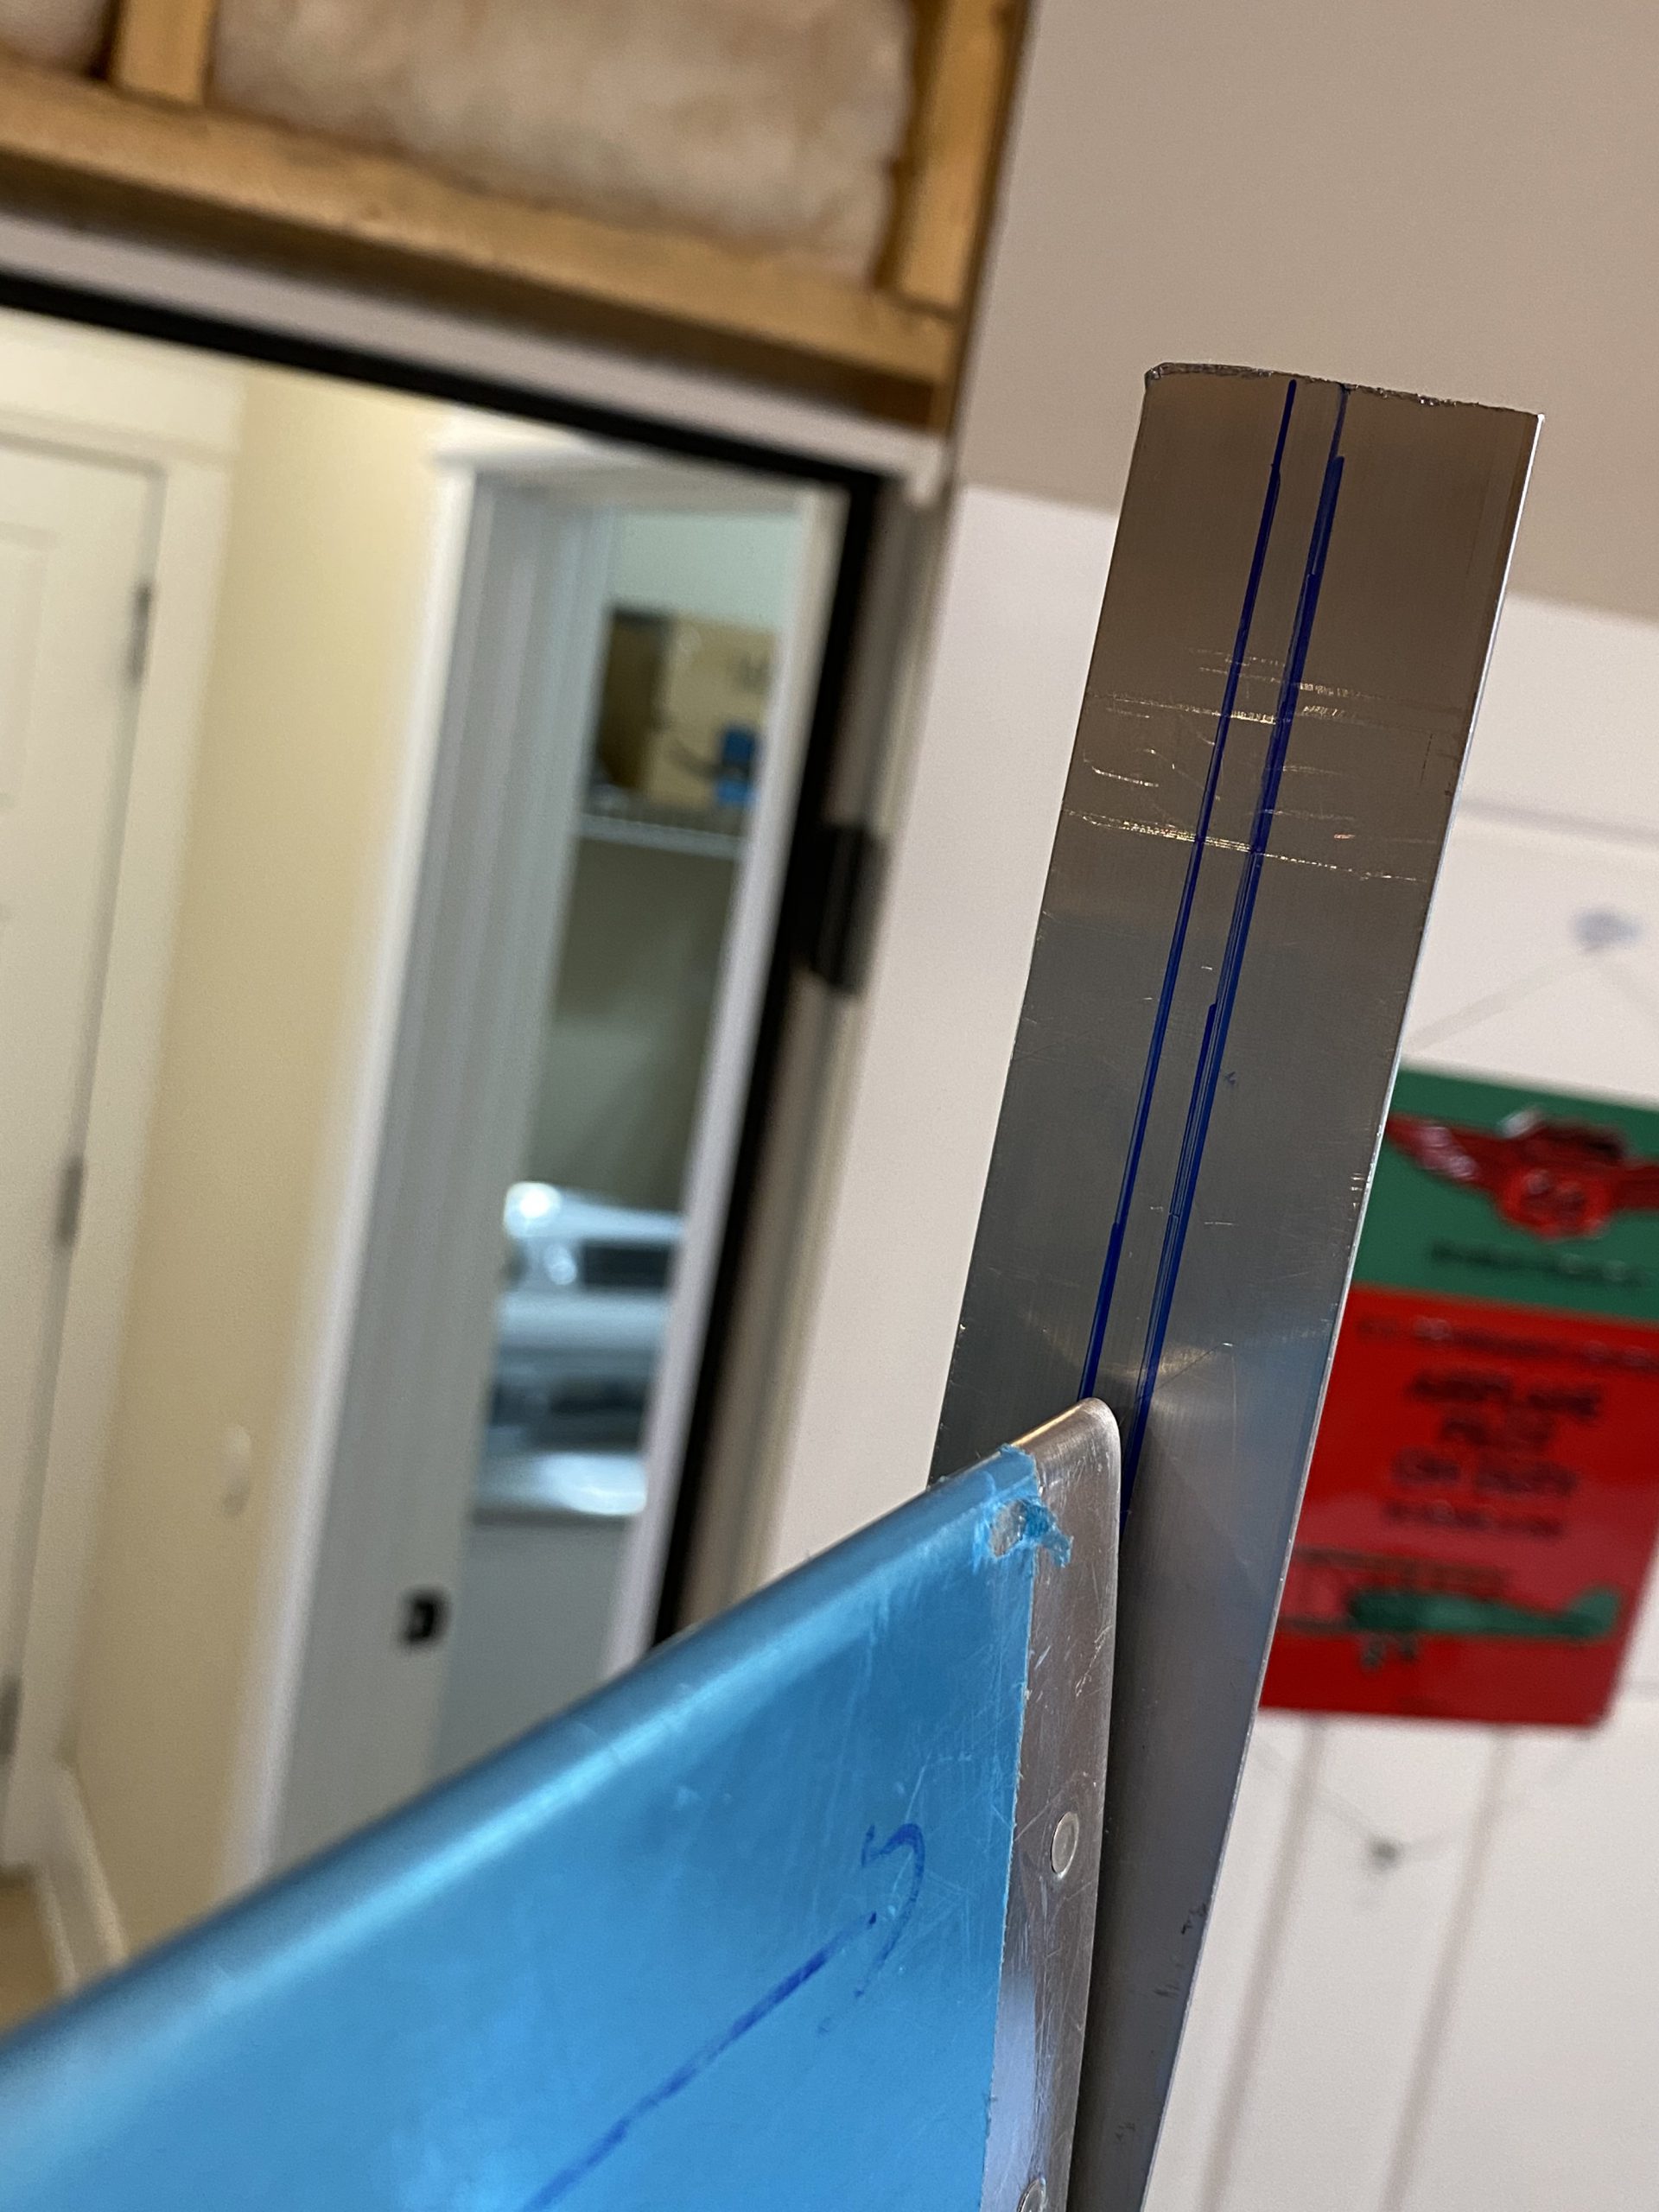
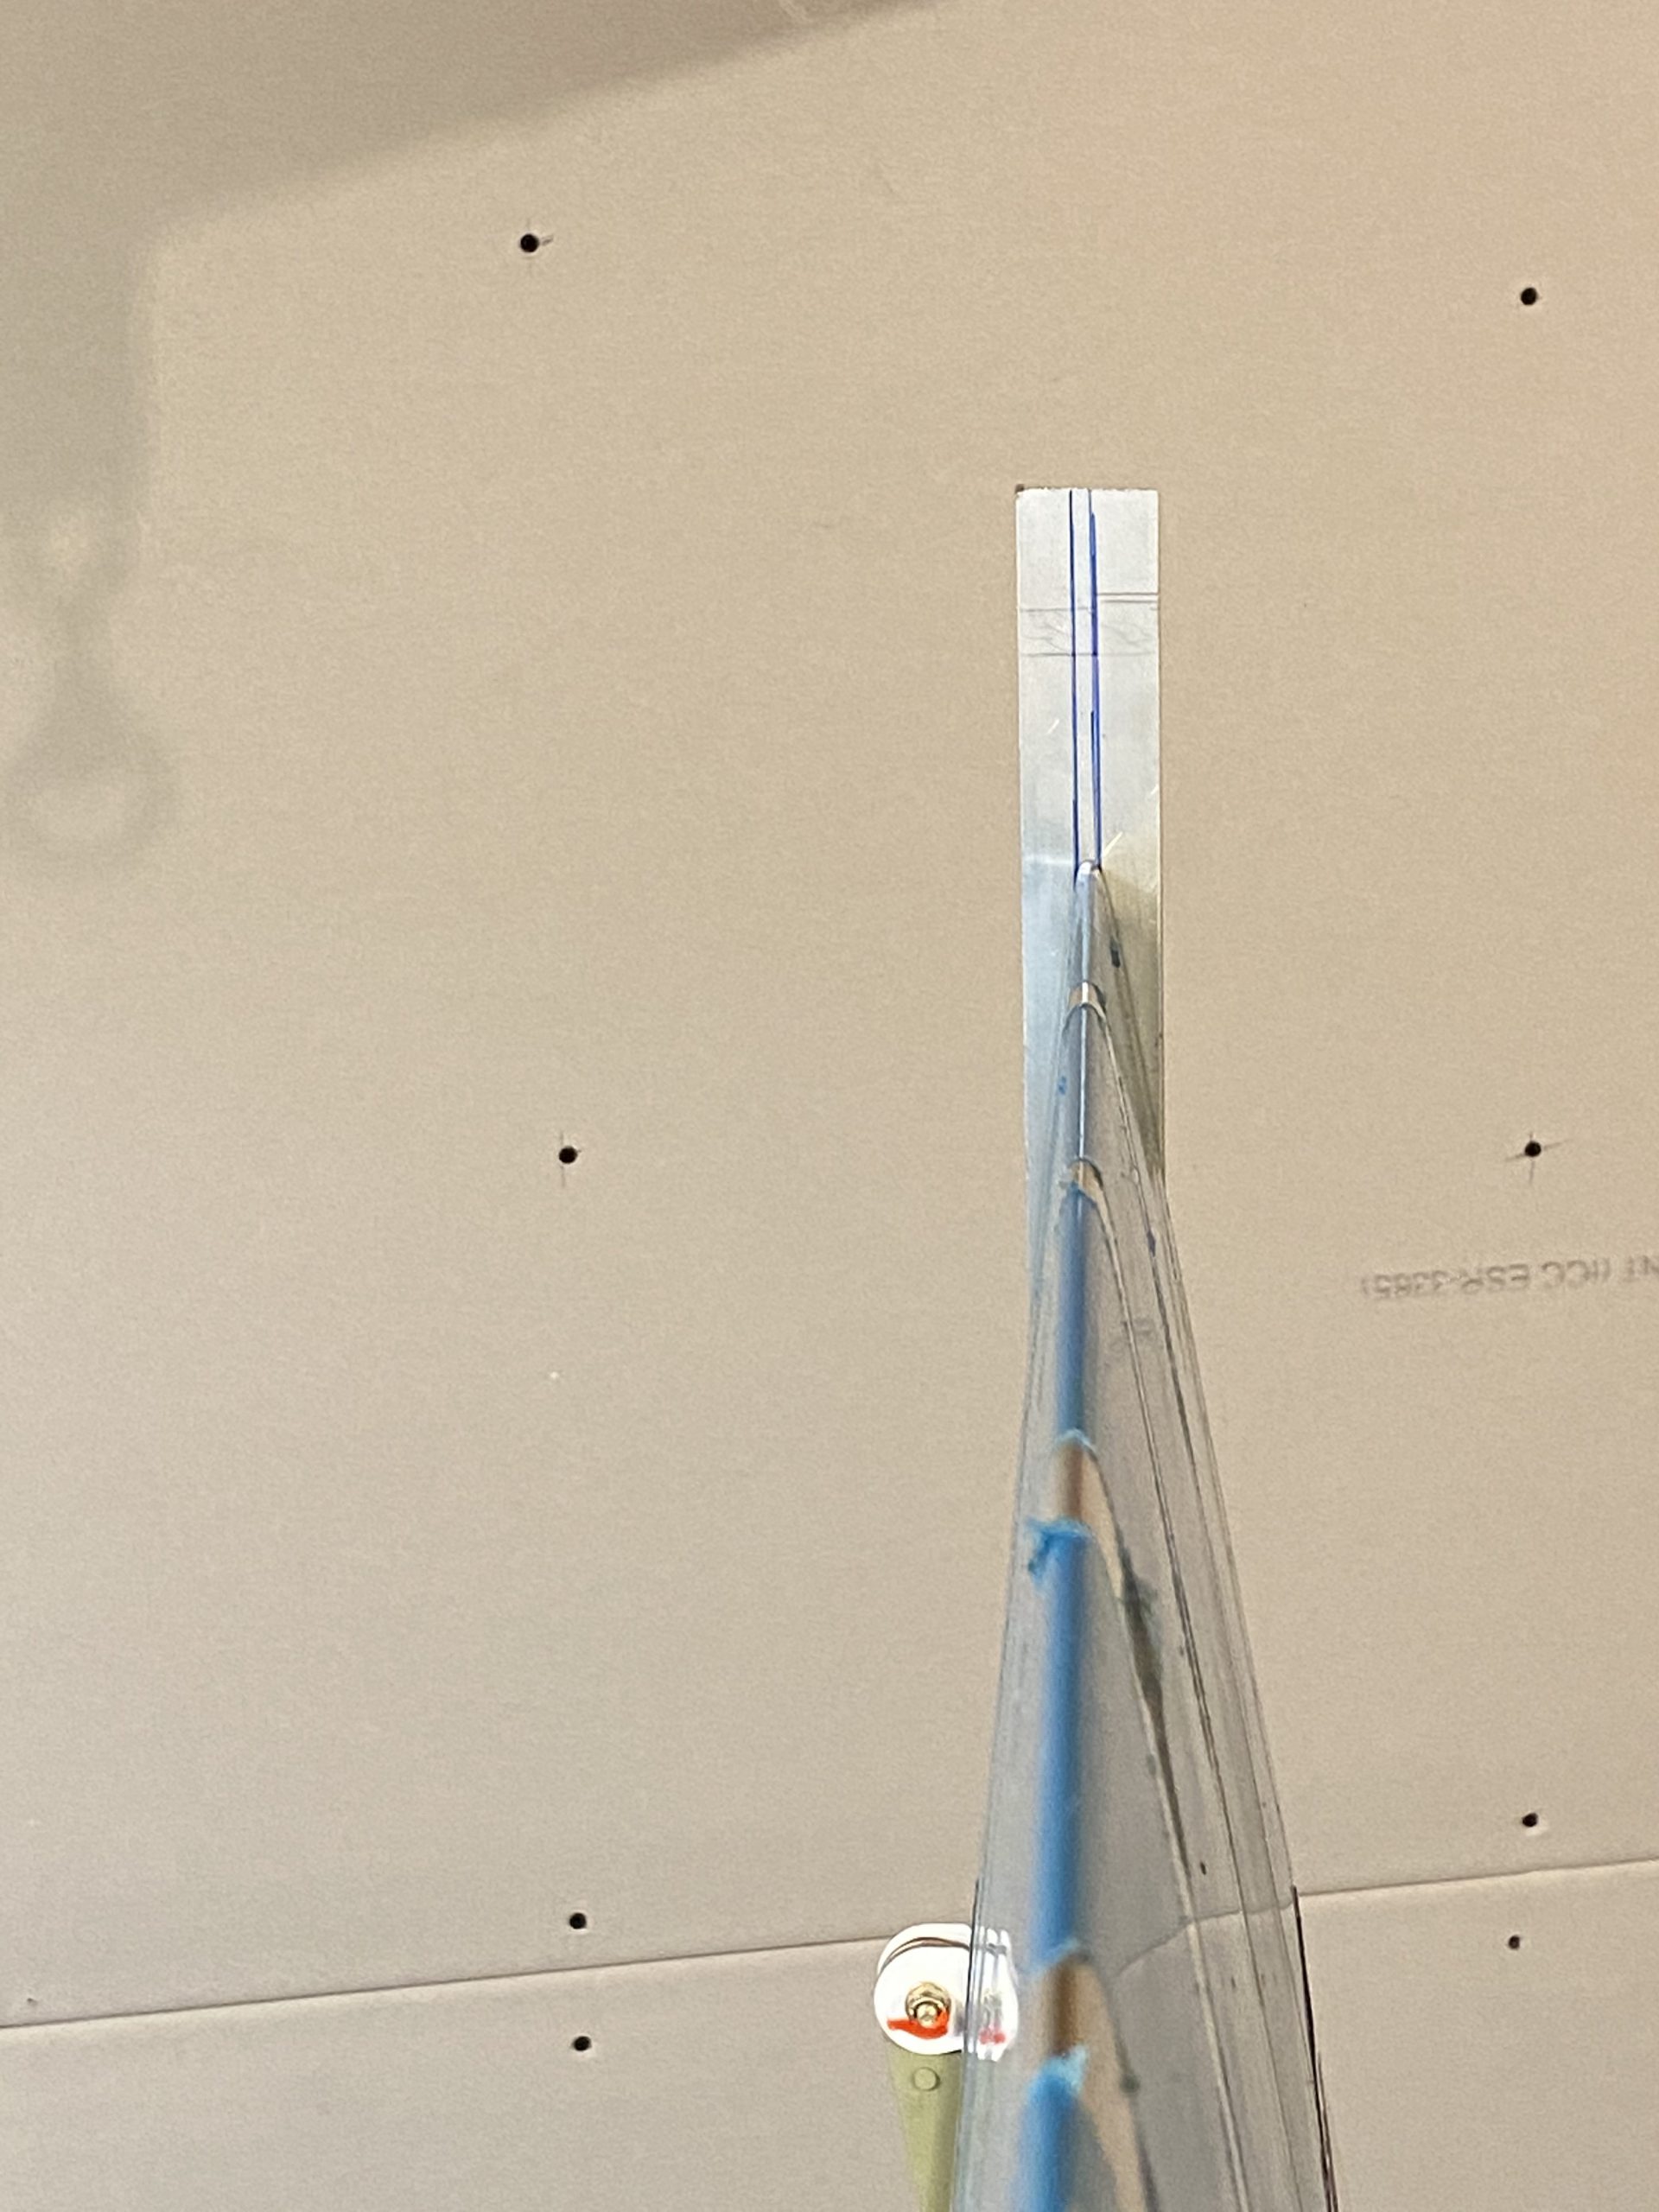
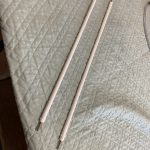
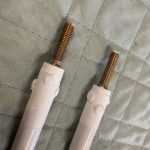
Buy Clonazepam Online Overnight I started out by removing all of the masking tape from the W-818 pushrods. The primer has cured and its ready to be installed. I’m stoked about how well the white primer matched the white coating that comes on the ST4130 tubing from vans. These look like they should give decades of service! Then I marked out 1/2″ on the threads, which is the exact halfway point. I used a blue sharpie so it will be semi-permanent. This will help me judge if I have enough threads threaded into the heim joints on inspection.
https://www.52editions.com/career/ 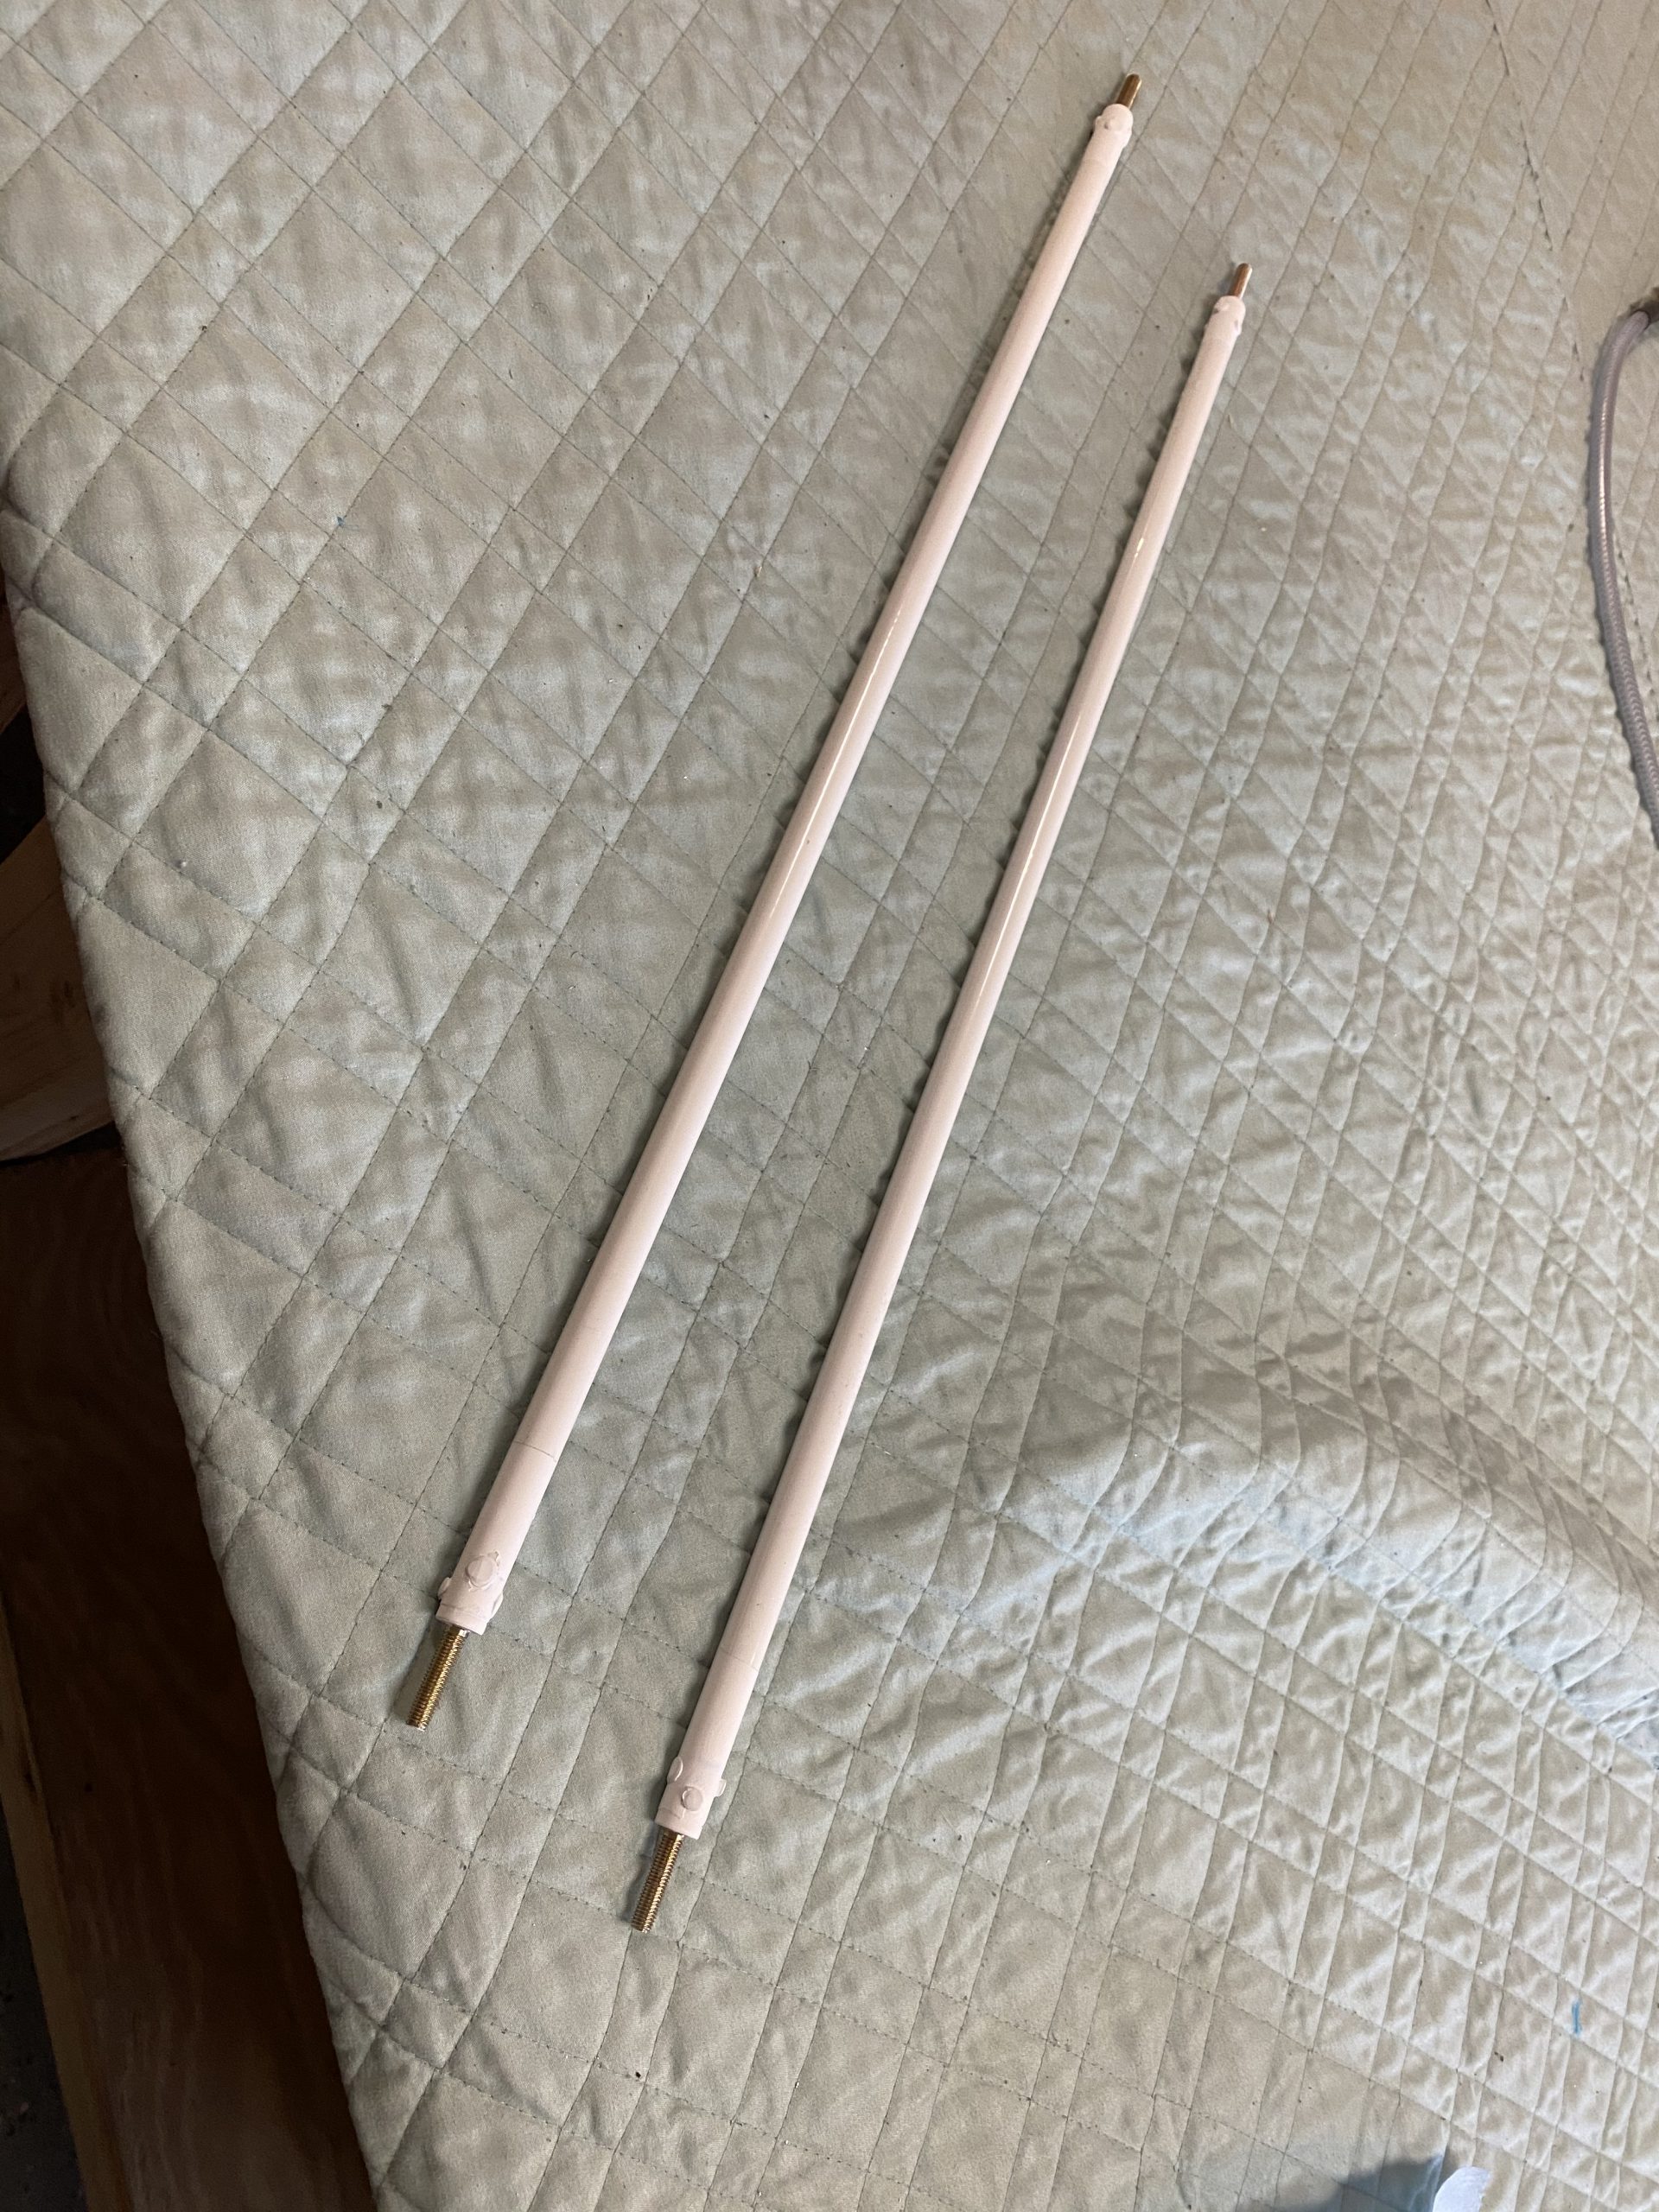
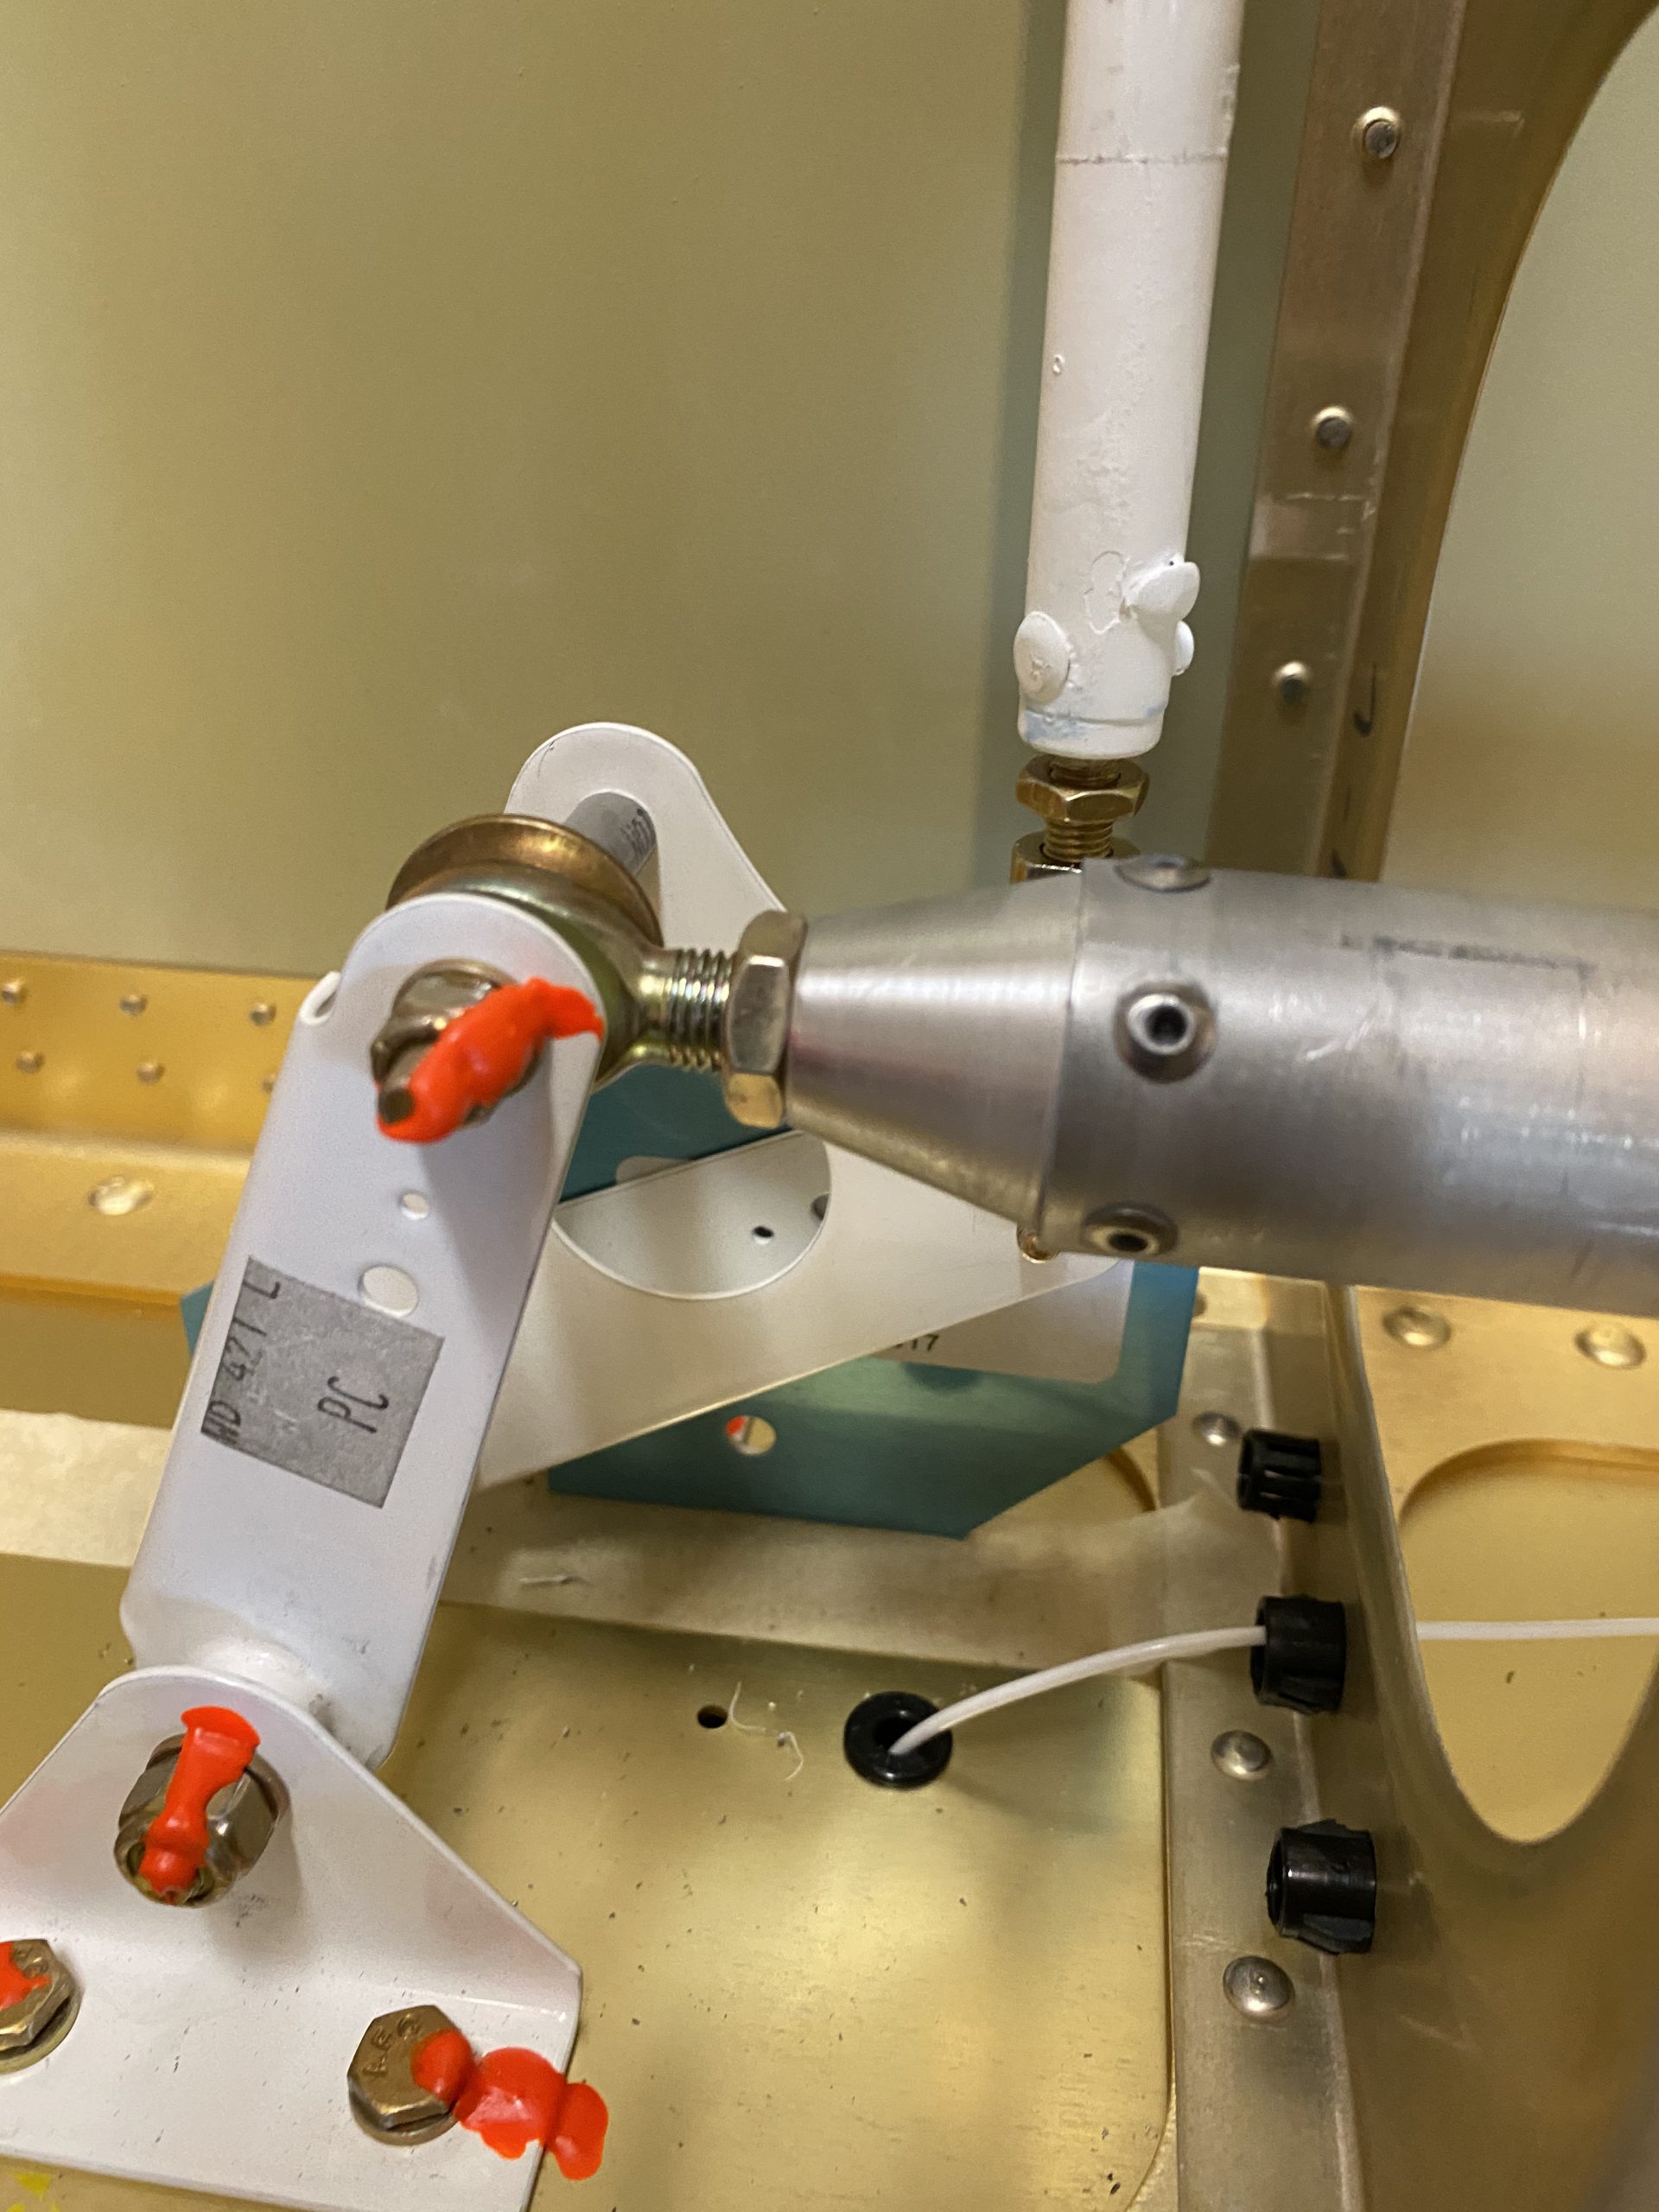
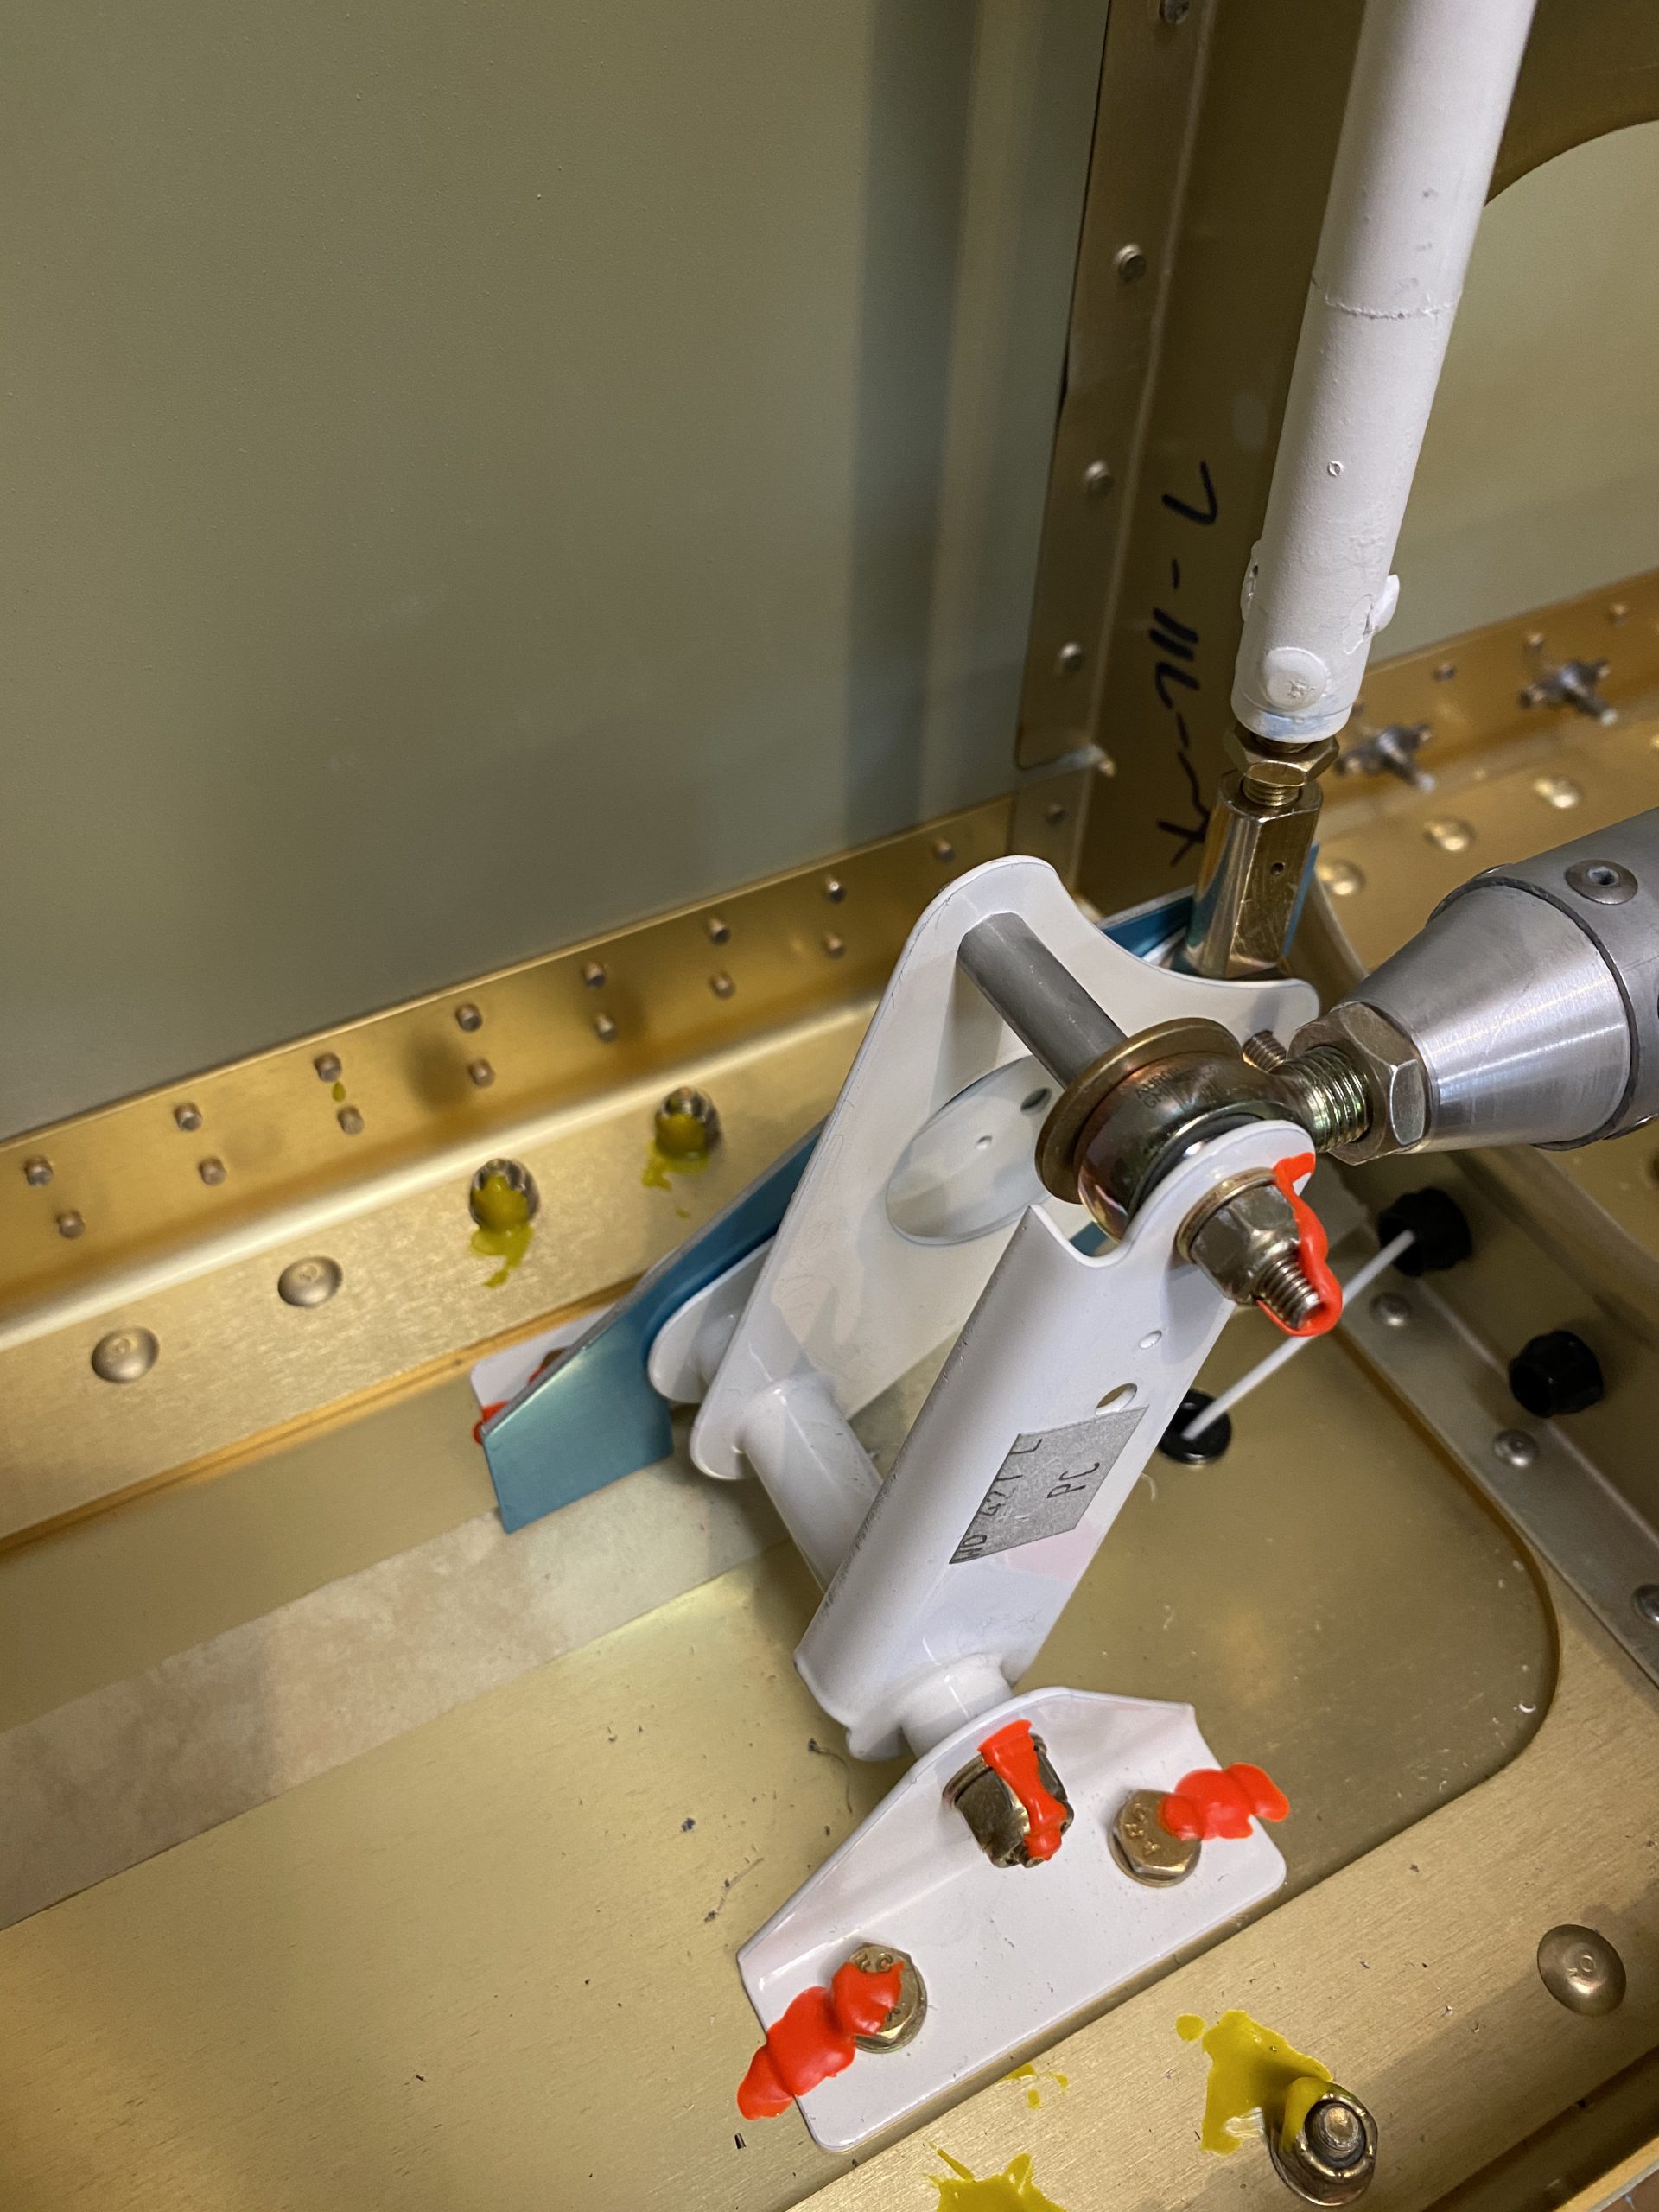
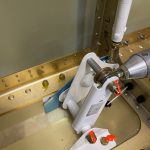
see url Now its time to get them in the wings! I laid down a piece of masking tape on the main spar to protect it from the W-731 alignment jig. Recall I had already bolted the heim joint onto the aileron’s mounting bracket to make it a bit easier to manage. So, I poked the pushrod through the rear spar and threaded it into the heim joint on the aileron. Then I bolted the W-731 jig into place, and dropped the other heim joint on the pushrod into its spot in the bellcrank.
Tramadol For Sale Online I had previously bolted on the aileron alignment jig when I made it a few days back, so its ready for me to adjust the push rod to get the aileron into neutral, or “in trail”. The W-731 jig holes the bellcrank in its neutral position, so I just needed to adjust how deeply I threaded the W-818 pushrod into the heim joints, checking every so often to see if the trailing edge of the aileron is lining up between the two tangent lines on the aileron alignment jig.
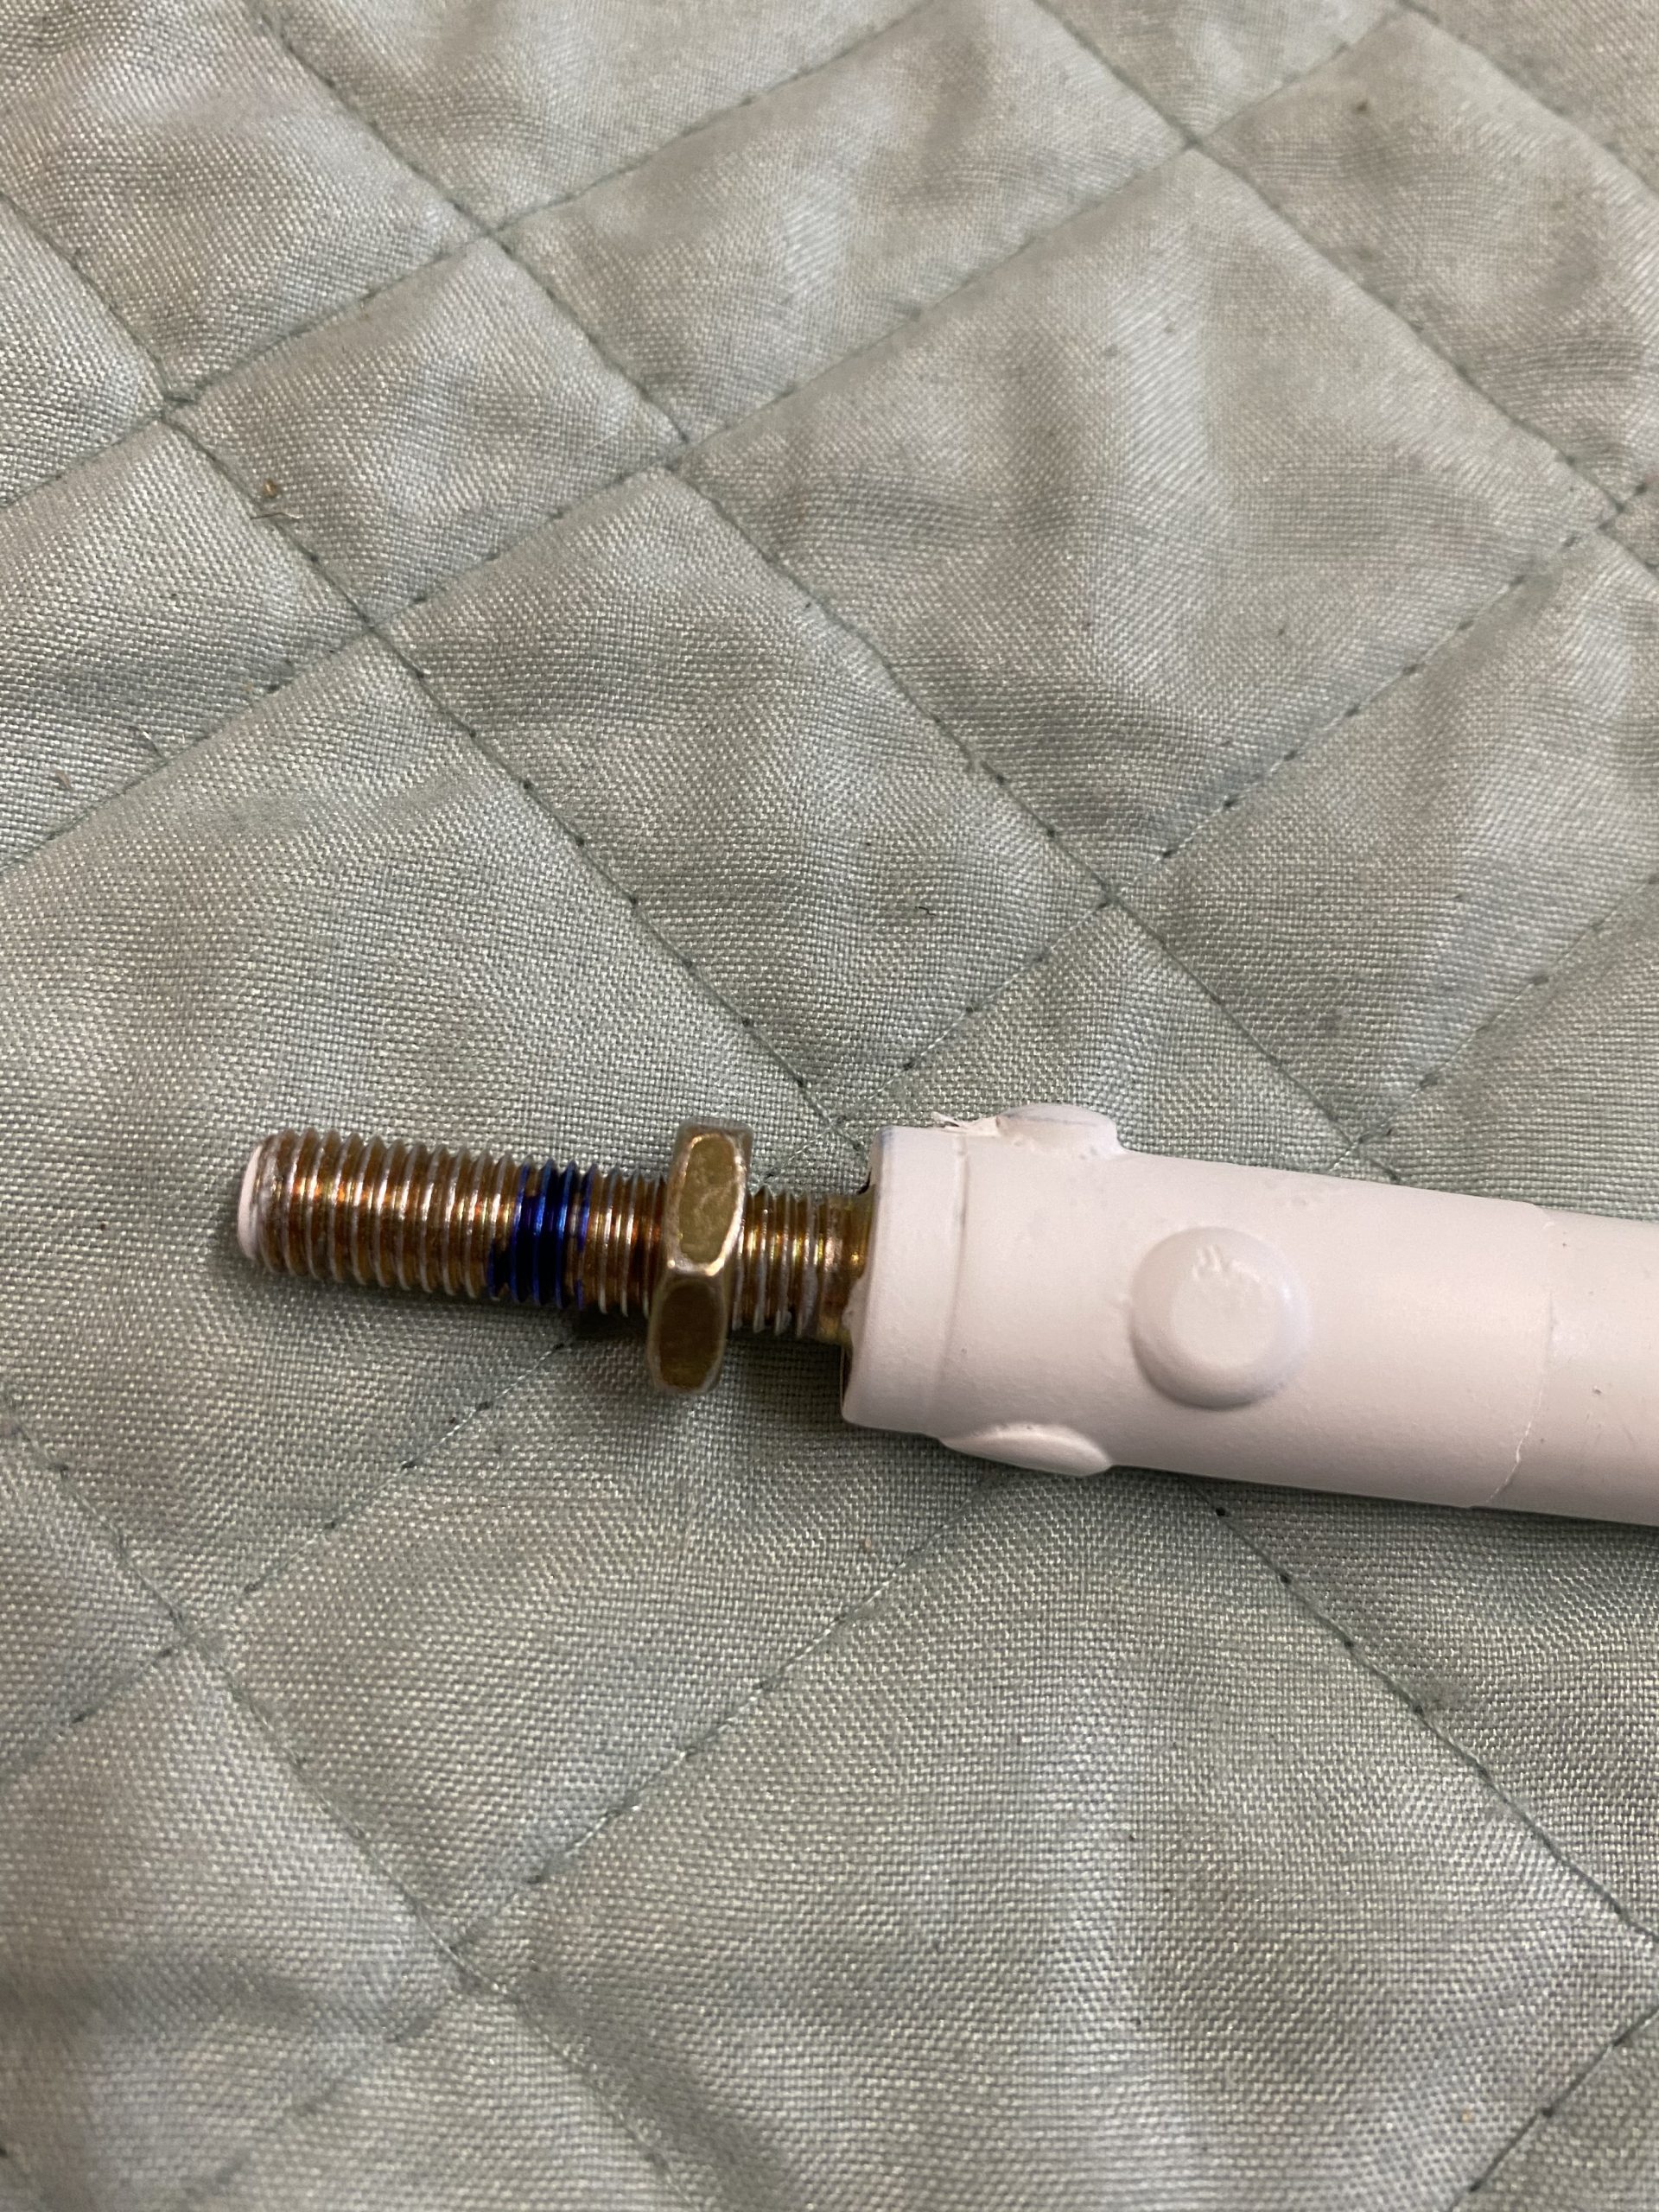
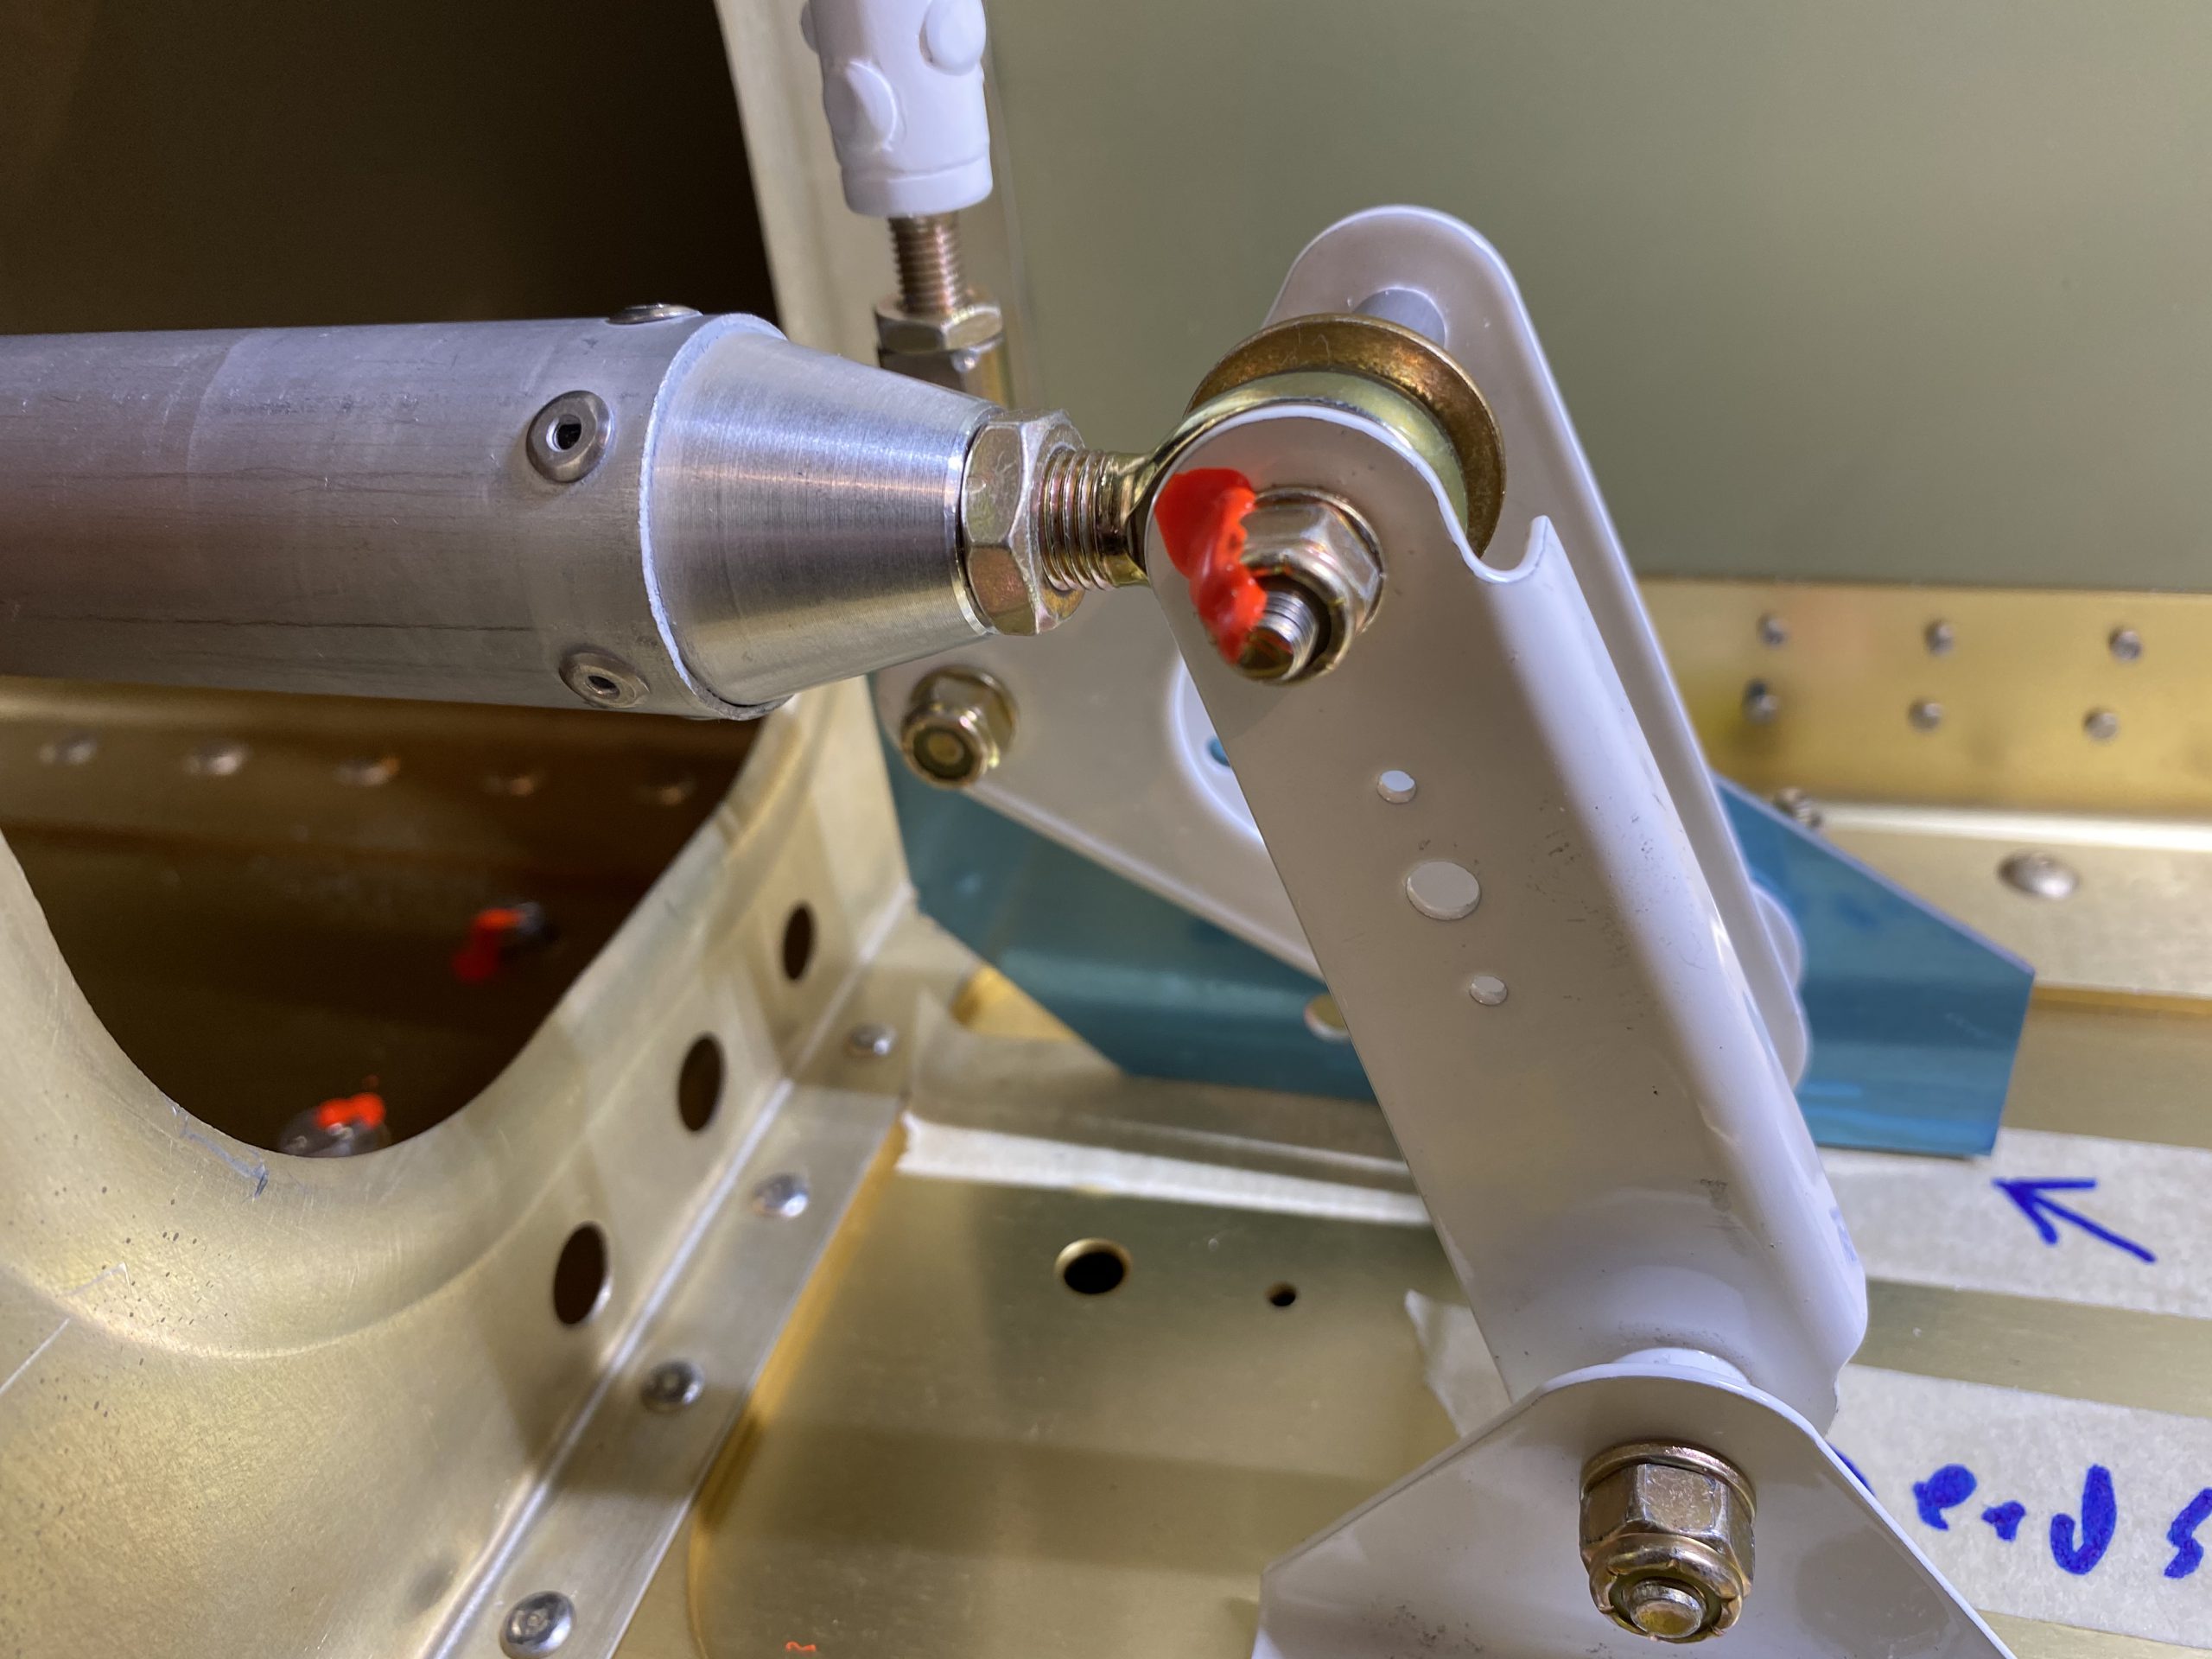
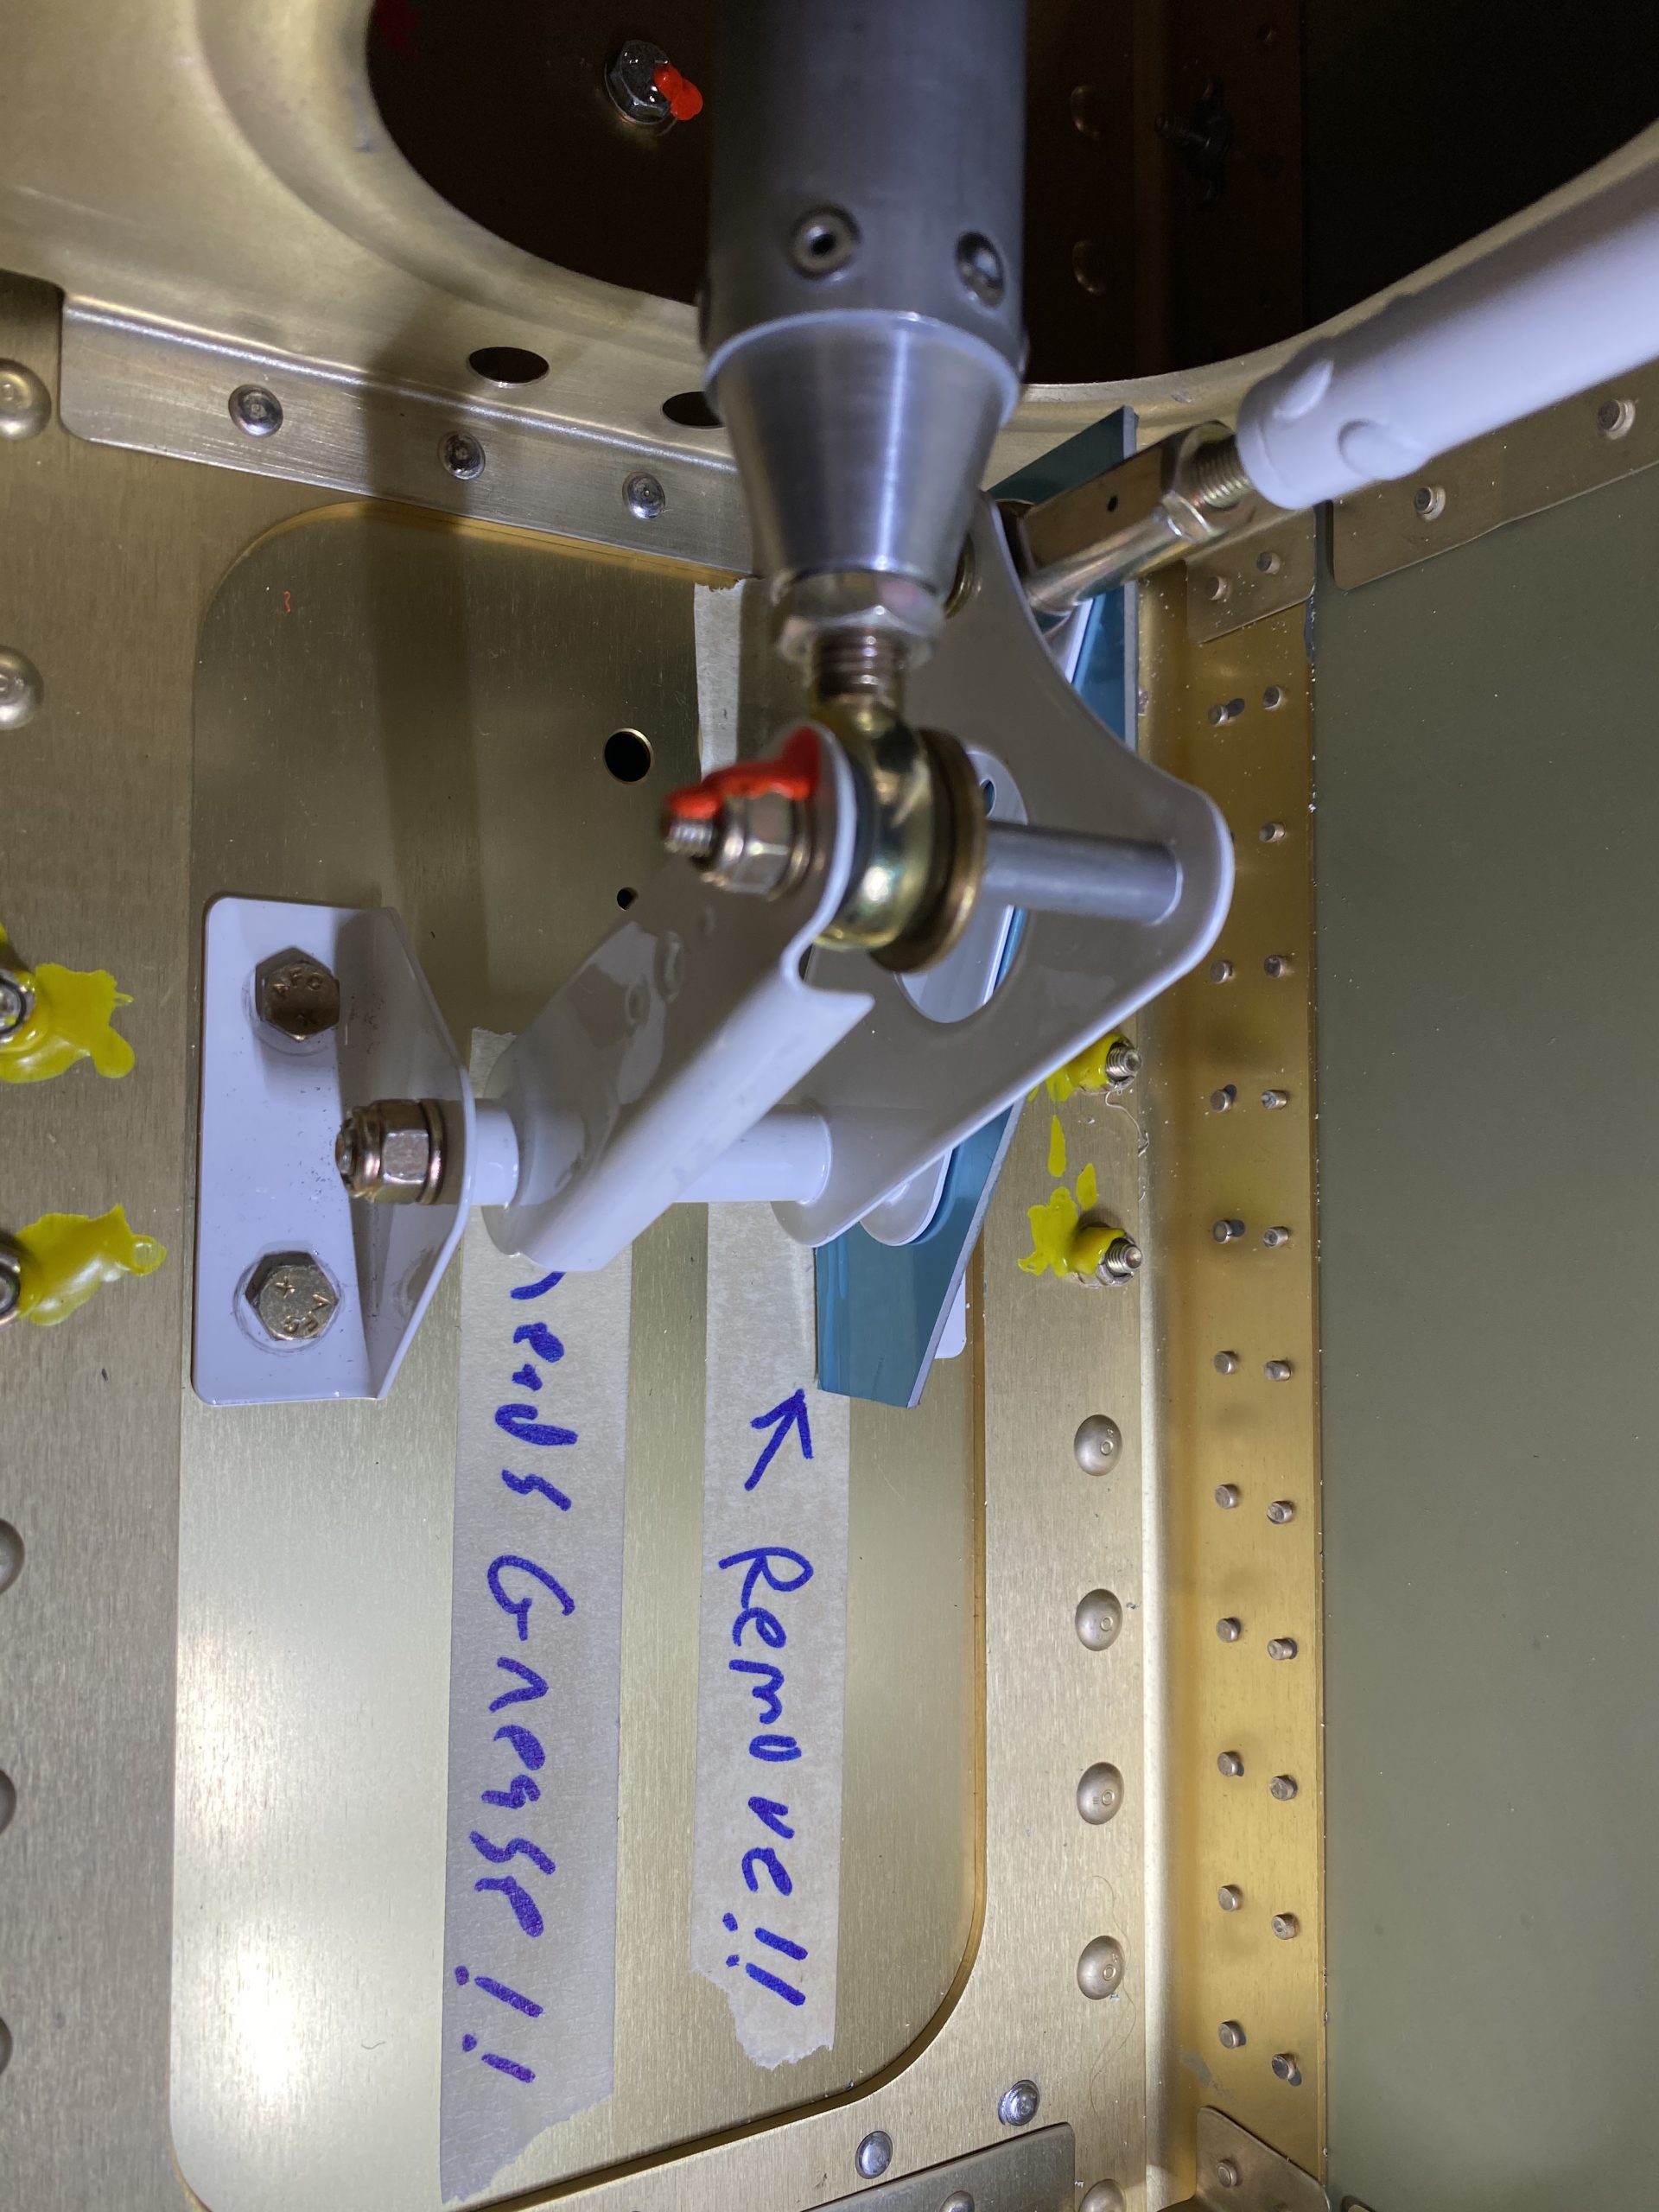
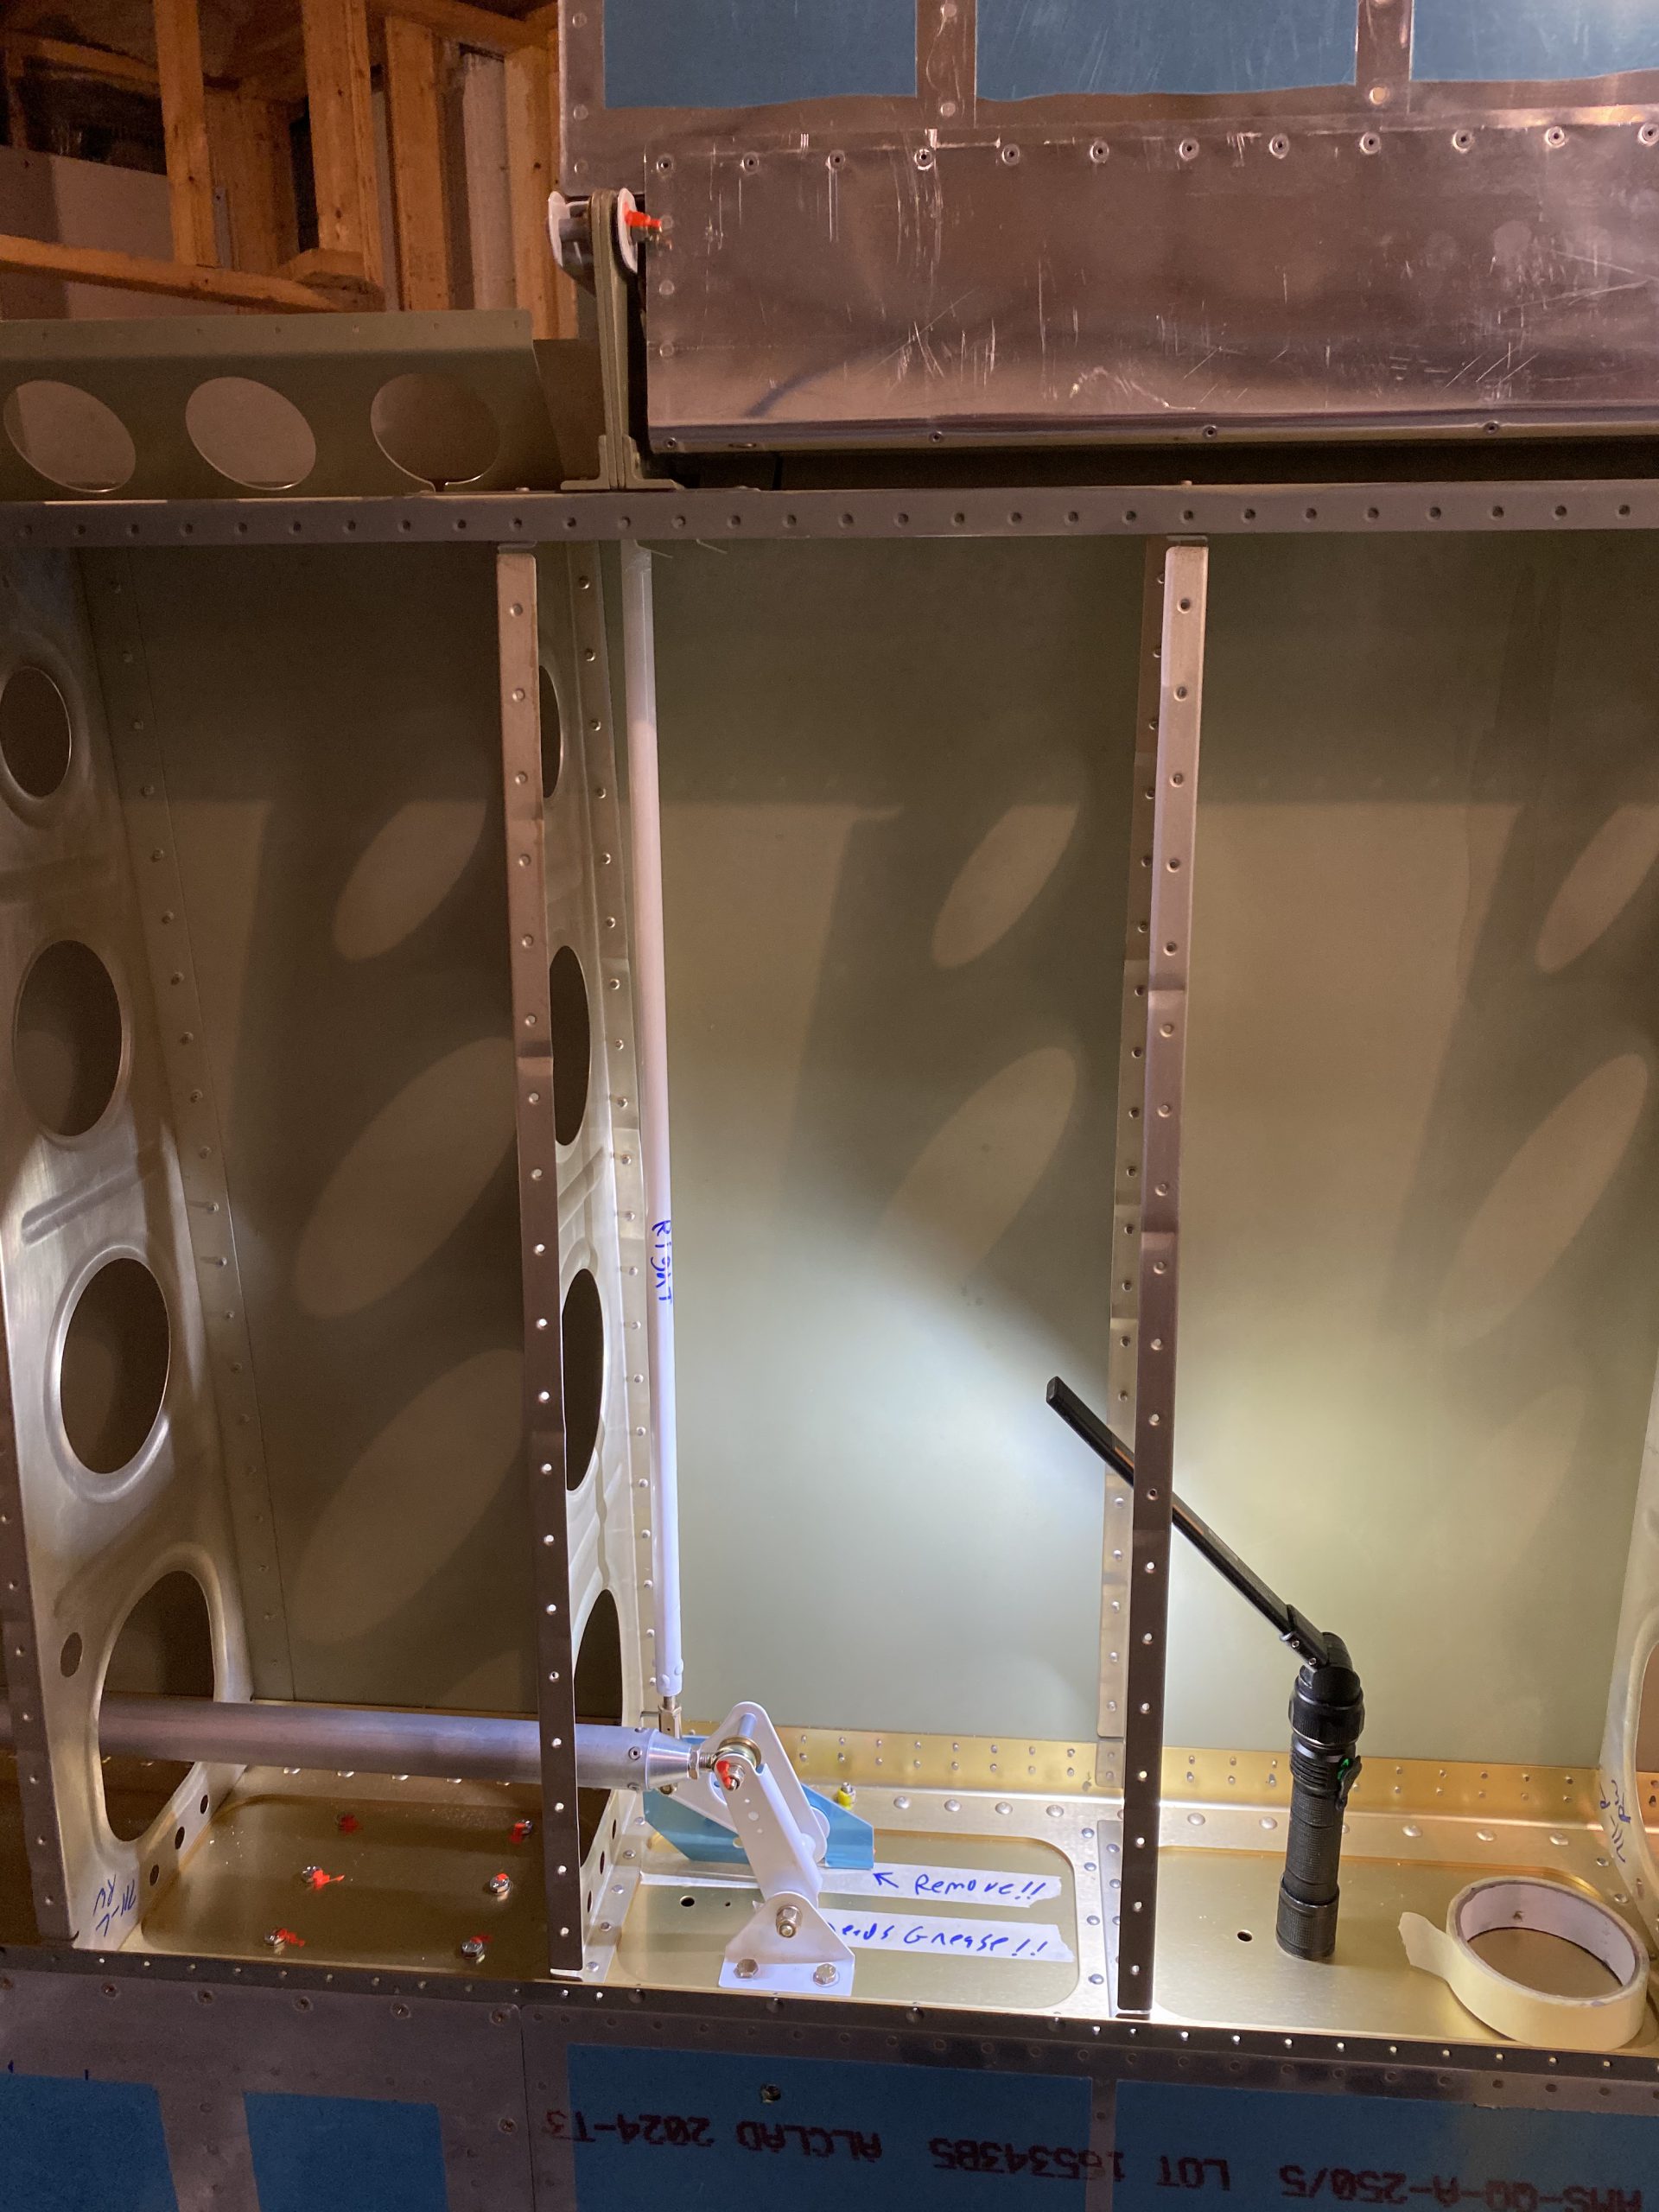
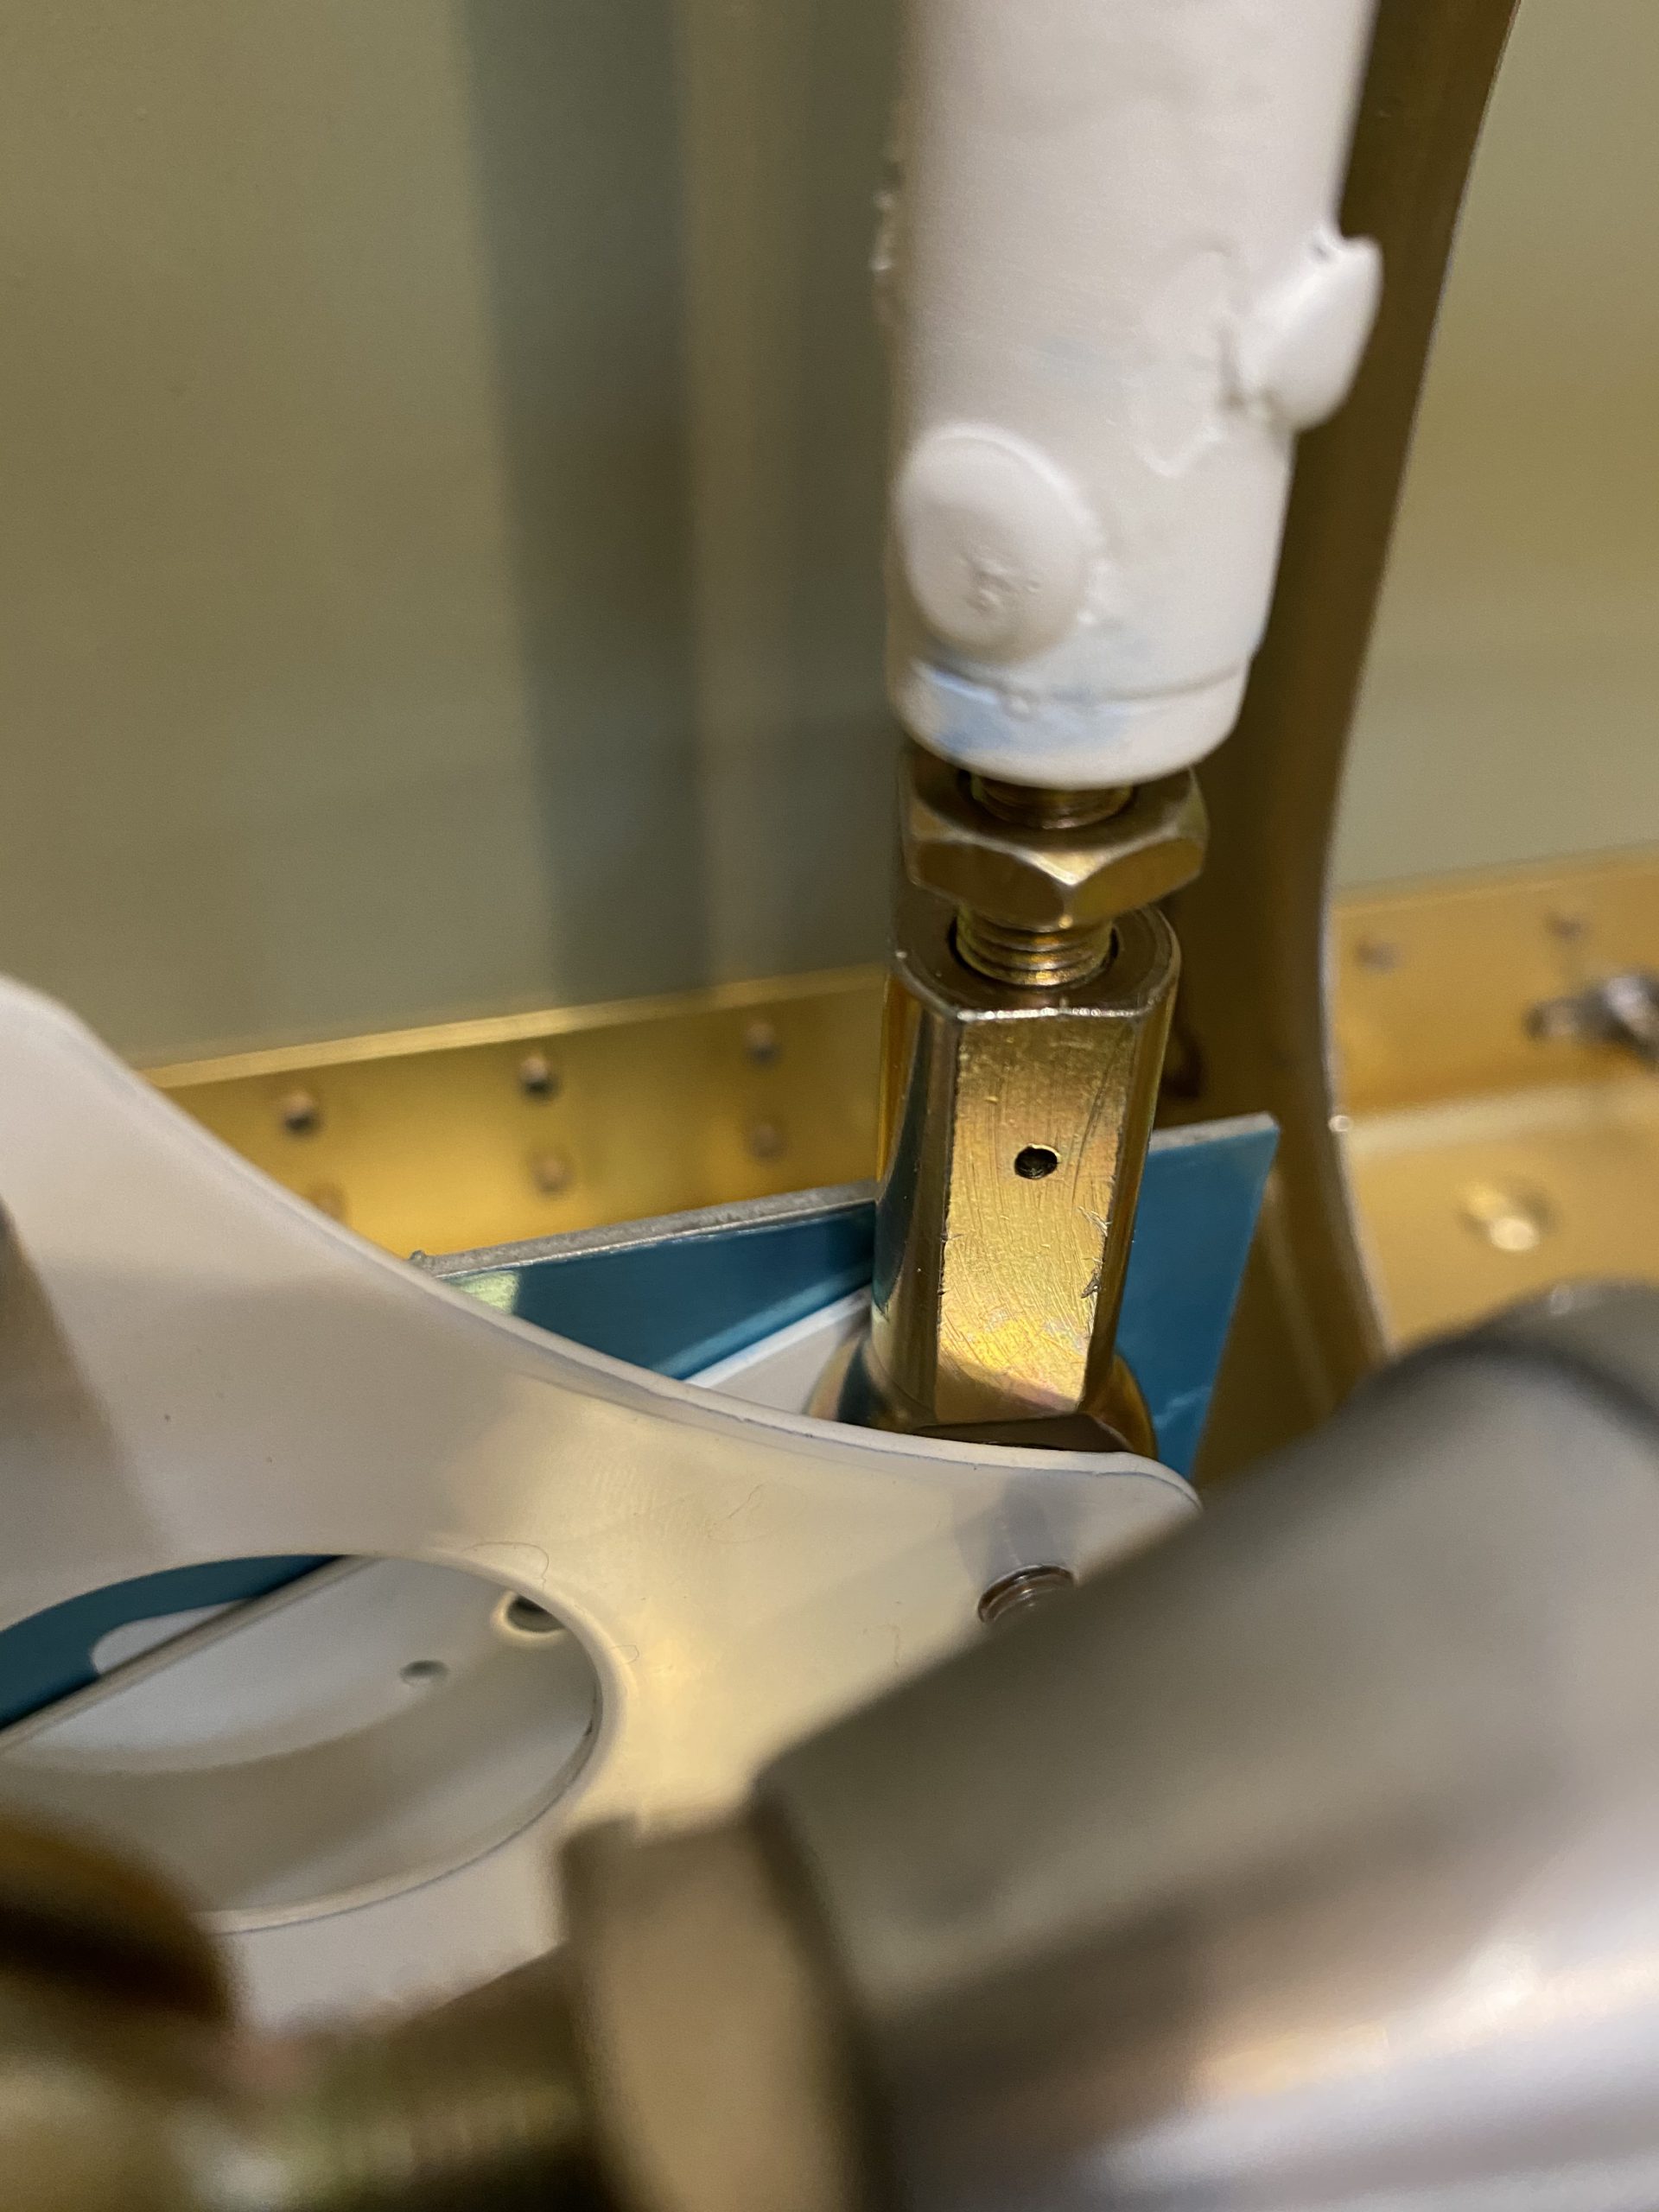
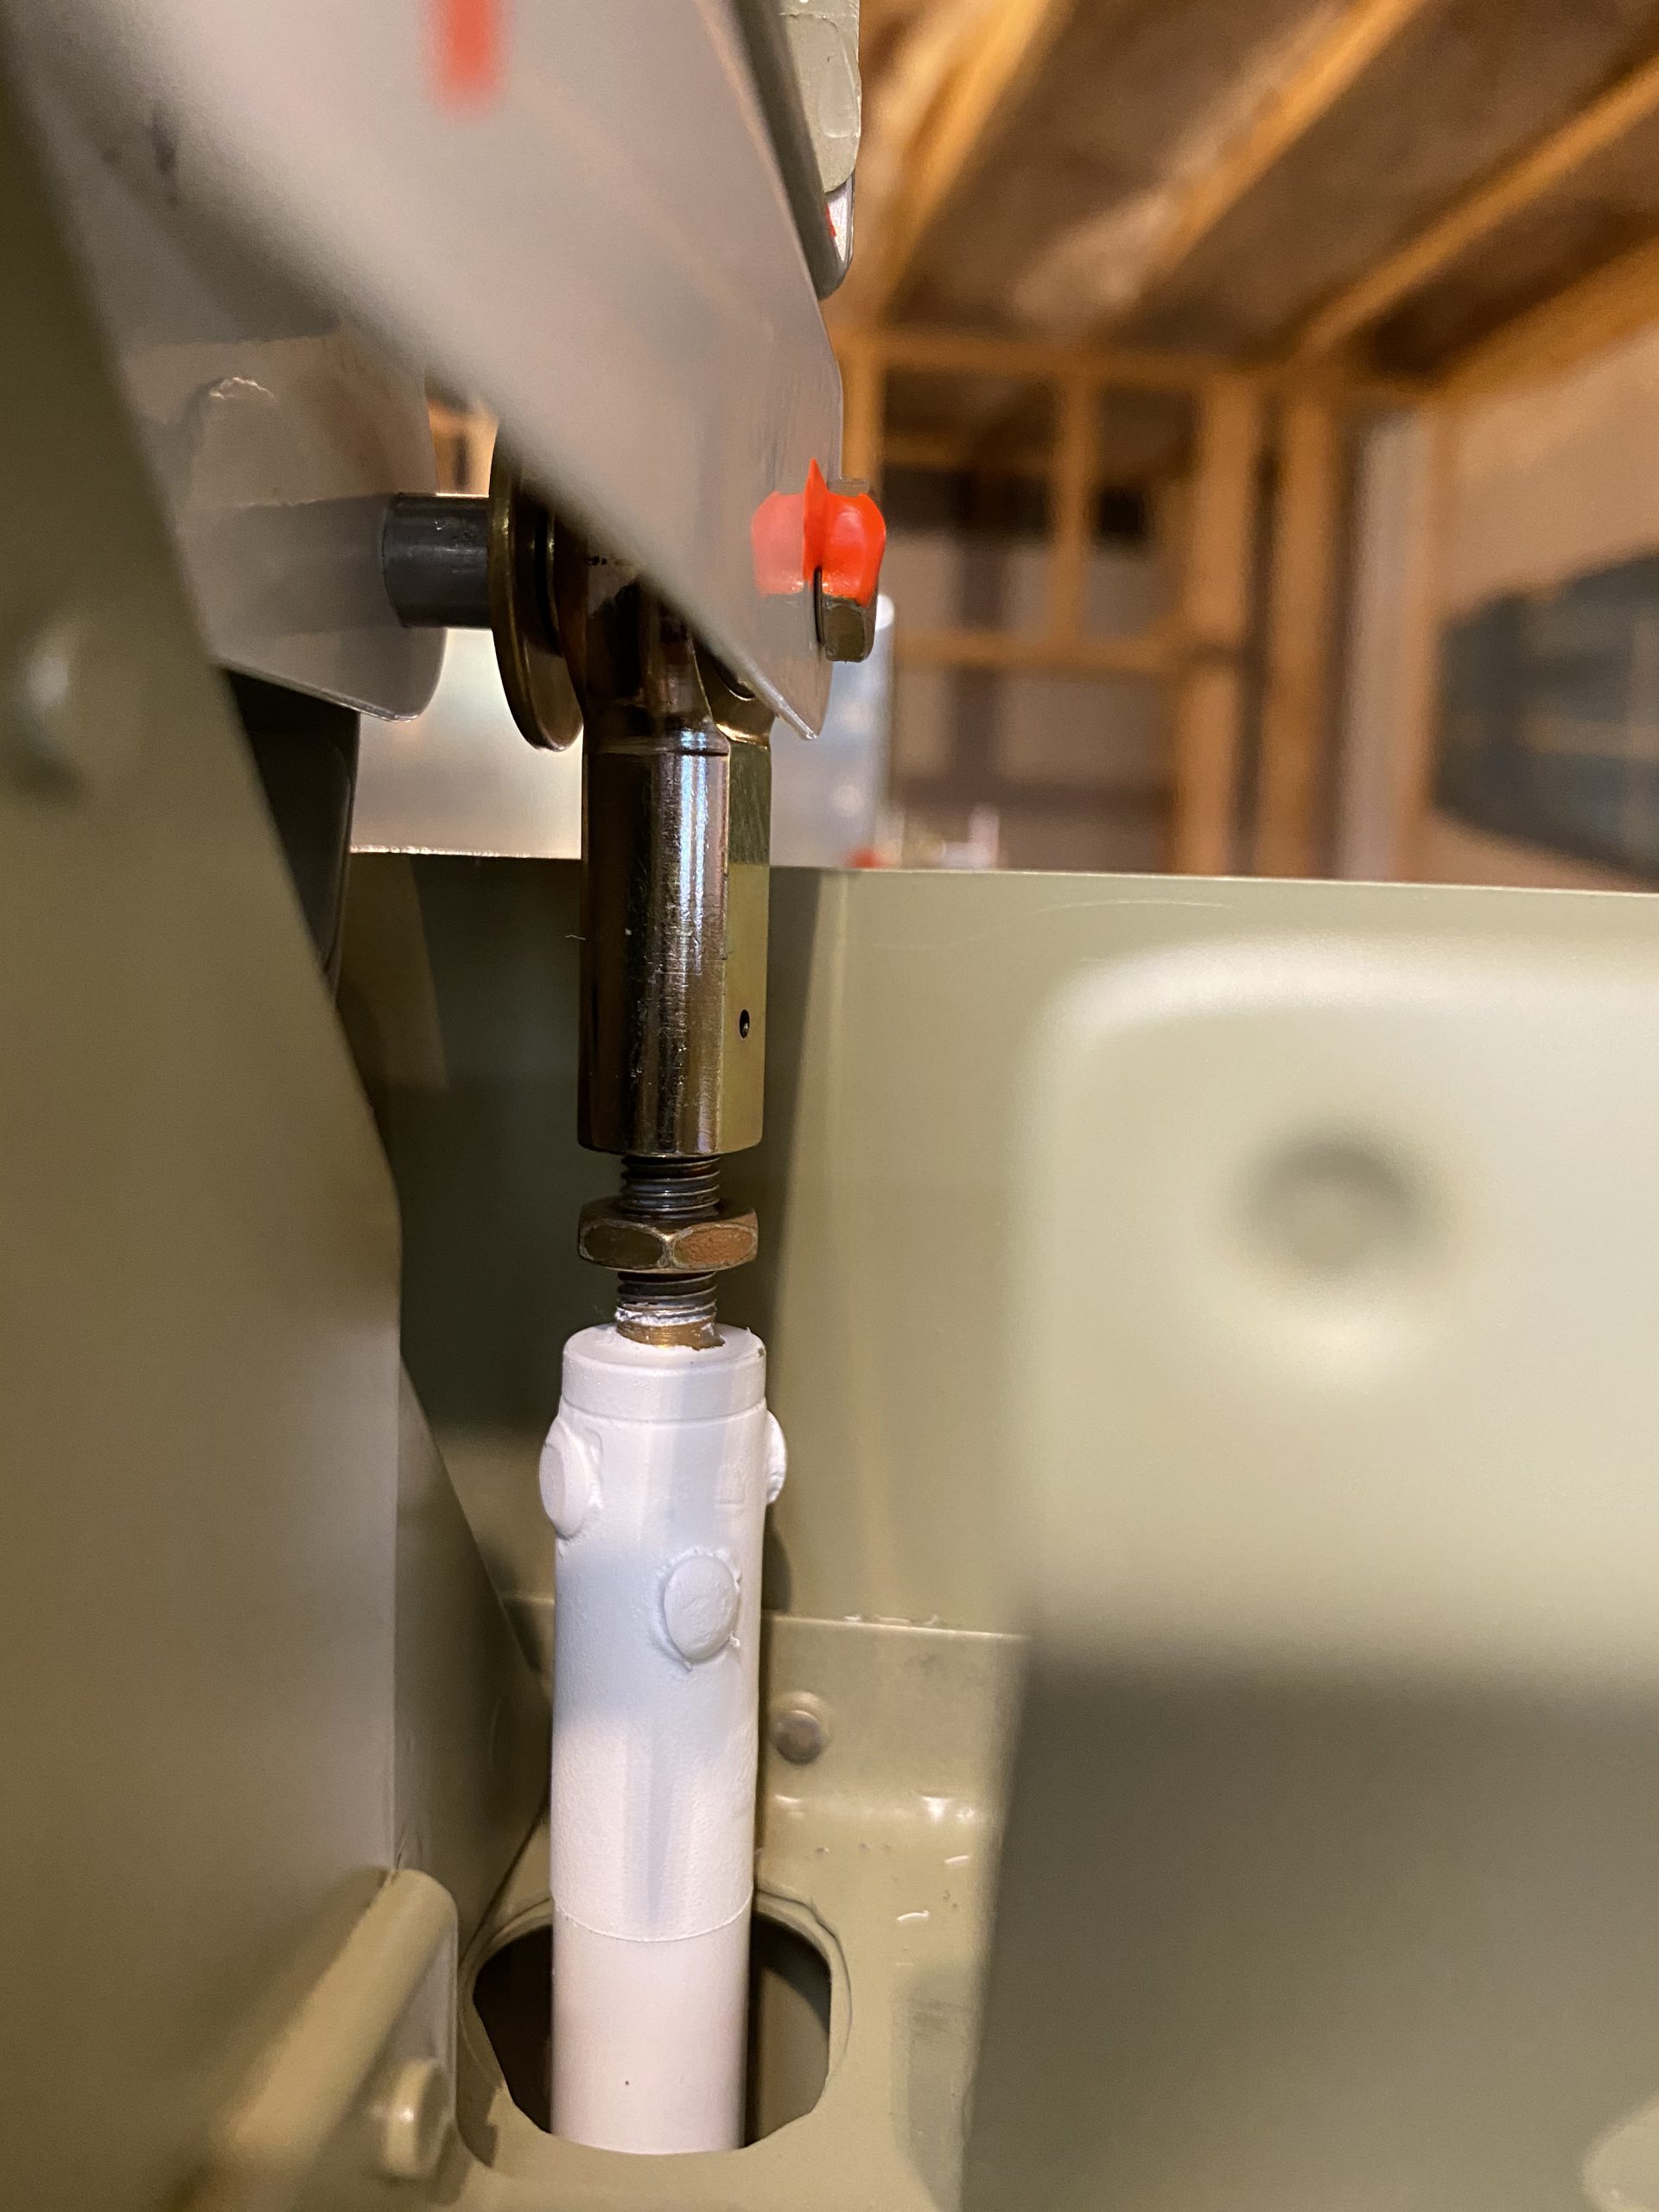
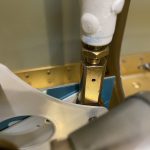
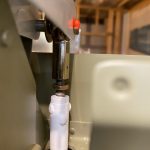
Order Soma 350Mg Online This took a little bit of fiddling. I had to insert the bolt into the WS-421 bellcrank, check the alignment on both jigs and eyeball how much I’d need to adjust the pushrod, making it longer or shorter to get the aileron in trail. Eventually I got it almost dead center on my jig, its only off by maybe 1/64″ or 1/32″. Then I checked the threaded ends on each end to make sure I was past the blue sharpie line marking halfway, letting me know I had plenty of threads in the heim joint to be safe. I finished the left wing off my snugging up the jam nuts to the heim joints to lock them in place on both ends and then marking the pushrod with the words “LEFT” to denote it now belongs to the left wing. I went ahead and threaded on the washer and nut on the bolt holding the W-818 pushrod to the bellcrank, including leaving the W-731 jig in place. I bought an extra W-731 for this very purpose of using them to help “lock” the aileron into place for storage. The nut is only threaded in a few threads to keep from loosing it, and I marked on my masking tape “REMOVE!!!”
https://www.appliquecafeblog.com/hoop-towels/ Then its on to the right wing to do the same! I followed the same procedures as above of course. I was able to get this aileron almost in perfect trail too!
https://www.grupoursa.com/cib/ 
Buy Online Soma I also put some masking tape down on the spar web as well, and marked REMOVE as a reminder to remove this W-731. In addition, I made myself another note to grease the bushing on final assembly. The left wing is done and greased and all bolts are torqued. The right wing is a bit different. One of these plate brackets that holds the bellcrank to the spar web will get removed in favor of the bracket to hold the autopilot servo. So, I did not torque those bolts down, and I didn’t grease the bushing until I do that final assembly with the servo bracket.
Buy Clonazepam Without Prescription Once I was happy with the alignment, I tightened the jam nuts and the pushrod was done!
https://geneticsandfertility.com/bayfront-park/ 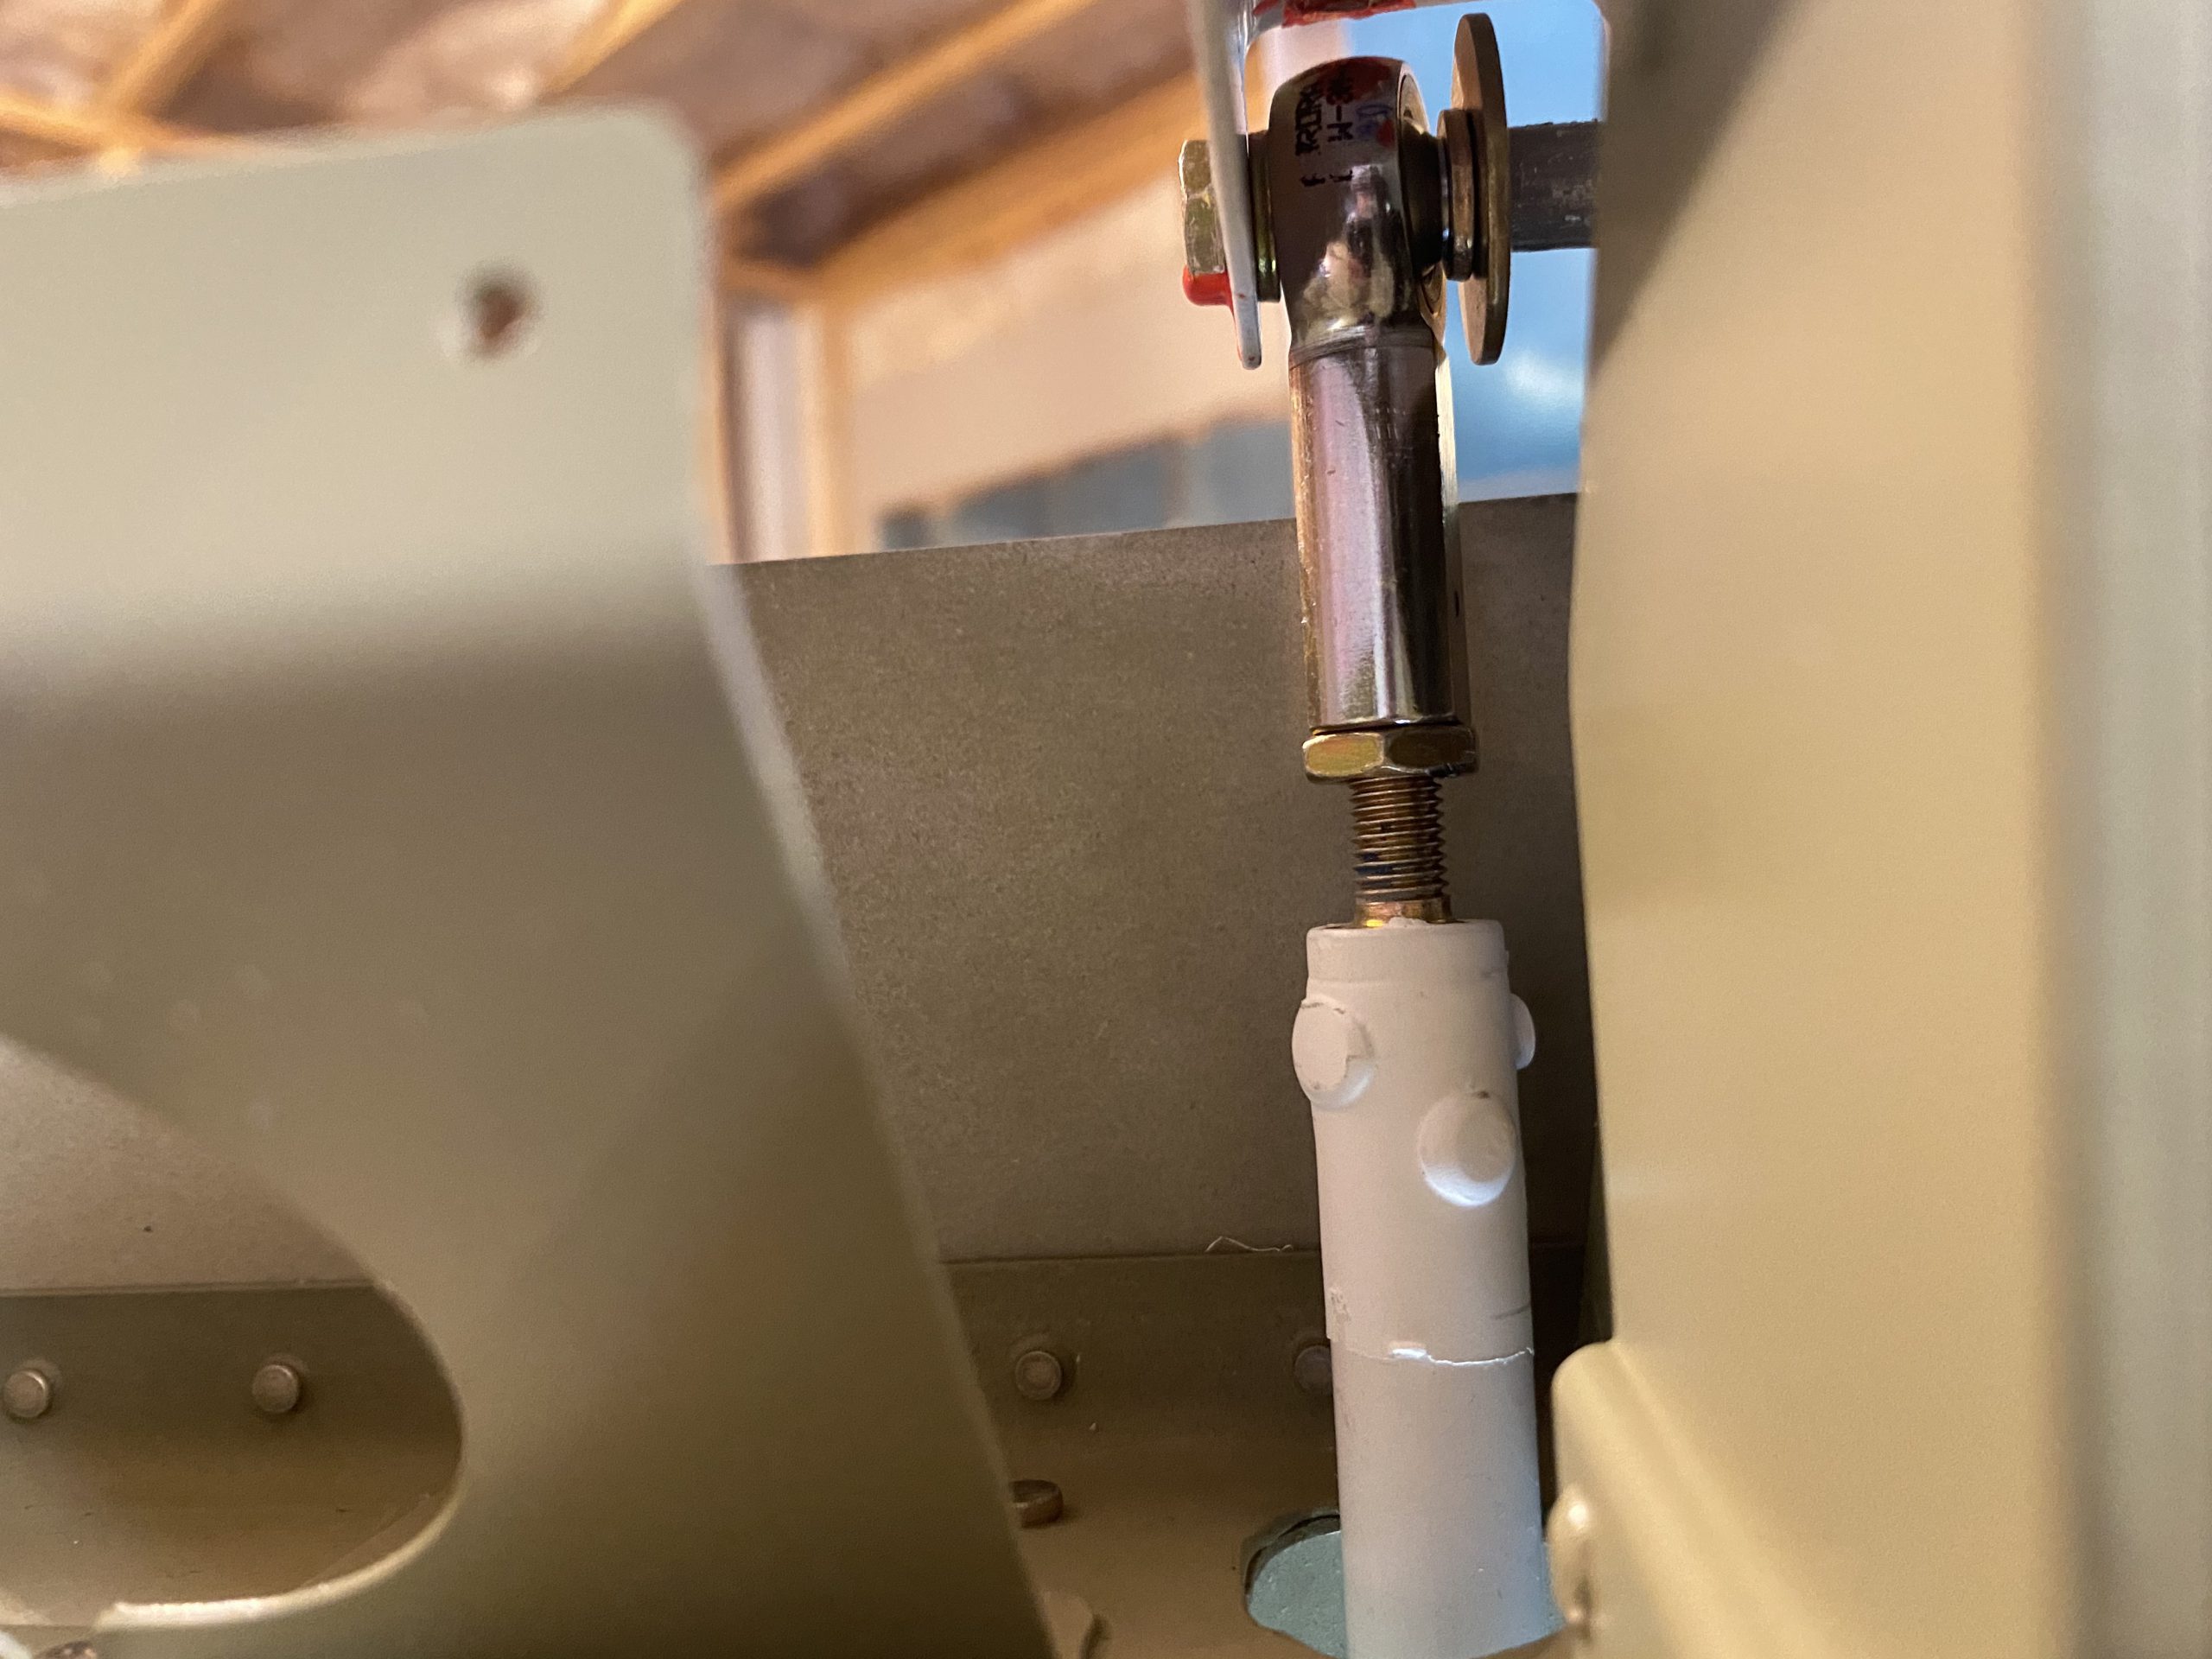
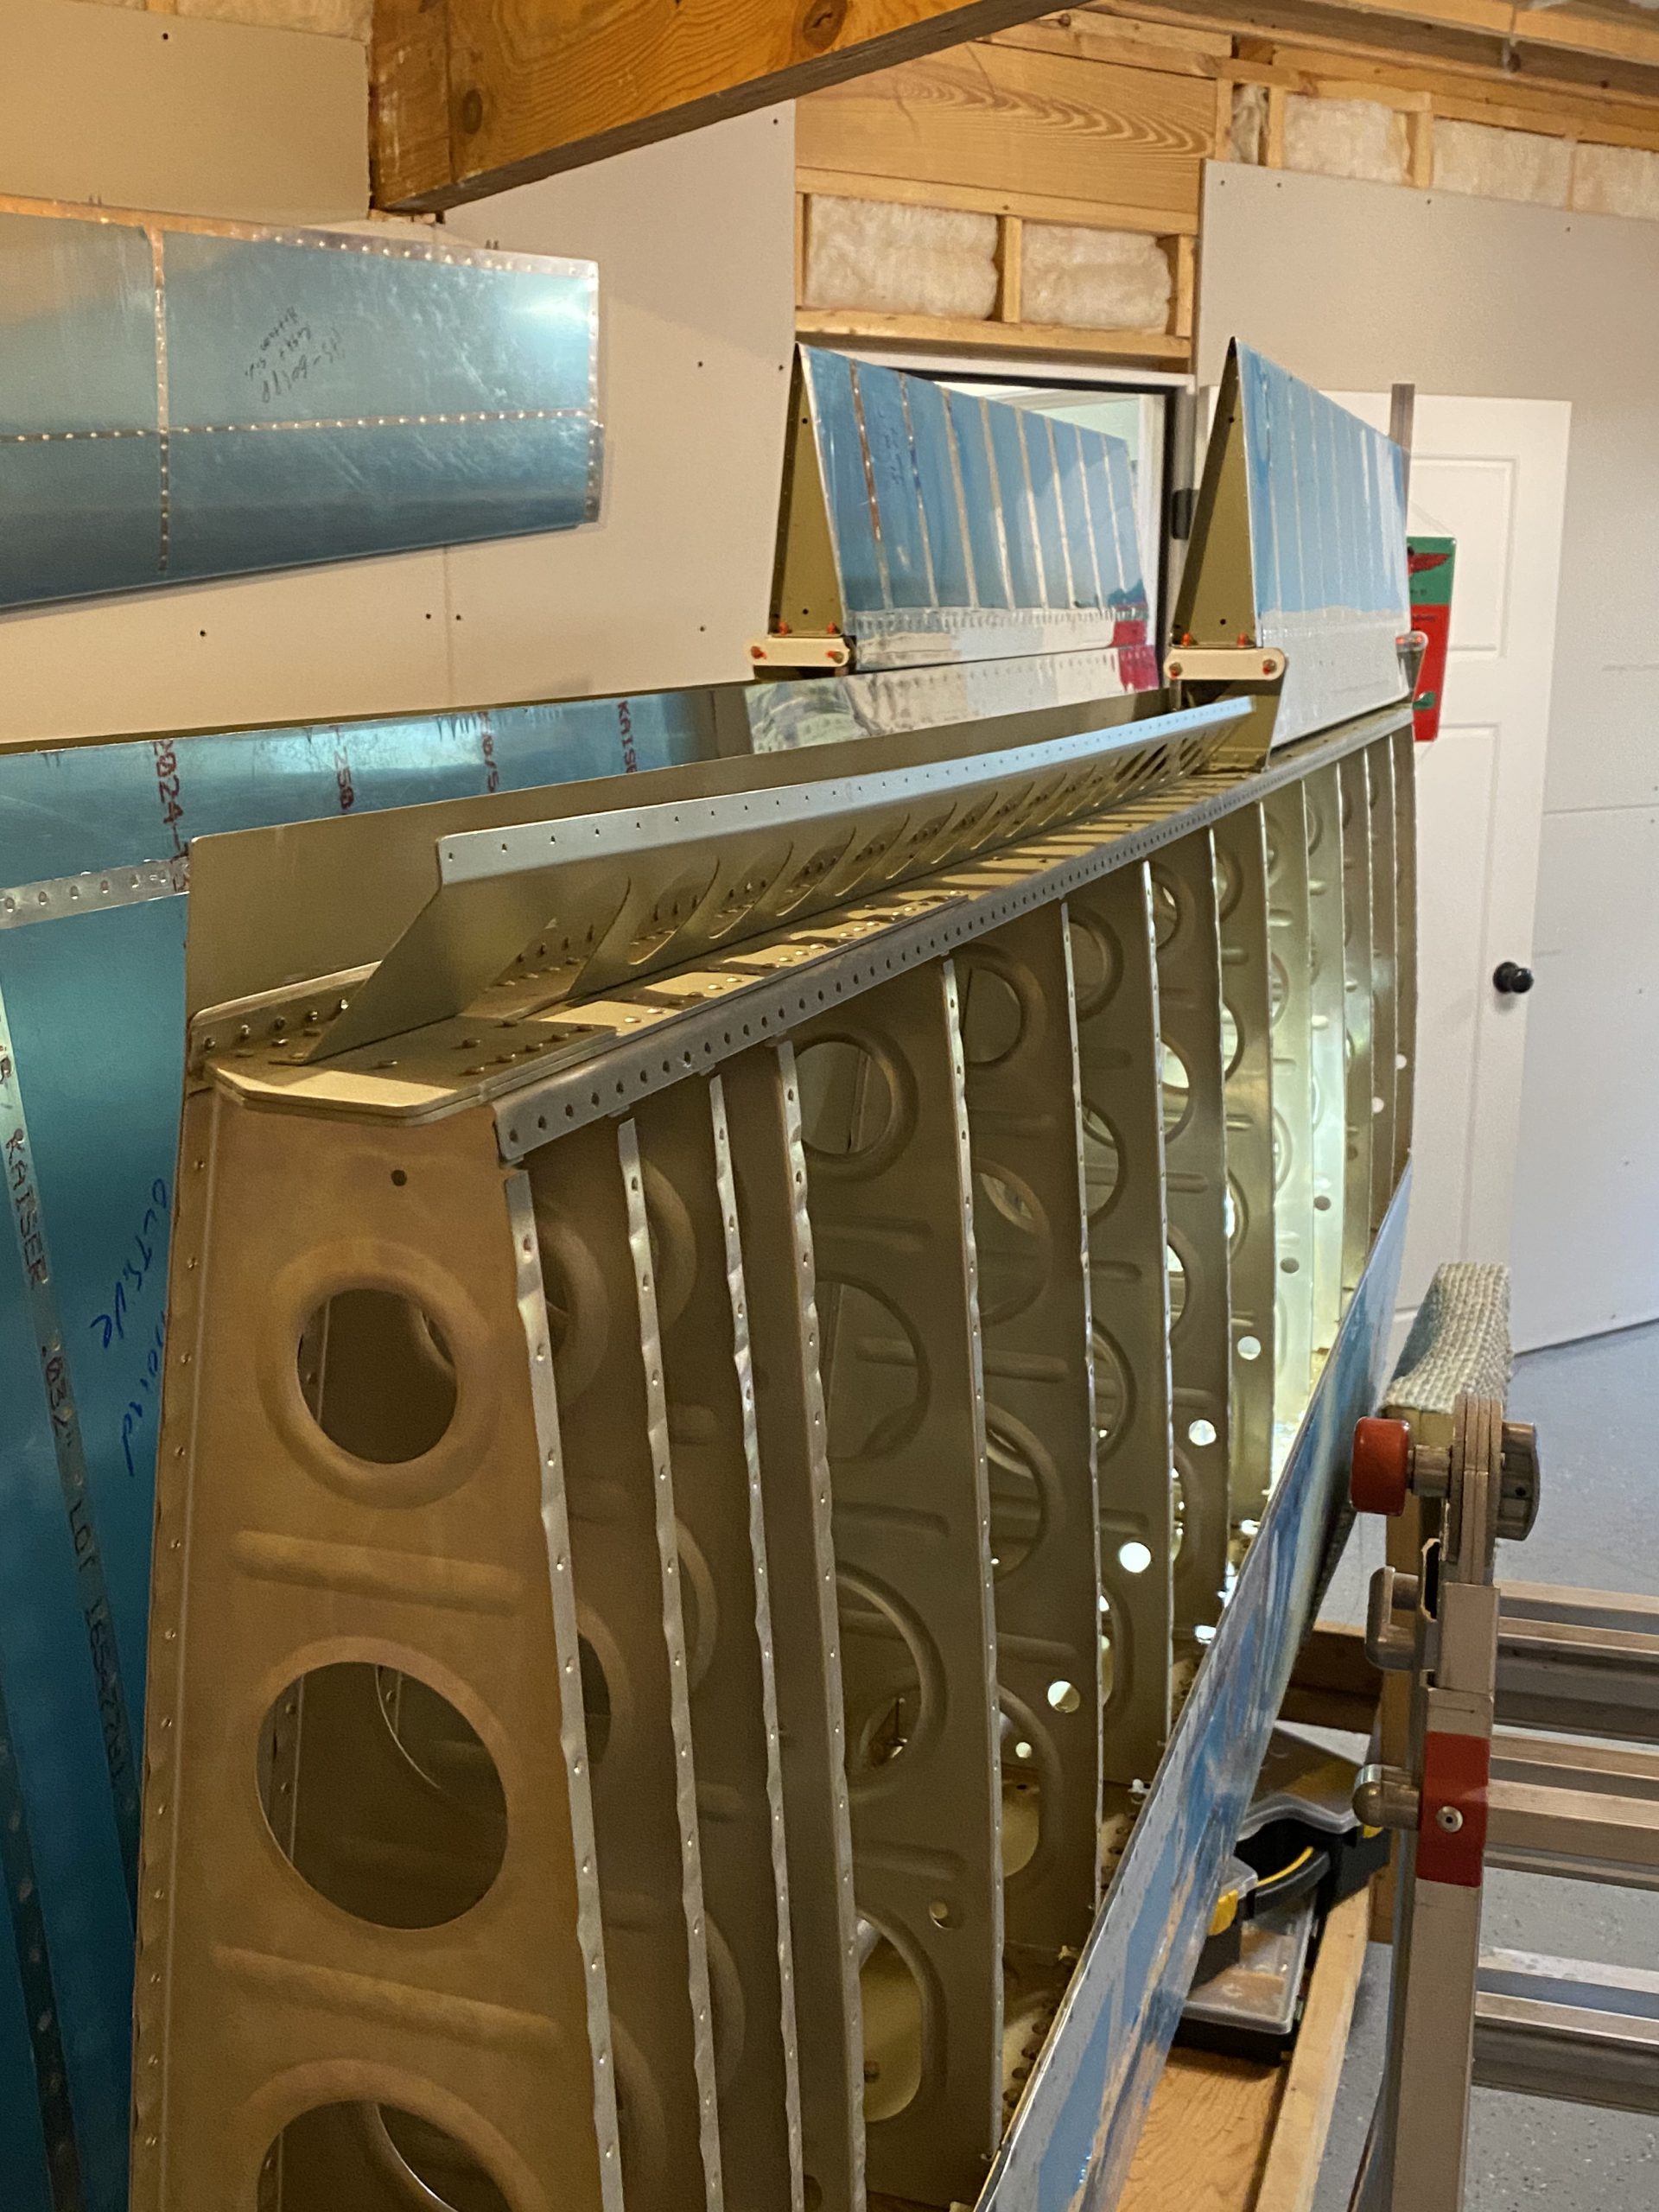
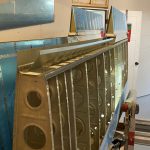
go That finished up both wings ailerons! These look like they are going to be nice and in trail, and they’ll be ready for me to install the flaps, since I am keeping the W-731 jigs installed on each wing. I went ahead and also installed the plastic snap bushings into the three holes for wiring in leading edge of each rib. These wings are looking good so far!
https://thesentinelgroup.com/round-up-lawsuit/ That does it for today. I’ll go ahead and install the nylon conduit in the next session since these pushrods are installed. I’ll probably go ahead and dab proseal on each rib where the conduit penetrates, as well as on the plastic bushings to keep them from working loose or vibrating. I still have gobs of it left over. From there, I may go ahead and order some wiring for the wings and start running that, or just wait. Haven’t decided on that just yet. Its time to start drawing up some wiring diagrams I guess!
Buy Ambien Online Without Prescription Google Photos Link: https://photos.app.goo.gl/inGtZUzWBQUVueGJA
-
IMG_3104
-
 IMG_3103
 -
 IMG_3102
 -
 IMG_3101
 -
IMG_3100
-
IMG_3099
-
 IMG_3098
 -
 IMG_3097
 -
 IMG_3096
 -
IMG_3095
-
 IMG_3092
 -
 IMG_3094
 -
 IMG_3093
 -
 IMG_3091
 -
IMG_3087
-
IMG_3089
-
IMG_3088
-
IMG_3090


https://www.ztpackaging.com/soft-loop/ Hours Worked: 2.5