


Quick update on this one. The primer in the W-818 pushrod tubes has dried so its time to rivet up the threaded rod ends on these pushrods and call them done. I still needed to file down the AN490-HT8p threaded rod ends a little to fit into the ST4130 tubing, so I finished that up and then slipped them into the tubes. Before slipping them in, I slathered on some of the oil based primer to prevent corrosion.
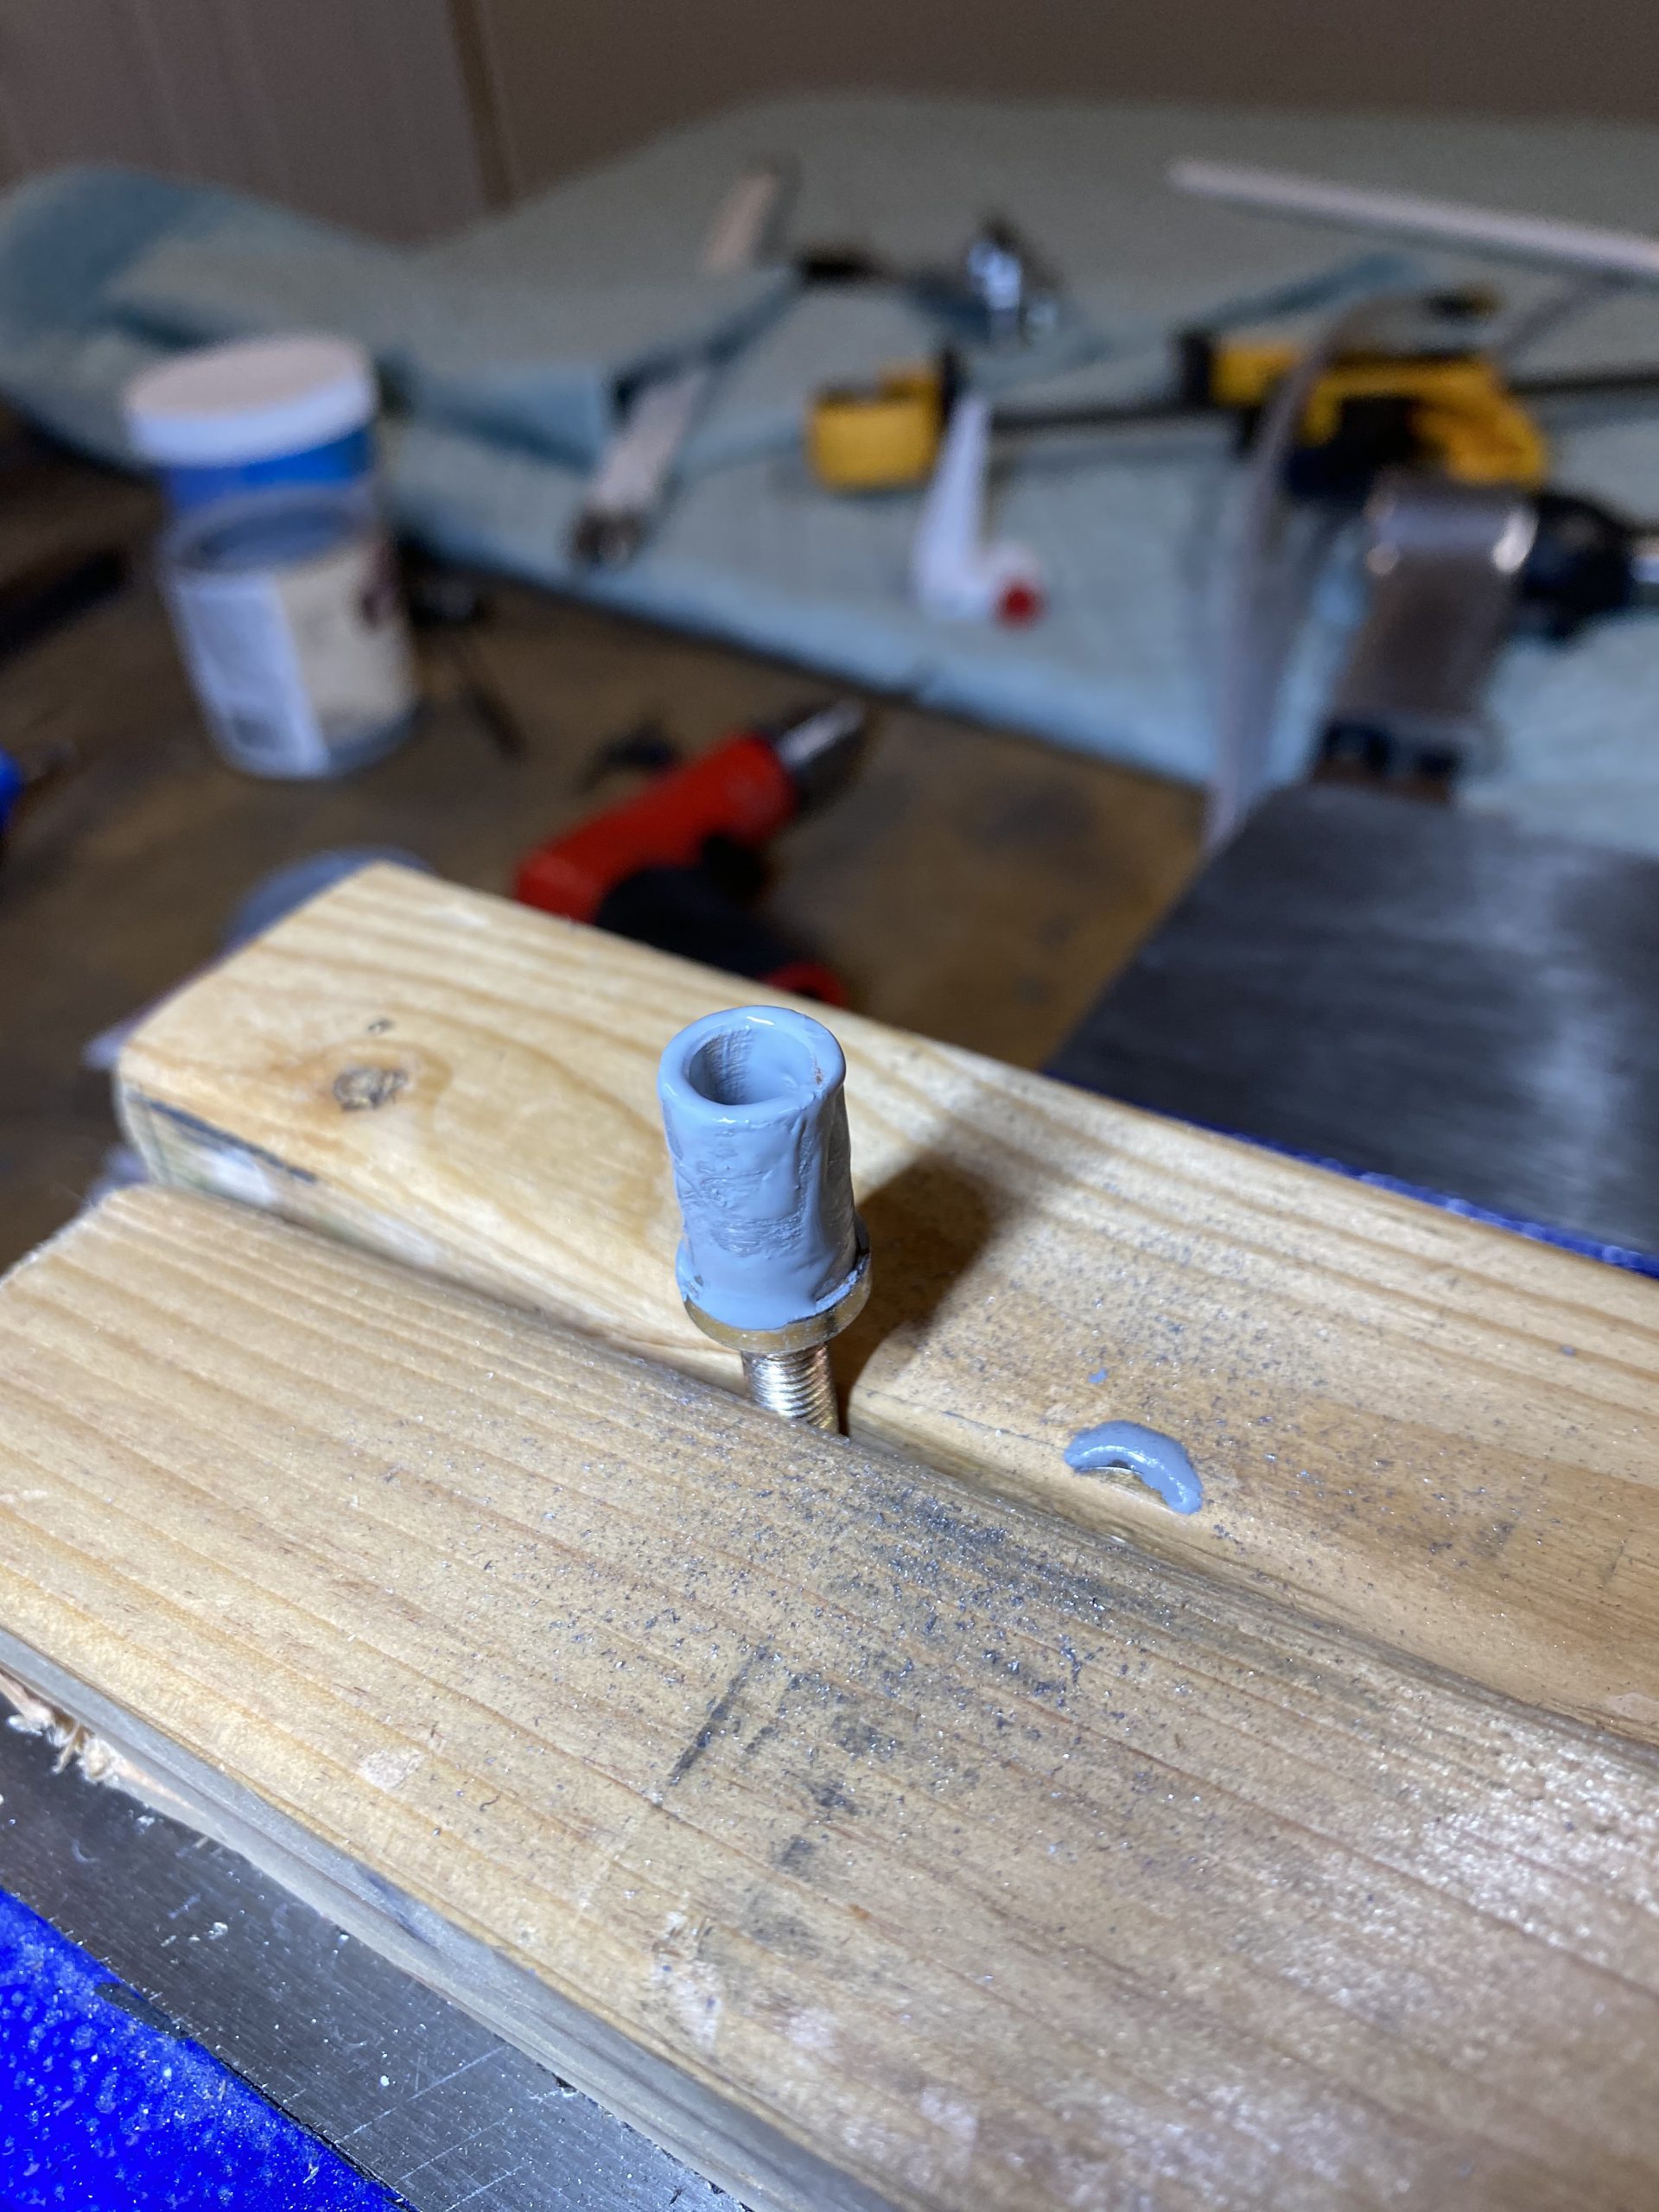
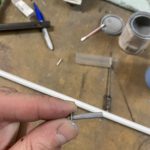
Next up was to drill the holes in these ends. I had already marked my lines for the rivets, I just needed to drill the holes to a #40 using the drill guide and clamping it onto the tube and down to my workbench like I did in the previous sessions. Like last time, I drilled the first hole, then used a drill bit to help me get the next hole lined up perpendicular and drilled it the same.
You can see from the photo above, they came out pretty nice. Good edge distance, and at right angles to each other. So, I opened the holes up to a #30 for their rivets, then deburred the holes. Next was to set the rivets. I slathered some primer on these AN470AD4-12 rivets to prevent any corrosion. These are aluminum rivets, and the tubing is ST4130 steel. Spec says we should use a monel rivet in steel, but Vans tells us to use aluminum, and it seems to do fine for thousands of others flying, I covered them in primer and wet set them to be sure.
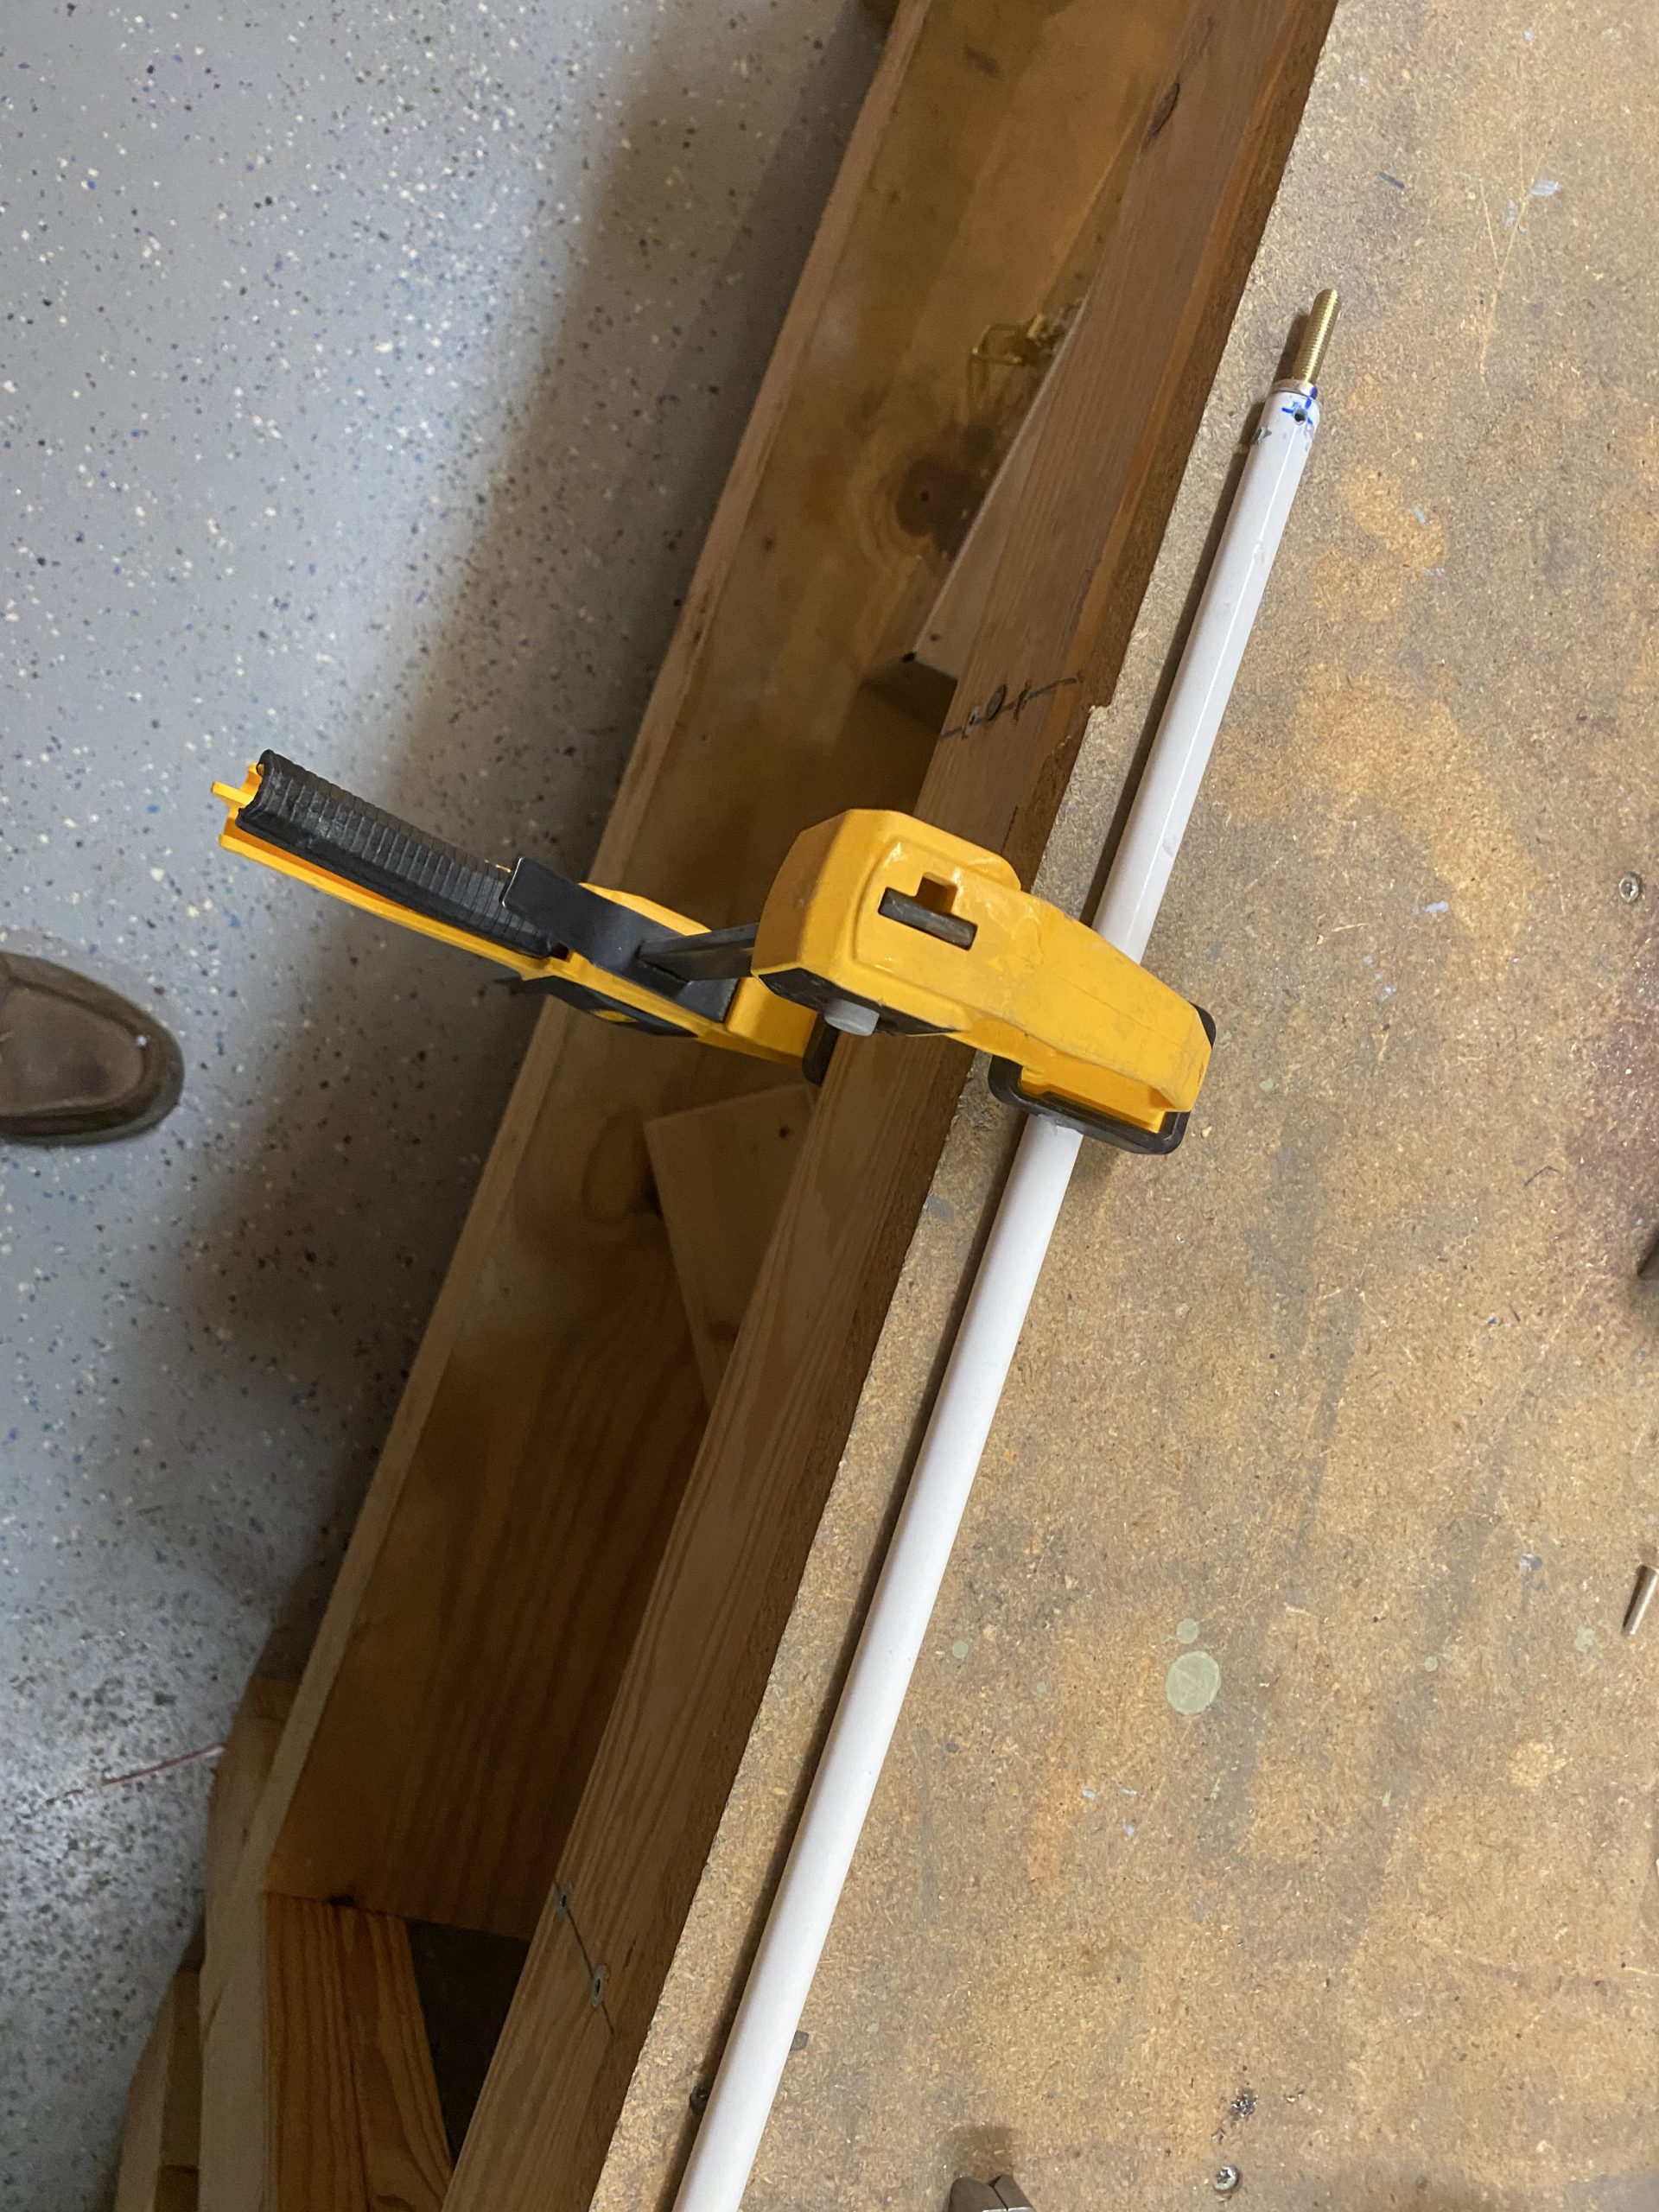
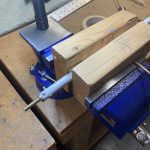
I put some wood blocks in my vise, then clamped the assembled pushrod down nice and firm. Inserted the rivet and bucked it very slowly, using short bursts to control the intentionally long tail as it expanded inside the tubing. Then I flipped the gun and bar around, using the cupped set on the tail of the rivet to give it a nice rounded head!
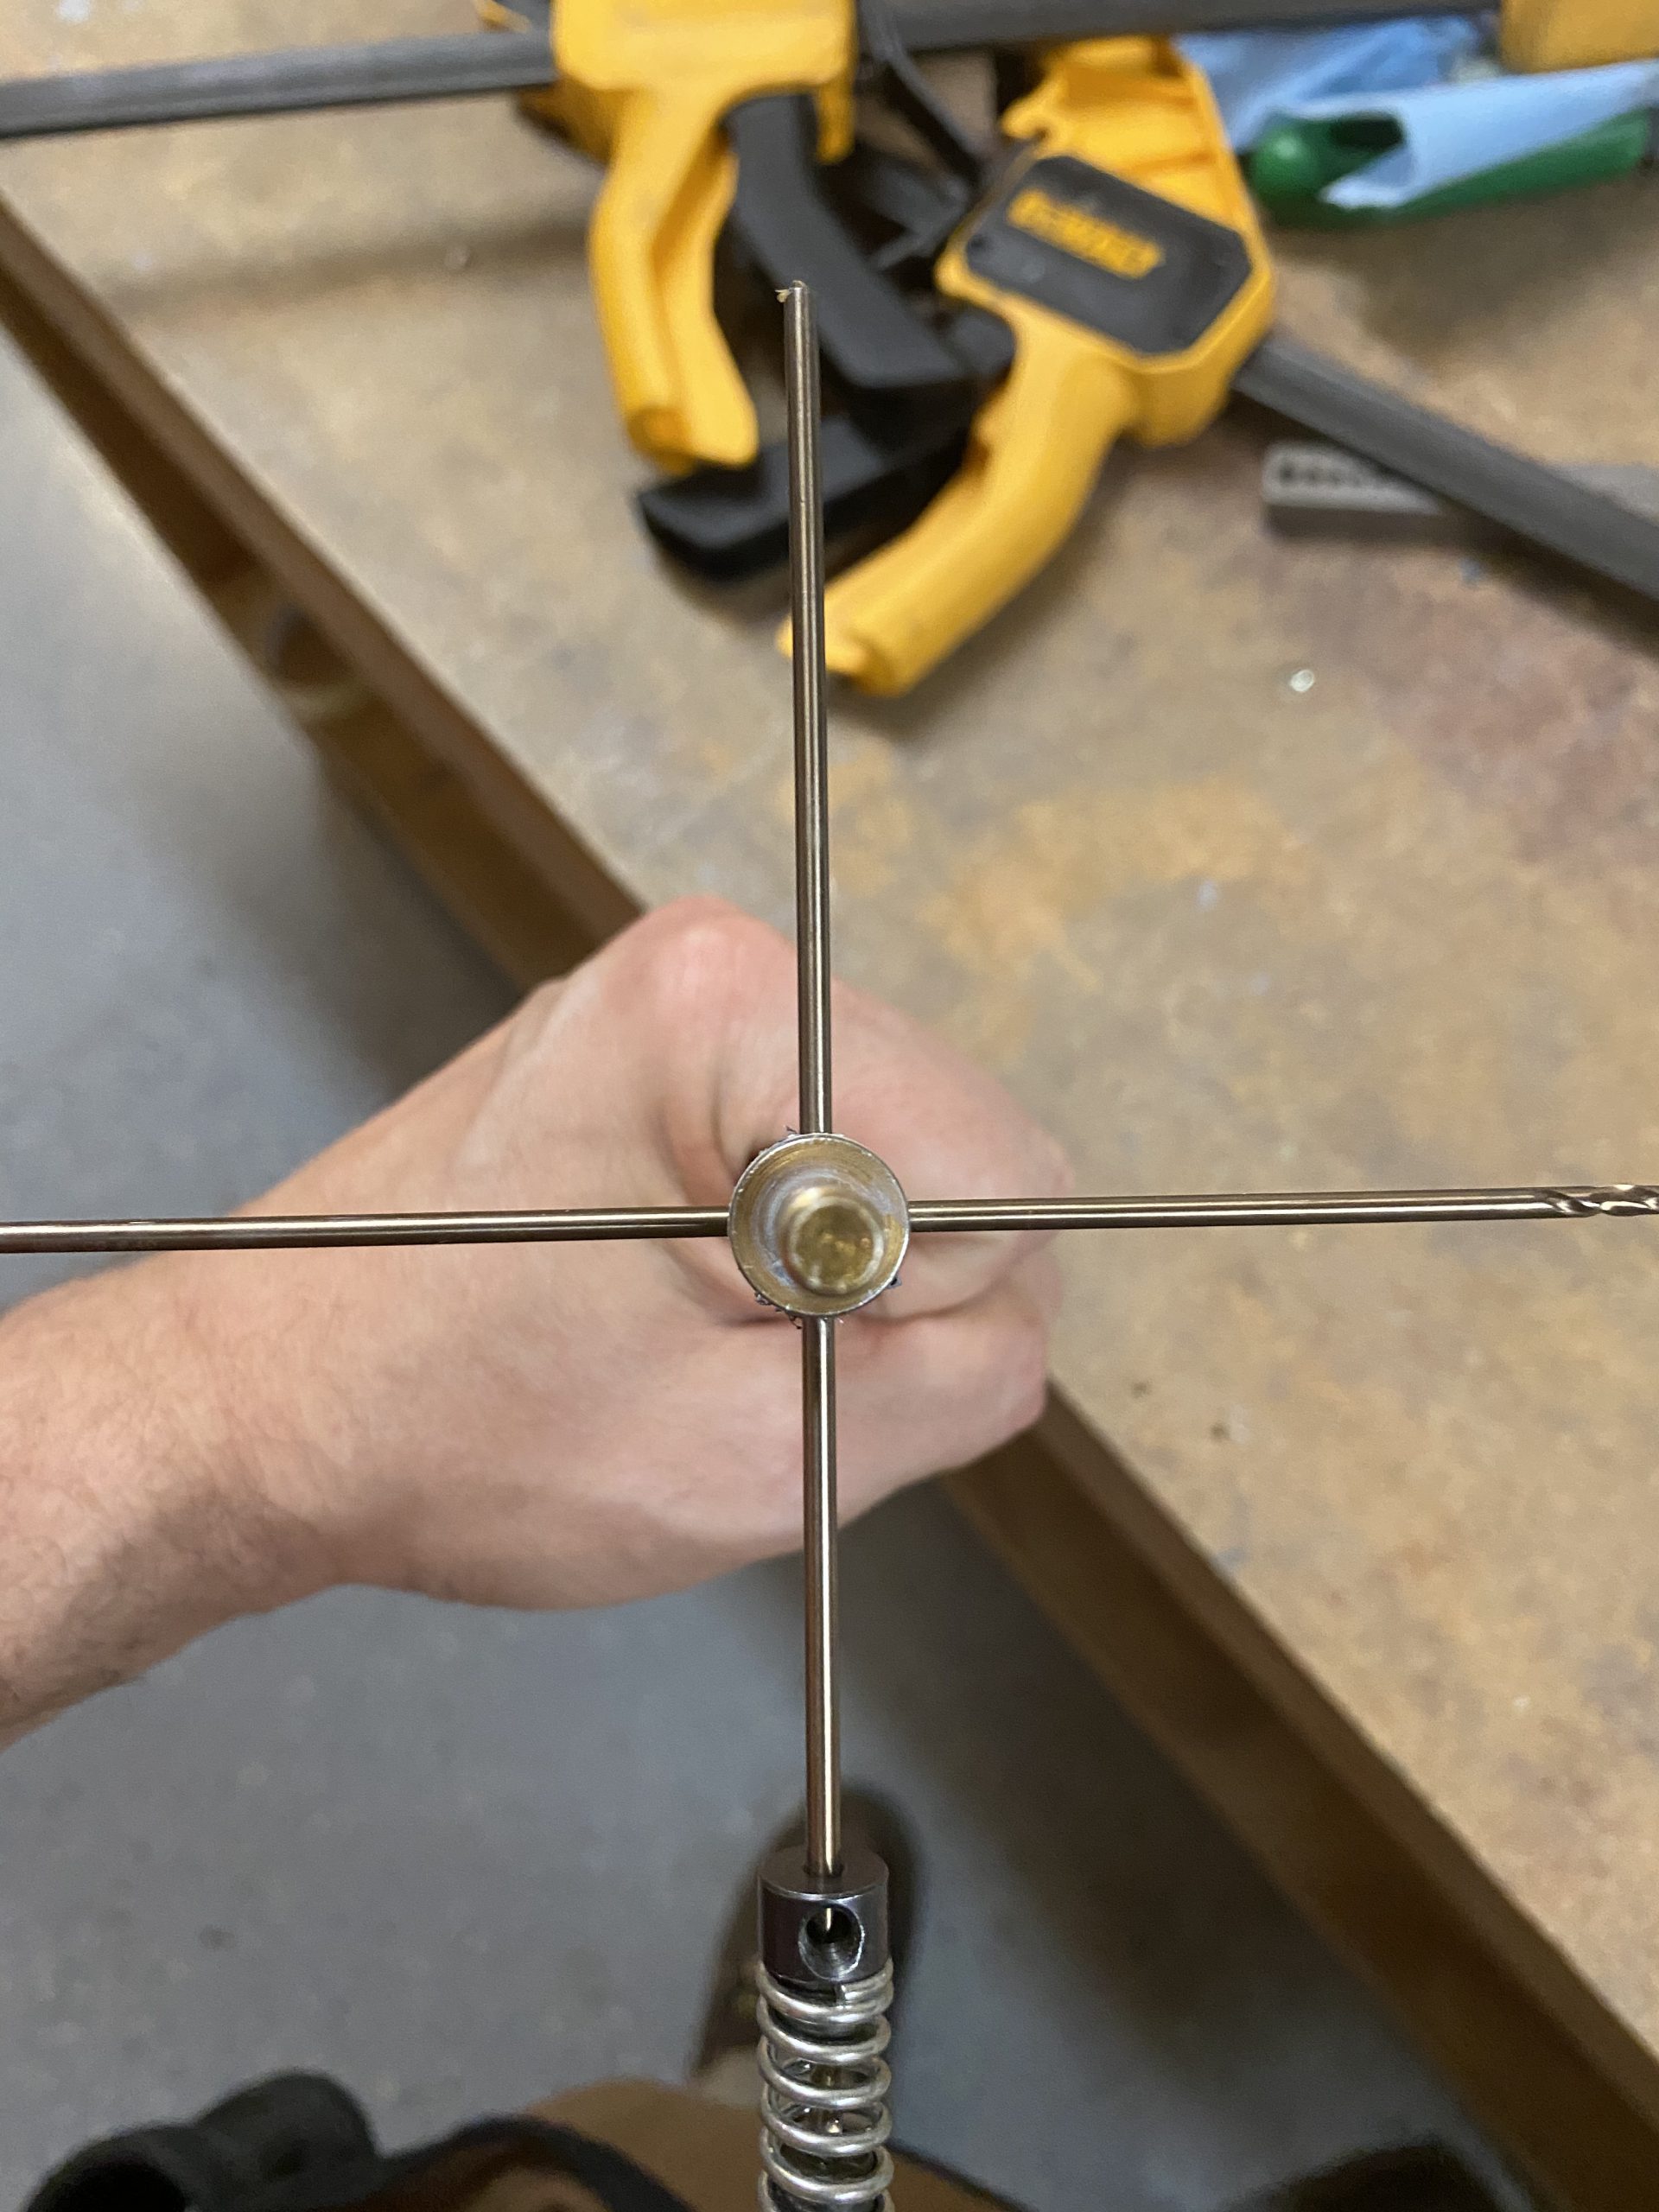
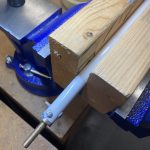
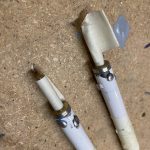
The photo above shows one of the tails (facing up) that I had set using the cupped set. It squished the tail down into a mushroom shape giving a nice smooth area that will reduce interefence with the hole in the rear spar. Plus it just looks really nice. It’s a double-flush set. I knocked out all 8 of the rivets on both pushrods, then cleaned the ends well with water and a little acetone. Then I masked off the threads, and left a short section of the white coating unmasked on the tubing, because there was some damage from the drilling and riveting process.
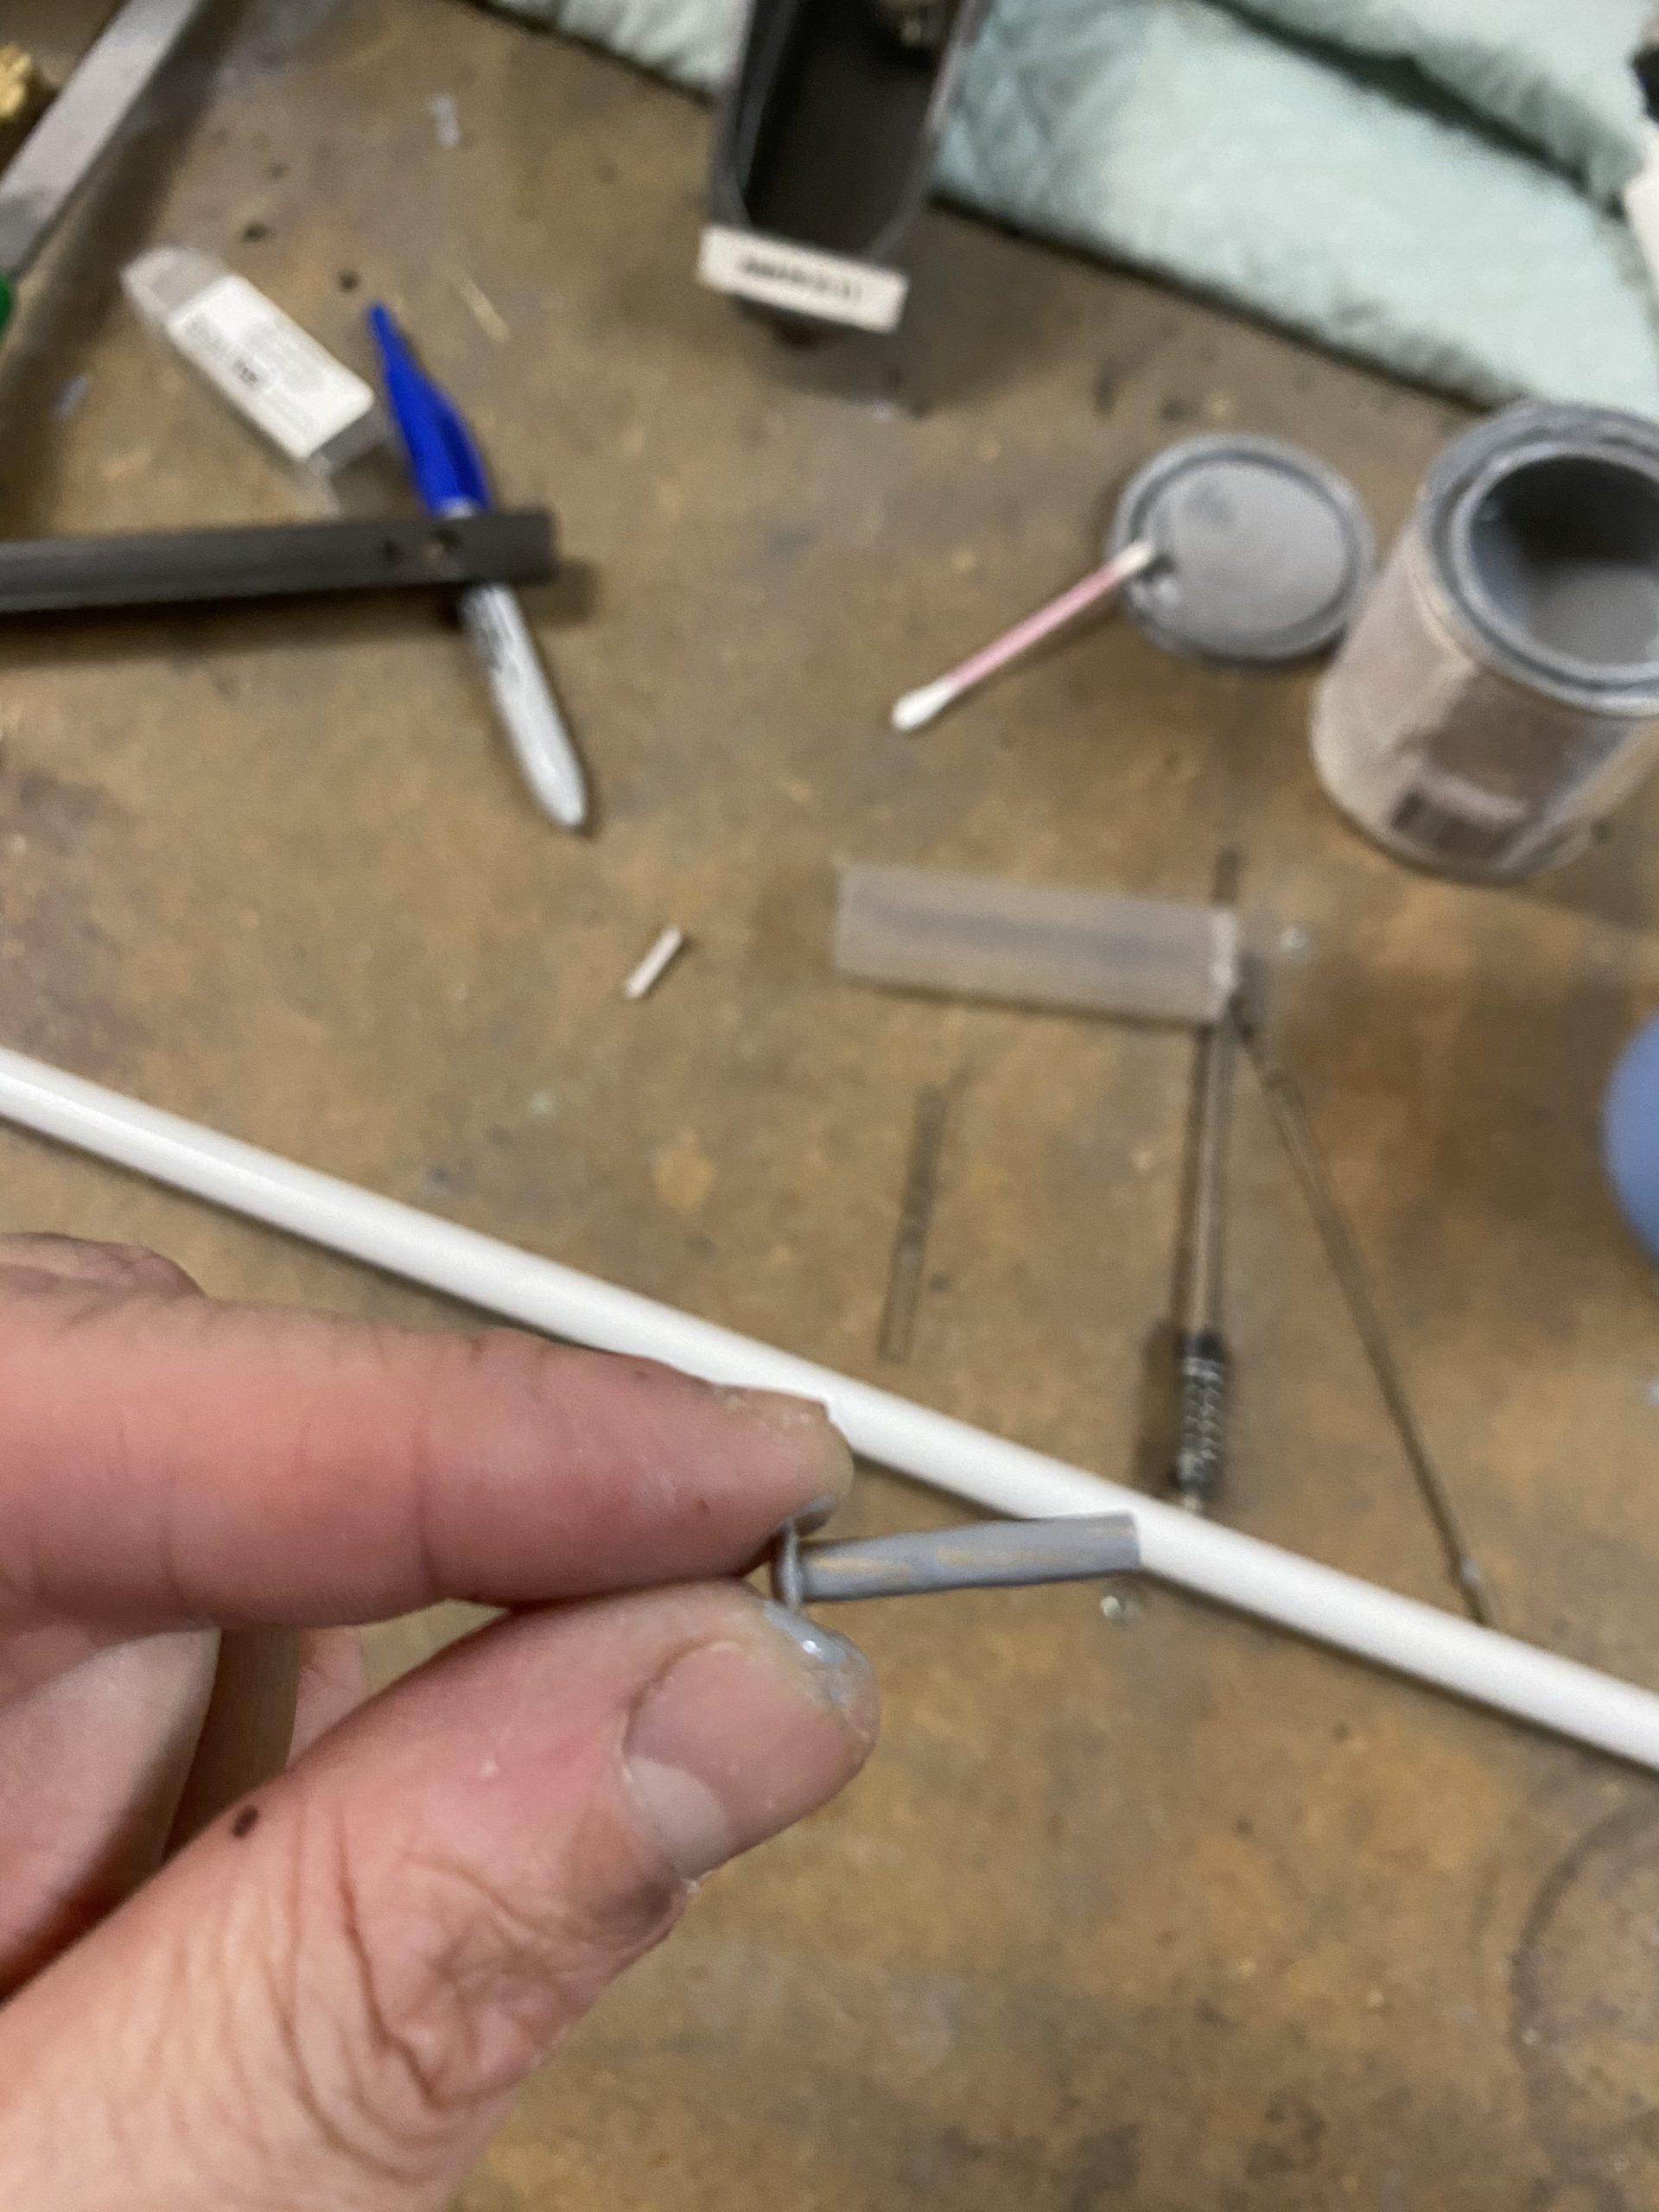
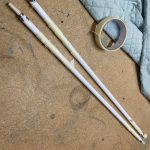
The rod on the right is not cracked. Thats the naked steel left from where the coating chipped off during the bucking process. I’ve read its hard to not damage this spot, and lots of builders hit this with some spray primer to protect it. So, I masked it off, and shot it with a few good coats of a metal self-etching primer in a rattle can. I found a white color, and it seems to actually match pretty dang good!
I’ll let this primer cure, then I’ll mark the threads on their halfway point with some sharpie, and install them in the wings. These pushrods are done, and I am not going to weld them, since the rivets came out so nice, and had great edge distance on this go around. Once I get these pushrods installed, all that will be left is to install the nylon conduit and maybe a little wiring, then the wings are finished for now.
Google Photos:
-
IMG_3076
-
 IMG_3077
 -
IMG_3078
-
IMG_3079
-
IMG_3080
-
IMG_3081
-
IMG_3082
-
IMG_3083
-
IMG_3084
-
IMG_3085


Hours Worked: 1.5