


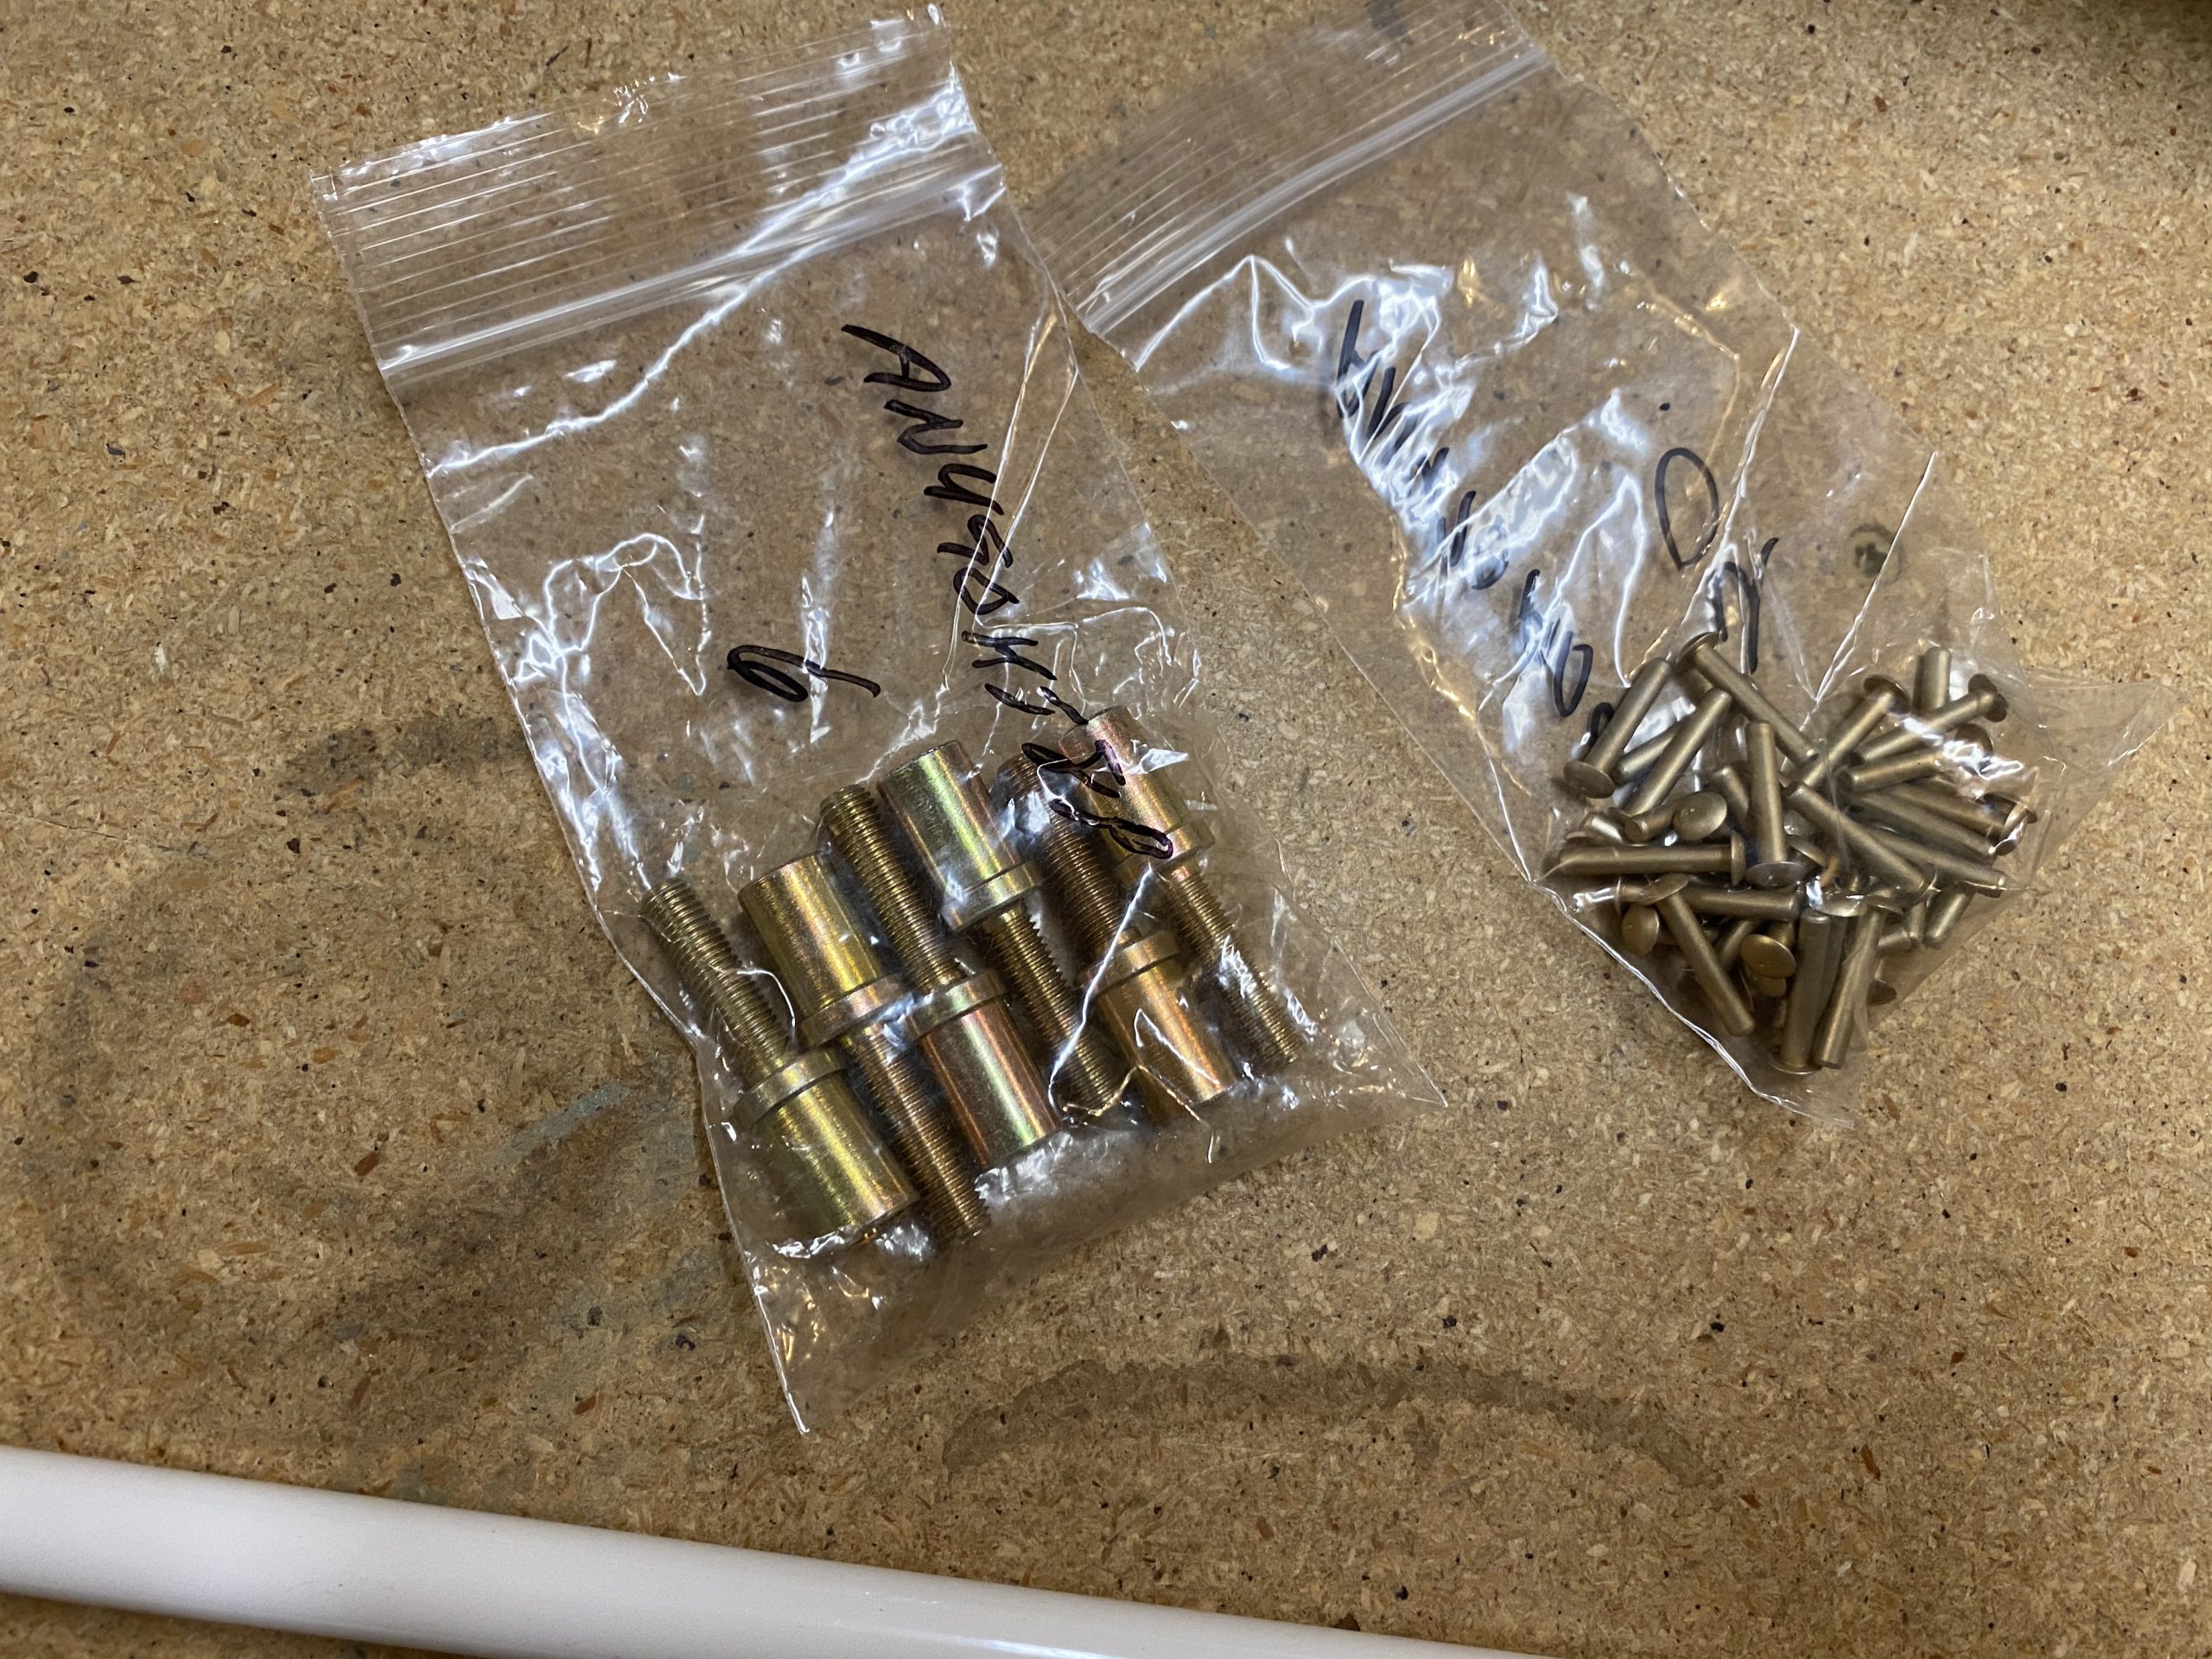
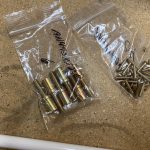
My shipment of replacement parts to rebuilt the aileron pushrods came in today. Recall from an earlier post How a local welder really jacked up my aileron pushrods in an attempt the weld them, so I ordered the materials to rebuilt them. I actually ordered extra 48″ of tubing and a few extra threaded inserts just in case. I figured might as well save on shipping because these parts are pretty inexpensive, but rather bulky to ship. I also picked up some more -12 rivets too.

I grabbed a timelapse, and Tammy and Acacia came down and helped with a little. I let them handle the priming portion 🙂
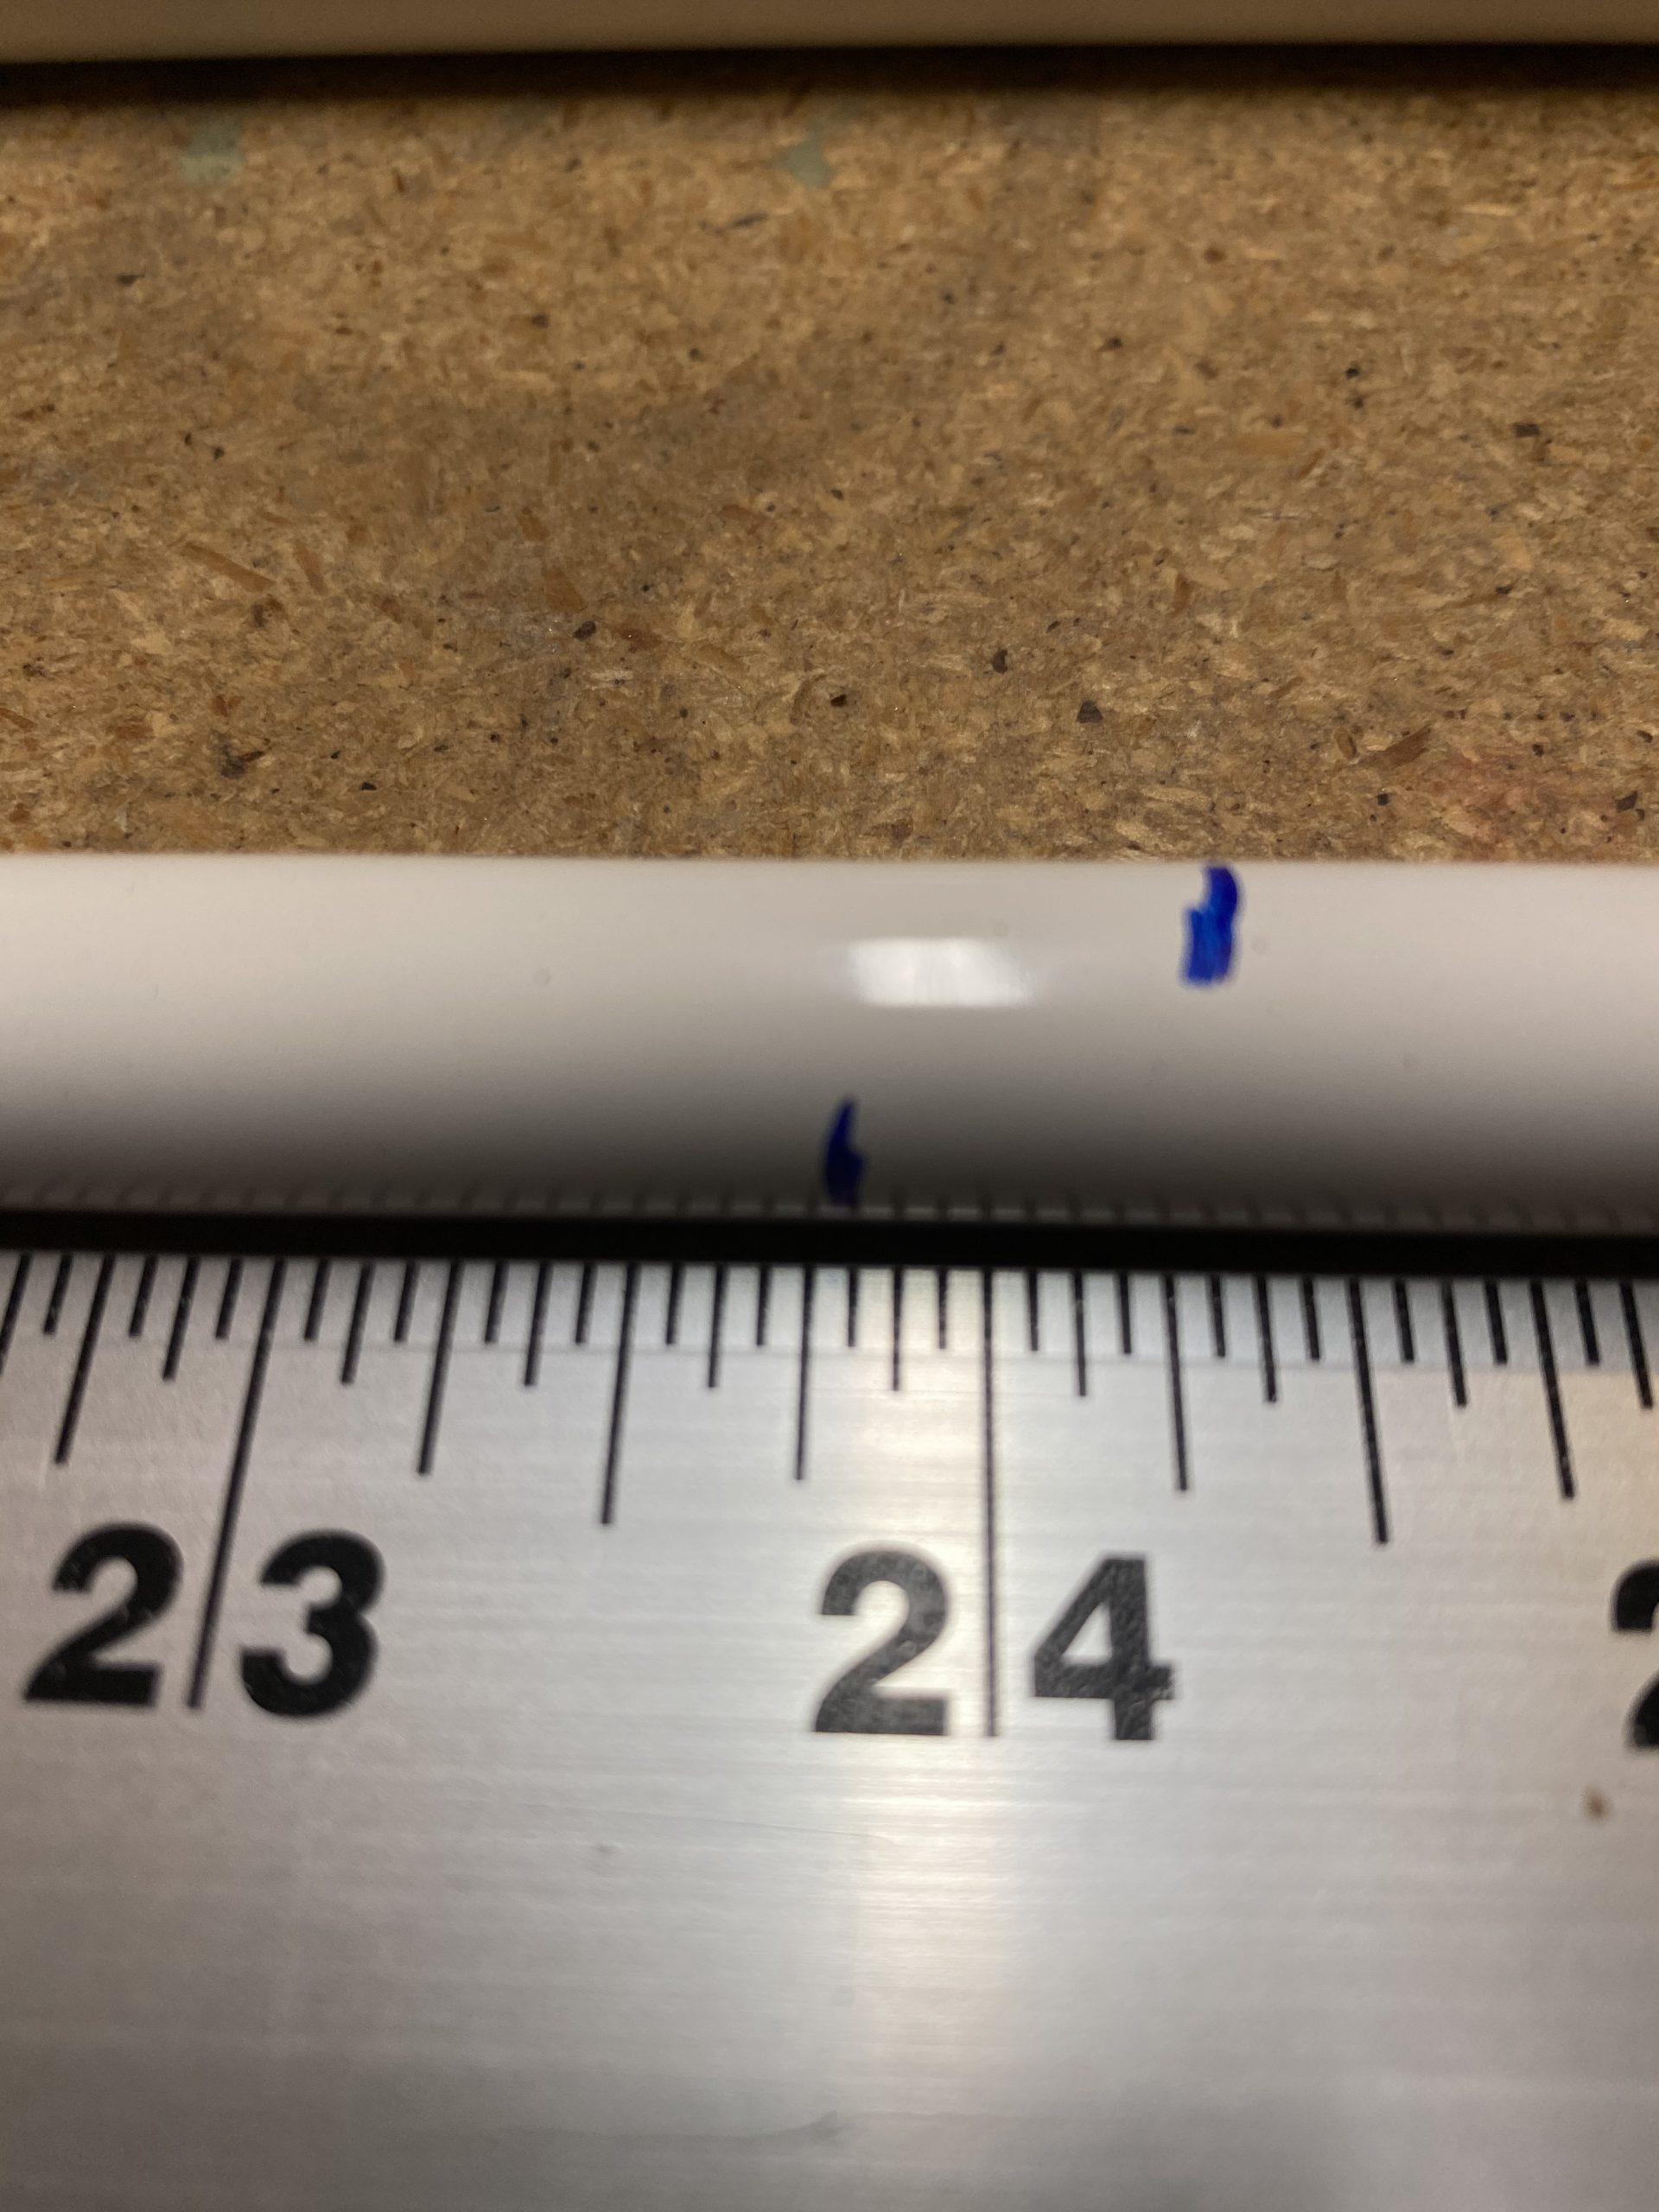
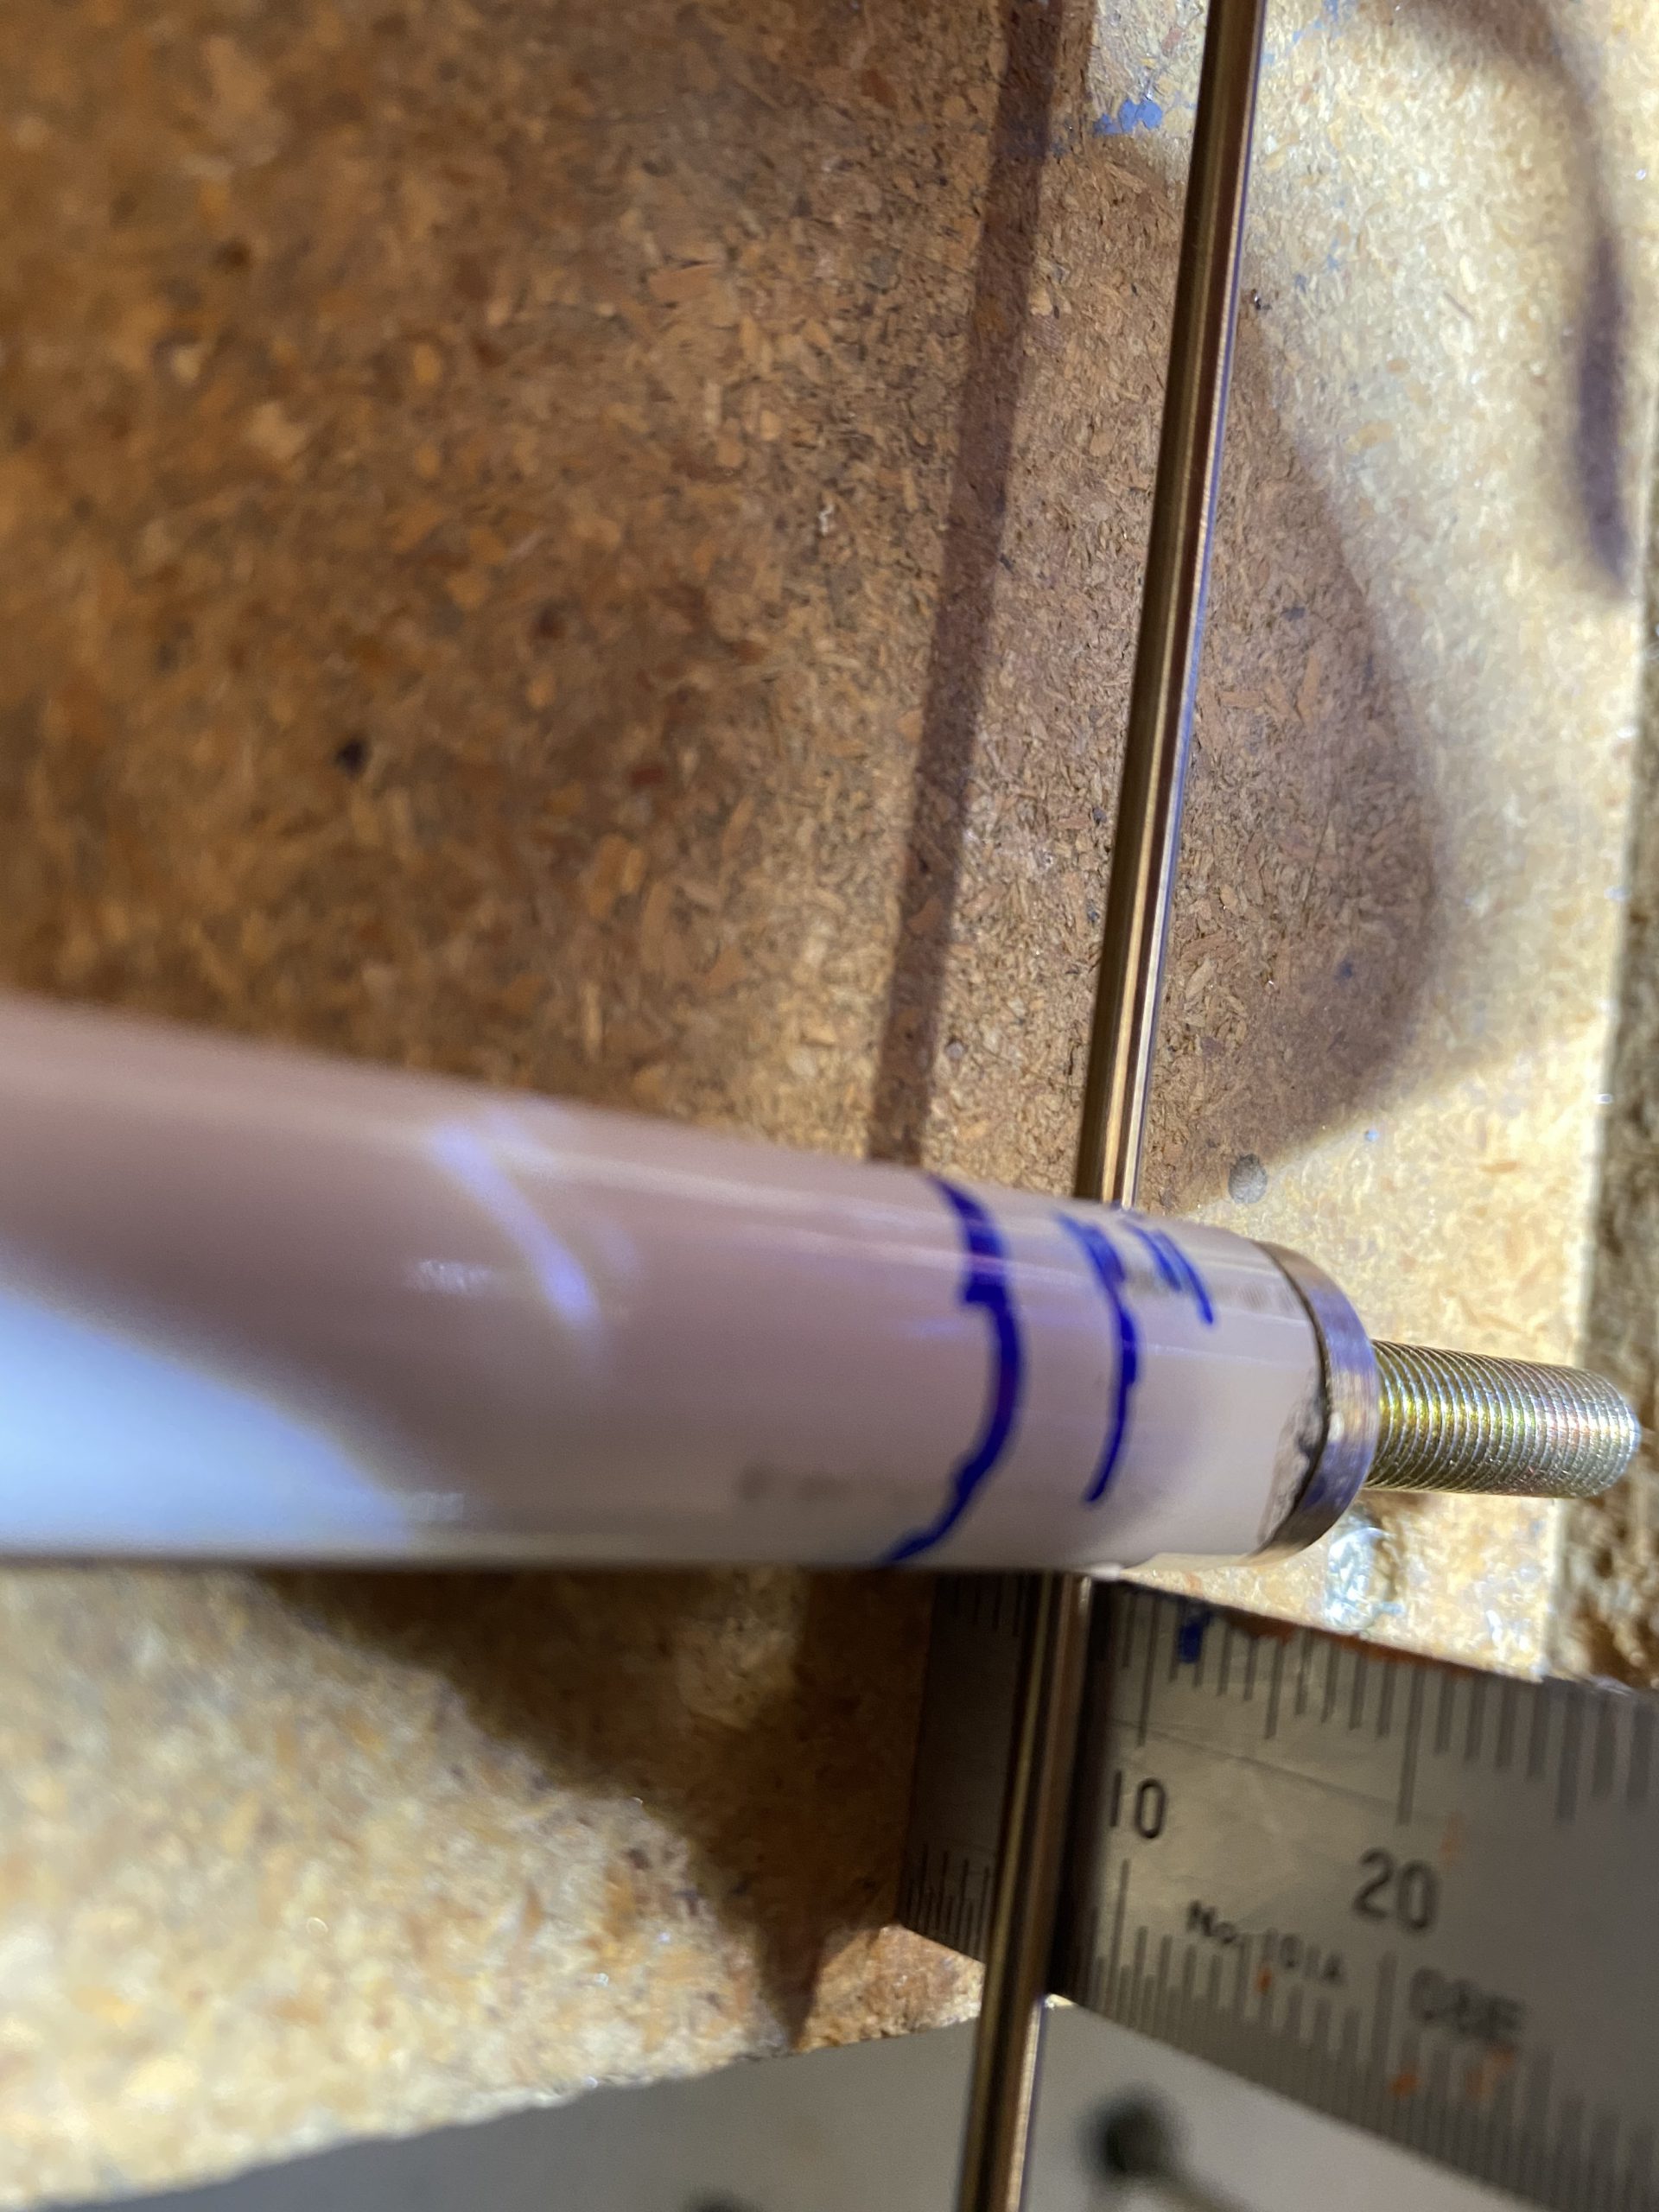
I started out by measuring 23 13/16″ on the ST4130 tubing snd cutting them to size using the chop saw. You can see from my two marks, Vans doesn;’t give you very much extra to work with. With two quick cuts, I had my pushrod tubes cut to the proper length. The I deburred the edges with a file.
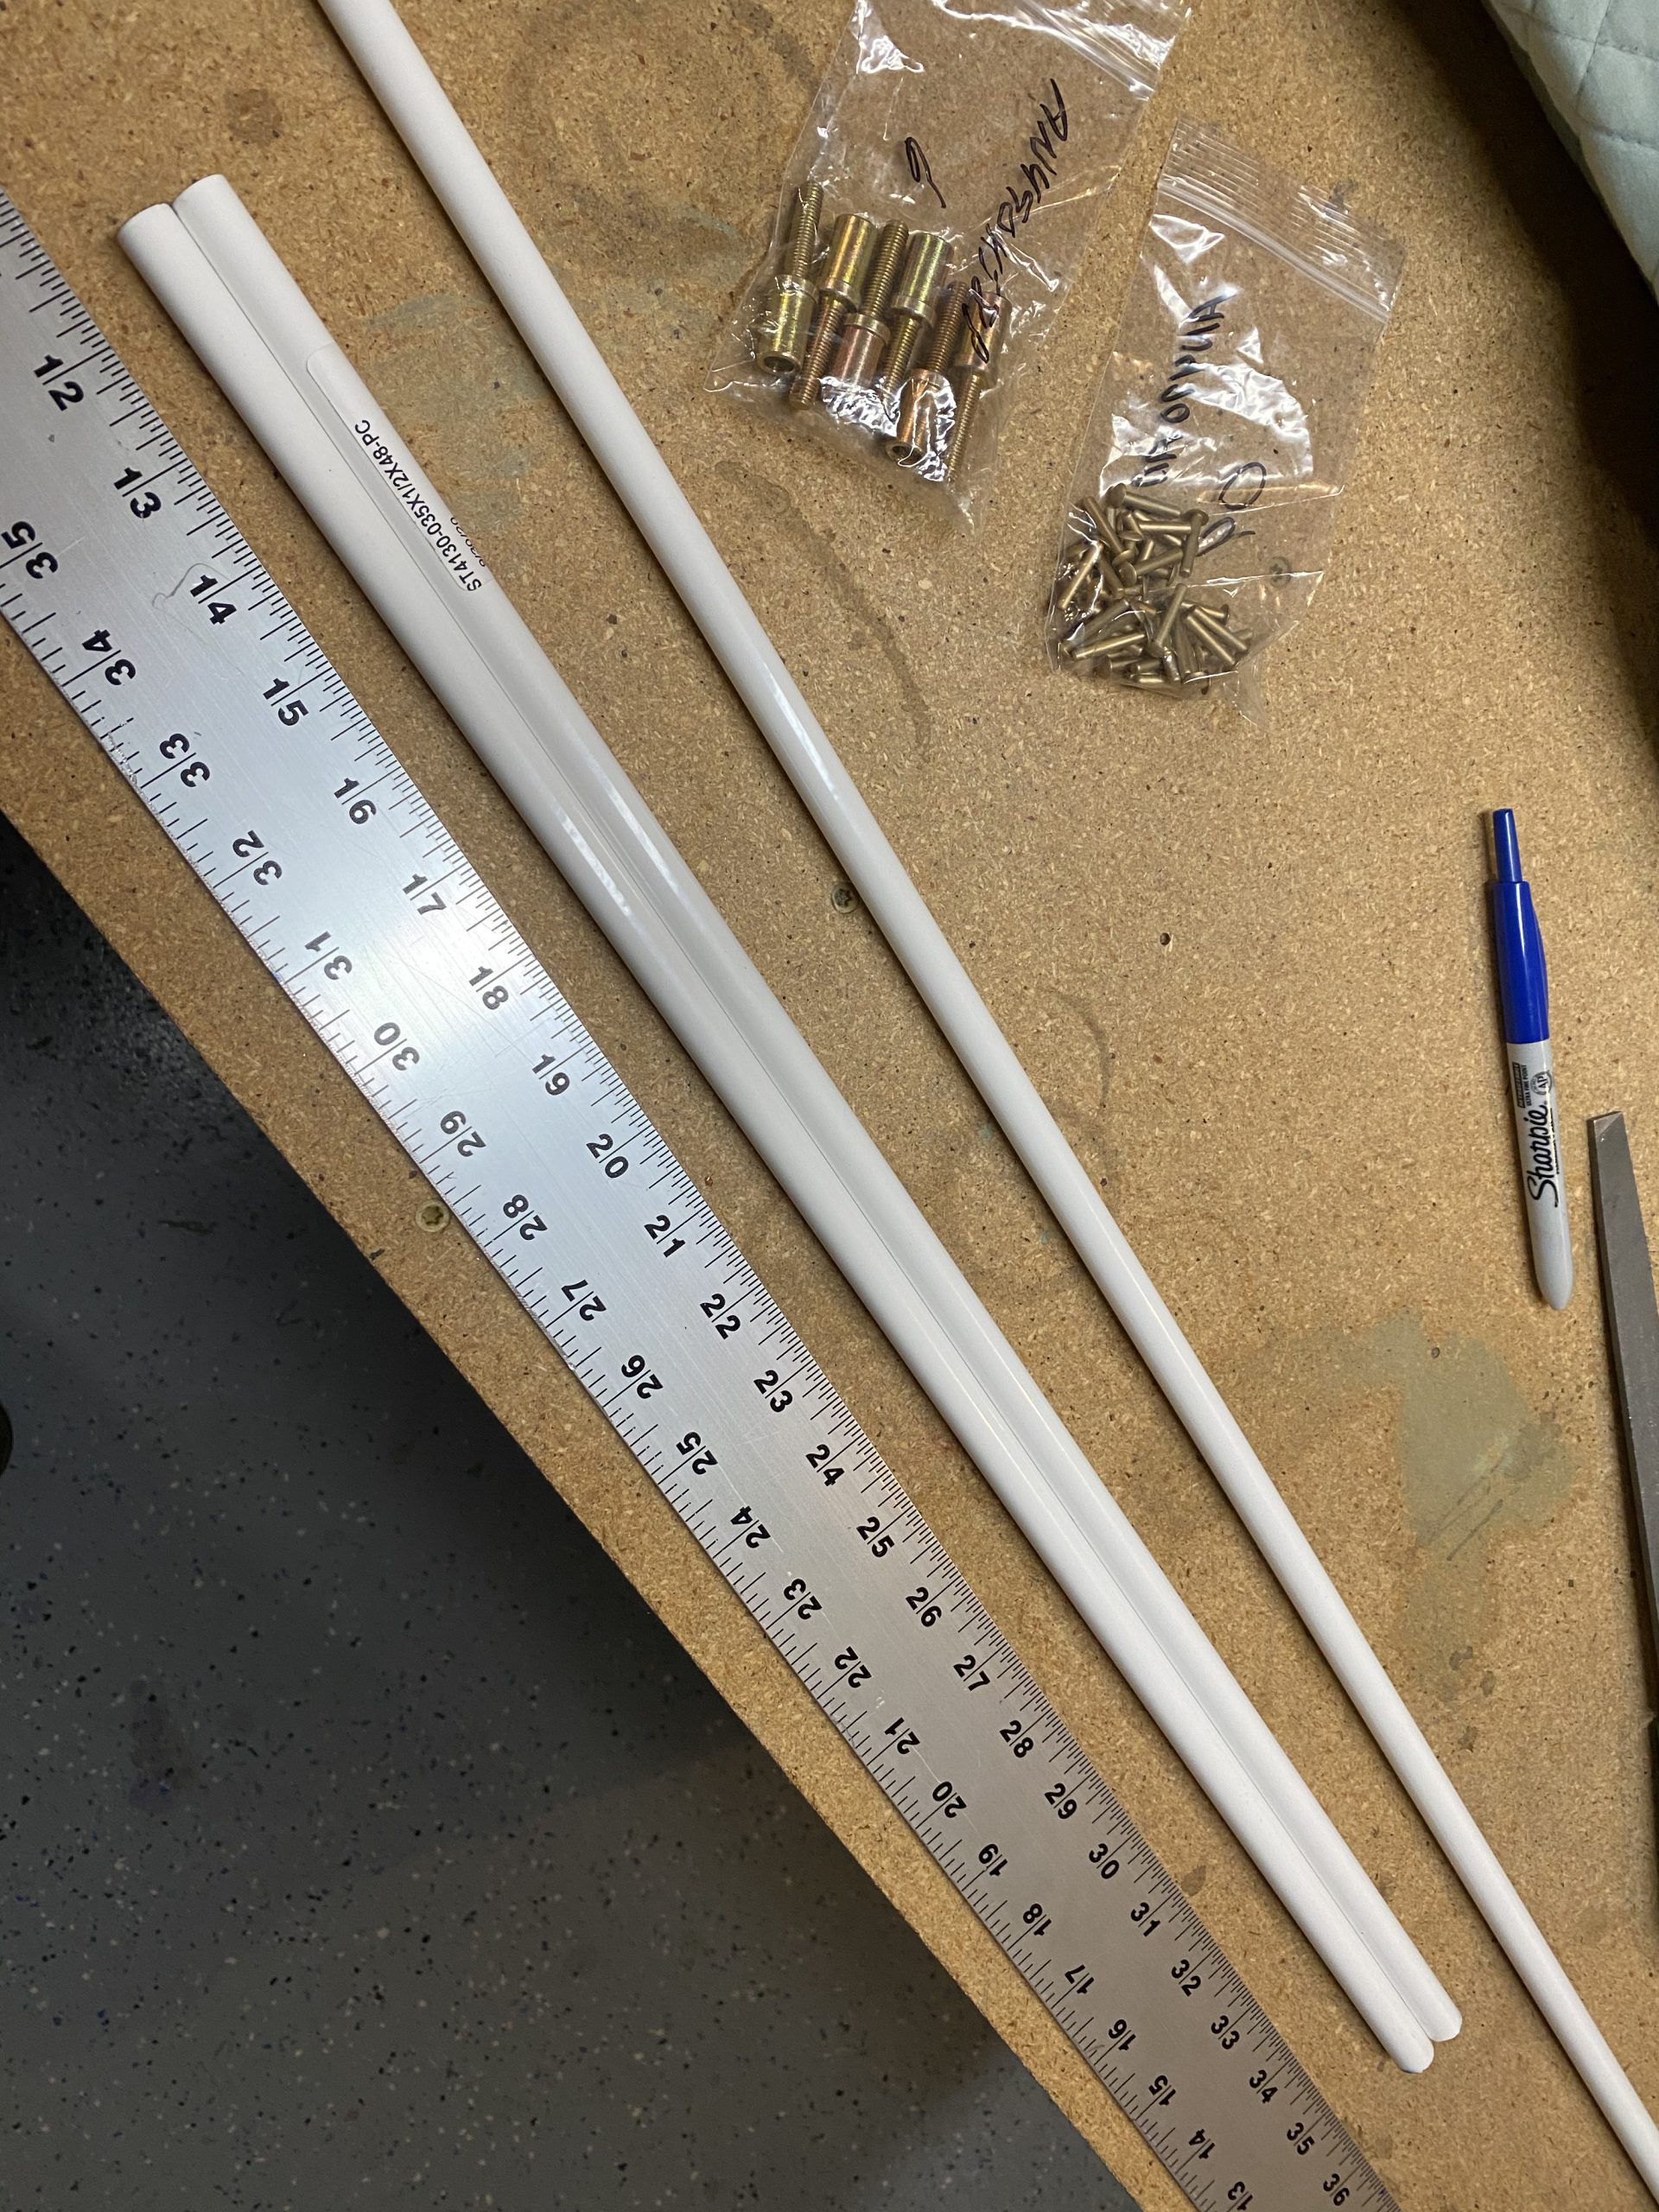
Next up was a little bit of filing on both the ST4130 tubing as well as the AN490-HT8P threaded rod ends. I used a round file to file and smooth down the inside of the tubing, and then a standard bastard file to file down the shoulder of the AN490 threaded rod ends until I got a snug fit when the rod end was slipped into the tubing. There wasn’t much filing needed, just enough for a good fit. I put some wood blocks in my bench vise to hold the rod end while I filed on it. Worked good.
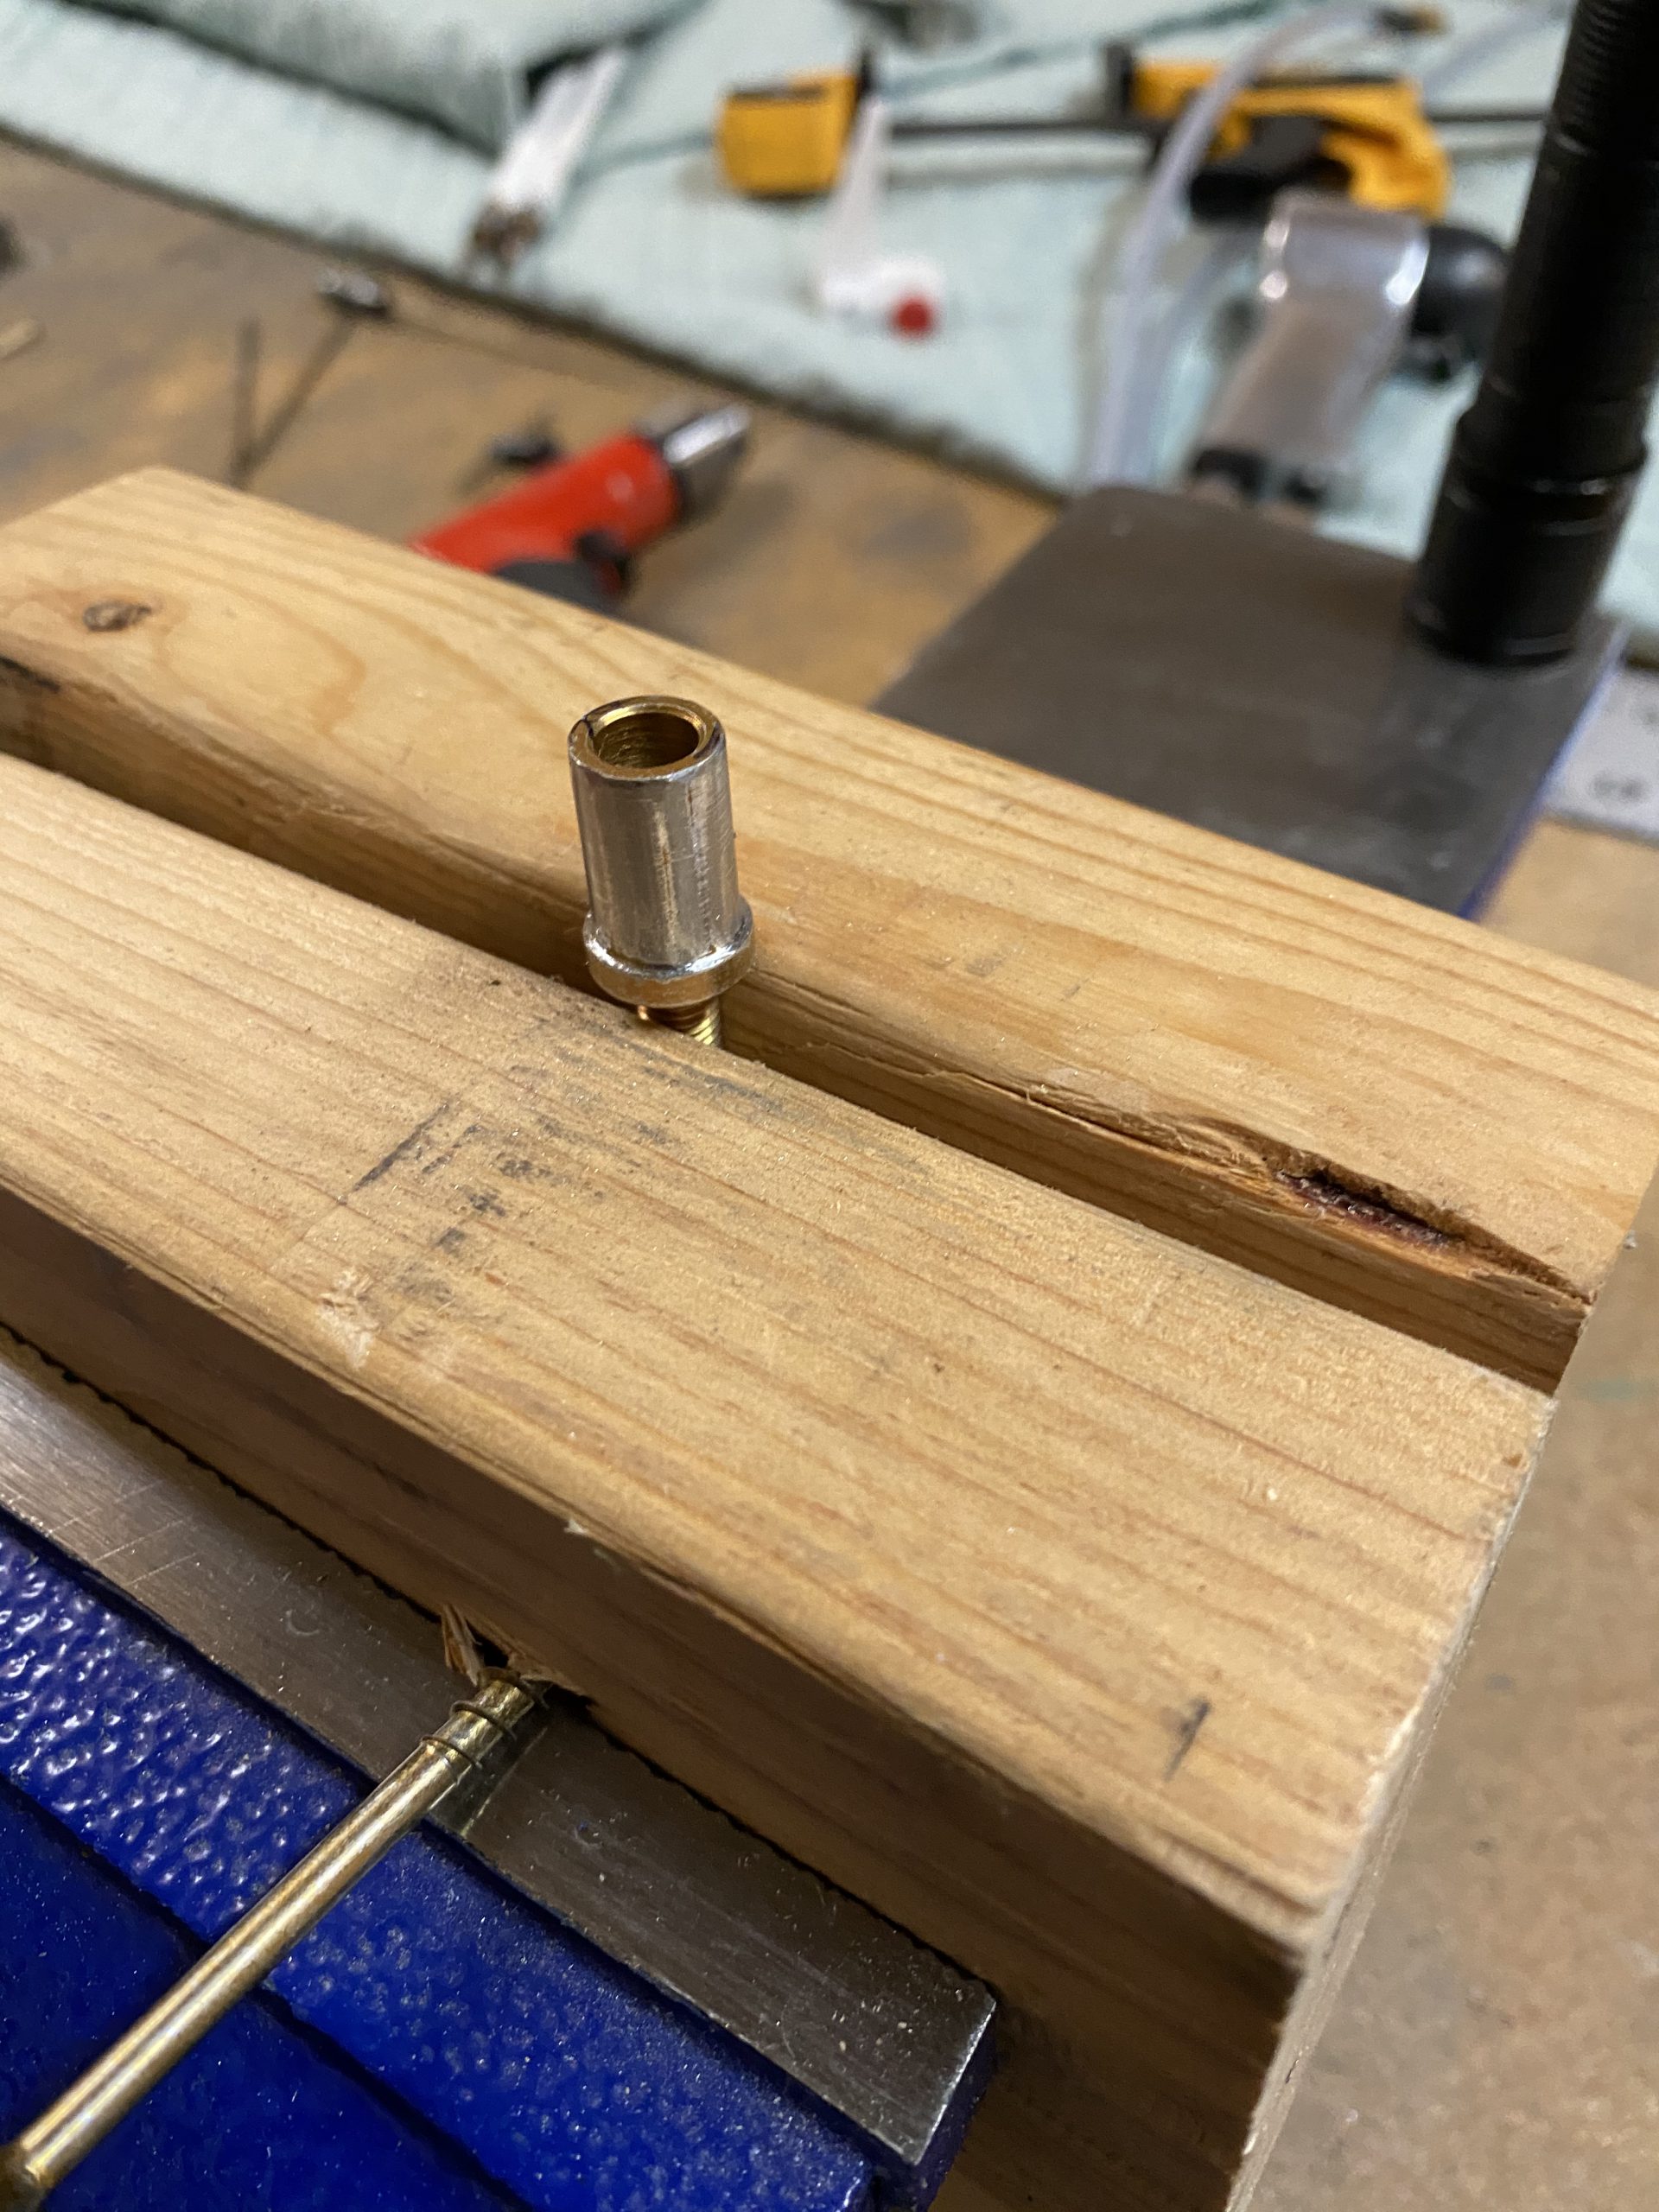
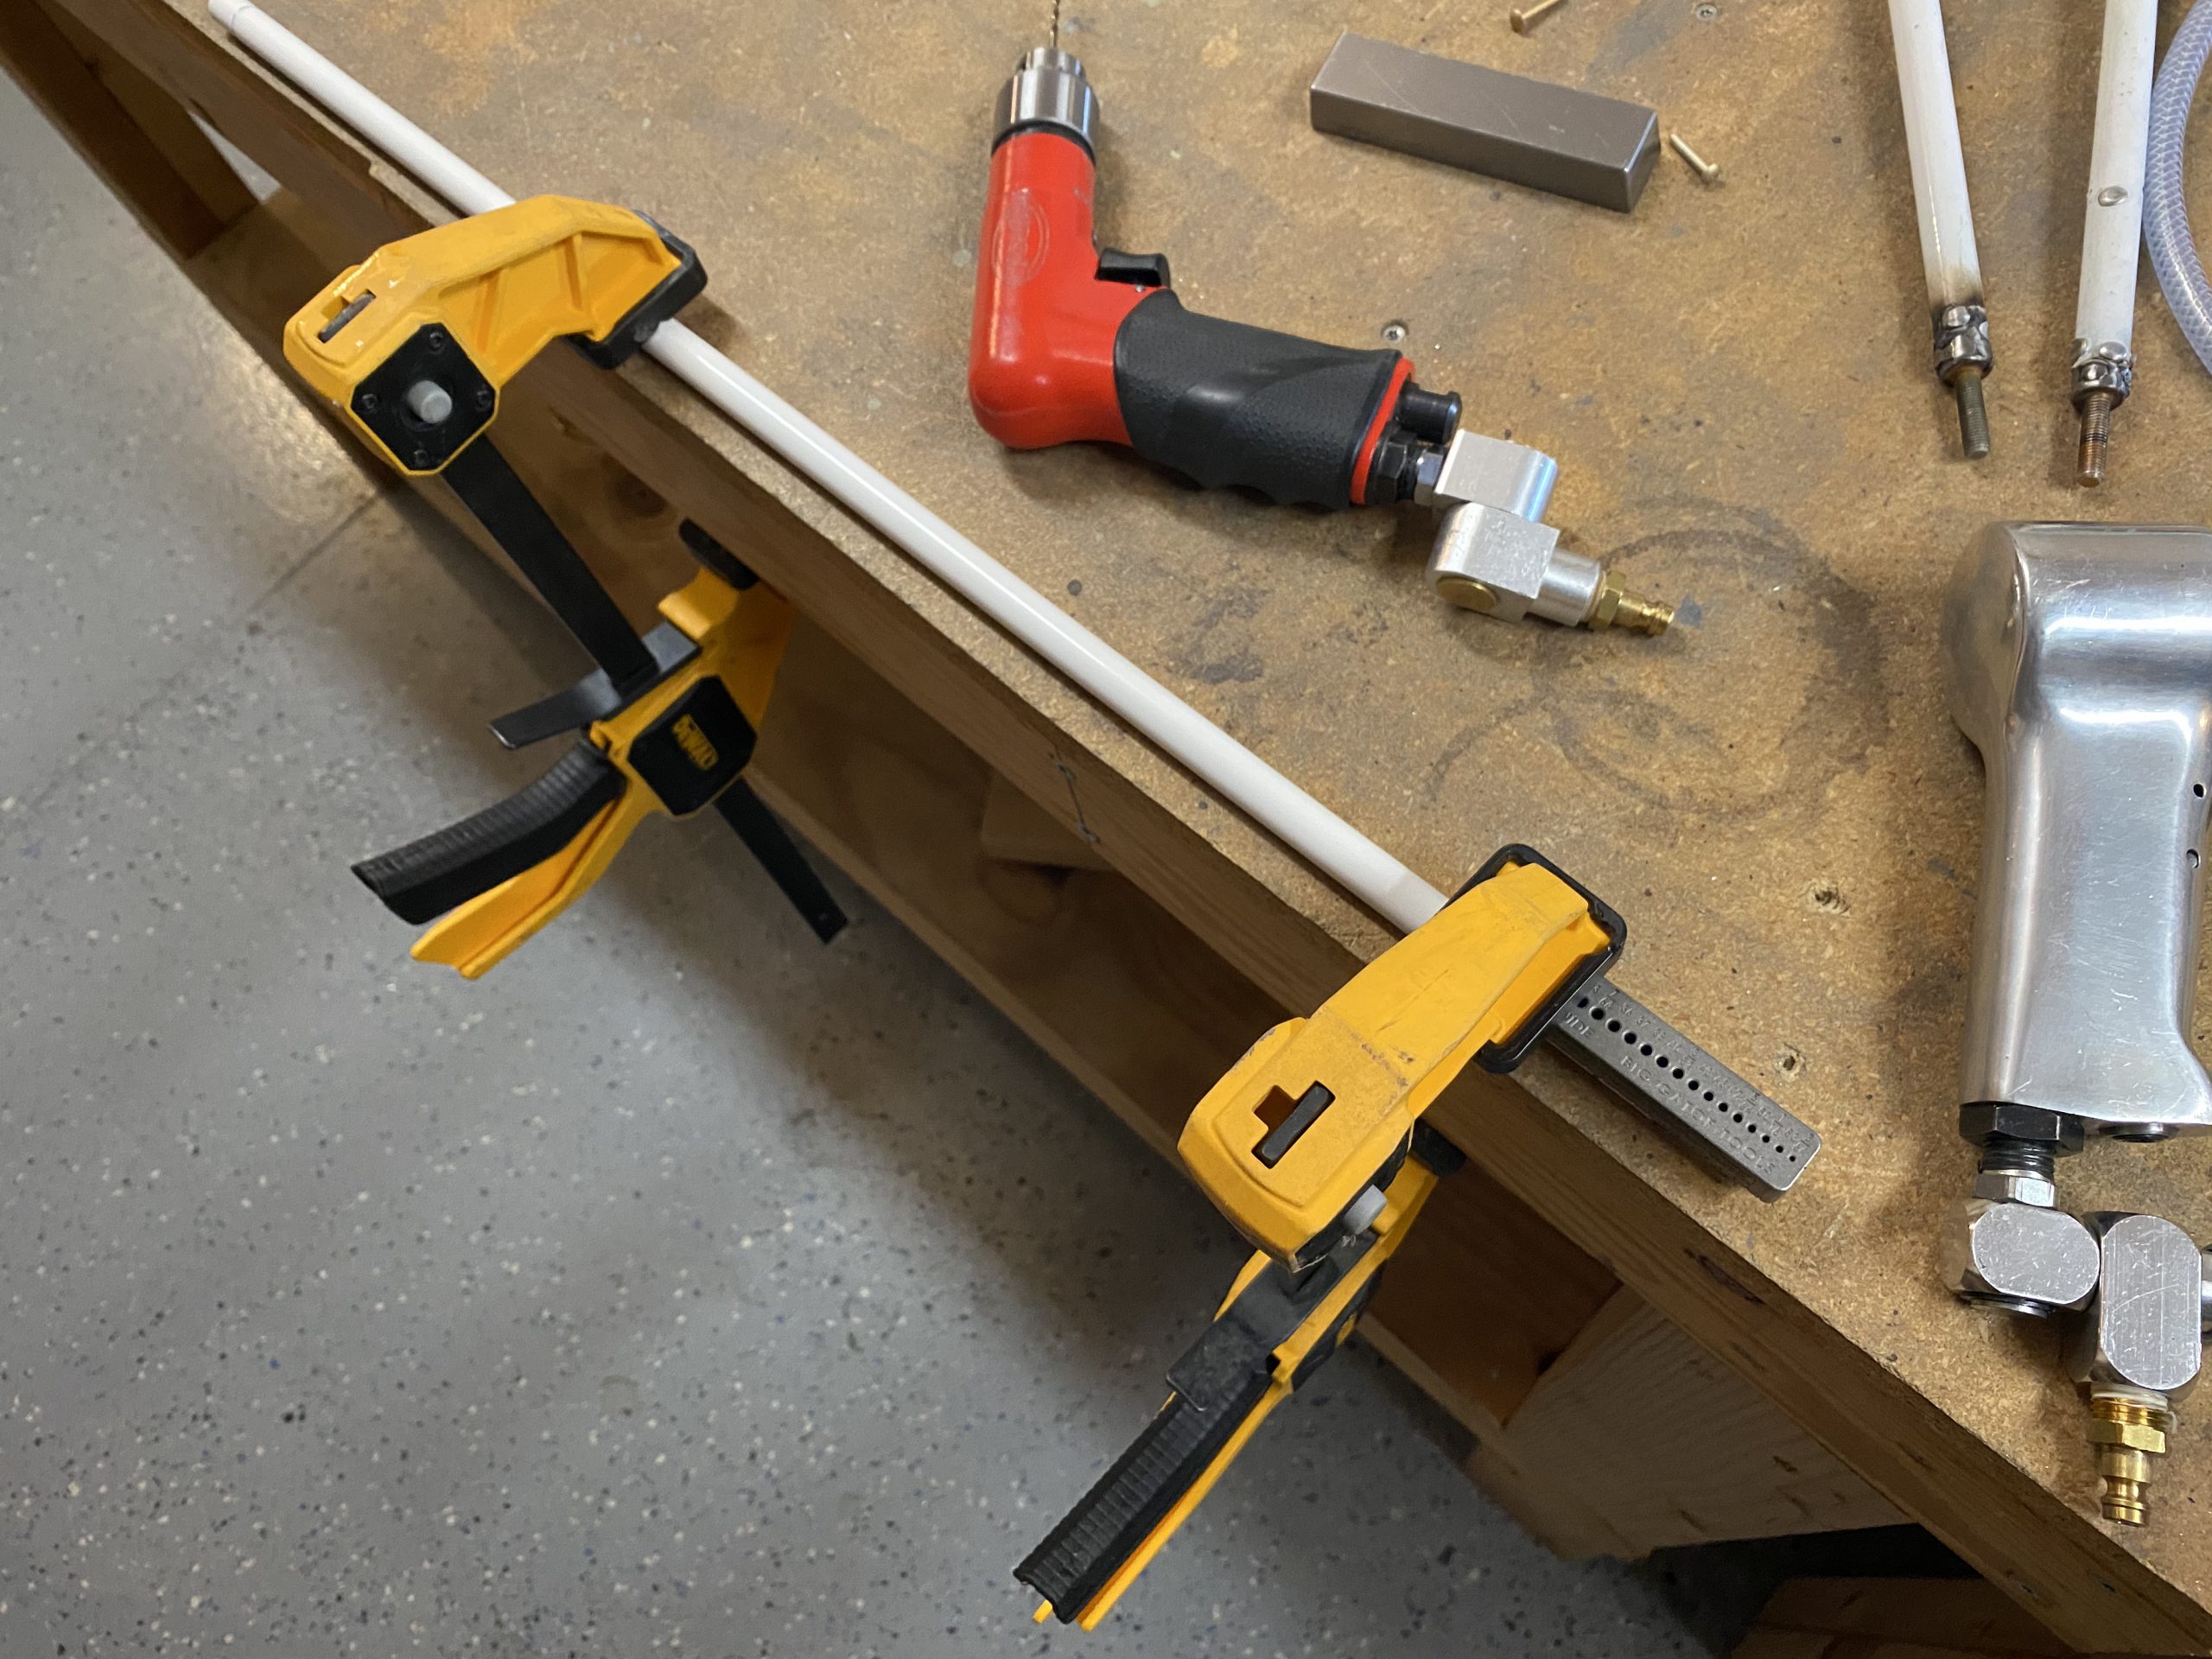
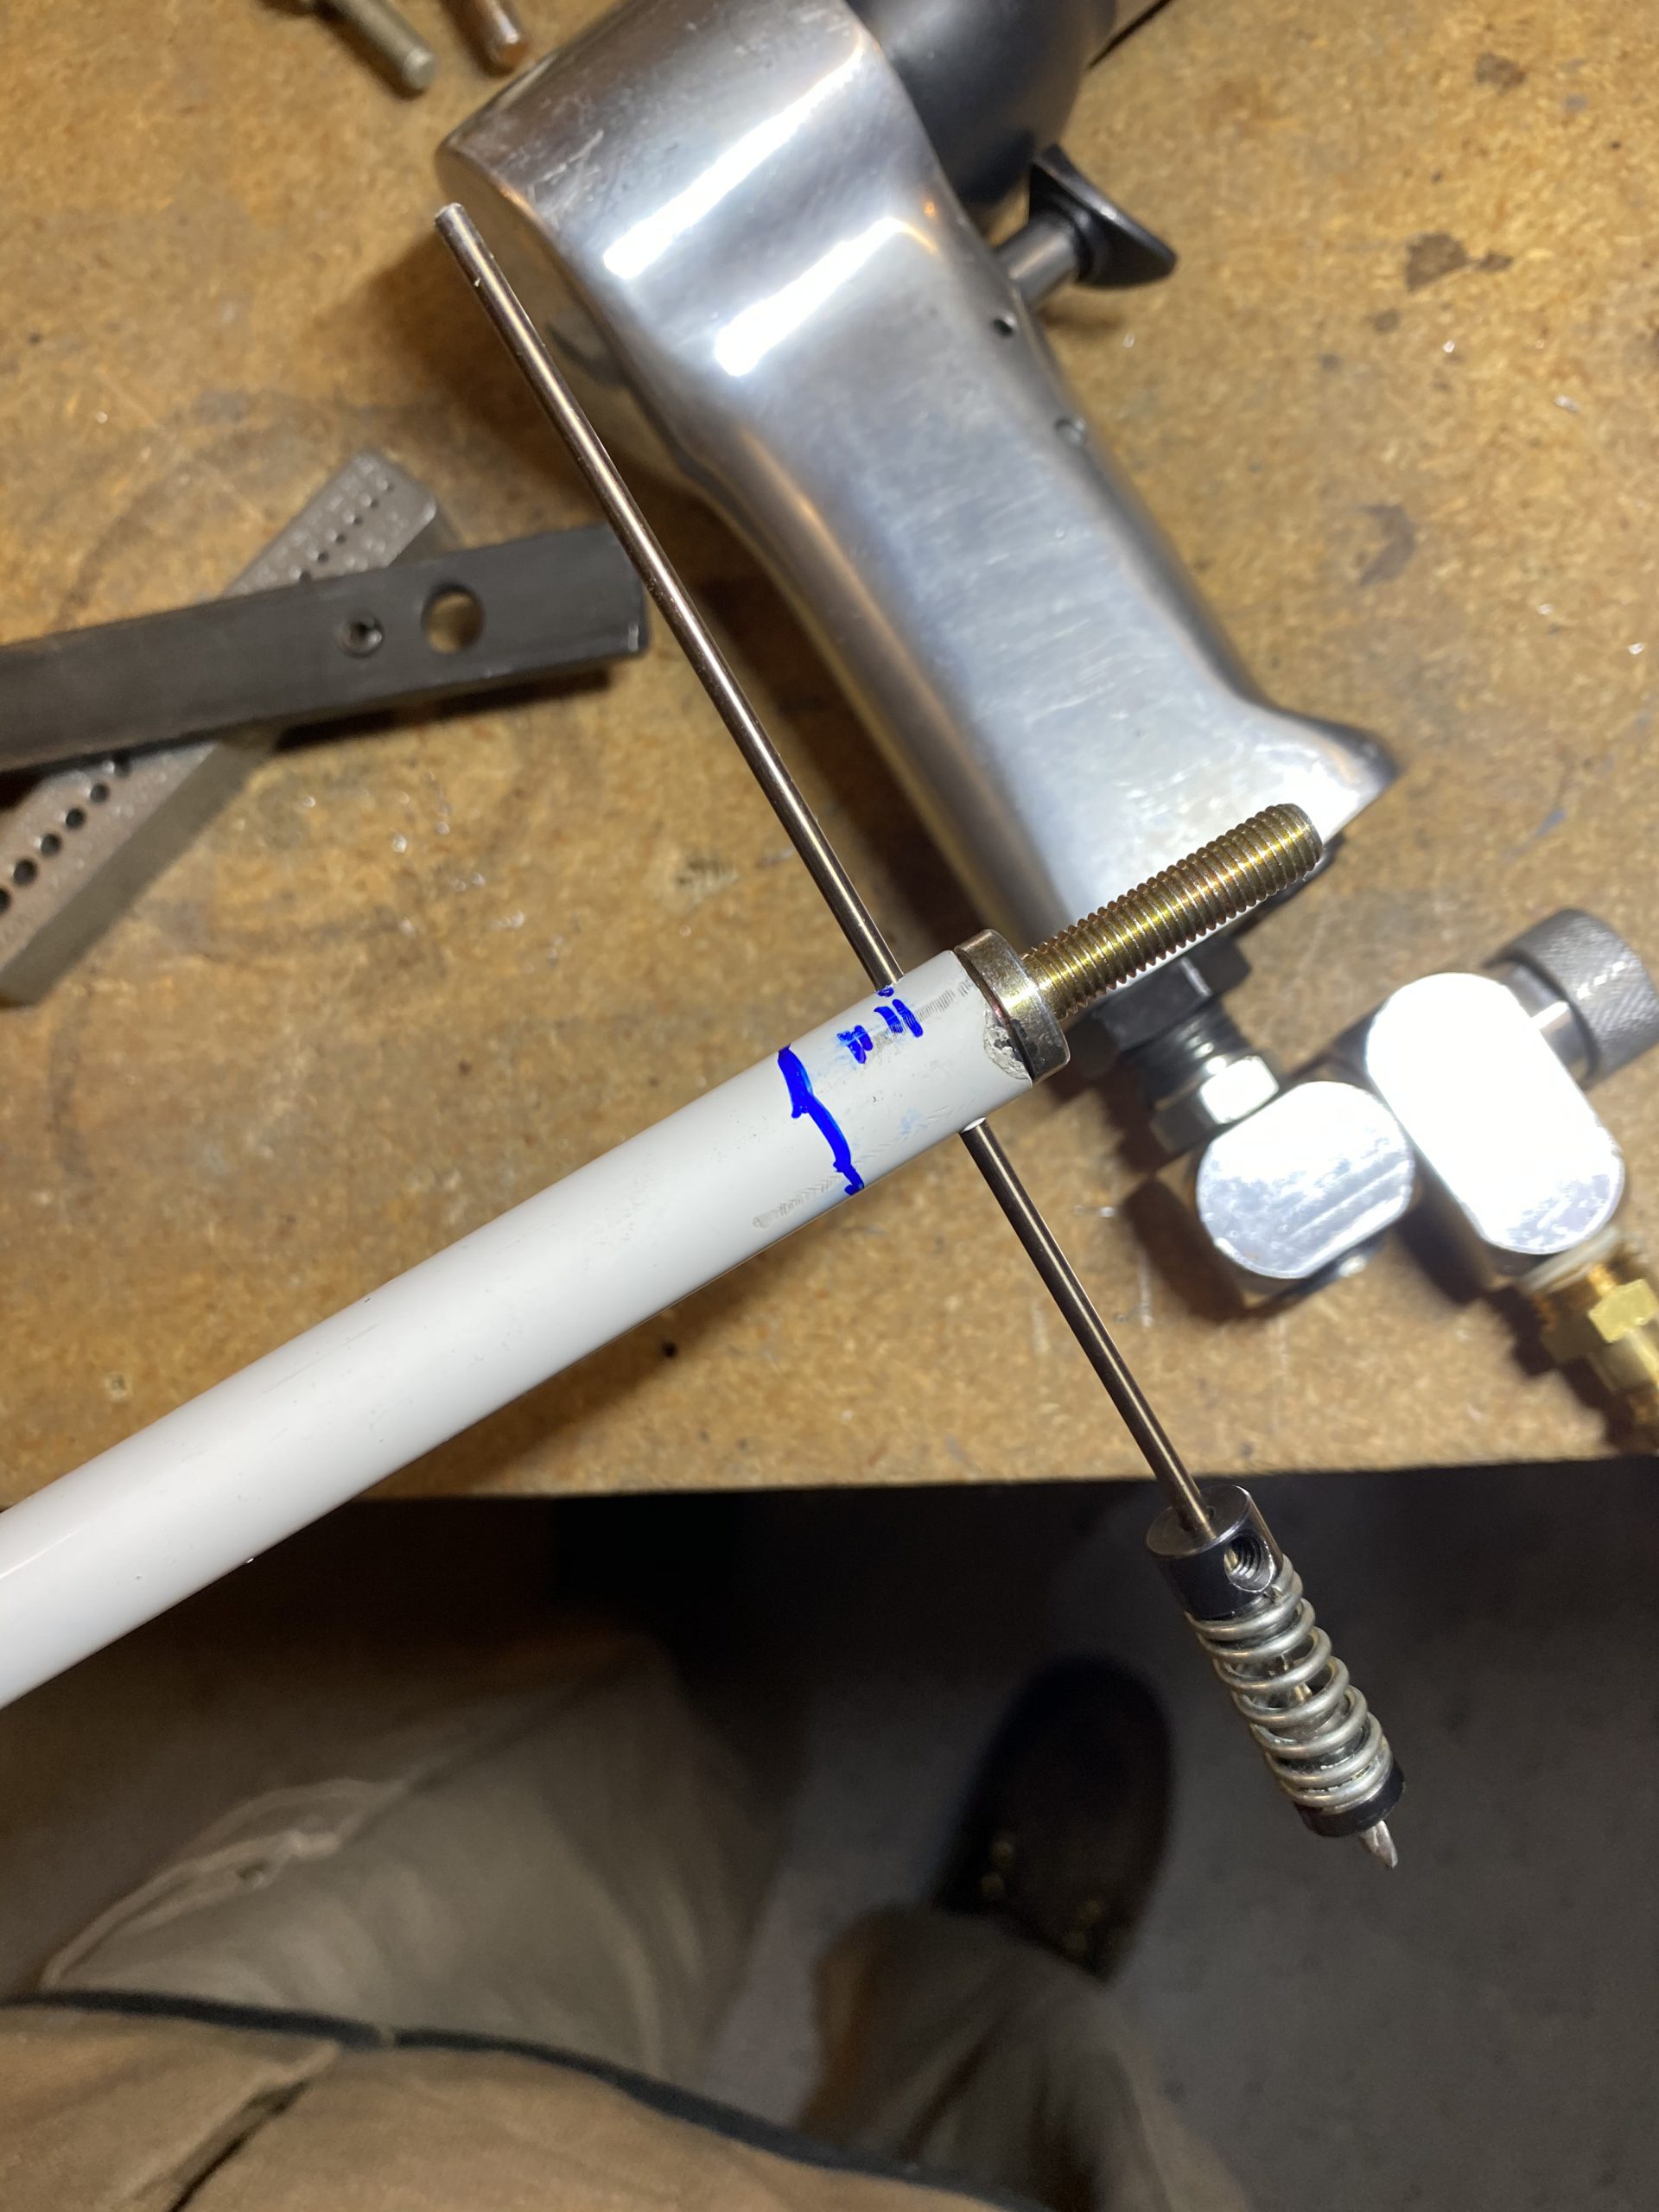
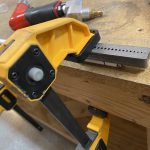
A few nights ago, I brought the jacked up rod ends down to the shop and used them as practice pieces to find a good way to drill them. I eventually decided that I would clamp the tube down to my bench, and then use a drill guide also clamped down to drill the holes with my palm drill instead of the drill press. This worked surprisingly well on my test pieces. I decided to use the same method on these new rods. So, I marked where the bottom of the threaded rod ends were on the outside of the tube, and then marked where I wanted to drill the holes for the rivets. This took a bit of trial and error. Then I clamped the tubing down to the bench. The photo below shows a hole already drilled. but you get the idea.
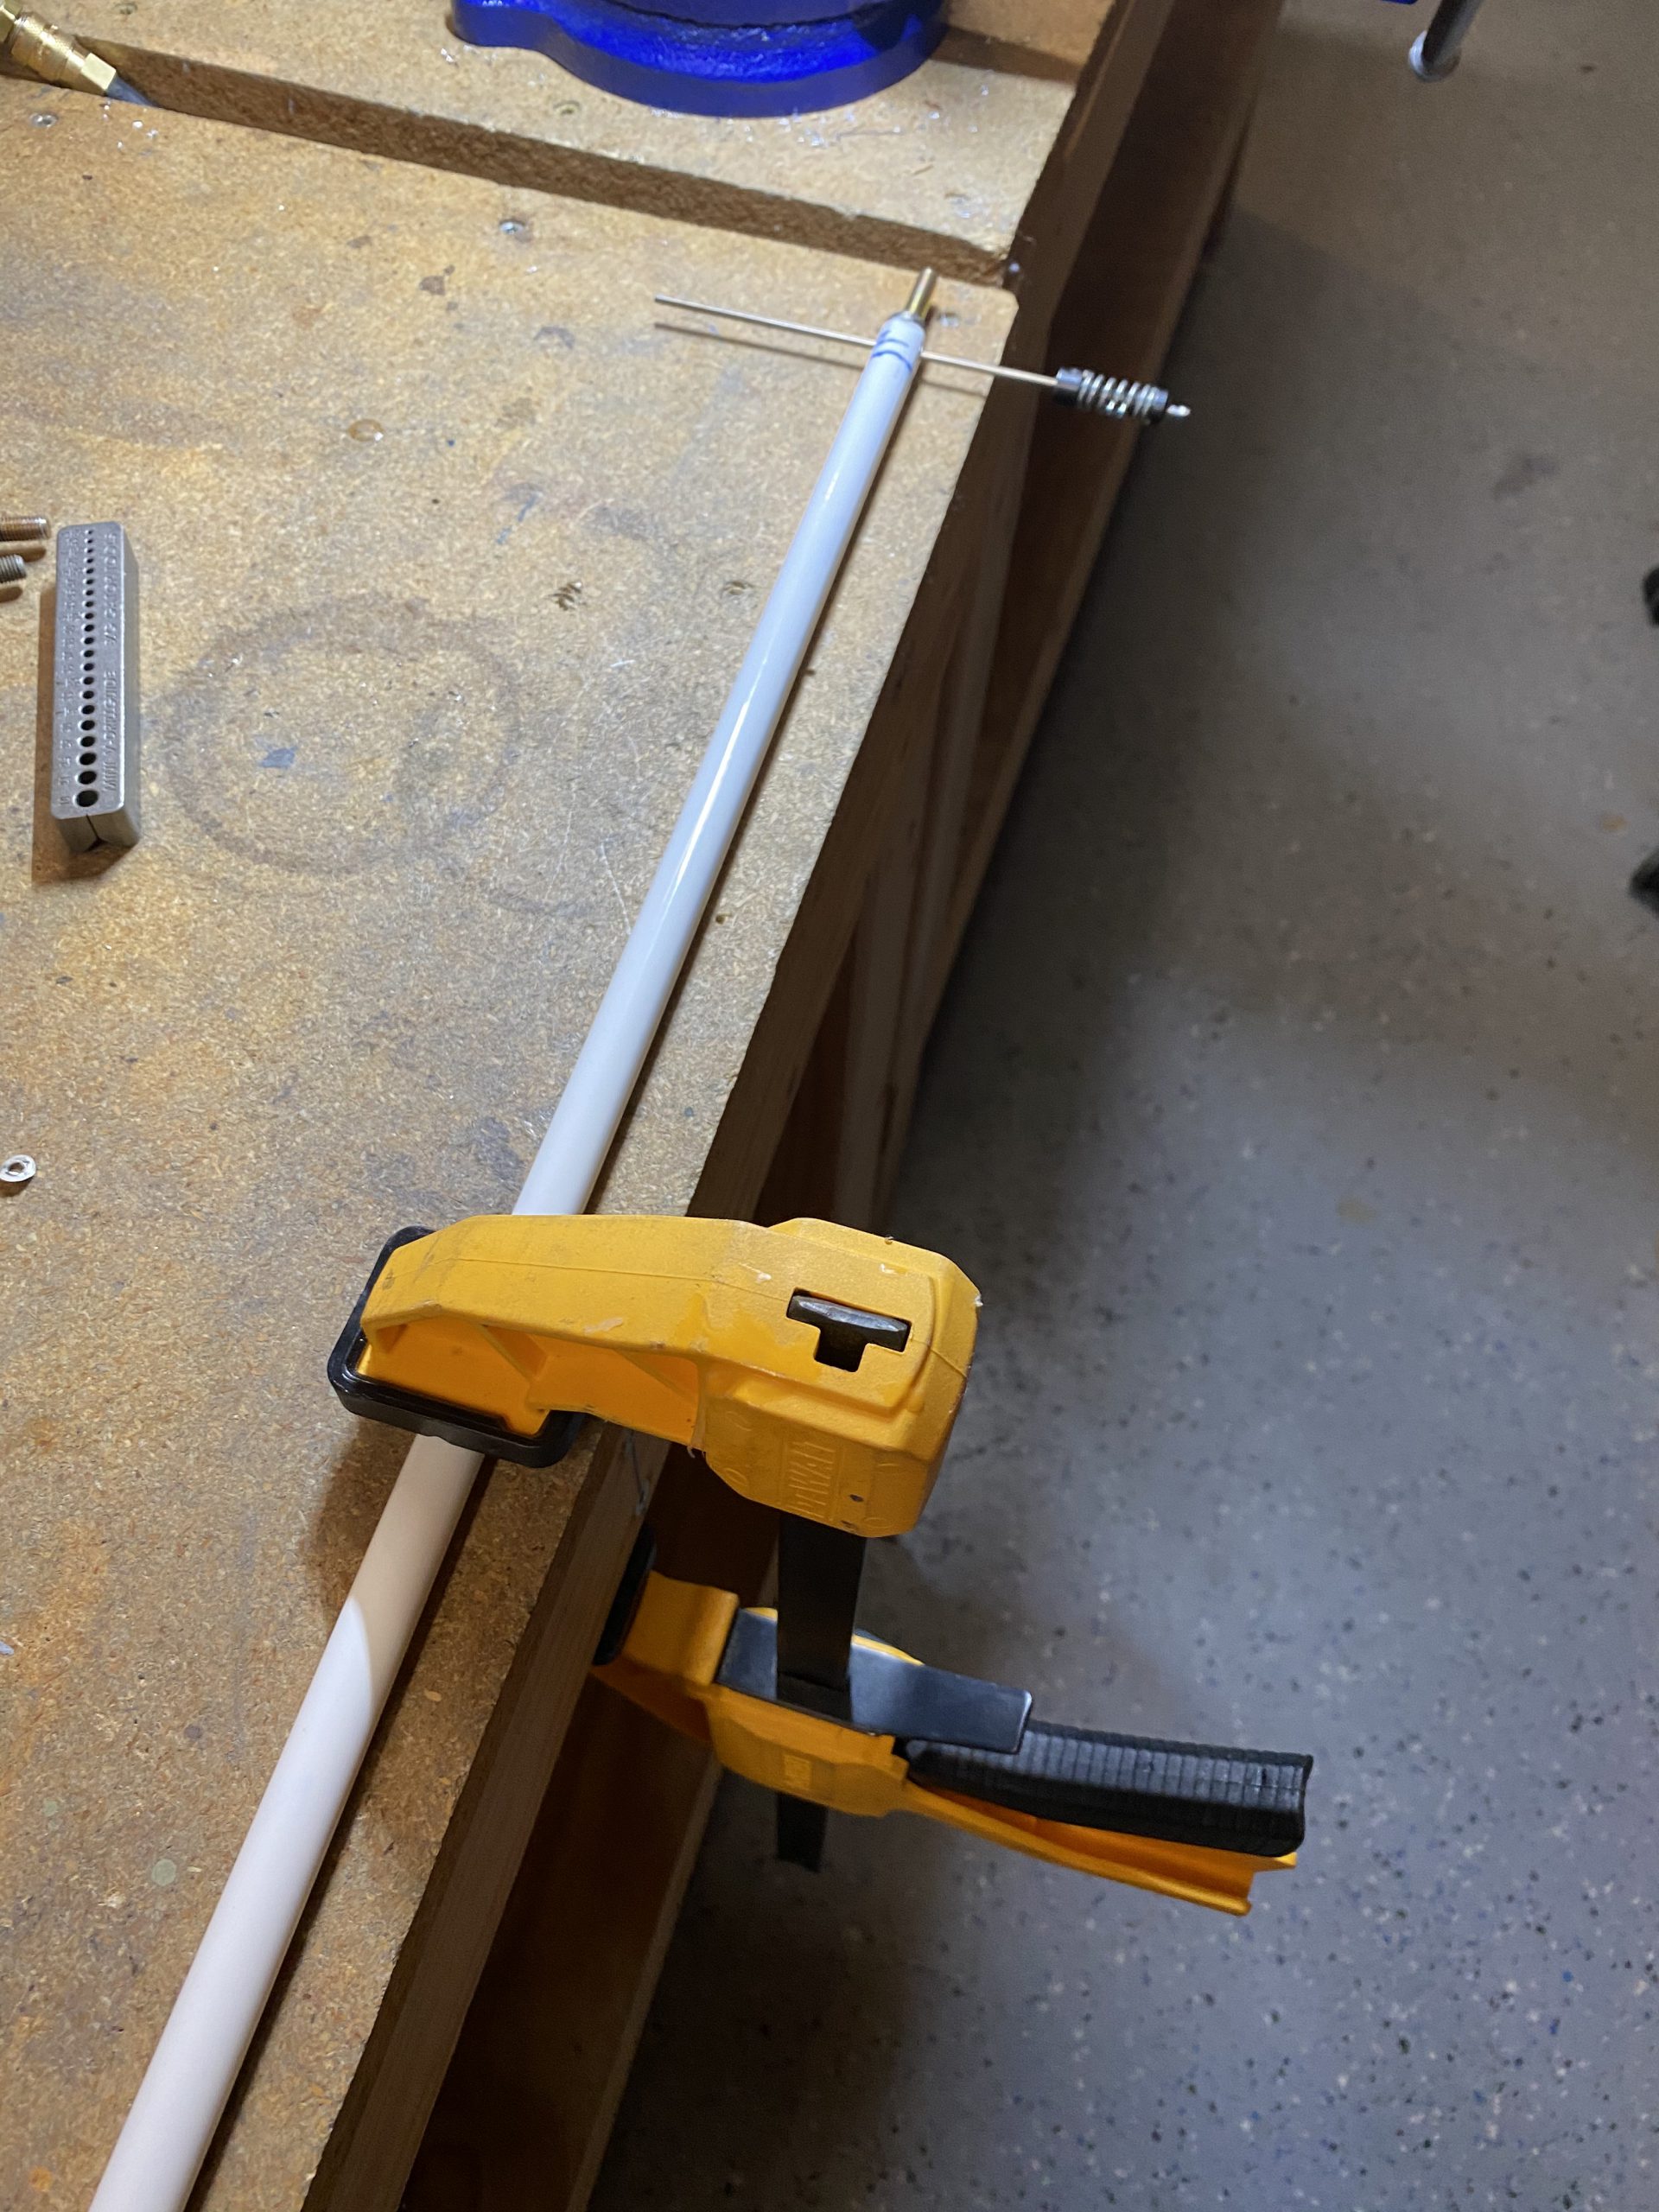
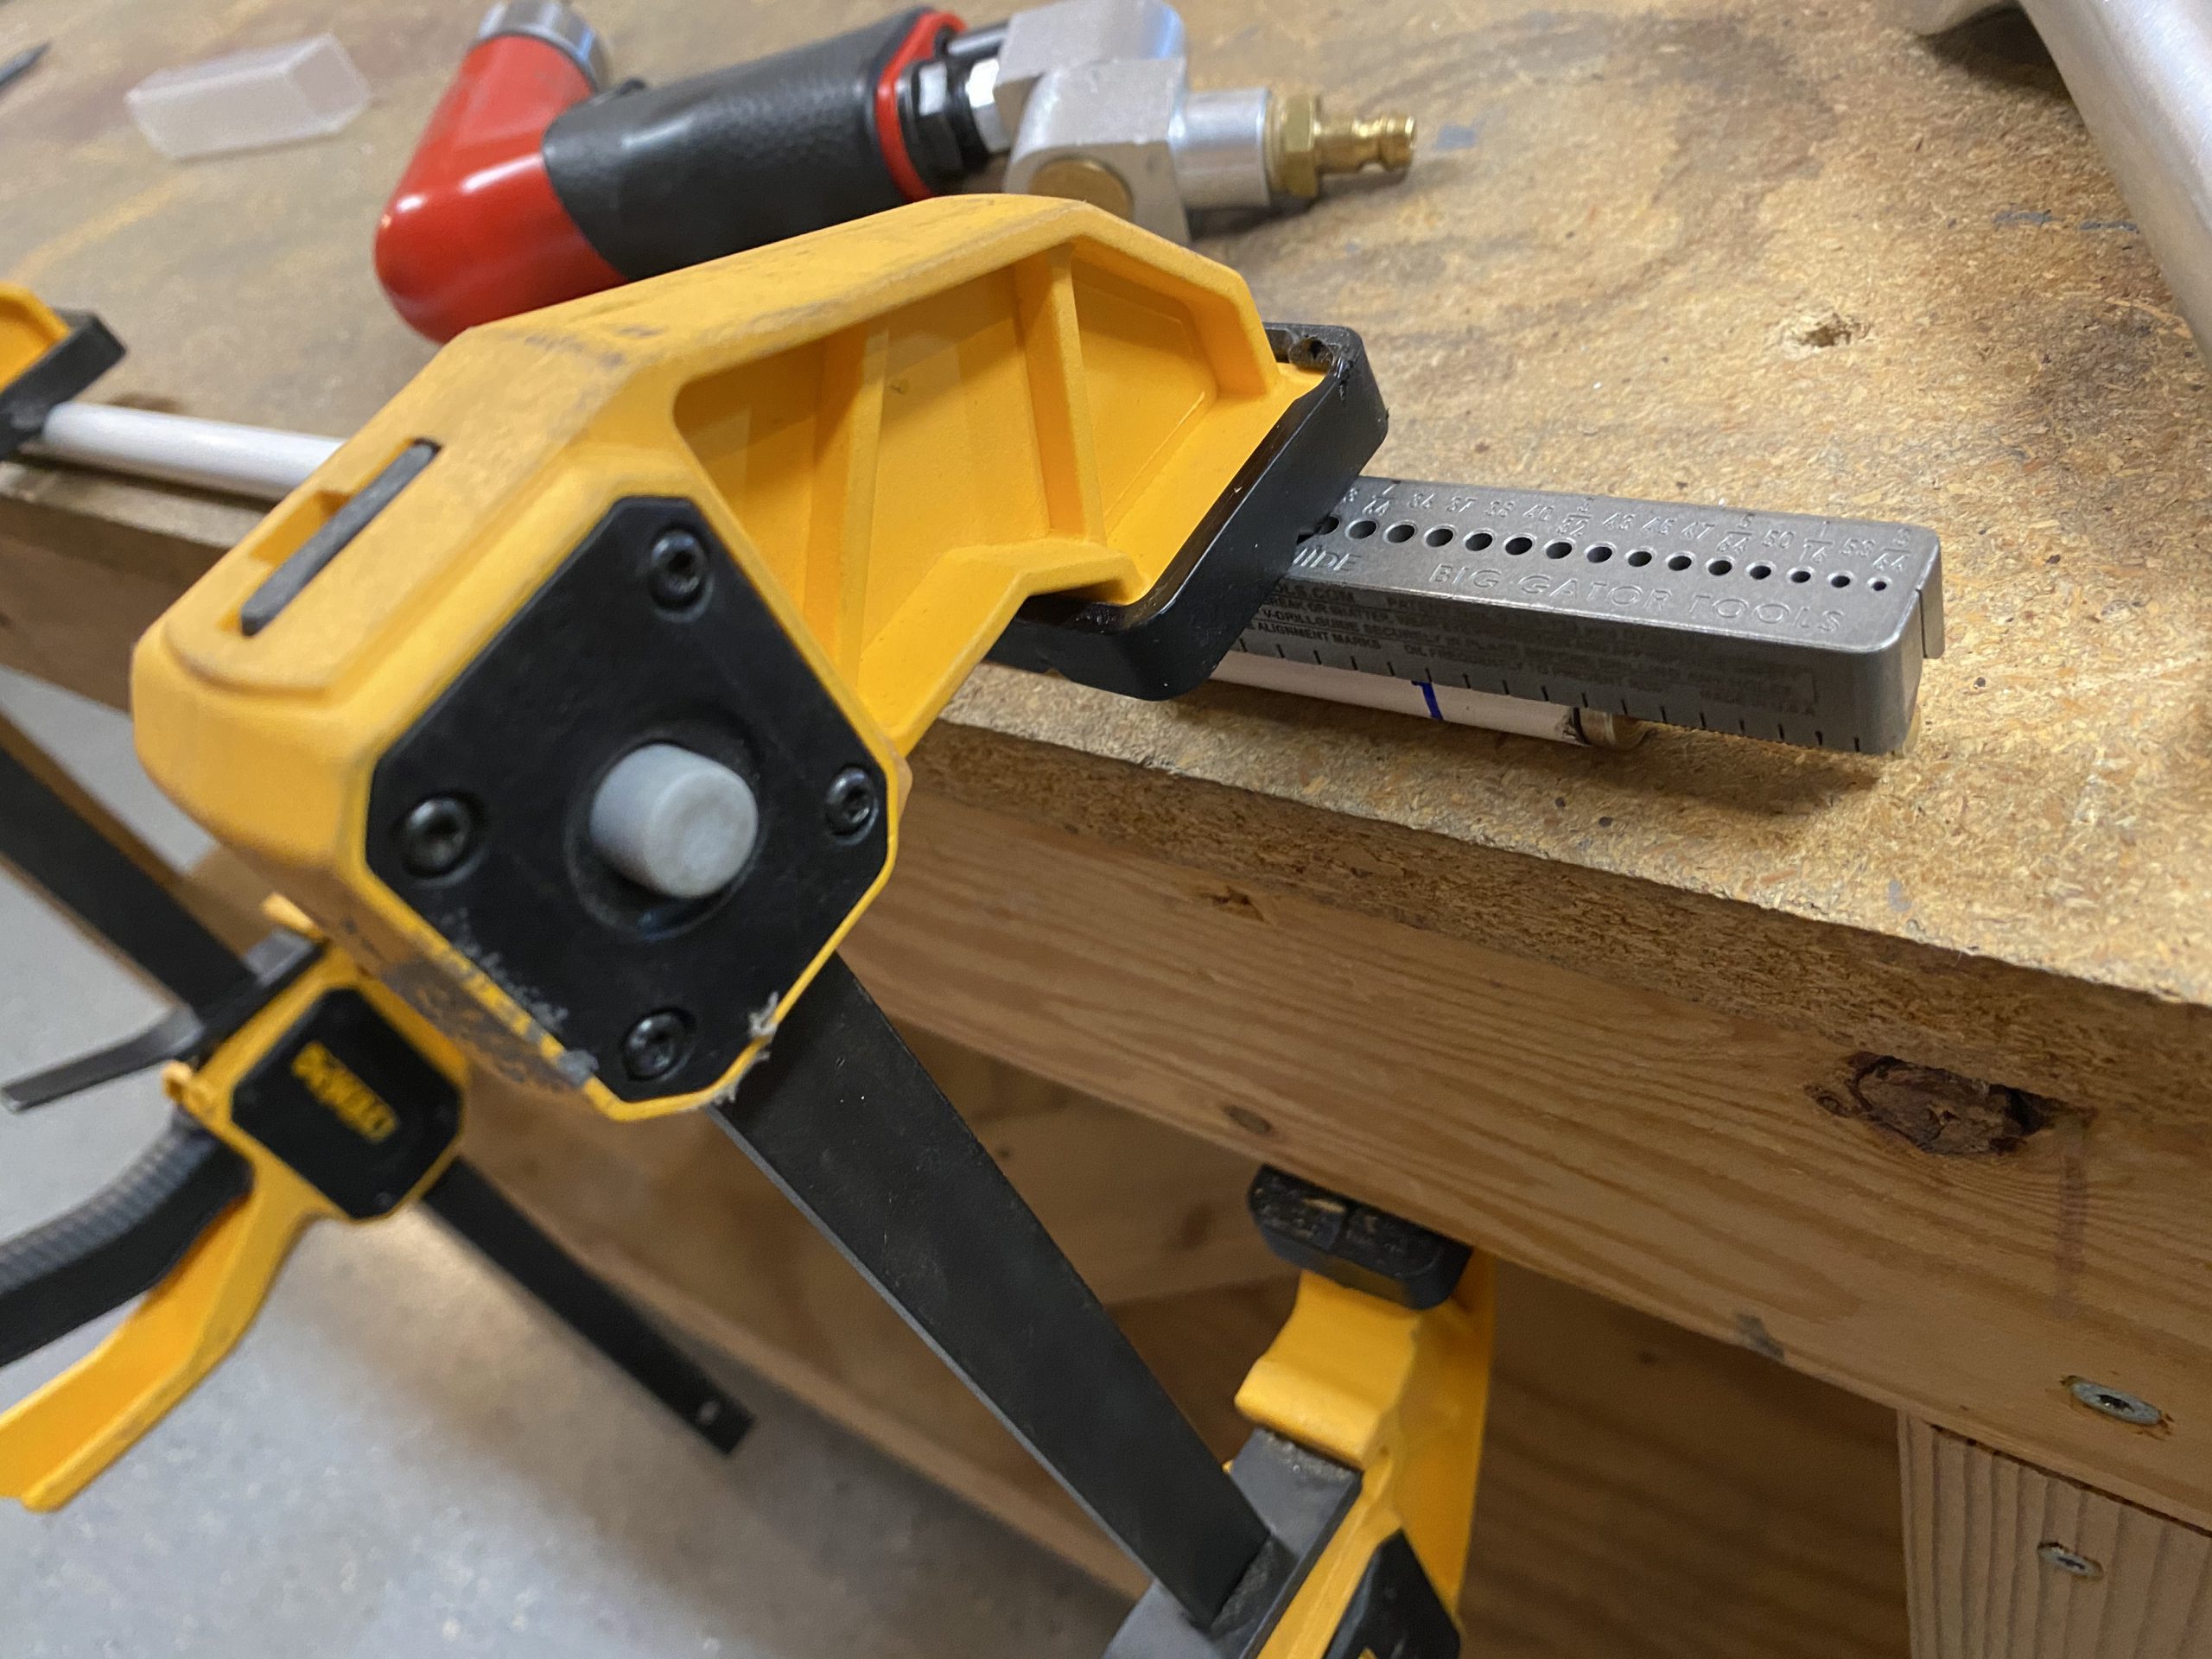
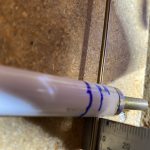
Then I lined my drill guide up with my first blue line marked for a rivet and clamped it down to the bench, and onto the tubing. This thing isn’t going anywhere! I used a flashlight to shine down the hole of the drill guide to line up the blue line.
Then I drilled my first hole using a #40 bit and lots of Boelube. I drilled all the way through the ST4130 tubing, into the threaded rod end, and out the other side. The first hole looks good so far!
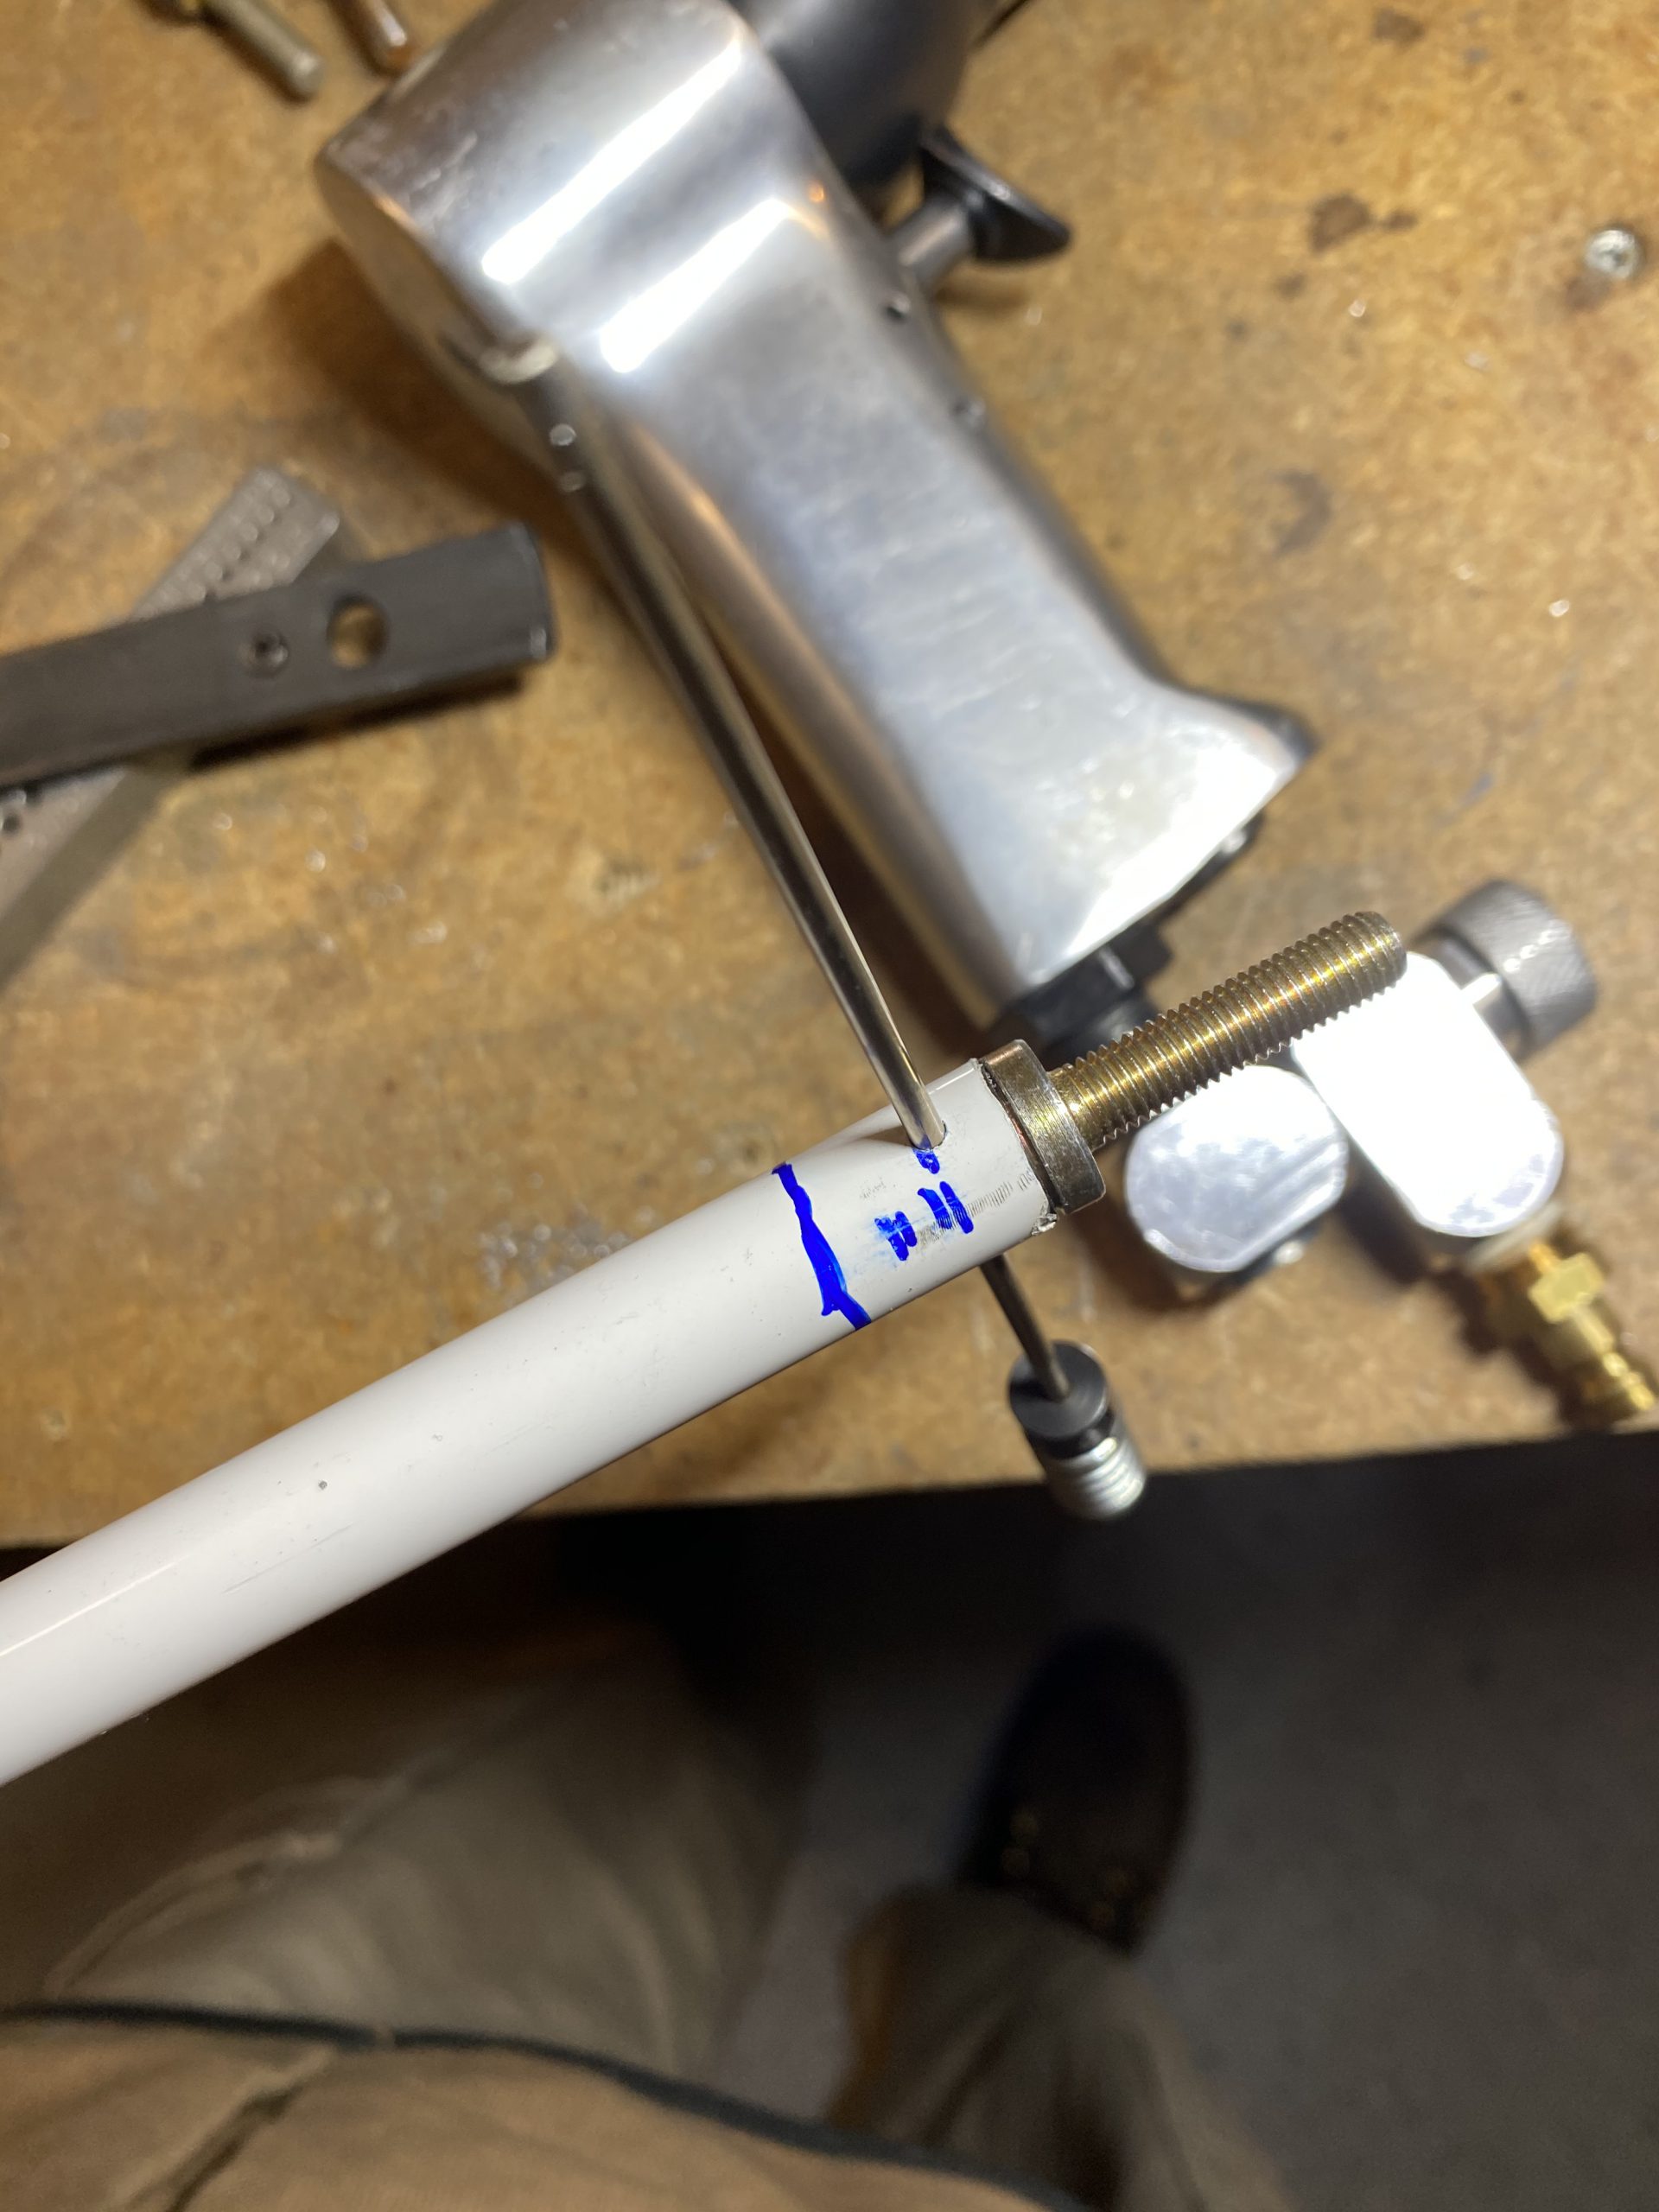
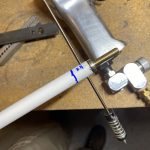
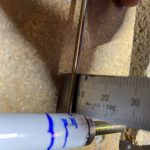
Time for the second hole! I left the spare drill bit through the assembly, and used it to rotate the assembly so its 90 degrees for the second hole. I use a machinist rule to measure the height of each side of the drill bit from the bench to help me make sure the tubing was right at 90 degree.

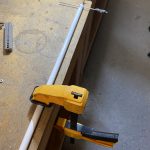
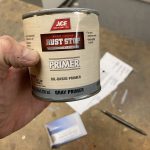
Then I clamped the drill guide back on top of the tube, making sure it was right on top, lined up the blue line in the drill guide hole for the second rivet, and drilled it to #40. I was pretty dang close to a perfect 90 degrees! I am also way better on edge distance for my rivets. Since I was happy with this distance, I transfered the markings from this tube over to the second tube, to both ends of the tubes. The last step in drilling was to open the holes up to a #30, which was pretty easy to do. I gently opened them up one side at a time, and then confirmed my AN470AD4-12 rivets fit in with no clearance issues. Once I had the pushrods first end drilled, I handed it off to Tammy and Acacia so they could prime the inside. I am using an oil based generic metal primer from Ace.
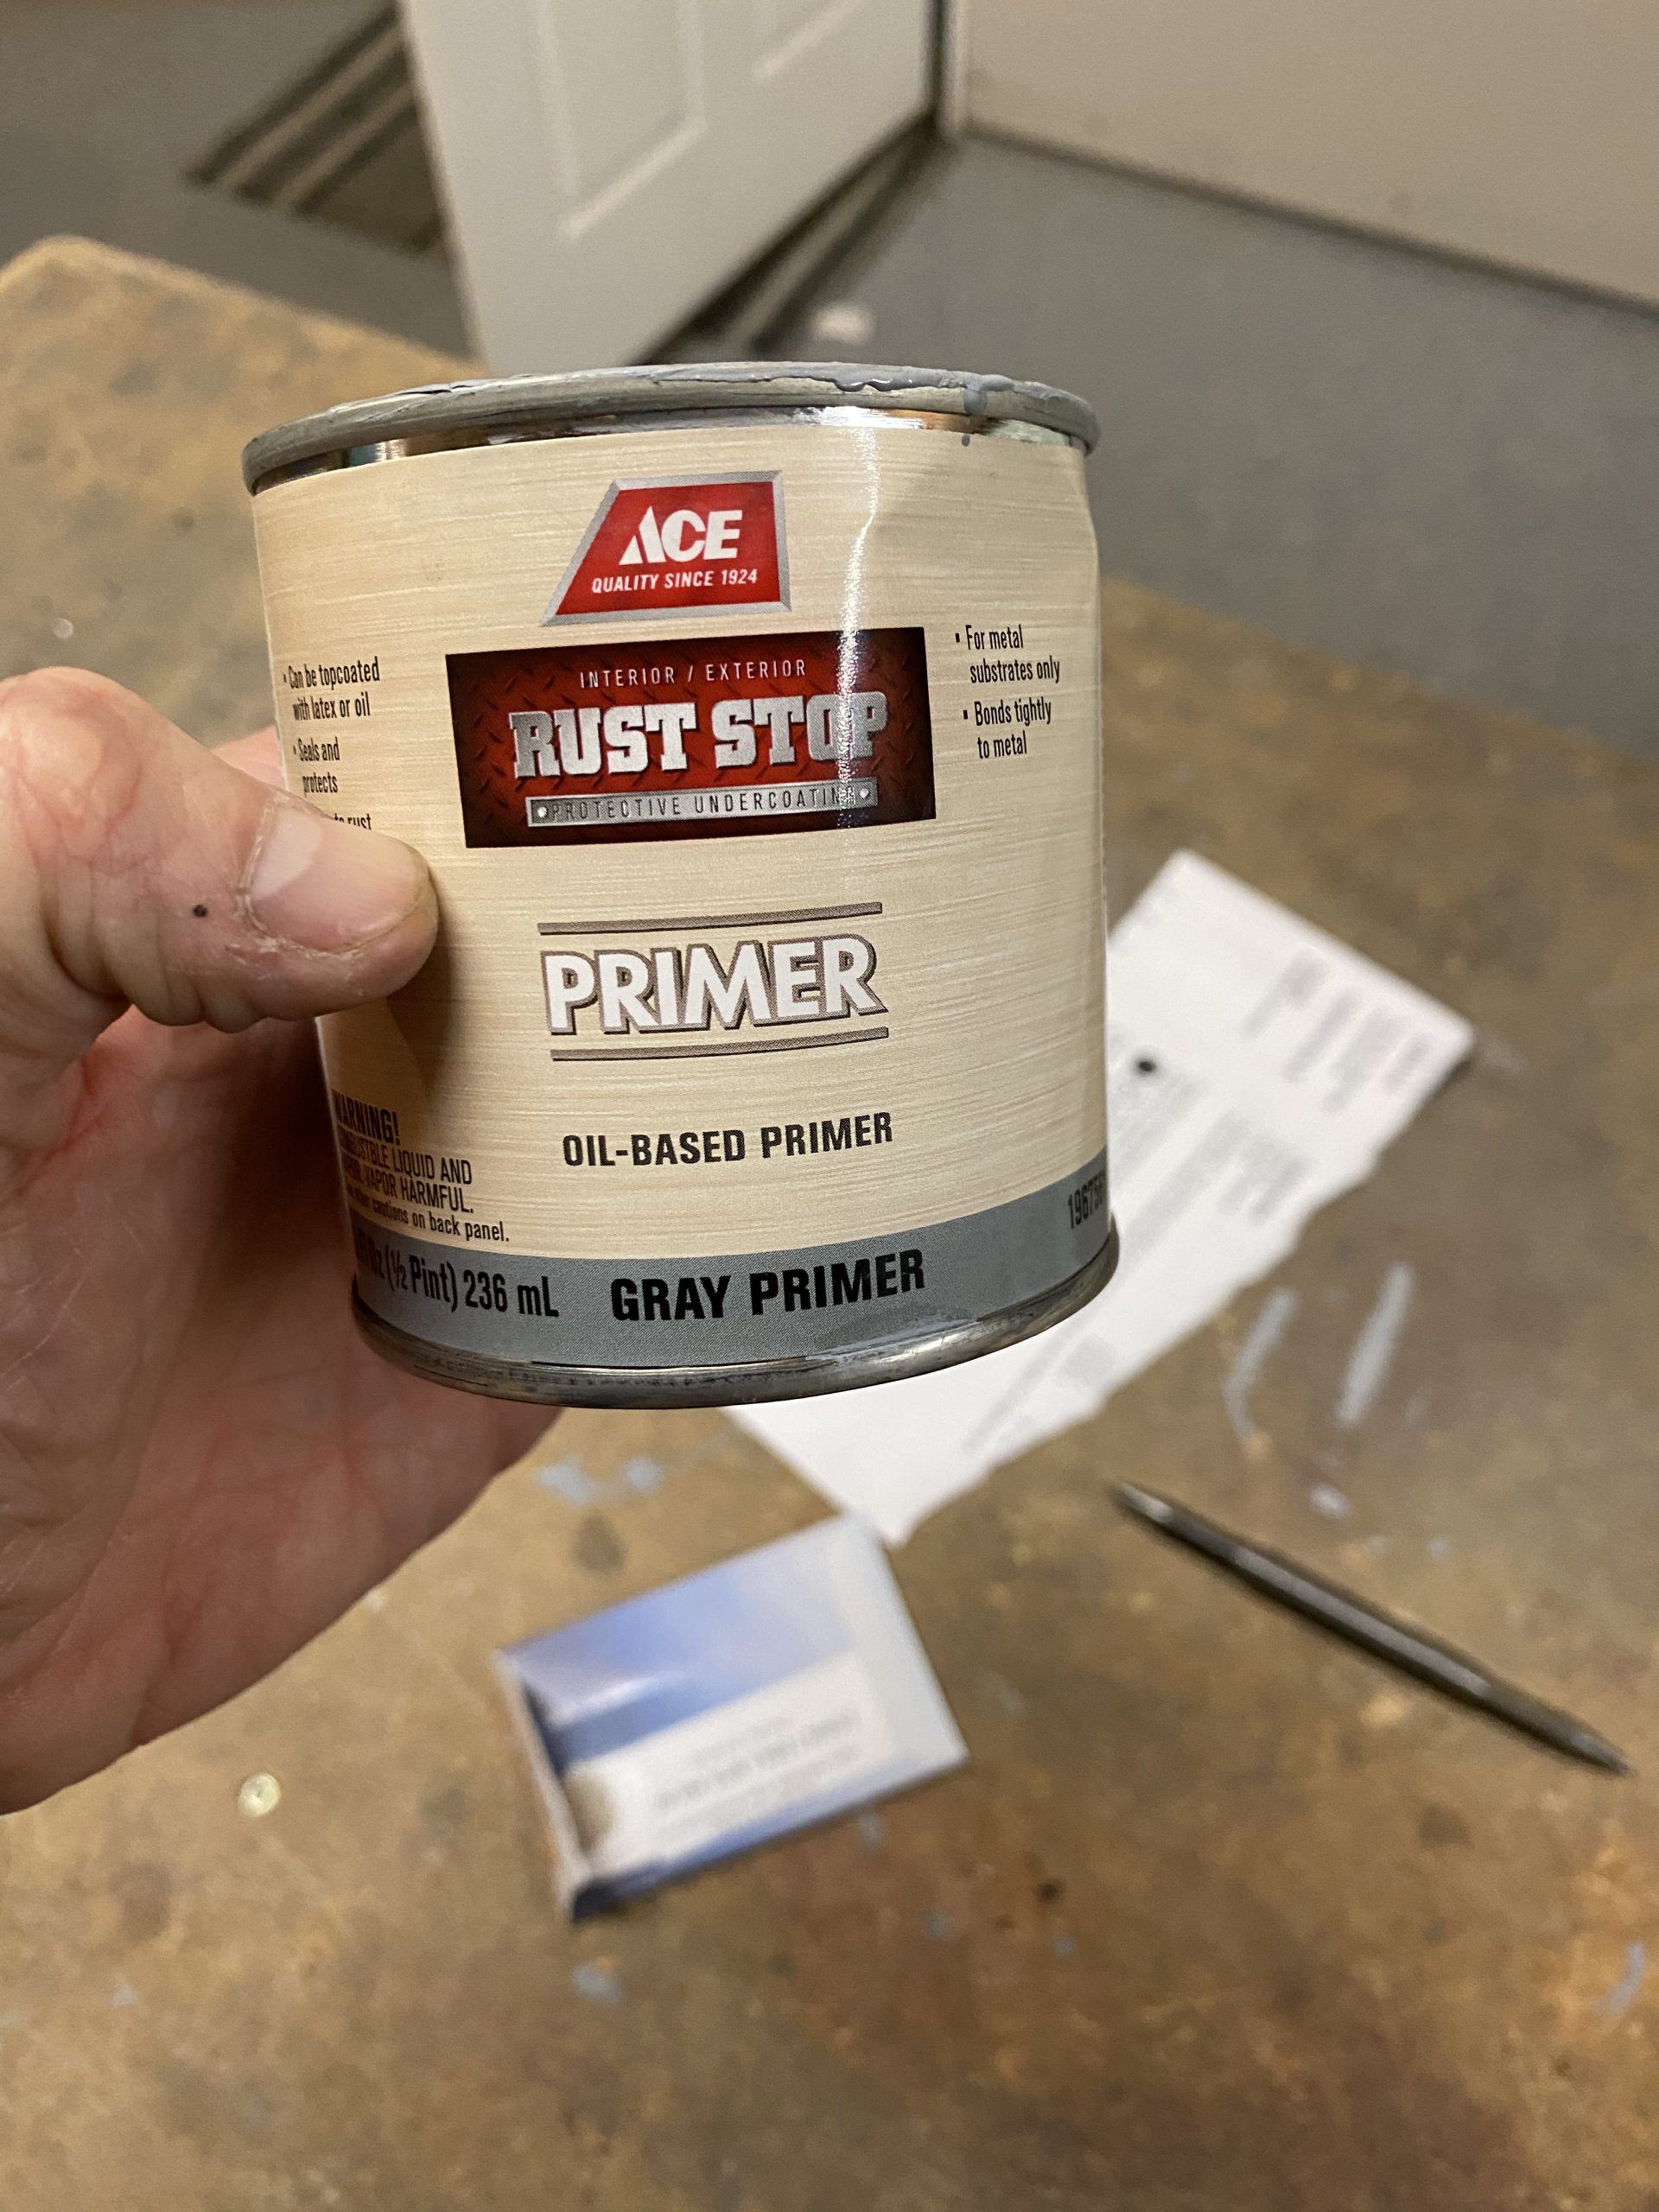
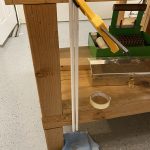
It works really well on this steel. Tammy taped off one end, and poured some primer in the other end, sloshing it around really well to make sure all inside surfaces were coated. Then she clamped it to the bench with the open end facing down to let the excess drain out and air dry. While she was working on that, I did the above drilling procedure on the second W-818 pushrod tube. Once I was done with it, she primered the inside of it as well, and they are both clamped to the bench draining and drying overnight.

I’ll let these dry, and then come back to them tomorrow. I still need to drill the other ends of each pushrod, then I’ll coat the AN490-HT8P rod ends with primer, insert them and then rivet them. I’ll more then likely dip the rivets in the primer to prevent any galvanic corrosion between the steel tubing and rod end against the aluminum rivet.
Google Photos Link: https://photos.app.goo.gl/k4YSW6QsffkW7b9P9
-
IMG_3061
-
IMG_3062
-
IMG_3063
-
IMG_3064
-
IMG_3065
-
IMG_3066
-
IMG_3067
-
IMG_3068
-
IMG_3069
-
IMG_3070
-
IMG_3071
-
IMG_3072
-
IMG_3073
-
IMG_3074


Hours Worked: 1.25