


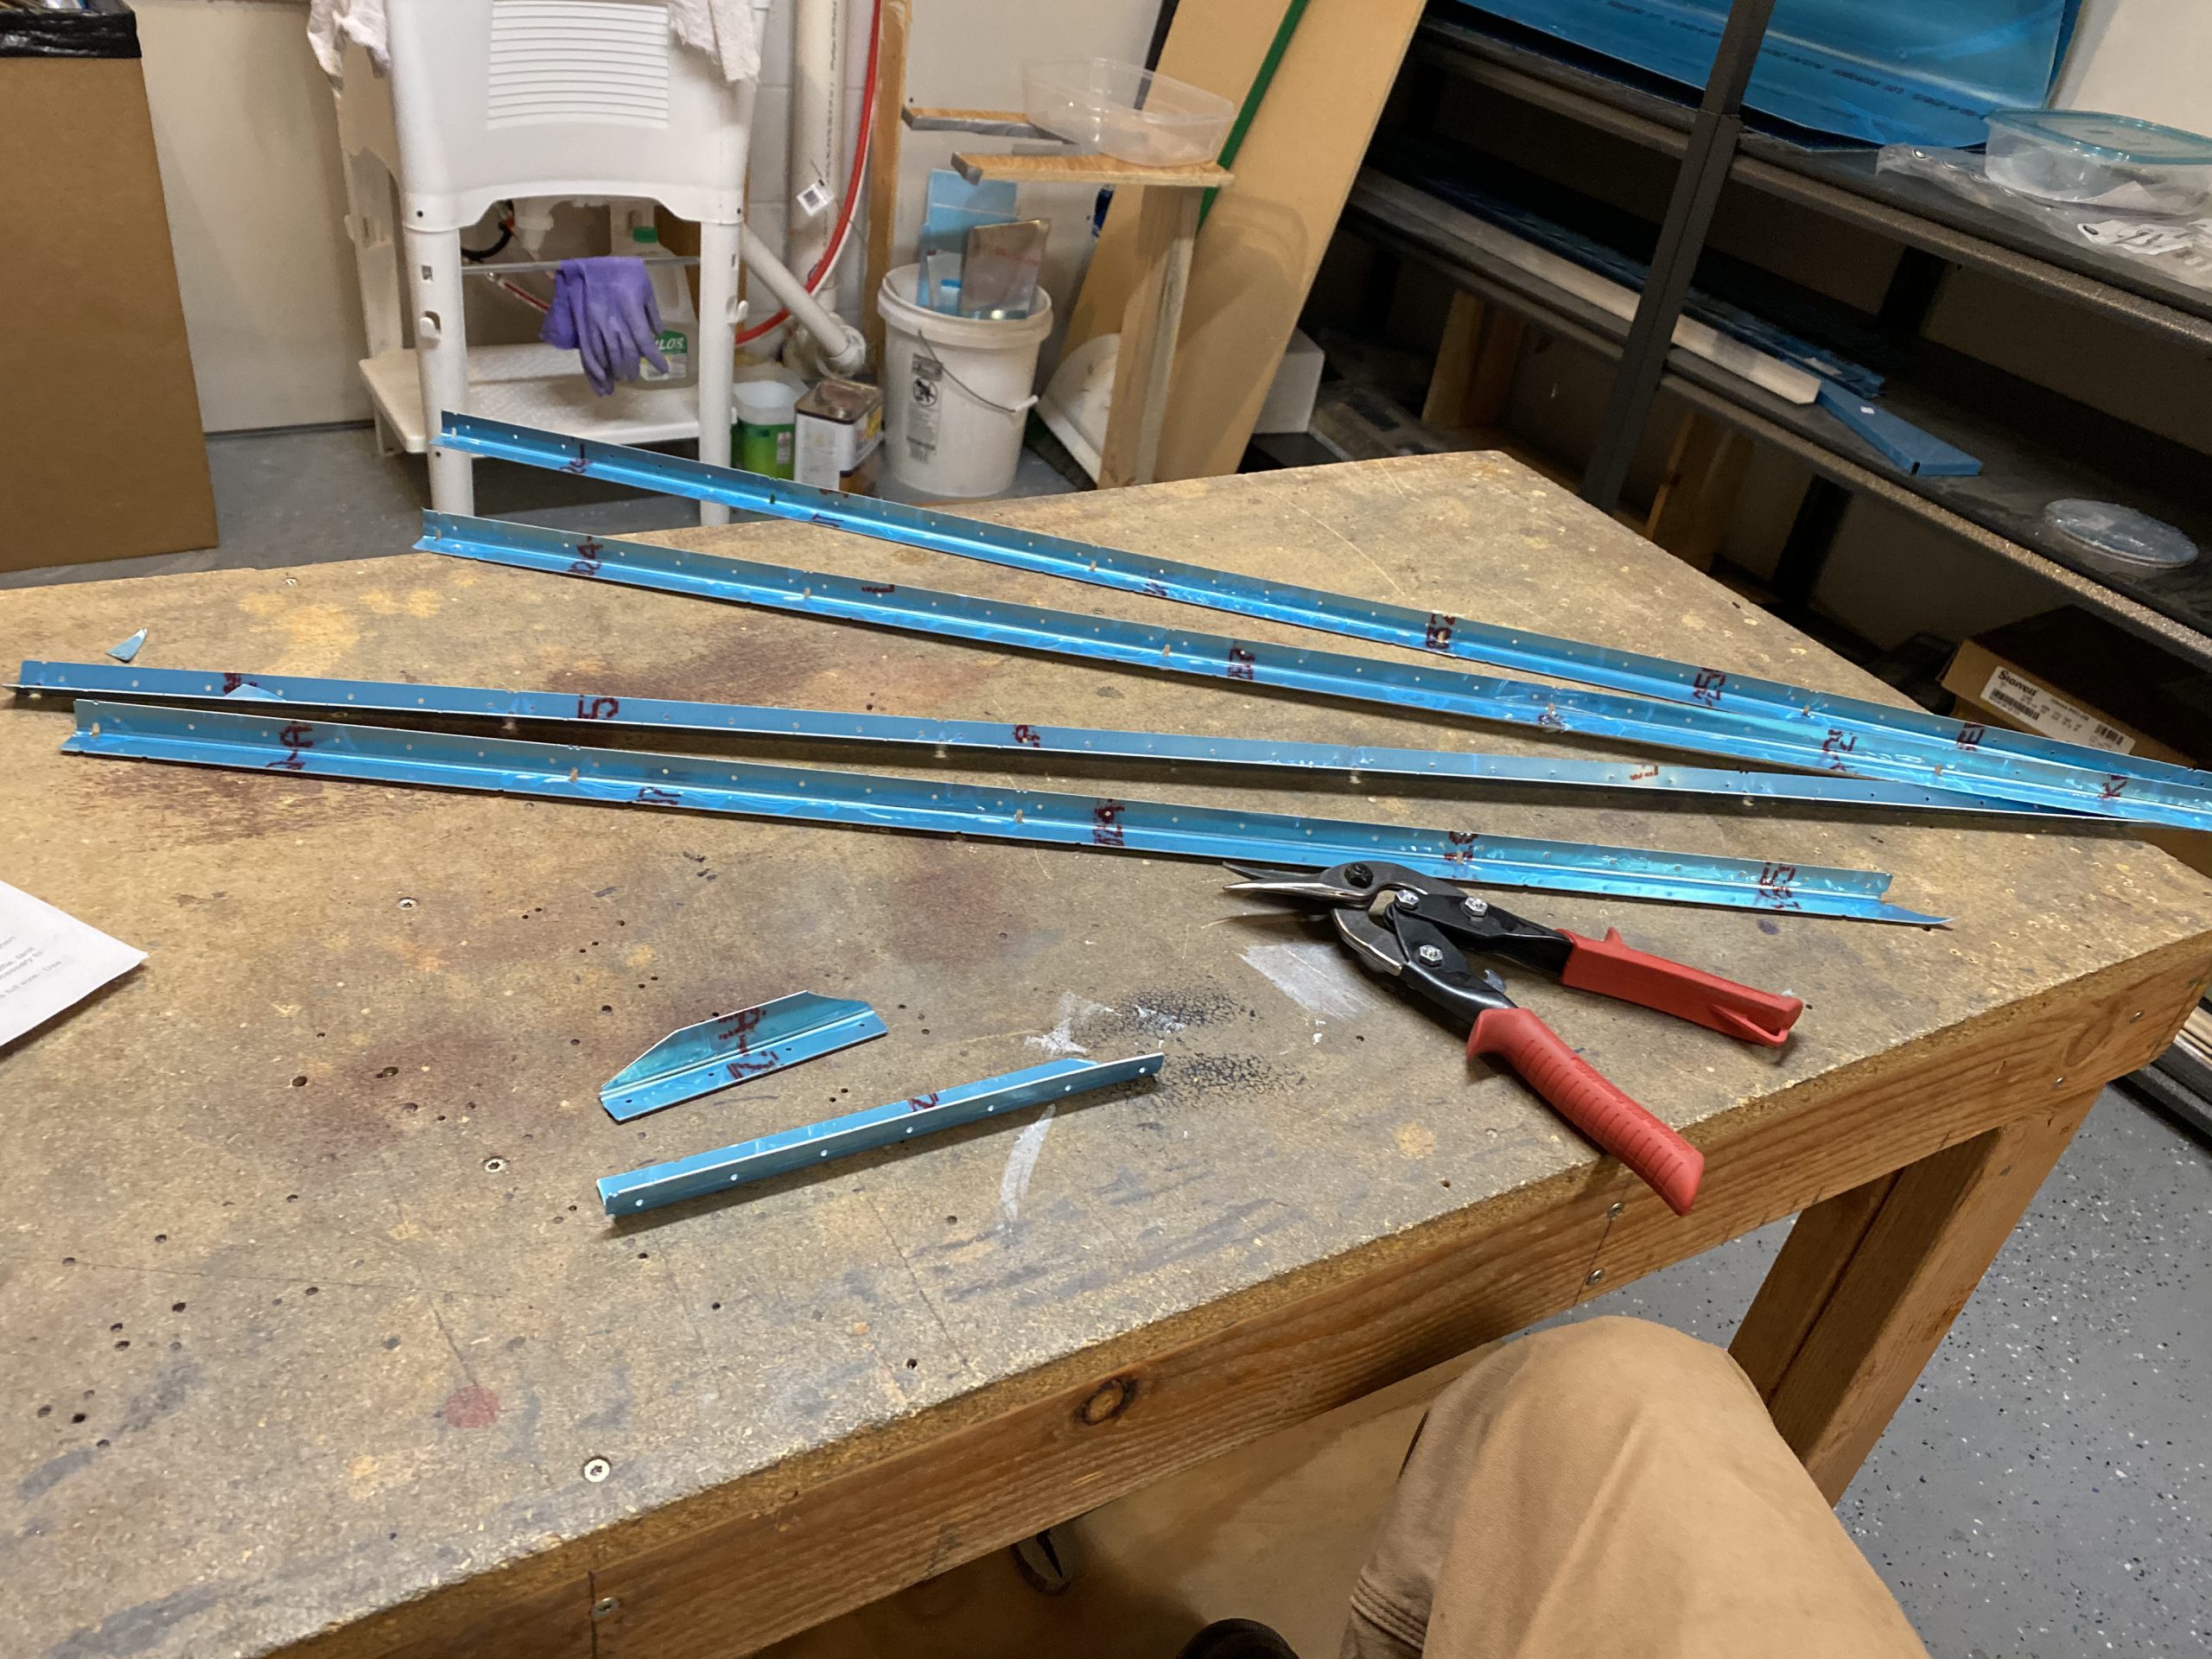
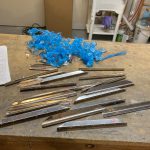
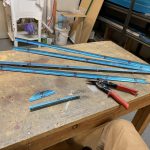
Tammy and Acacia went on a “Girls Night” with my mom and sister to Knoxville, and they’ll be gone overnight, which freed me up to do some work on the RV-7 tonight. The work for tonight started with making the tank stiffeners from the provided punched and notched stock. These are the T-711 A through D stiffeners for each tank. They were pretty easy to cut from the stock using a pair of snips and going along the notches to indicate where to cut. This is similar to the stiffeners used in the control surfaces, so its very familiar work.
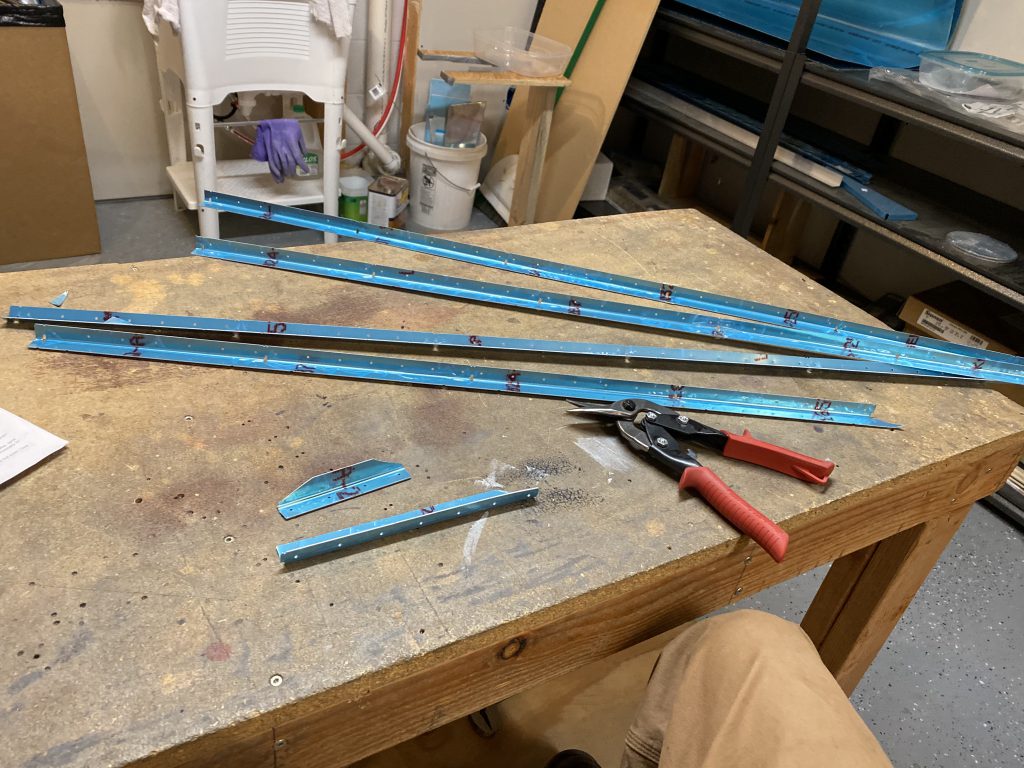
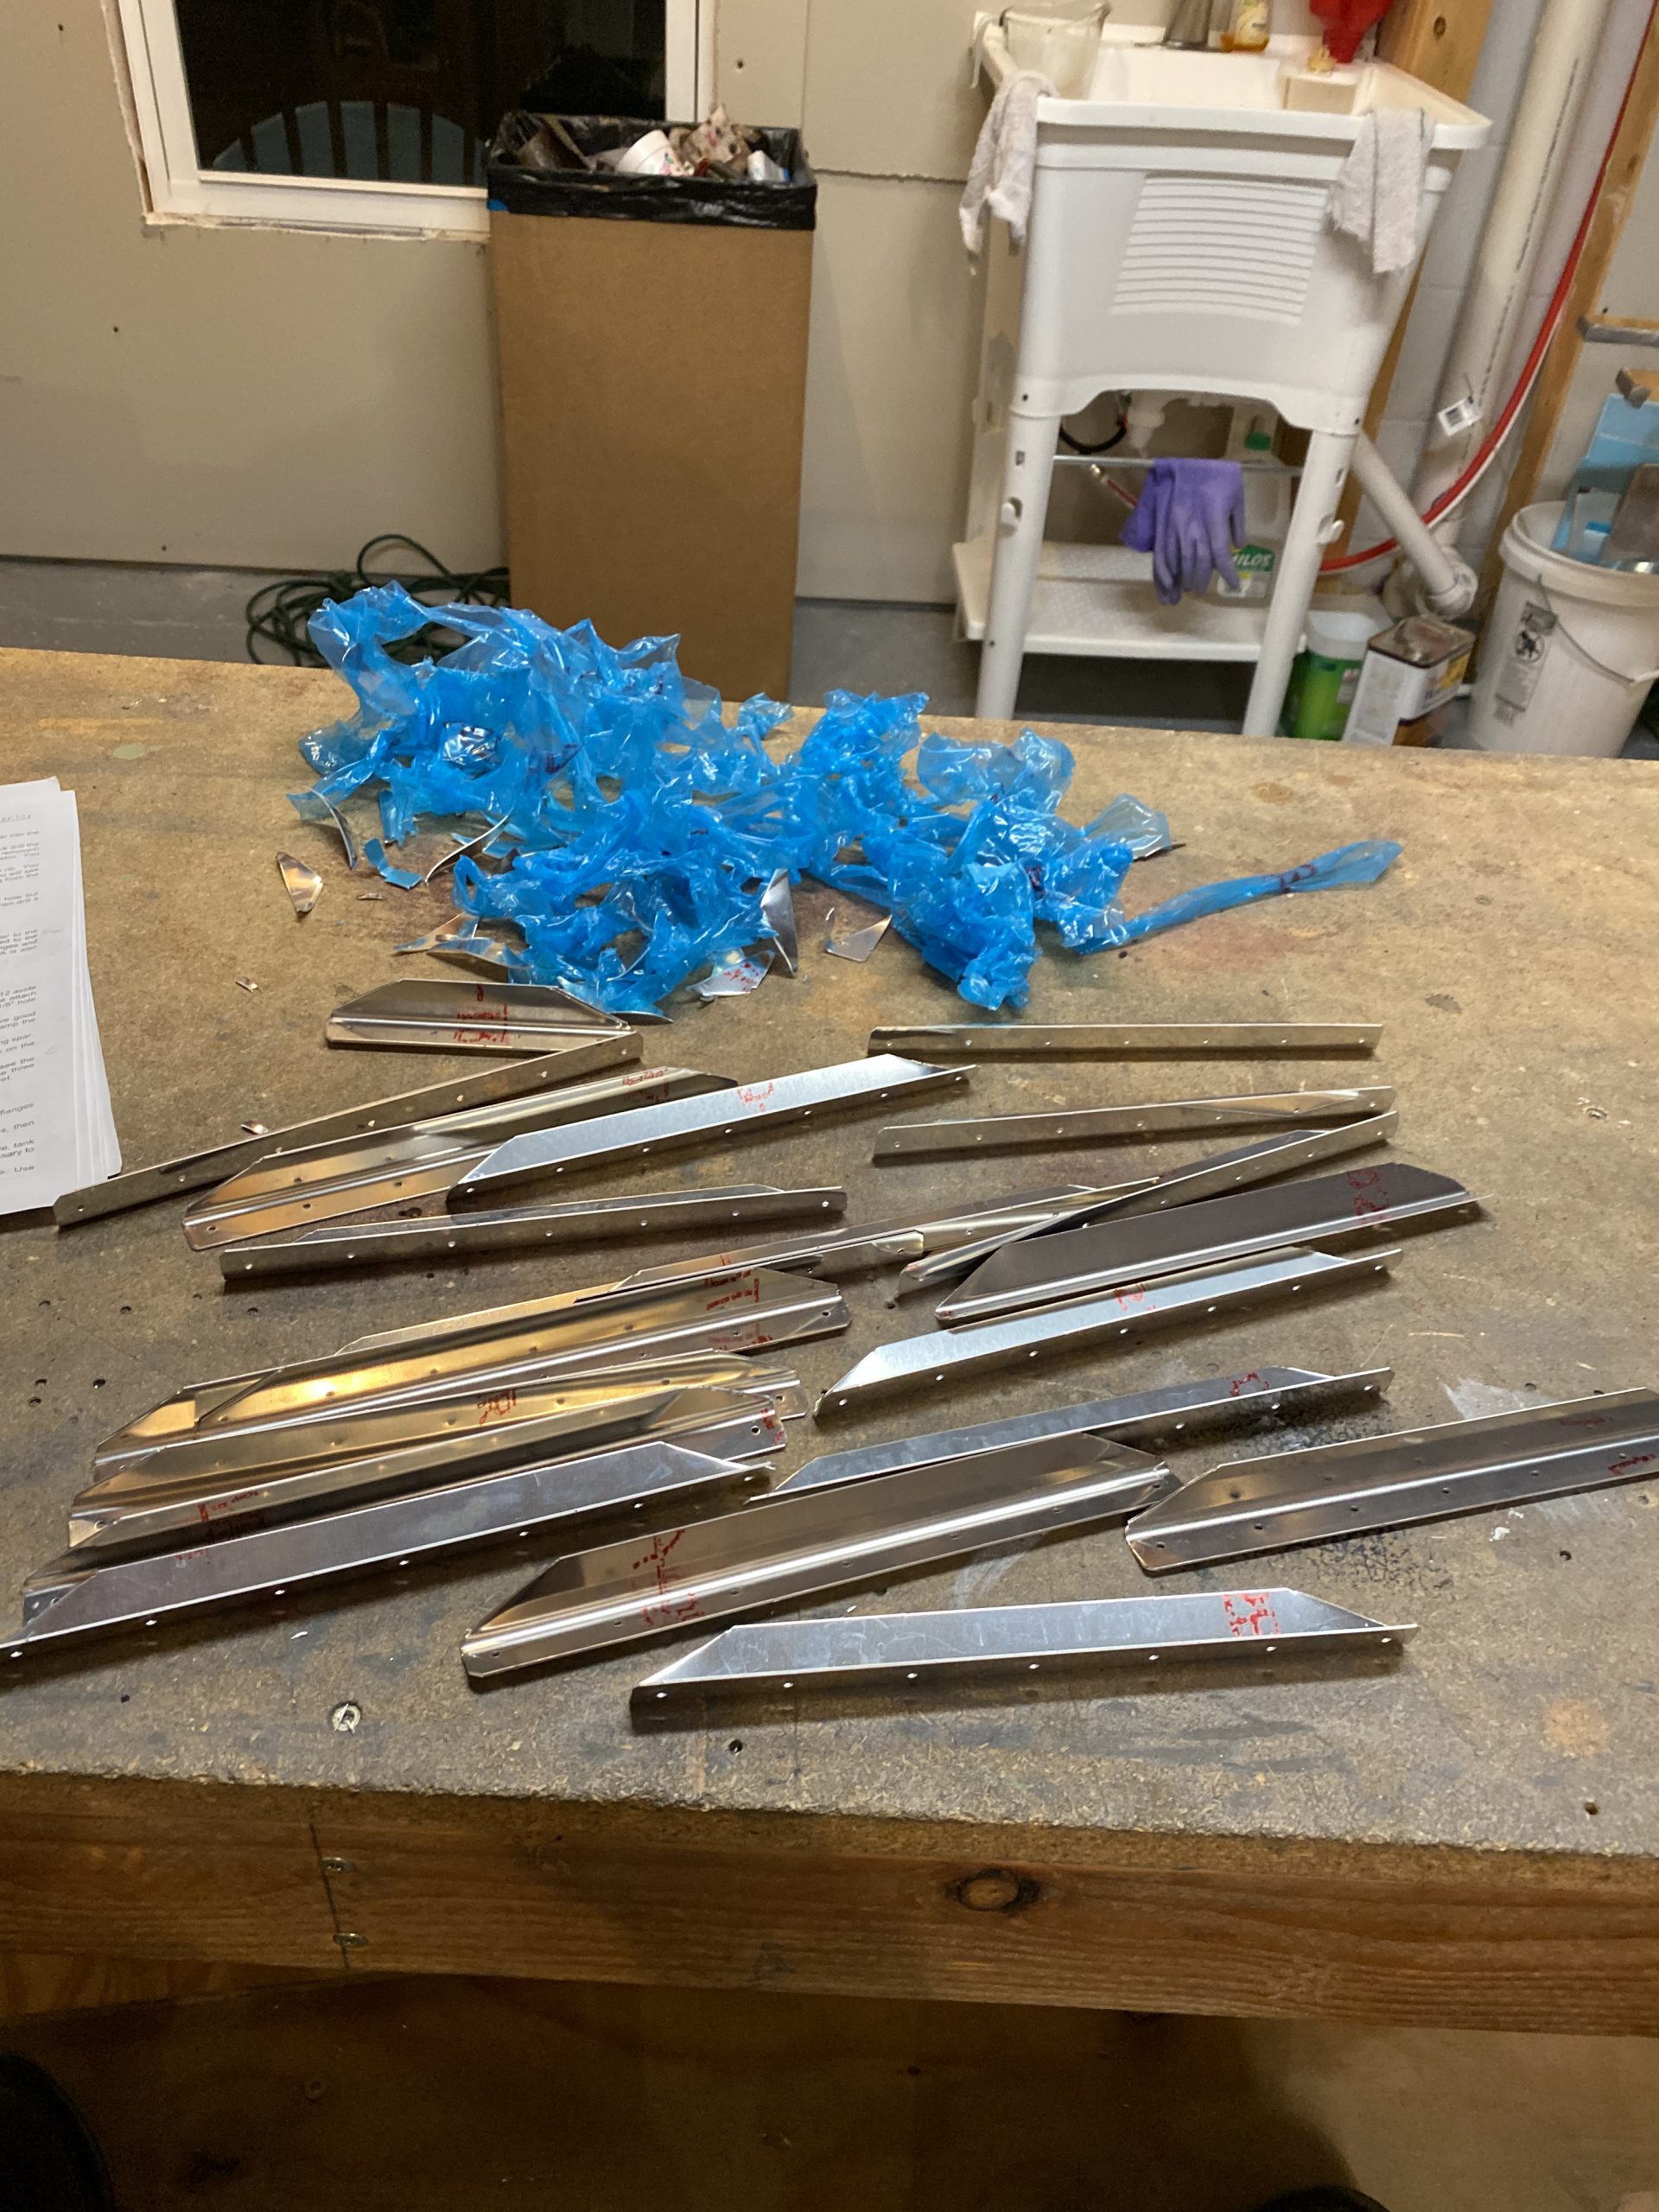
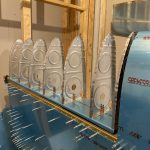
And here’s the pile of stiffeners, cut out and ready to take to the bench grinder for deburring:

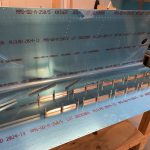
I spent about 20 minutes or so on the bench grinder working these stiffeners on the scotchbrite wheel to deburr the edges and smooth out the cuts I made. They came out looking pretty nicely. Since these are going inside the tank, they will NOT get any sort of primer or alodine. I will clean them with acetone before I bond them with proseal and rivet though. Next the plans tell us to cleco the stiffeners to the tanks, and match the drill the holes. All of these are different sizes (A through D) but Vans offsets the rivet holes making it a simple task to find the right ones and get them in the right spots.
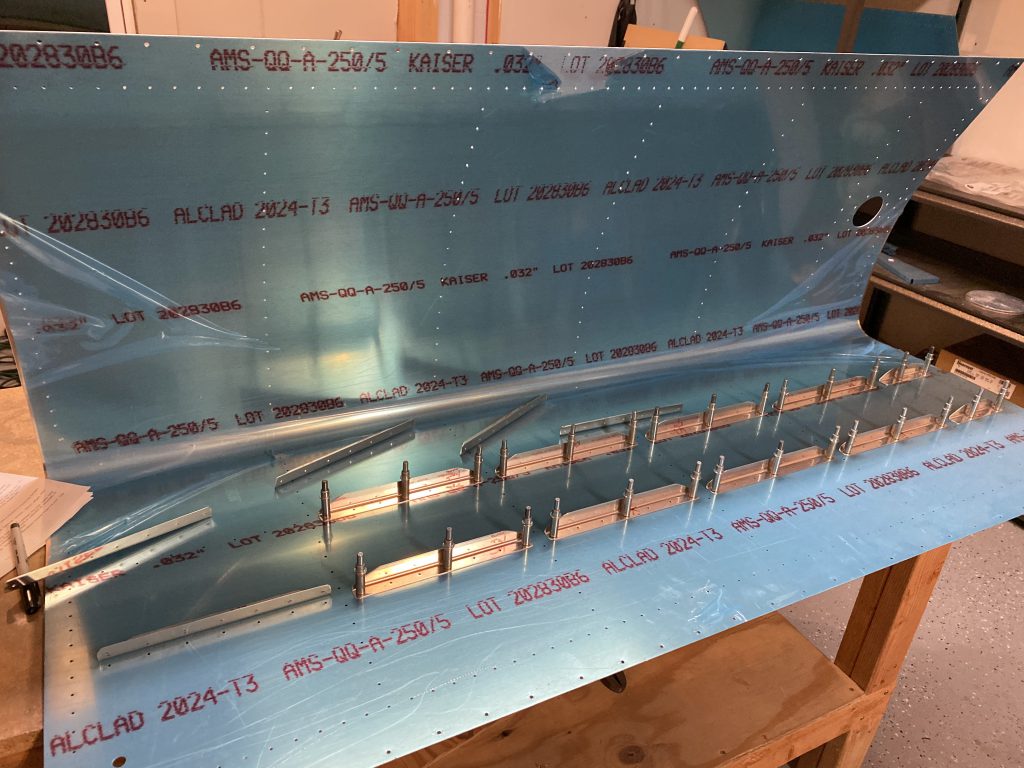
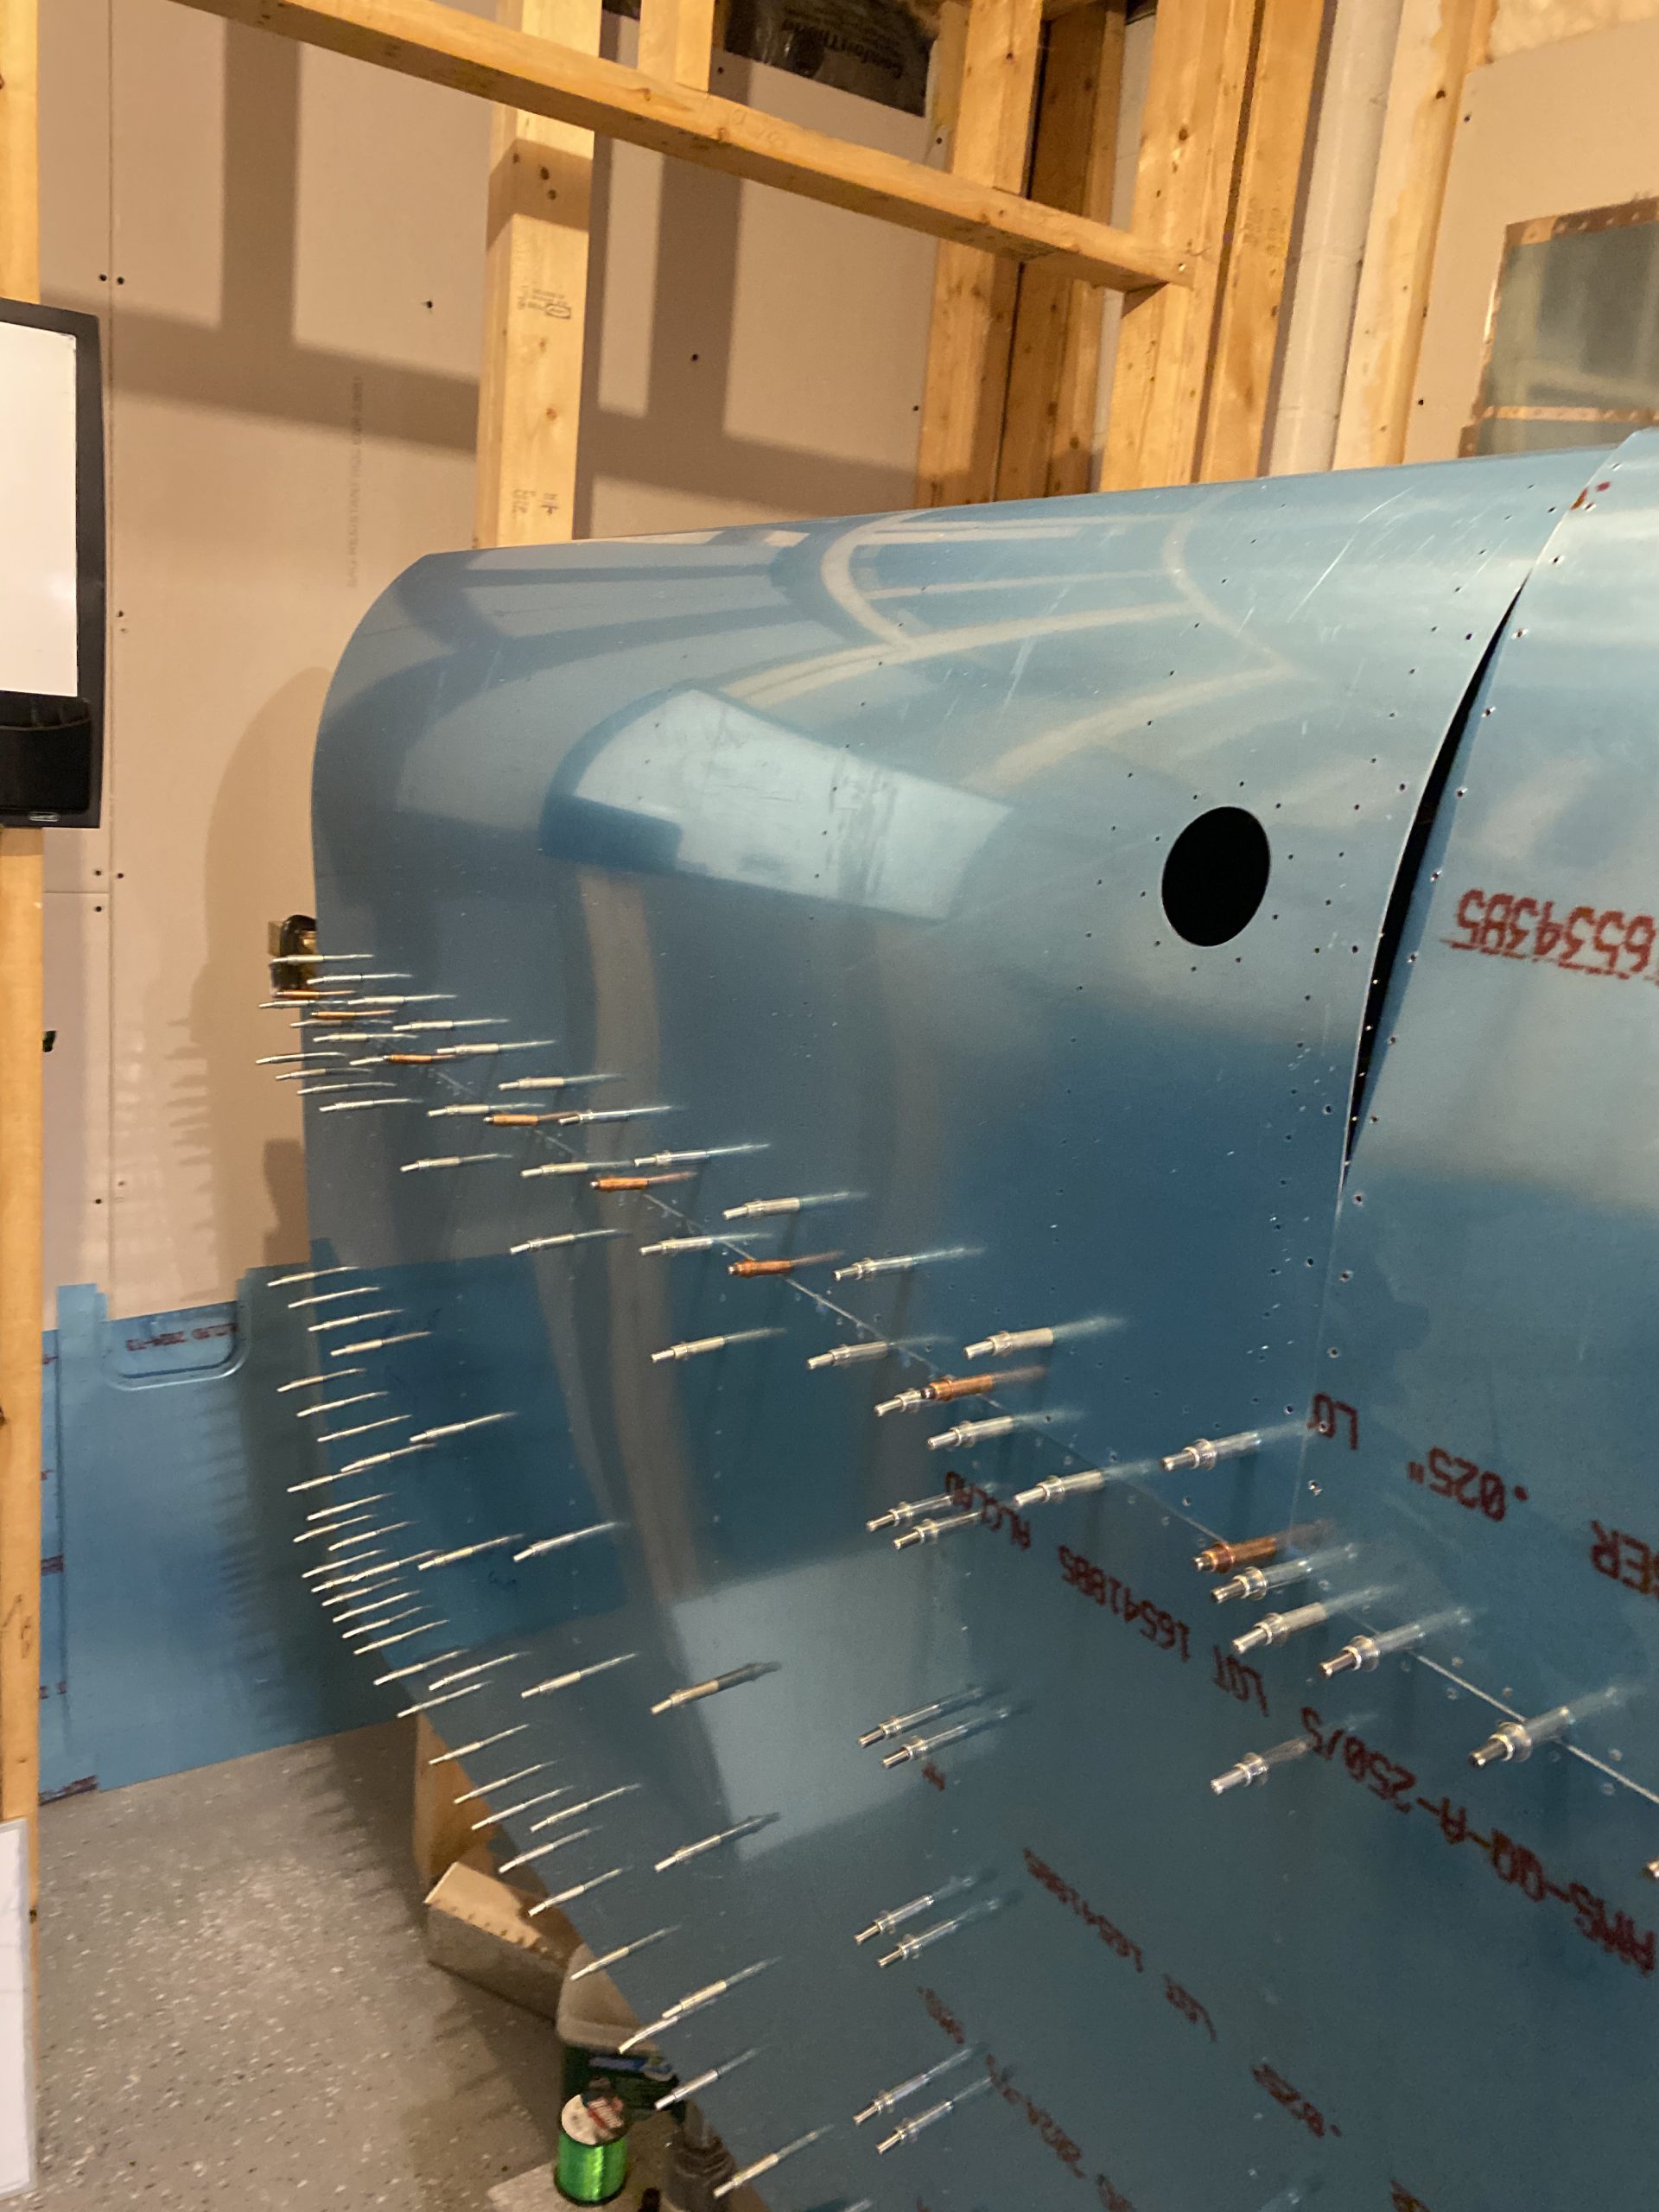
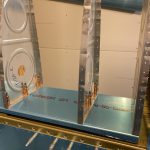
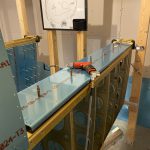
After I had those all match drilled, the next thing was to put the T-701 tank skins onto the baffle and check the fit on the wings. I did this a little differently, as I wanted to make sure I had all my holes lined up on my baffles. I clecod the baffle to the T-701 skins and then mounted the assembly onto the wing checking alignment. I then clecod the skin assembly to the main spar to make sure it was steady.

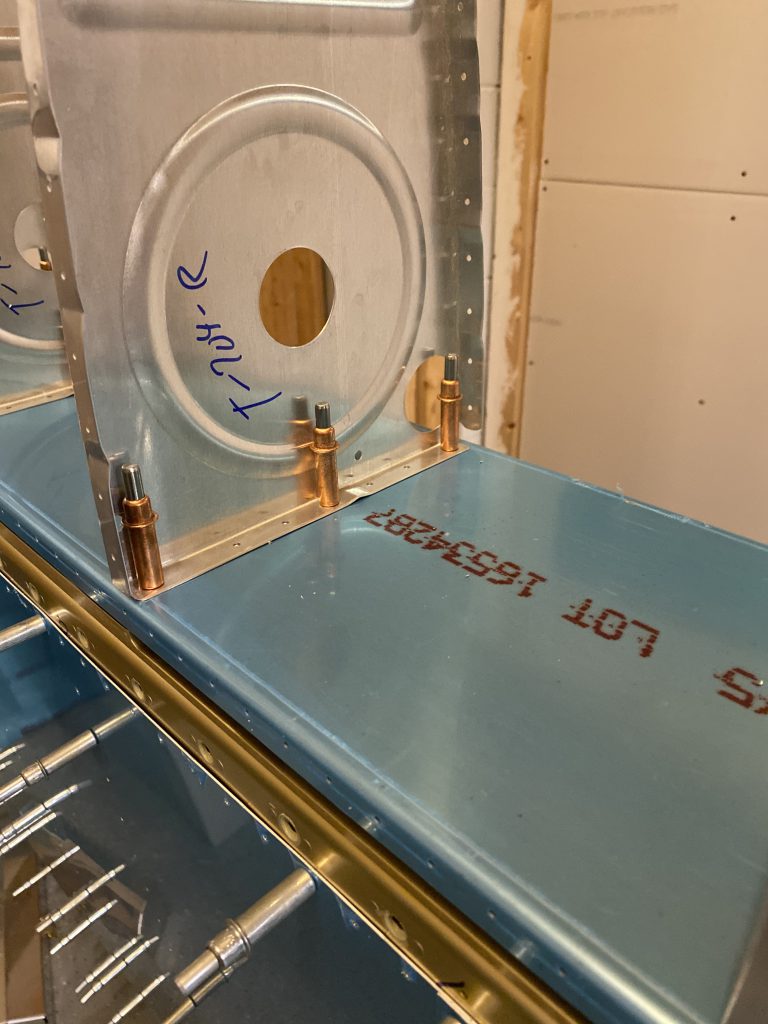
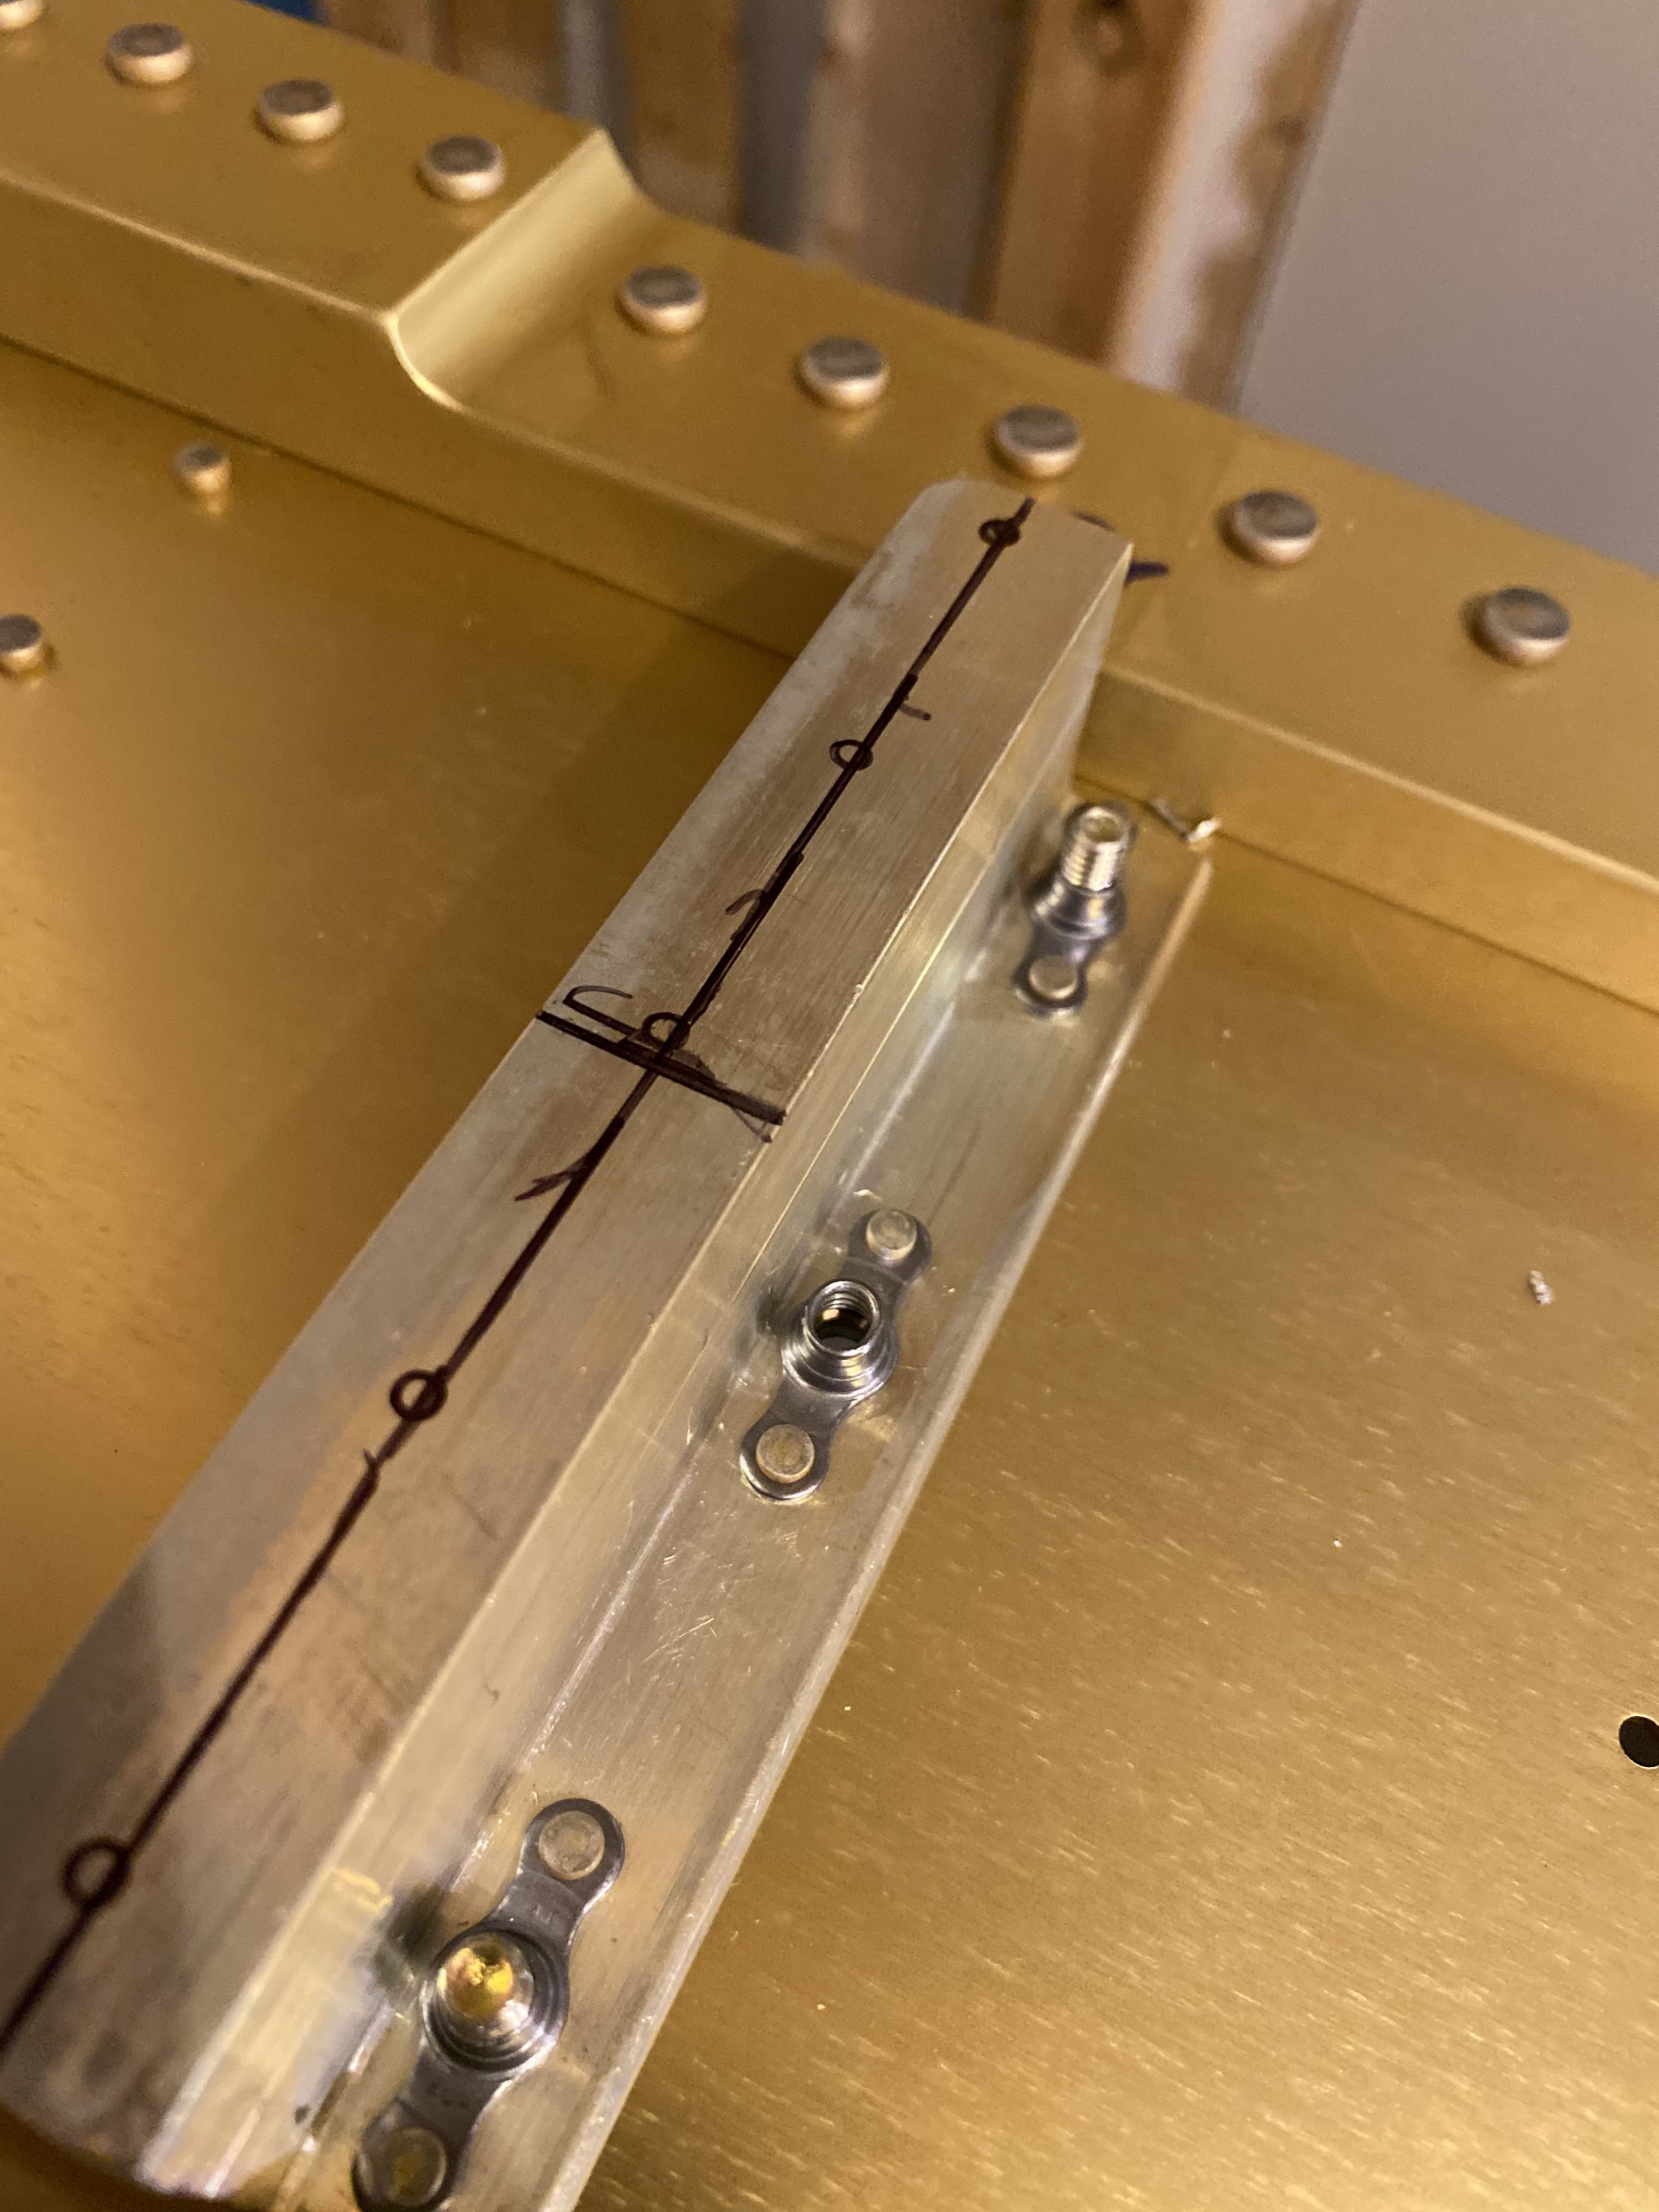
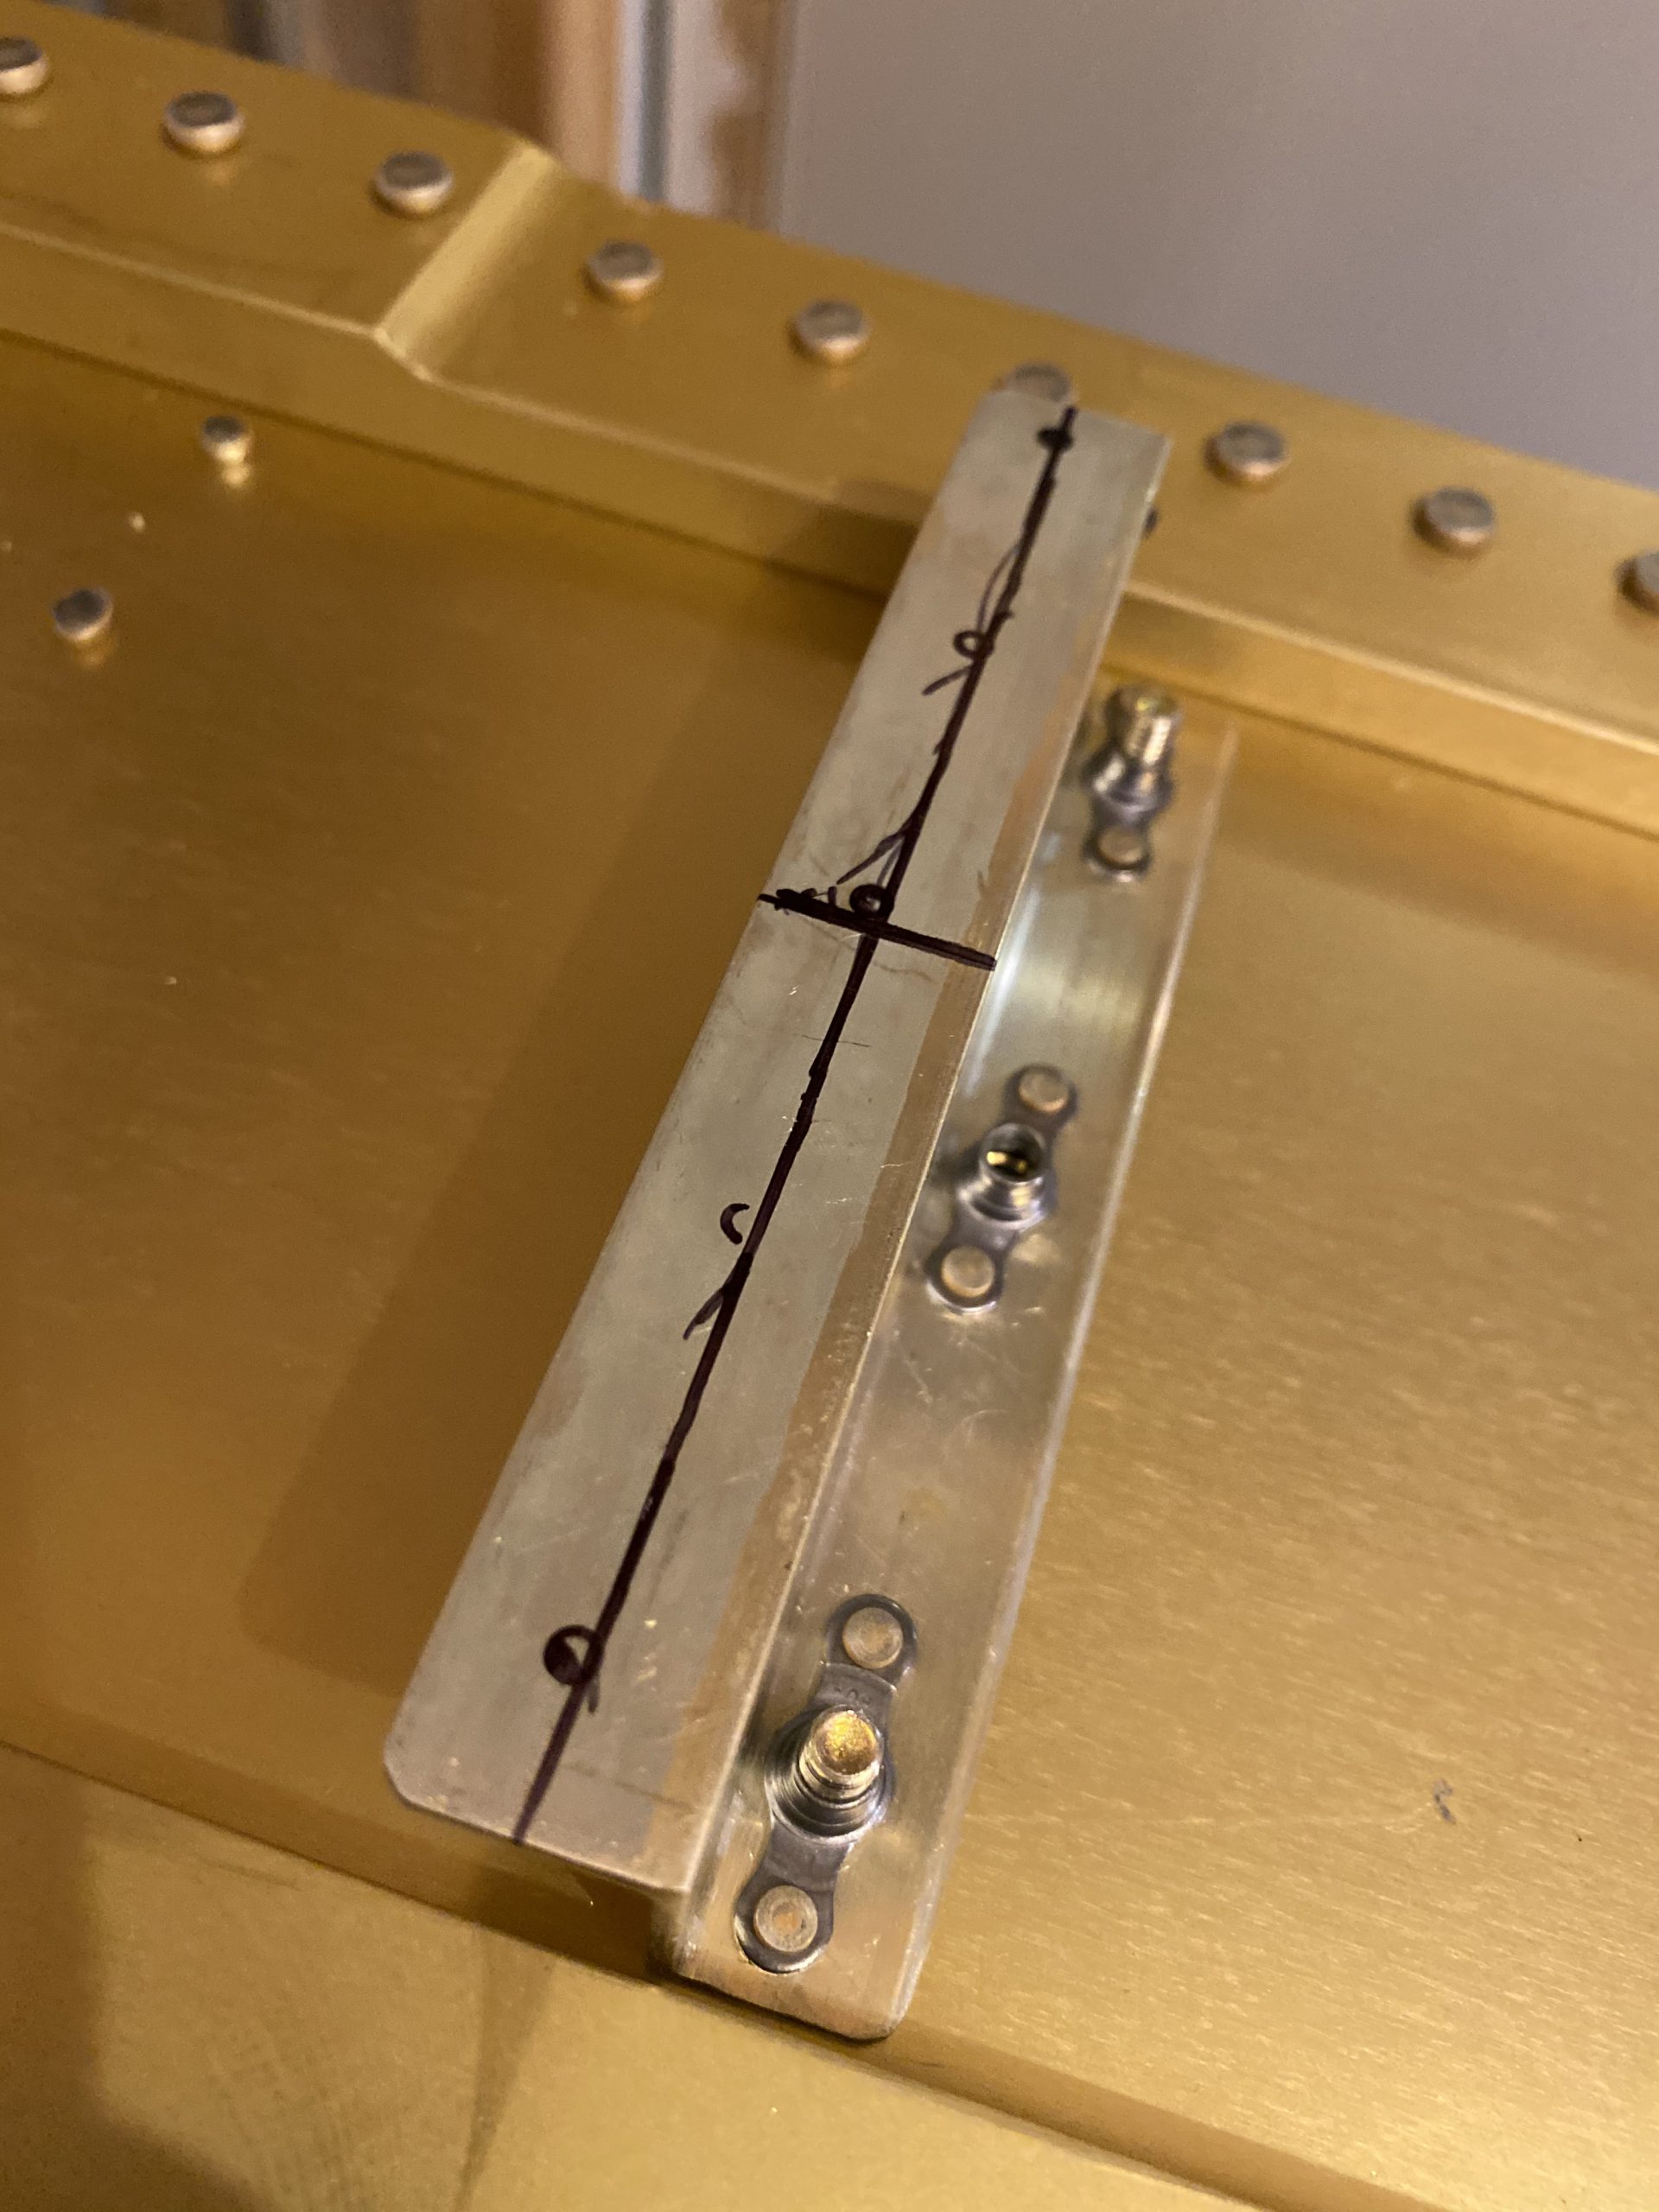
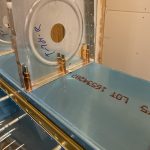
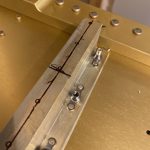
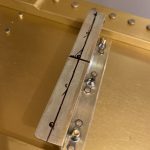
Then I reached in from the side, and marked the holes onto the tank attach brackets using the baffle as a guide after I made sure the centerlines from the tank attach brackets were showing in the center of the pre-punched holes in the baffles. I marked as many holes as I could reach, and pulled the assembly off to check my alignment:

It’s not EXACT, but its very close! Once I was happy with the alignment, I clecoed the baffle back down to the tank attach brackets and then backdrilled into the brackets using the remaining holes in baffle as a guide. I ONLY drilled the center hole in the brackets, leaving the other 4 holes for later, as prescribed by the plans.
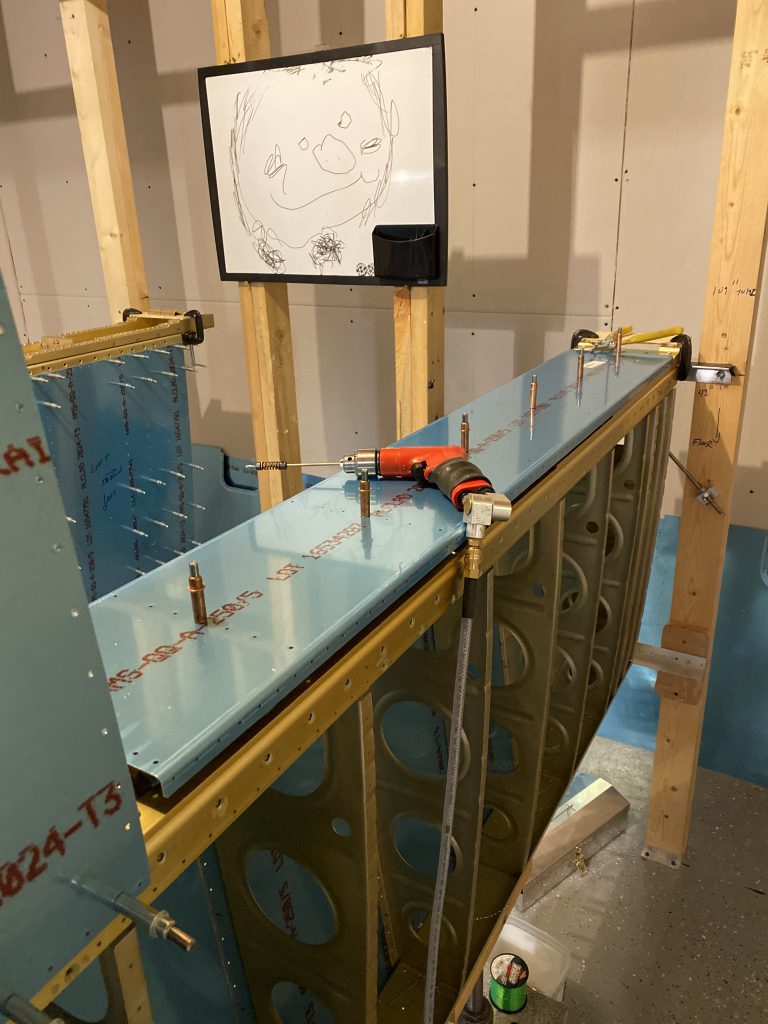
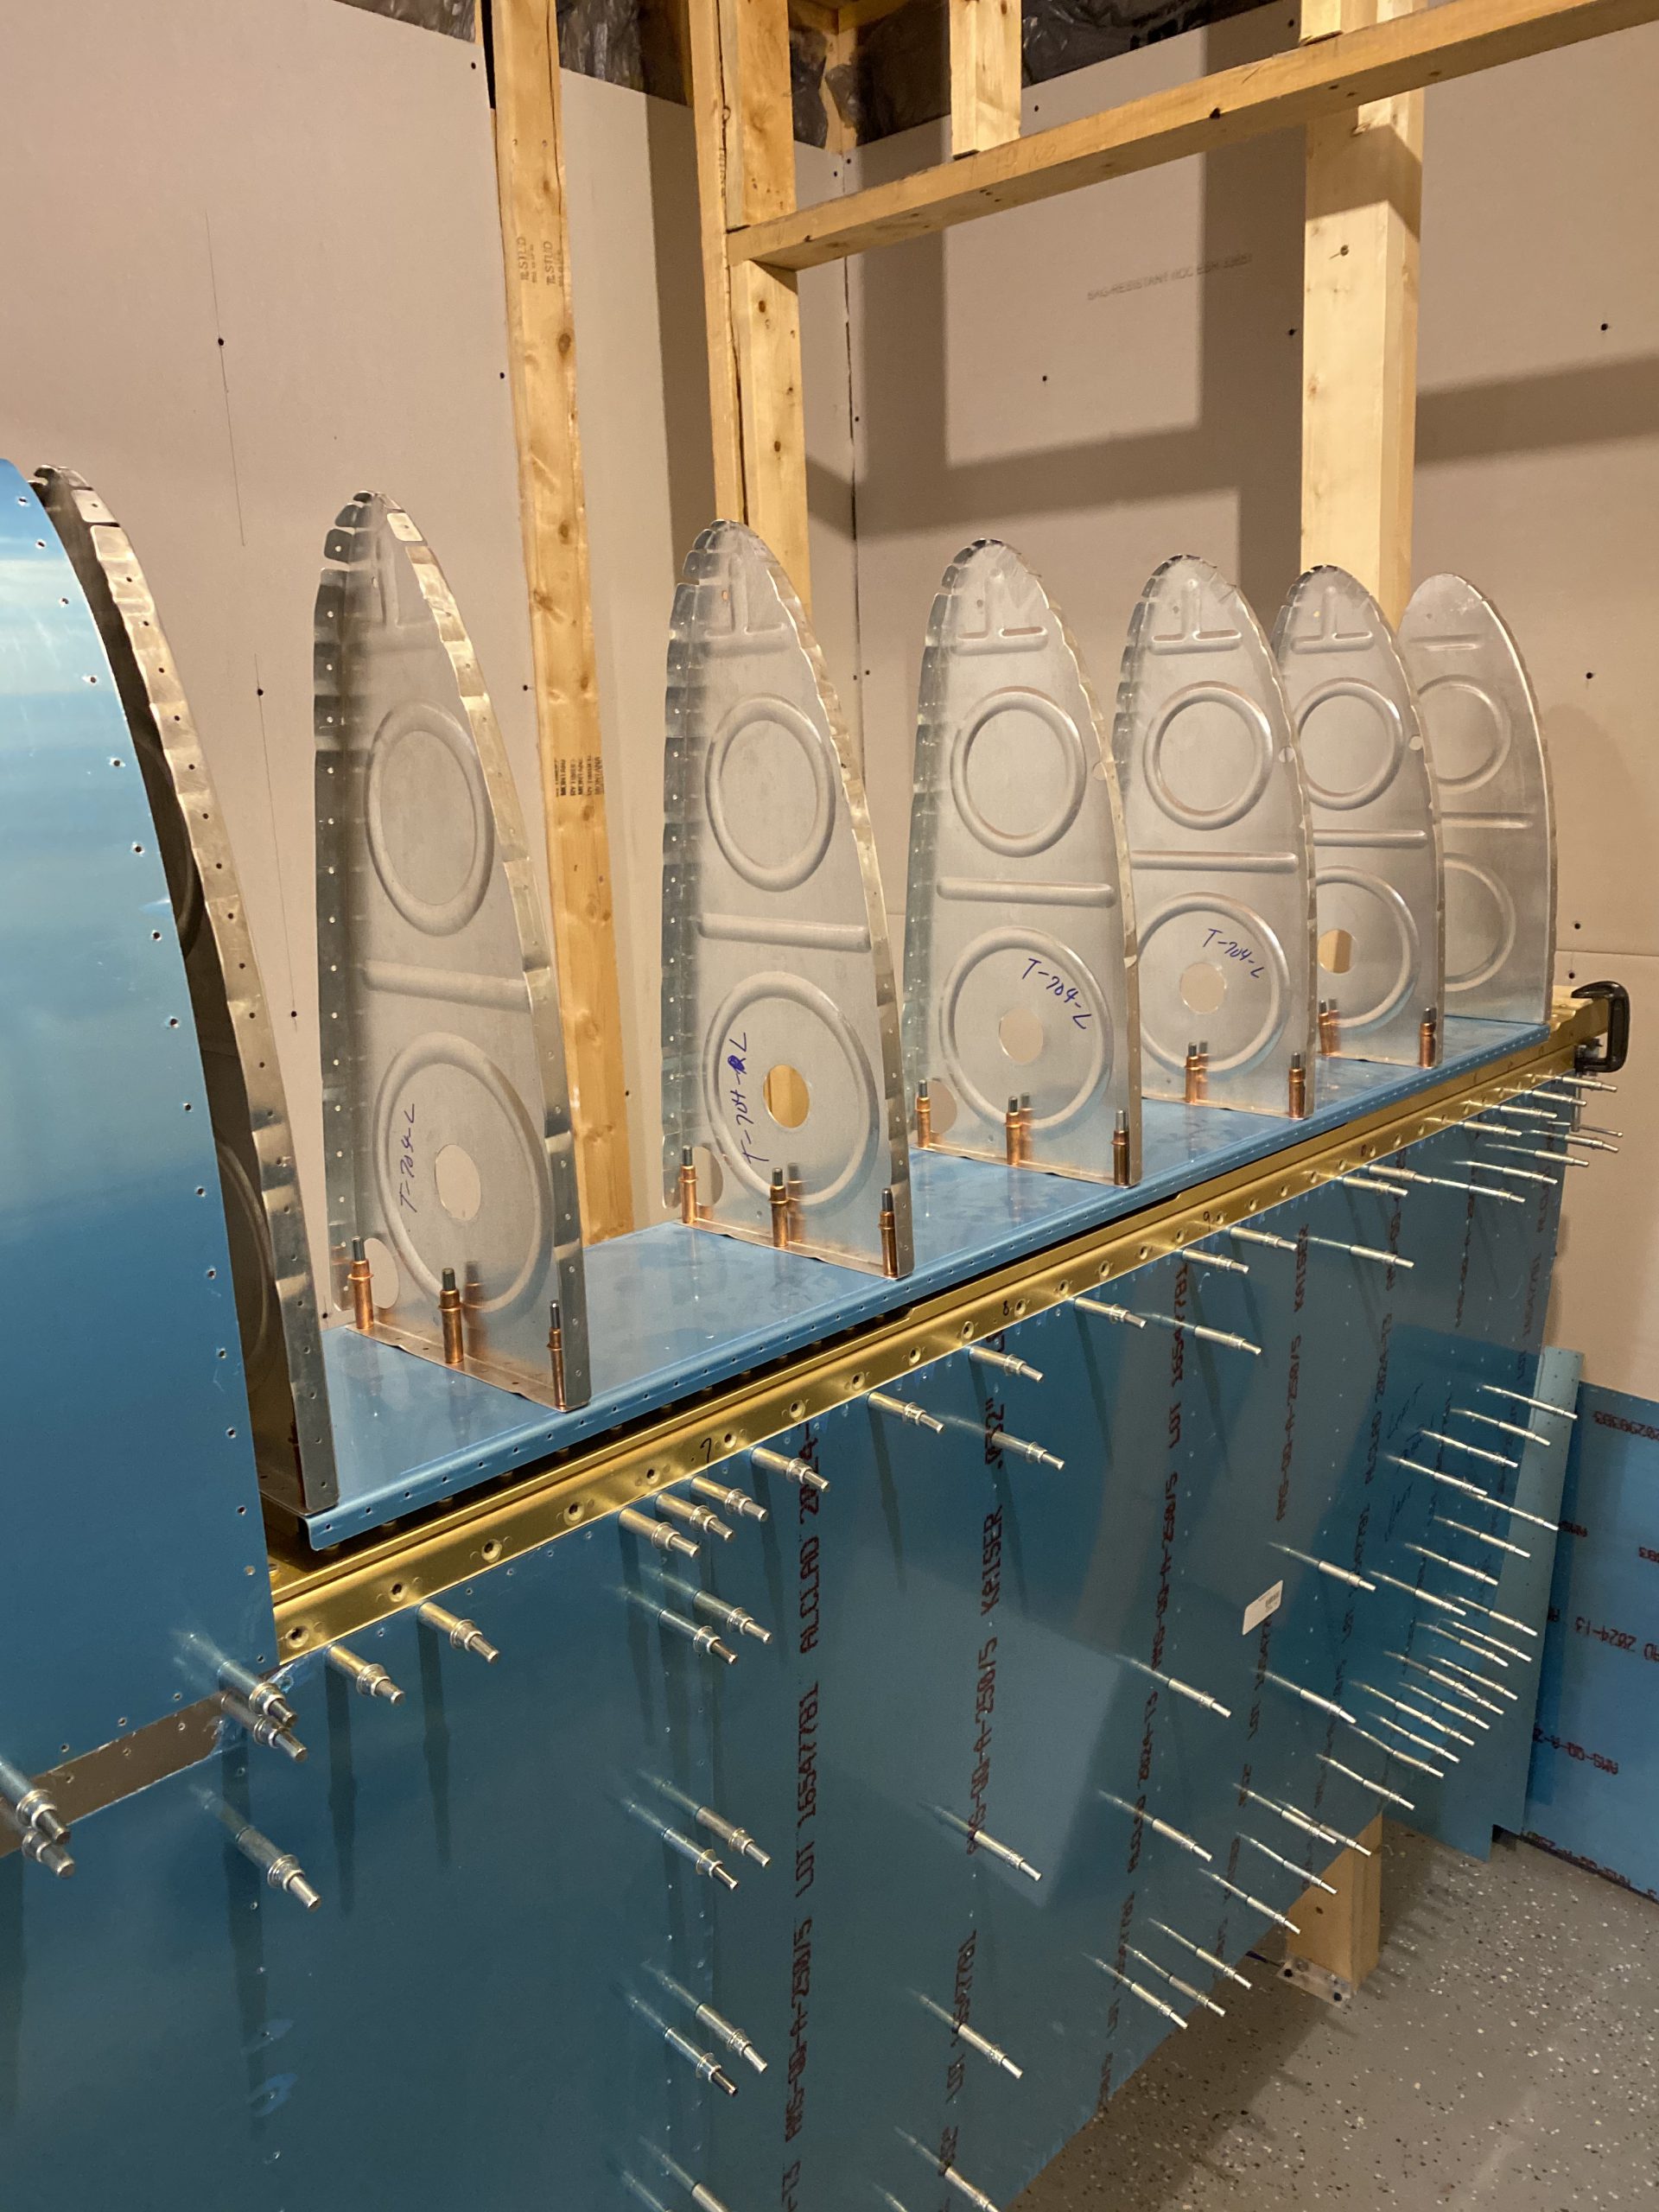
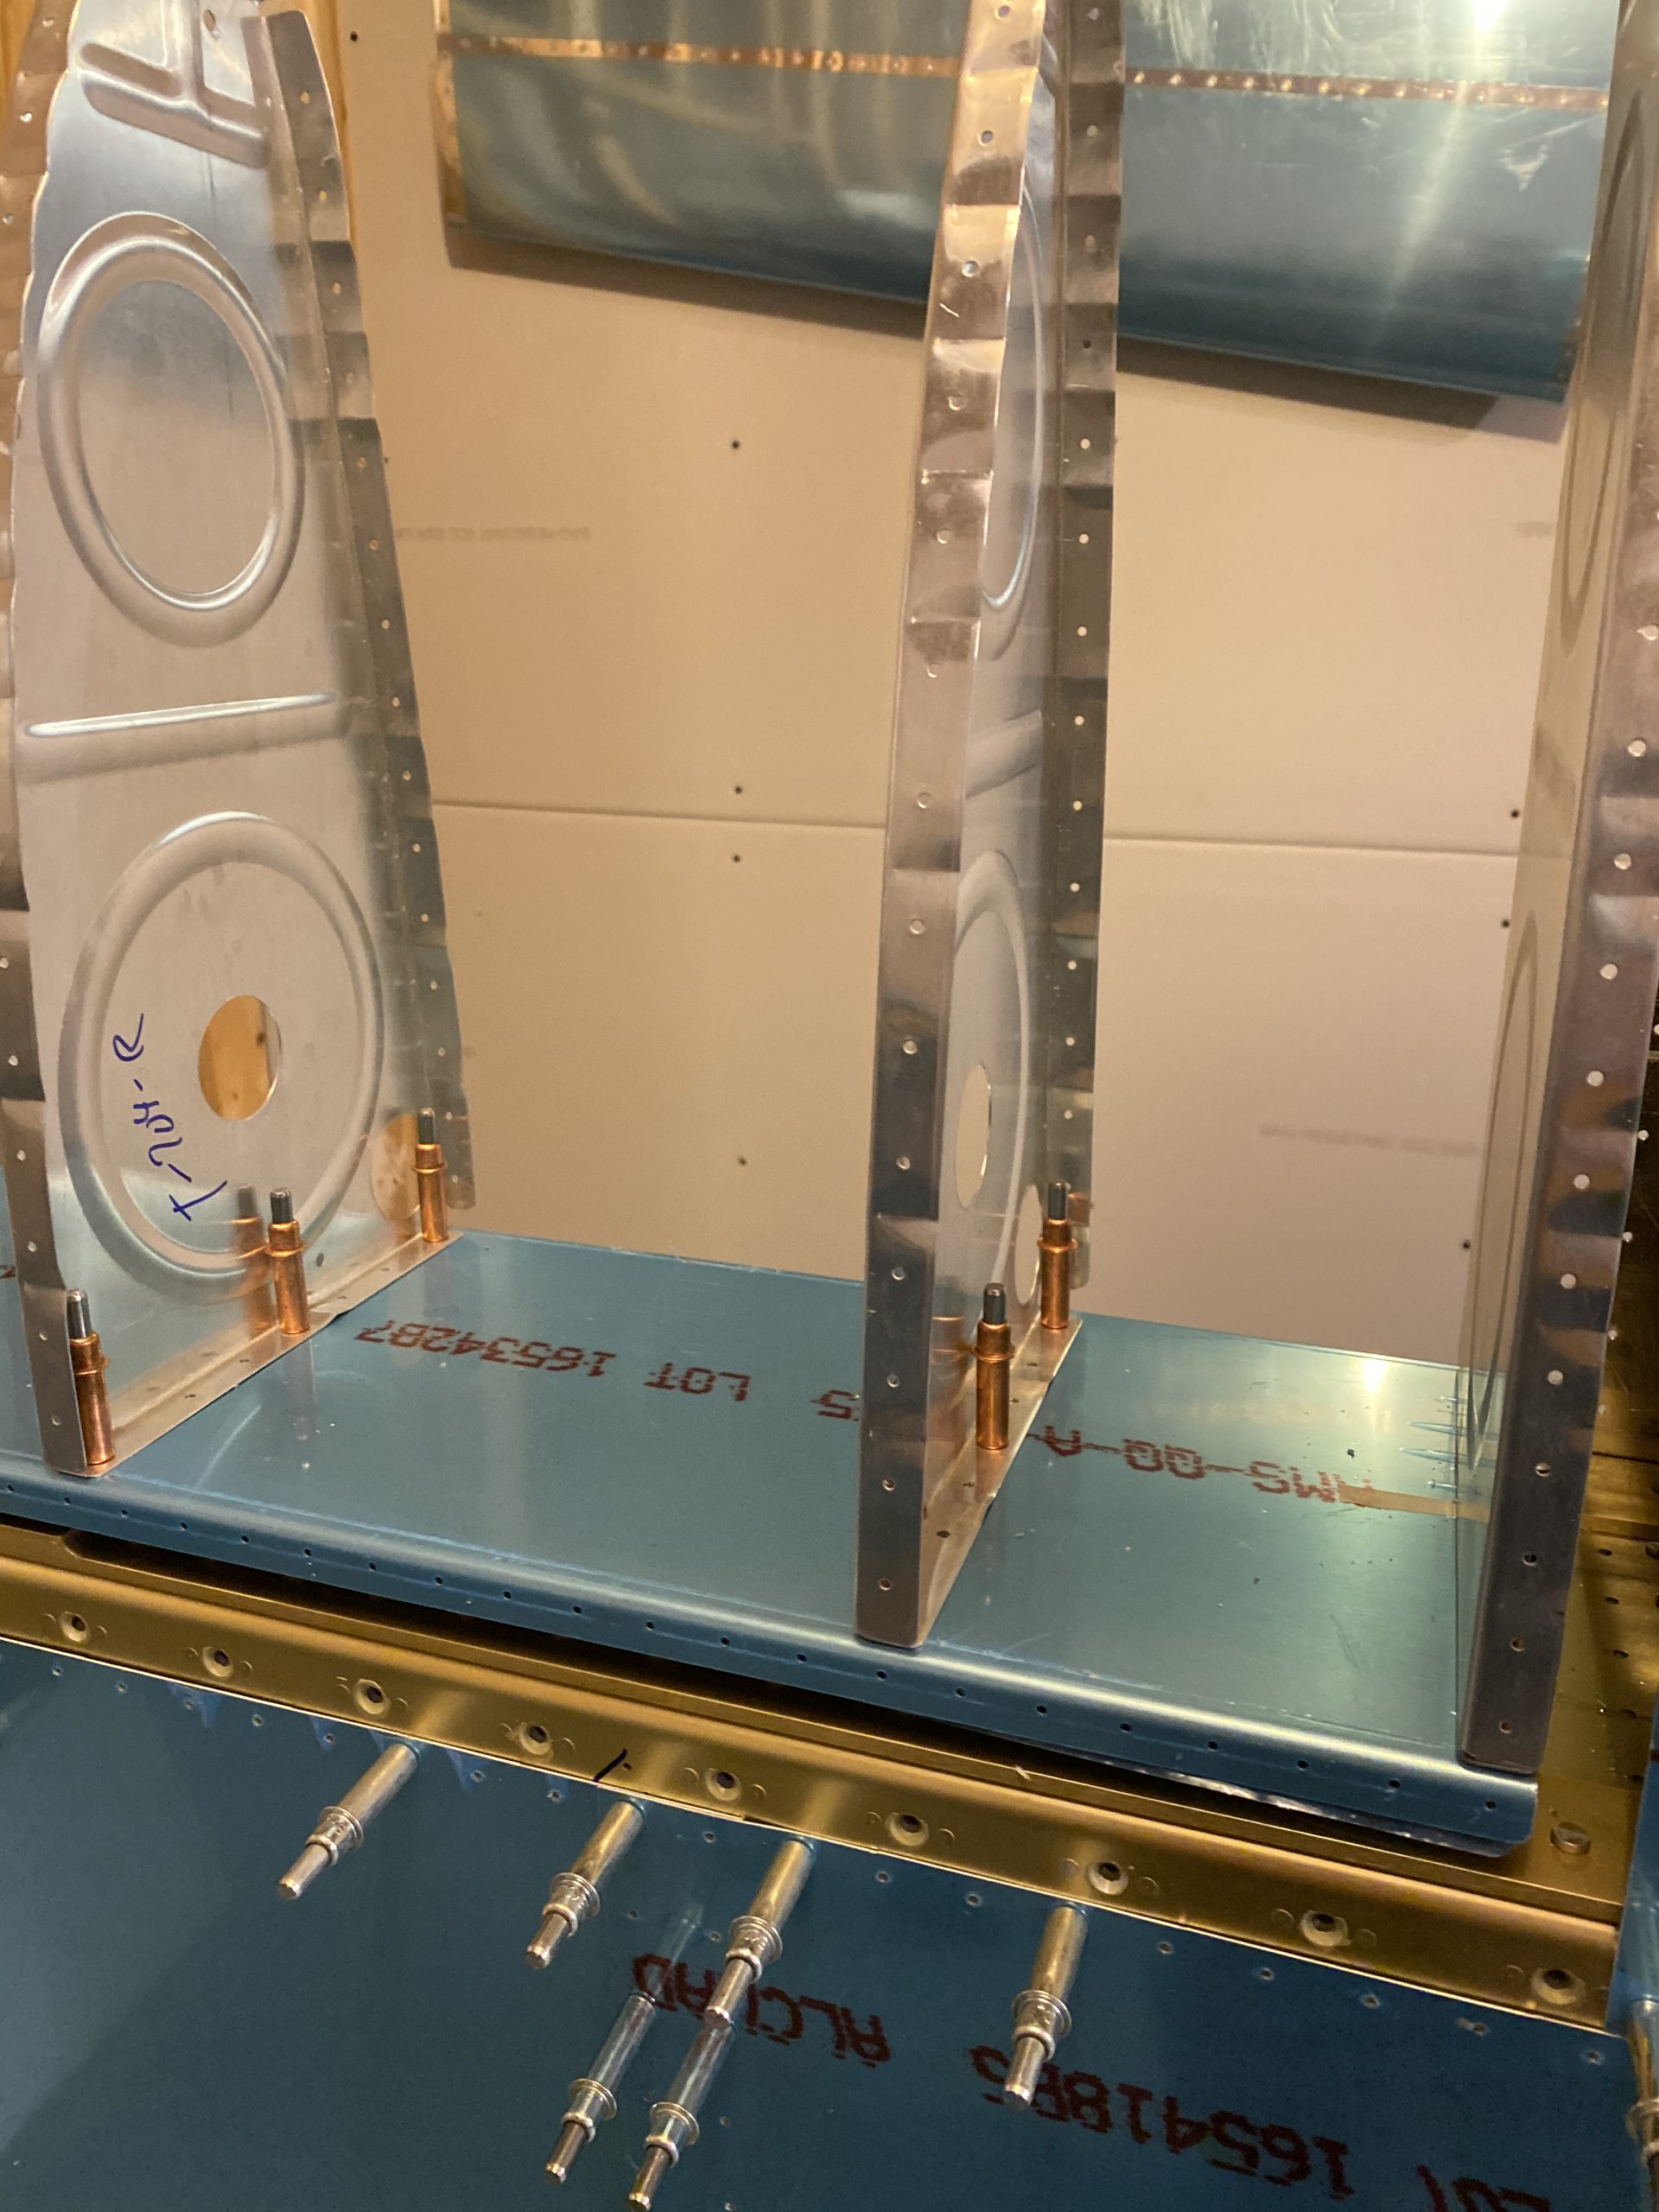
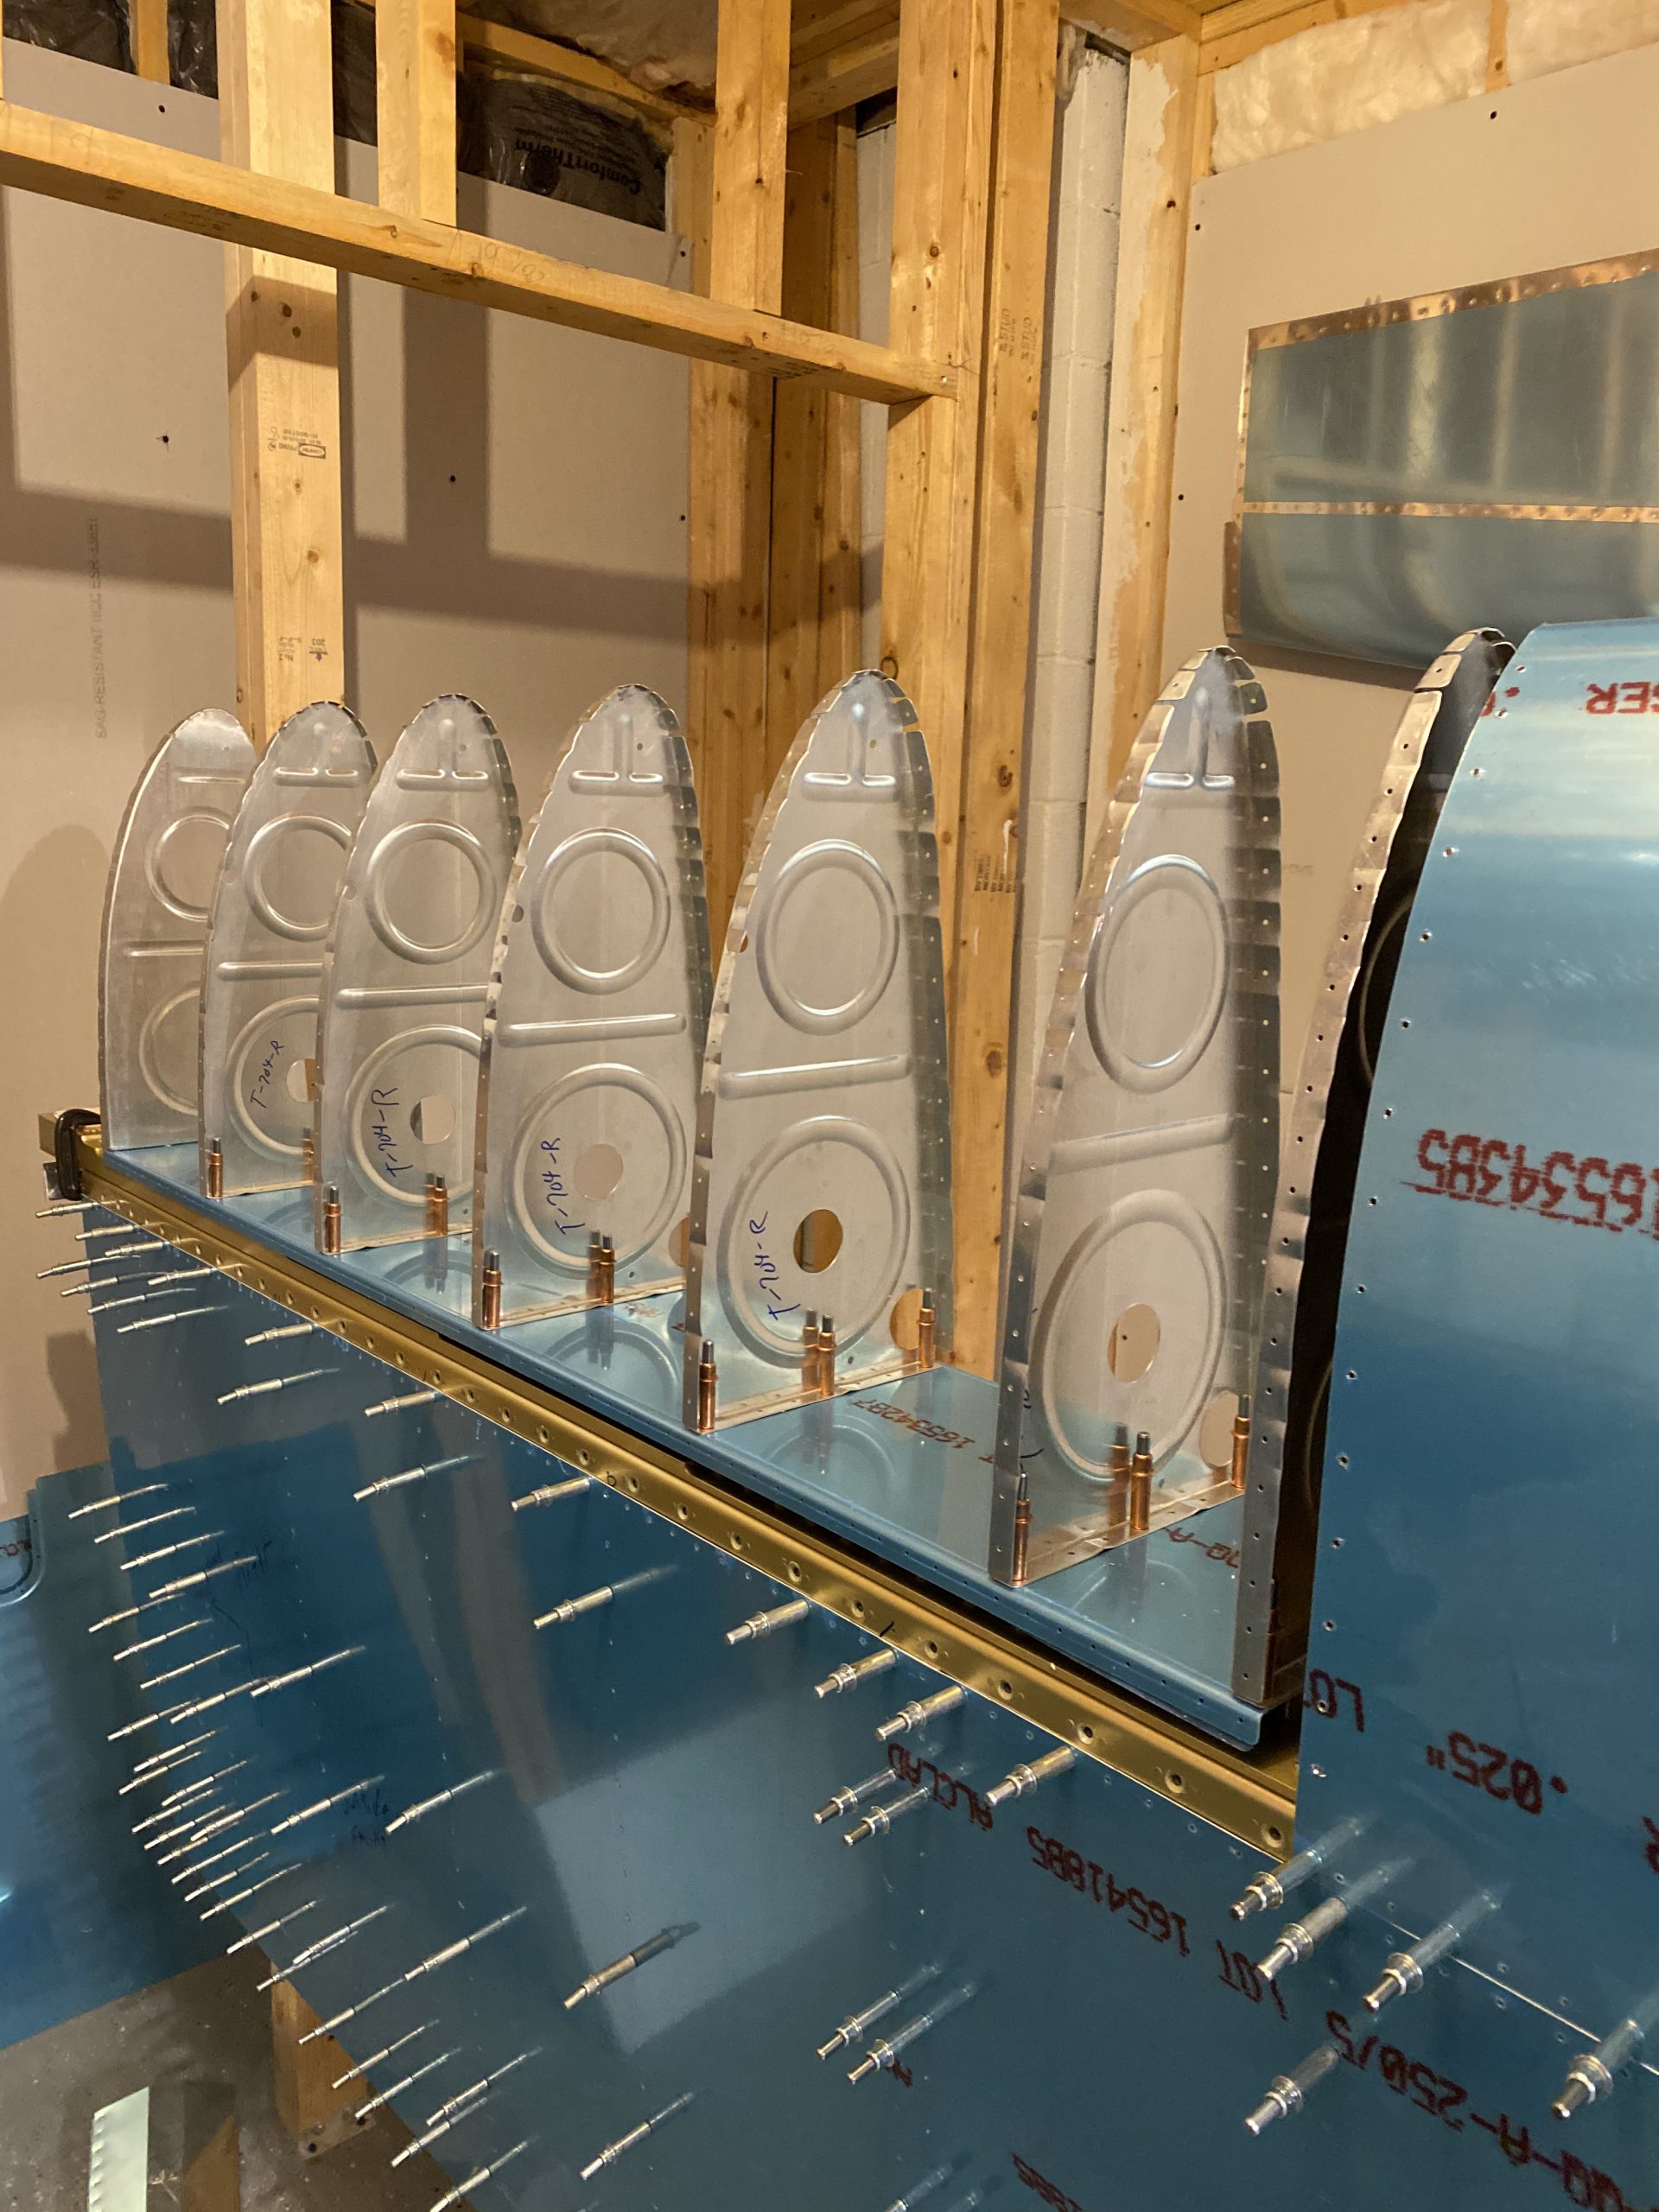
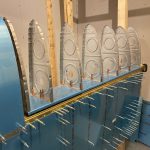
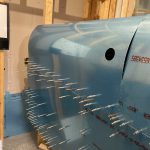
Now that the baffle had enough holes to cleco it down to the attach brackets, it was time to start cleco’ing on the ribs! Once the ribs are on, I will backdrill the ribs, baffle, and tank attach brackets together using the rib holes as guides. I clecoed on the ribs, double checking their placement with the plans.

I was pretty spent after clecoing the ribs on, so I decided to call it a night, and do the backdrilling when I was fresh. Of course, I did this same set of procedures on the other wing, I just simply showing photos from one wing in the blog post 🙂 . Heres all the photos from tonights work:
-
 IMG_0517
 -
 IMG_0516
 -
 IMG_0515
 -
 IMG_0514
 -
 IMG_0512
 -
 IMG_0511
 -
 IMG_0510
 -
 IMG_0513
 -
 IMG_0507
 -
 IMG_0509
 -
 IMG_0506
Google Photos Link: https://photos.app.goo.gl/z1bQgQJa14SmSxr19
Hours Worked: 3.5