


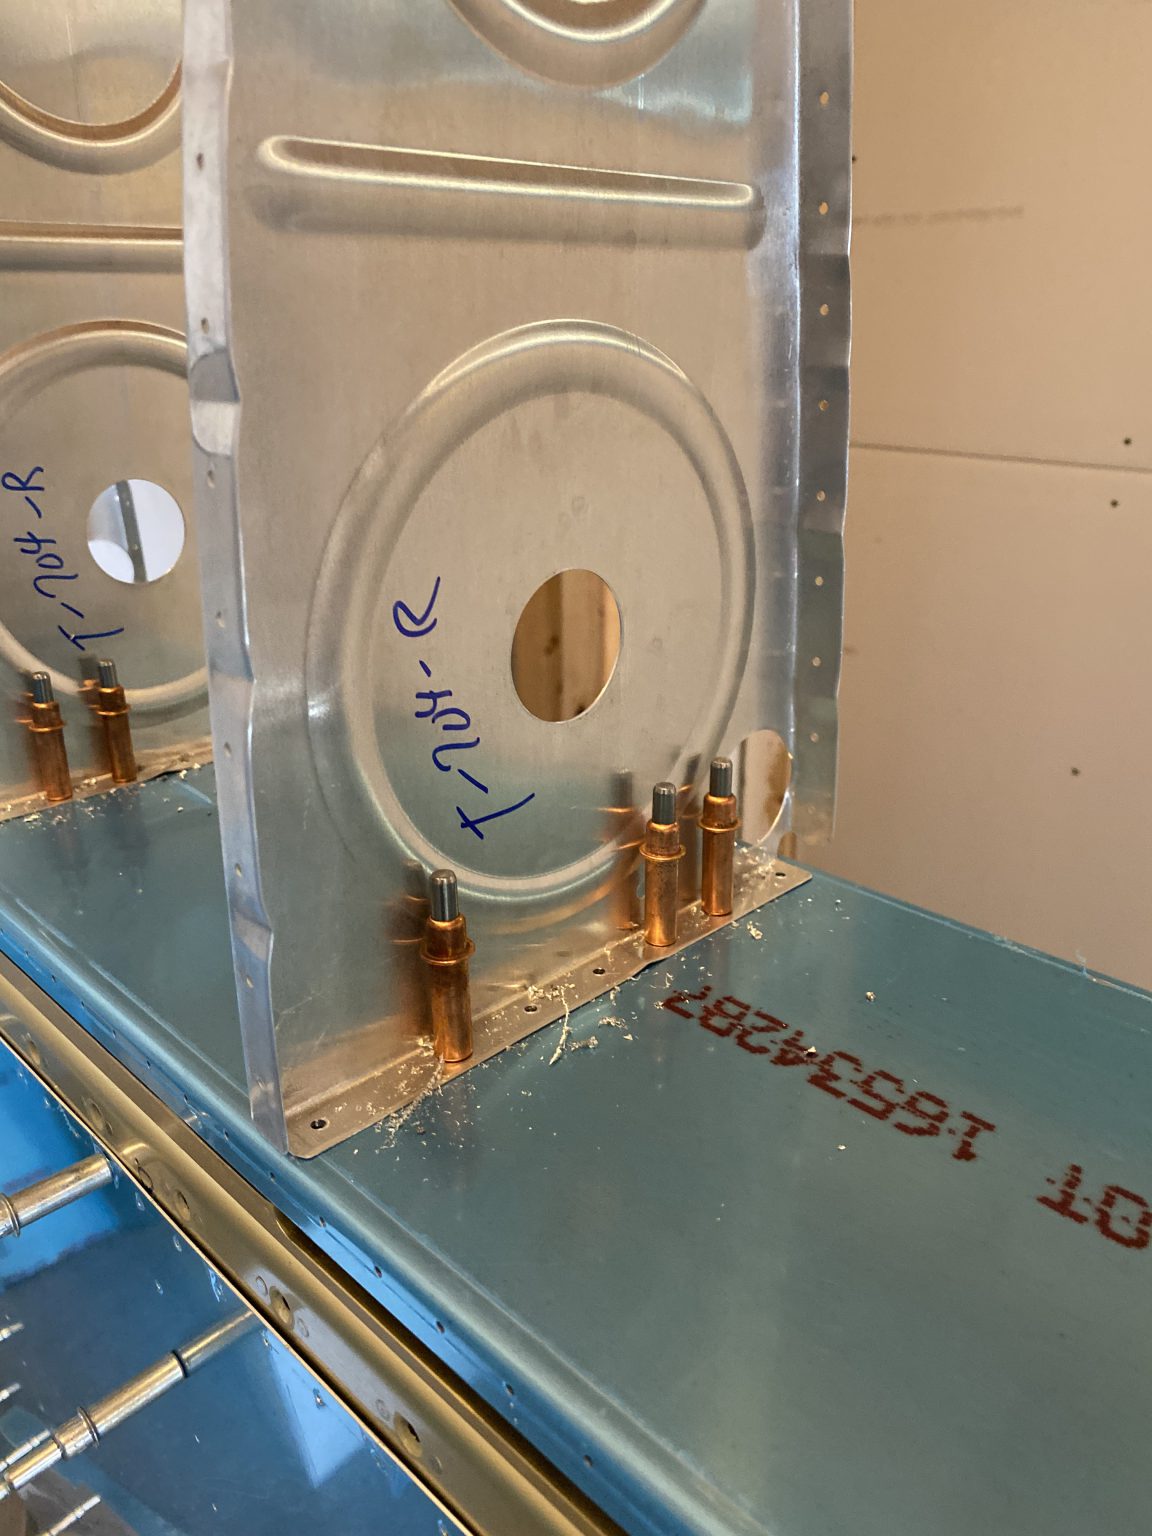
Had a really good build session tonight, and made some really great progress on my fuel tanks. To pick up from where I left off last, I needed to back drill the tank ribs to the baffle and into the tank attach brackets. I used my 12″ long #30 (1/8″) bit to back drill all the holes. This worked well and I had plenty of room to work. at 16″ probably would have been much better.


Next, I needed to remove the blue plastic from the inside of the T-701 tanks skins so to start the match drilling process. I started on the right tank, and pulled the plastic off, then cleco’d on the tank stiffeners. Just a side note, when you are cleco’ing the stiffeners on, dont use the very edge holes on the stiffeners and the clecos will give you a hard time around the ribs. I had to move my clecos to make slipping the skin on a little easier. I also numbered the stiffeners and their location on the skins to make them easier to get in the right spots on re-assembly.
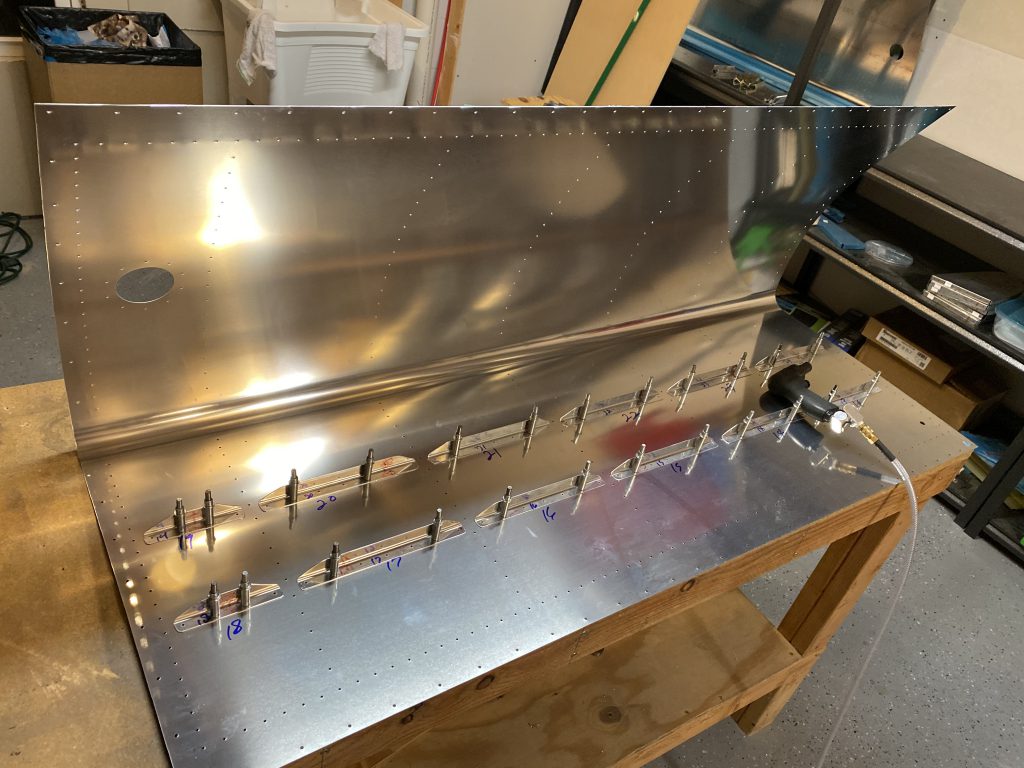
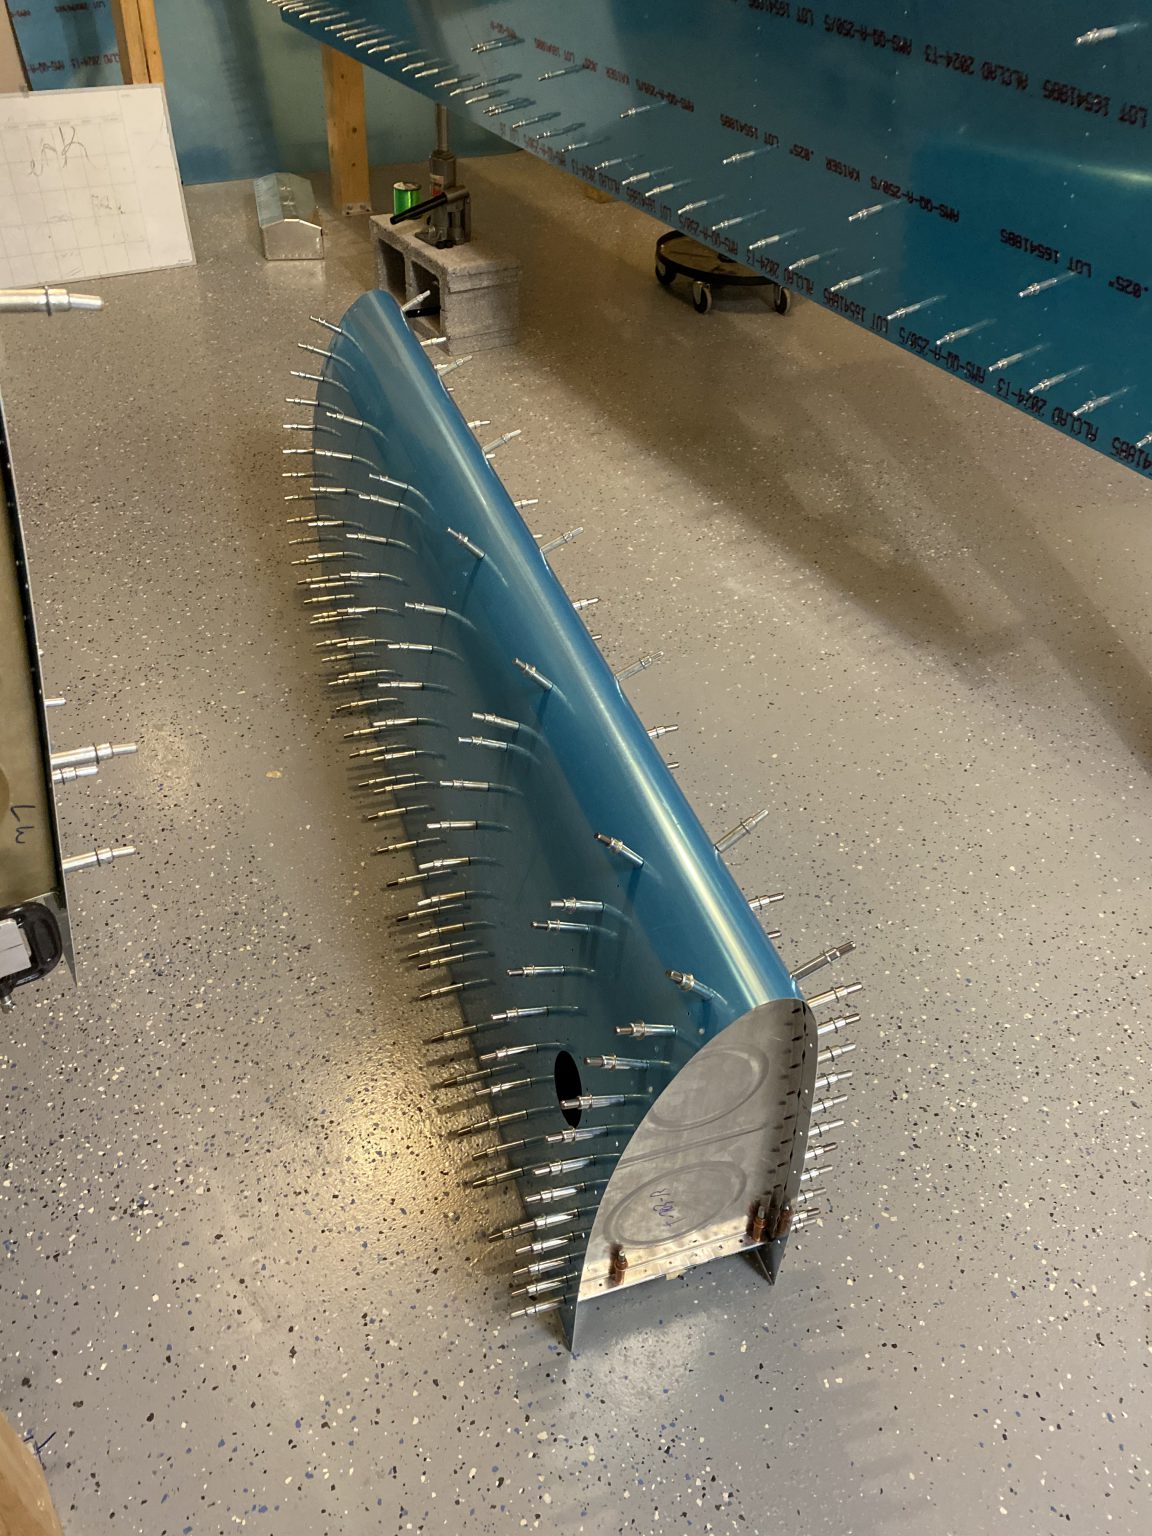
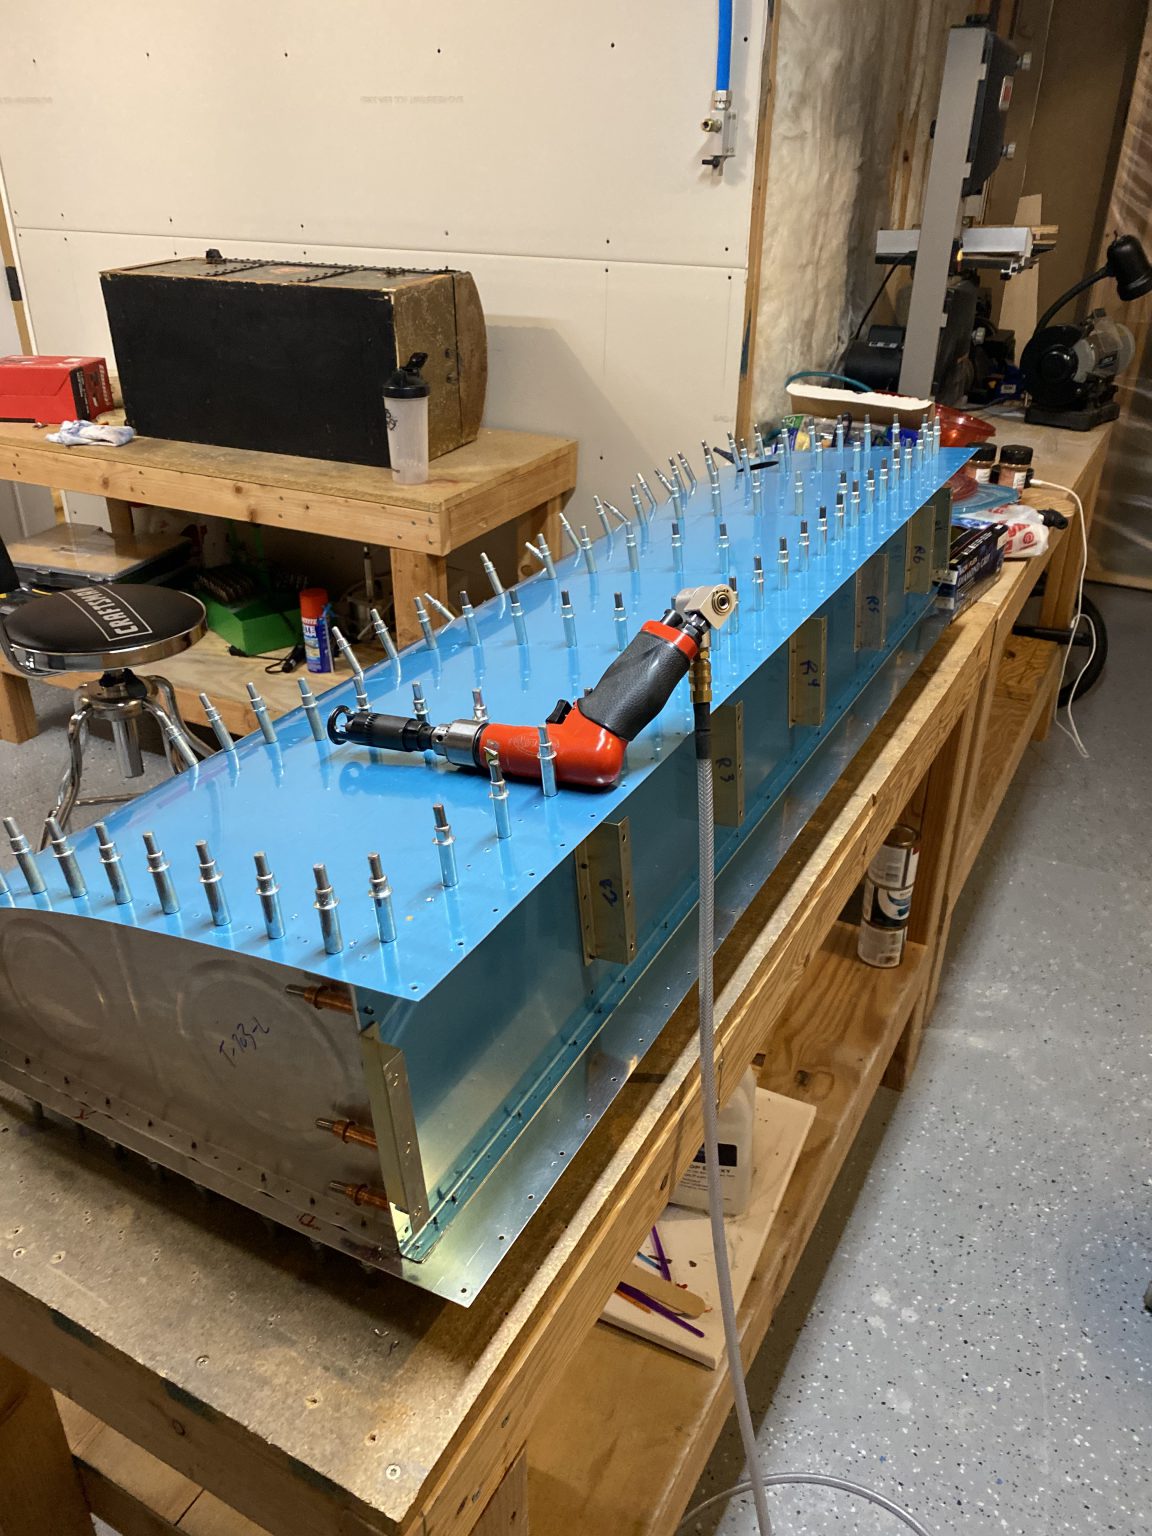
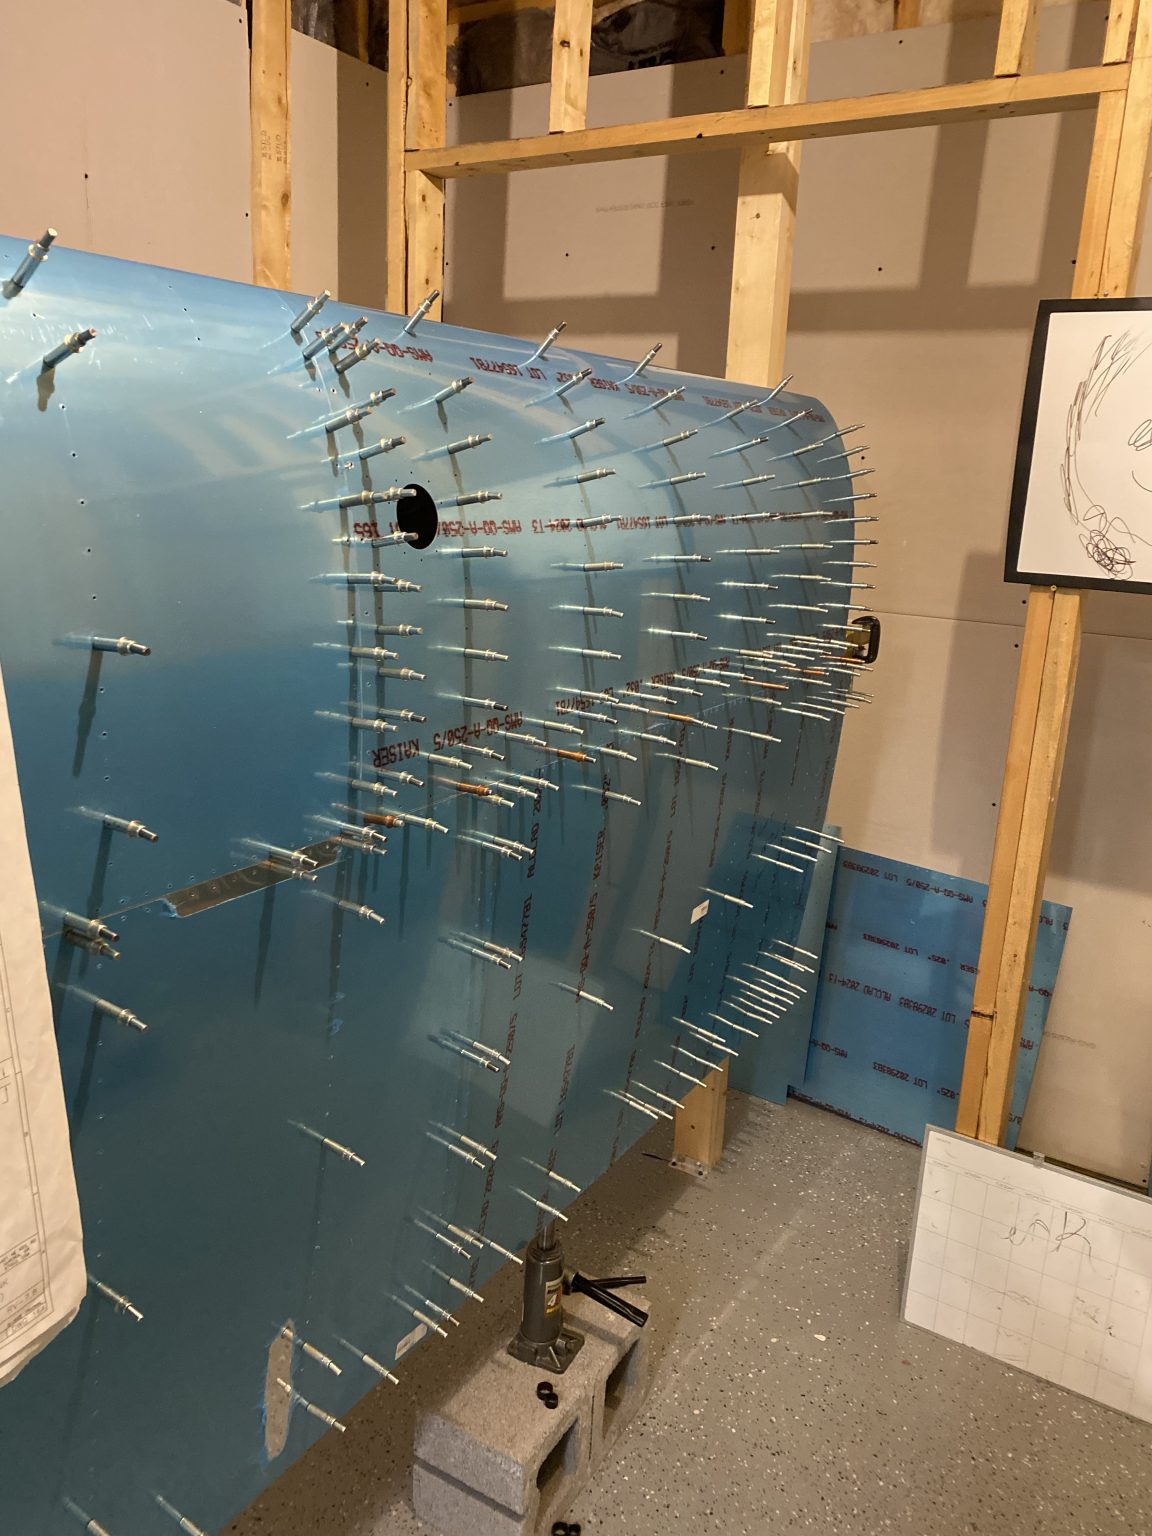
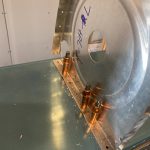
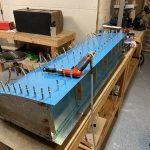
Then I slipped the skin over the ribs and clecoed it down. PRO-TIP: Start clecoing it down from the BOTTOM side of the wing, working your way from the center outwards and then around the leading edge and back down the TOP of the tank working towards the spar. I fought with trying to do it the other way and it was a hassle! Starting on the bottom side made it much easier. Heres the left tank clecod on as an example. I only had enough clecos to do one tank at a time though.

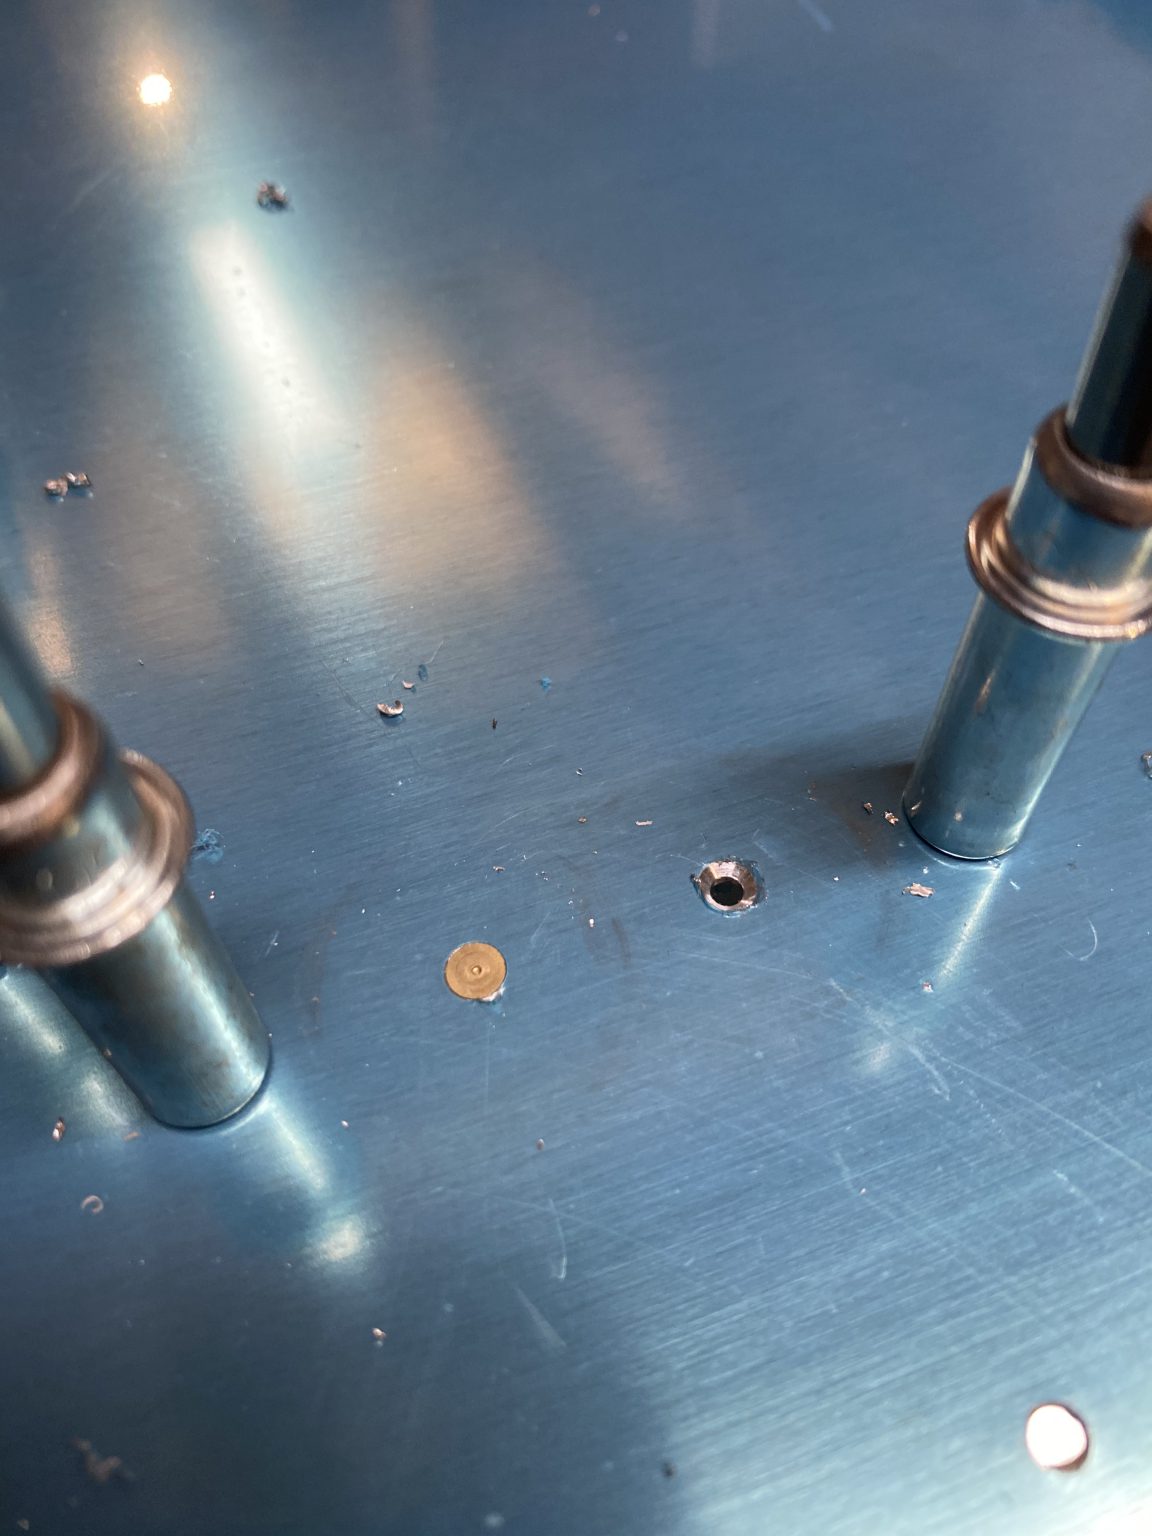
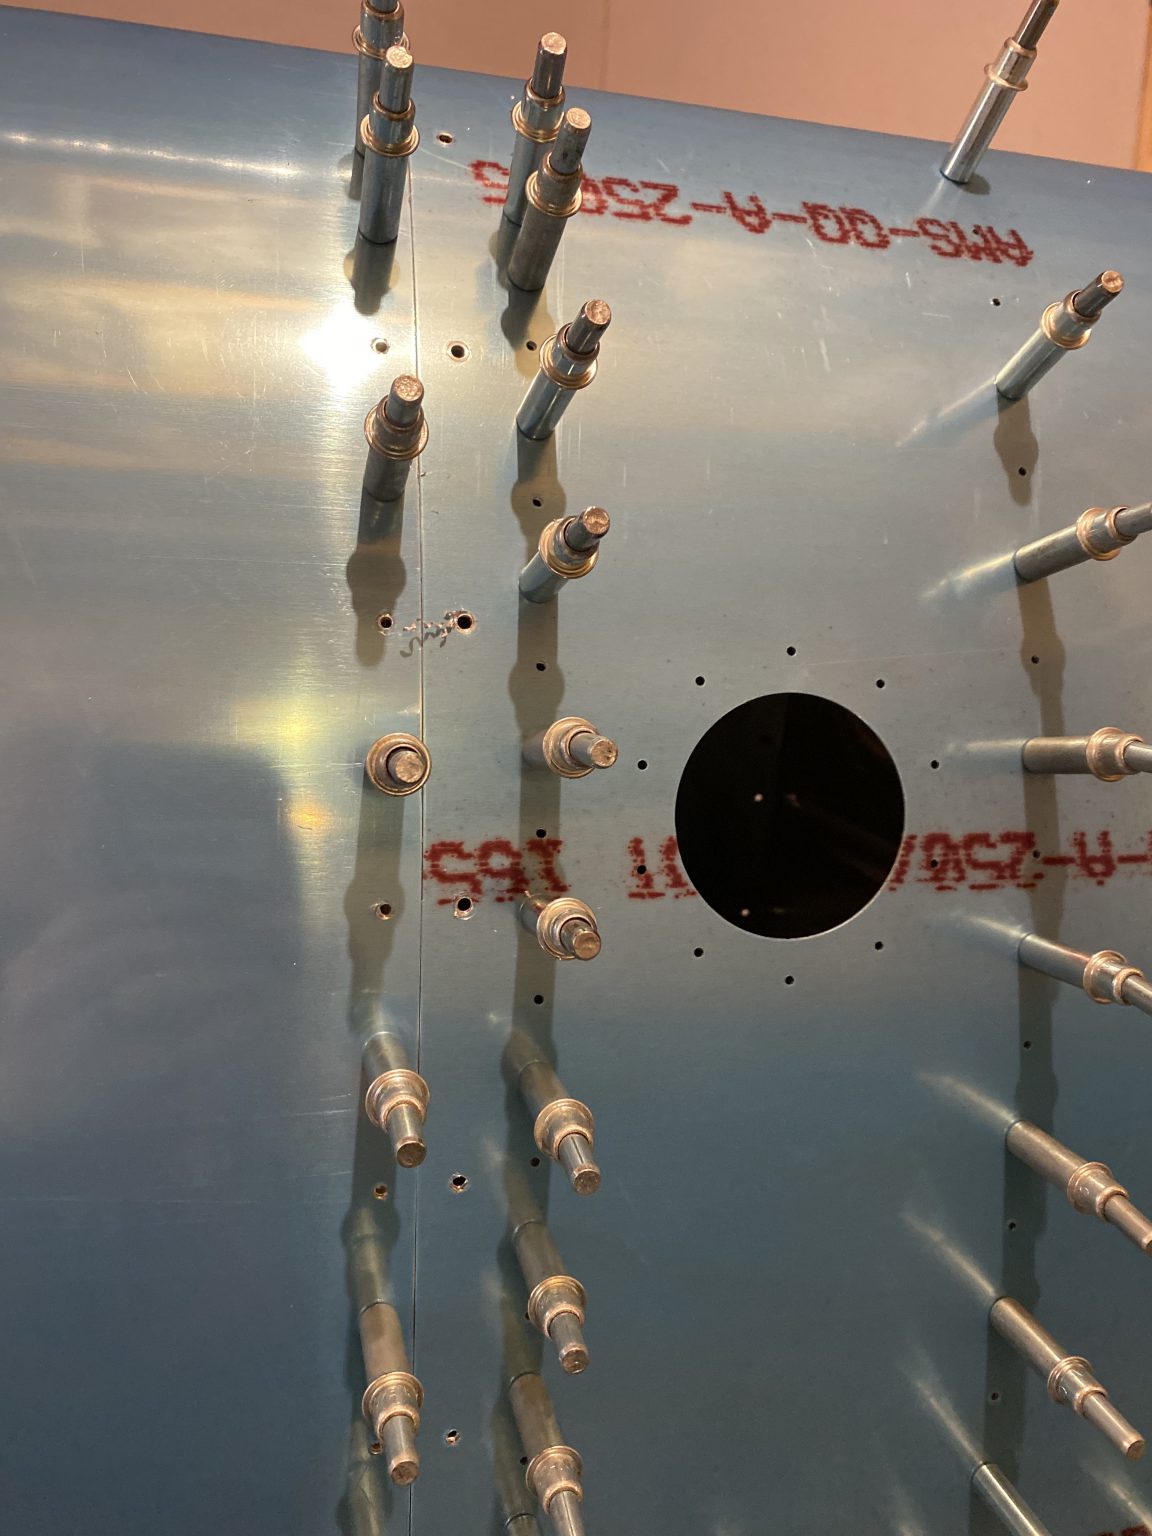
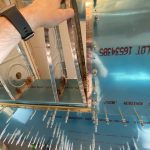
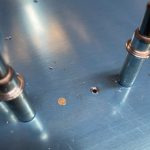
Once the skin was compeltely clecod down to the ribs and baffle, we needed to back drill the W-423 plate using the tank skin as a guide. We use a #30 bit at first to get the holes where we want. You can see the newly drilled holes in between the row of clecos in the photo below:

Once we have those holes drilled, we take the tank off the spar, completely assembled. So, I unbolted the tank attach brackets from the spar, and moved it over to my bench to avoid match drilling into the expensive wing spar! As is the usual process, I used a reamer to match ream all the pre-punched holes in the skins to the ribs and the baffle. This worked out pretty nice as the bench had it at a good working height.

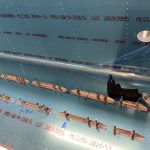
The next step we need to do is machine countersink the rivet holes that attach the skin to the baffle. We do this so that we can easily and cleanly slide the baffle into place with it gooped up with Pro-seal. Dimpling would make this a much harder process. I fired up the micro-stop countersink and confirmed the depth. Per the instructions, I left the baffle clecod on to serve as a stable pilot hole for the countersink. This took some time as there are a bunch of holes!! My countersink got pretty warm during this process, so I had to give it (and my hands!) a few breaks in between.
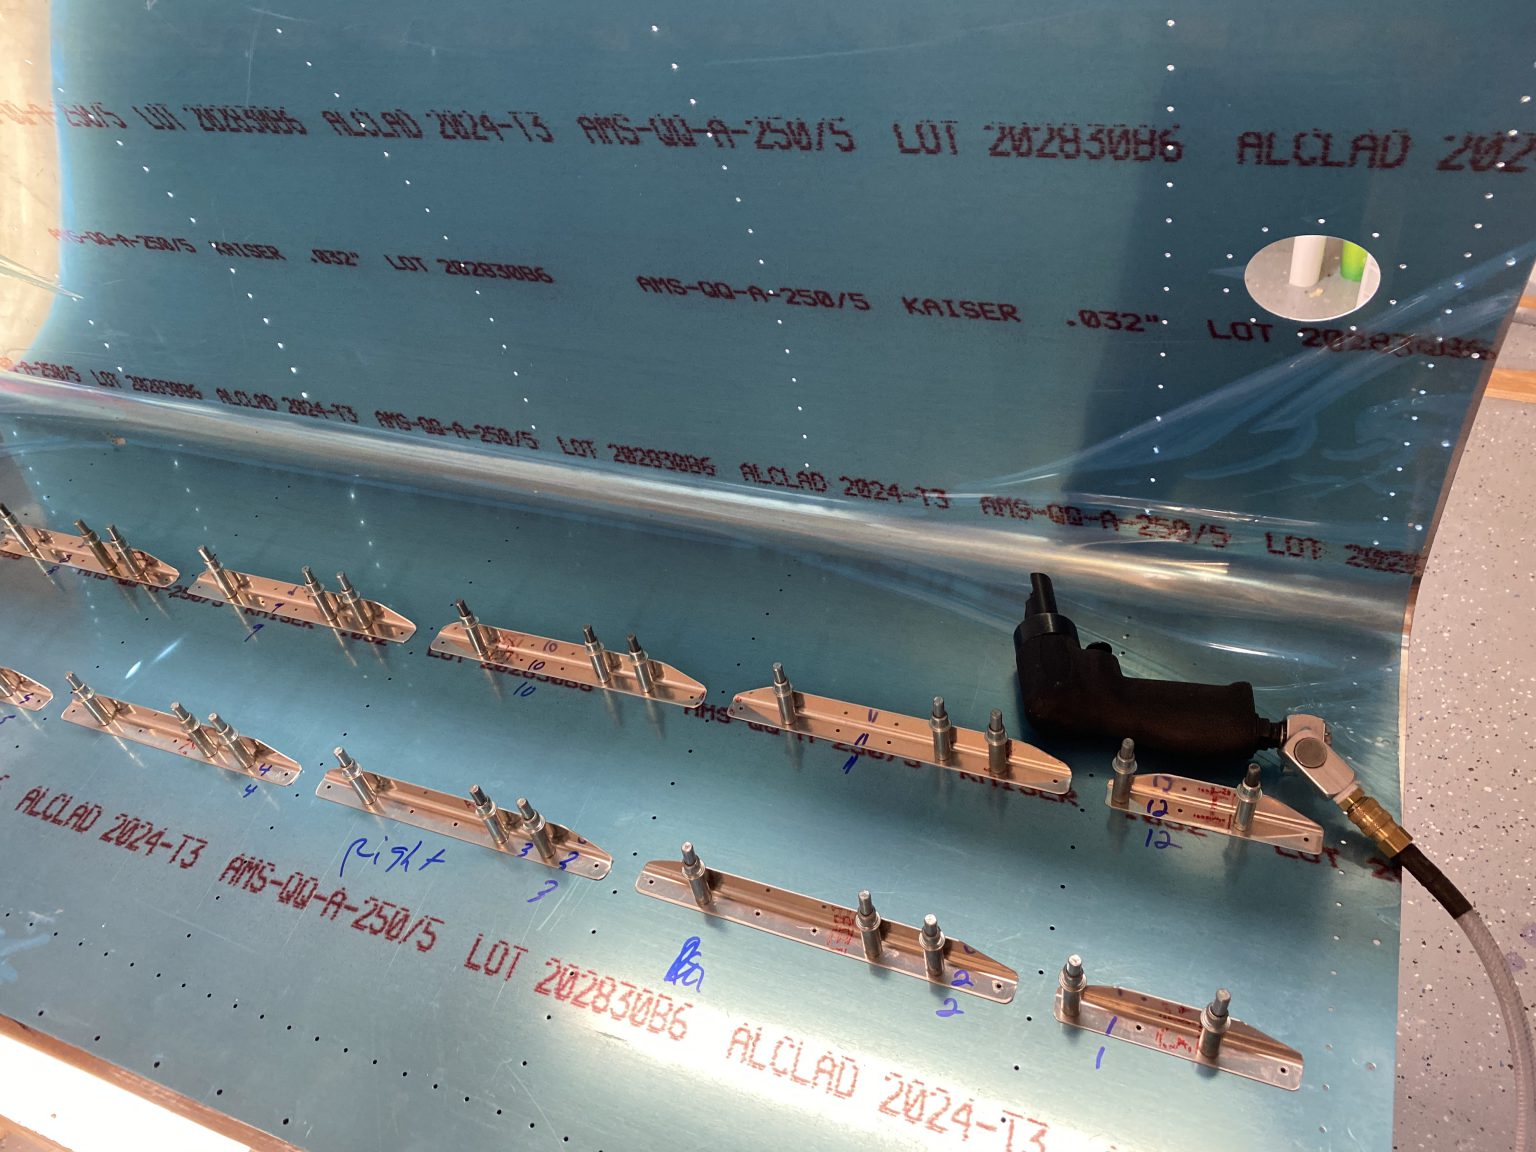
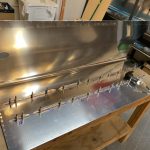
After countersinking the baffle row, I removed the baffle, as I needed to shift some ribs and flanges a tiny bit to backdrill the last few holes. I didn’t snap any pics of this process, but I simply had to work the ribs around with my hands till the holes lined up and then ream them to size. After that, the plans has us drill the W-423 screw holes as well as all the spar attachement screw holes up to a #19 size. I got this done on the right tank. After that, we mark all the parts so we can get them back in their places on assembly, and then disassemble the tank for deburring, and edge finishing. Heres my right tank, and all its parts on the shelf waiting for this finish work:
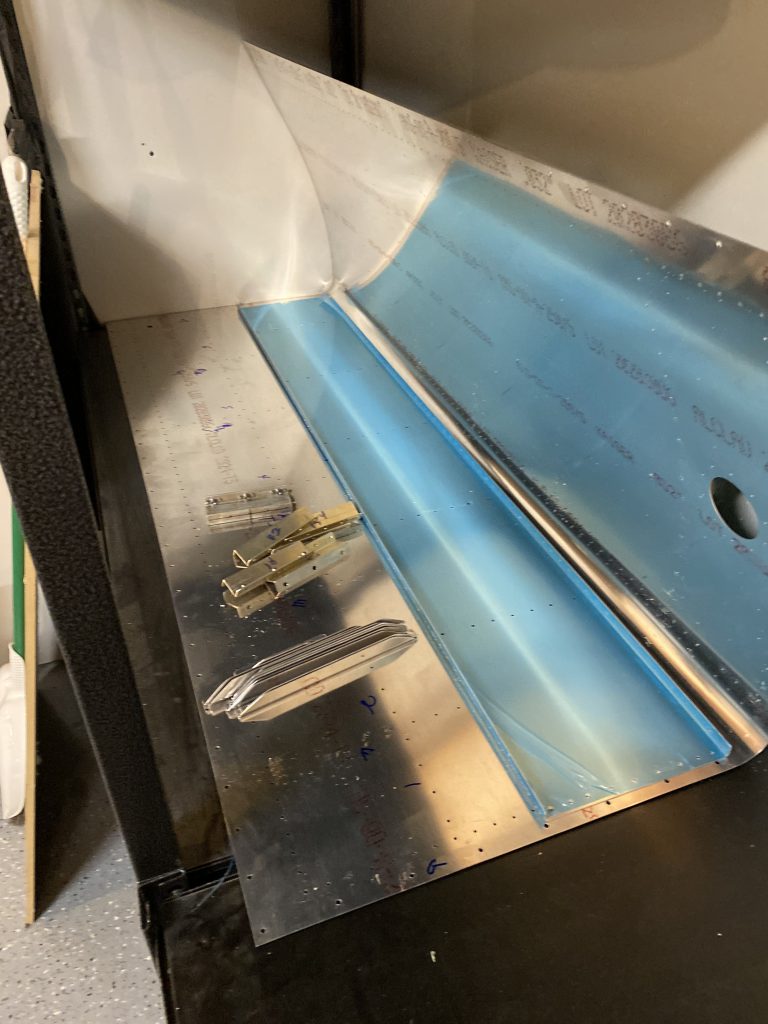
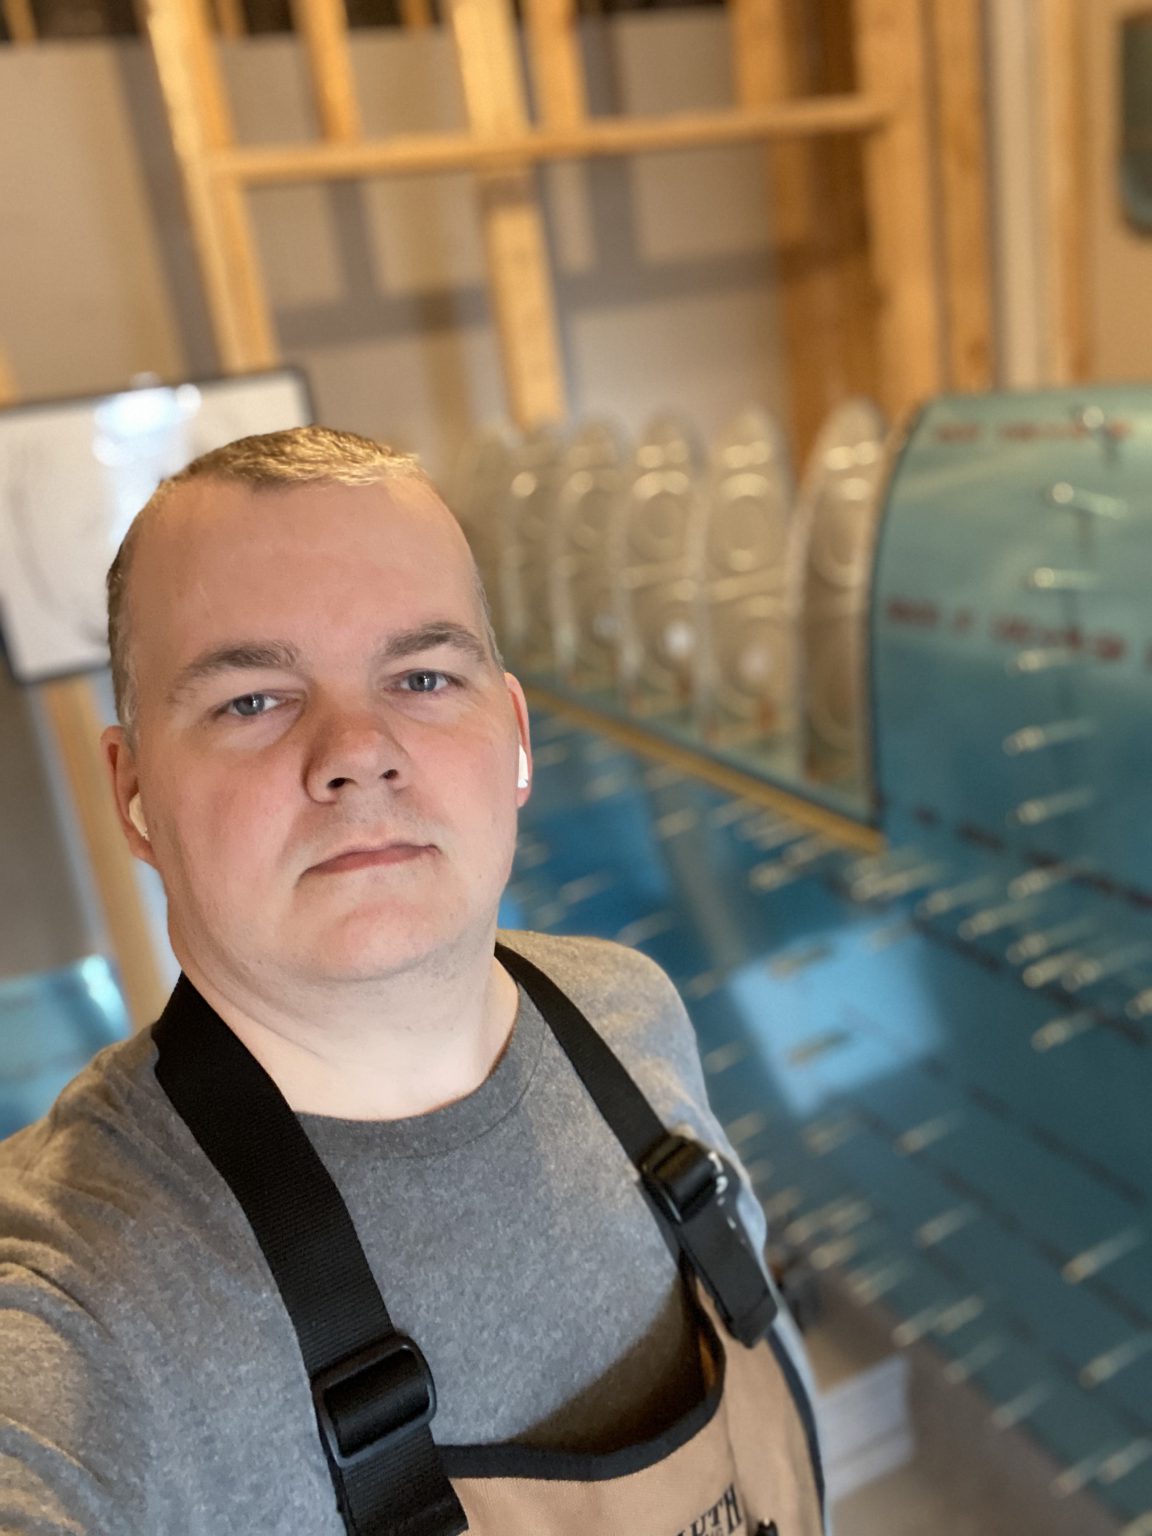
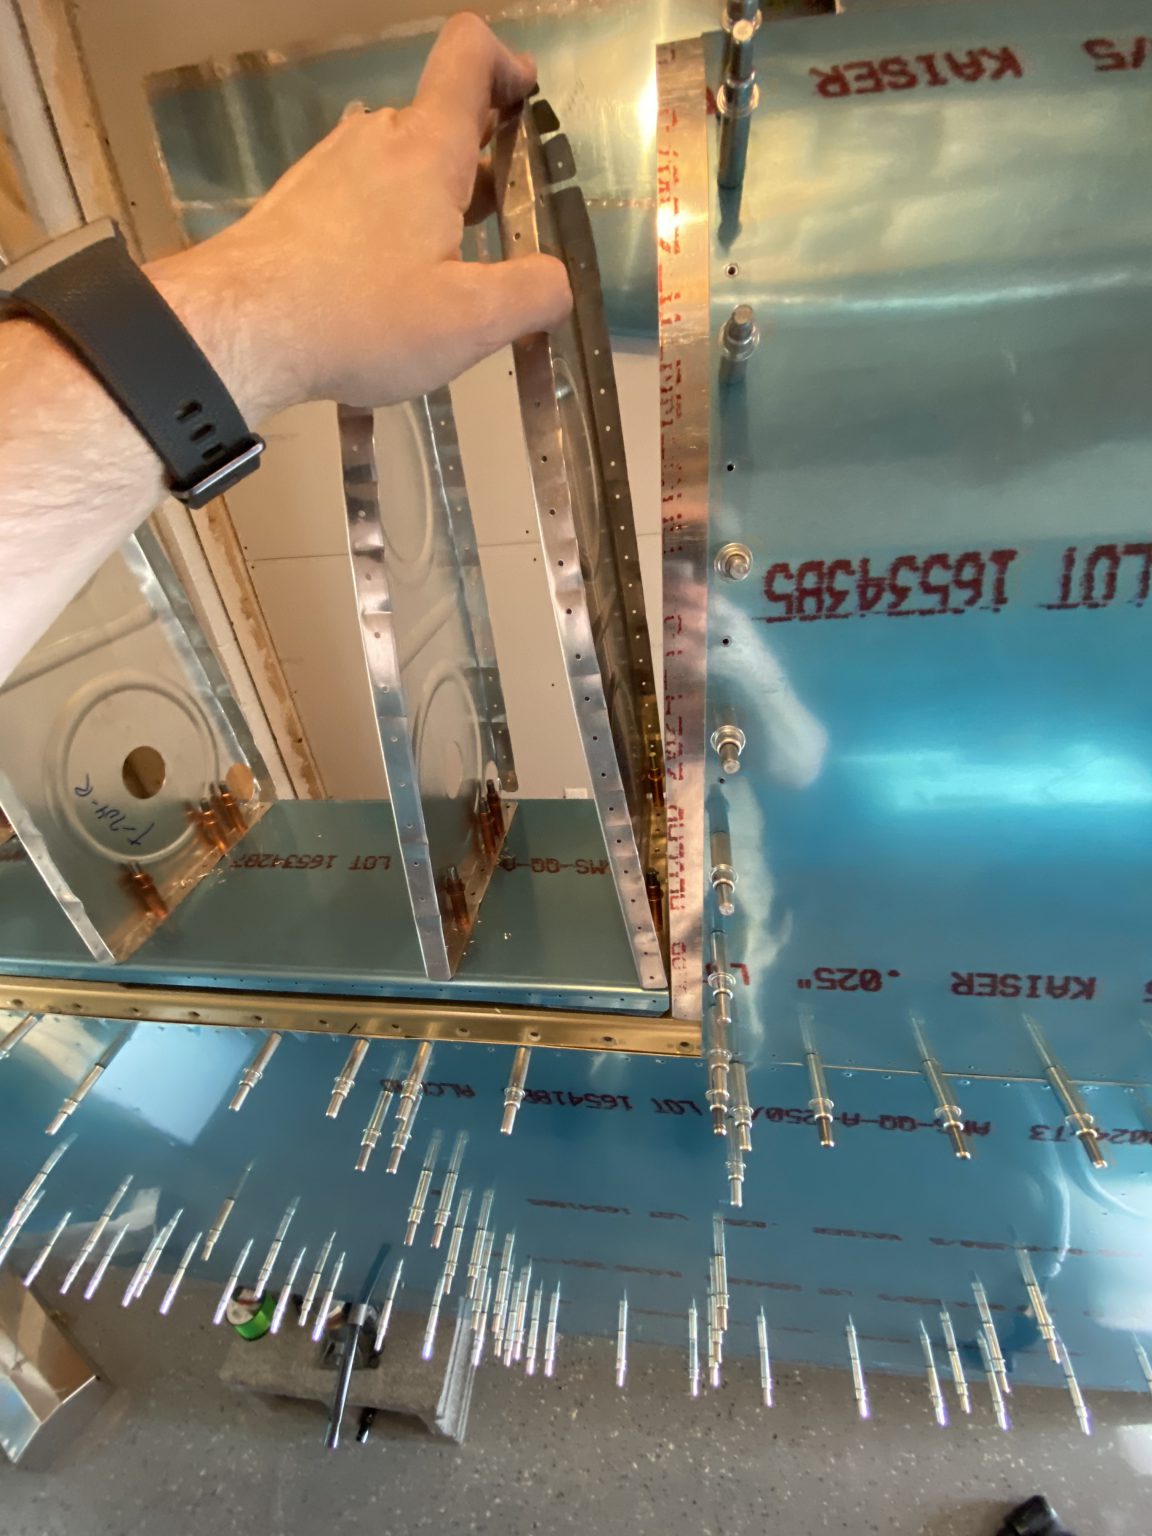
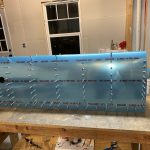
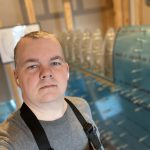
That completed the layup for the right tank, and I had a little more steam left in me, so I started on the left tank. I followed the same process as above, but I didn’t quite get to the match drilling portion yet. I was able to get the left wing skin clecoed onto the baffle and ribs, the W-423 holes back drilled, and then the tank removed and on my bench waiting on the match drilling and countersinking to start. That was a good stopping point for the night, and a good place to pick back up on the next session. Heres a photo of me with my wings to prove I’m the guy building it 🙂

Here’s a link to the Google Photos album for tonights work: https://photos.app.goo.gl/gnJS9QctFQNqoJAr7
And heres all the photos for tonight:
-
 IMG_0565
 -
 IMG_0550
 -
 IMG_0552
 -
 IMG_0553
 -
 IMG_0551
 -
 IMG_0554 2
 -
 IMG_0555
 -
 IMG_0556
 -
 IMG_0557
 -
 IMG_0558
 -
 IMG_0559
 -
 IMG_0560
 -
 IMG_0561
 -
 IMG_0562
 -
 IMG_0563
 -
 IMG_0564


Hours worked: 6.25