


https://arquine.com/anunciate-con-nosotros/ More Fuel tank work! Tonight I wanted to get the left fuel tank match drilled and then disassembled so that I could begin working on deburring the parts and getting them ready for final assembly. I already had the left tank off the wing and on the bench from my last session, so I started in by match drilling all the 3/32″ holes.
Order Ativan Online https://www.infoturismiamoci.com/2015/11/corvara-in-badia-cosa-vedere/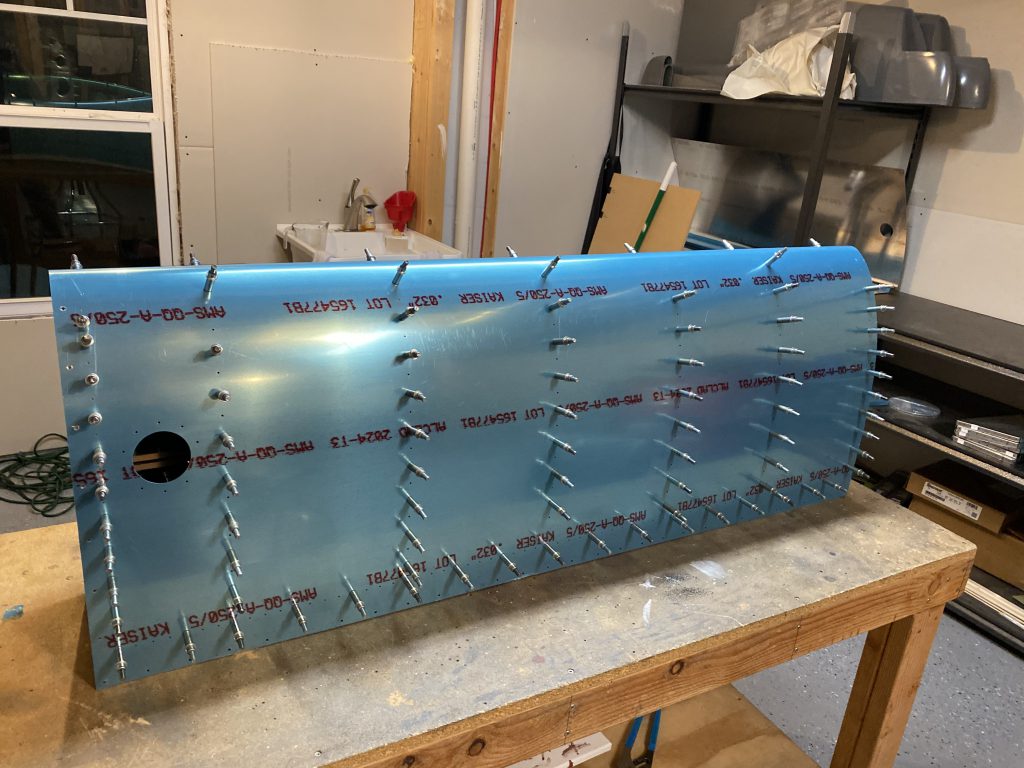
source url Once I had those done, I then started on countersinking the rivet holes that run the length of where the skin attaches to the rear baffle, as per the instructions. We countersink these so that its easier to slide the baffle in place with the wet sealant during assembly. If we had dimpled these, it would be much more difficult to do this evenly. The micro-stop countersink was already setup for the proper depth, so I made quick work of those holes. Next up was to open the screw holes that attach the skin to the spar and the W-423 strip to a #19 hole. Once I had all the holes match drilled, I labeled where the parts were clecoed, disassembled the tank and set its parts on the shelf to be later deburred and finished.
Order Tramadol Online source url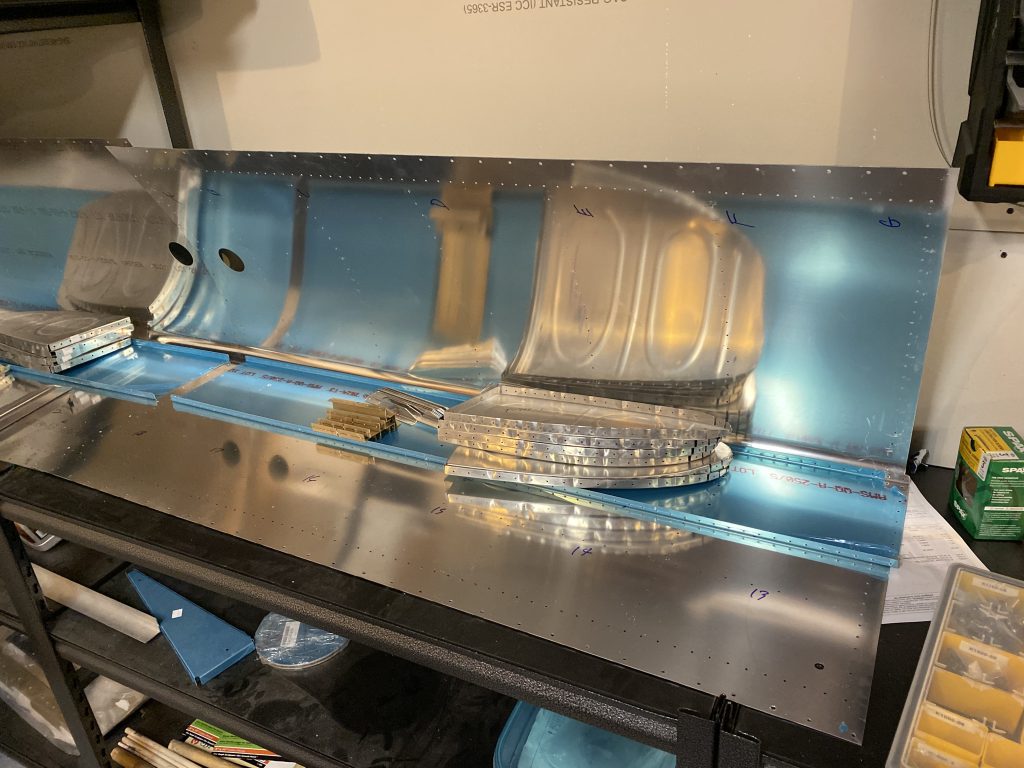
Ambien No Prescription There was one more step I needed to complete before moving on for the night, and that was riveting the nut plates to the spar web that are used for the most inboard tank attach bracket. These are placed on the BACK side of the spar web, so that its easier to bolt the tank into place. There are three pre-drilled holes in the spar web; one for each nutplate. I simply clecoed them into place and match drilled the holes.
Order Ativan Online
https://londonplaywrightsblog.com/experimental-theater-writing-workshop-winter-2025/ 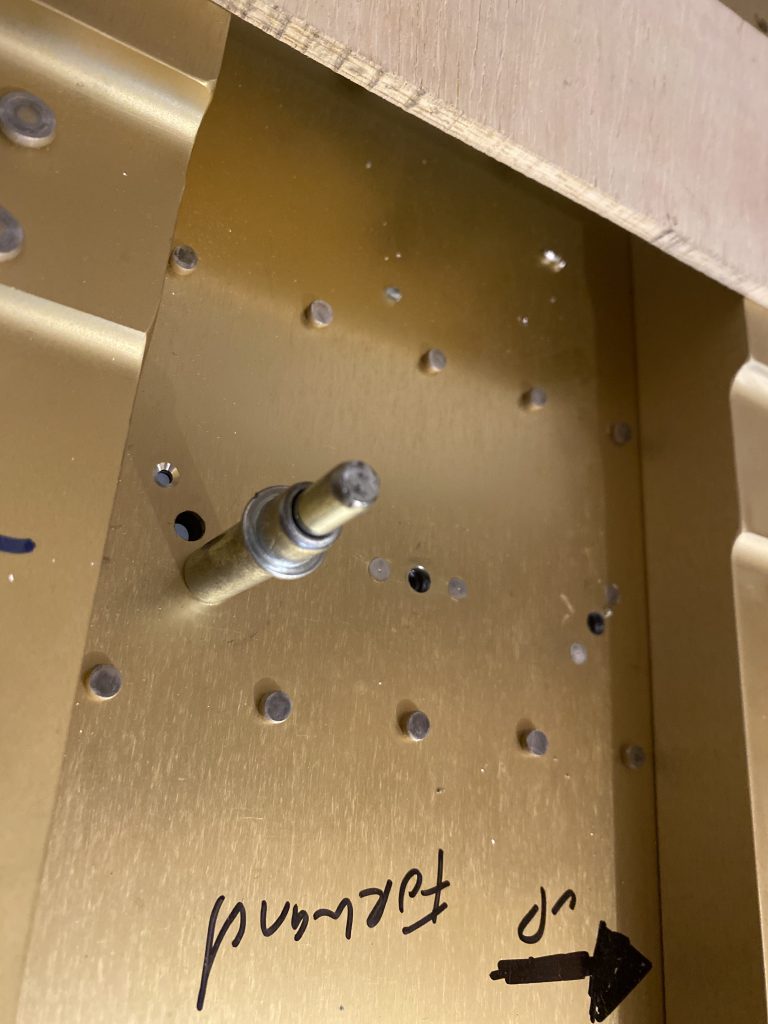
Tramadol 50 Mg Price We need to attach these with AN426AD3-4 rivets so the head will sit flush on the spar web, so that the tank attach bracket can sit against the spar web. So I used the microstop countersink, as it was already setup for the tanks depth and countersunk the holes. Except I ran into an issue:
https://arquine.com/libros/
https://gottbs.com/verified-courier-scales/ 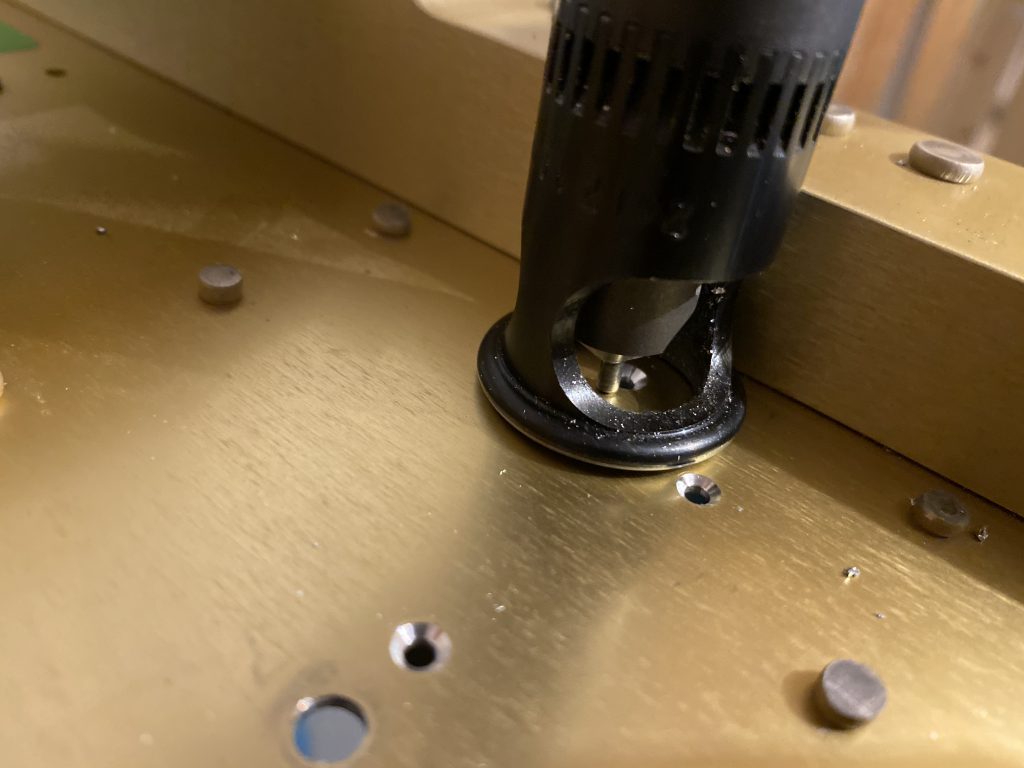
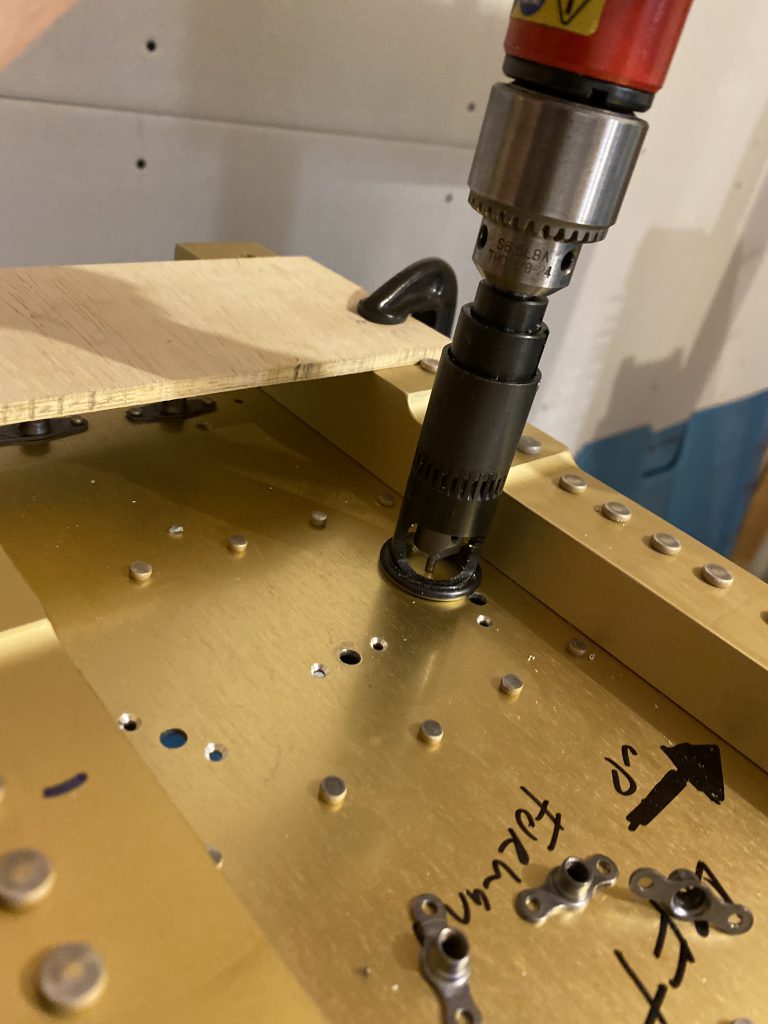
Buy Soma Overnight As you can see in the photos above, there wasn’t enough clearance between the spar reinforcement bars to get the pilot into the holes on the upper and lower nutplates. So I got a bit creative. I used a deburring tool in my power driver and very gingerly countersunk the holes, checking the depth every so often with a rivet until I had the rivet sitting flush:
https://londonplaywrightsblog.com/elementor-14541/
https://gottbs.com/accredited-testing-laboratories/ 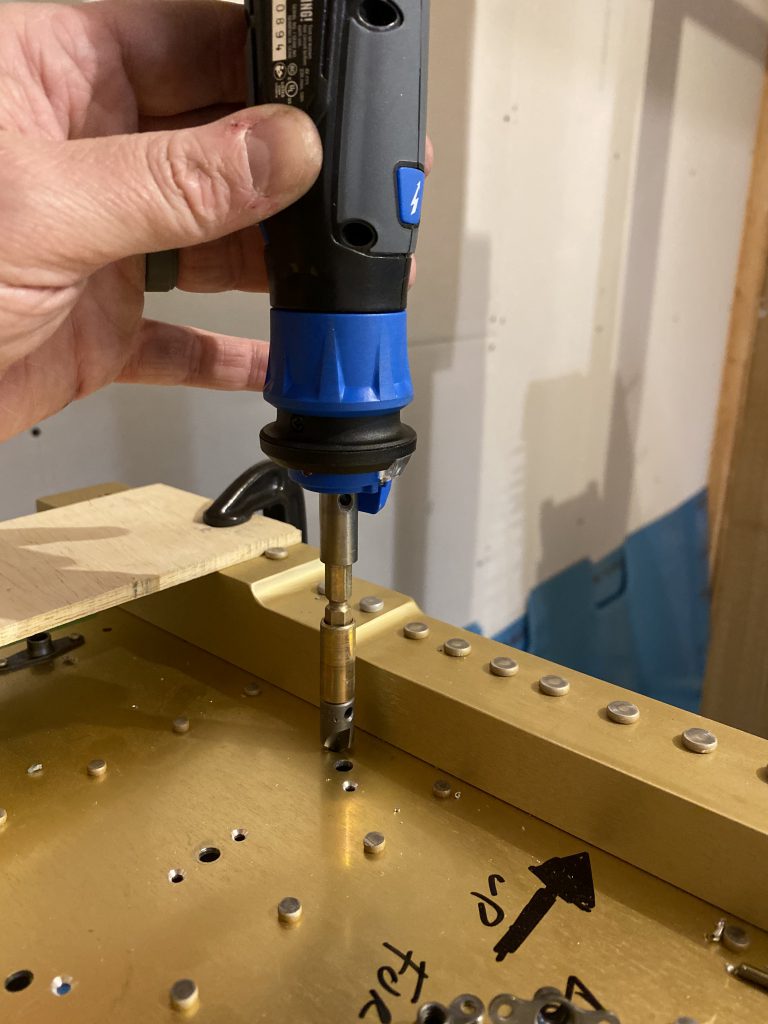
Buy Soma Online This worked pretty good. Then I clecoed on the nutplates, and riveted them using the backrivet method. I used the back rivet tool in my rivet gun to press against the tail of the rivet from the inside of the wing and then the bucking bar on the flush head and bucked from the top. This worked out really well.
Buy Valium Online Without Prescription
https://musicboxcle.com/weddings/ 
go here I finished up the left wing, then moved on to the right wing, when I noticed: I am SHORT by one K1000-3 nutplate! I didn’t have enough to finish the last hole. I need to get an order in to Vans anyways to get some proseal and other things on their way, because we are very close to sealing up these tanks! So thats where I left it for the night: One nutplate short!
Buy Zopiclone 7.5 Mg Online Google Photos Link: https://photos.app.goo.gl/vZy9N7VWABo1qbz78
Order Clonazepam Online Hours Worked: 3.25