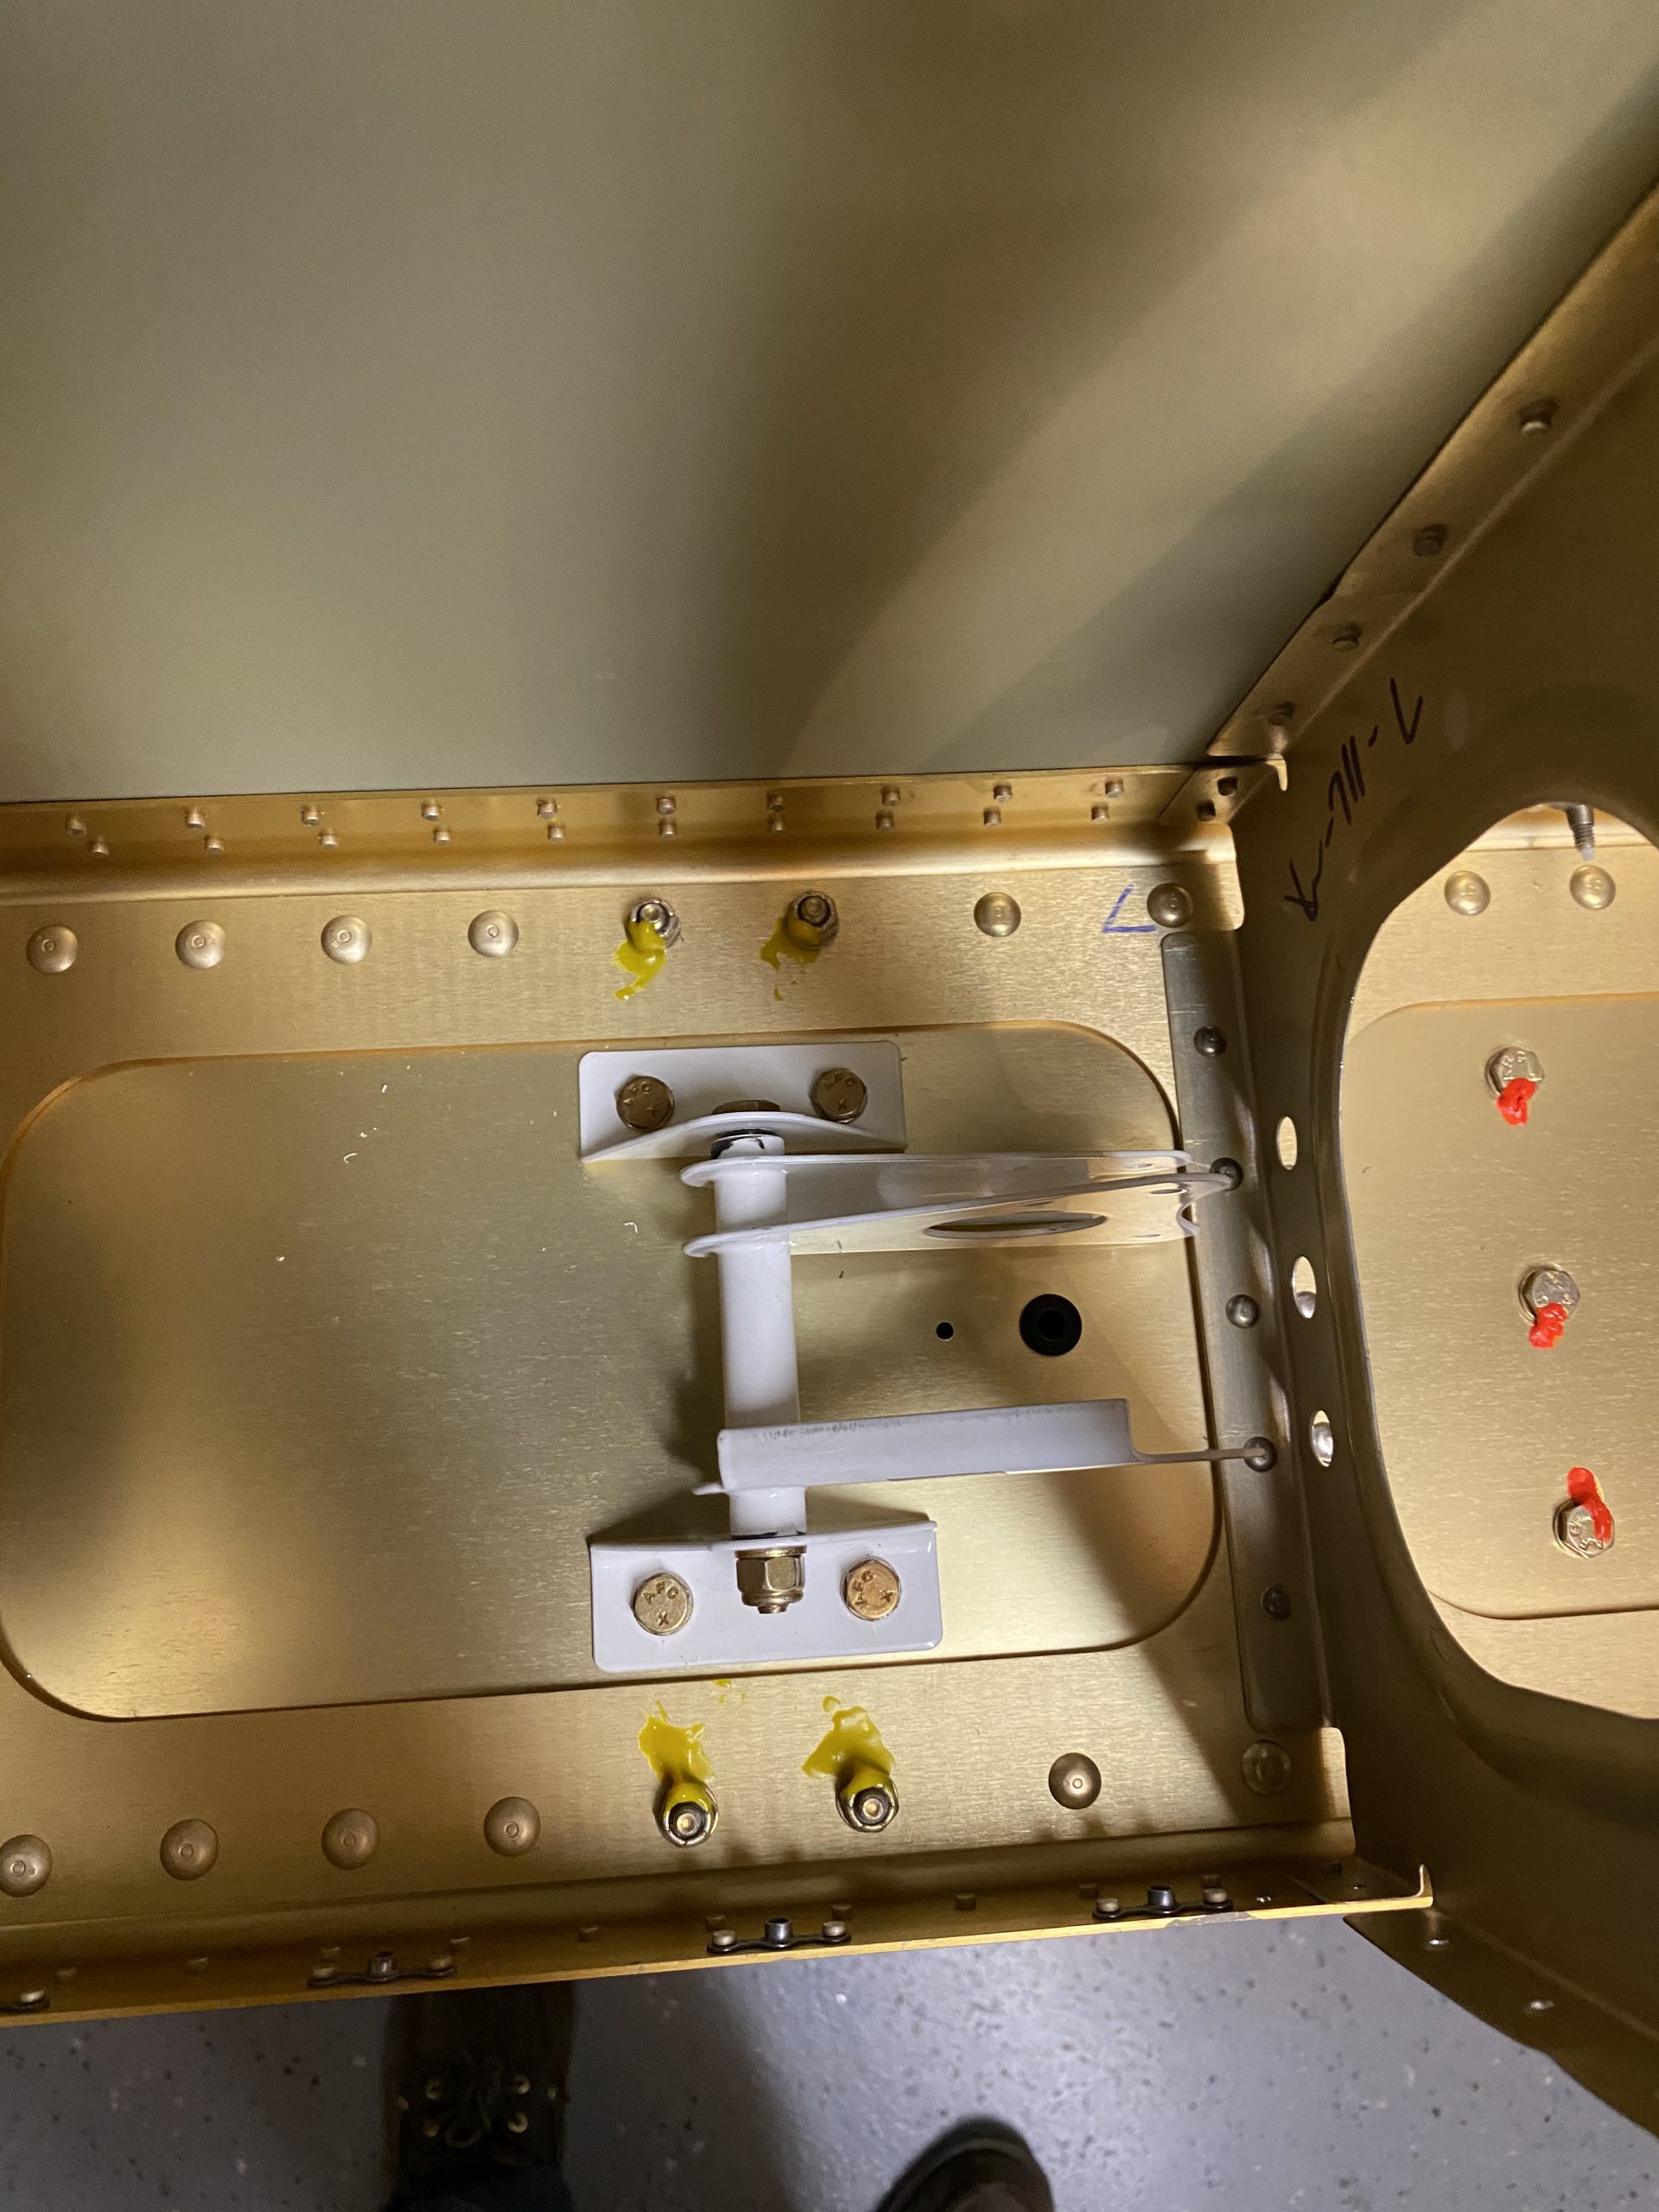
Not really a whole lot to report on this session, I did manage to get the left wing bell crank installed and few wires ran though. I’ve decided to not built a mounting bracket for the pitot / AOA tubes just yet. I think I may have an elegant solution, more on that later in this post. I did capture a timelapse again, here ya go:
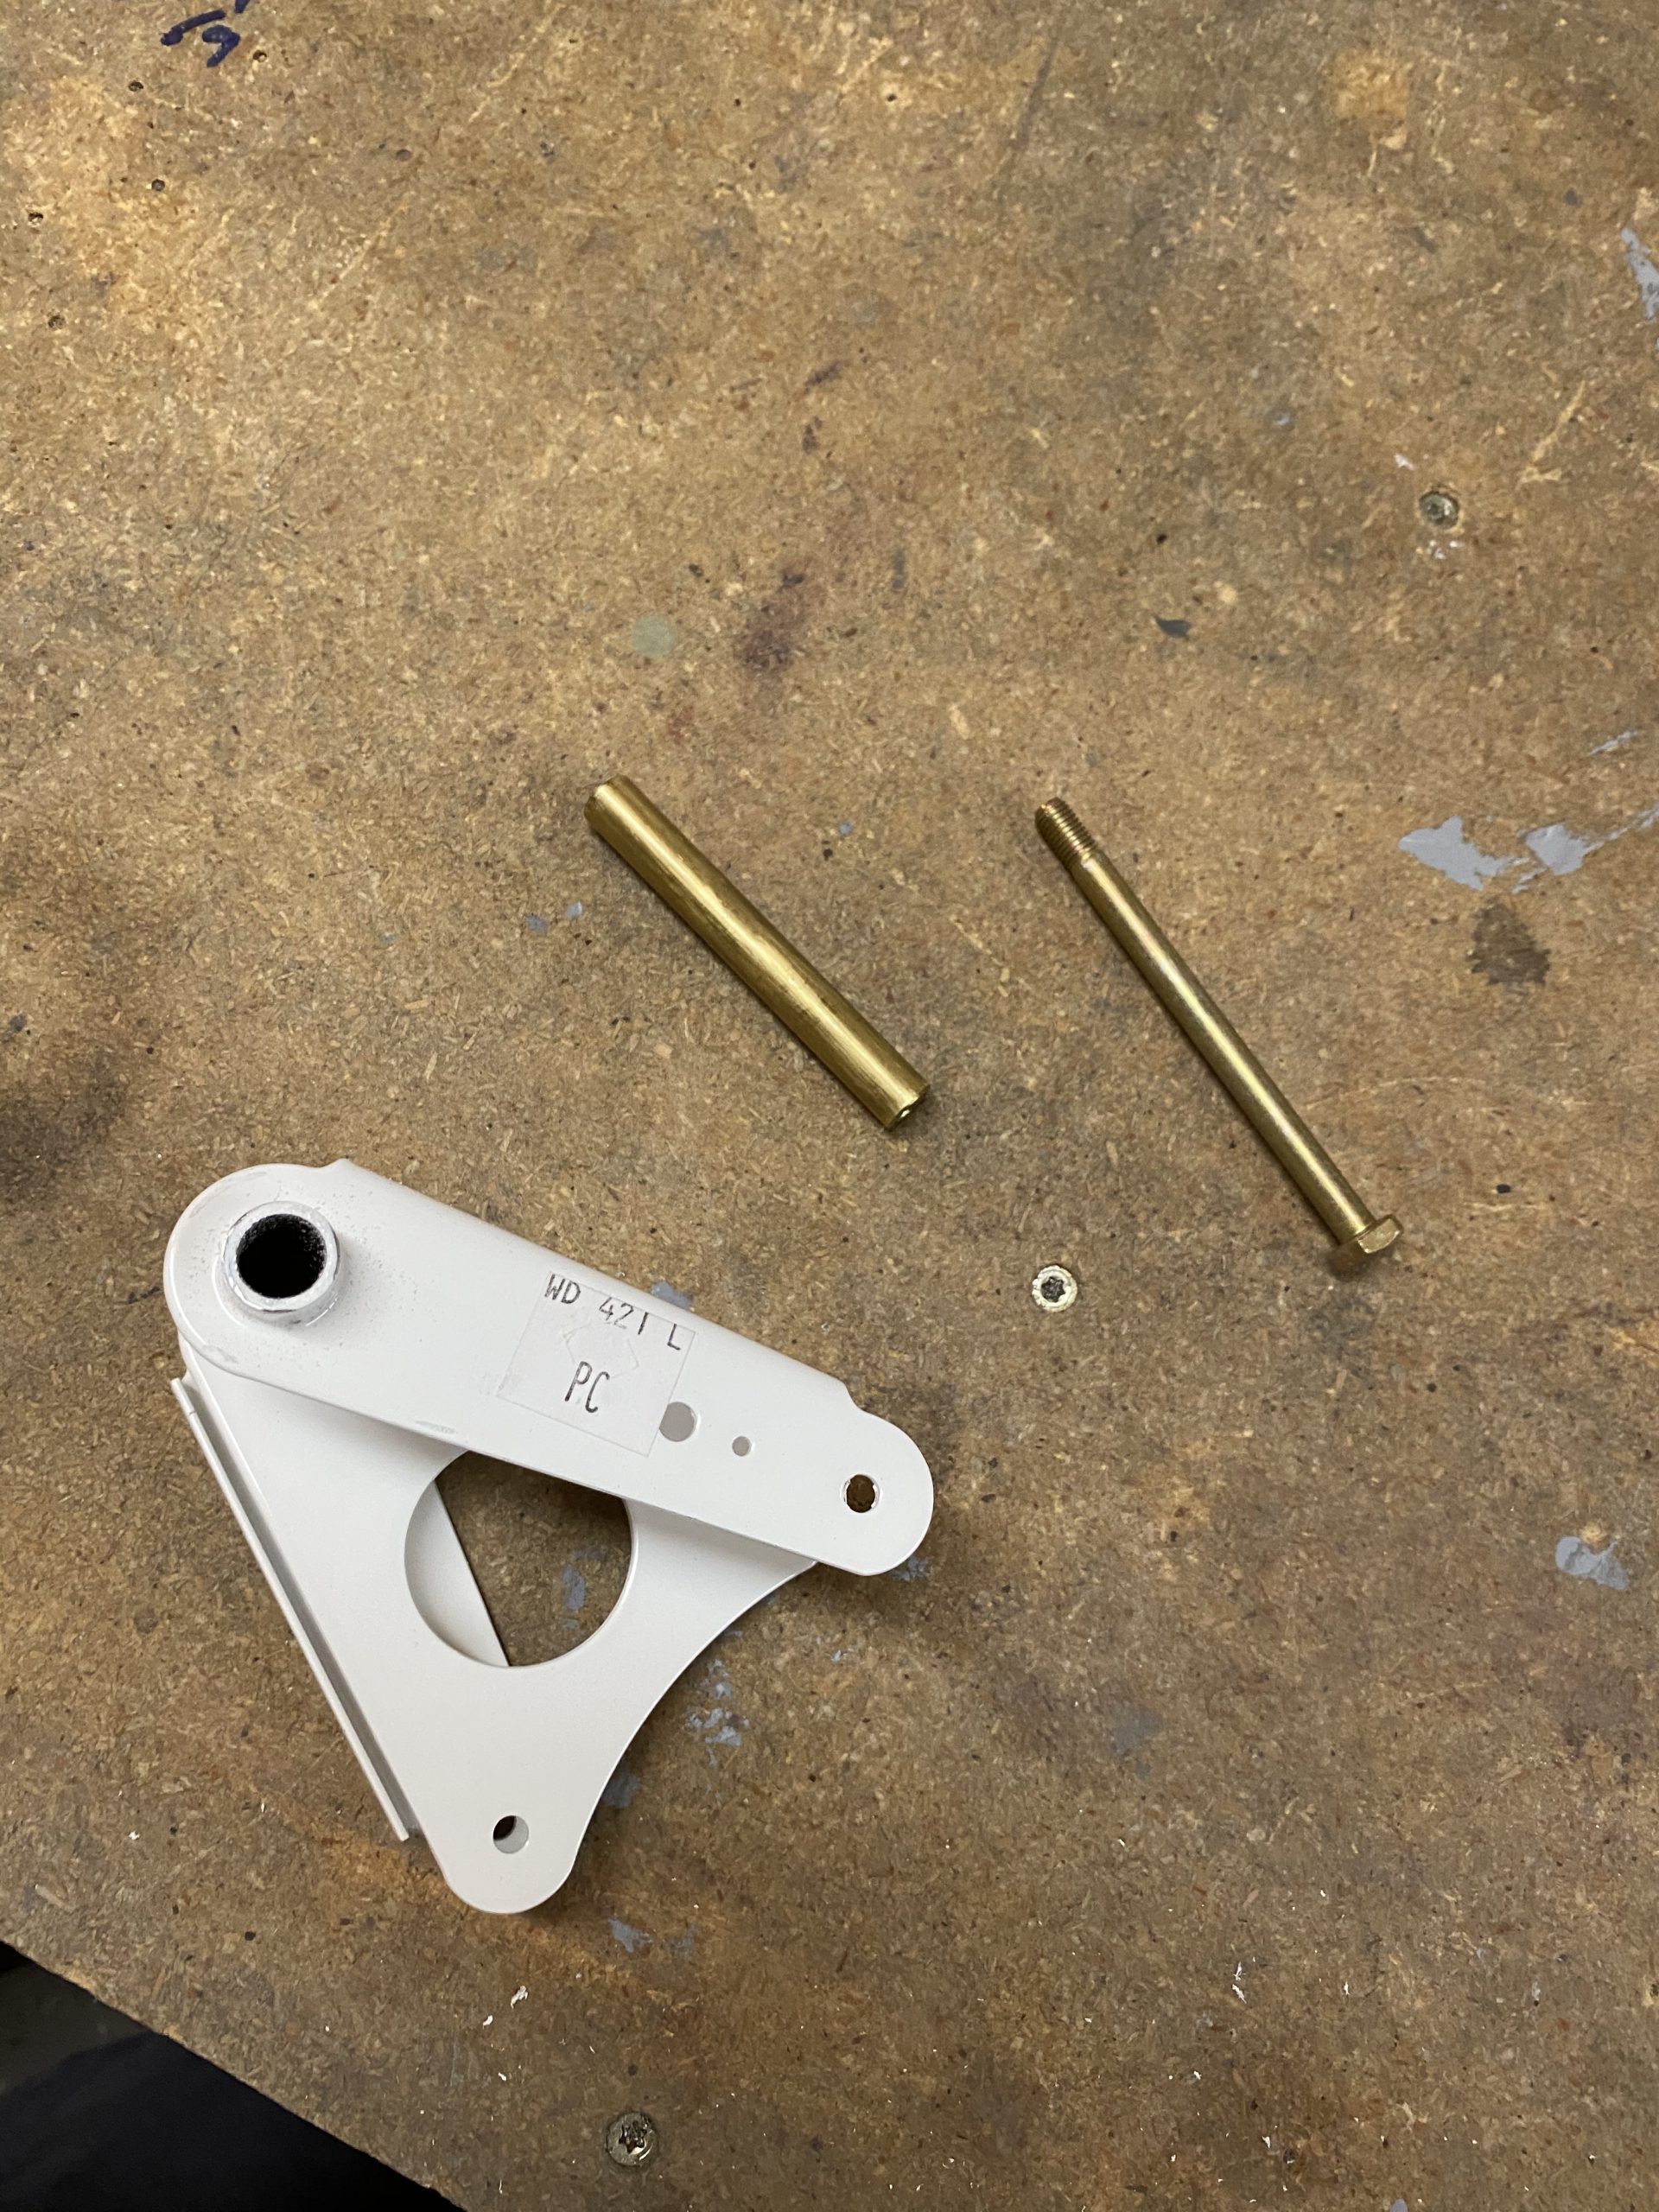
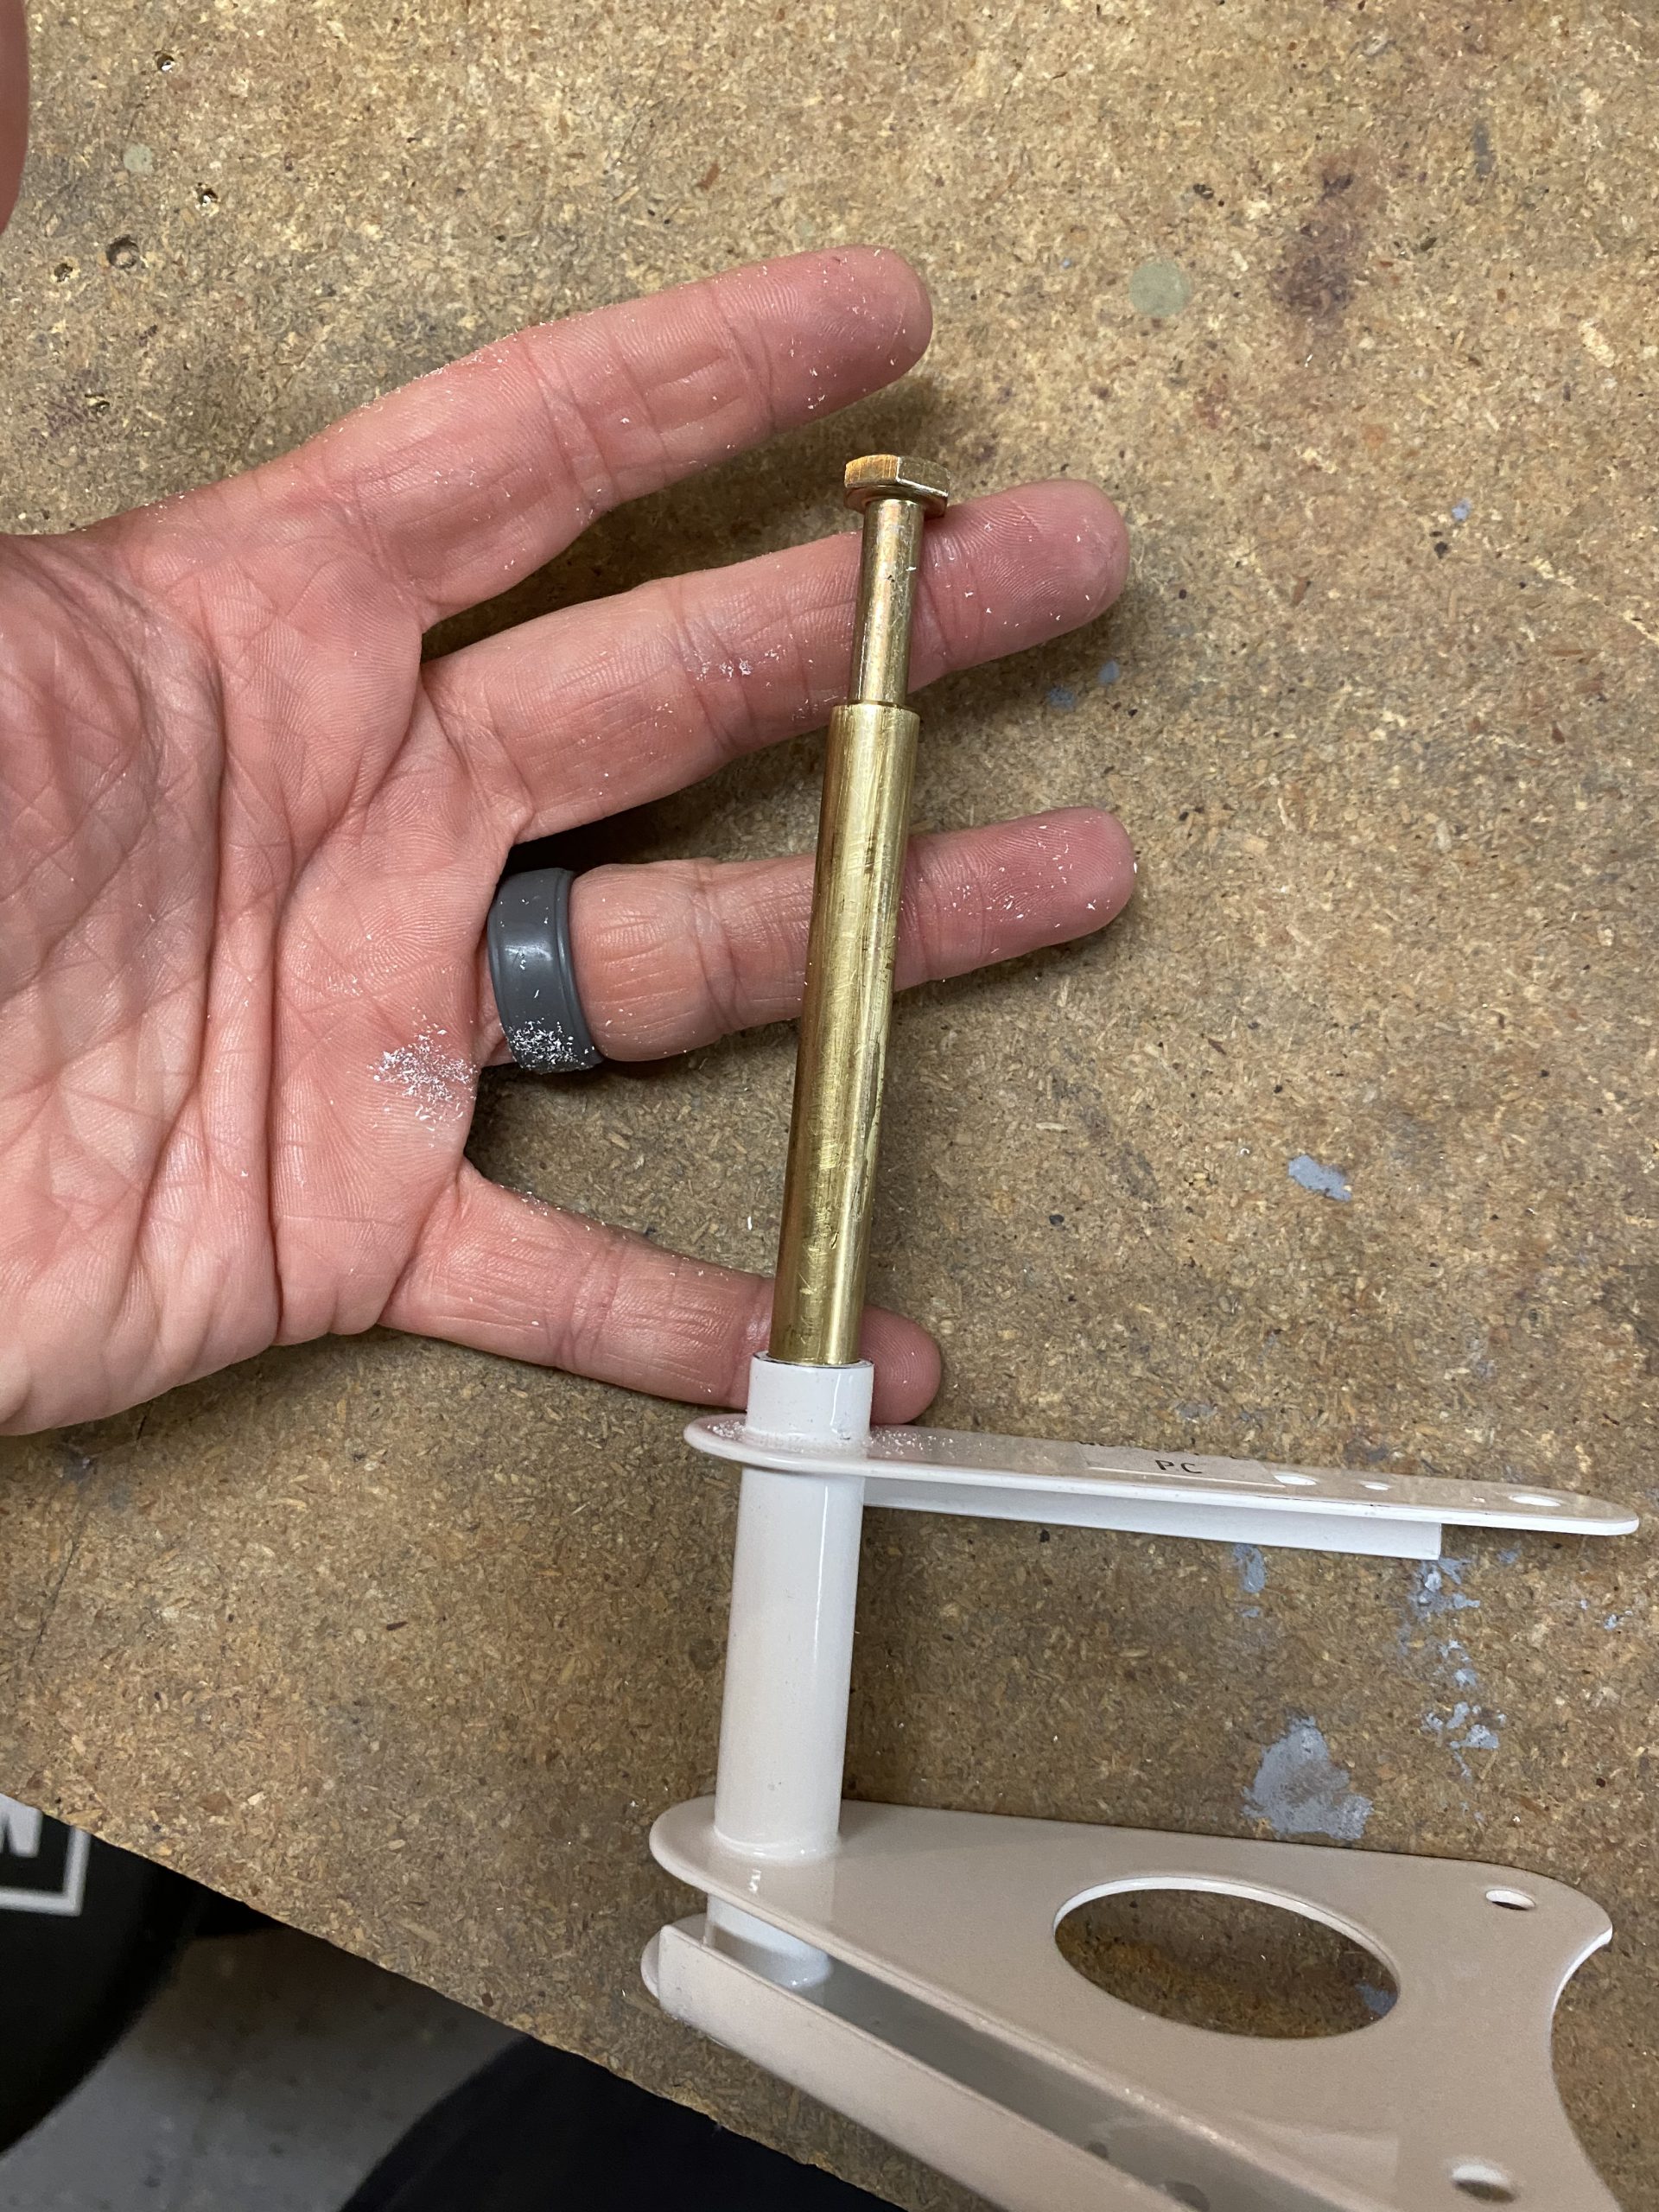
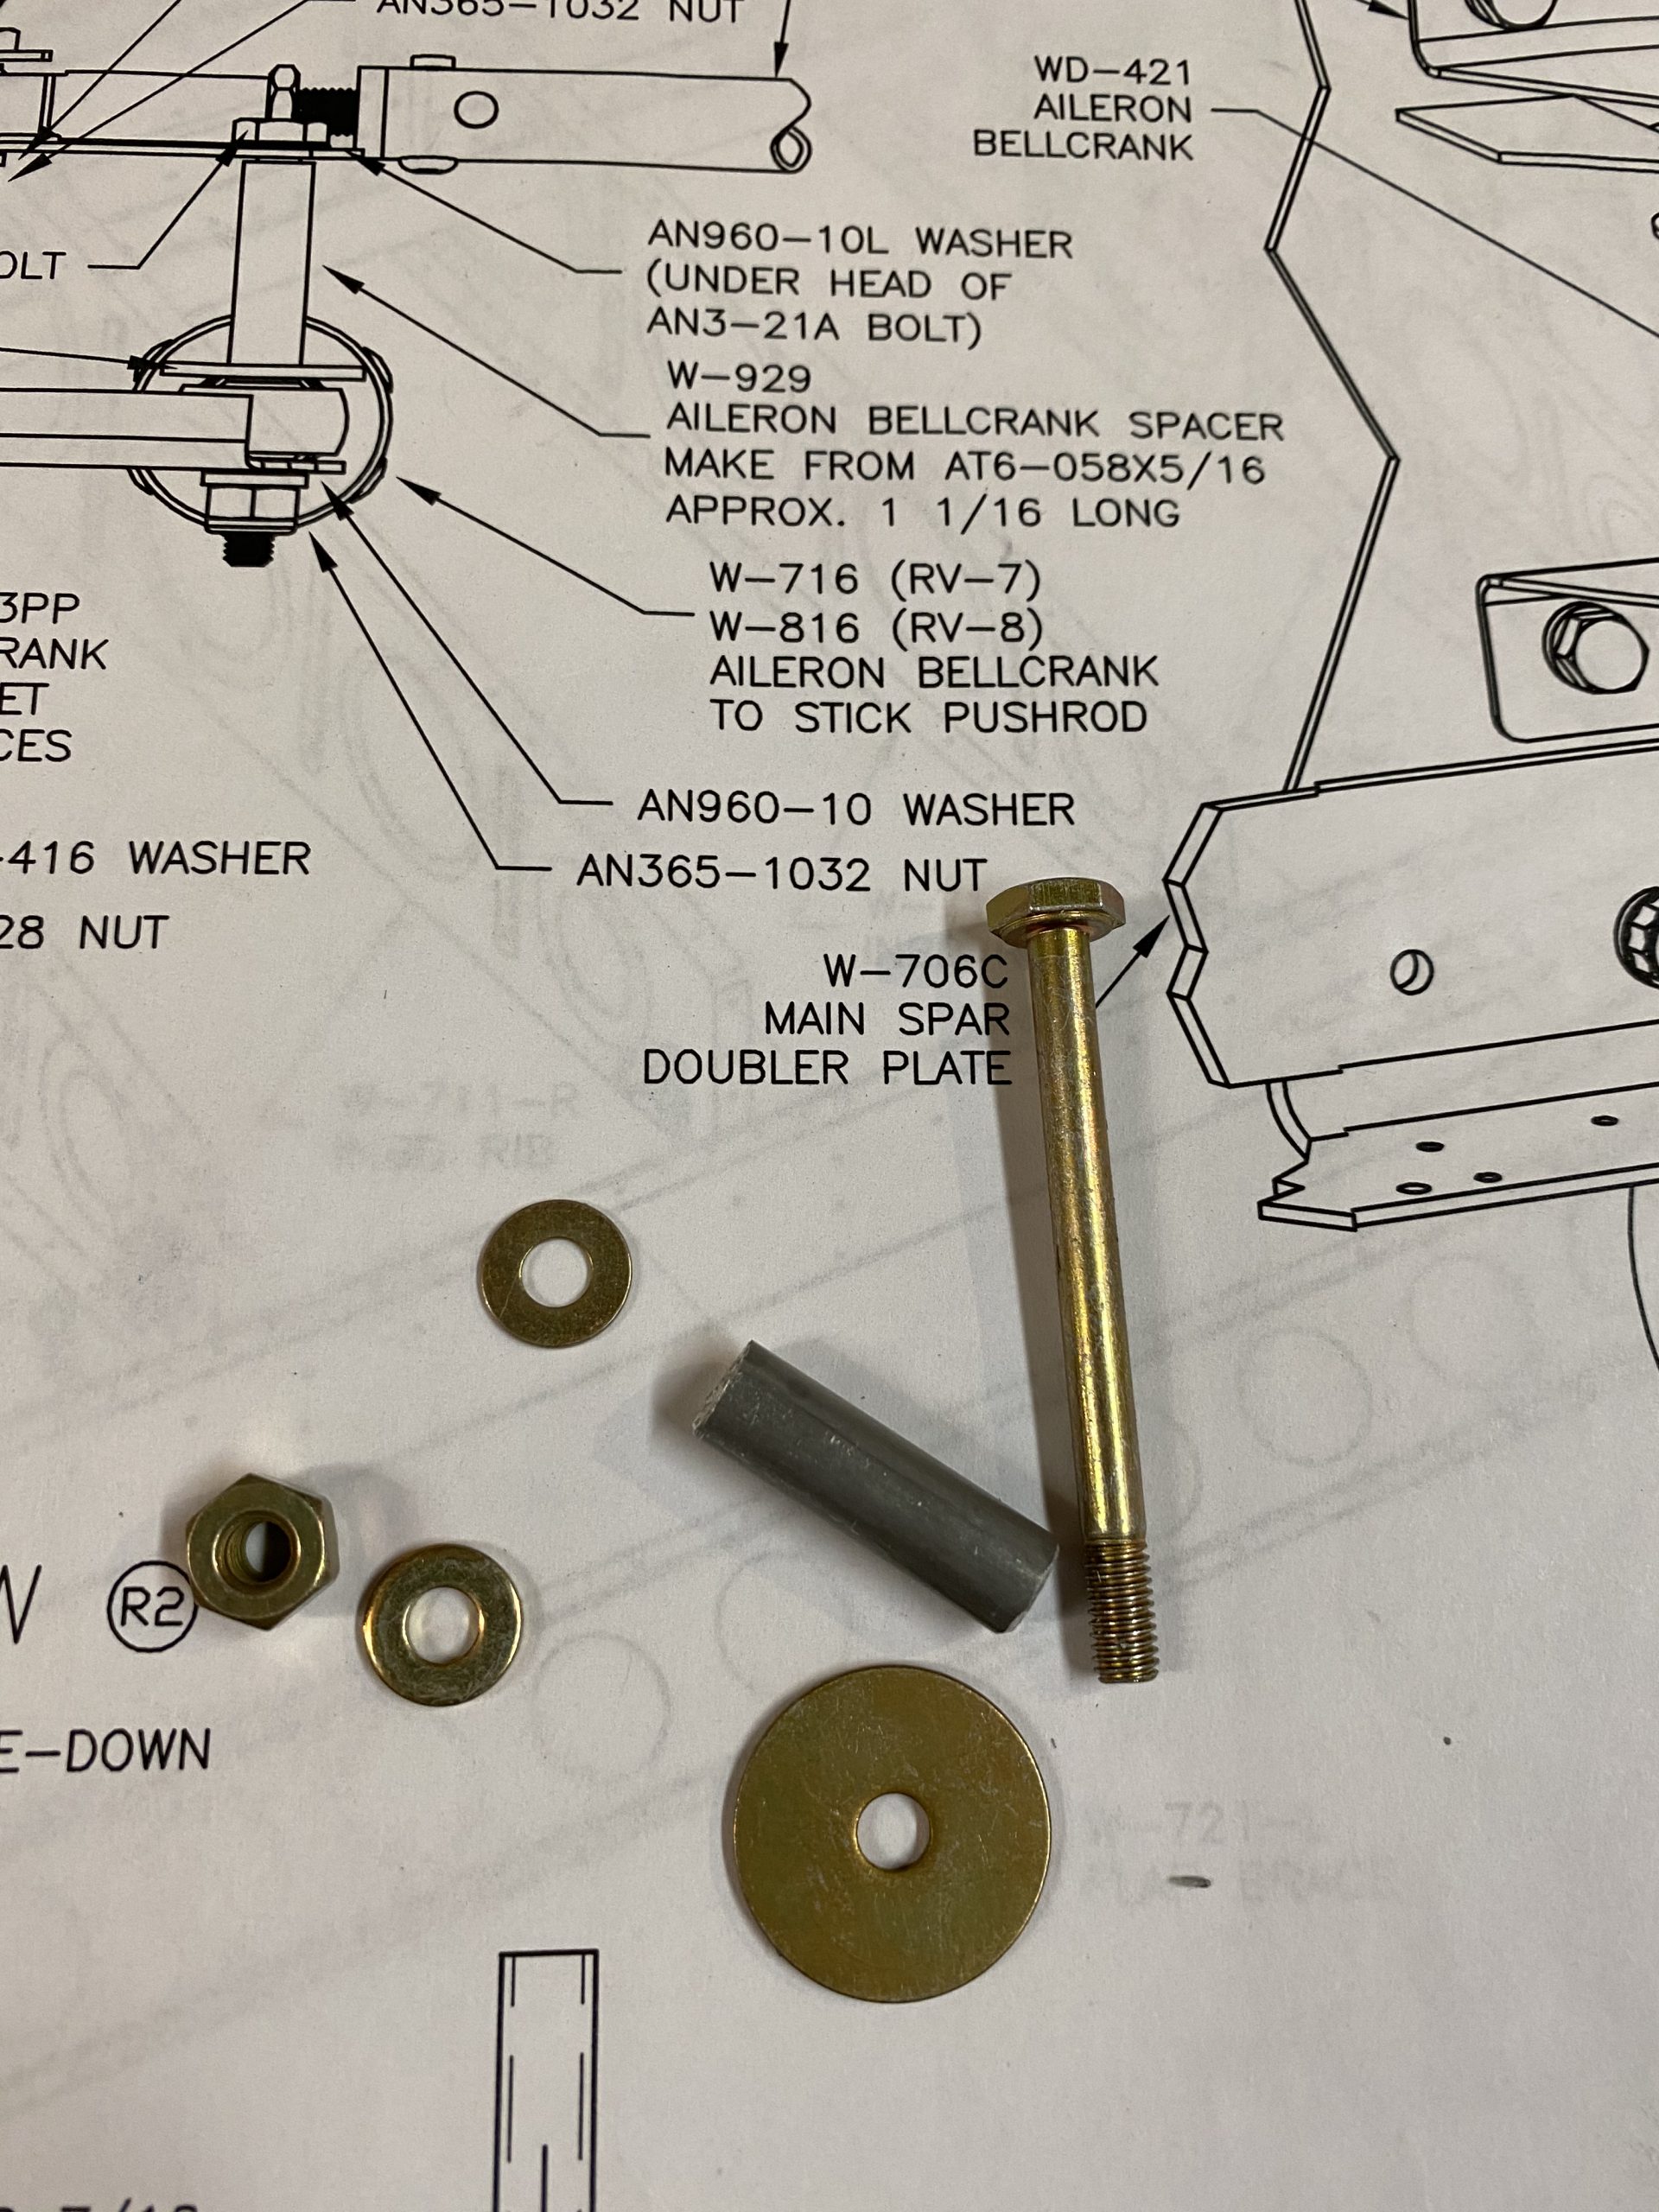
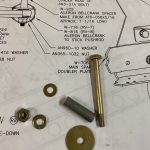
I started out by getting the brass bushing insert to fit into the aileron bell crank. Just like the right wing, I needed to file a good bit inside the bellcrank, as well as the bushing itself. Heres the hardware and how it goes together.
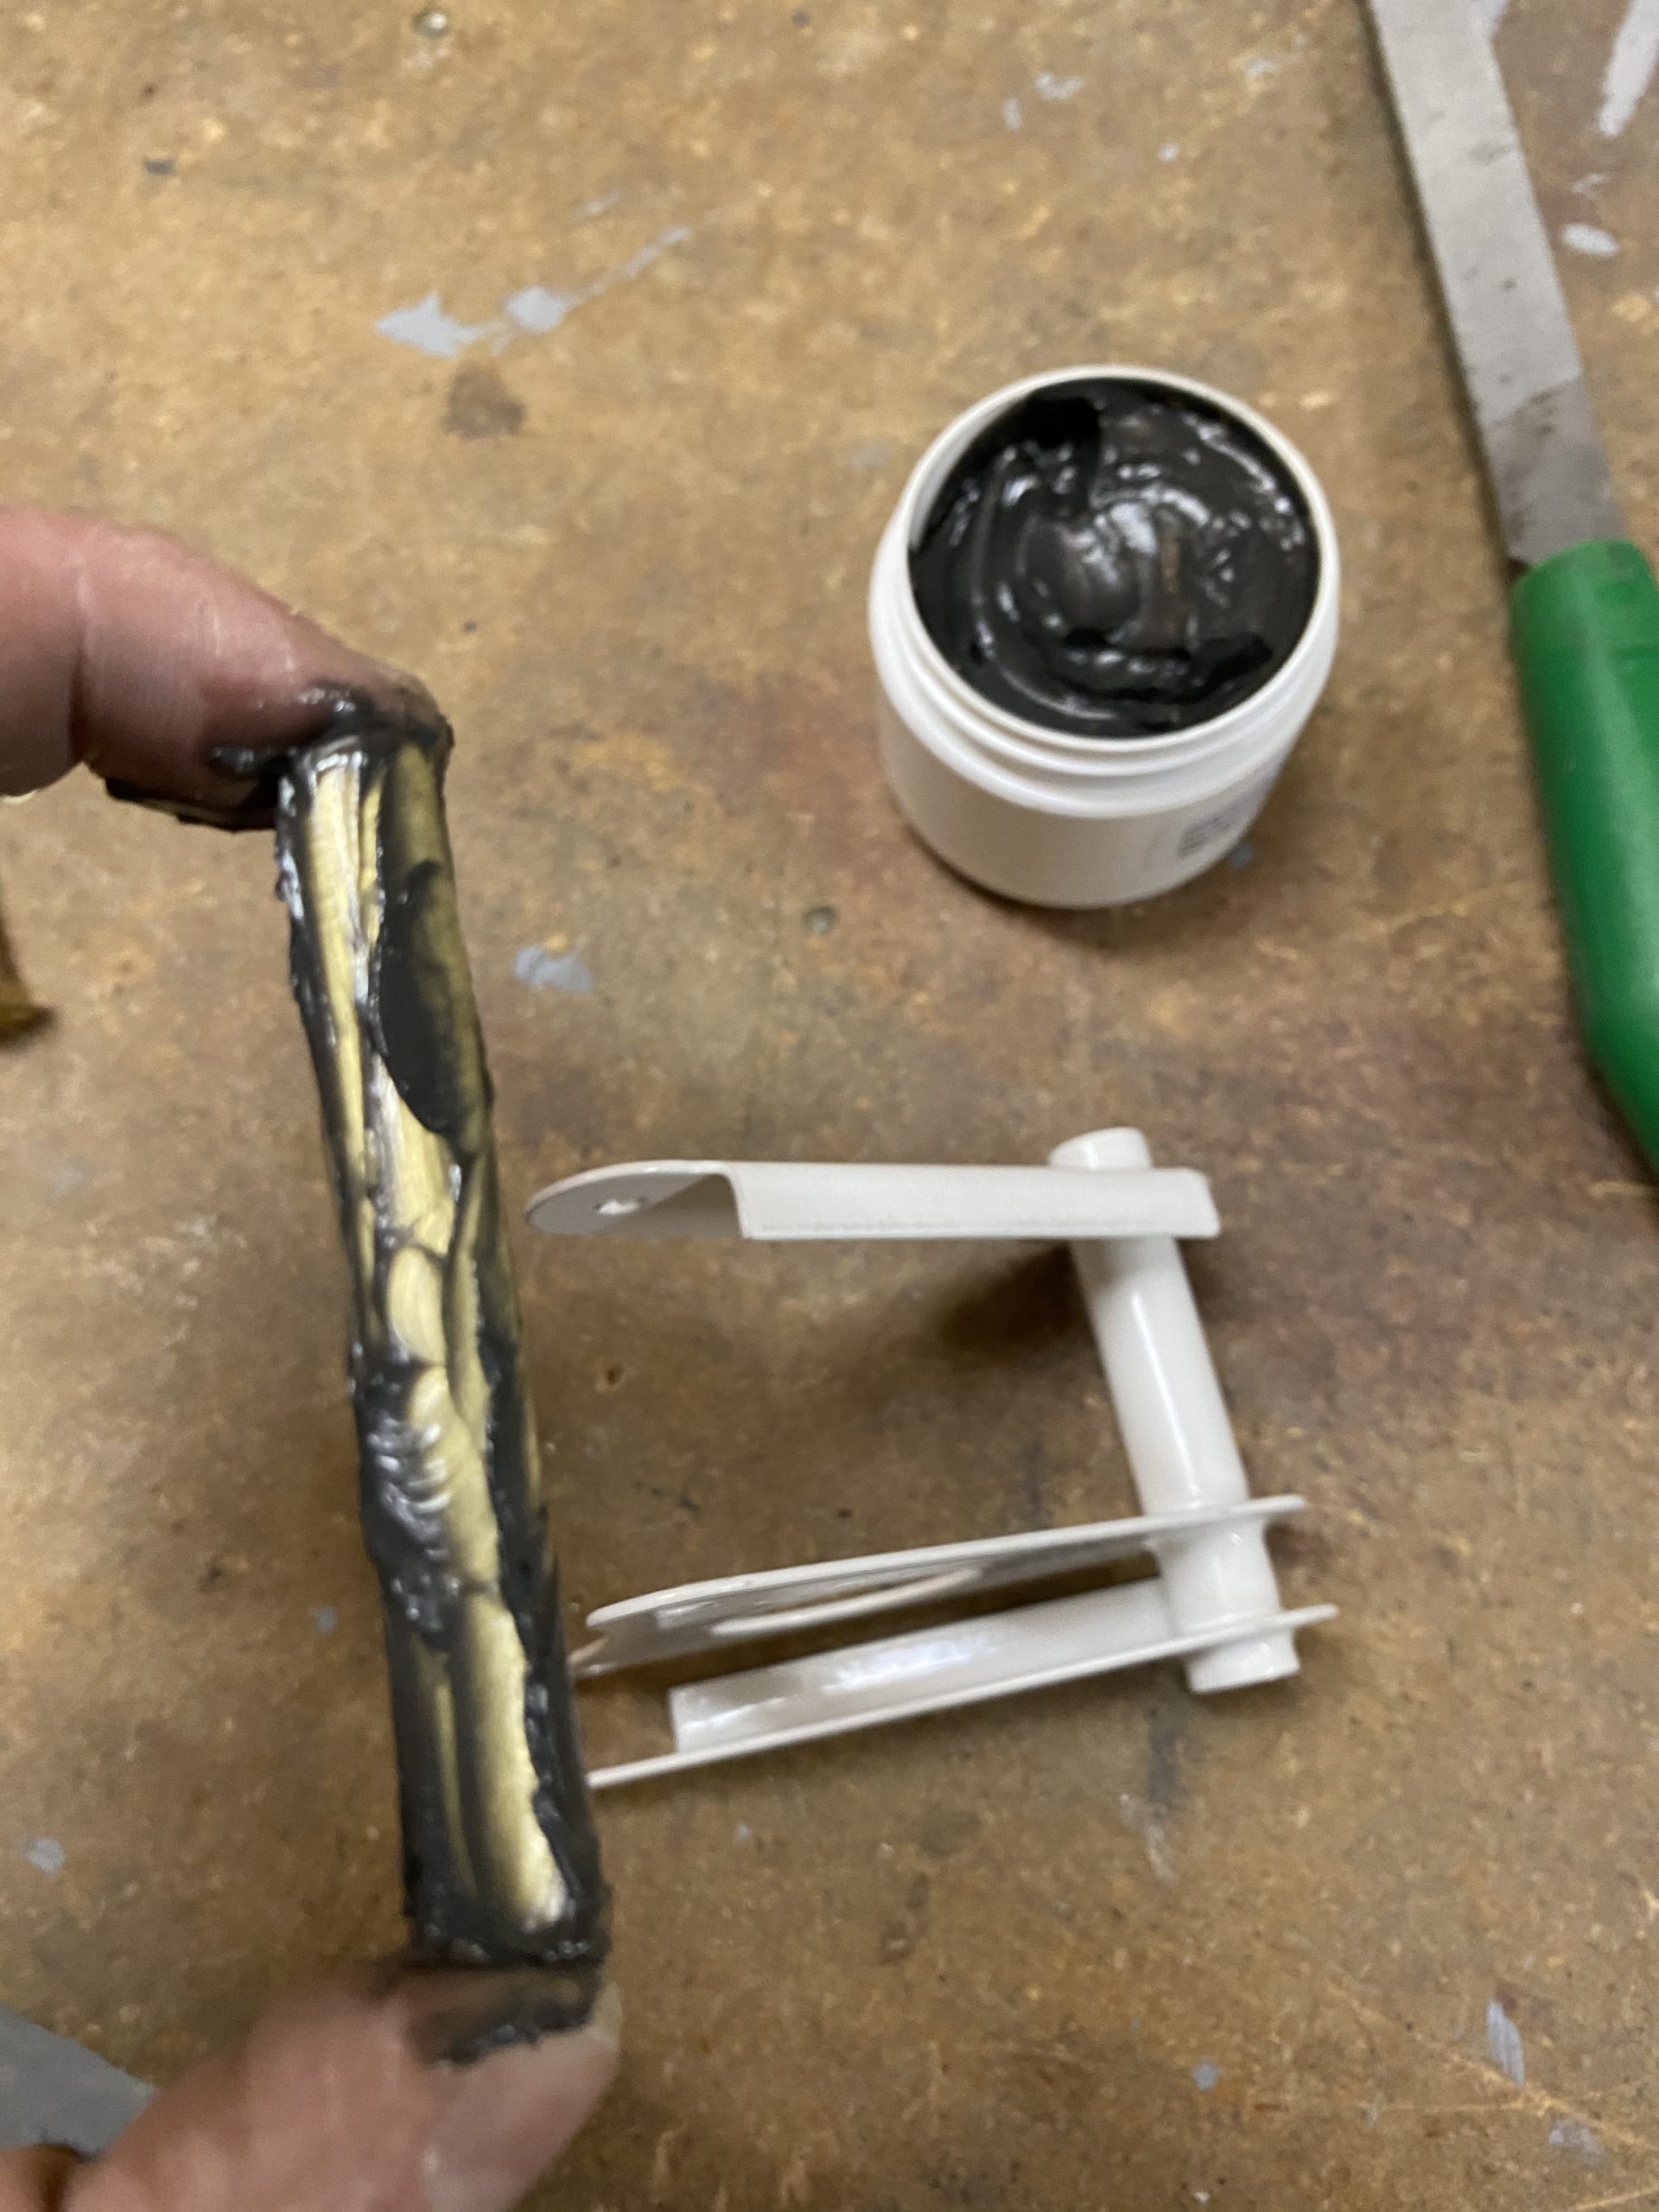
From the factory the fit is VERY TIGHT. The bellcrank is supposed to rotate ON the bushing, not the bolt. So I needed to do some filing, sanding and smoothing to get a good fit. I used a round file to get inside the tube of the bellcrank, and then emory cloth on the brass bushing. I also gently chucked the brass bushing into my drill press at a low speed and used the emory cloth on it while it spun. This made a very round and smooth surface on the busing. For the bellcrank, I used the file to get the rough spots down on the inside of the tube, then I wrapped some emory cloth around the file, stuck it inside the tube and smoothed the bore out. This was a repeating process checking the fit every now and again until it was nice and smooth. Then I cleaned it all up with acetone and greased the bushing with some Aeroshell MS33 grease. I kind of like the way it smells!
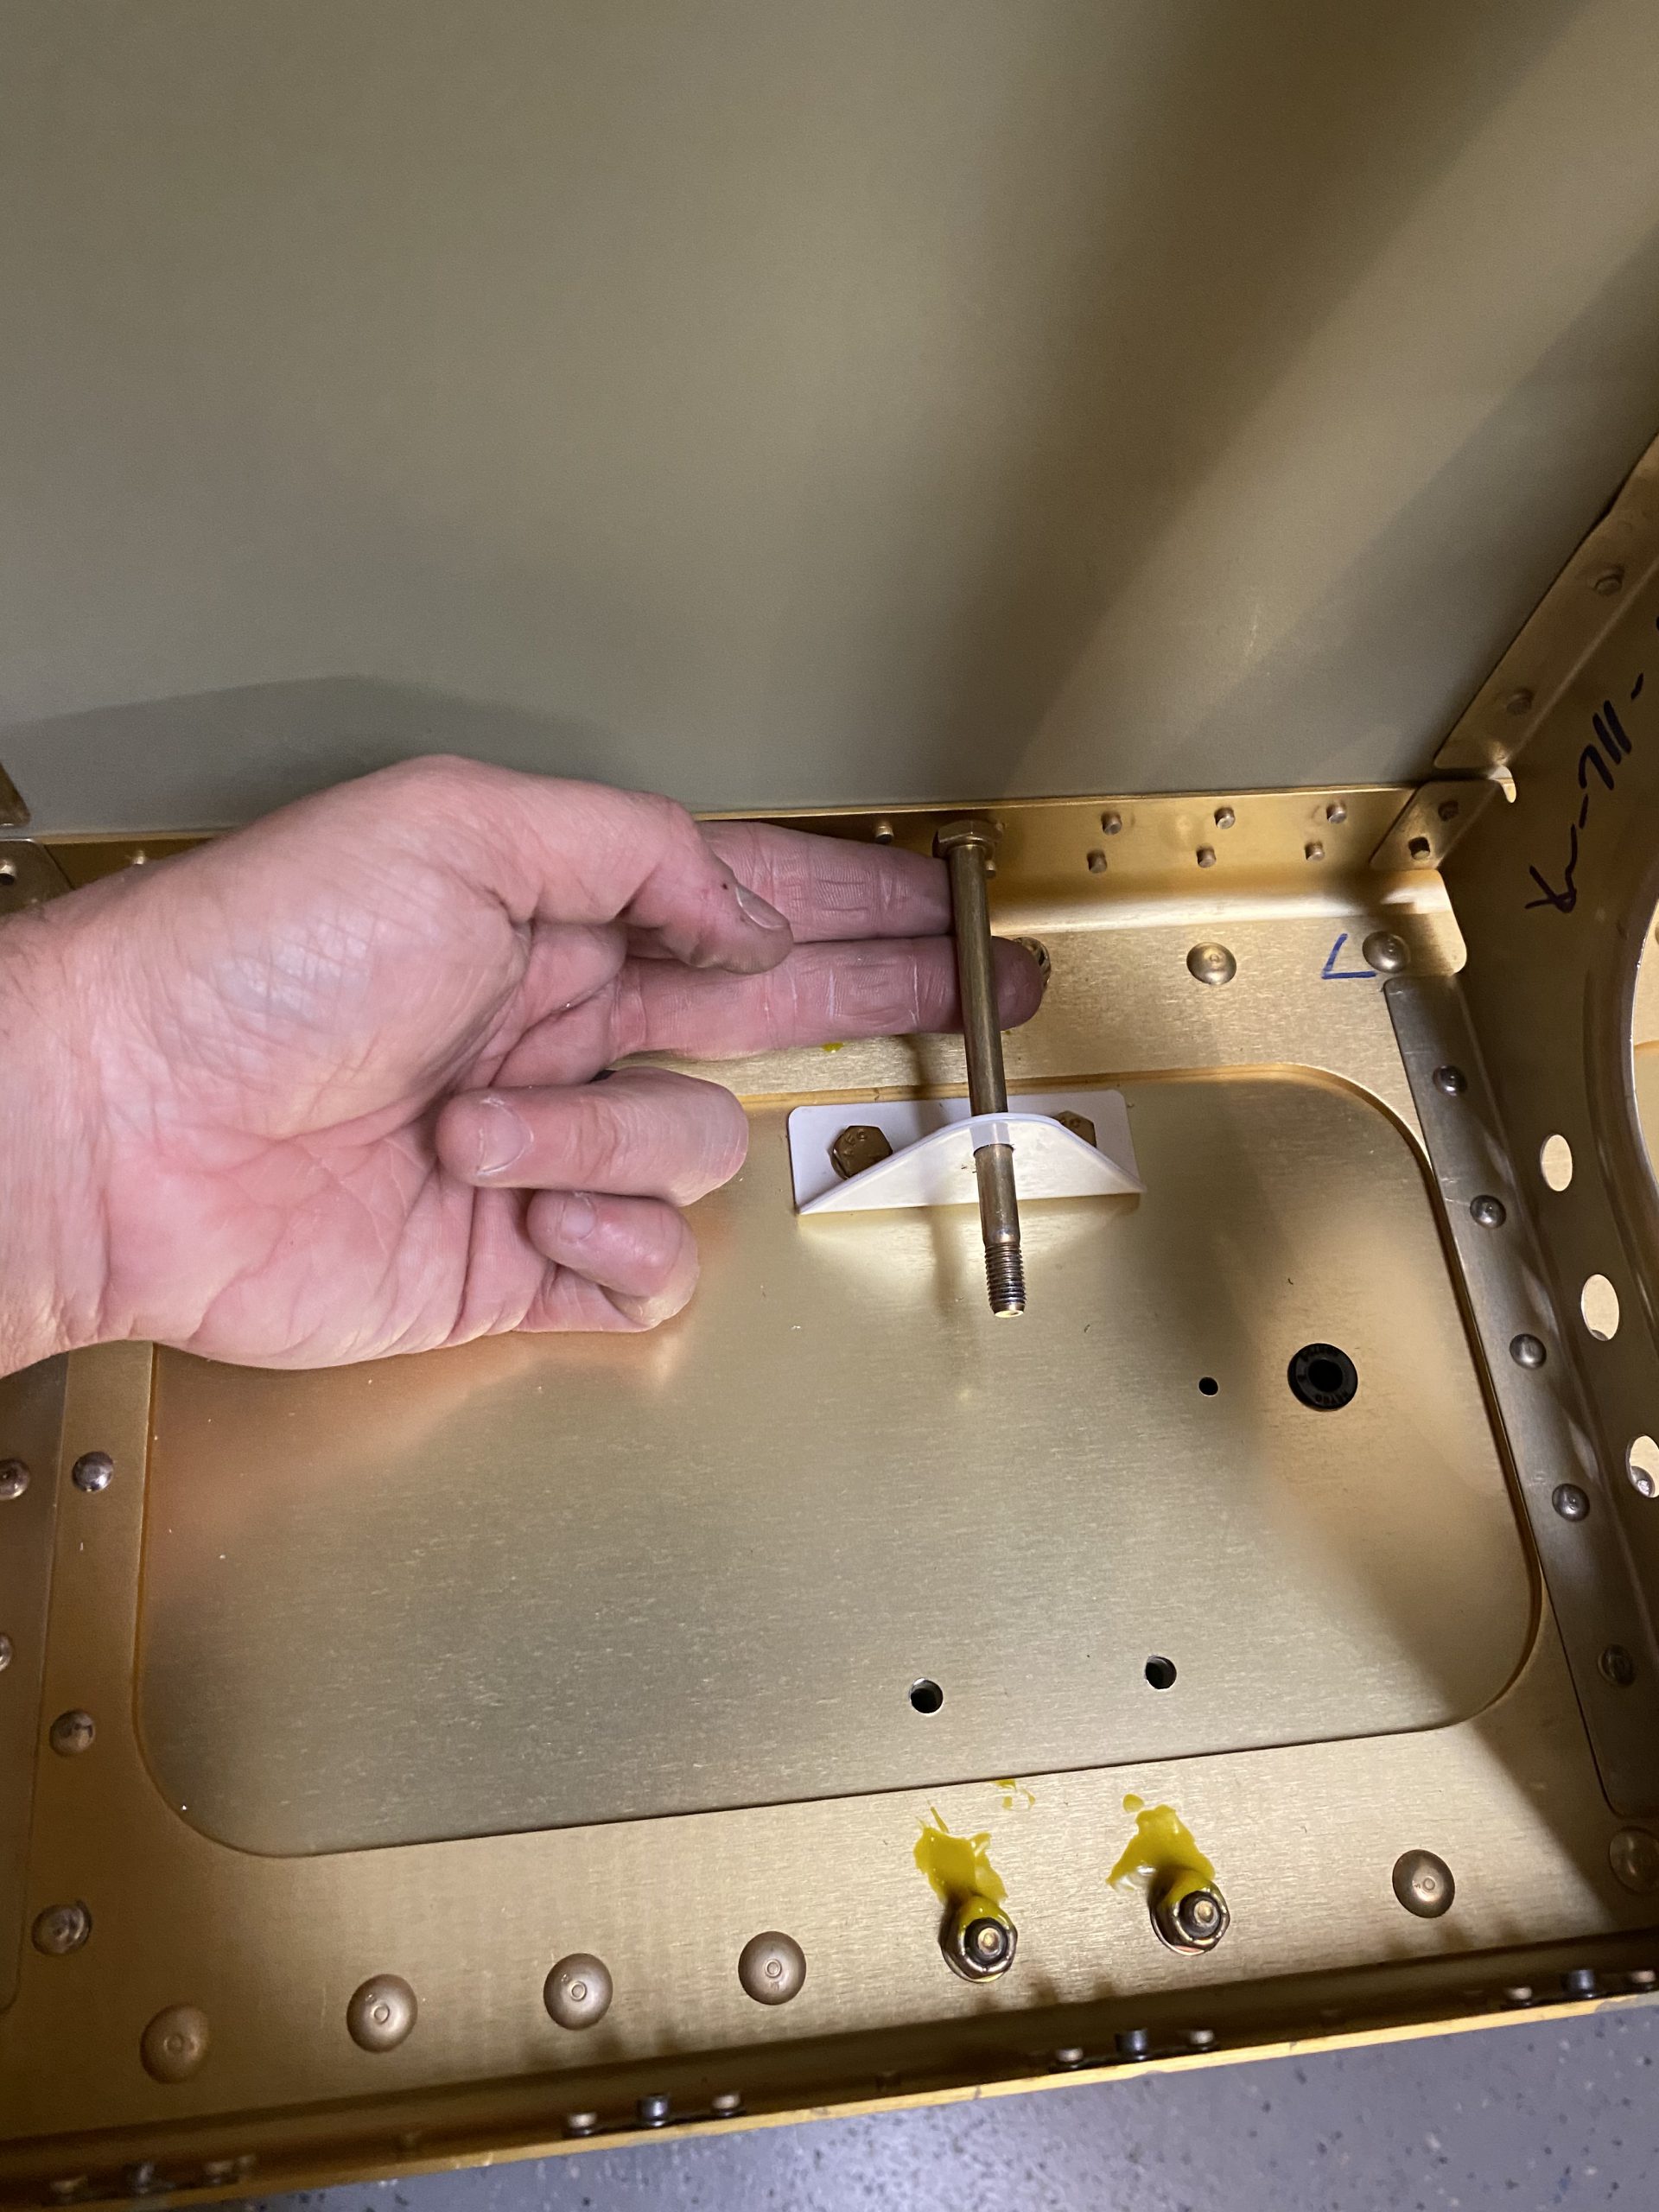
I did make sure to smear some on the inside of the cleaned bellcrank too :-). It rotates smooth as butter! Next up was to start mounting this to the wing. A quick pro-tip: Make sure you insert the bolt into the bracket BEFORE you screw the bracket to the spar web, it wont fit otherwise. See:
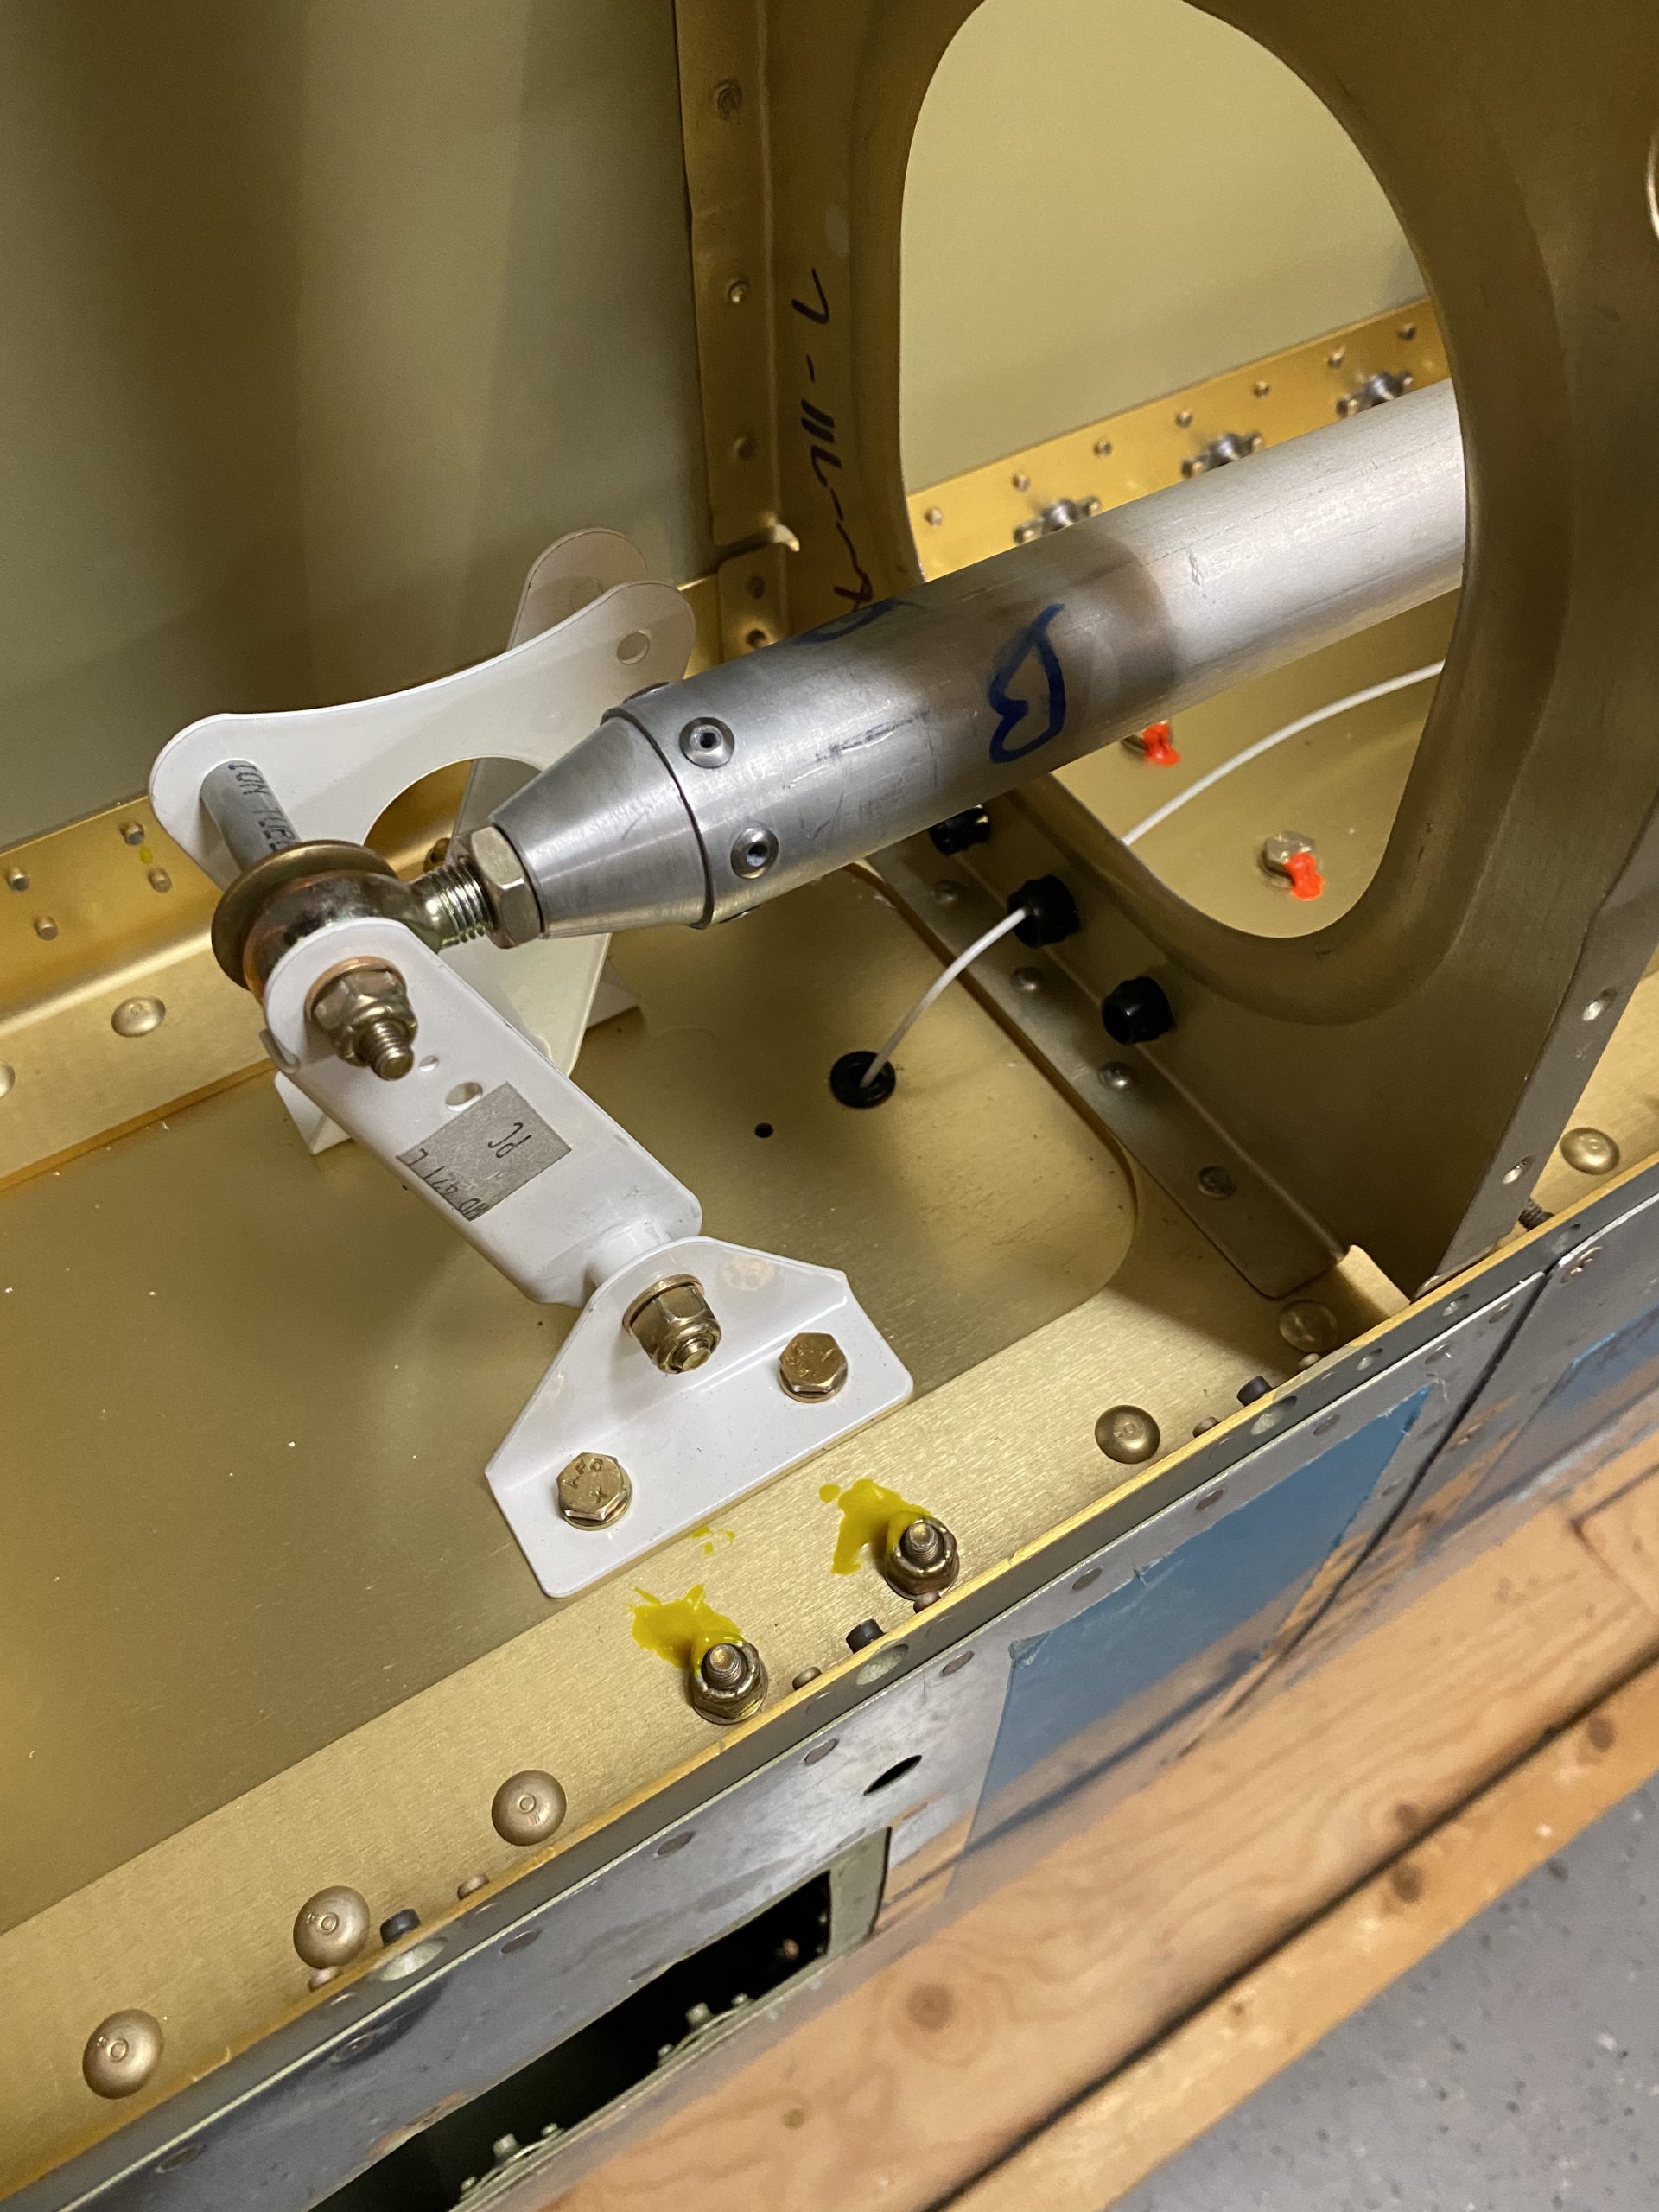
It’s just a bit to long to get in the bracket, with the bracket bolted down :-). I collected the rest of the hardware as called out in the drawings and then bolted the bracket down to the main spar, torqued the bolts down to 40 in/lbs. 25 per spec + 15 for the drag of the nutplates.
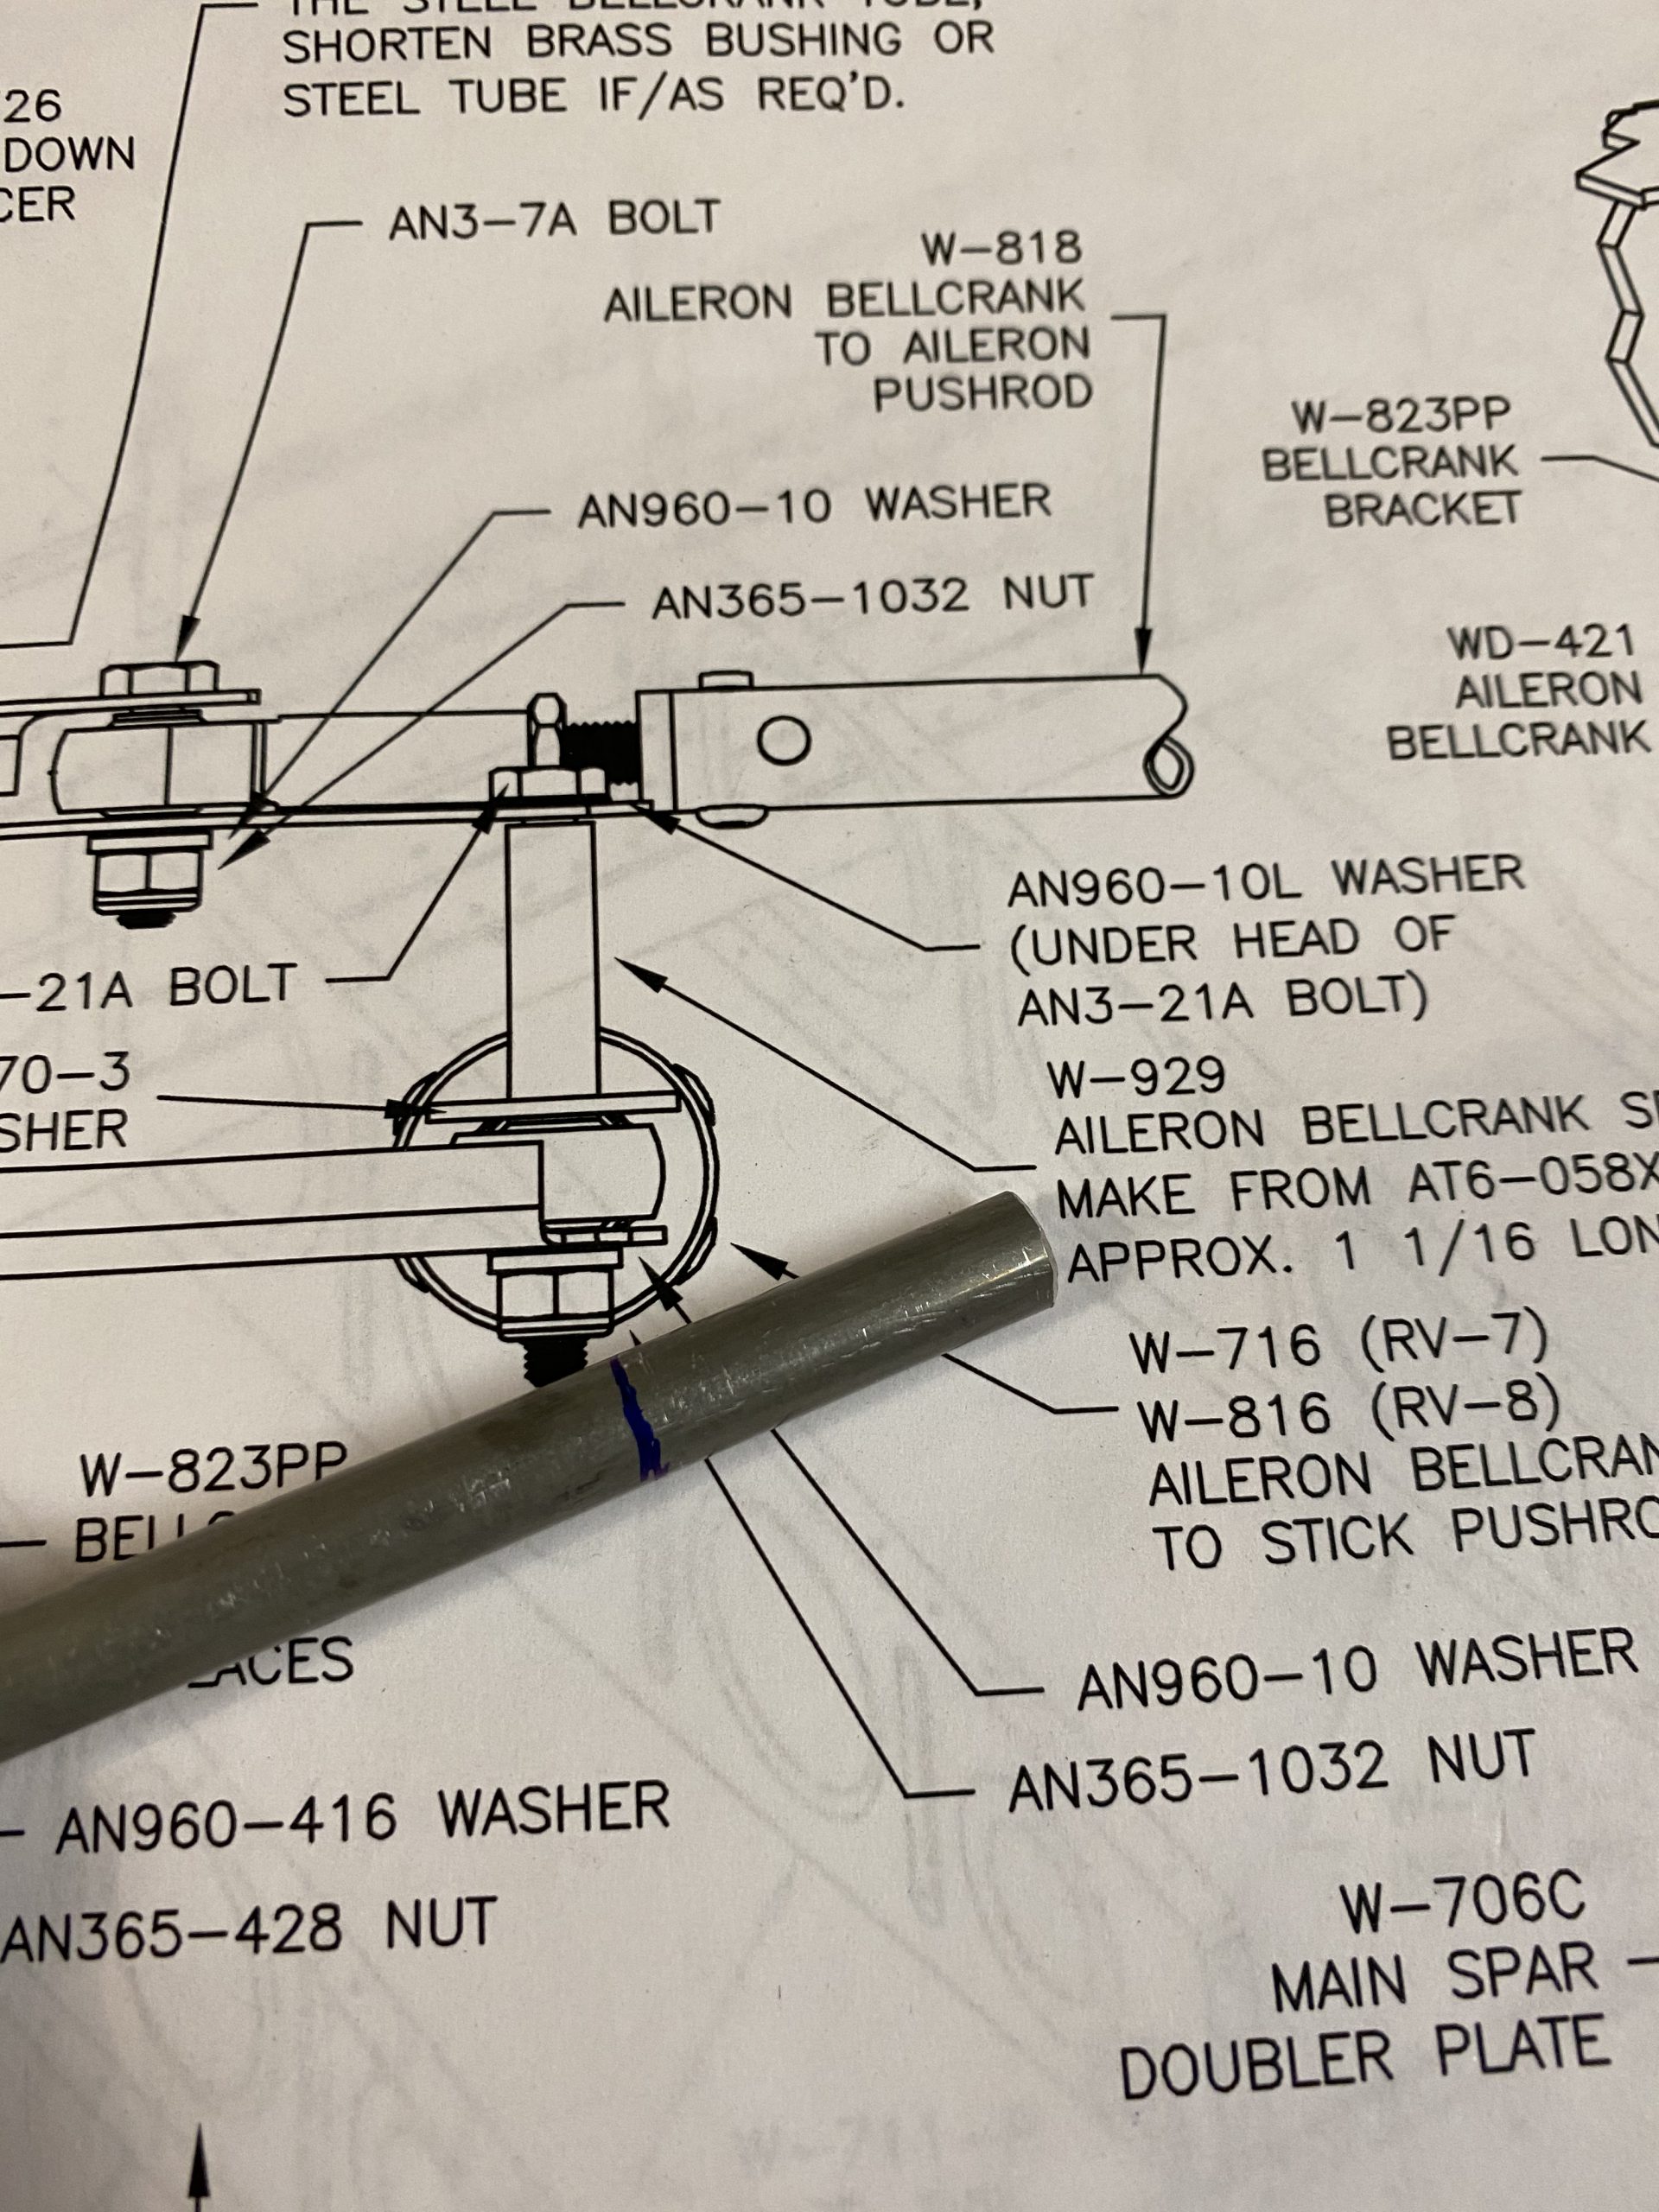
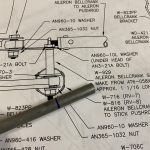
Now its time to bolt on the long push-pull tube. I needed to cut my W-929 spacer from the AT6-058 tubing stock at 1 1/16″ long. I marked it up, and cut it on the chopsaw. Then I deburred all the edges and made sure the cuts were nice and square.
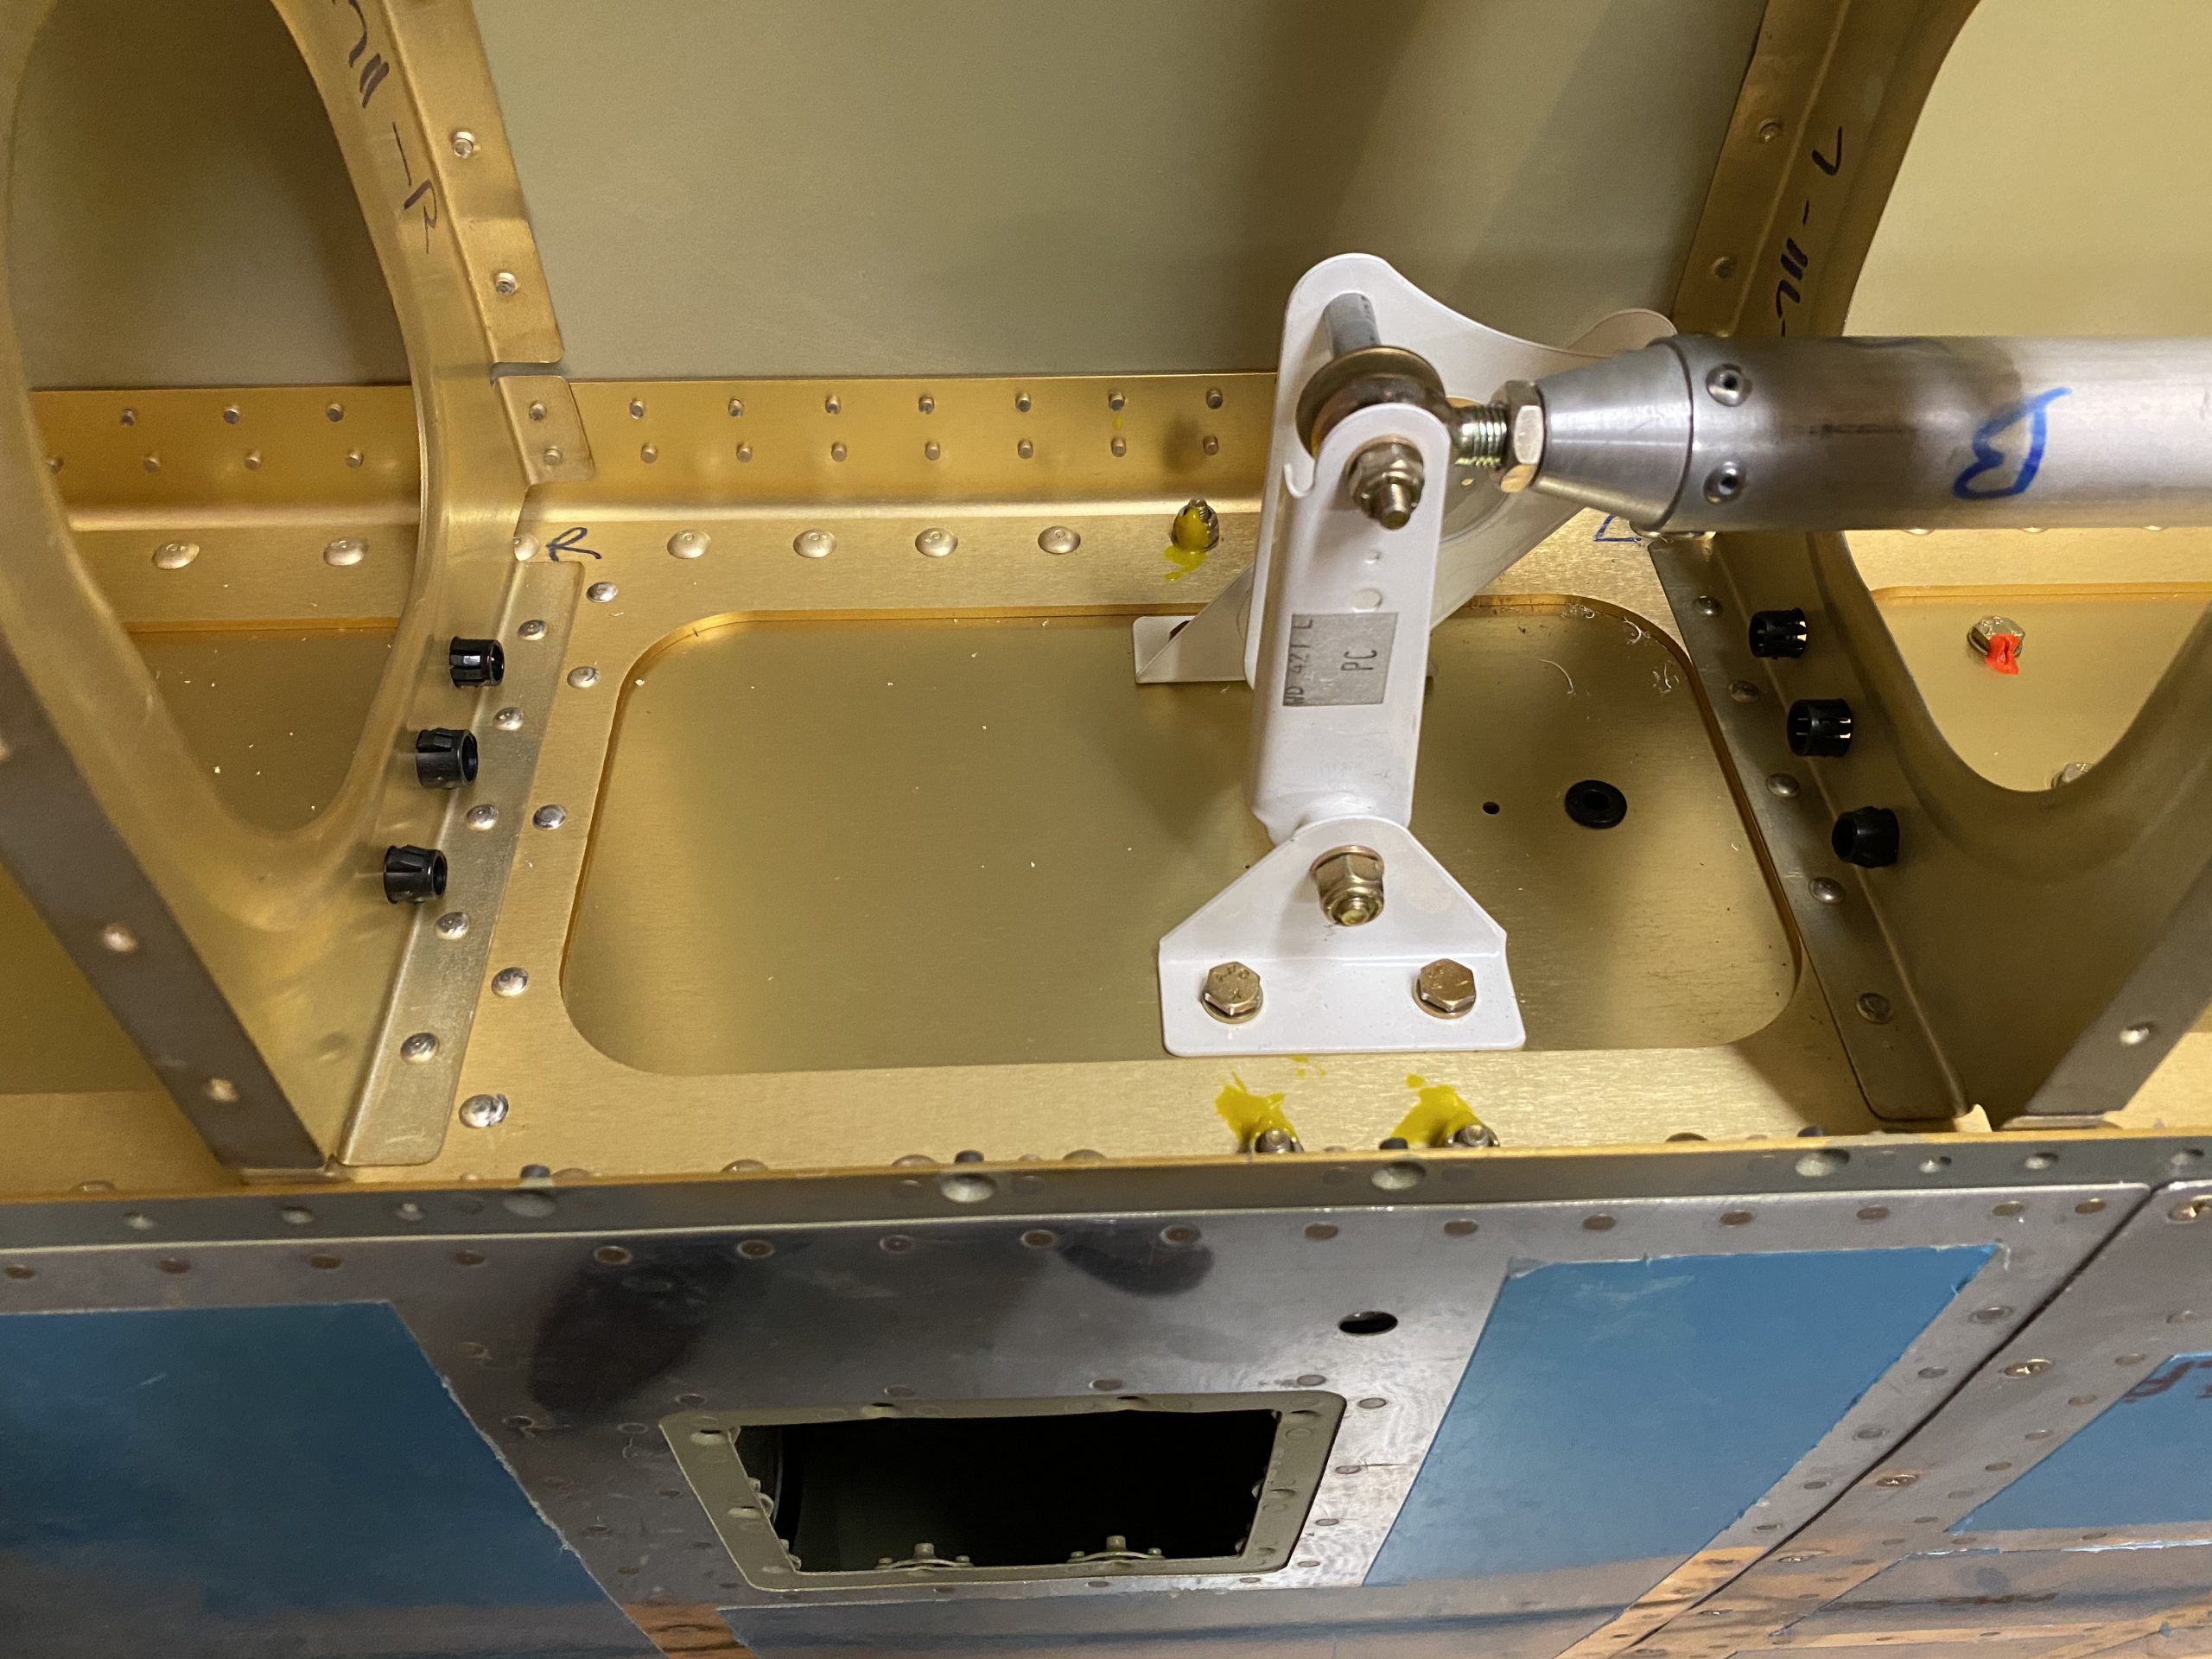
Next up, I bolted the W-716 push-pull tube into the bellcrank using the hardware stack, and torqued it down to spec. This one got 40 in/lbs of torque as well. I am really loving this Tekton 1/4″ drive torque wrench, its more than paid for itself so far!
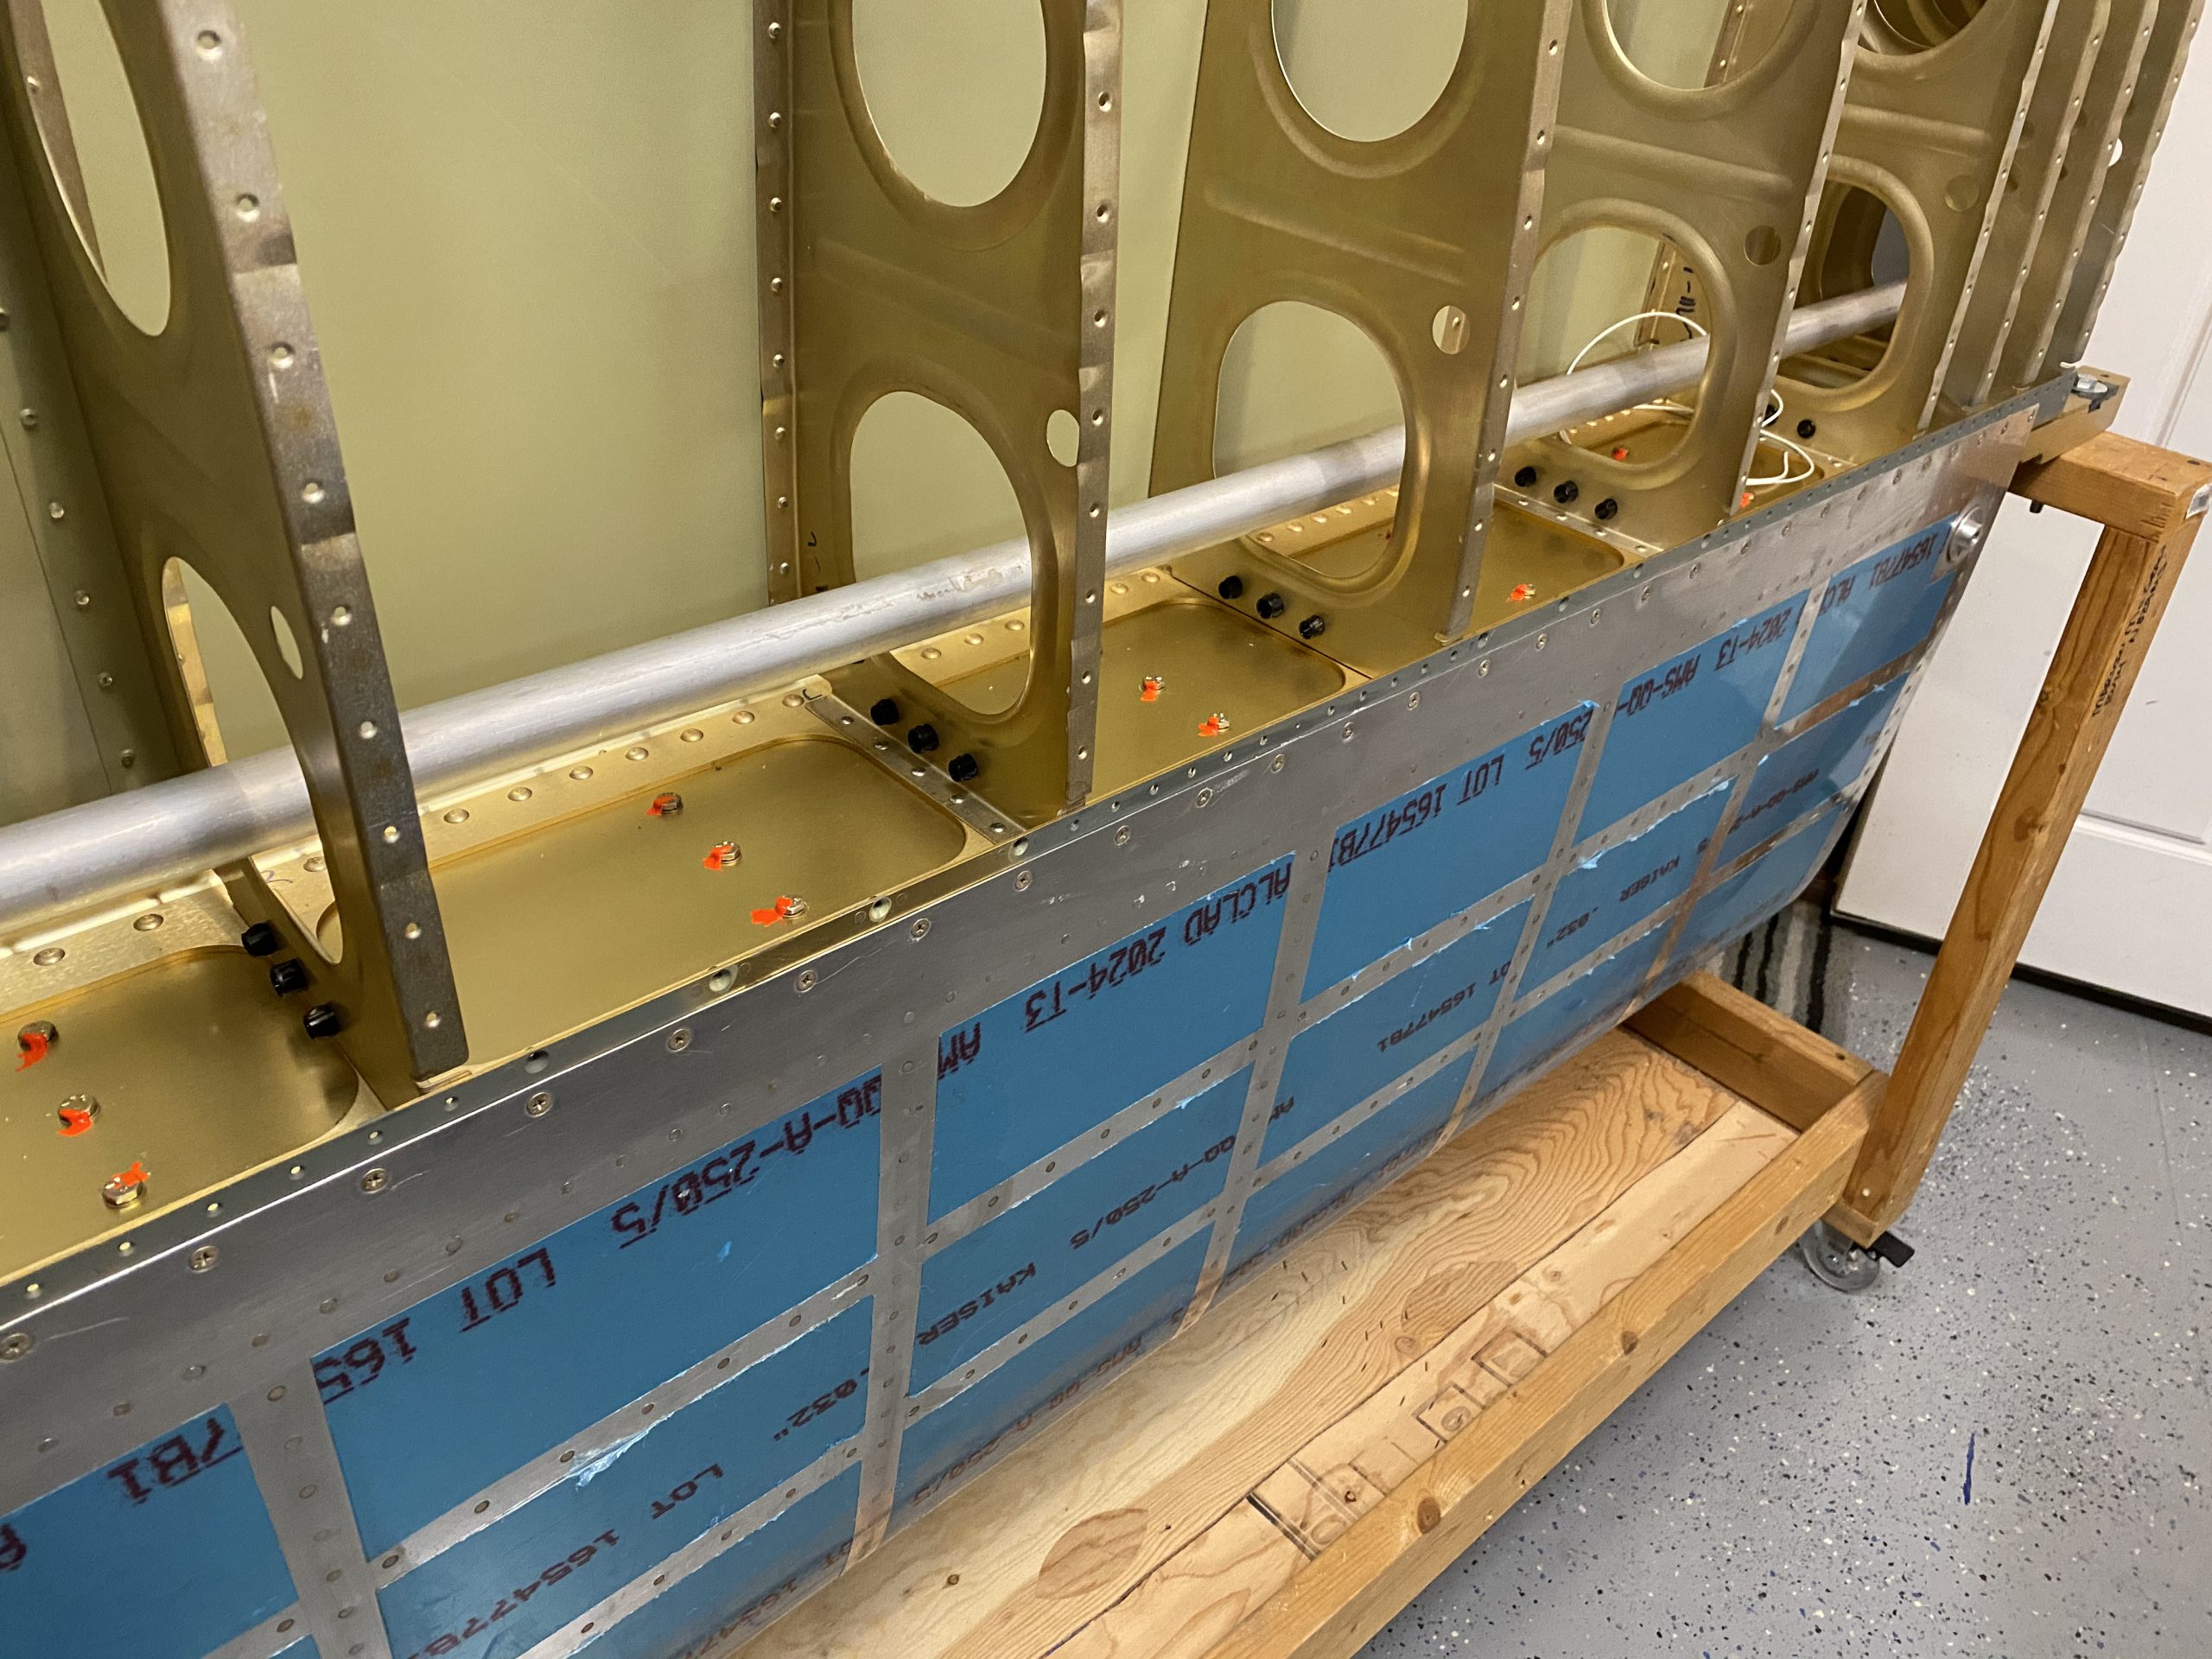
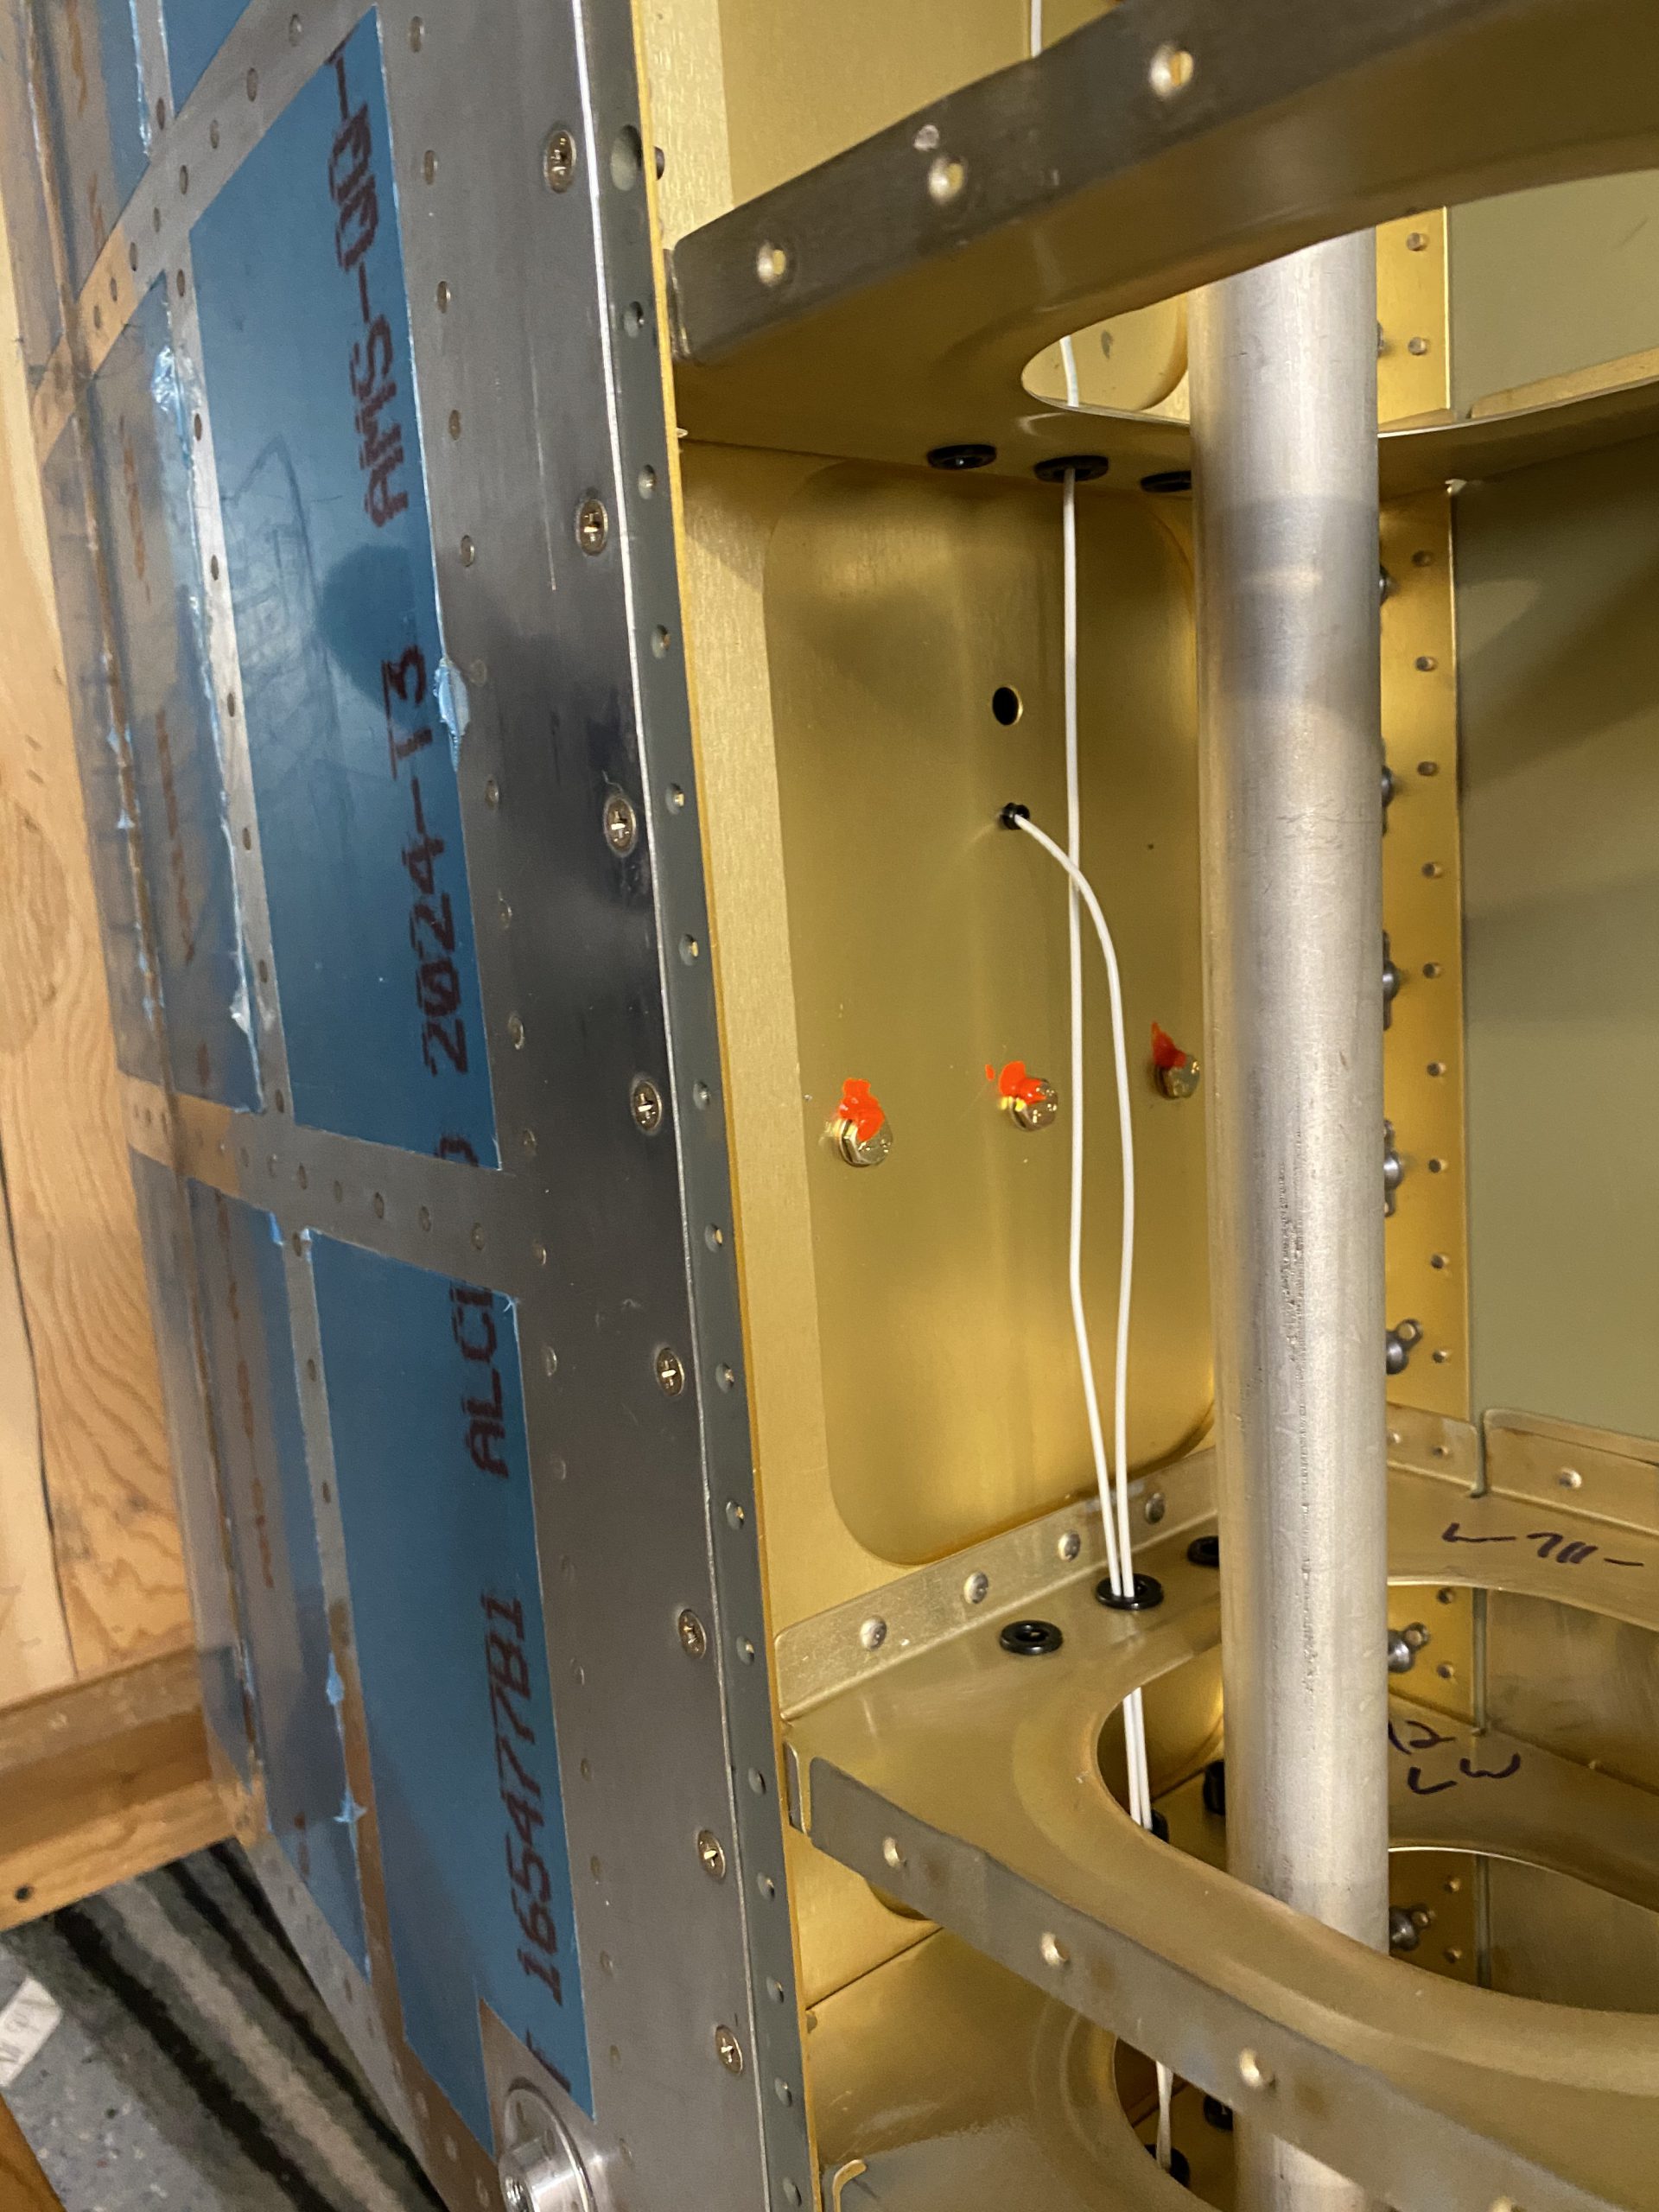
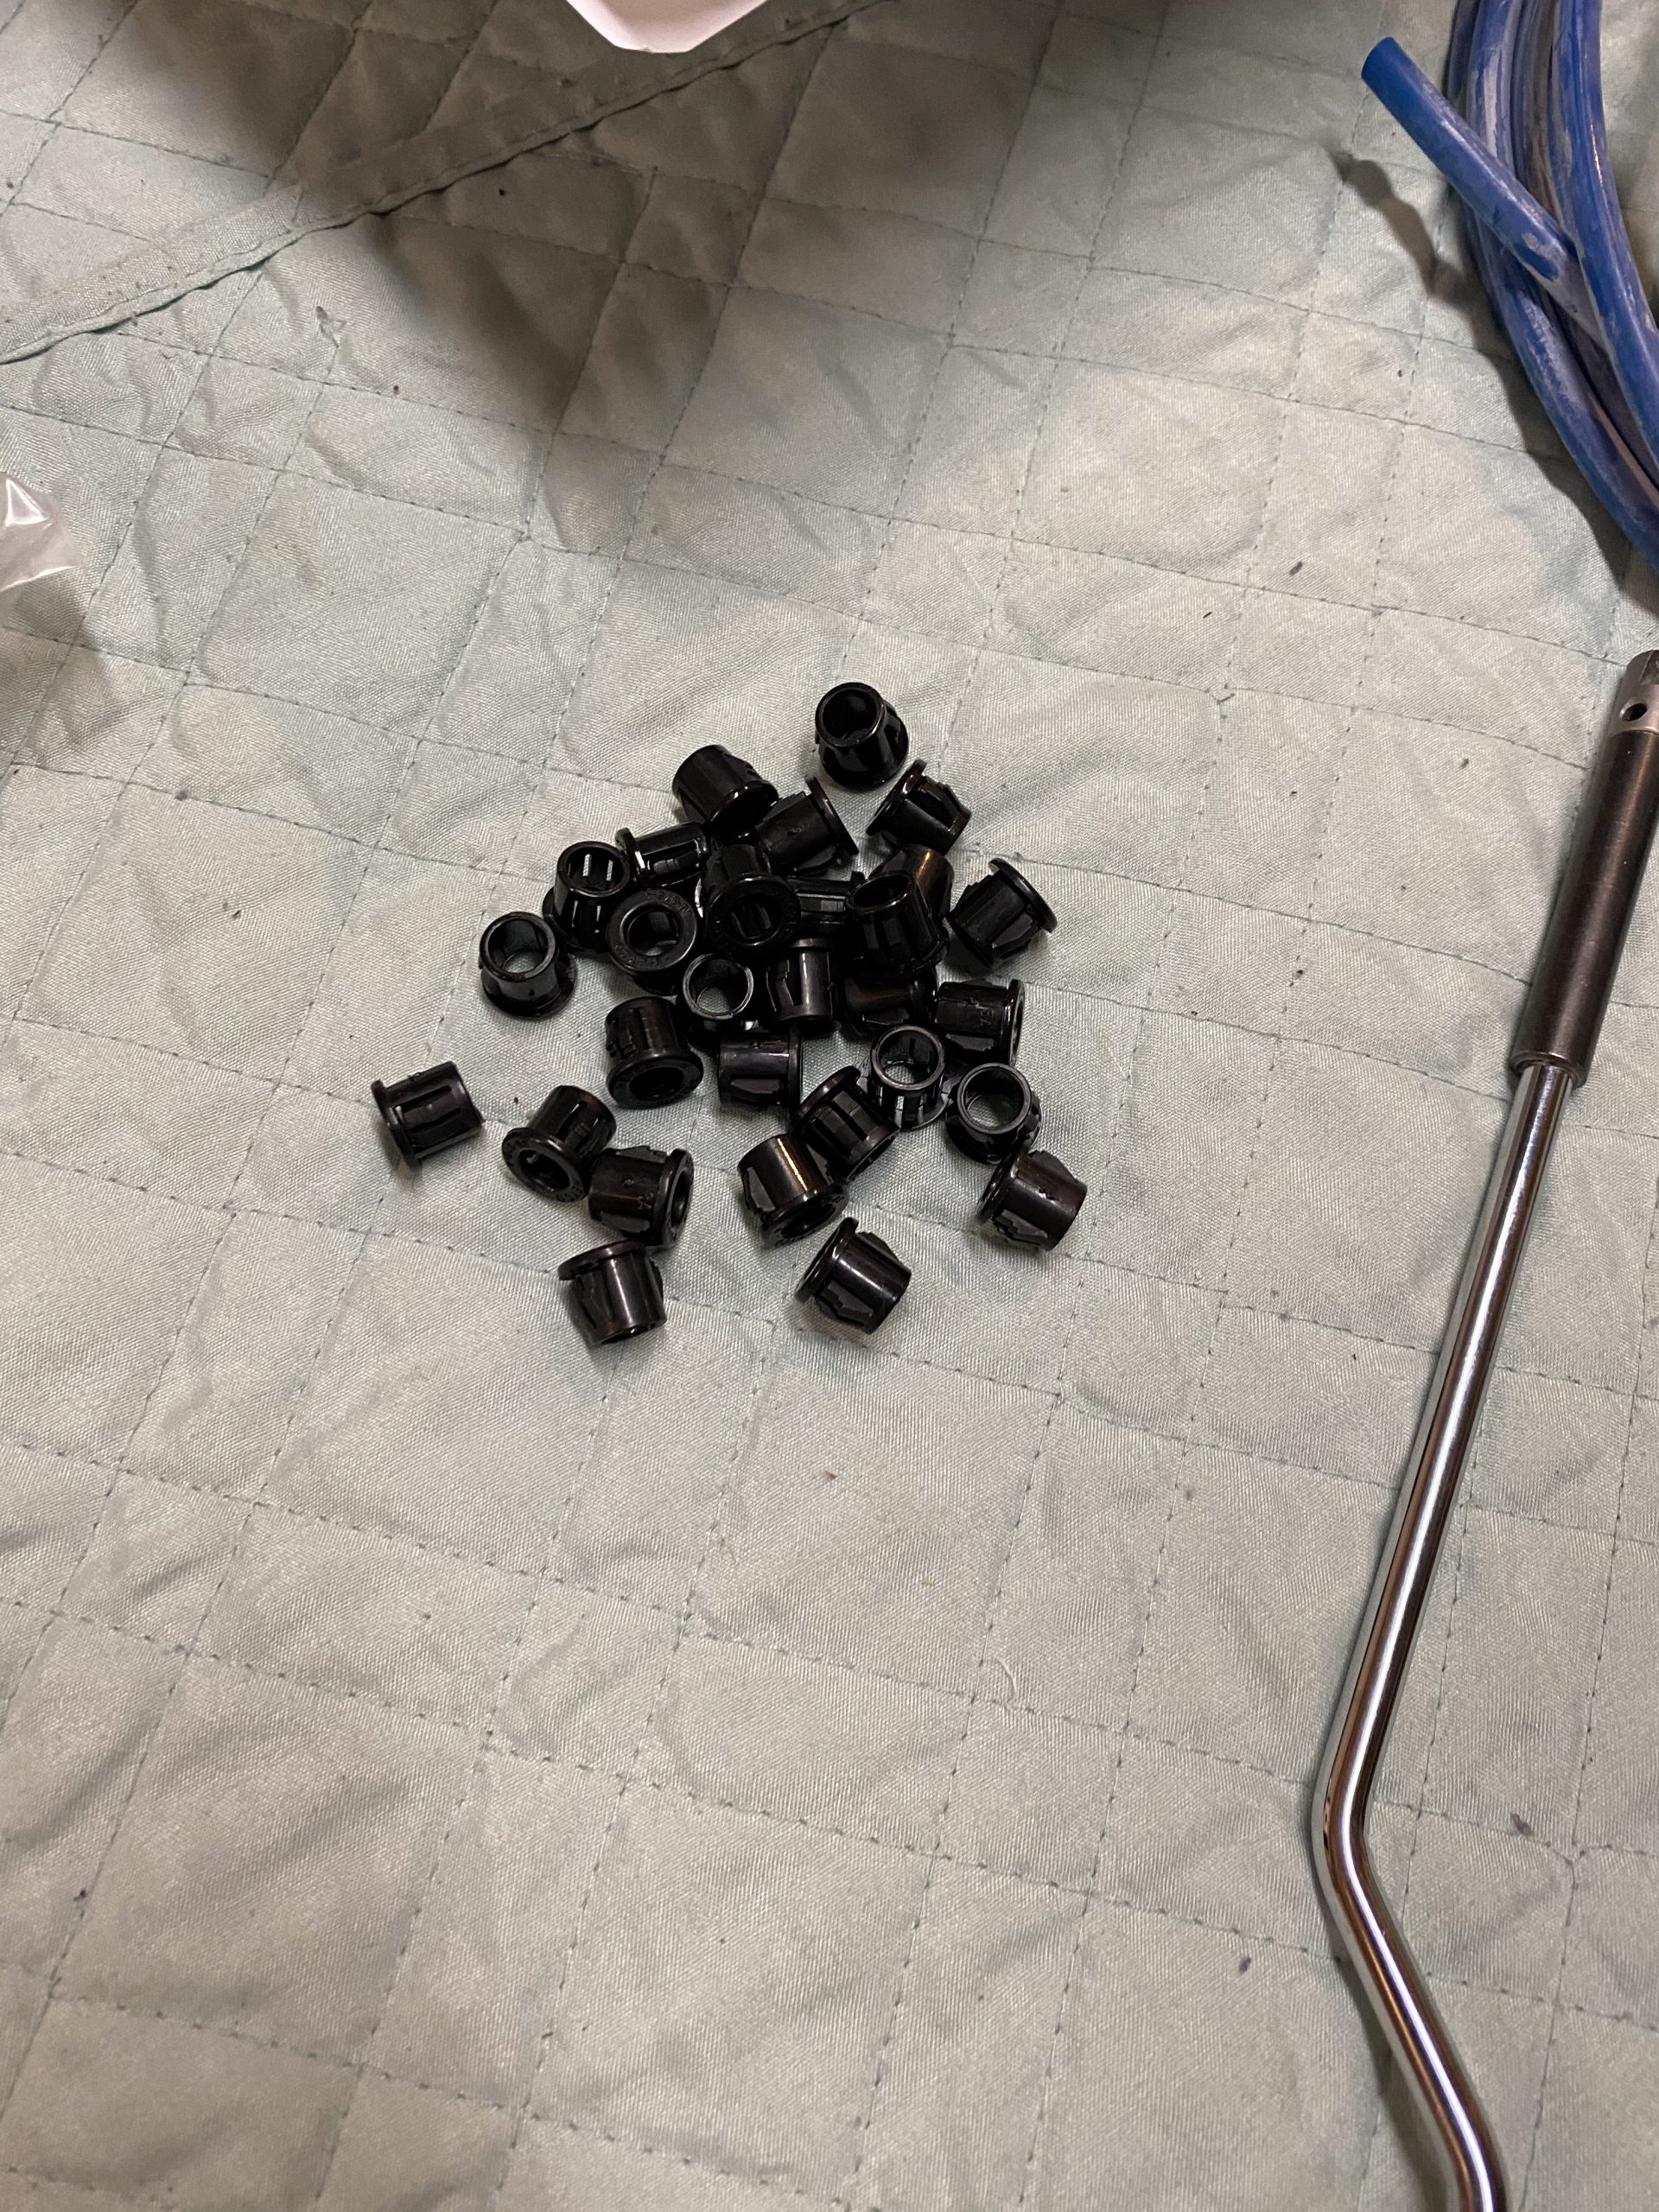
After making sure the bellcrank still was moving nice and smooth, I decided to do a little extra work. The bell crank is on and torqued down, I was going to fabricate a set of brackets to hold my pitot and AOA tubing, as seen in this other builders post. But I decided on a better solution for me. I had already drilled the holes in the next two ribs in an adbundance of caution on where I wanted to put the pitot, and they seemed like they are perfect alignment to keep the plumbing away from the bellcrank. In the photo above, you can see the plastic bushings I inserted to test fit things. They are the ribs to the left and right of the bellcrank. Ill just run the tubing out to the bay outboard of the bellcrank, where the pitot tube is going, and leave enough slack that I can pull the whole bits down and undo the fittings outside the airplane. Seems easier to work on for me, and I don’t need any extra bracketry. At this point, I can always go back and make it too, so I’m going with this decision for now. That may change when I install the pitot tube. I did go ahead and pull all the plastic bushings from my SafeAir pitot / AOA plumbing kit, and insert them into the ribs.
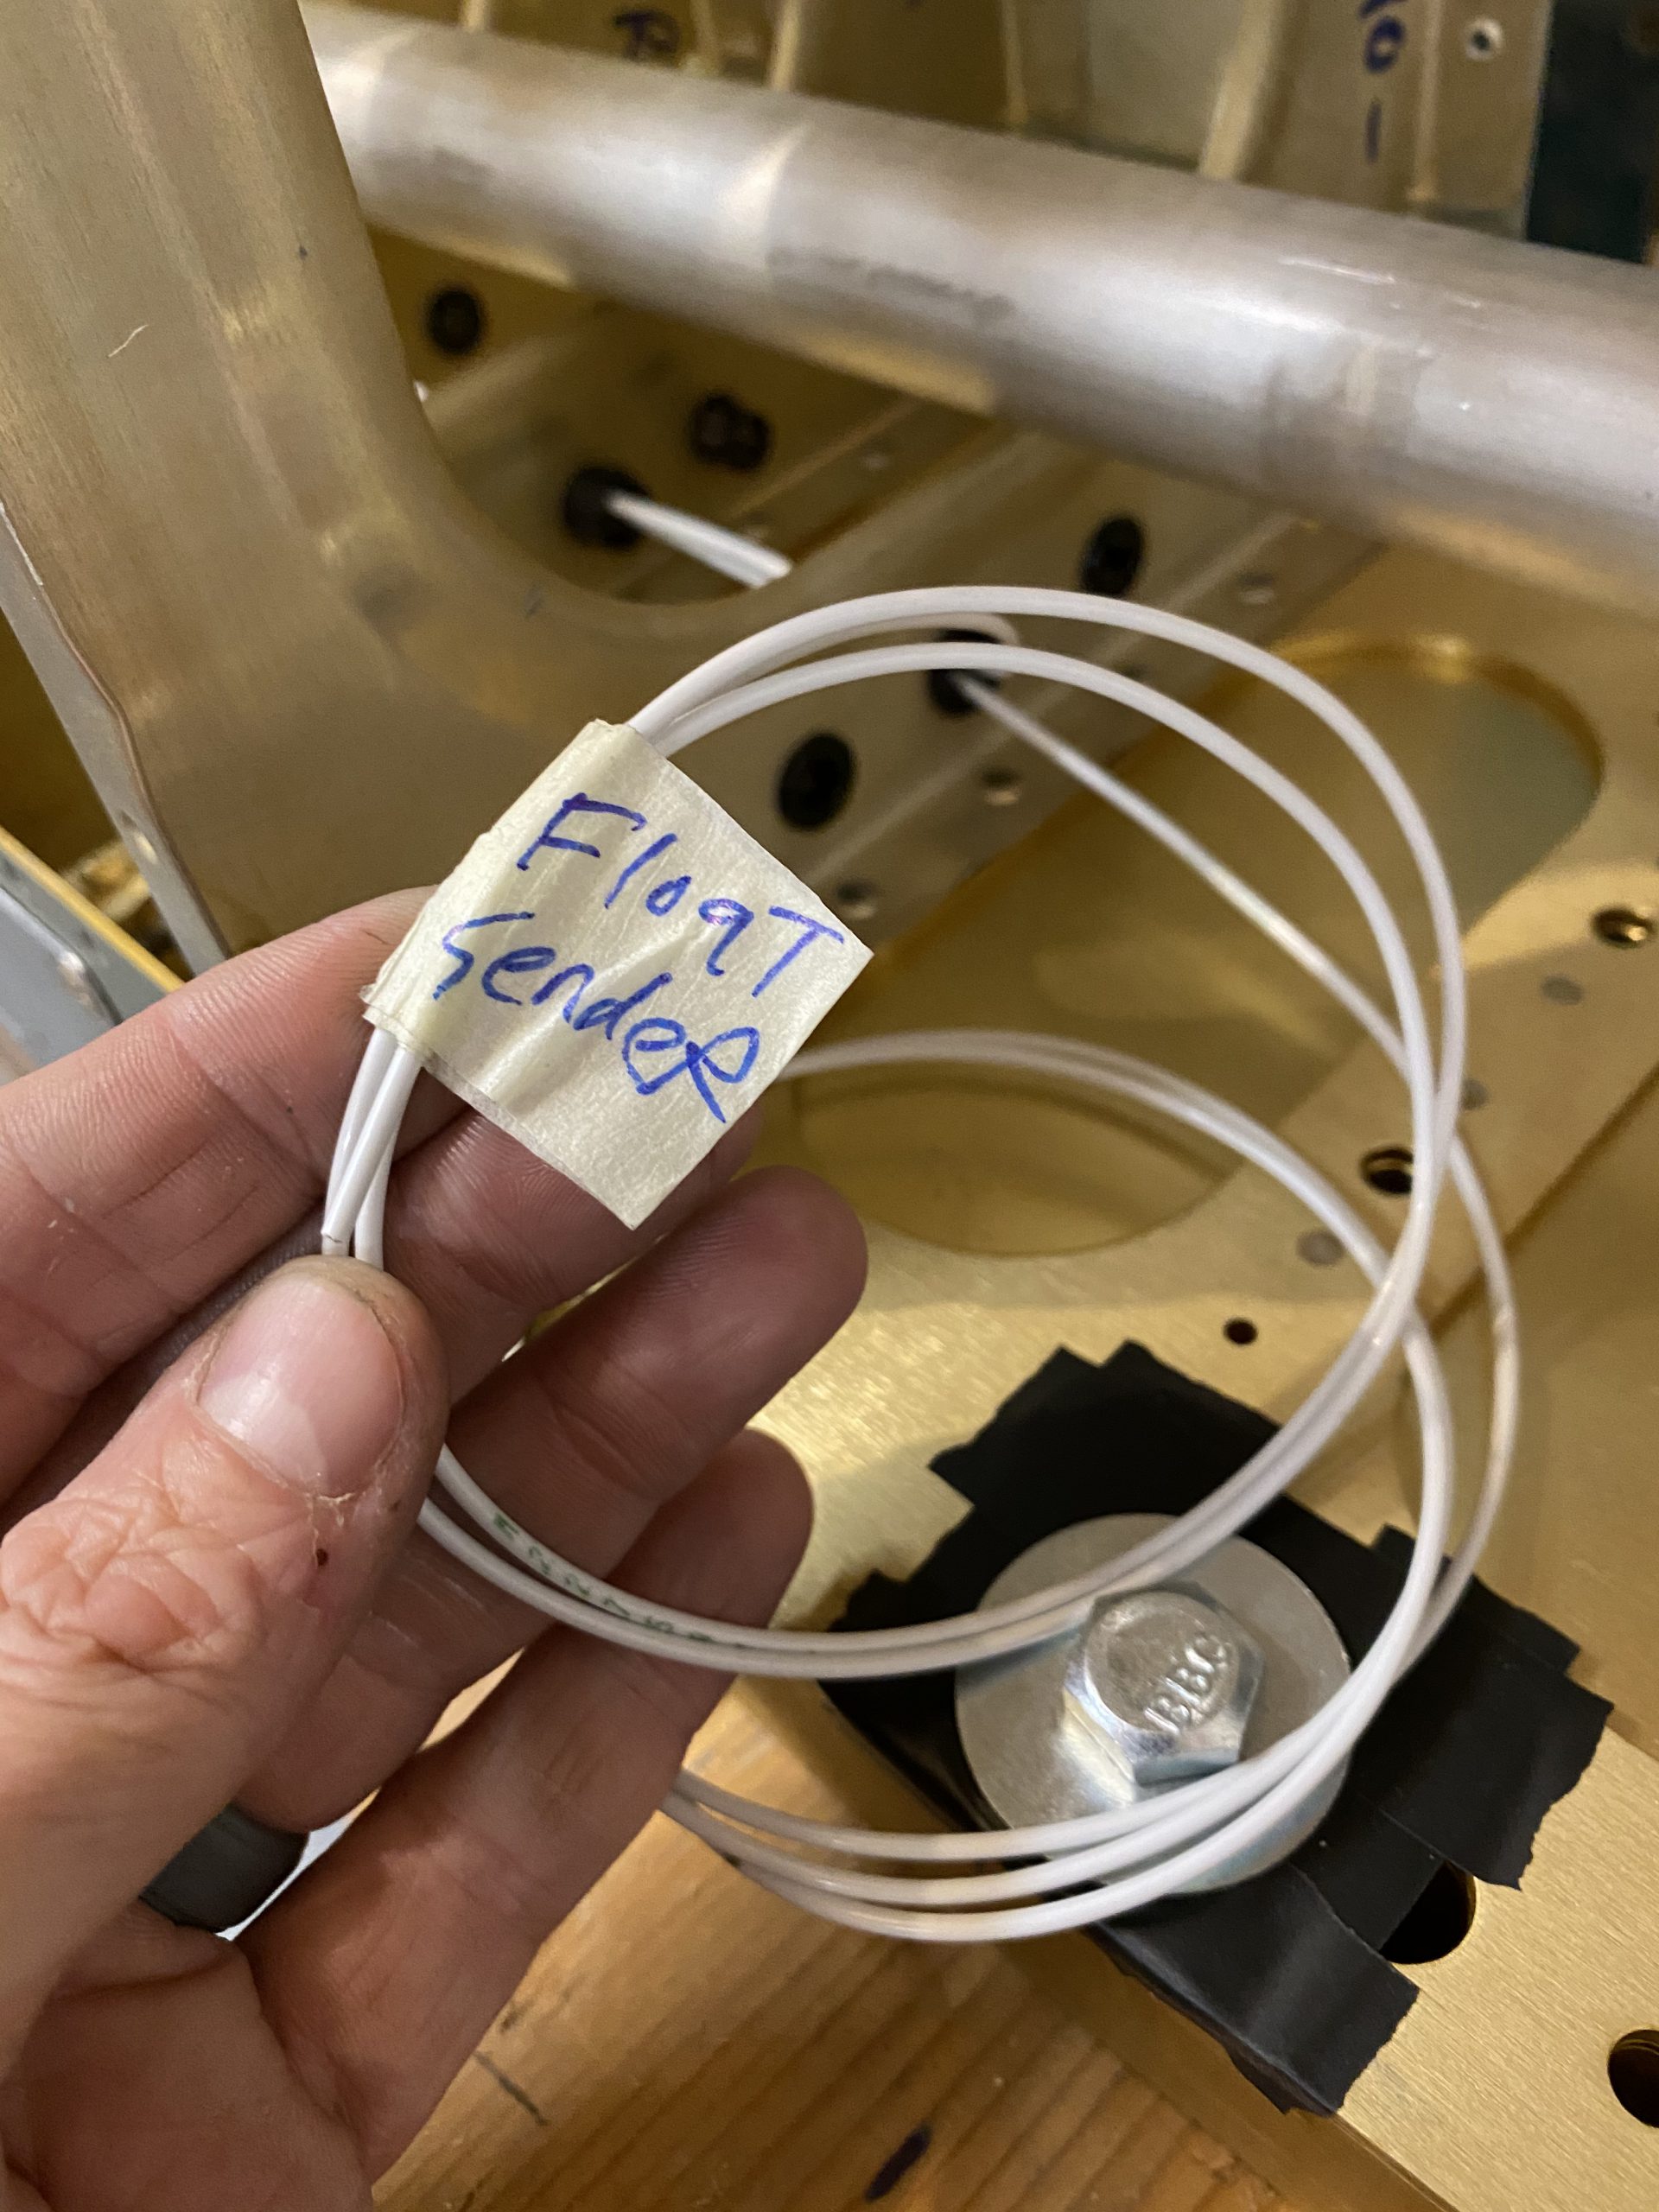
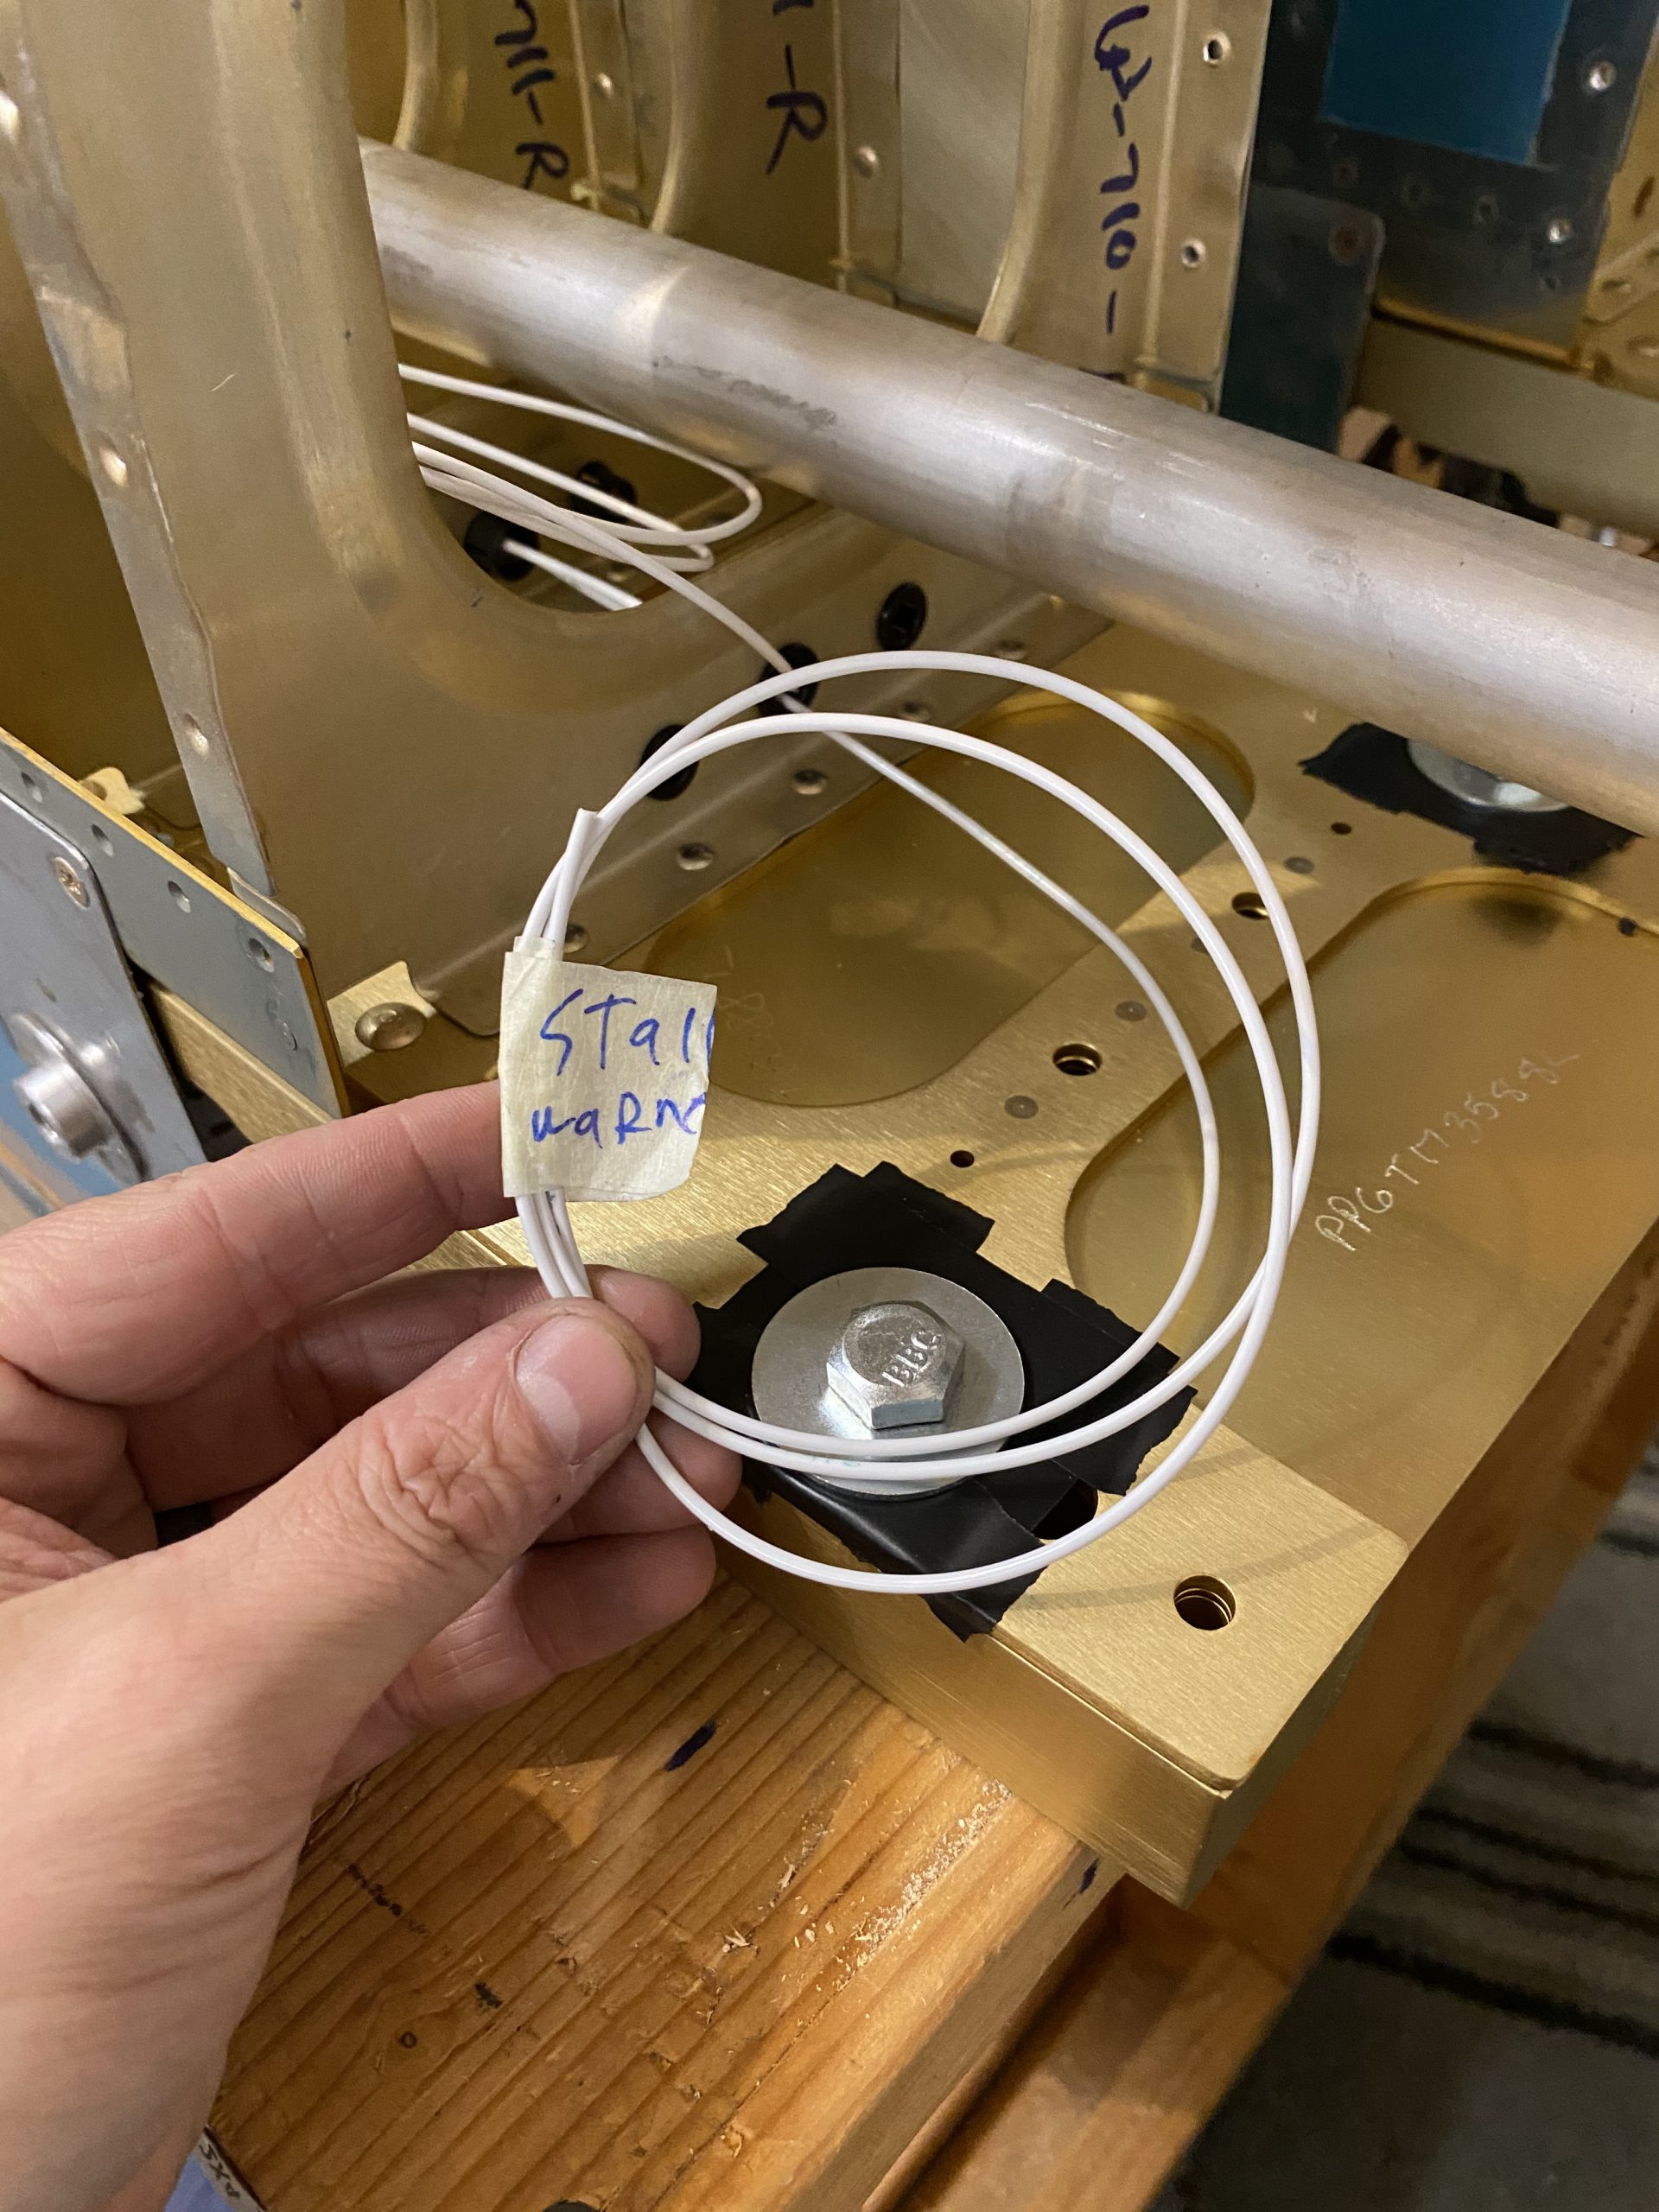
I also ran the wiring from the stall warner switch through the spar web bushing, and into the center bushing on the ribs, all the way out to the inboard of the wing. I did the same for the wiring coming from the fuel tanks float sender. I had installed a bushing in the spar web for it, so I just ran it into the same center-hole bushing as the stall warner. I’ll keep these wires in these bushings since they are very low voltage, and are not exactly critical.
Then I coiled the wires up, marked them with some tape and marker and tucked them safely away into the ribs for now. I wanted to keep them from hanging on anything while the wings are in storage. I still need to install the conduit for the other wiring, so I’ll keep these tucked away for now.
And heres what the wiring looks like going through the ribs bushings. I may lace these up with some wiring lace? Or I may just leave them as is. They are well supported in these bushings, and if I ever need to service them, they should be easily pulled and re-ran. Like I mentioned, these are not flight-critical, so I’m not too worried about them, and the low voltage poses zero fire risk. All the other heavier duty wiring will go into the conduit.
The last thing we did was to apply some torque seal to all the bolts and nuts. I also double checked all the torque values with the torque wrench first, and then Tammy applied the torque seal, because I always get messy with goops. That wrapped up this session. I’m still waiting on the replacement parts for the aileron pushrods, so I may dimple the bottom wing skins next, or install the nylon wiring conduit. There is very very little left to do on these wings until they go into storage. I’m holding off on buying the pitot tube and heater for it until I decided on an avionics package. Thats years away. I may go ahead and run the wiring for the wingtip stuff however. I’m going with LEDs, so no matter which option I go, there isn’t much amperage for wiring, and I go ahead and install some now.
Google Photos Link: https://photos.app.goo.gl/UmpDGJHoic7EU2U8A
Hours Worked: 2.5


