


Getting some control surfaces mounted up! I was able to get the right aileron mounted onto the wing, and everything bolted in place and ready for me to do the rigging of this aileron. I captured an overheard timelapse of the work here:
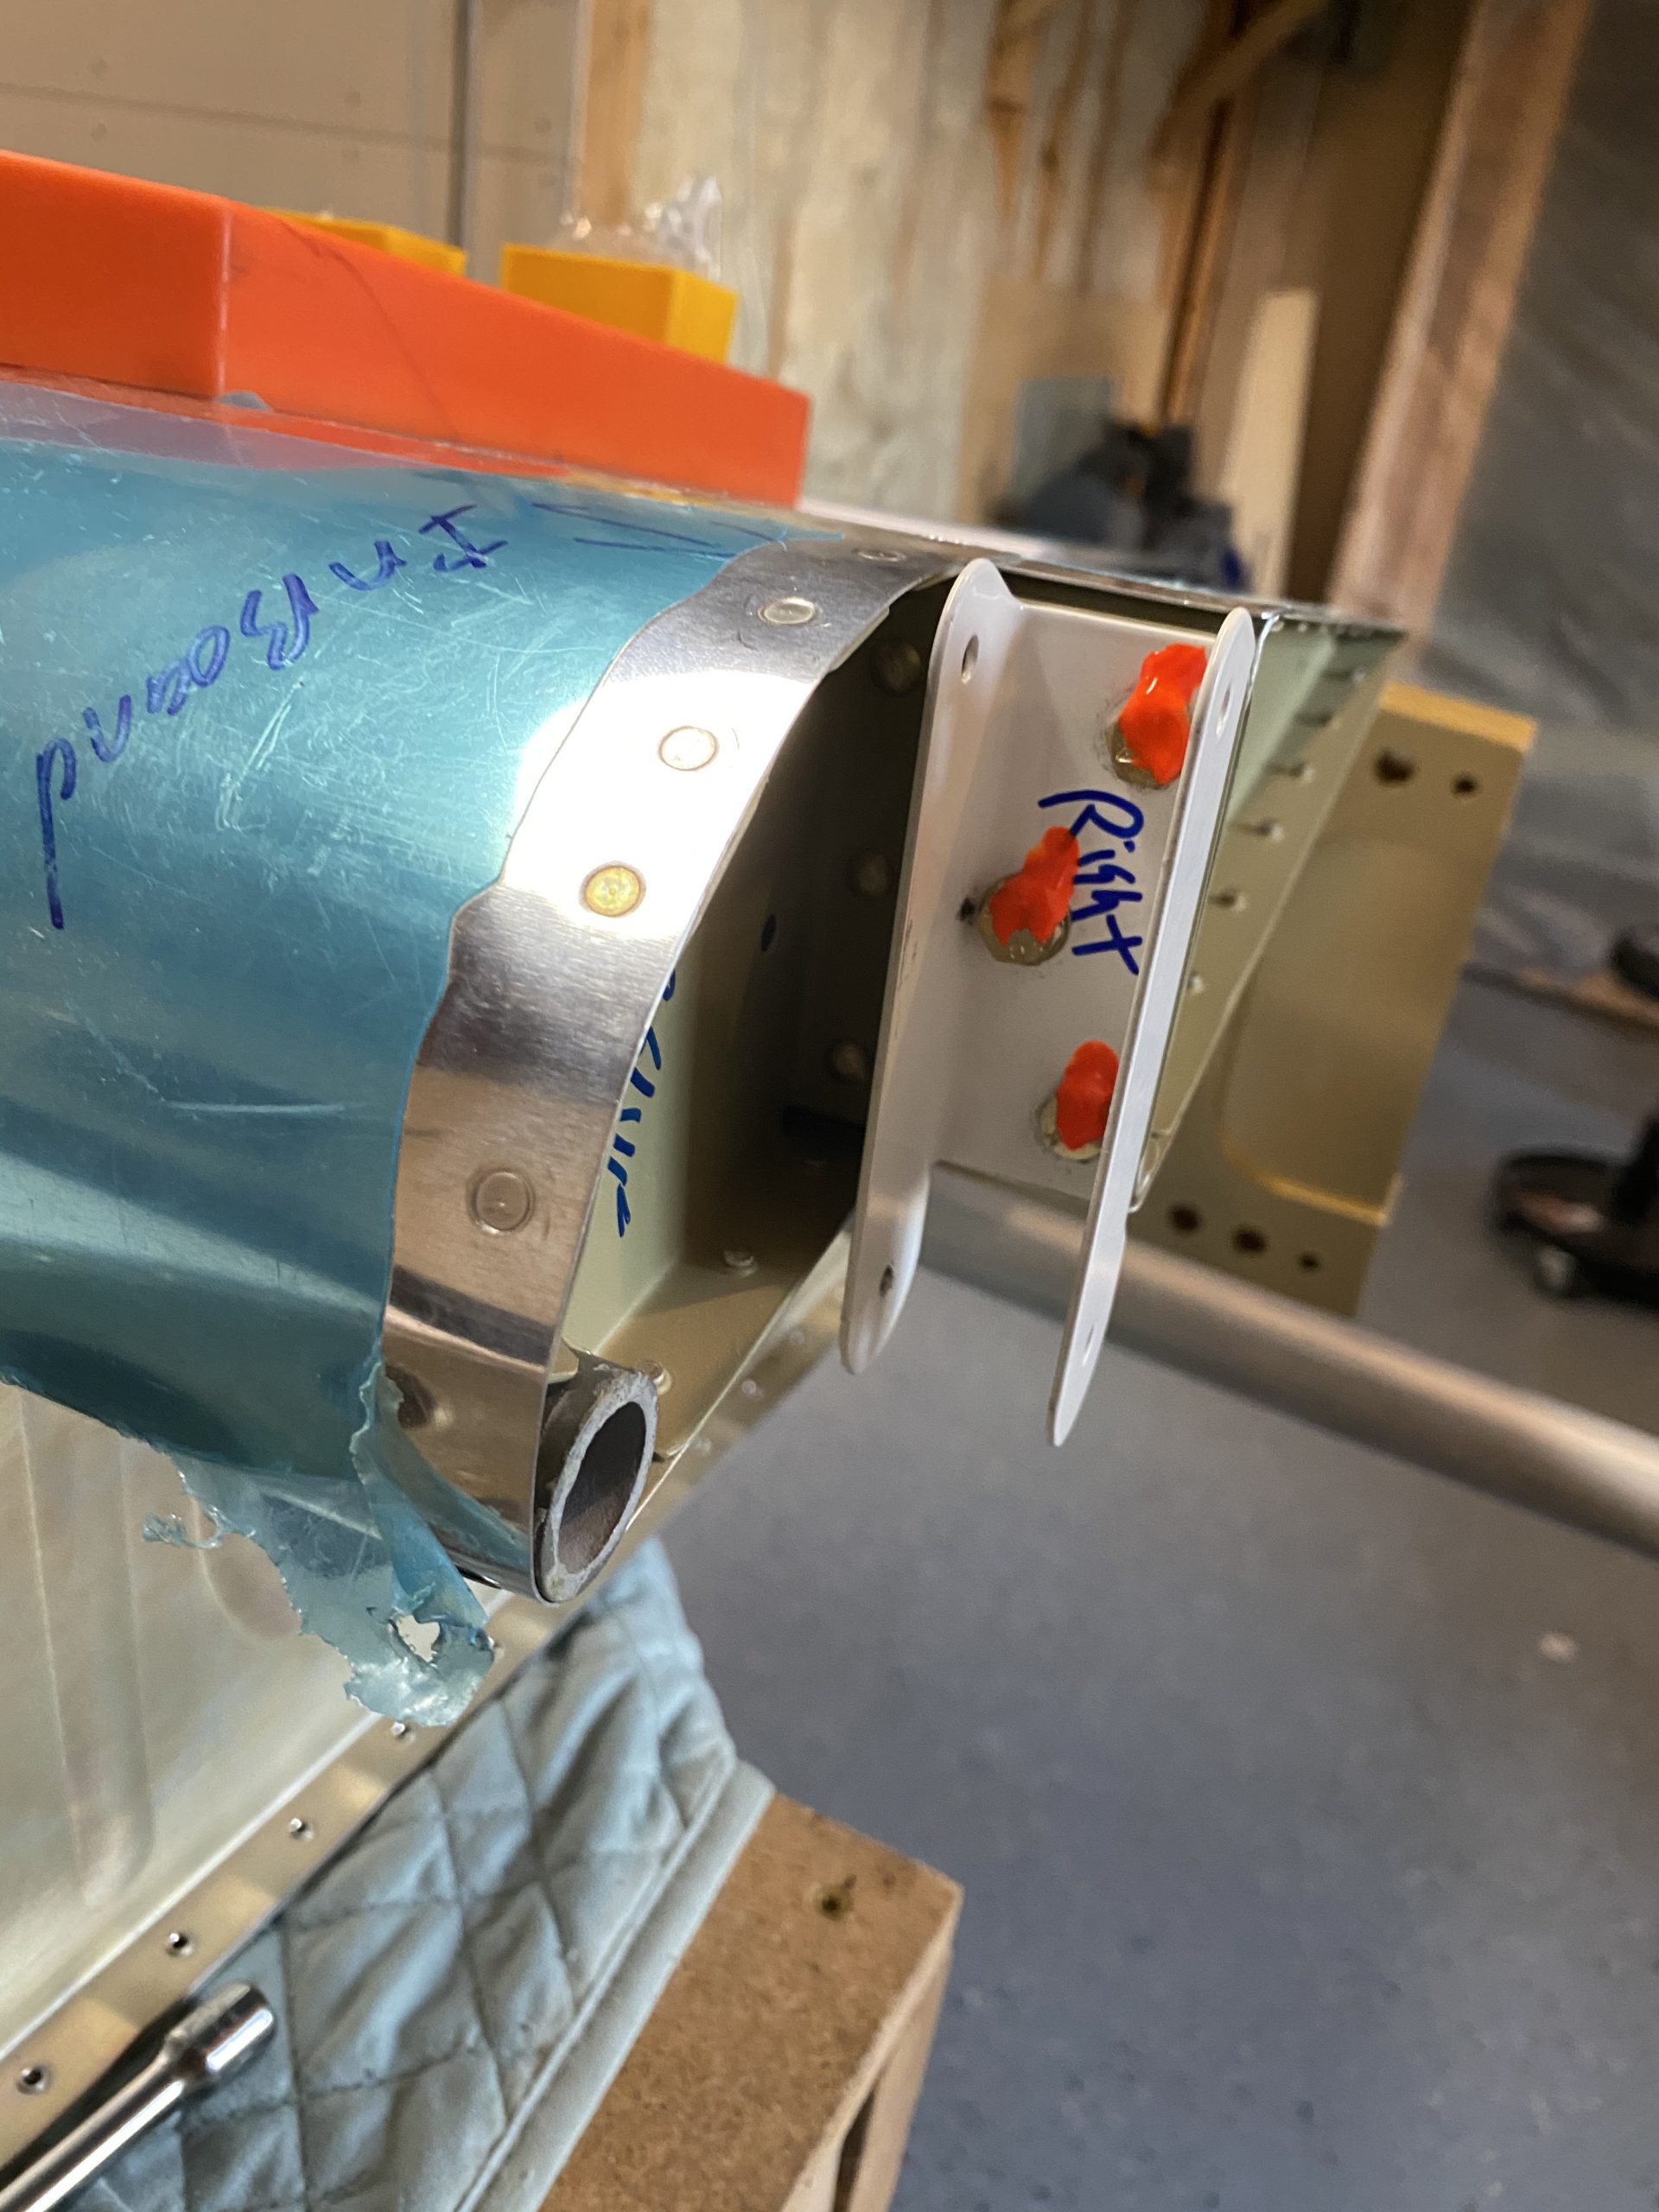
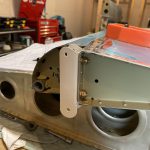
I started out by pulling the right aileron from the shelf and then bolting on its mounting brackets. I did not bolt these on when I built the aileron, because I didn’t want them getting damanged in storage, since they stick down below the surface. Leaving them off let me stack the ailerons safely together on the shelf. These are the A-406-R and A-407-R brackets.
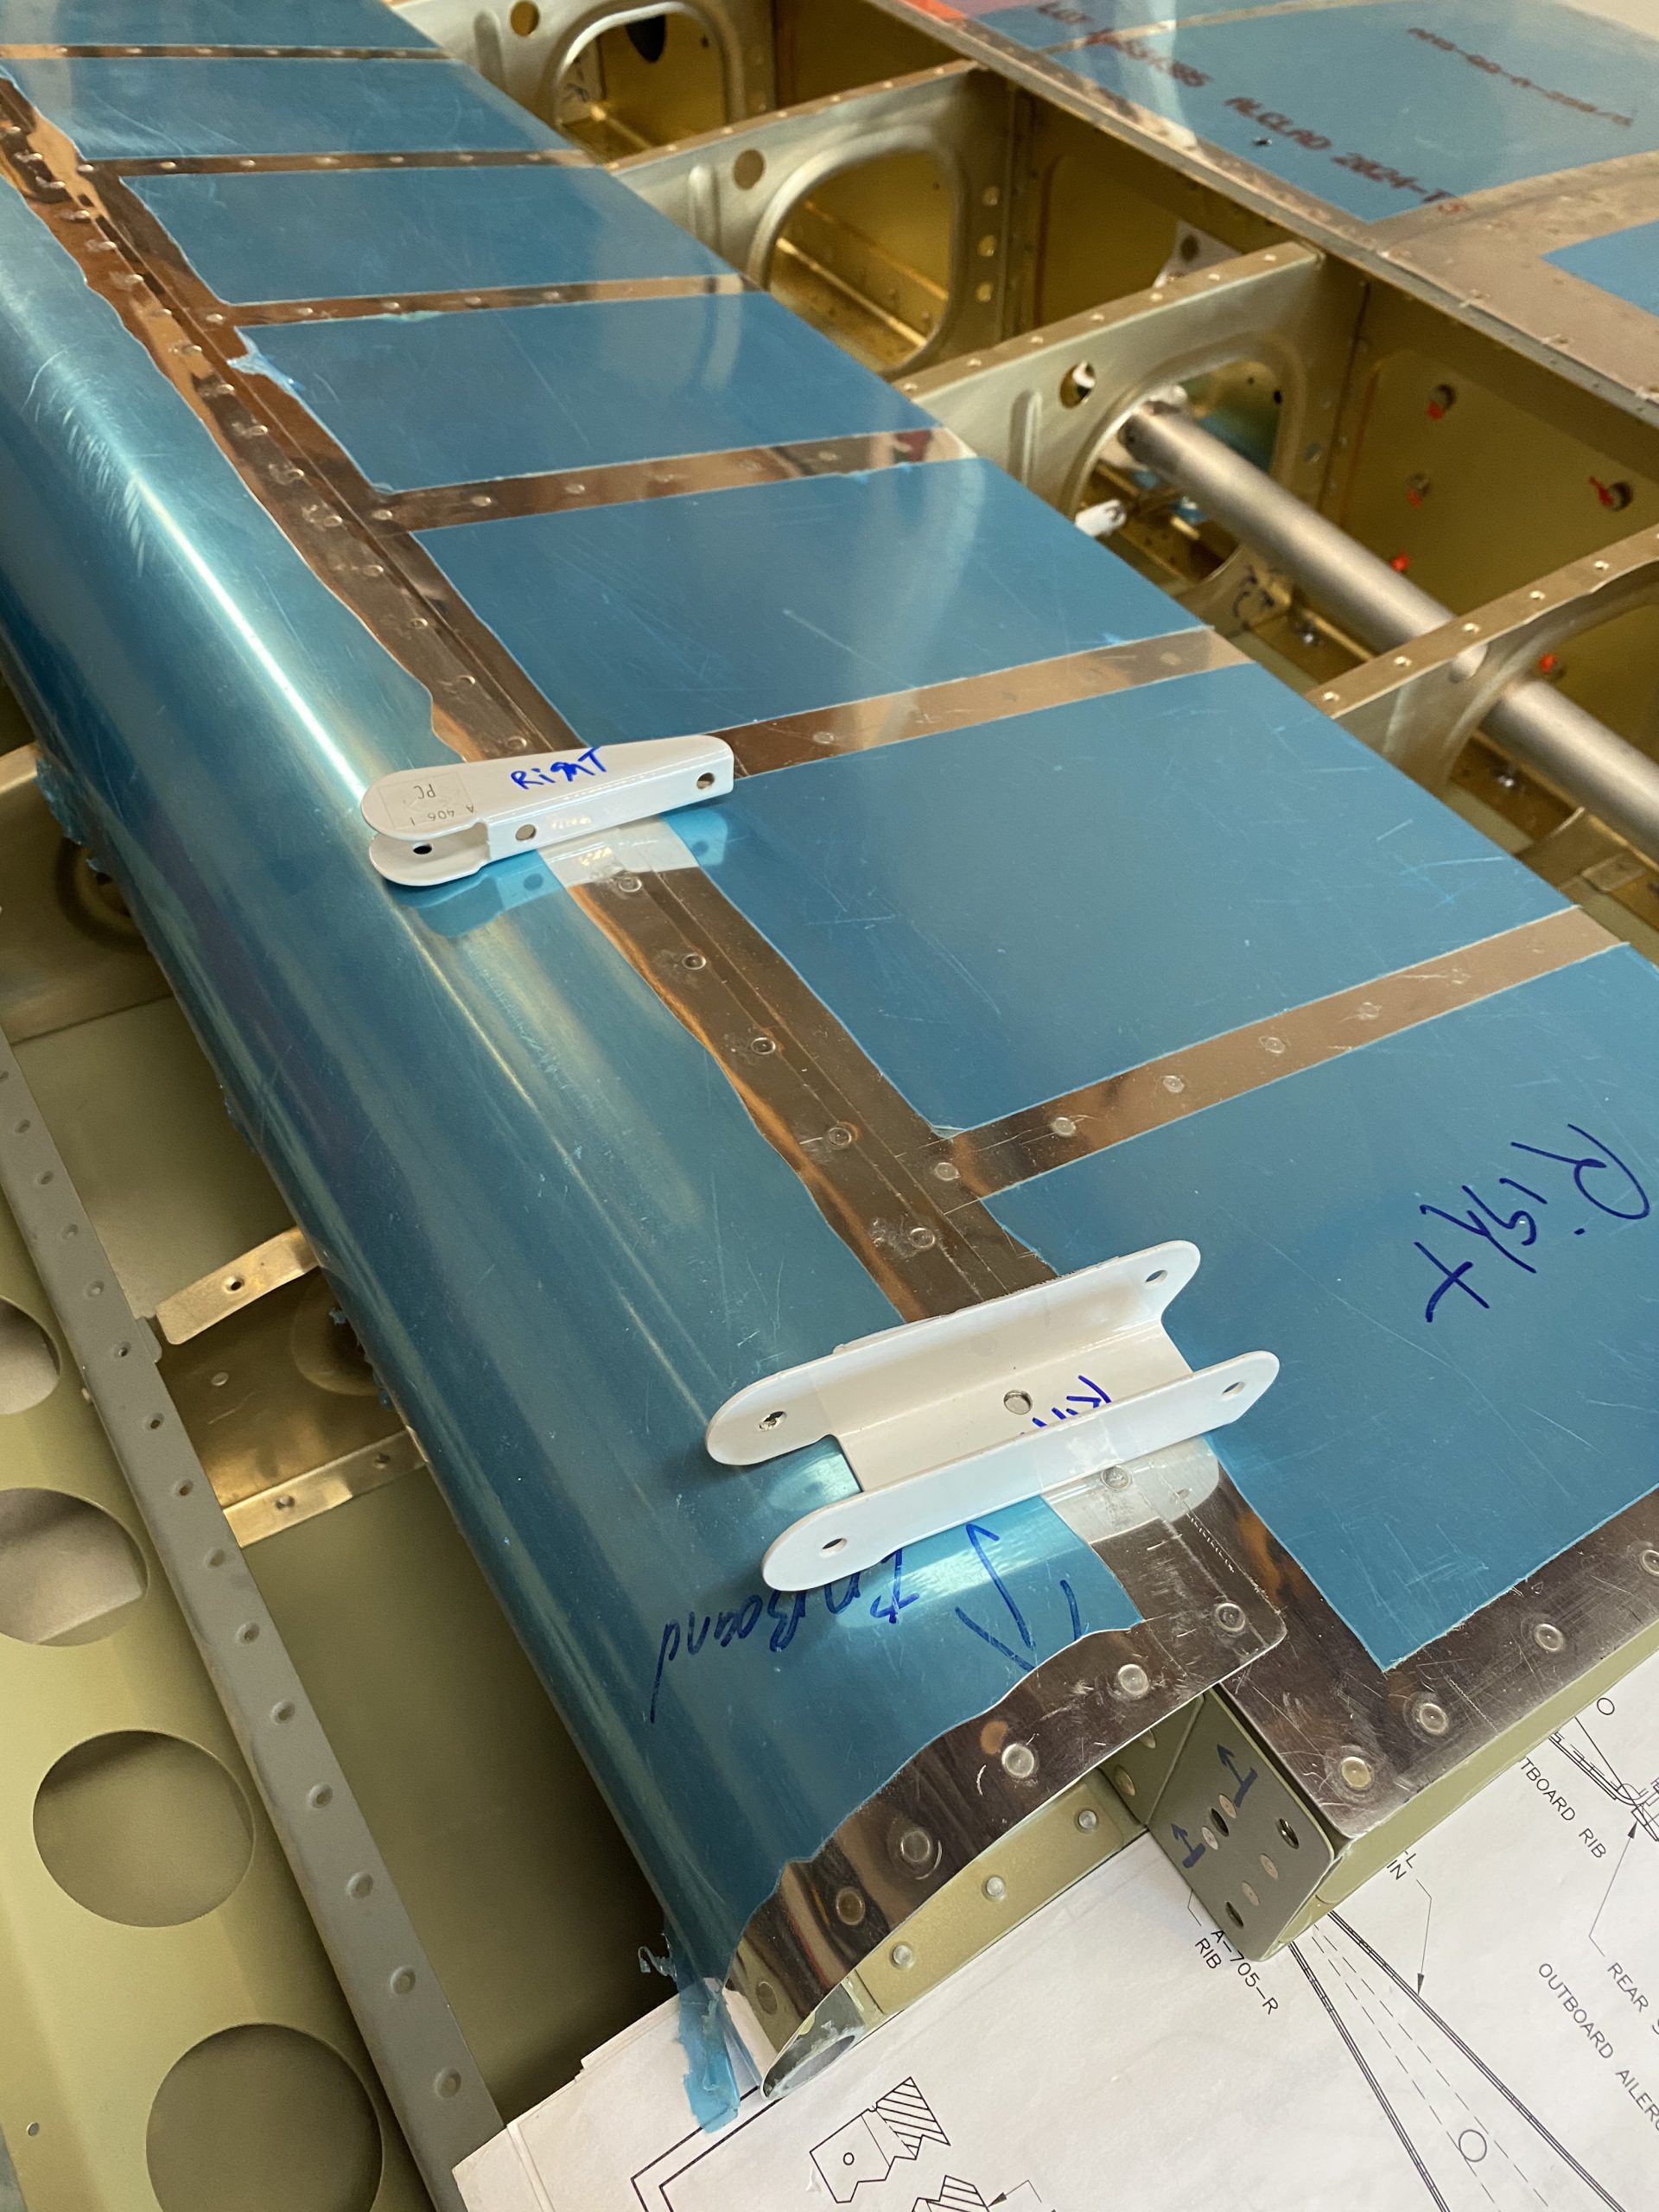
I bolted them on with the proper hardware called out in the plans, and then torqued them down to the proper specs (25 in/lbs + ~10 In/lbs for drag). Then I marked the bolts with torque seal. These were very tight to get into with a torque wrench!
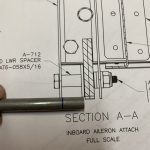
Now its time to mount the aileron onto the wing! I needed to fabricate the A-712 spacer from some AT6-058×5/15 stock. The plans calls for it to be 17/32″ long. So I marked up some stock and cut it using the little chop saw, then filled down the rough edges and deburred both sides of the tube, now made into the spacer.

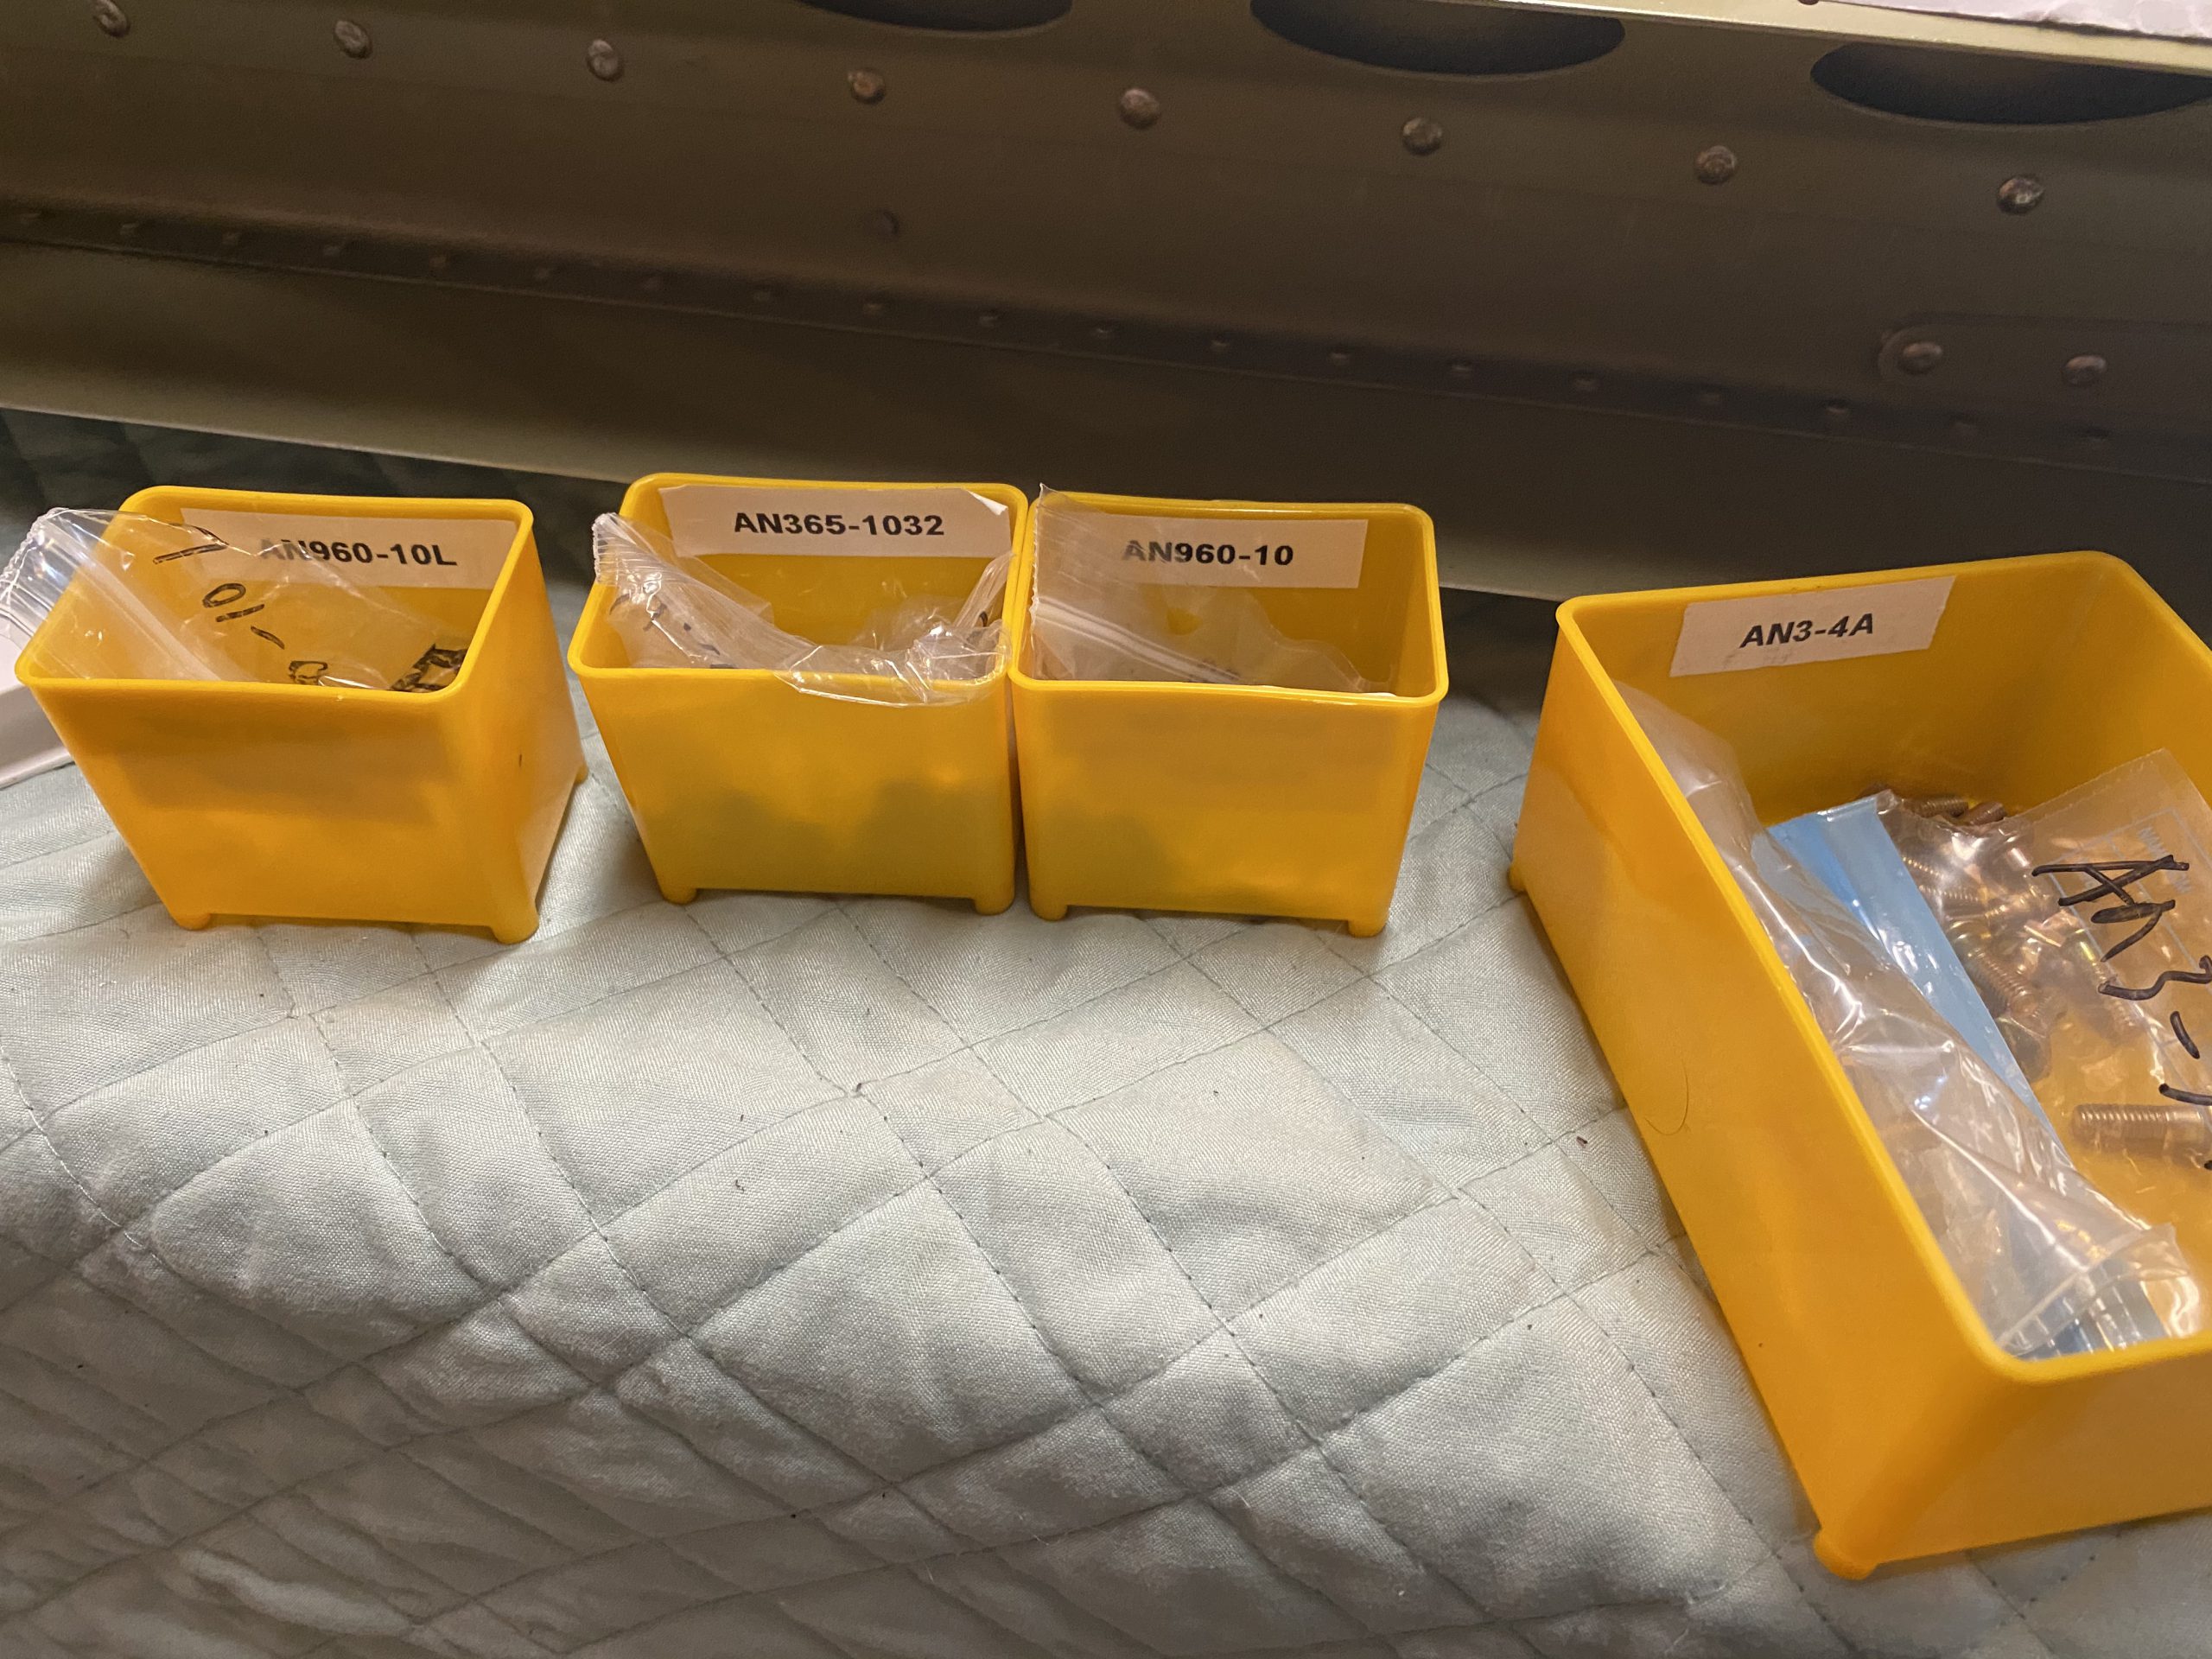
I pulled all the hardare I would need from the storage containers and got everything ready, including my newly made spacer. I am going to install the inboard hinge bracket first, and use a center punch to hold the aileron into the other bracket for now, just to keep the aileron centered and keep it from flopping around on my, potentially damaging things.
I got a little creative with getting all the dang washers inserted into these tight spaces. I know there is a tool for this job, I just need to buy it :-). This worked out pretty well though:
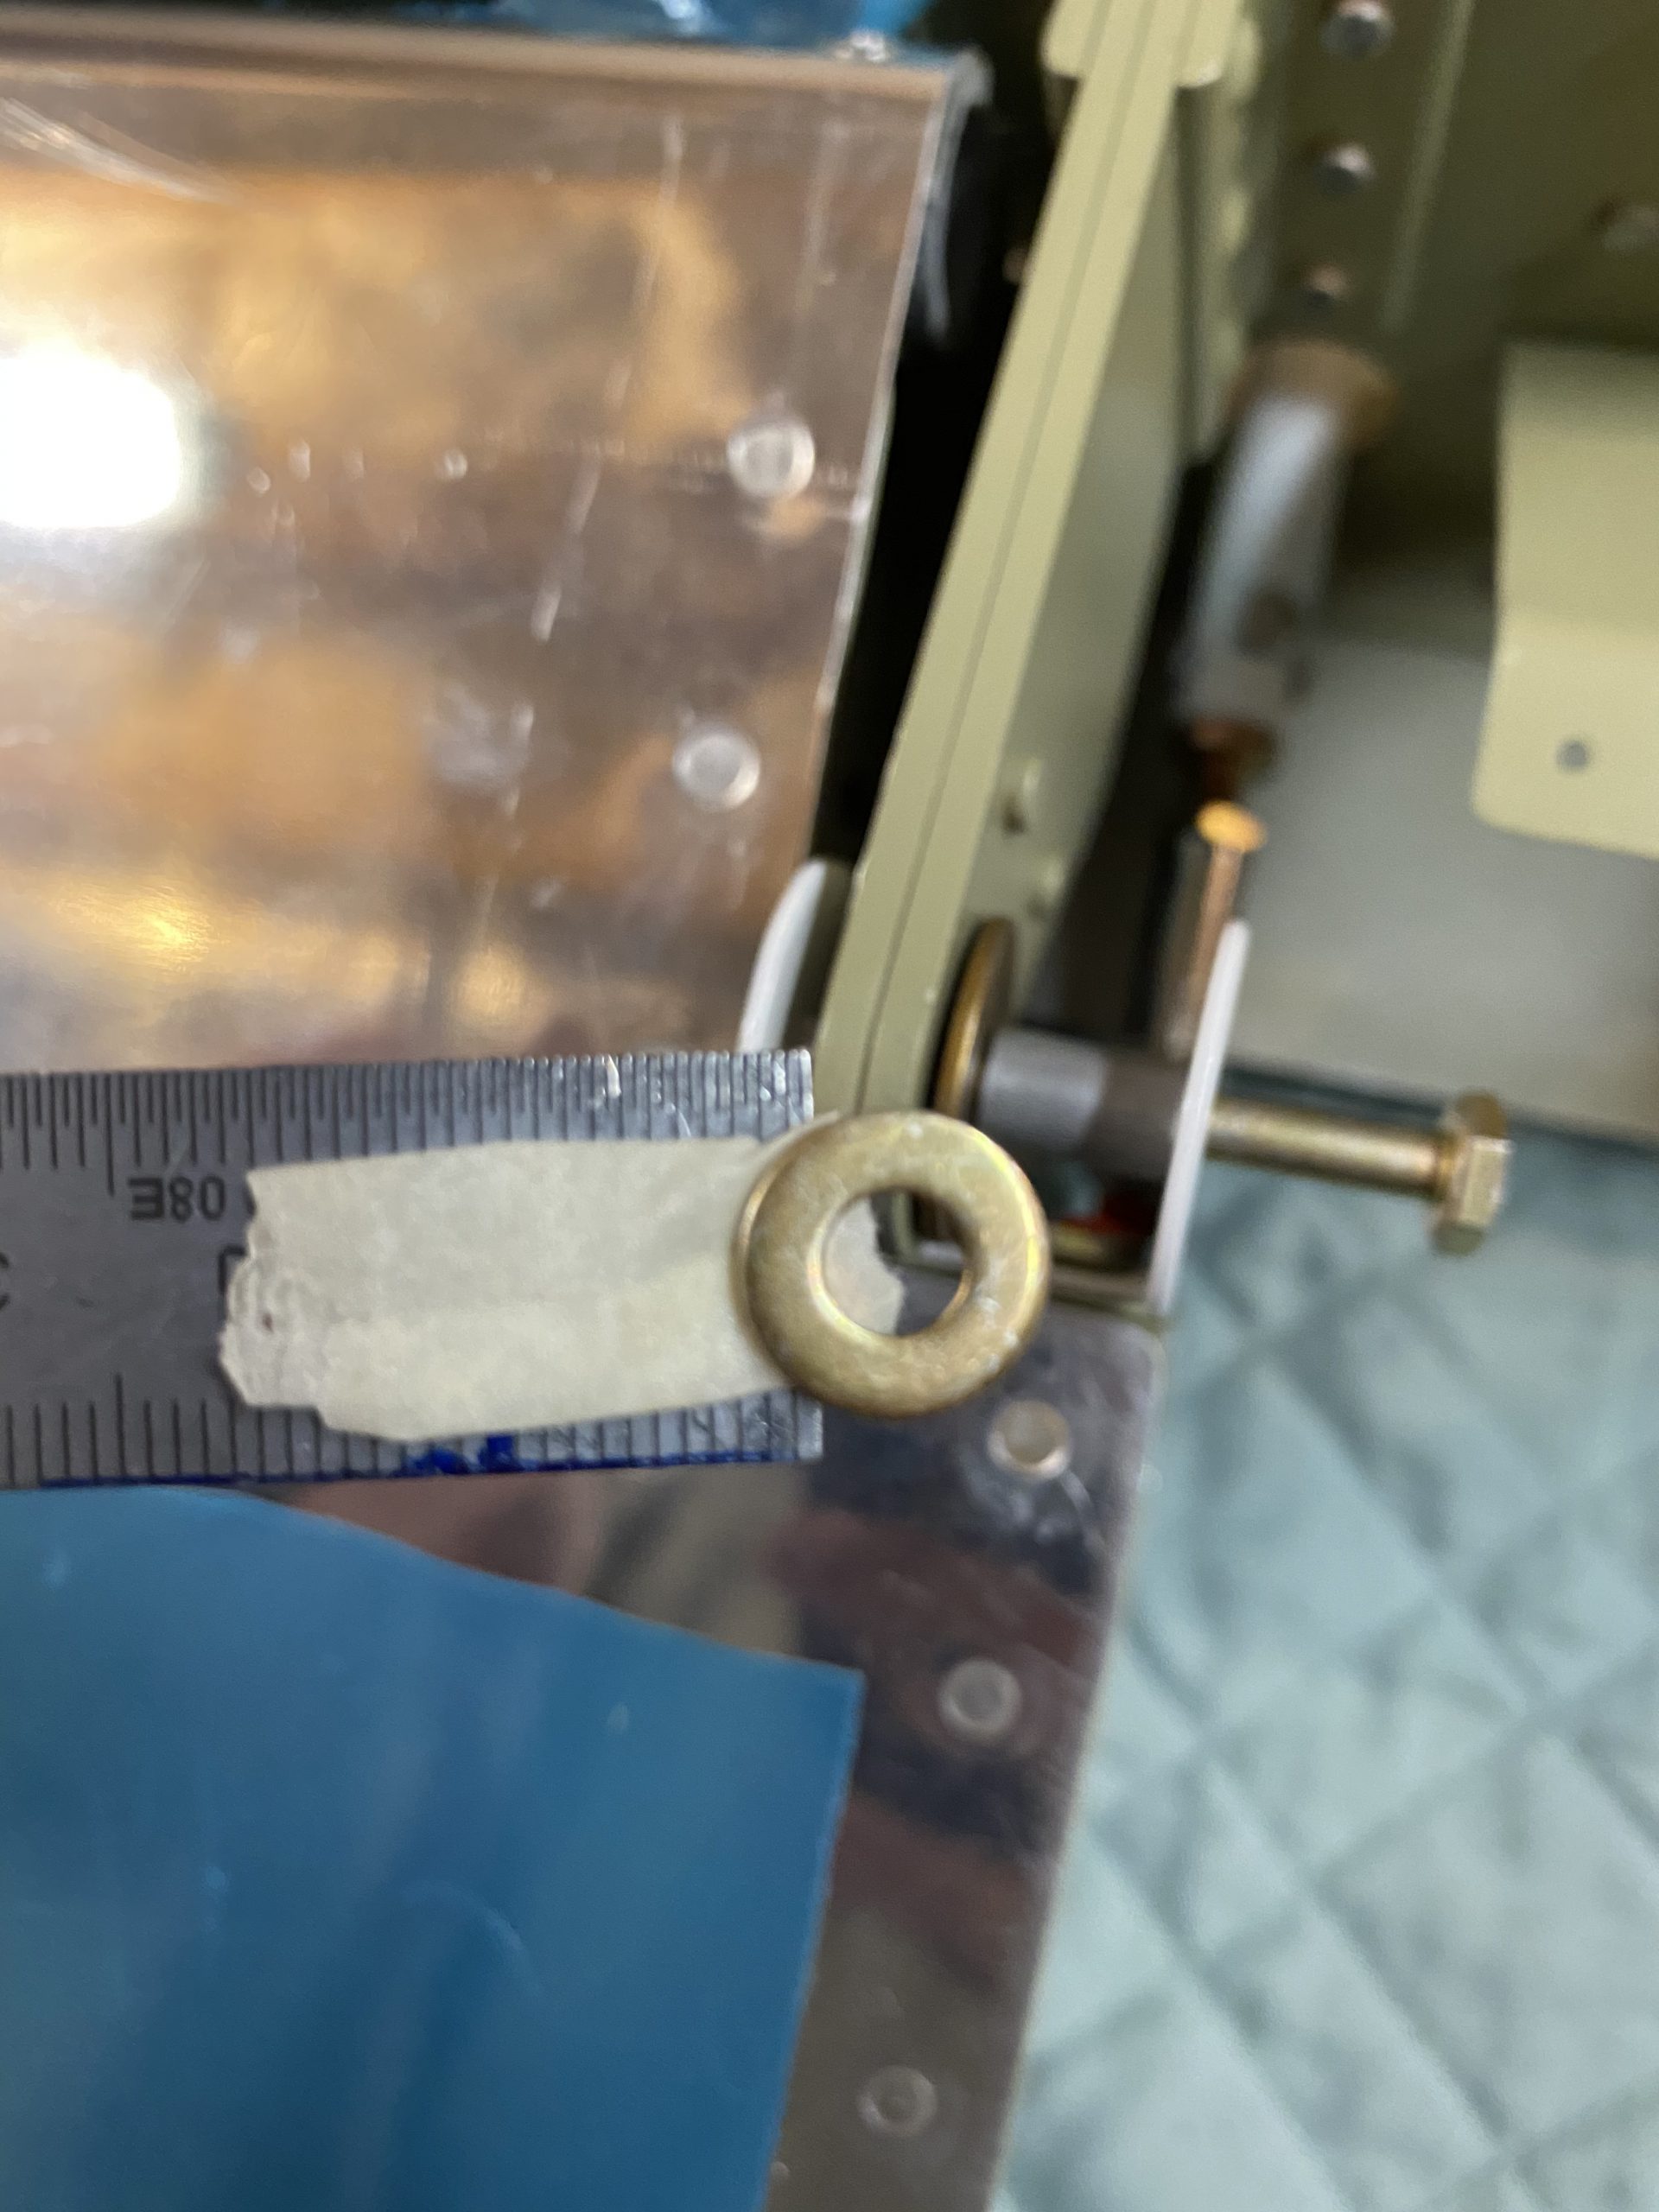
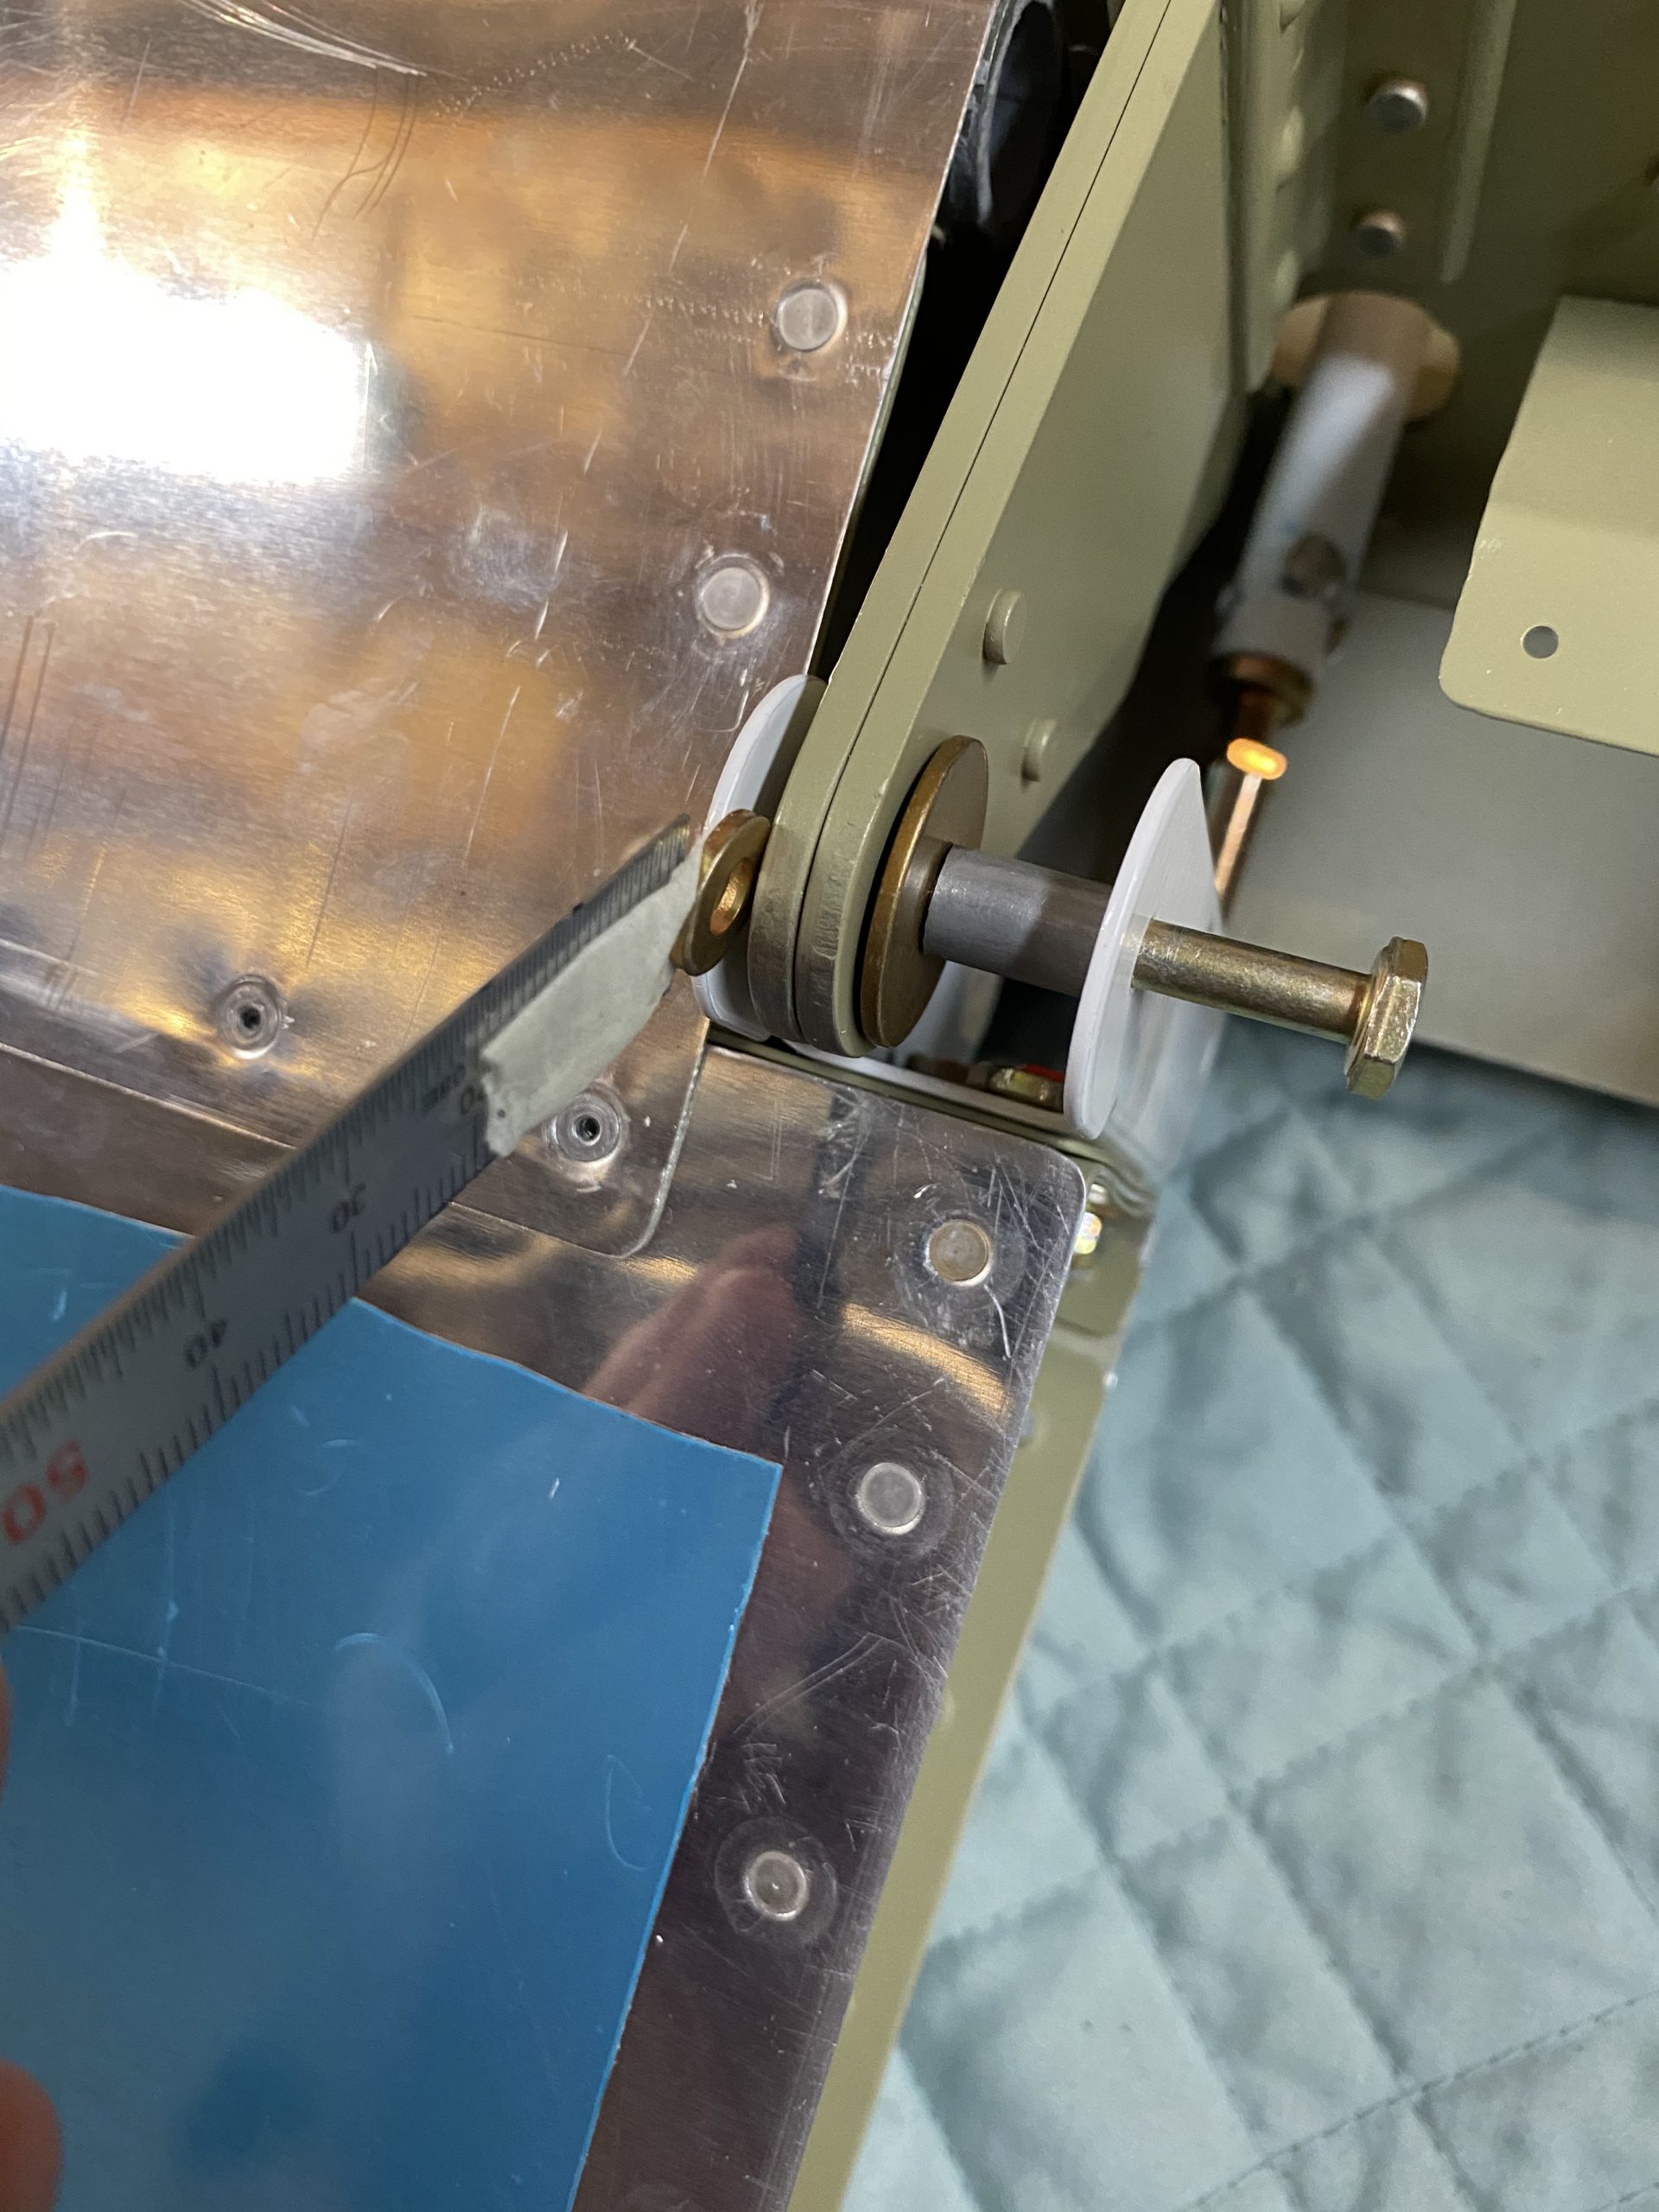
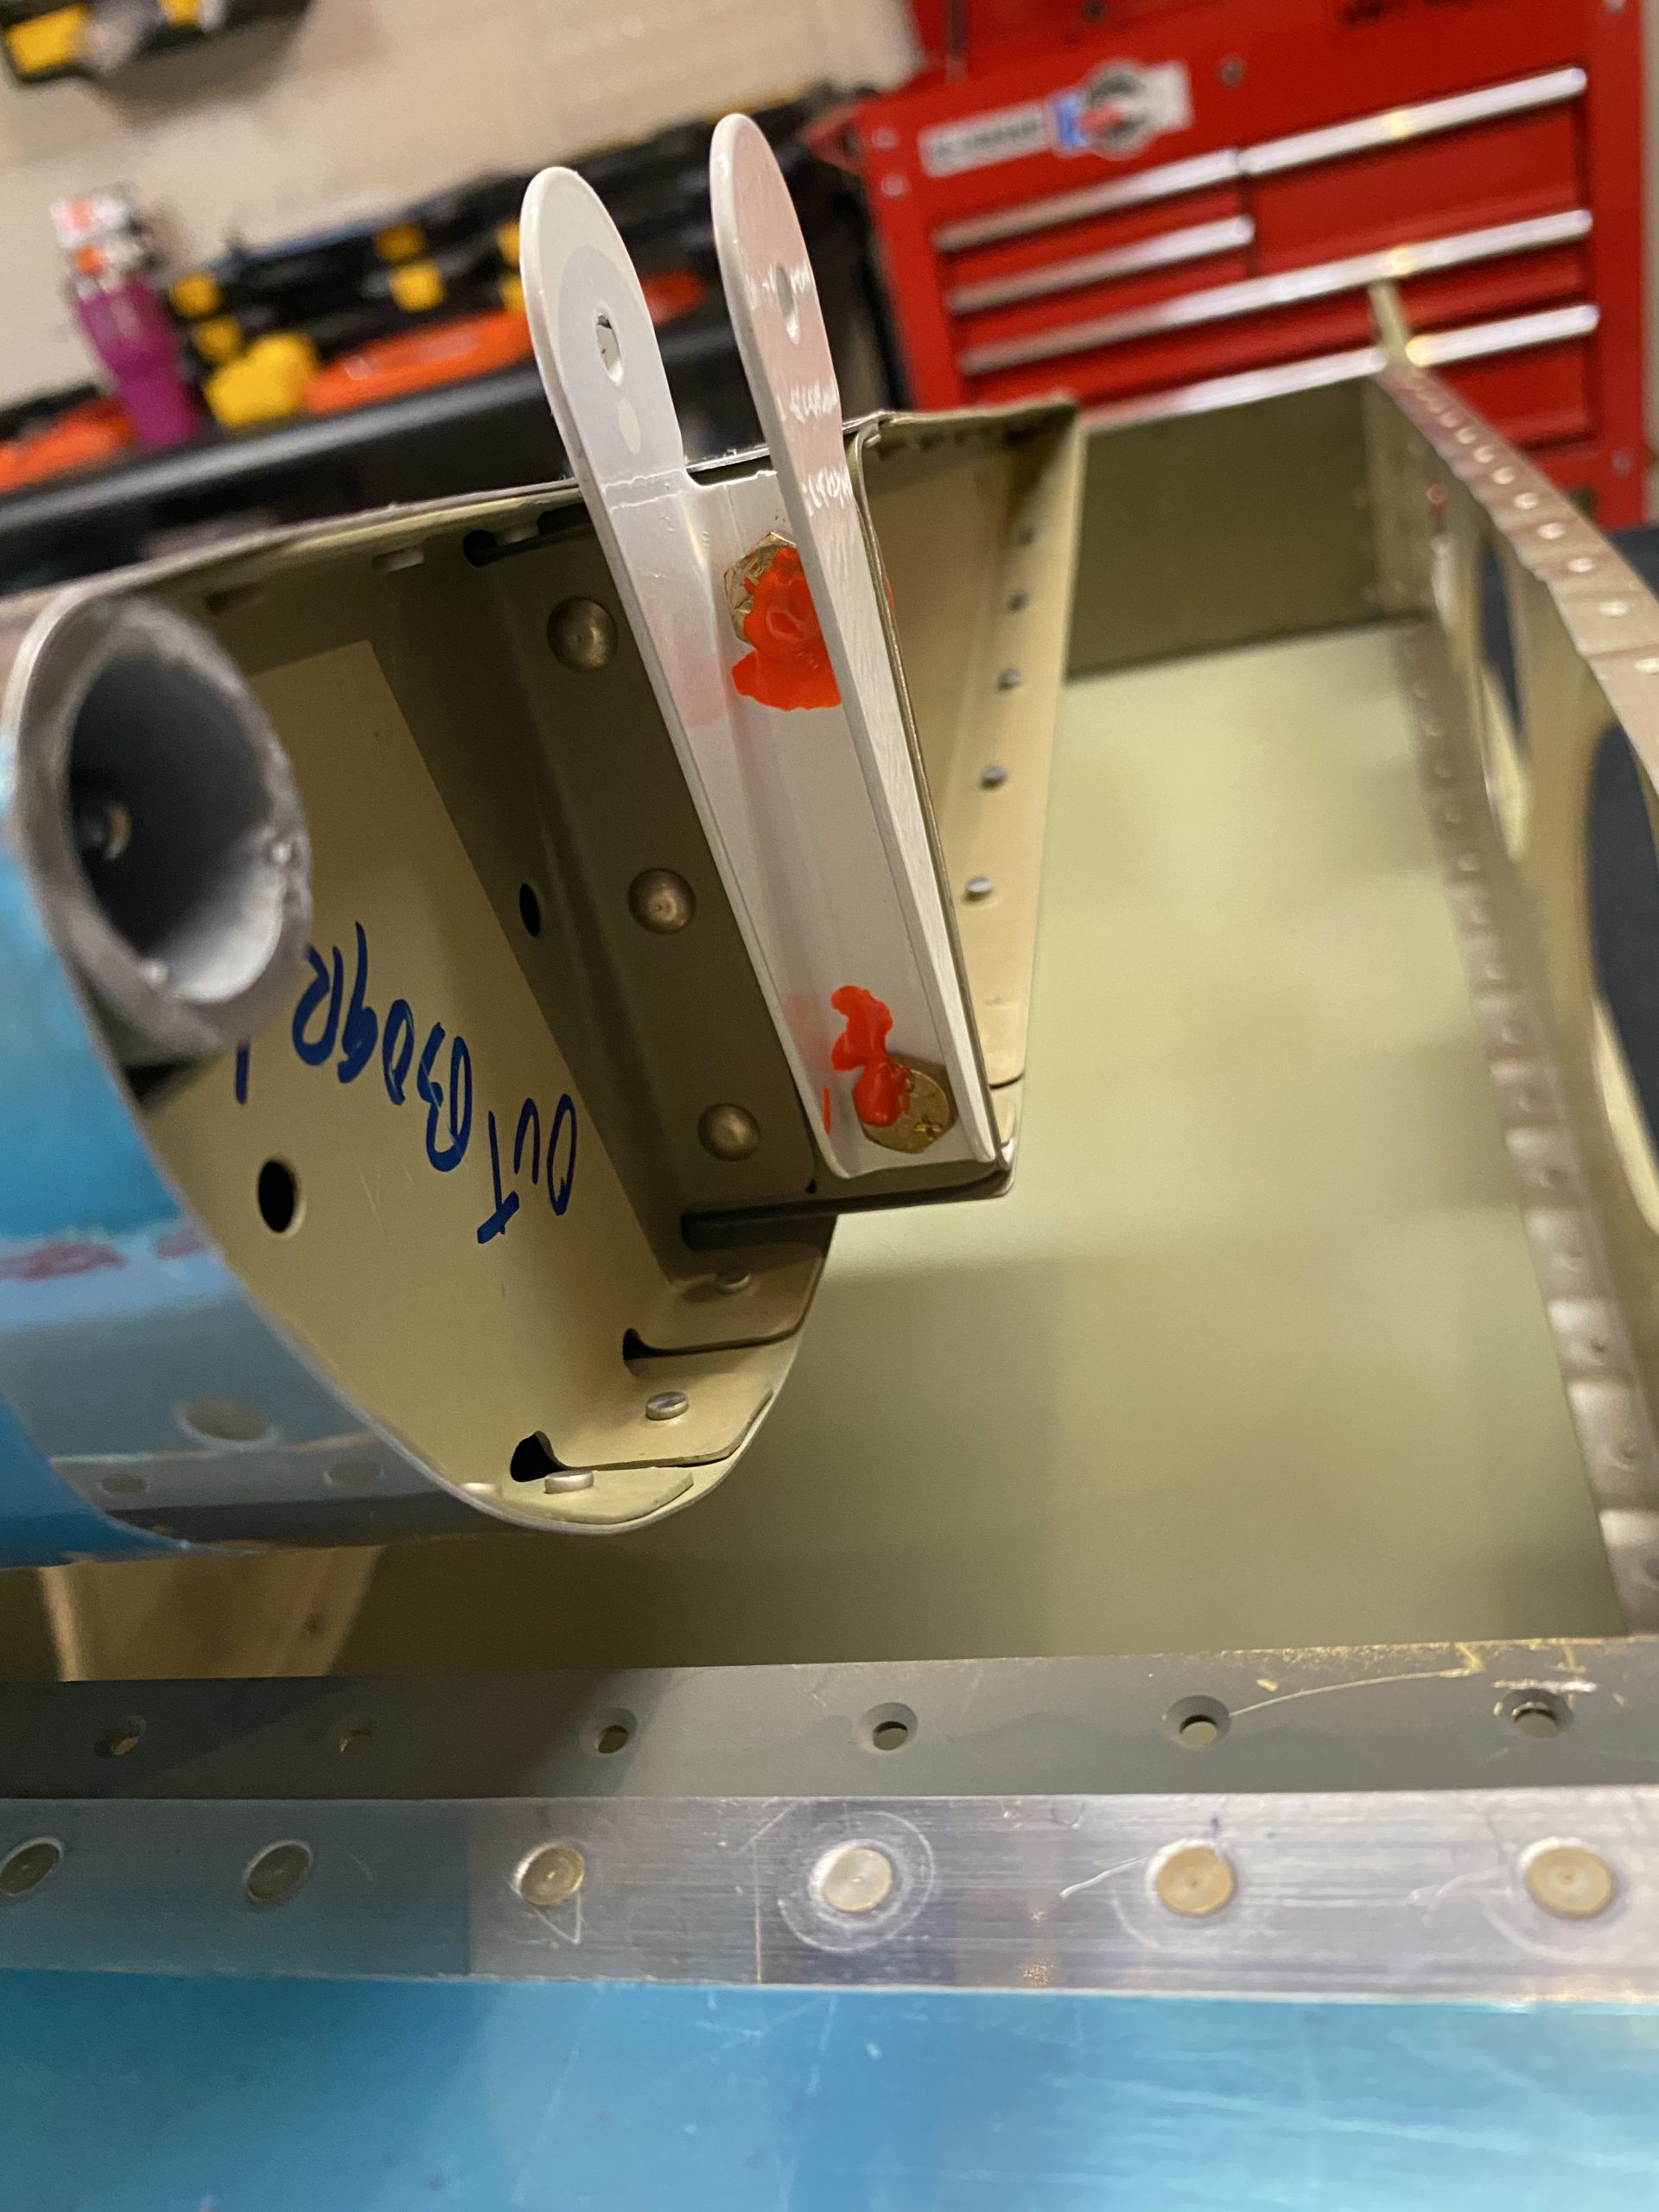
It’s a machinist rule, with some masking tape sticky side out, holding the washer ever so gently. Then I inserted it into the the gap and wiggled the bolt until it went through the washer. After a few minutes (maybe a few dozen minutes……) of wiggling I managed to get the bolt all the way through the bracket, spacer, washers and into the nut. I torqued it down to spec. The inboard hinge bracket is done!
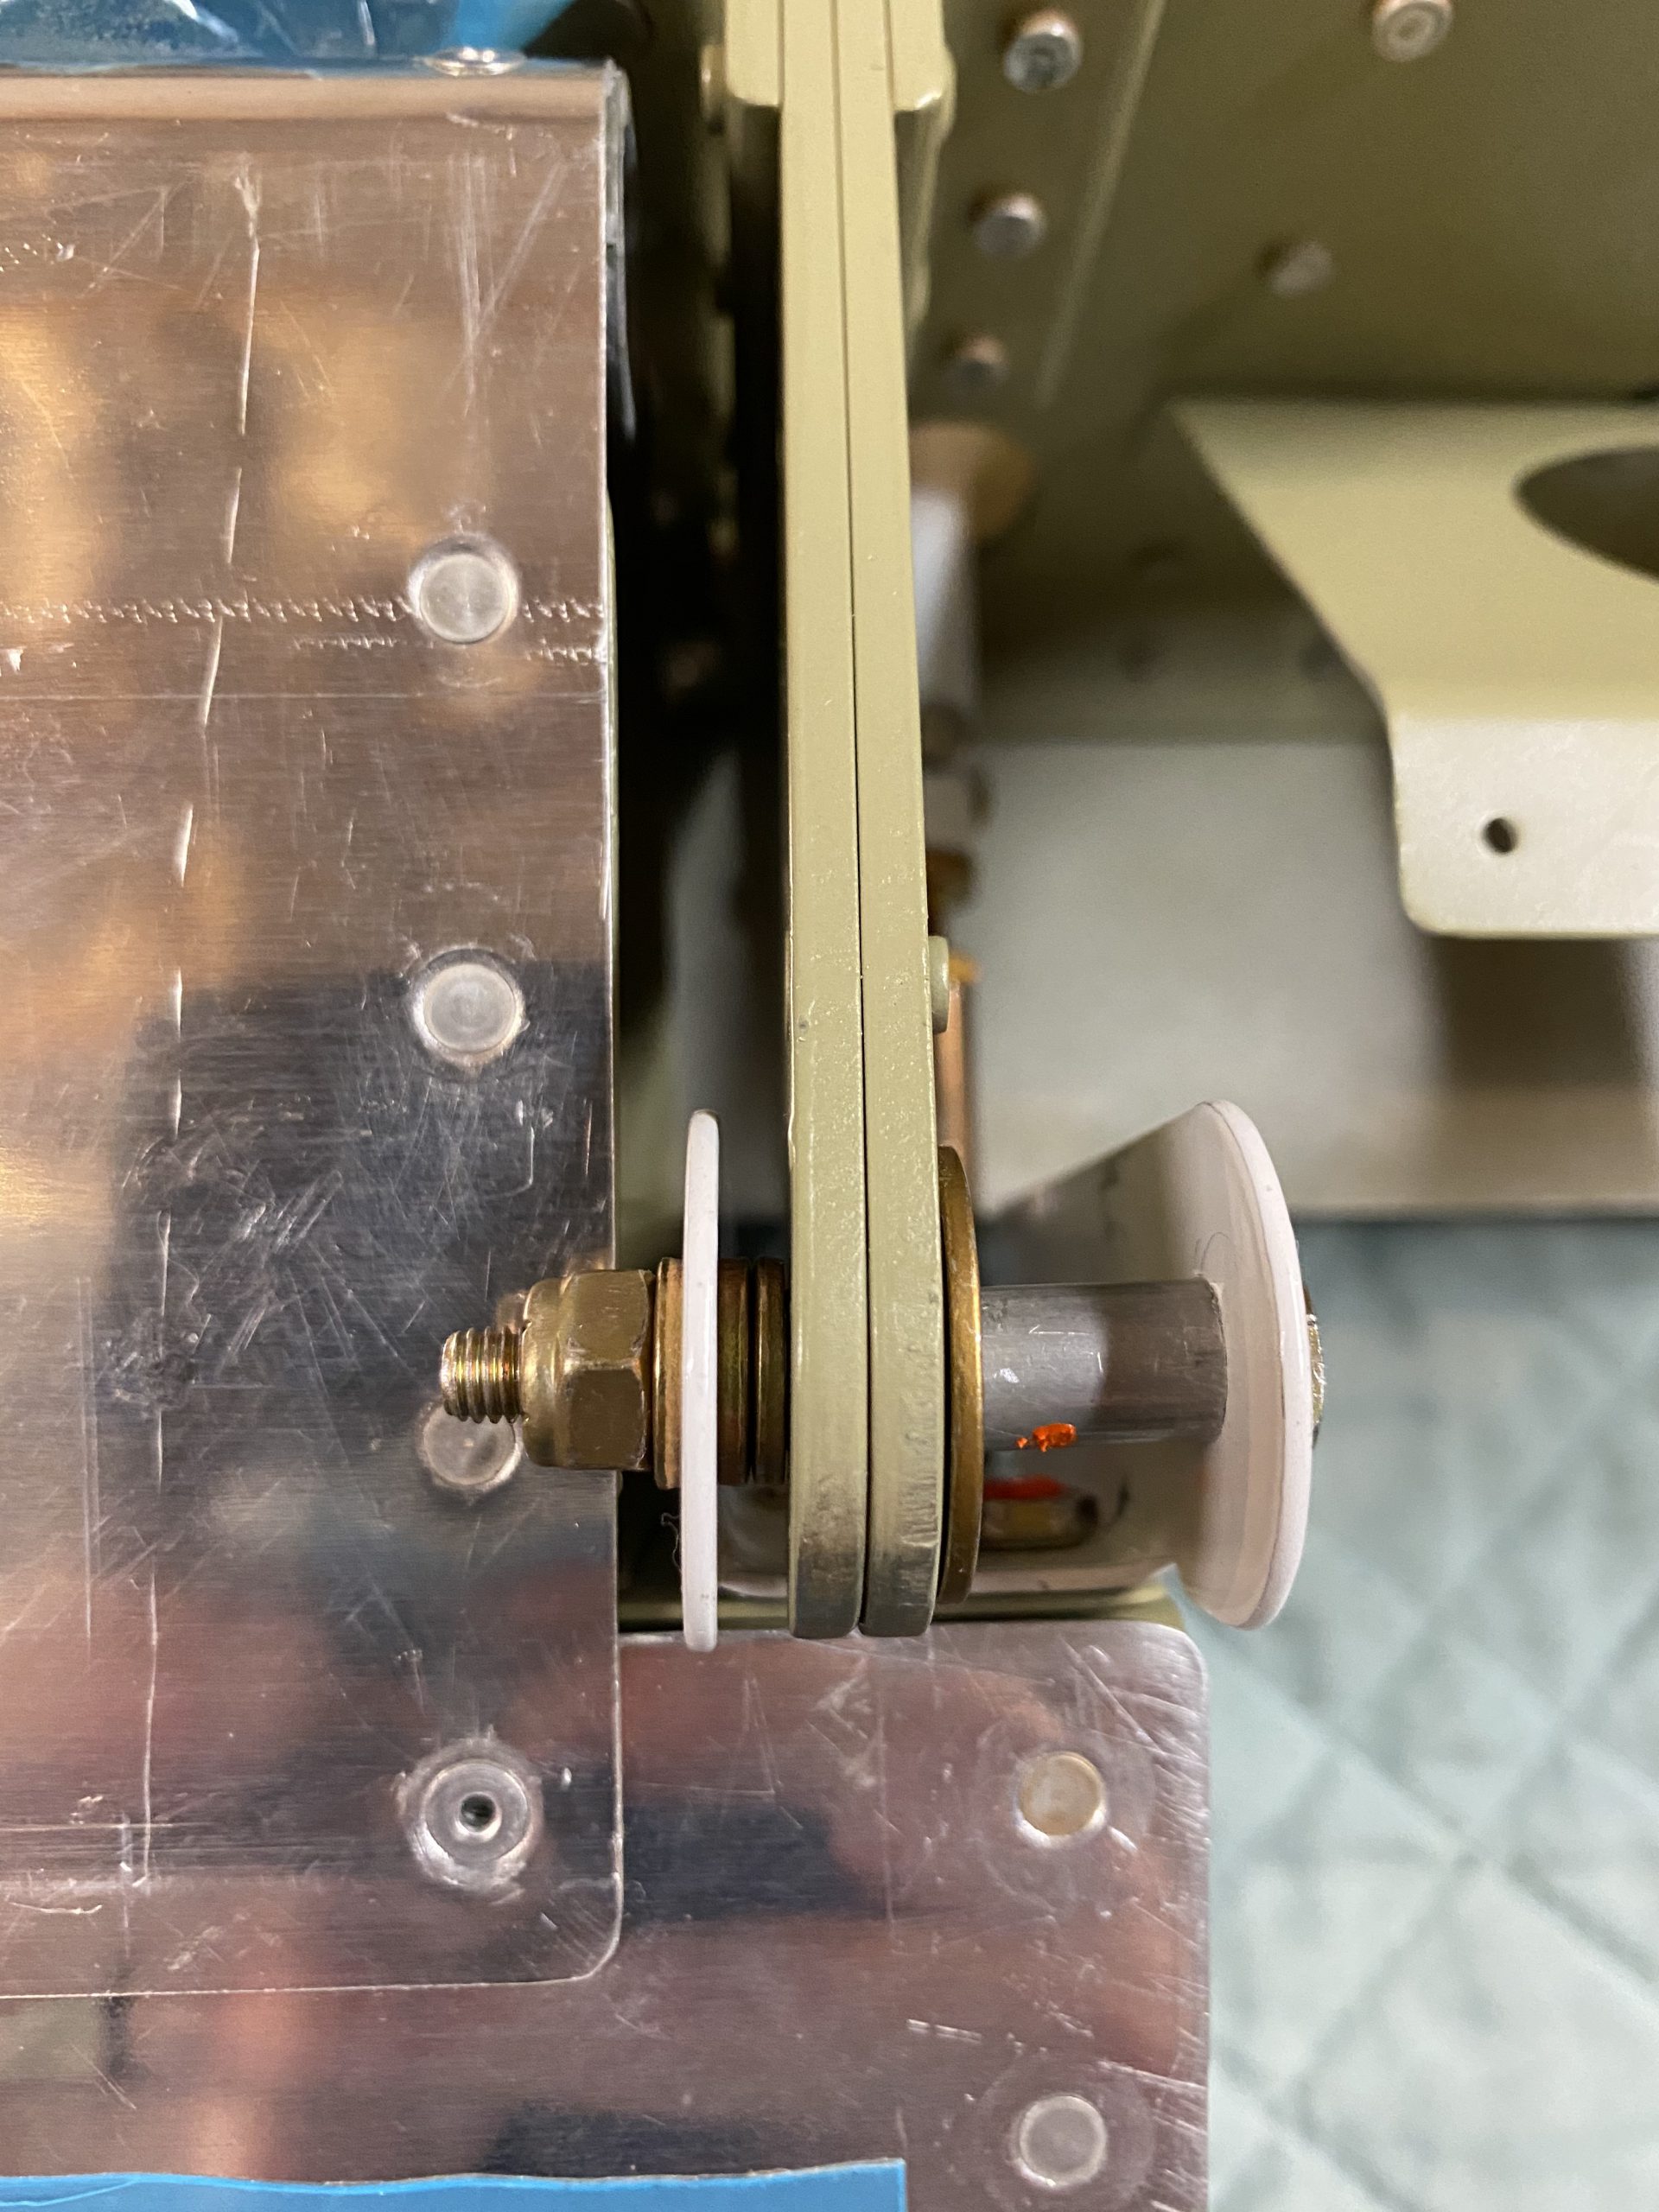
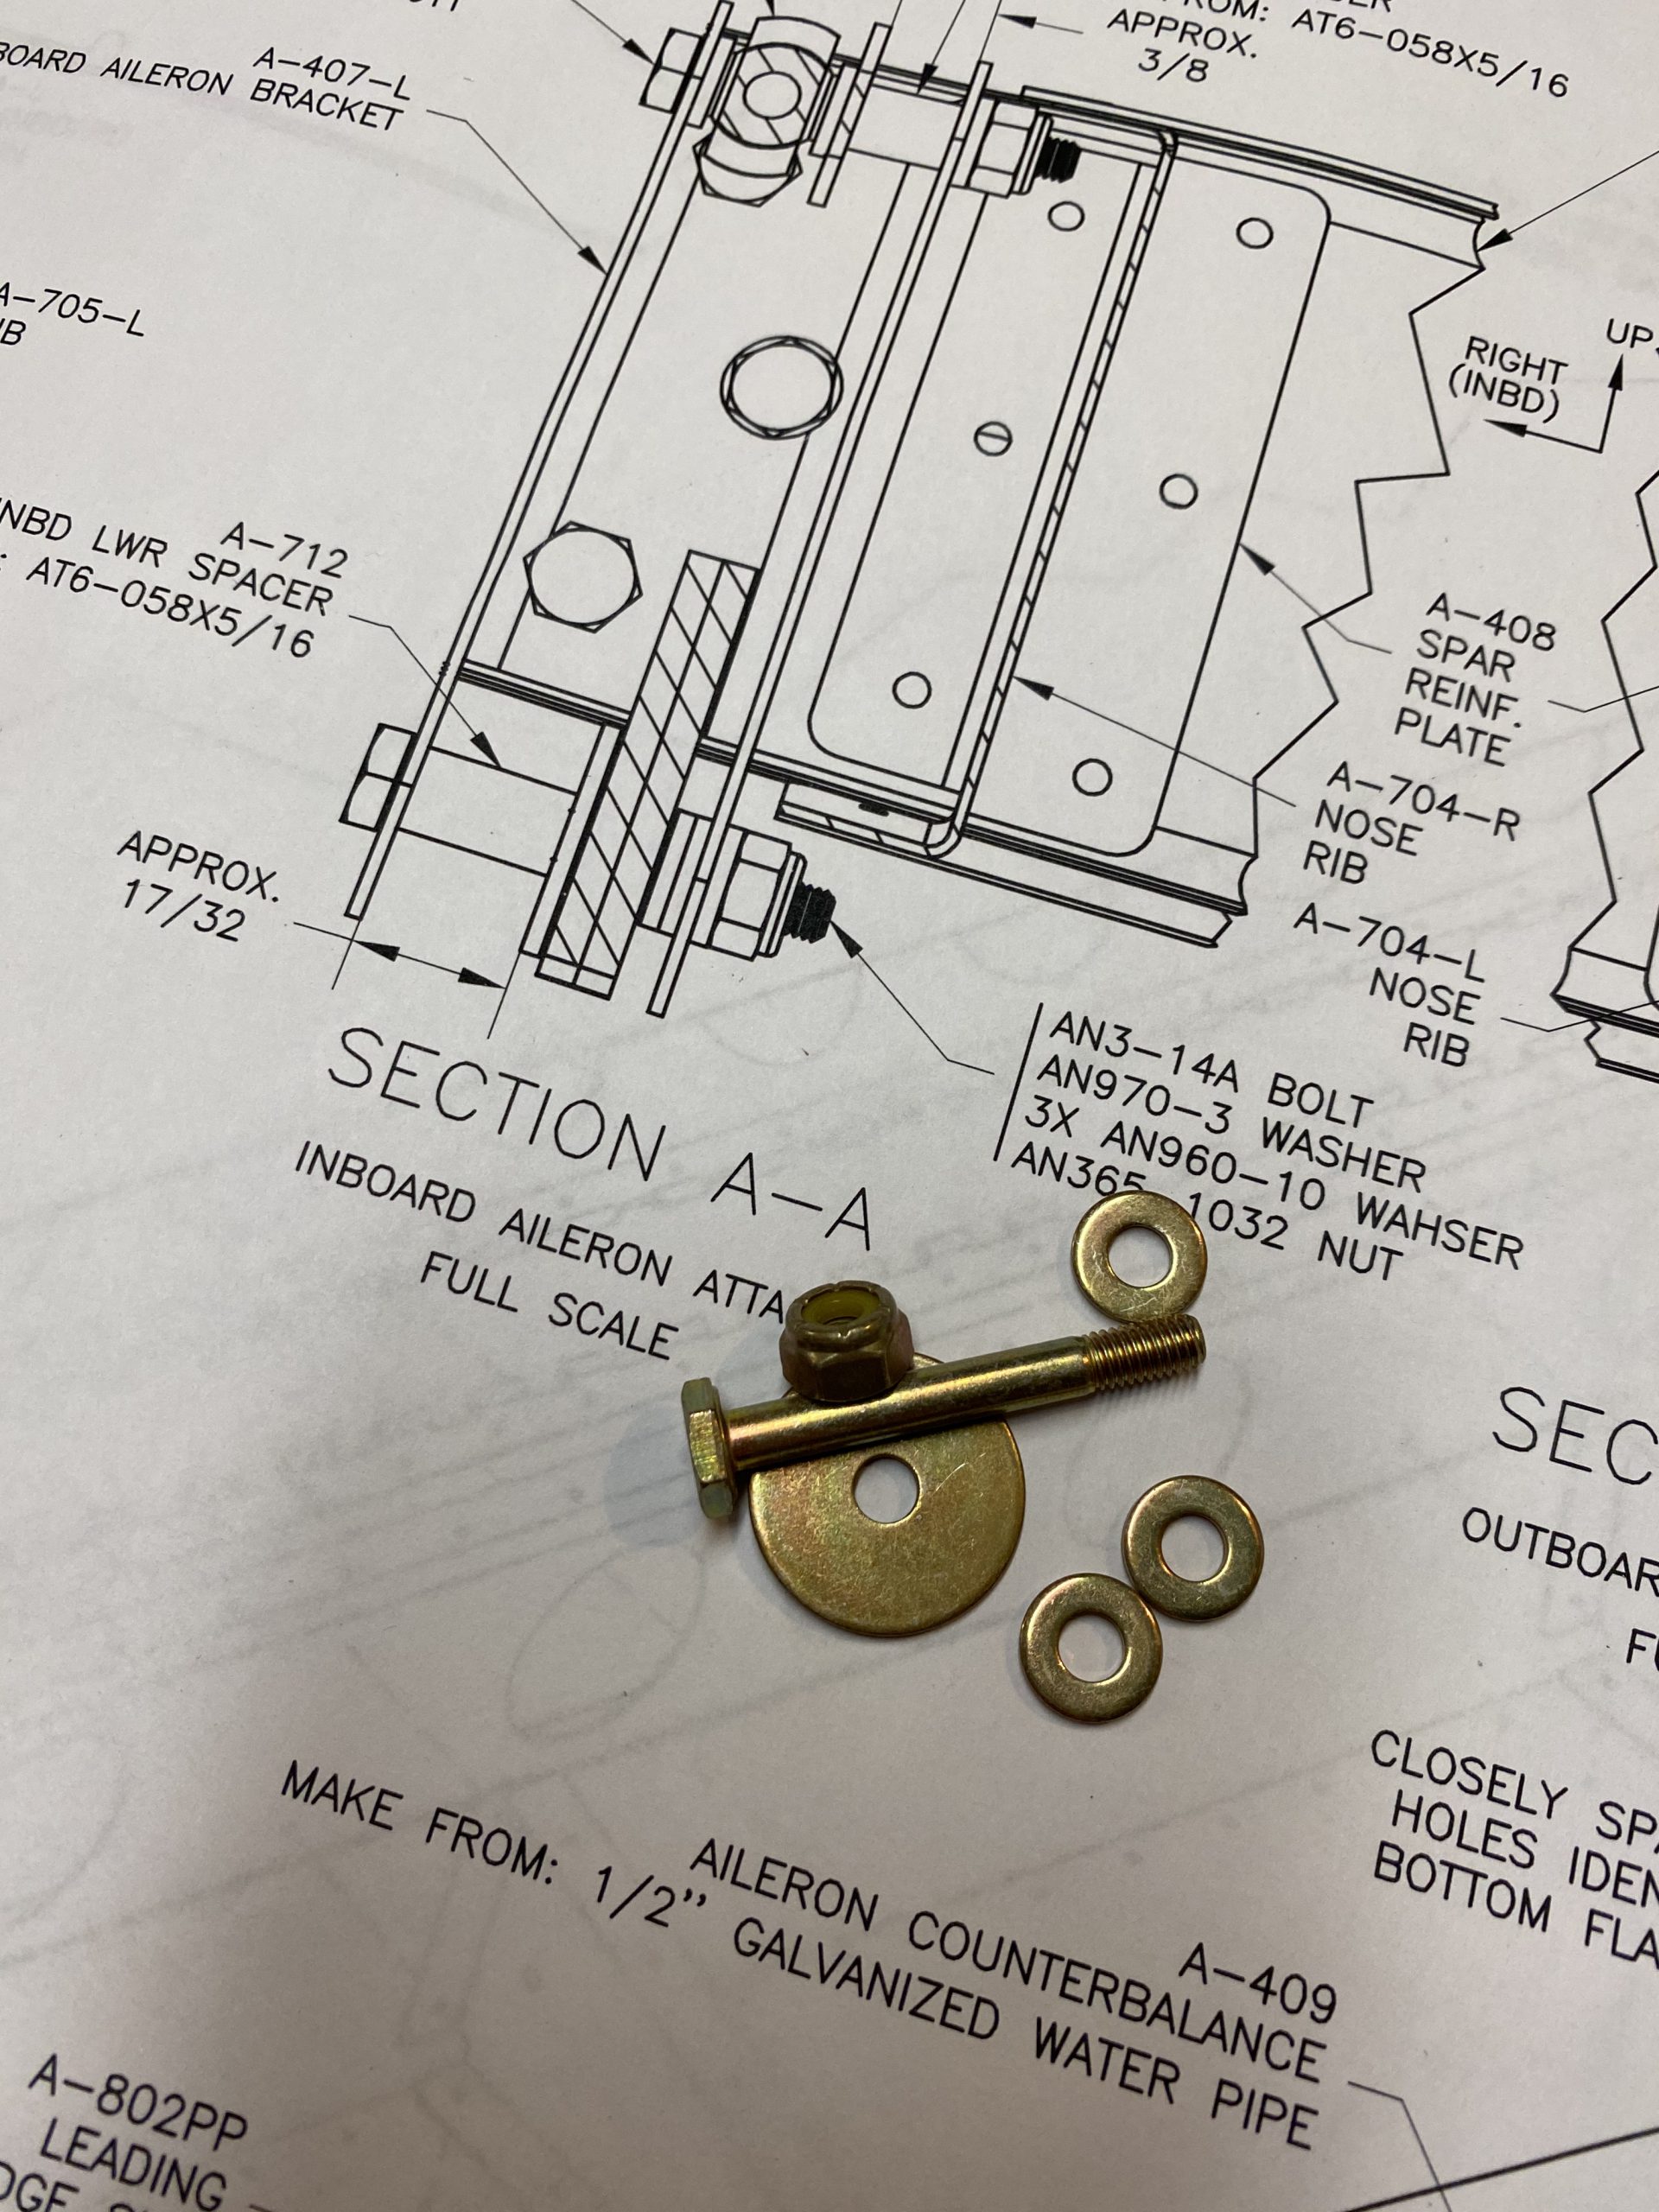
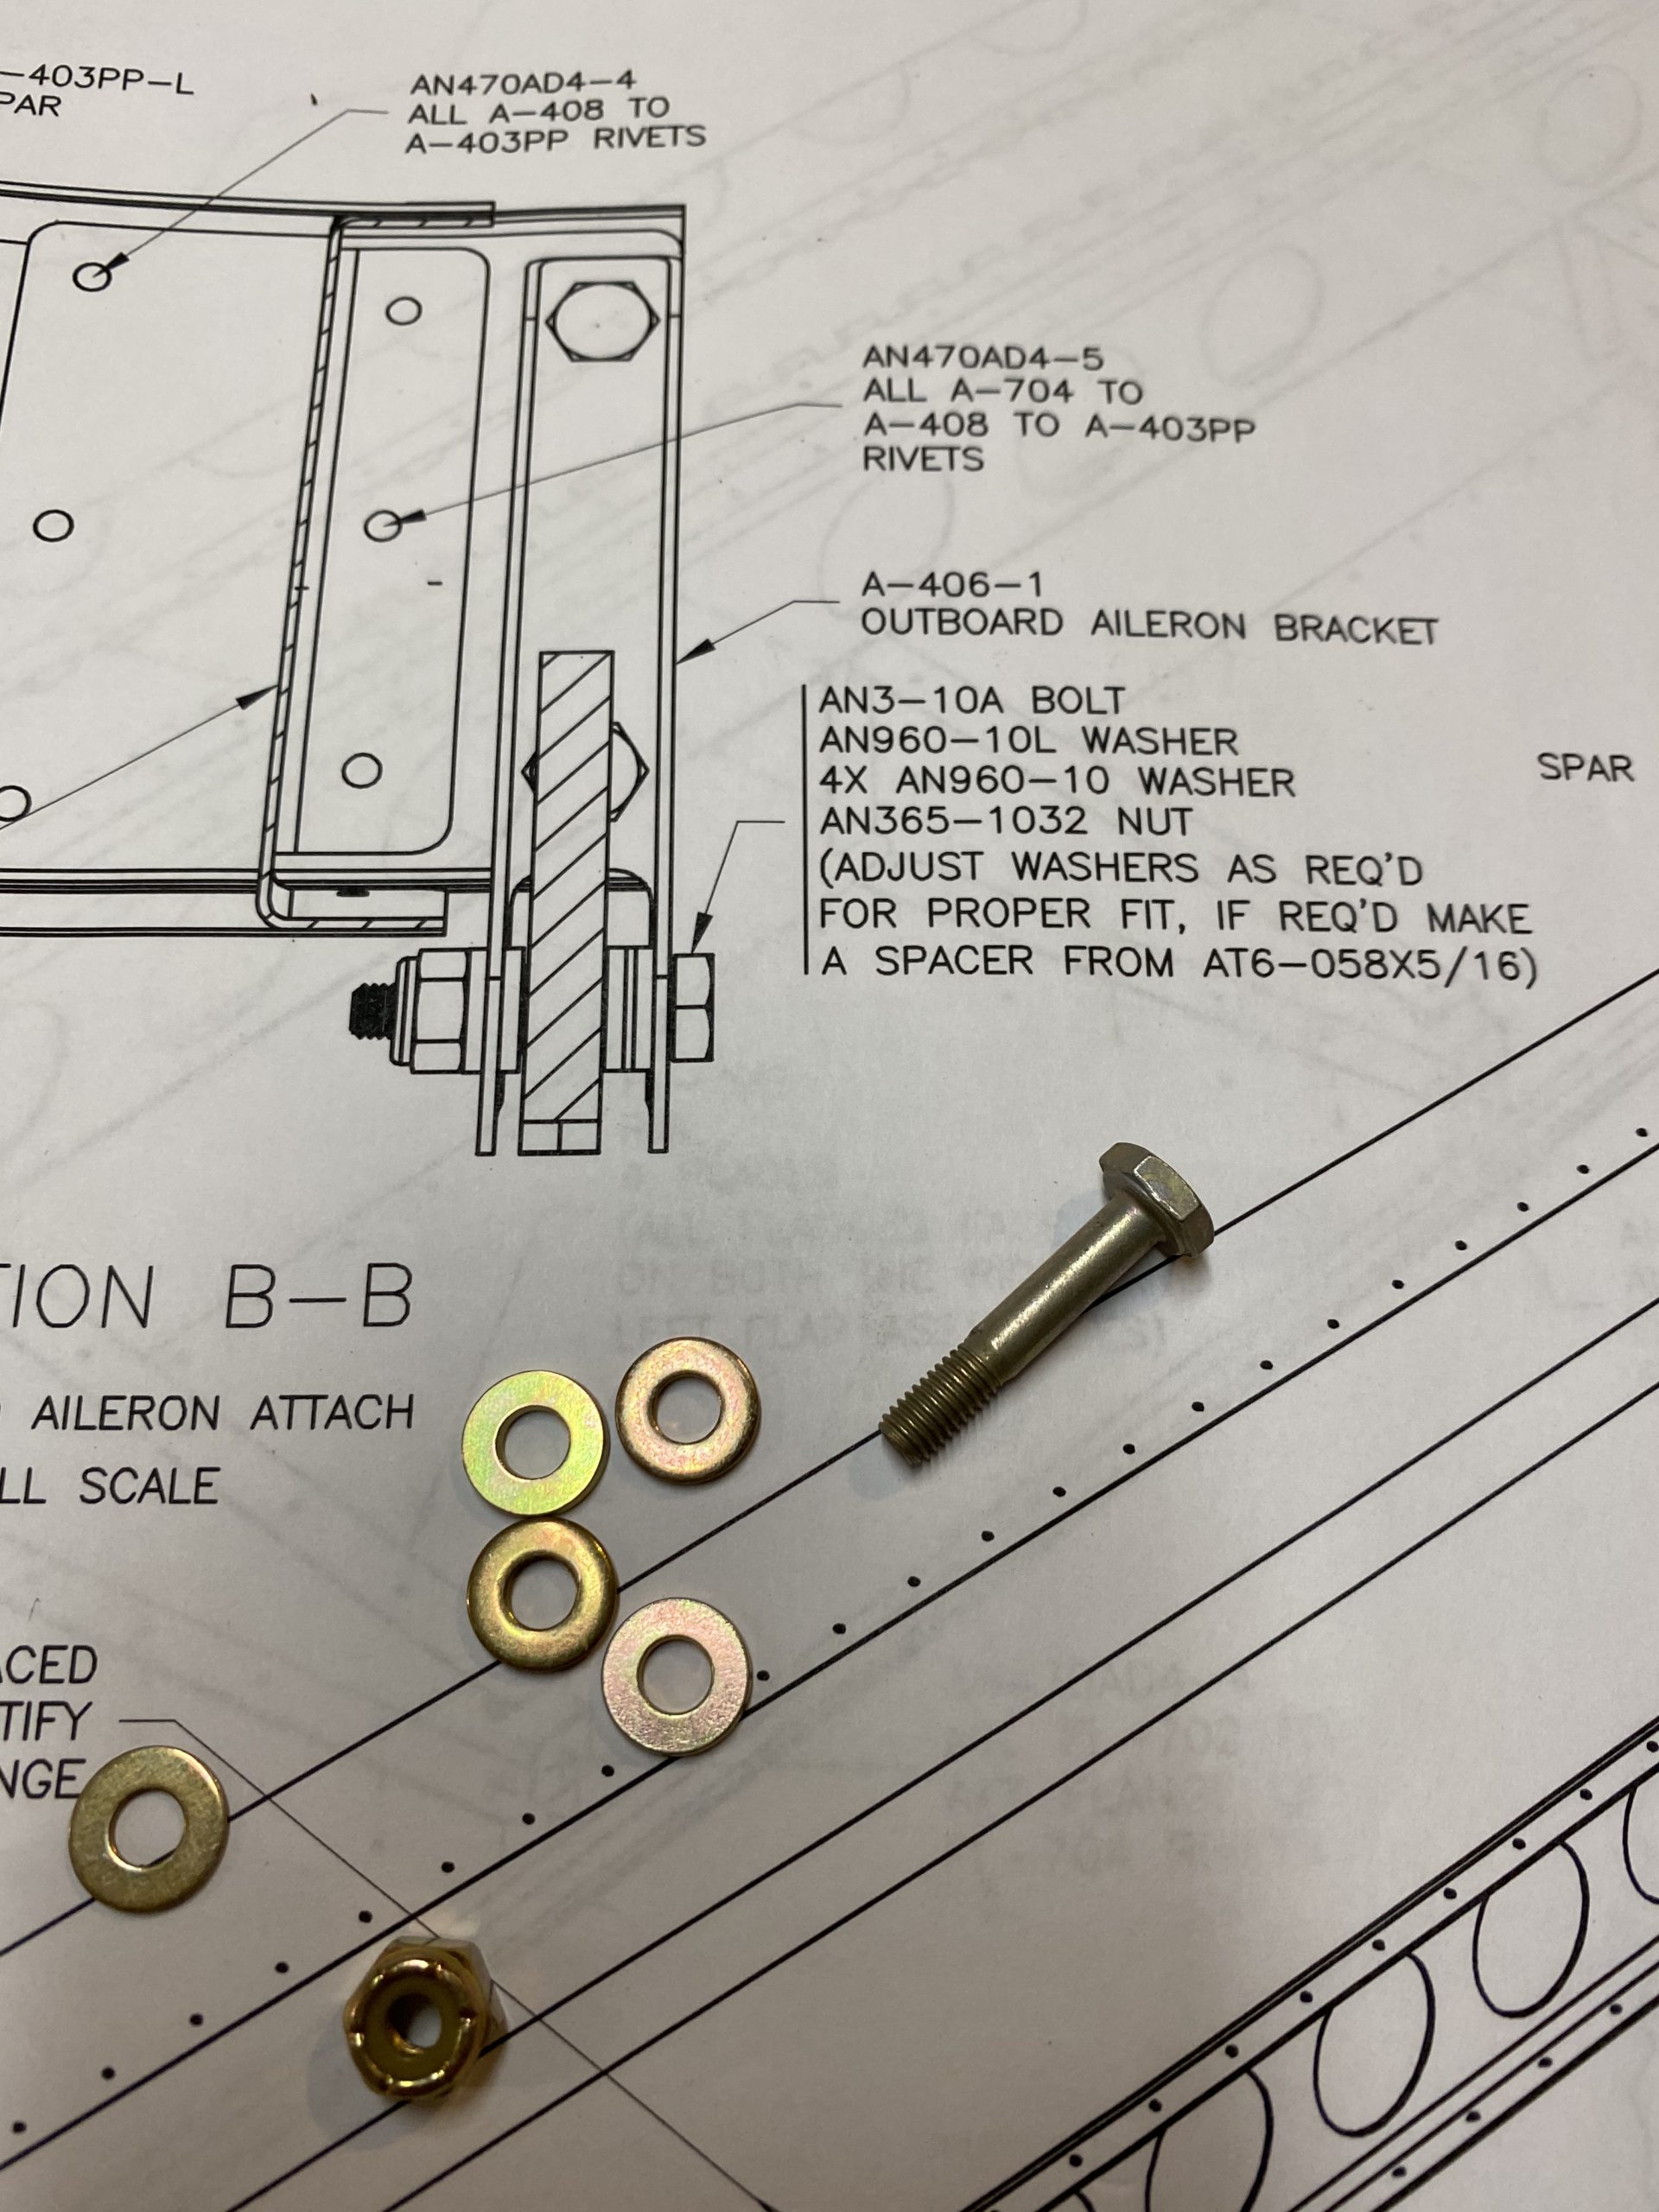
I moved on to the outboard bracket. This one doesn’t require any spacers, but it does use a stack of washers to get it to fit snuggly. Here’s the hardware assortment and the plans showing how it assembles. Notice there is a thin washer, AN960-10L, and its sandwhiched on one side. Vans tells use to use whatever combination (or make a spacer if needed) to get this to fit properly.
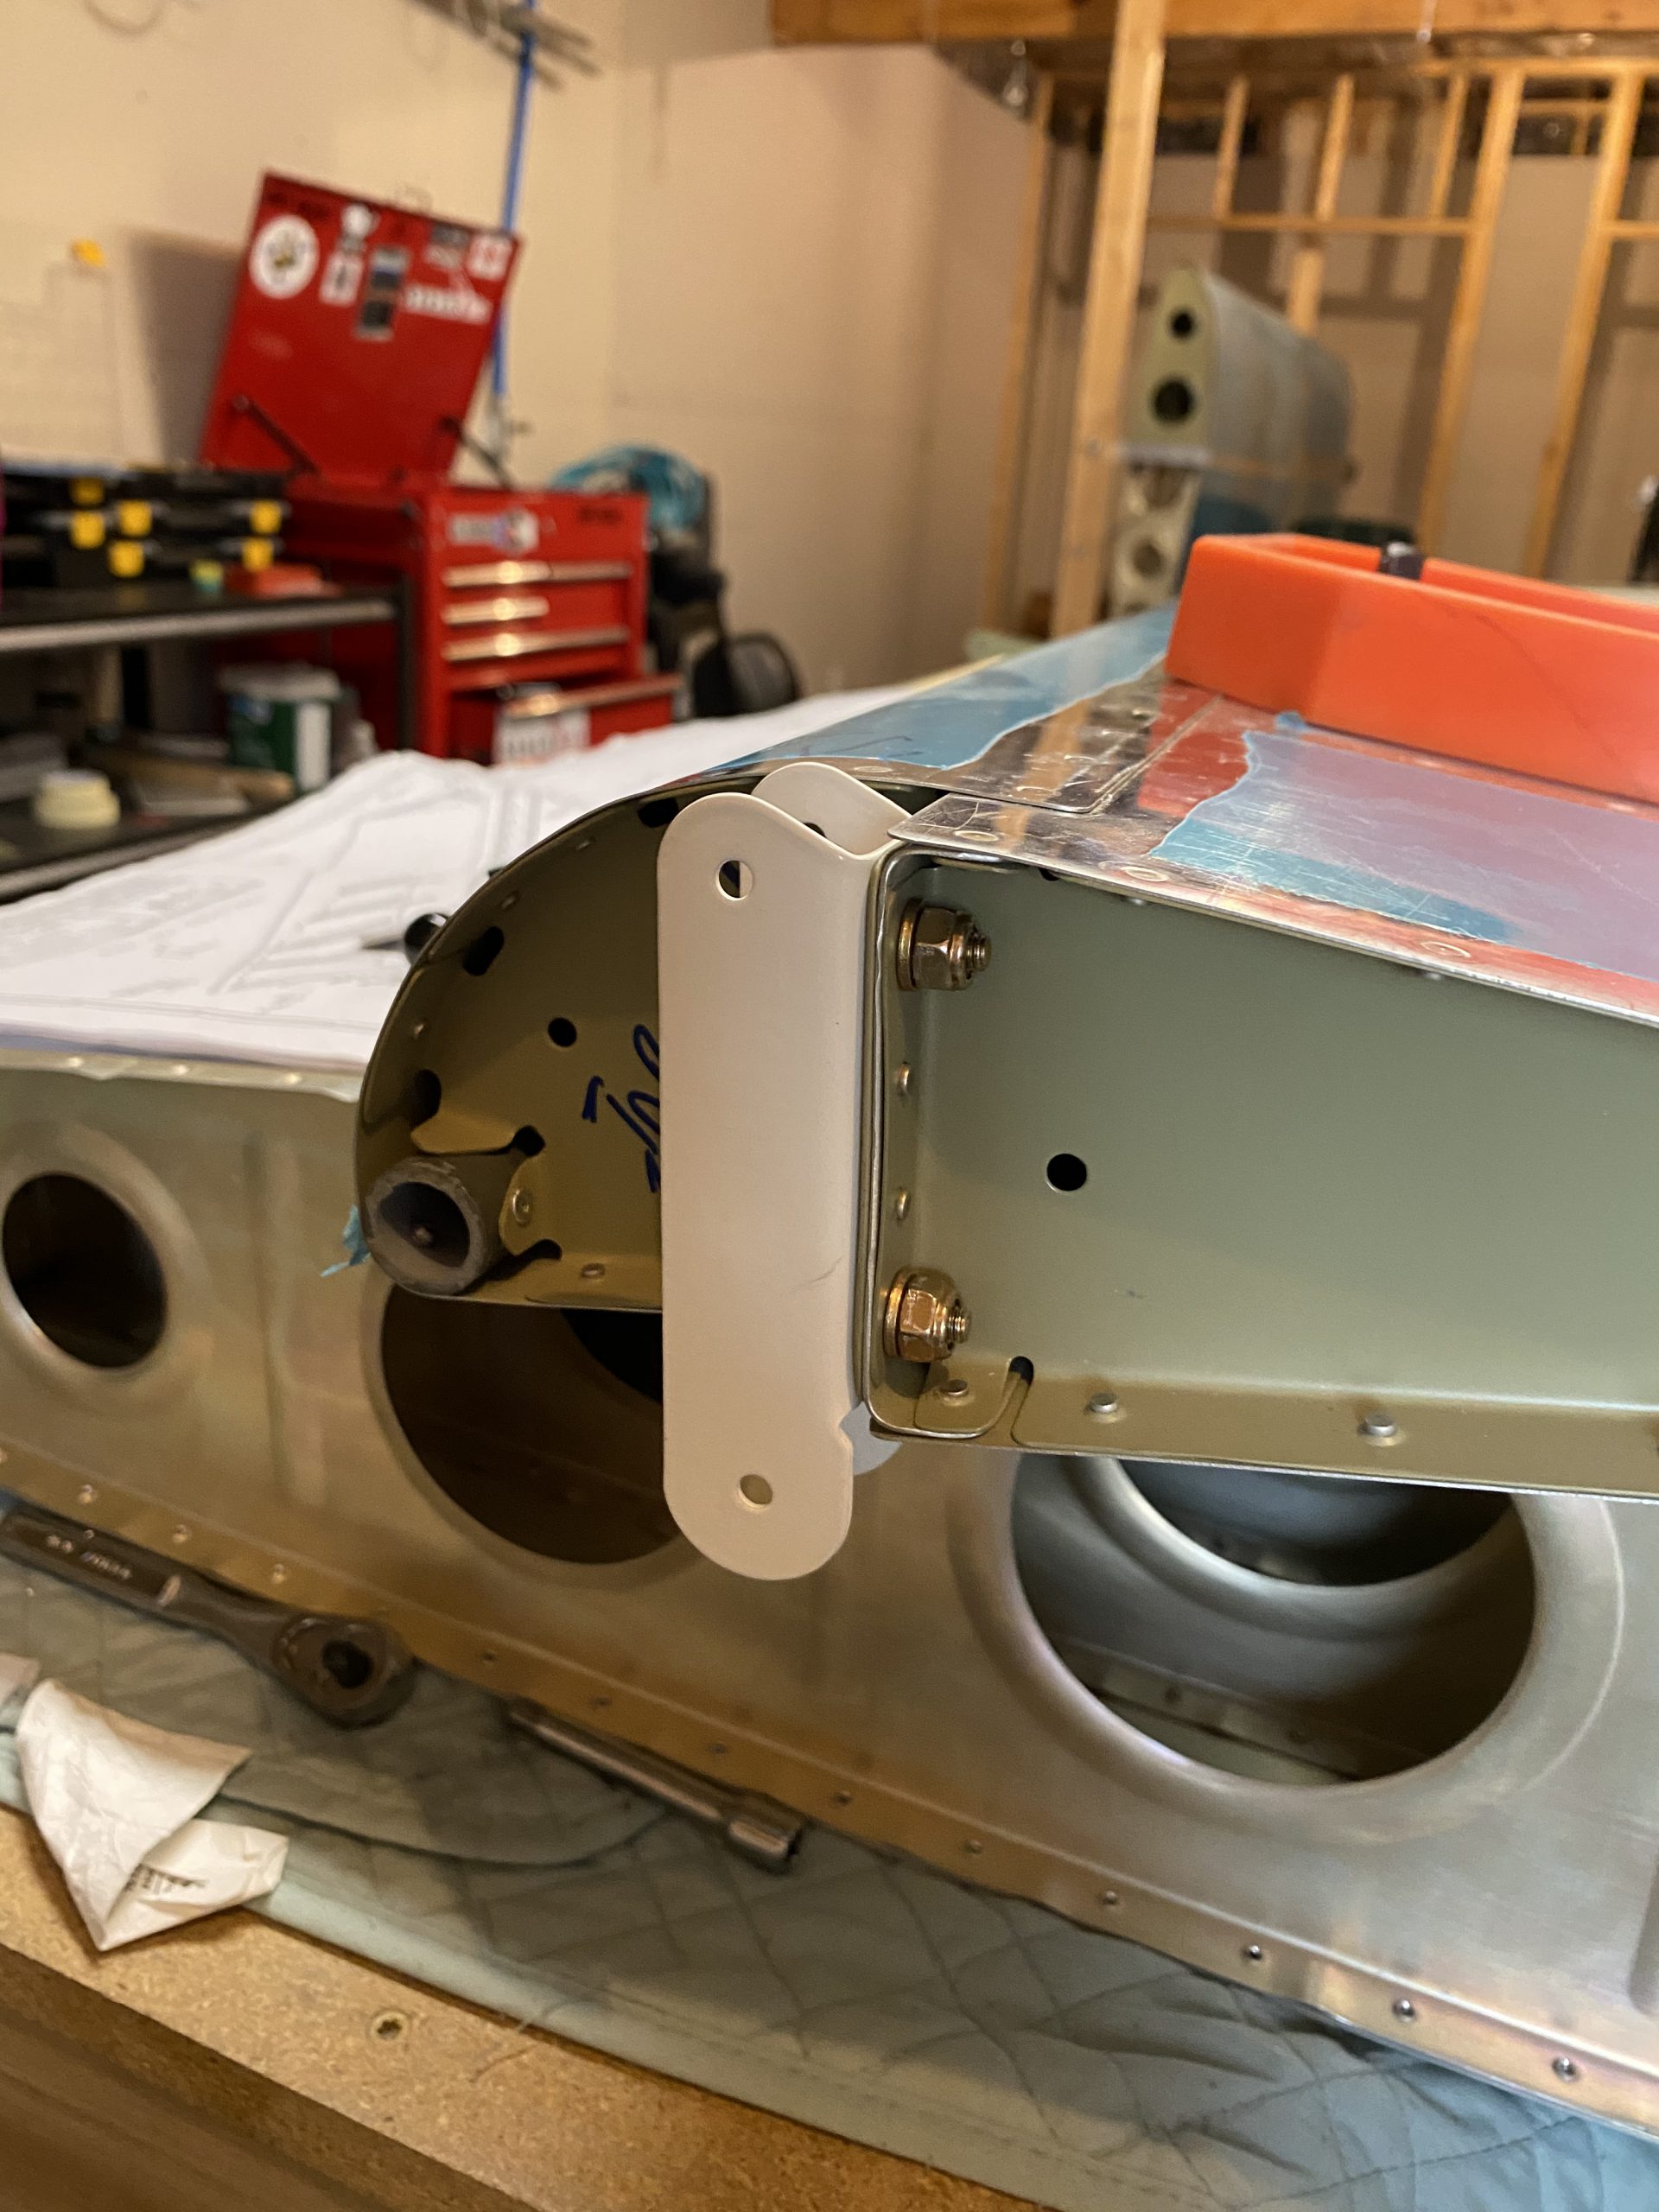
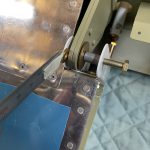
Here’s how it eventually came out. Again, lots of wiggling, finagaling, and adjusting to get these washers in place. Then I torqued the bolt and nut down to about 40 in/lbs (15 in/lbs of drag on these nuts). I have plenty of clearance it looks like.

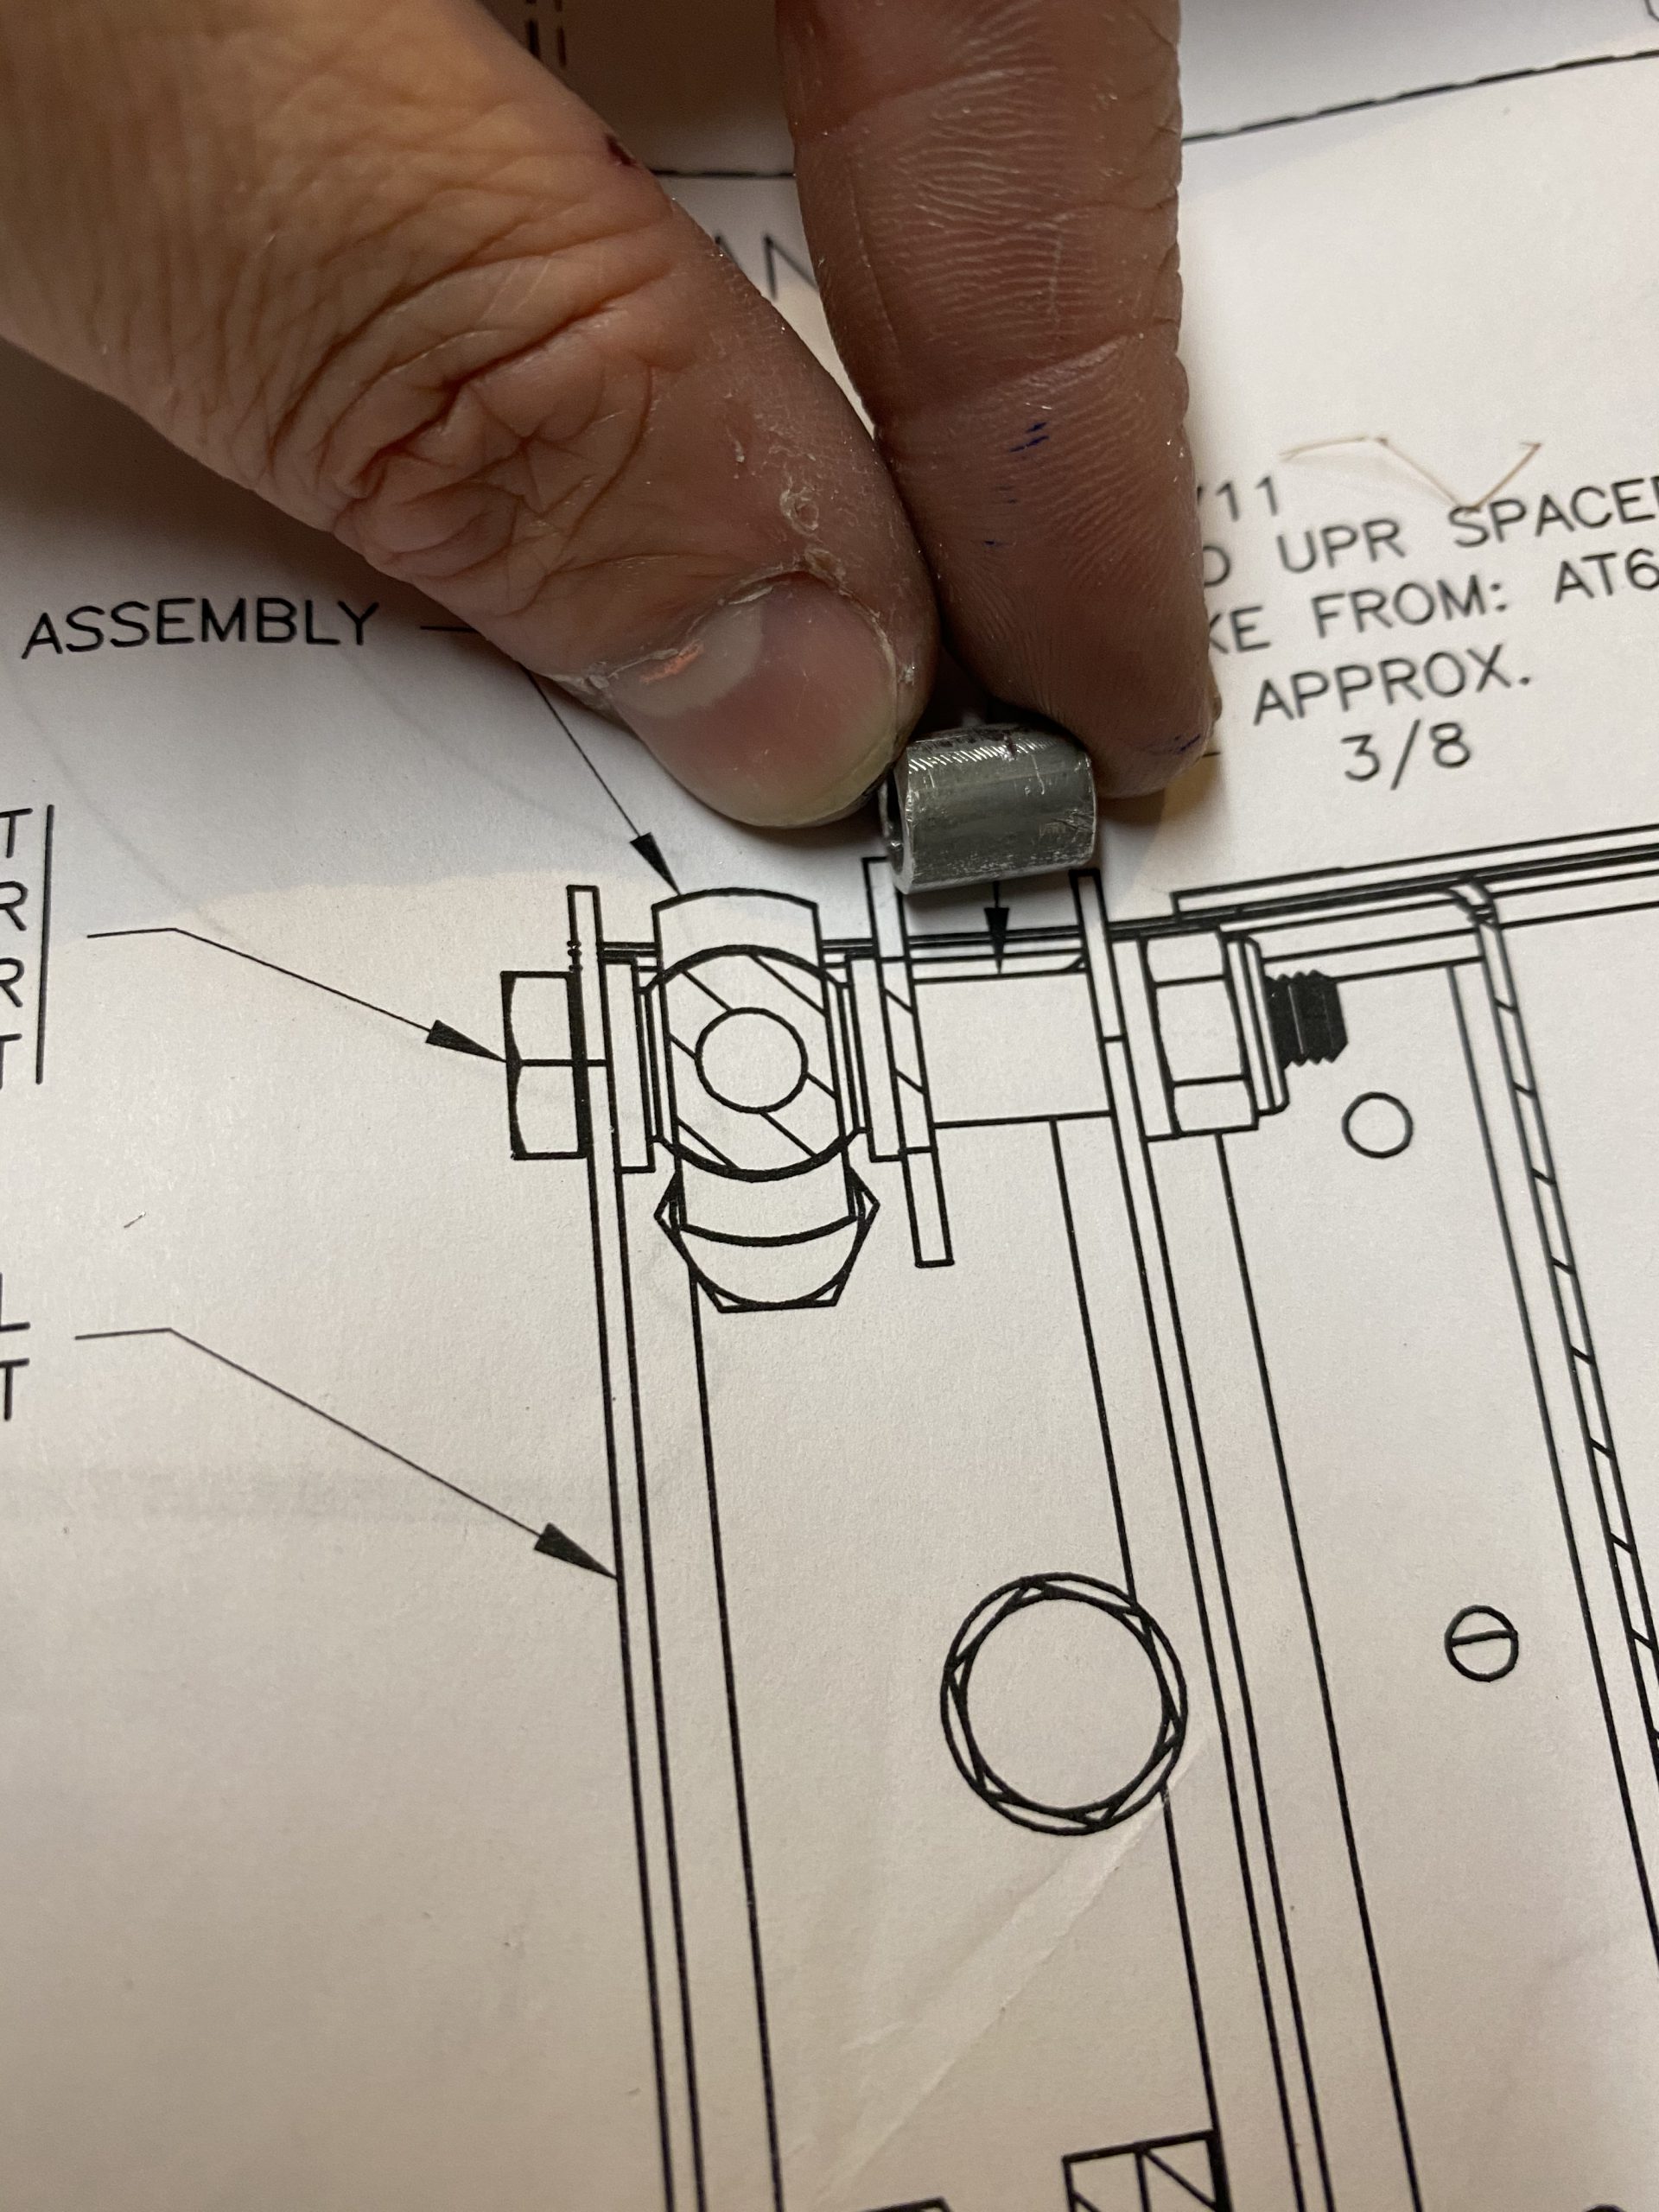
The last step in mounting was to attach the aileron pushrod that comes from the bell crank. This is on the inboard hinge, and it requires a spacer A-711 to be made from AT6-0585/16″ at approximately 3/8″ long. So, I measured and cut using the chop saw, and filed and deburred all the edges smooth. Seems like its a good fit:
You guessed it…..lots of wiggling and tight quarters work to get the hardware for this to get lined up, but eventually I wound up with the pushrod bolted in place, but NOT torqued down. I’ve got to remove the push rod later on. I am still considering having them welded to be safe. But for now, I’ll work to make sure the aileron gets in alignment and that there is no binding, etc.
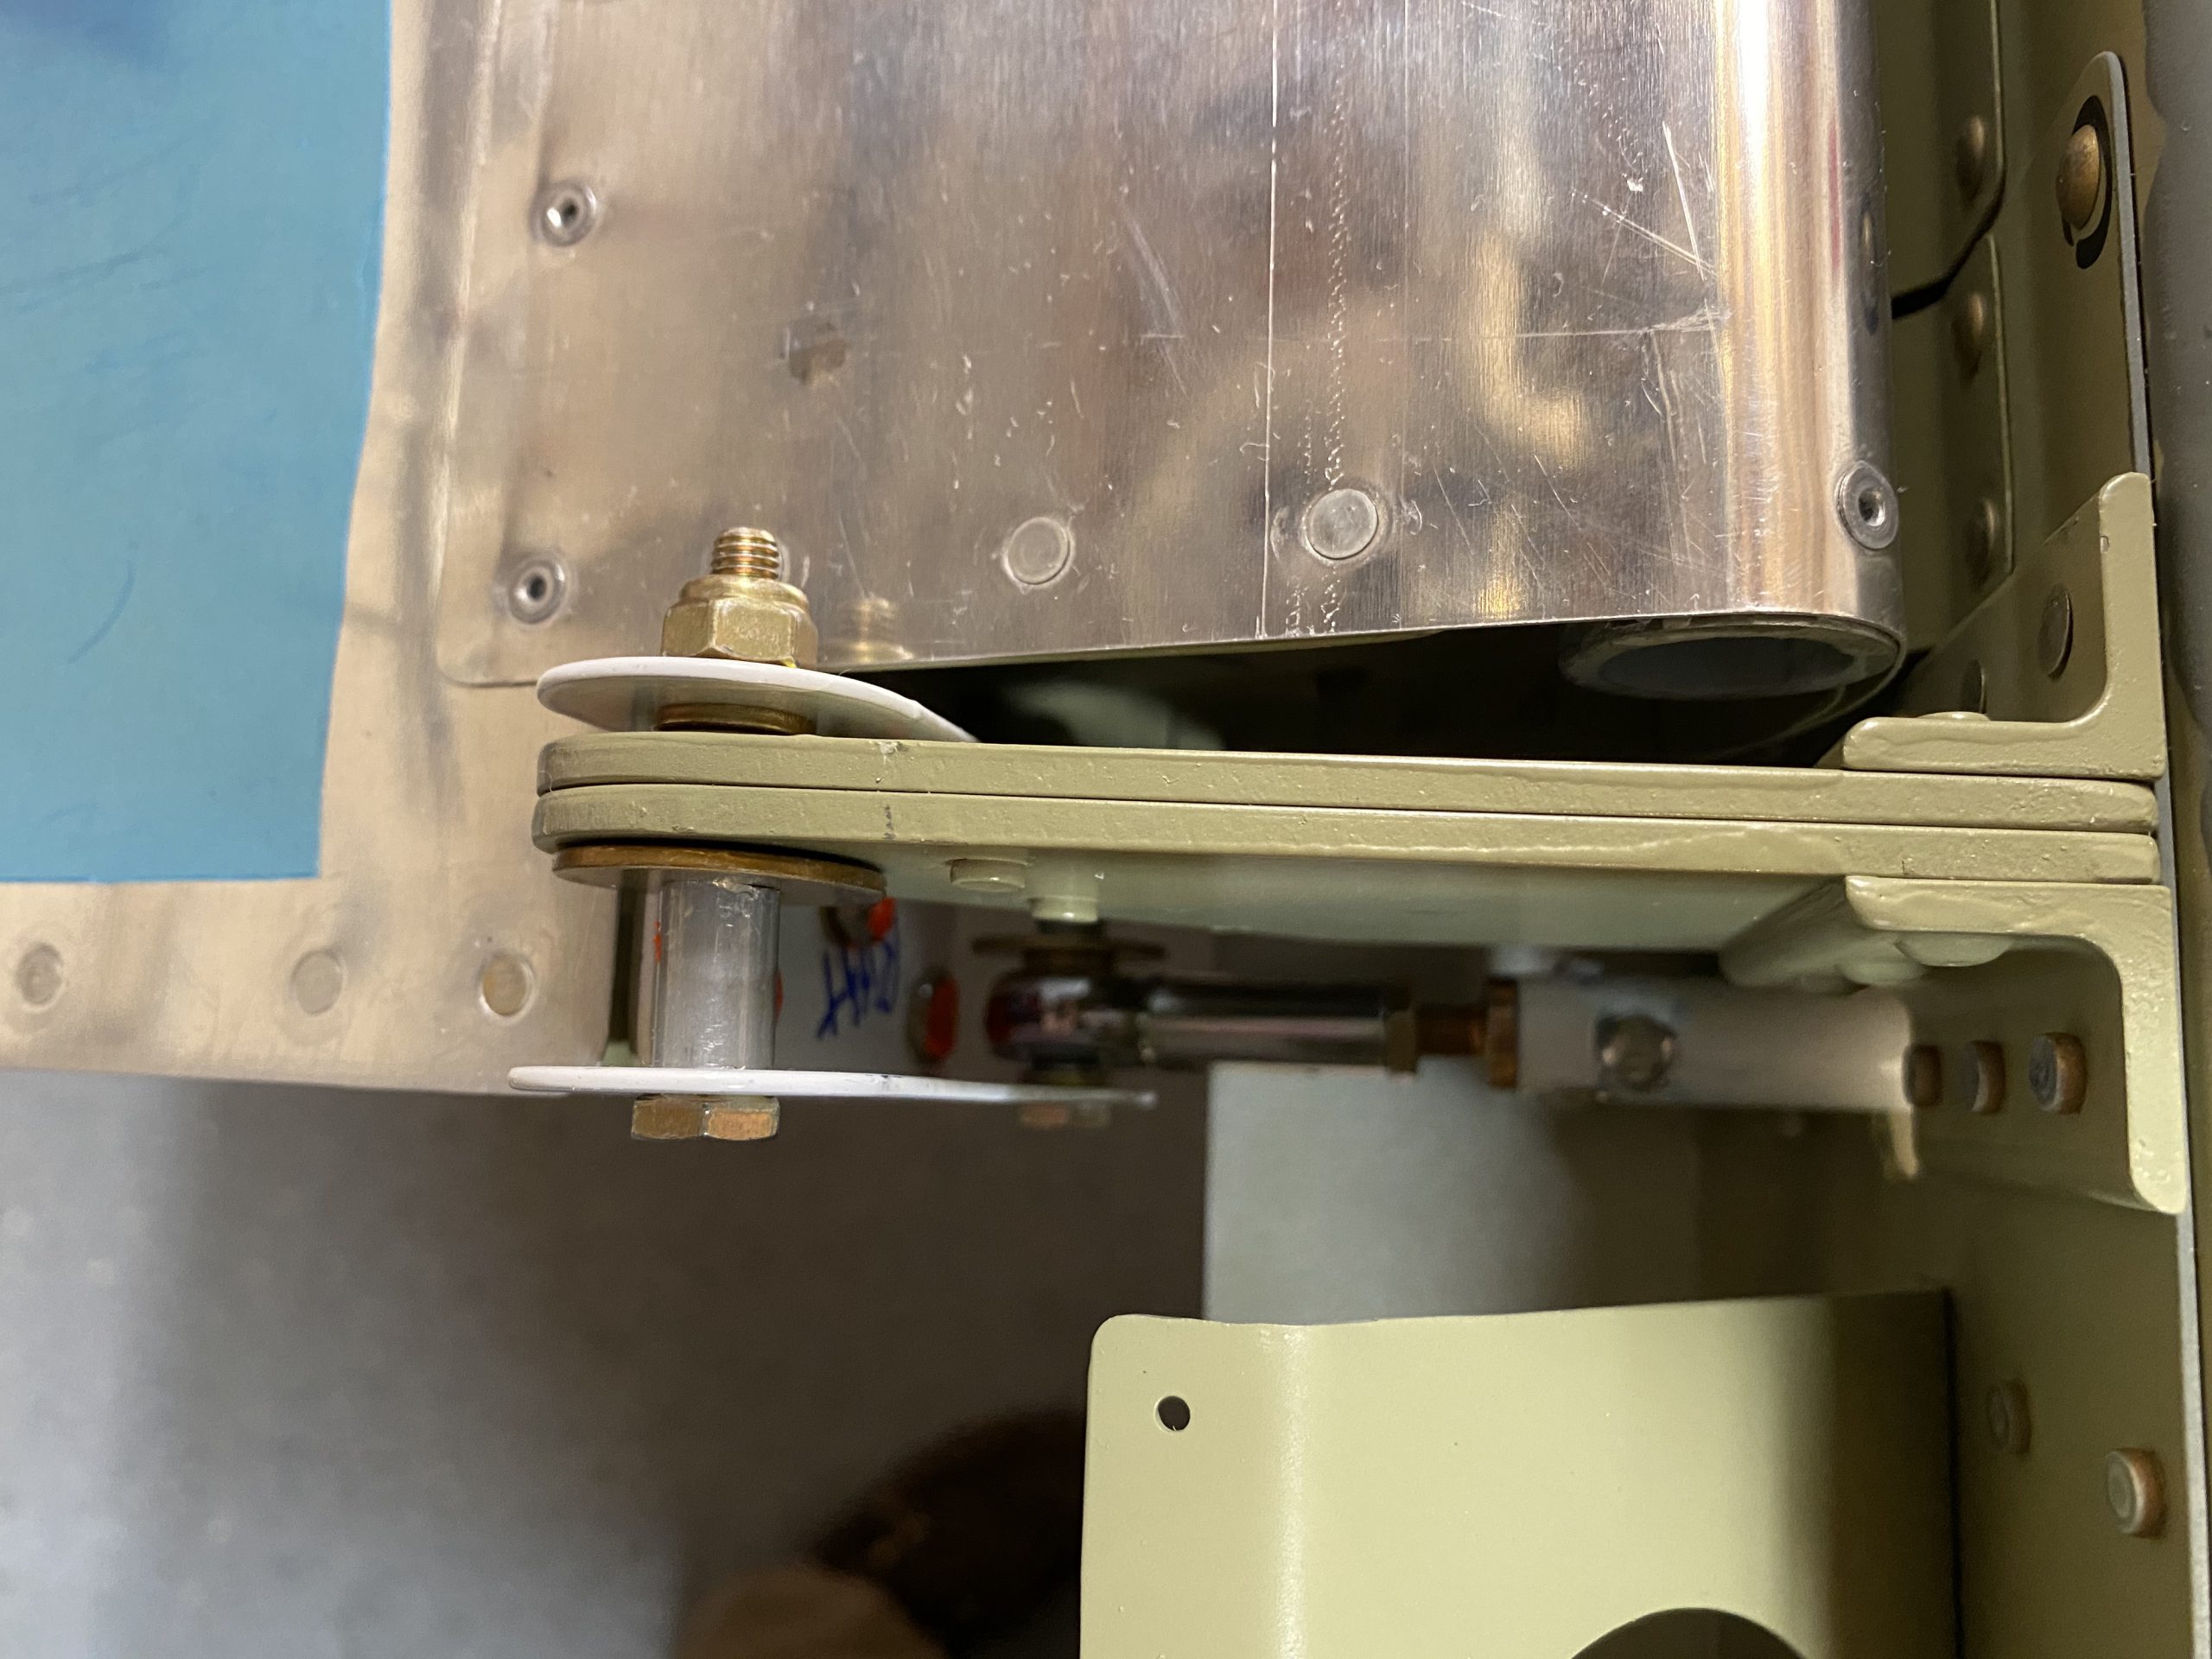
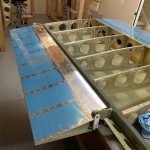
That completed tonights session. I’ll come down, work on the alignment jig for getting the aileron in trail and do some adjusting. I’ll put some thought on having these pushrods welded, and make a decision as I need to get them permanently installed and adjusted at some point. The aileron moves REALLY smoothly. I am pretty happy to be at this point, as its looking like a wing now!

Google Photos Link: https://photos.app.goo.gl/j4vBRirEnHrePFeu9
-
IMG_2942
-
IMG_2943
-
IMG_2944
-
IMG_2945
-
IMG_2946
-
IMG_2947
-
IMG_2948
-
IMG_2949
-
IMG_2950
-
IMG_2951
-
IMG_2952
-
IMG_2953
-
IMG_2954
-
 IMG_2955
 -
IMG_2956
-
IMG_2957


Hours Worked: 2.25
Thanks for sharing these and awesome journey with us. Your posts are very useful and interesting. I had a suggestion, it may be useful to mention the weight of components, even approximately, since we have an idea about dimensions, but no idea about the weight.
Thanks again.
Thanks for the suggestion! I’ve never thought about the weight of each of these parts. I’ll try to start adding that into my posts. Glad you’re enjoying the site!
Pingback: Mounting the Left Aileron – Lynn’s RV-7 Build