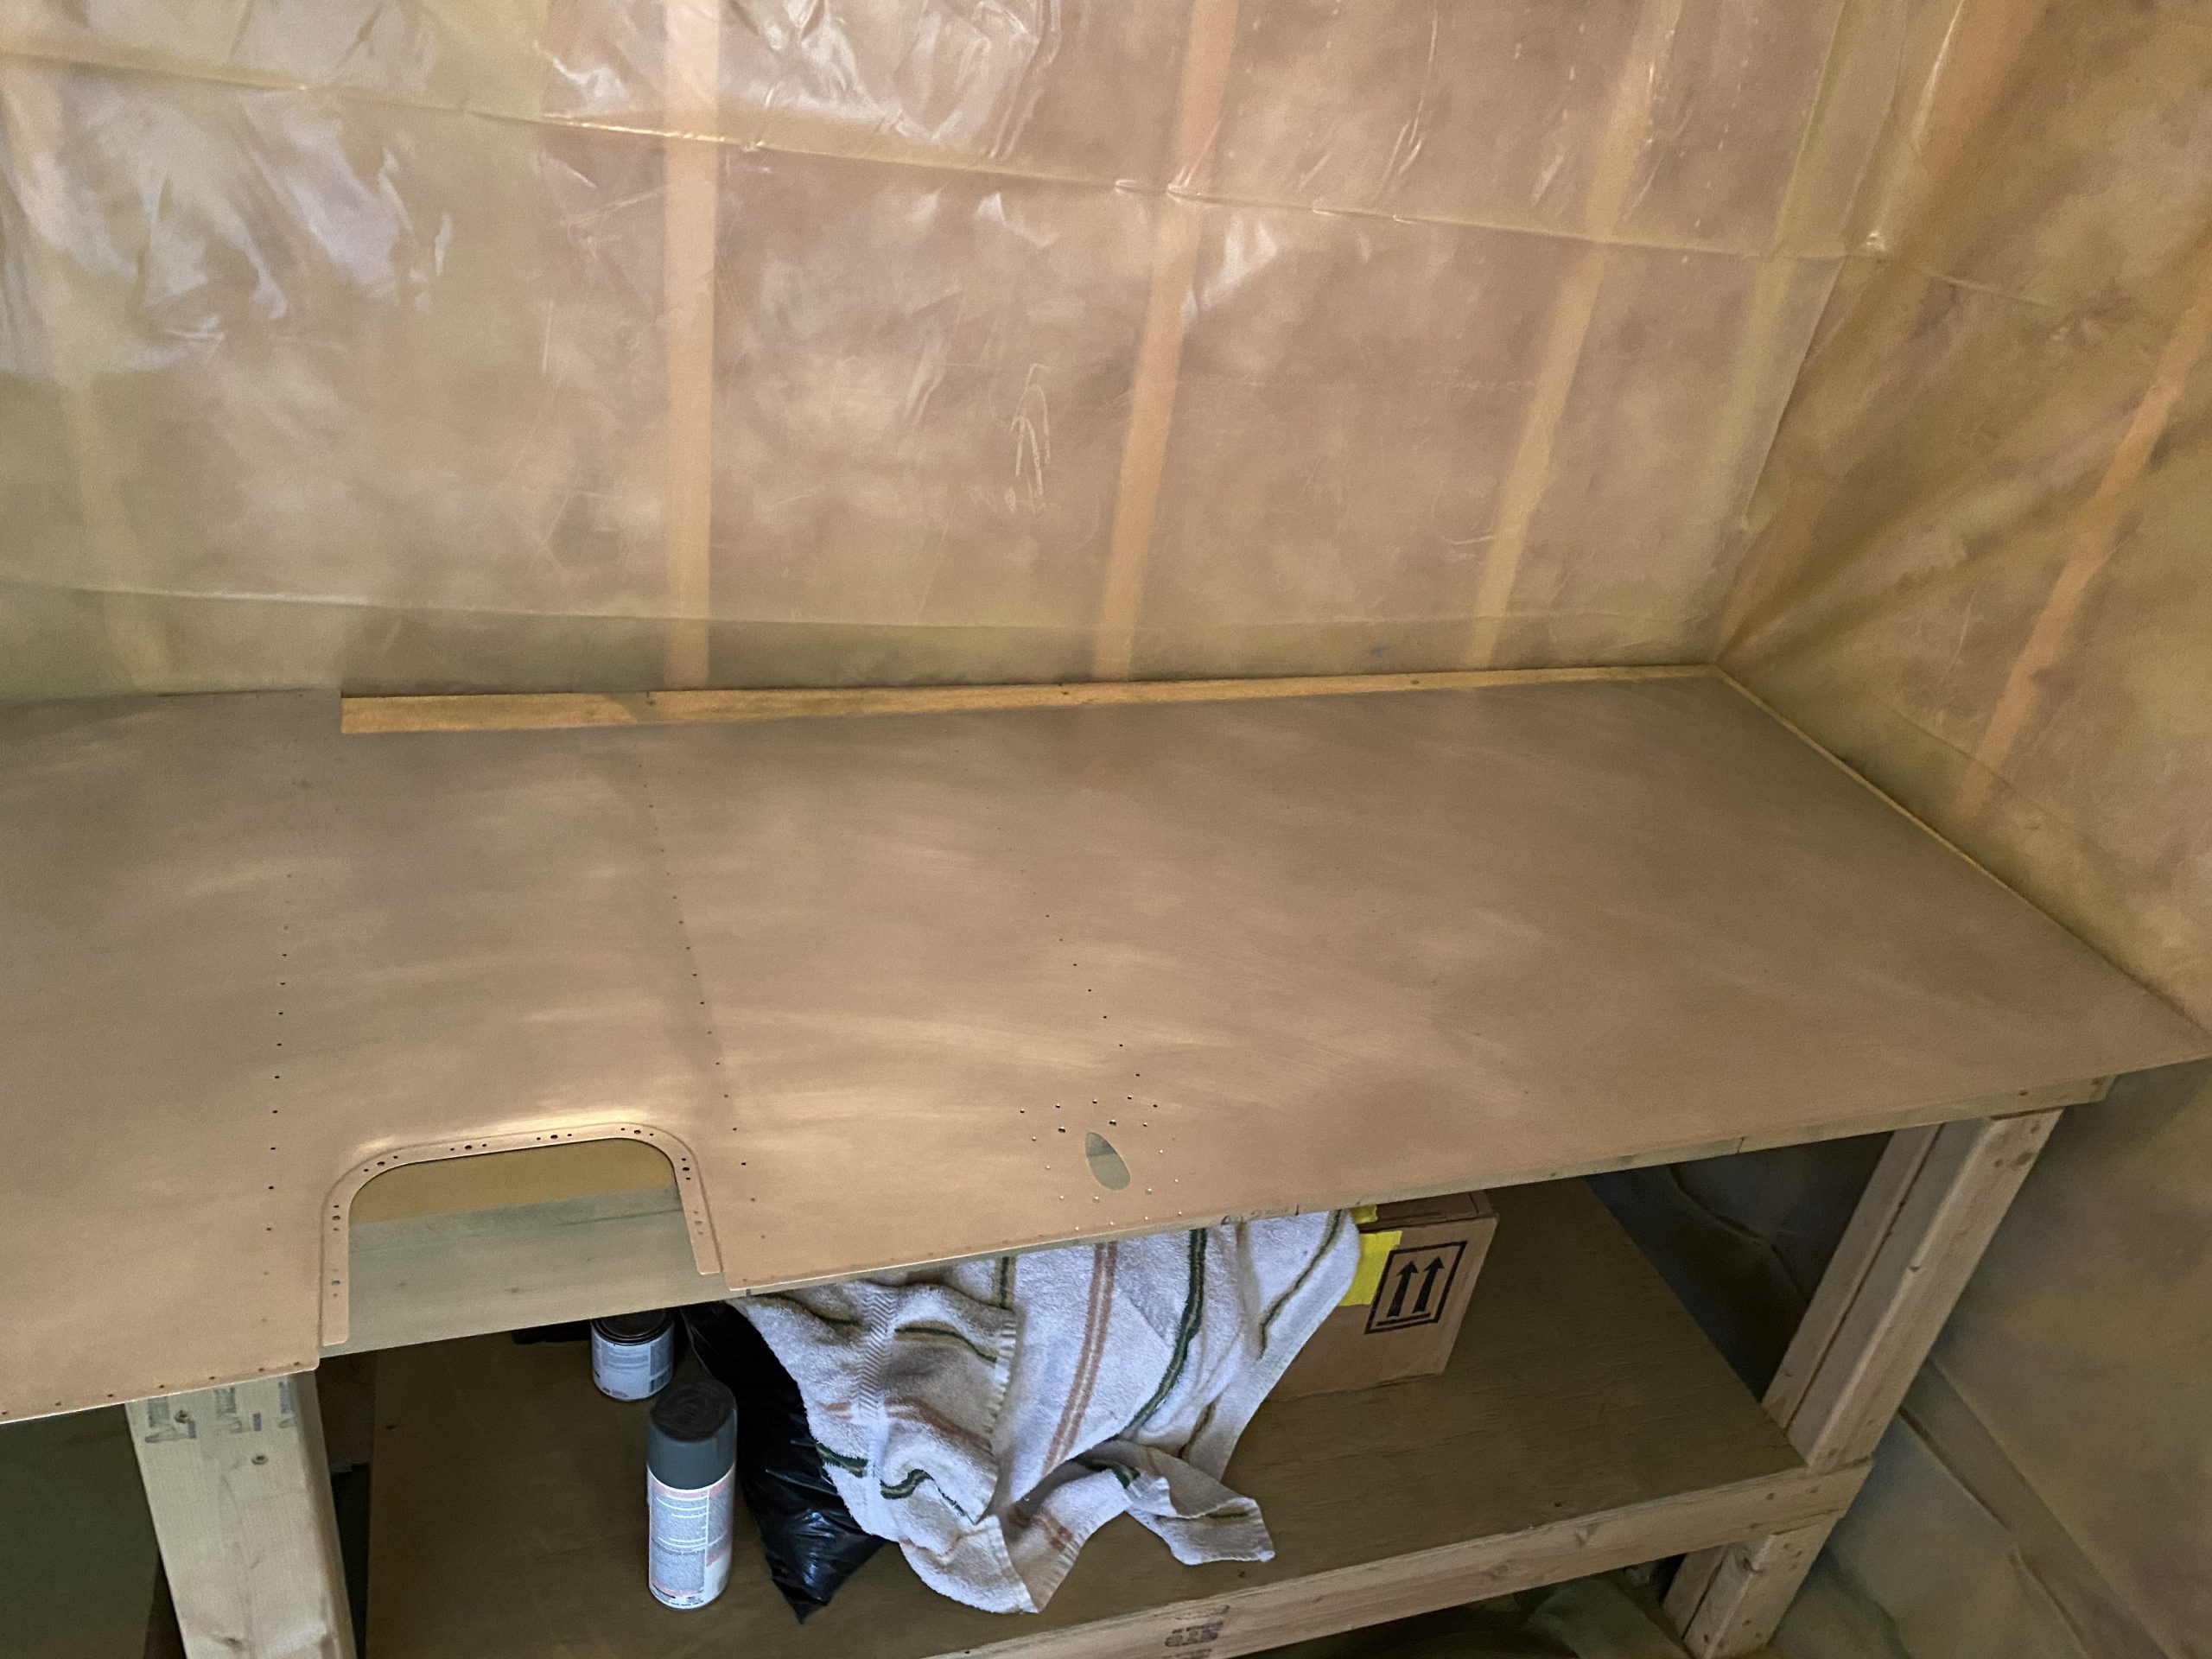
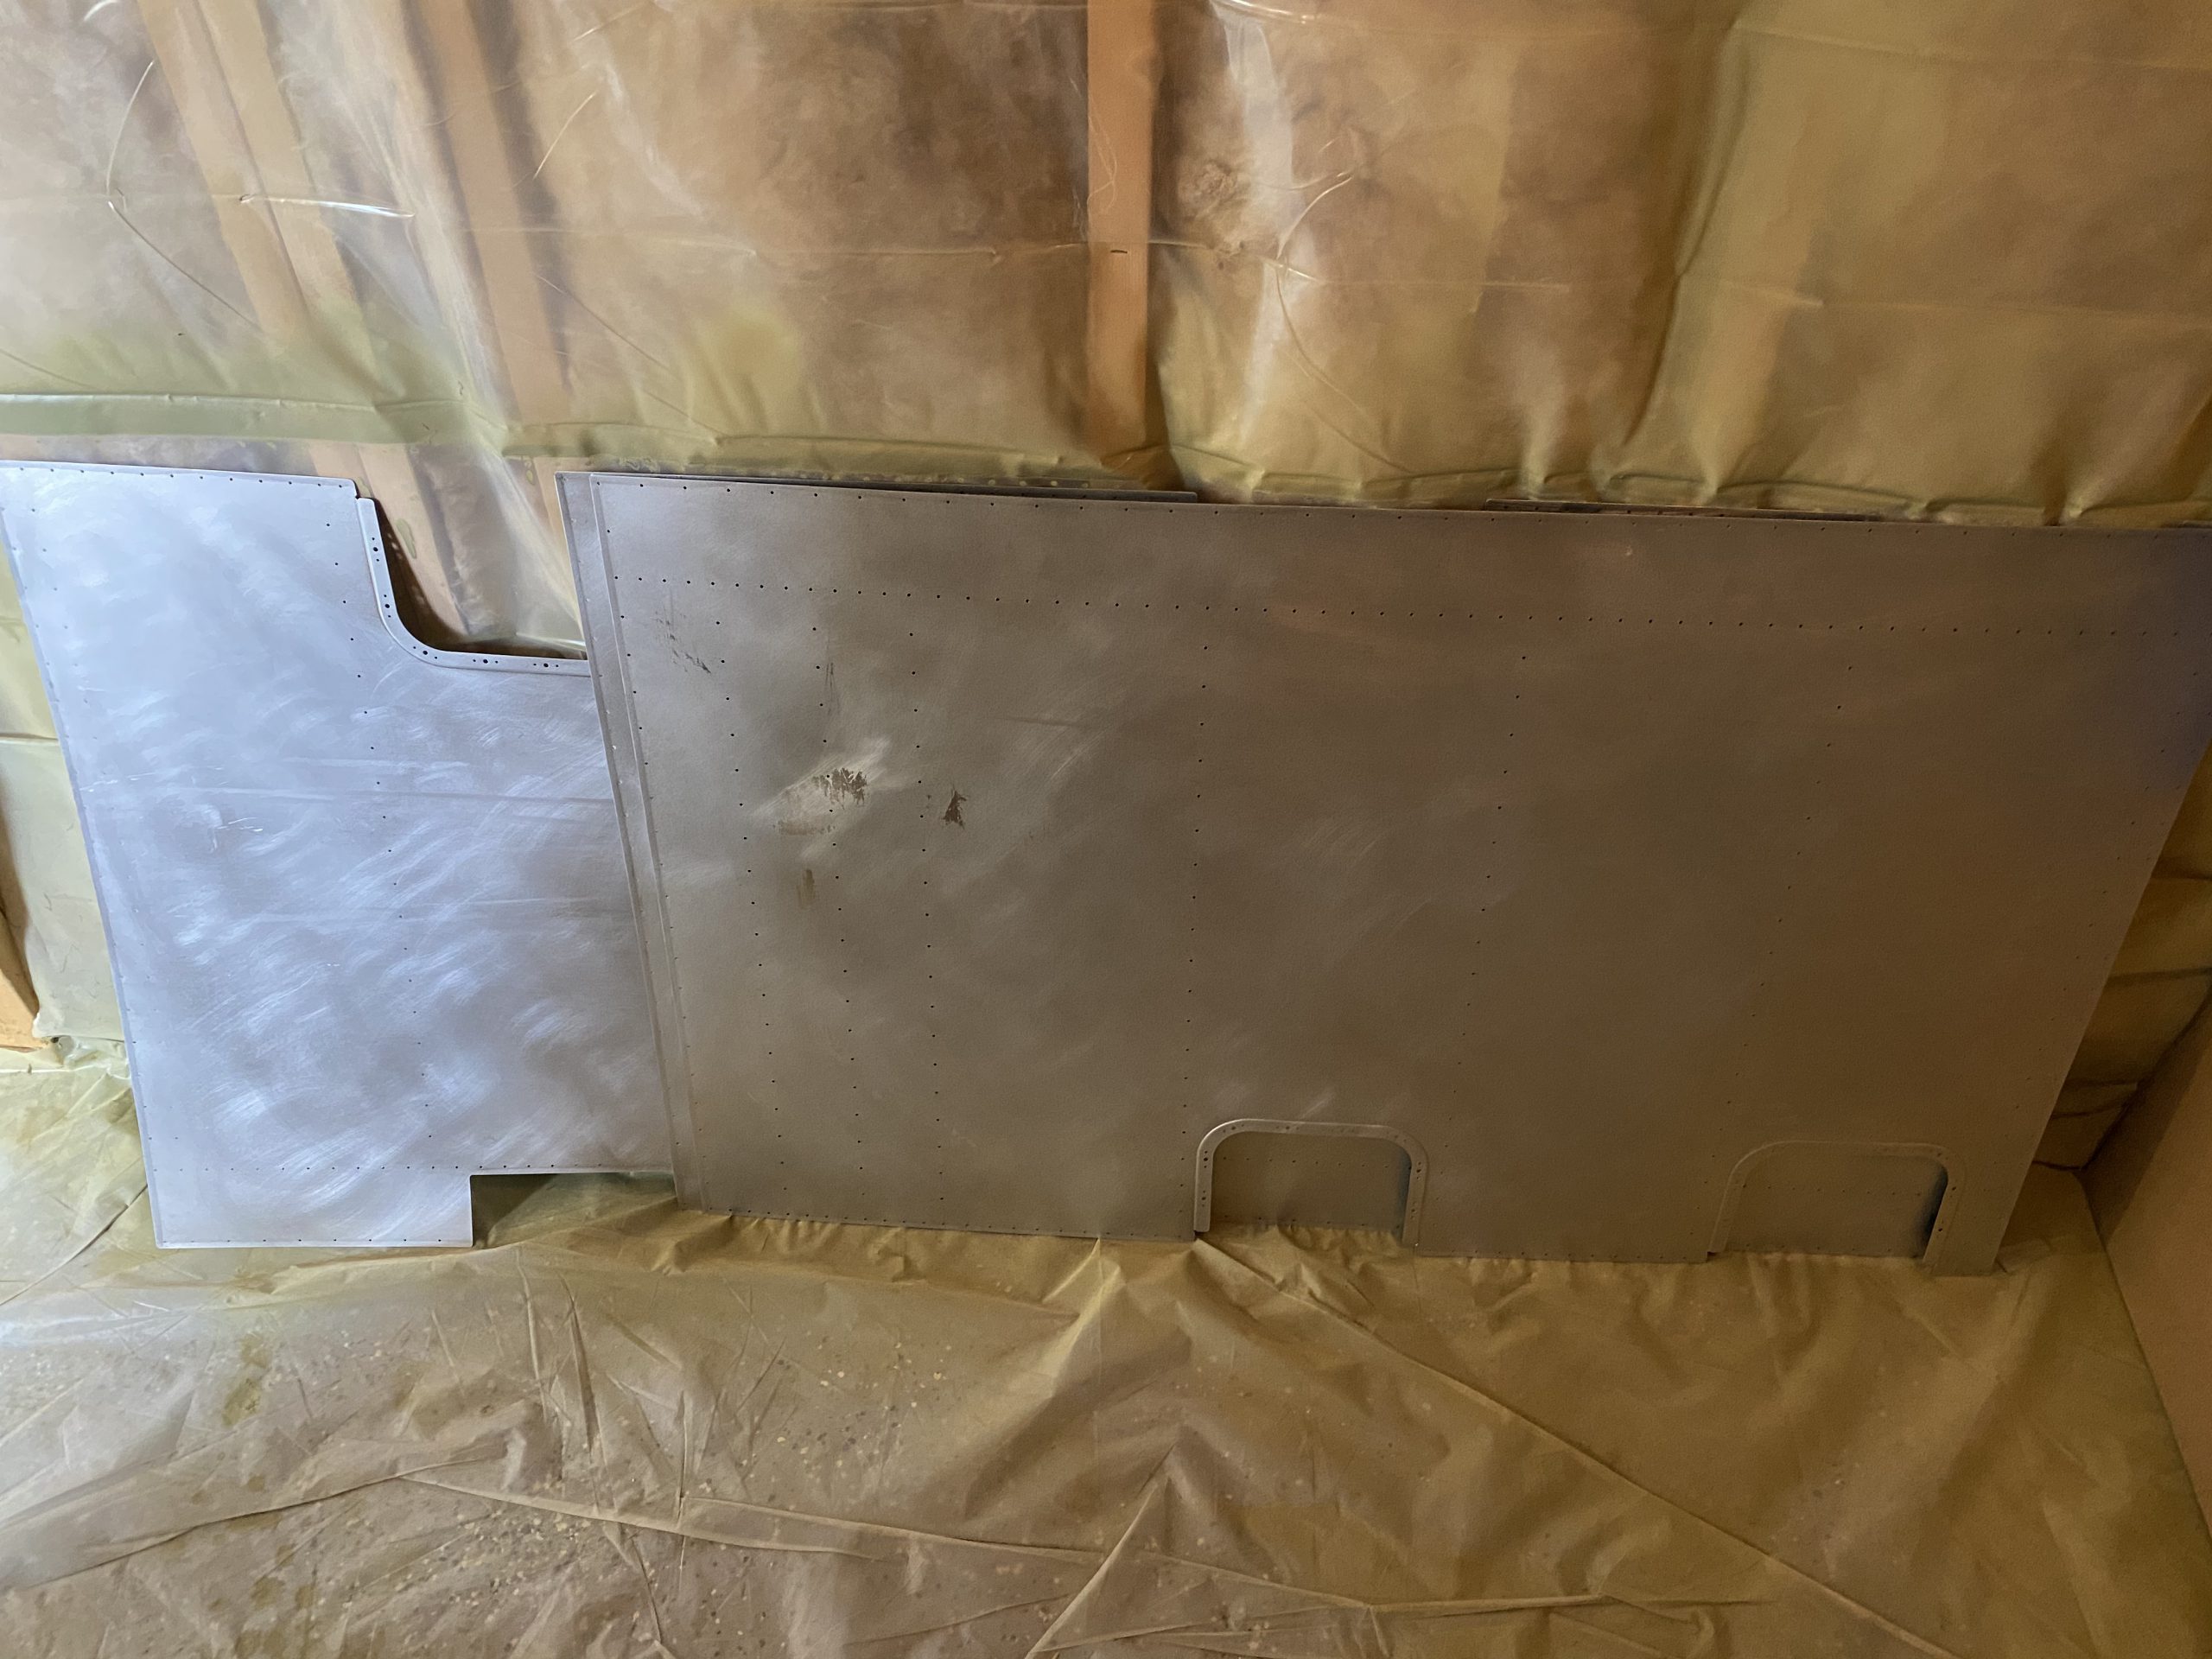
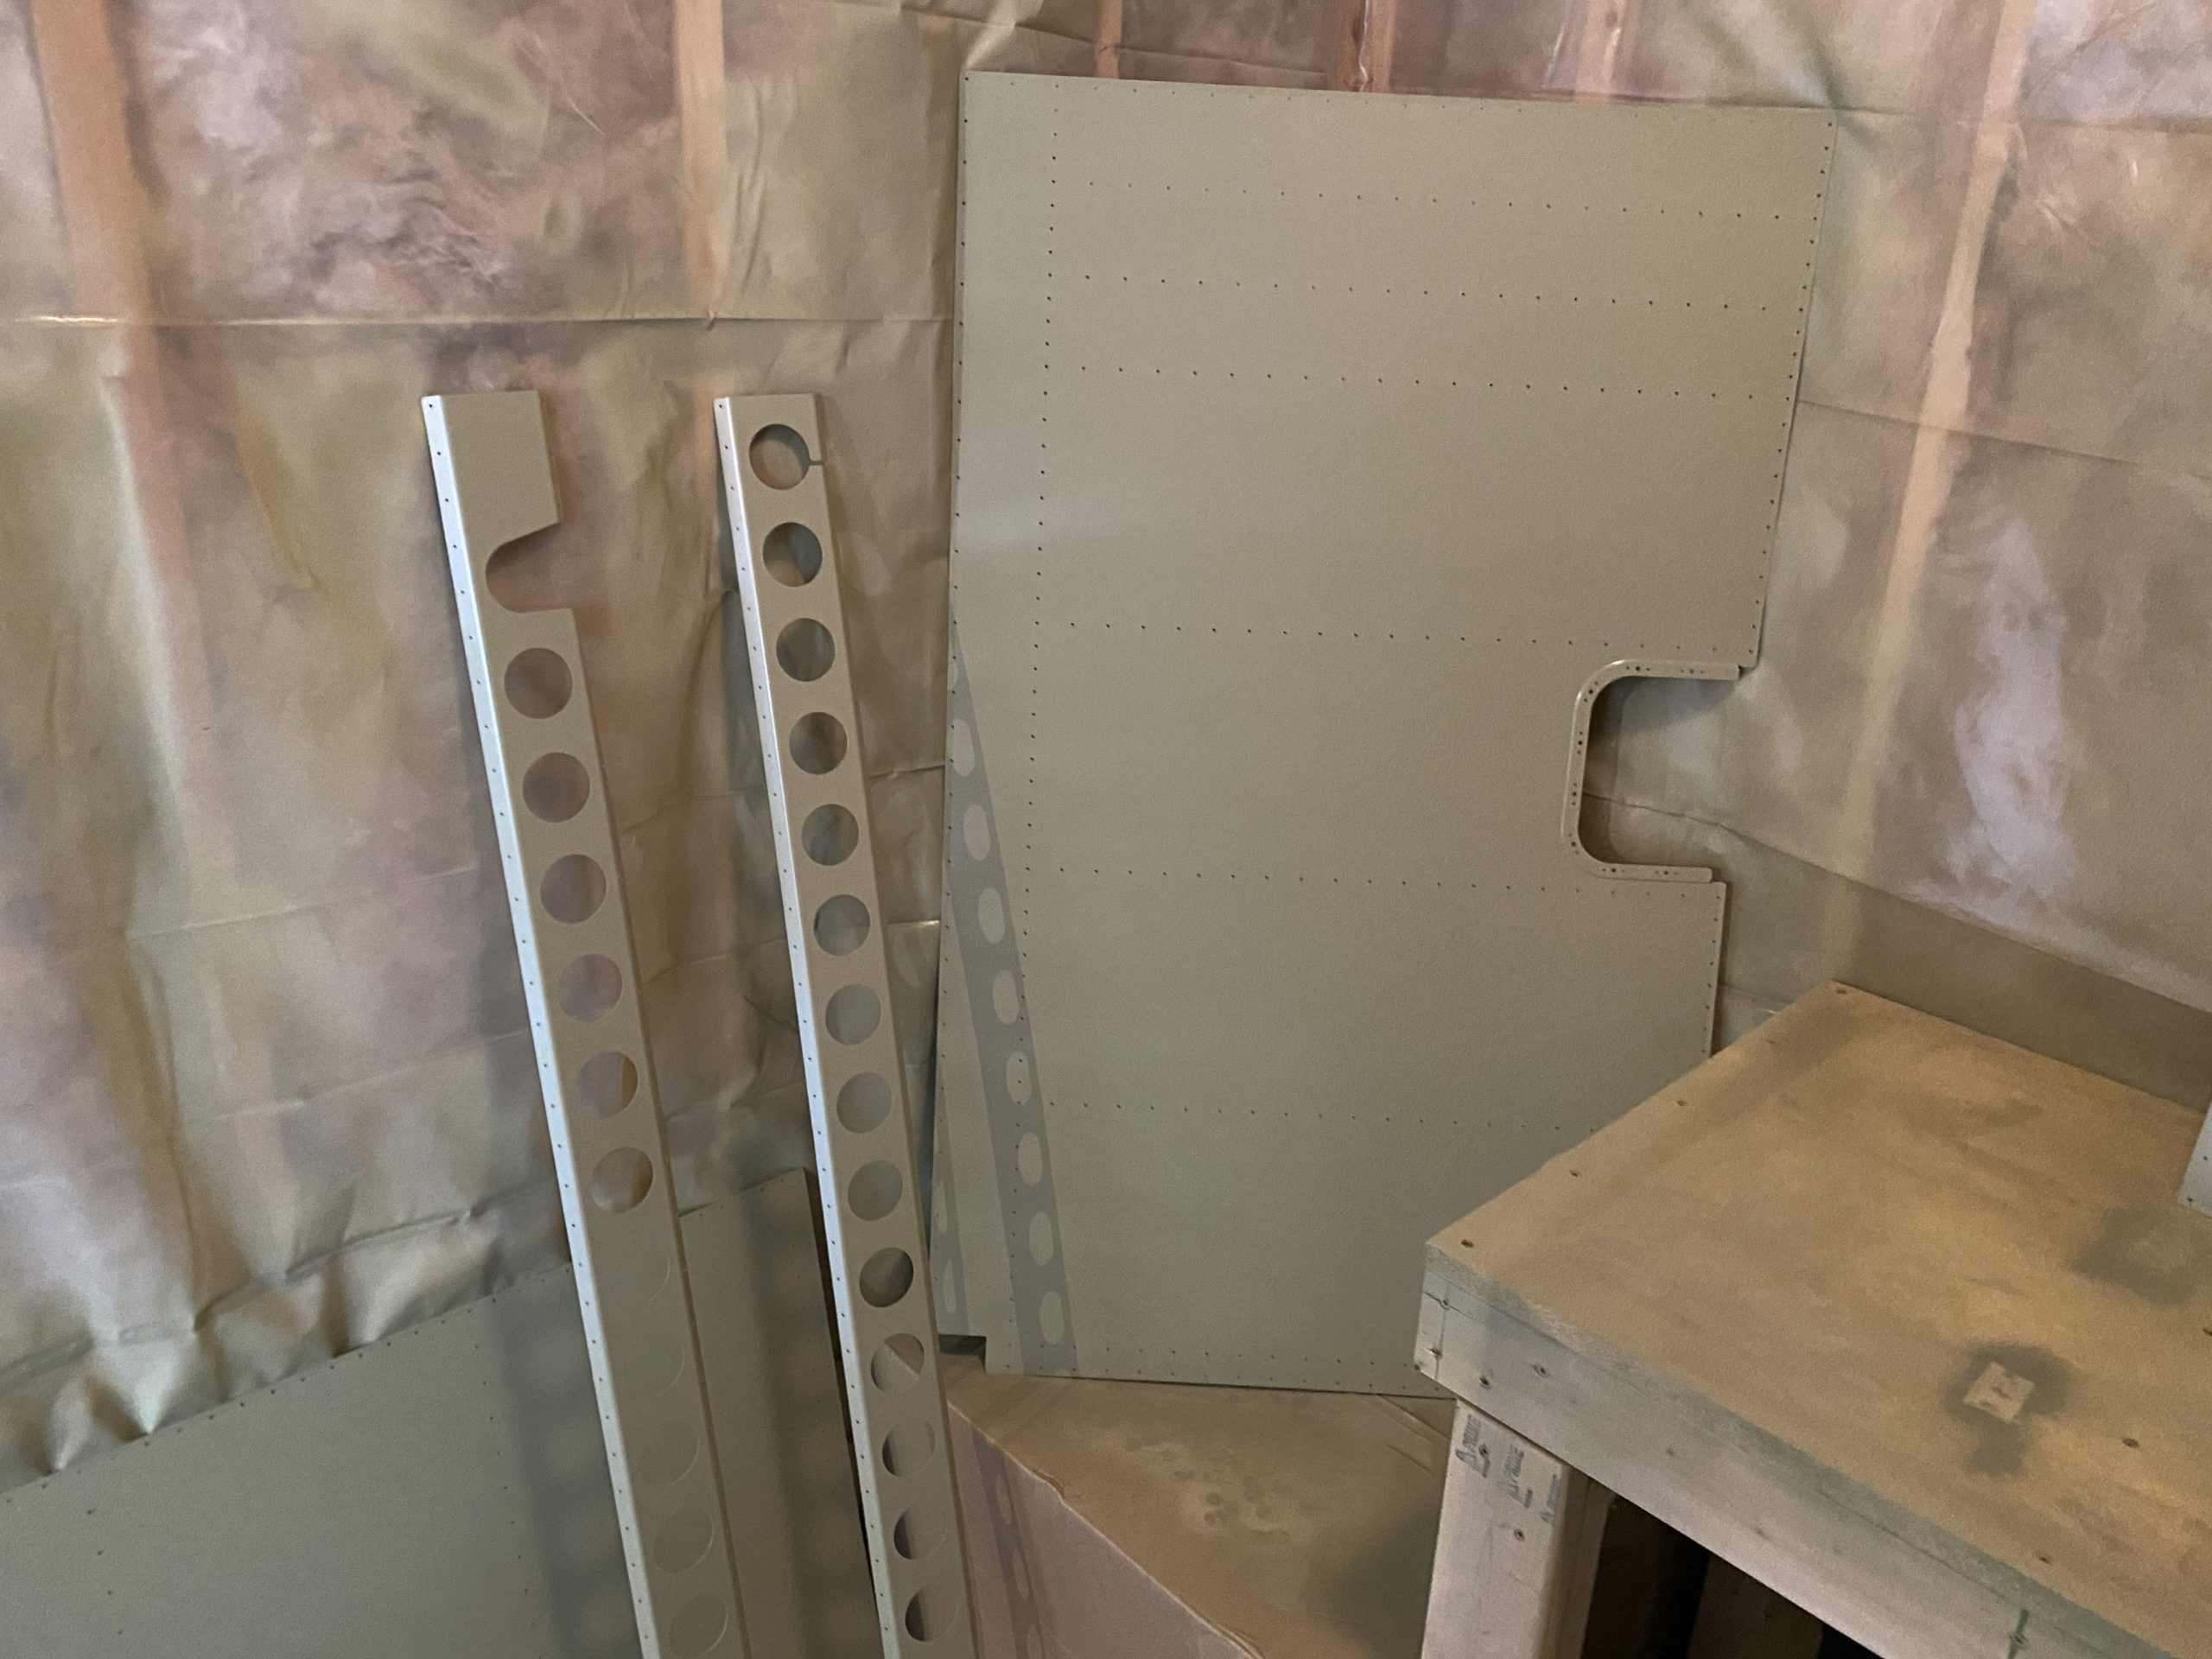
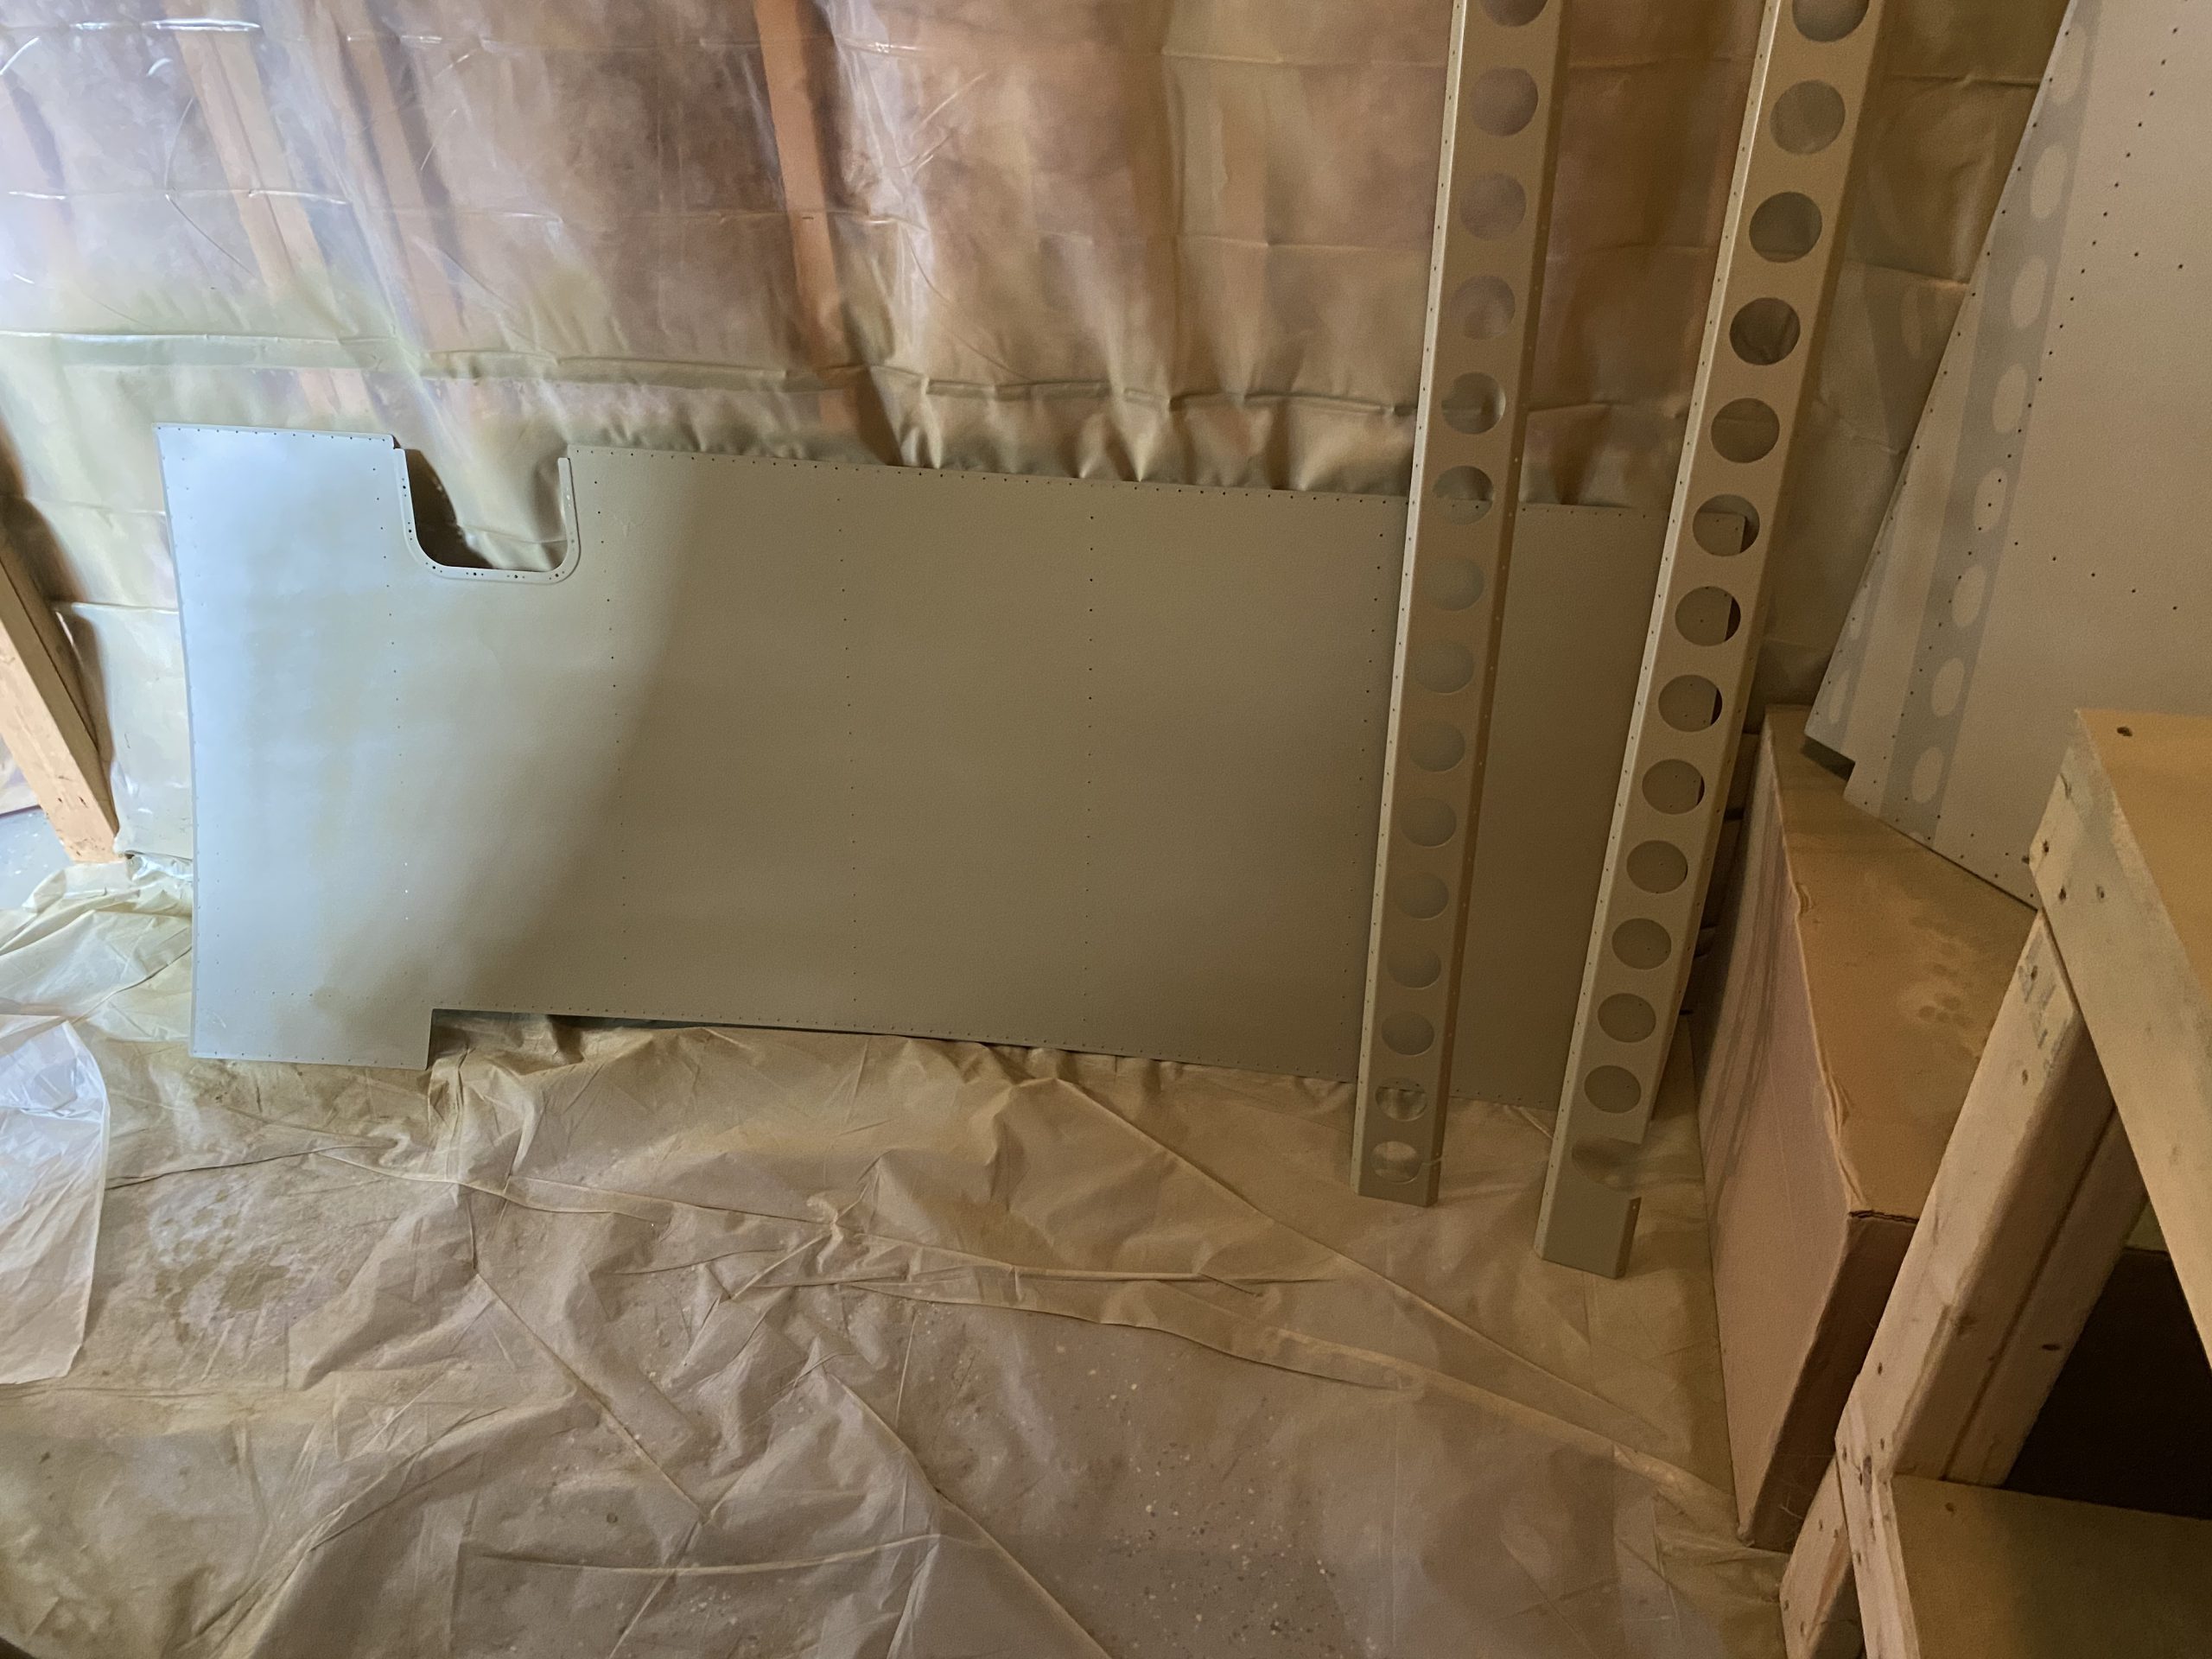
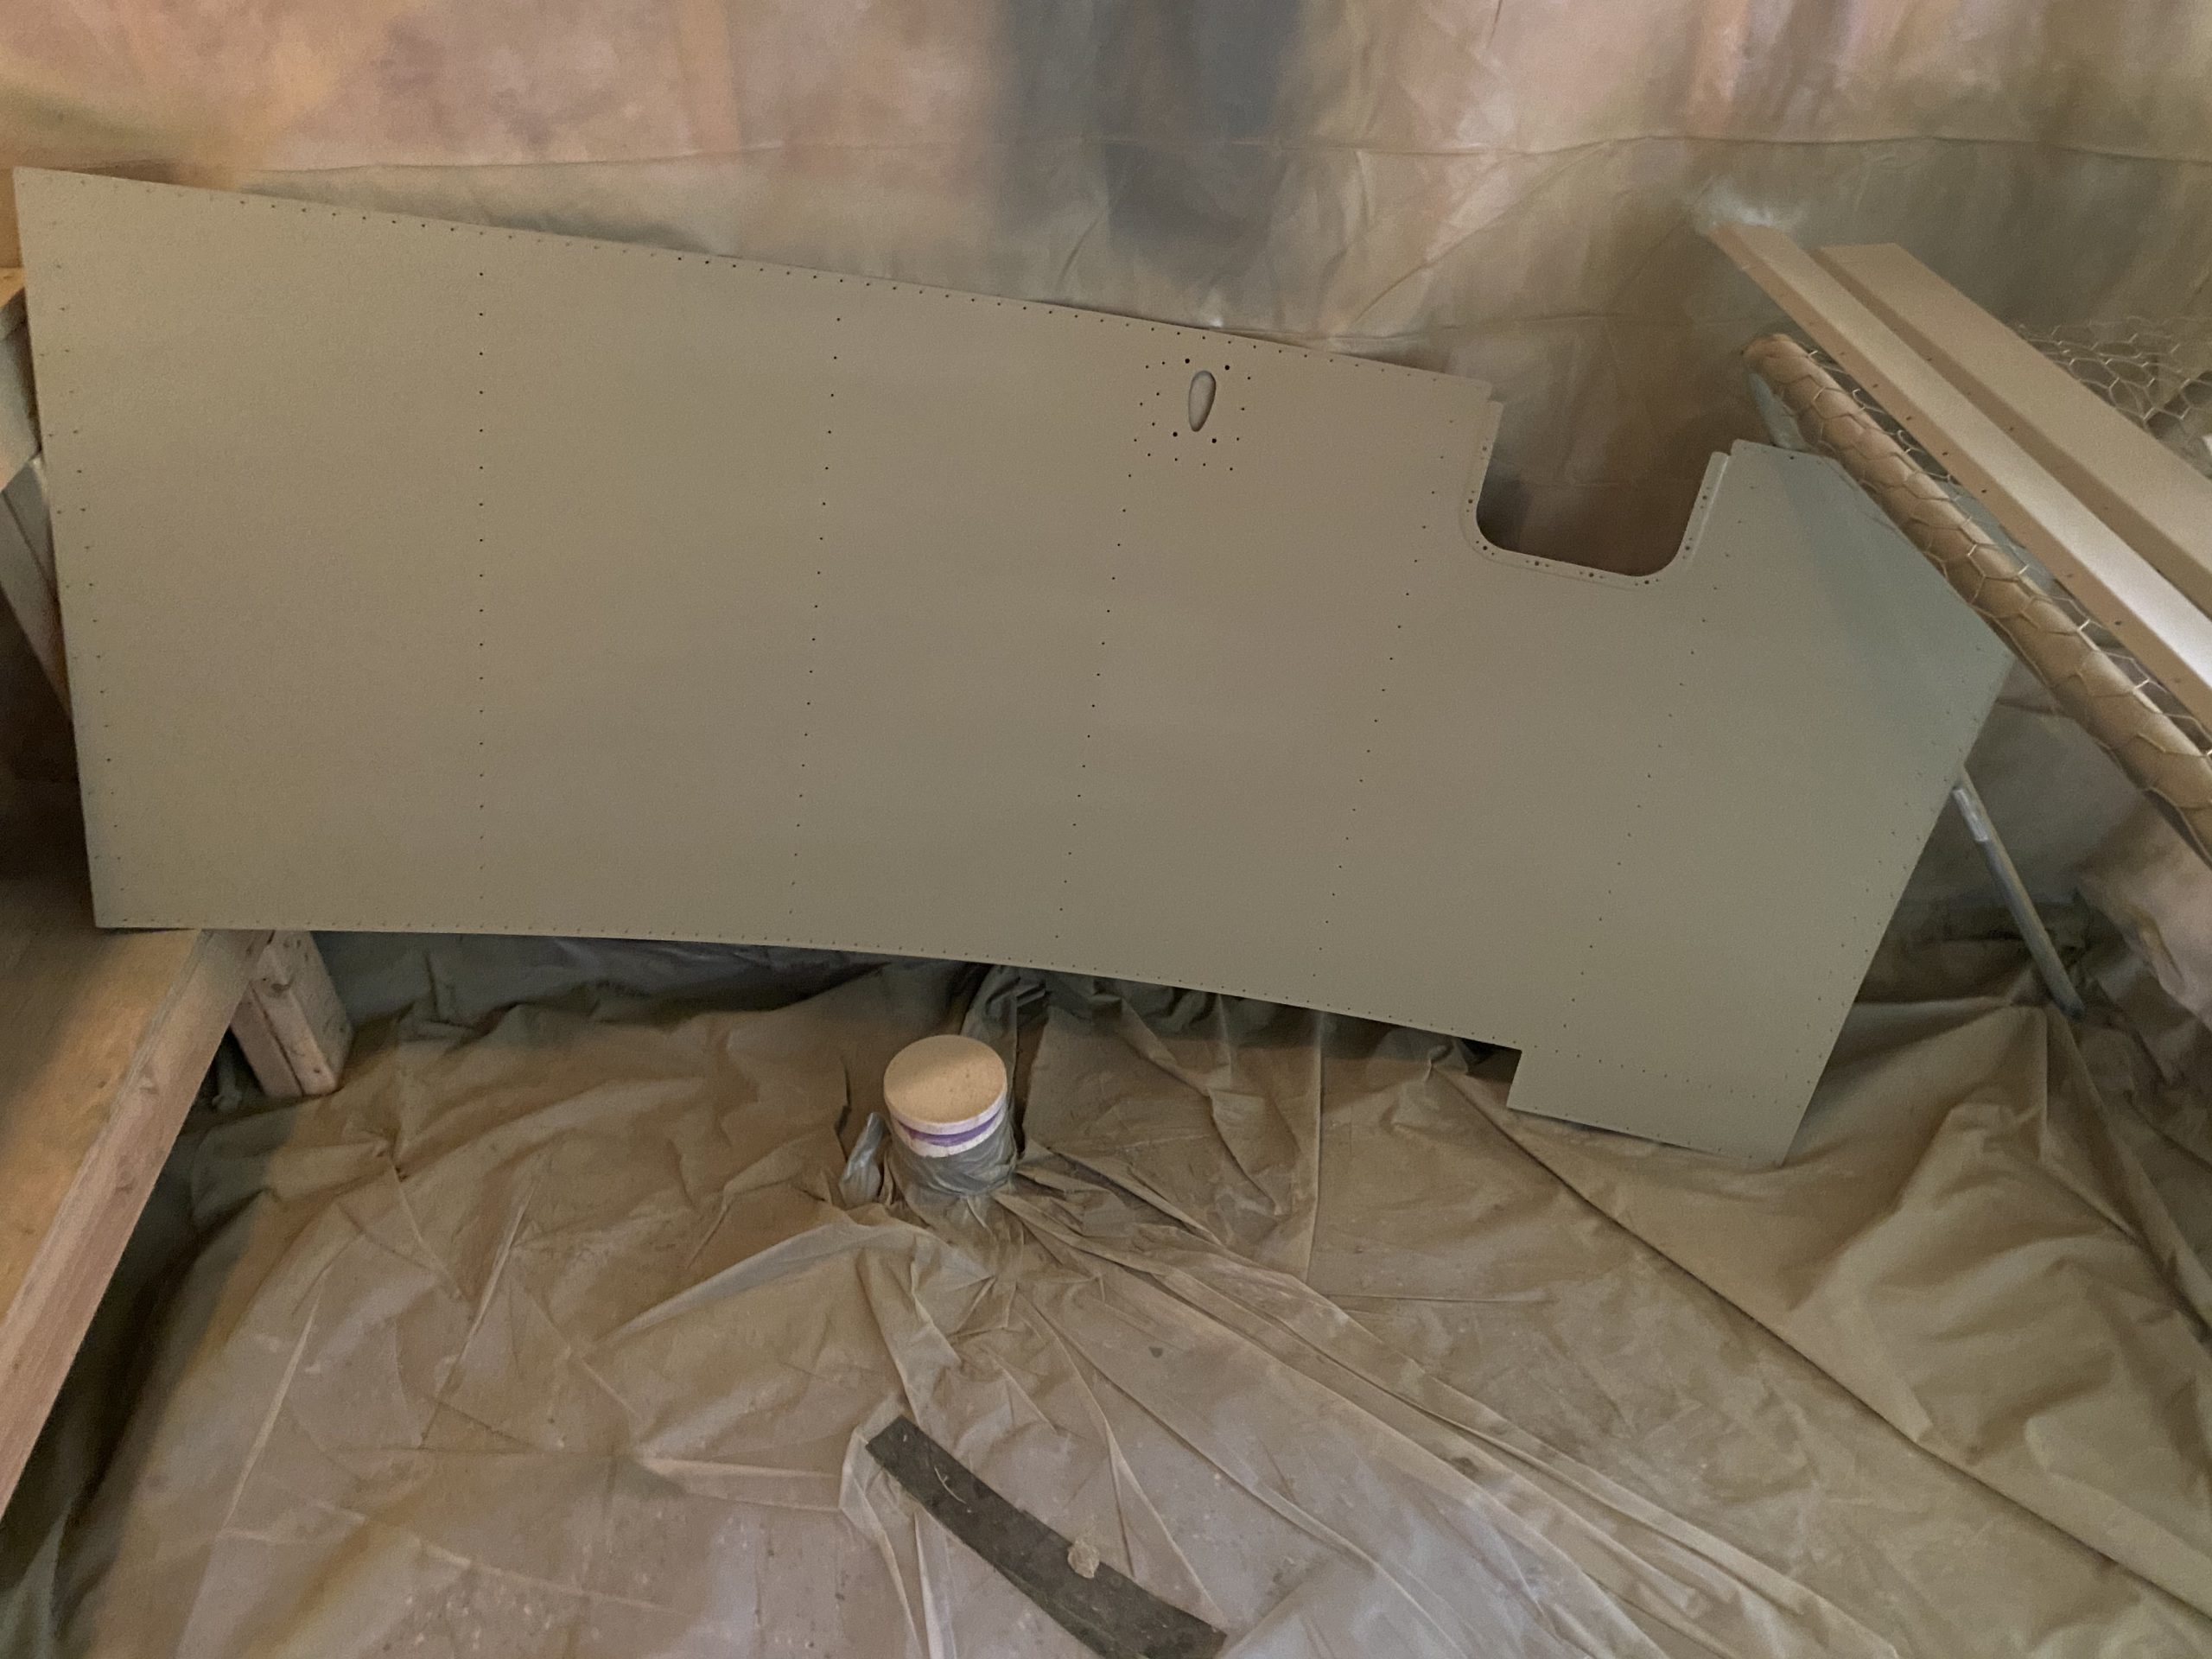
follow link Another BIG work session done with the help of my wife Tammy! We managed to get all the bottom skins, aileron brackets, pitot parts, flap braces, and aileron seals primed during this work session. I thought I captured two time lapse videos, but I must have bumped the camera on one of them. Here’s the overhead view:
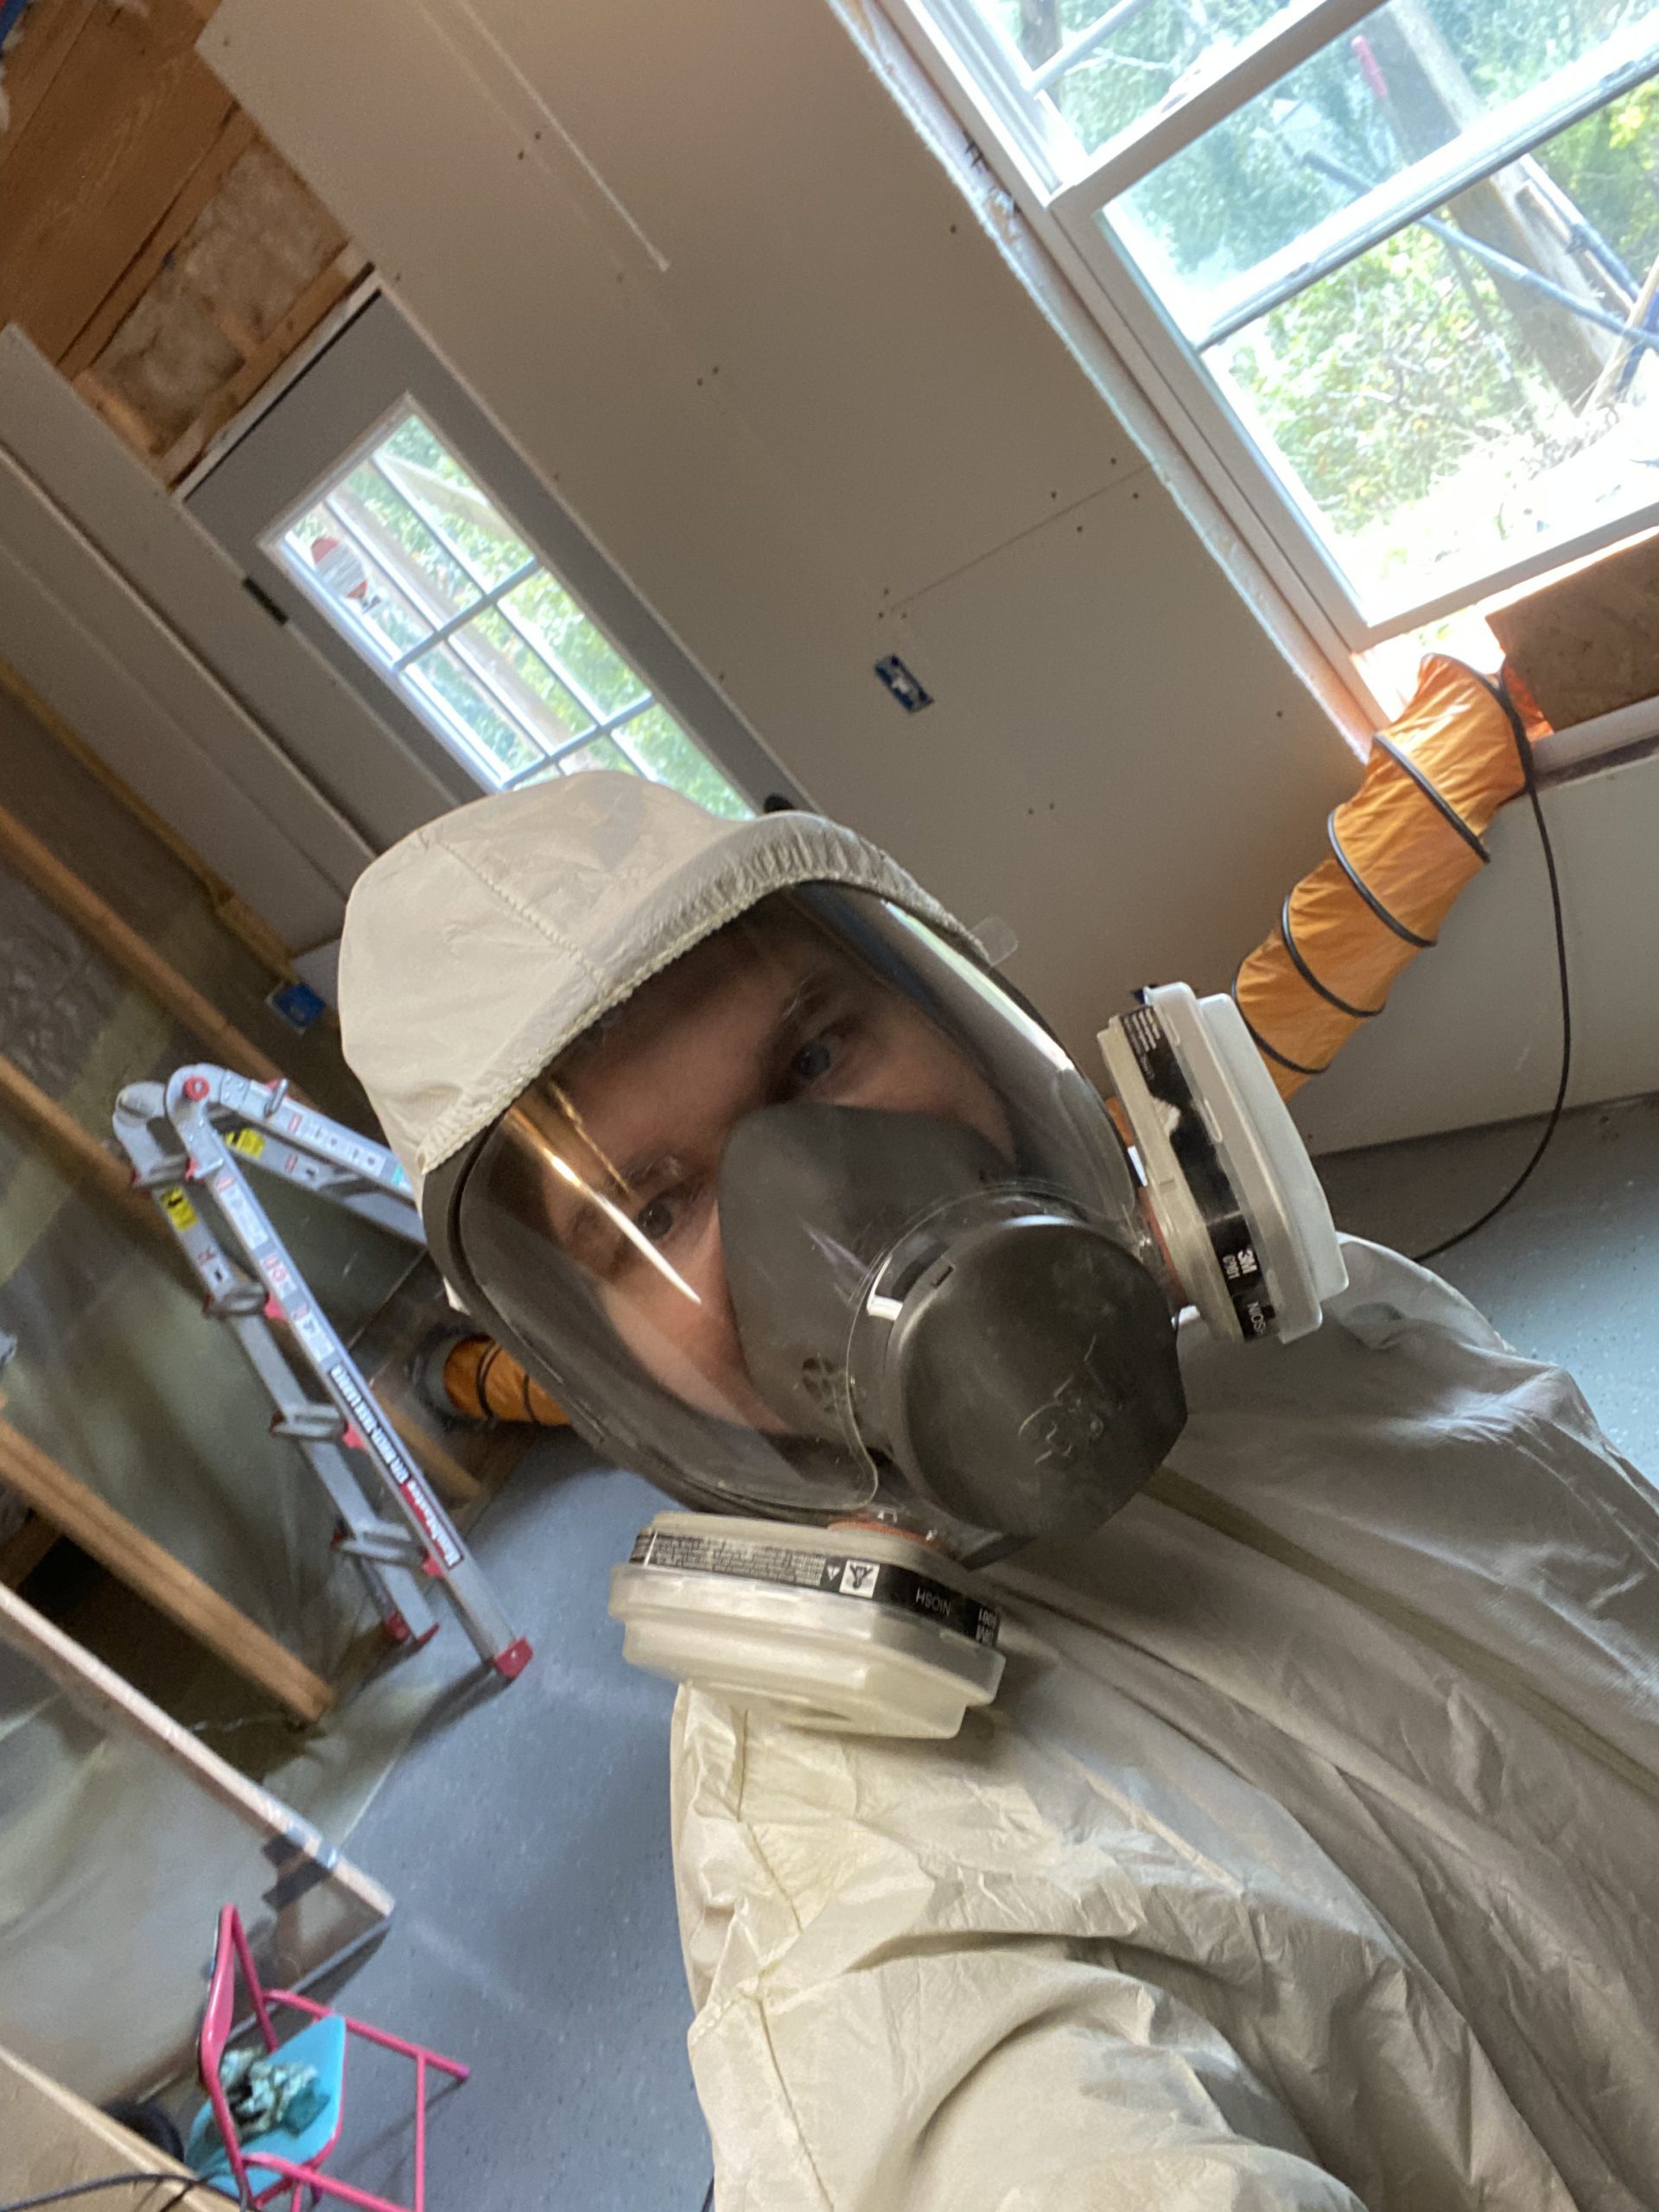
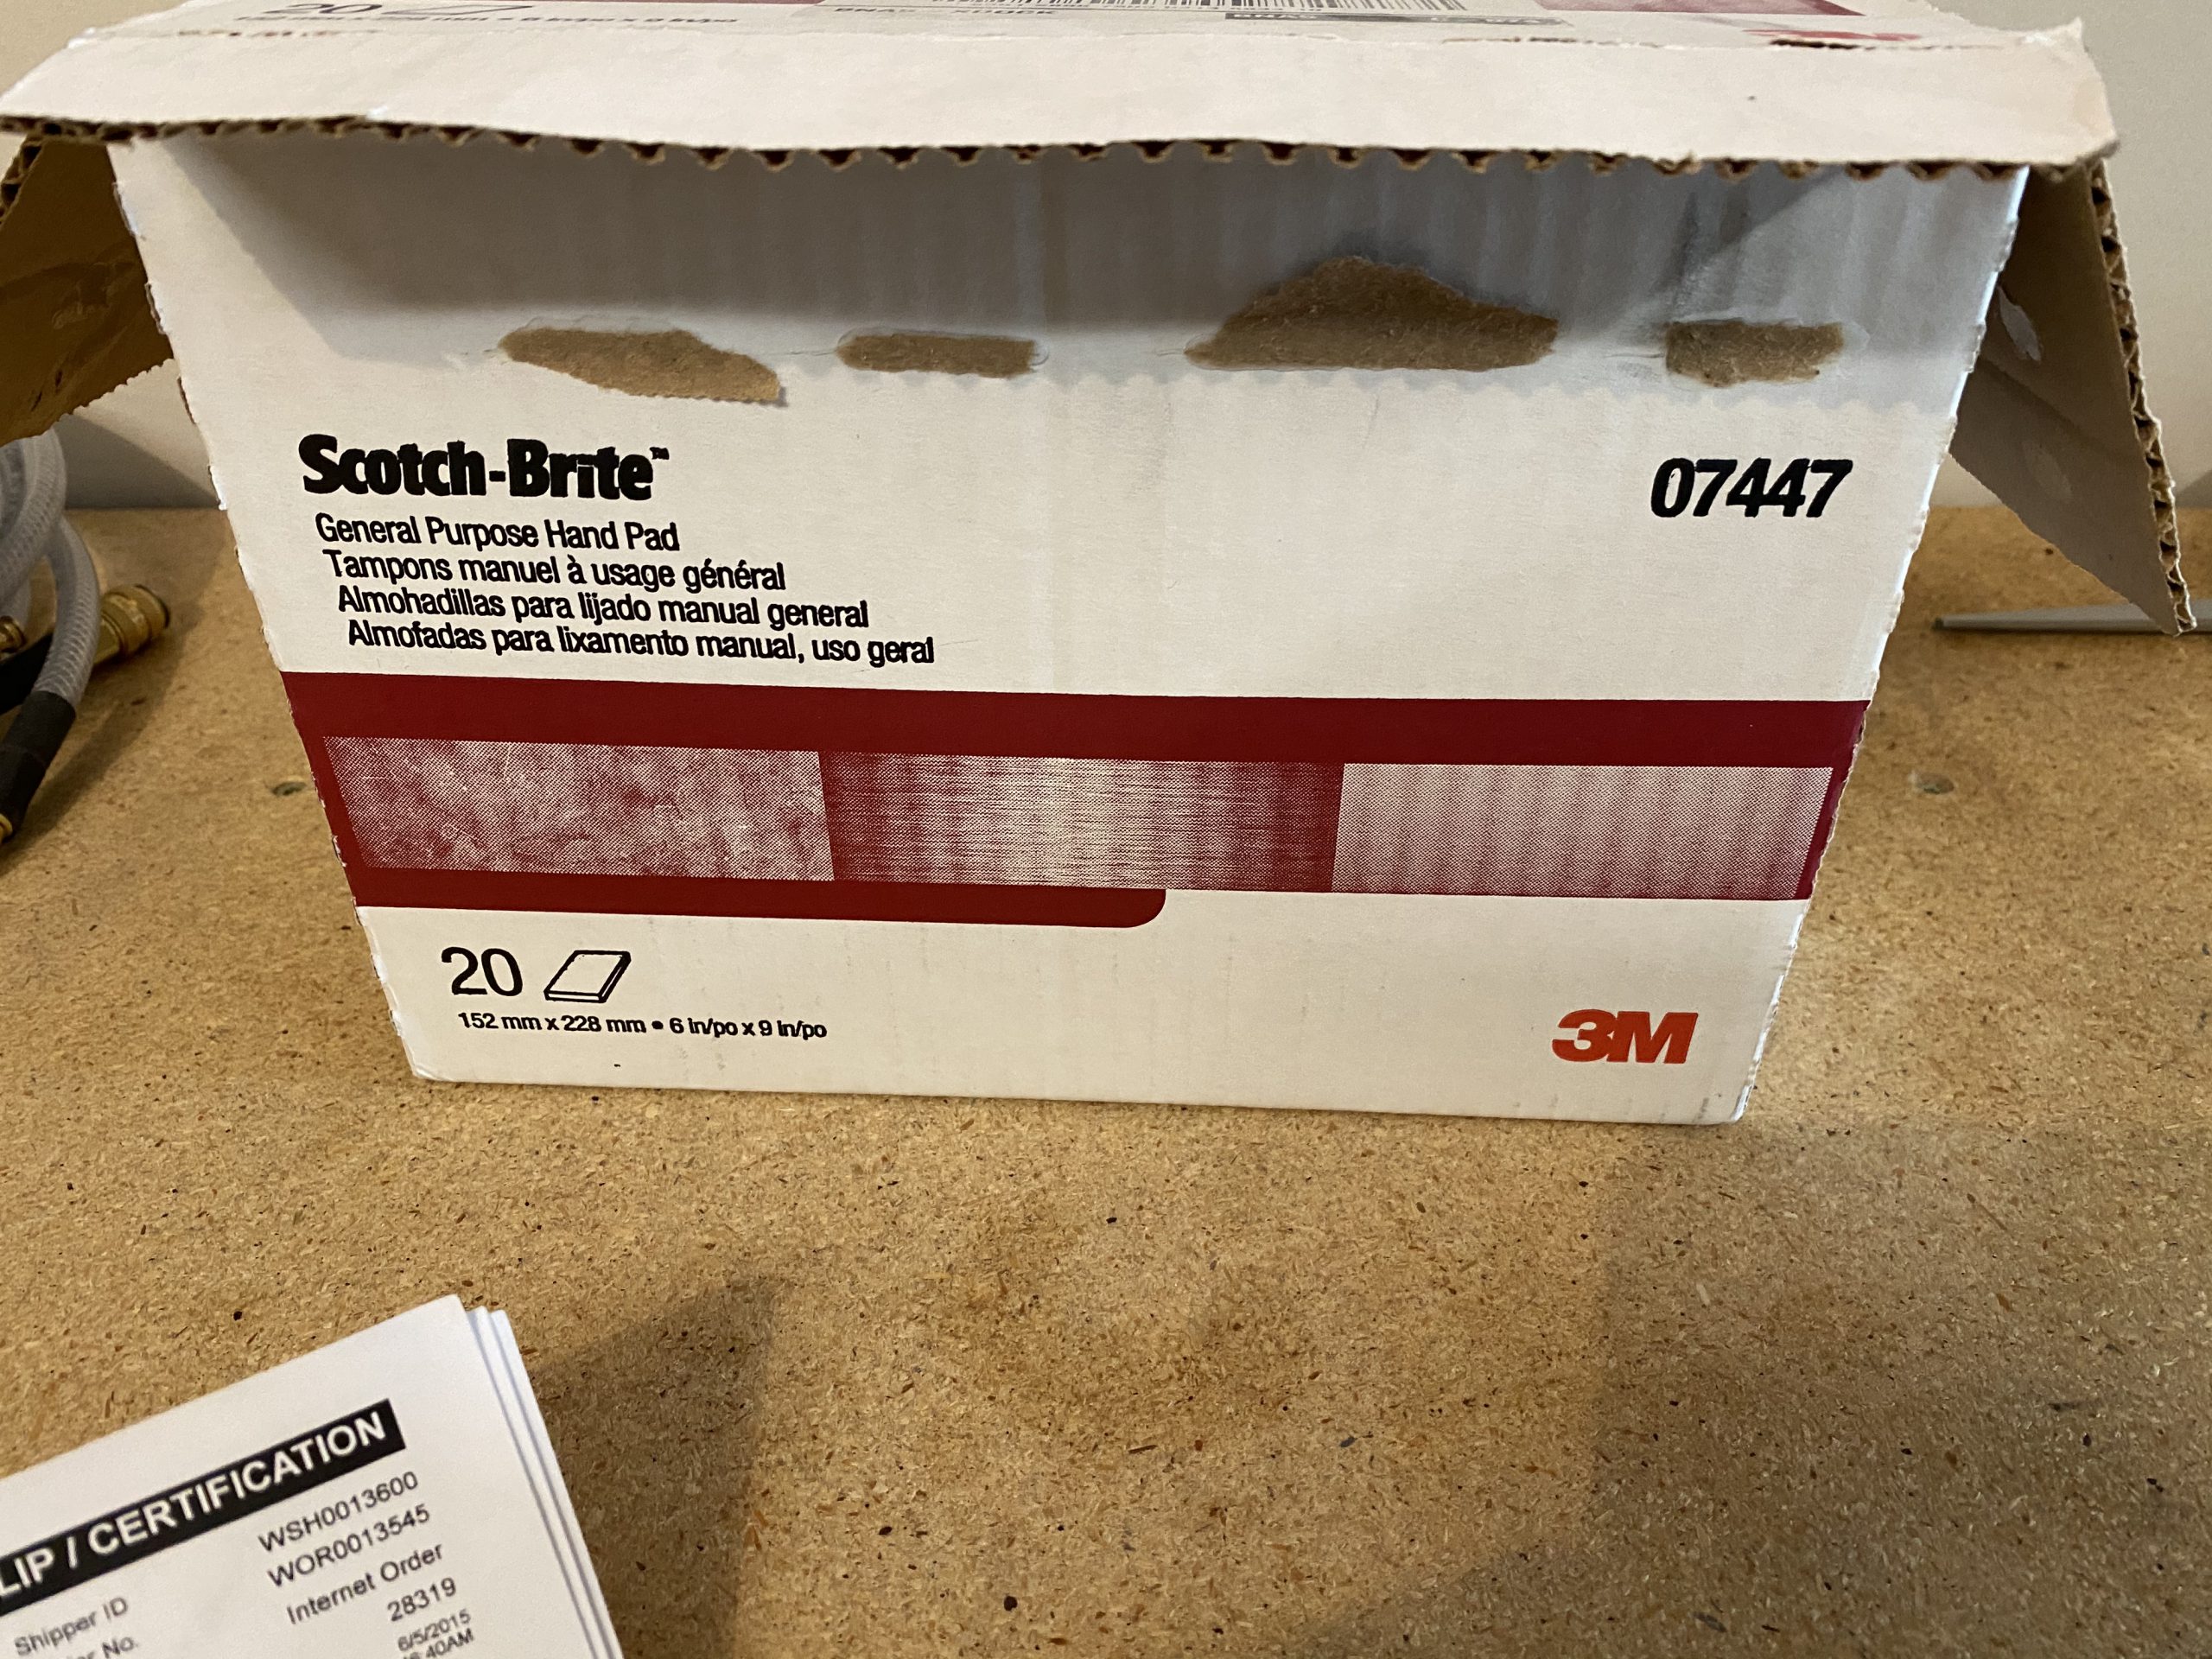
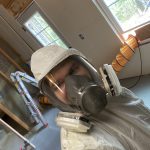
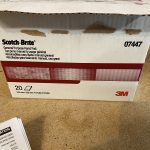
Order Tramadol Overnight We started the session by scuffing the parts with scotchbrite. Tammy did the flap braces and aileron seals, while I focused on the bottom wing skins. I used a orbital sander with a scotchbrite pad to make quick work of the skins, then did a little finishing work with a pad in my hand. Tammy got her parts scuffed and she went back upstairs, as the MEK and Acetone I use to clean the parts makes her woozy.
https://tuf-top.com/find-dealer/ 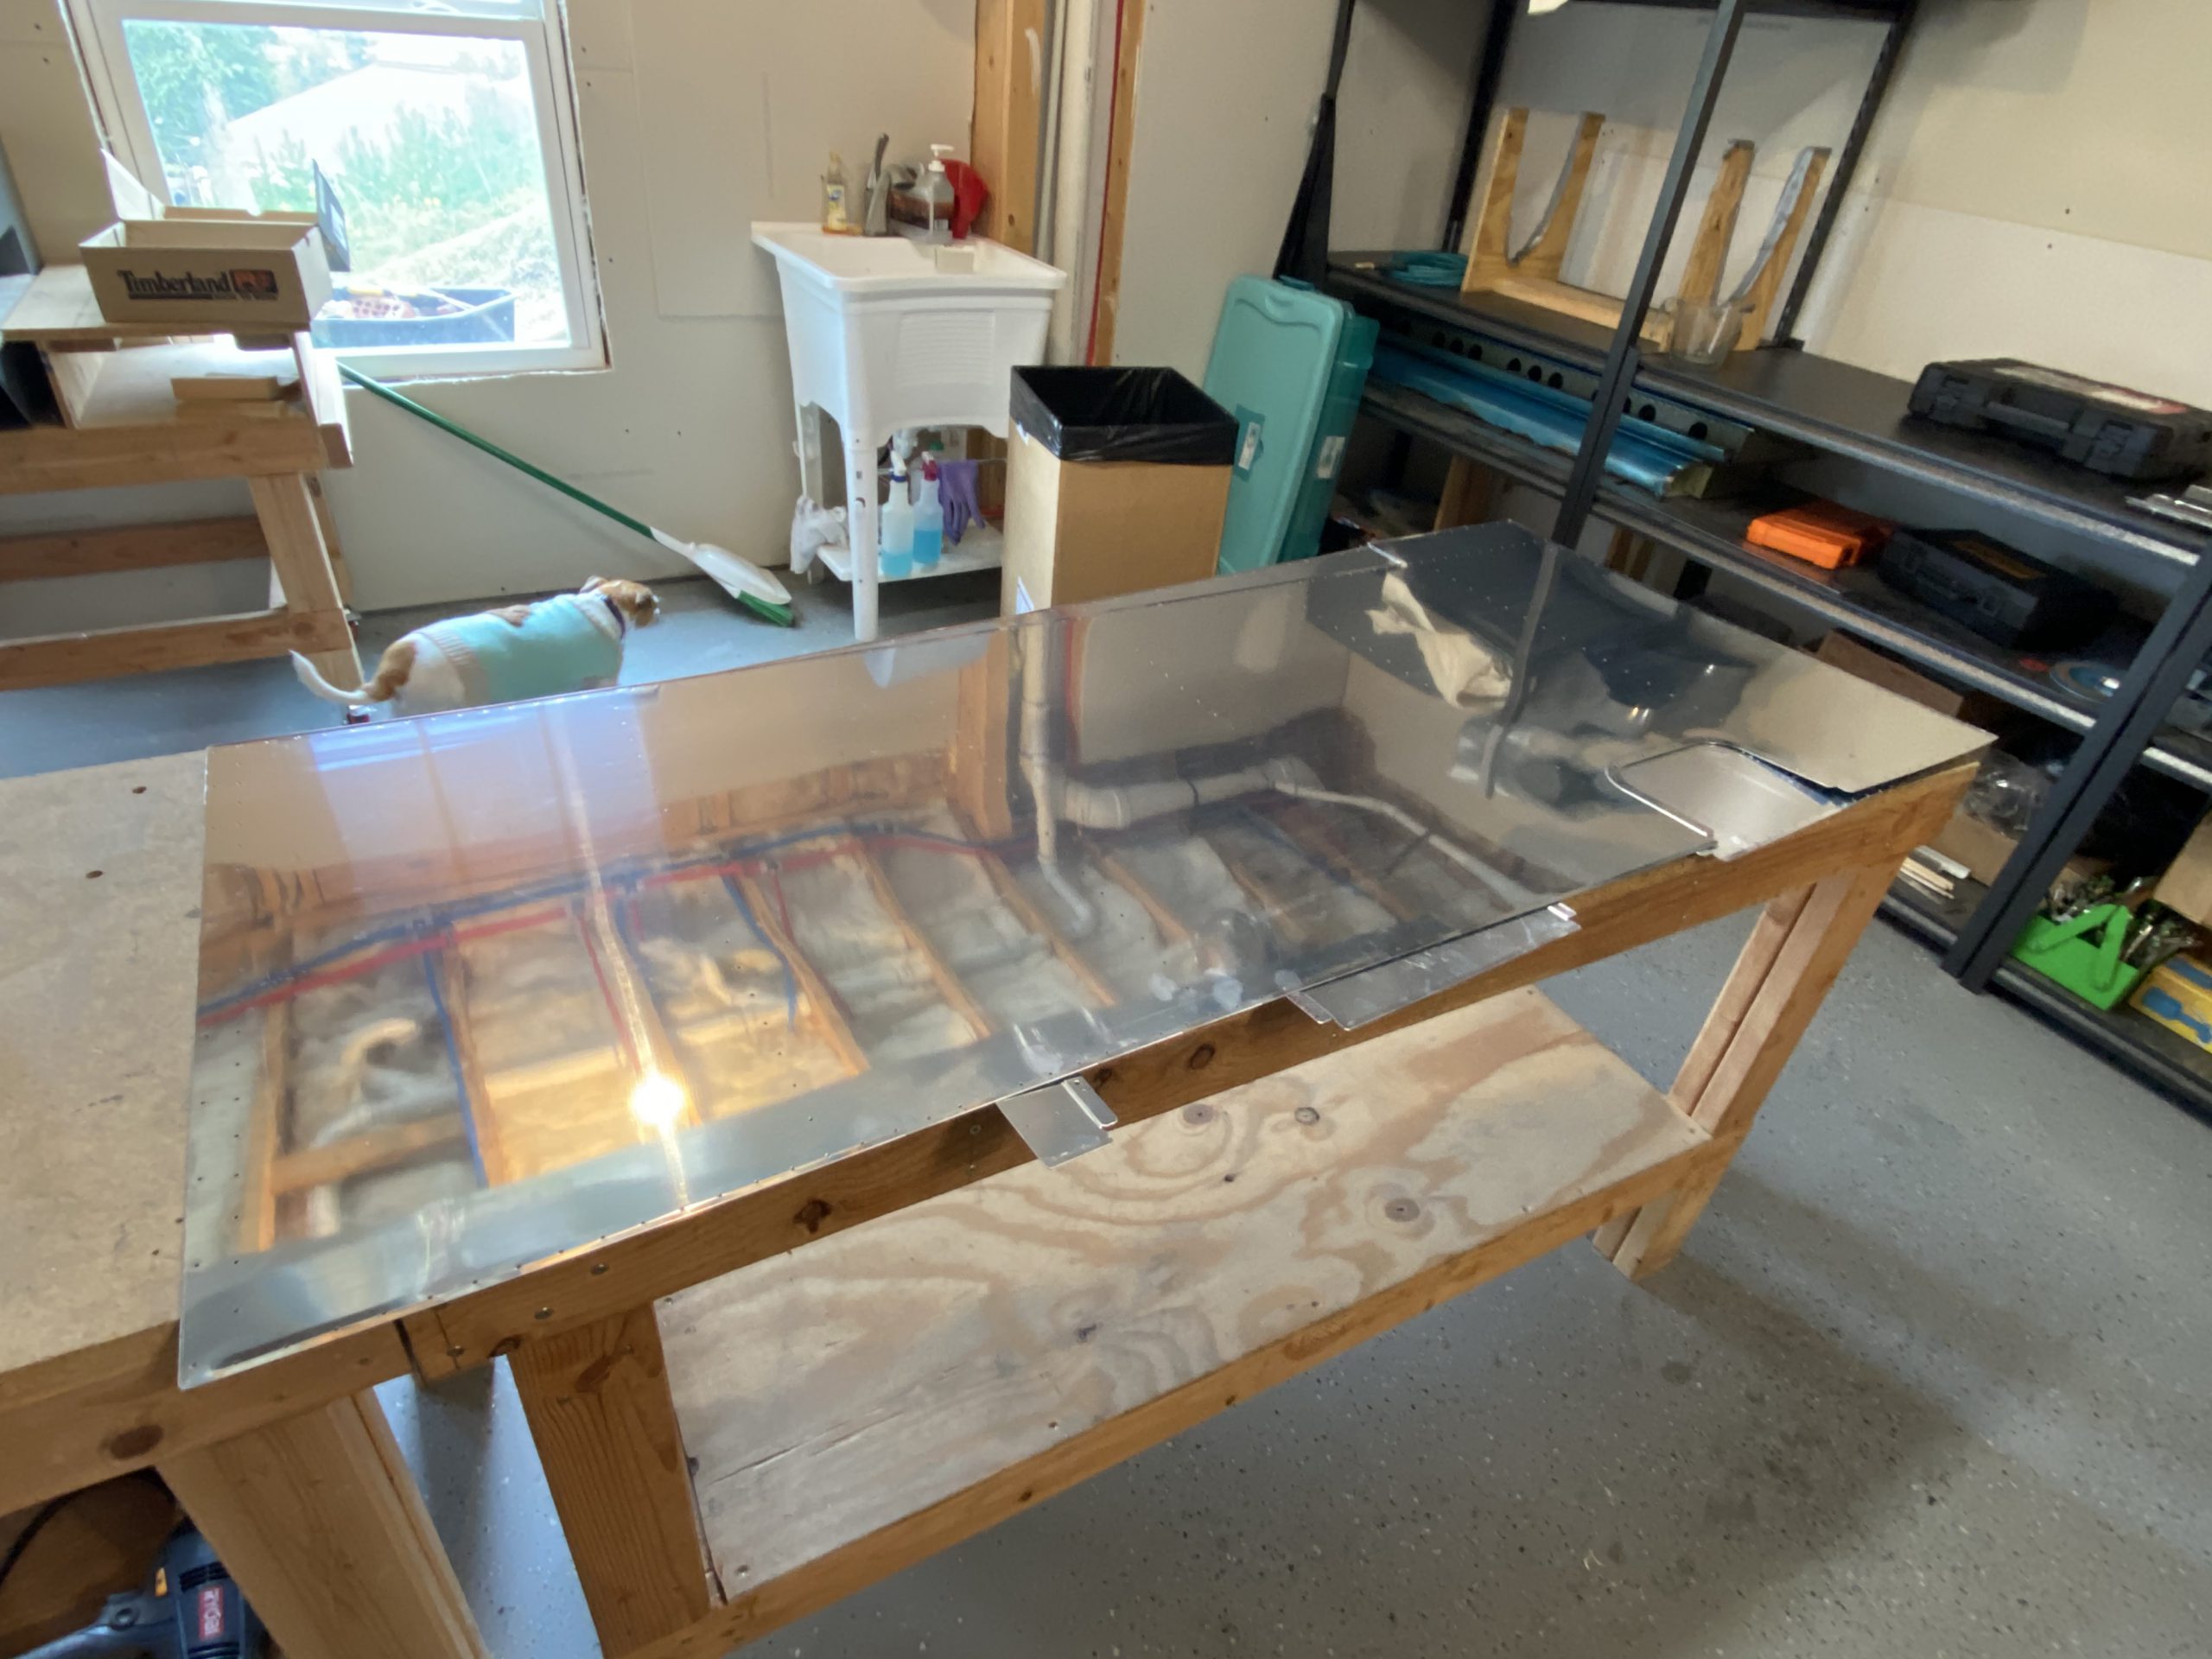
go to site Once we had all the parts scuffed, I moved them into the paint booth to help evacuate the fumes from MEK and Acetone outside using the ventilator fan. I cleaned all the skins, flap braces, ailerons seals and brackets, and the few little pieces of the pitot mast with MEK first, following that up with Acetone until the paper towels came up clean.
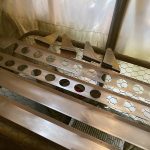
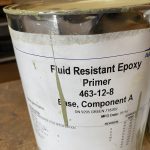
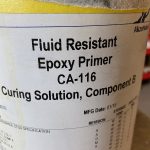
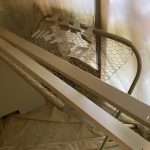
Buy Ultram Online About halfway in the cleaning process, I mixed up the last remaining bits of my AKZO. I had enough to mix up a full 3m PPS cup (10 ounces?), and then about 4 ounces in a second cup. I went ahead and mixed up every last drop I had, as these were the last parts I’ll be spraying with AKZO, and no sense in leaving a few ounces in the can for months. I let it sit to kick for its 30 minute induction time, which worked out pretty nicely time wise. While it was inducting, I laid out all my parts for spraying:
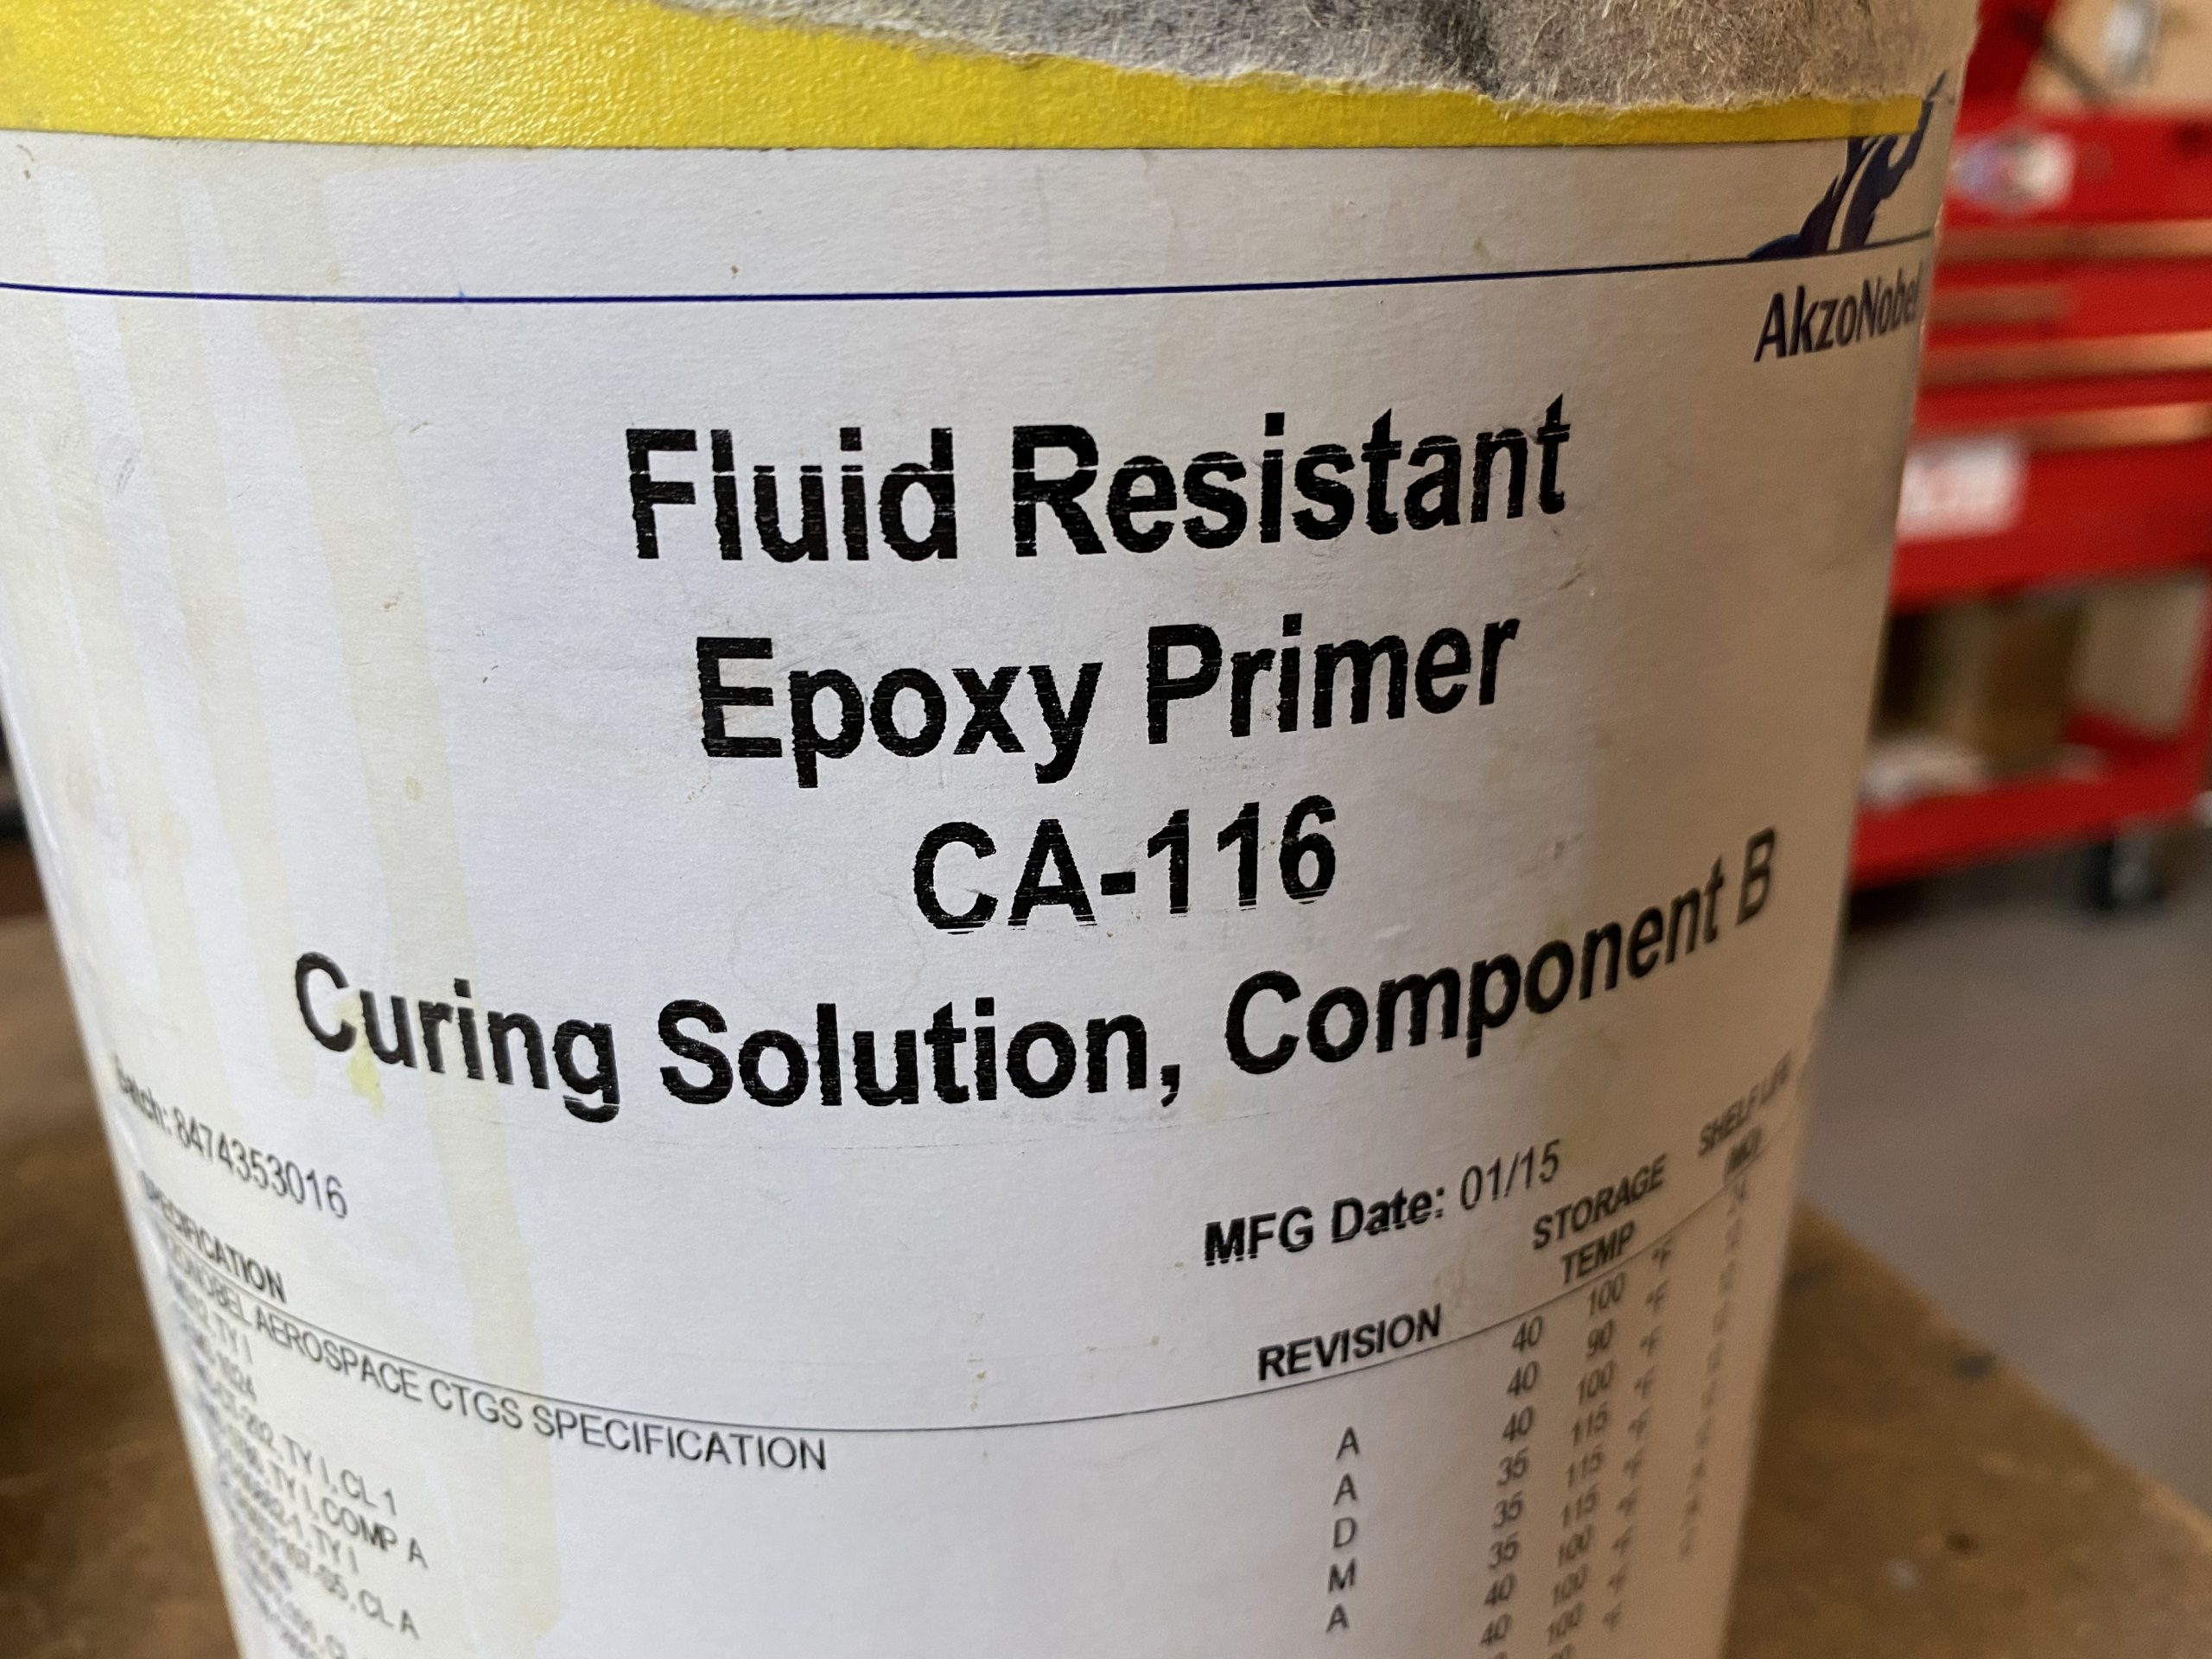
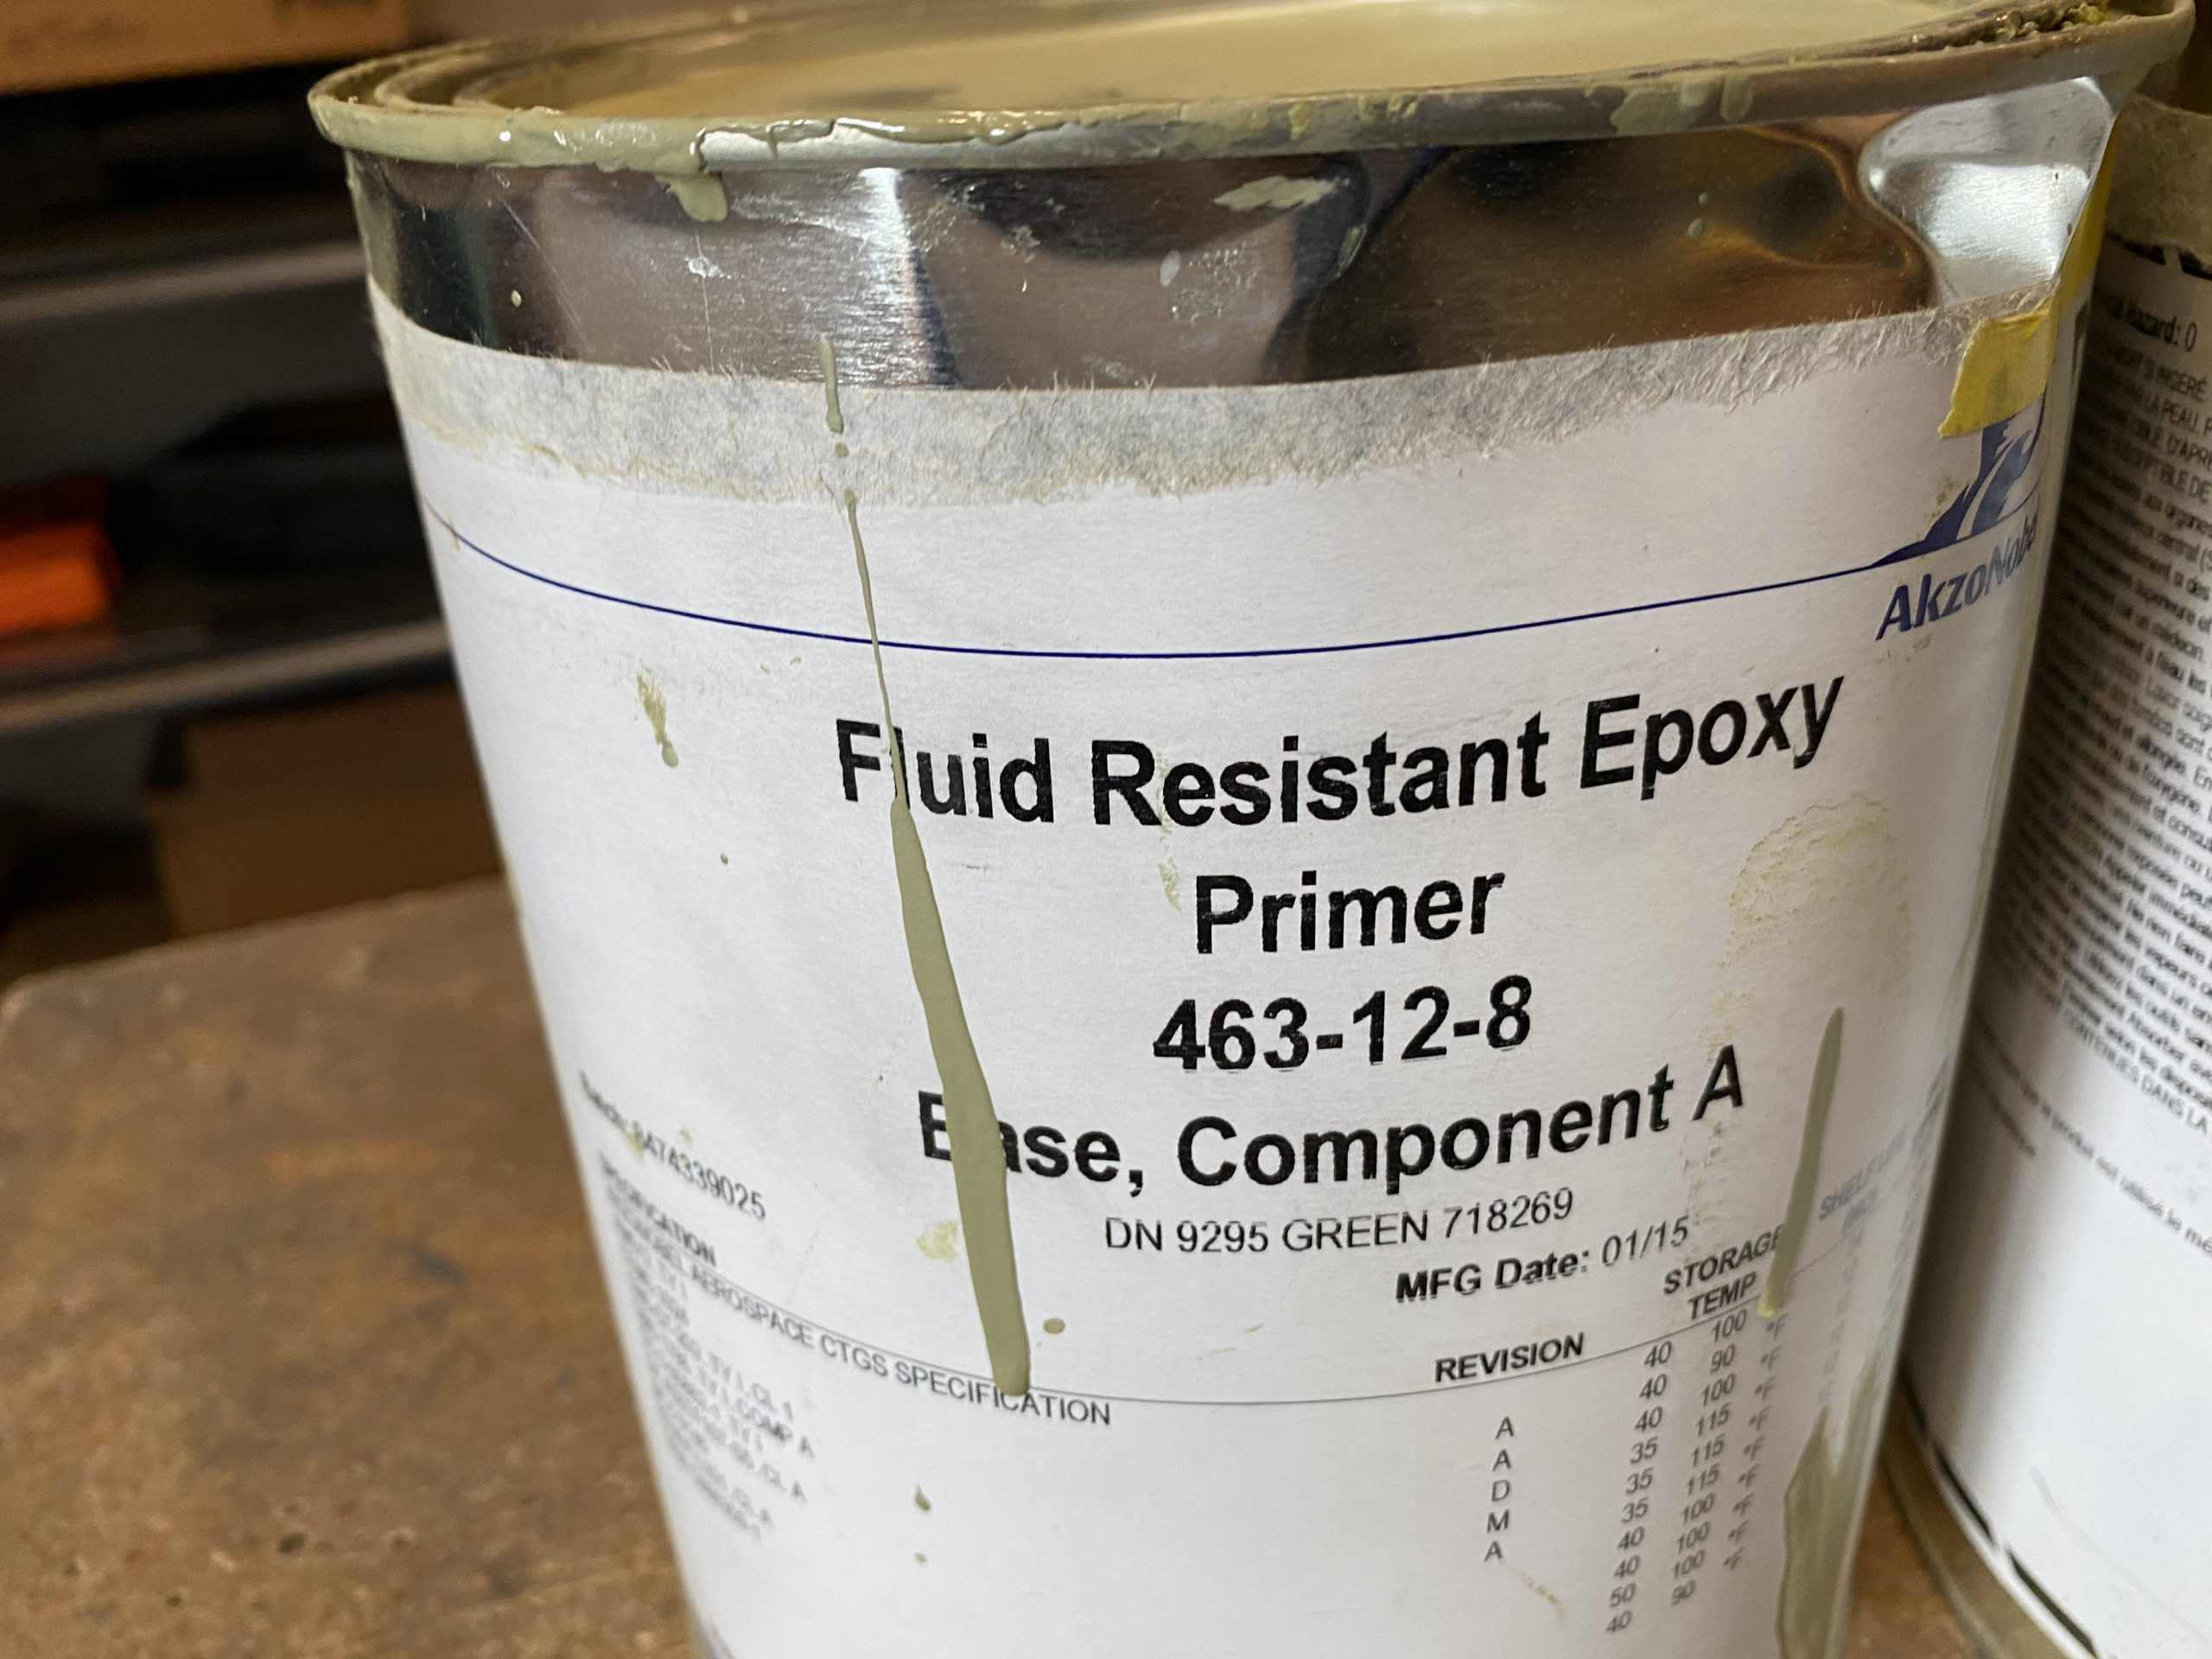
Order Tramadol Overnight Here’s the empty cans of AKZO, for my future reference on what I need to re-order 🙂
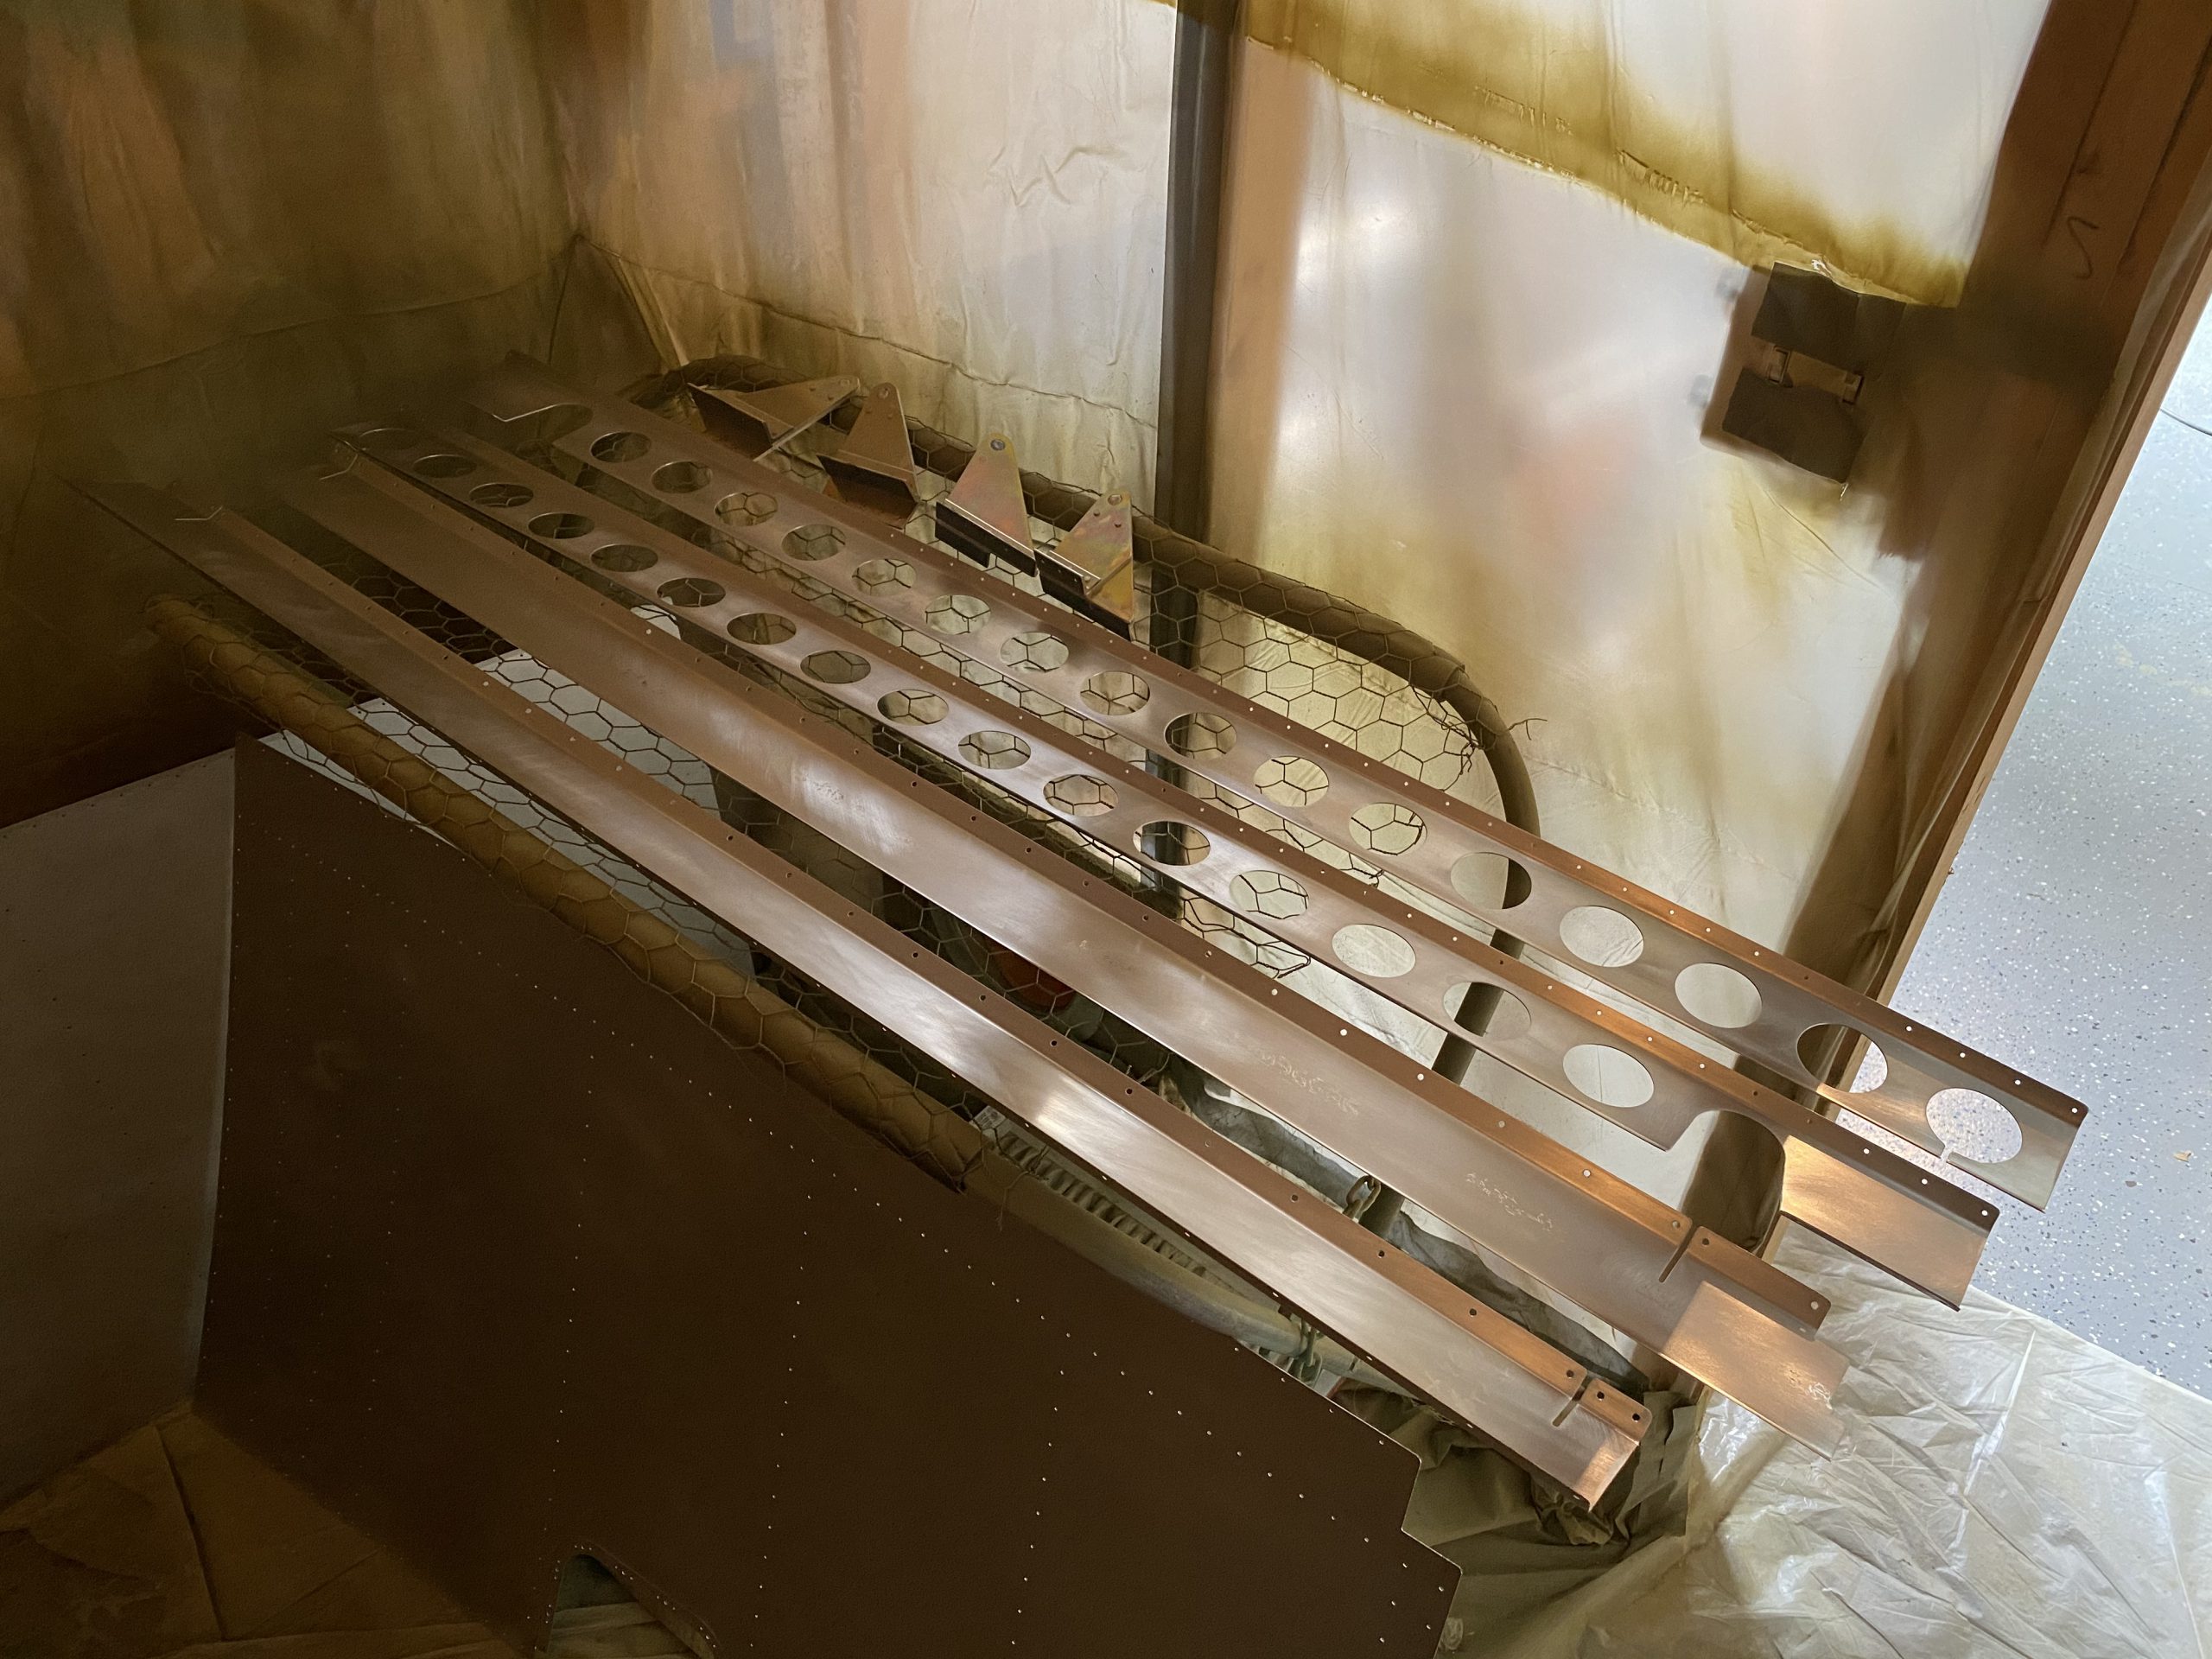
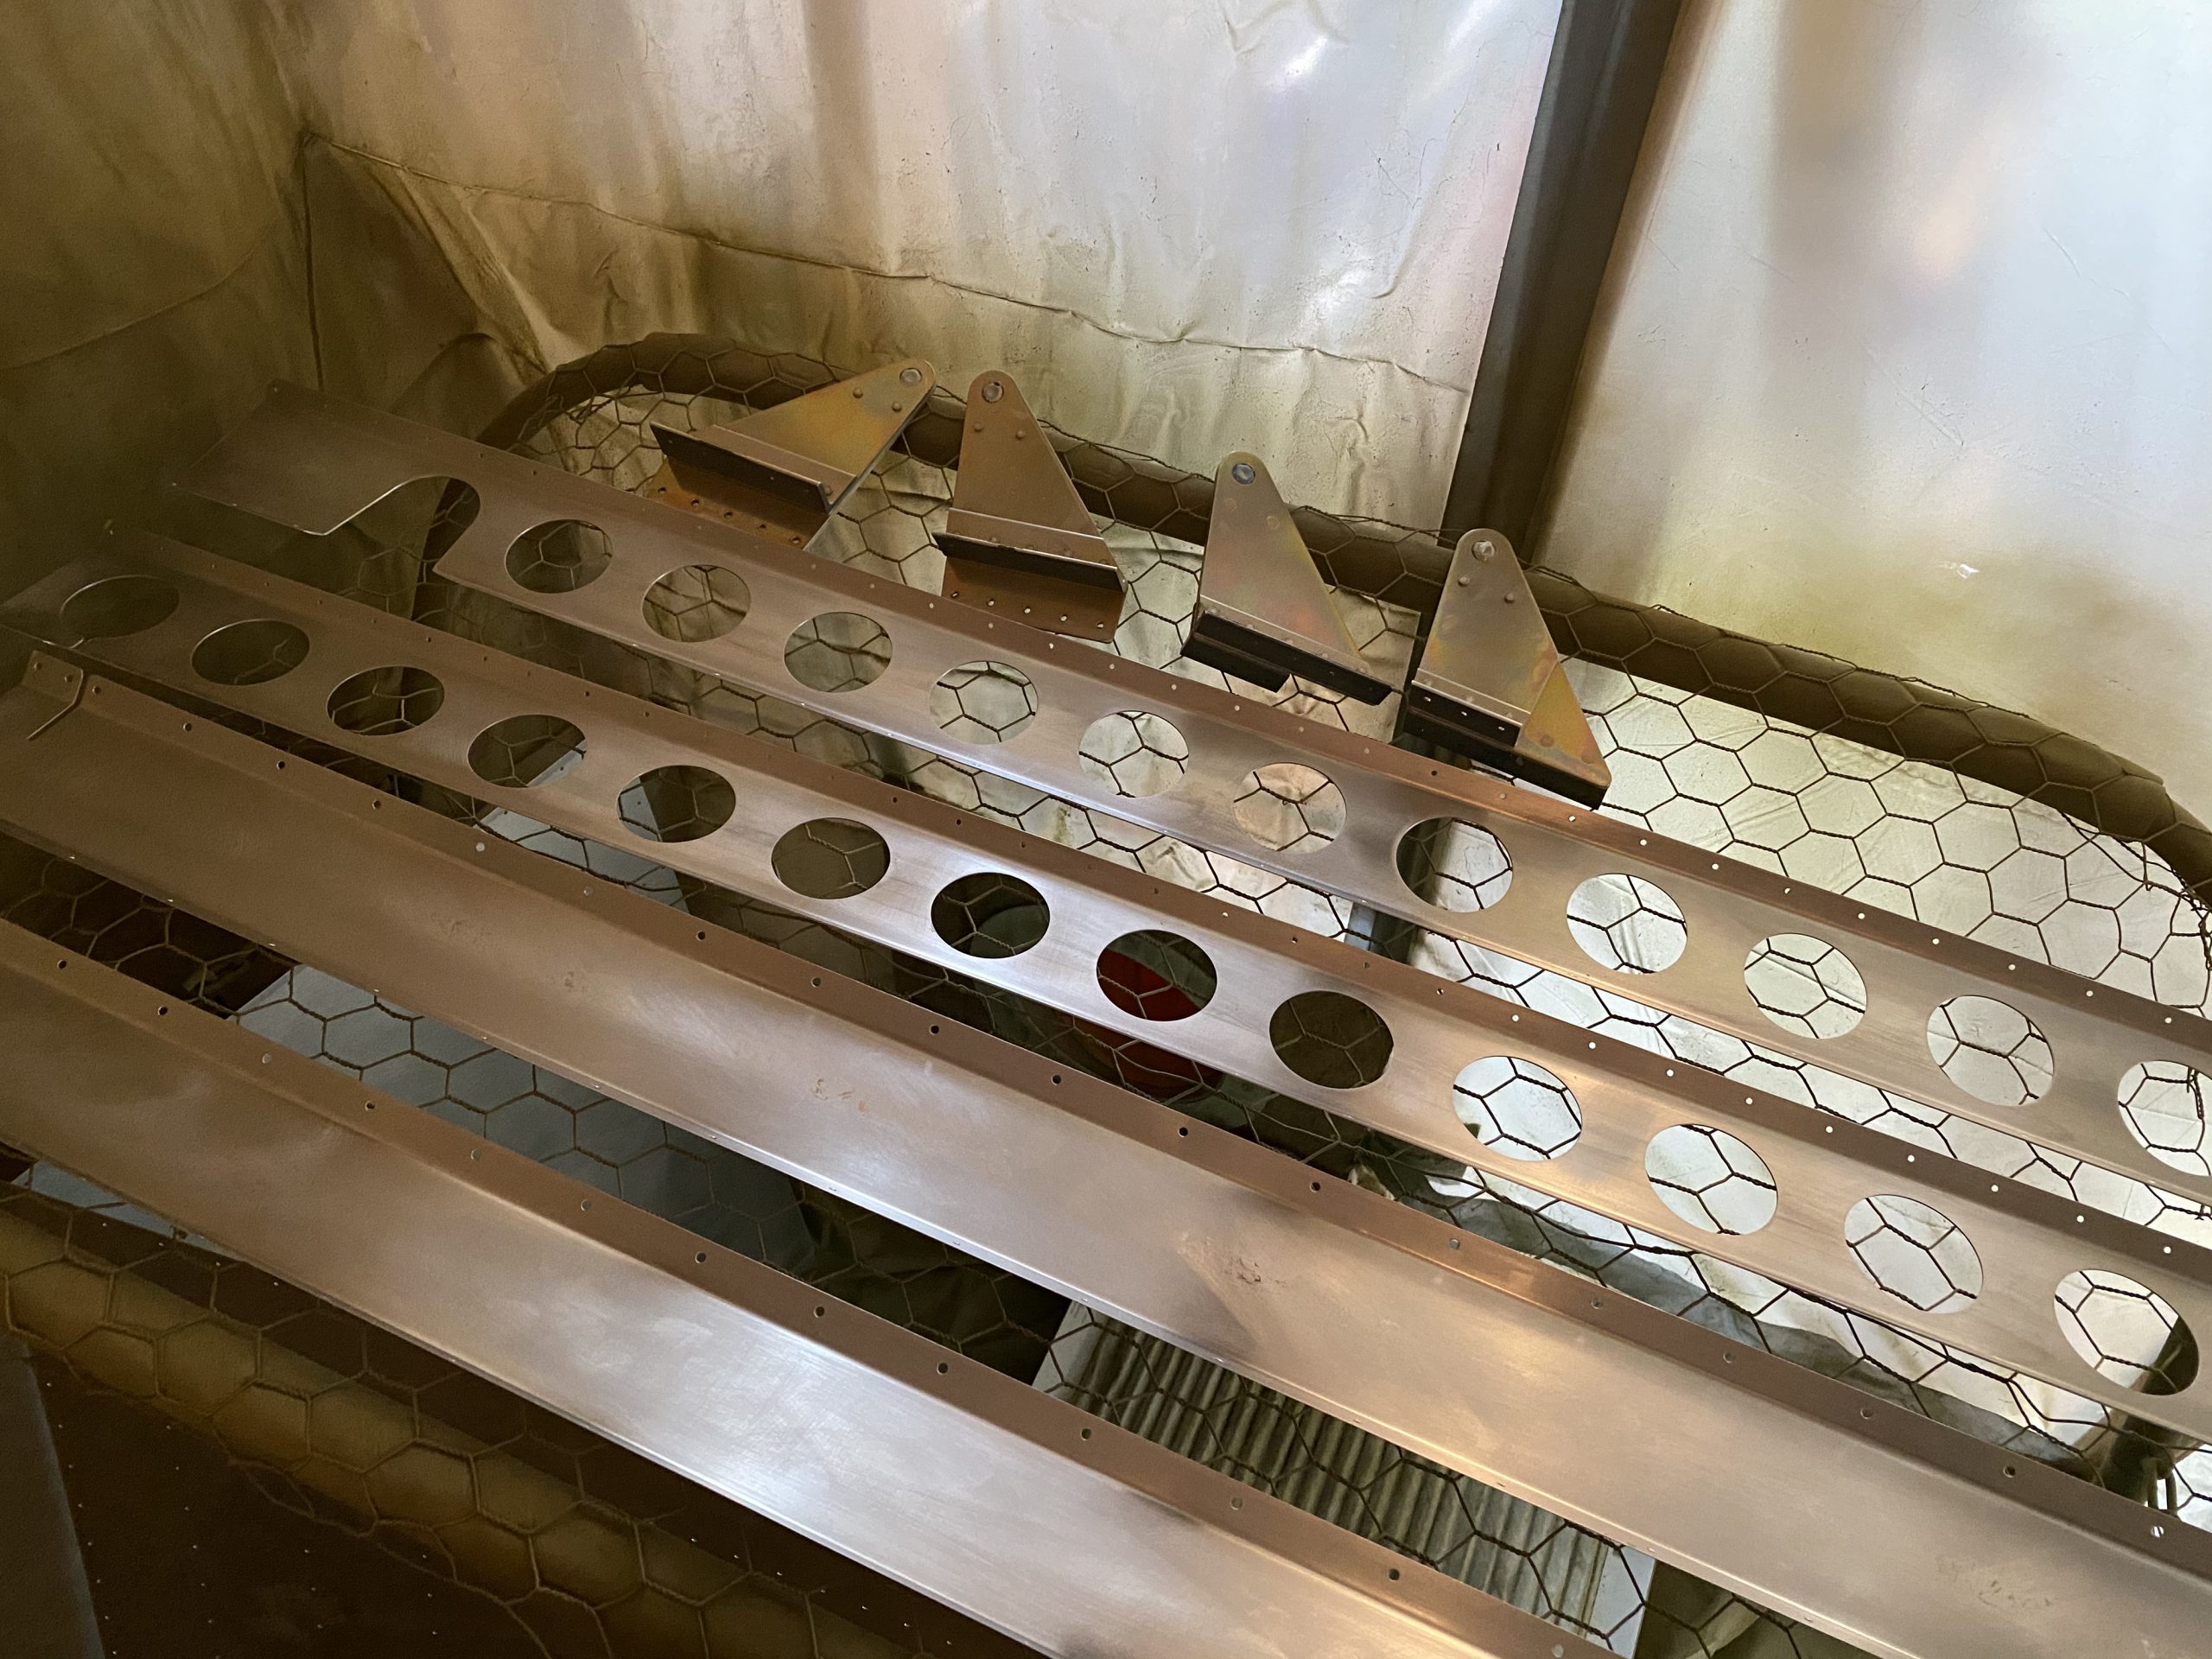
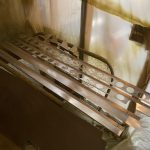
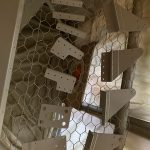
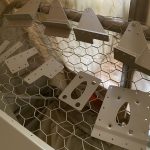
here After I got the flap braces, and aileron seals and brackets sprayed, I still had plenty of AKZO let in my gun, so I decided to go grab my pitot mast, and the aileron bracket doublers to get them sprayed too. They were cleaned with acetone, and were already alodined, so they were ready for priming. I laid them on the wire mesh and gave them a good coating of primer:
https://www.maderaplasticabarahona.com/madera-plastica/ 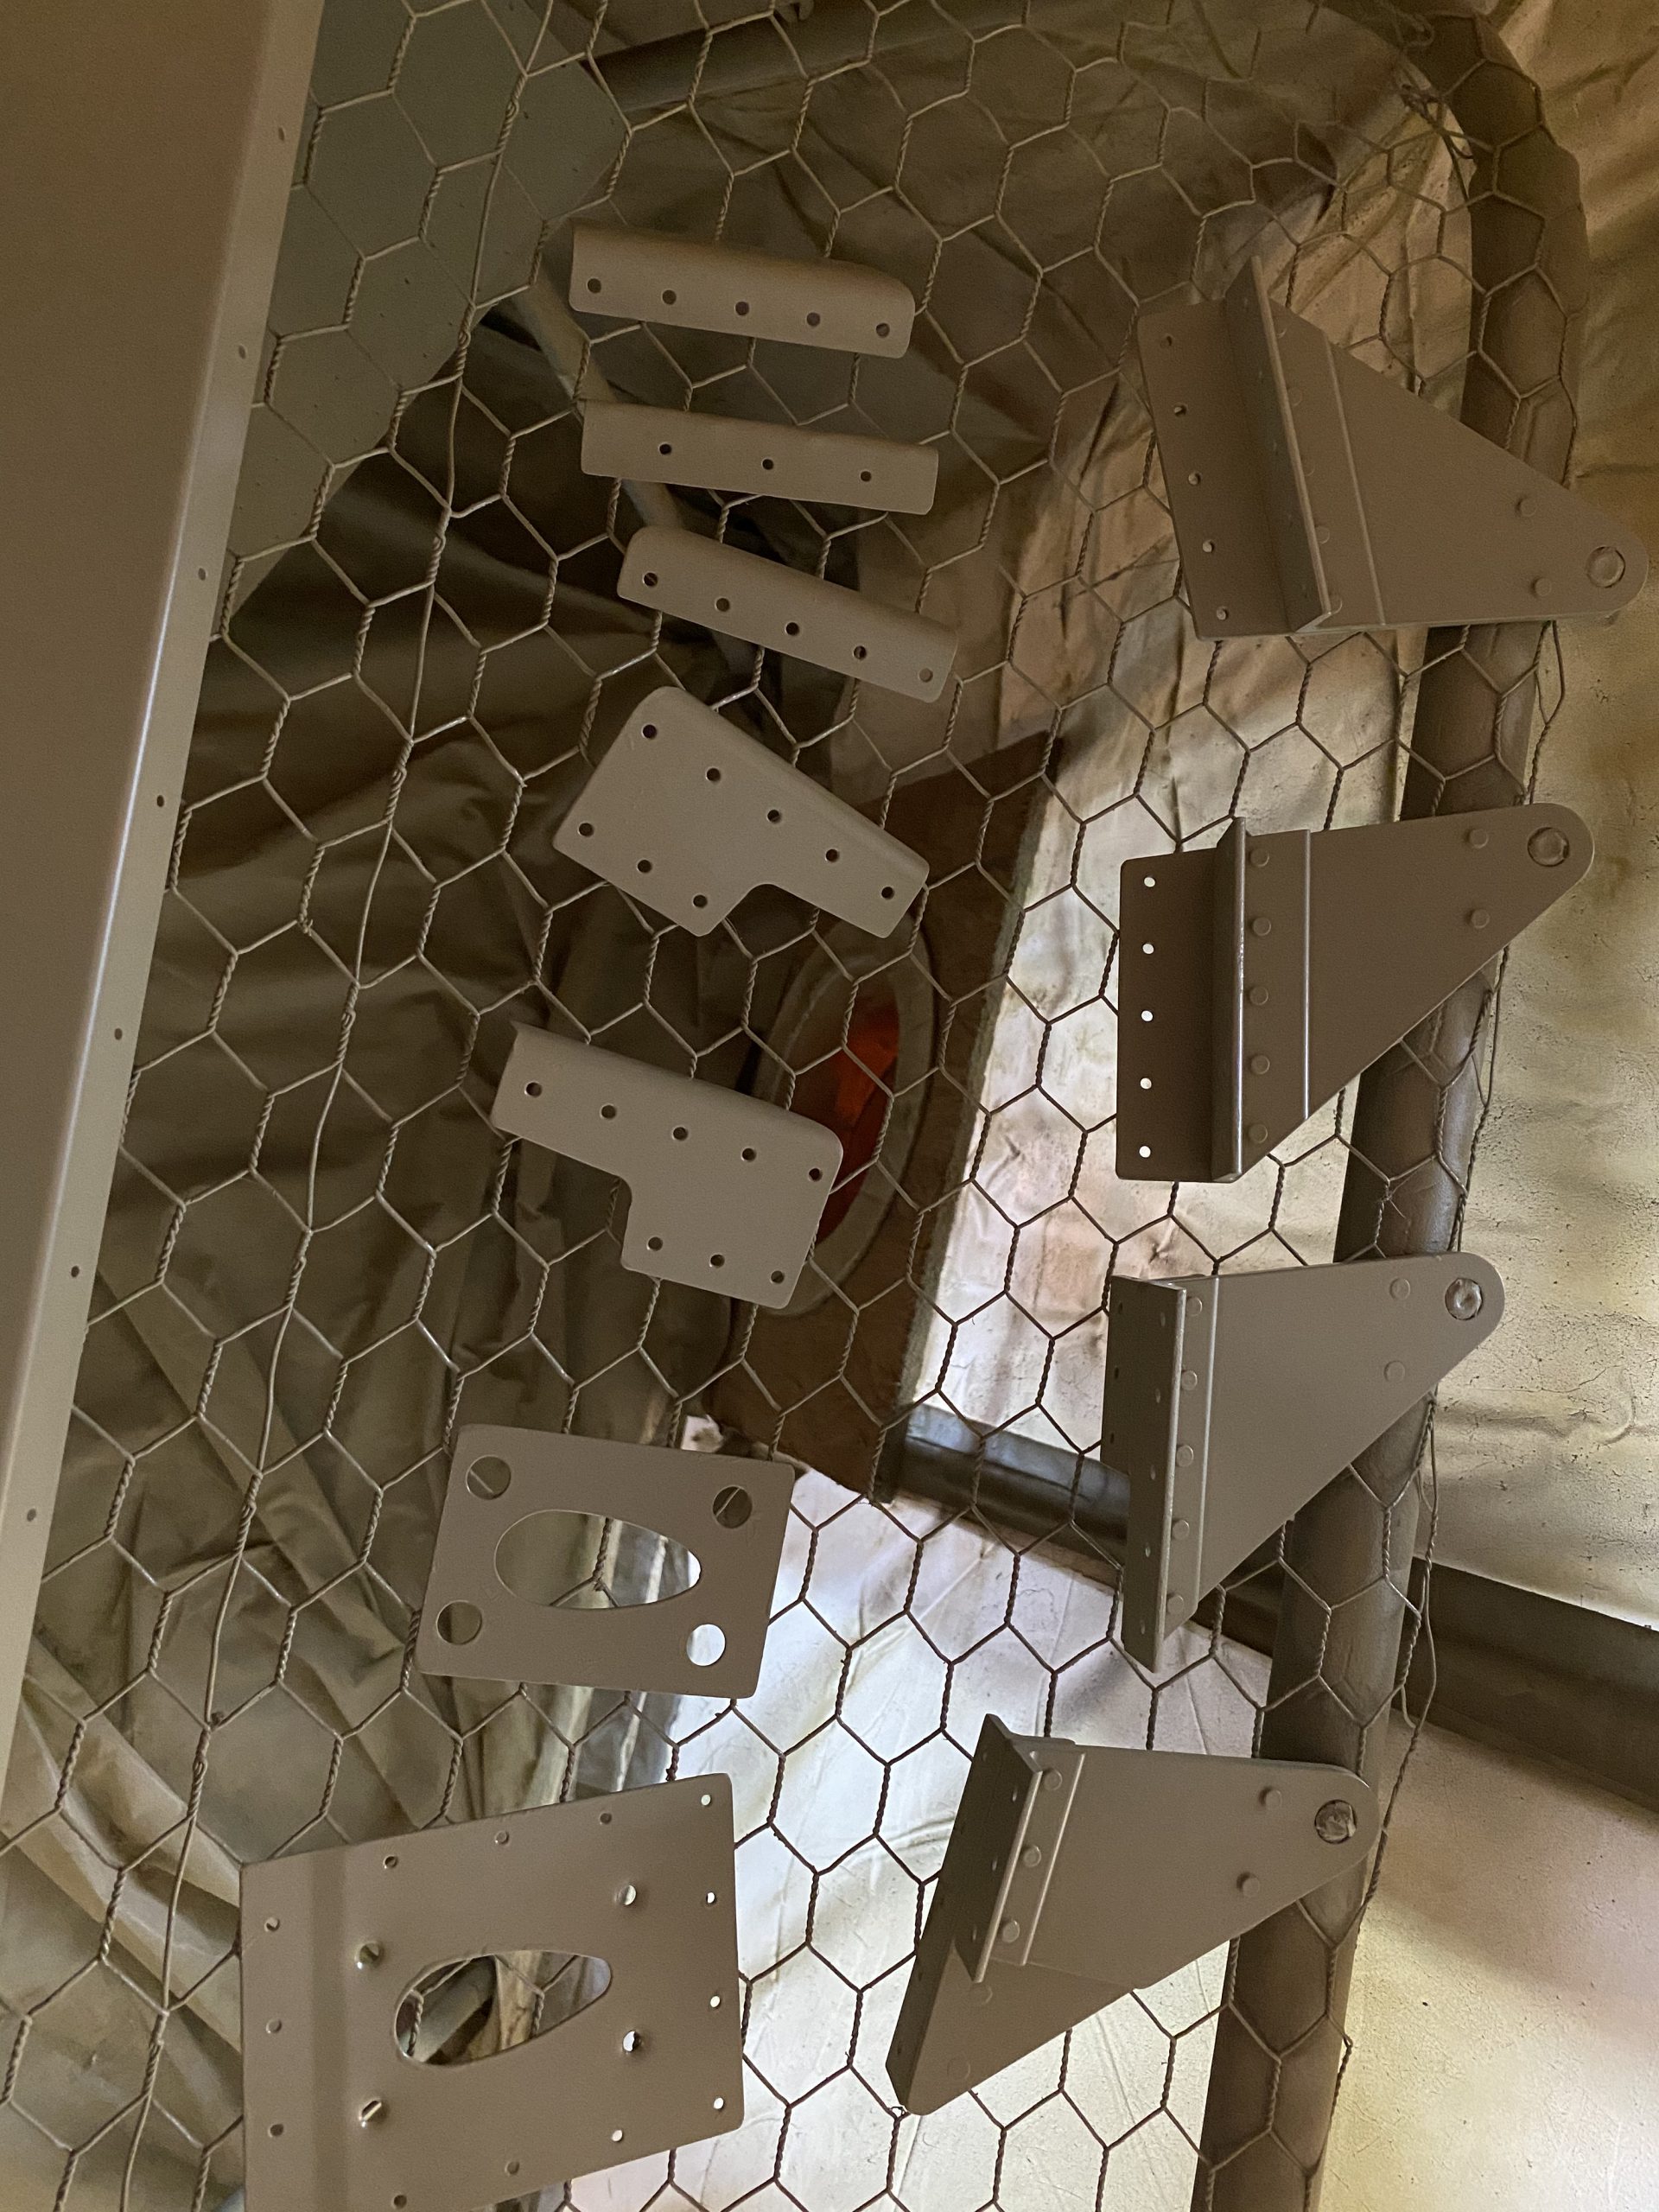
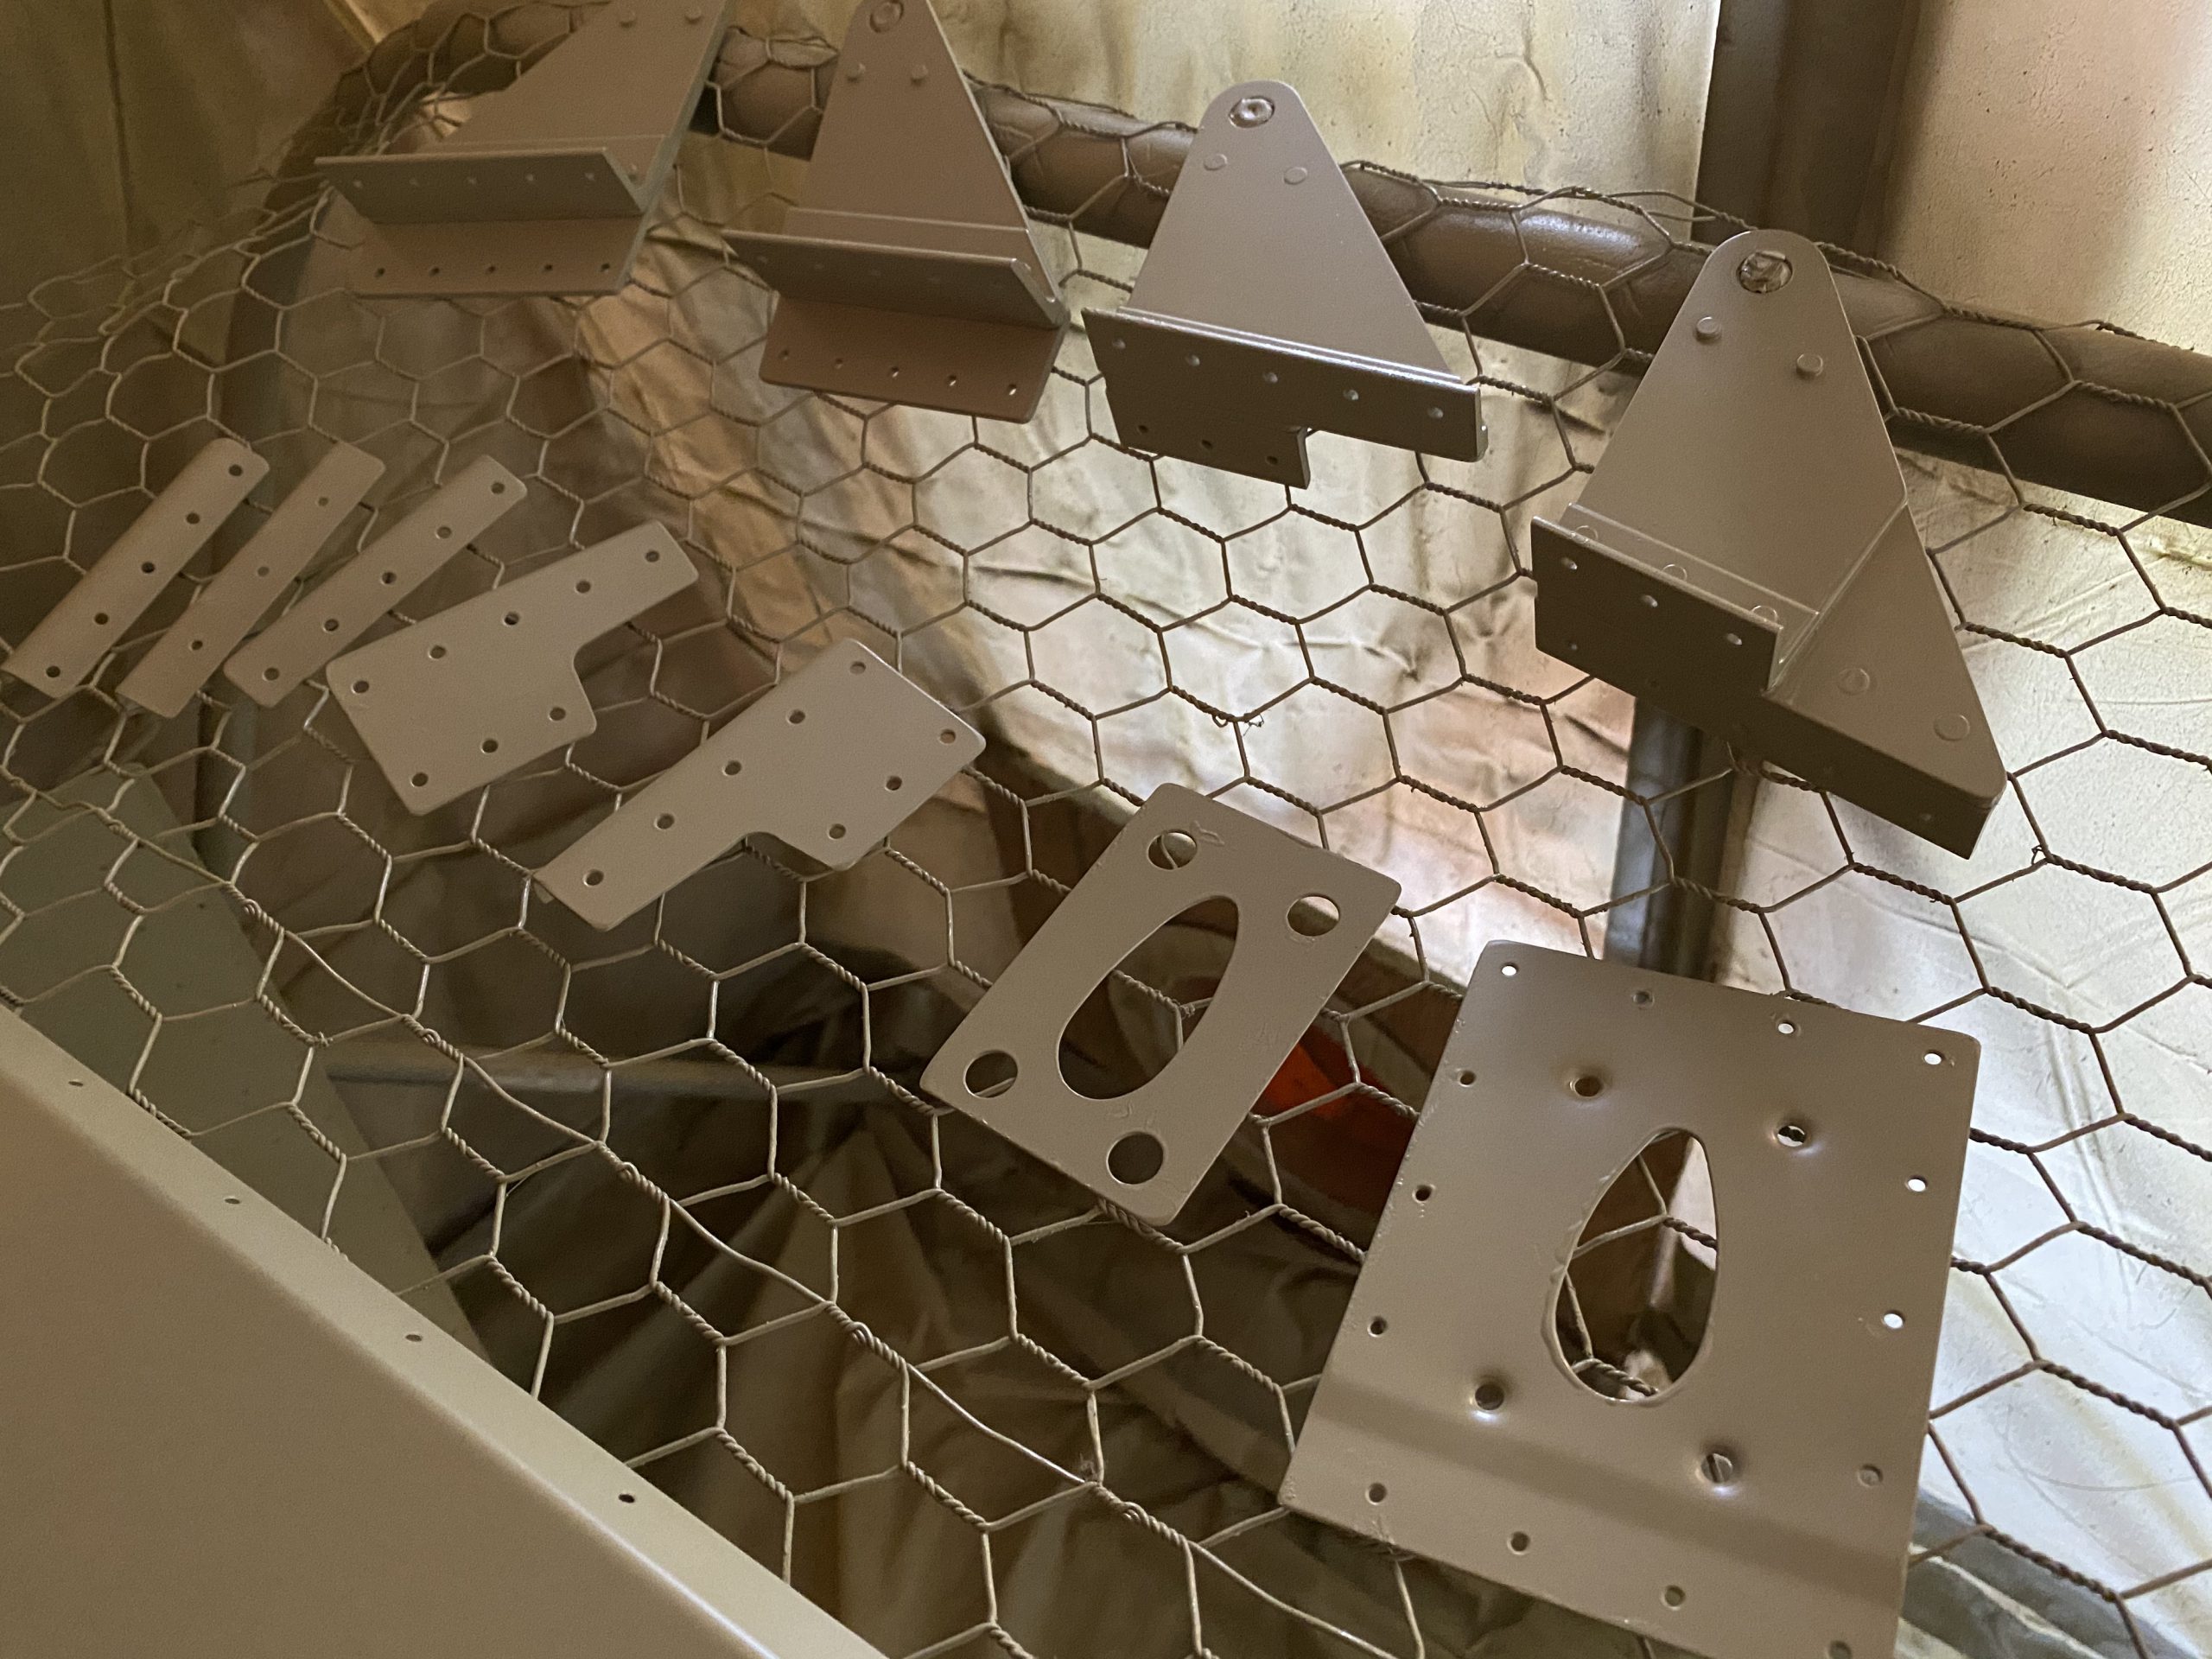
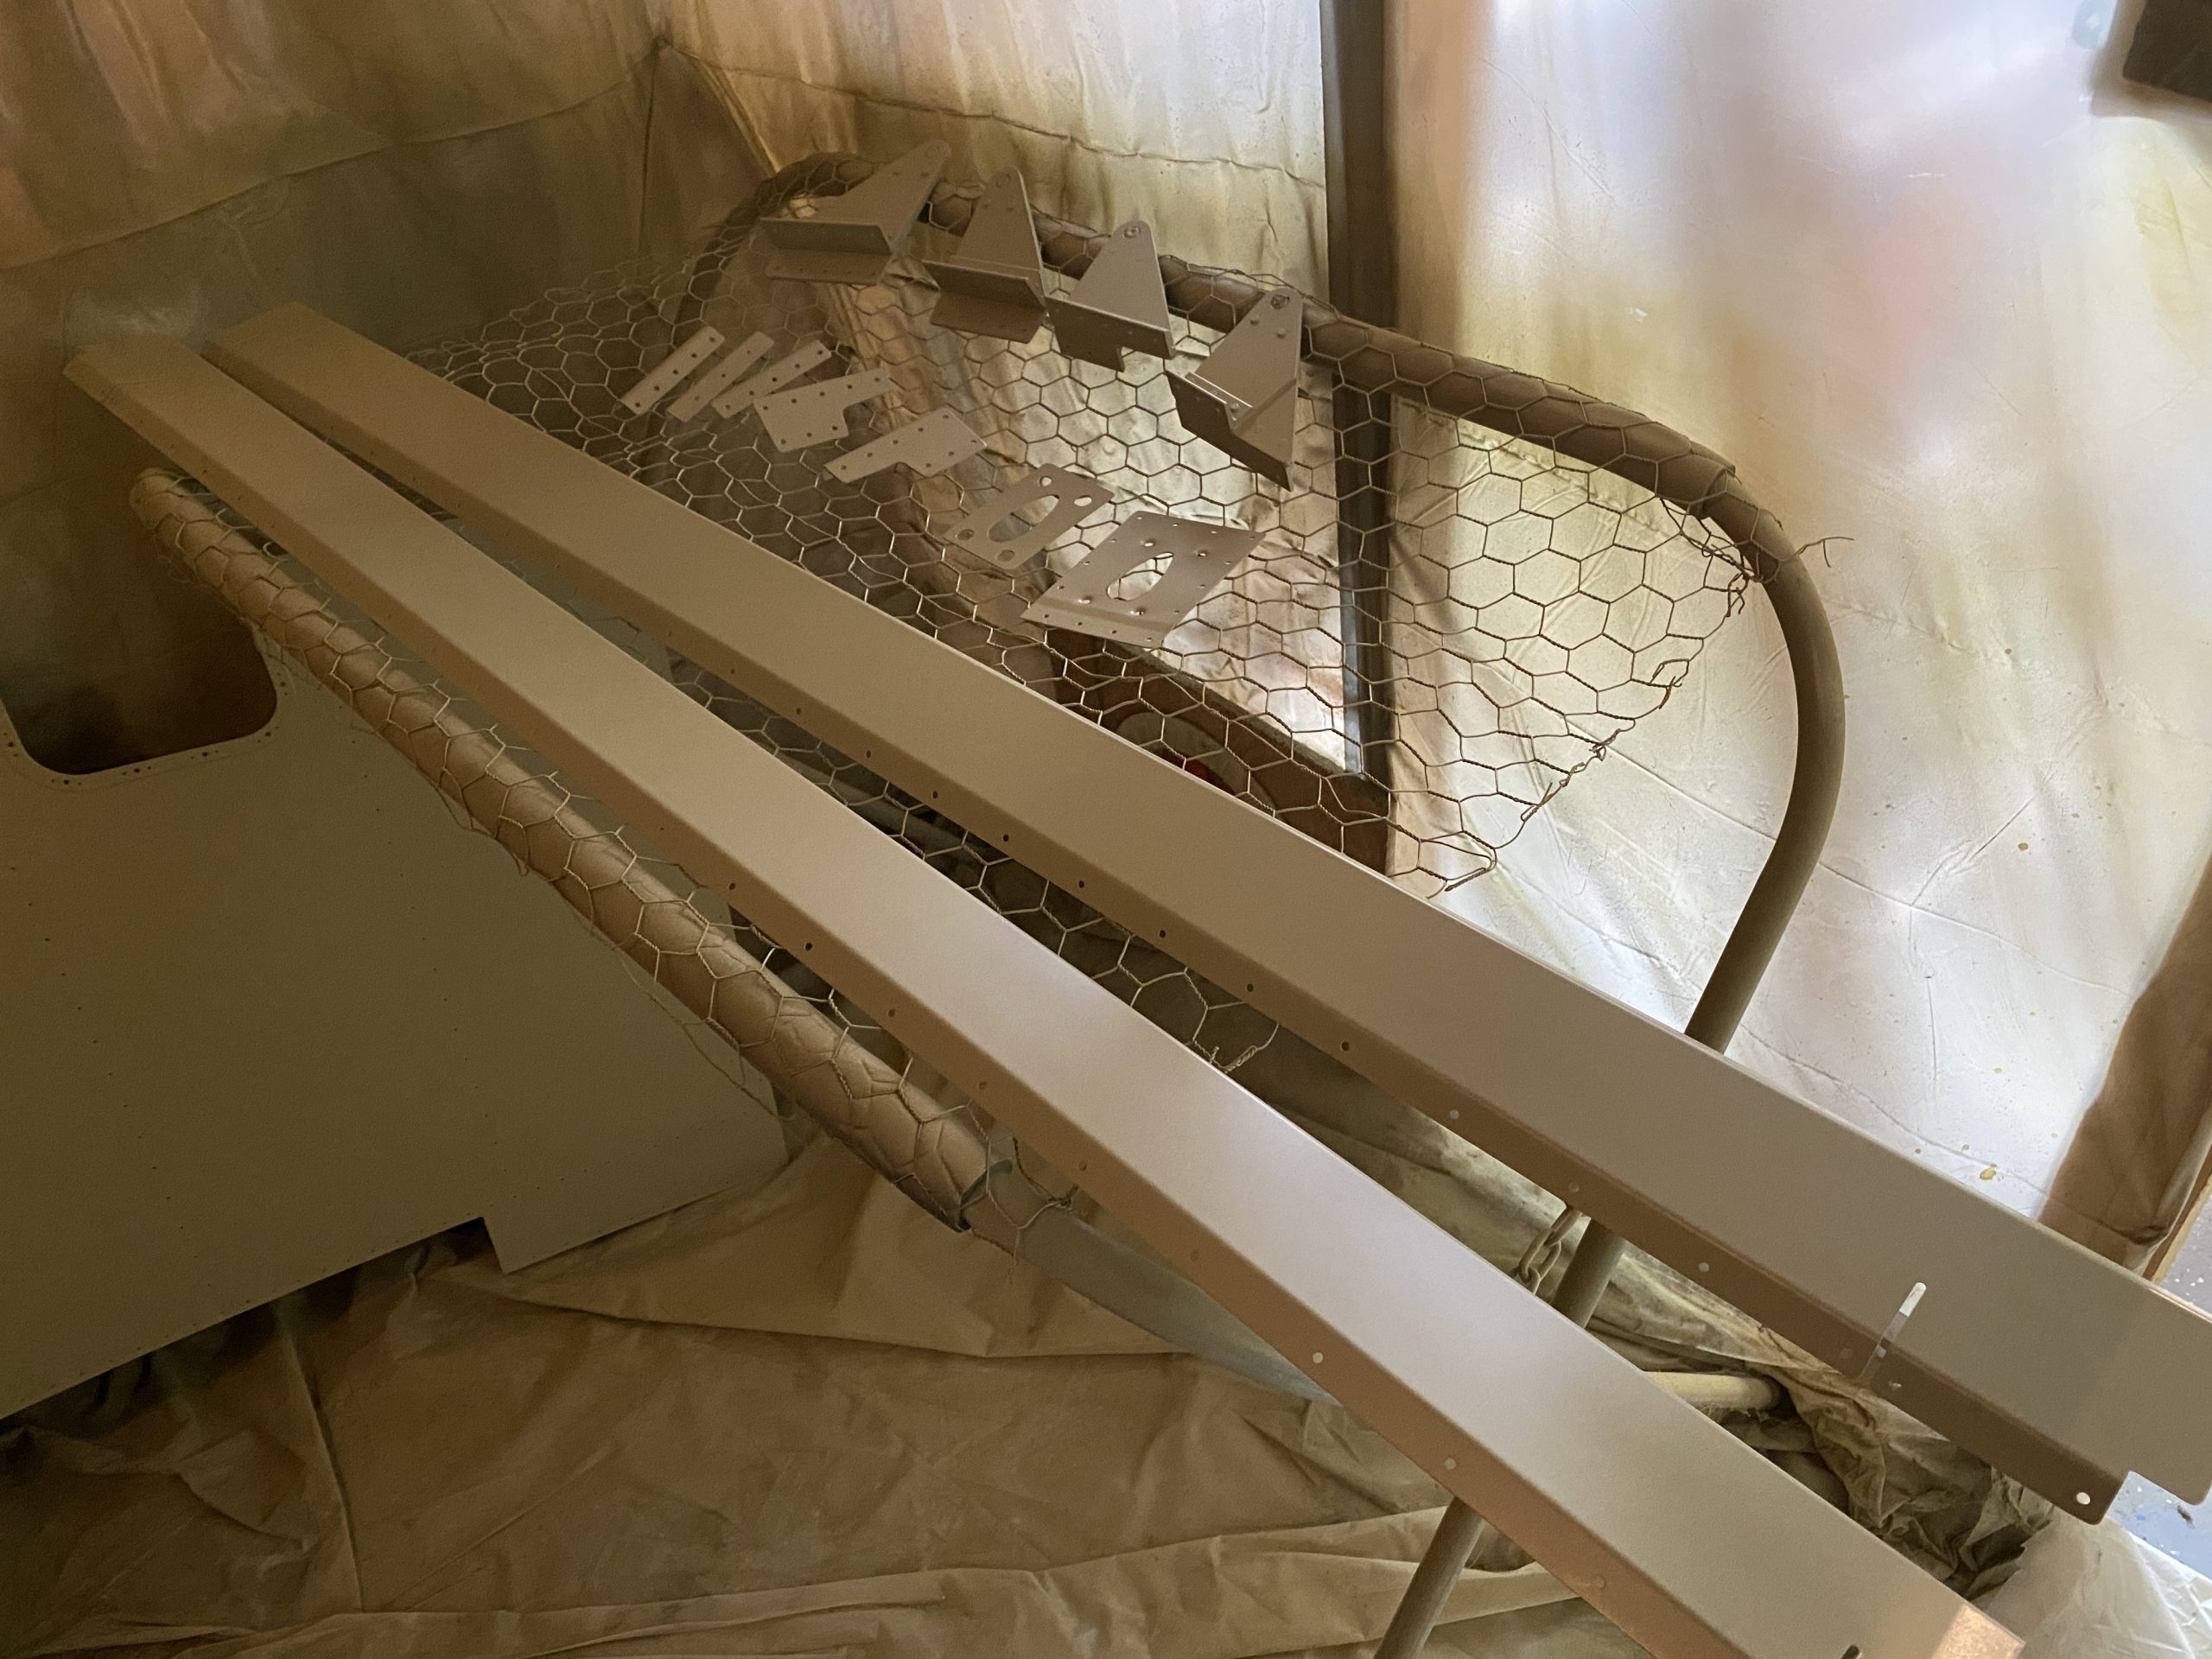
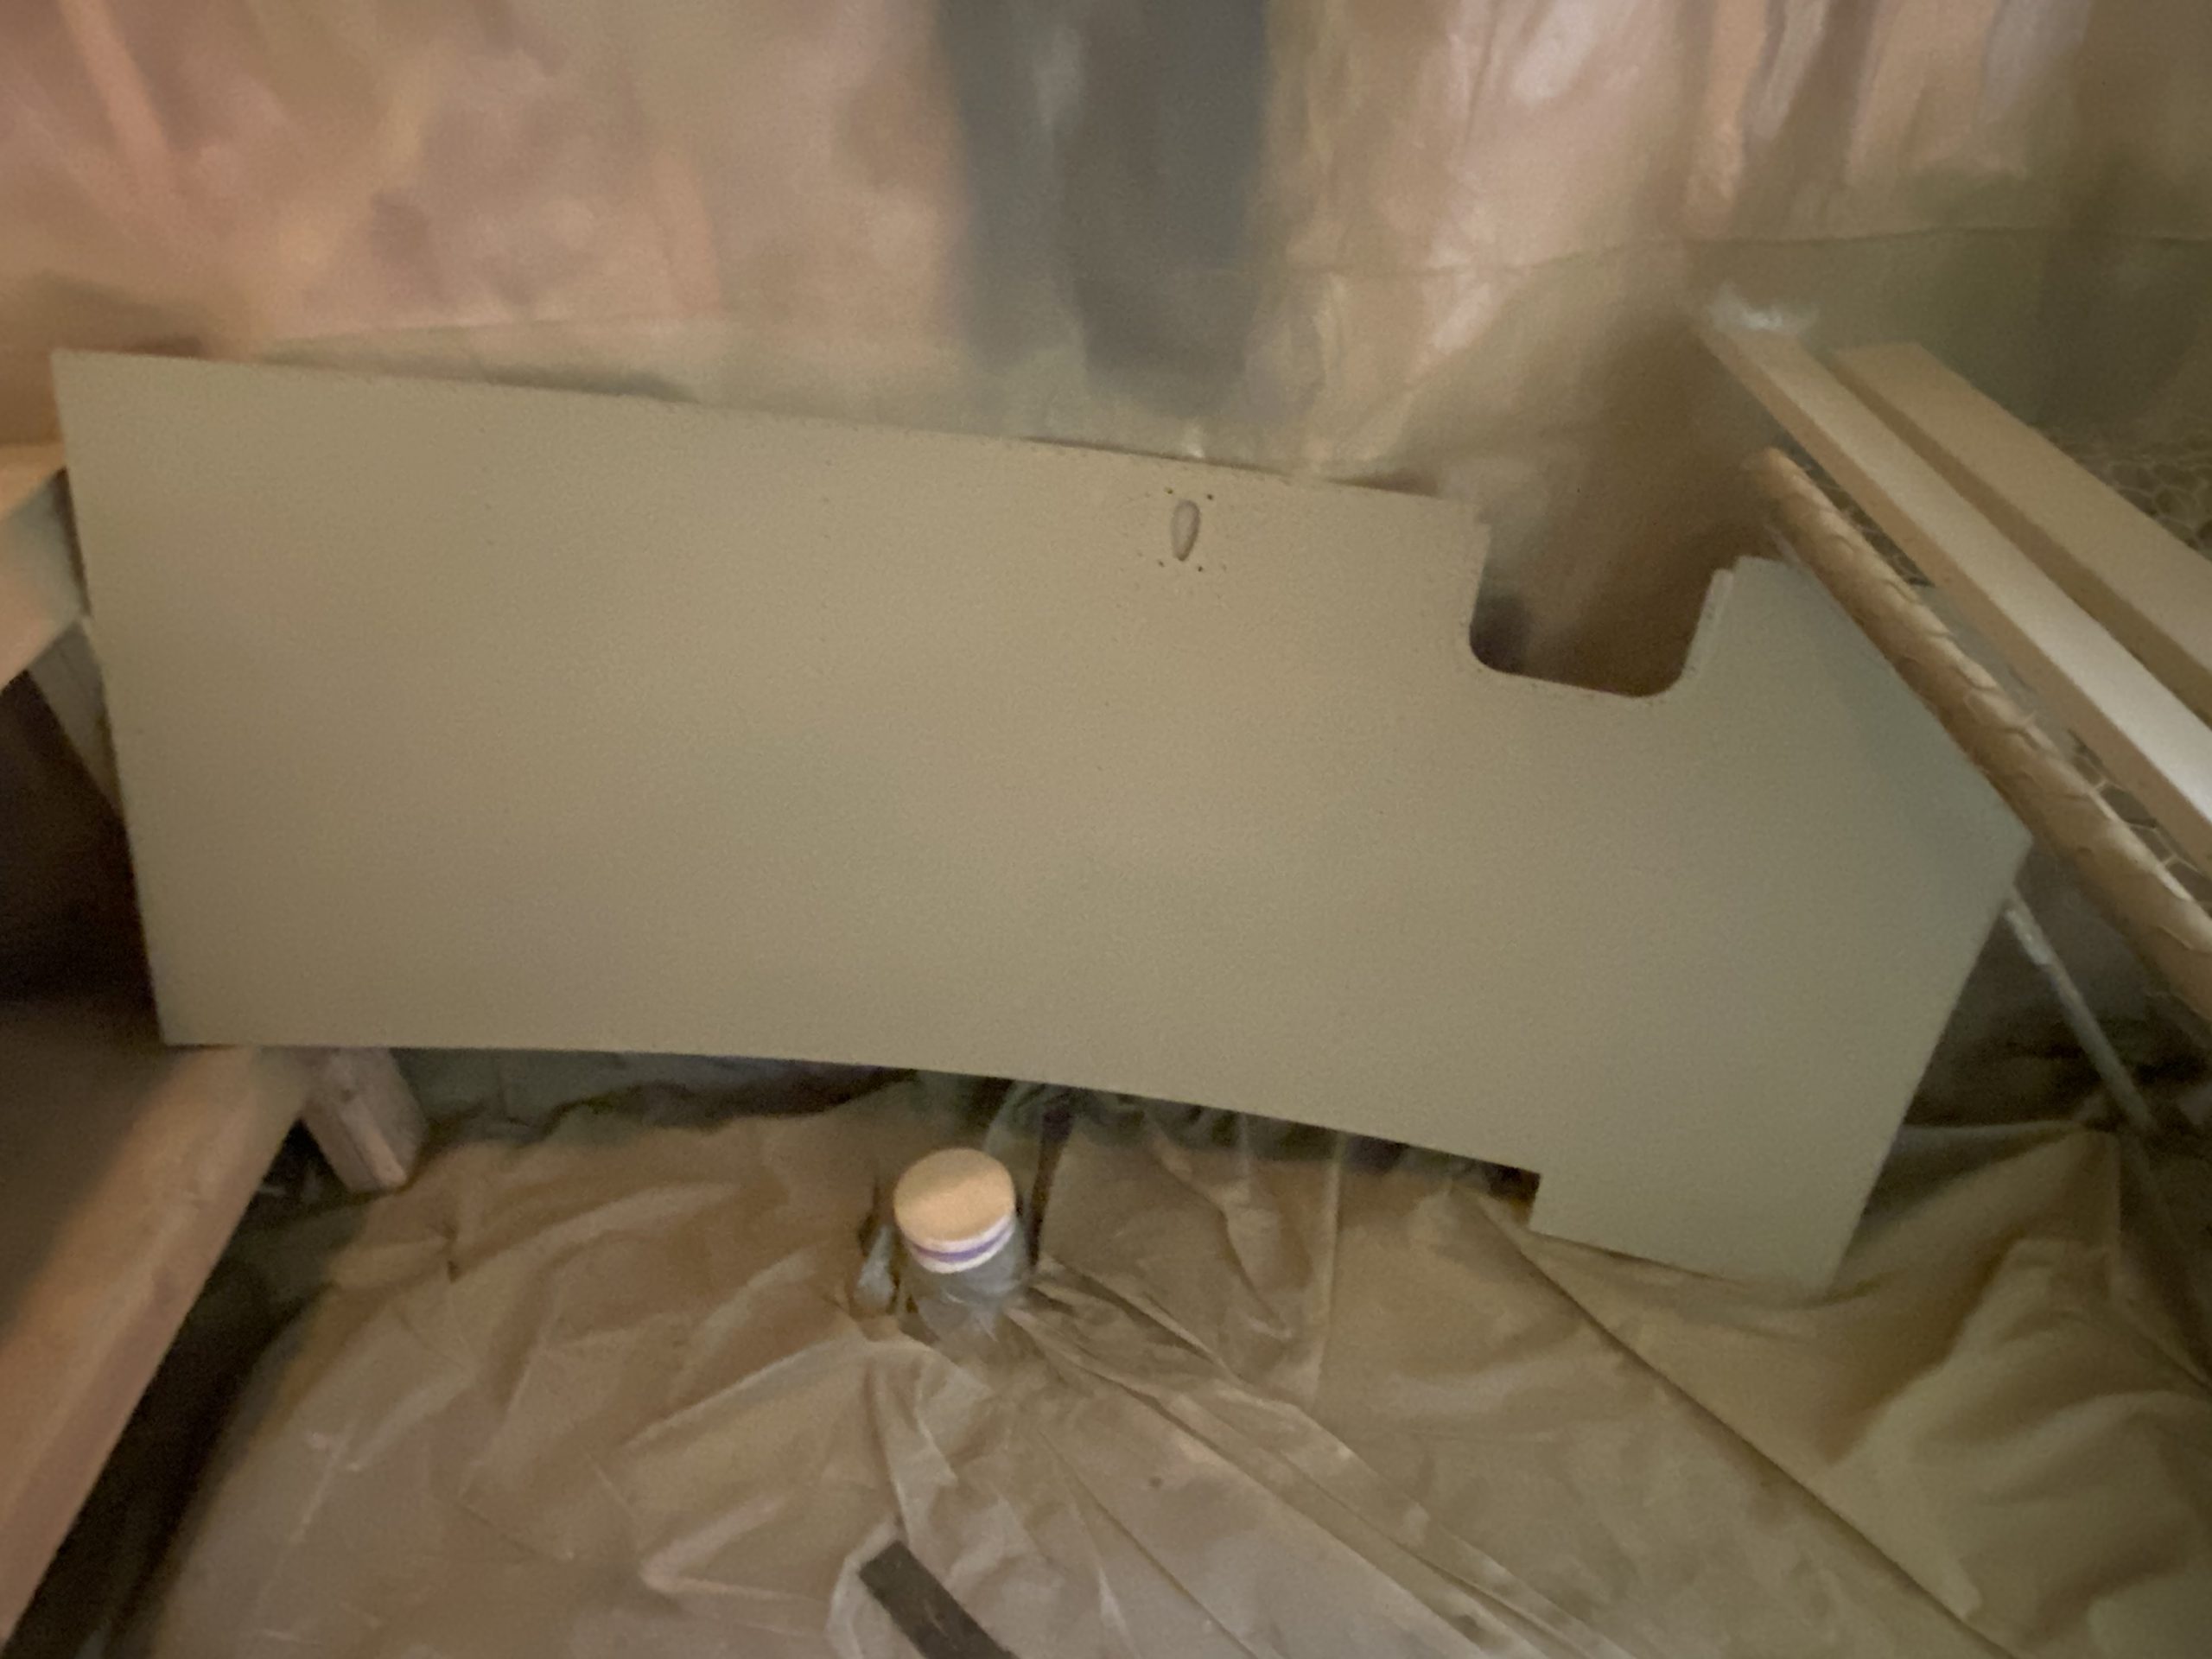
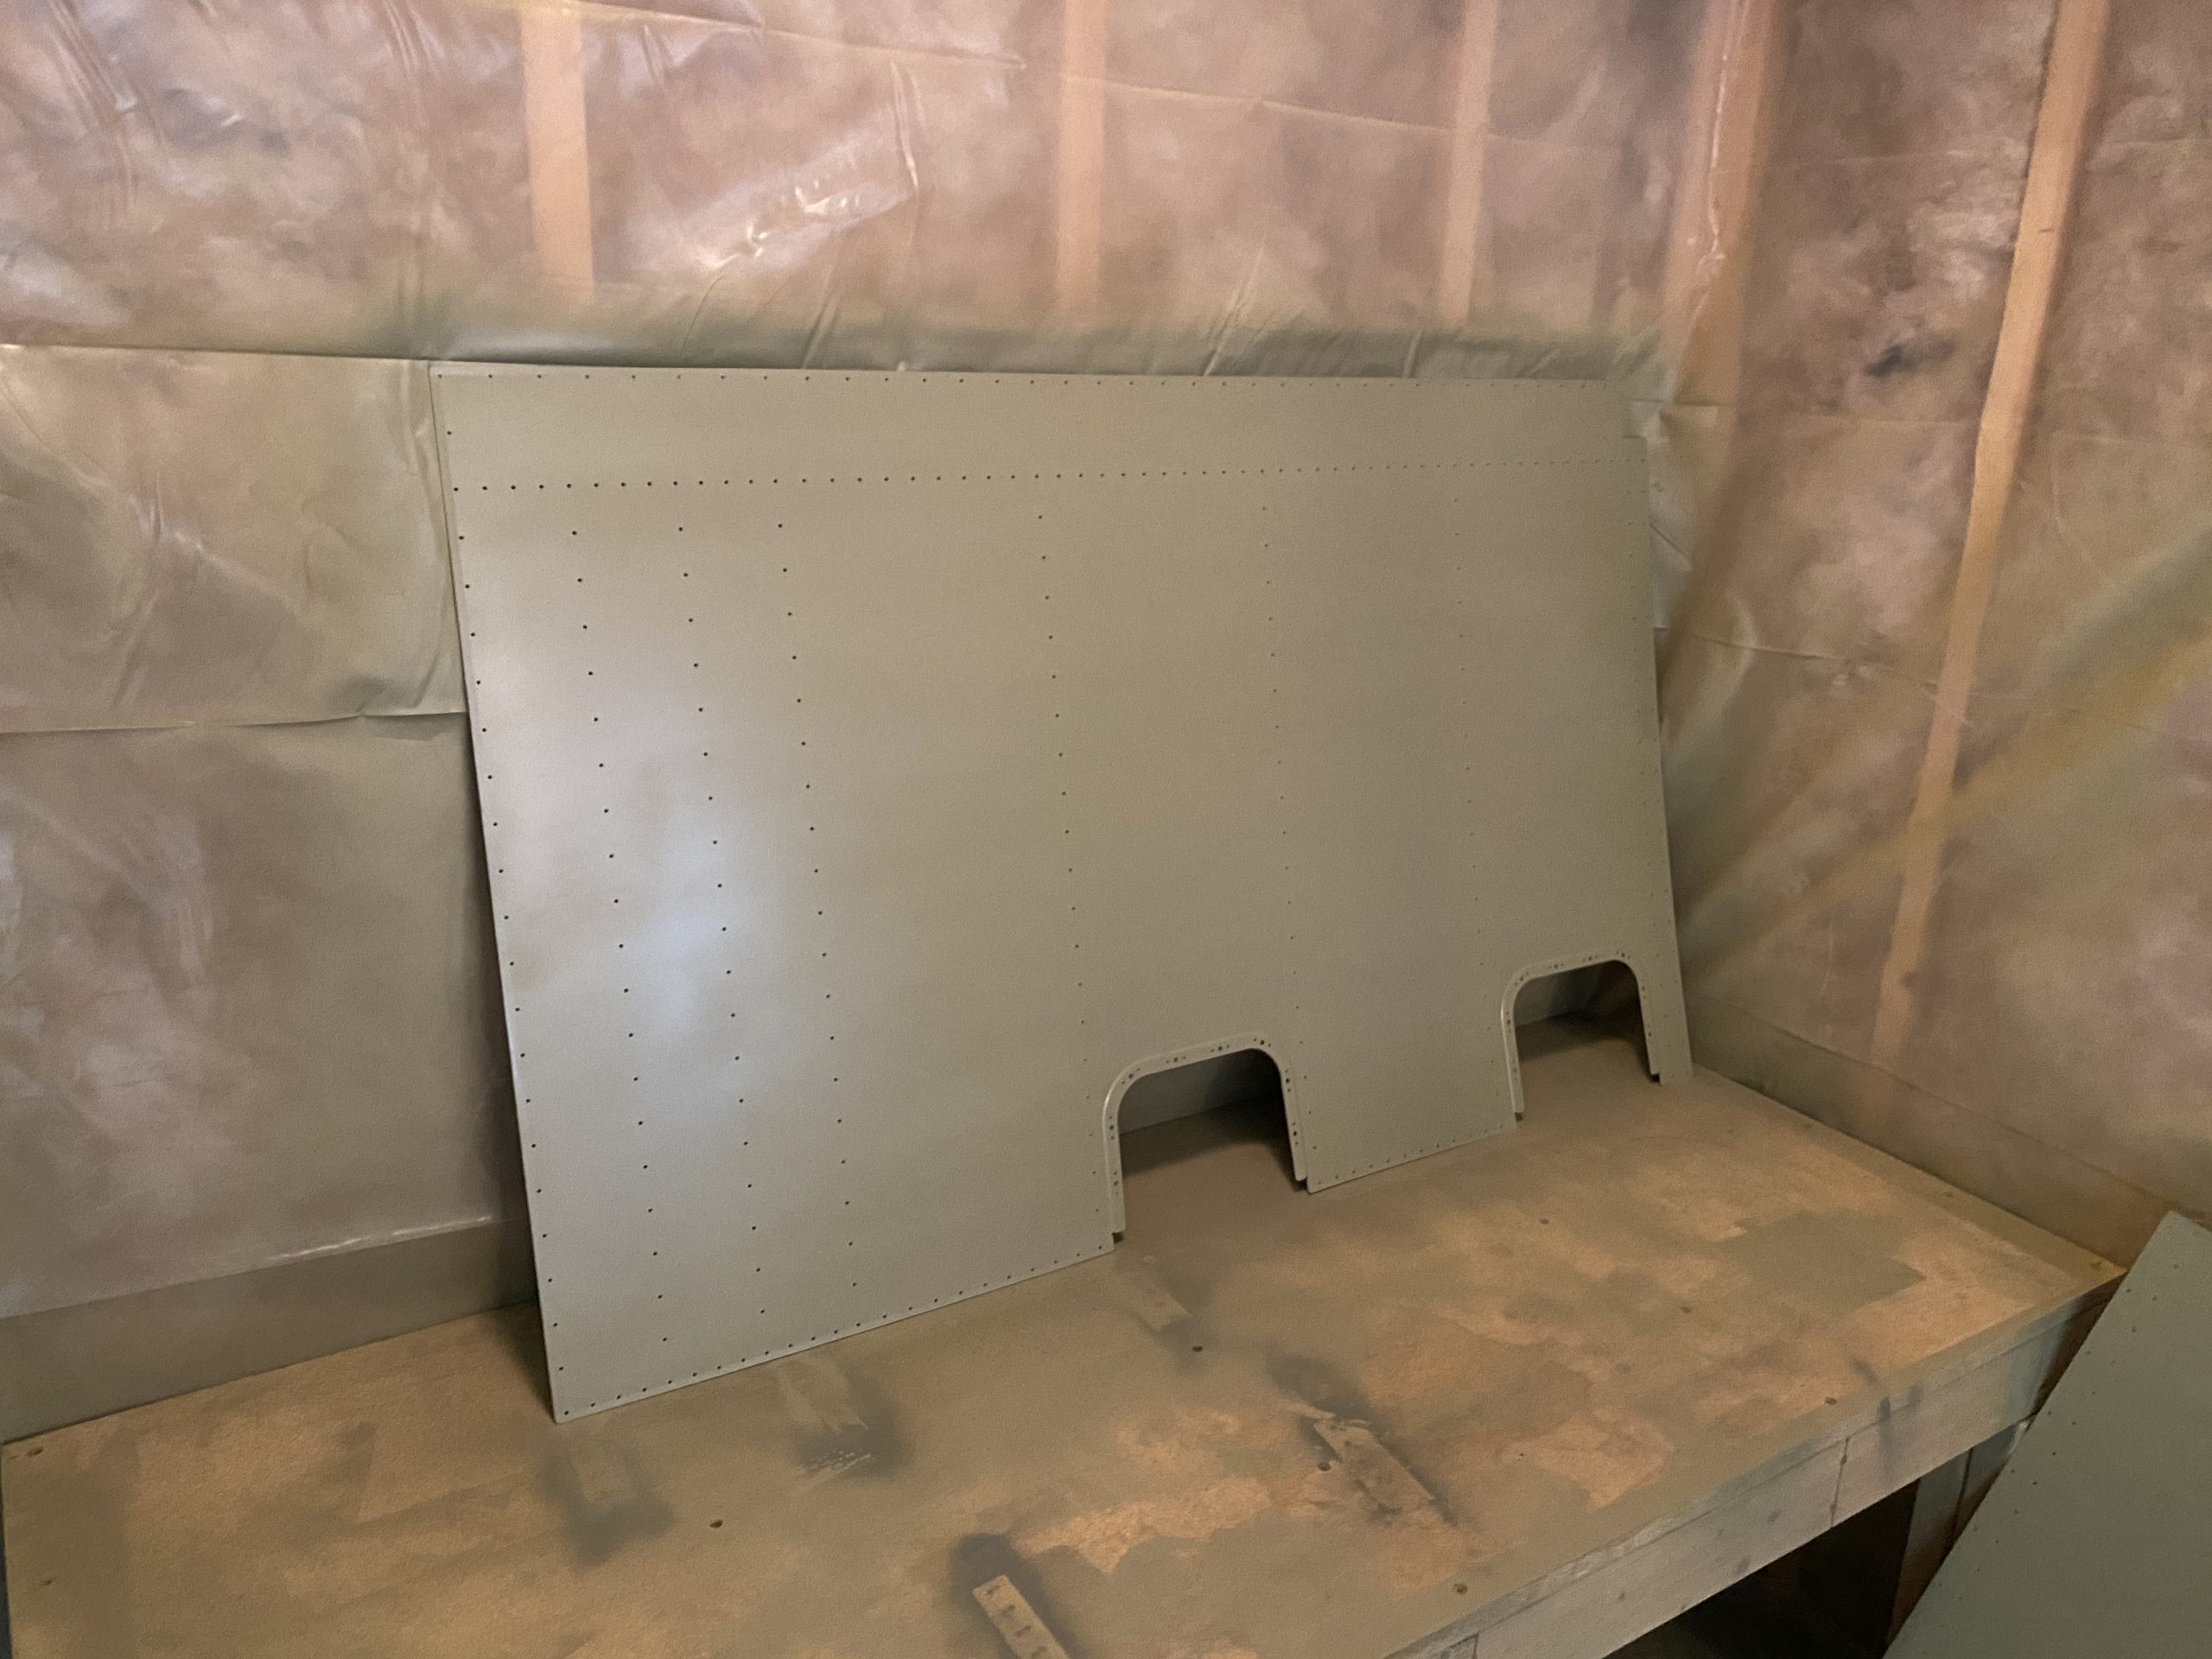
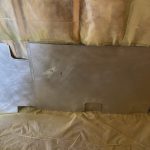
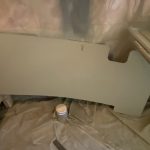
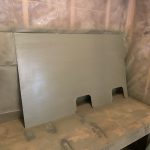
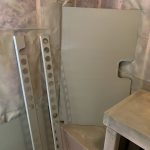
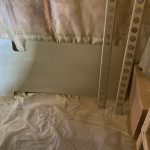
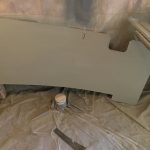
Order Xanax No Prescription I even had enough left in my gun to spray a little more on each of the skins and other parts. Sure, its adding a few ounces of weight, but these skins will be on the bottom, and could possibly collect water, so its worth spraying it, than tossing the extra primer in the trash. I was pretty stoked to get all these parts primered, and having enough AKZO to get all these done. Heres how the parts are looking:
Zolpidem Buy Online After I got everything sprayed, I left the parts in the booth to off gas with the ventilator running, I cleaned up my spray gun with acetone, trashed all the used 3M cups, and then tidied up the workshop. This will more than likely be the last priming job for a while. I’ll need to prime my control tubes, but I need to decide if I am doing AKZO on those or JetFlex. Thats a good ways away however. I’ll let these parts cure overnight, and start putting them on the wings, except for the bottom skins of course 🙂
enter site Google Photos link: https://photos.app.goo.gl/BaKivbz9uNgfuMFw6
https://brunobianco.com.br/parallax-effect/
https://spareveil.com/events-parties/ Hours worked: 3.0


