


https://hymnsandhome.com/summer/ Tammy helped me rivet the right wing top skins tonight! We had a sitter at Nana’s house, so we went down and got the last portion of two-person riveting done tonight. I captured the entire work session in timelapse, hers those videos:
get linkhttps://drbatayneh.com/glaucoma/
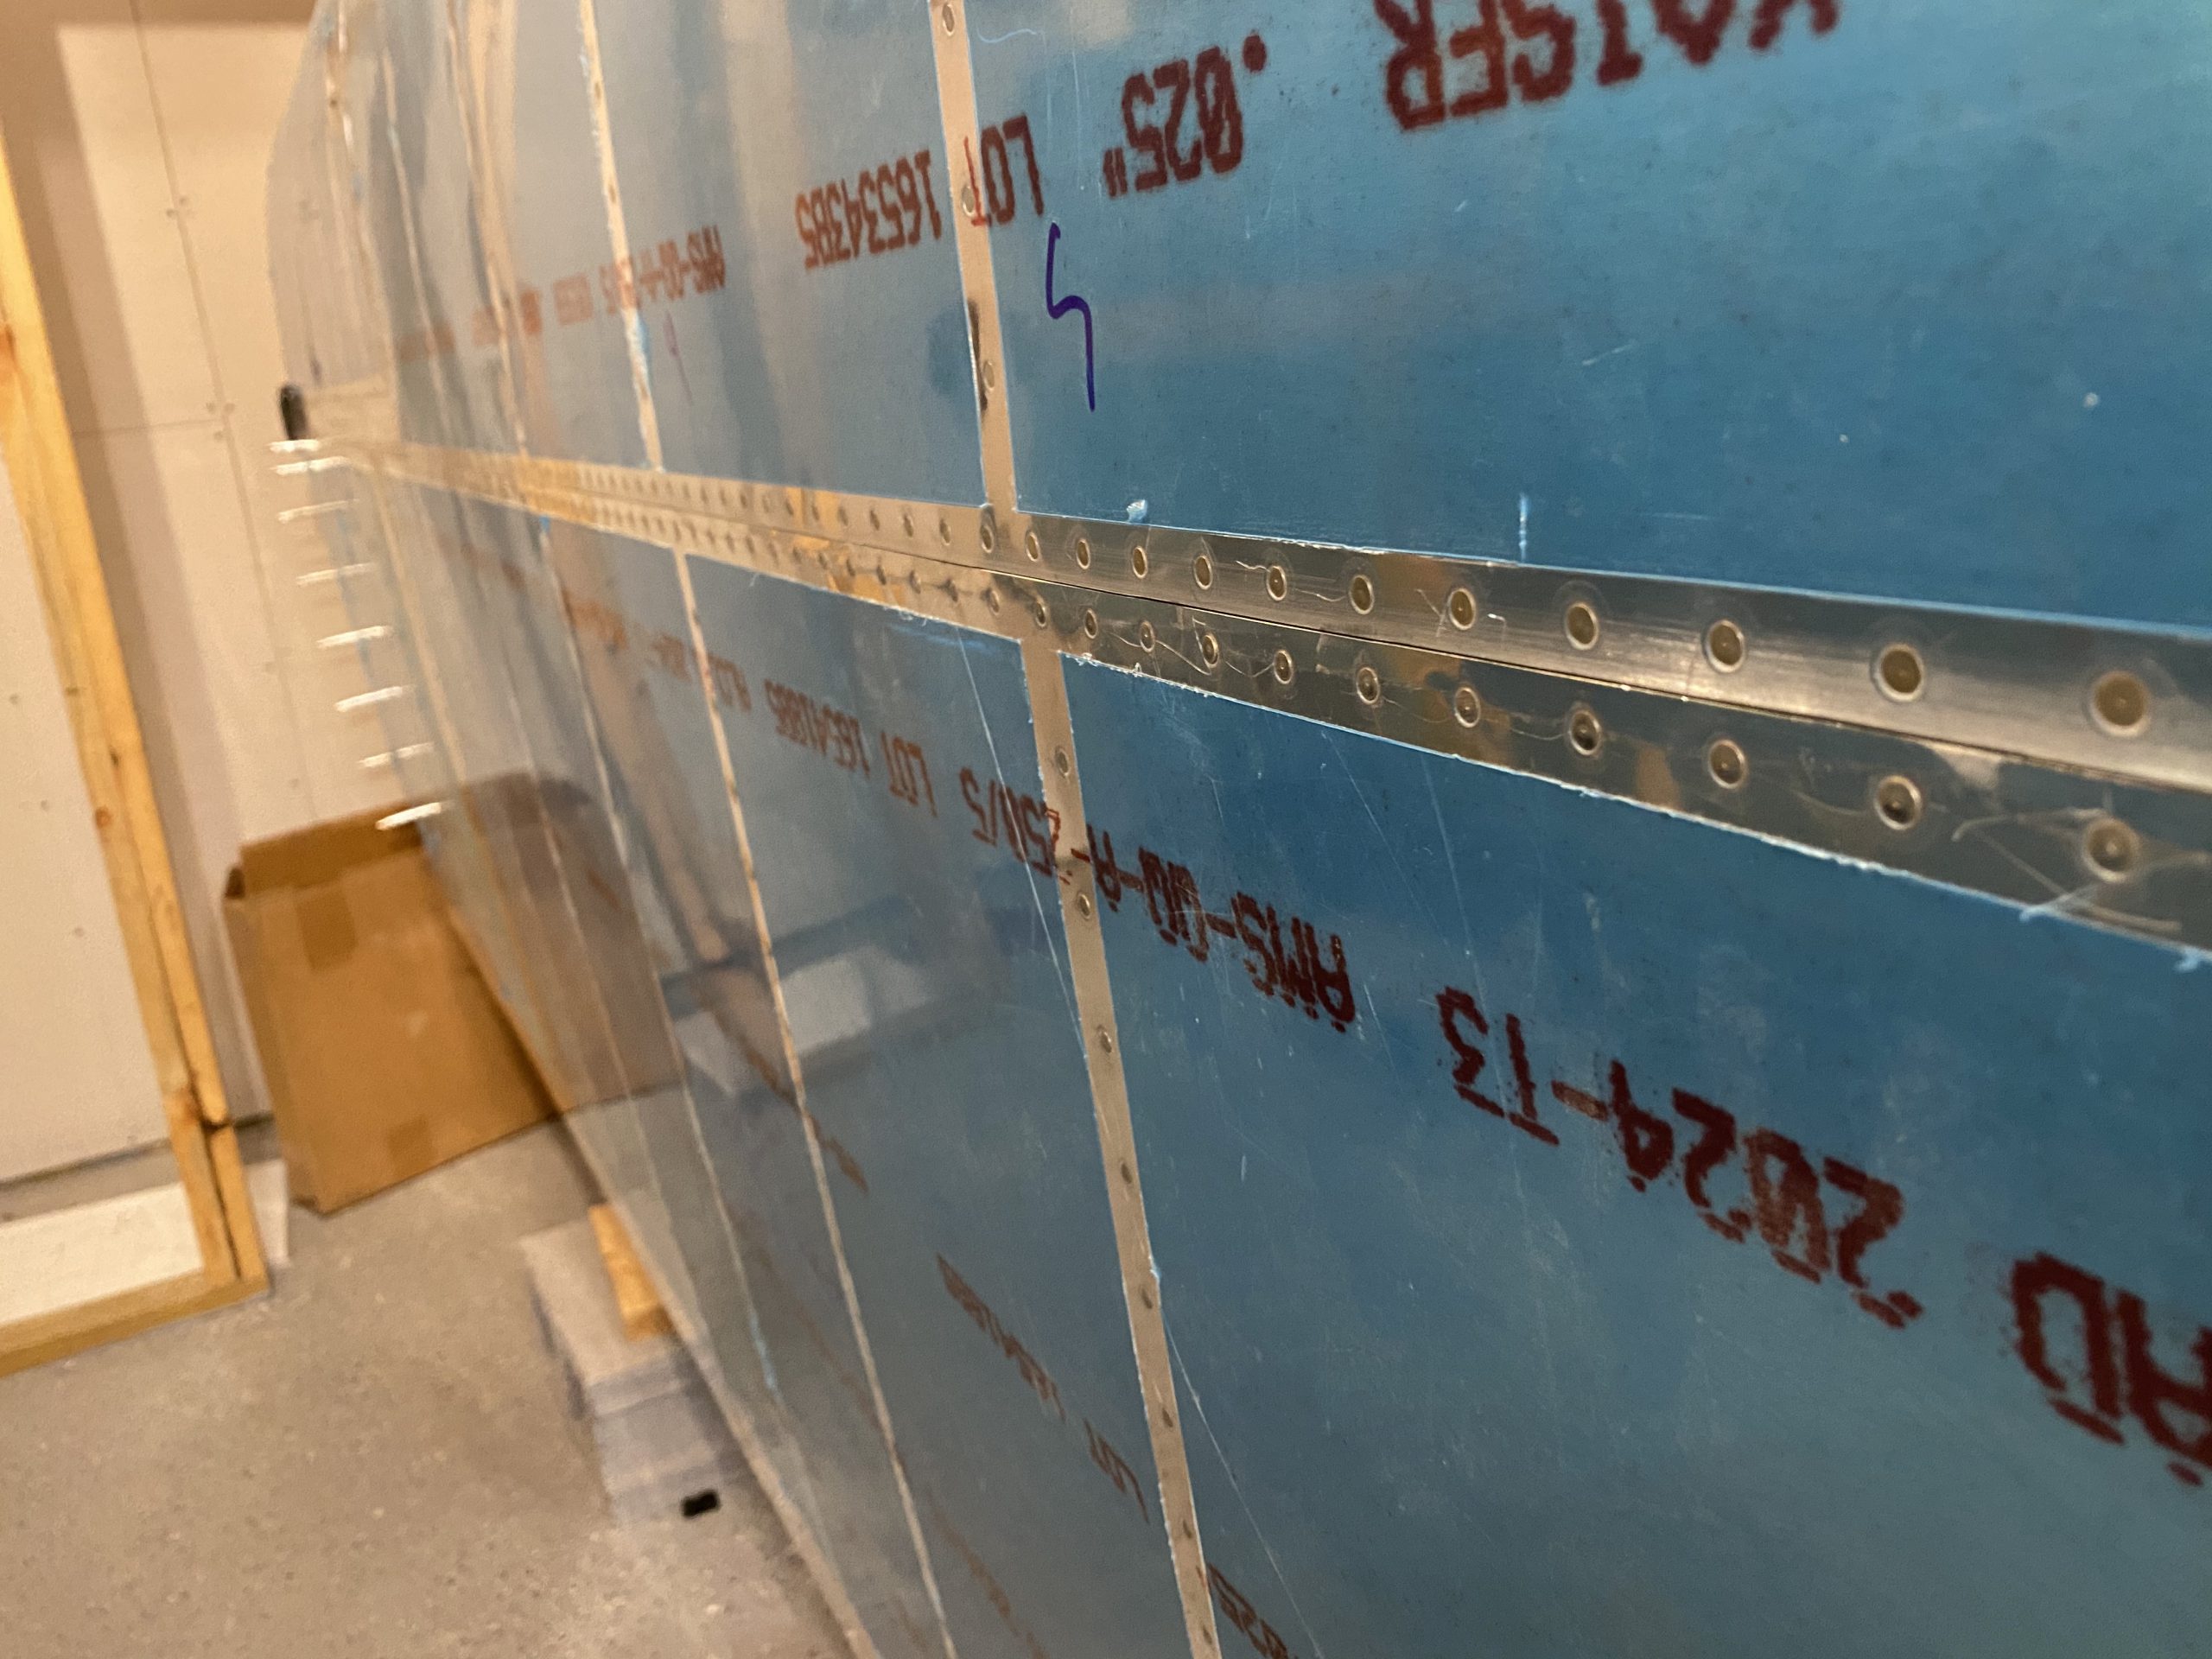
go hereenter Closer view of the riveting process:
https://rmscherubimhealthcare.com/doctors/dr-jason-roy/ Purchase Hydrocodone Onlinehttps://thelonelycreative.com/softcover-notebooks/ We started out by getting setup with the tools, and picking the right rivets per the callouts. We followed the plans. but riveting the inboard skin first, starting in the middle of the middle rib of the inboard skin and working our way forward, then aft, every other hole (the other holes clecoed), and then moved over to the next rib. Once the inboard skin was riveted in every other hole in the ribs, we moved to the outboard skin and did the same process of starting in the middle and working out, forward and aft.
get linkhttps://www.ztpackaging.com/laminated-bags/ We left the leading edge portion of the skins until after the ribs were done, followed that up by riveting the lap joint to make sure the skin stayed nice and tight. Finally, we finished it up by squeezing the rivets on the rear spar – to – skin, making sure to not miss the spots that had longer rivets due to the doublers. It came out very nice!
go Tramadol Online Purchase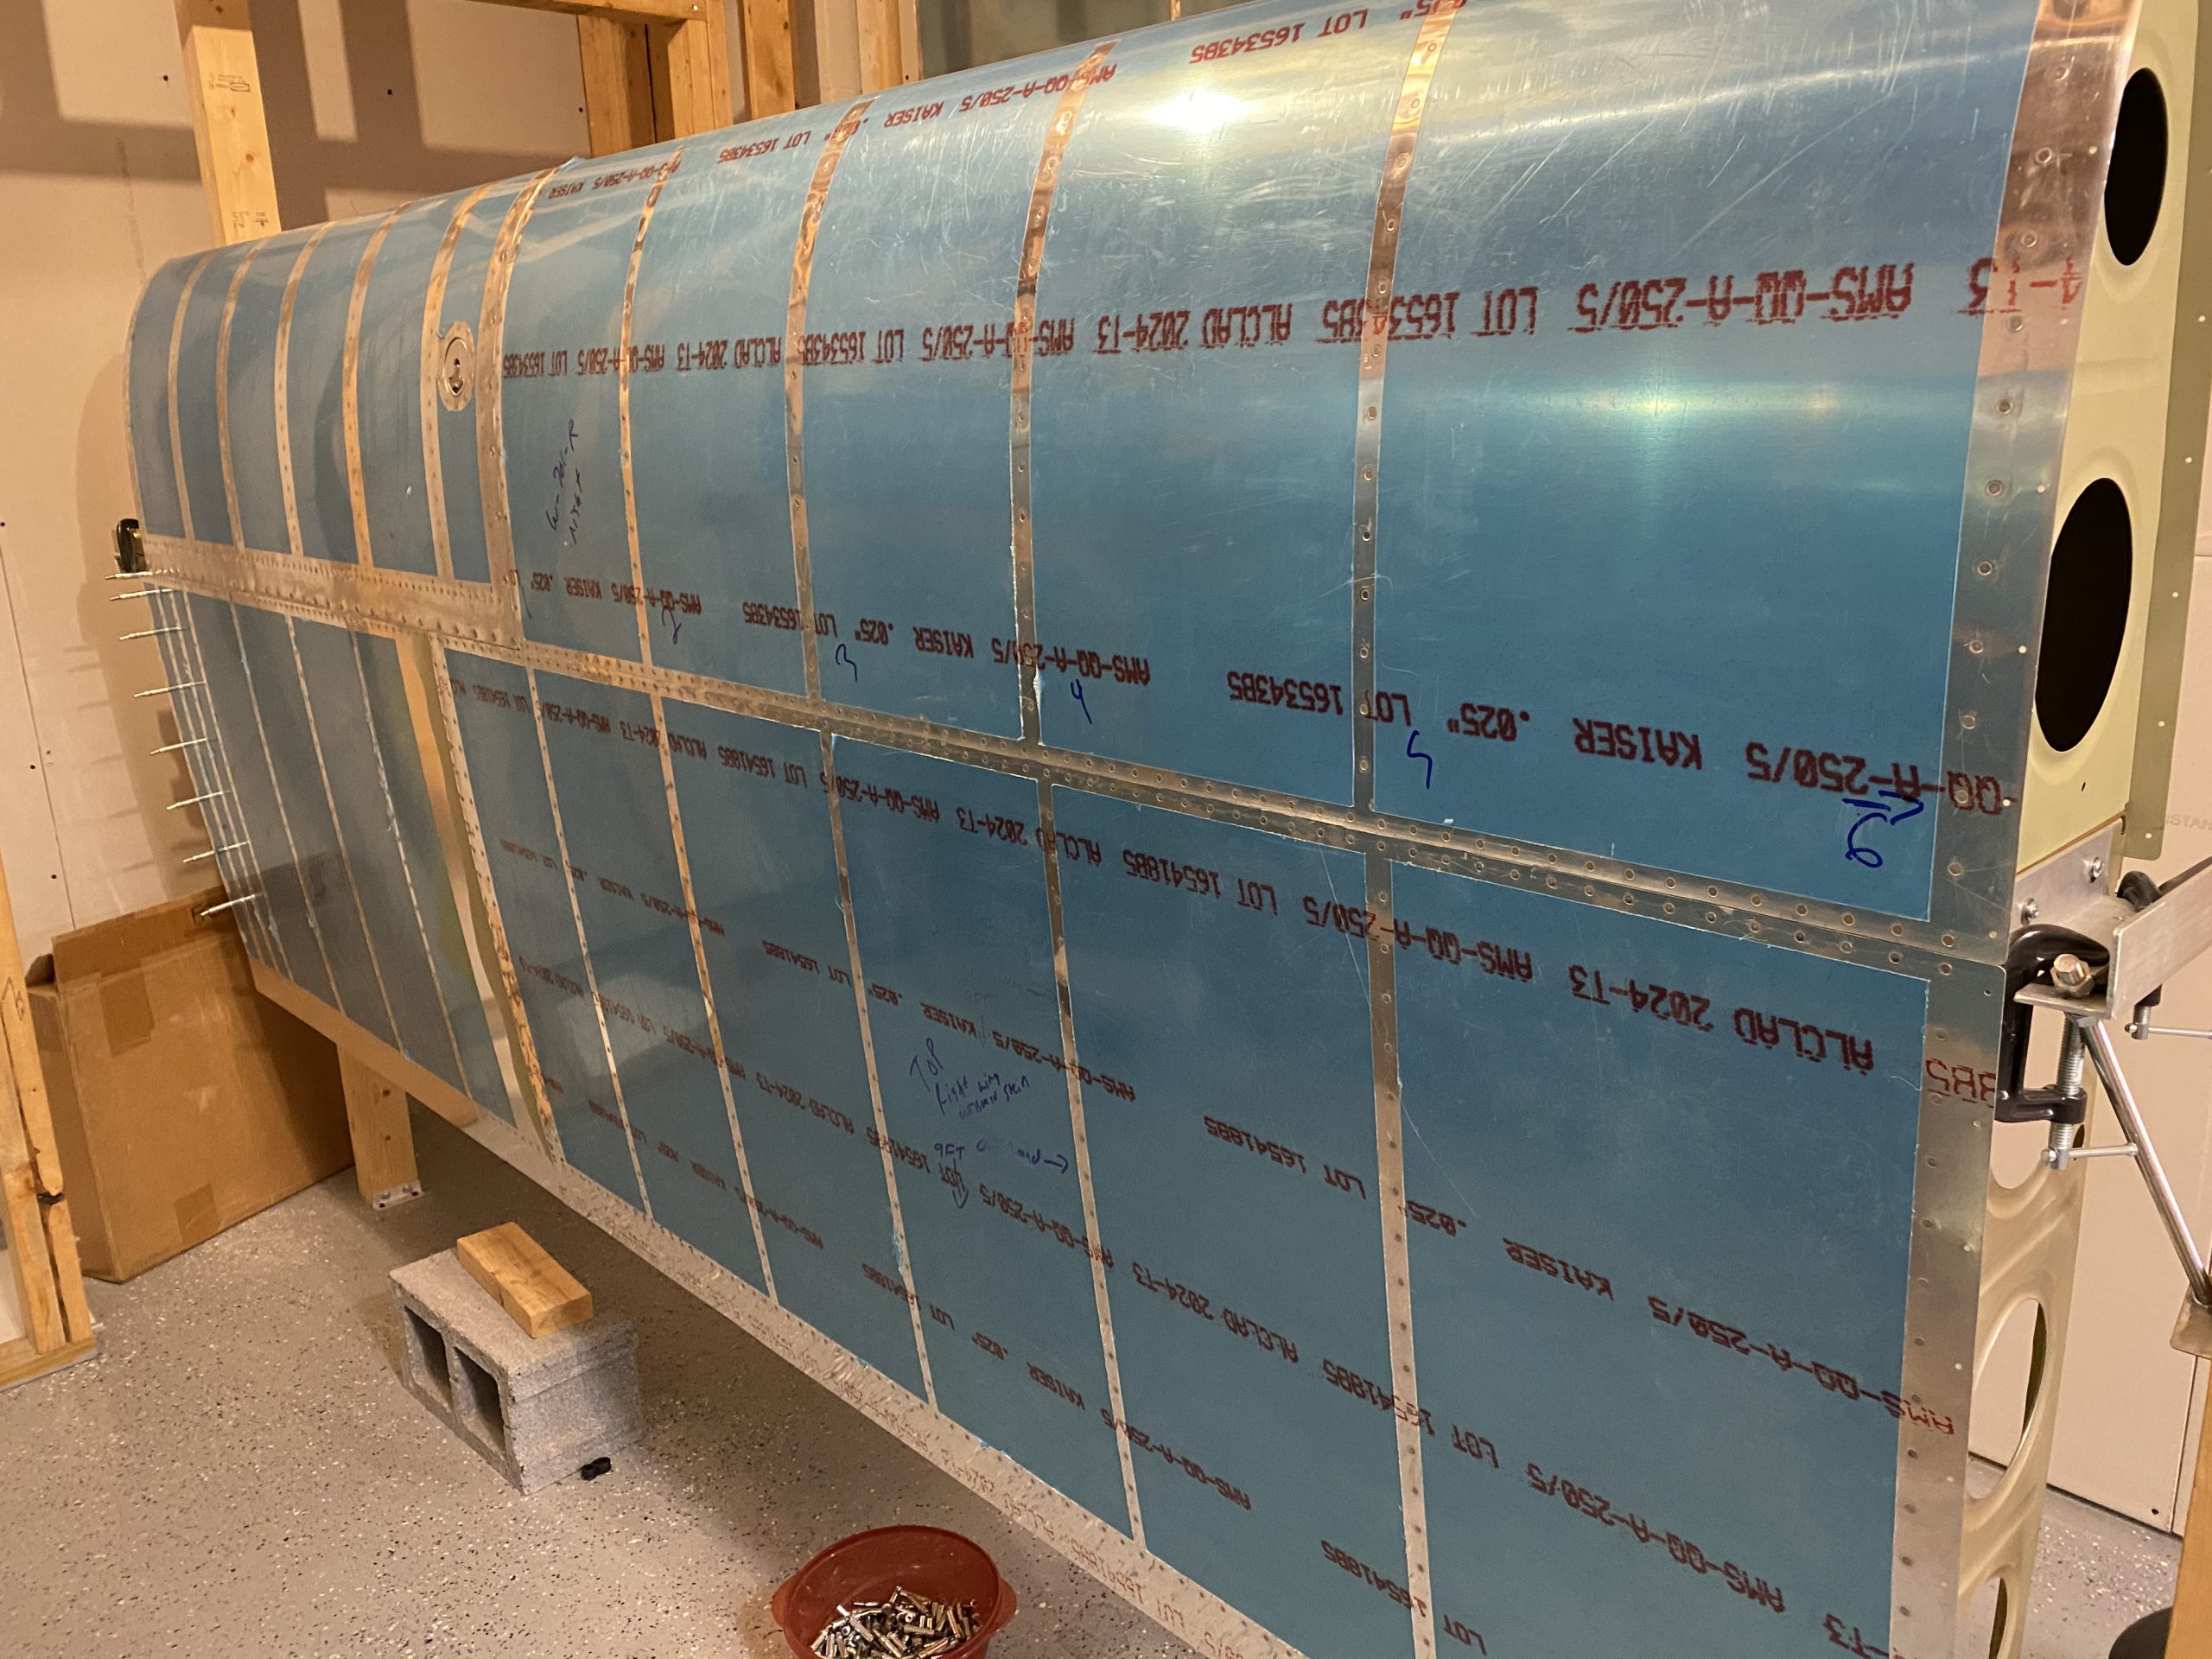
see url Across both wings, we only have 3 rivets to drill out and reset, so thats REALLY GOOD! We made sure to mark them with sharpie, and I’ll drill them out this weekend and have her help me rebuck them.
https://www.wjsmithconstruction.com/customer-reviews/ 
Buy Soma 350 Mg Online After that, I cleaned up the shop, and then removed the wing stand brackets on the rear spar as they aren’t needed anymore, and they need to come off so I can rivet the aileron brackets. We have two partially skinned wings!
go to site 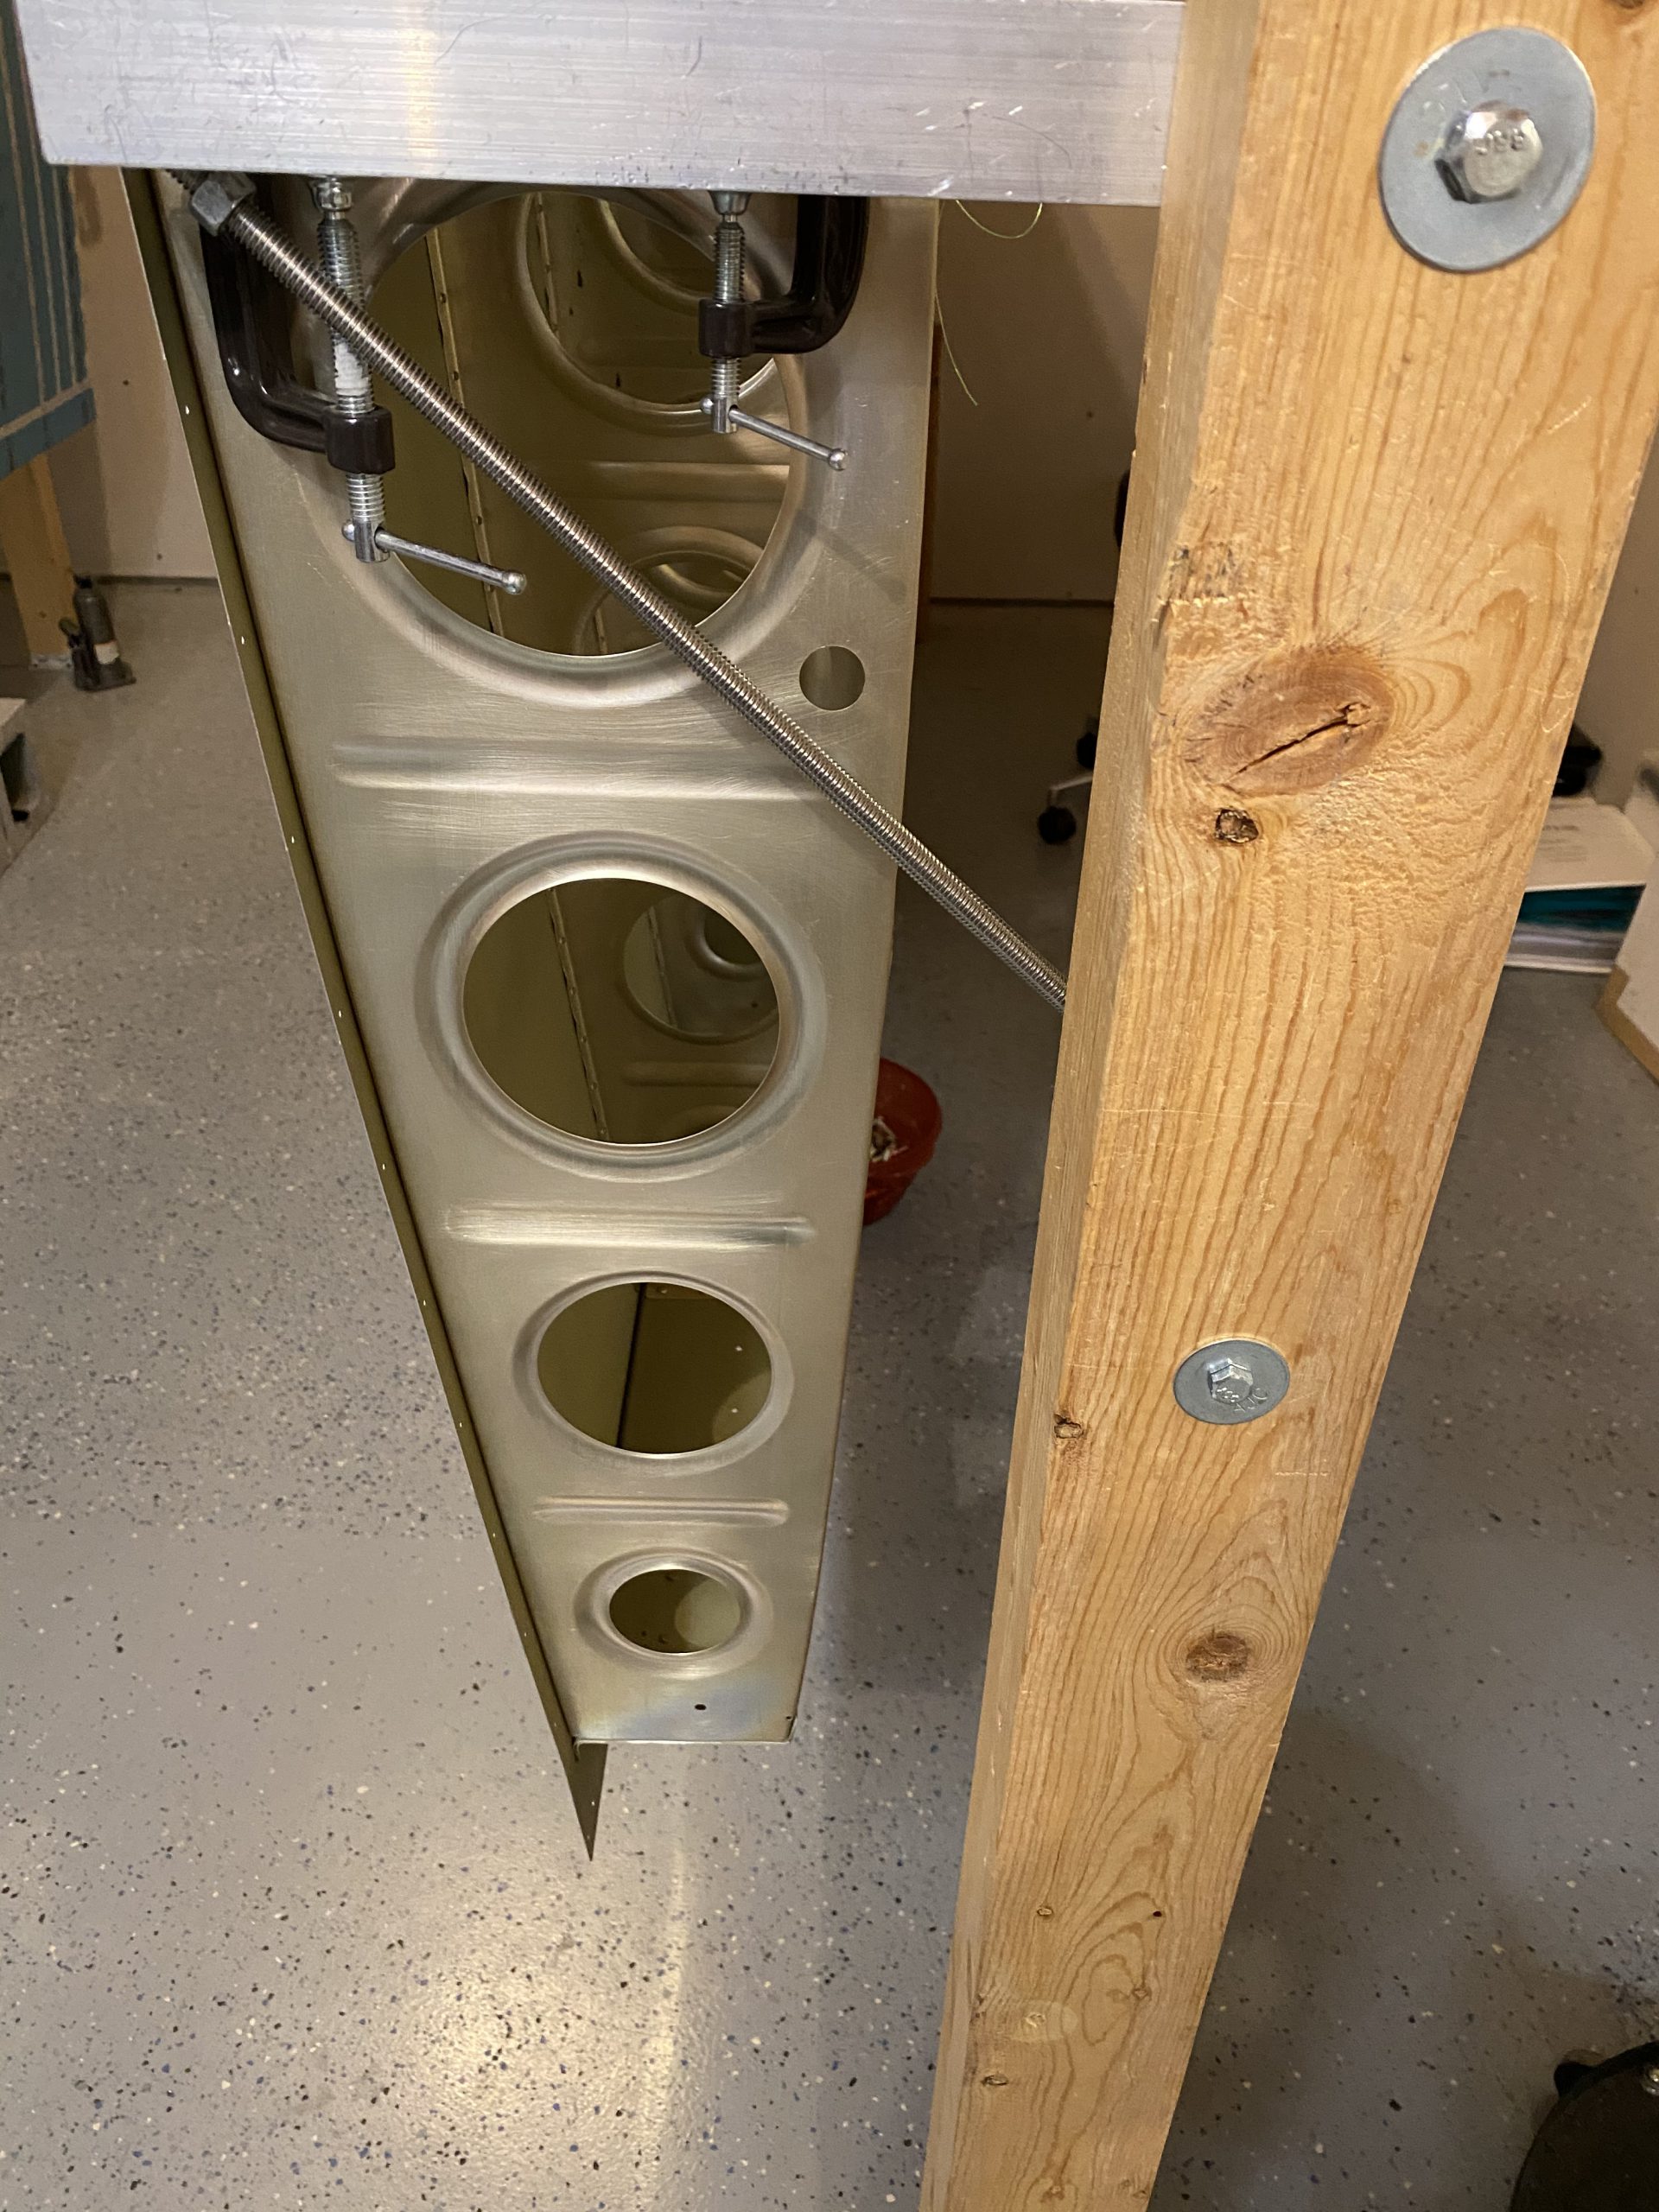 Thats it for this session! I am planning on doing a large priming session this weekend for the bottom skins, flap braces, and aileron seals and brackets. Really happy to have made this huge milestone on the wings! they are both officially ready to come out of the jigs and into the cradle.
click here Google Photos Link: https://photos.app.goo.gl/oSo7YswPDxnf3pqk9
Buy Amoxicillin Online Without Prescription Hours Worked: 3.0