


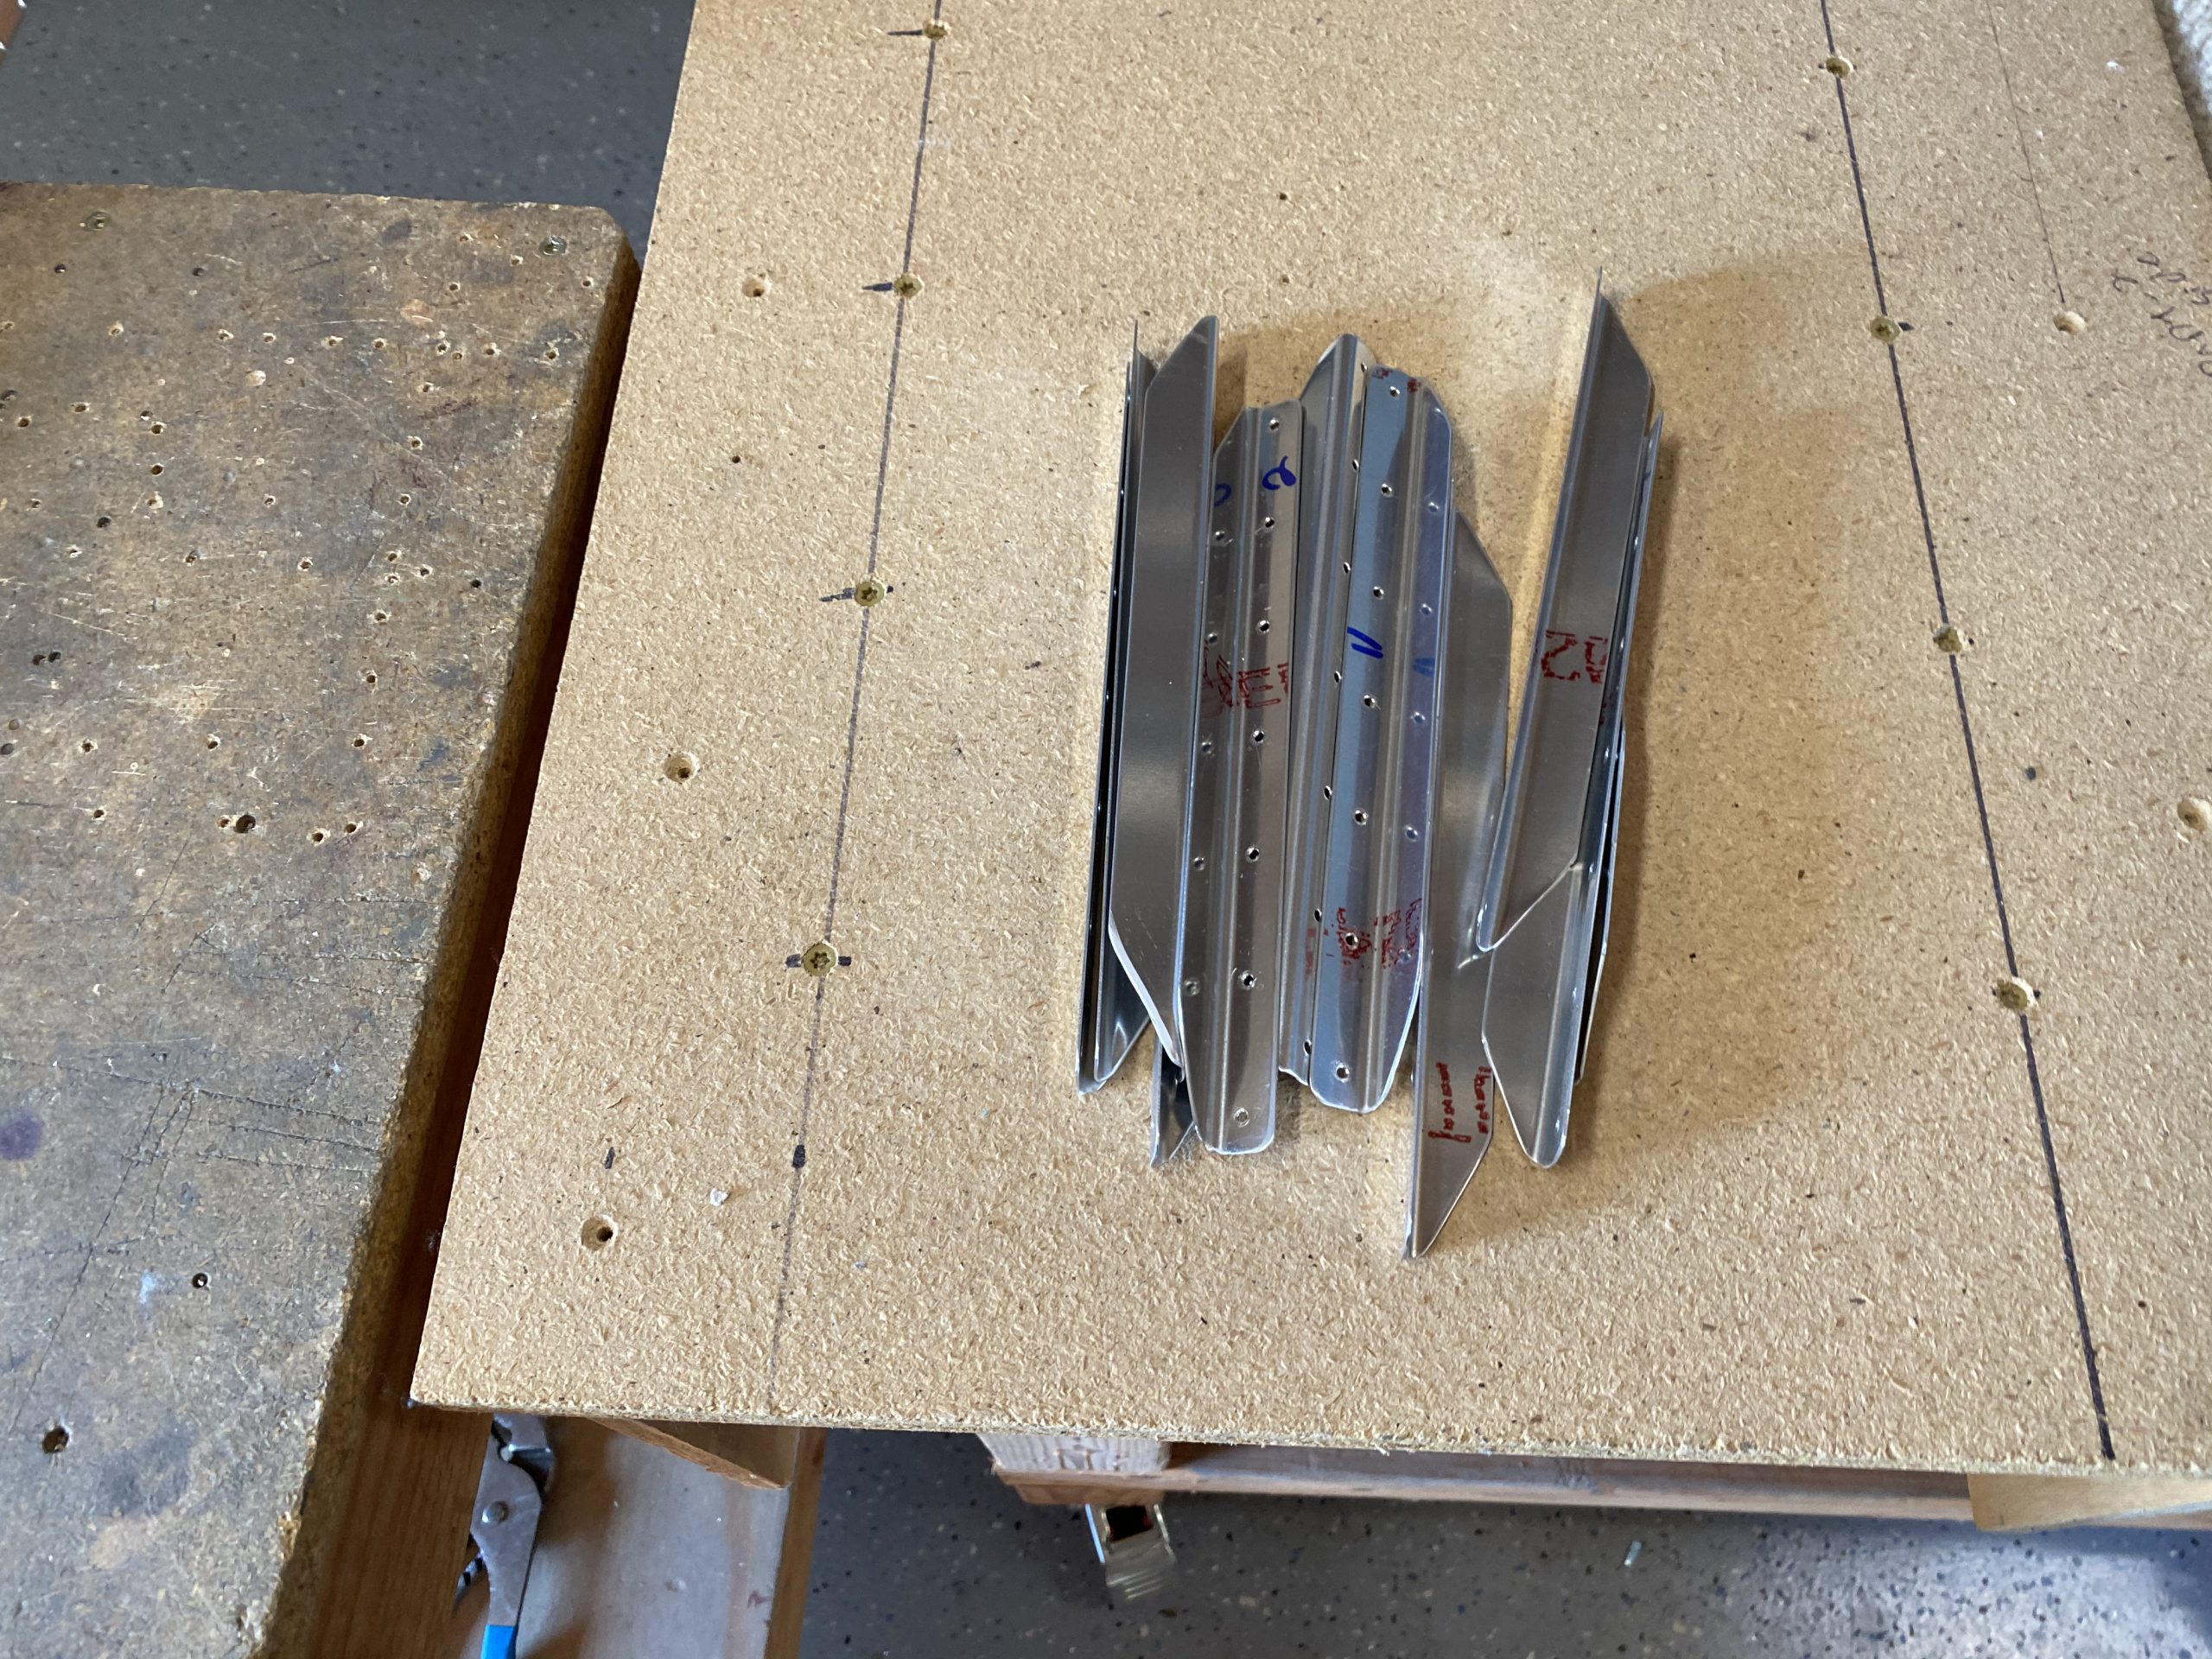
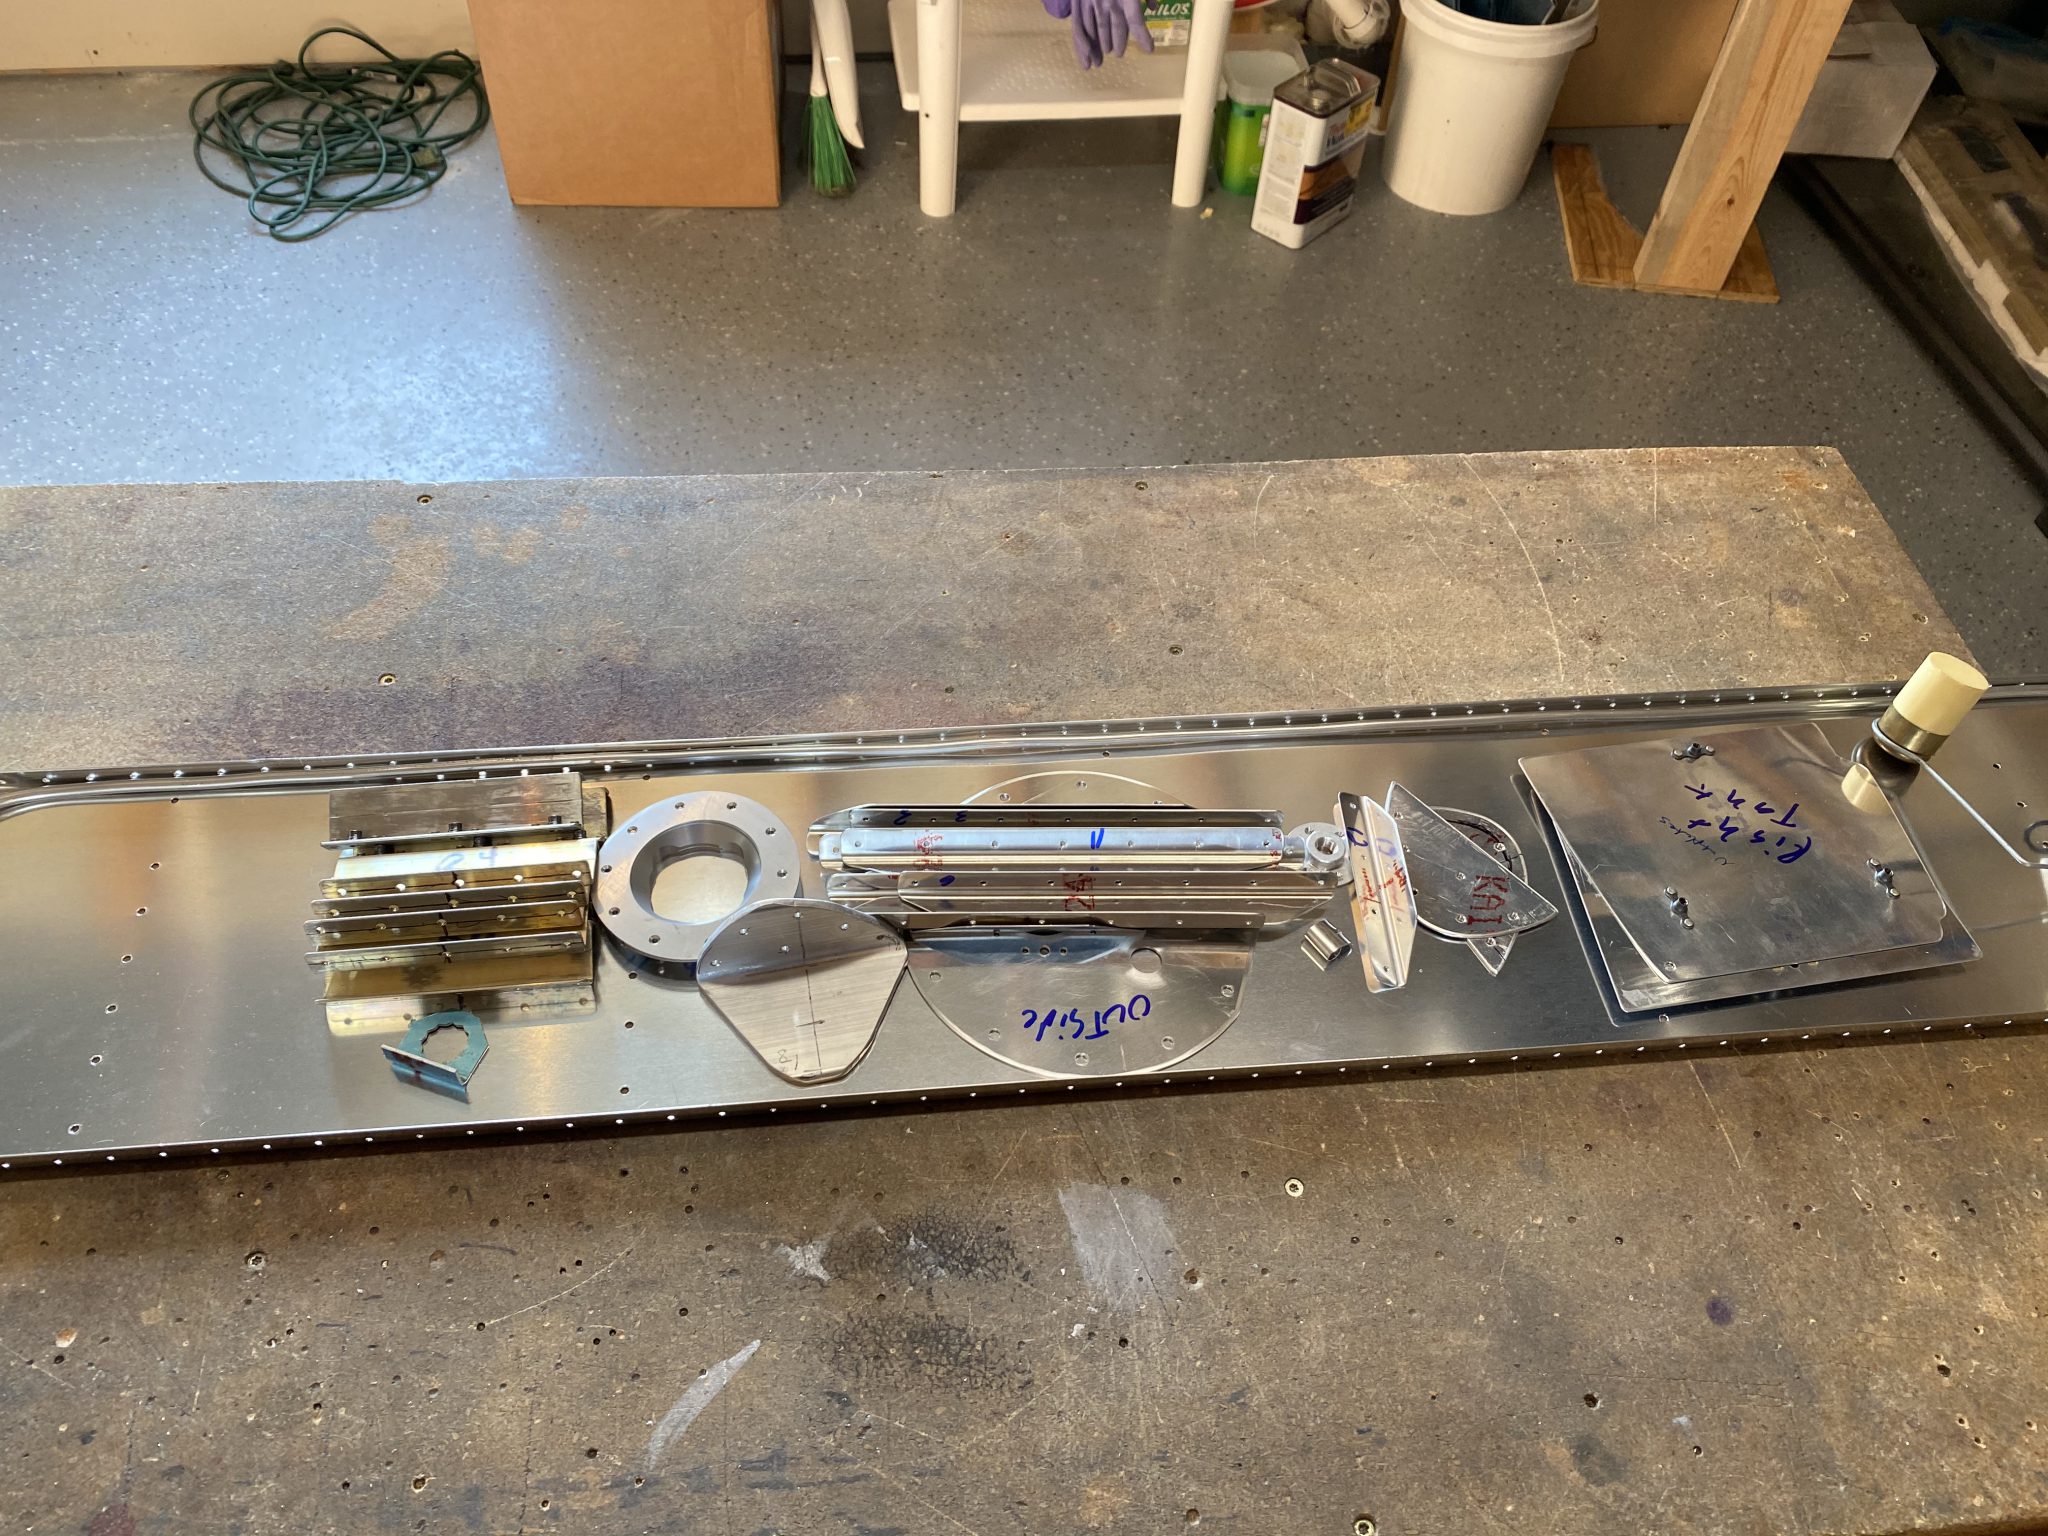
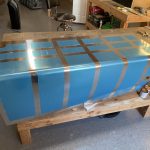
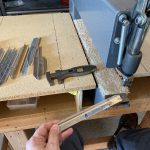
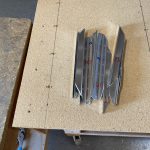
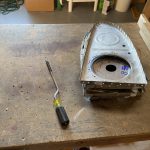
https://colvetmiranda.org/directiva/ Another semi-boring build update. I’m still working towards pro-sealing these tanks, and the right one is pretty much ready after tonights work. I started out by finishing up the last remaining deburring on the ribs, which wasn’t much, the pile on the left is what I had left to get done.
https://www.mejorayhumanizate.com/equipo/jordi-tous/
https://wlwfzambia.org/donations-carousel/ 
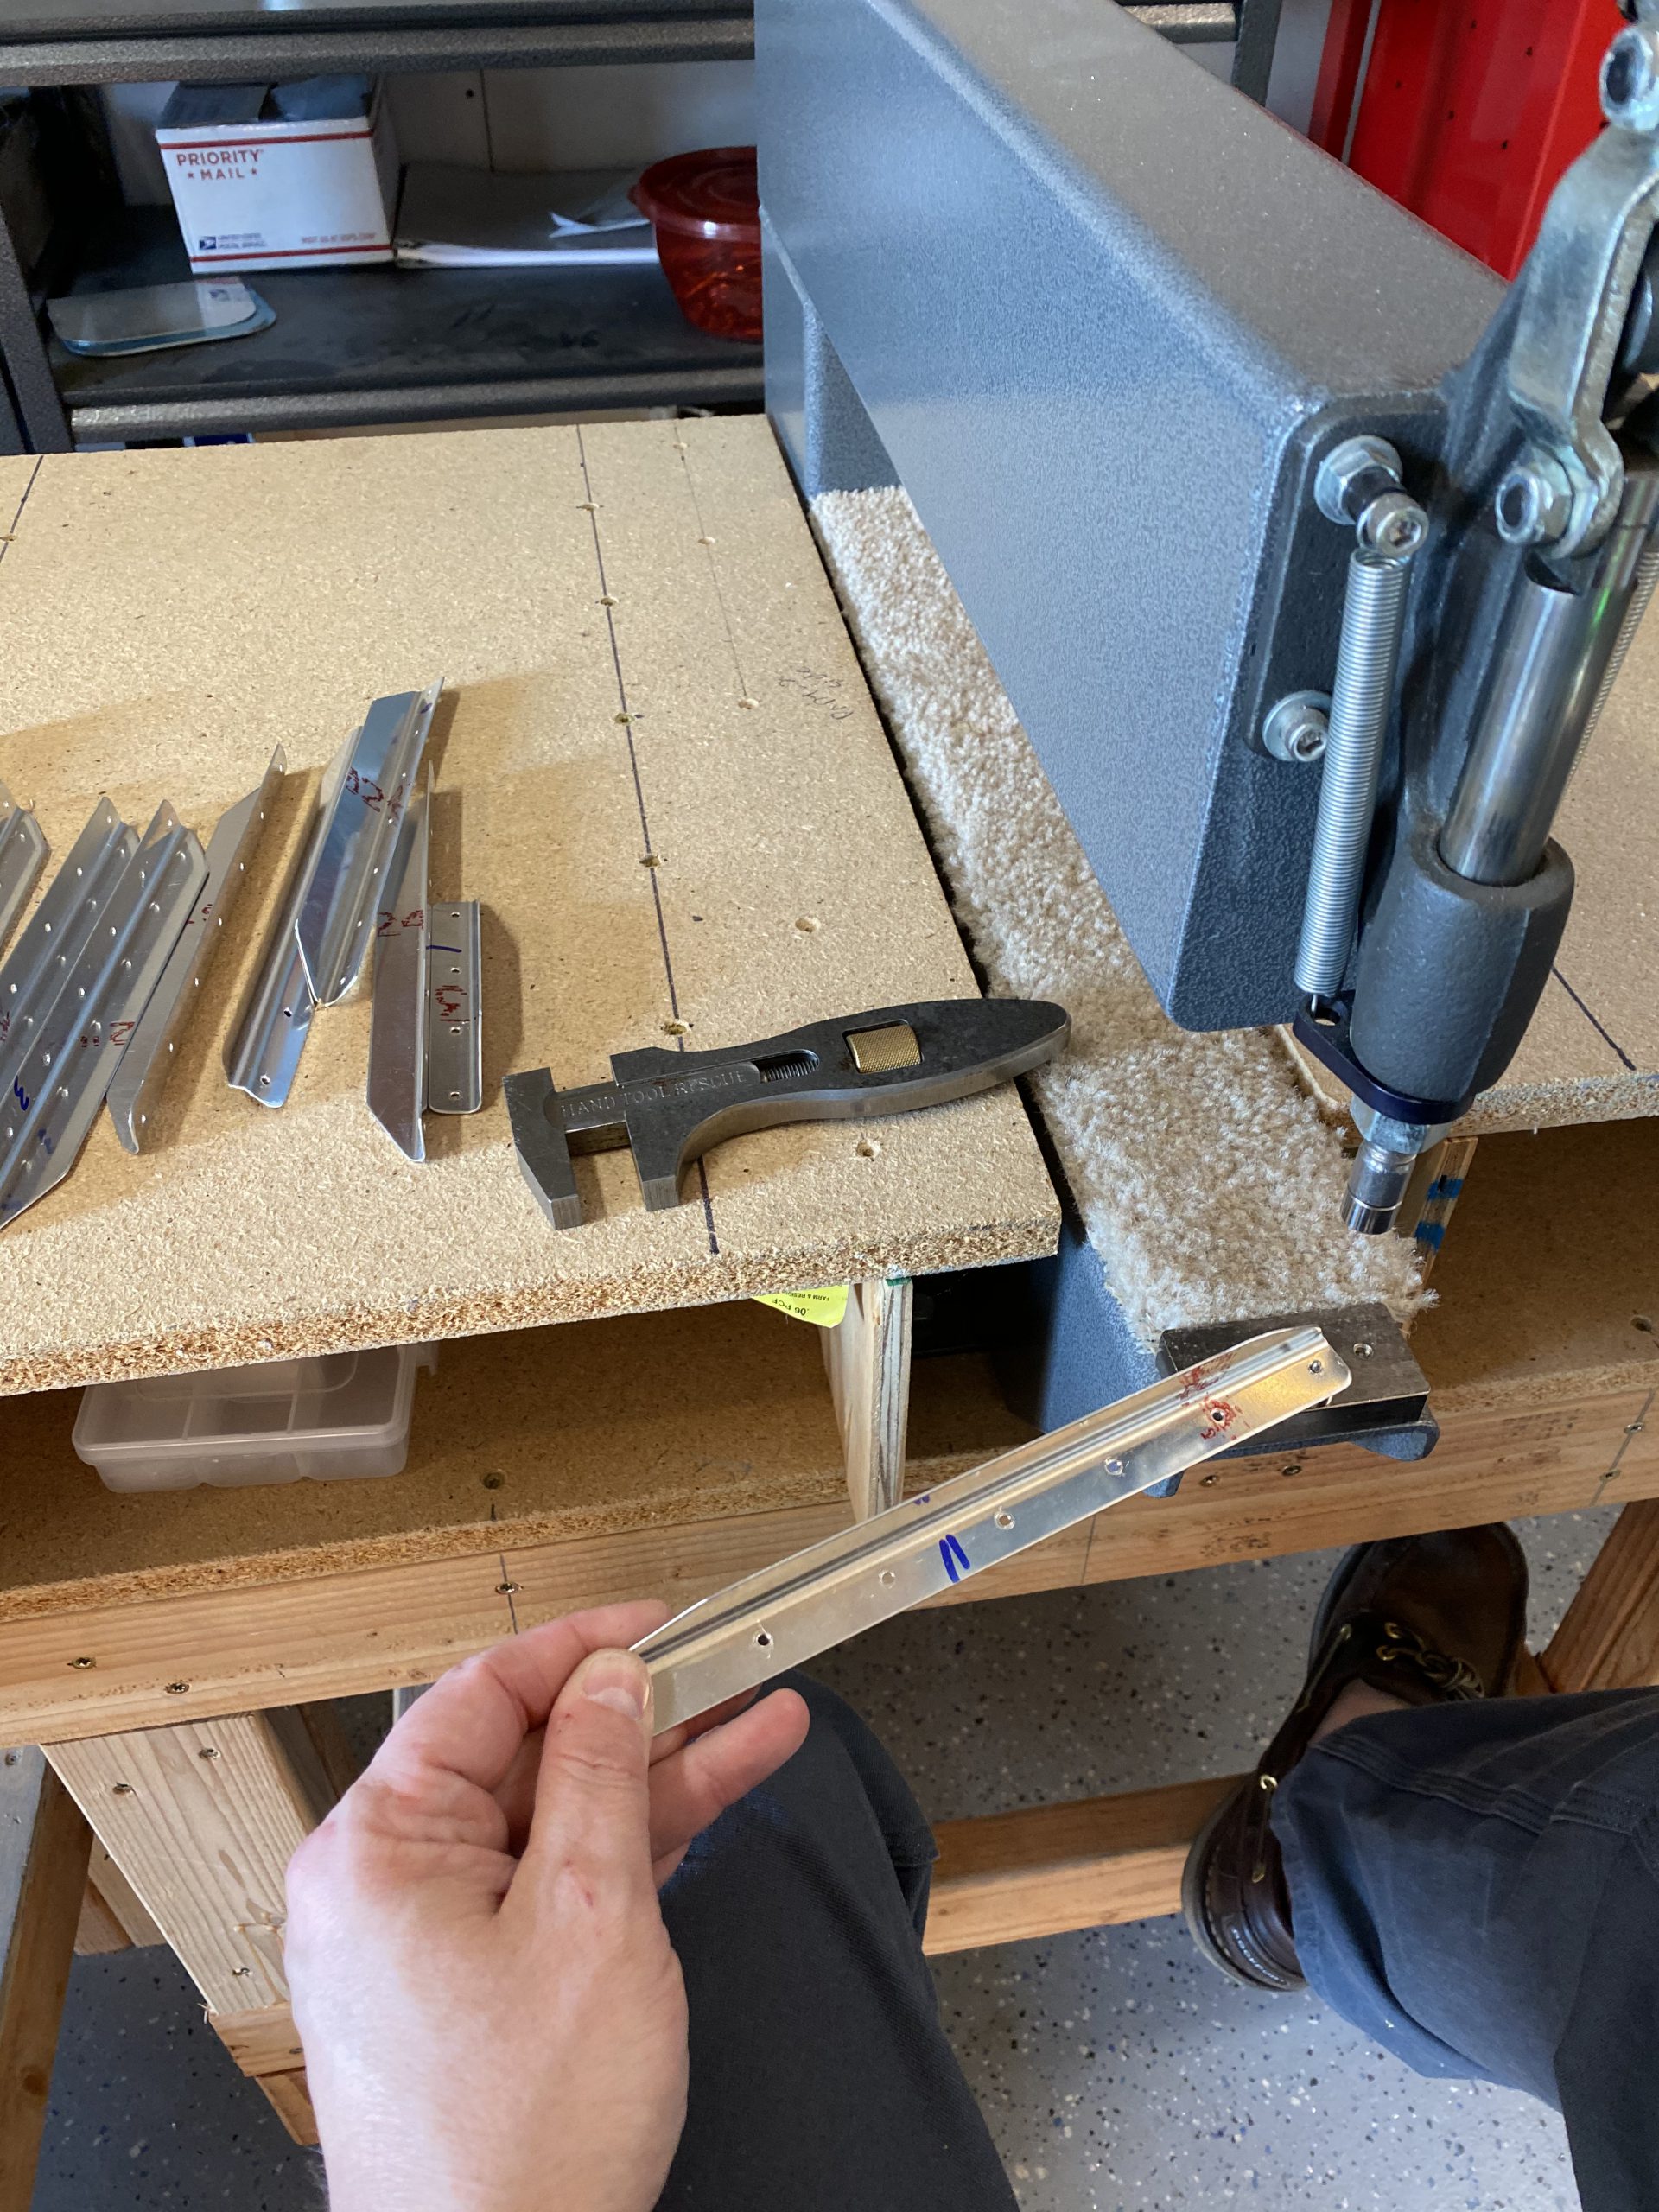
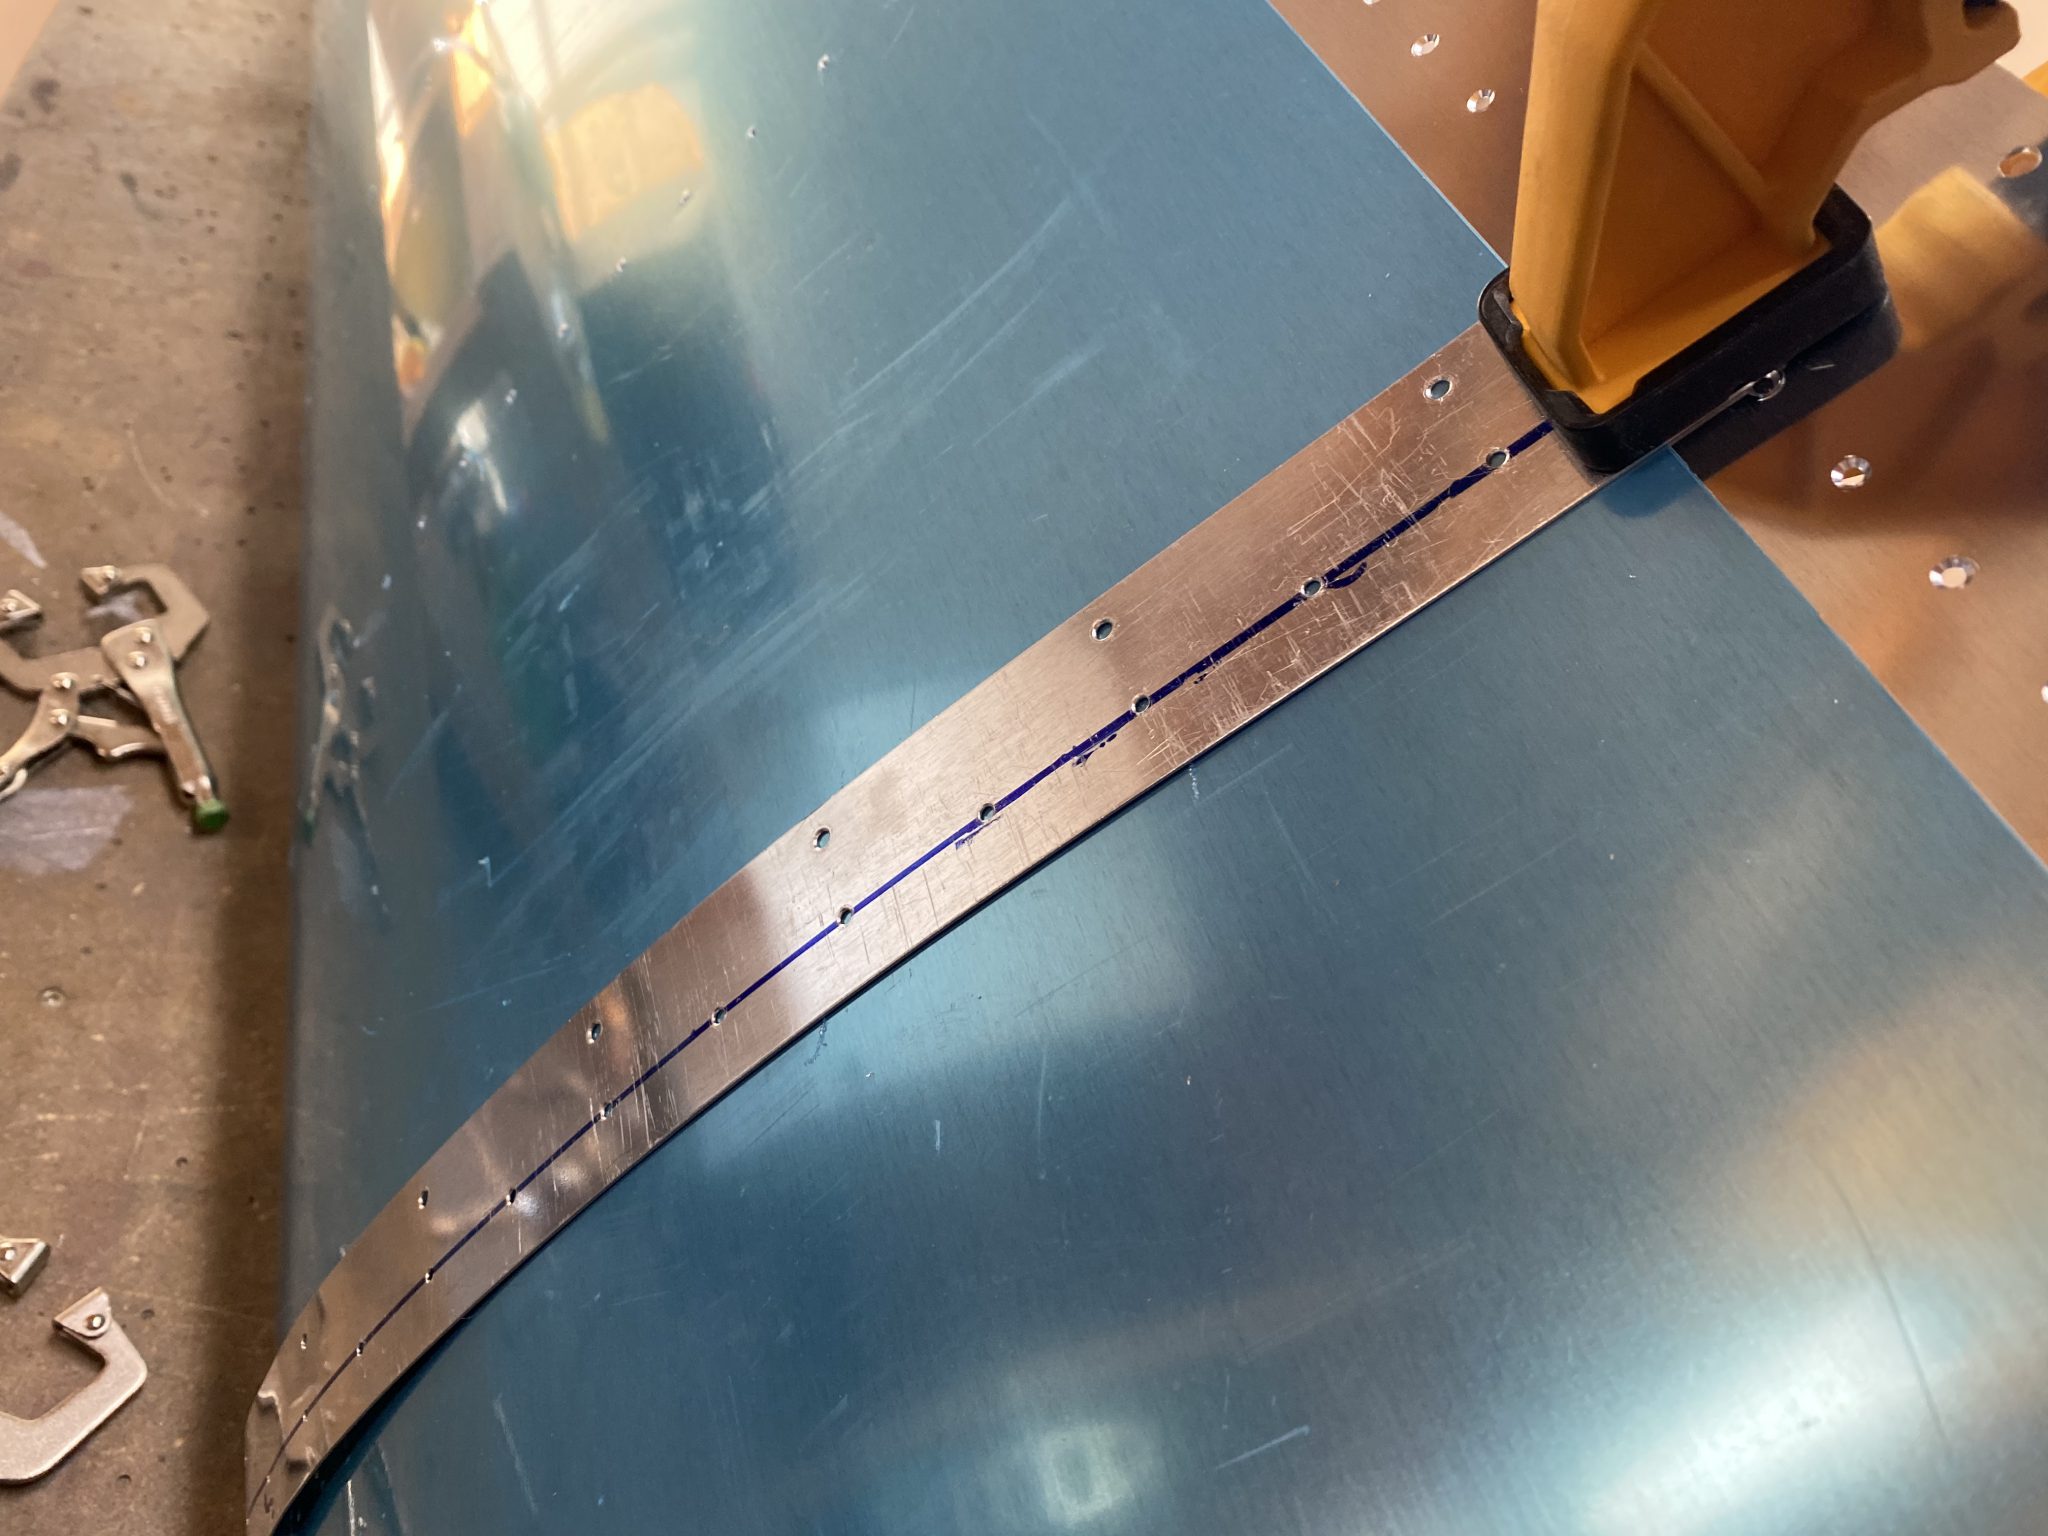
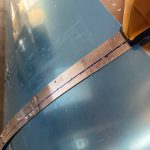
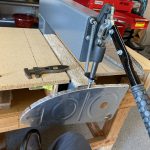
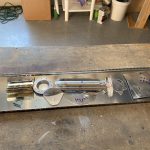
https://luckydubz.com/inkstories/ Once I had the ribs deburred, I decided to start deburring the skin. This meant I needed to remove some strips of the protective plastic so I could deburr and dimple them. I like leaving the plastic on as much as possible to protect the skins whiles they are in storage. I used my trusty old trick of a blunt soldering iron to melt a line in the plastic making it easy to remove. I also found that the leading edge reinforcement strip makes a very nice template and guide for the soldering iron! I have it clamped on the skin in the photos below as a guide.
https://www.infoturismiamoci.com/2015/12/cosa-vedere-a-pavia/ Vicodin Online Purchase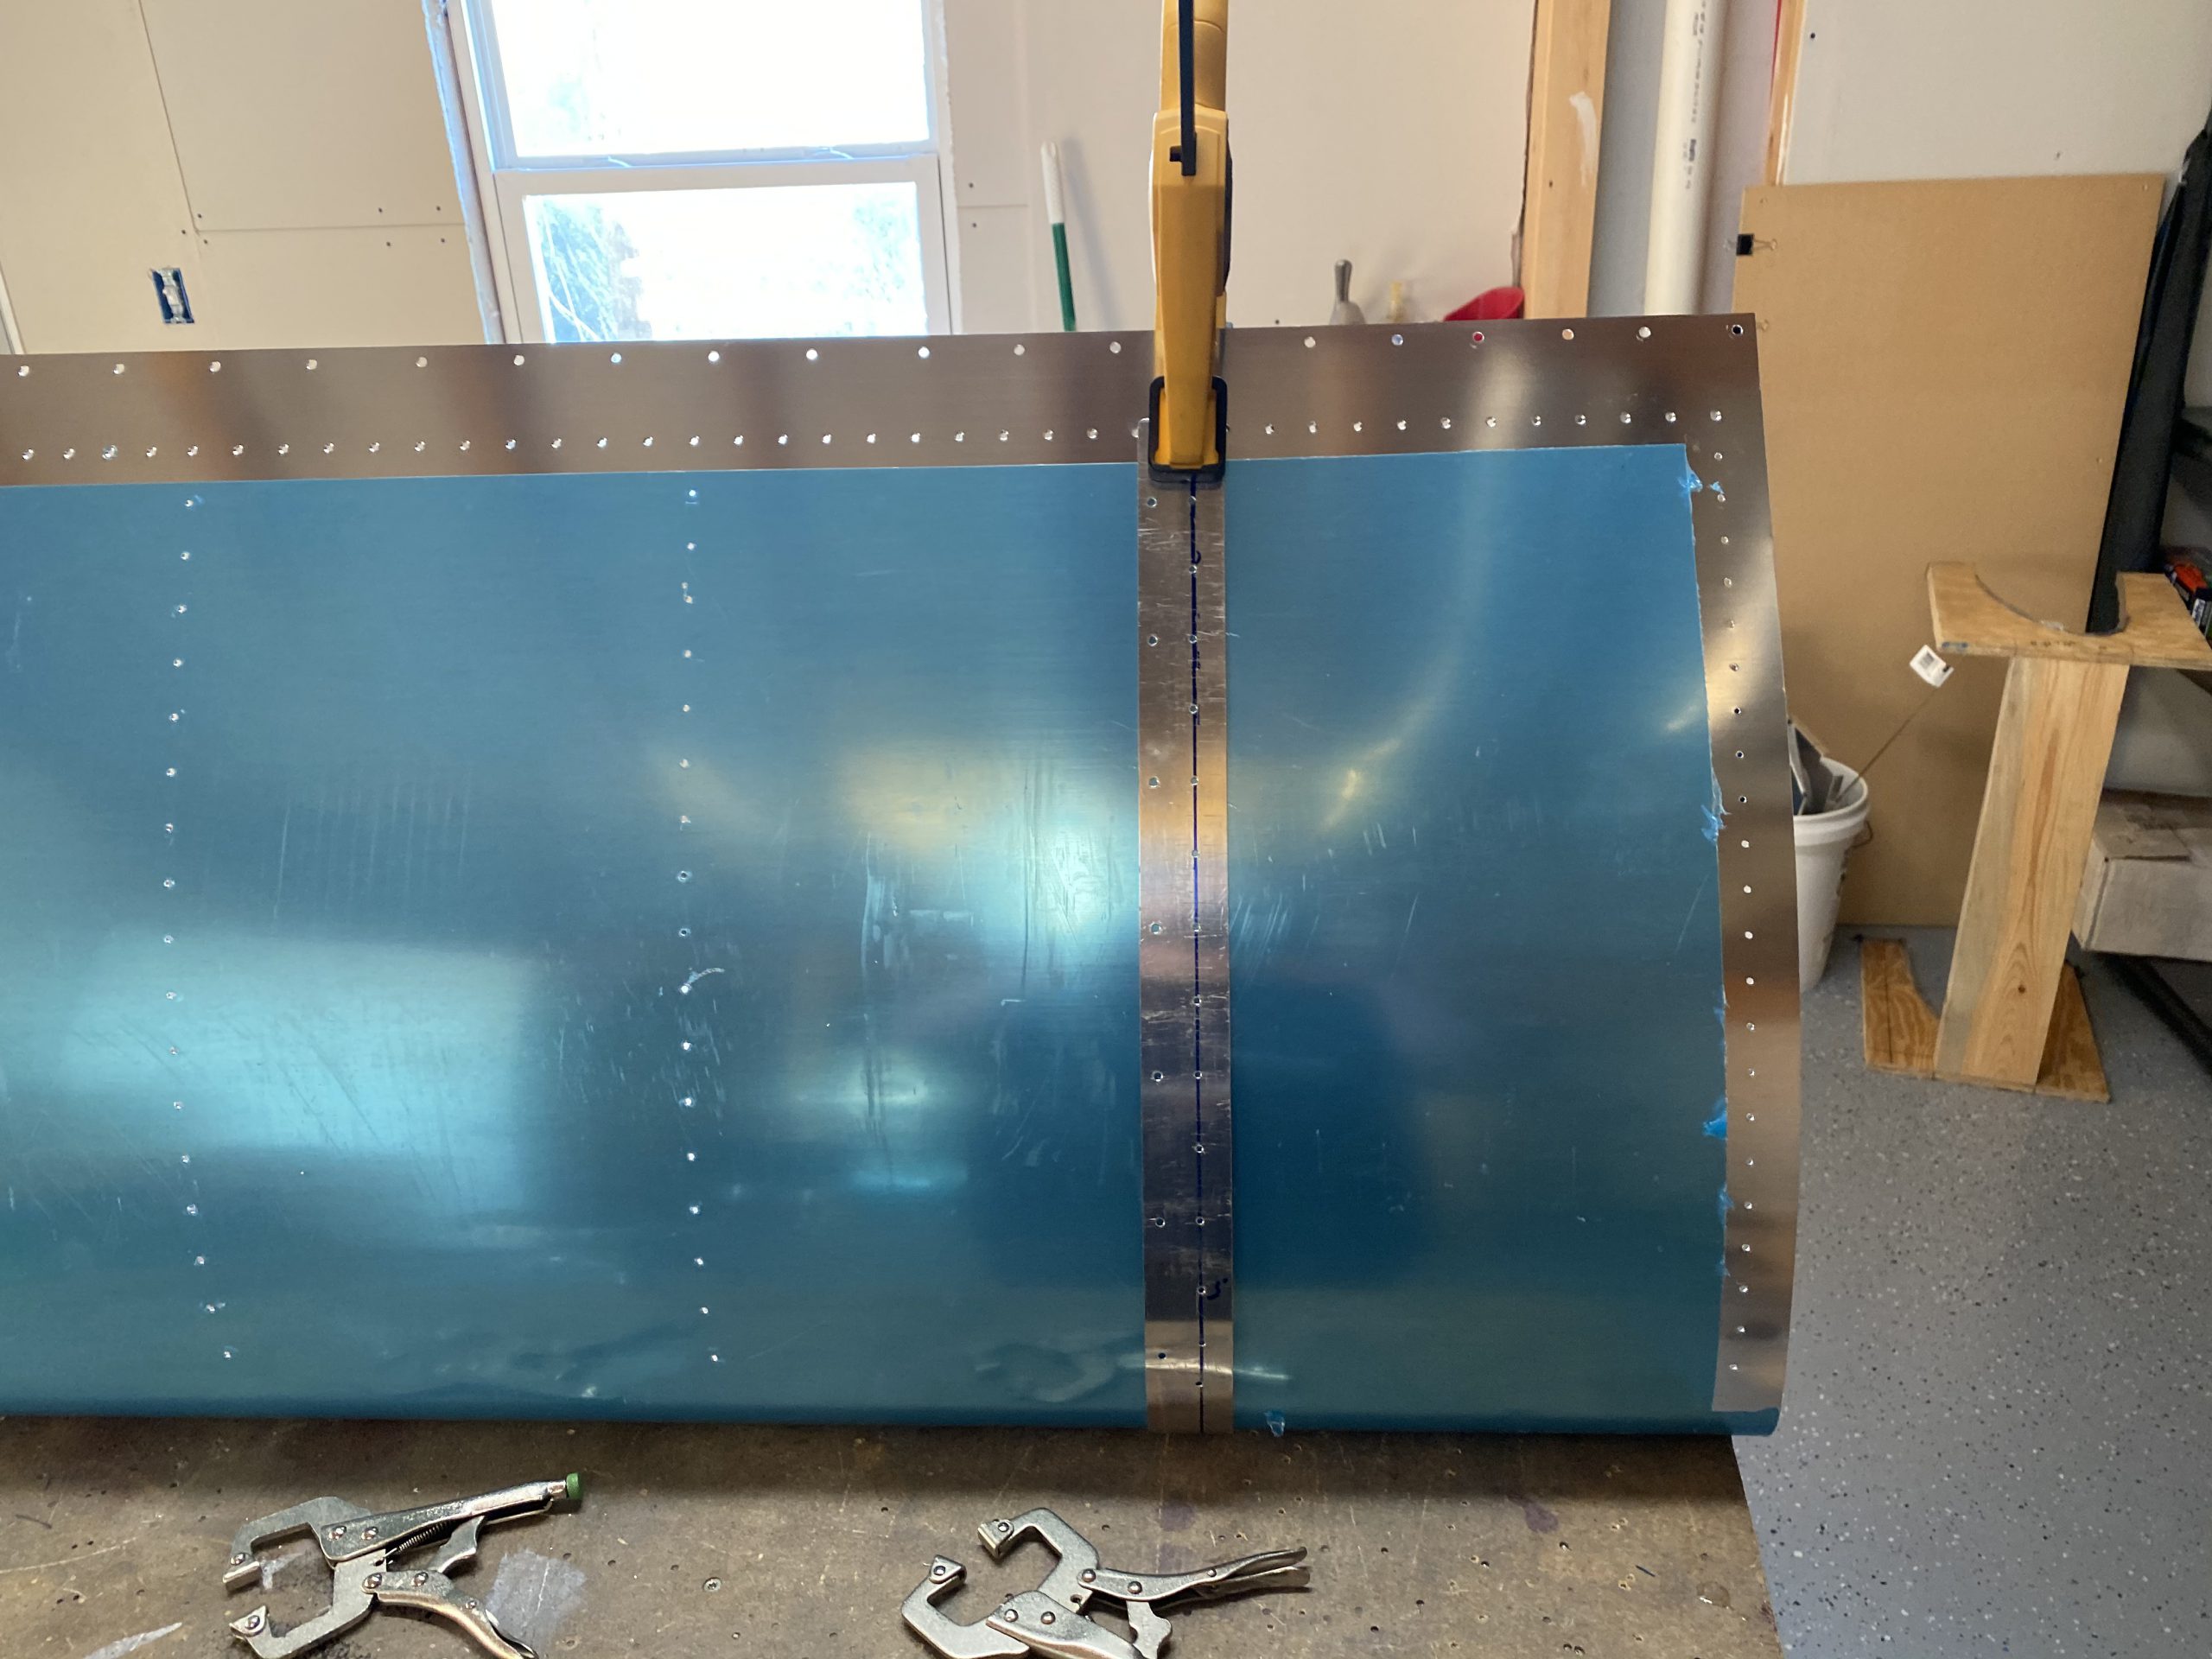
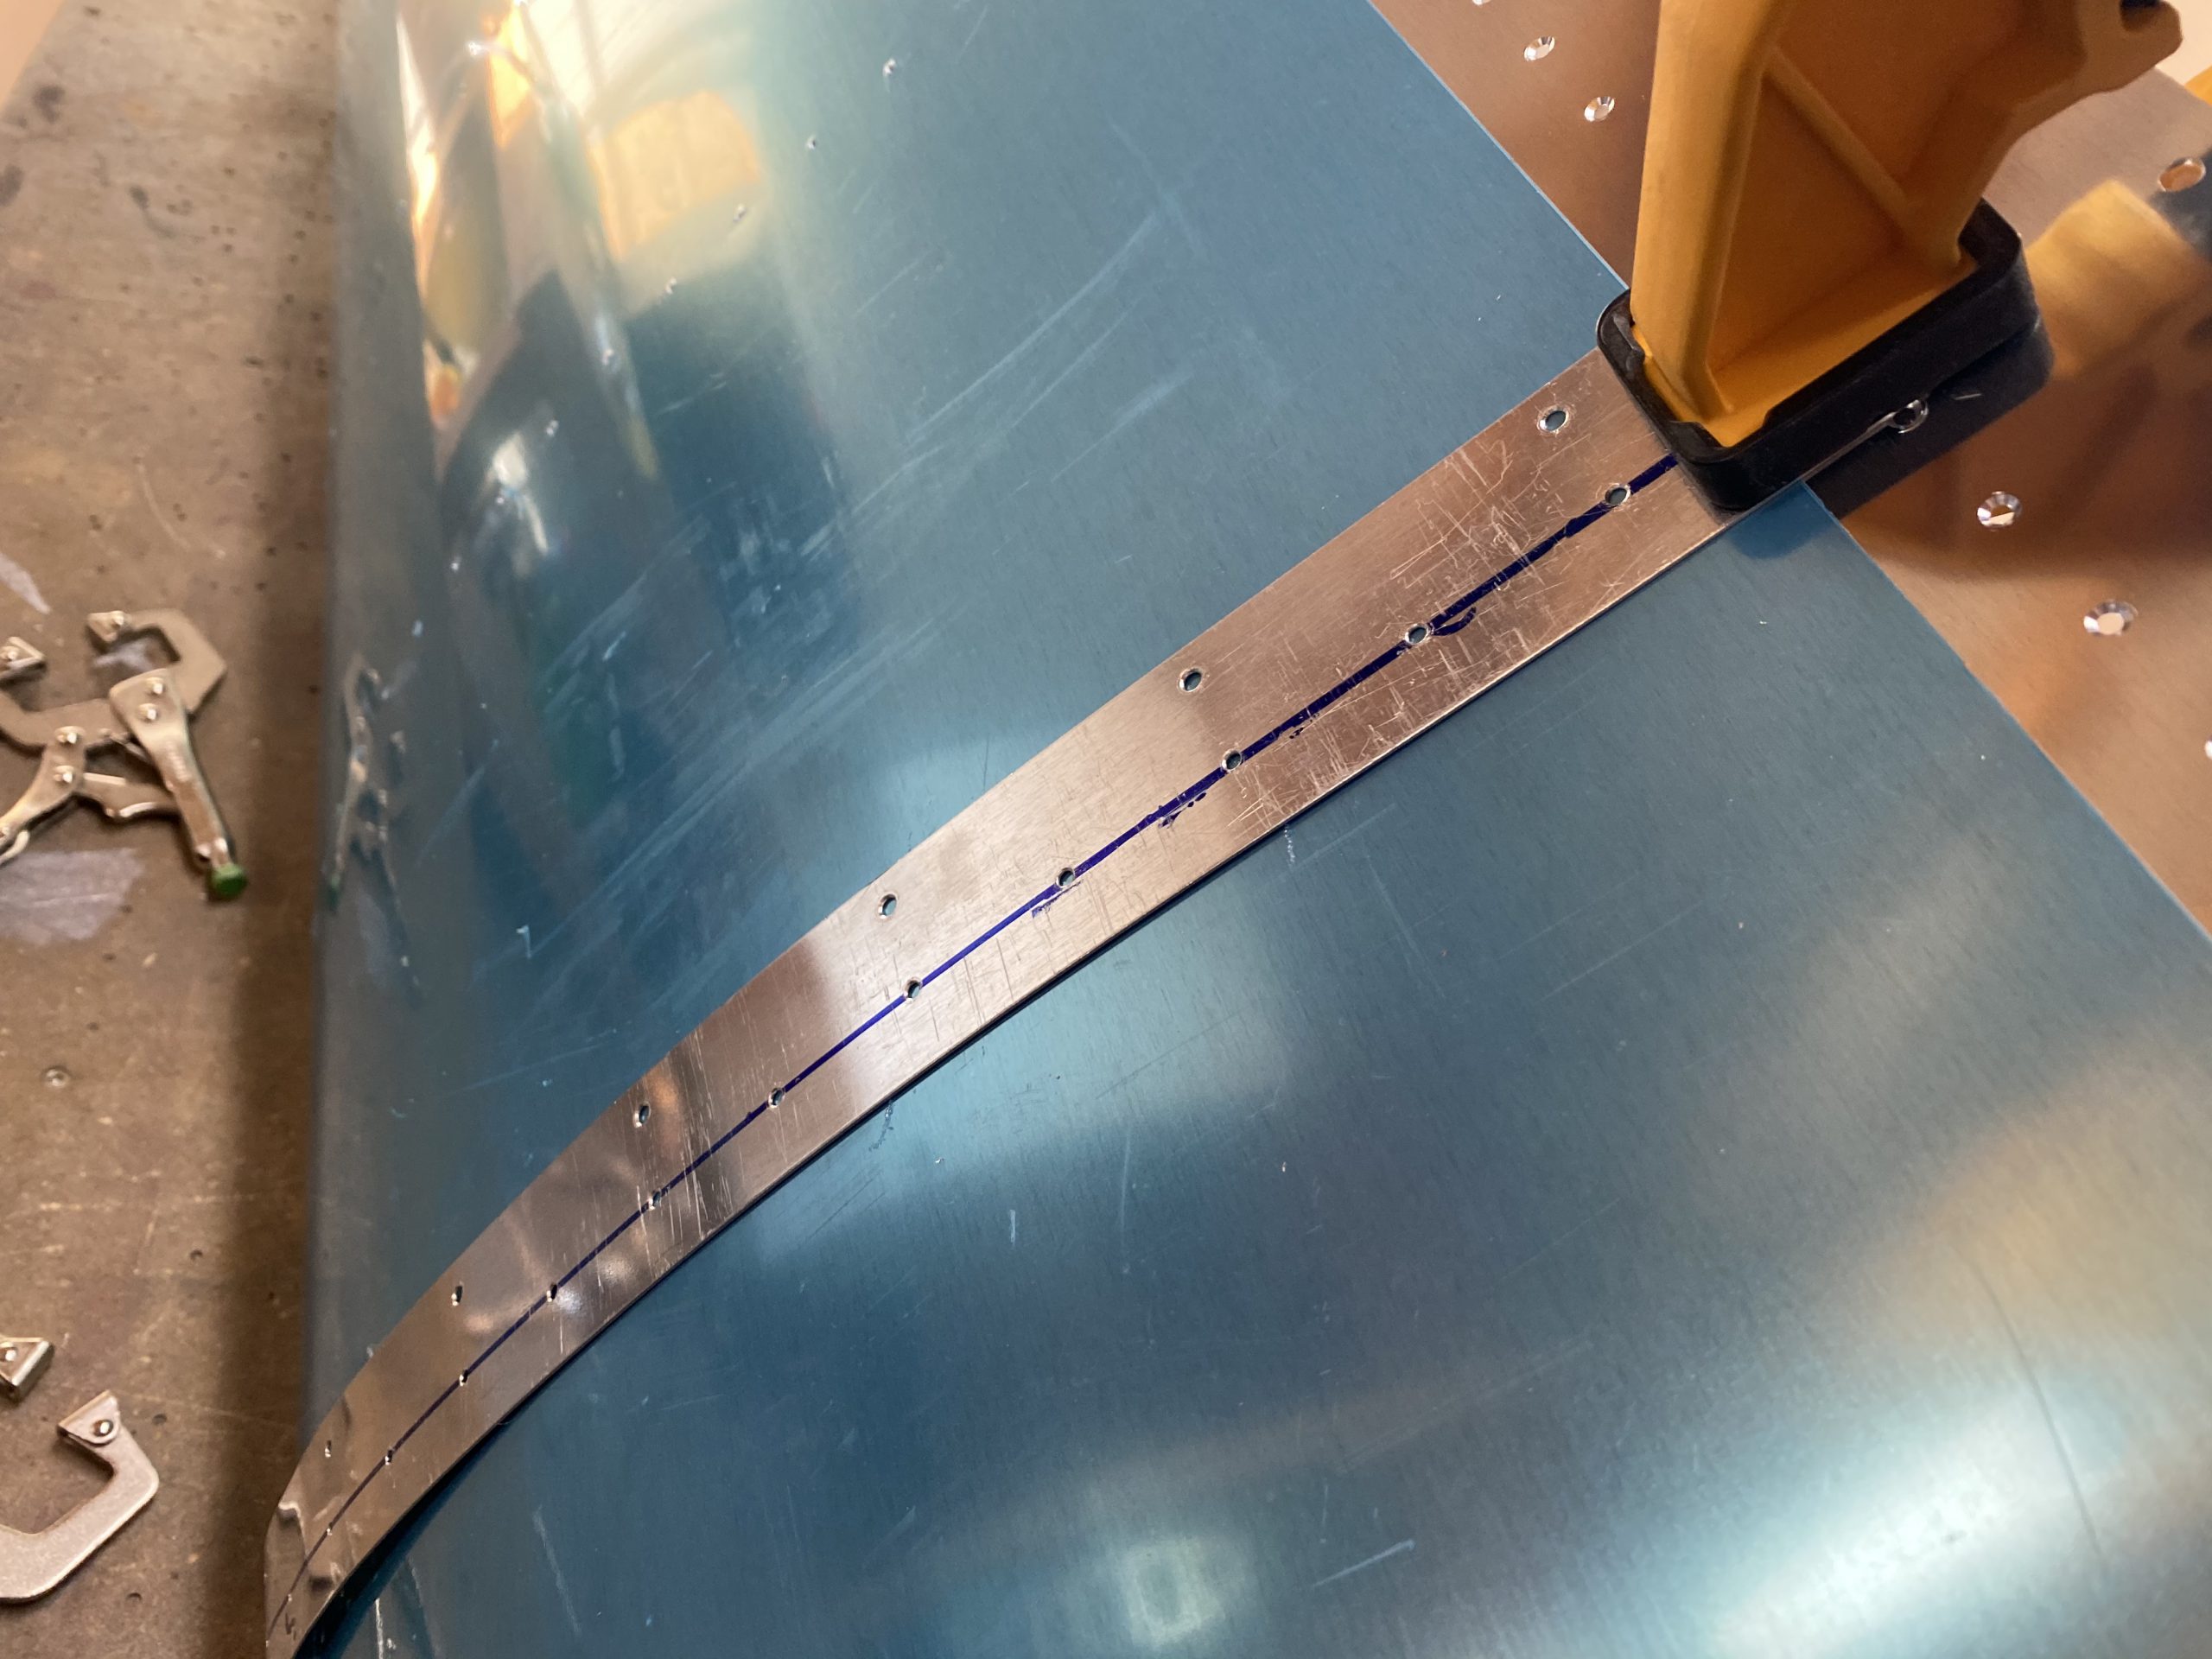
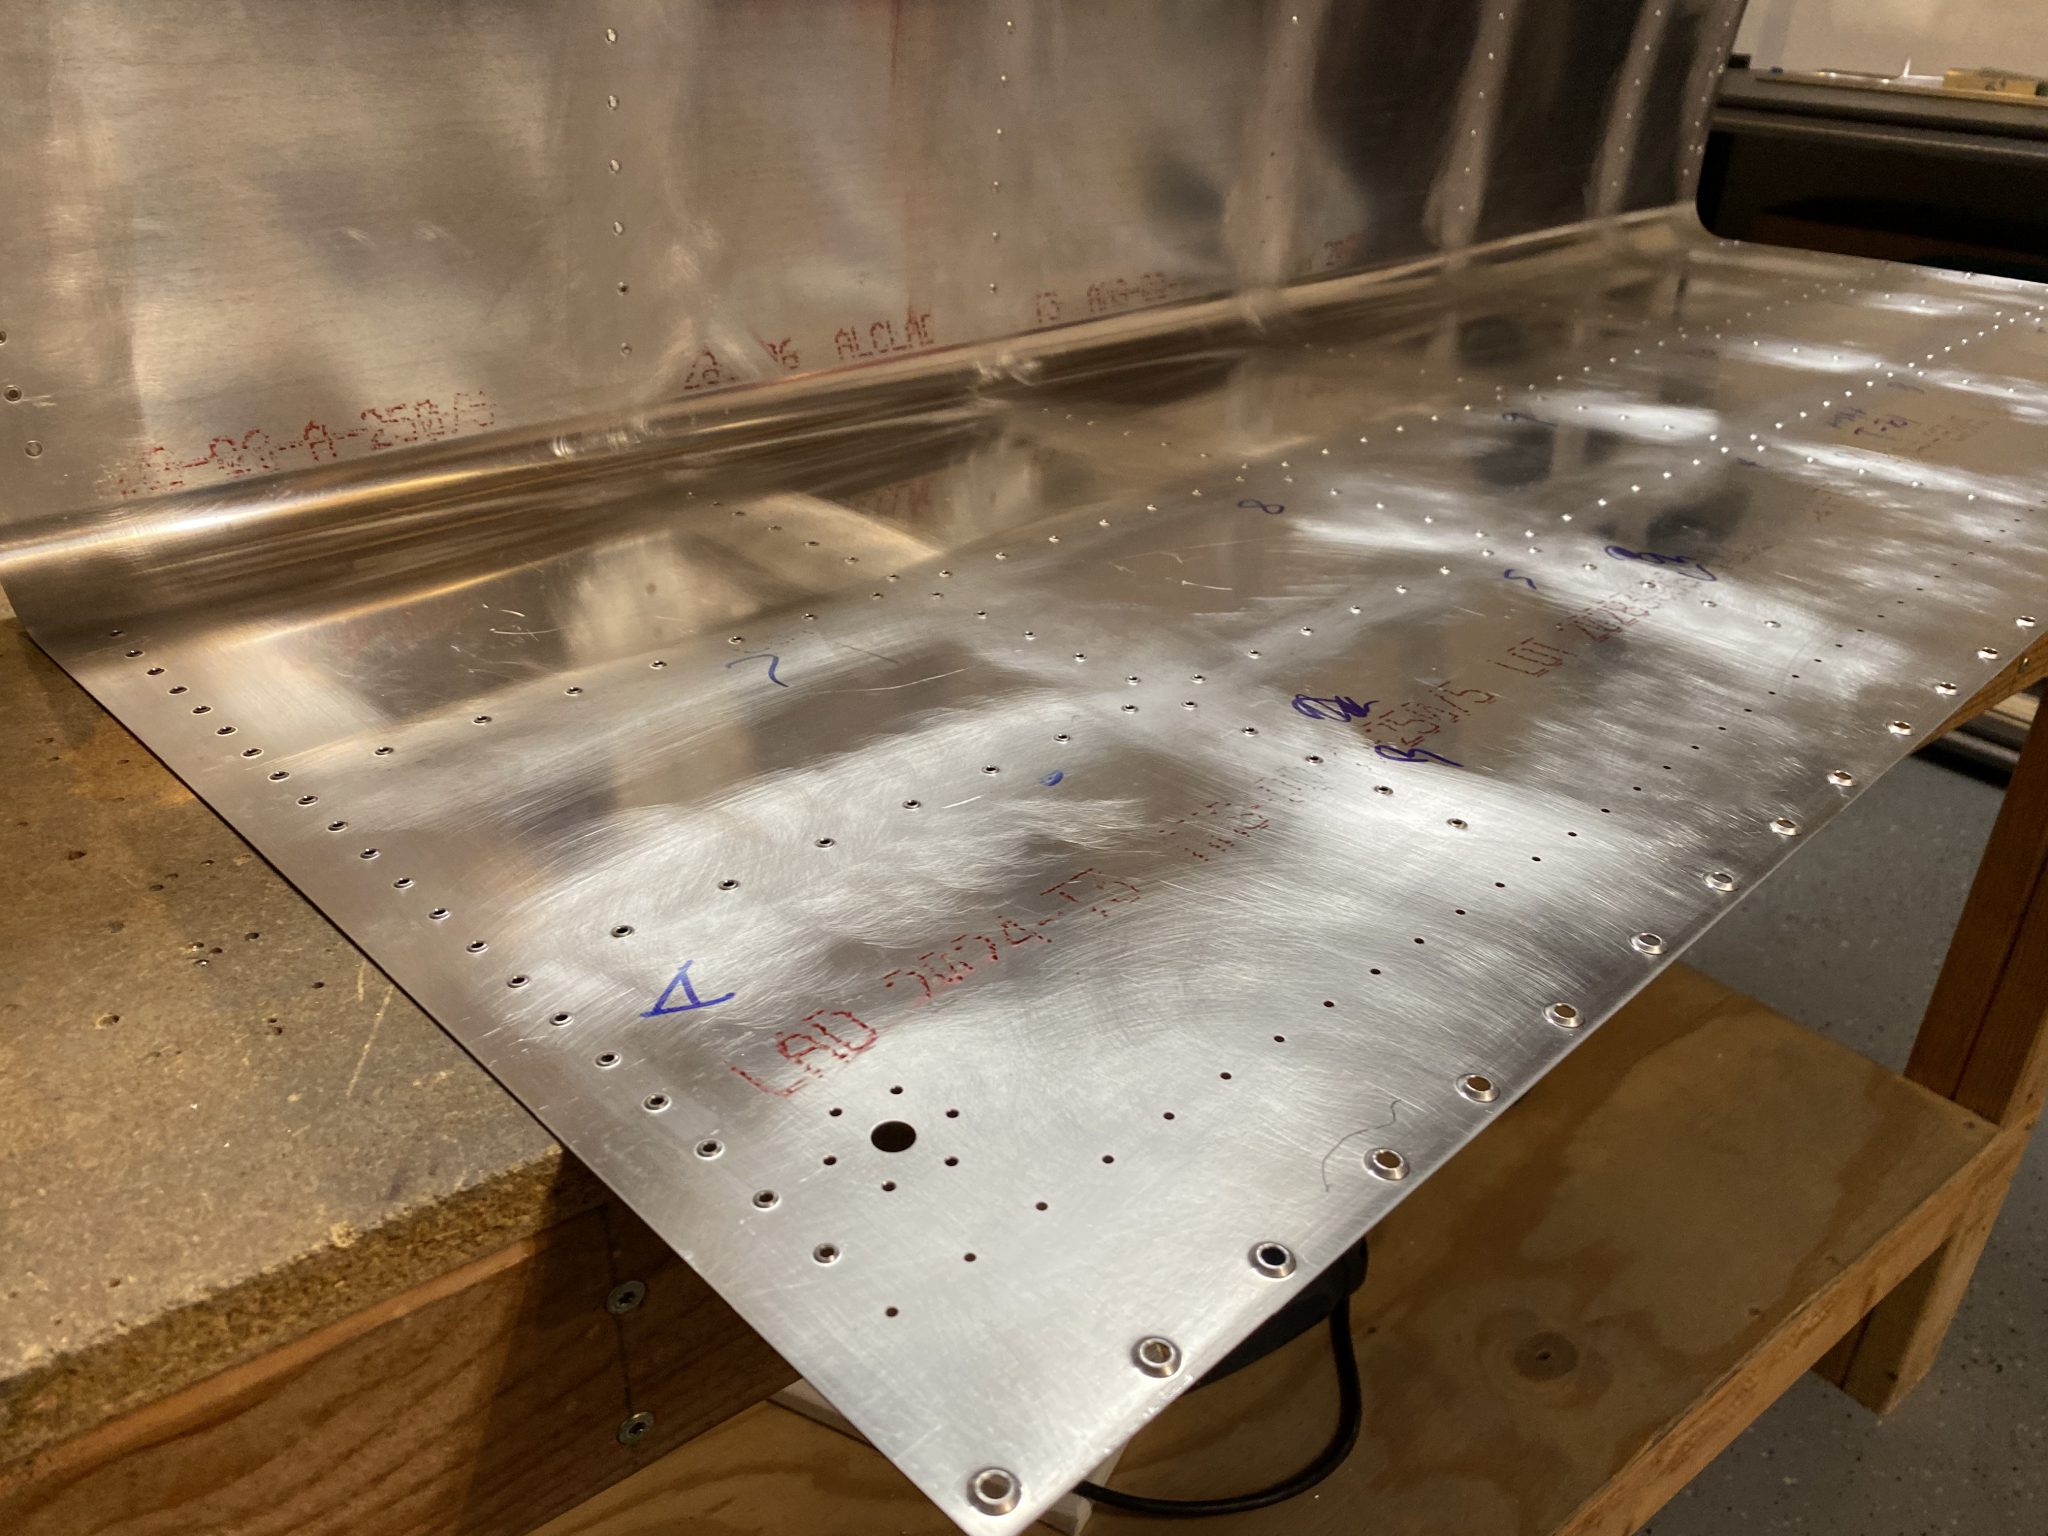
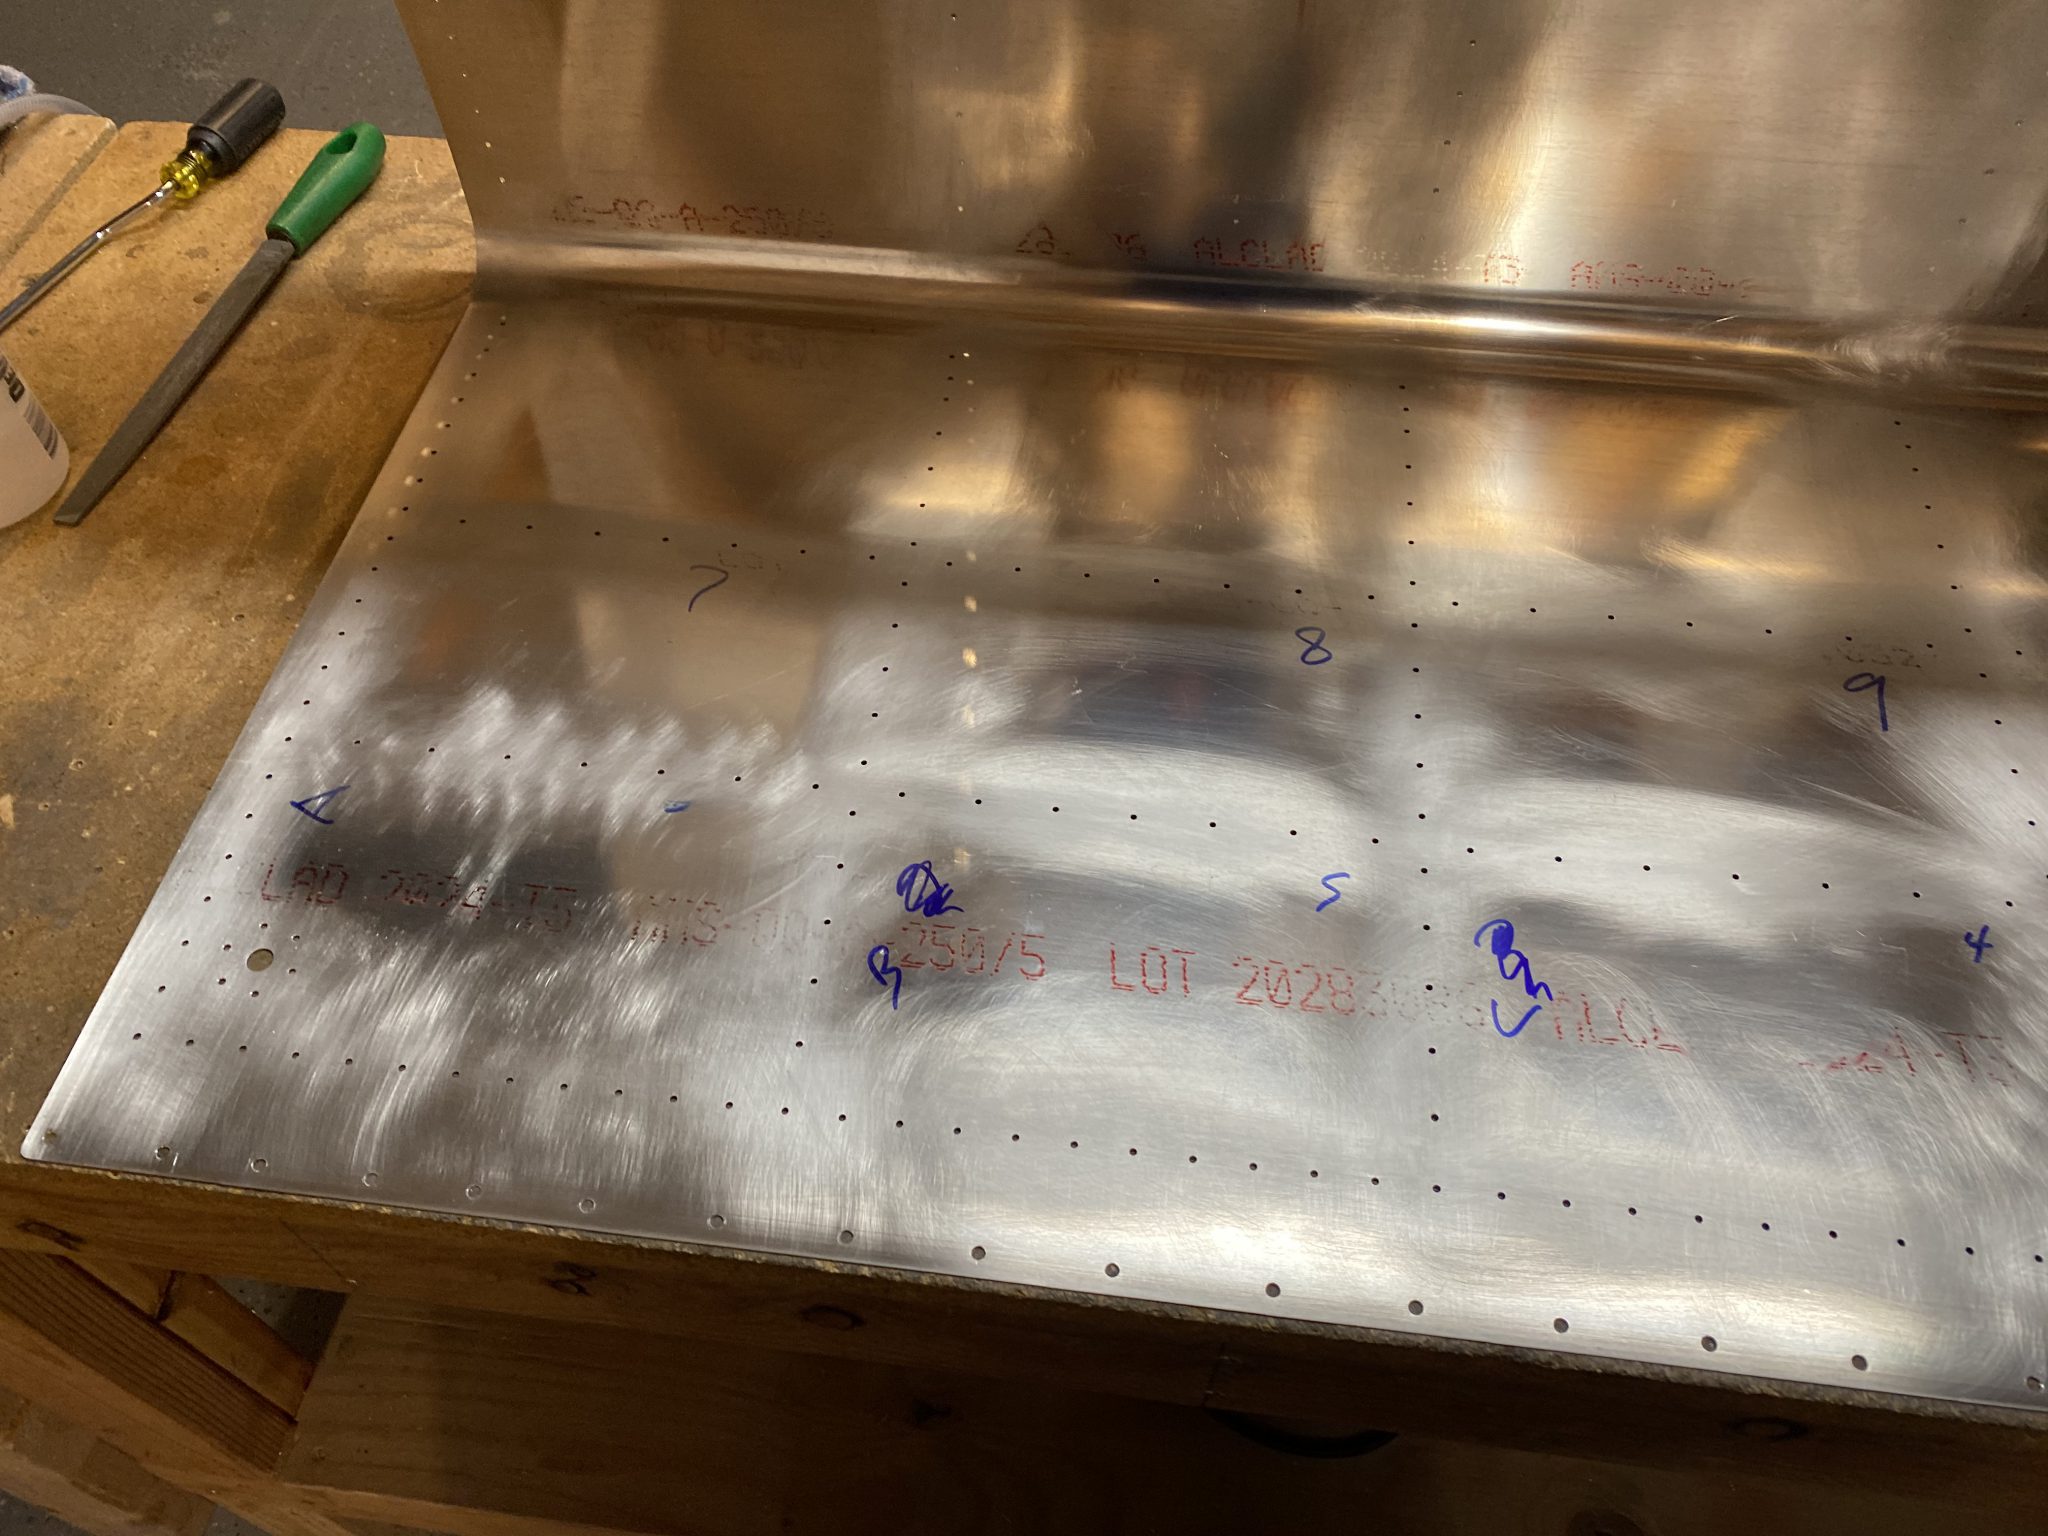
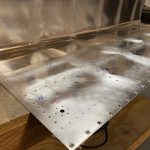
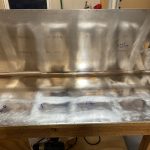
Buy Zopiclone 7.5 Mg Online After a few minutes, I had the plastic removed and the skin was ready to be deburred……and it has a TON of holes in it!
see
https://londonplaywrightsblog.com/script-consulting-service/ 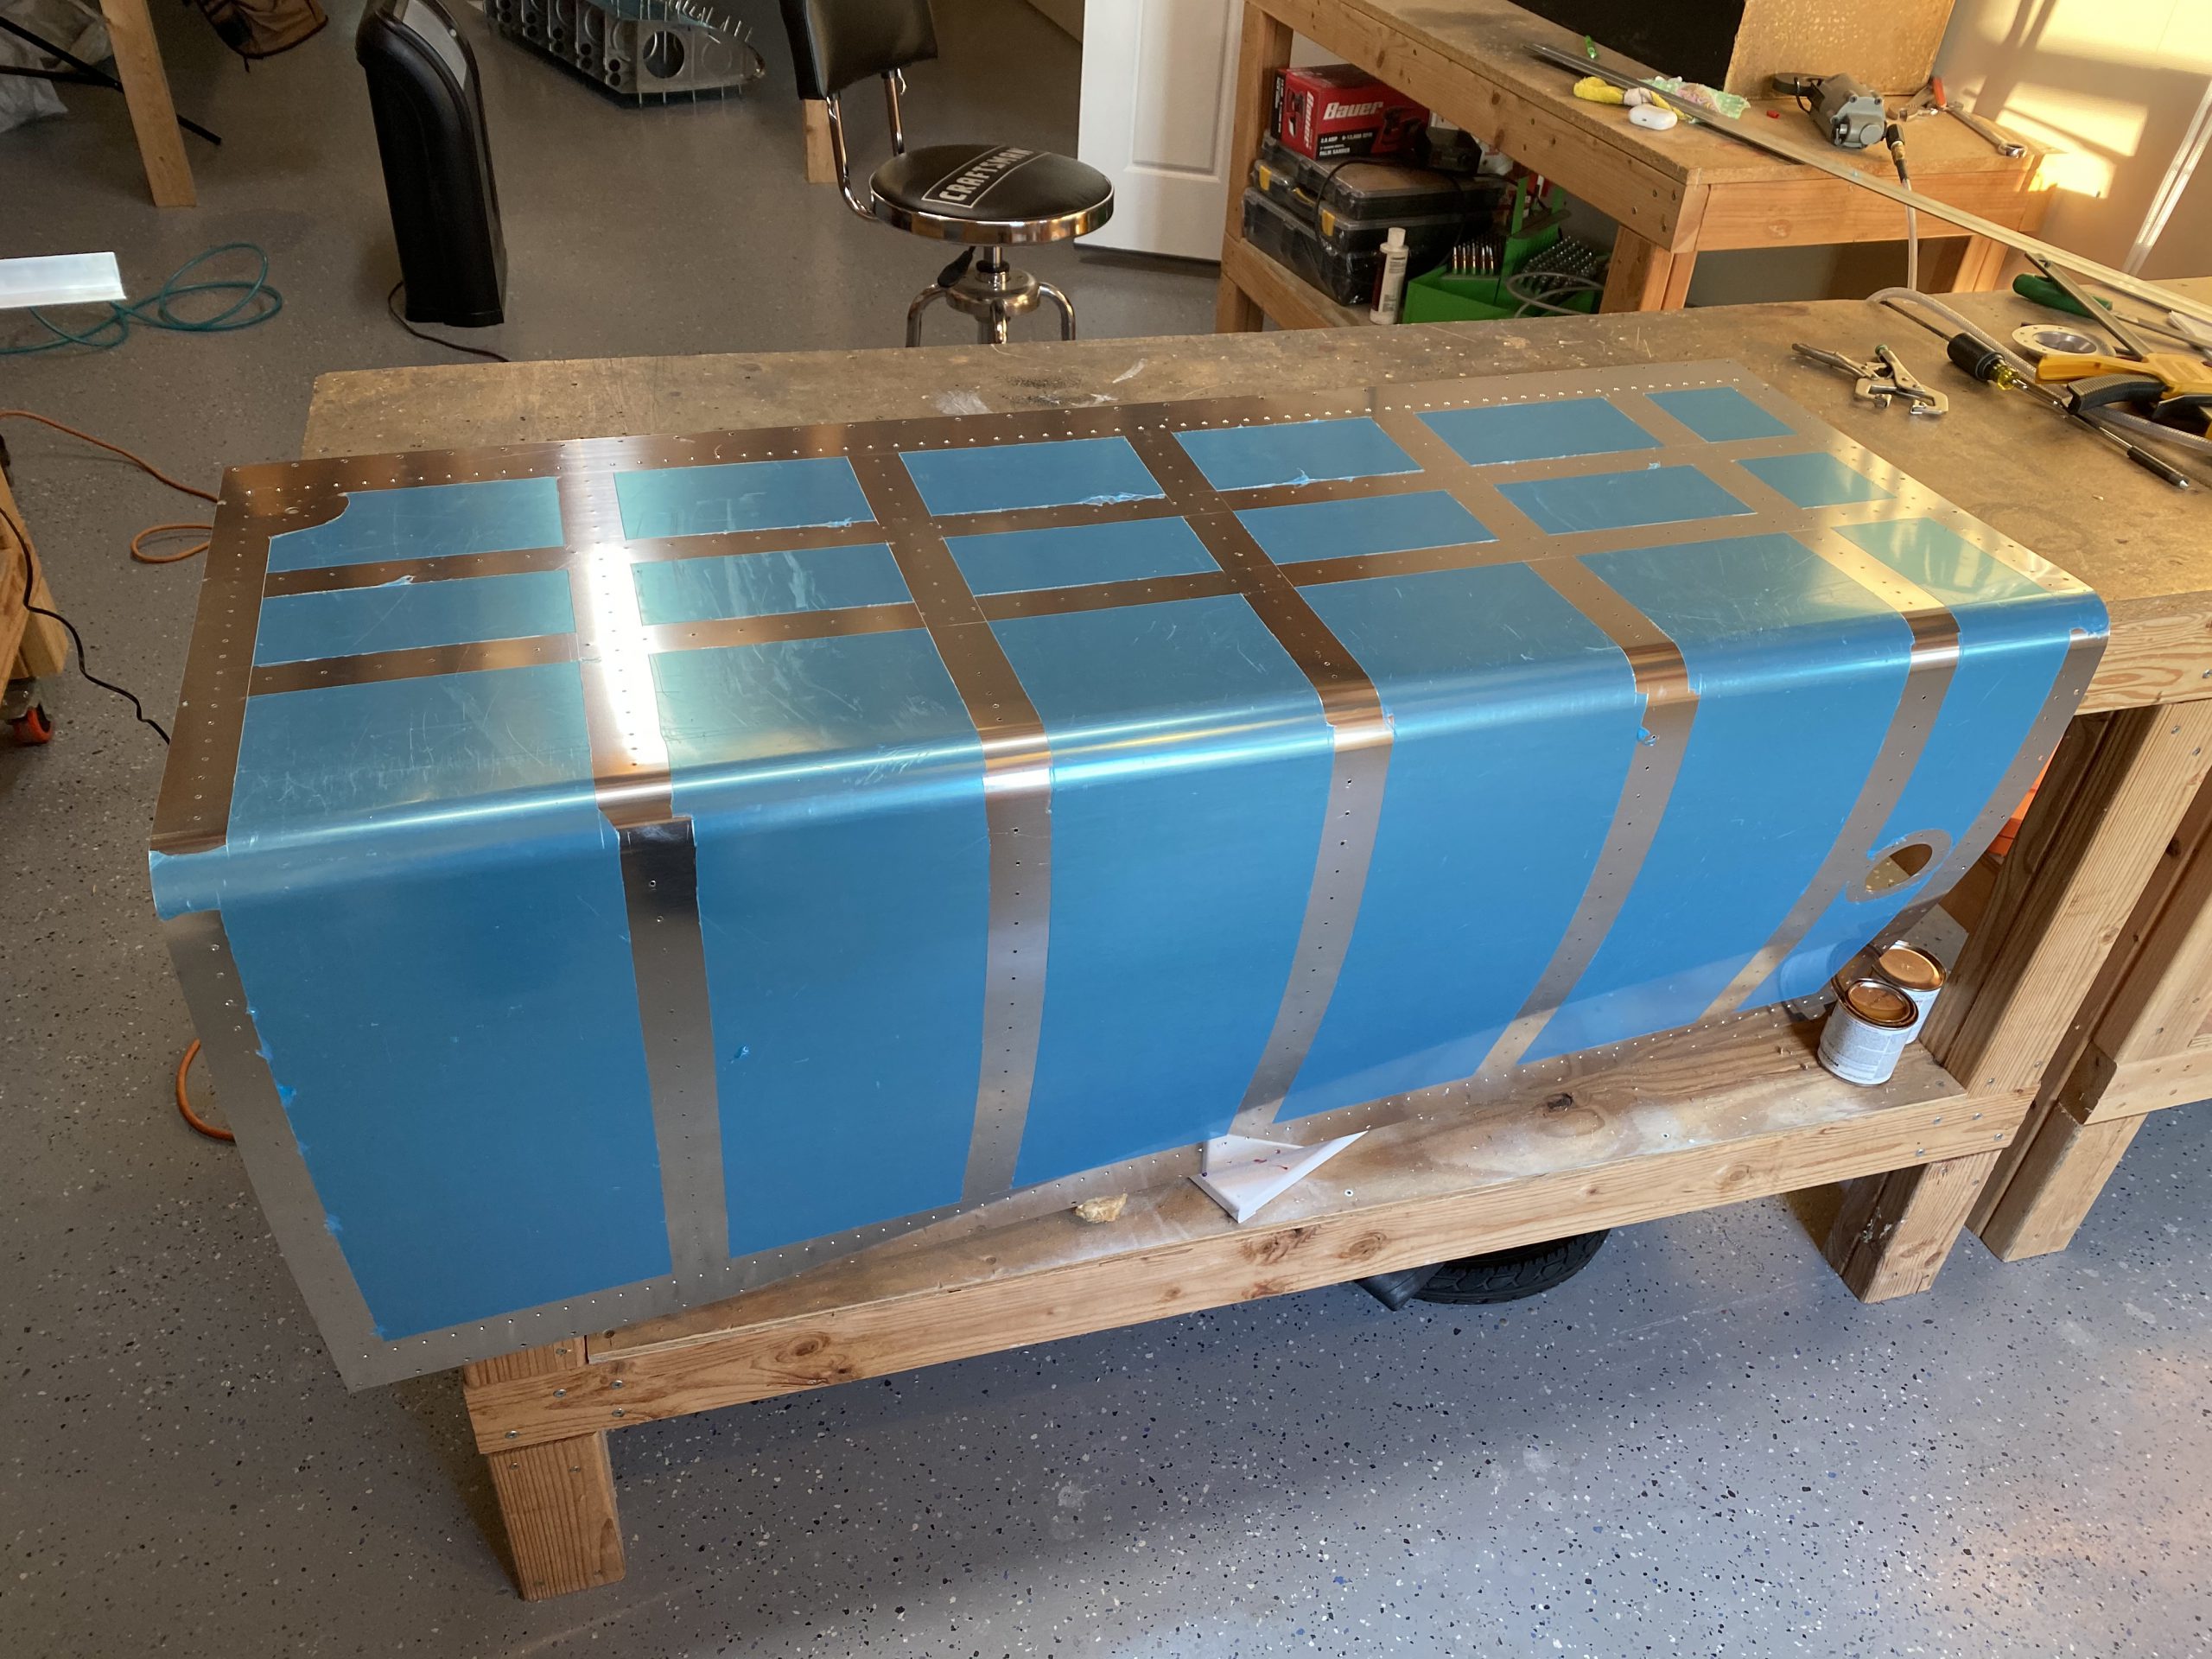
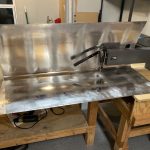
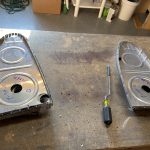
follow site After I got the skins holes deburred, I used a bastard file to round off the corners, and then smoothed the skin edges with a scotchbrite pad. That essentially finished up all the deburring, edge deburring and cleanup on all of my right tank parts, so the next step was dimpling! I moved my DRDT-2 dimpler over into position and pulled up a comfy chair and started working on dimpling the stiffeners while I enjoyed some music and coffee.
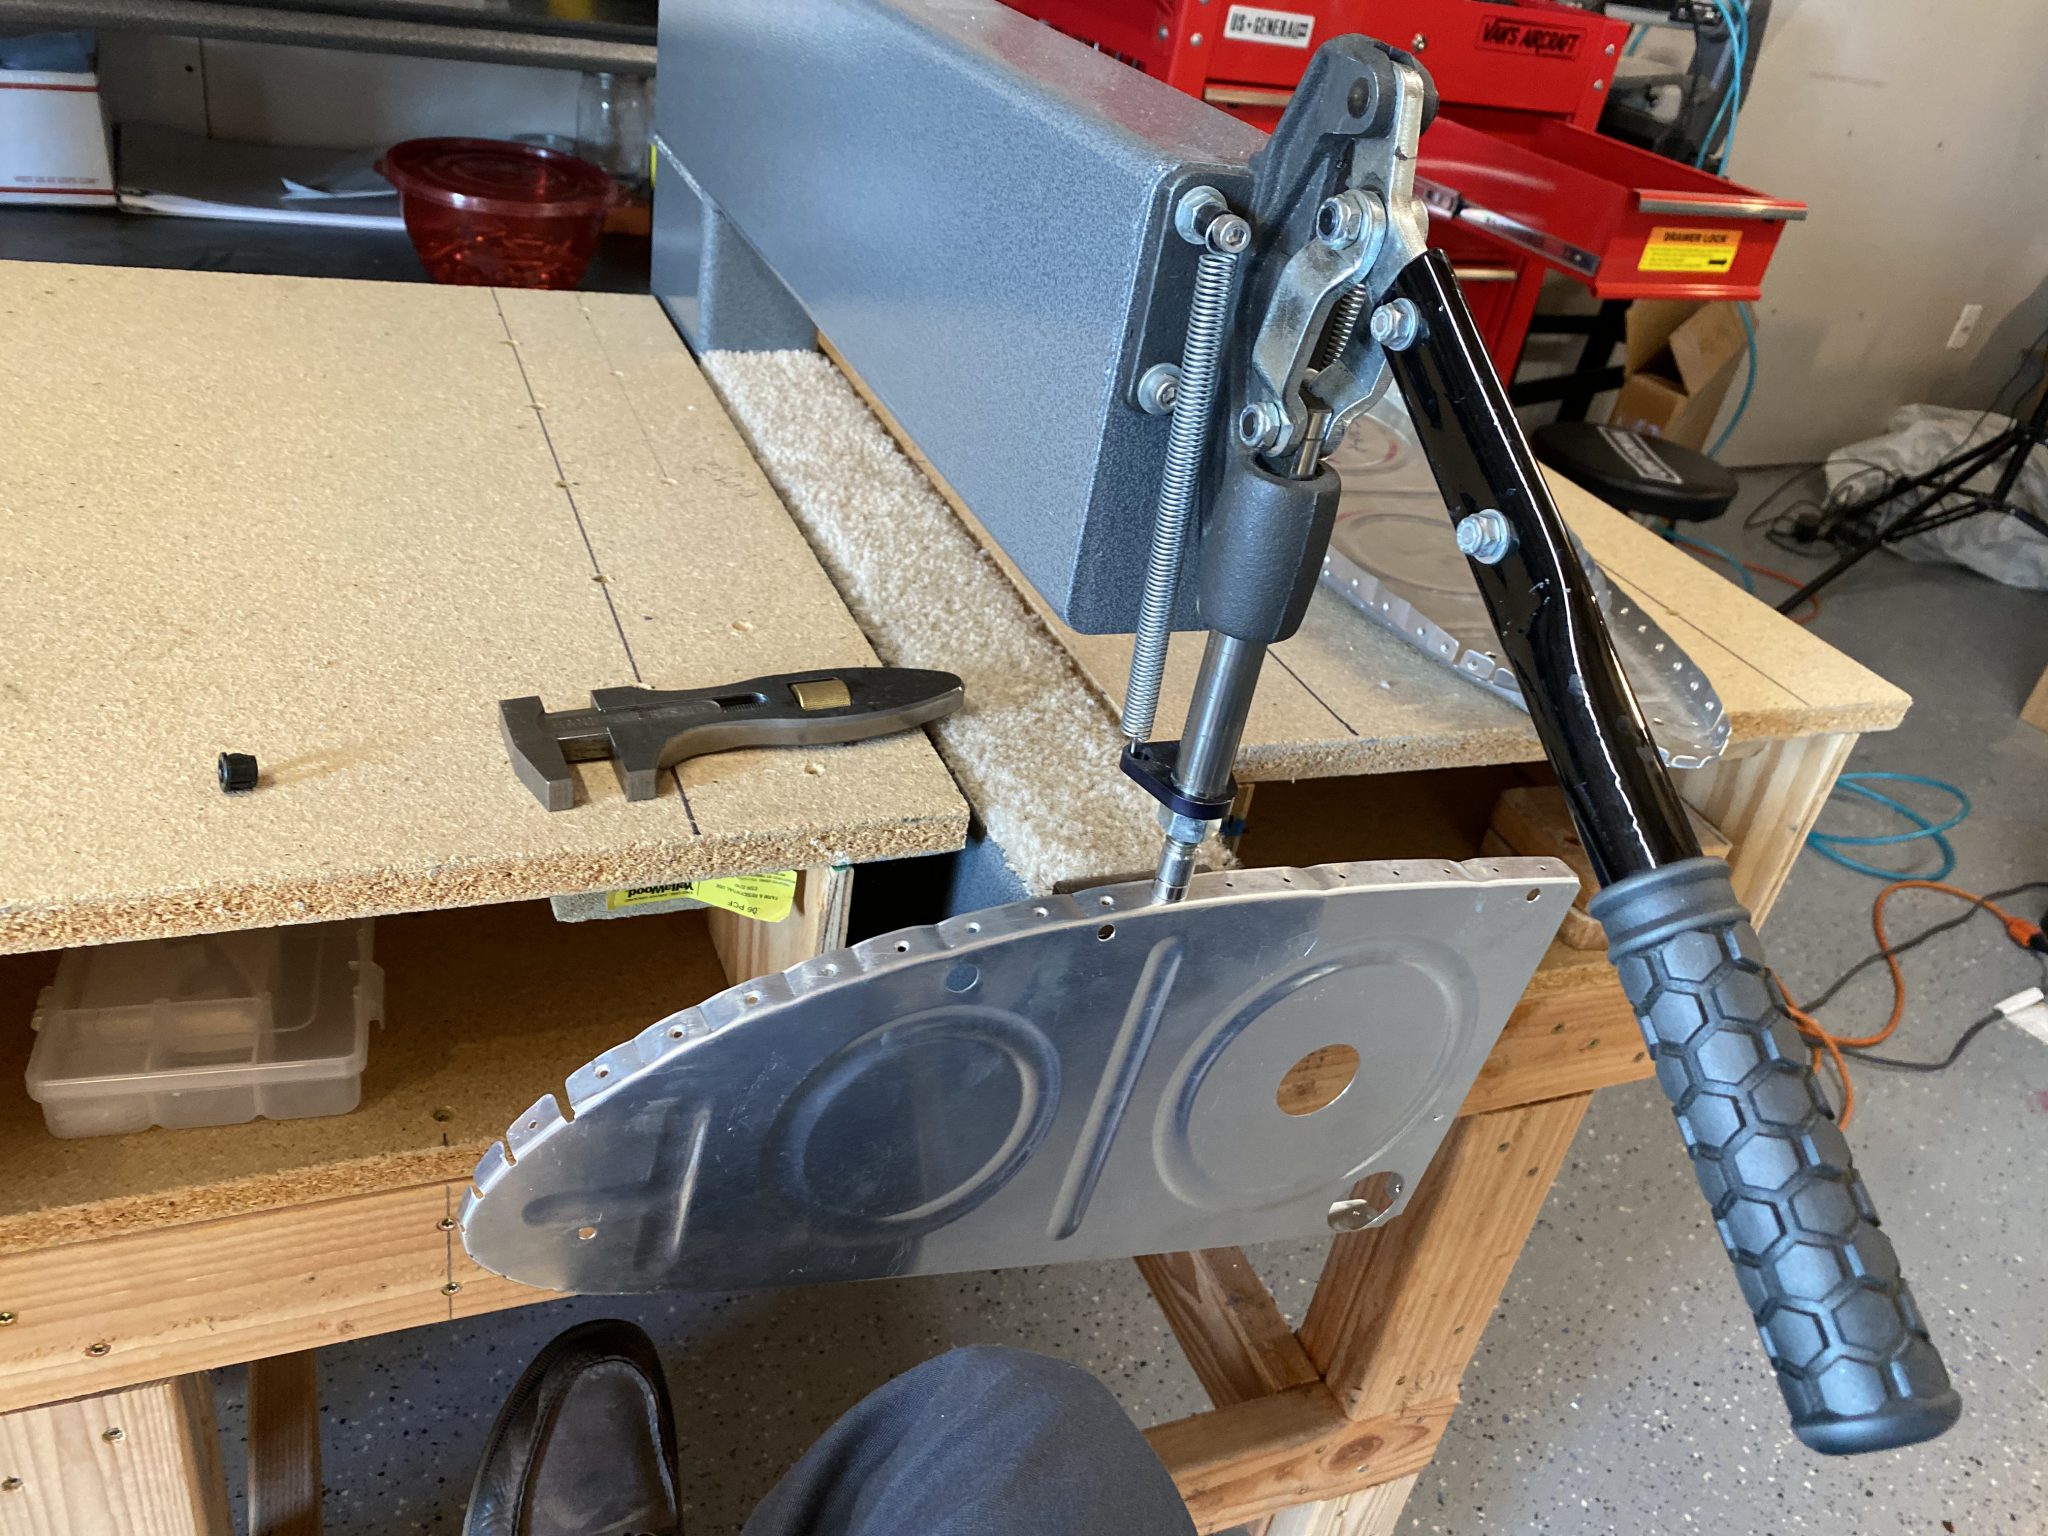
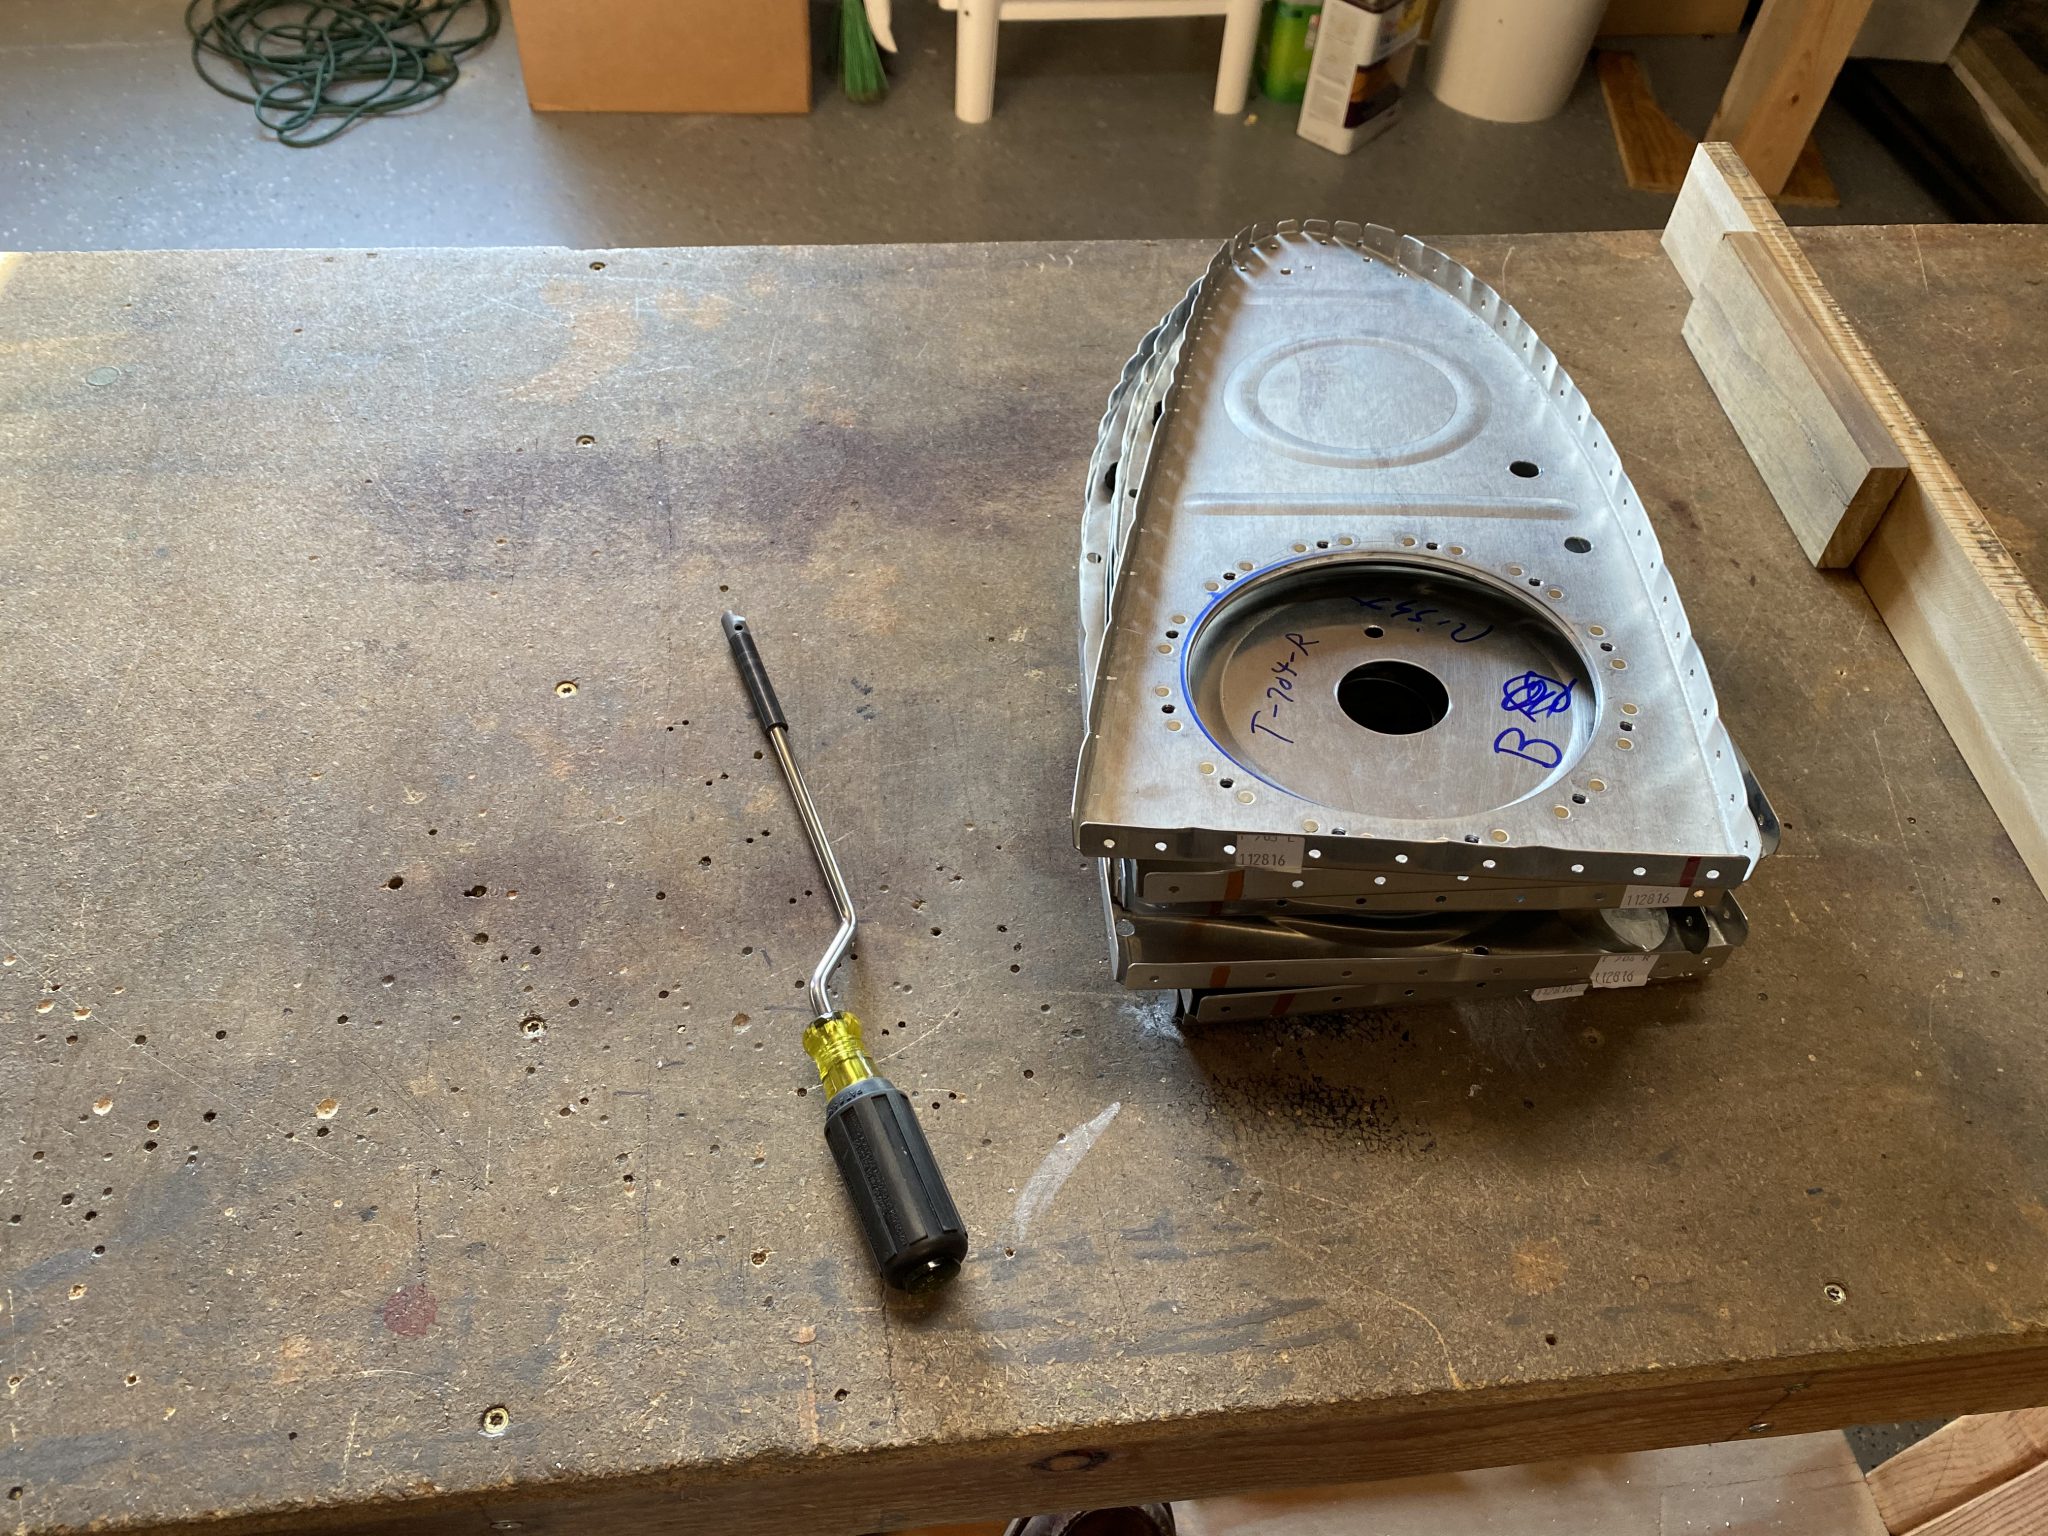
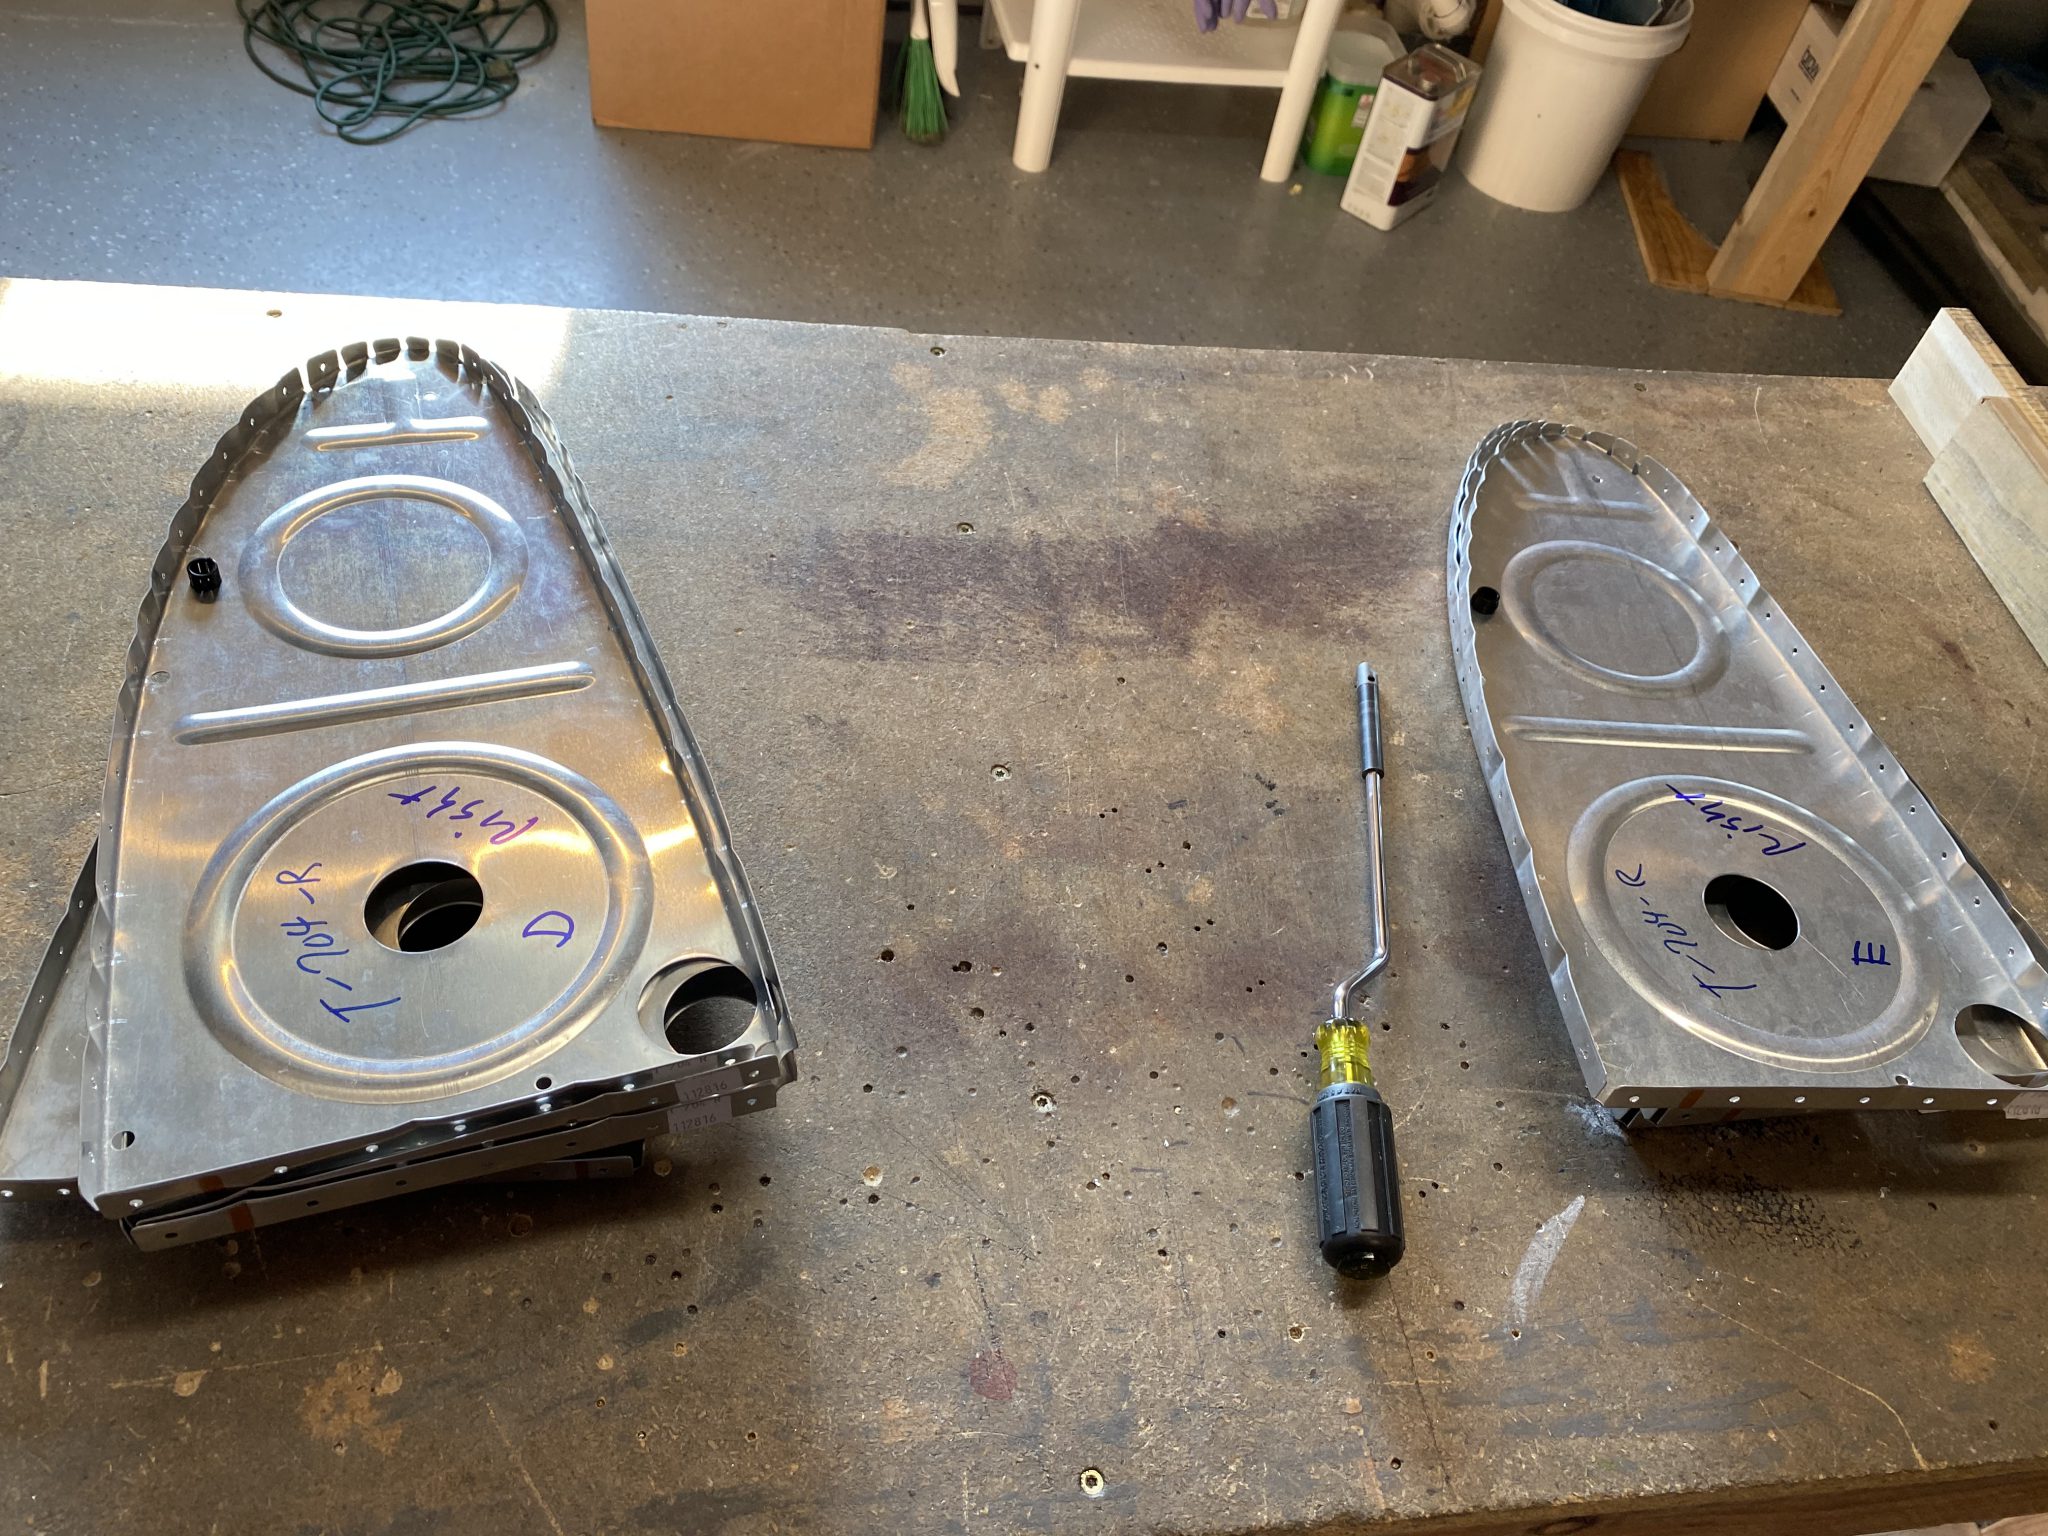
https://auracareclinic.com/dermaplaning/ After the stiffeners were all dimpled, I moved on to dimpling the ribs. Same process here. I used the DRDT-2 to do all the dimples. The only caveat was there was a couple holes near the very corners that I couldn’t get with the DRDT-2, so I simply put the dimple dies in my pneumatic squeezer and dimpled that way. These went really quickly, just like the stiffeners.

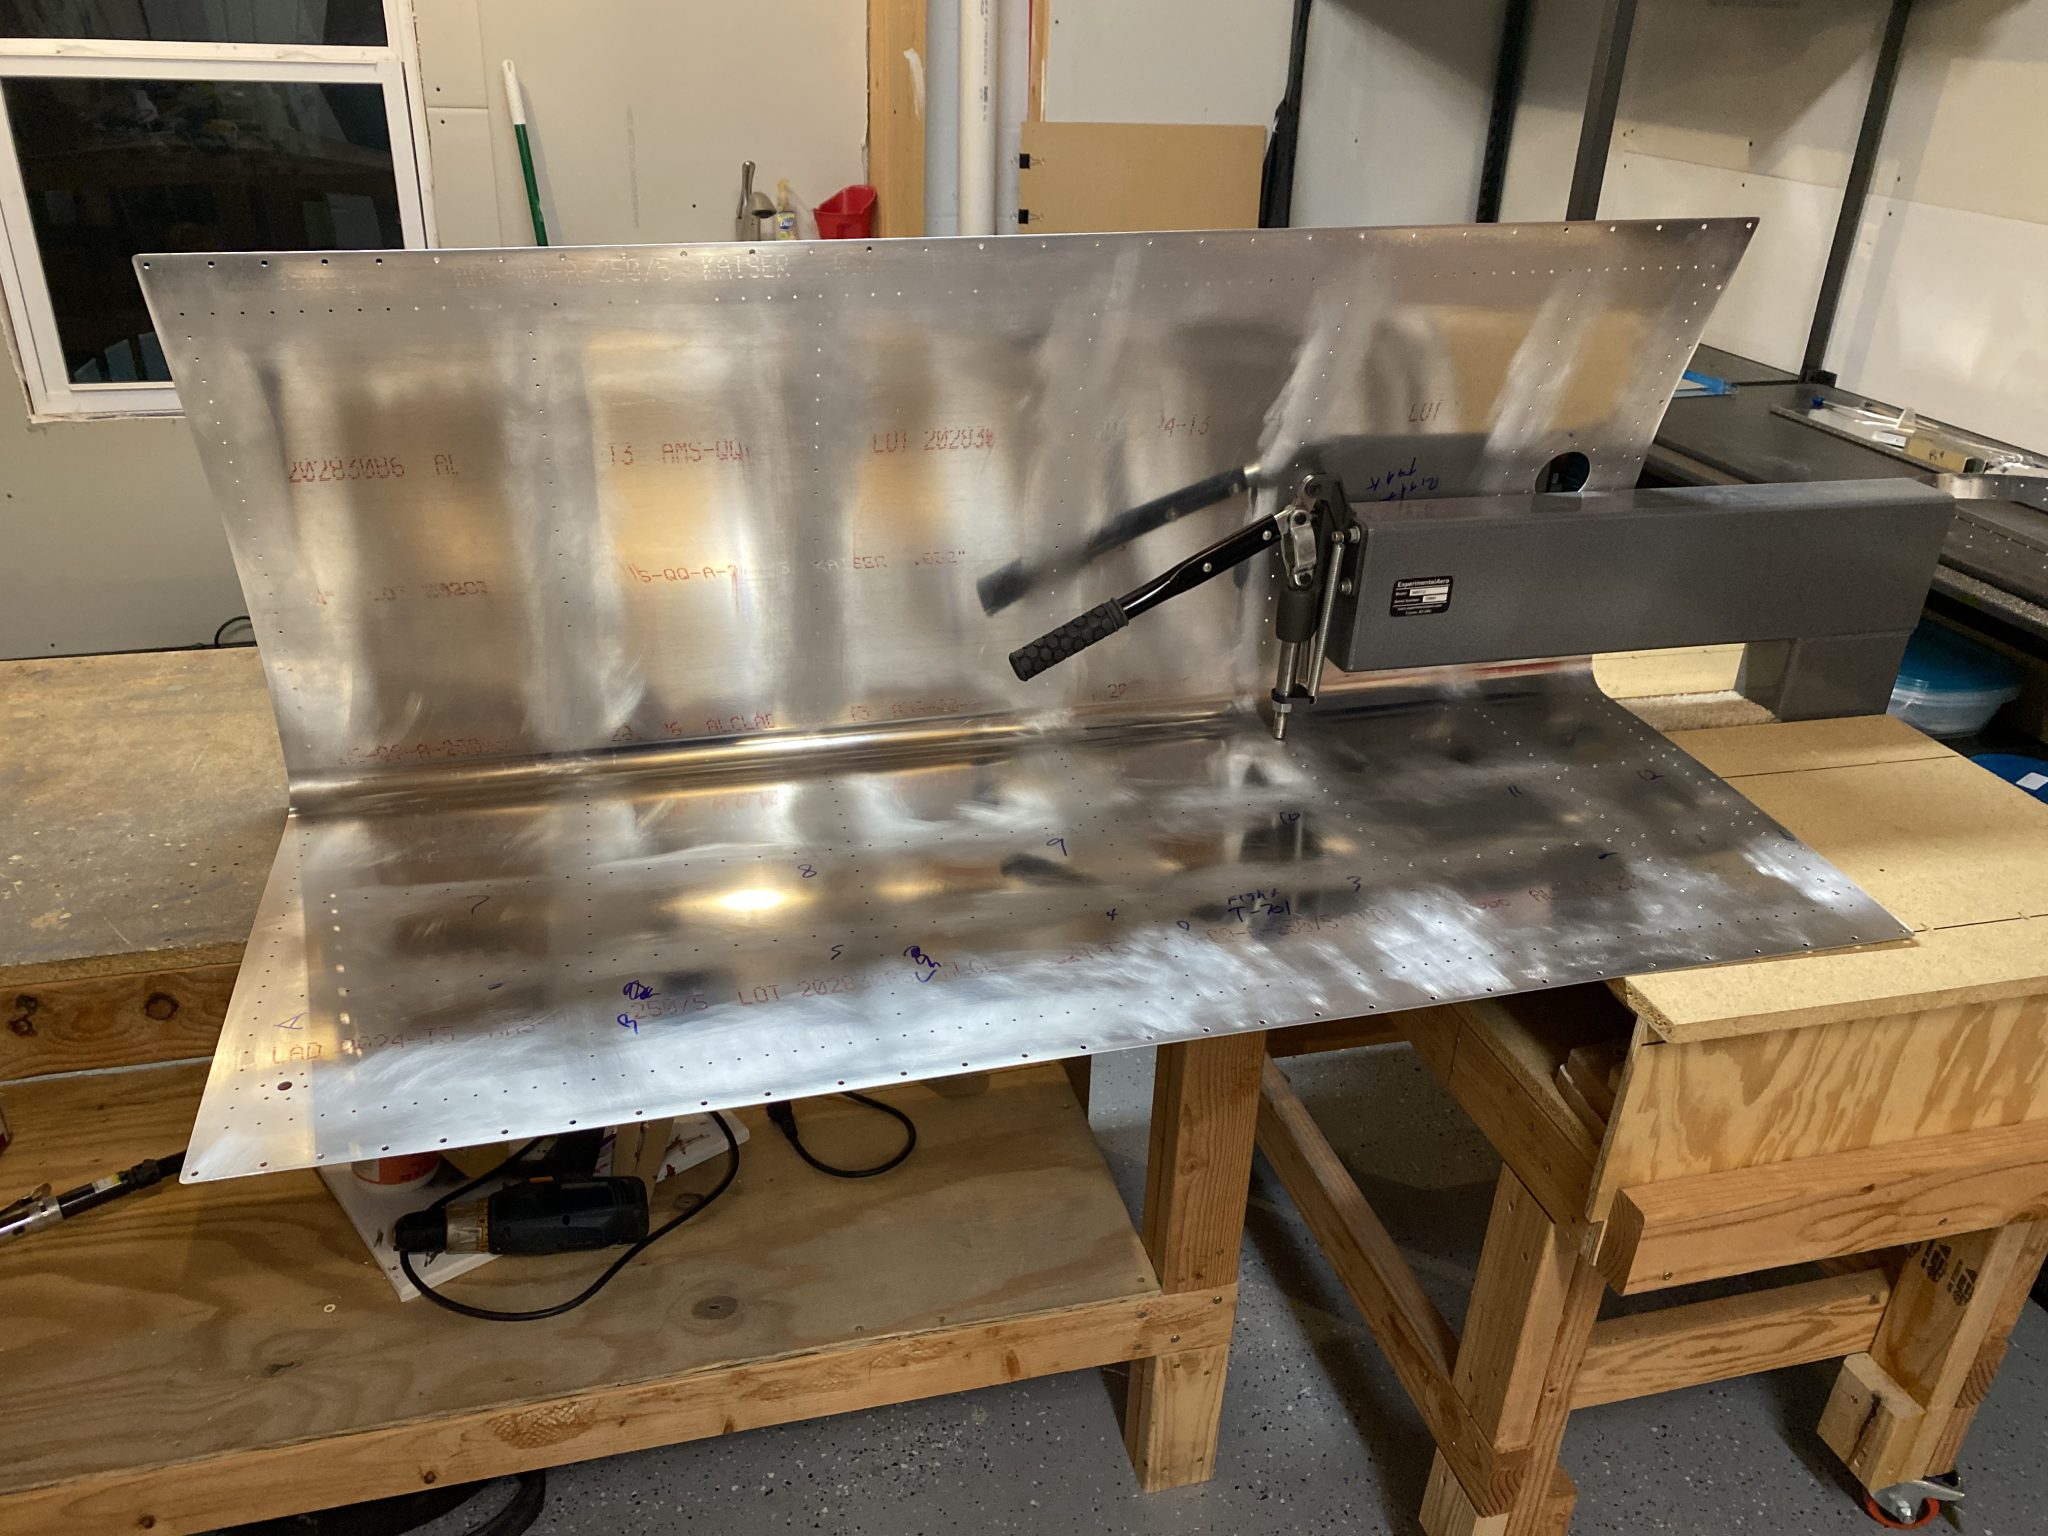
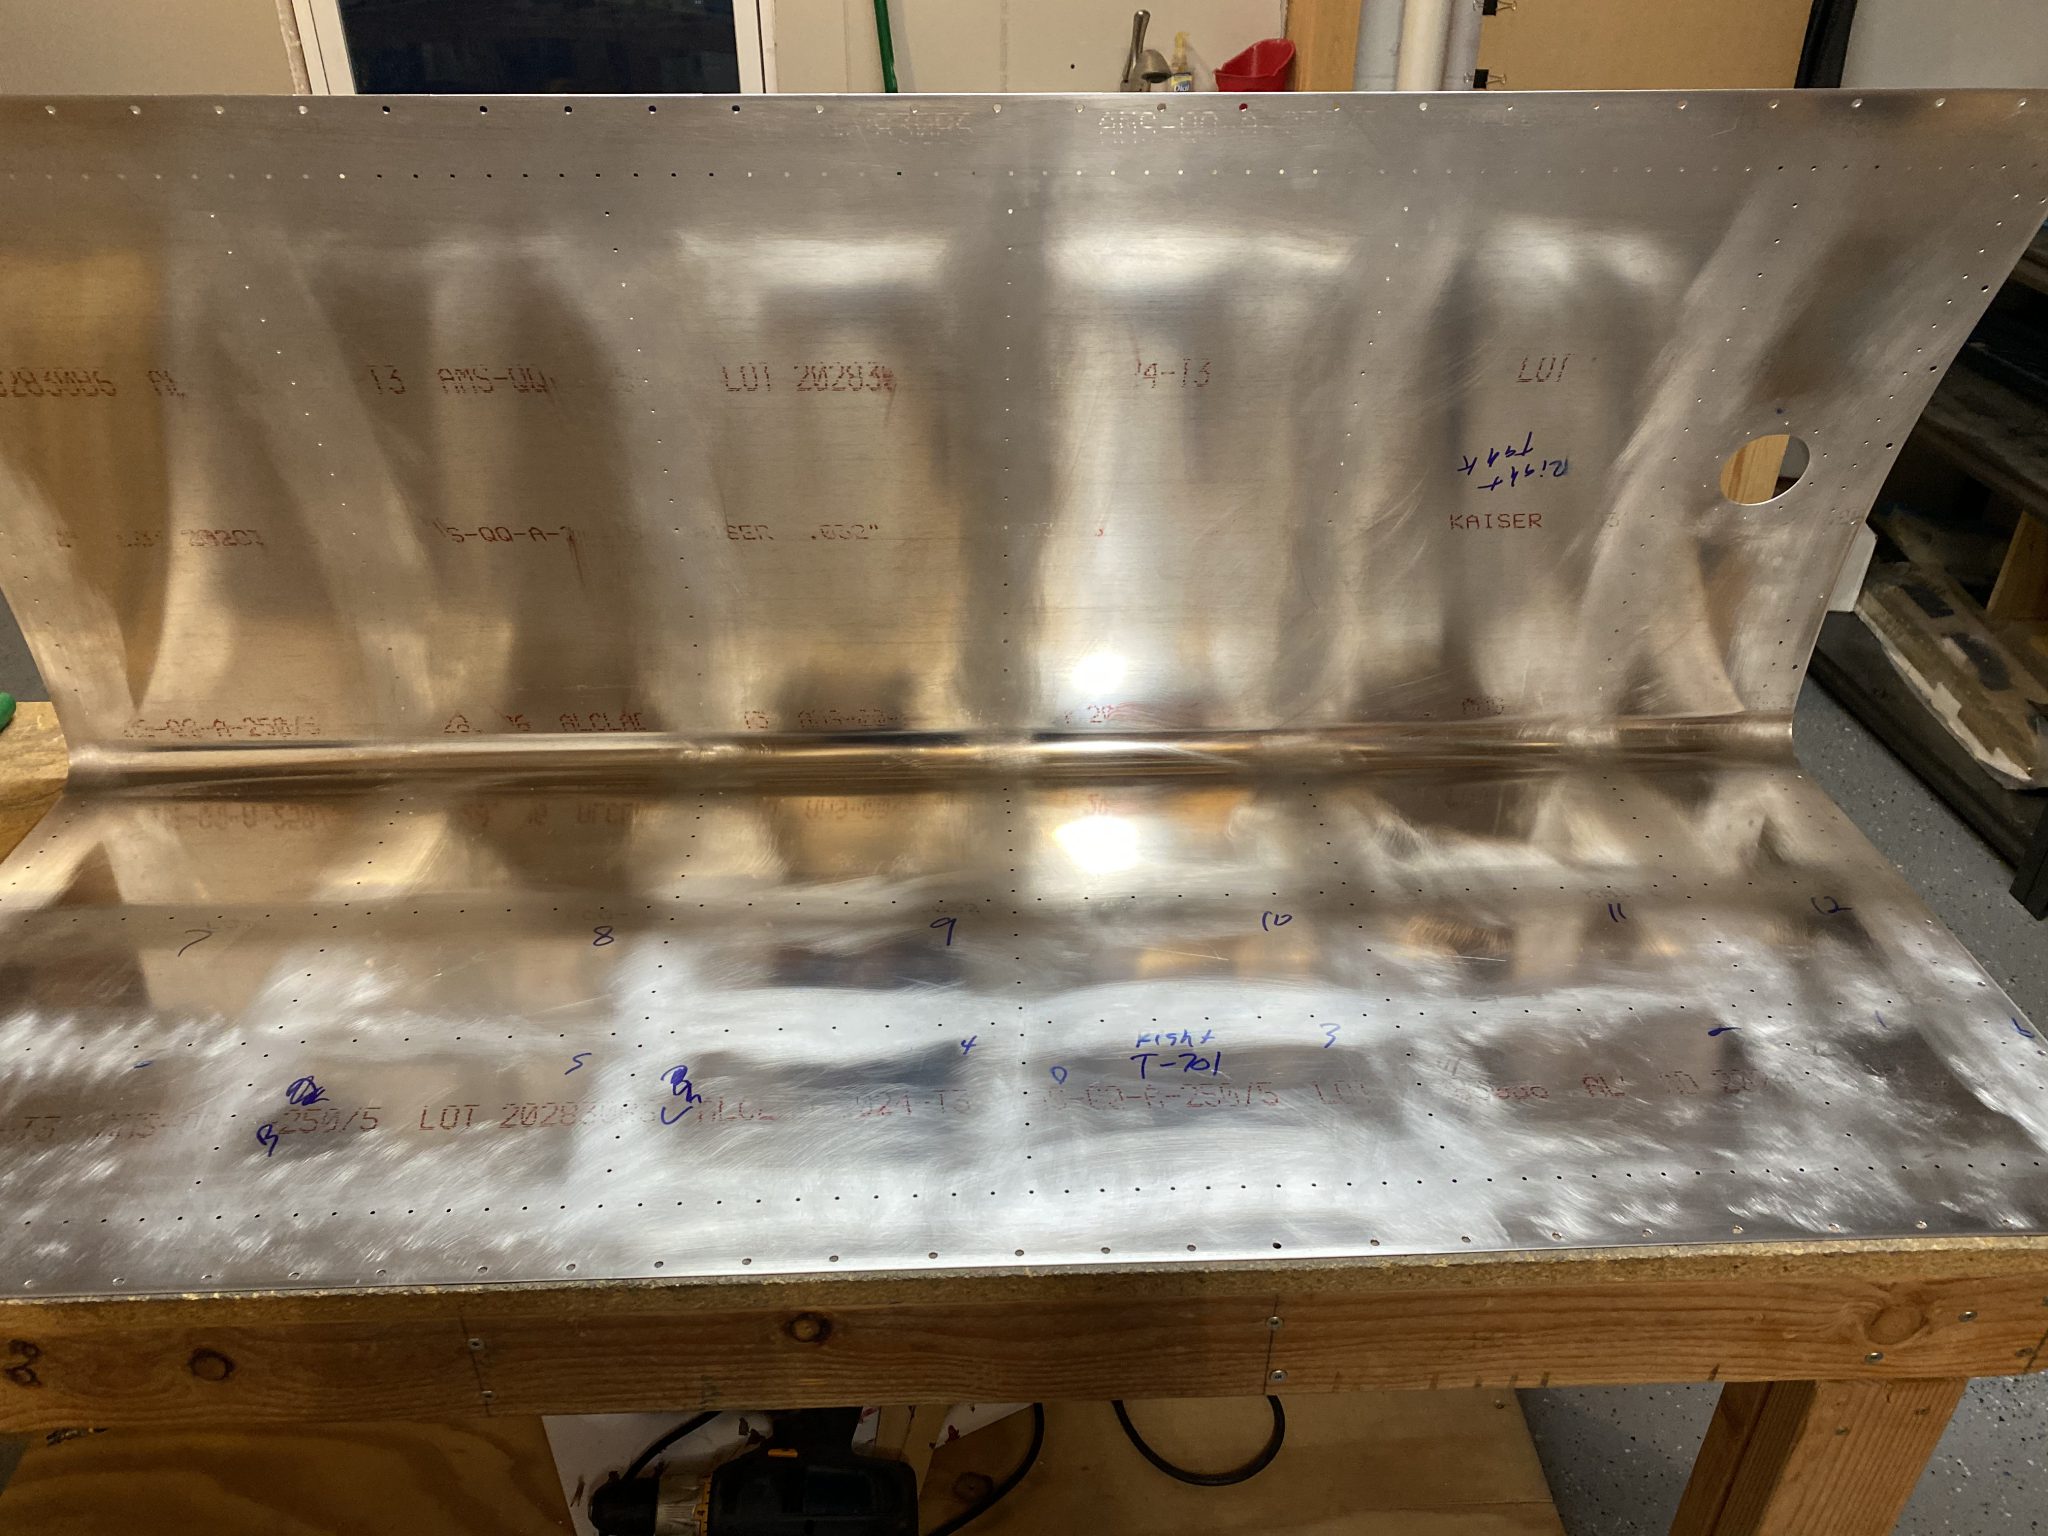
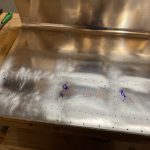
Order Clonazepam Online I decided to get a good initial scuffing on the inside of the tanks where the ribs and stiffeners would get prosealed, BEFORE dimpling. I am a big fan of scuffing before dimpling because the smooth surface doesn’t tear through your scotchbrite pads as quickly as the dimples. So, i gave each row a really good scuffing. I’ll dimple these, and then do one last final easy scuffing to clear away corrosion and grime before prosealing.
https://www.mejorayhumanizate.com/empresas/ 
Buy Clonazepam Online Overnight 
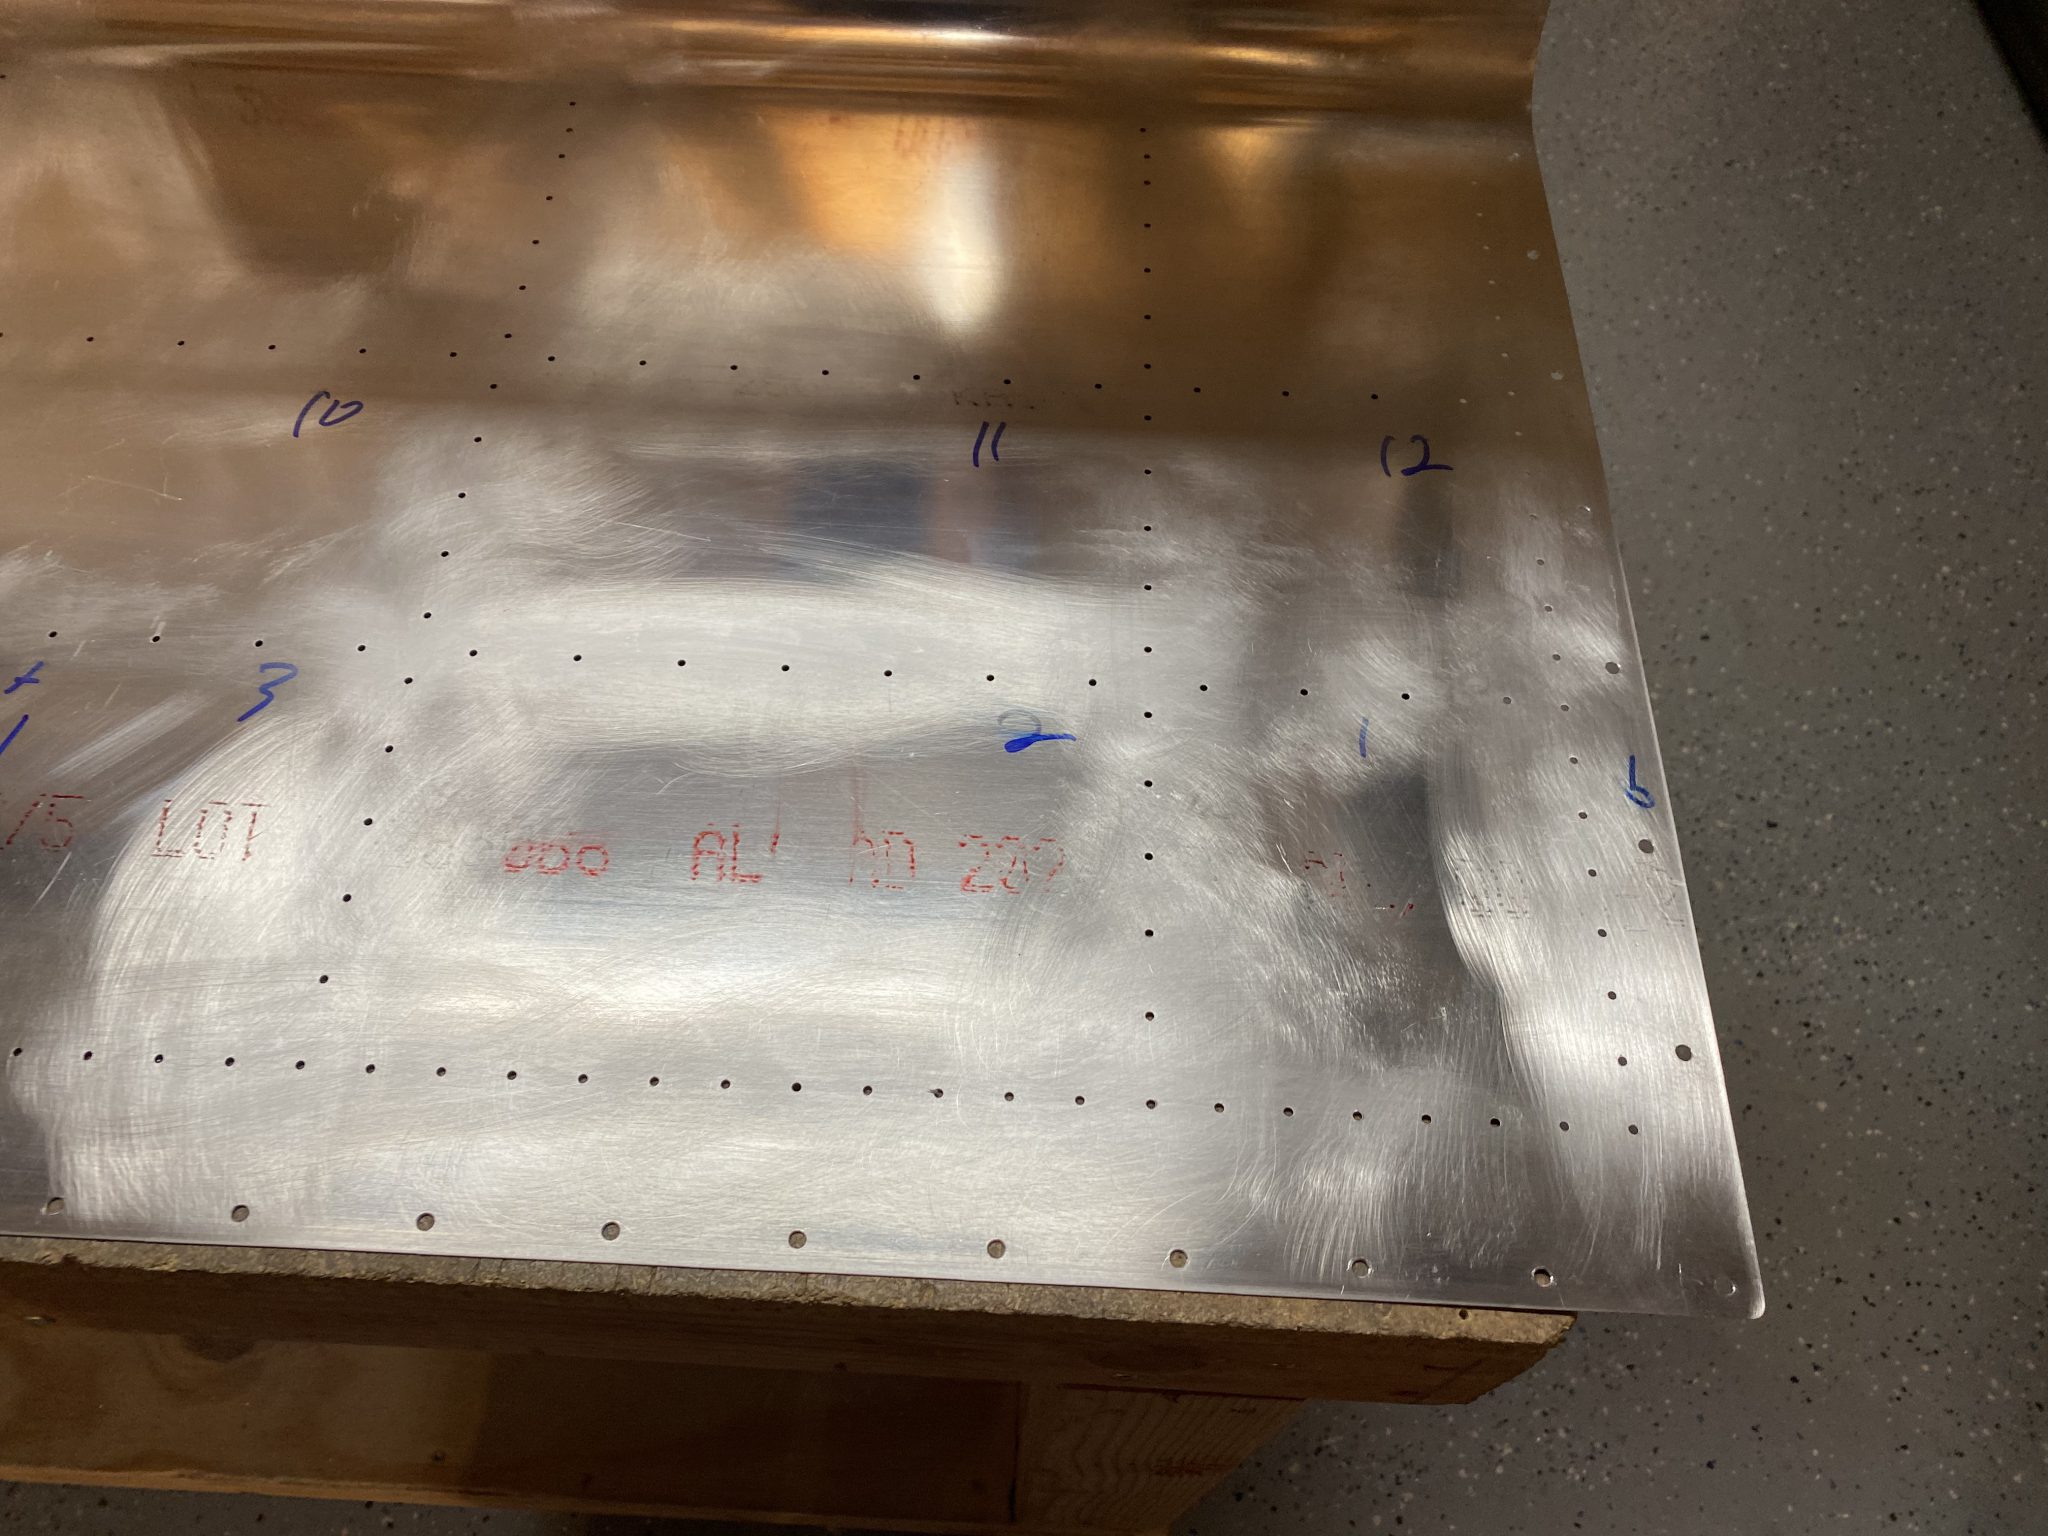
follow link Once I had the skins all nicely scuffed, I gently cleaned the grit using some acetone, being careful not to wipe away my marks. This was just to keep grit and scuffing dust out of my dimple dies. I’ll clean them way better before prosealing. The dimpler made pretty quick and easy work on these skins, its well worth its money!

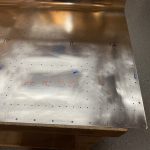
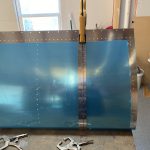
go You’ll notice some holes dont get dimples, like the long row running foreground to background, and the sump drain holes. The long row is where the baffle goes, and the skin is machine countersunk on the outside instead of dimpling so that the baffle will slide easily in place when its gooped up with proseal and final sealing. The sumo drain is like that so that water drains directly into the sump. After I had the skin all dimpled, the right tank is now ready to be sealed and riveted! Finally making progress on these tanks!
-
 IMG_1041
 -
 IMG_1040
 -
 IMG_1039
 -
 IMG_1038
 -
 IMG_1037
 -
 IMG_1036
 -
 IMG_1035
 -
 IMG_1034
 -
 IMG_1033
 -
 IMG_1032
 -
 IMG_1031
 -
 IMG_1030
 -
 IMG_1029
 -
 IMG_1028
 -
 IMG_1027
https://crinerorthopedics.com/welcome-to-our-blog/
https://www.psychiccowgirl.com/pleiades/ Google Photos Link: https://photos.app.goo.gl/Bbger4QMJTC8NAiq5
Order Tramadol Overnight Hours Worked: 3.5