


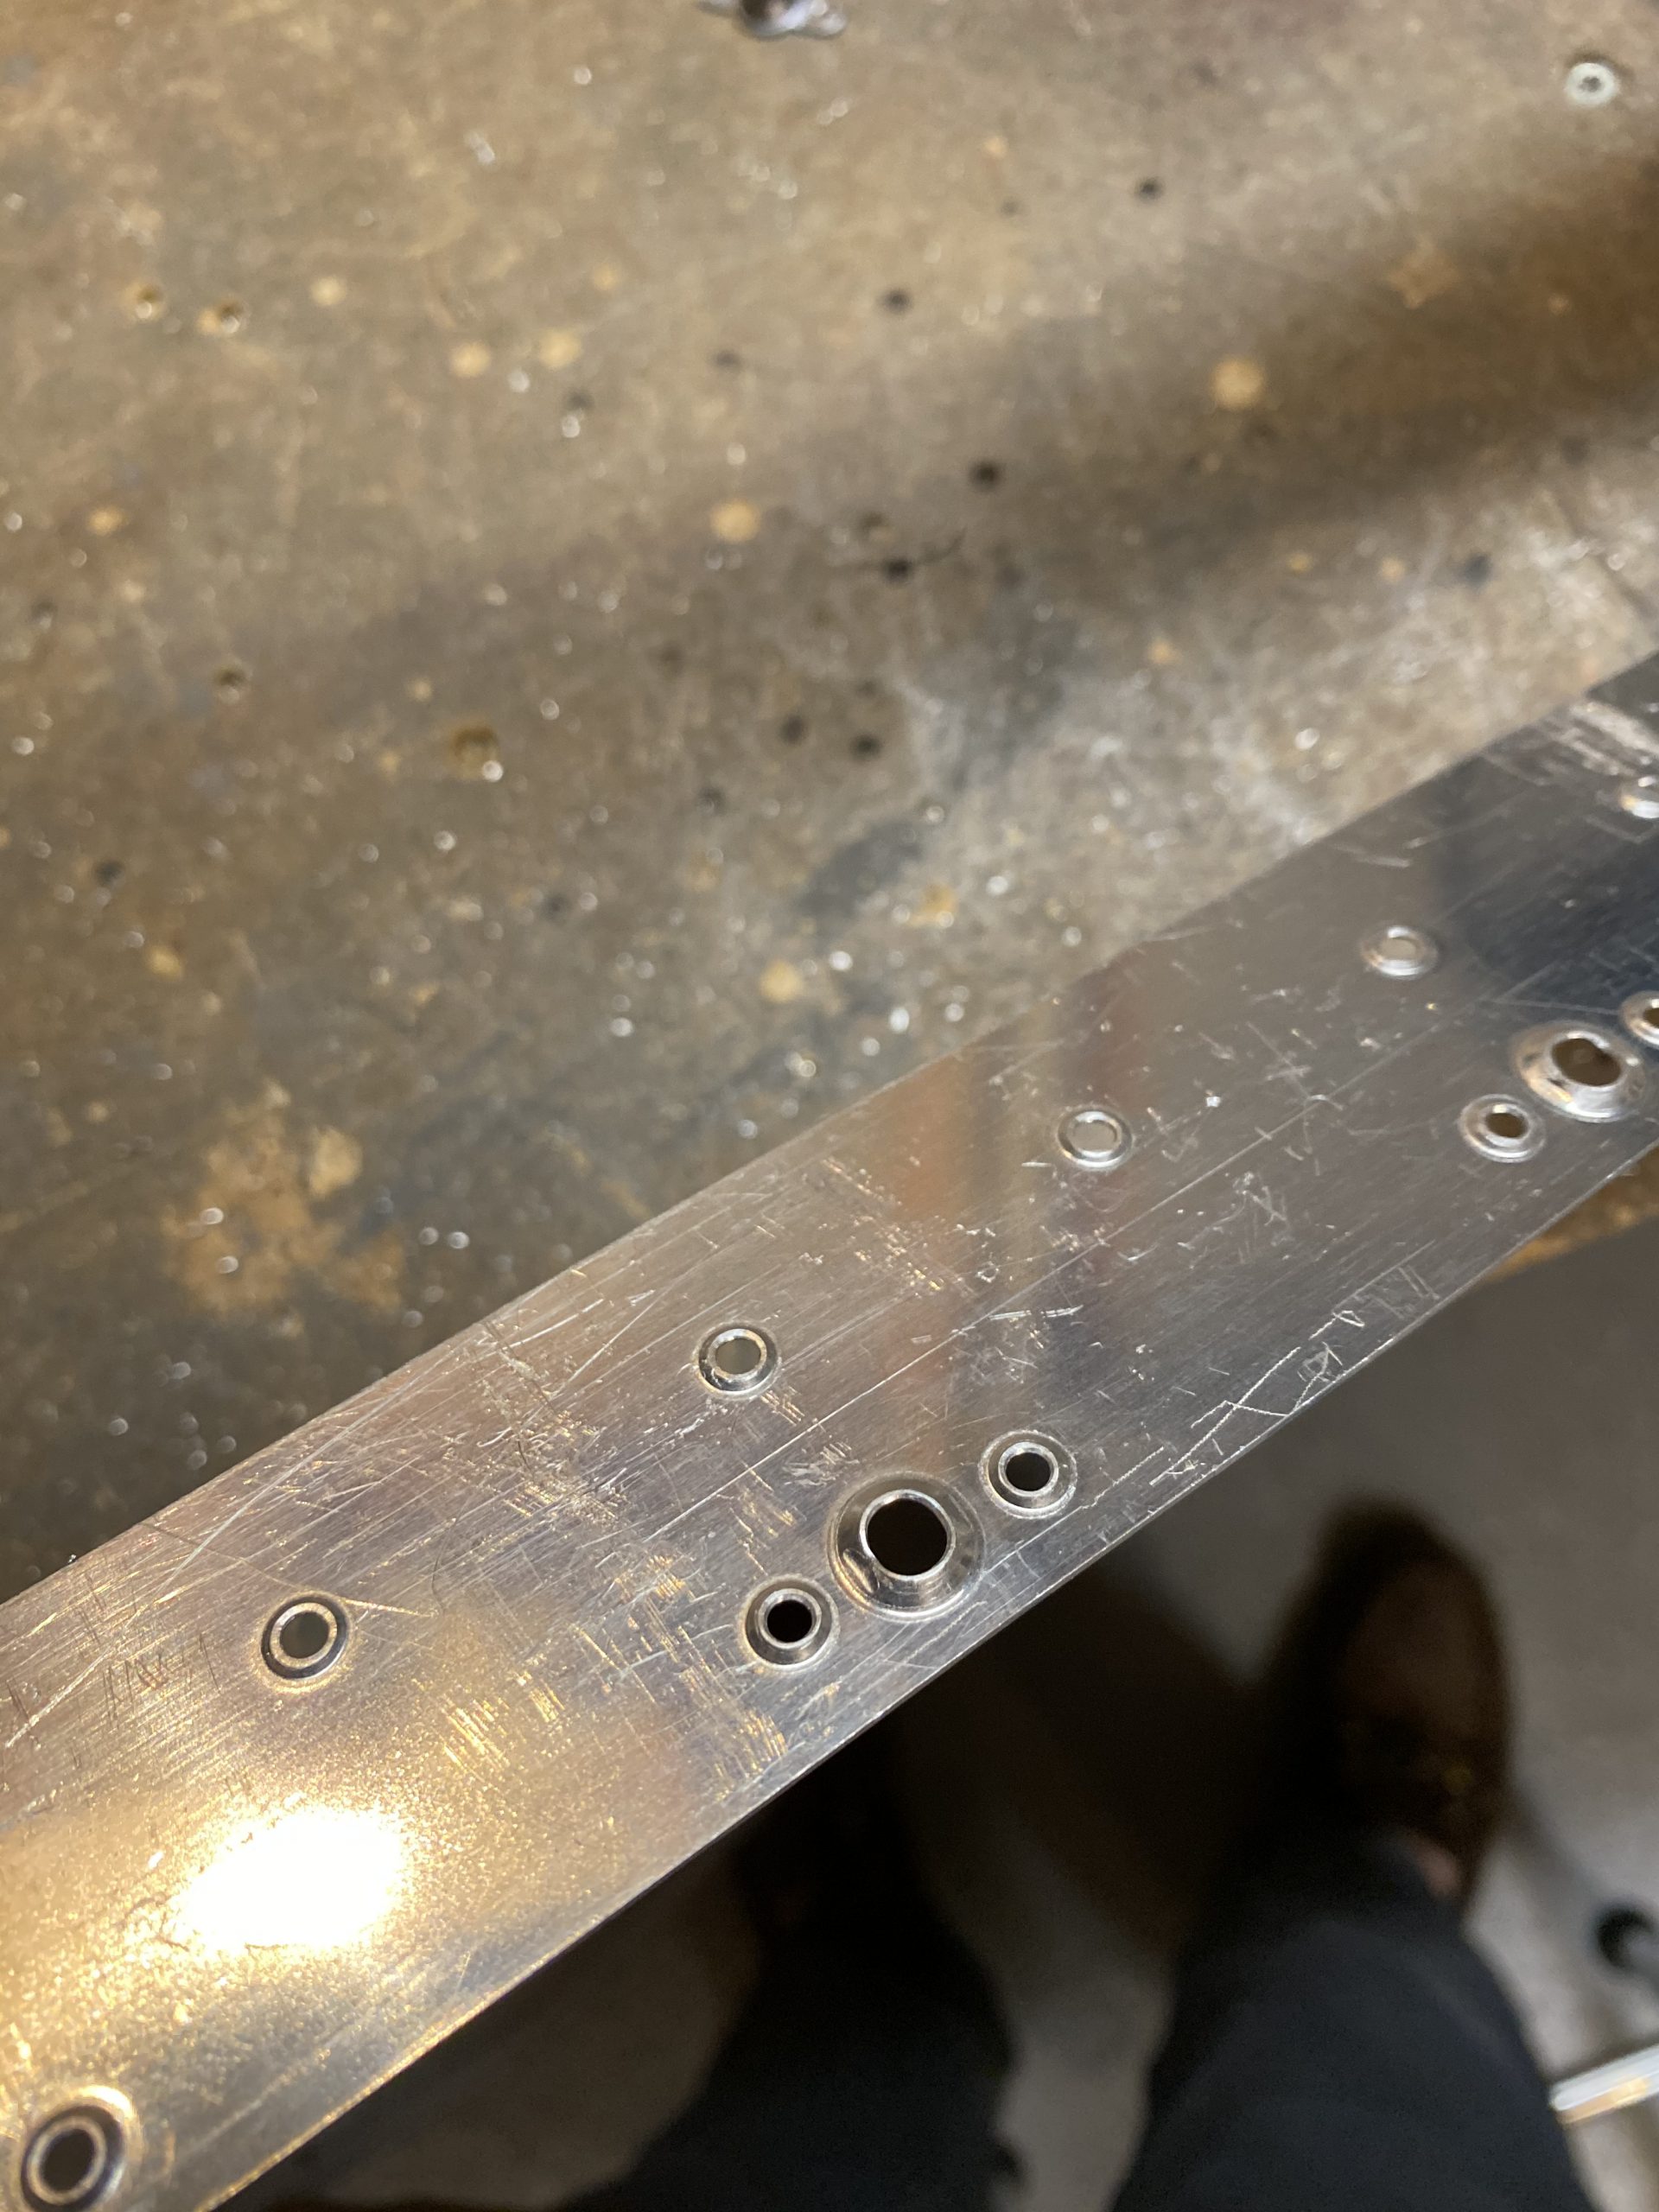
I changed it up a bit tonight. I realized I could go ahead and knock out the W-423 splice plate since it needed a little more work per wing. These are the small strips of aluminum that are used as reinforcement plates between where the leading edge and the fuel tanks butt up against each other. I started out by drilling the holes for the screws (at the fuel tank end) out to a #19 per the instructions.

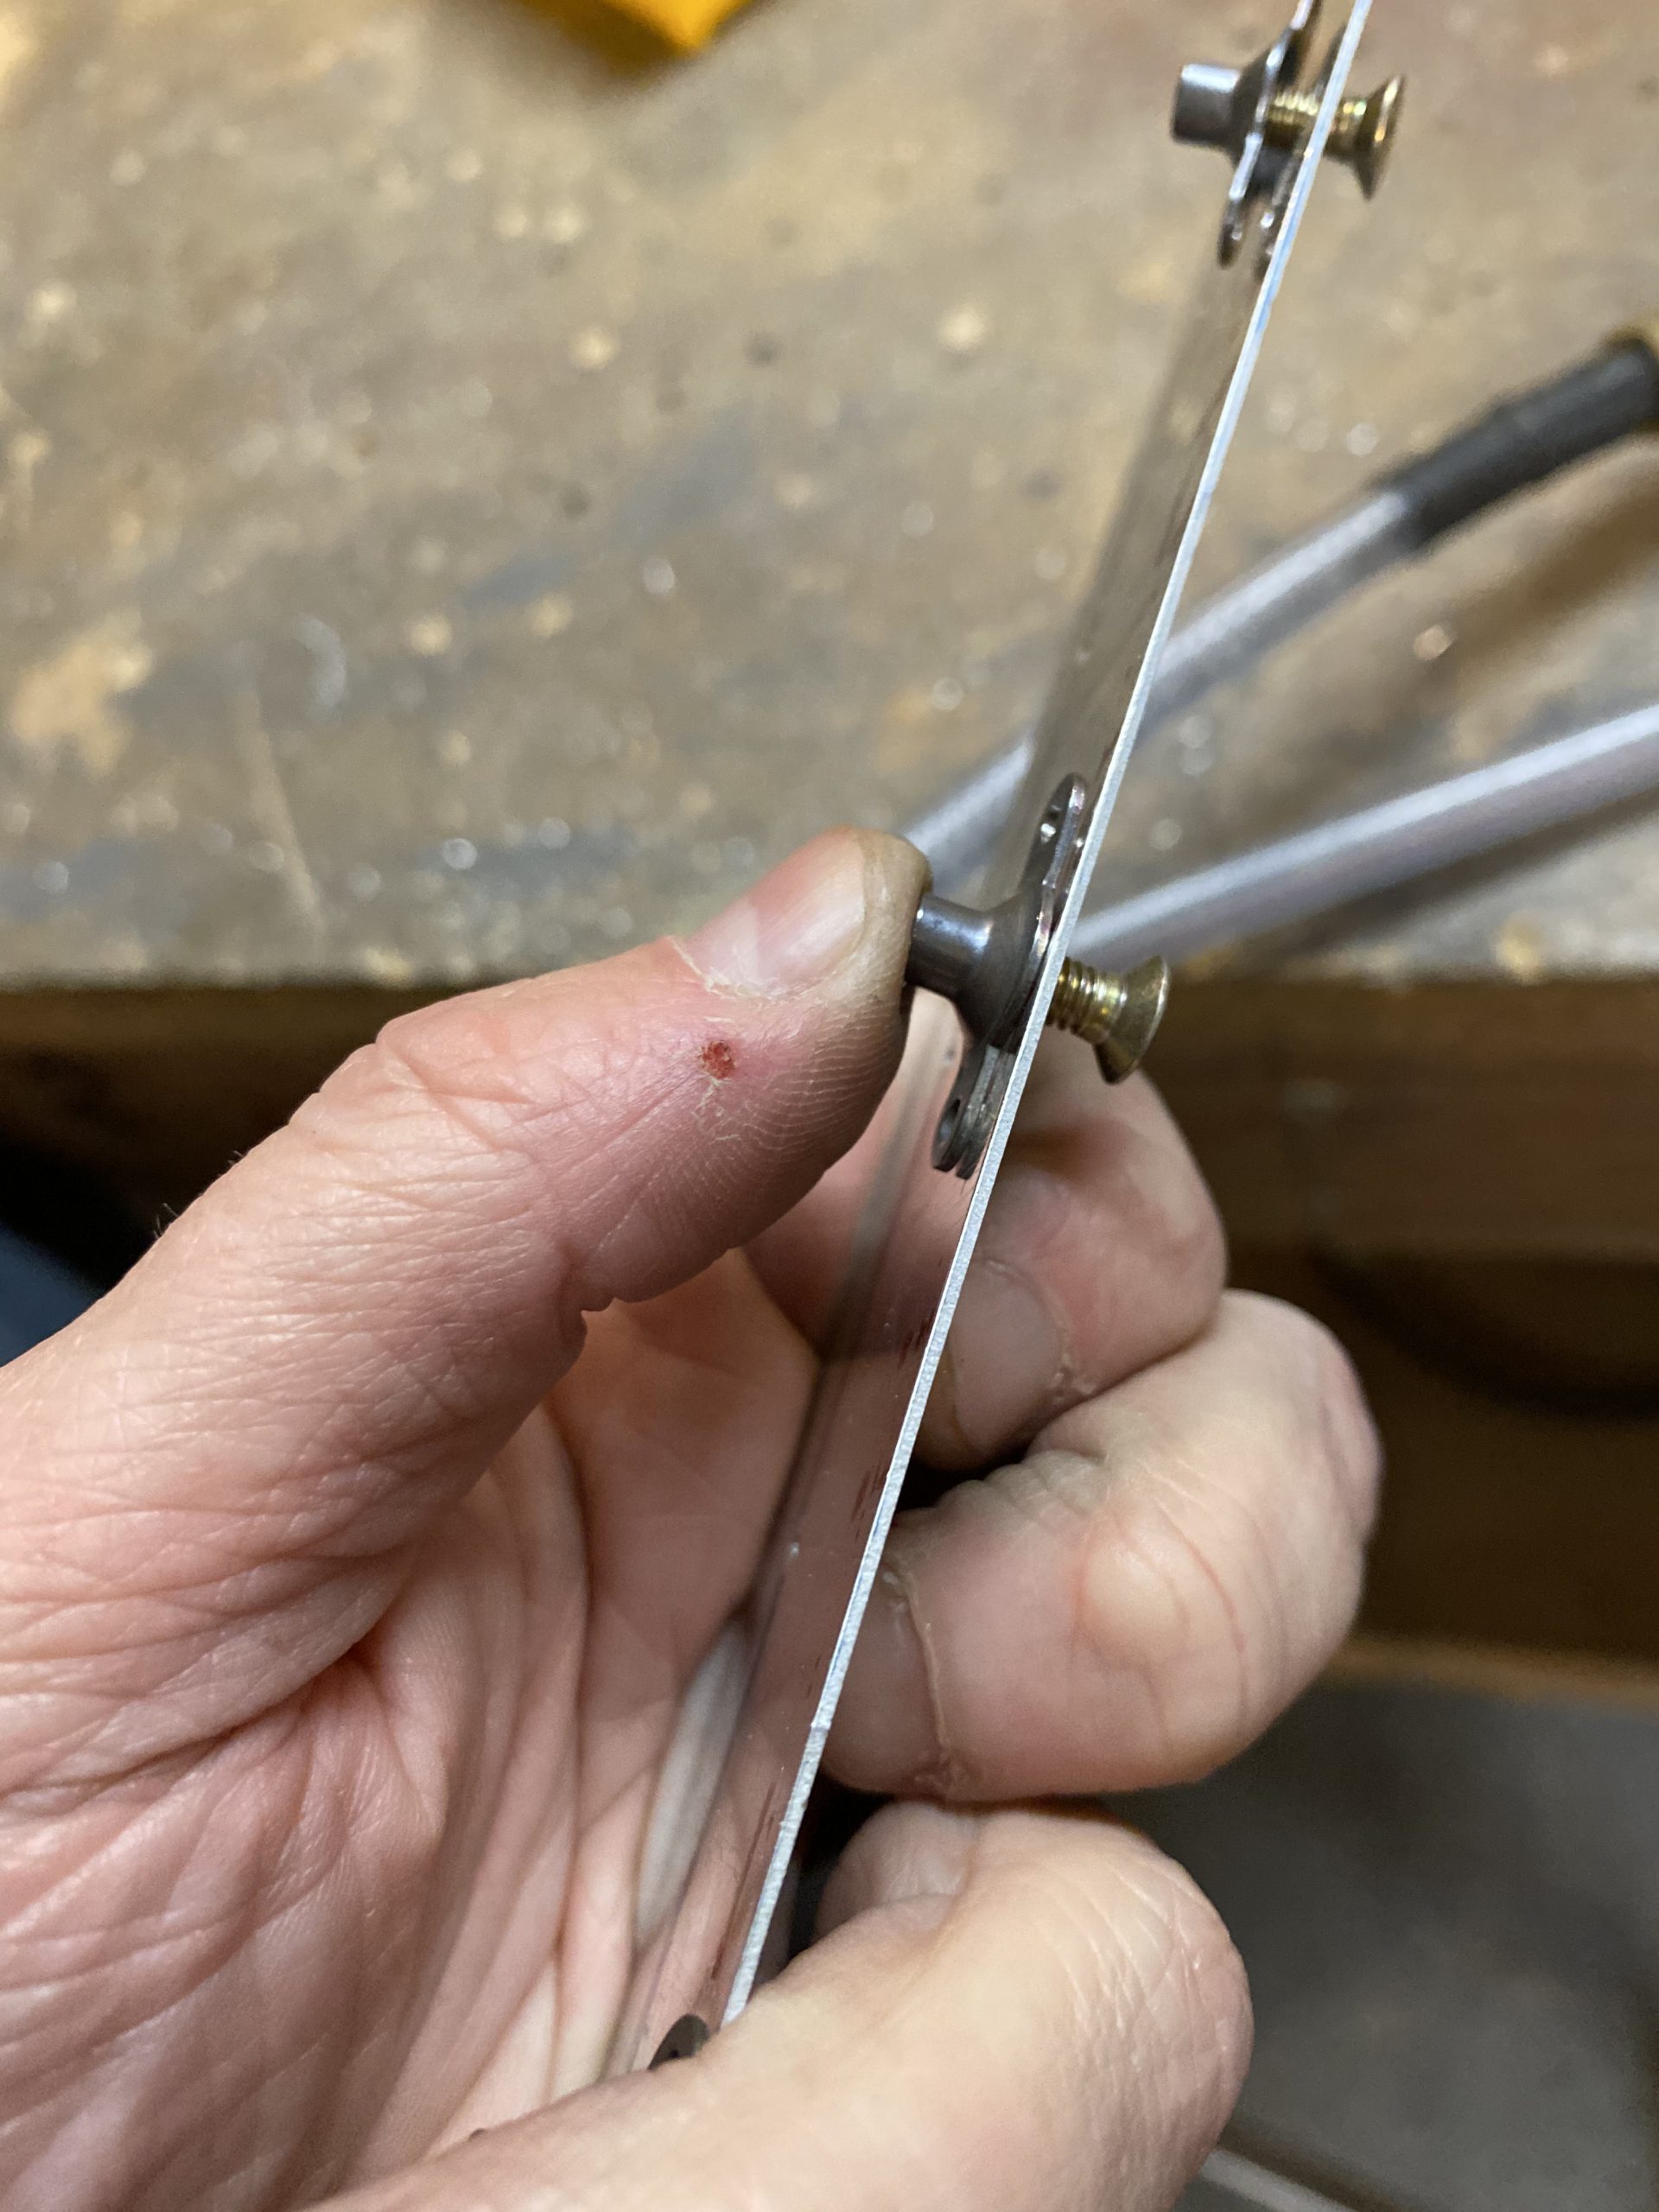
Once I had my holes drilled, I deburred all the holes on these plates since I had not done that yet, and my new holes needed it too. After they were deburred, I have to drill the rivet holes for the nutplates that go on the back of the screw holes to captive the screw. I don’t have a fancy nut plate jig, so I had to do it the old fashioned way. I screwed the nutplate on with a screw and then lined it up so I could drill one of the holes for the rivets.
 .
. 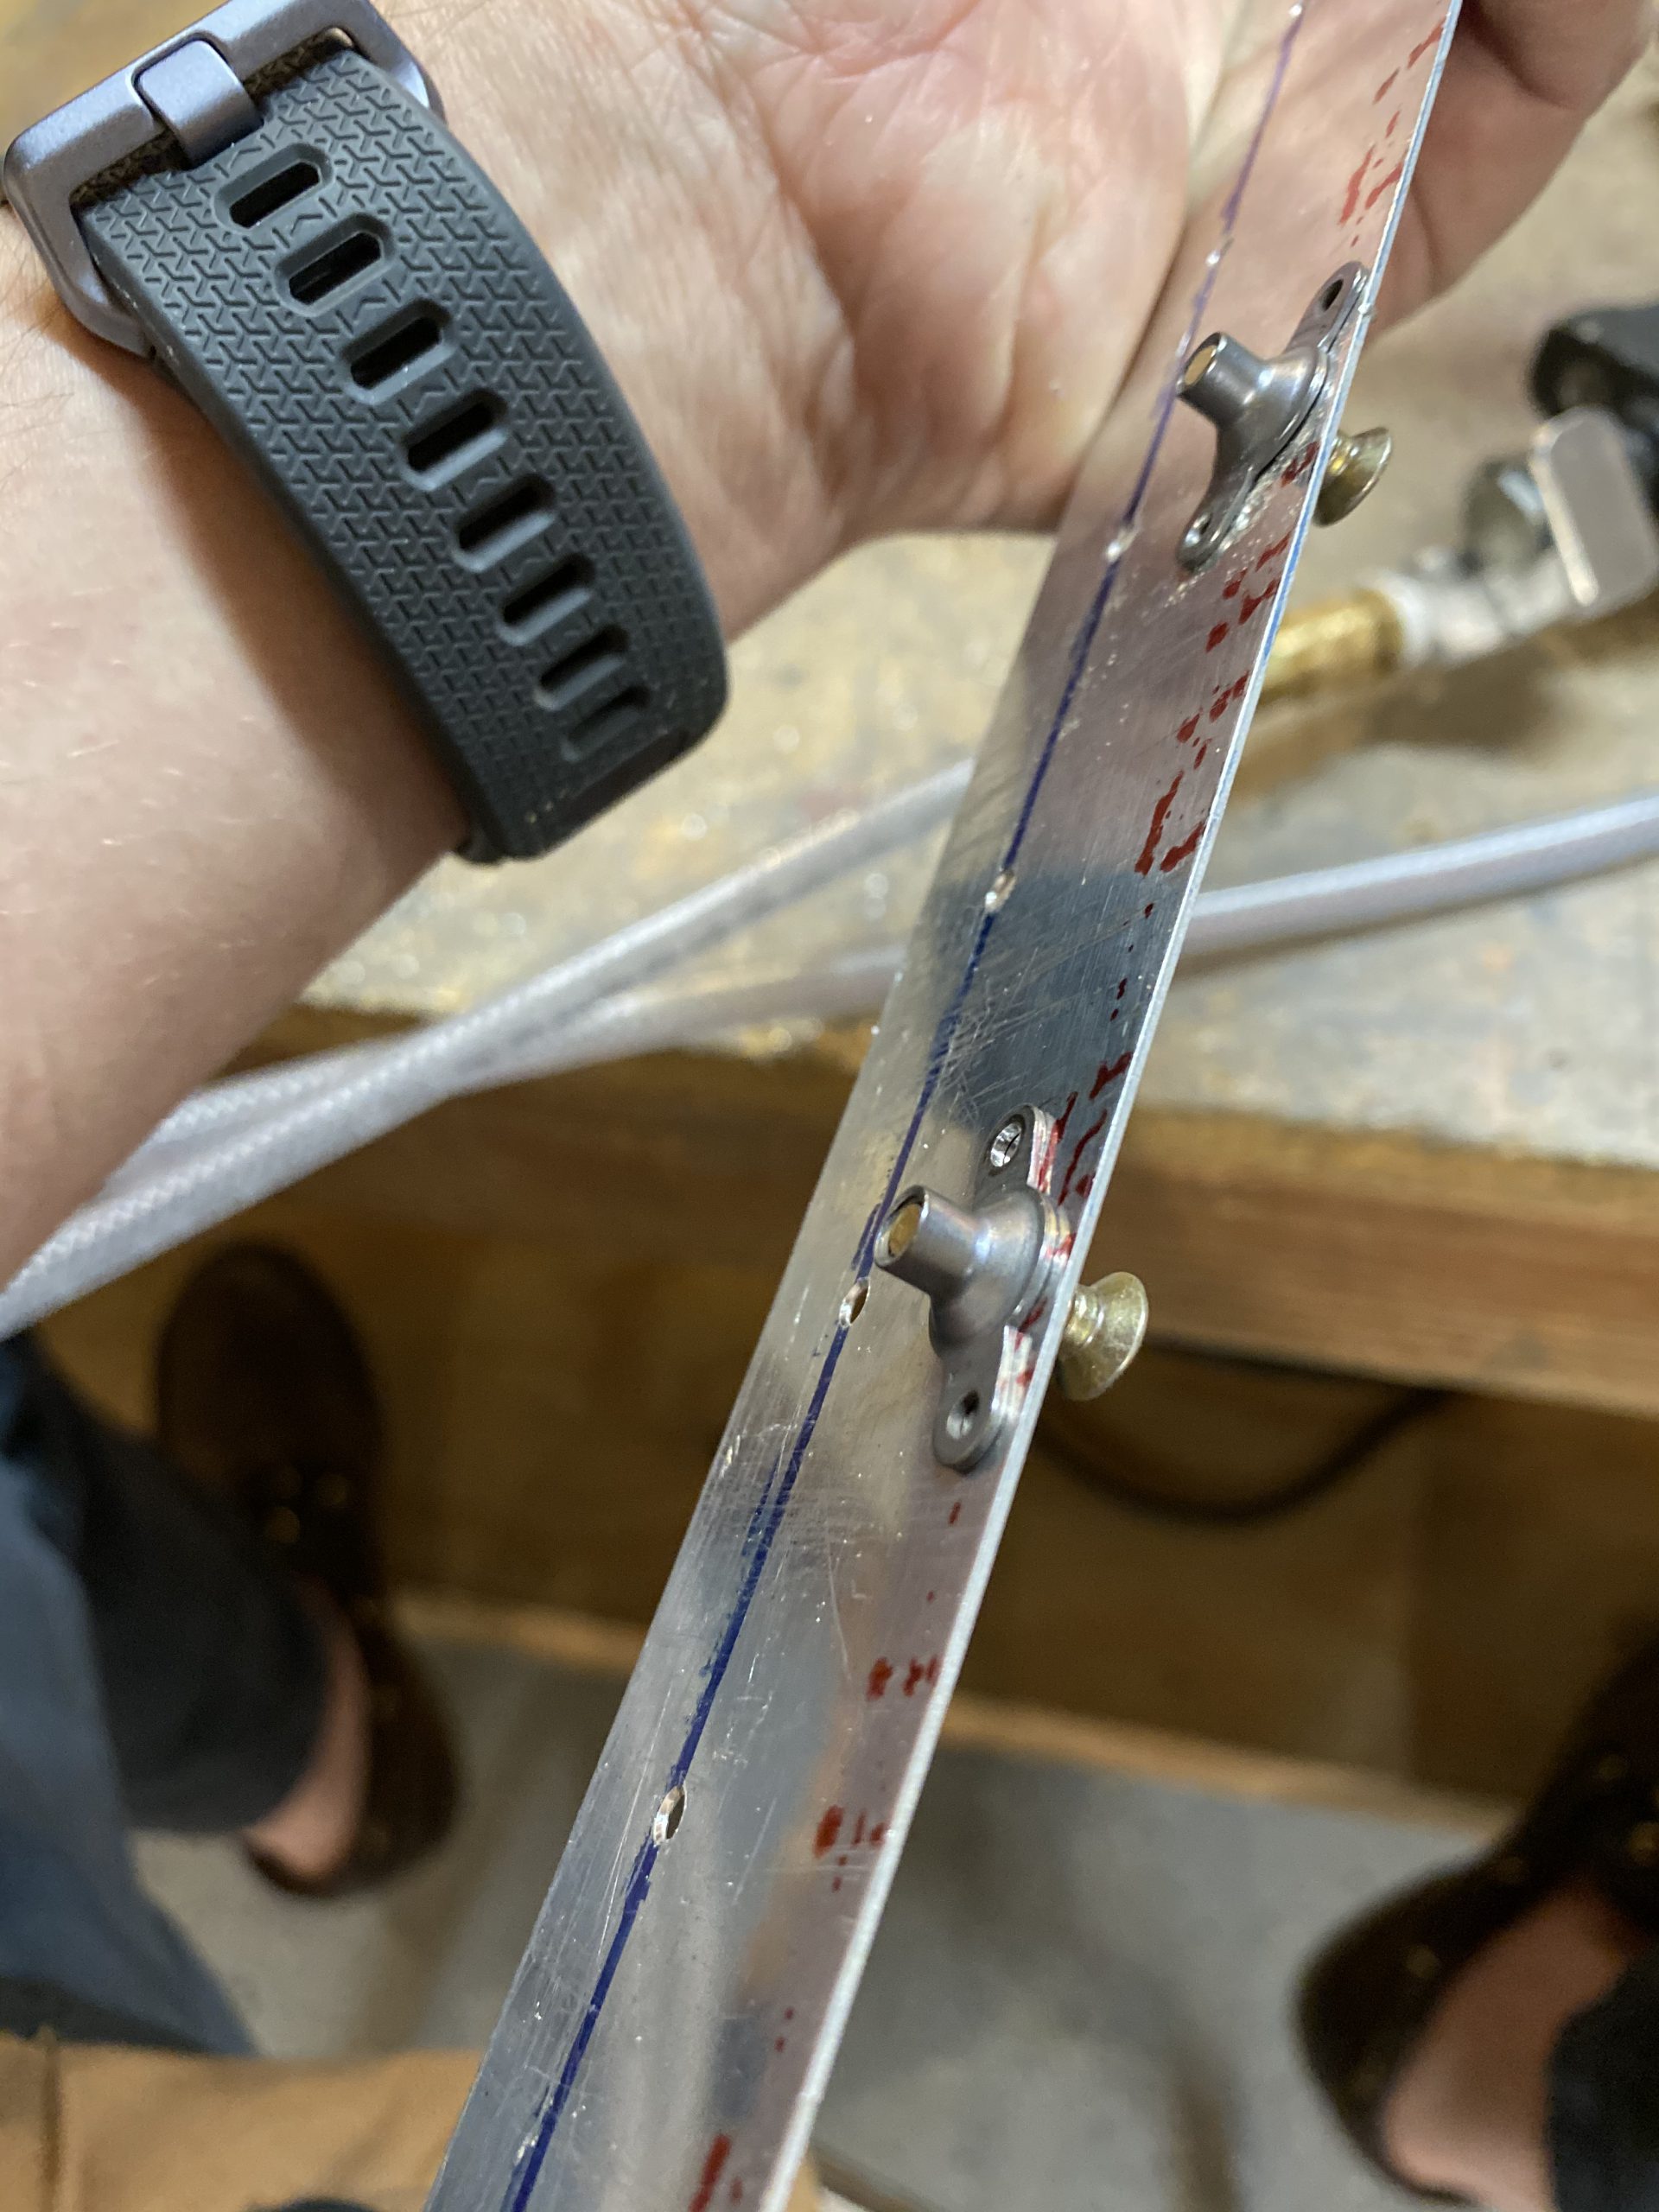
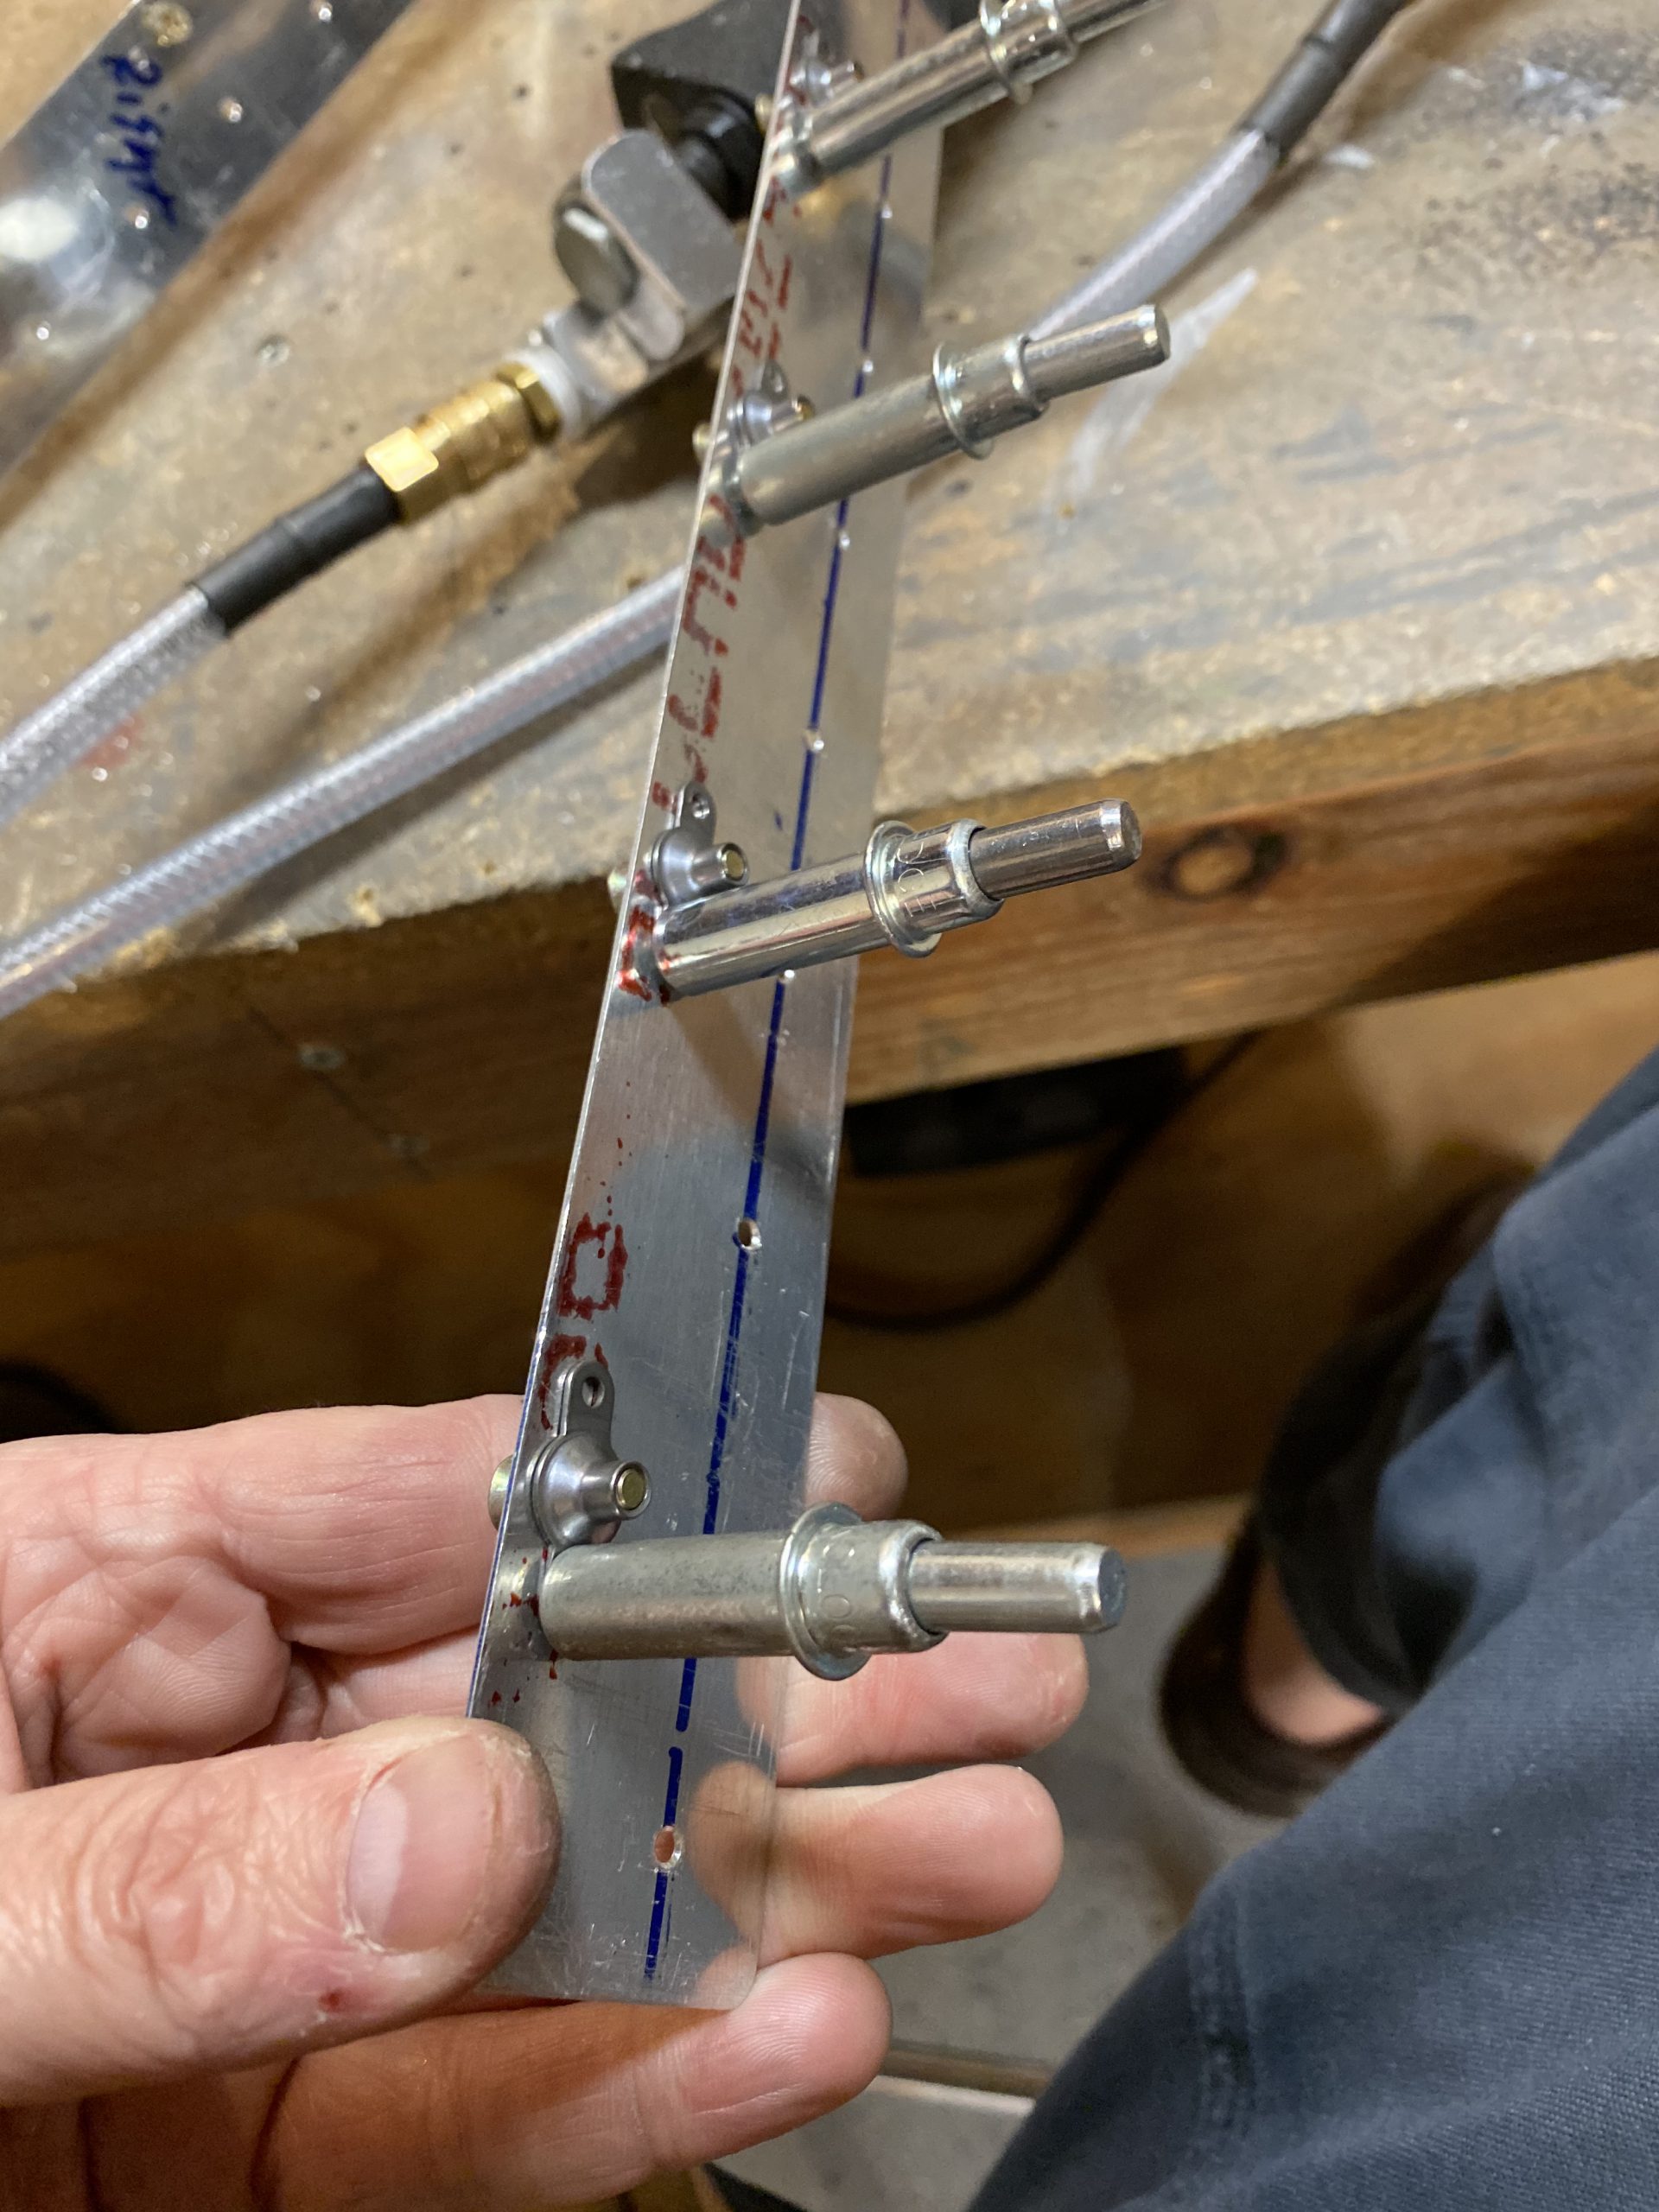
Once I had the first hole drilled using the screw to hold things in place temporarily, I clecoed the new hole to hold the nutplate tight into place, then I drilled the second rivet holes.
Once I had these new rivet holes drilled, you guessed it…it was time to deburr these holes as well. Next up was to dimple the #8 screw holes, and then dimple the #40 rivet holes for the nutplates. I went ahead and dimpled the other #40 holes since these will be getting AN426AN3-3.5 rivets when it gets riveted to the leading edge skin. This went quick on the DRDT-2 dimpler.
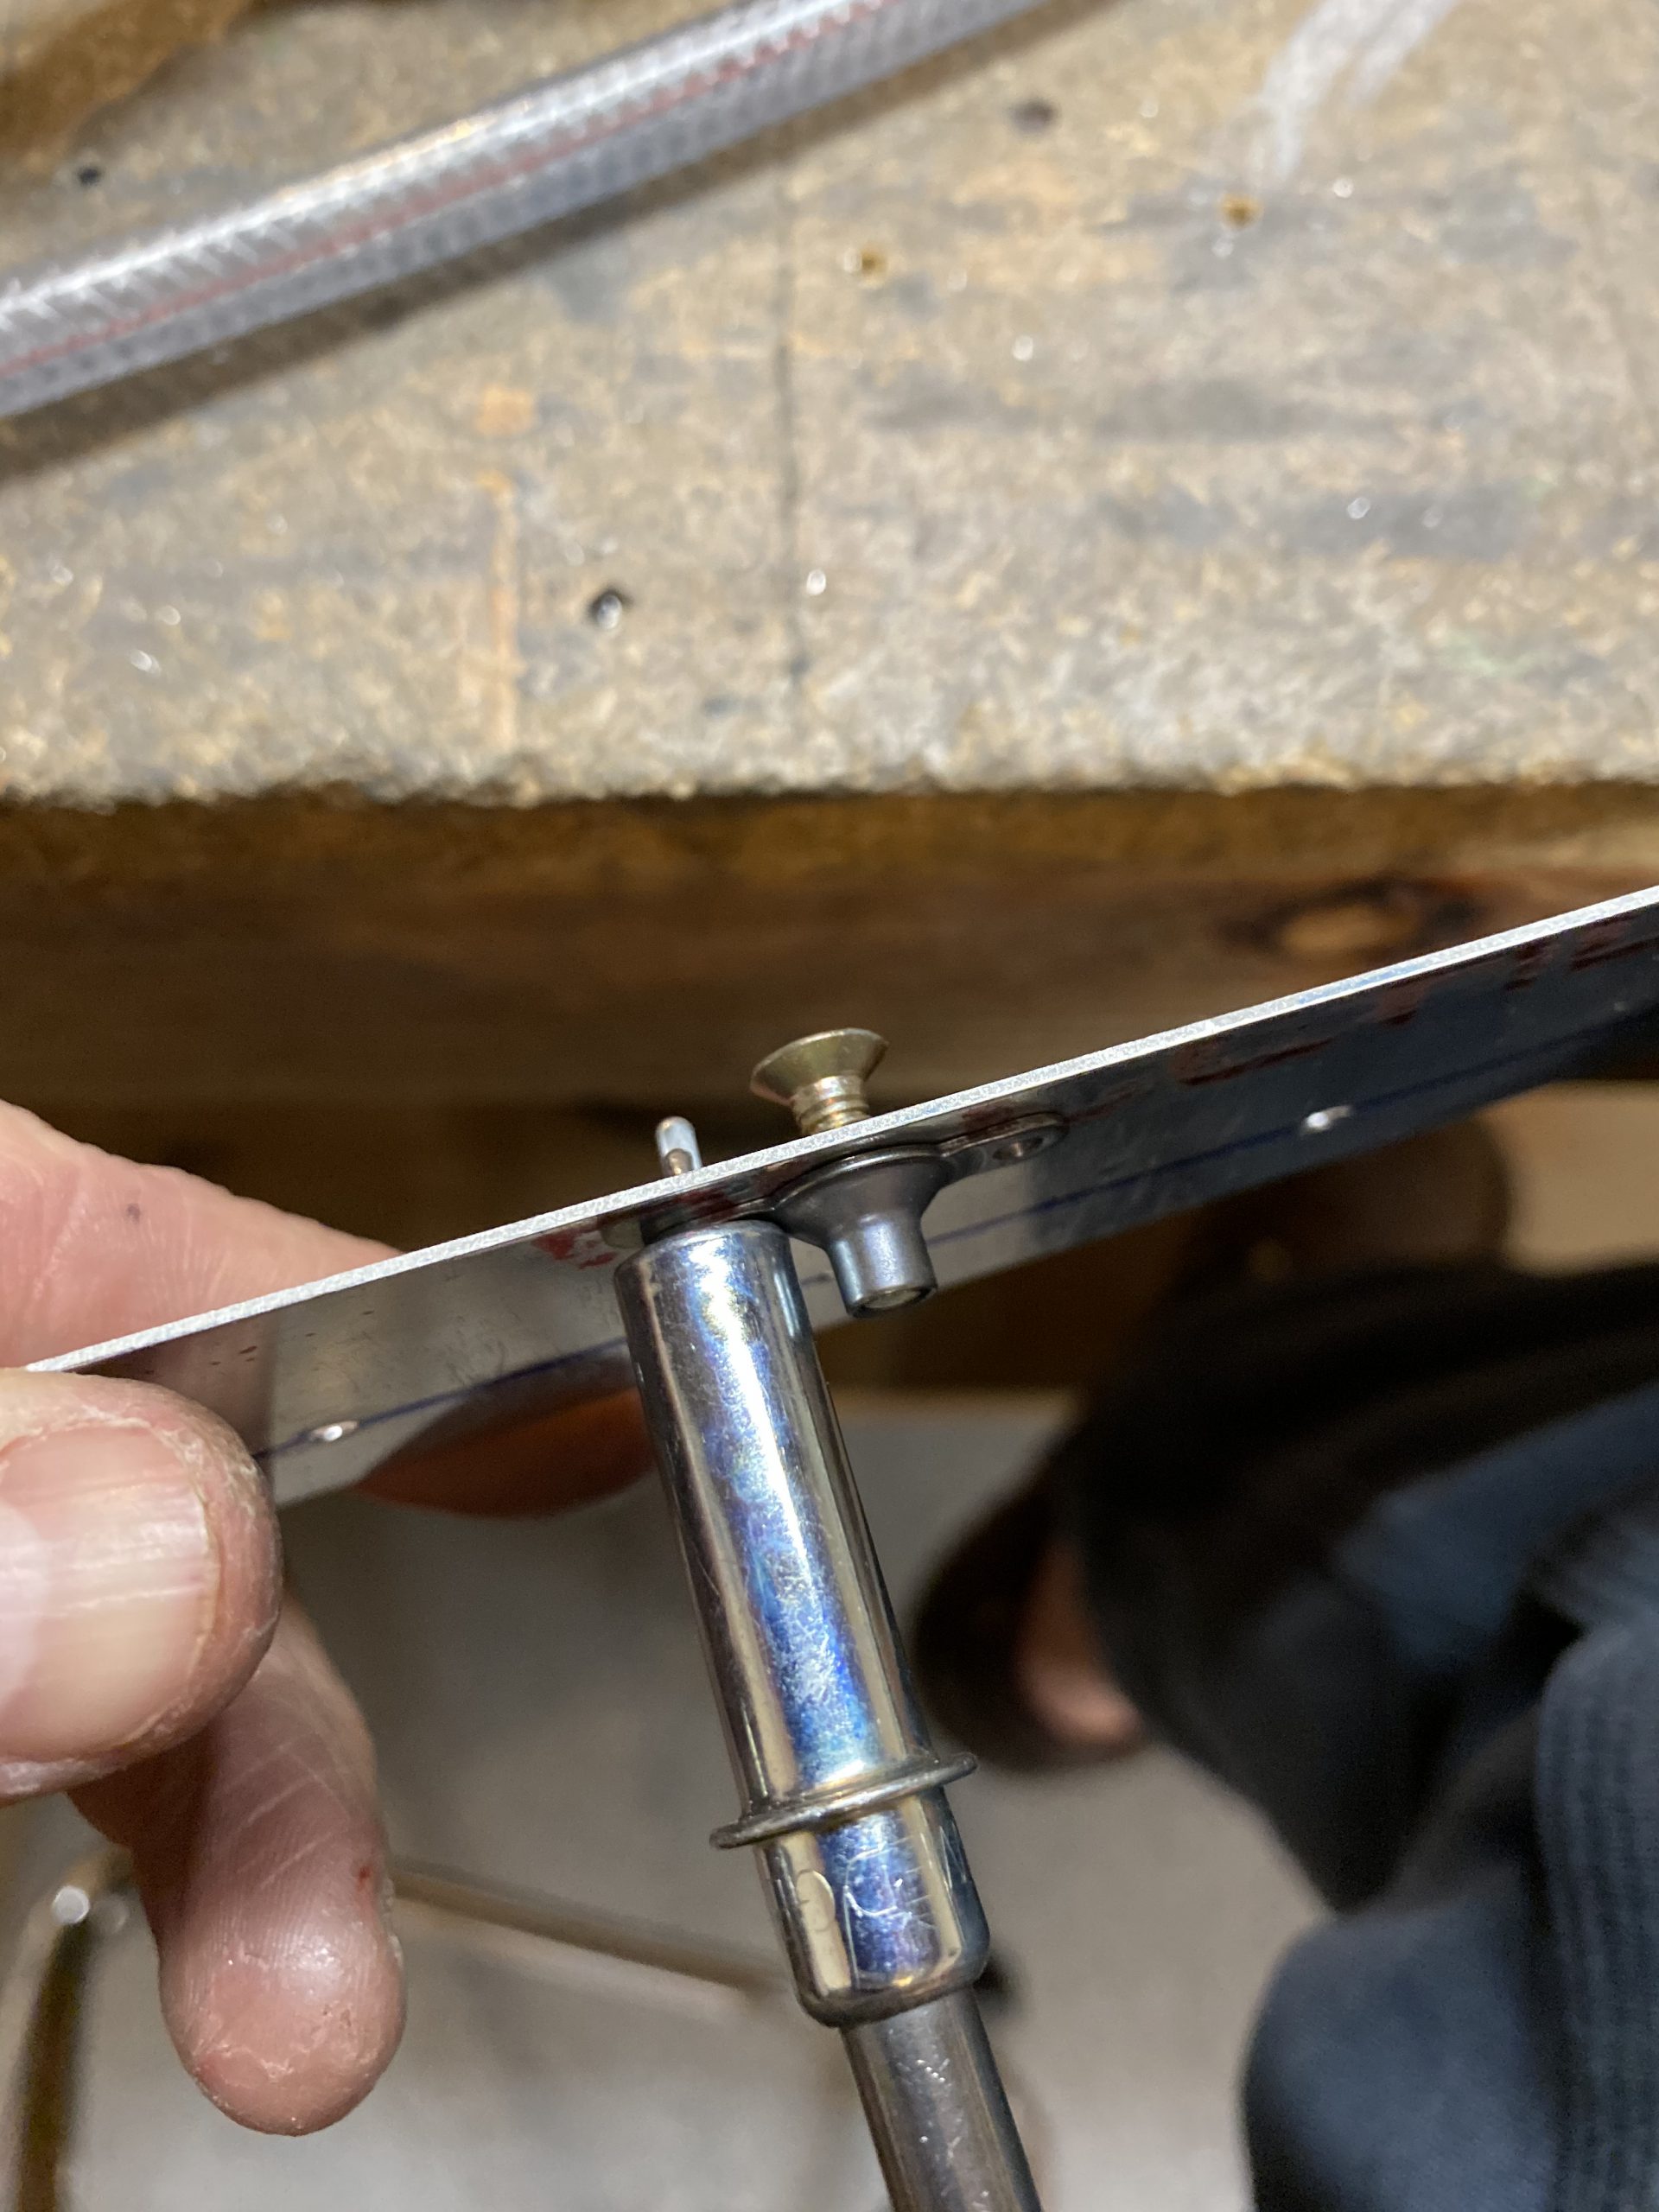
Finally, it was time to rivet on the nutplates. Like usual, I clecoed on hole of the nutplate, and then squeezed the rivets in place using my squeezer. Pretty easy work with these nice tools I guess.
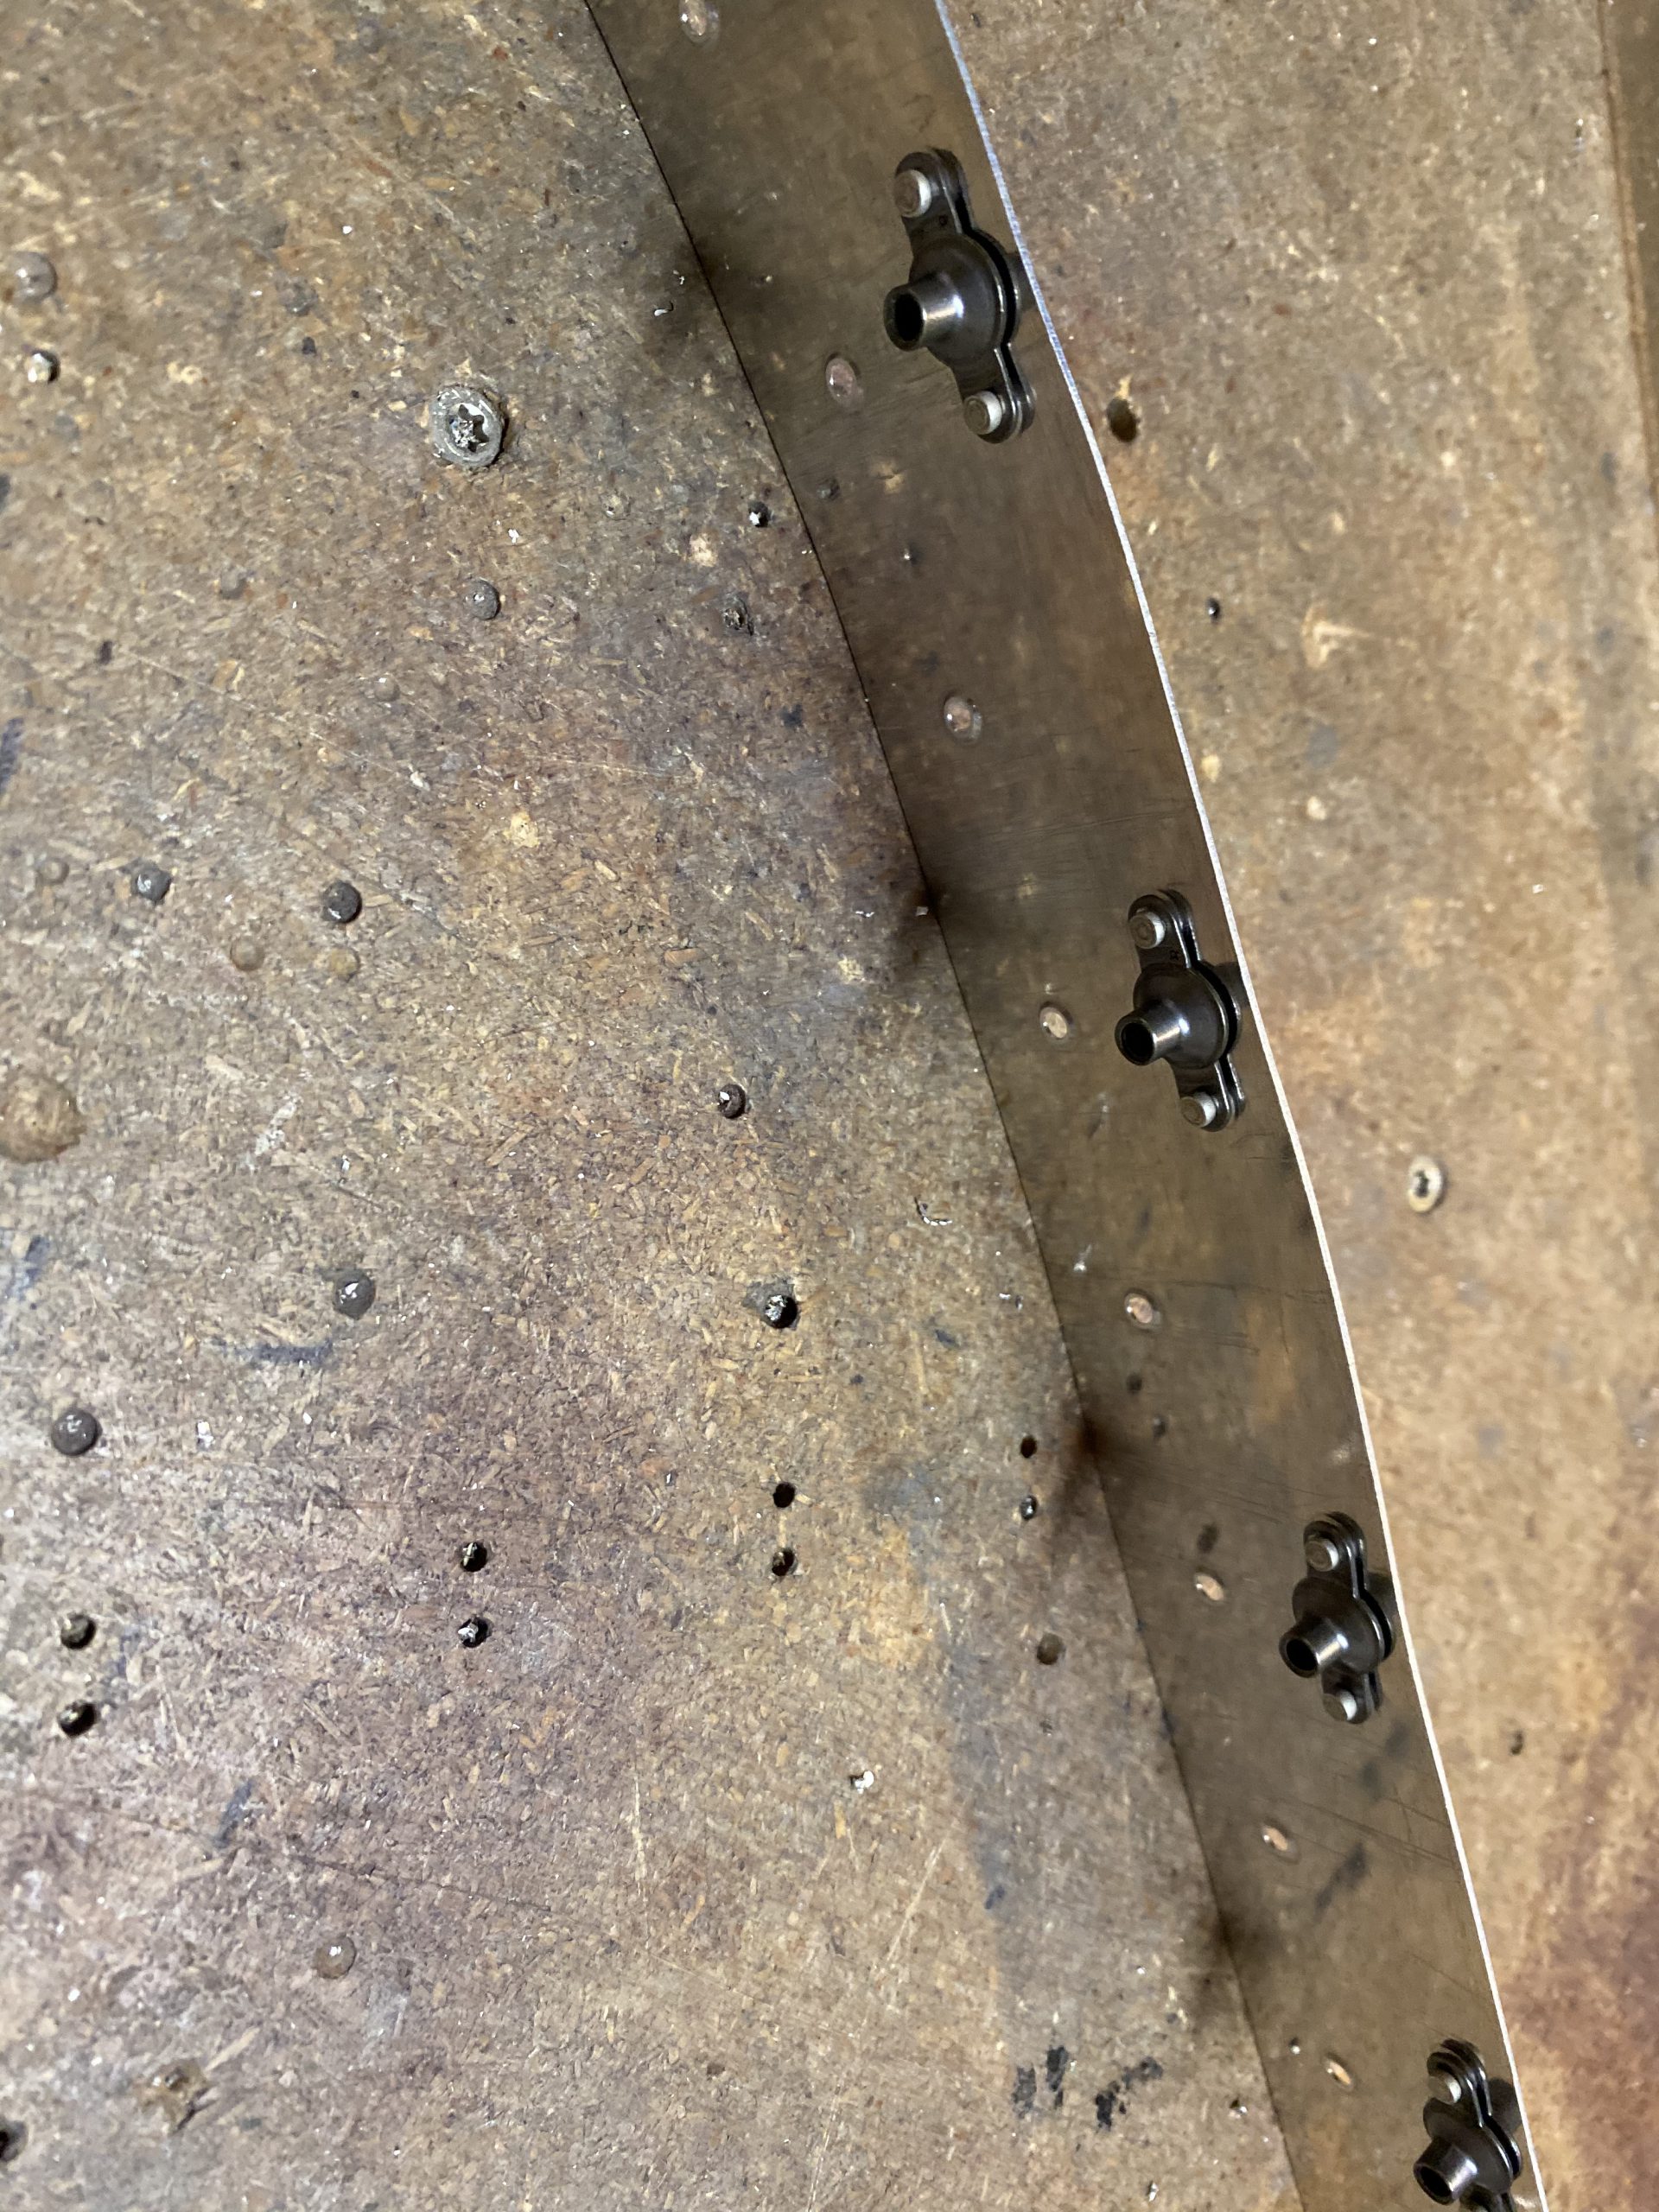
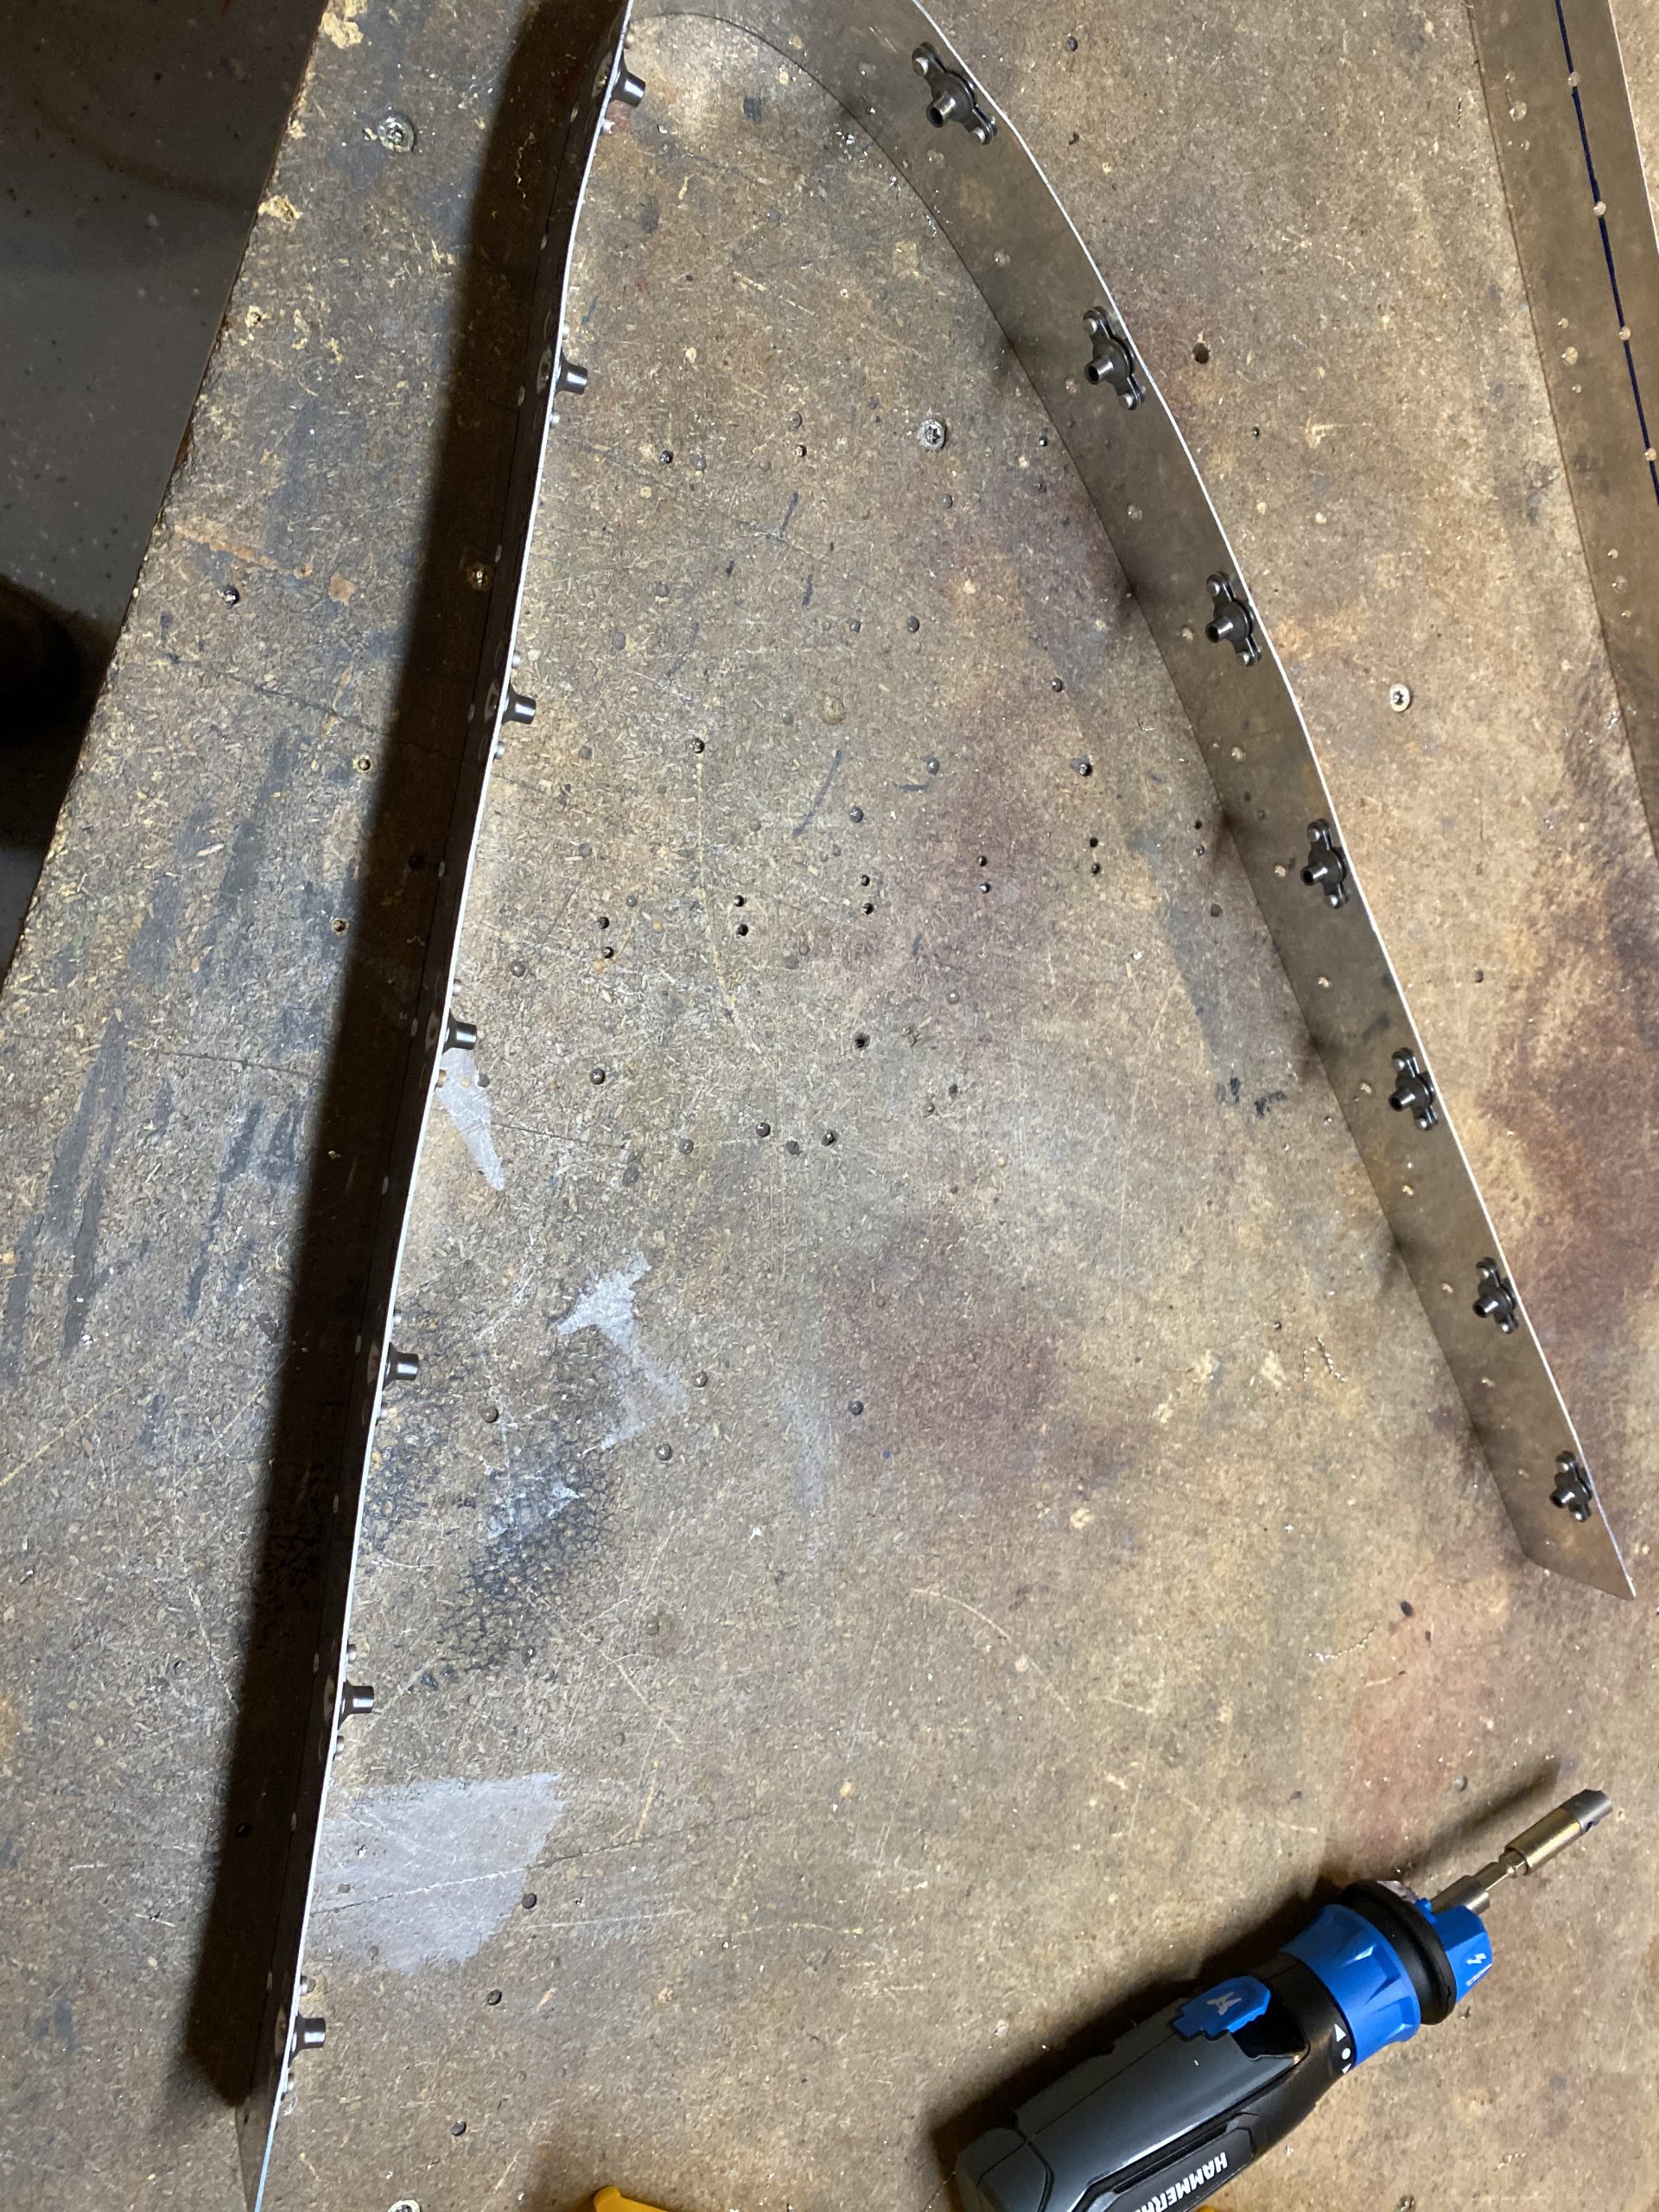
After I had completed one W-423 splice plate / reinforcement plate, I moved on and did the exact same thing to the other wings. I think I did the left one first and then the right. Thats it for this quick build session!
Google Photos Link: https://photos.app.goo.gl/pSD1JdiEWEJGkeYB6
Hours Worked: 2.0