


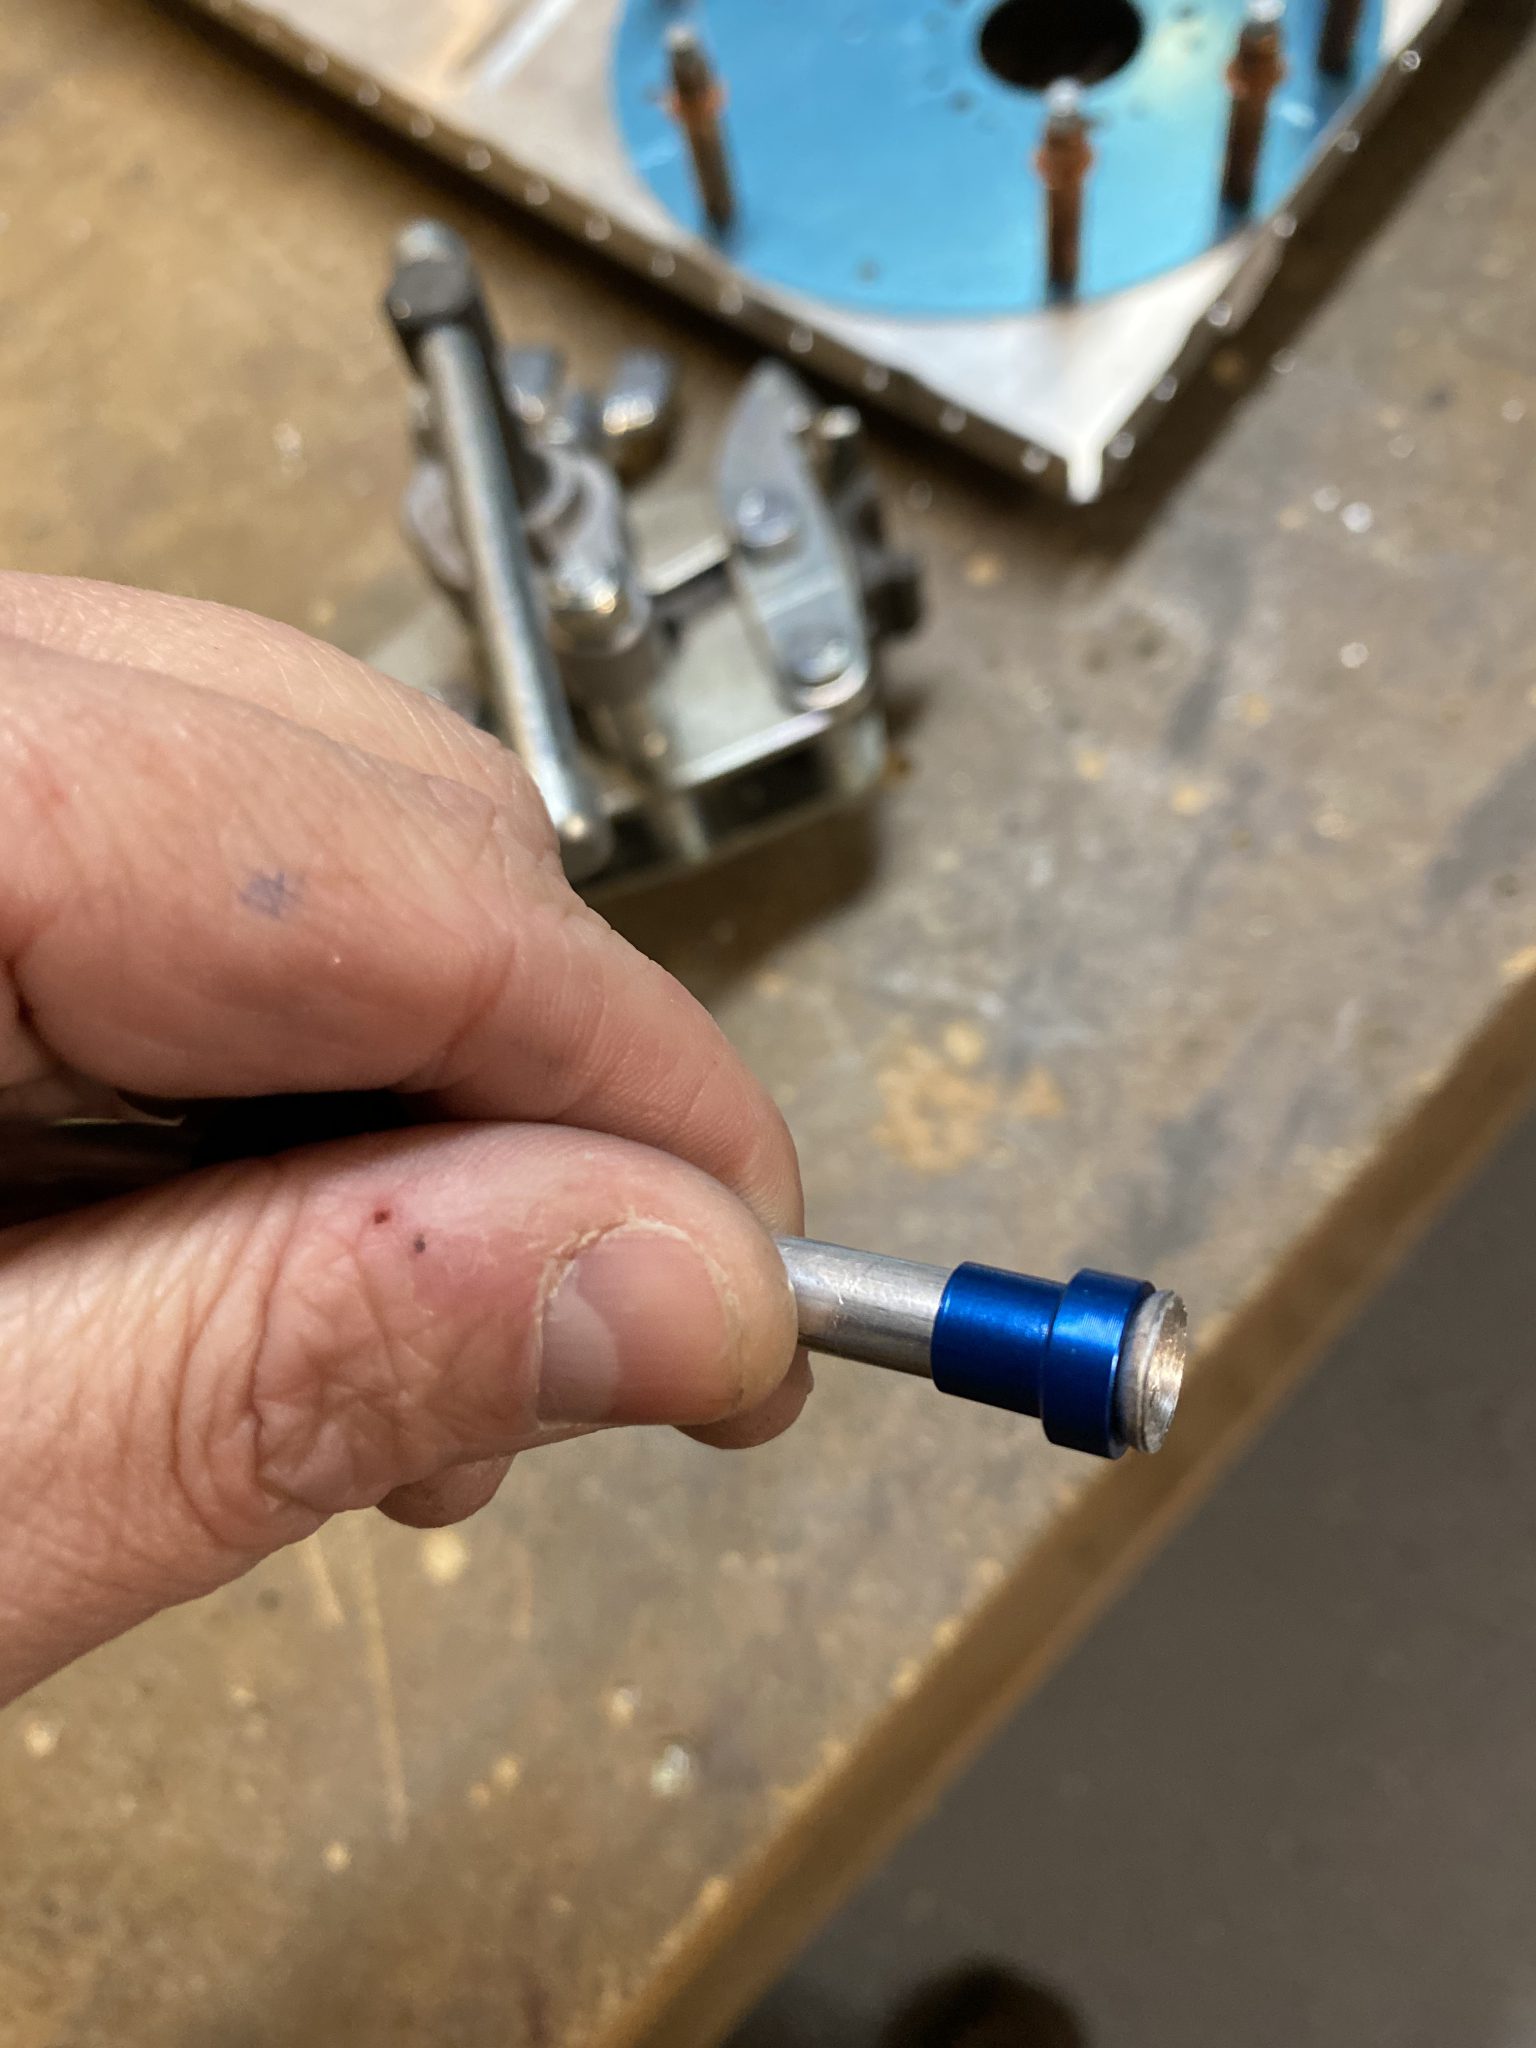
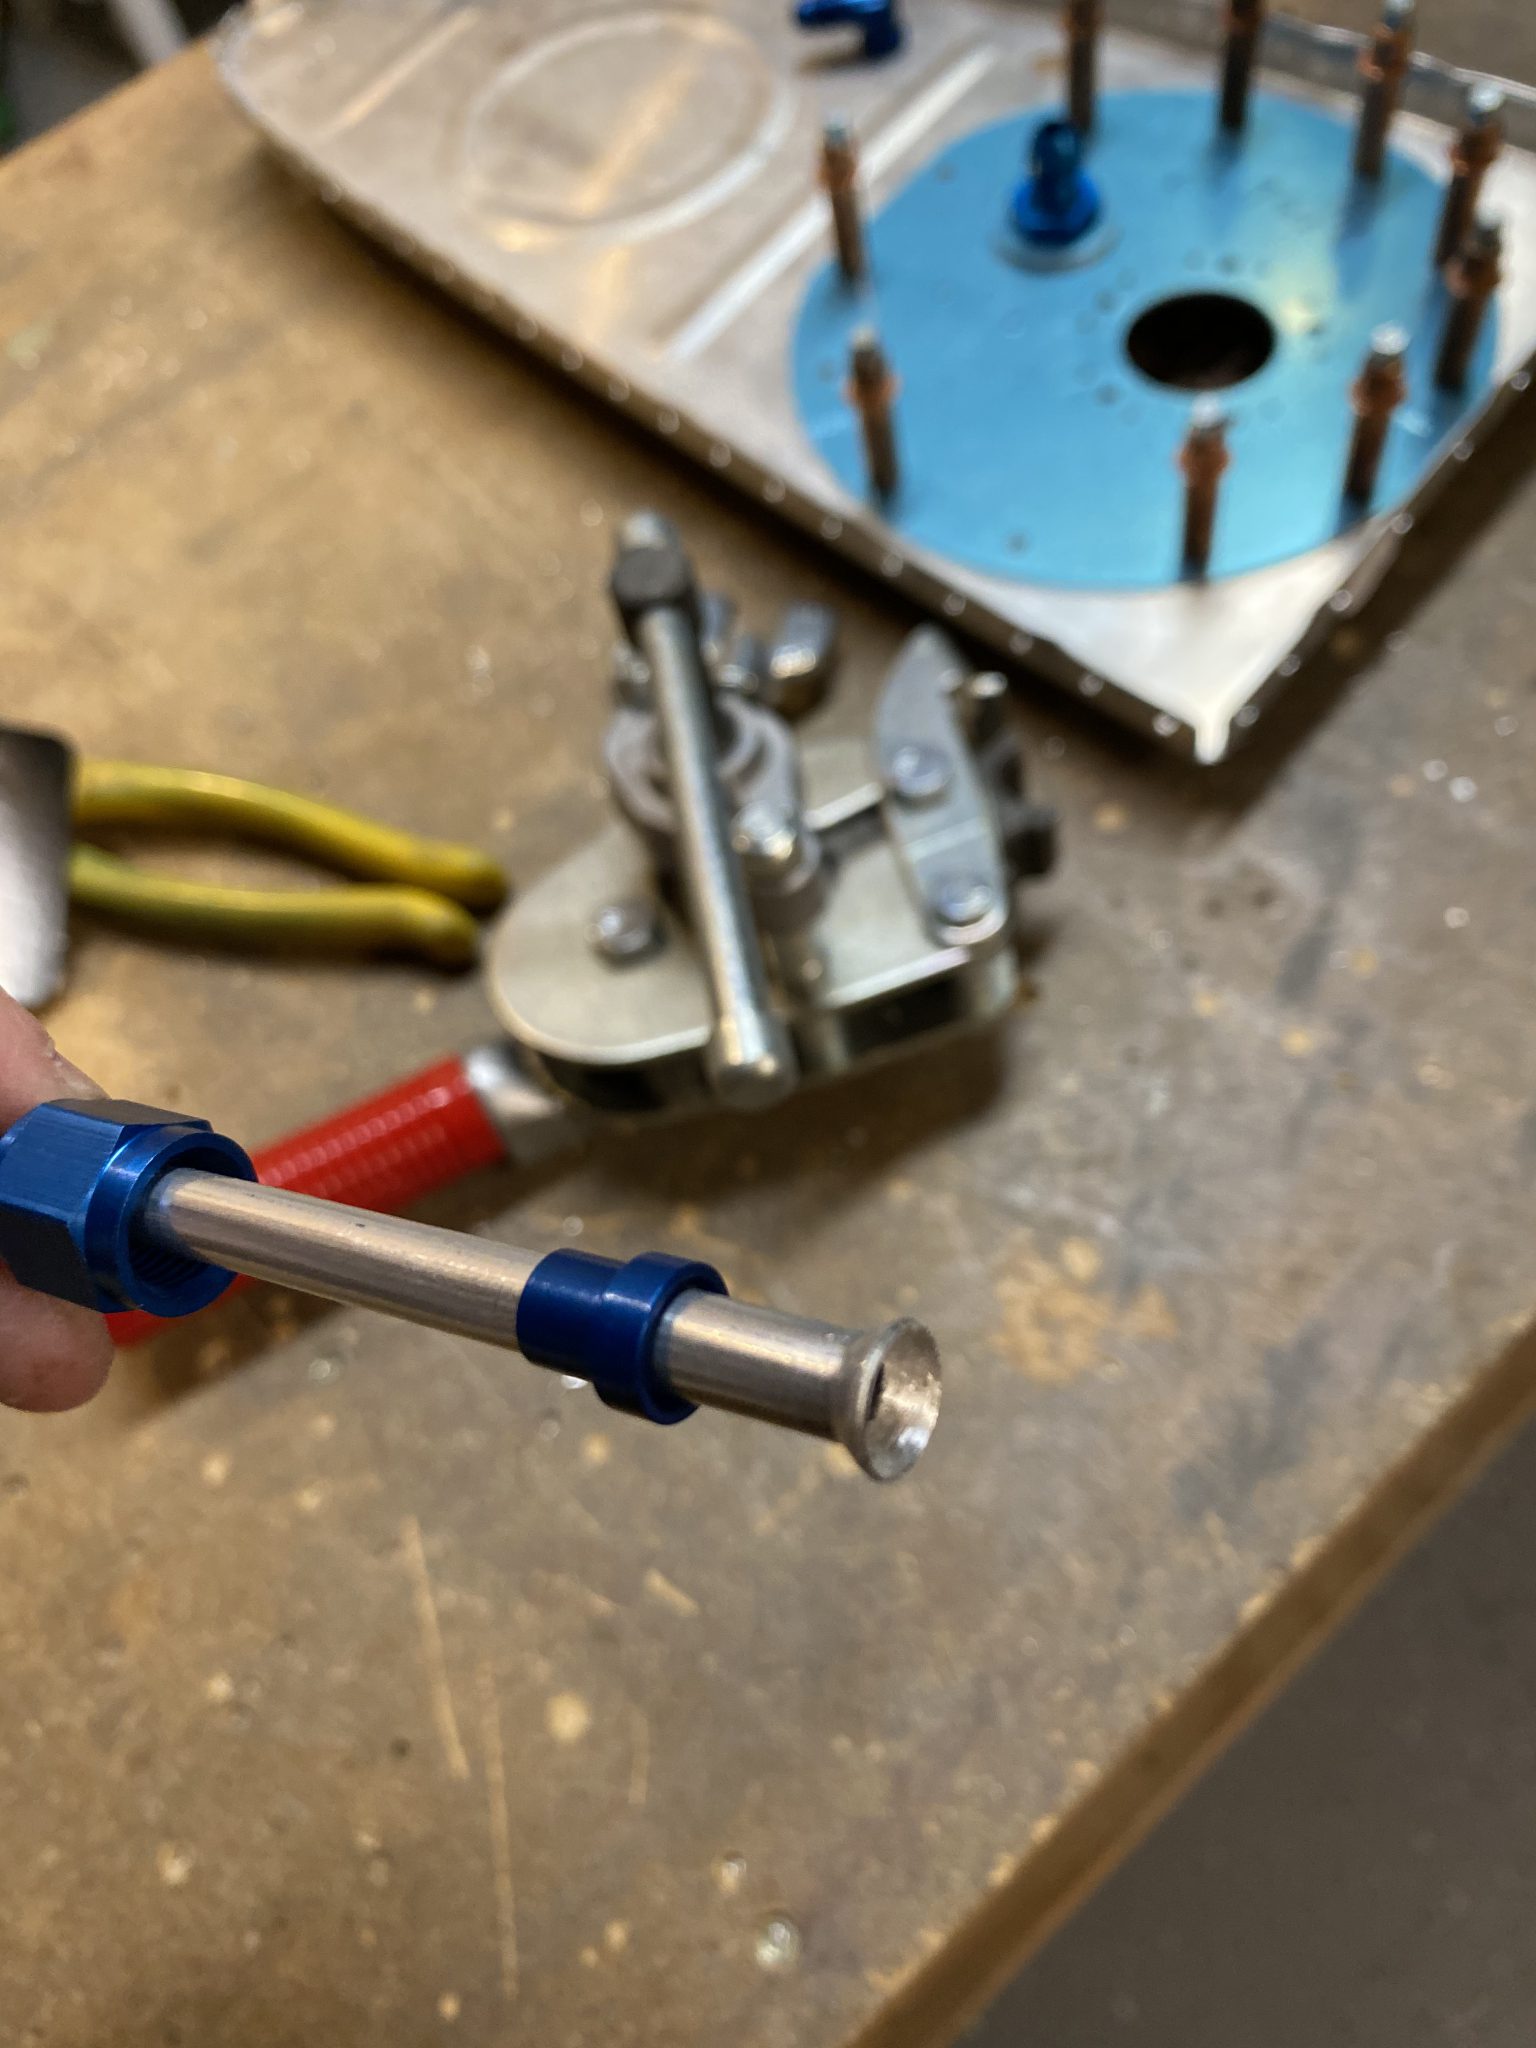
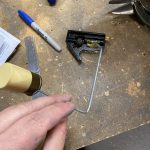
see url More progress made on the fuel tanks tonight! I picked up with the right tank, and I wanted to get the vent line trimmed and finished. I had left it a little long so I could trim it down to size once I bought a tubing cutter. Well, I remembered to stop by Ace Hardware today on my way home from flying a PA-11 Cub and bought a decent little tubing cutter. I spent a good deal of time playing with the cutter as well as my Parker flare tool that came in my tool kit, learning on scrap bits of tubing until I felt confident at making the cuts and flares on the actual parts. Here’s the carnage from my little learning session.
see url follow site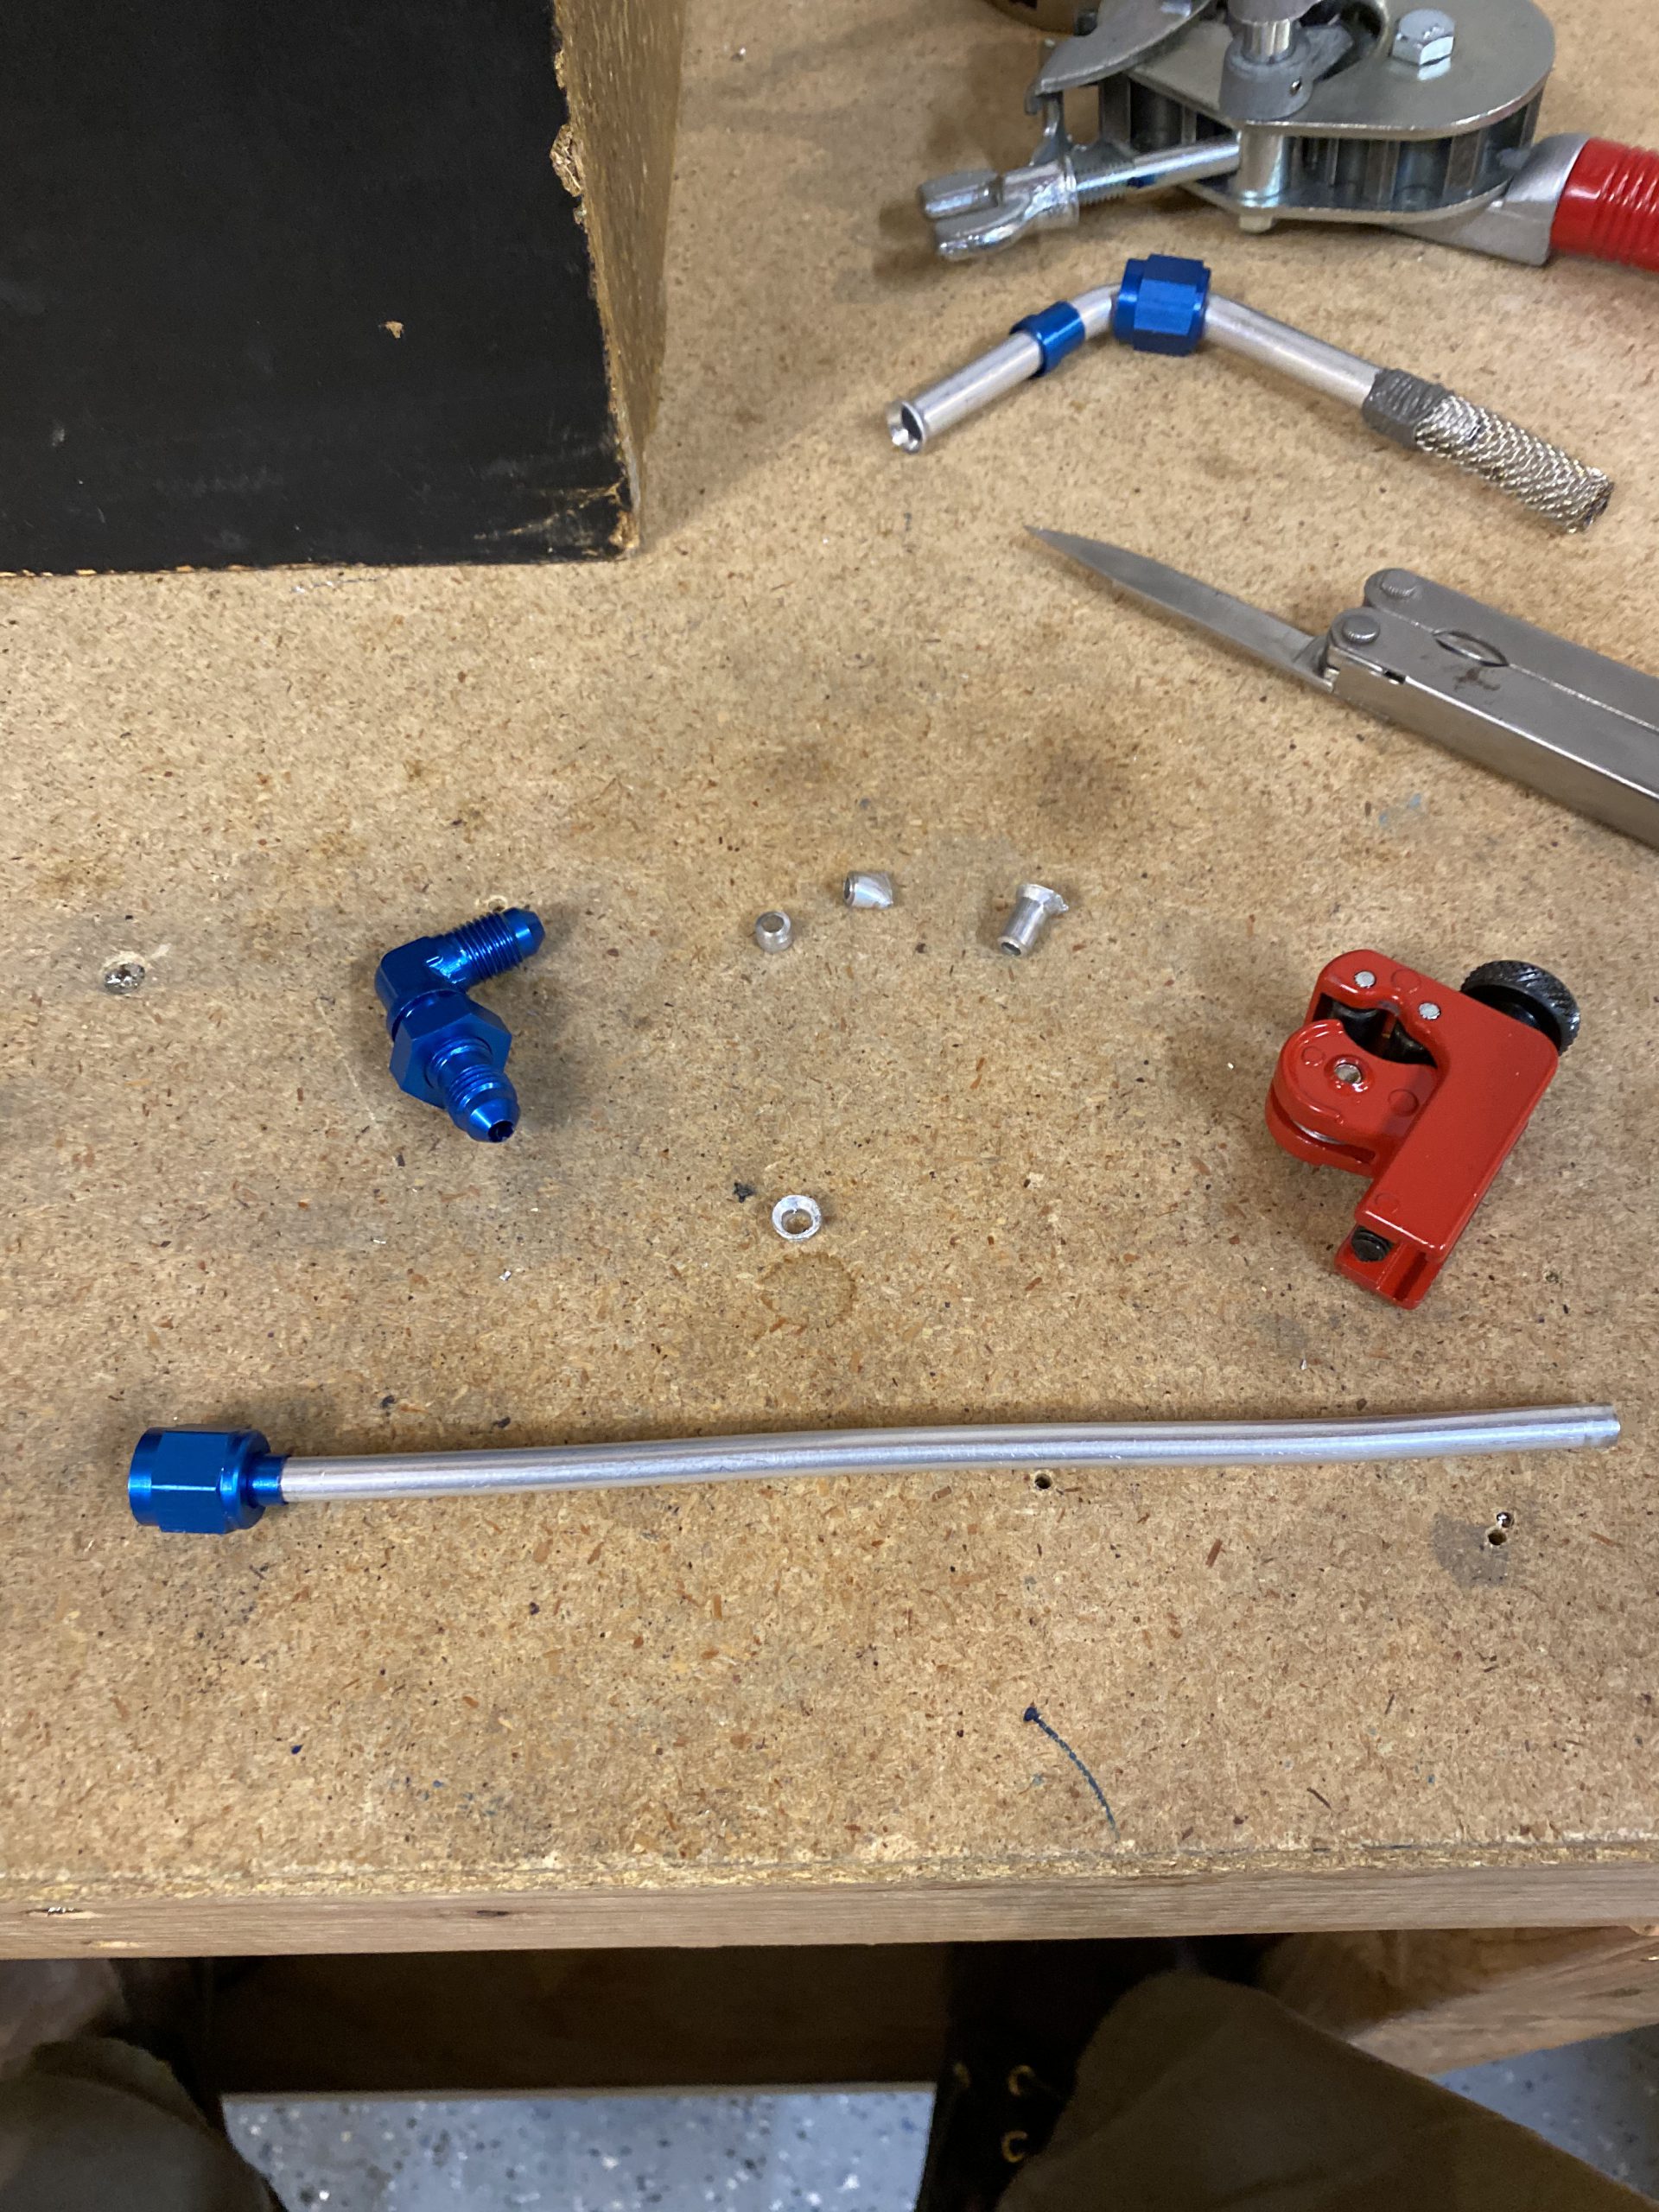
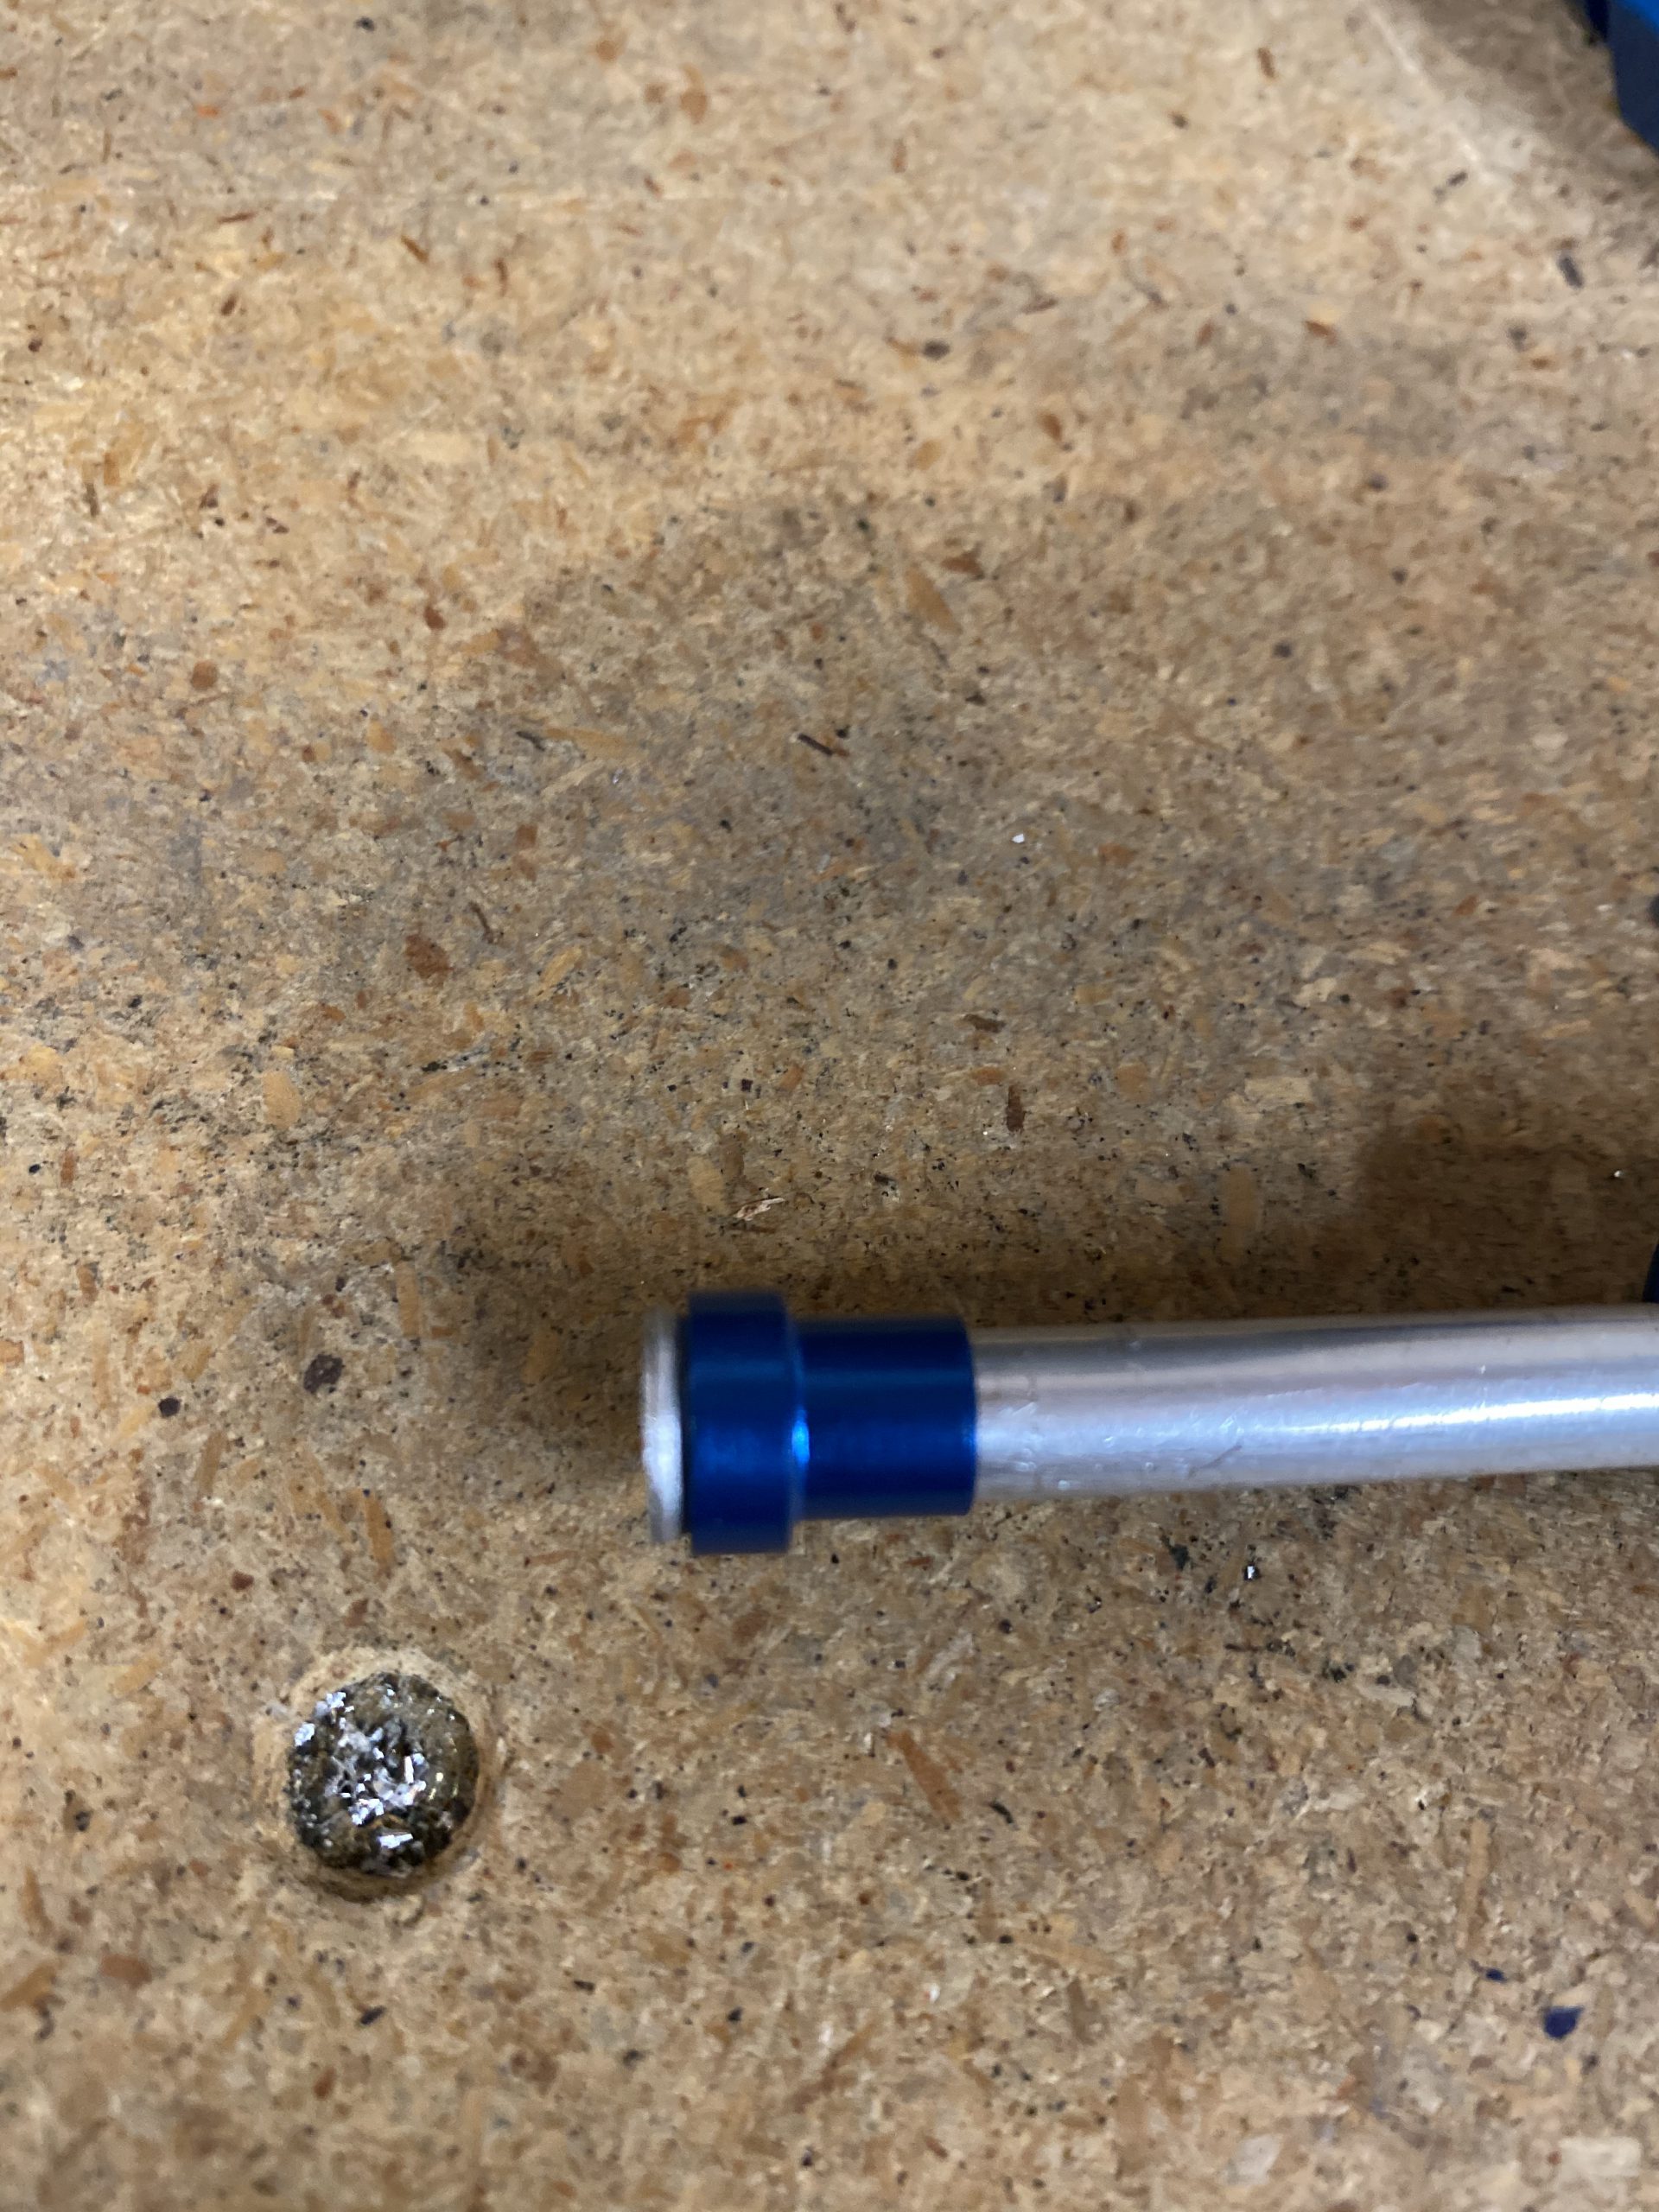
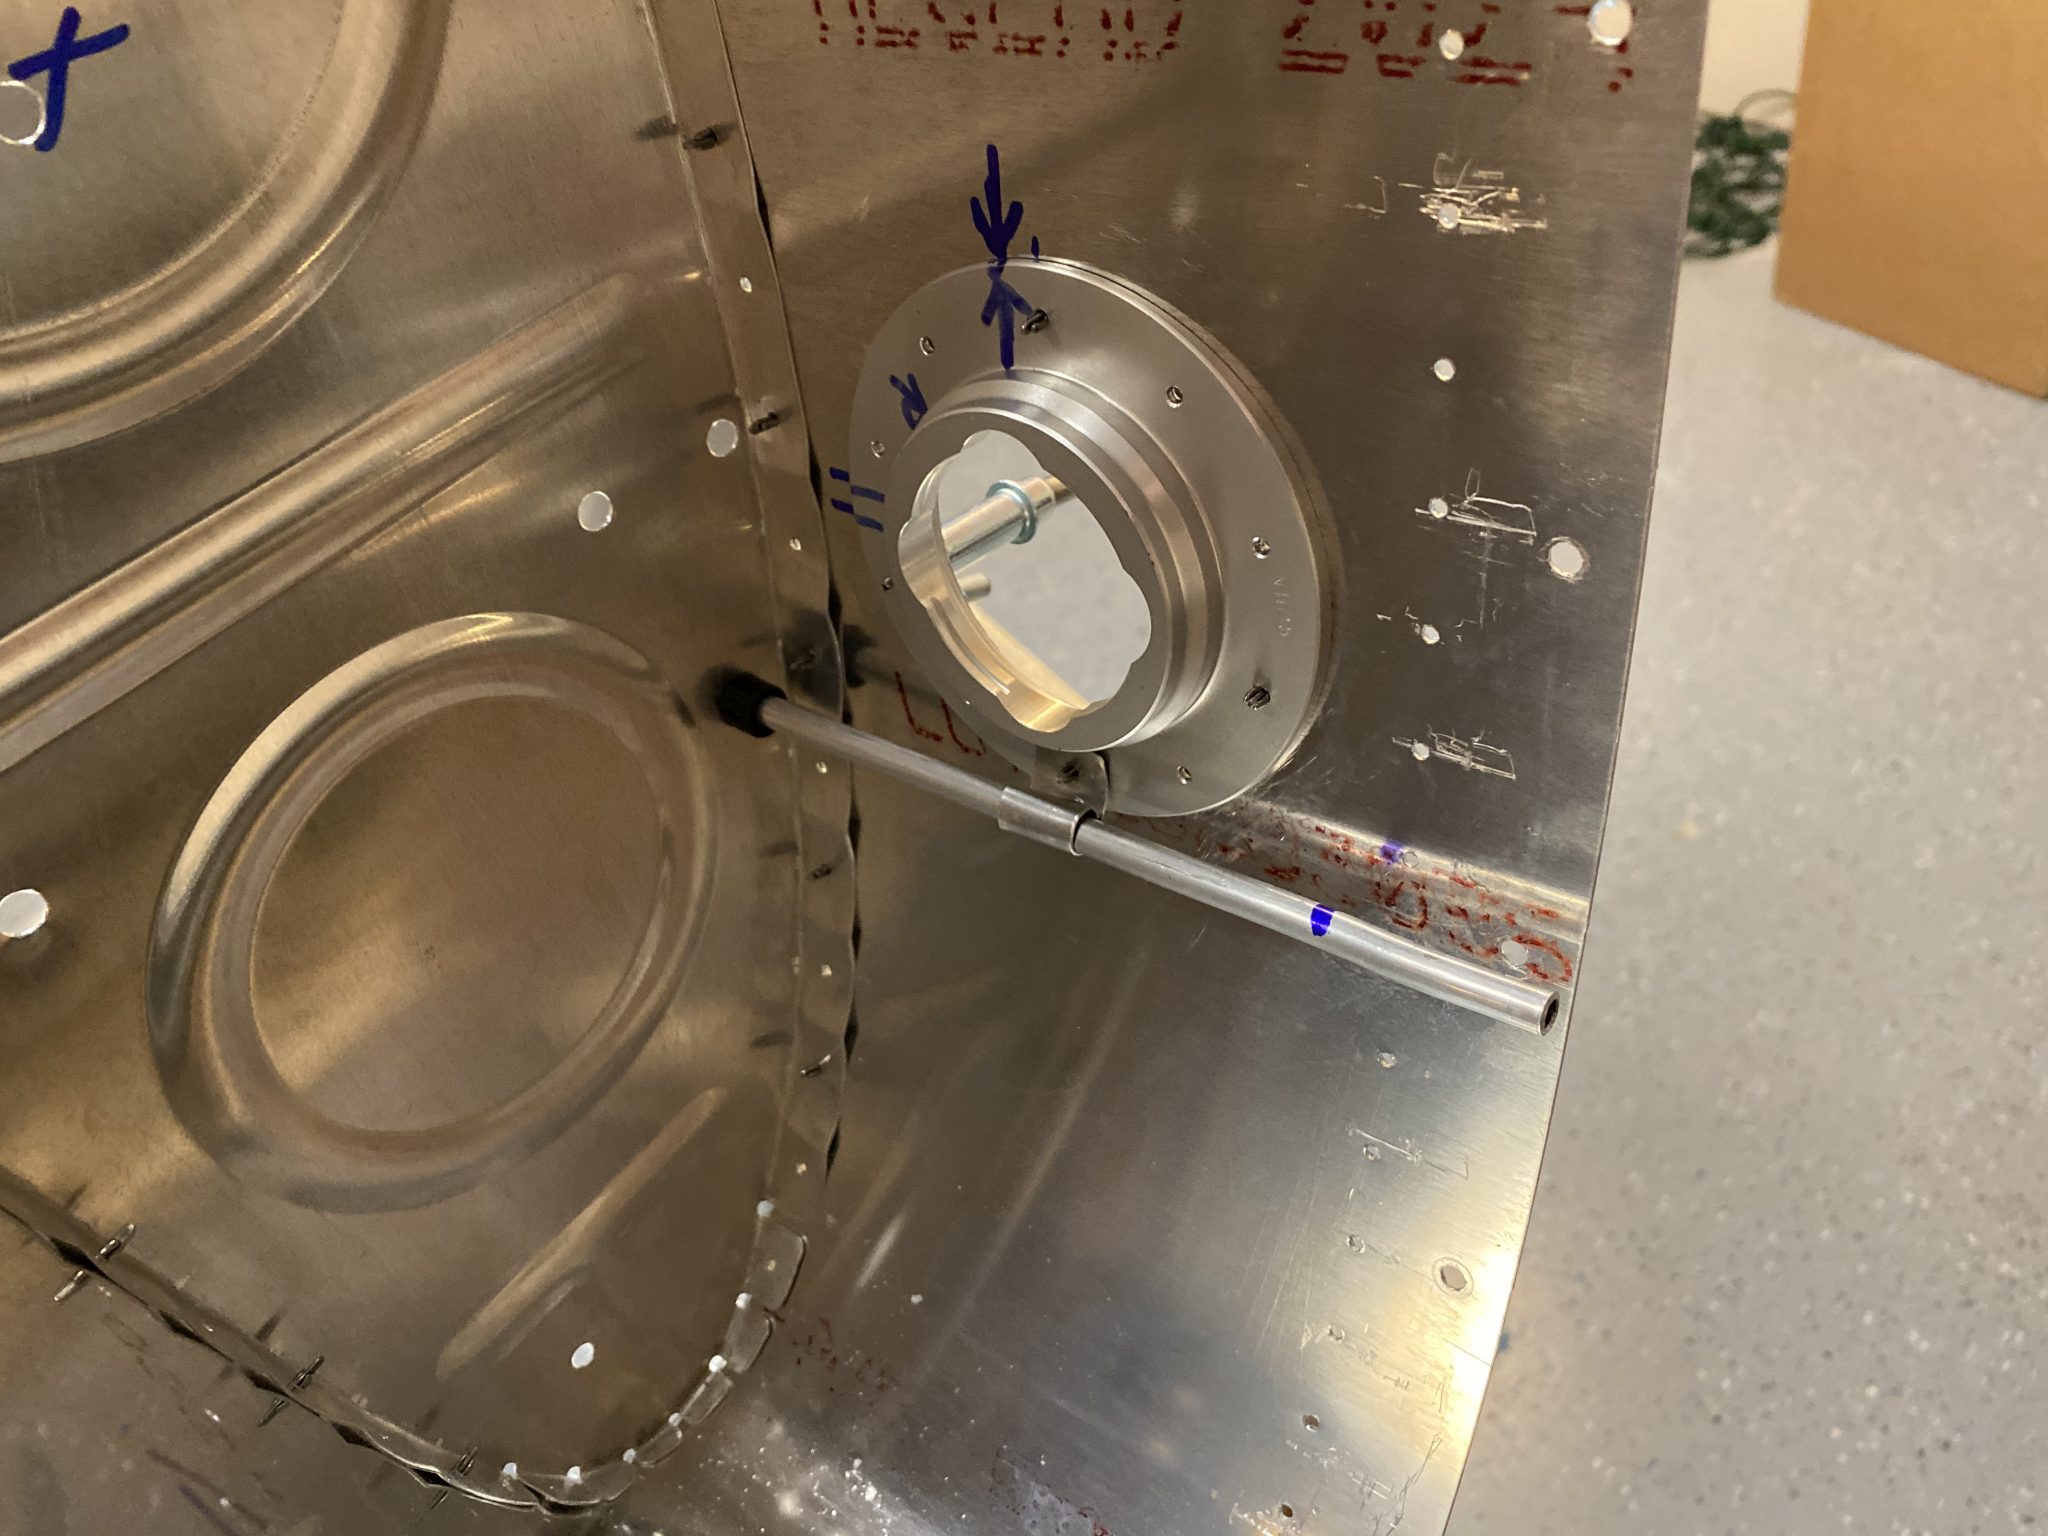
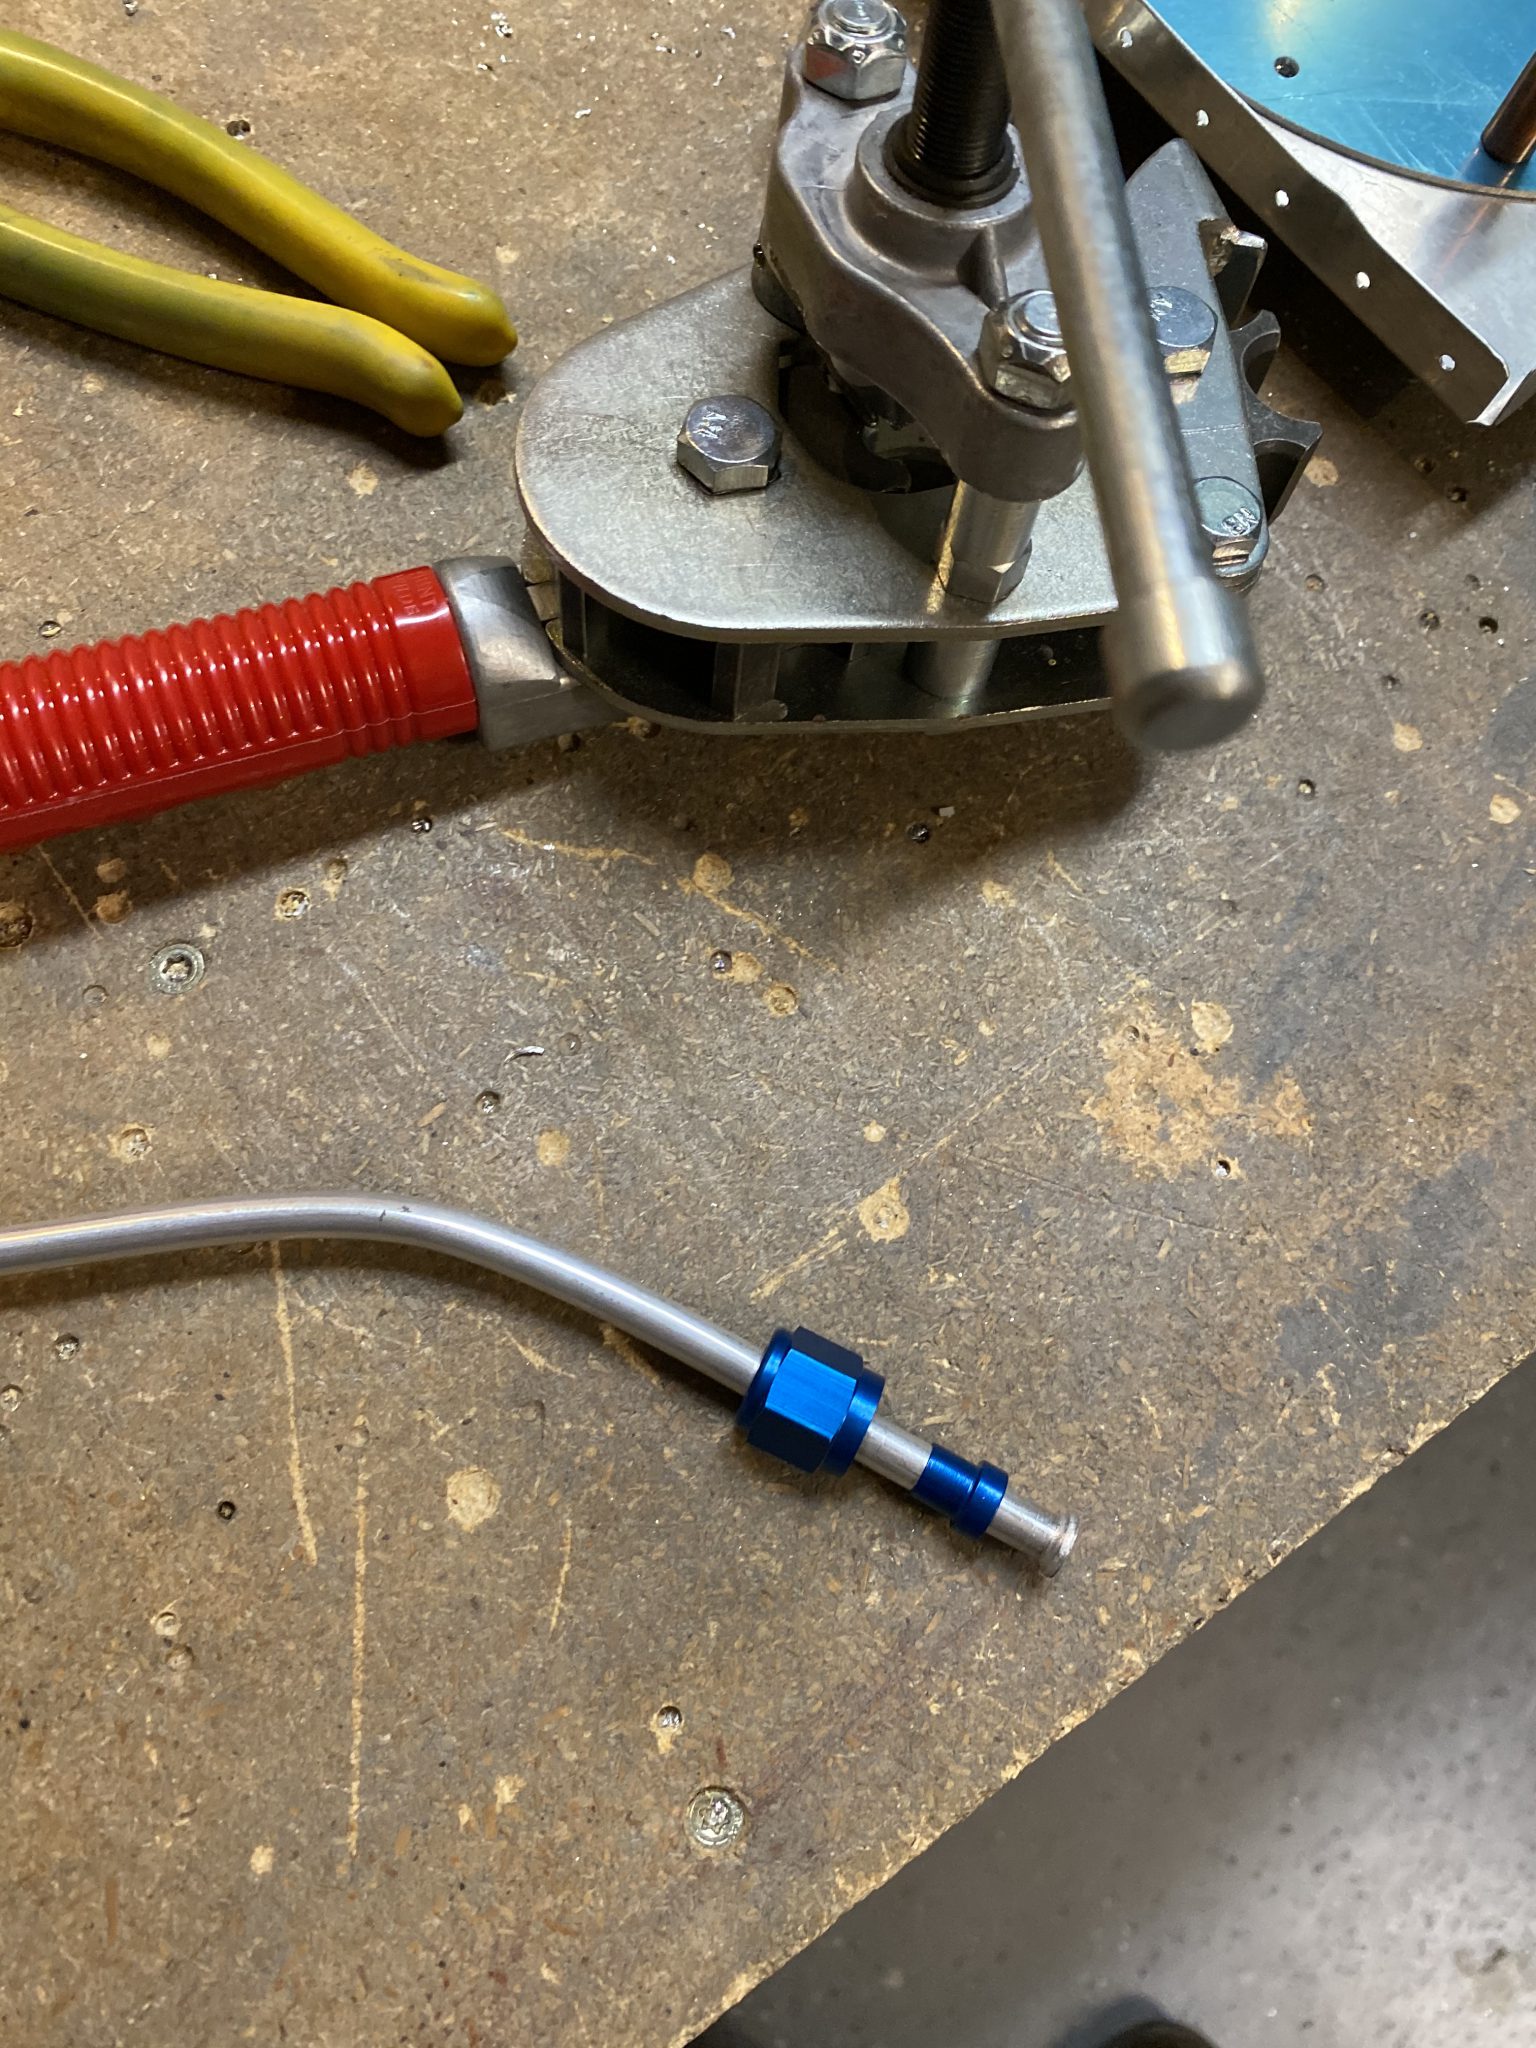
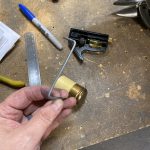
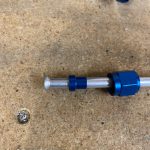
Buy Soma Online Eventually, I got brave and made the cut on my vent line for the right tank. I measured roughly where I’d need to cut the tubing to line up with the bulkhead fitting, and then made my cut. I can still push the excess tubing out to the outboard side, and just trim there if I haven’t made a precise measurement, so no real worry. I am pretty happy with the way my first official “production’ flare and fitting went!
Buy Soma Online Buy Lorazepam Online Without Prescription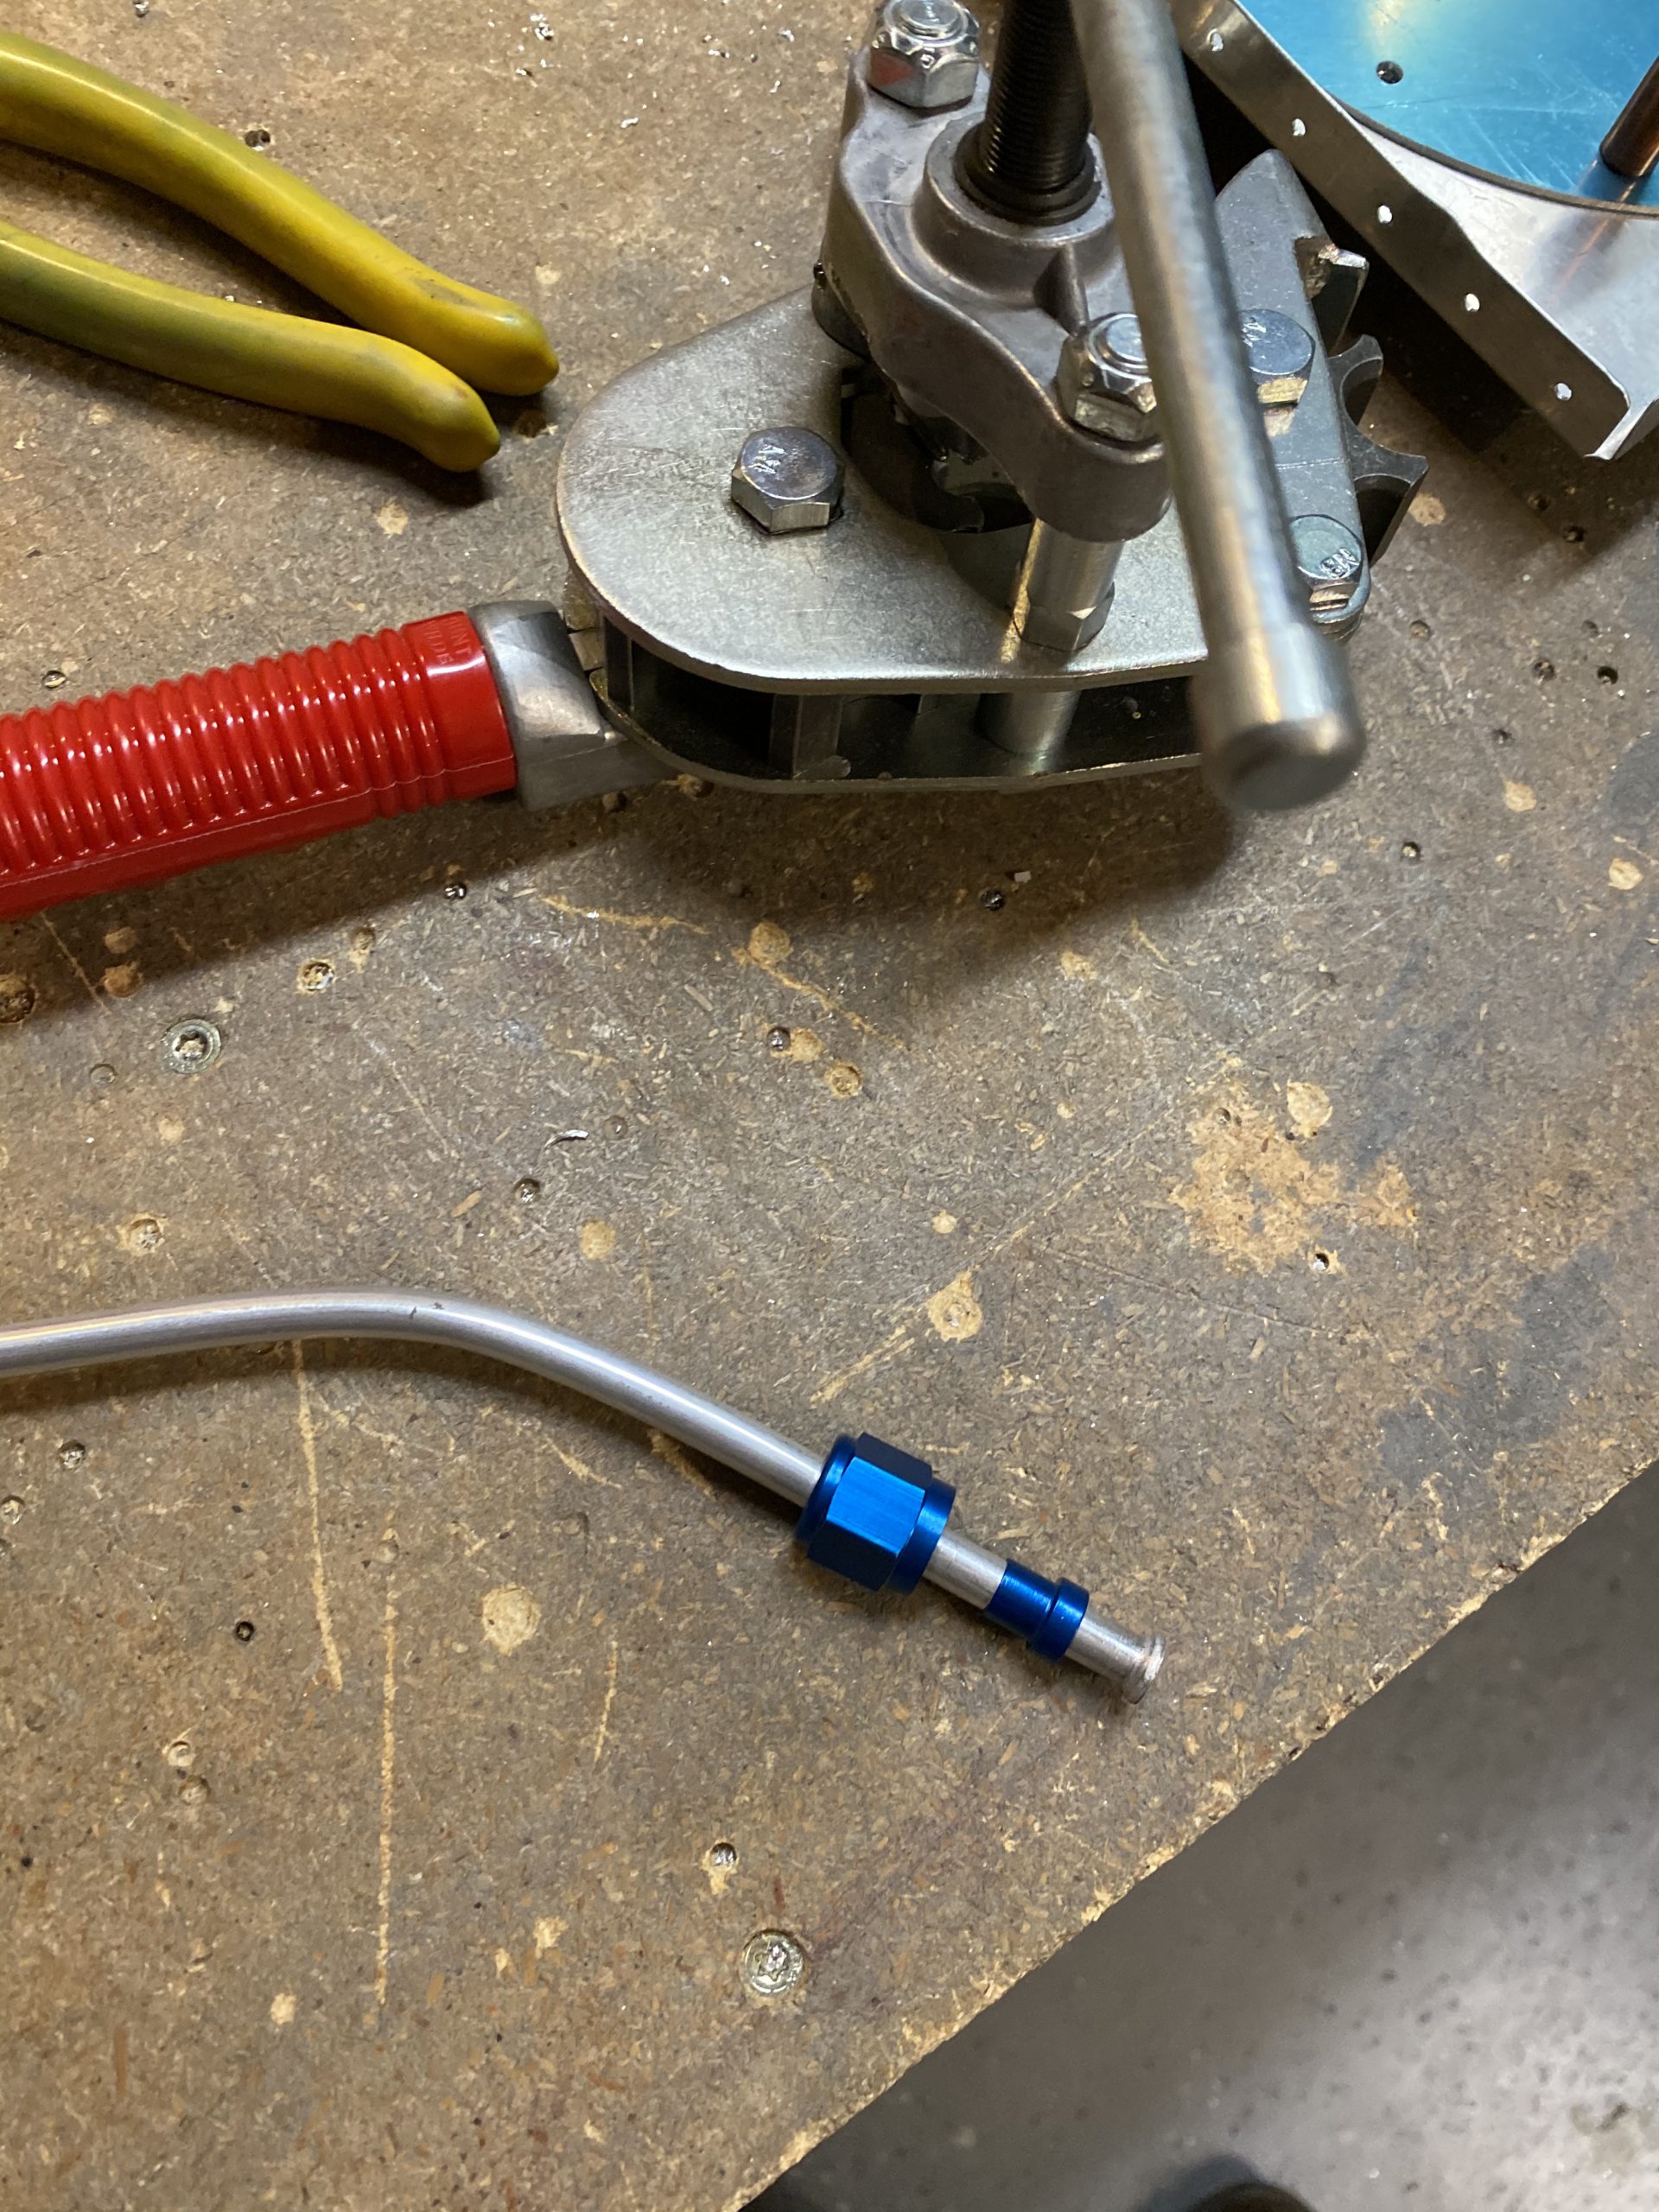 .
. 

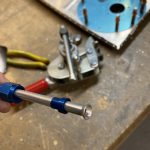
go to site I have about an inch of extra I will need to trim on the outboard side, where the vent attaches to the clip on the filler neck, but thats an easy one since theres no fitting thats go on it. I marked where I think it should be and trimmed it with the cutter.

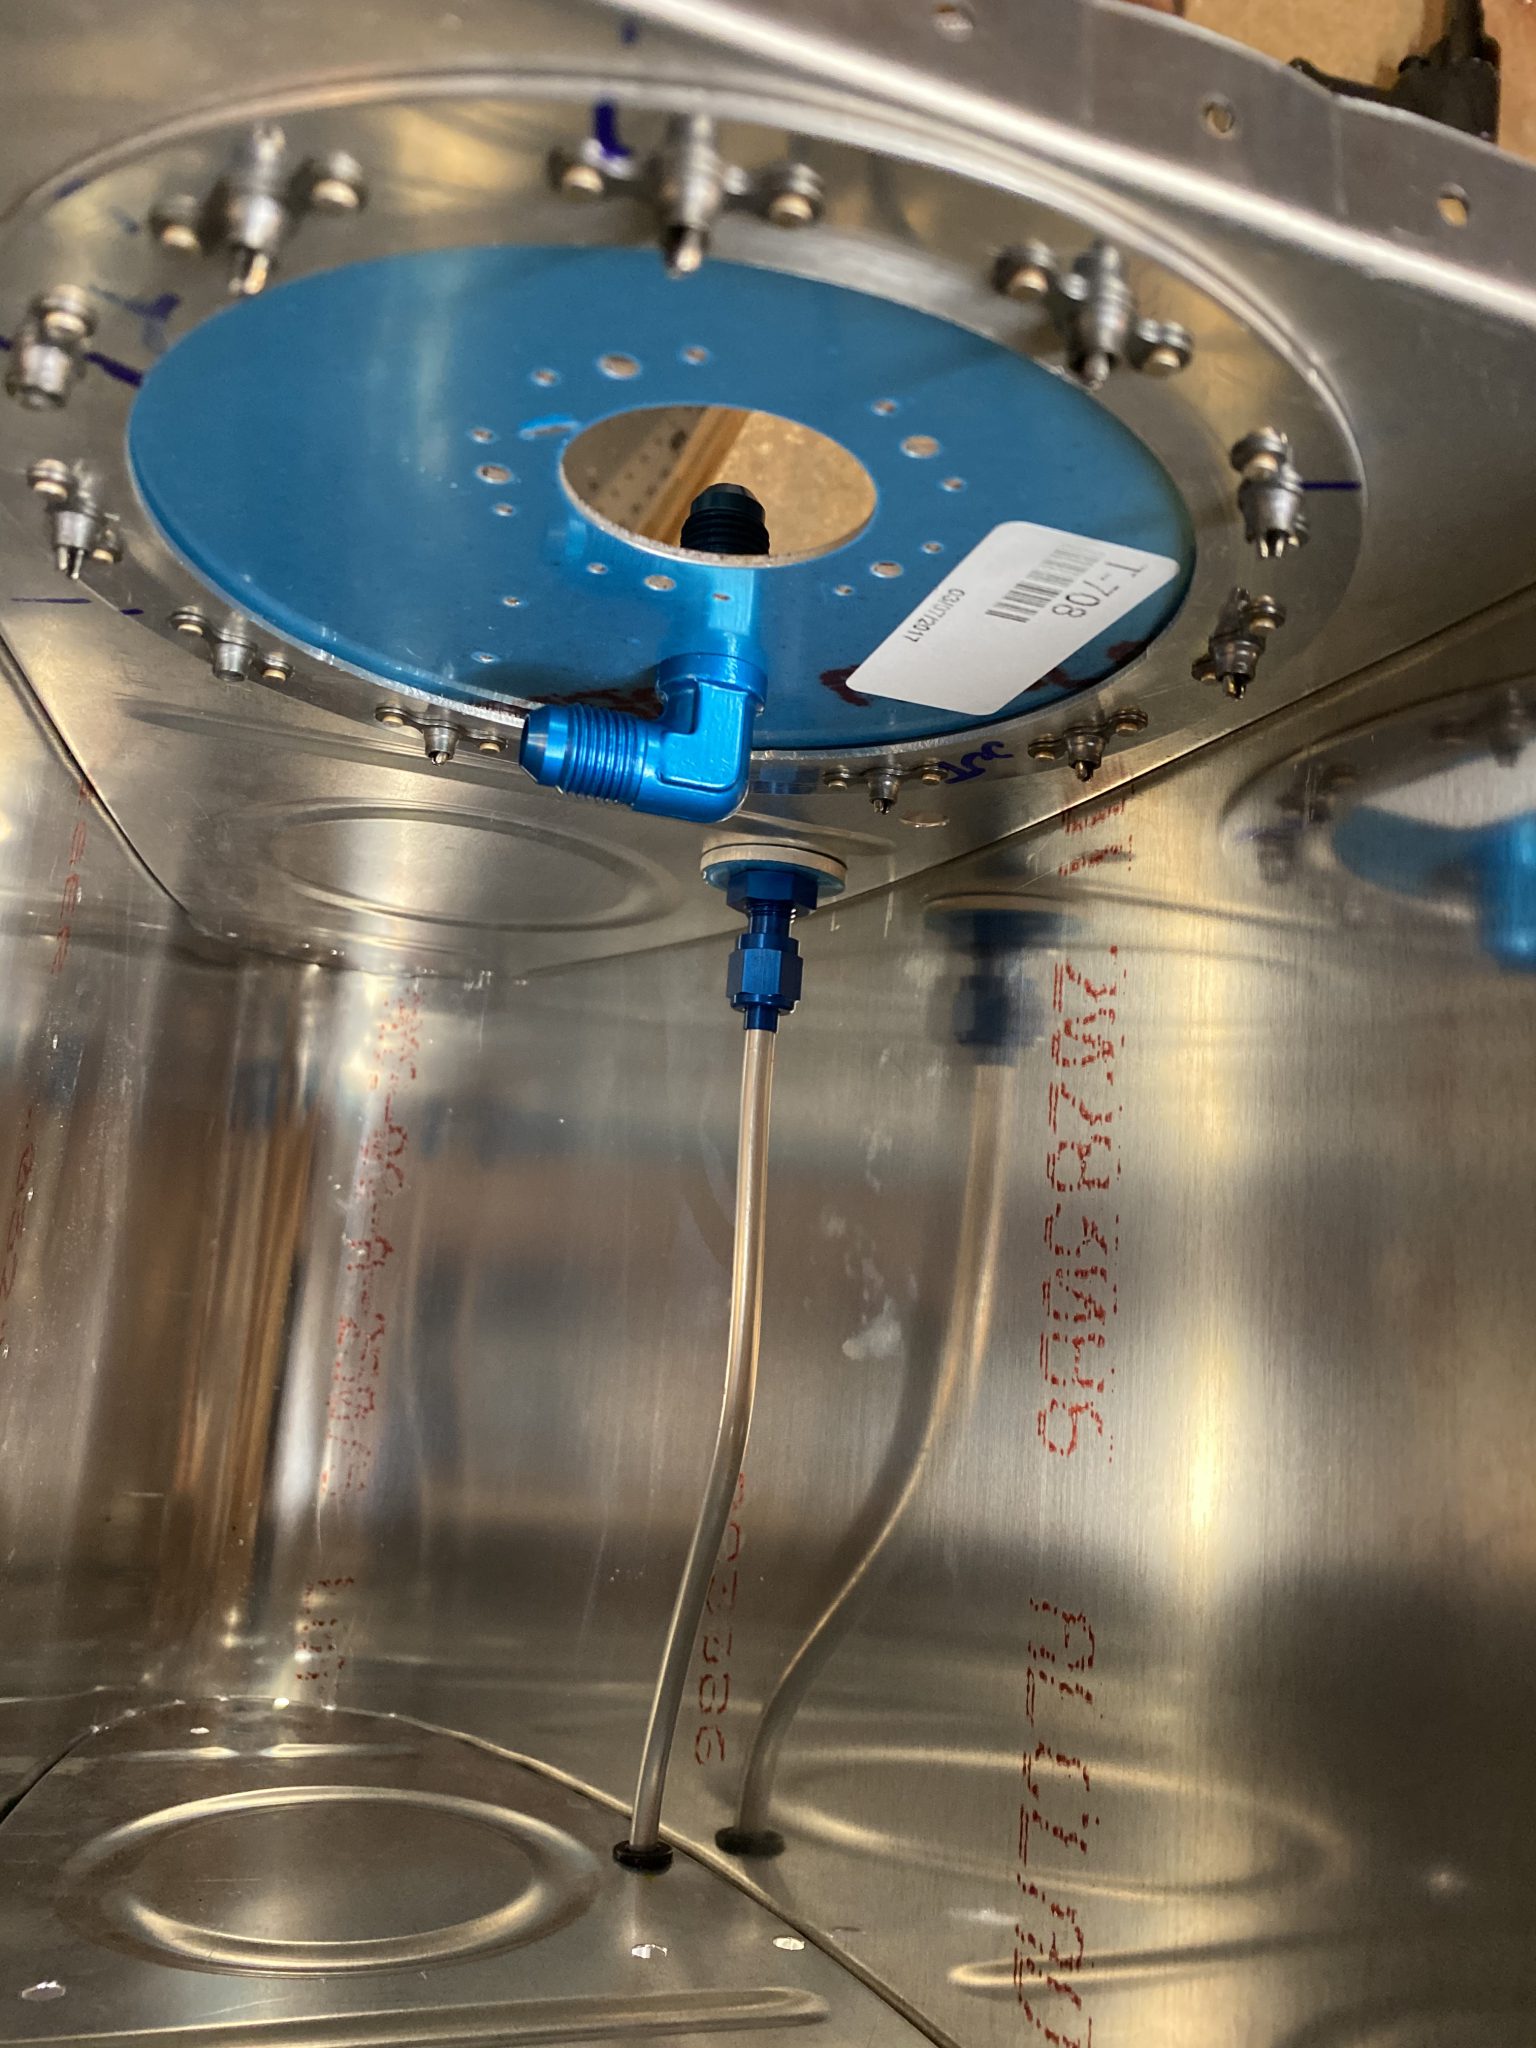
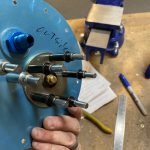
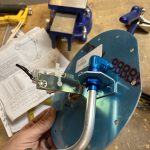
https://www.varesewedding.com/wedding-venues/tuscany-wedding-venues/ Then I put all the ribs back on the tank, and did my first official test fit. I only went finger tight on the fittings just to see if the alignment and flares were good, and I am pretty stoked about how nice it looks in the tank!
https://colvetmiranda.org/enlaces/ 
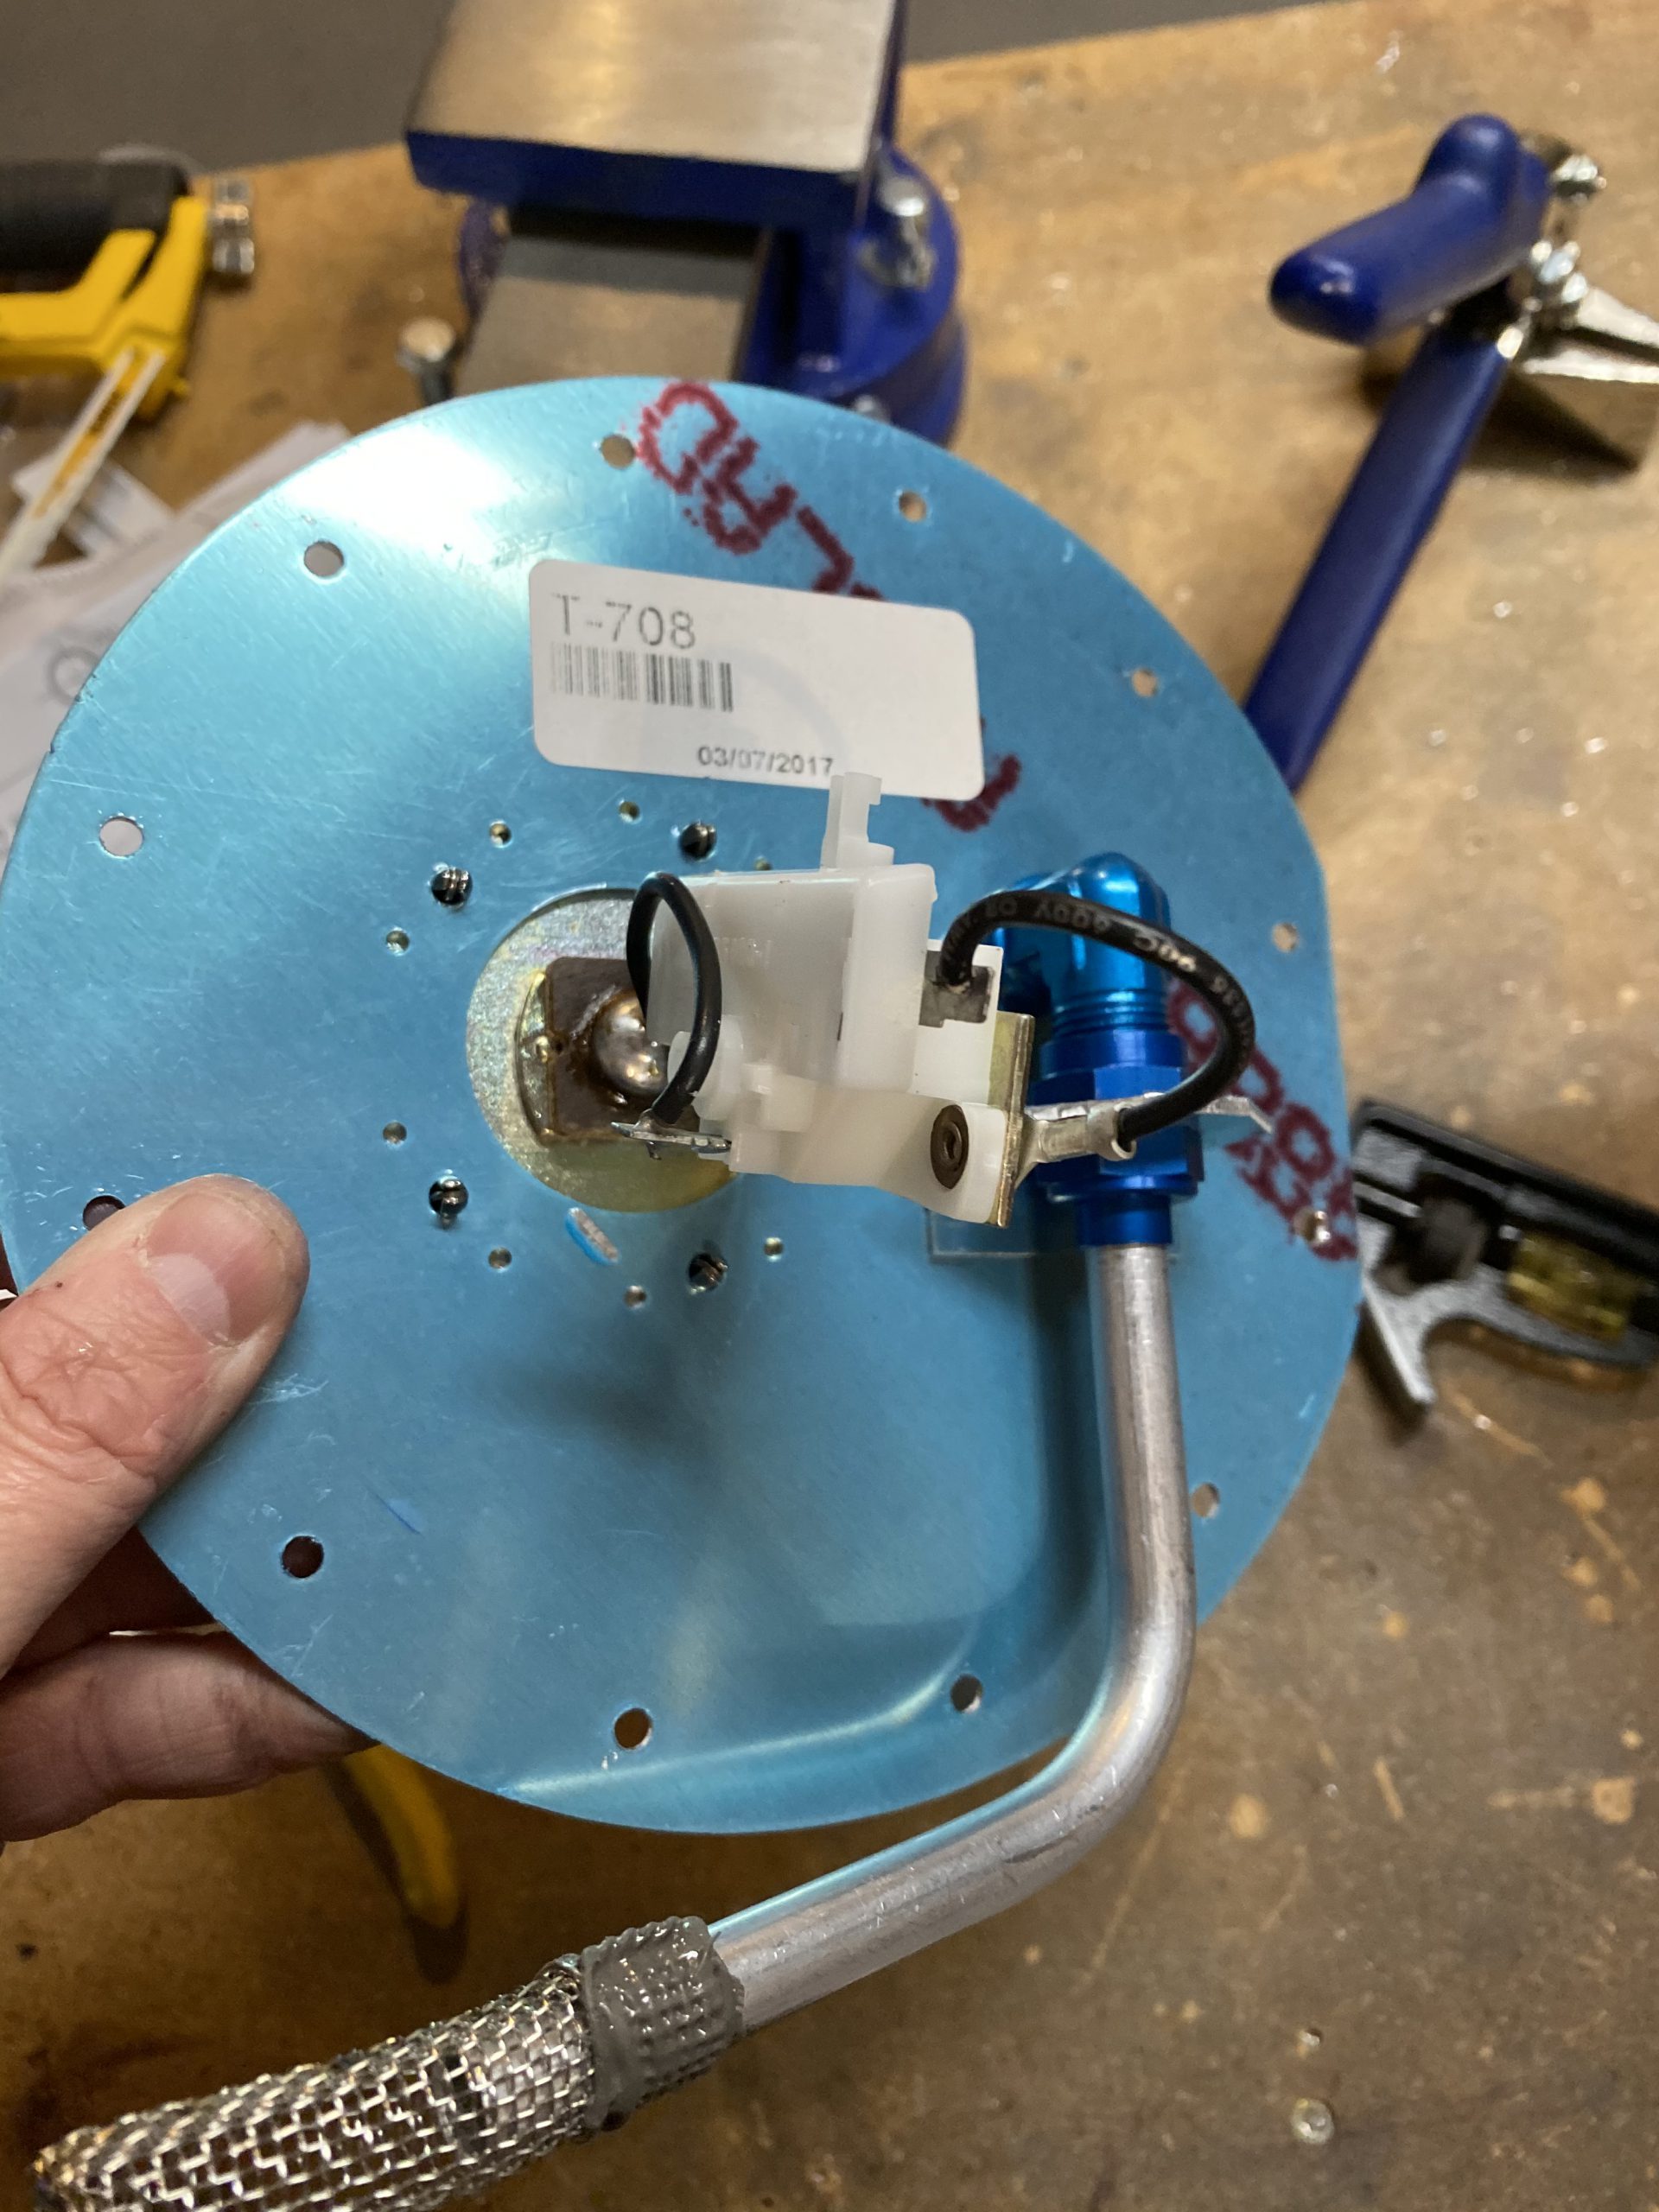
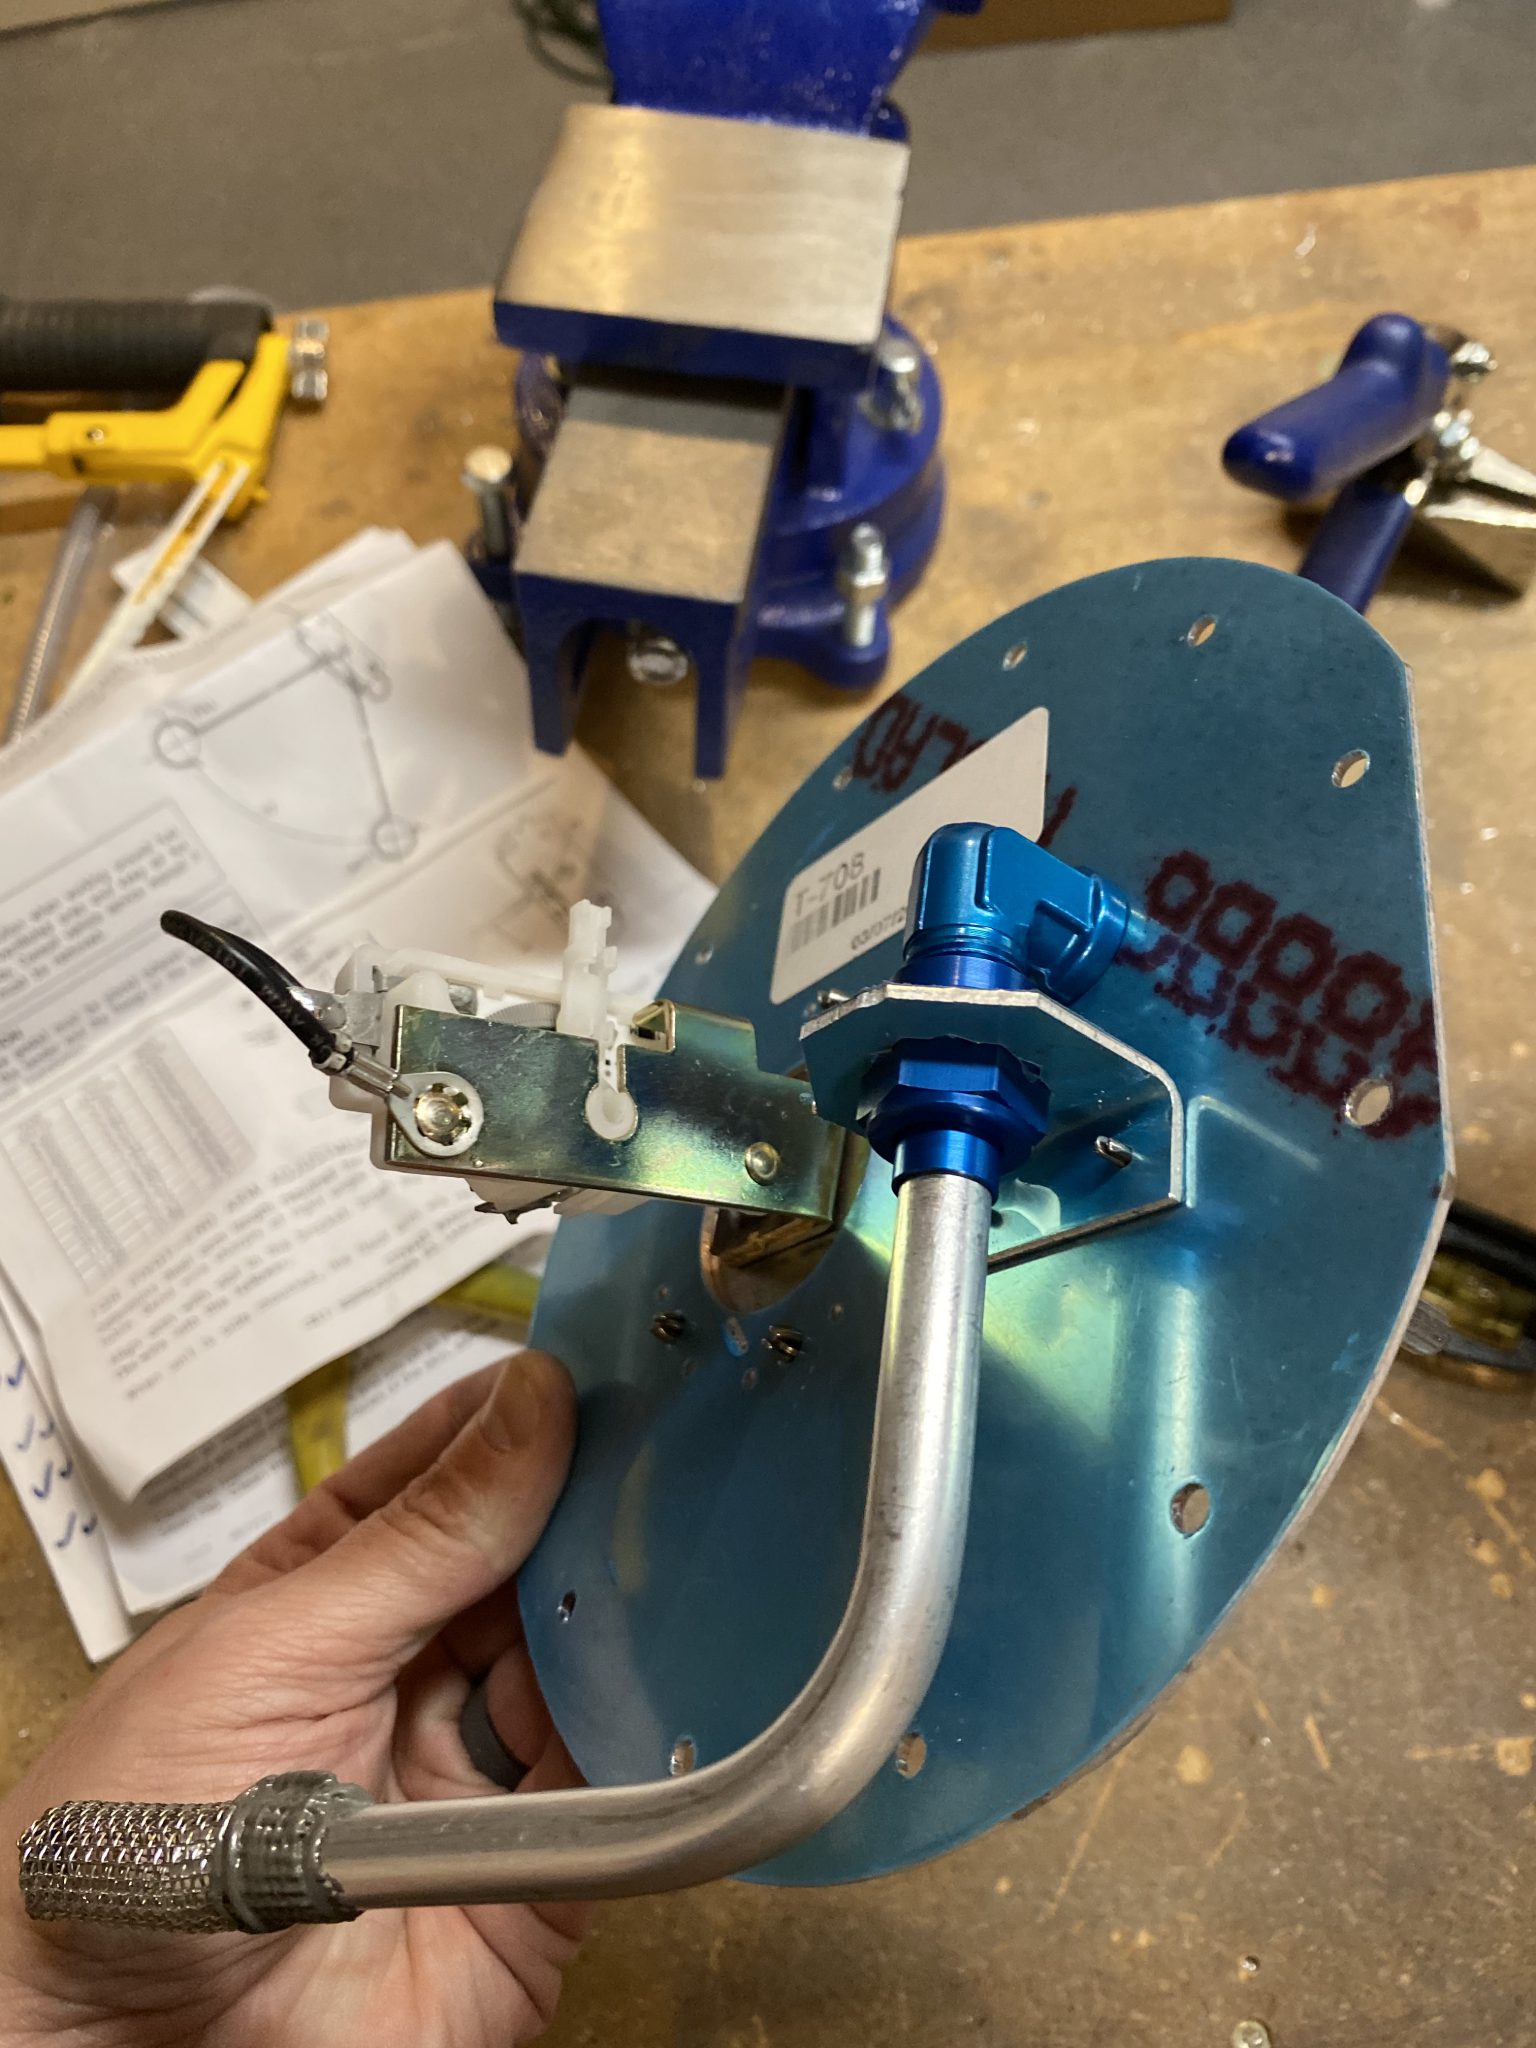
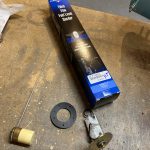
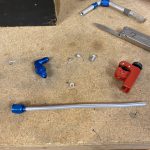
Zolpidem Buy Online The next thing I wanted to tackle was fitting the resistive float style senders. Since I don’t have flop tube in the right tank, I can use the traditional method of installing the sender as outlined in the Vans plans. So I pulled the sender from the shelf, making sure I had the proper one, as there are two different senders and they are specific to each wing. After double checking against the plans, I grabbed the F-385C sender. This is what comes in the box.
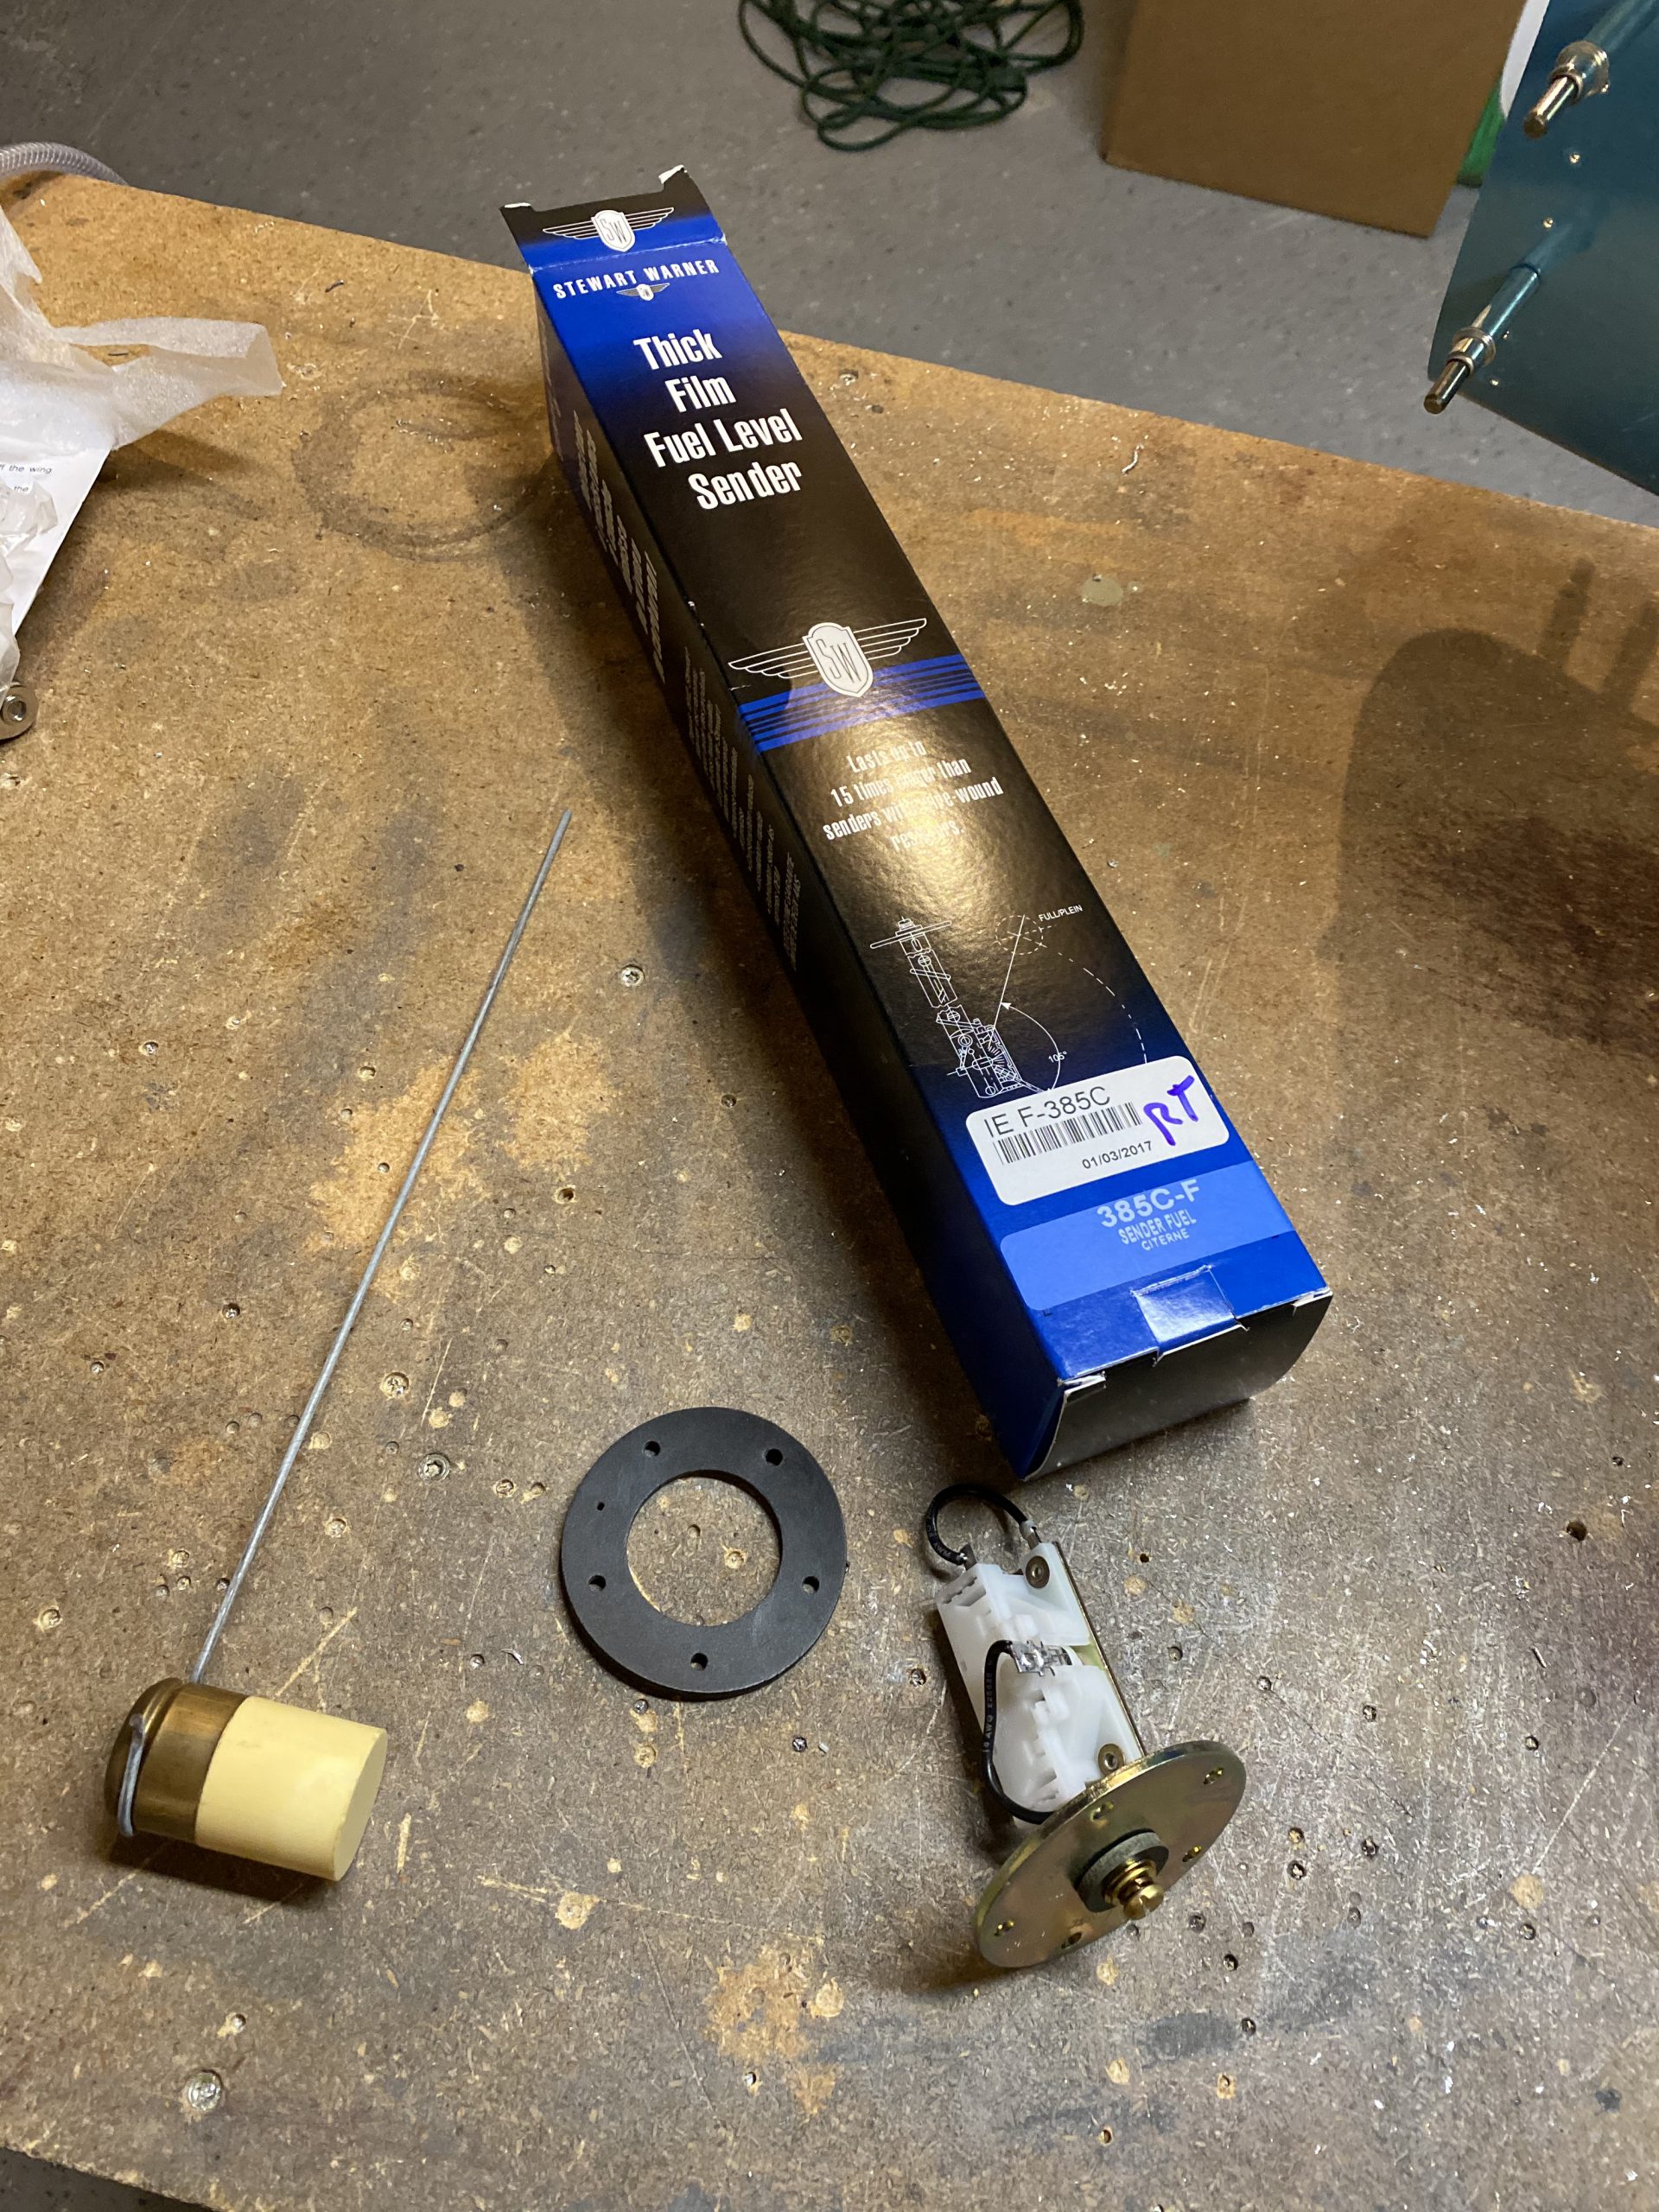
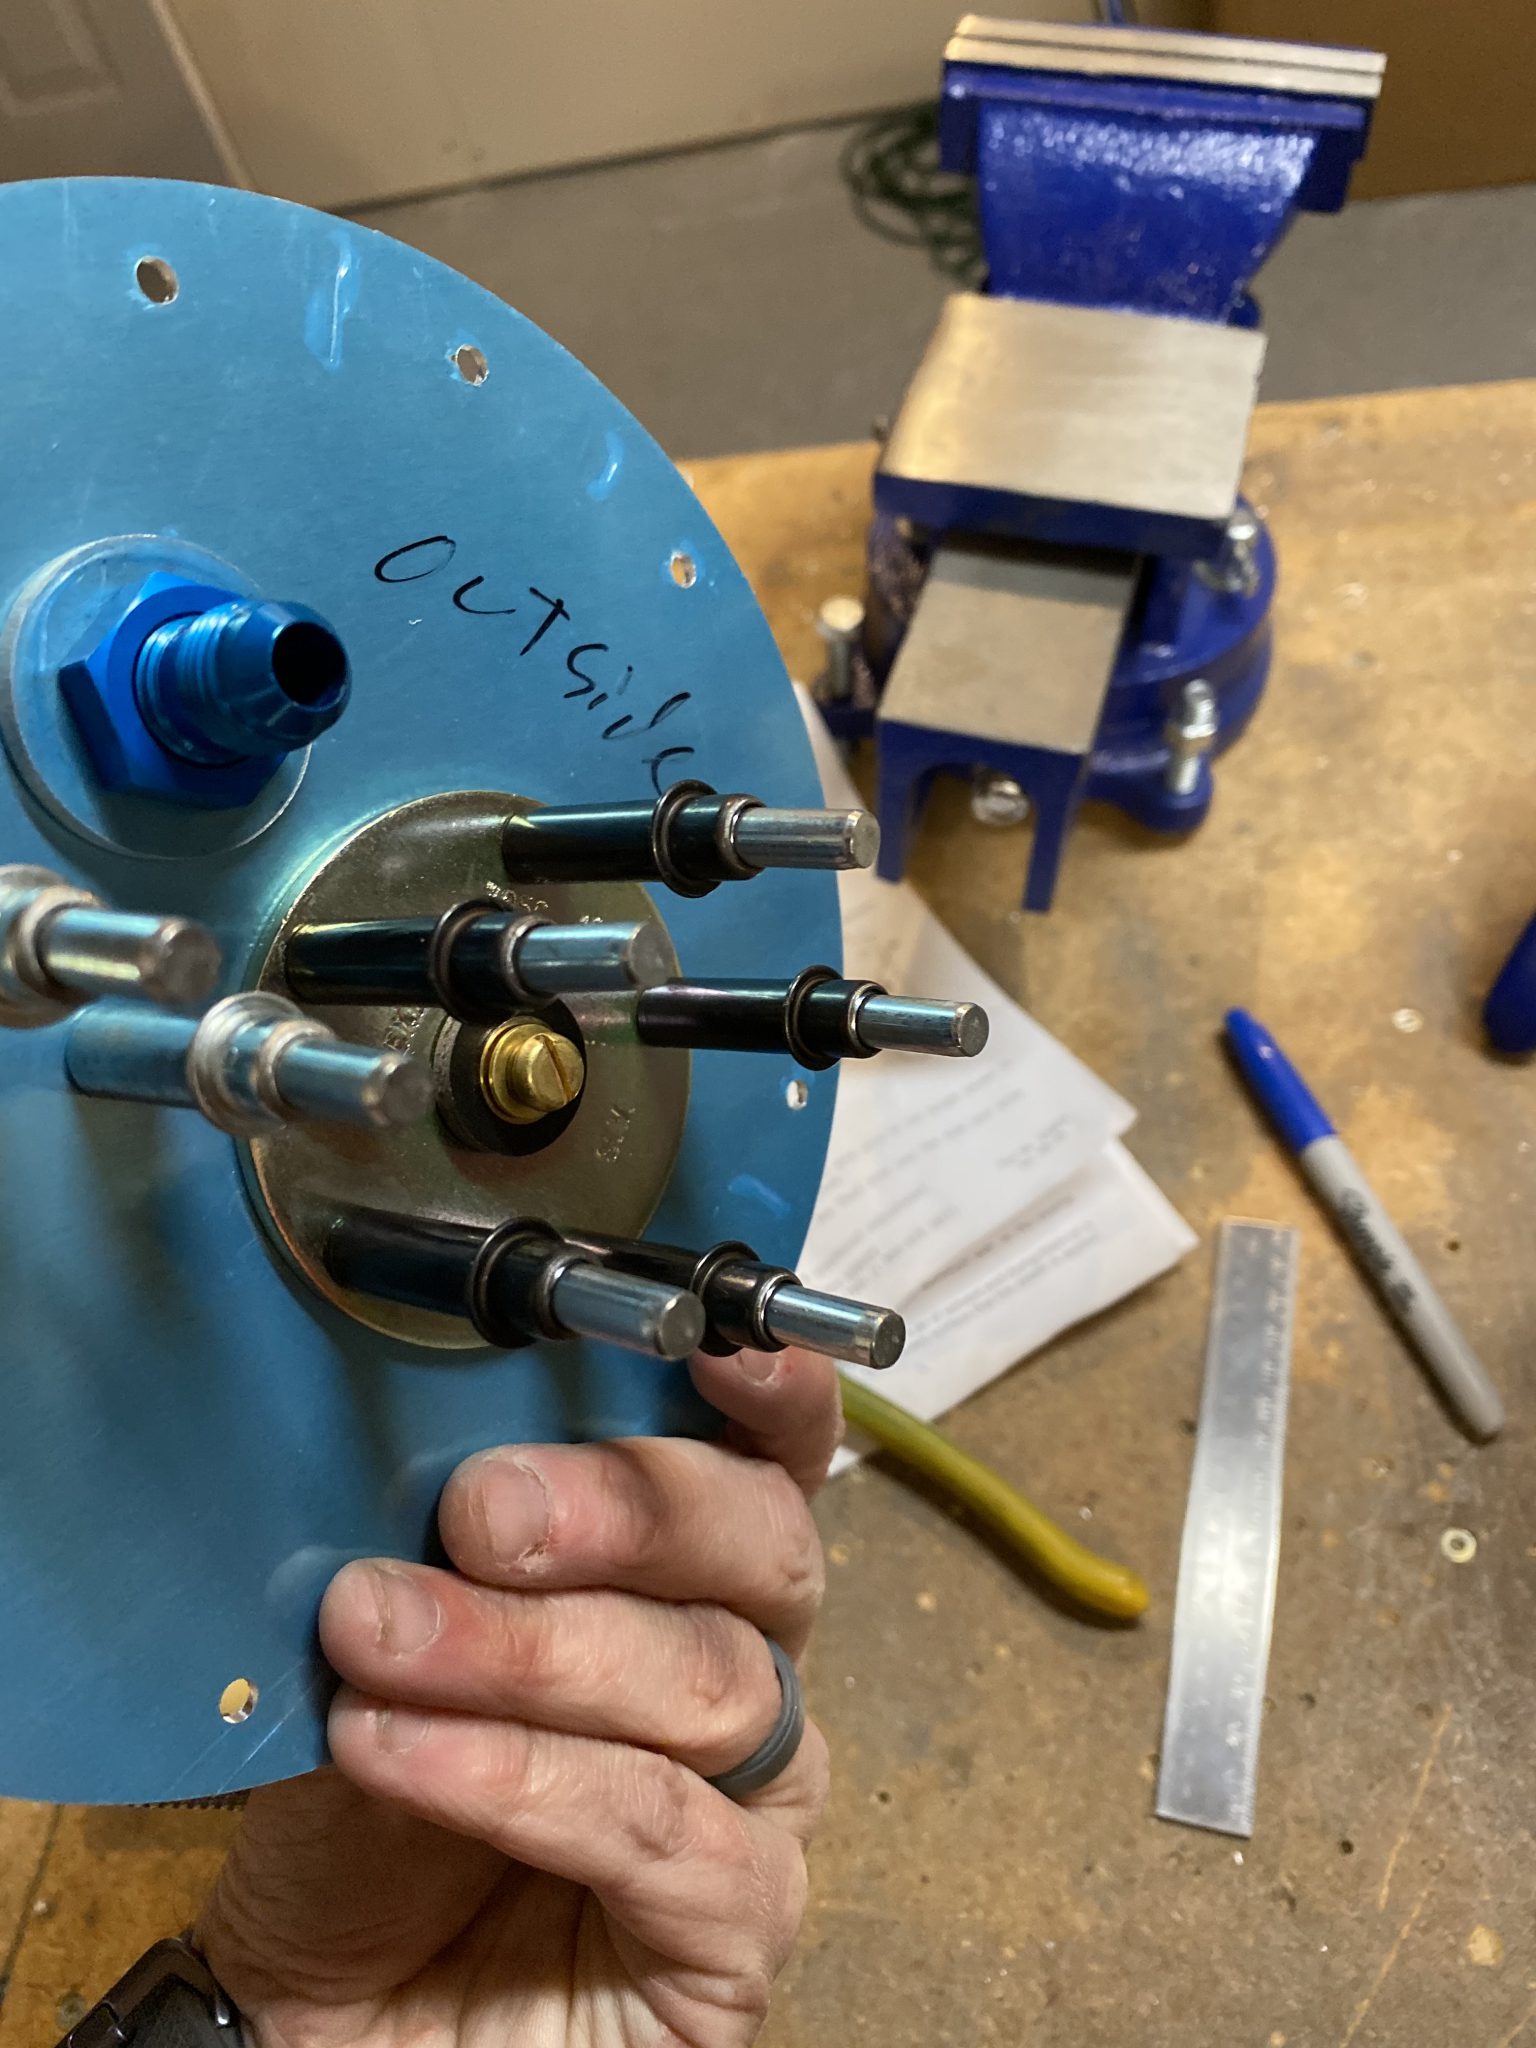
Buy Zanaflex Online Without Prescription Notice the float arm is straight. We need to bend it per the plans with a 3″ arm, then a 90′ degree bend with another 3″ section. Like this:
https://auracareclinic.com/dental-crowns/ 
Buy Amoxicillin Online Without Prescription Heres the kicker! The plans don’t tell you that you need to bend another 90 degree turn that slots into the sender body to hold the arm! I would not have caught that but I was reading the instructions that came with the sender and noticed that we need a 0.6″ bend to slot in the body. So, I measured things up, and made the bends. This is how it came out. Notice the little bend at the end of the float arm! I did have to trim the excess off with a hacksaw and then ground the end down nice and smooth.


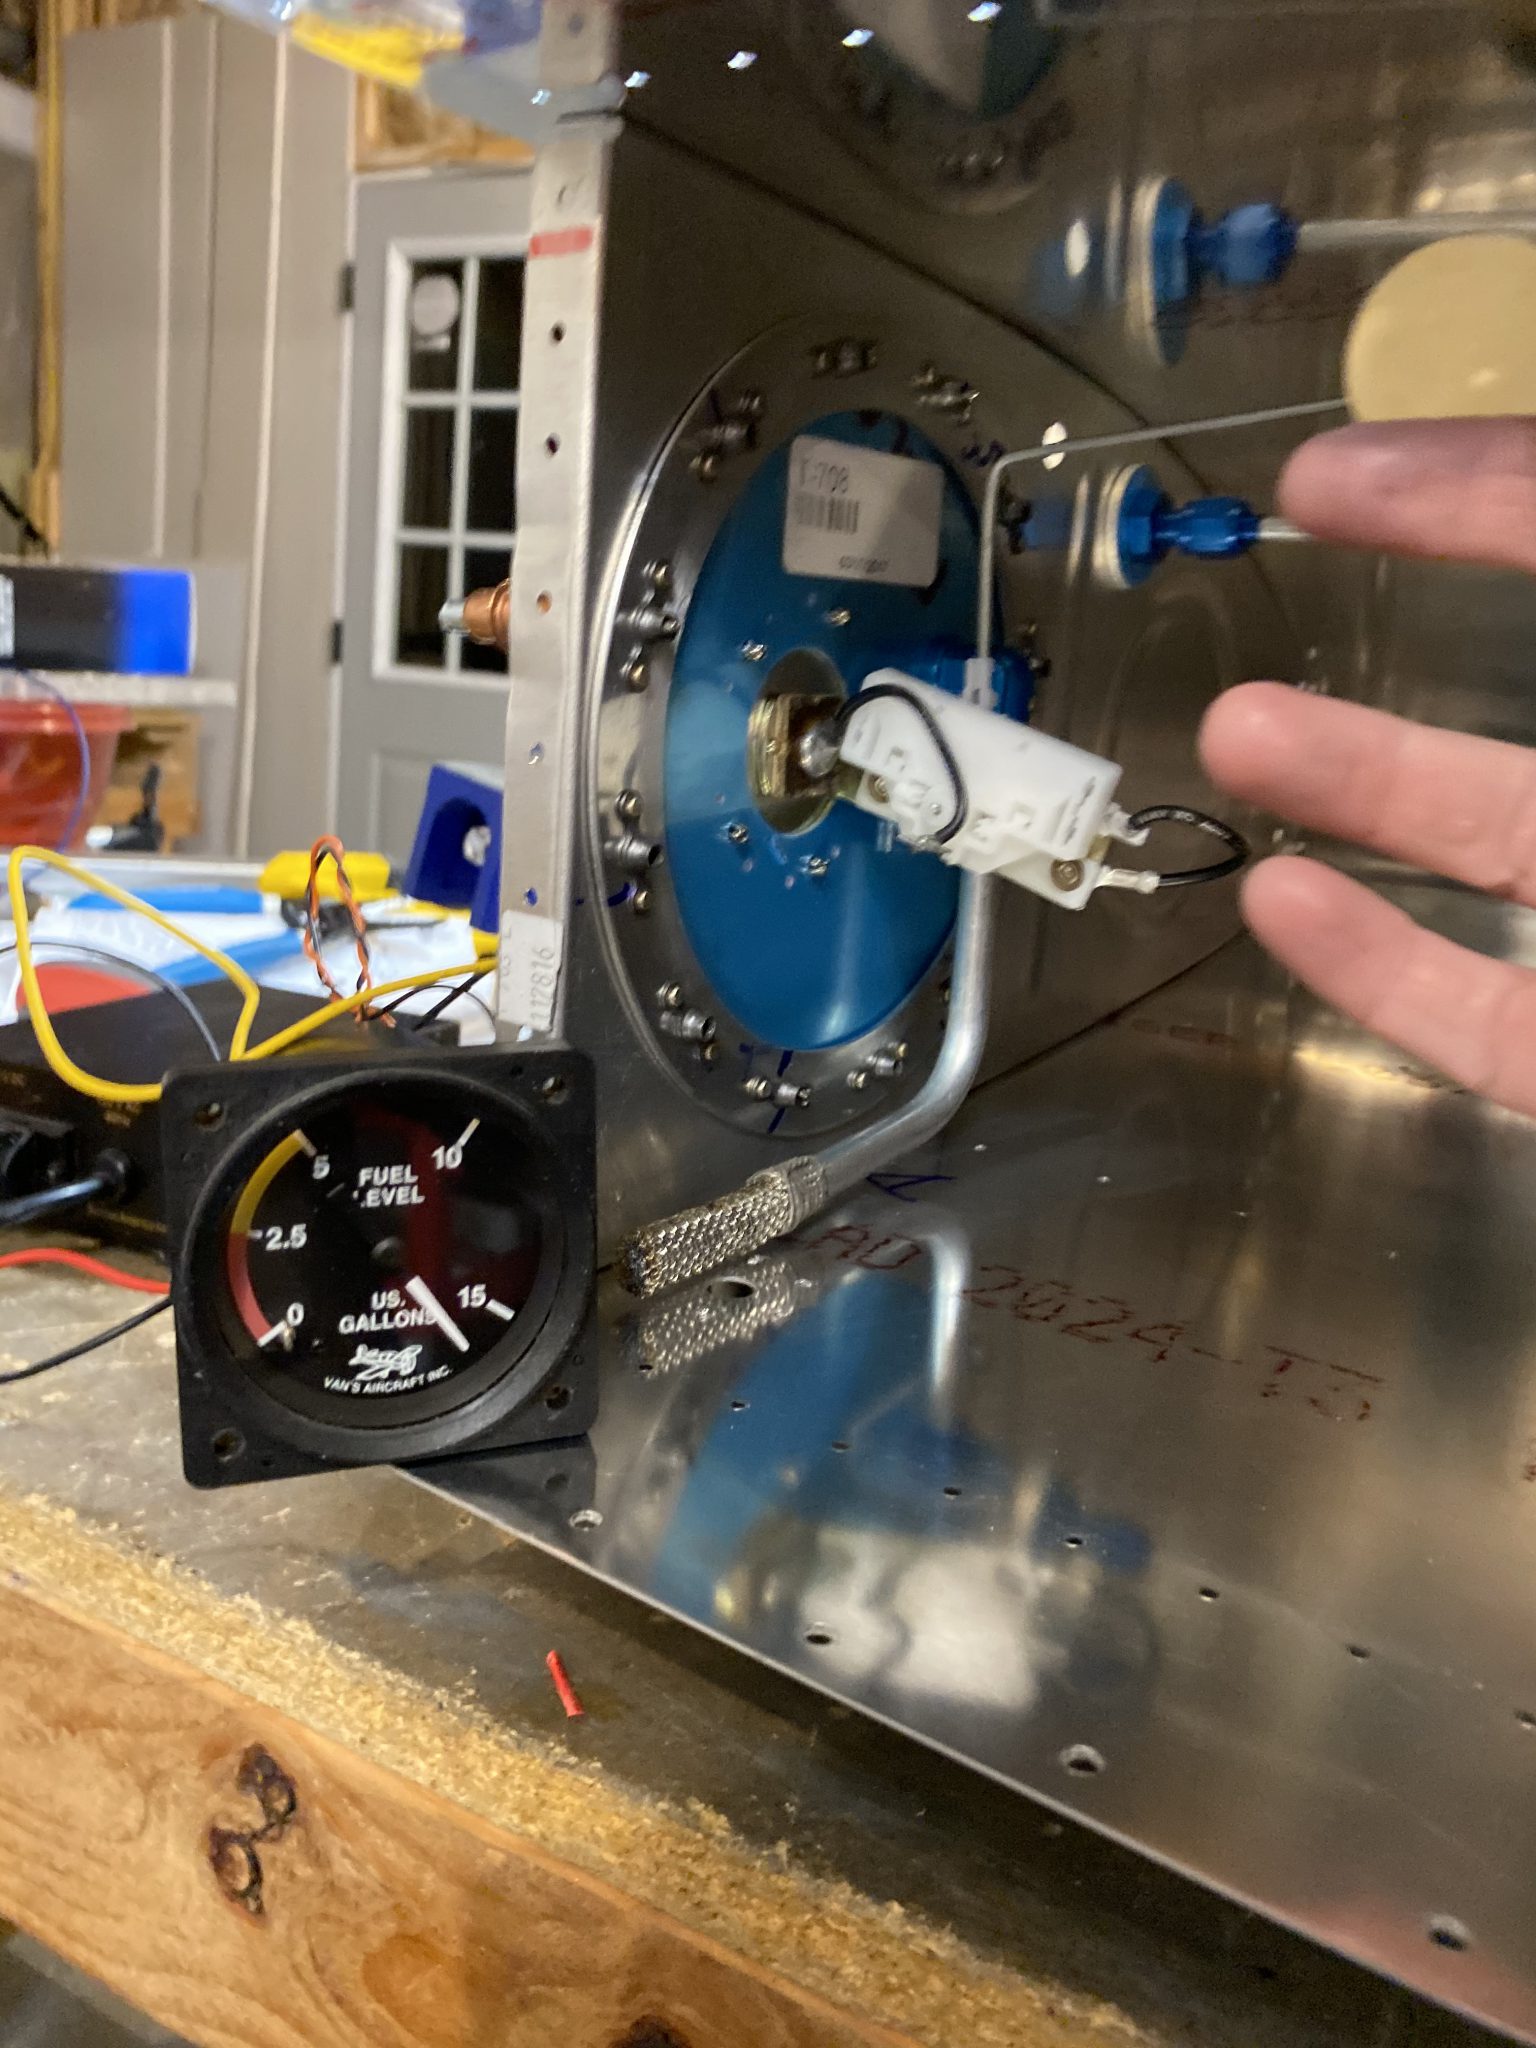
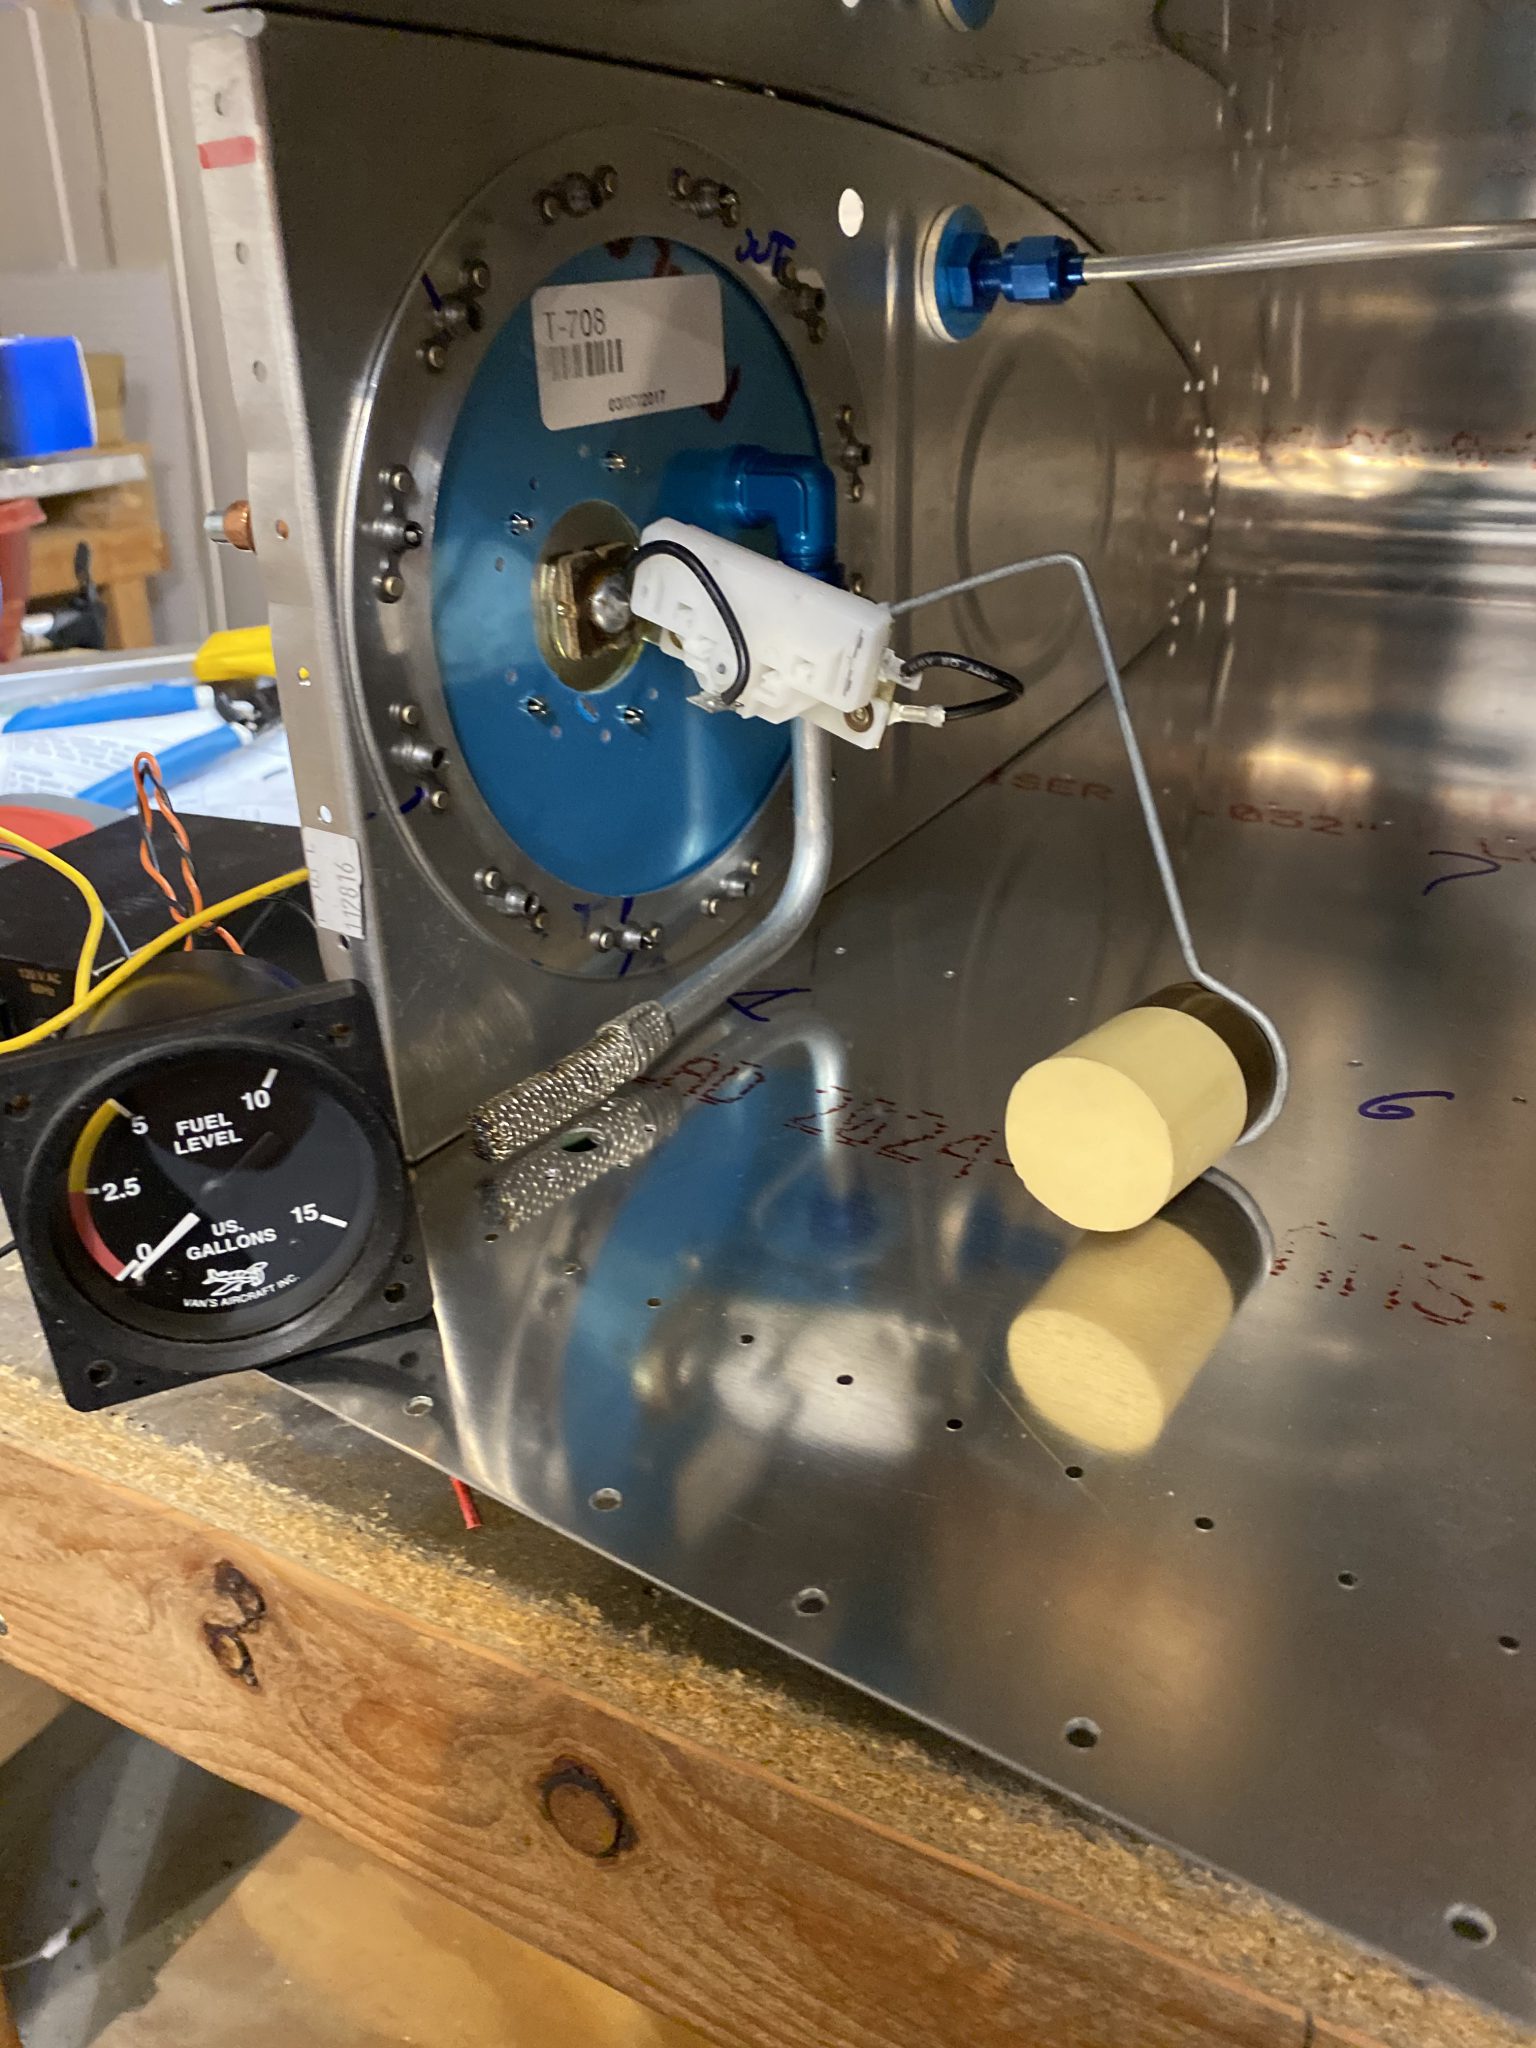
source site Once I had the arm bent into shape, I clecoed the sending unit onto the tank access plate, and then inserted the arm to make sure it cleared everything. I did have to bend it a little this way and that to get the float to work like I wanted but eventually after some gently bending I managed to get the float to rest just above the tank bottom, with it traveling all the way to the top almost touching the top skin. Then I hooked up a Vans fuel level gauge I bought from another builder so I could make sure it worked OK.
https://www.fogliandpartners.com/giuliano-foglia/ 

Tramadol For Sale Online Here’s a video of it working. Forgive me, I shot this with my iPhone while I was trying to hold it and work the fuel sender as well.
Buy Amoxicillin Online Without Prescription After I tested the fuel sender, I called it a night. Tammy had dinner cooking and it was making the whole house smell AMAZING, even down in the shop. I was getting to hungry to push on any further for the night! But, this essentially finished up the actual fitting portion of the tanks. I do still need to install the float sender in the left tank, but due to its flop tube, I will need to put the float sender on the baffle, and I may wait until I have some prosealing done before doing that work.
-
 IMG_1010
 -
 IMG_1009
 -
 IMG_1008
 -
 IMG_1007
 -
 IMG_1006
 -
 IMG_1005
 -
 IMG_1004
 -
 IMG_1003
 -
 IMG_1002
 -
 IMG_1001
 -
 IMG_0999
 -
 IMG_0998
 -
 IMG_0997
 -
 IMG_0996
 -
 IMG_0995
 -
 IMG_0994
 -
 IMG_0993


go to link Google Photos Link: https://photos.app.goo.gl/Zb3cMxNkRWSwhdjJ6
click Hours Worked: 2.0