


go here After grabbing a bite to eat after finishing up the wing skins, I came back down and decided to rivet together the aileron brackets. In the last session with these things, I alodined all the parts and sprayed primer on the angle brackets mating surfaces. Everything is cured and ready to rivet together now. Here is the time lapse for this session. The first is the overhead:
Get Tramadol Online https://gottbs.com/chemical-products-laboratory/Buy Tramadol 100 Mg Online The second is the closeup view of my workbench:
follow urlhttps://auracareclinic.com/glutathione-gsh/
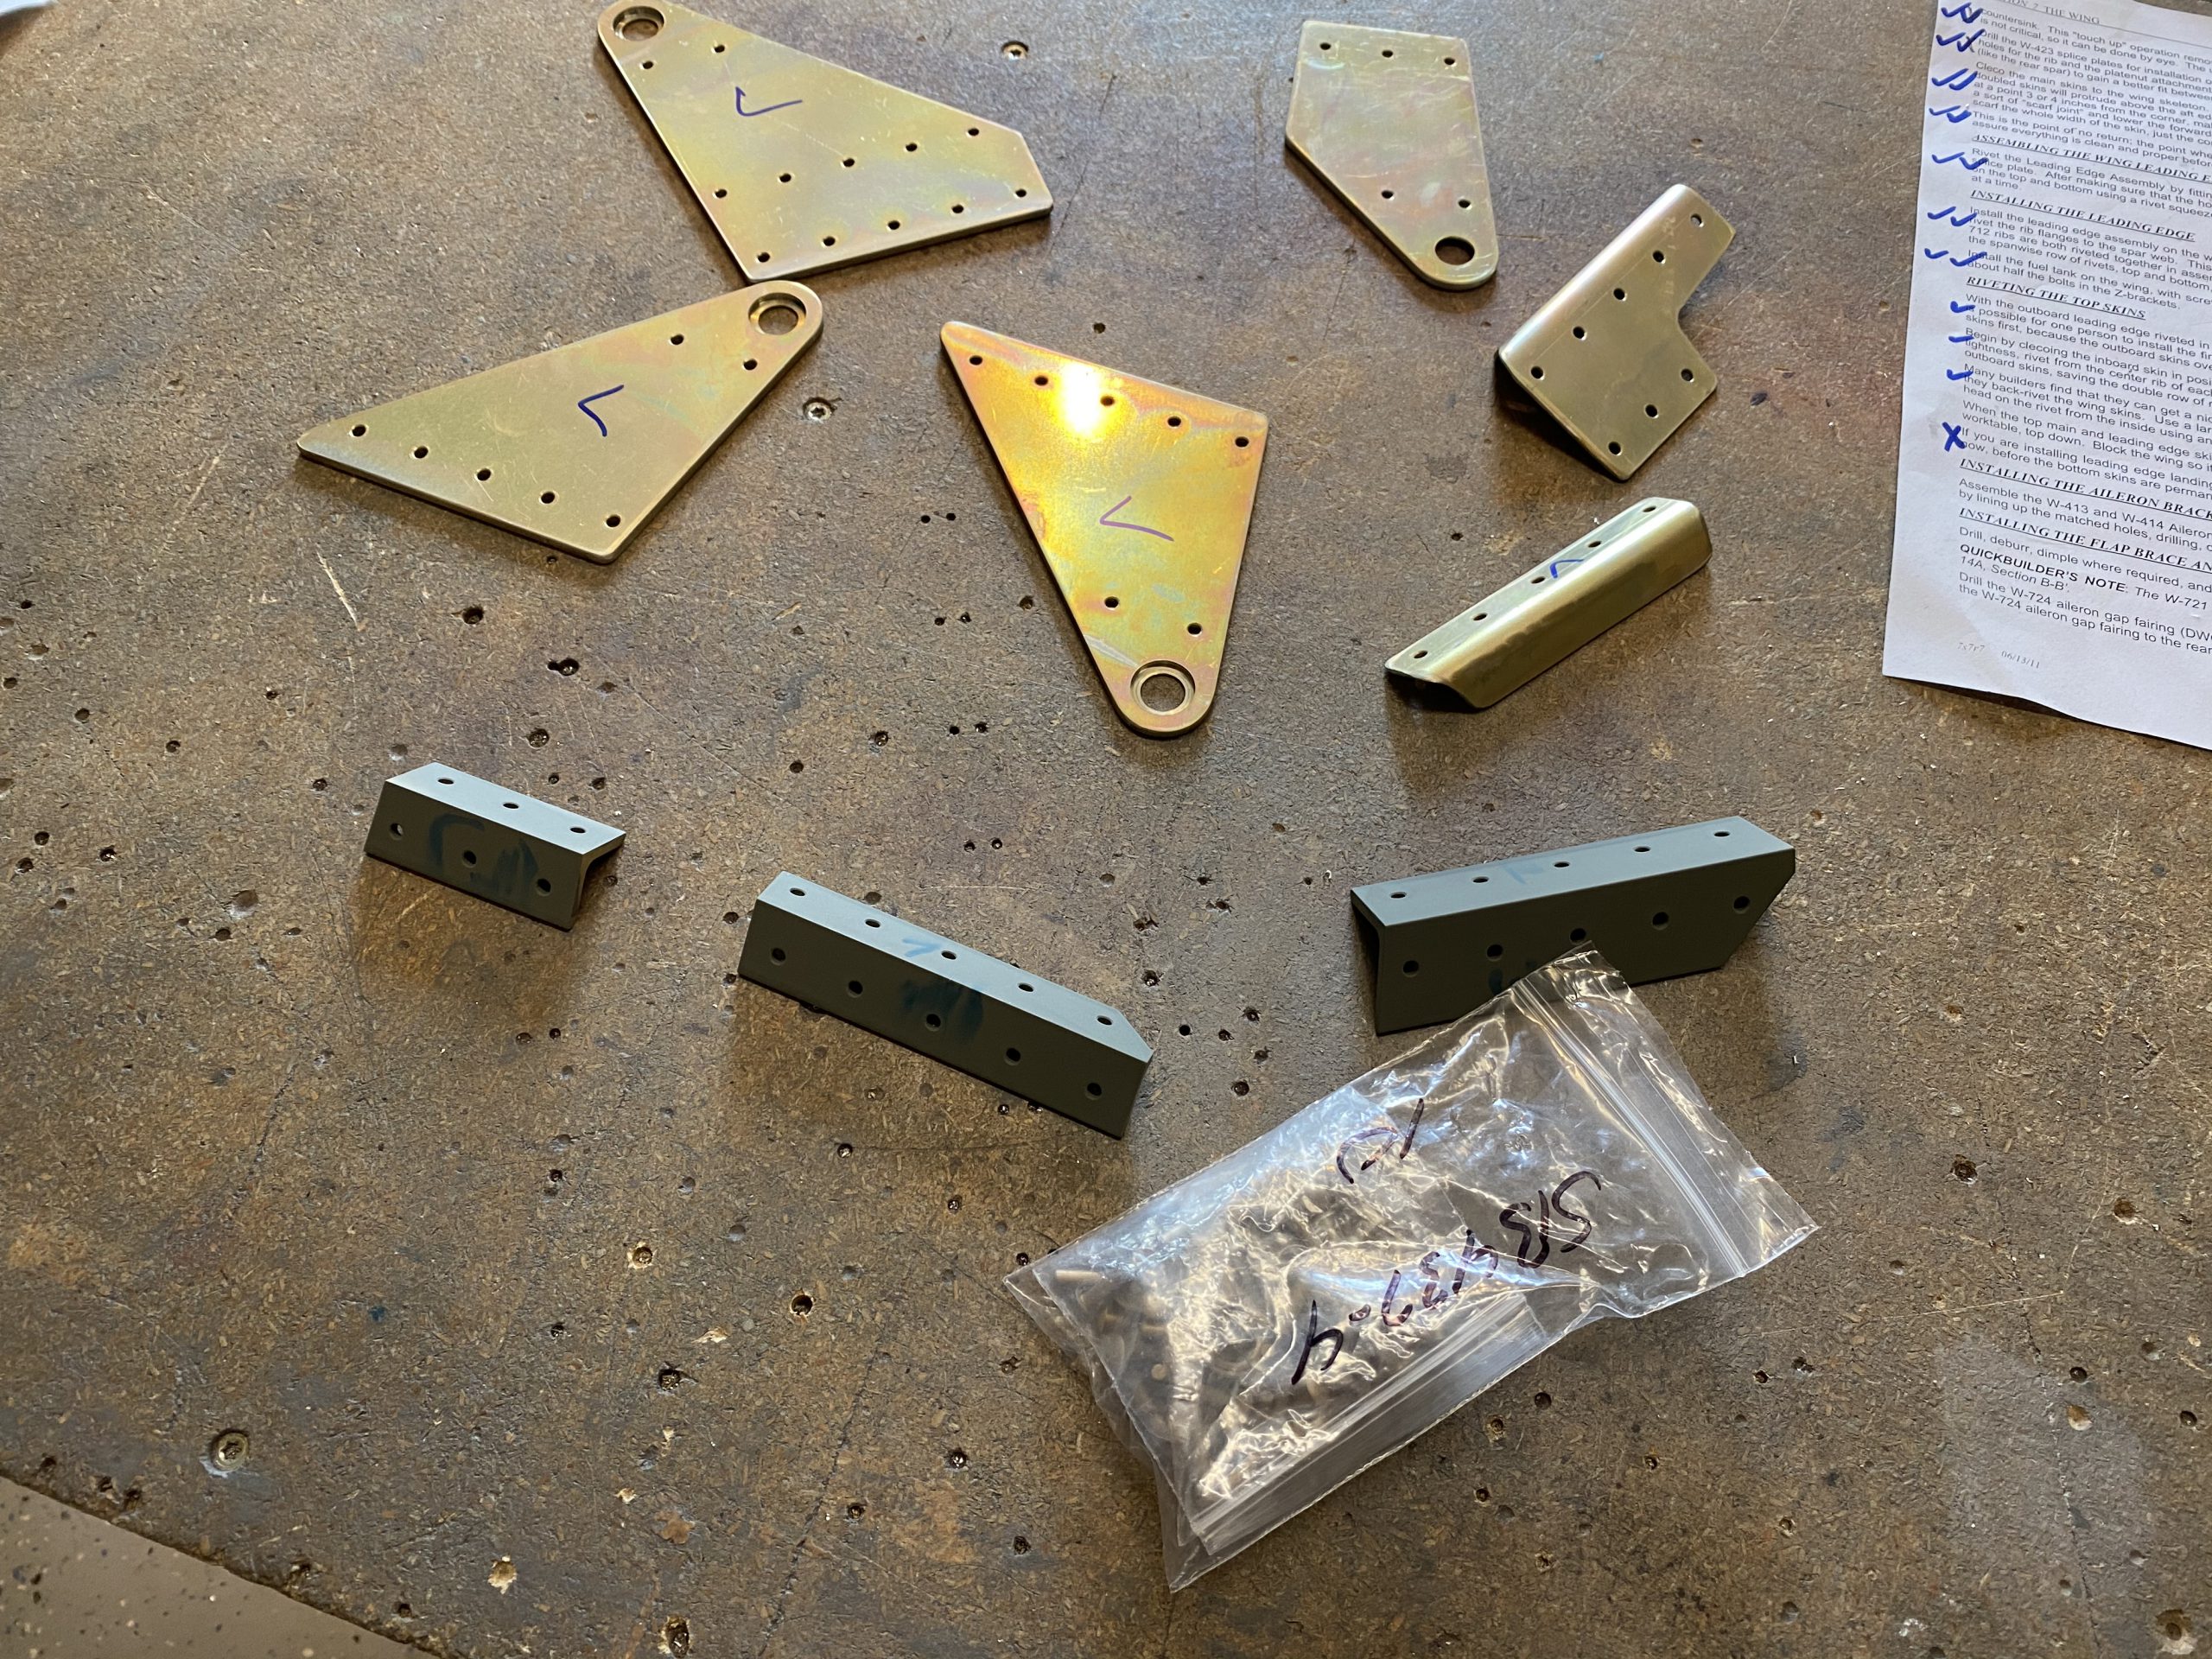
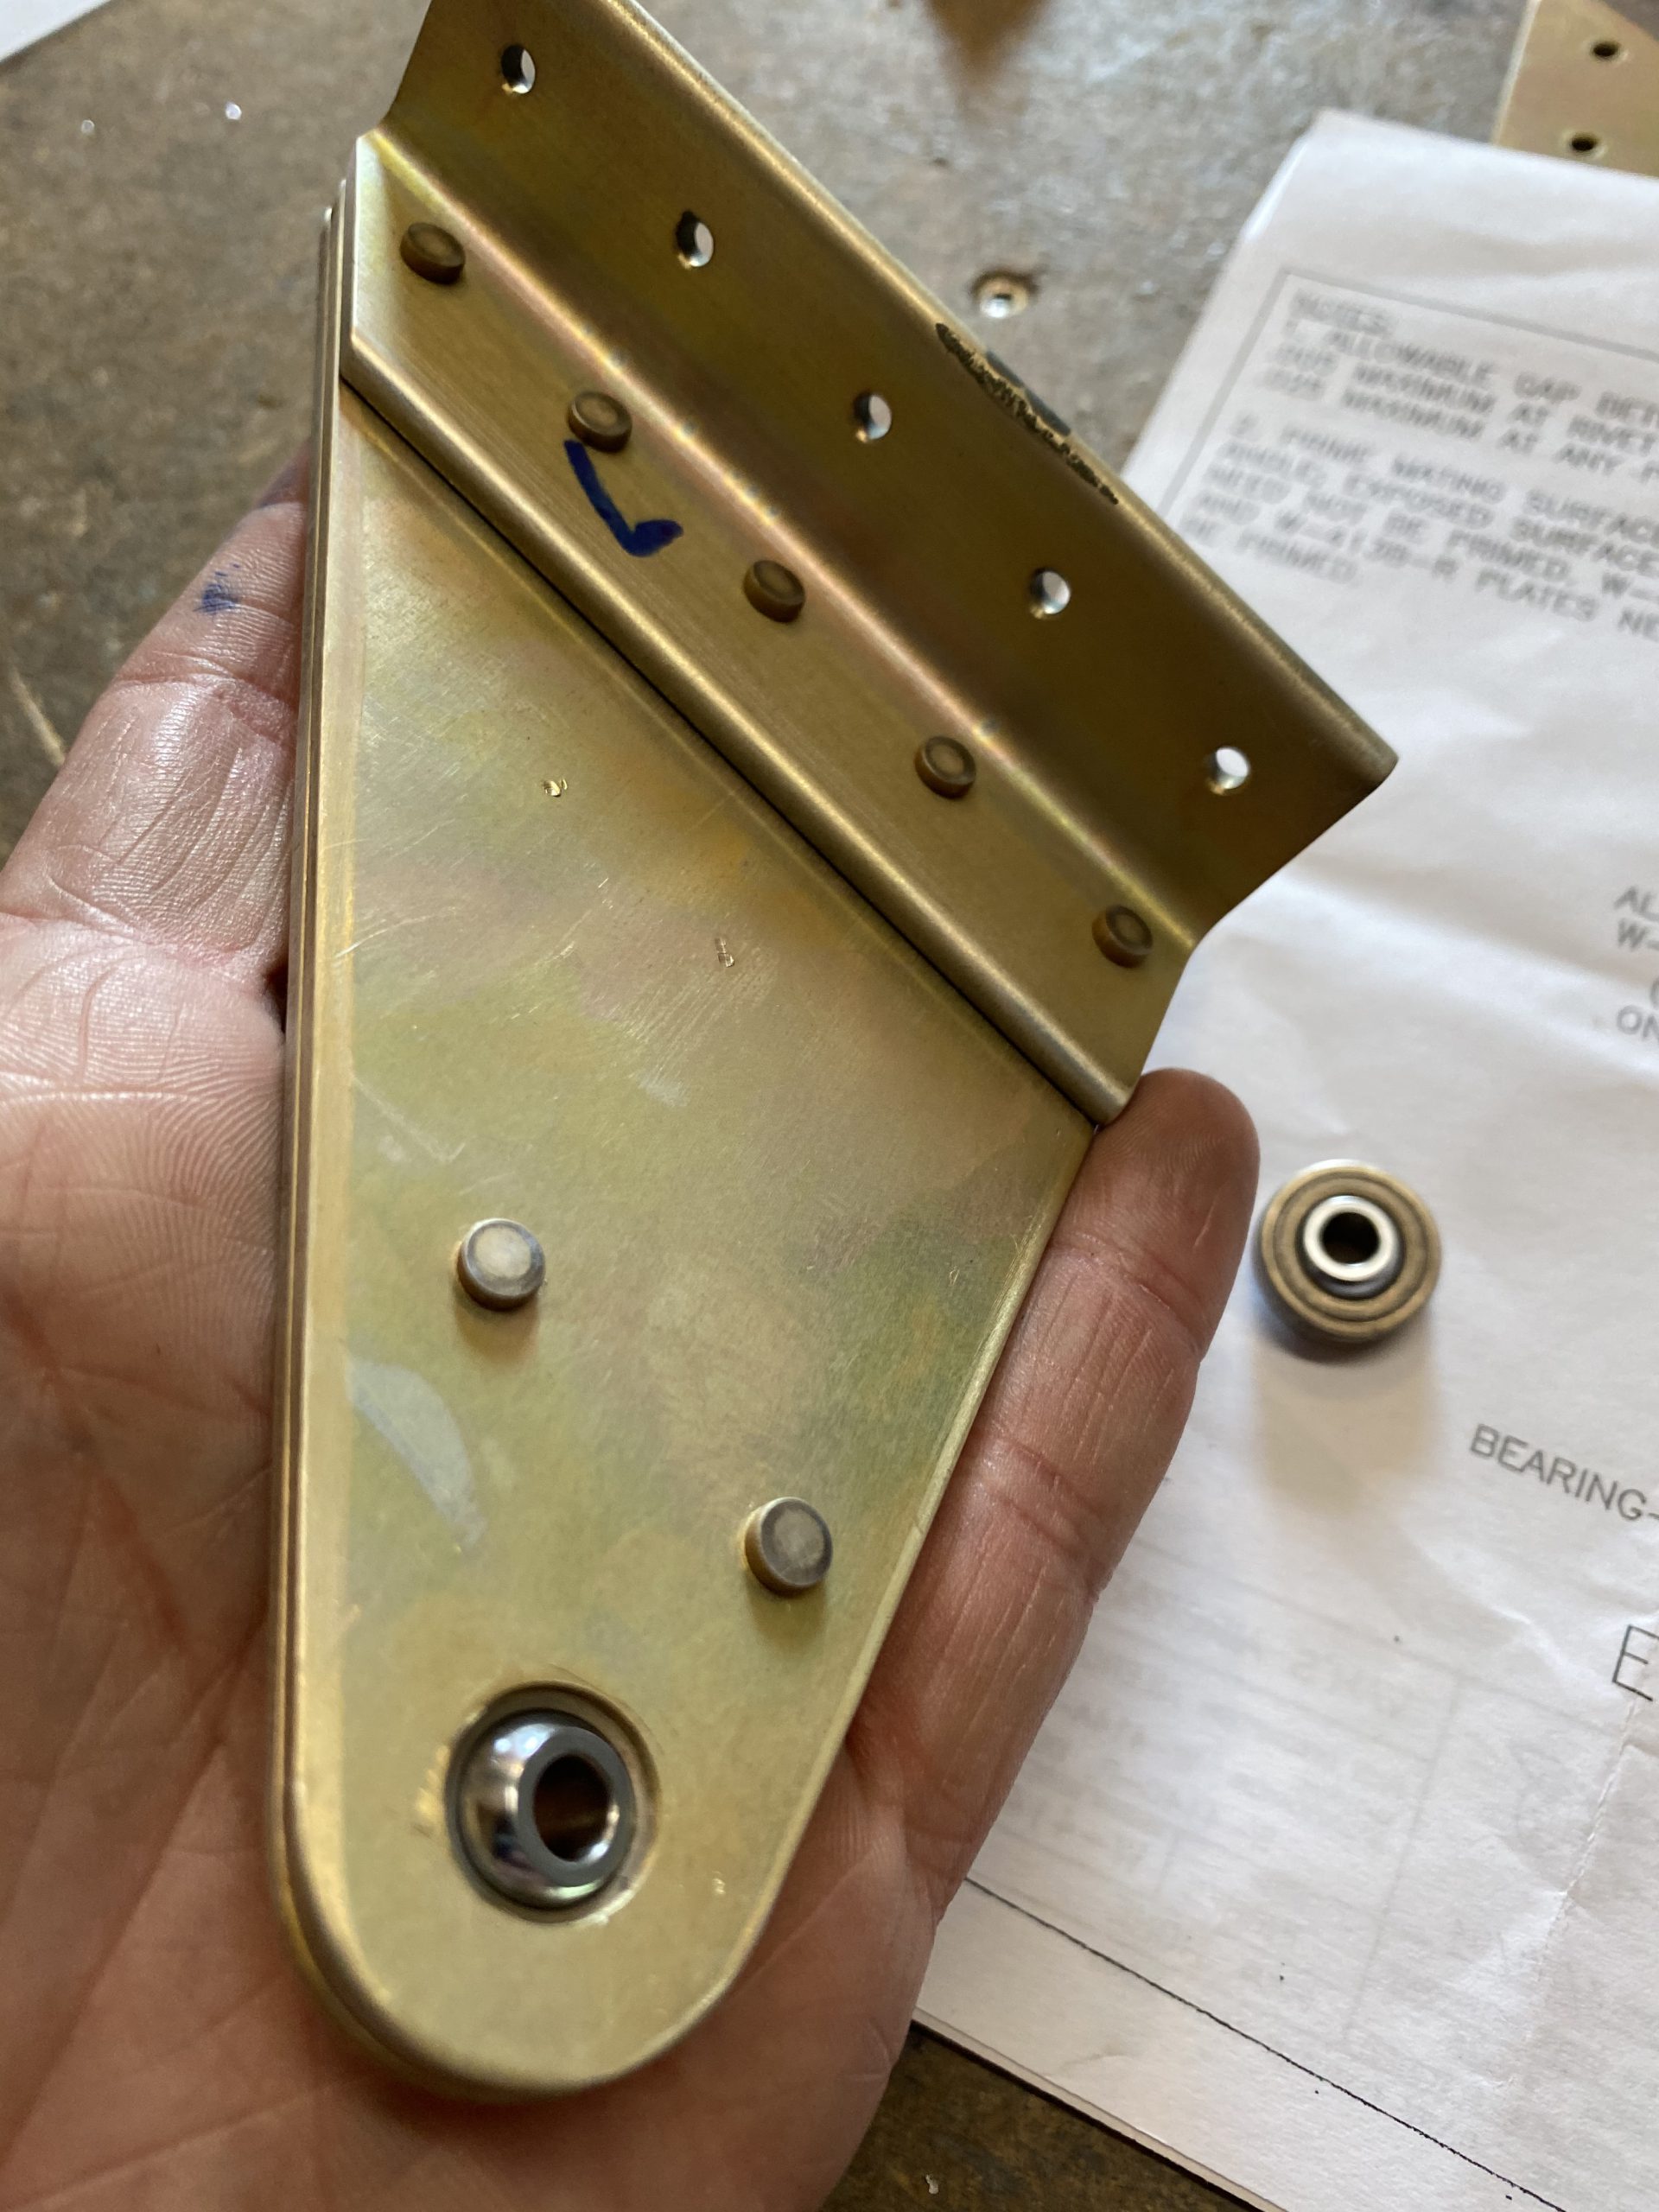
Buy Valium Online Without Prescriptionhttps://www.psychiccowgirl.com/podcast-2/ I laid out all the parts for the left wing brackets and briefed over the assembly directions and plans. There are a few rivets that need countersunk and a few different sizes, so I triple checked everything, then clecoed the outboard bracket together.
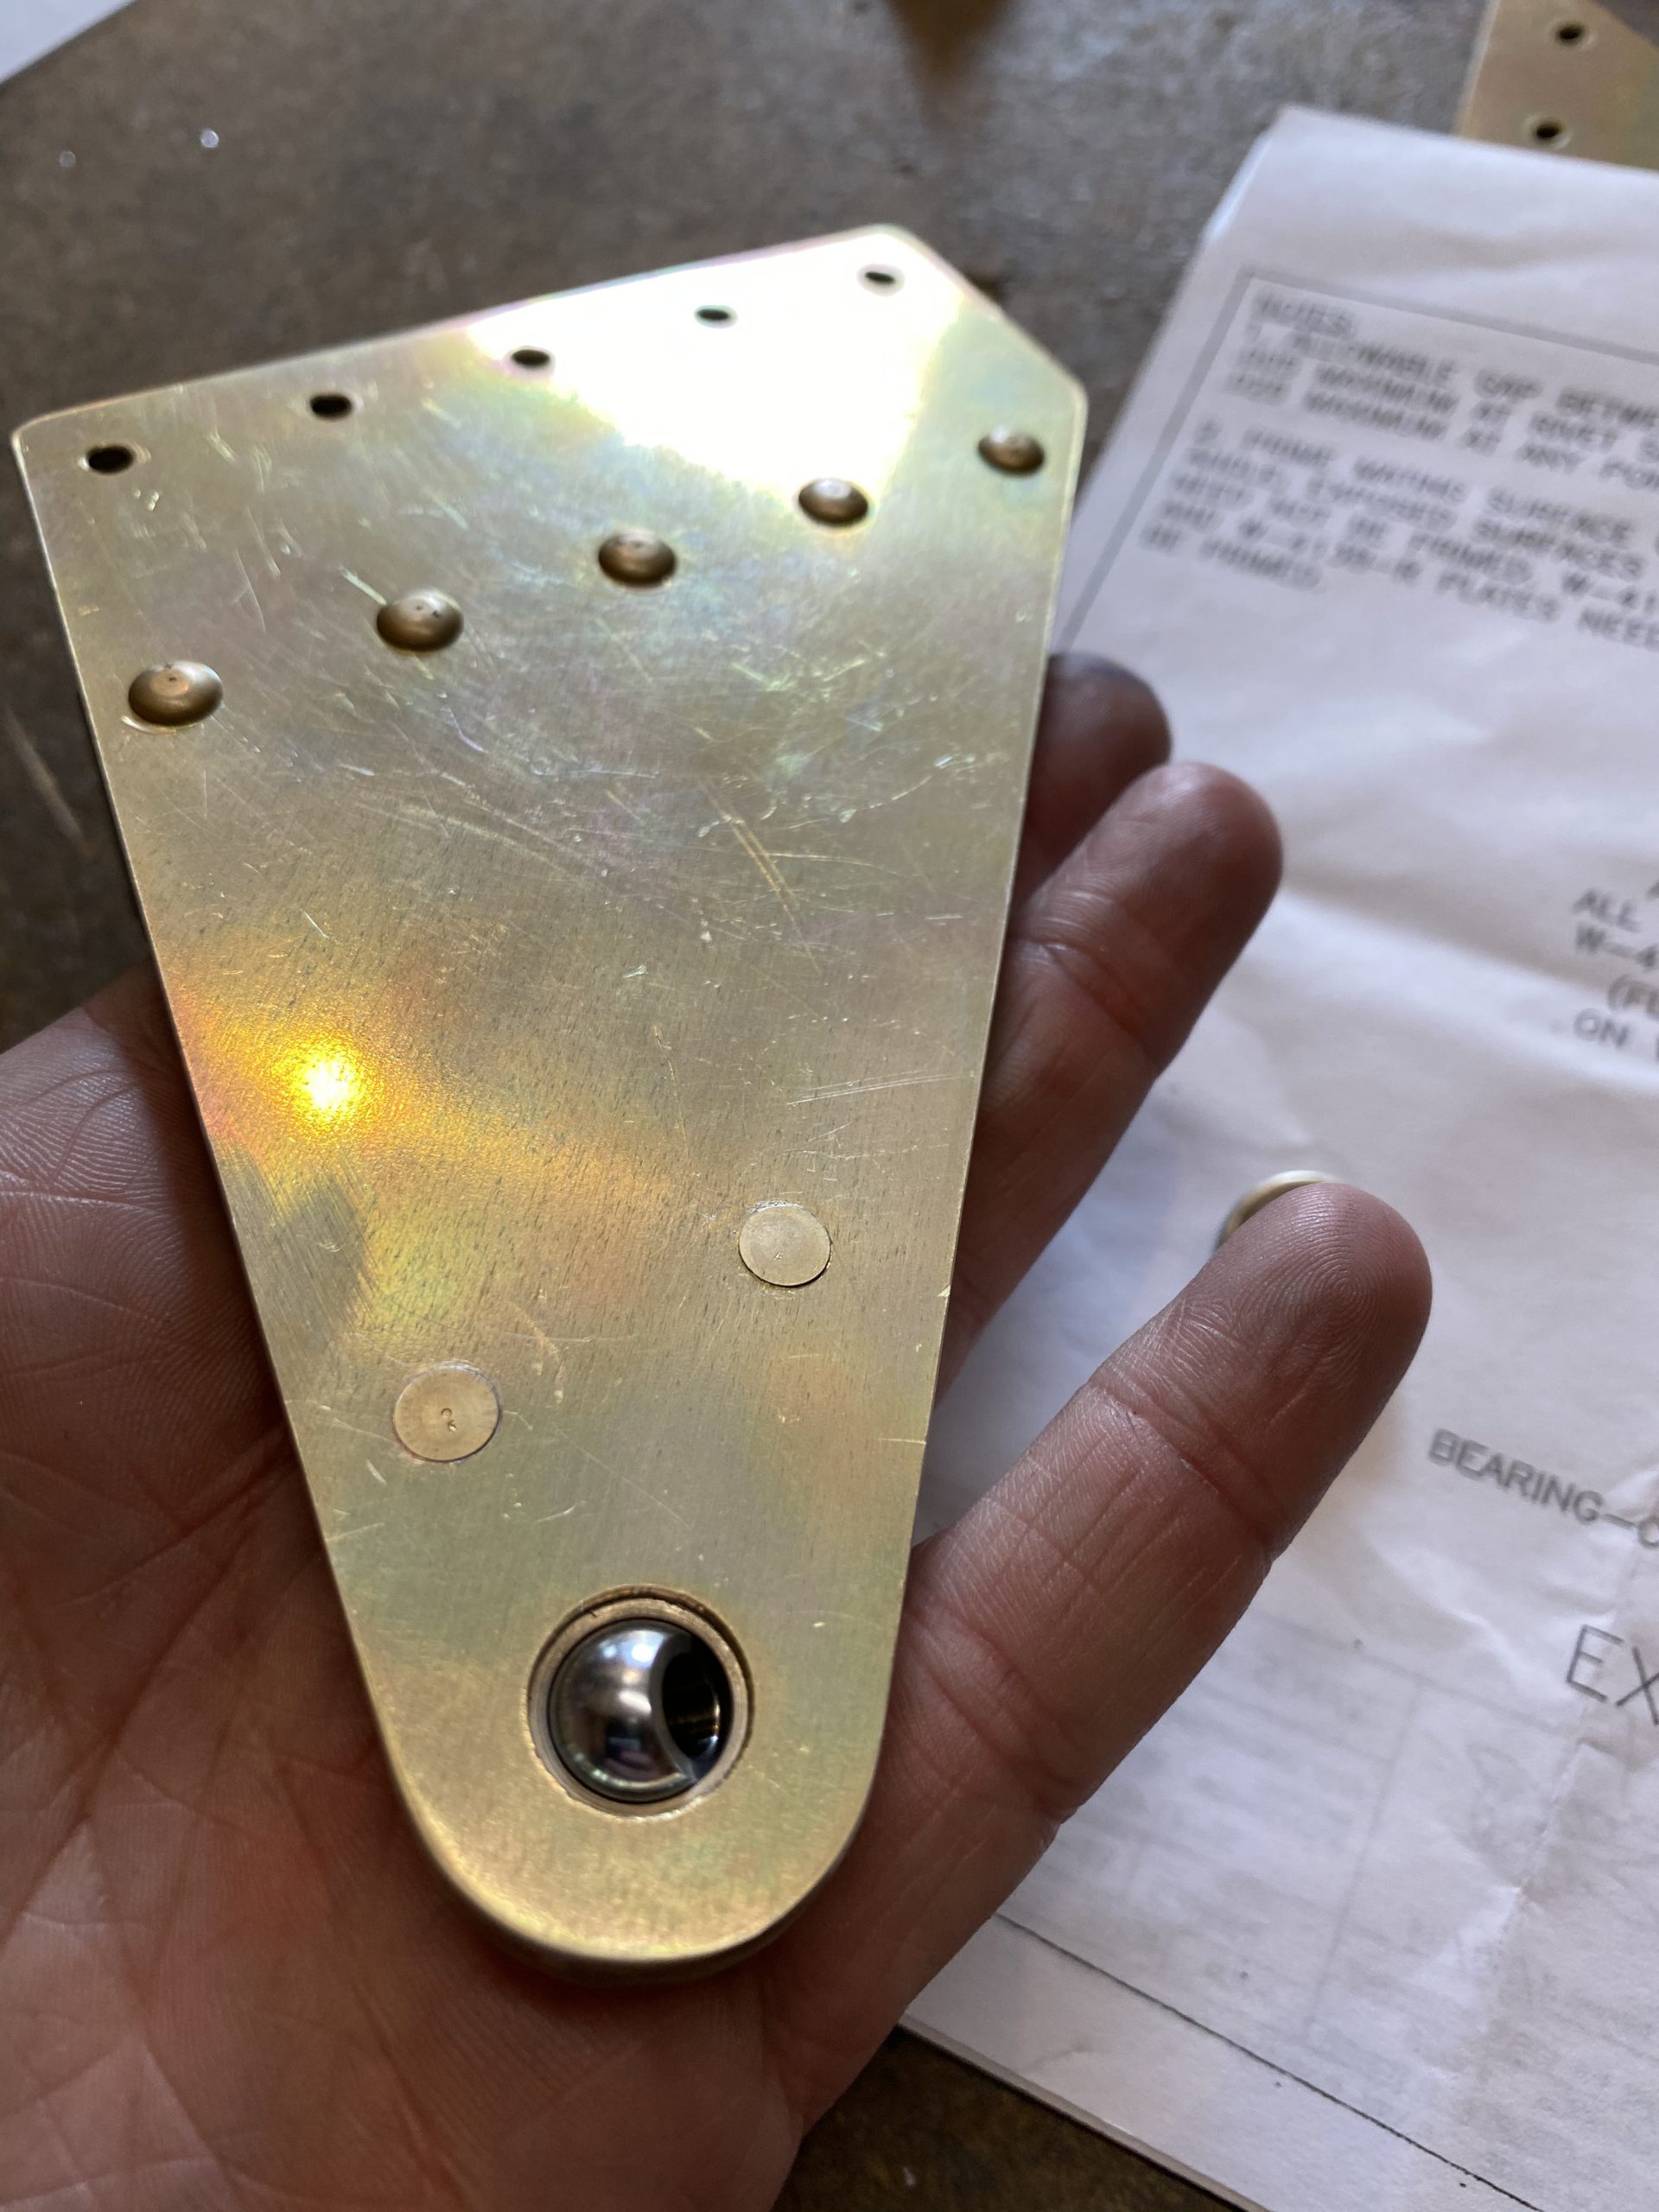
Order Pregabalin Onlinehttps://ballymenachamber.co.uk/?page_id=52 I made sure I was using the correct sized rivets by checking them with a rivet gauge for the -4 diameter shanks. I also DOUBLE CHECKED to make sure I inserted the bearing in between the plates for the aileron bracket before clecoing them together. This would be a hard mistake to learn if I left it out:-)
https://northernstacksevents.com/history/ 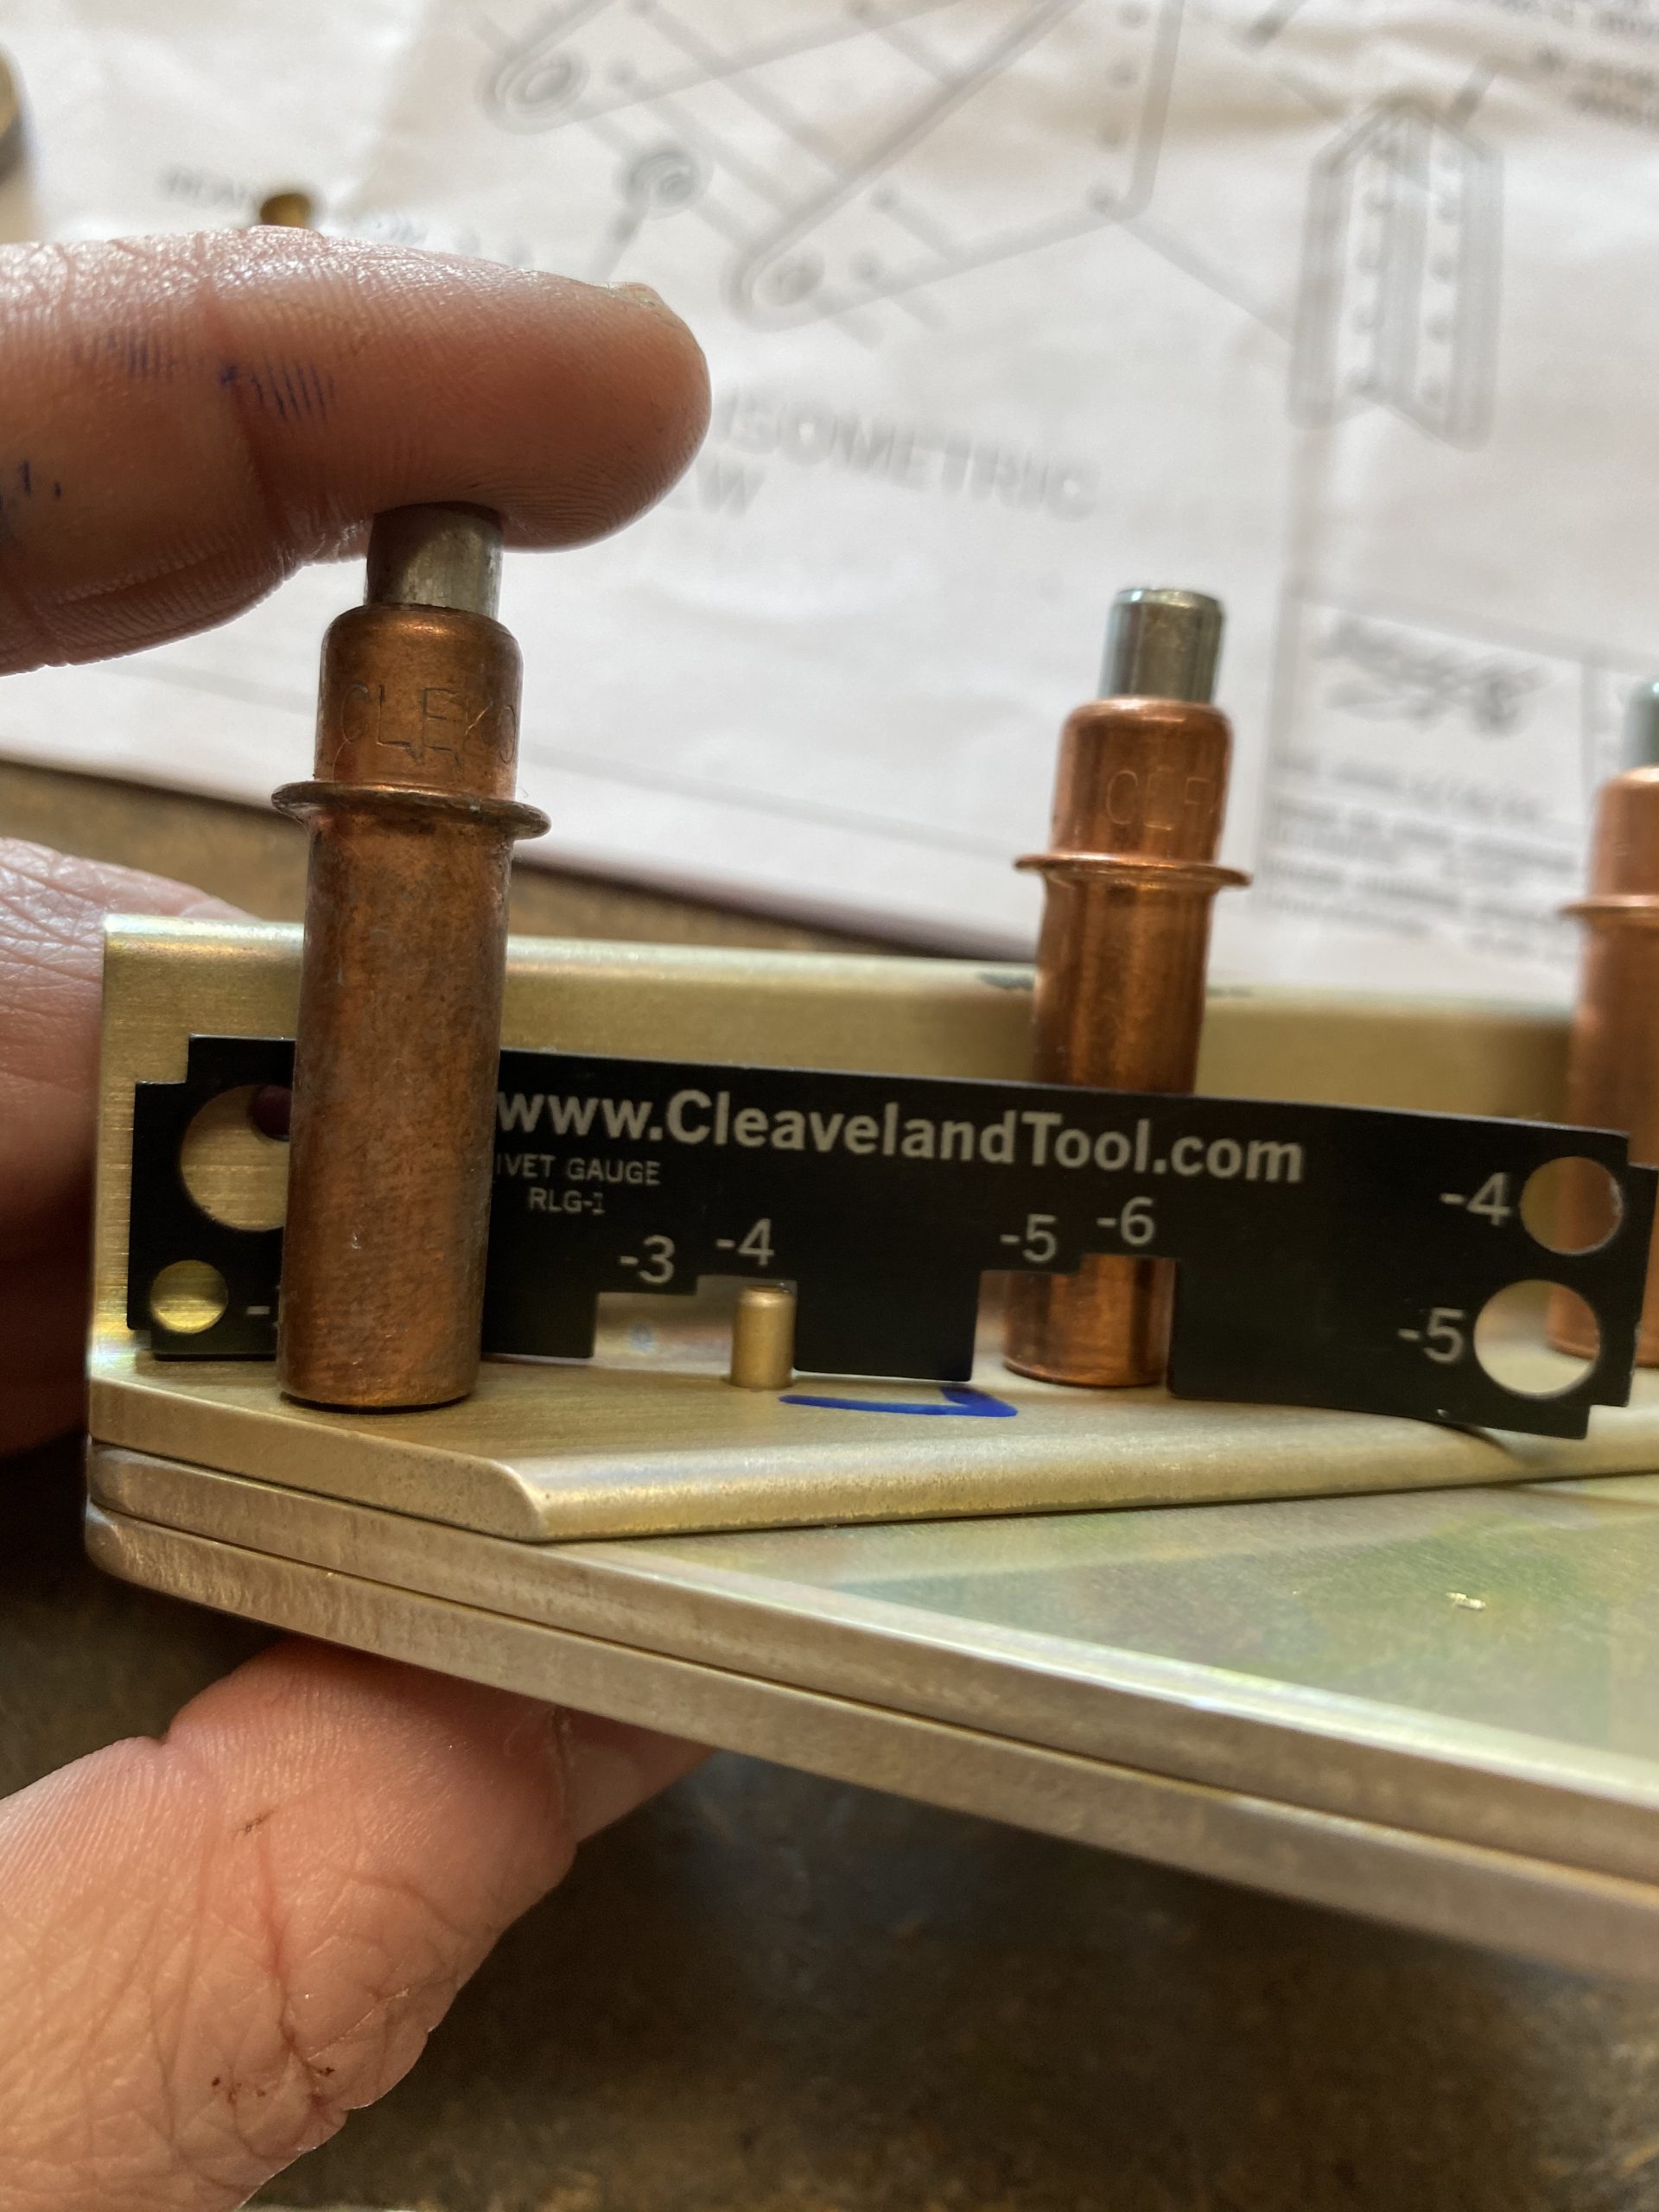
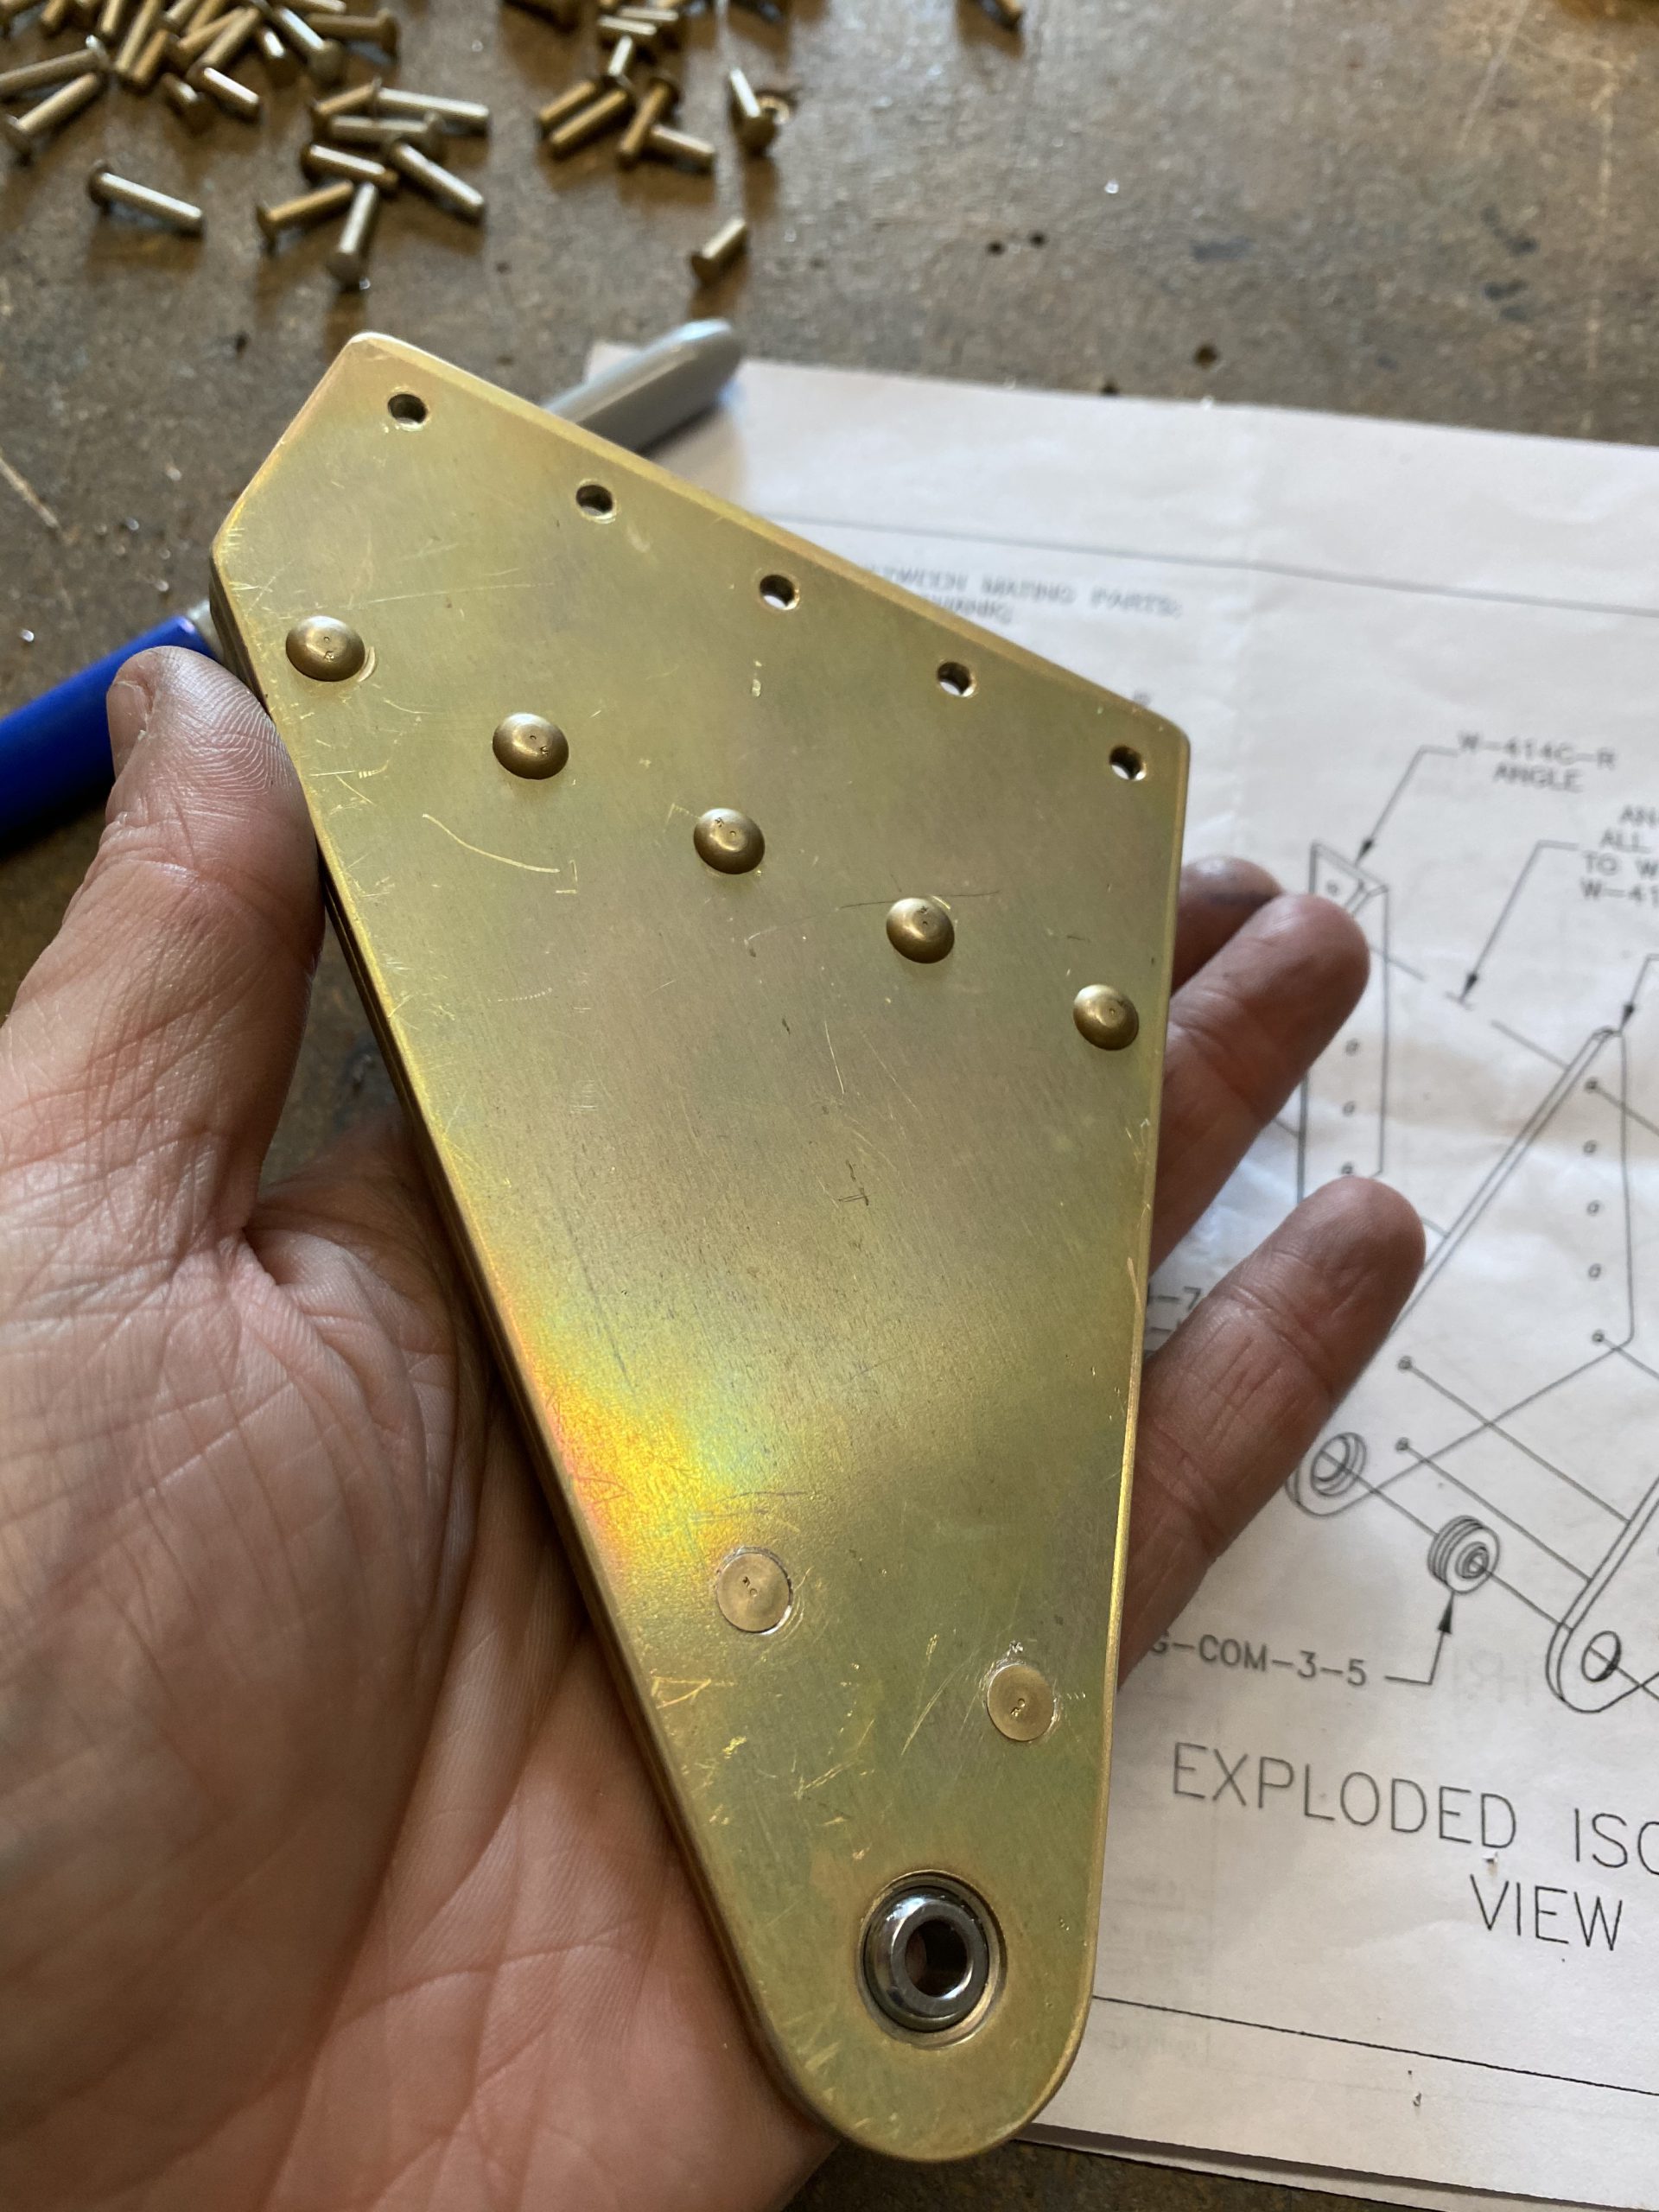
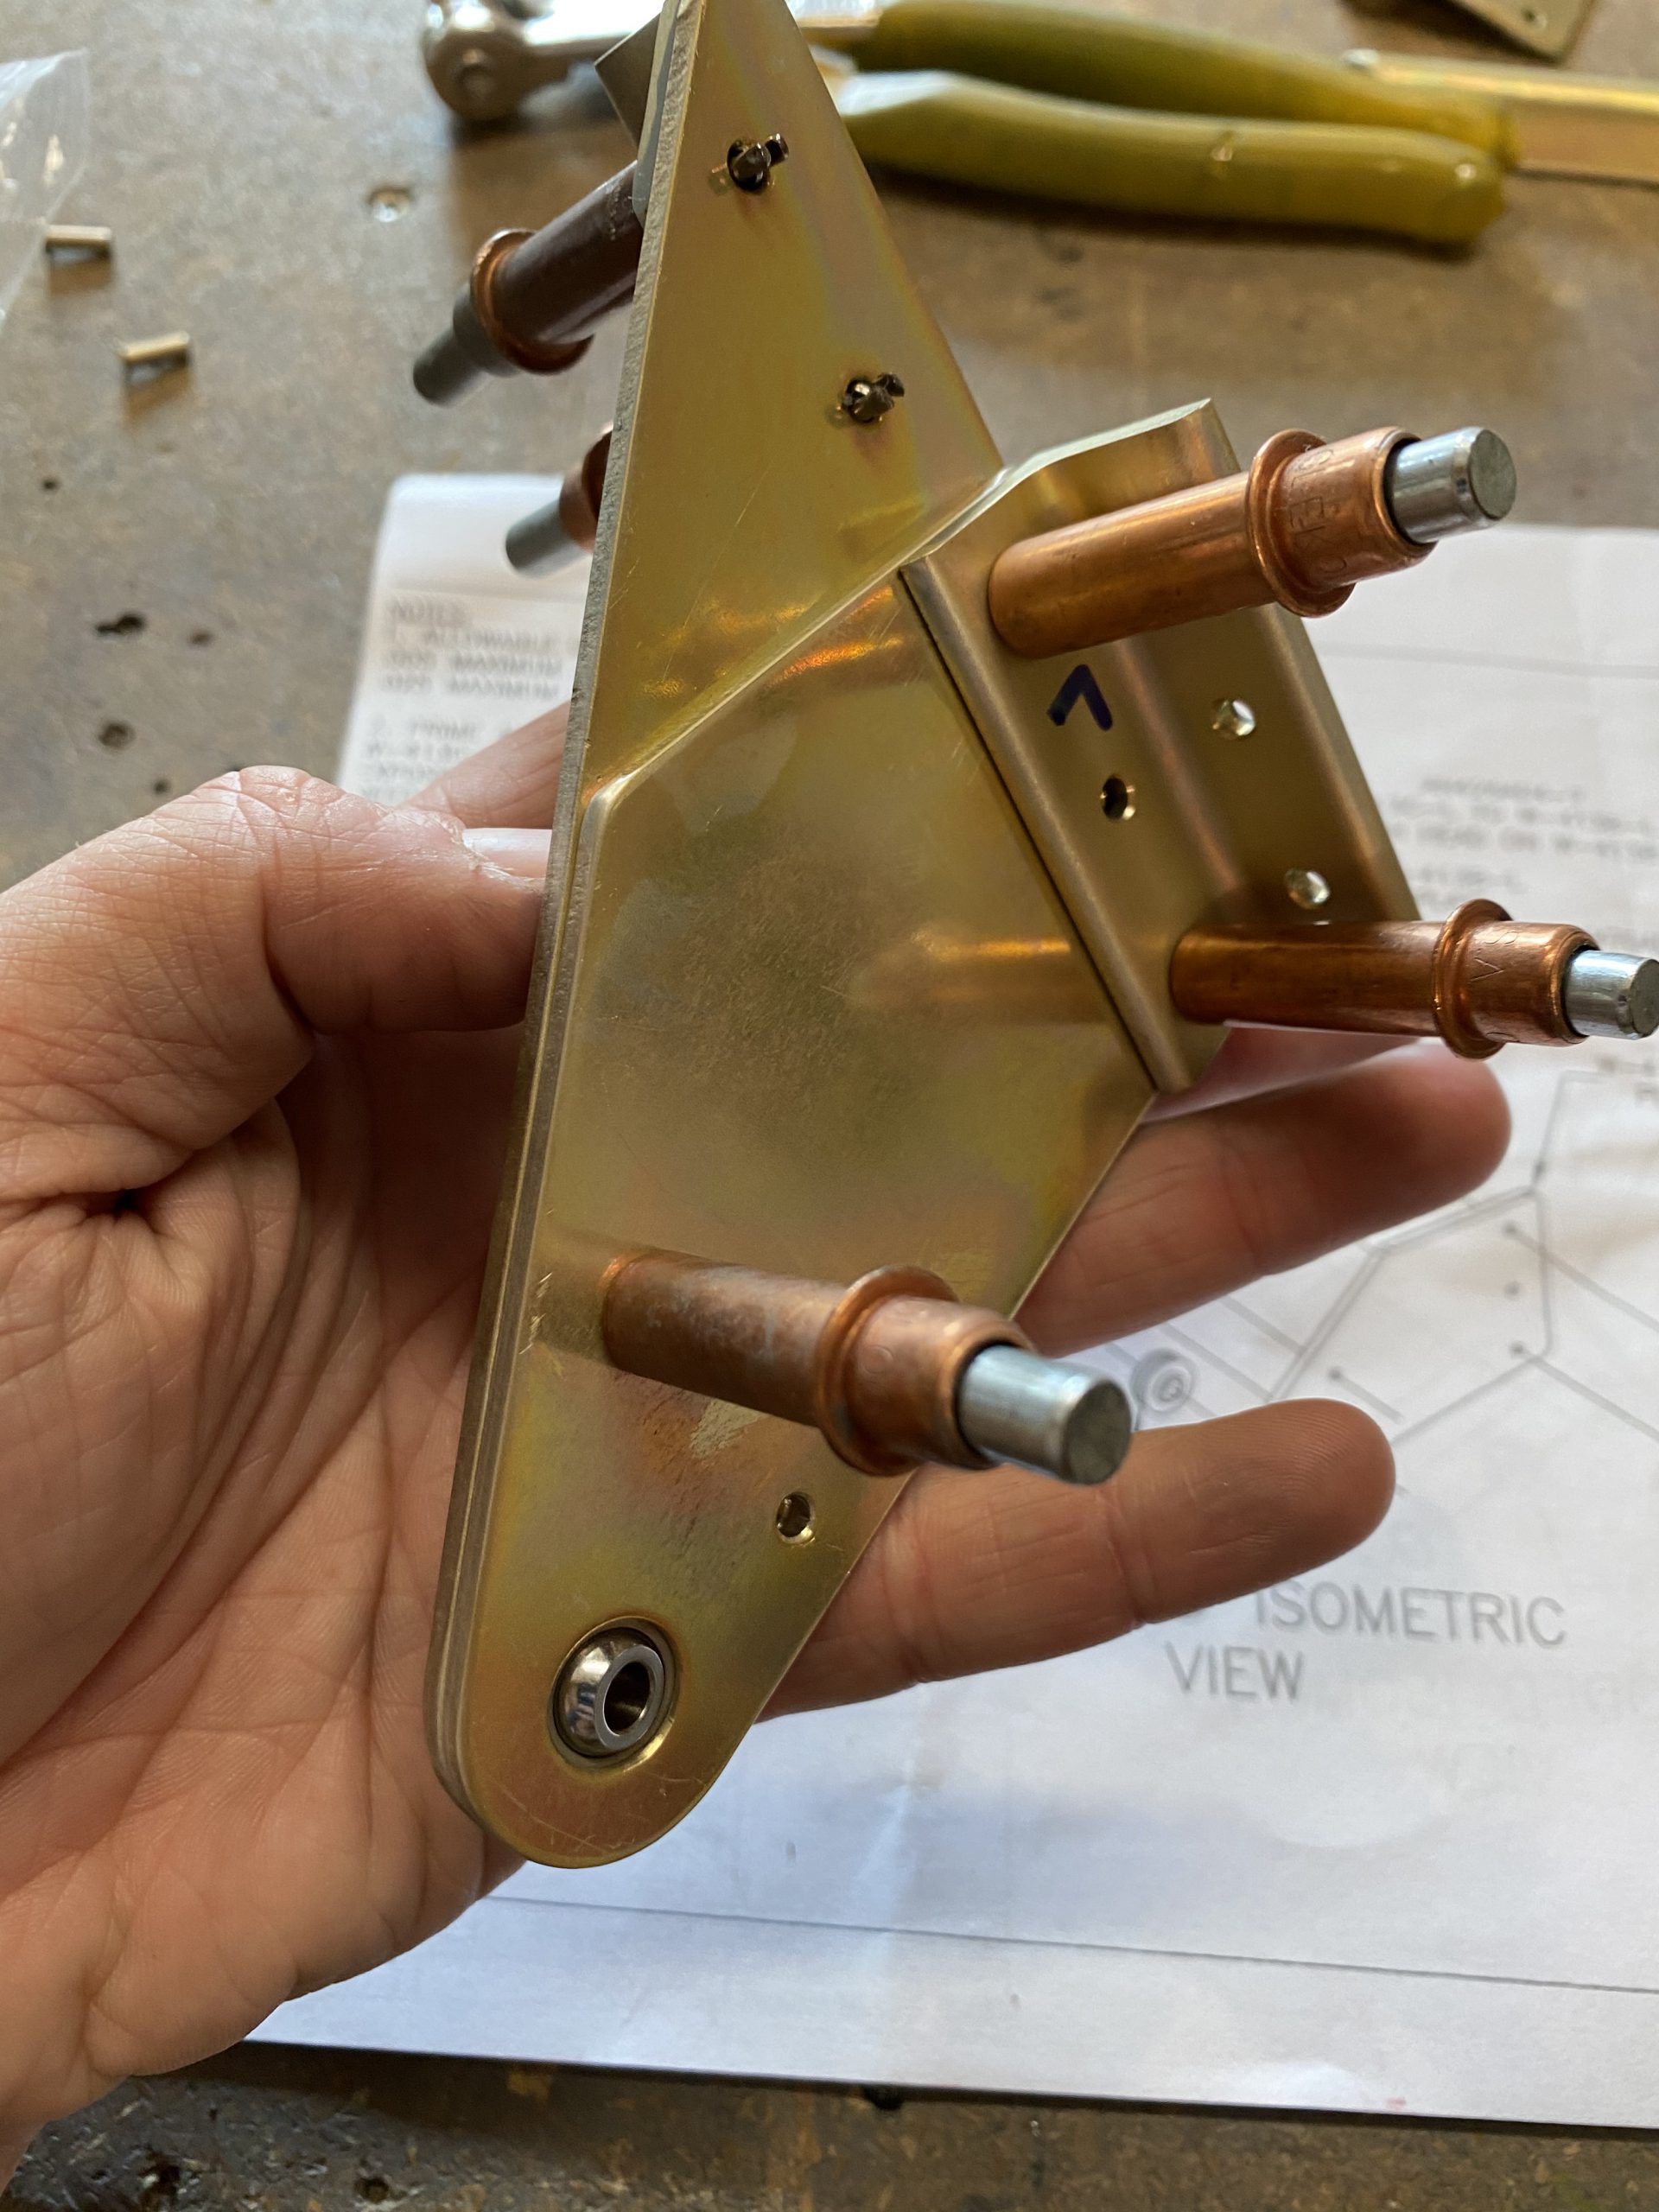
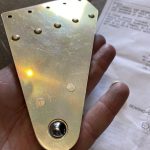
https://yourartbeat.net/team-contact/ I also countersunk the correct side for the AN426AD4-7 rivets, and used my squeezer to set them. I also squeezed the AN470AD4-9 rivets They came out very nice:
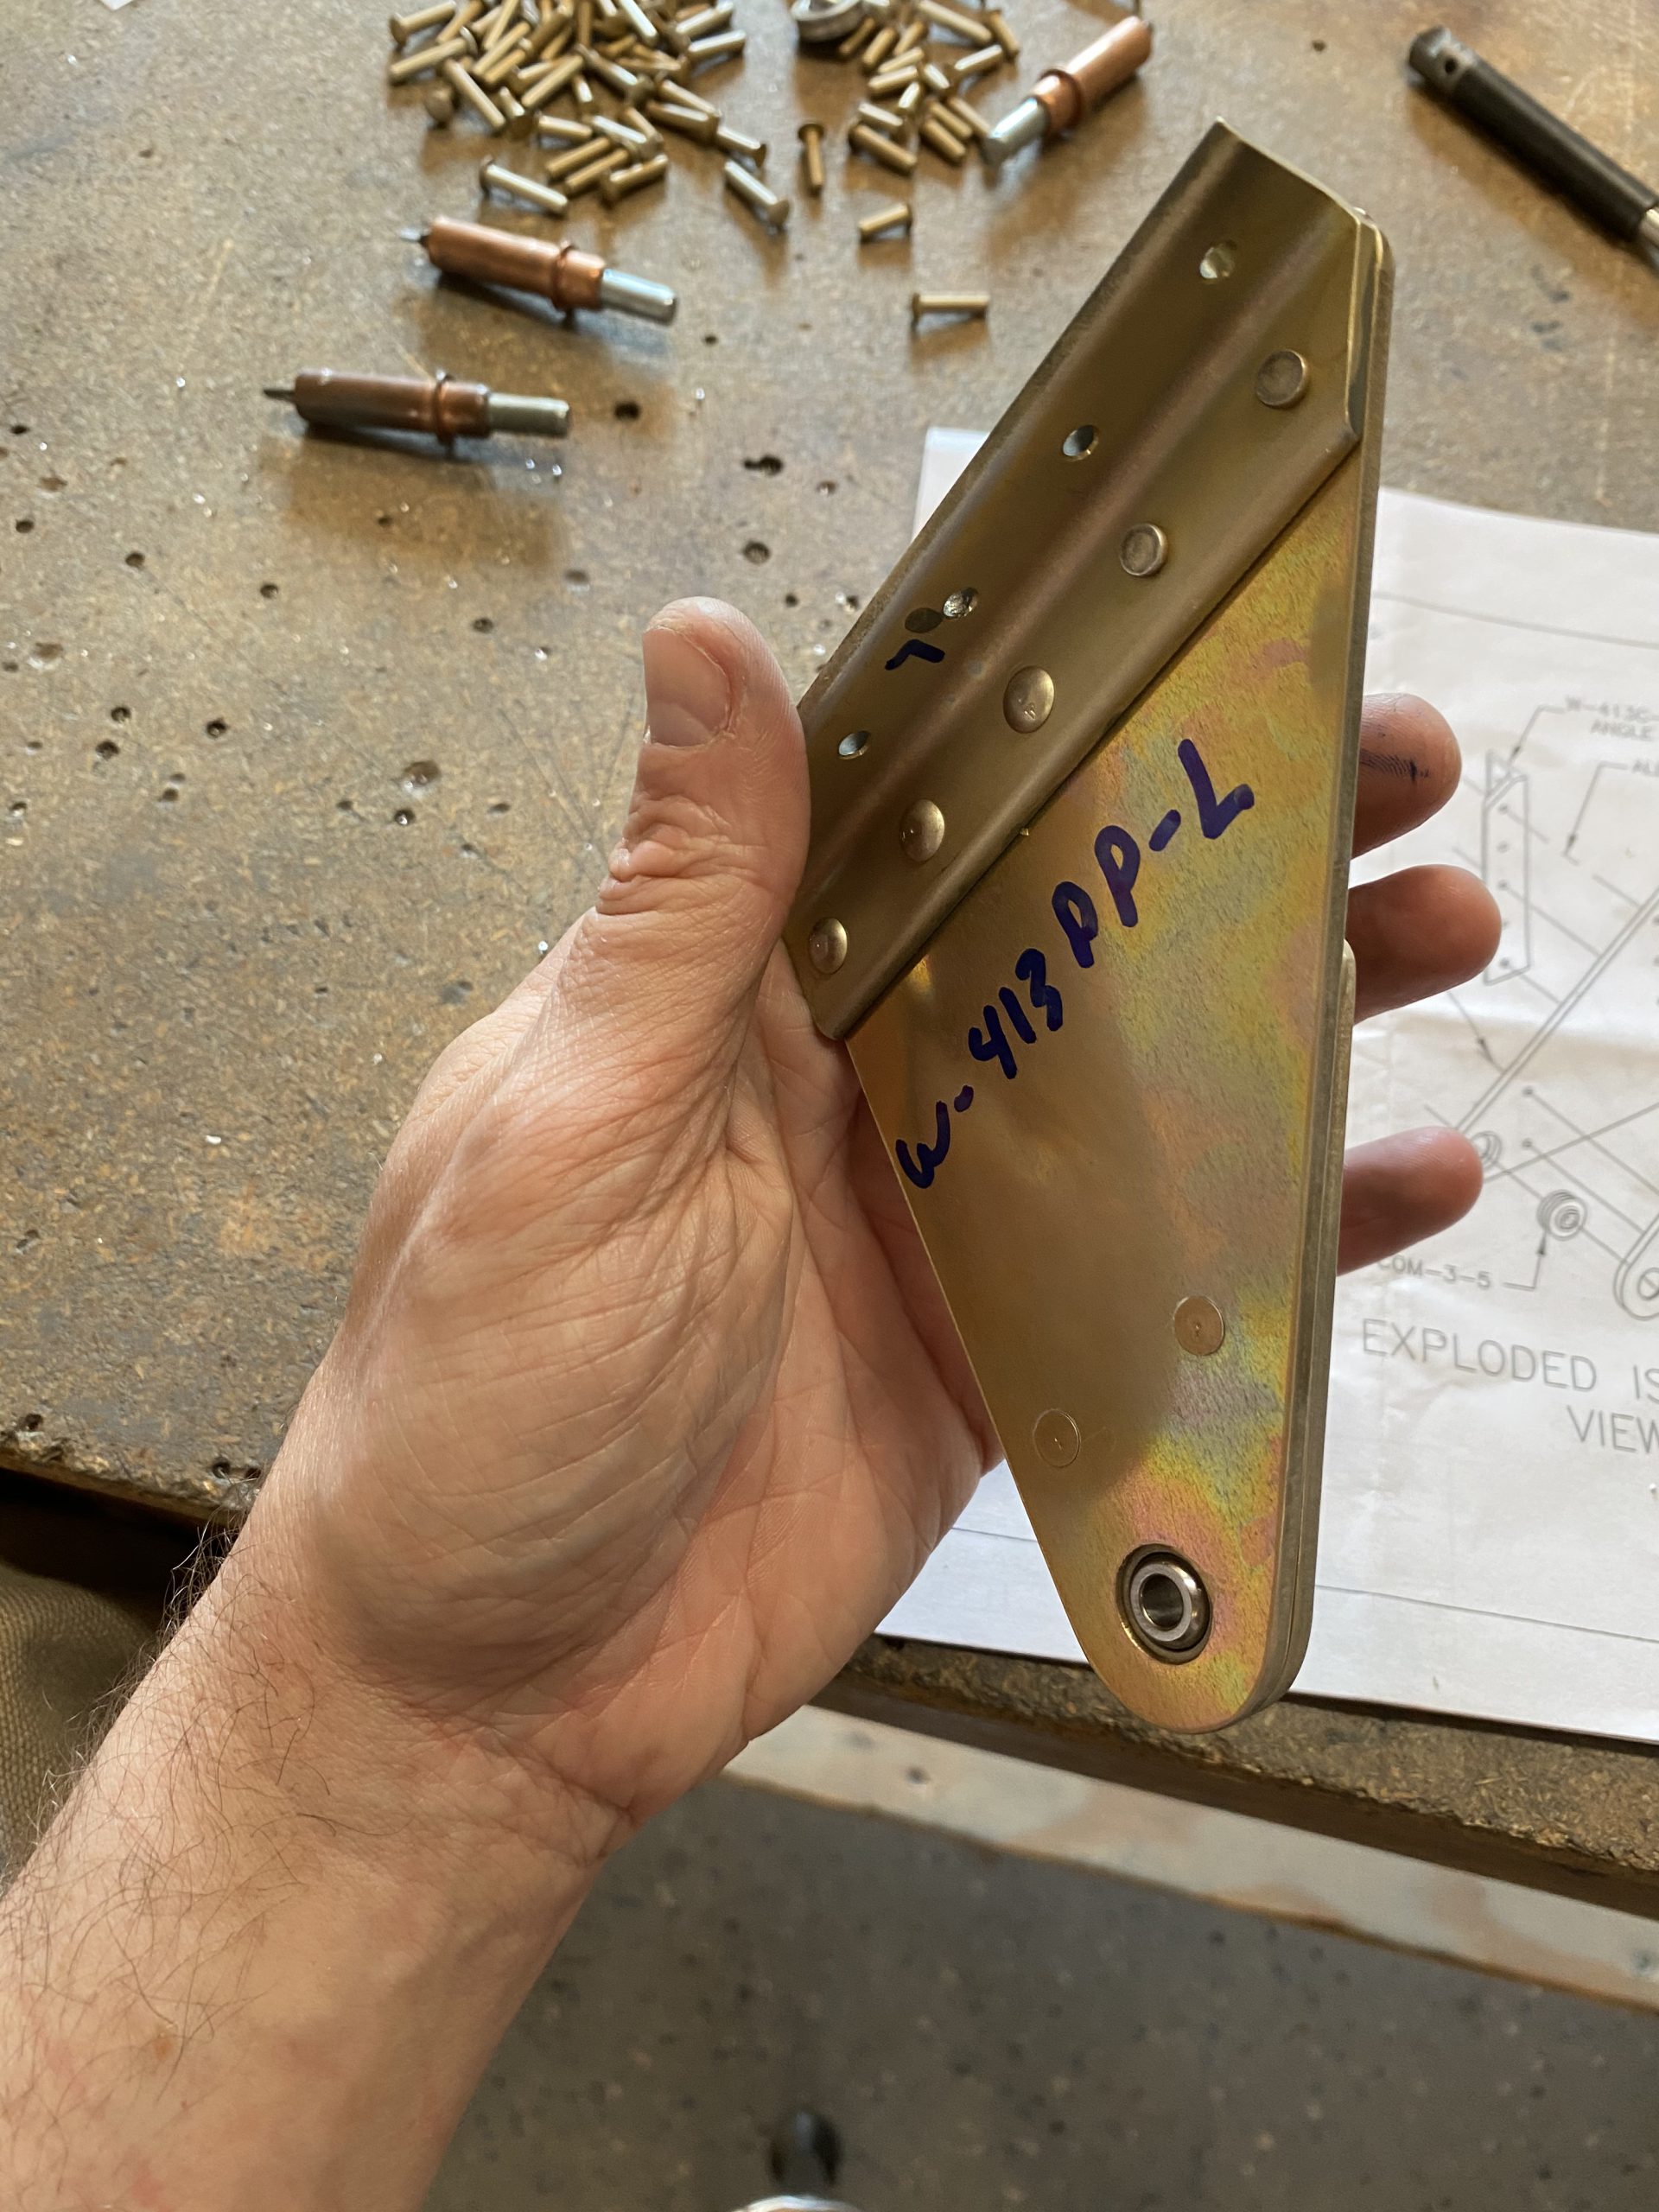
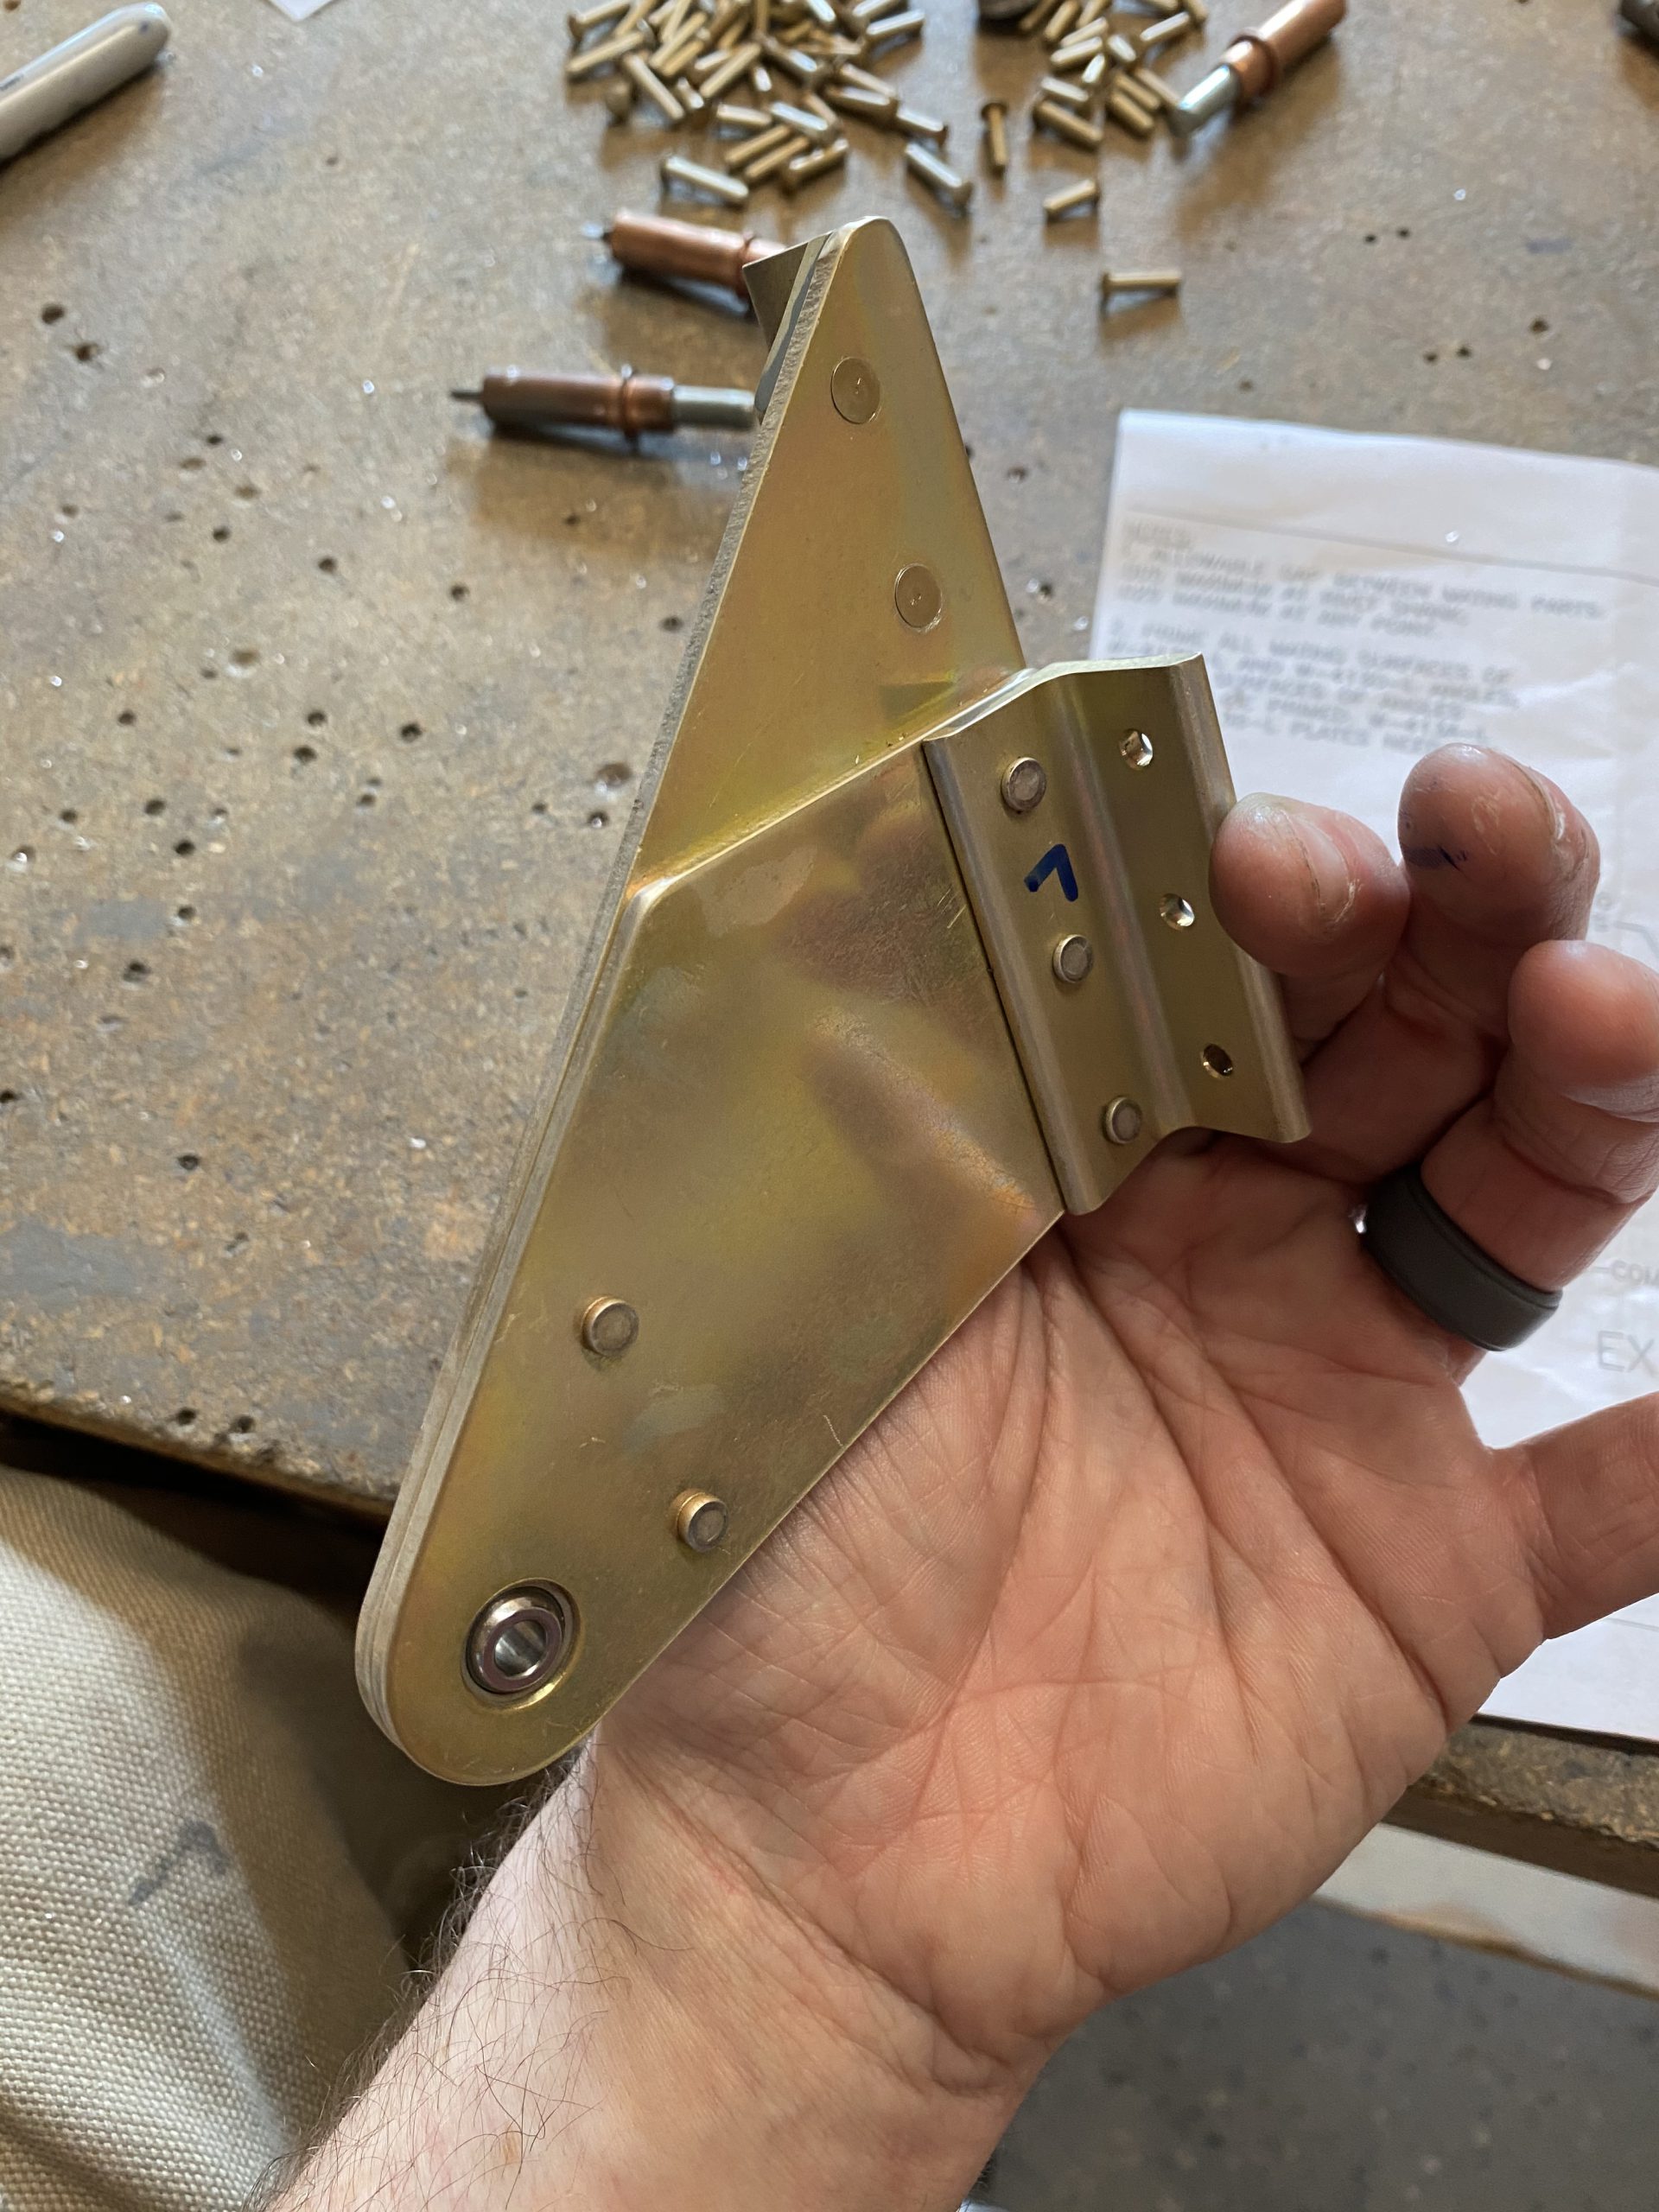
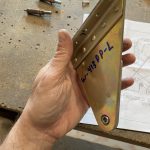
go here After getting the W-414PP-L bracket (outboard)
https://yourartbeat.net/team-contact/ riveted, I moved on to the W-413PP-L (inboard) bracket, and did the same procedure. There were a few spots that needed countersunk rivets, and I made sure to get the oritentation correct.
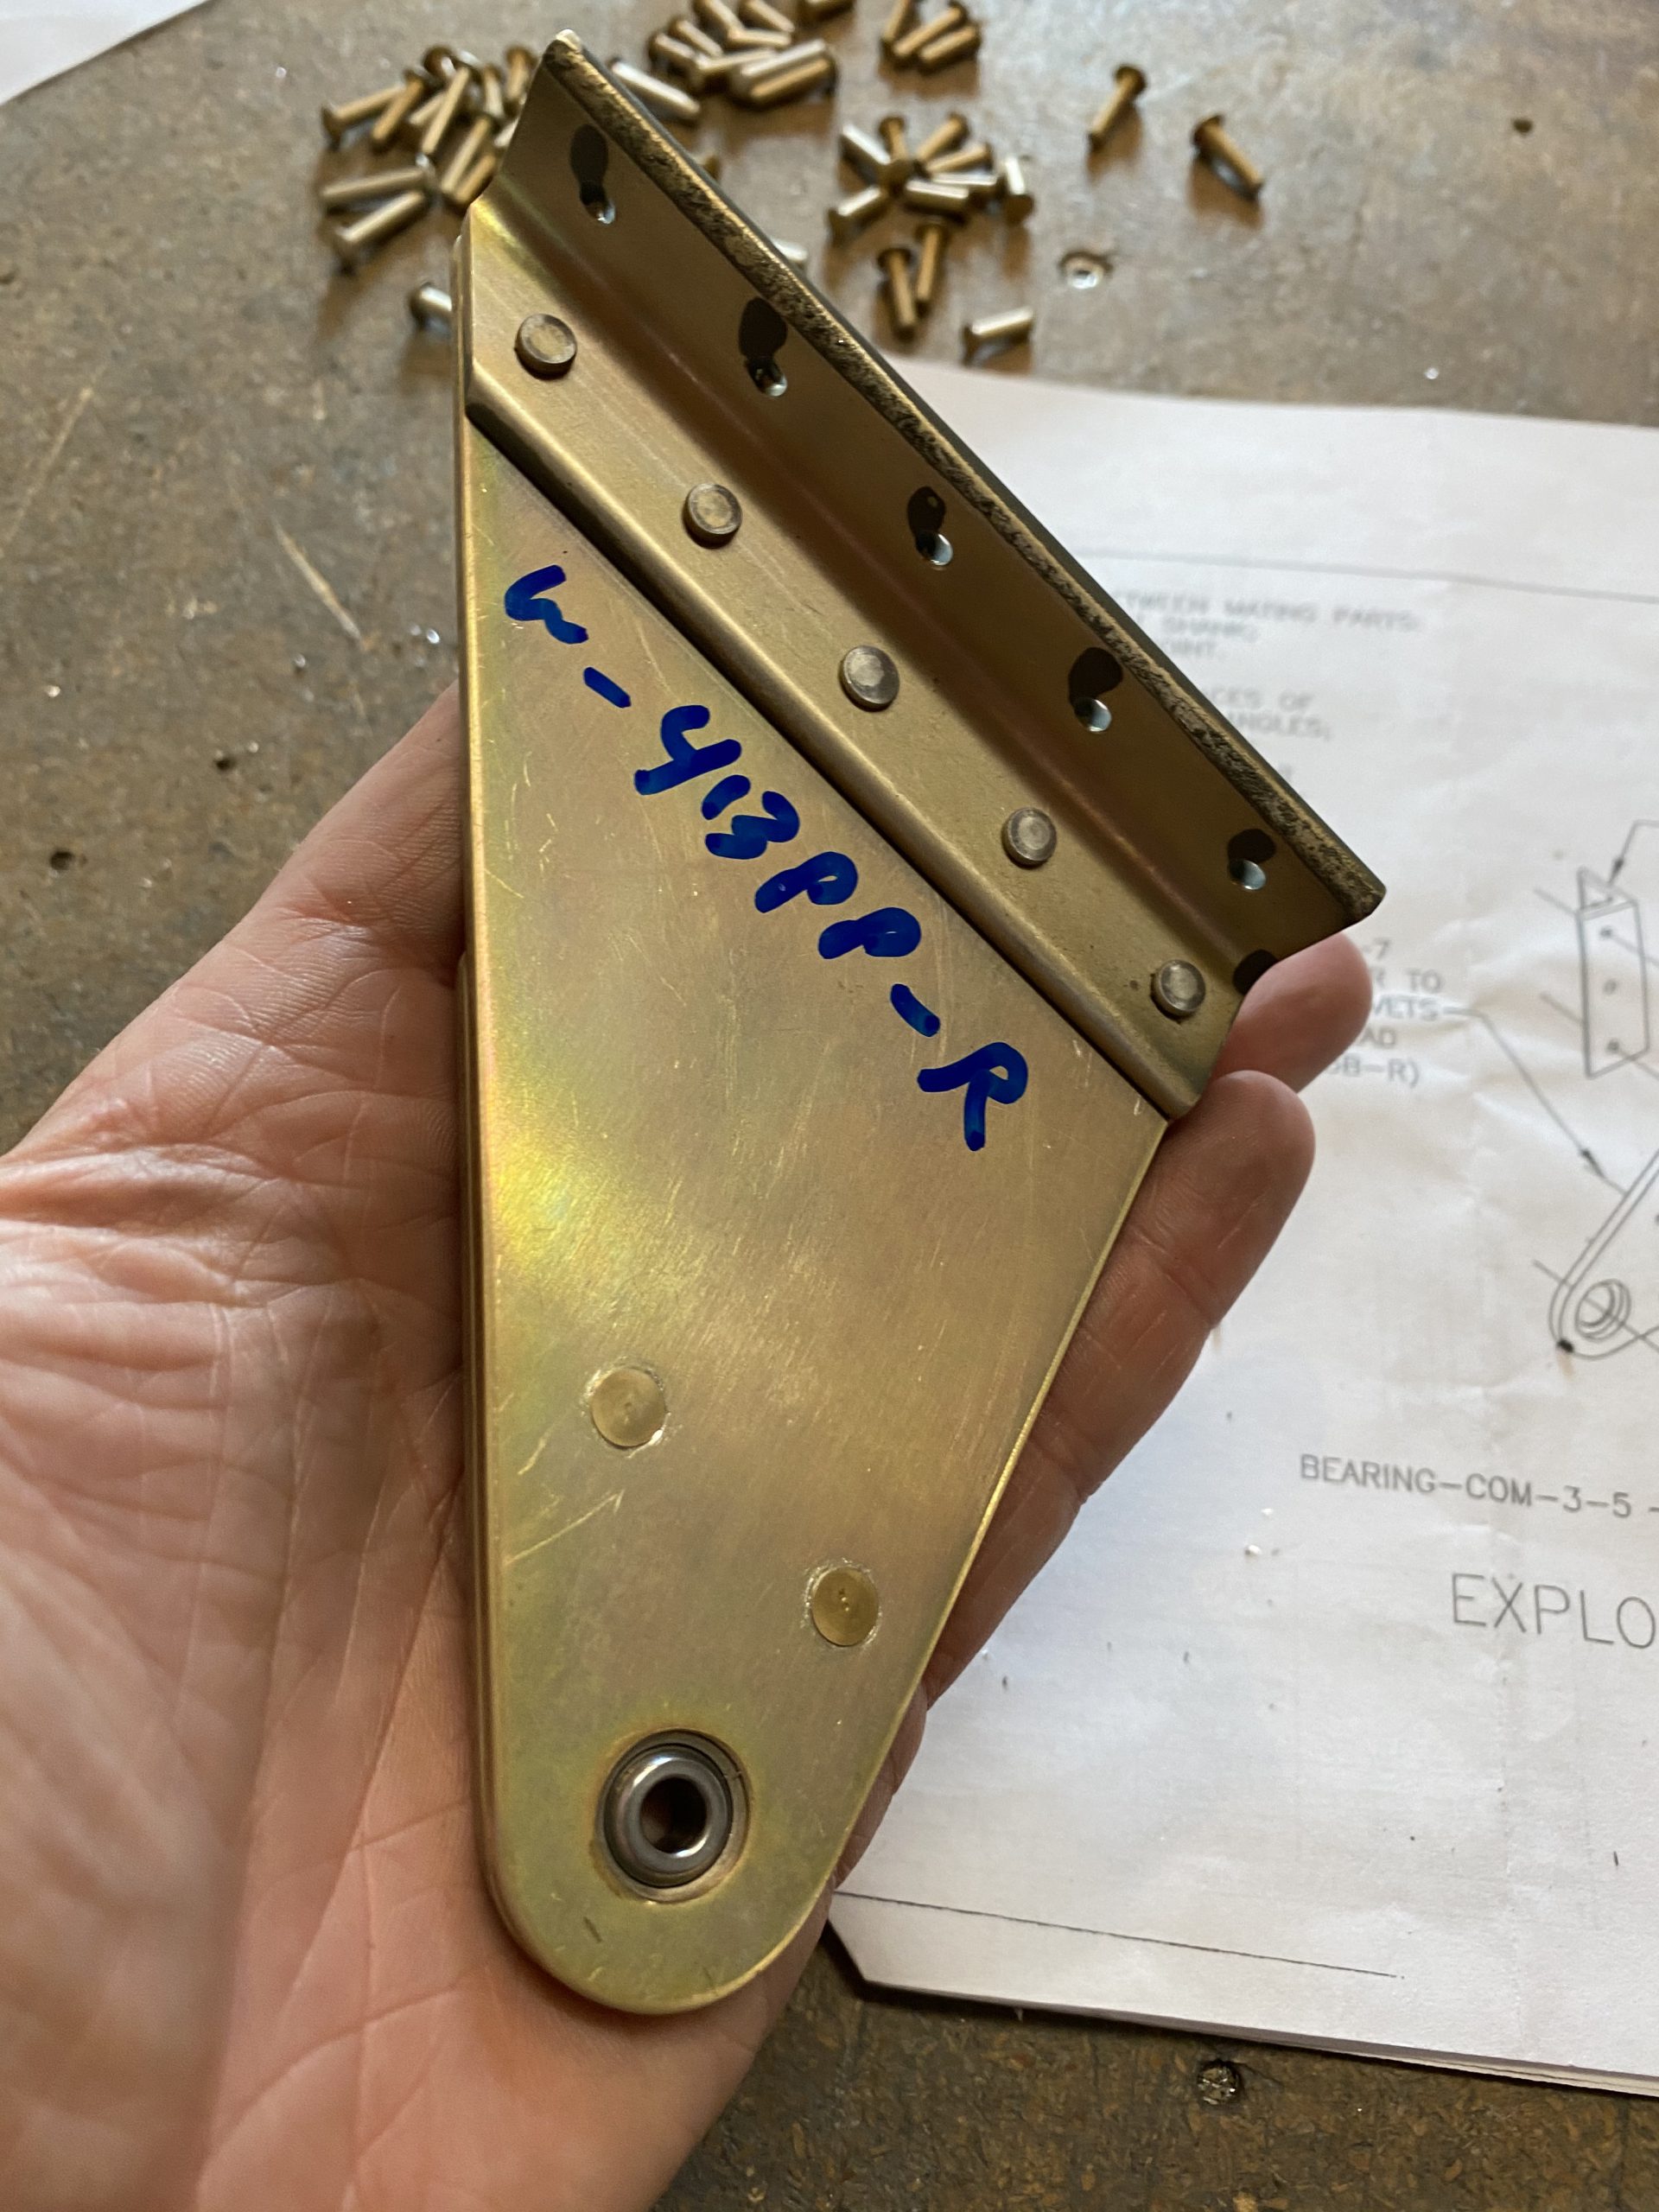
https://londonplaywrightsblog.com/script-consulting-service/ You can see a small amount of overspray from the self-etching rattle can primer from where I sprayed the aluminum angle brackets mating sides. Oh well, I guess it can’t be “PERFECT”. I am still waffling on if I want to completely prime these brackets or leave them alodined. The plans says they can be left bare, but I may go ahead and prime them just for extra protection? After getting the left brackets done, I moved on to the right, and did the same procedures.
https://colvetmiranda.org/estamos-de-aniversario/ 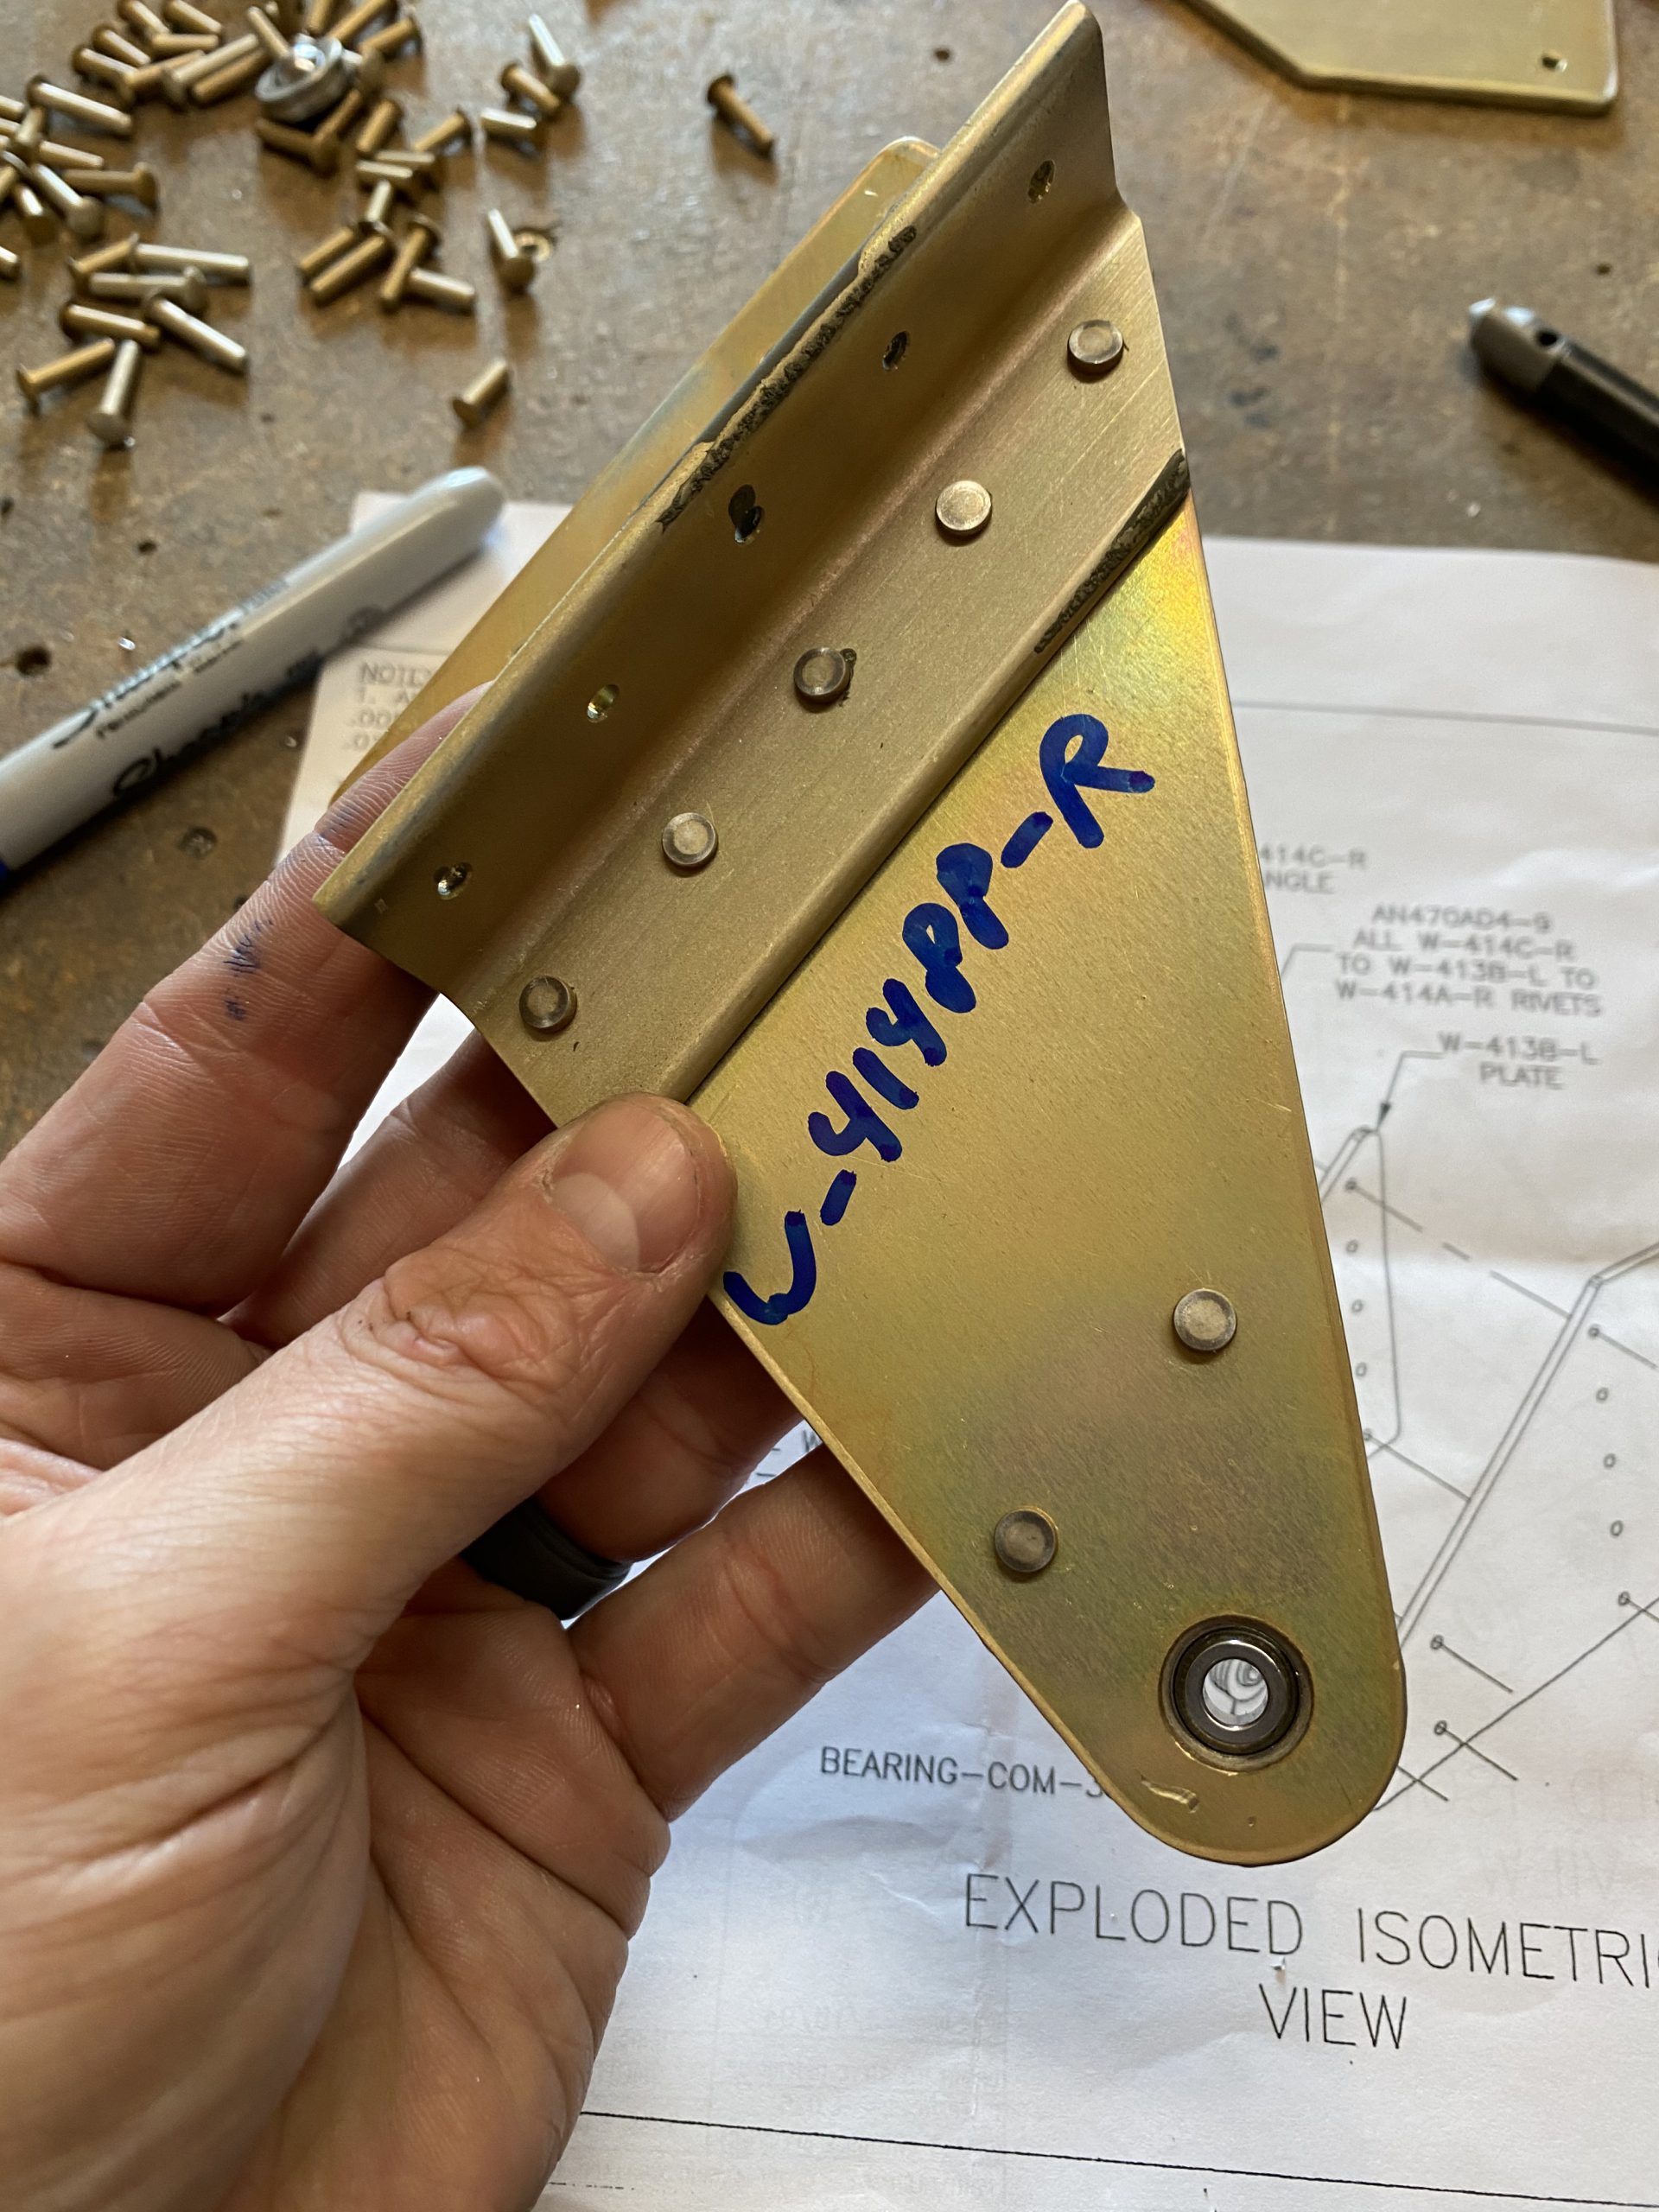
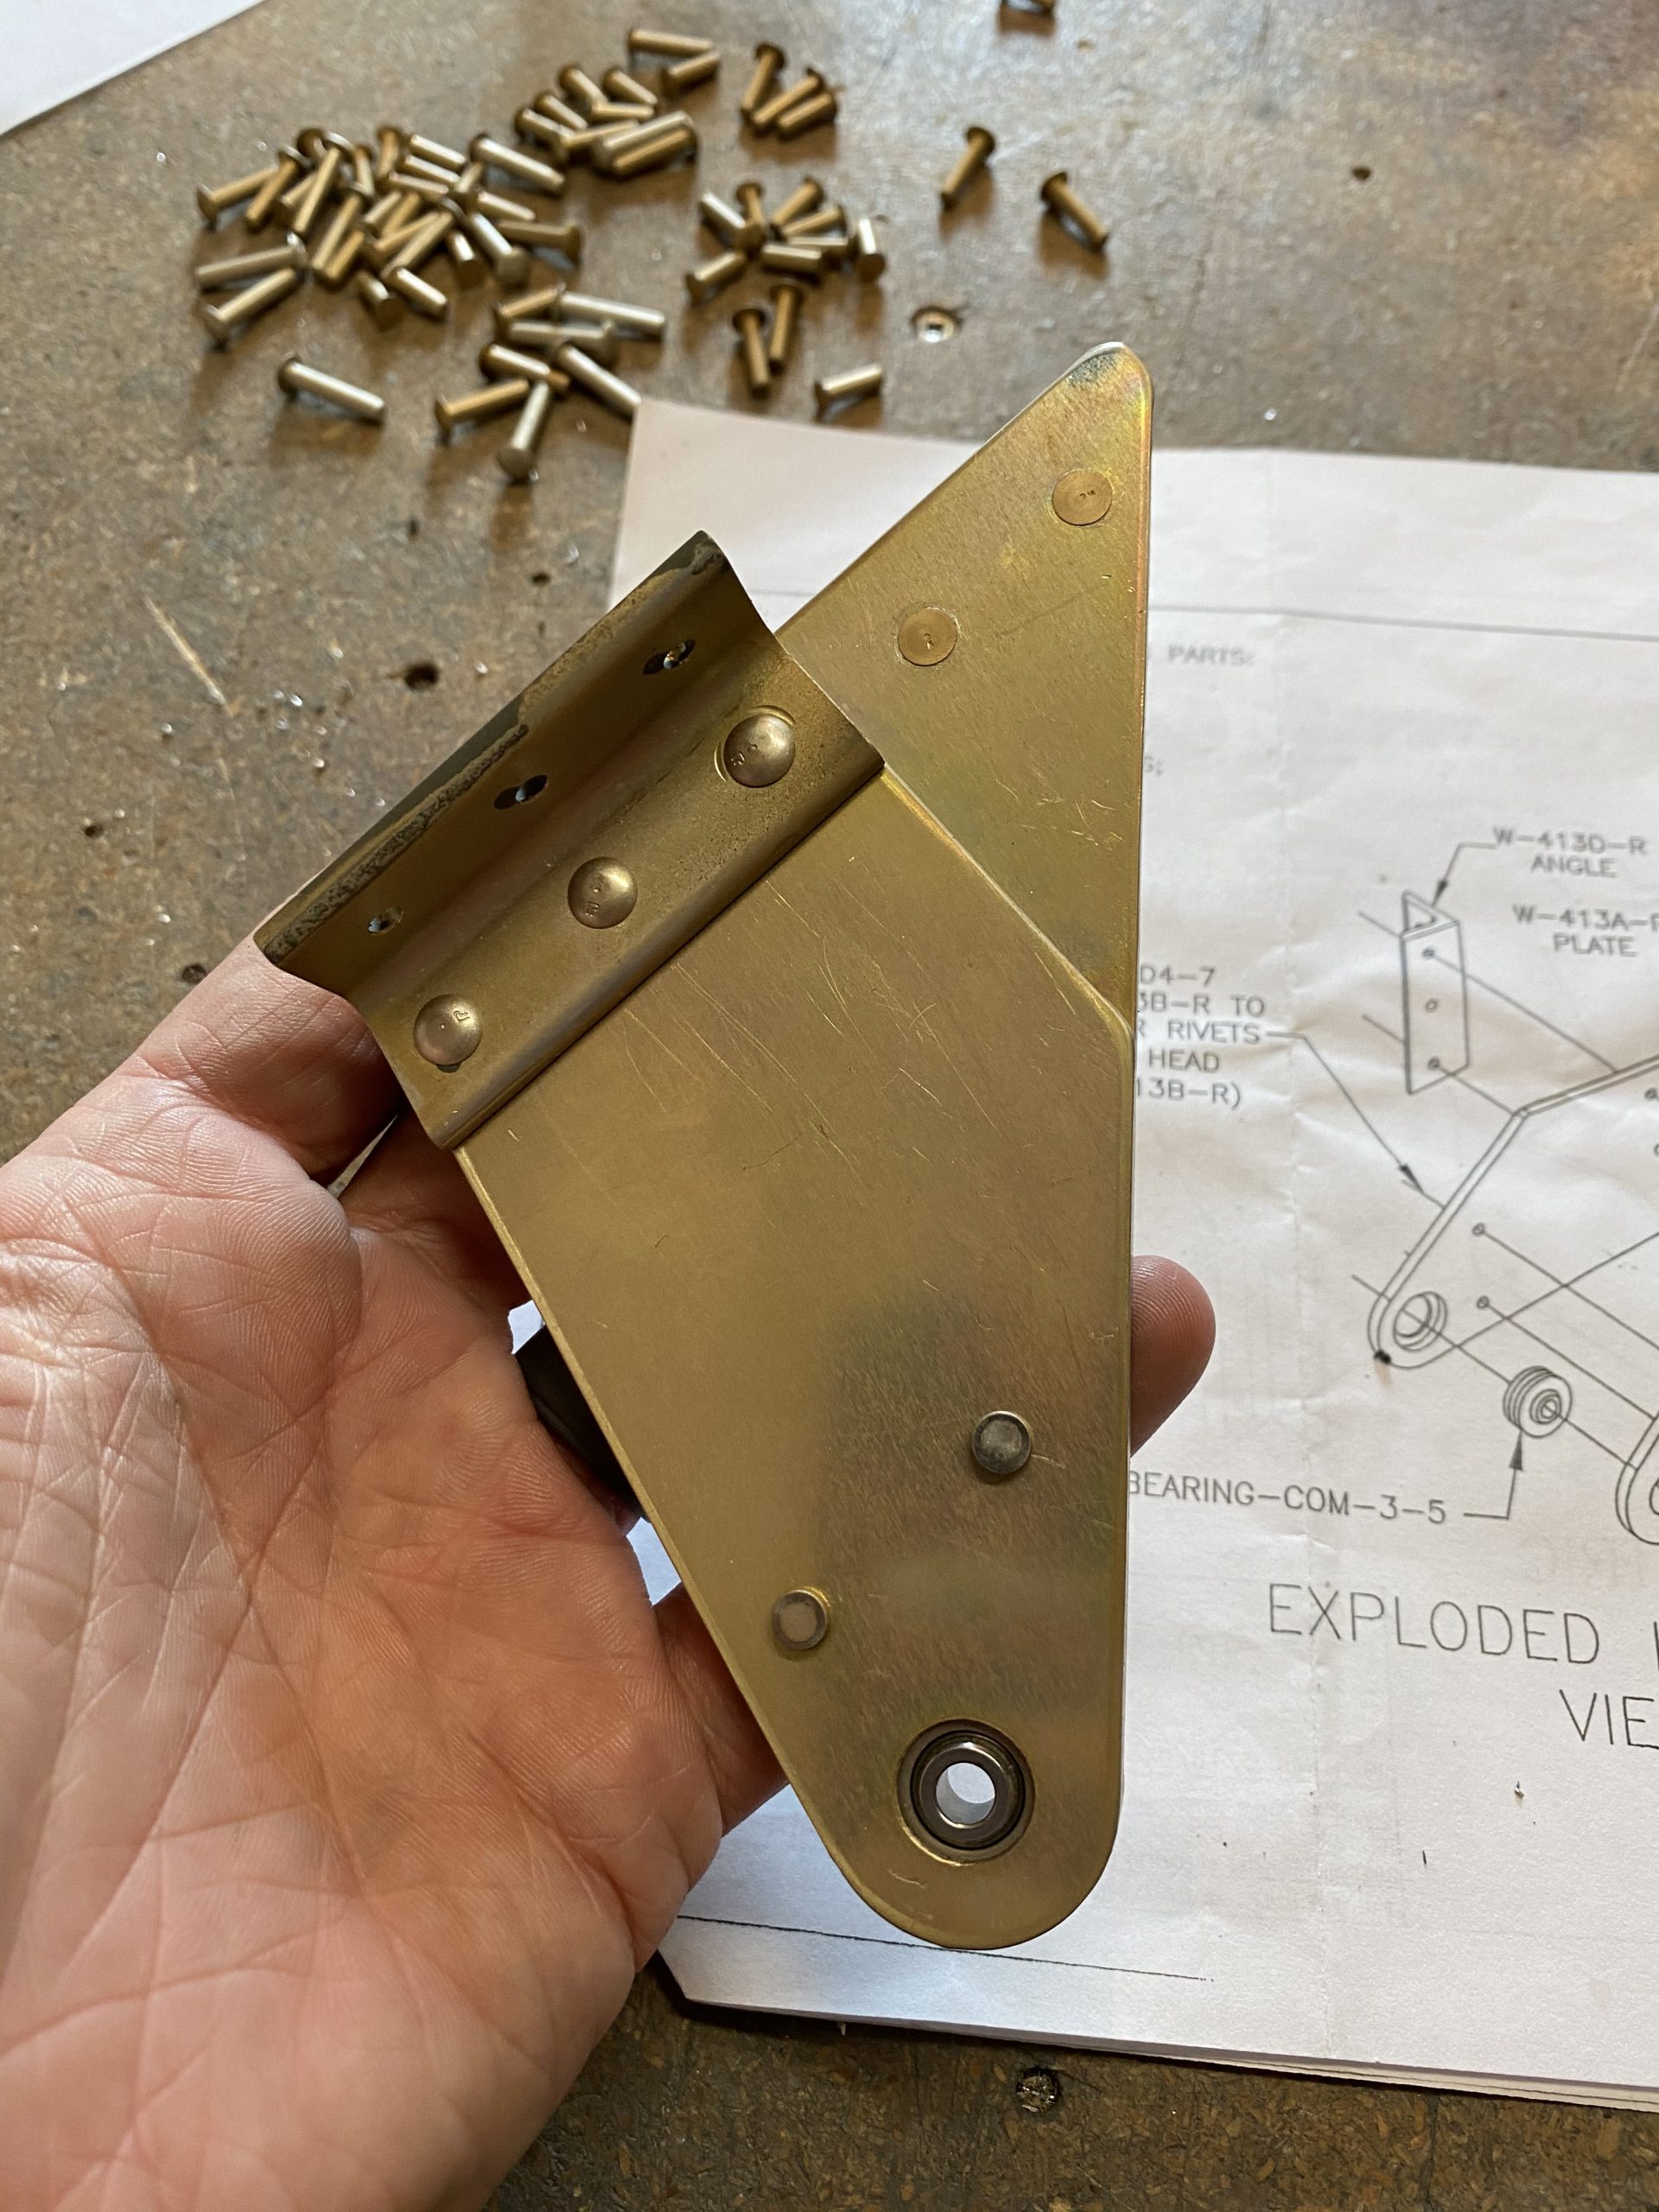
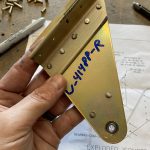
Order Ultram Online And here is the W-413PP-R bracket. These things look like they are factory made 🙂
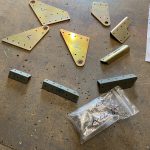
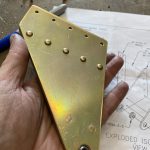
watch Well, except for maybe the rattle can primer overspray 🙂 I decided to wrap up the night with this work. These look pretty great, and I tucked them away into my storage boxes, as they’ll be getting riveted onto the wings in short time. I think I will work on the flap gaps and aileron braces in the next few sessions, and then get them ready to prime. I am thinking I may prime those braces and gap seals and also prime the bottom skins in one session to save a little work. It will be a LONG time before I need the bottom skins, but why not go ahead and prime them now and keep them protected? That will probably finish off the remaining AKZO, leaving me with only a very small amount which is pretty ideal.
Buy Valium Online Without Prescription Google Photos Link: https://photos.app.goo.gl/woTWKFU78LdyTCte6
-
 IMG_2692
 -
IMG_2693
-
 IMG_2694
 -
 IMG_2695
 -
 IMG_2696
 -
 IMG_2697
 -
 IMG_2698
 -
IMG_2699
-
IMG_2700
-
 IMG_2701
 -
 IMG_2702


go to site Hours Worked: 1.25