


Stiffeners. I swear this plane has more stiffeners in it than skin. Since I am holding off on bonding the trailing edge of the rudder for a few more days, I decided to move on to the elevators and start riveting the stiffeners on. This will help get me to the point of bending their trailing edge and bonding the trailing edge stiffeners, which is what I am waiting on for the rudder. This way I can mix up one batch of ProSeal and do them at the same time. I already have my skins and stiffeners primed and ready, I just need to deburr and dimple them before riveting.
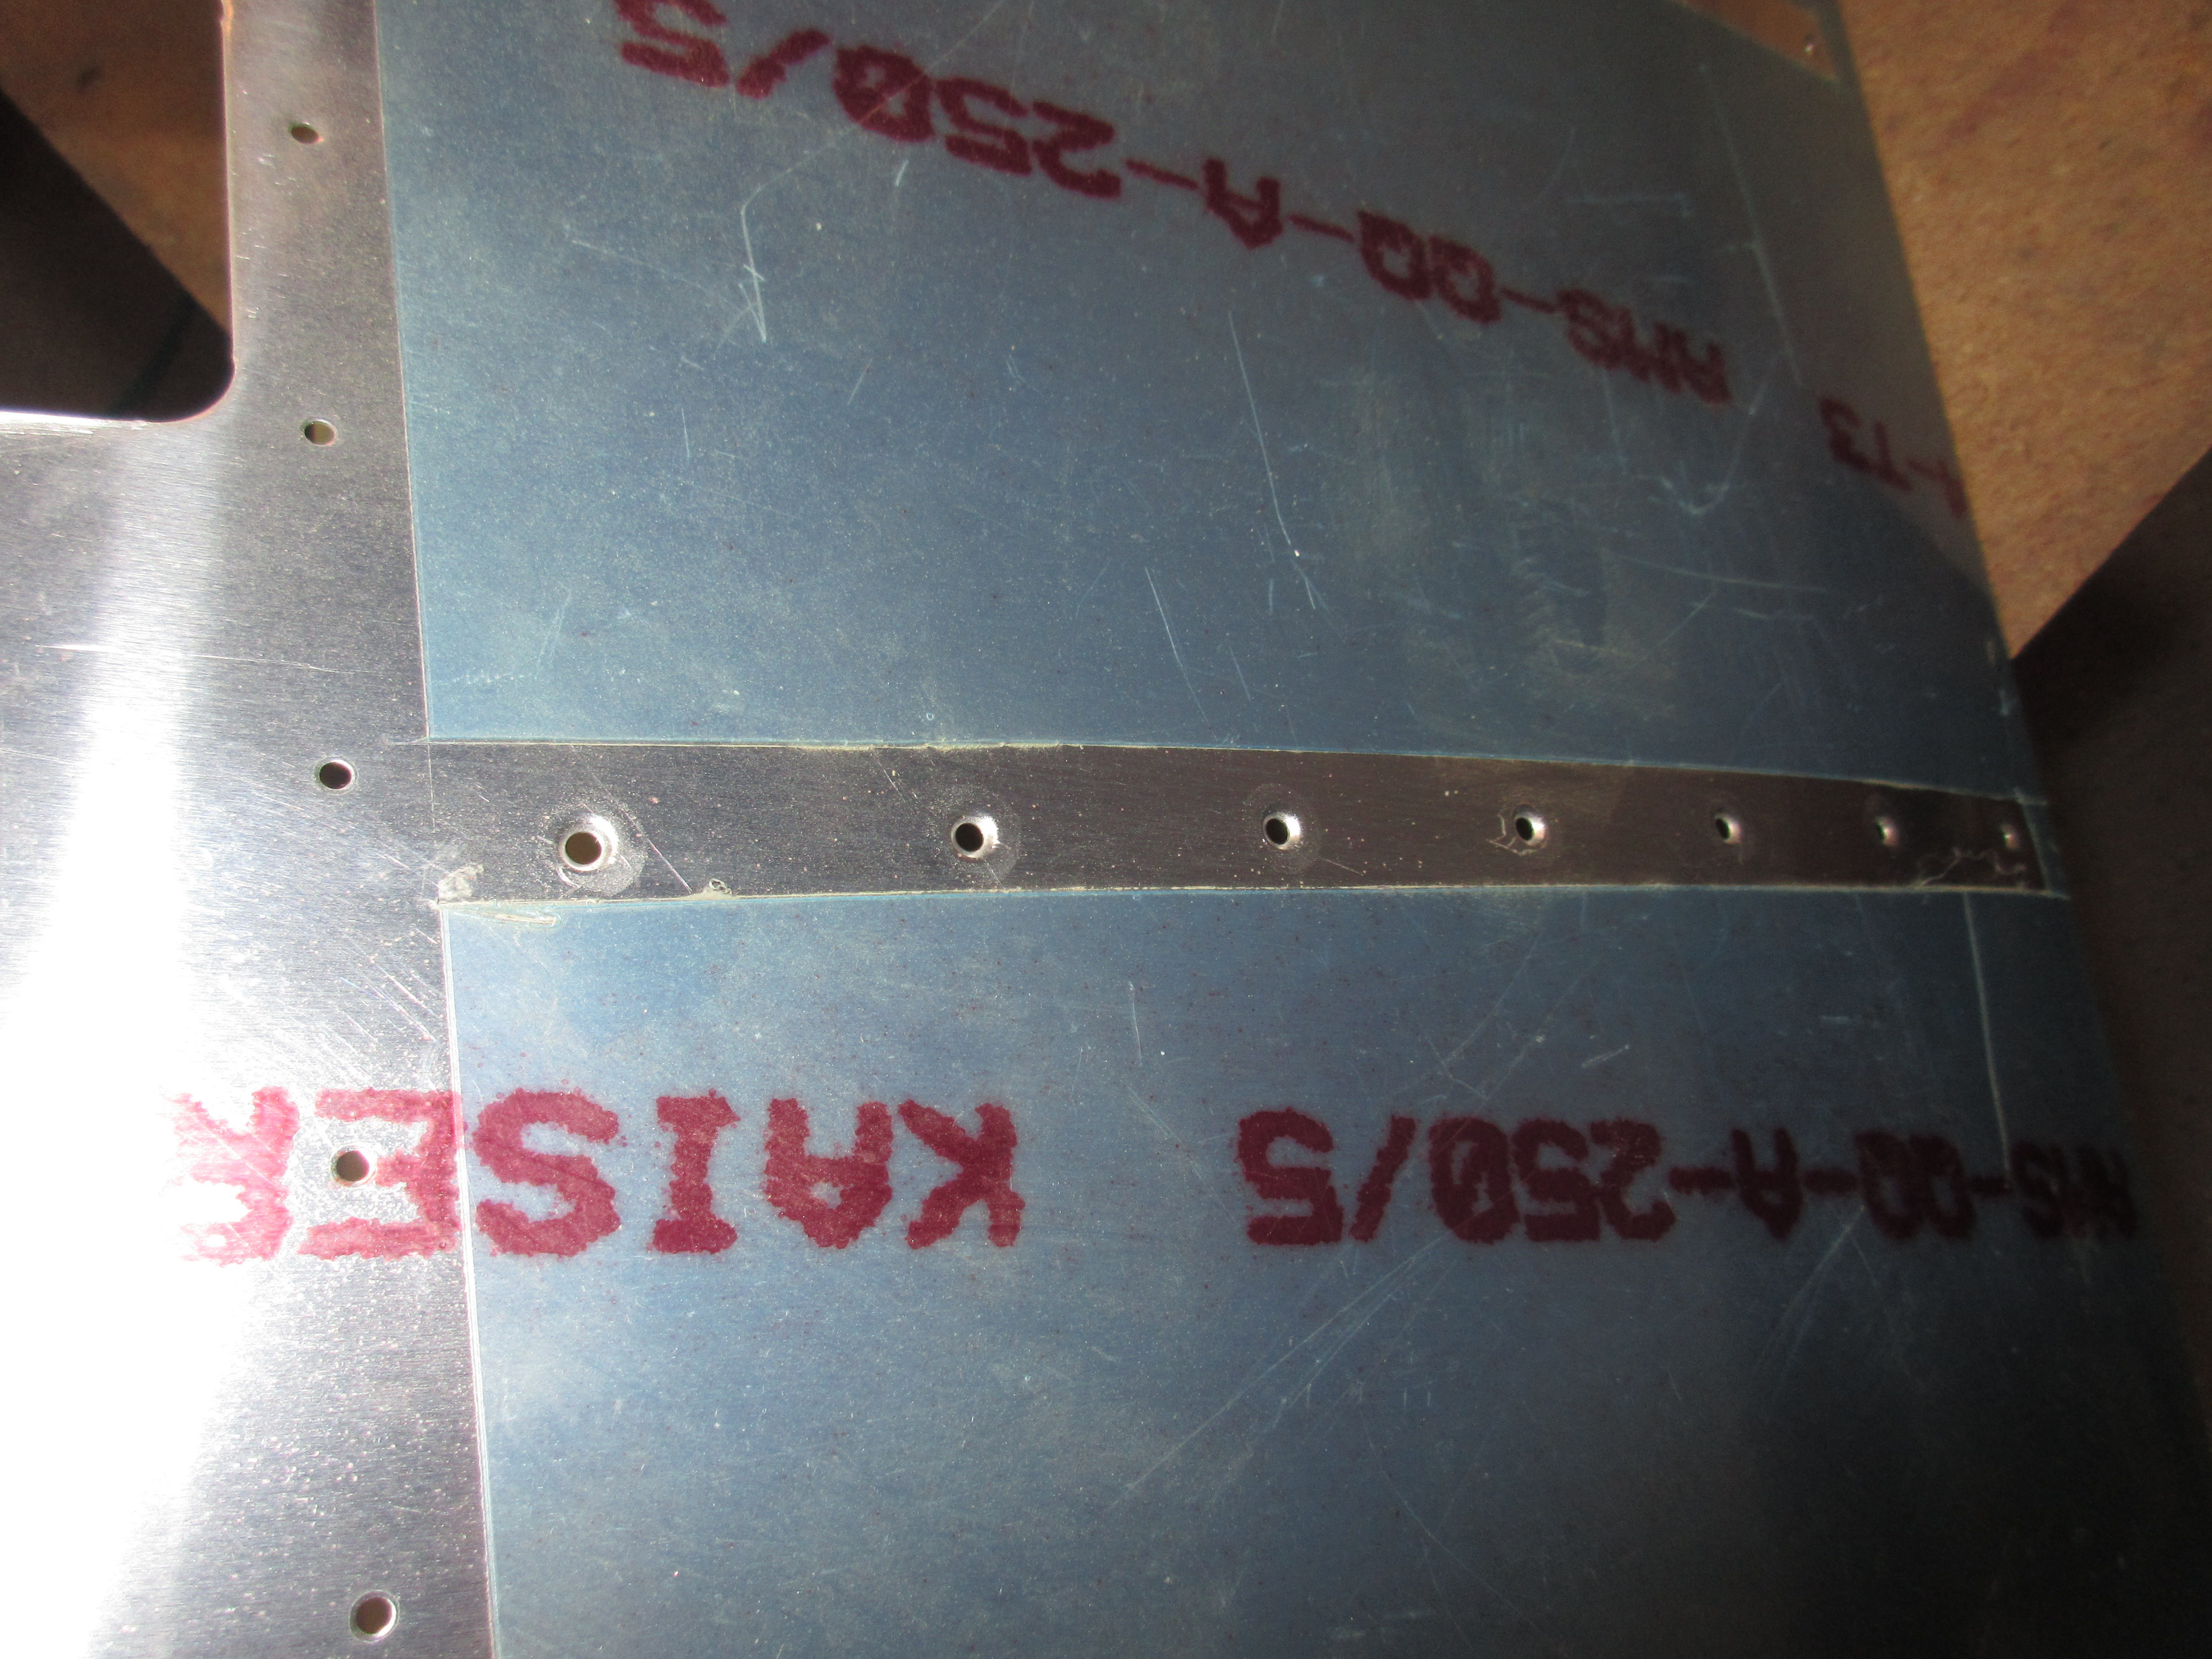
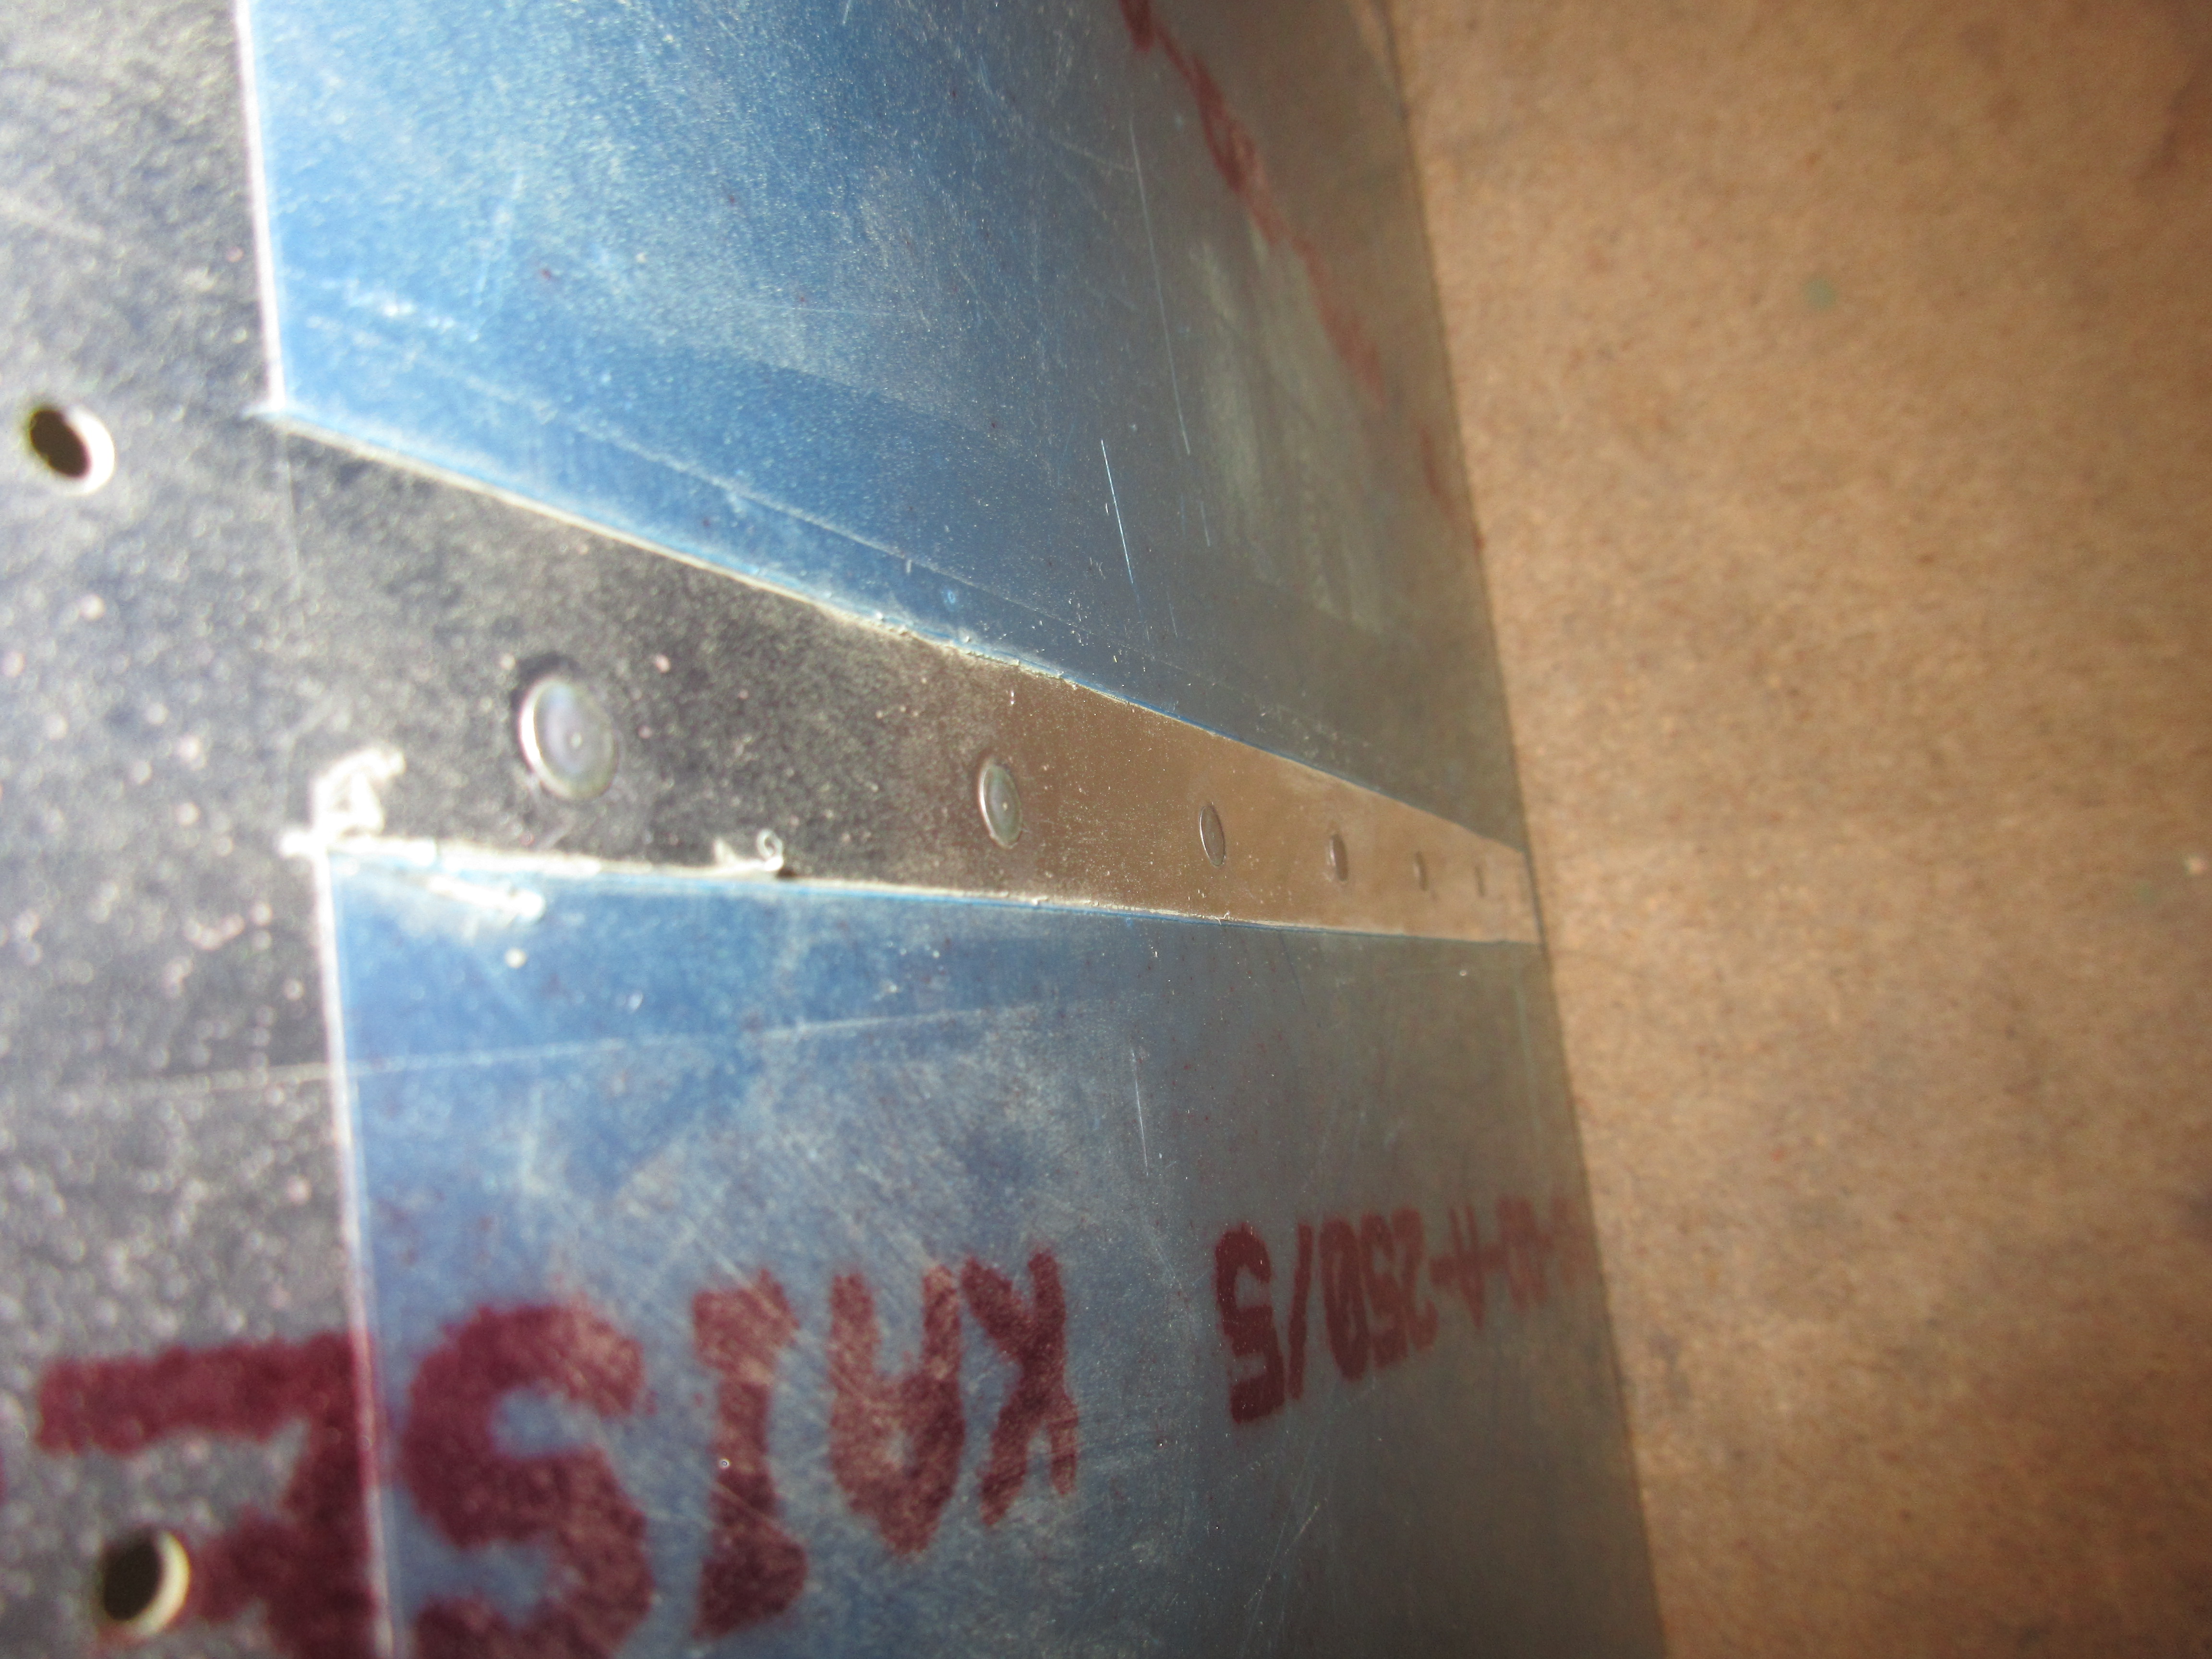
Thats where tonights work started. I deburred the stiffener holes in the both the E-701 left and right skins. Then I fired up the DRDT-2 dimpler and dimpled both skins, as well as all the stiffeners for both sides. This went pretty quickly, since they were all AN4263-3.5 rivets. The dimples always turn out nice:
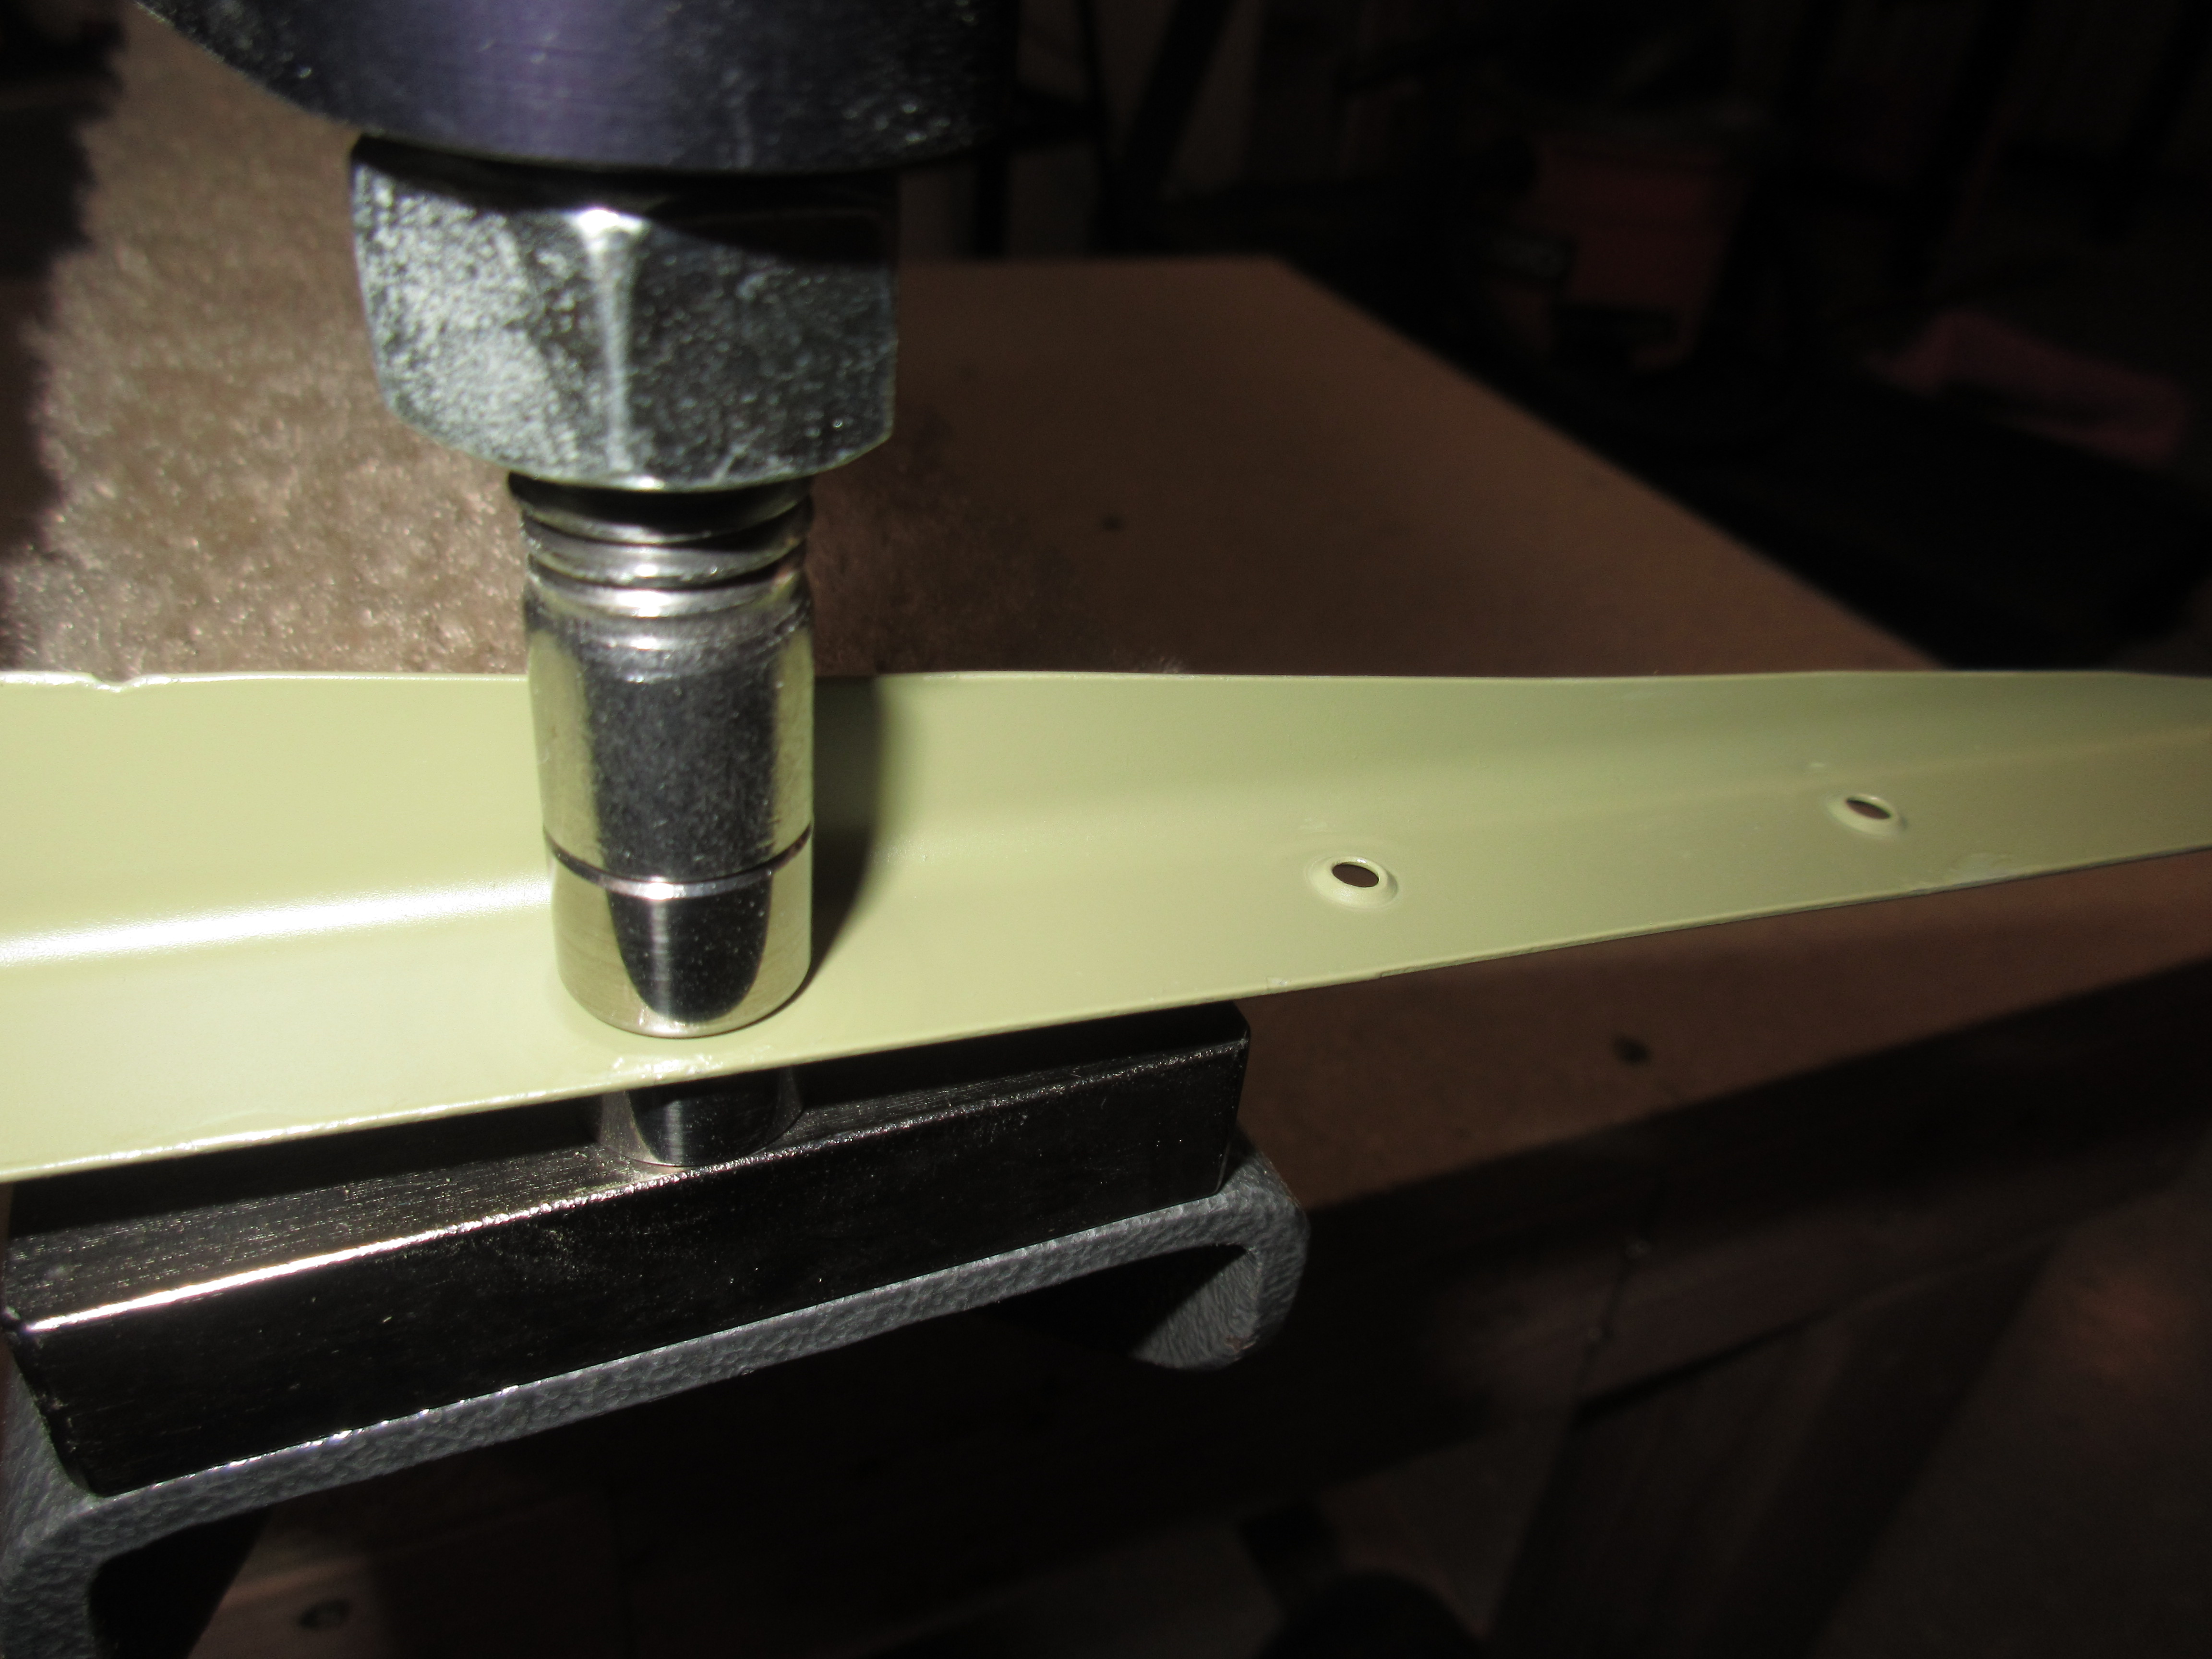
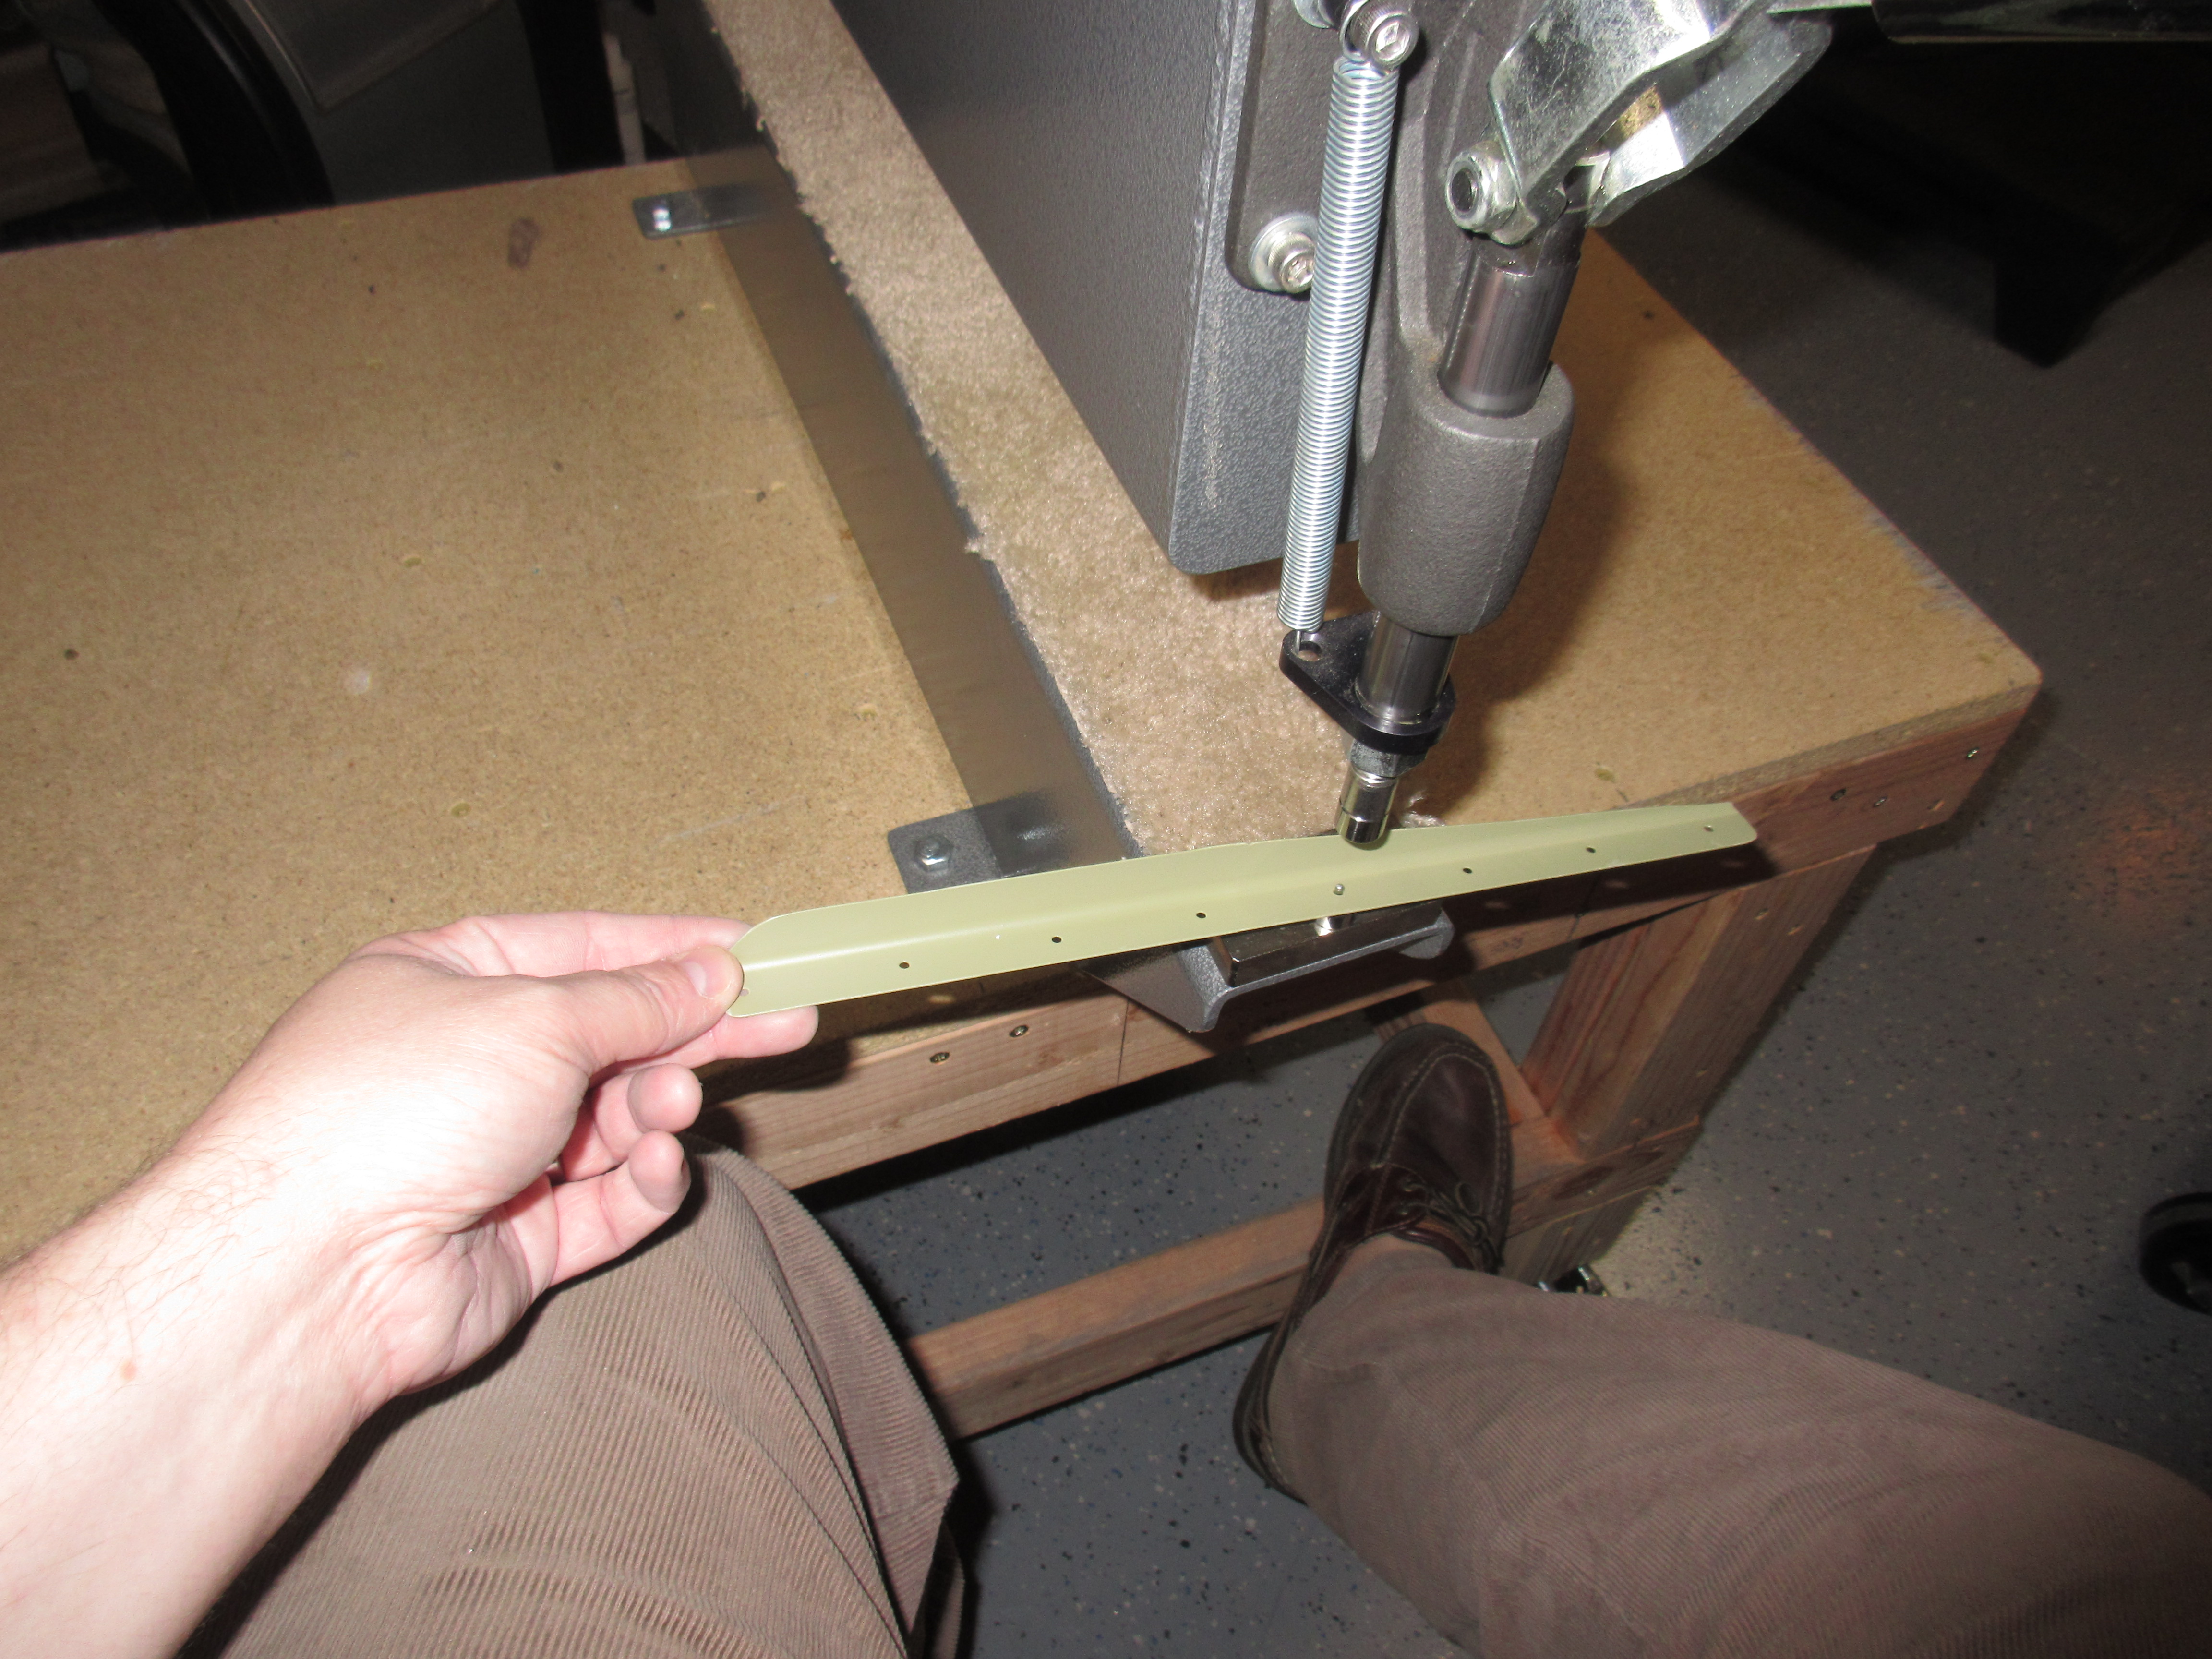
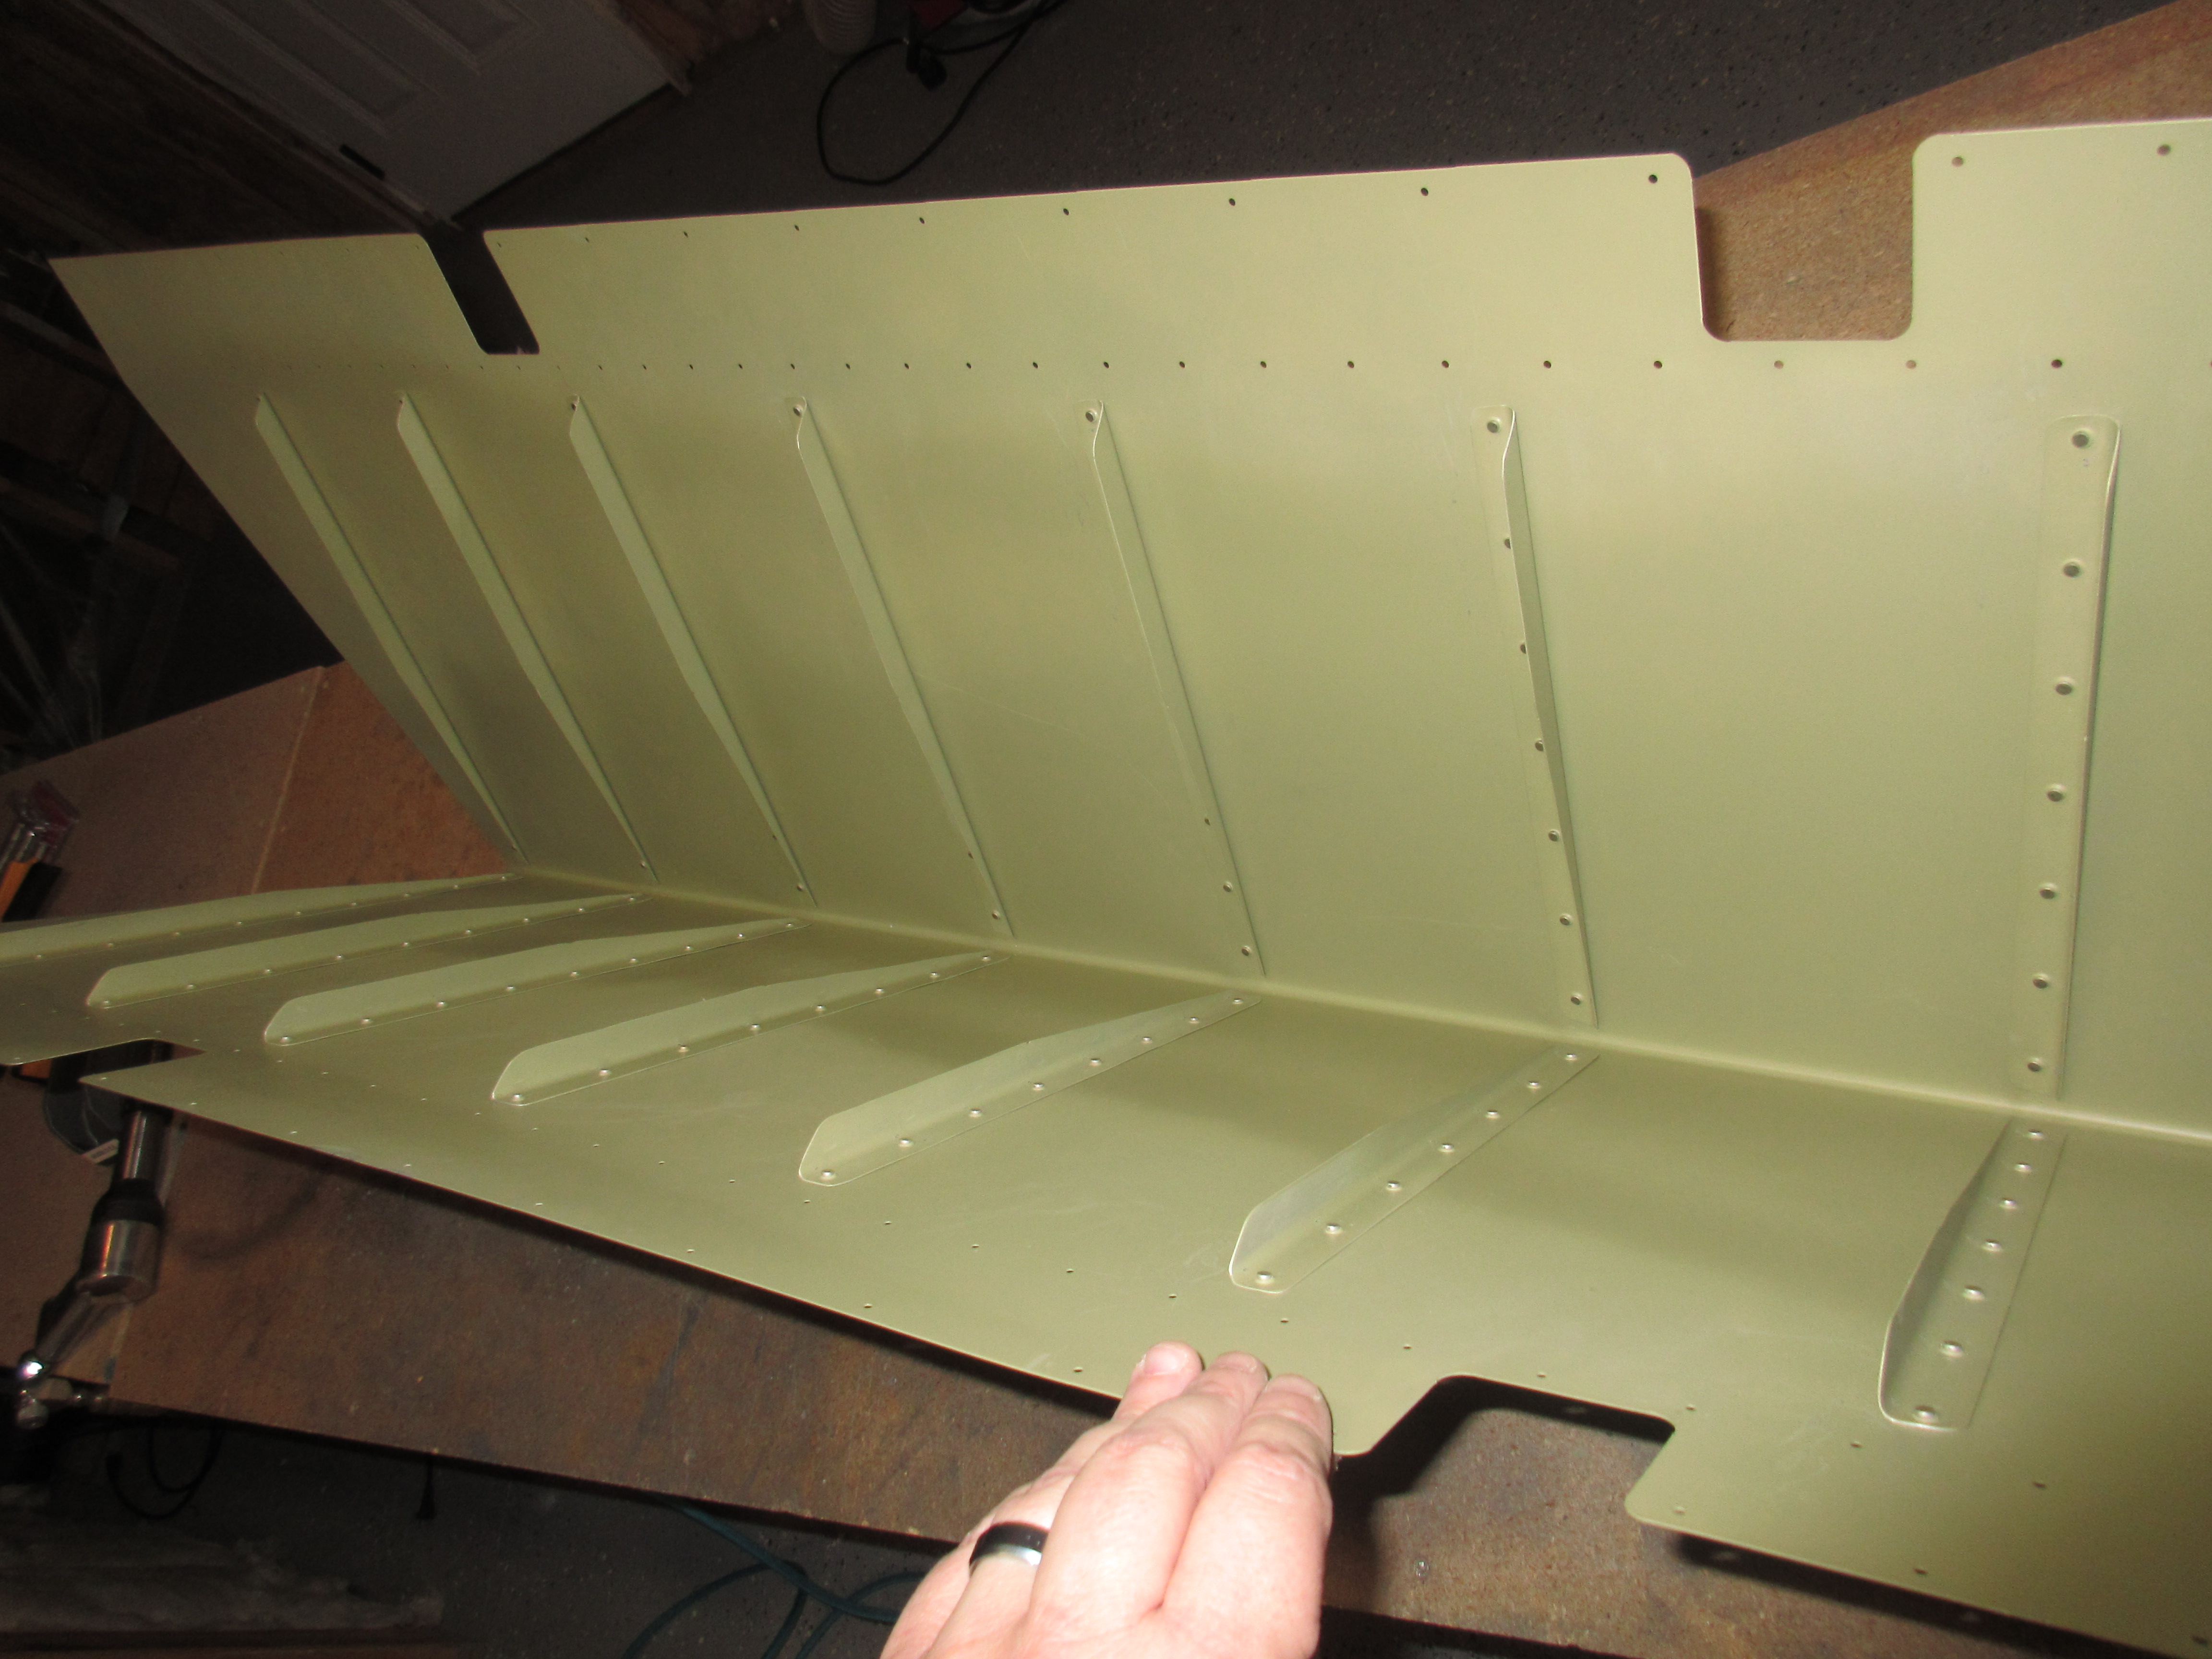
Next up was to back rivet all of the stiffeners to the skins, so i started on the right being that its the easiest. Back riveting is one of my favorite ways to rivet, and I’d gamble probably most of the other builders out there as well! The rivets set so nice and perfect, and its pretty easy to do so long as you keep an eye on where your back rivet plate is. I picked up a longer 16″ plate to have more room to work and its been awesome. Here’s some quick shots of the end result on the right skin.
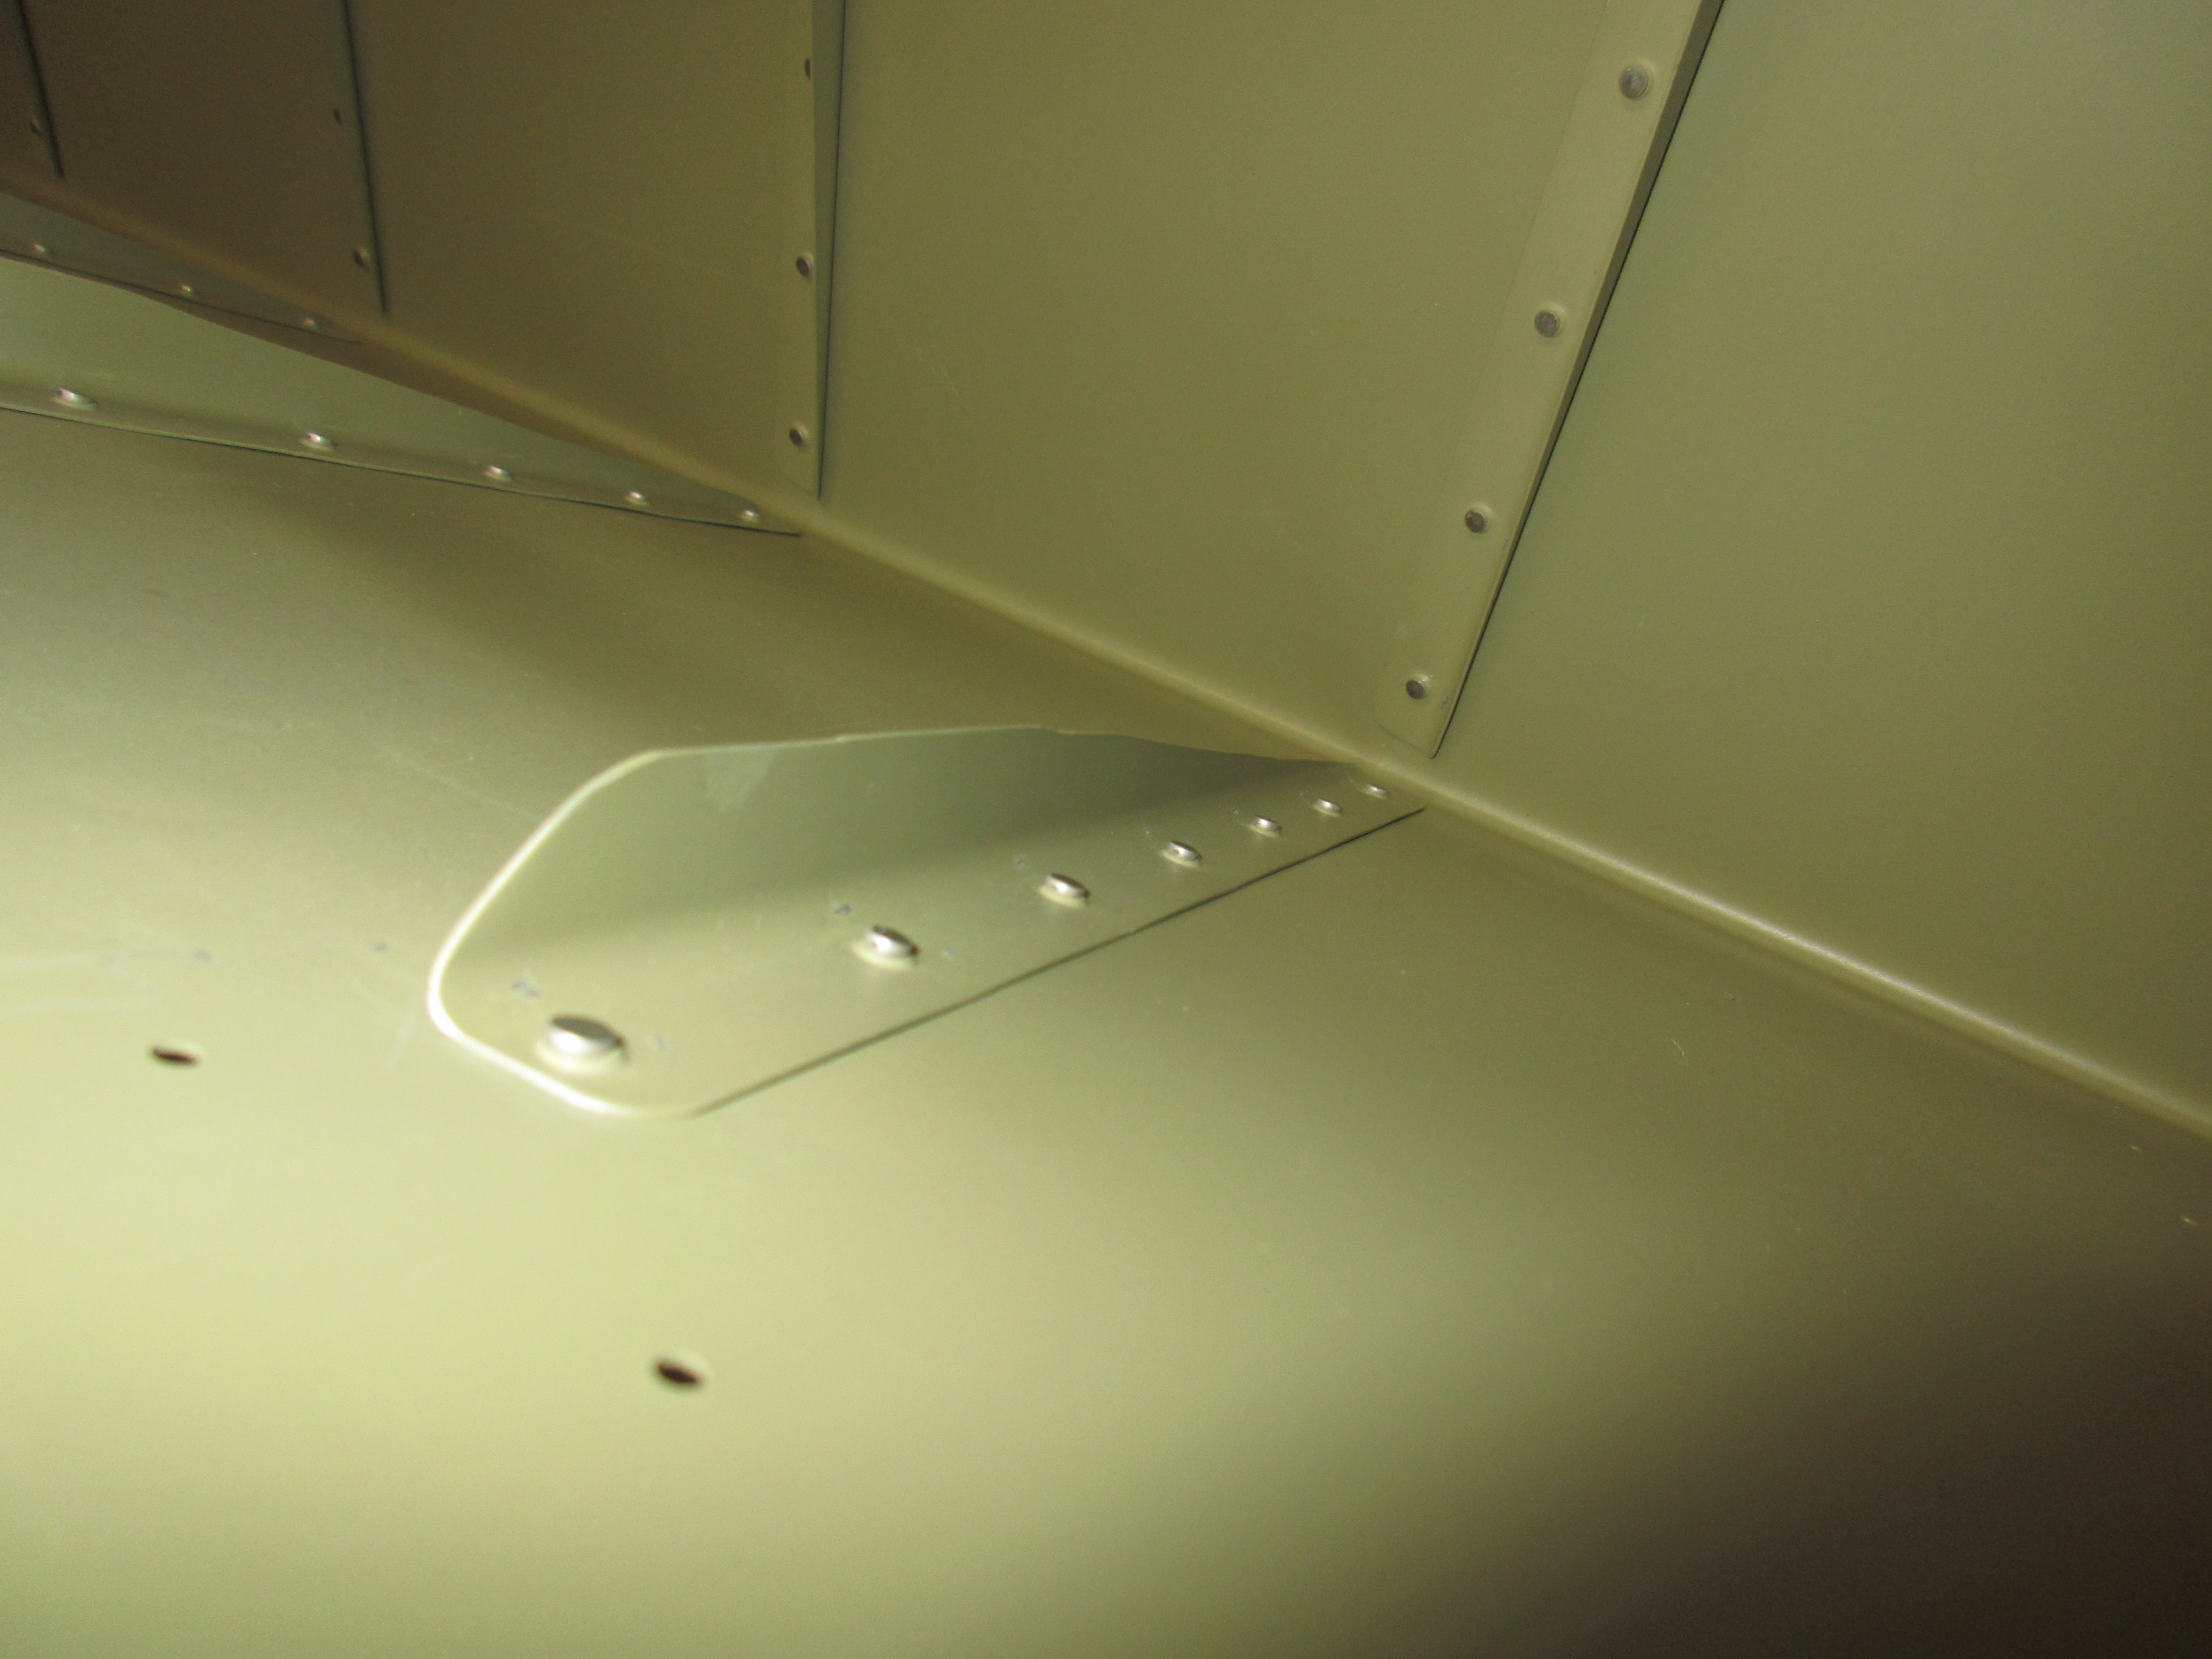
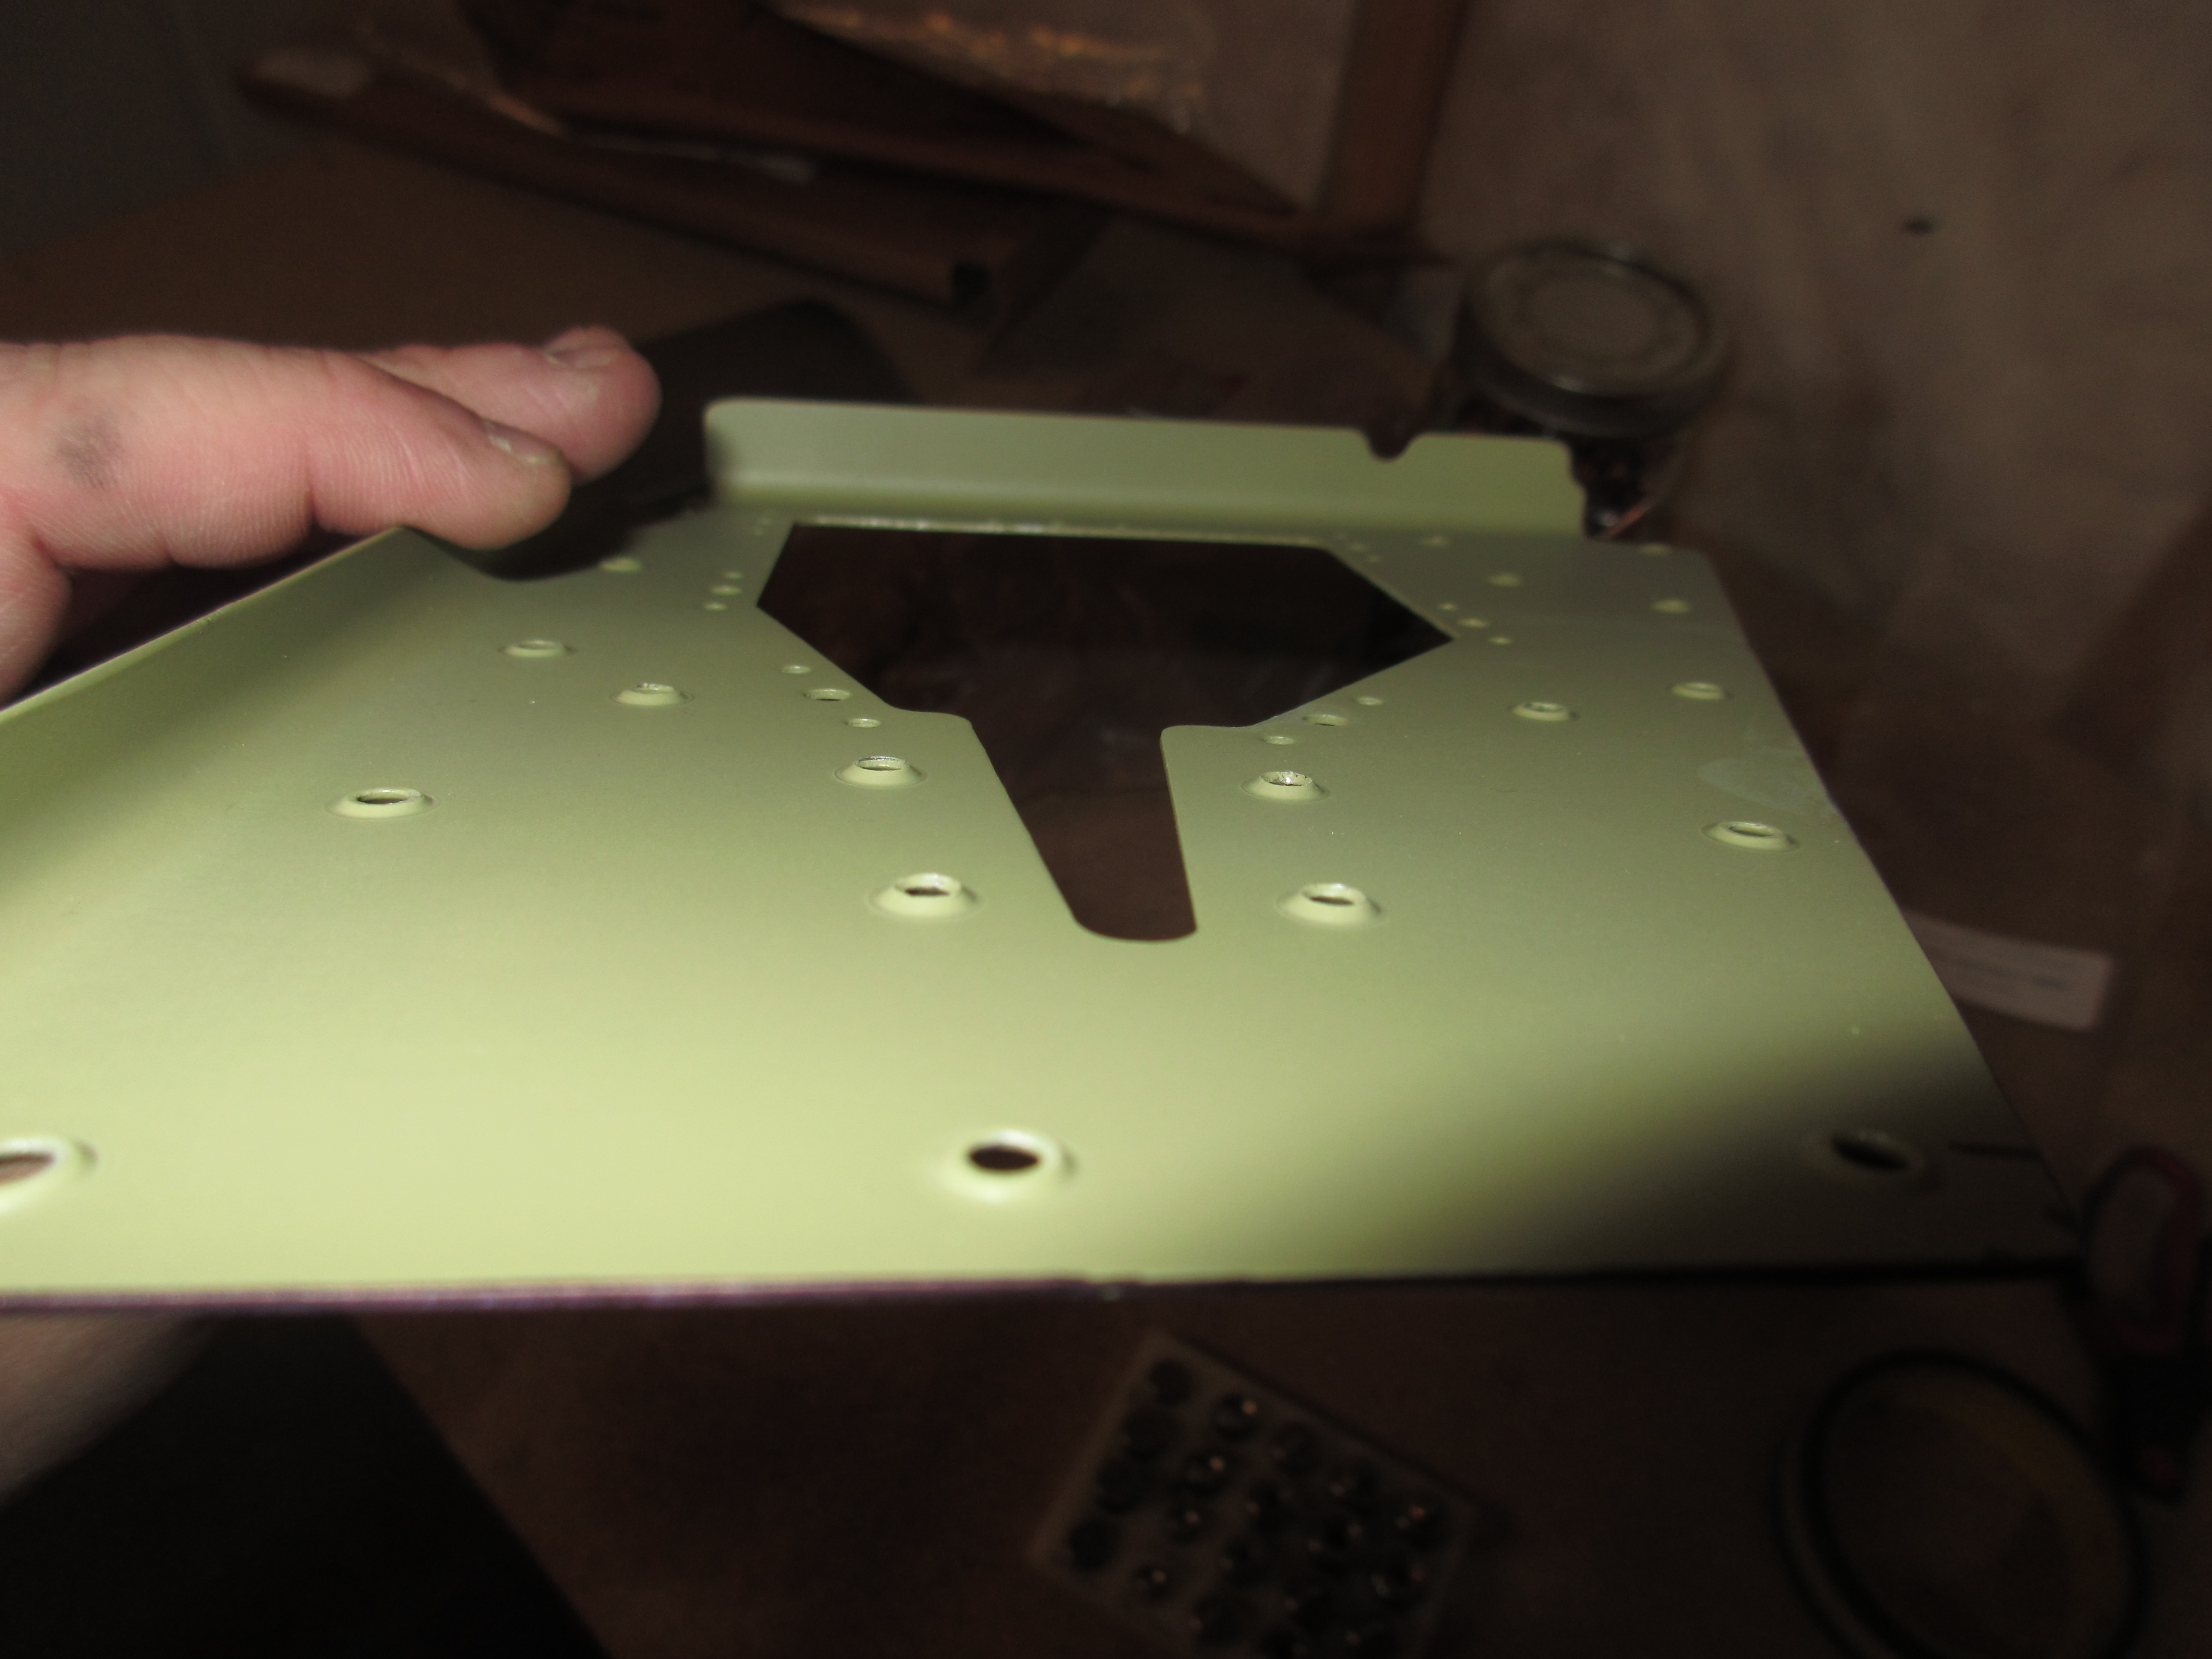
After I had the right skin all completed, I put it on the shelf and started on the left. The left is slightly more complicated because it has the elevator trim system, so we have a few more pieces to work with. I started out by marking where the E-615PP support plate went on the inside of the skin, and then deburred and dimple those holes on the skin and the plate. This plate will get some nut plates around the inside opening, so I need to dimple the nut plate mounting holes and screw hole. Here’s where I had a head-scratcher. I have in my dimple die collection a 5/32 and a #6 dimple die….The plans call for a #6 screw to be used with the nut plate, so that means I need to use a #6 dimple die, but I cannot figure out which is the 5/32 and which is the #6!!! The markings are no longer on the side of my dies and they are VERY close in size. I also took some time fitting the plate and pondering if I should dimple the AN4263-3.5 holes that the plans calls for, or if I should use some NAS1097 rivets and countersink them. If I dimple, I will have to fiddle with dimple the nutplate ears, and that gets messy. I am thinking about using some NAS1097, AKA “oops rivets”, instead. They have a smaller countersink on the head, but since these are just holding the nut plate in place there isn’t much load on them. Using NAS1097’s will let me machine countersink the plate and get a very close fitting rivet set and not have to worry about the nut plate ears. I figured I would just call it a night here, and put some thought to this overnight and ask some folks on the Vans Airforce forums. Maybe they can help me sort out which is a 5/32 and which is a #6 die as well! 🙂 Here’s the work I did get done one the E-615PP:
In the next session, I will back rivet on the stiffeners to the left skin, and figure out this E-615PP support plate conundrum, and probably make up the trailing edge bending jig. Here’s the photos from tonights work:
And heres the Google Photos link: https://goo.gl/photos/ZMa9huaebXyCxRGS7
Hours Worked: 3.25