


Tonight I started riveting the rudder together. I planned on getting the majority of the rudder riveted, while leaving the out the last few rivets along the trailing edge. This way I can more easily spread the trailing edge to make it easier to bond the trailing edge wedge and rivet it. I spent about three hours on the rudder tonight, and it came out really great so far!
The work started by rolling the edges of the skins where it laps over the counterbalance skin. I used my edge rolling tool to accomplish this, and it formed a nice little break that will let the two lap joints fit nicely with no lipping. I also rolled the edges of the leading edge skin so that it will lap together very nice when I finally finish up the leading edge. After that, I studied the plans, as there are several spots on the rudder that require different sizes, and made sure I had the proper locations identified.
I started riveting at the overlap of the R-901 skin and R-913 counterbalance skin. These rivets have to be set first, because they become inaccessible once we install the R-903 tip rib. Once I had these rivets set on both sides, I installed the R-903 tip rib and clecoed every hole because this is a rather compound and complex curve. I started riveting by pop-riveting the rib to the R-902 spar per the plans. Then I used the AN426 flush rivets on the very leading edge, where the tip rib fits into the counterbalance skin and began working my way toward the tip, removing one cleco at a time and then riveting in that hole. Flipped the rudder over and done the opposite side.
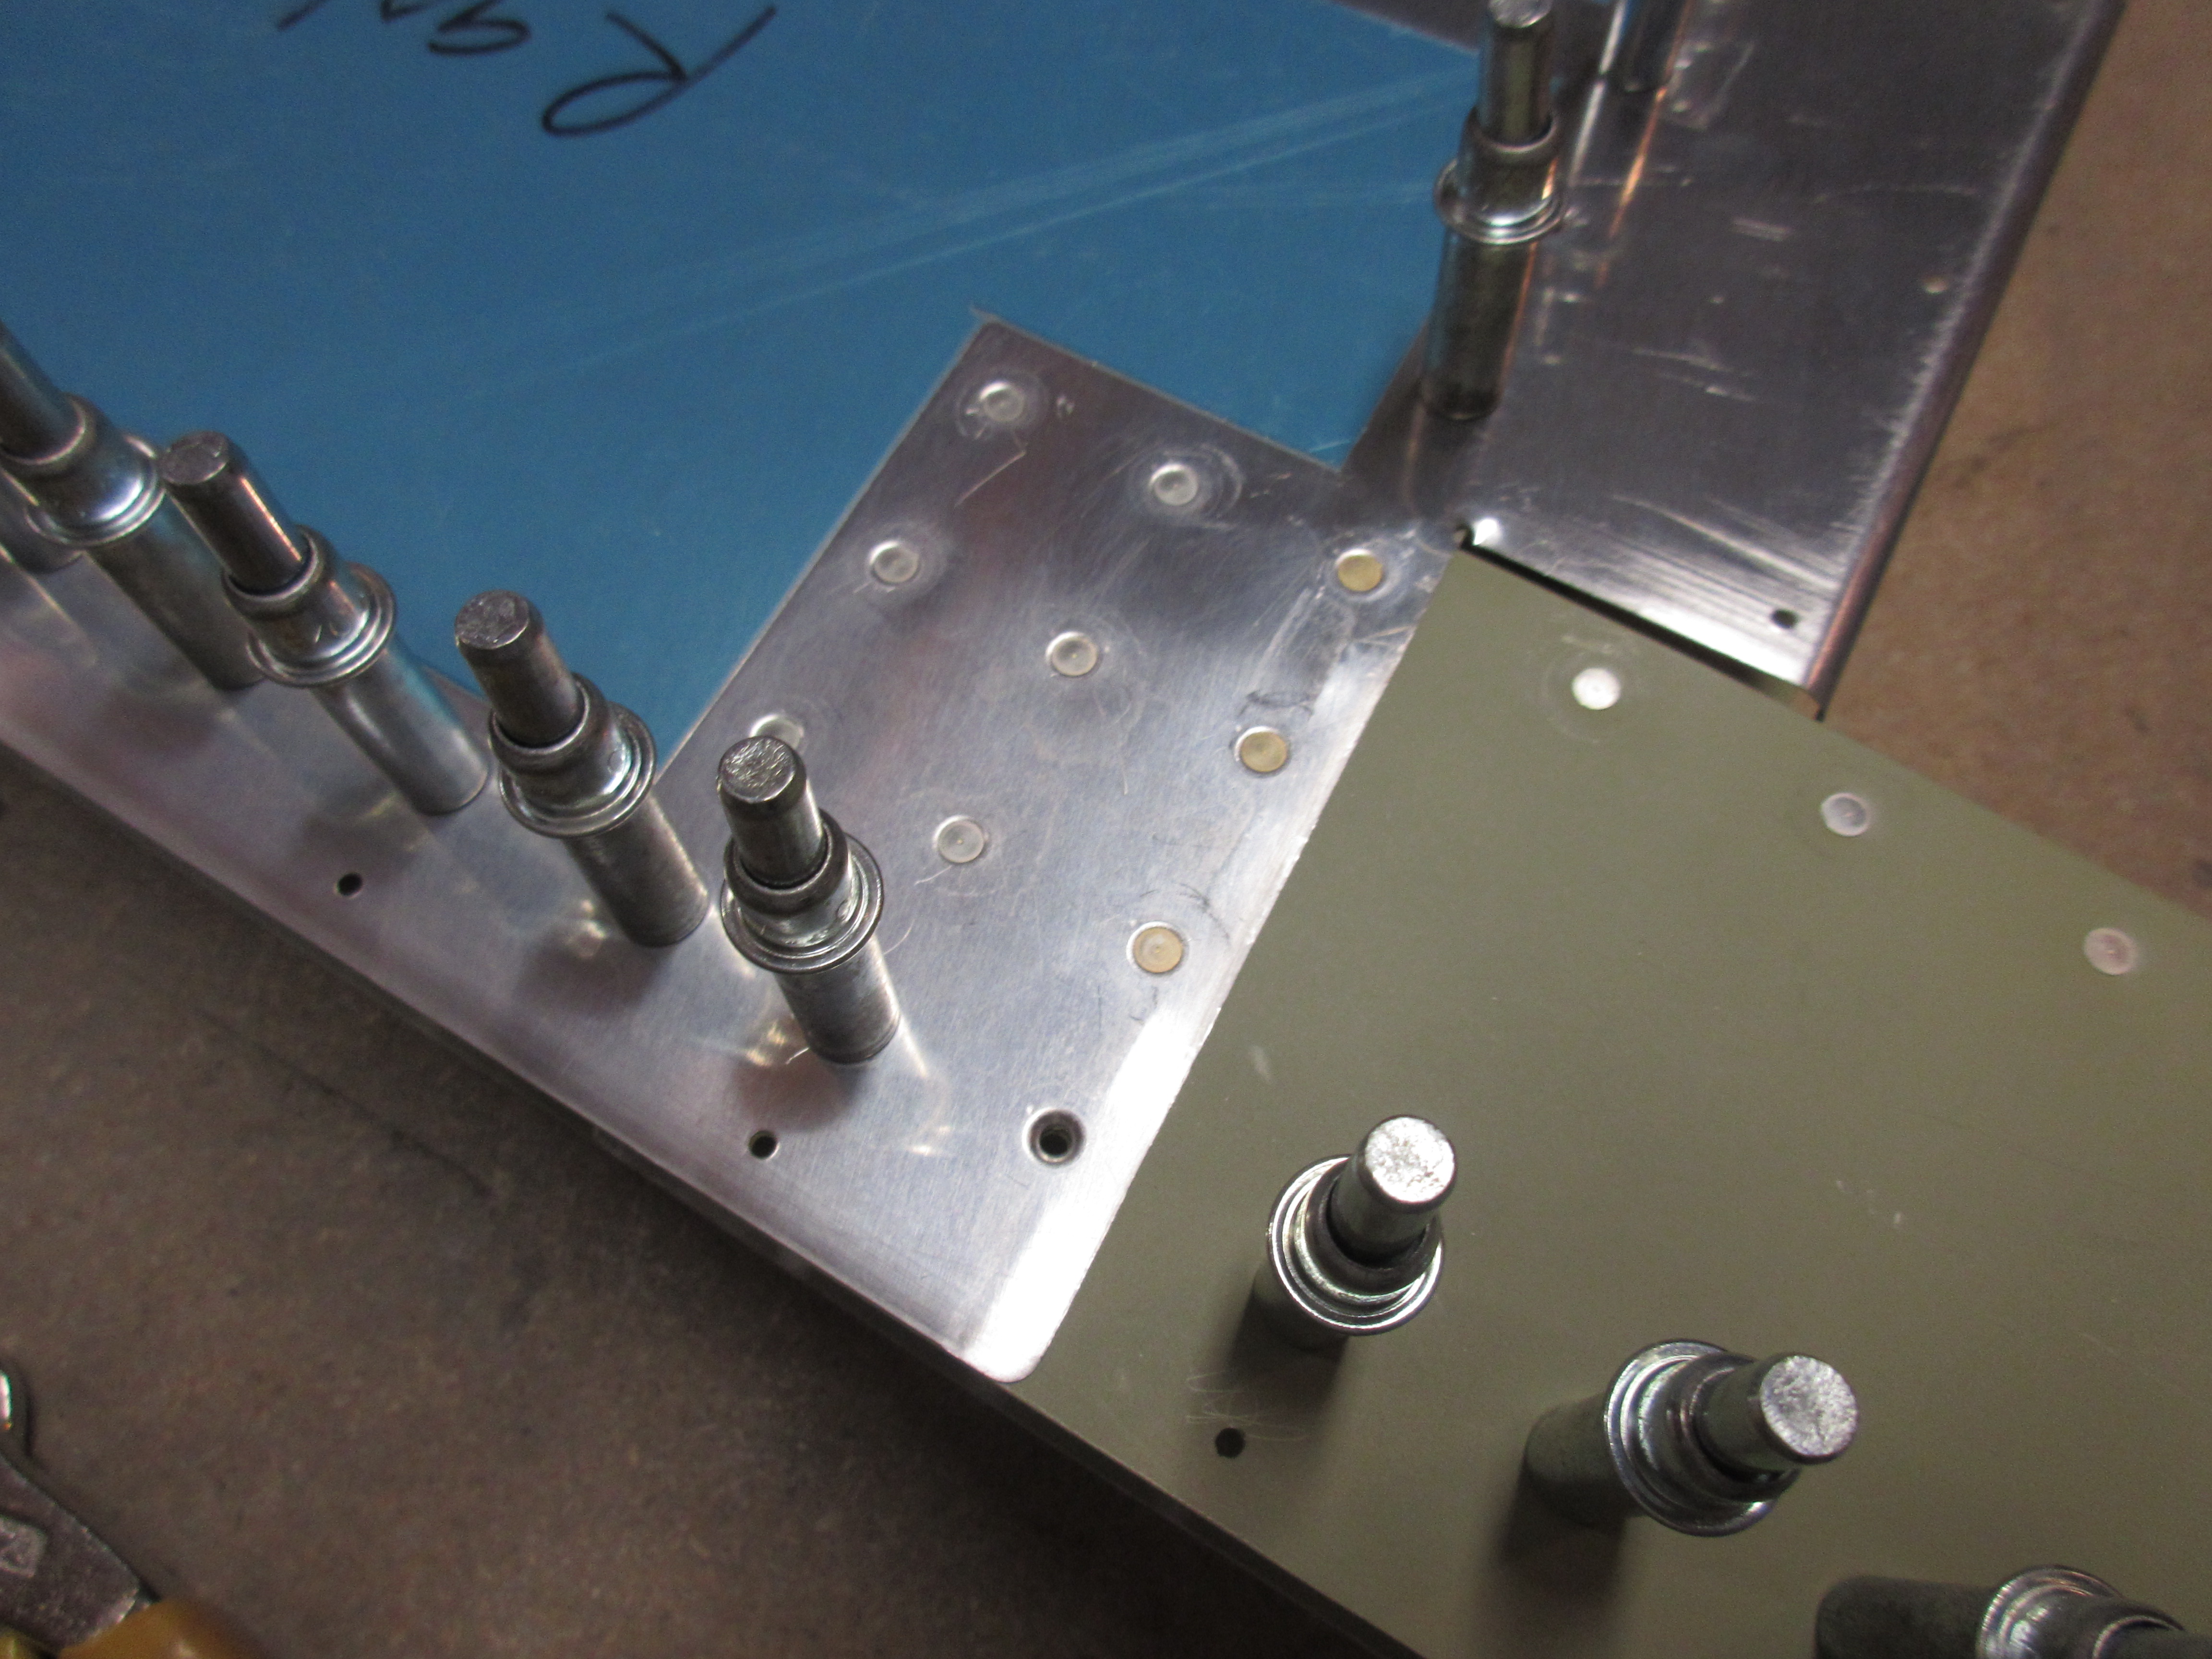

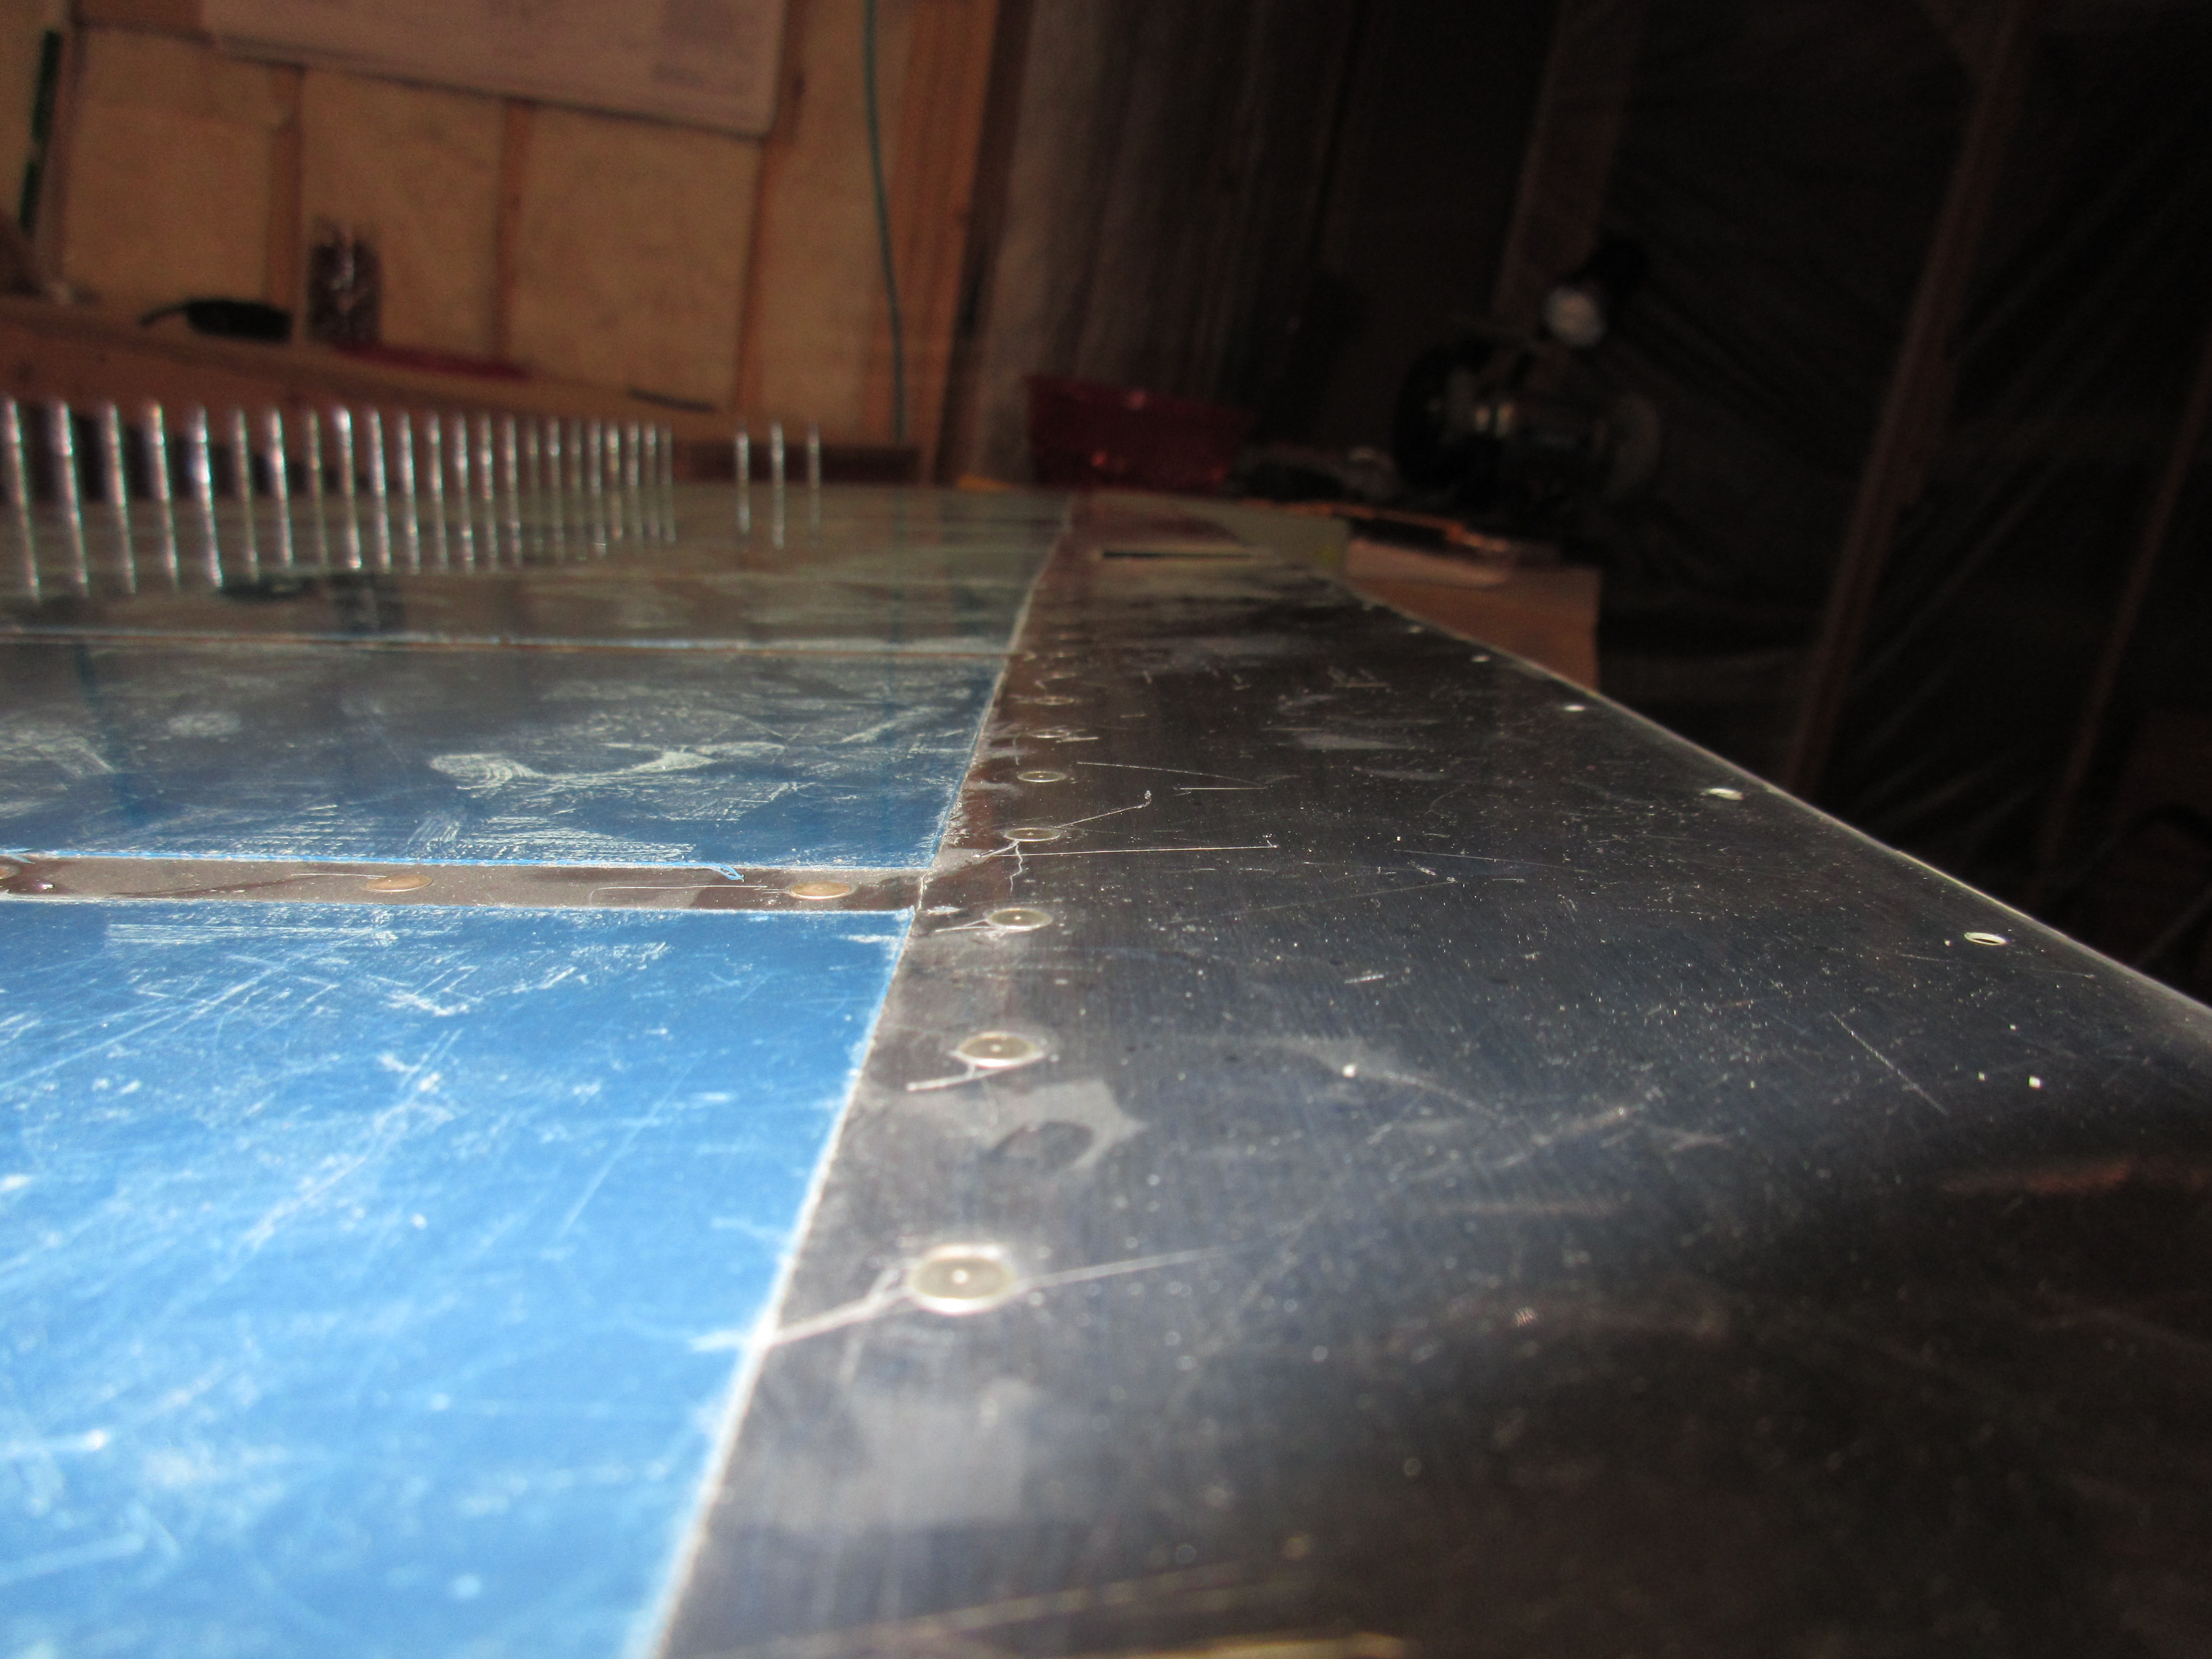
On the upper side of the rudder, I left the last 6 or so rivets out of the tip rib/skin so that I can flex it open to install the trailing edge. Once I had the upper tip riveted up, I decided to continue on and rivet the skin to the spar on both sides and then rivet the bottom rib. I started out by riveting the skin to the rear spar in every other hole that way the clecos would hold the skin flush to the spar nicely. Once I had every other hole riveted, I removed the remaining clecos and riveted those holes. This worked really well, as I could insert all the rivets, and squeeze them in “batches” instead of one by one. Once I had a side completed, I flipped the rudder over and riveted the opposite in the same manner. It turned out looking very nicely, but pardon the dust 🙂
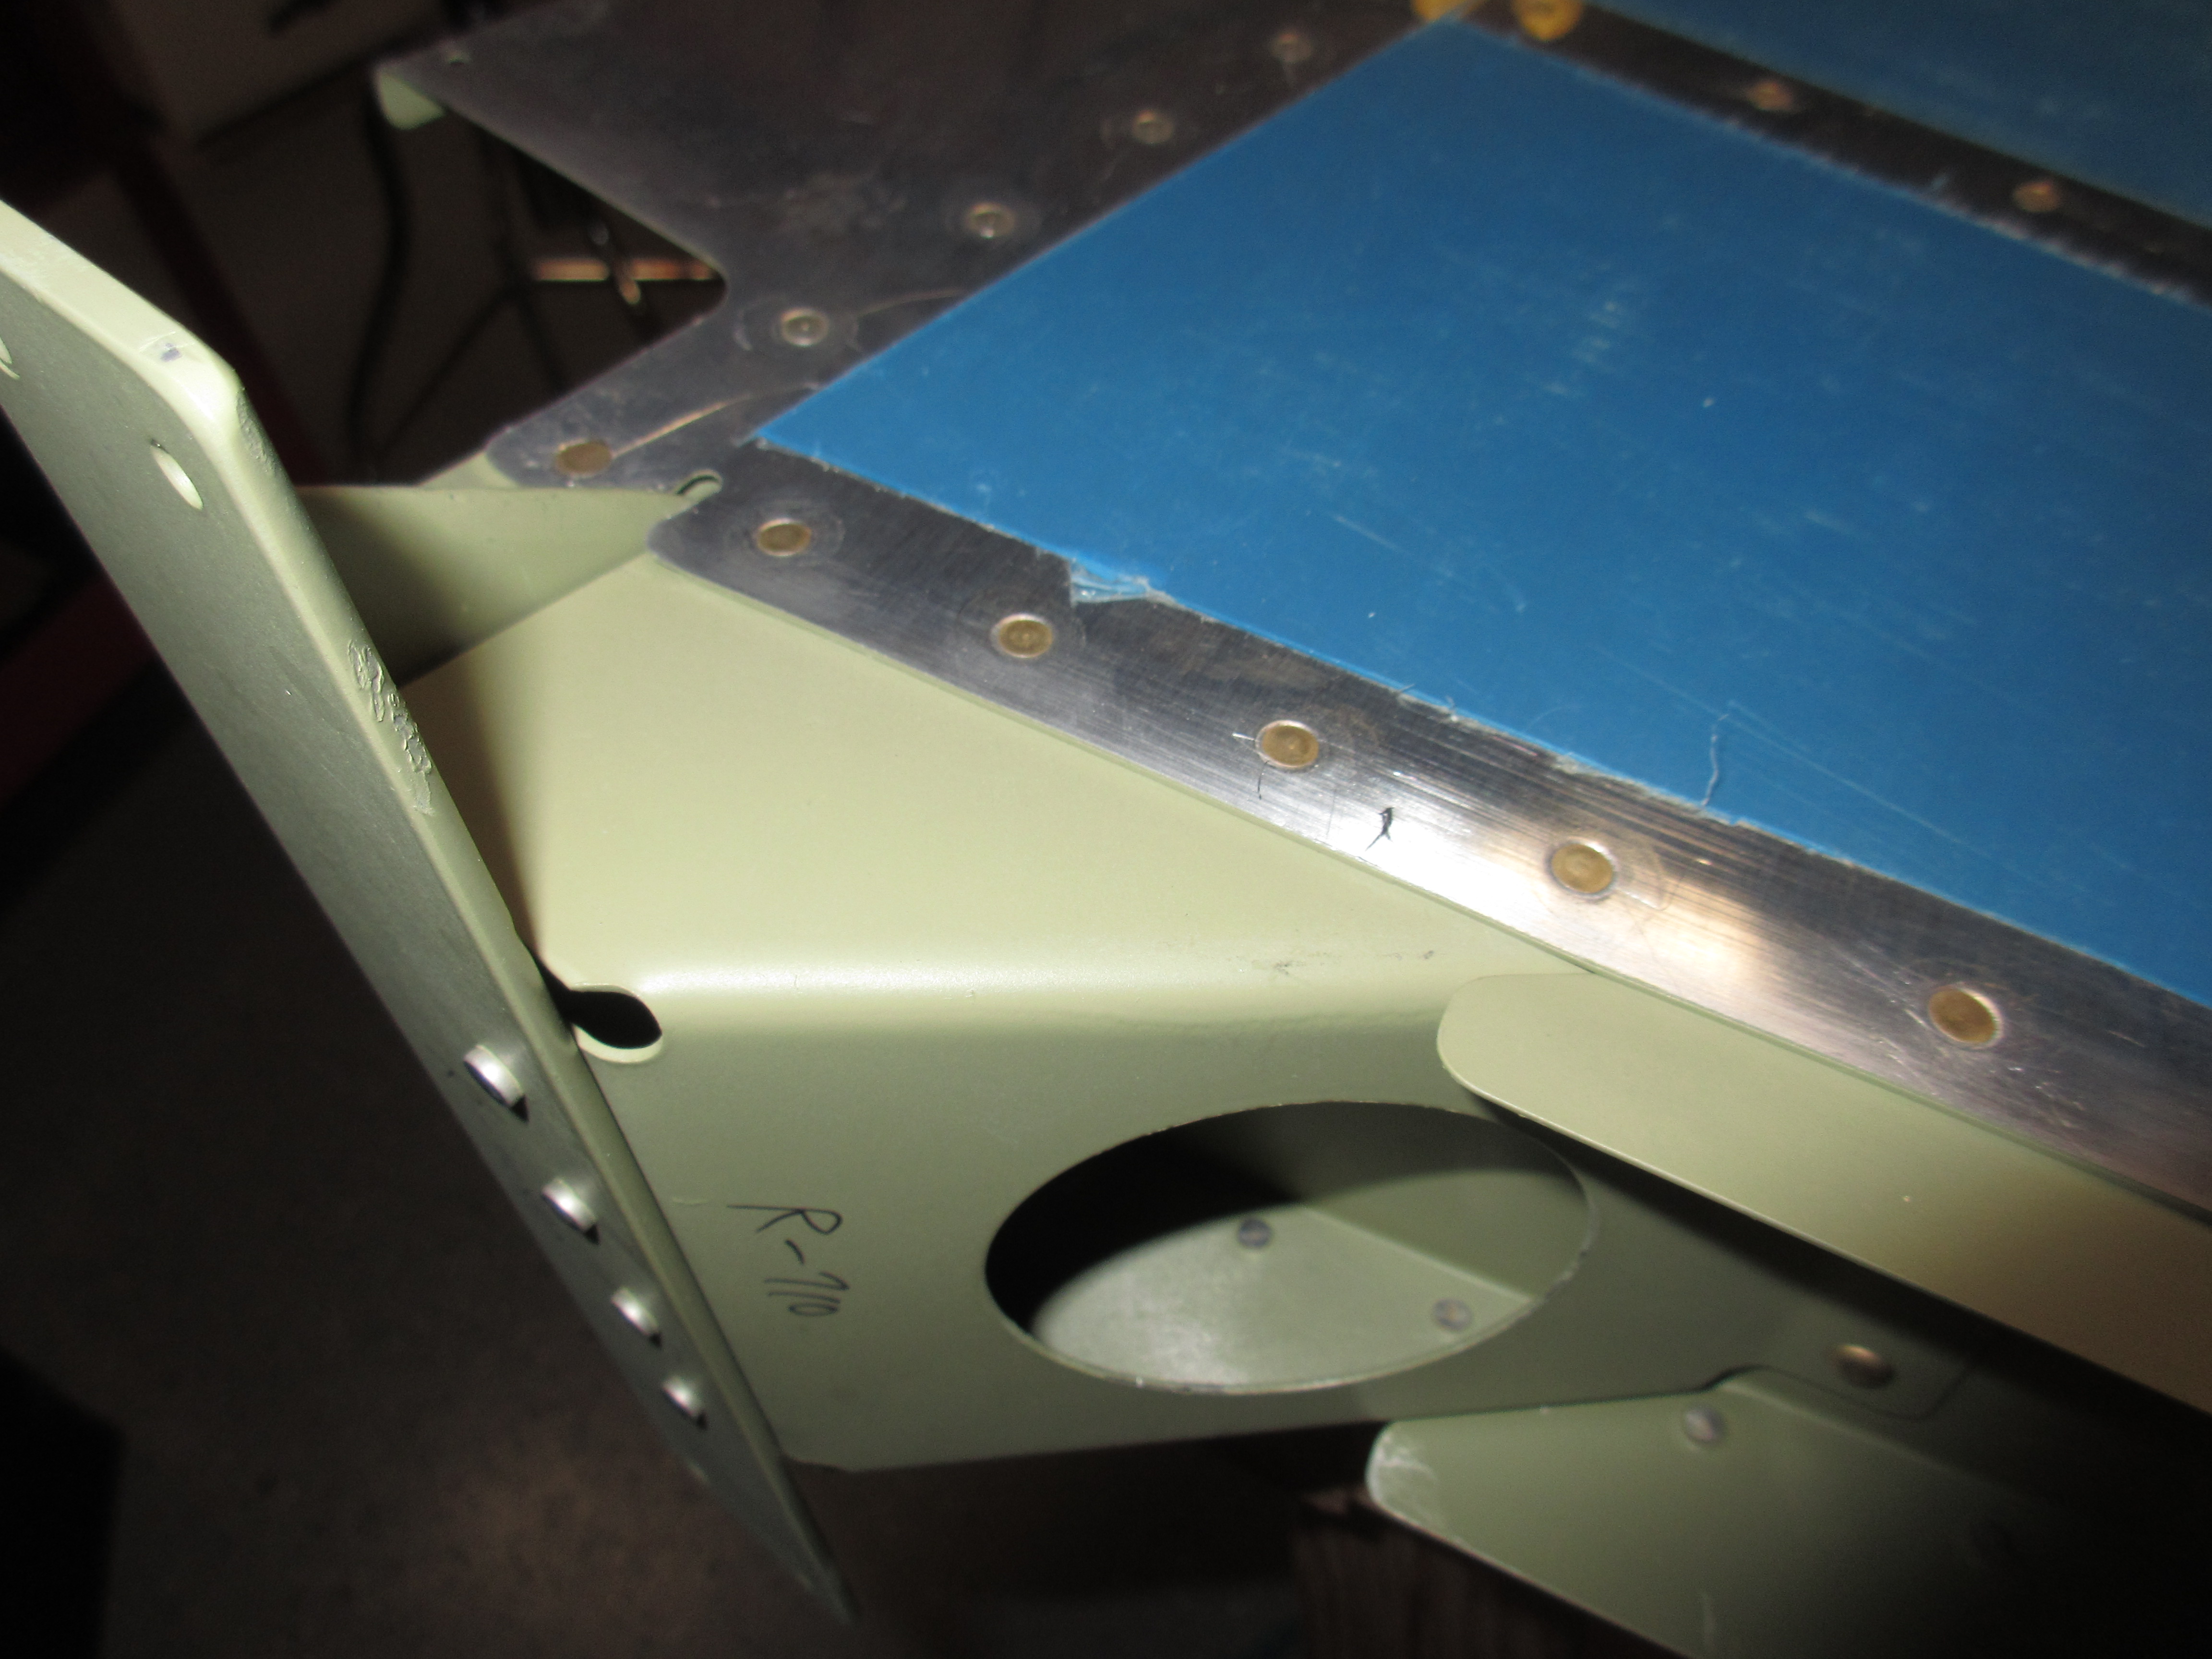
All that was left as this point was the bottom rib, the R-710 rudder horn brace and fiberglass mounting strips. I started out by swapping out the nose on my squeezer so that I could fit into the tight space of the rudder horn in order to set those rivets. I had BARELY enough clearance to get them done, but it worked out after being very careful with the squeezer.
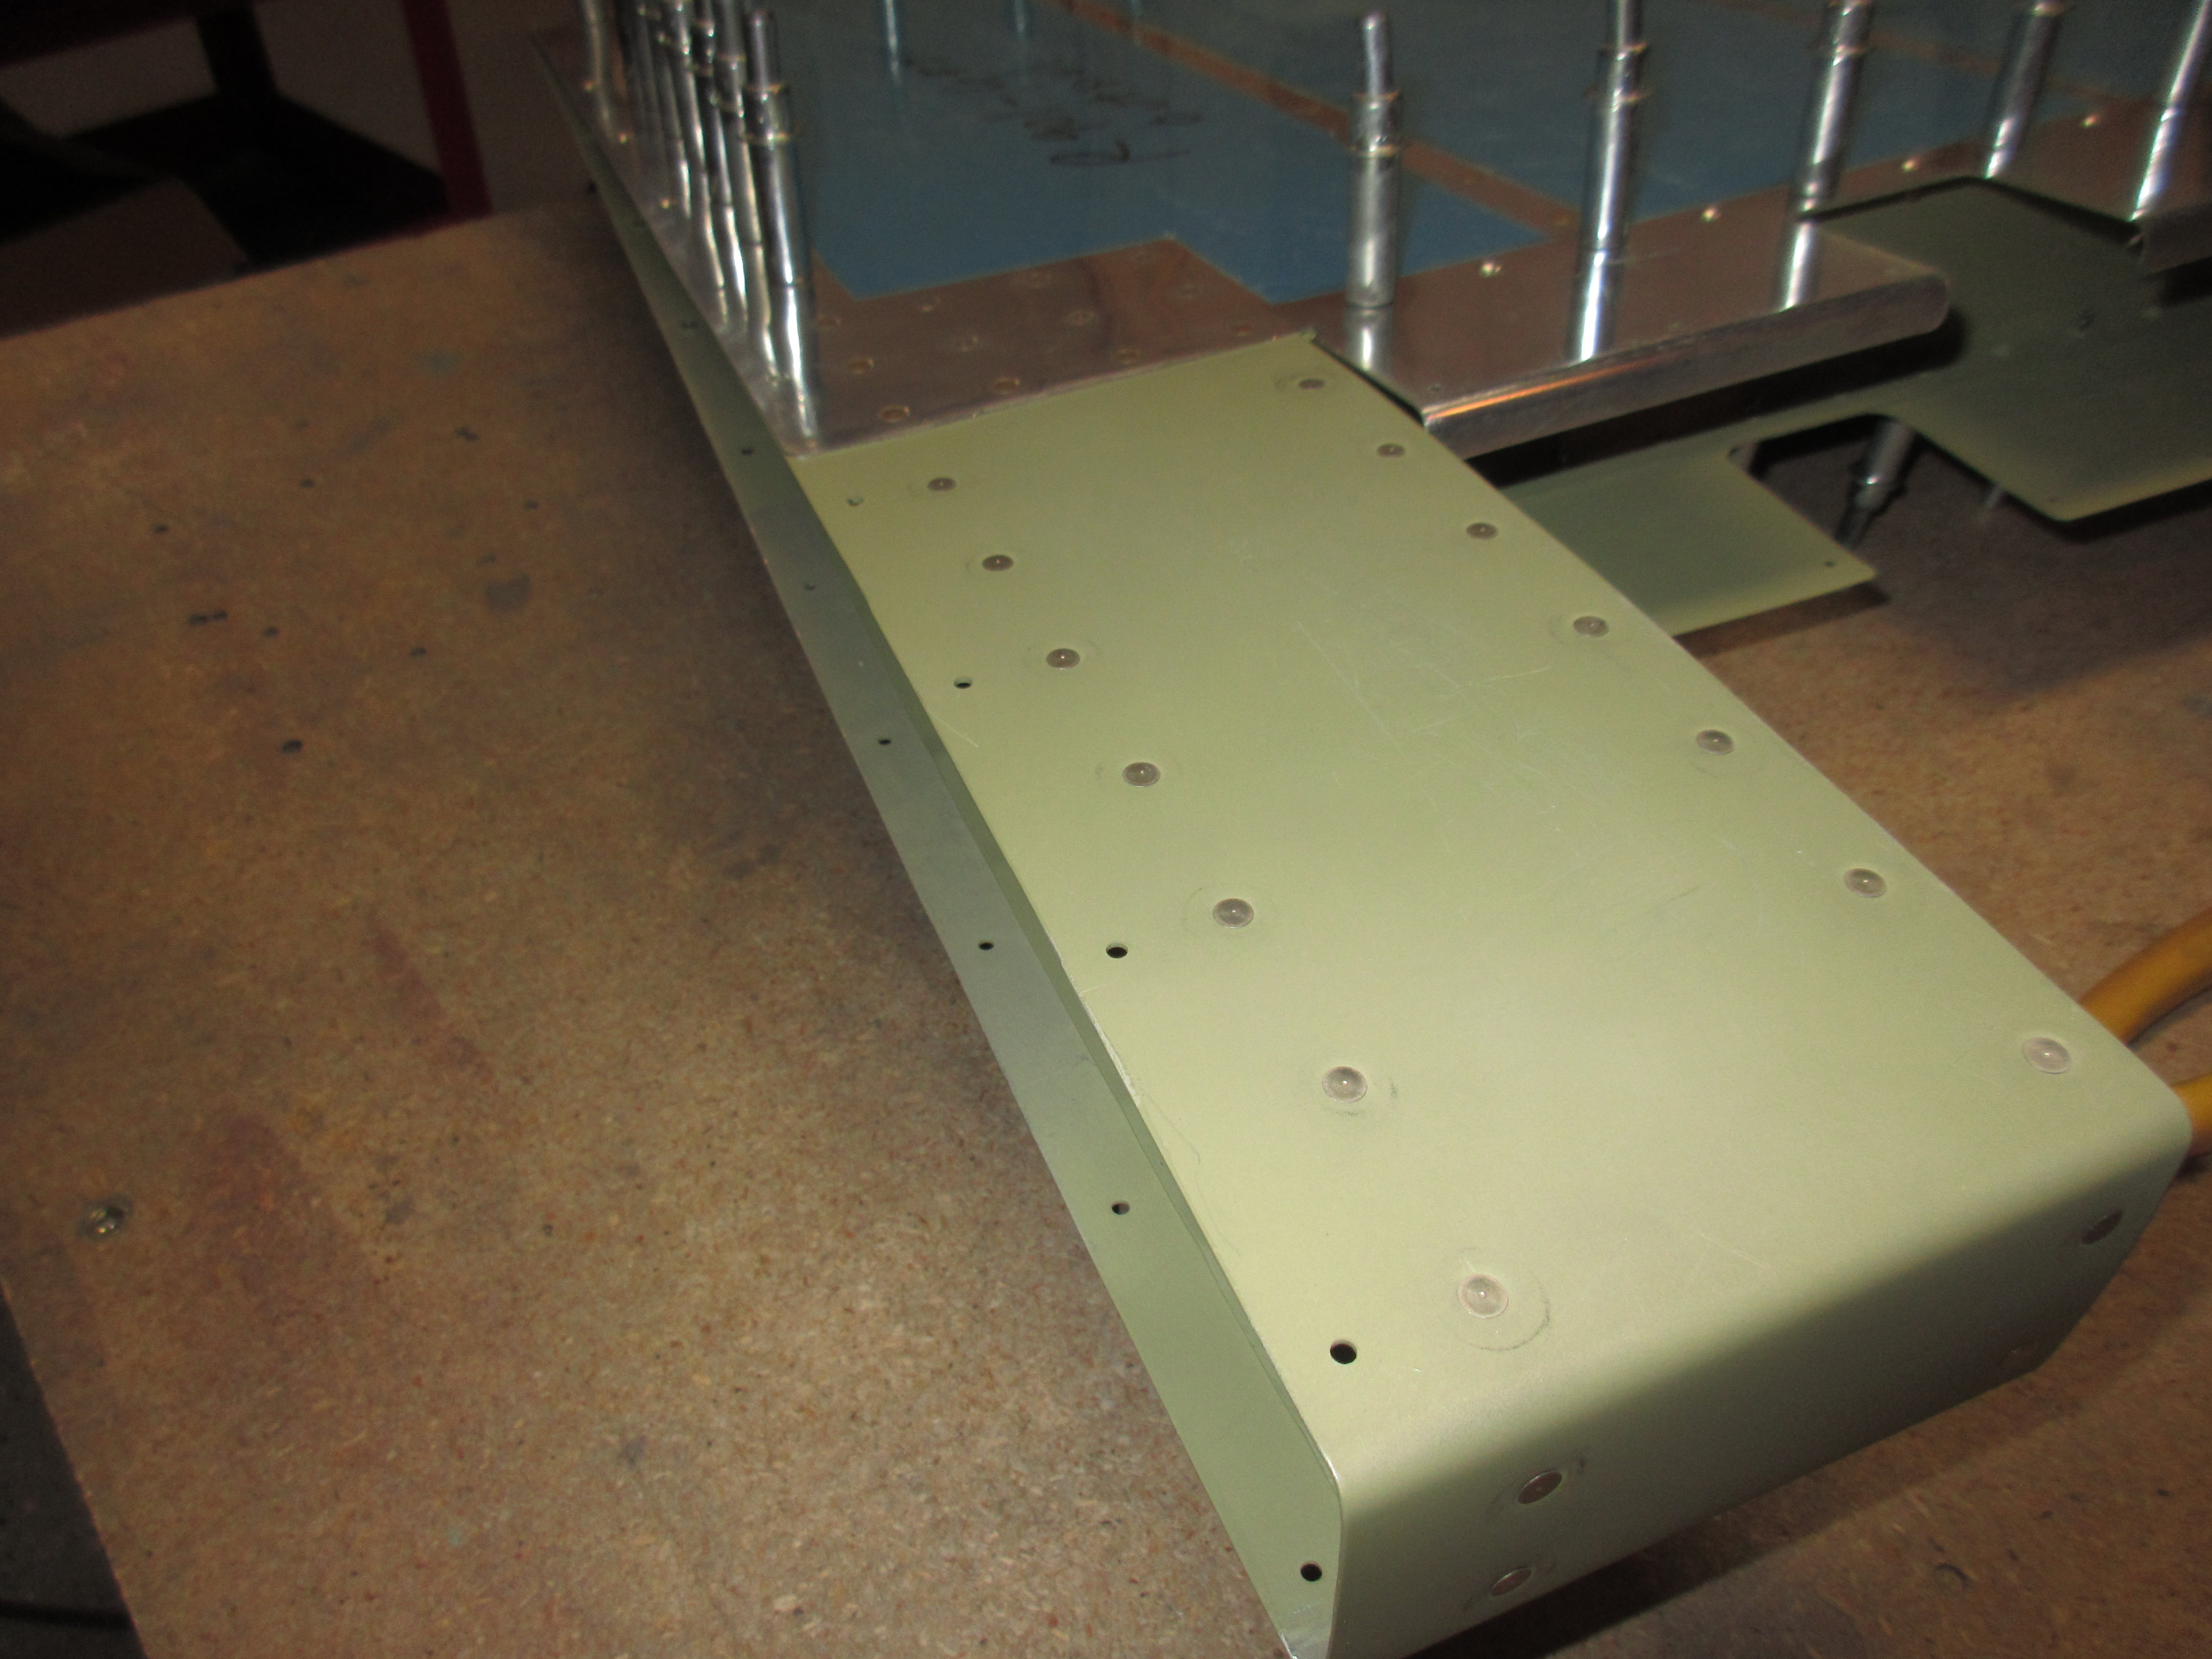
Now that the hard part was riveted on, I continued on down the bottom of the skin and squeezed the rivets along the R-904 bottom rib, R-918 attach strips and the R-901 skin. All of the rivets on the rudder I was able to set using my squeezer, so the results came out very clean and neat. I did leave the last few rivets along the bottom rib out so that I can spread the skins to bond the trailing edge wedge. I will set them while the trailing edge is bonding, so that will be in the next few coming weeks. Here is what the rudder looks like after tonights session:
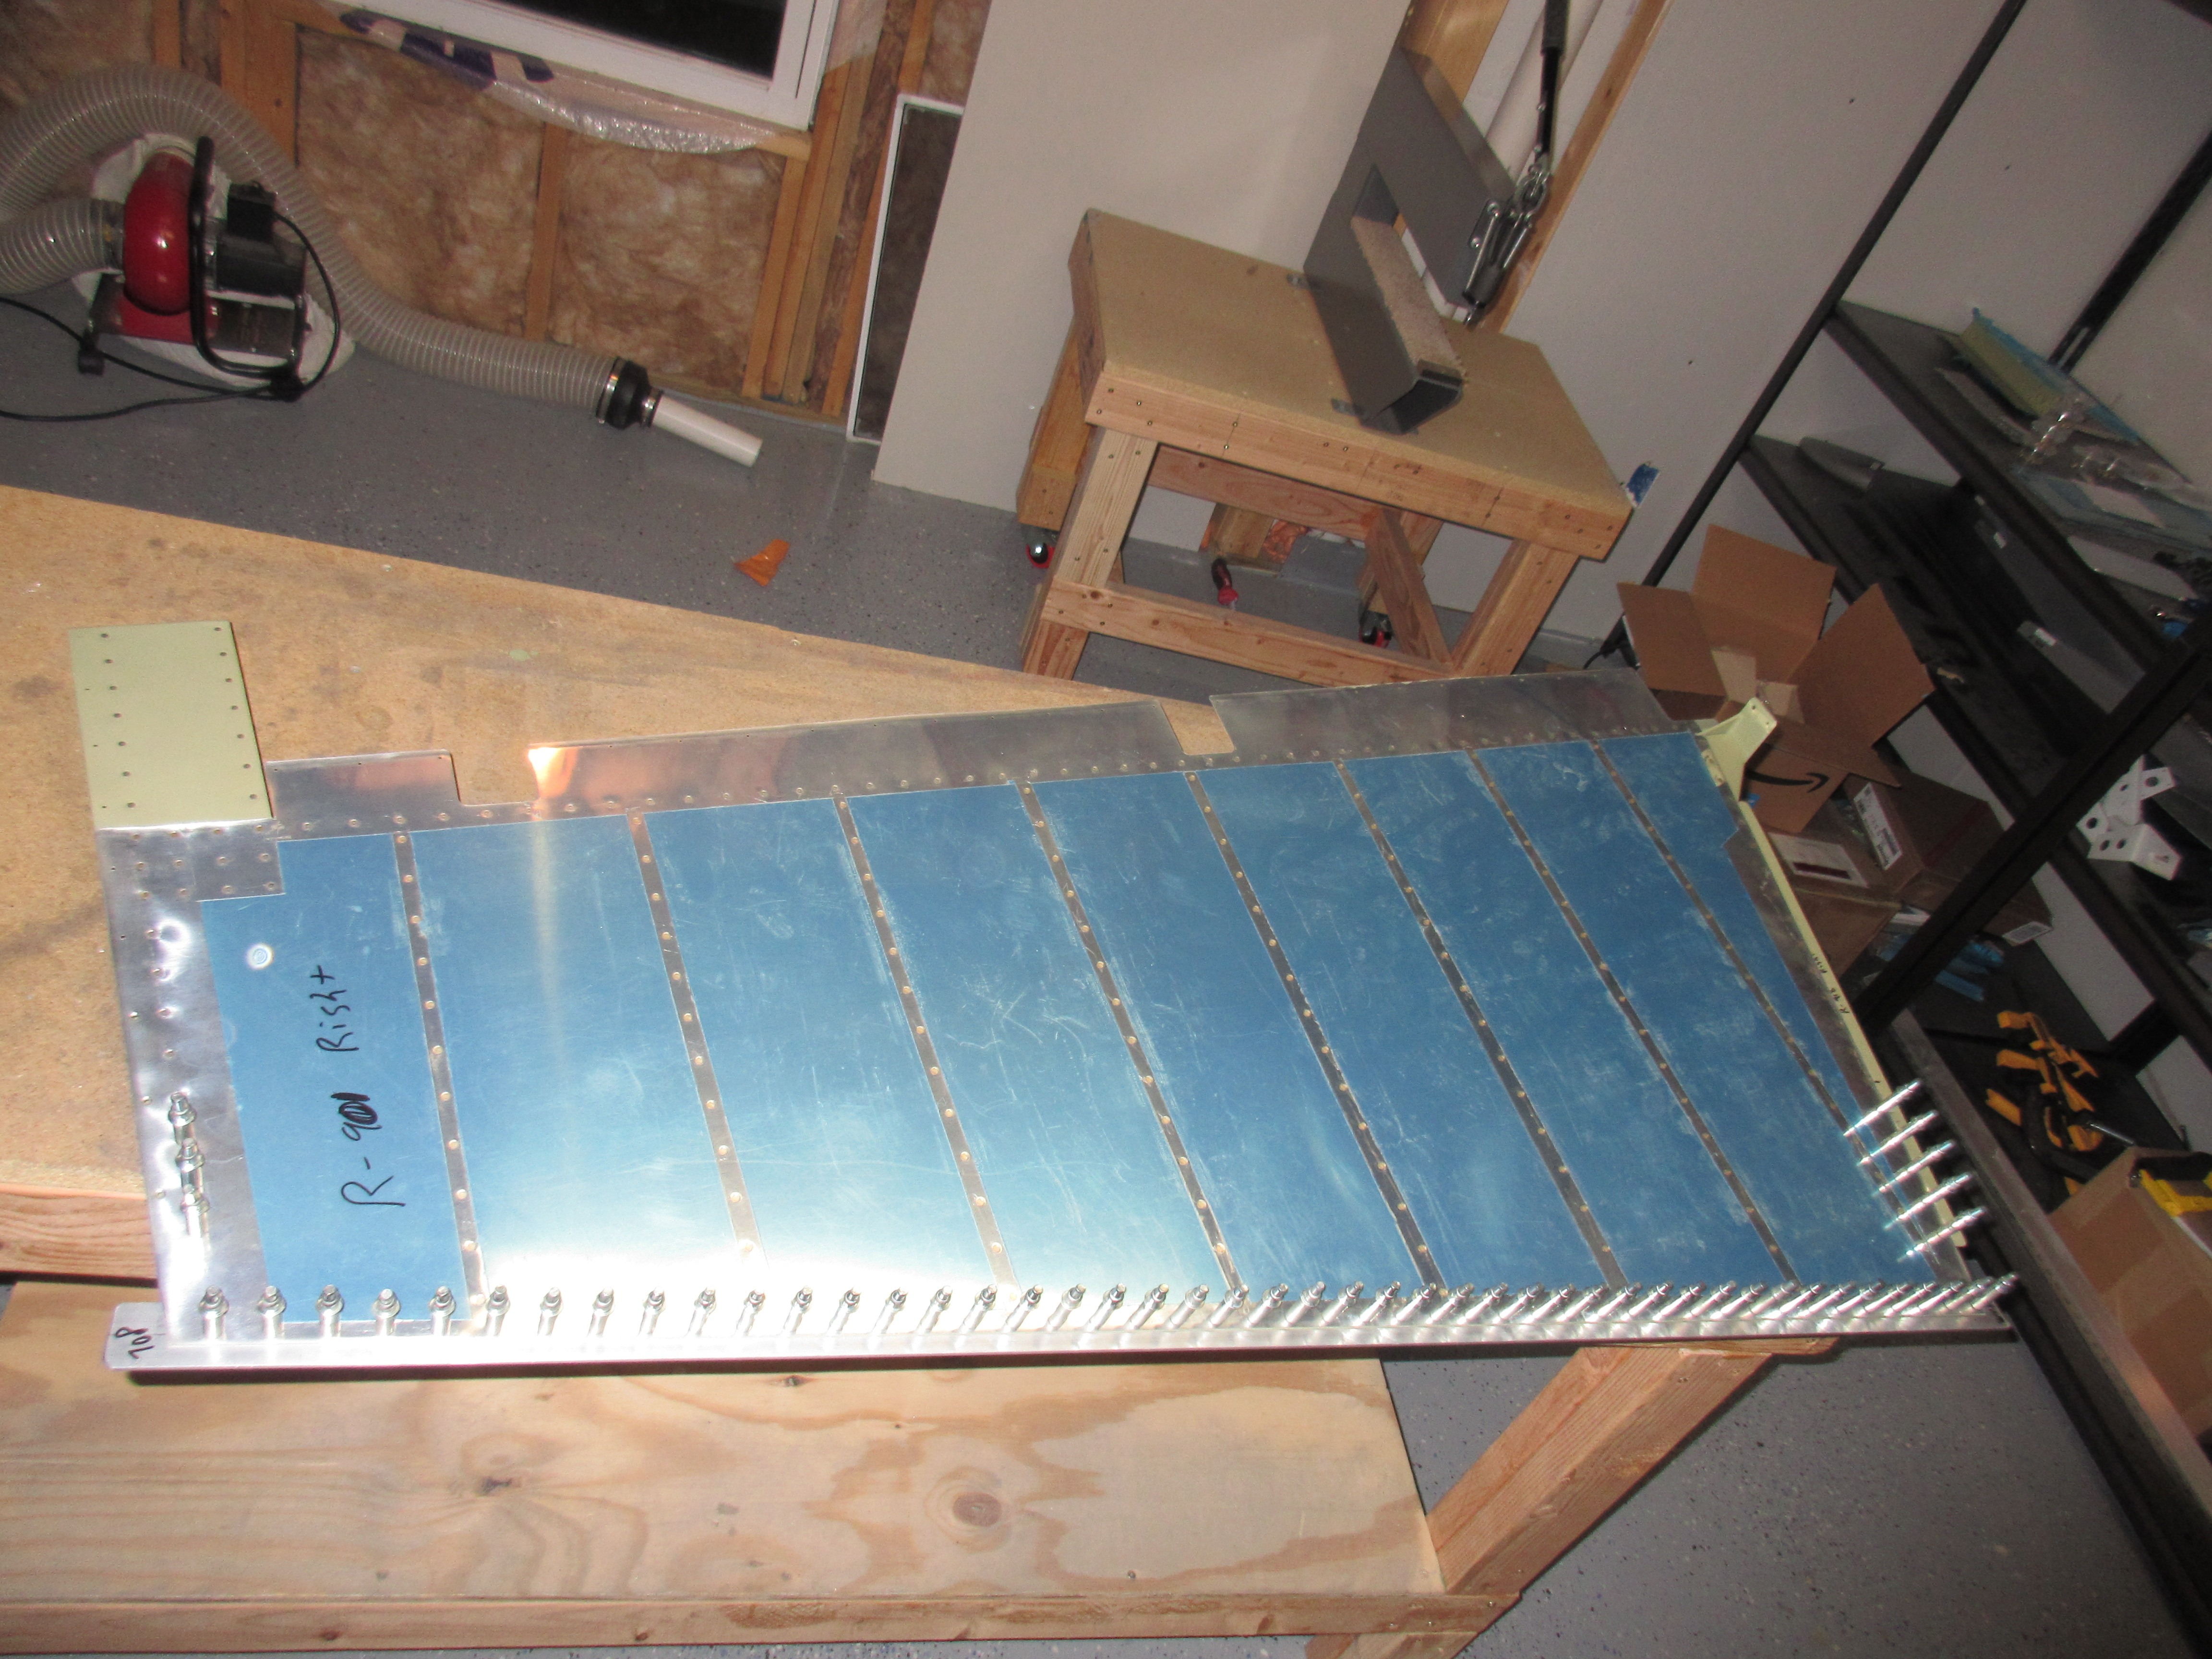
All in all, I am very happy with the way the rudder has turned out so far. All the rivets are clean and flush, there is no warping or twist in the rudder that I can see, and I am ready to go for the trailing edge bonding. That’s exactly what I had hoped to accomplish for this session, so I decided to wrap it up by clecoing on the my aluminum angle to the trailing edge and installing the edge wedge. This way my rudder will be held perfectly straight while its sitting on the shelf waiting on the Proseal bonding, which I hope to do in the next couple weeks. Here are the photos from tonights work:
Google Photos link: https://goo.gl/photos/zmNYk13To4x1Ju6c8
Hours Worked: 3