


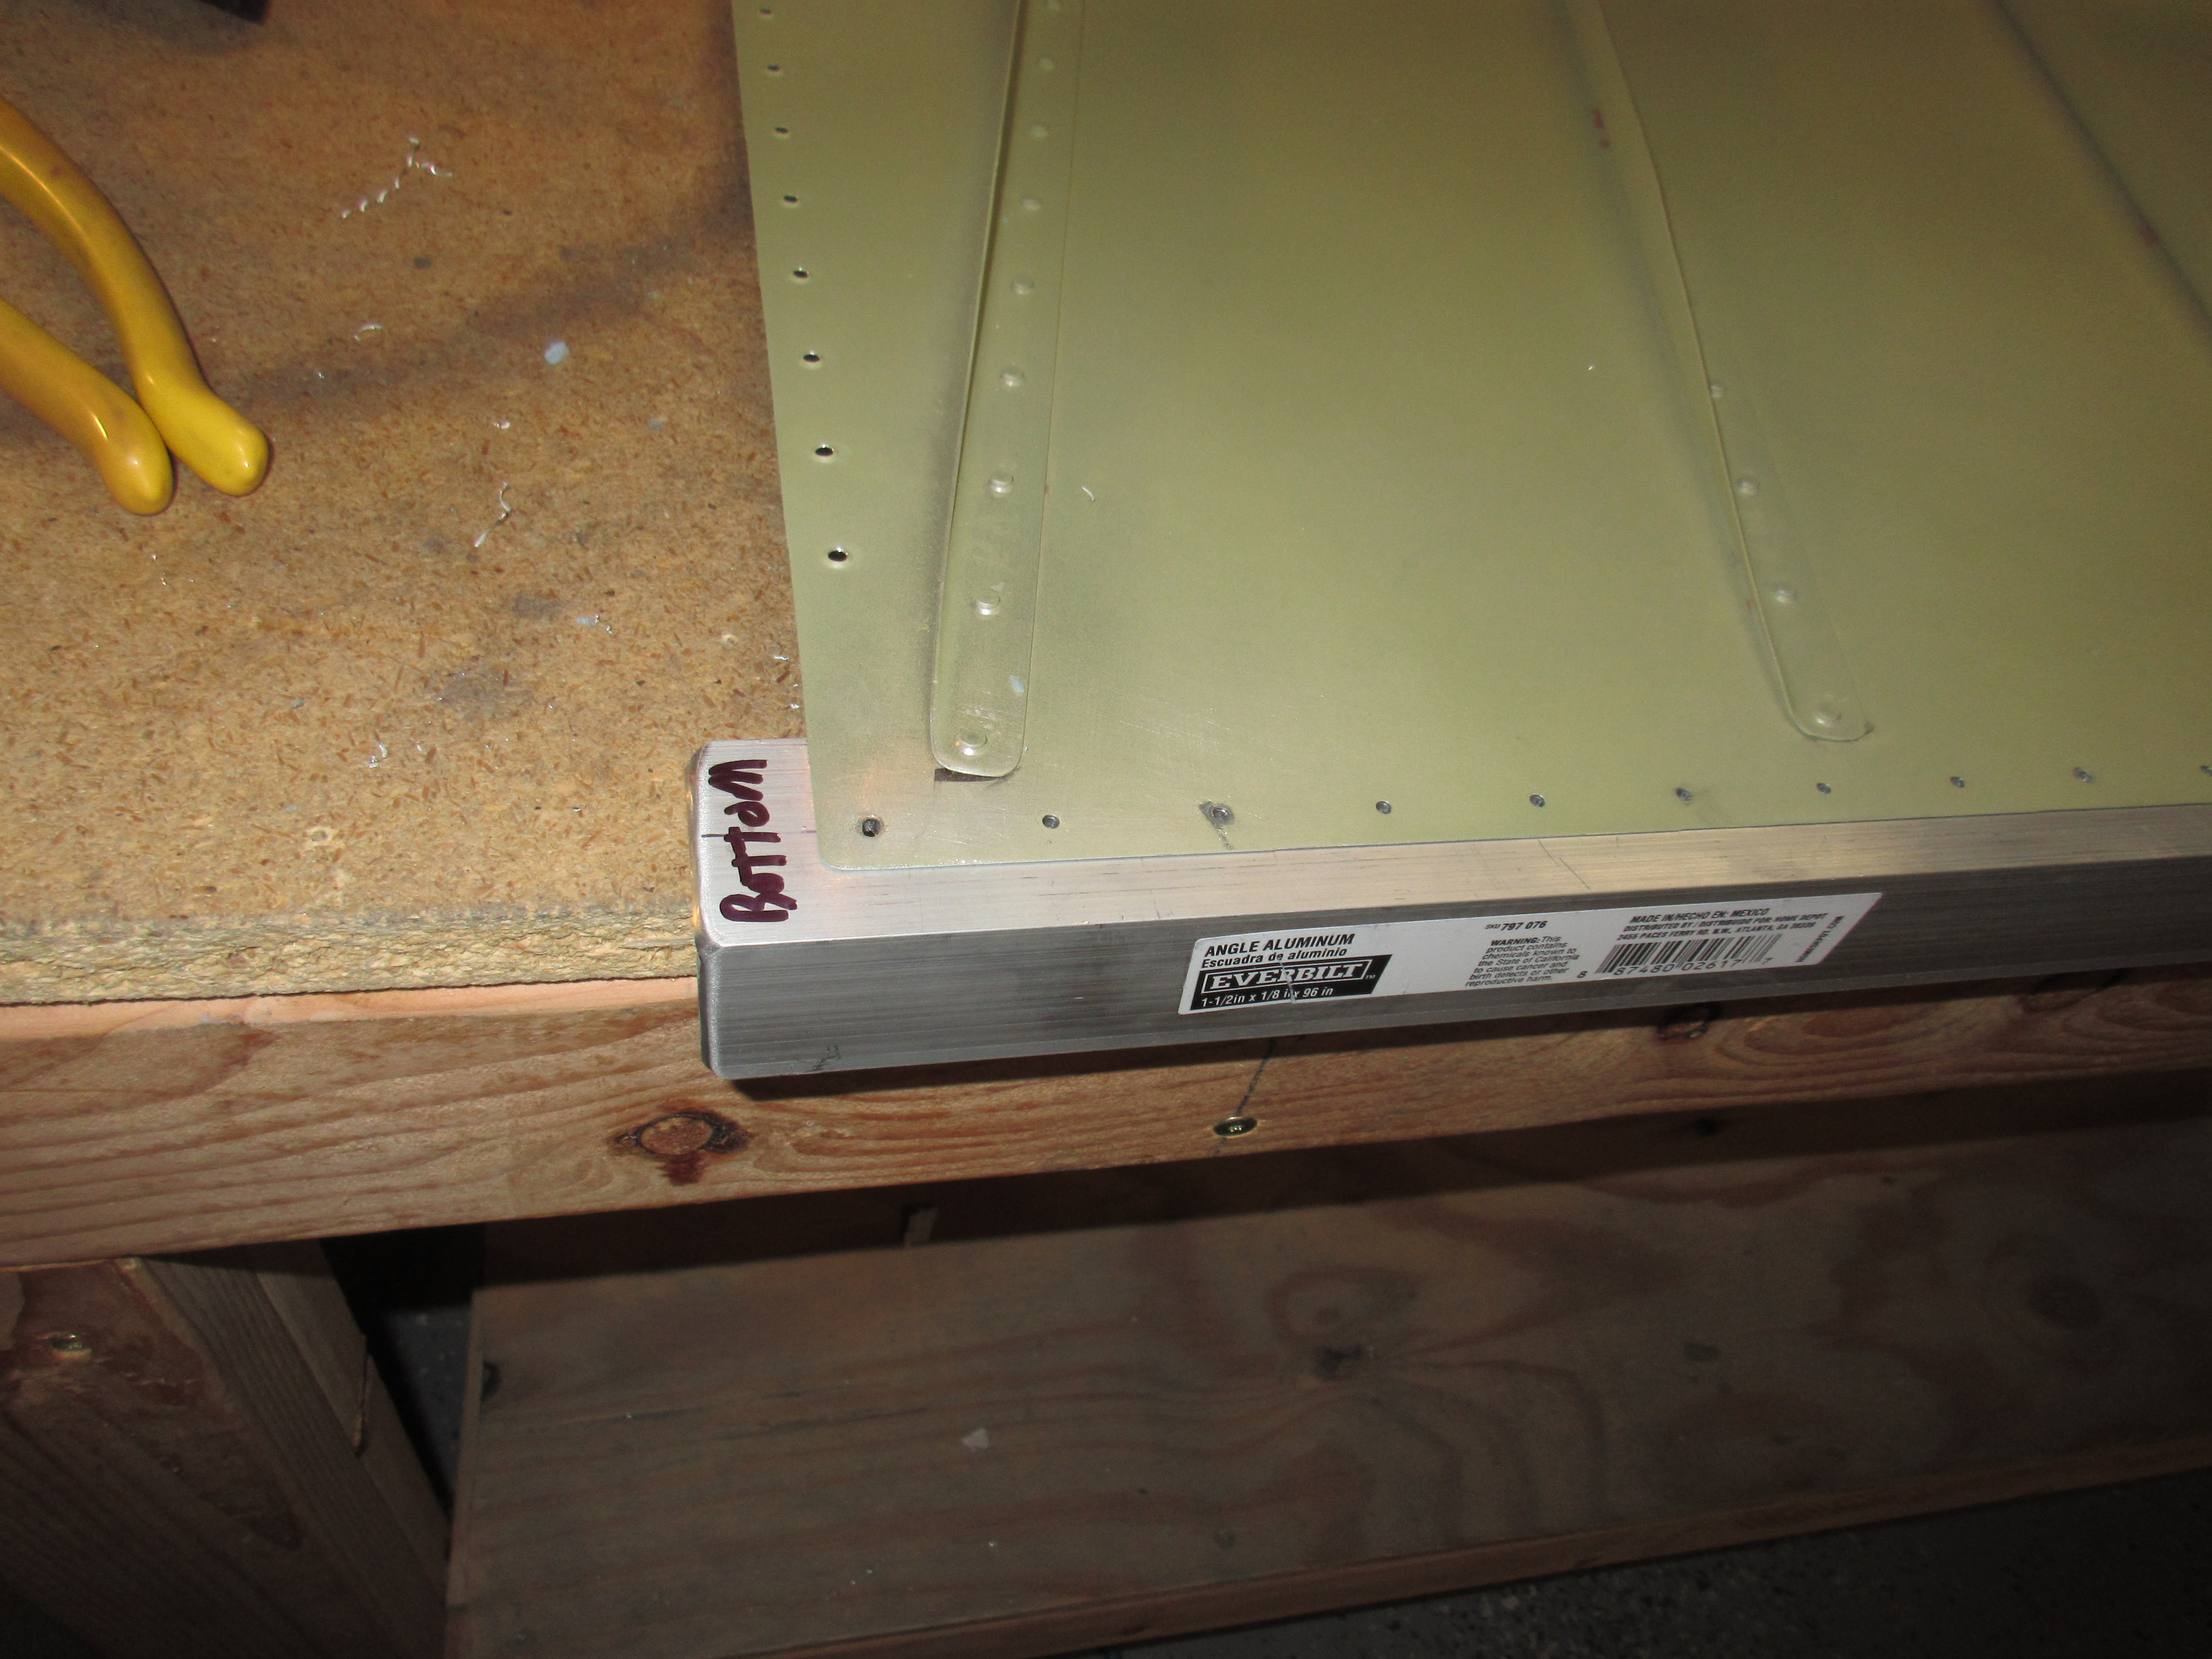
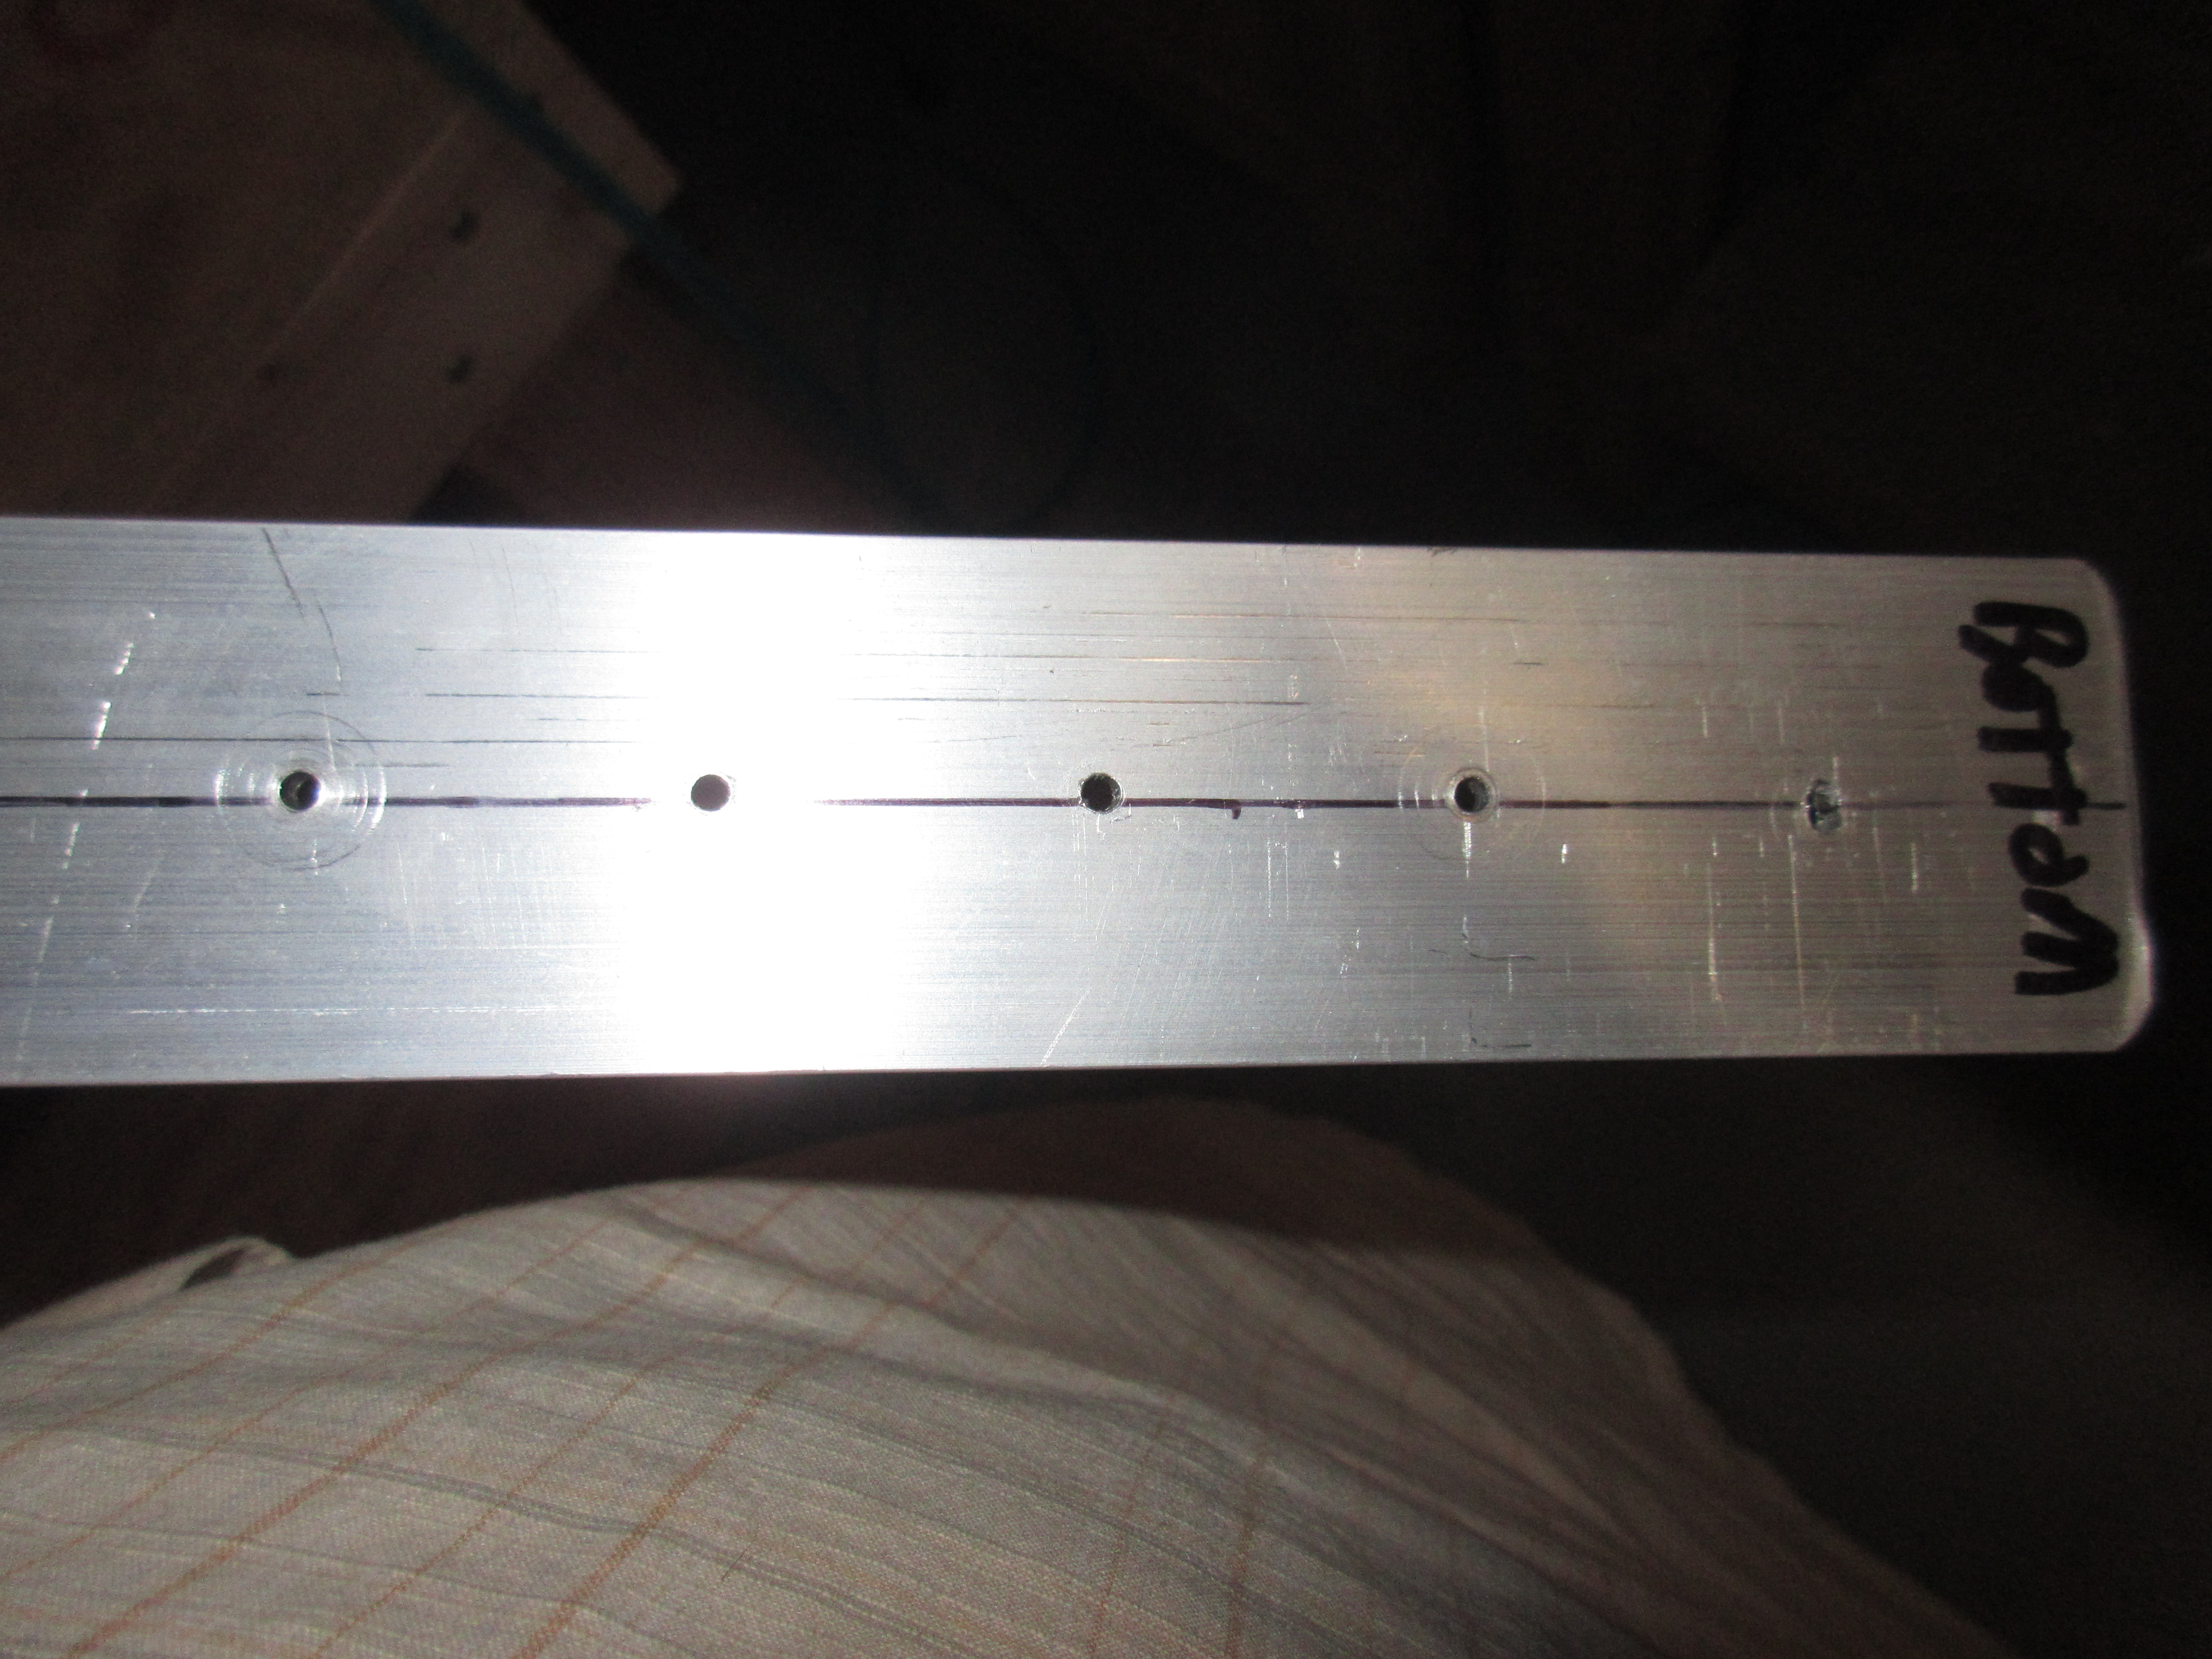
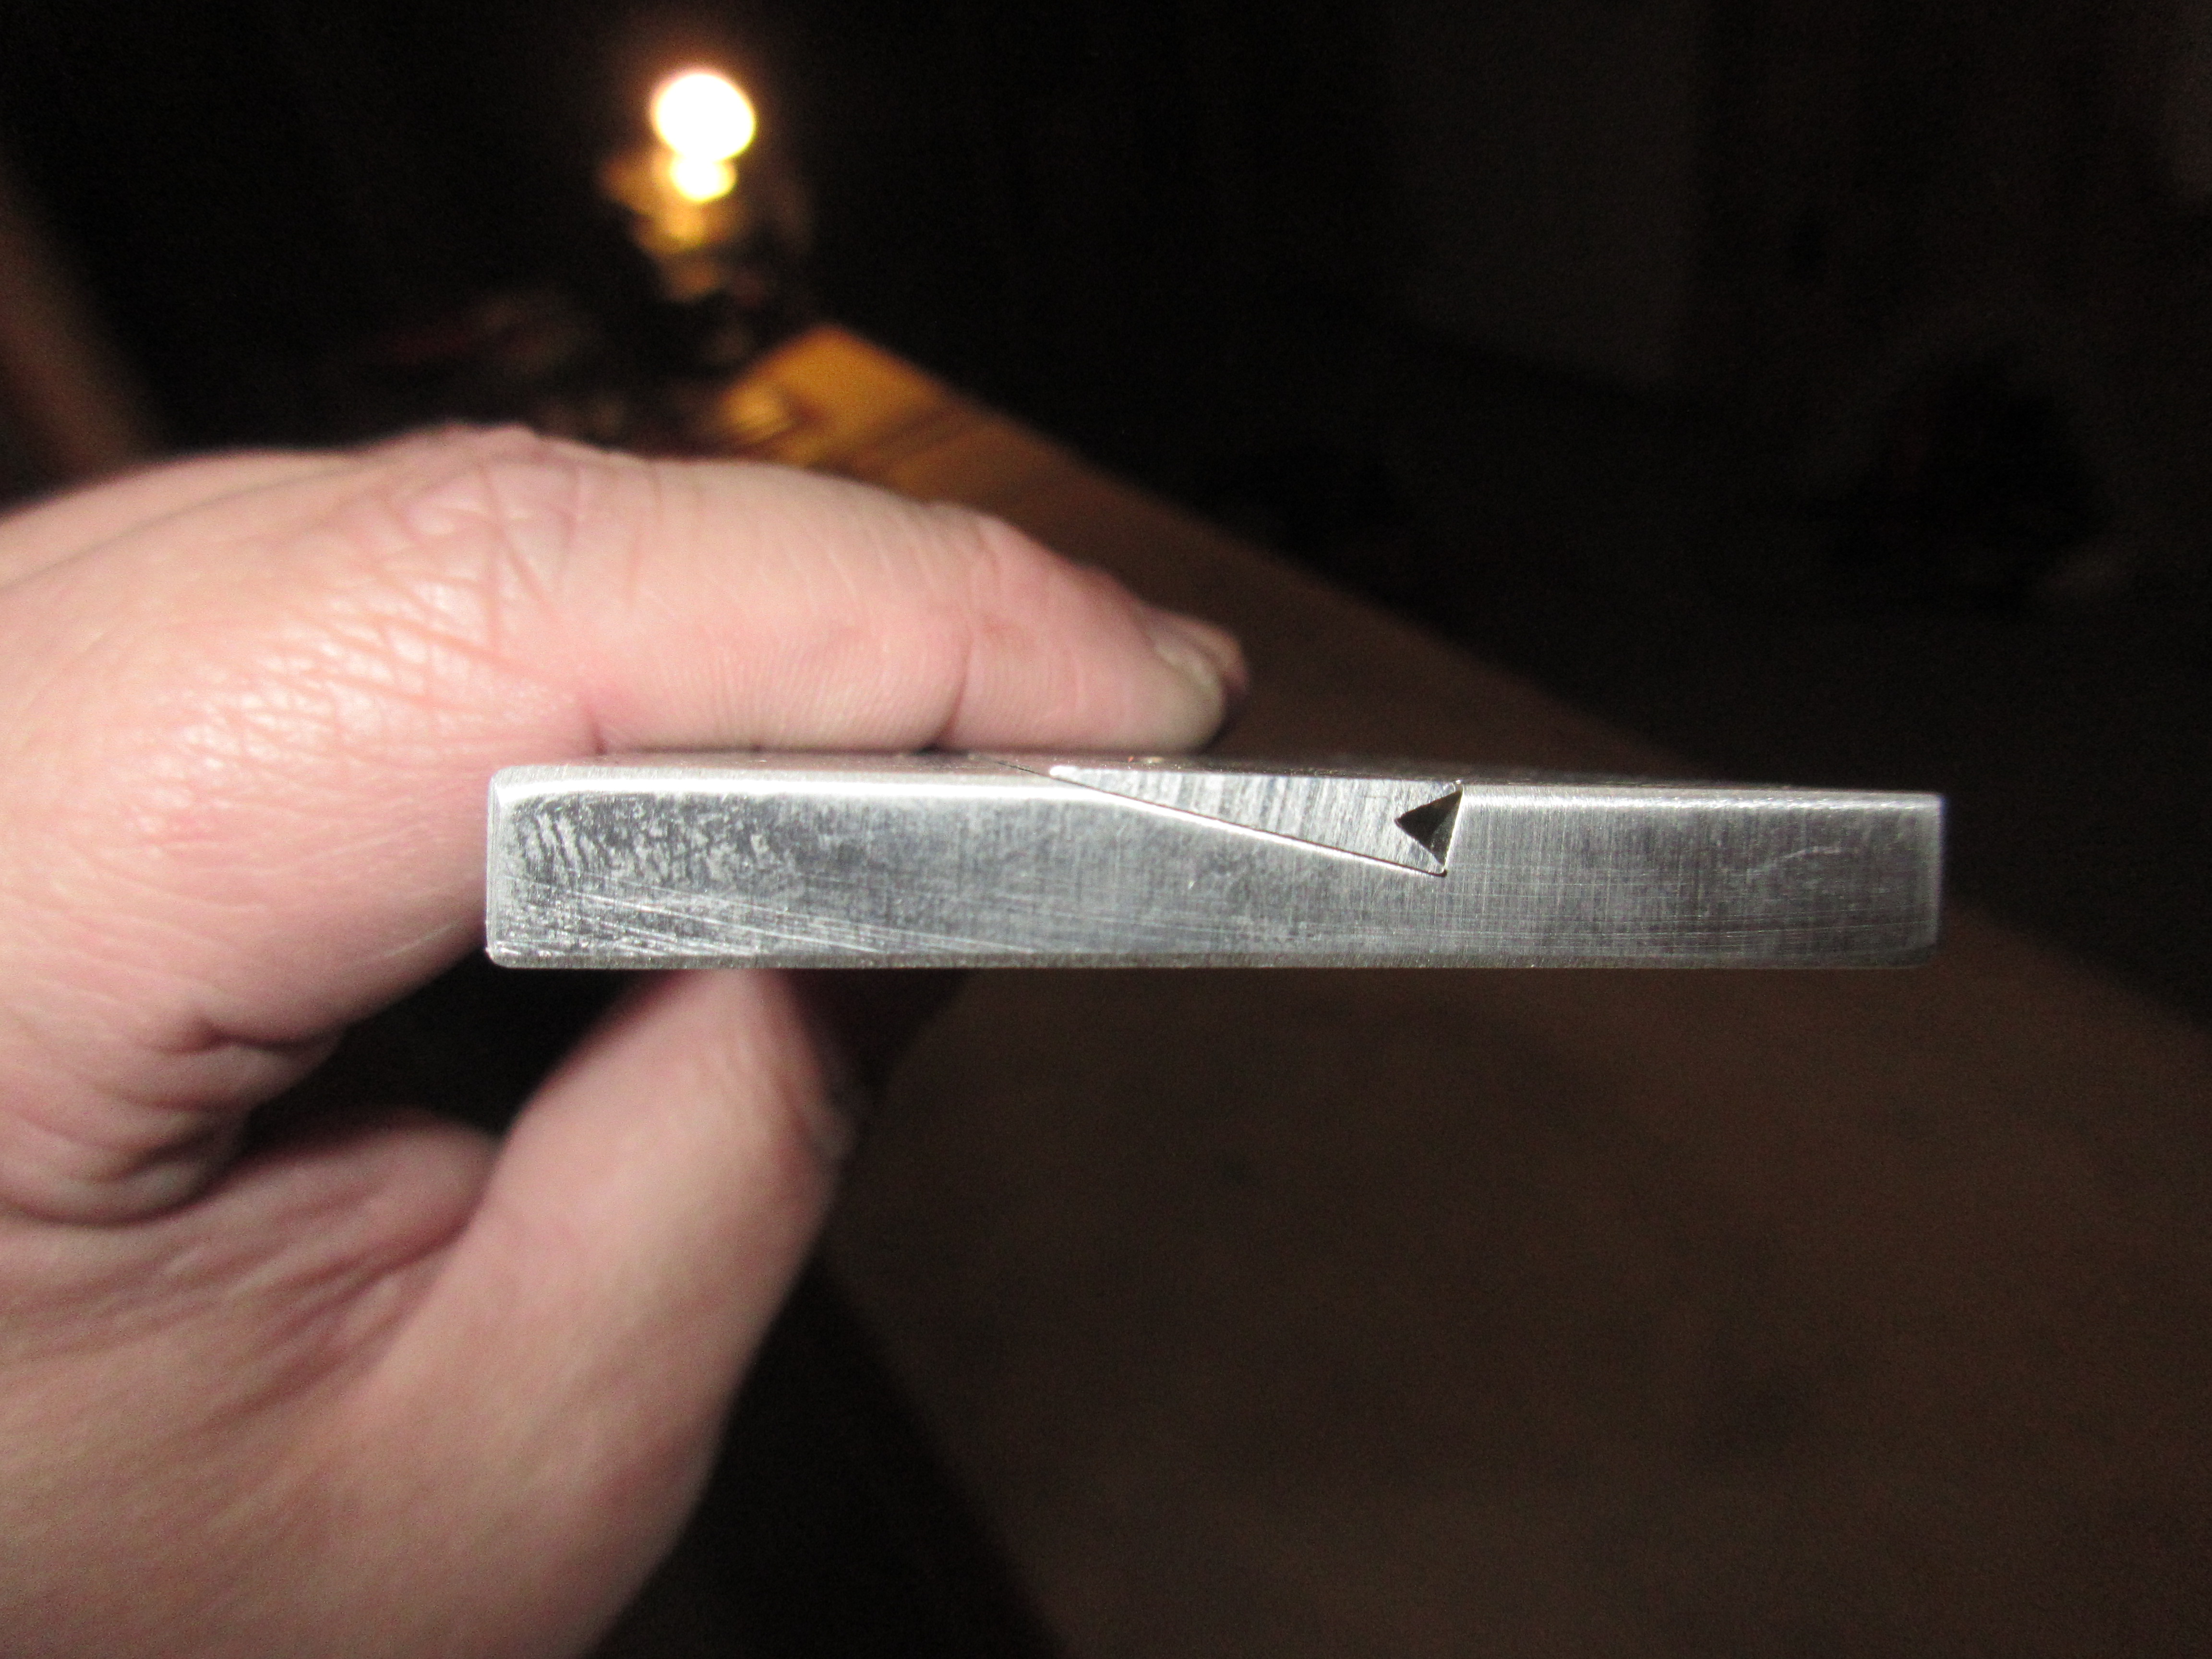
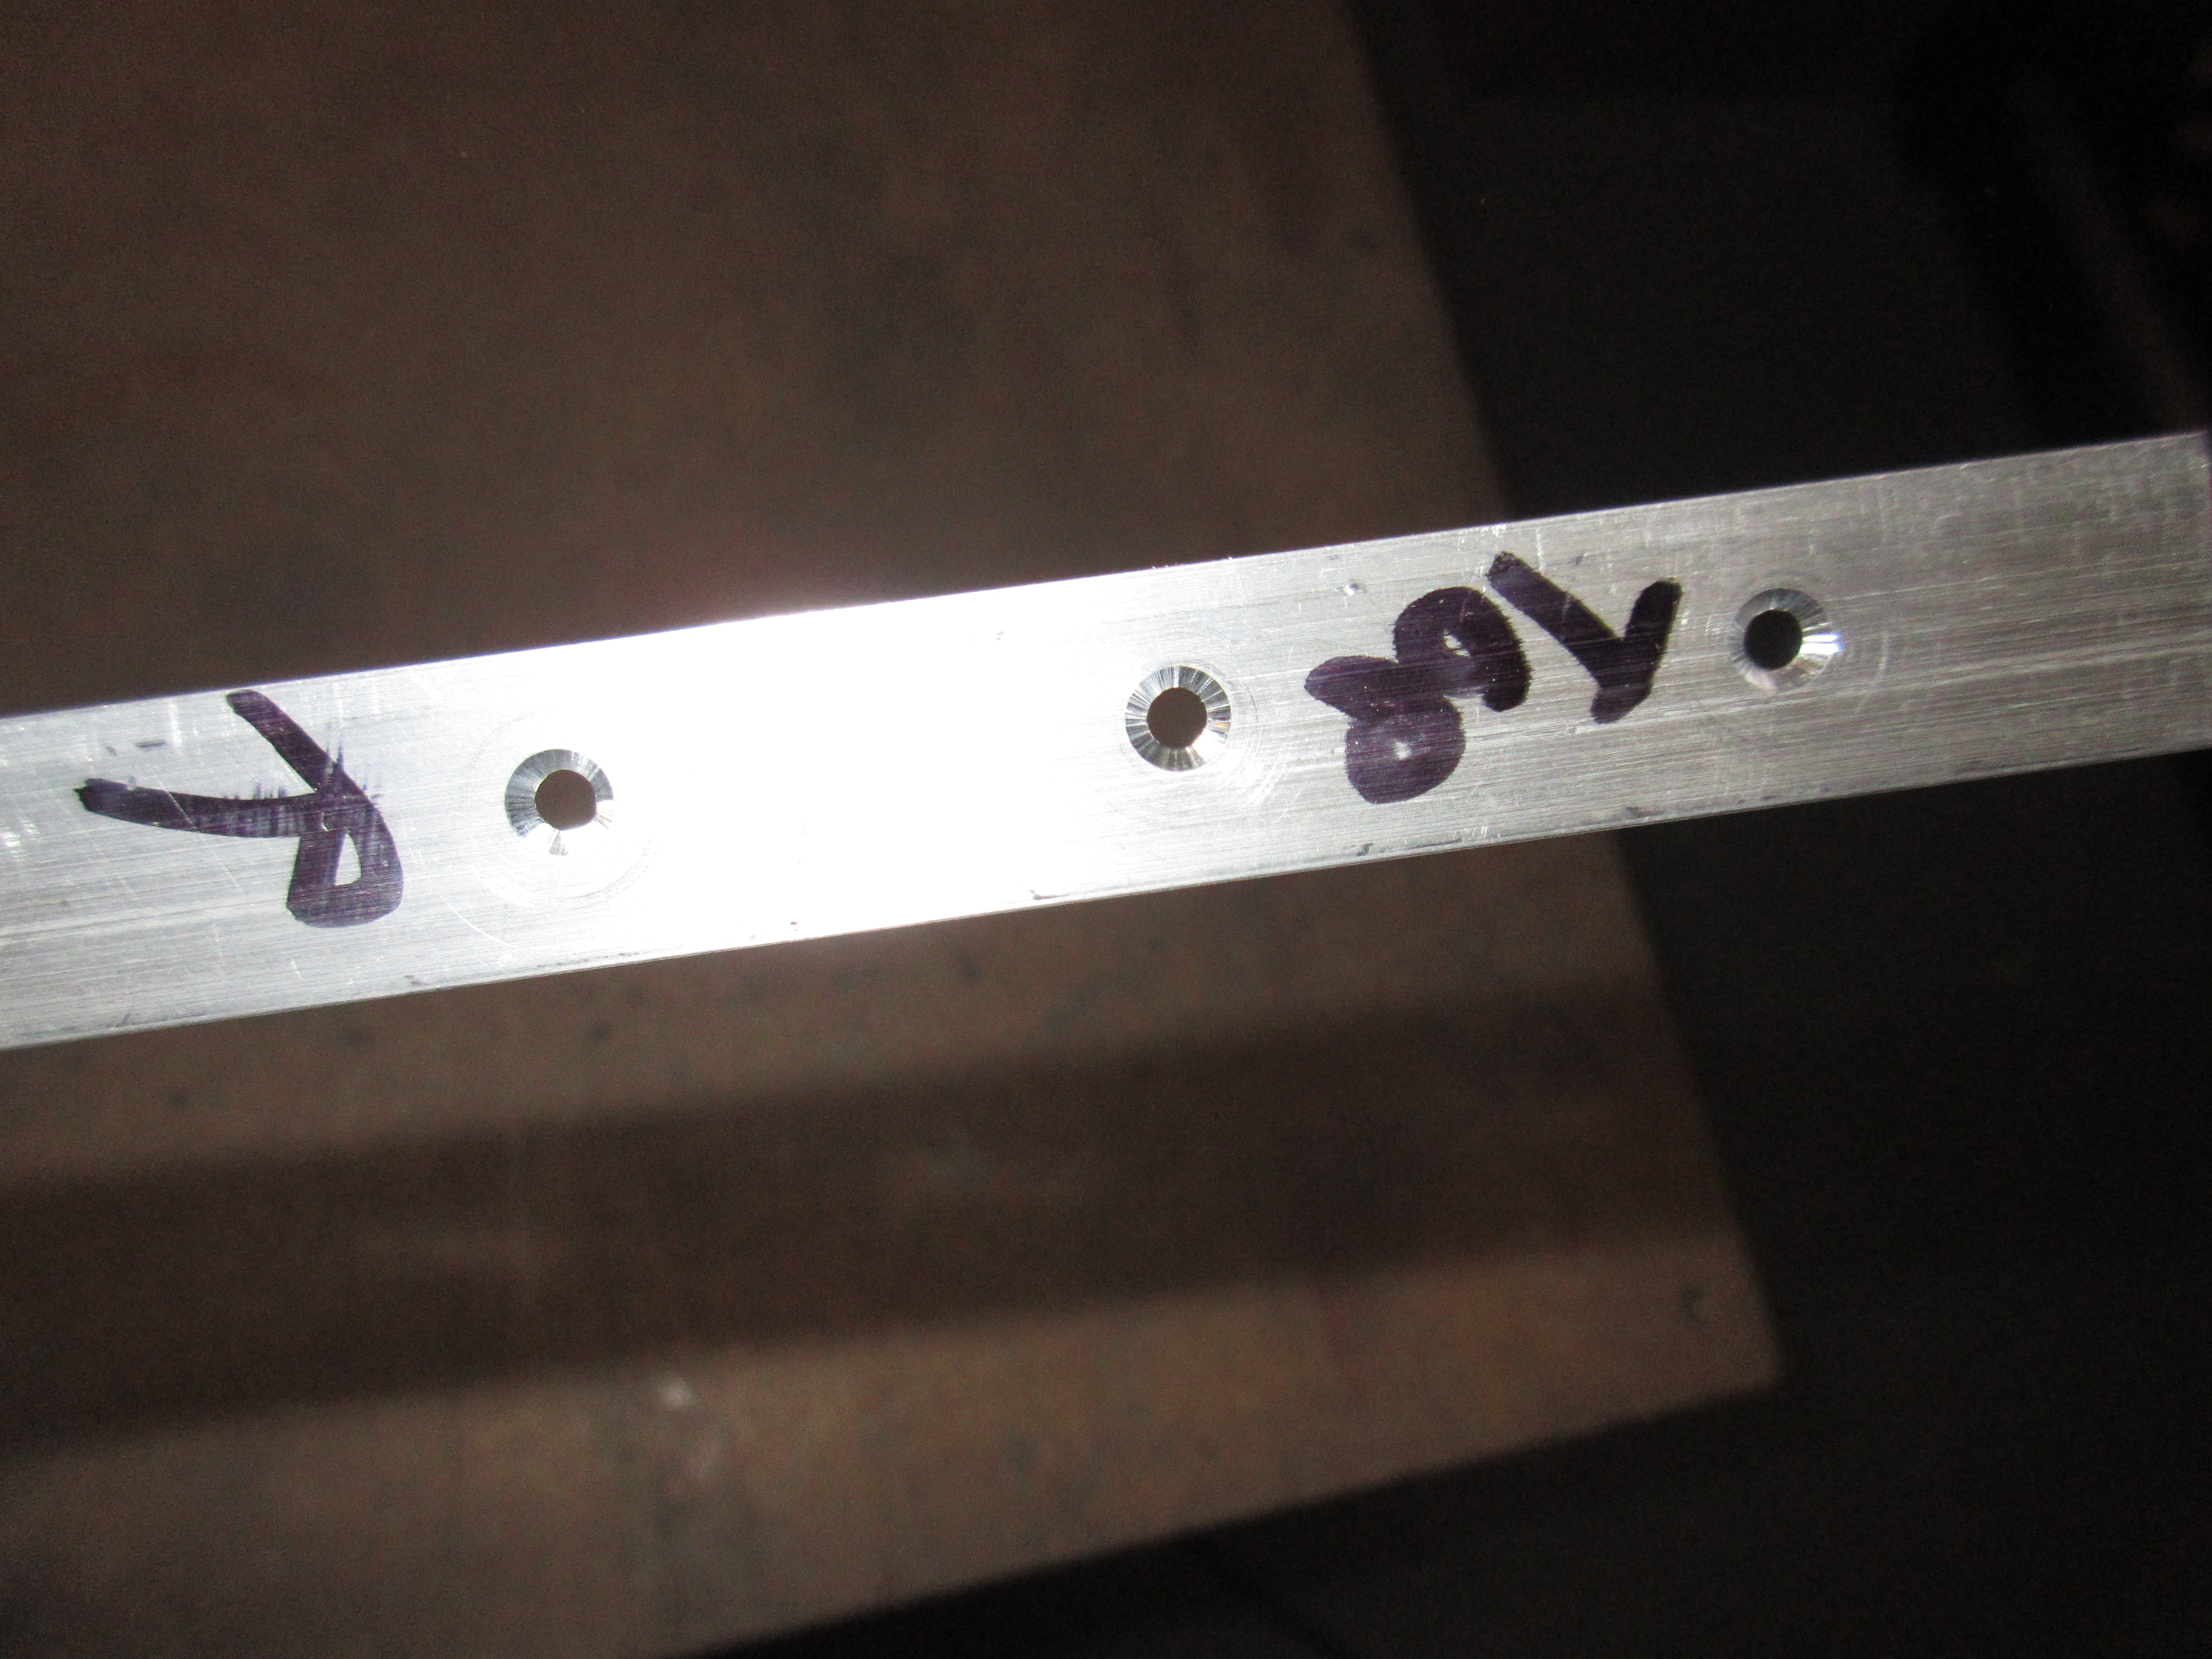
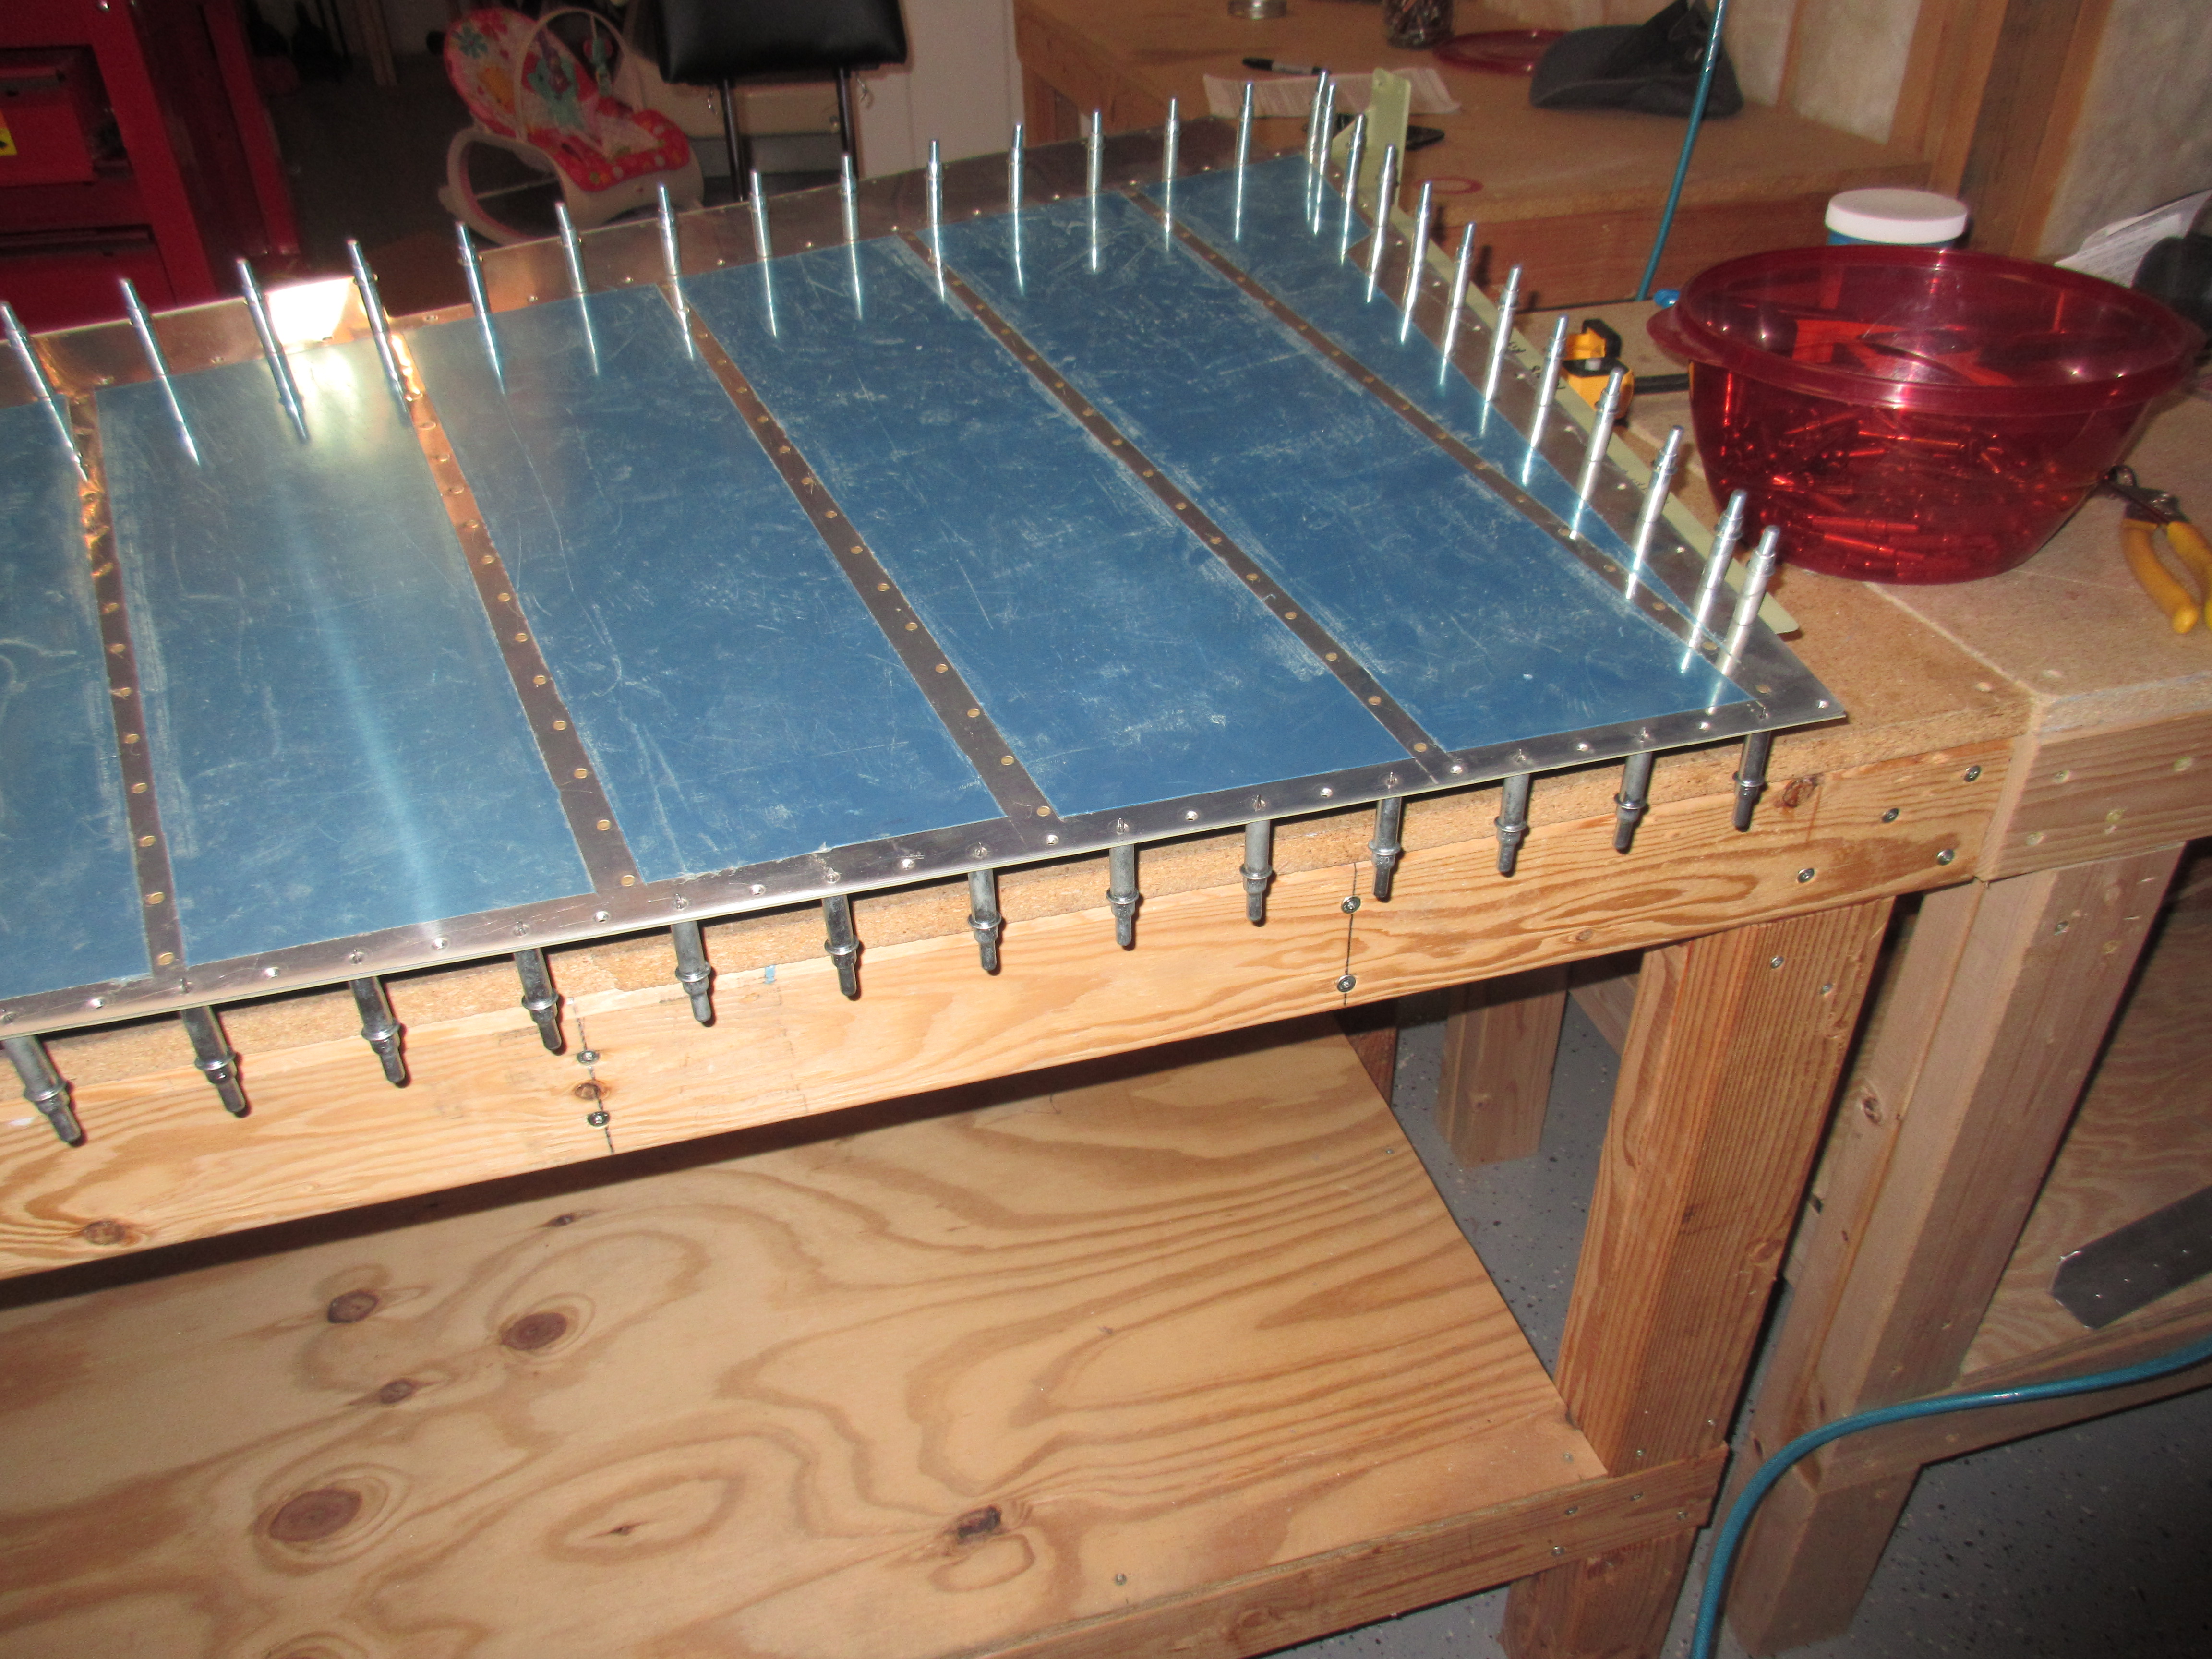
Tonight I continued working on the rudder final assembly. I stopped by Home Depot and picked up some 1.5″ aluminum angle so that I could use it when I bond the trailing edge. It came in an 8 foot length, so I trimmed to be just a few inches longer than the trailing edge, finished out the rough edge on that cut and then marked the center of one side of the angle to help align my drill holes. I laid one of the rudder skins on flat against the angle and the lined up the mark I made with the pre-drilled holes in the skin. Then I match drilled a hole to start and clecoed the skin and angle right into my work table. Then, to keep from over-drilling the skin, I just drilled every two holes all the way through and clecoed. For the remaining holes, I simply ran the bit for a few seconds to start a hole using the clecoed skin as a guide, and then pulled the skin off and finished drilling the holes through the angle. I then laid the skin back over my holes and clecoed it in a few spots to make sure it was still lining up, and it was.
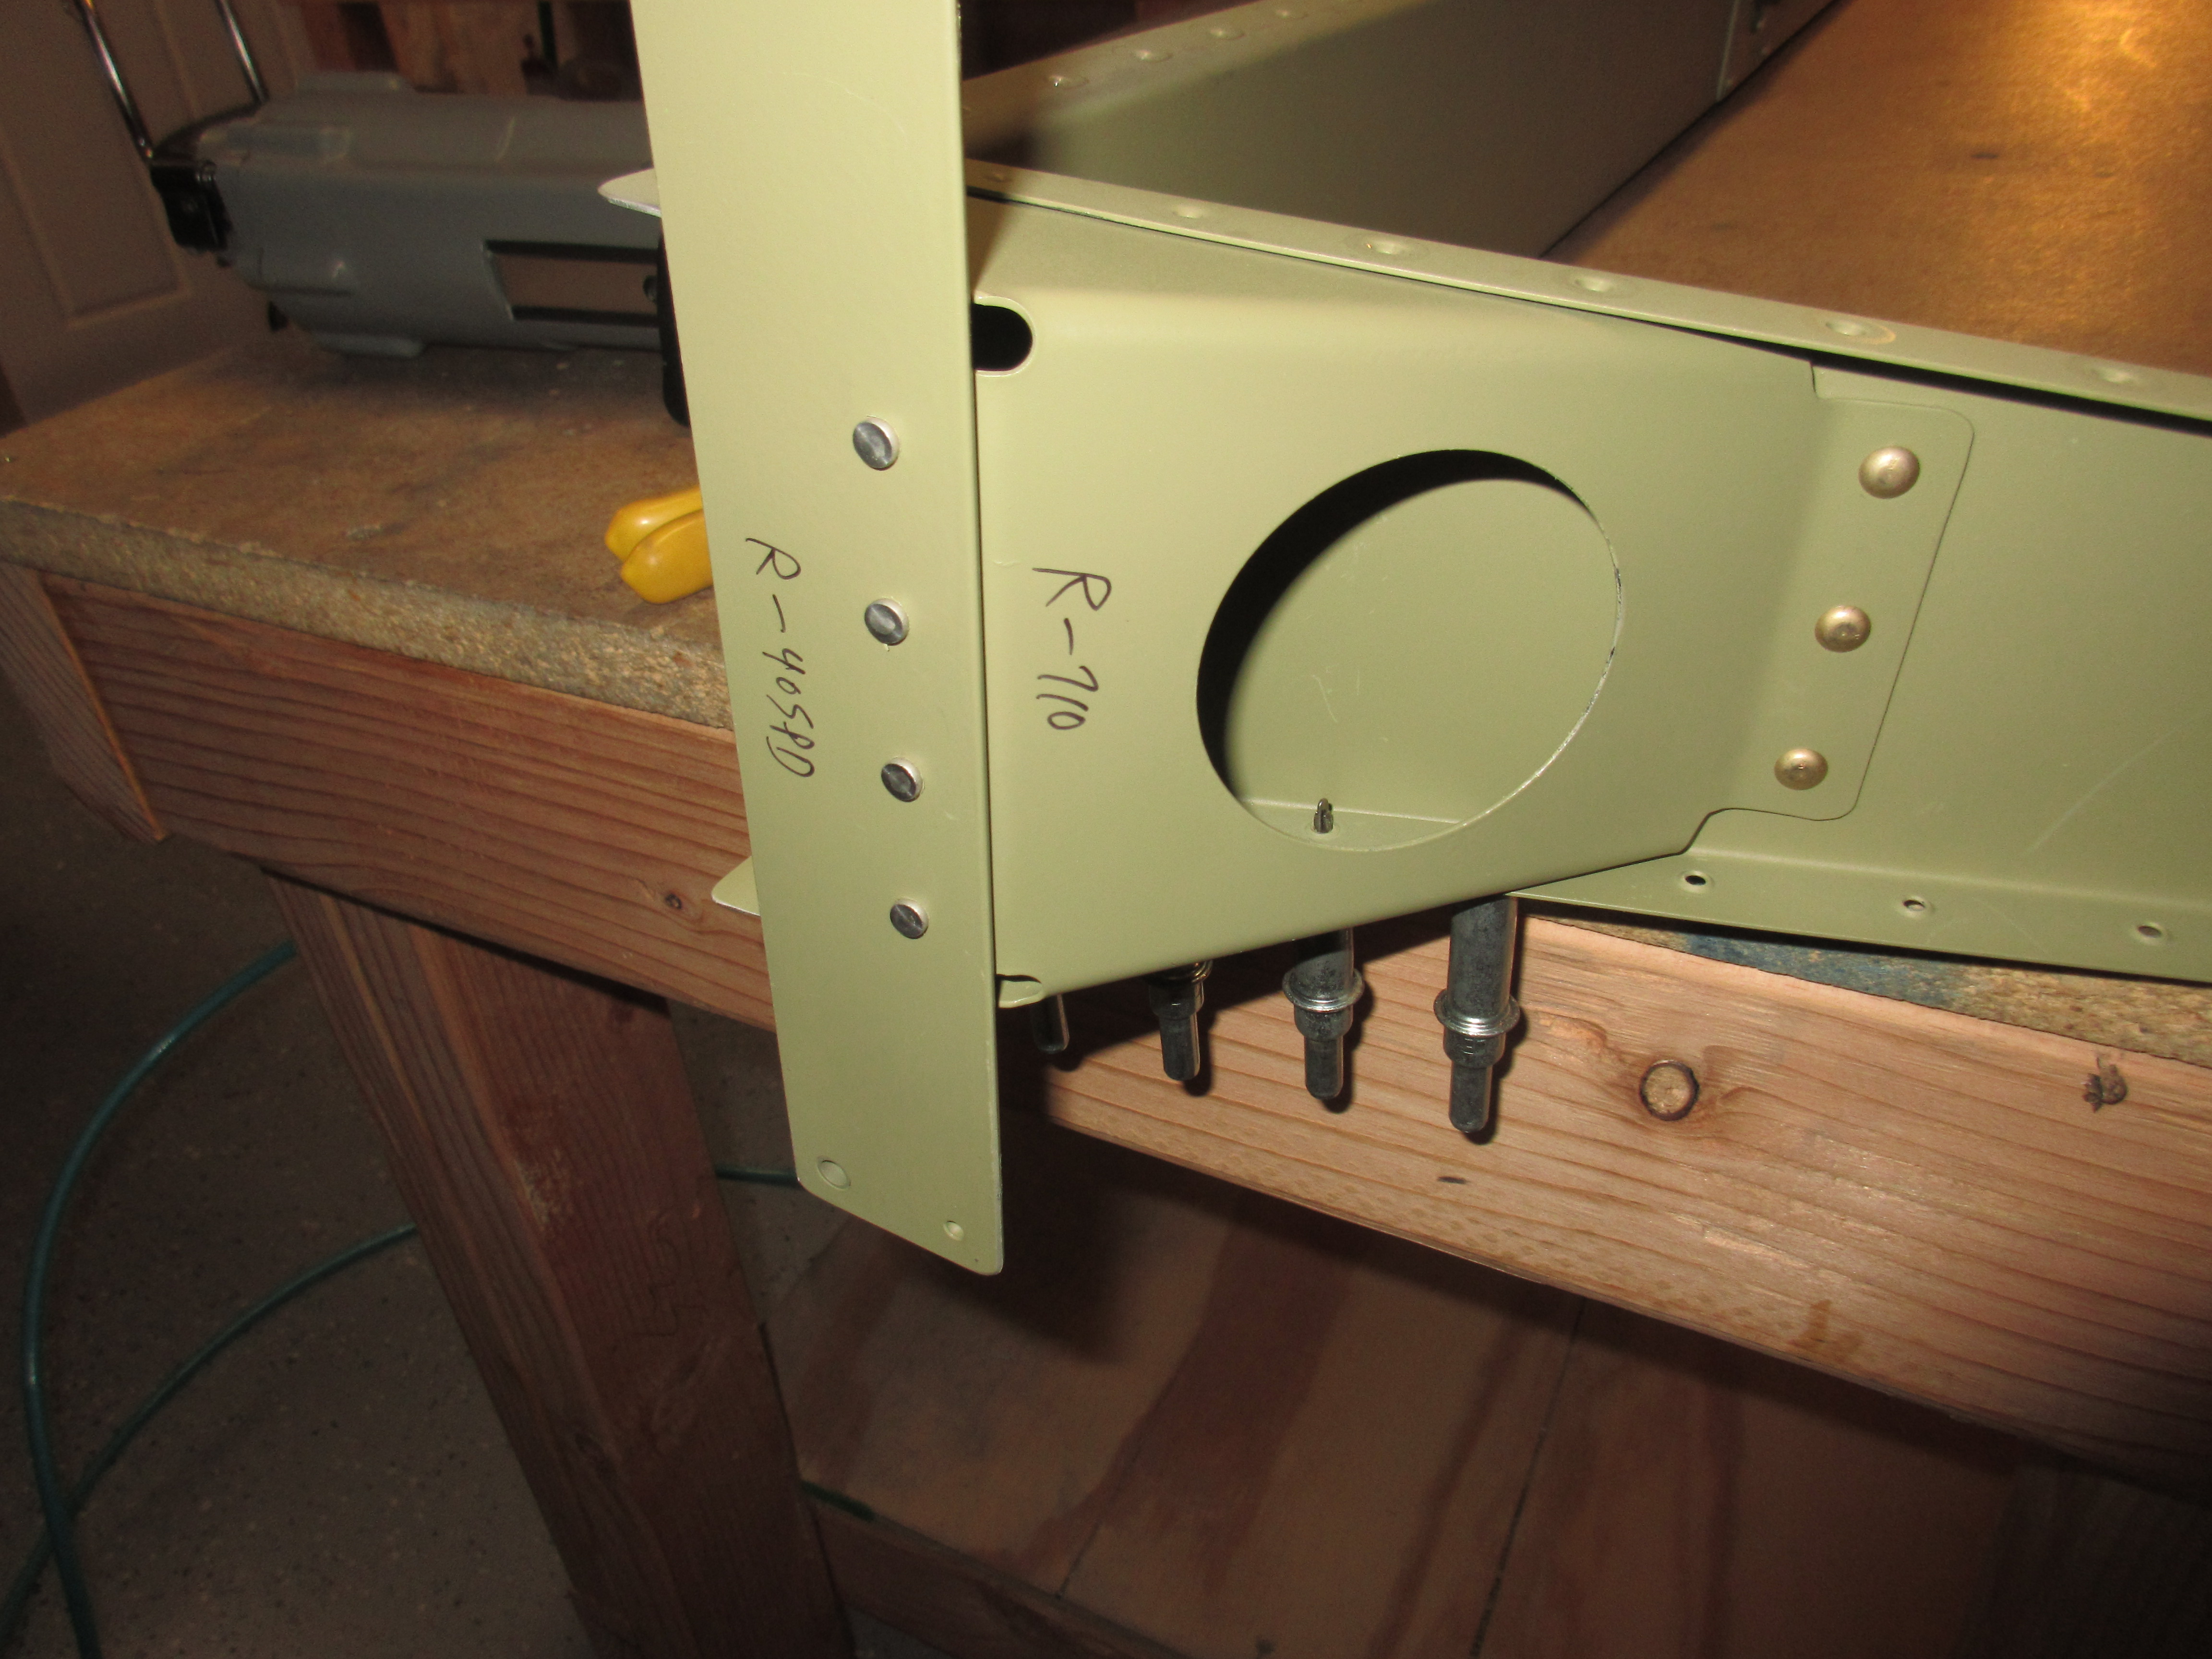
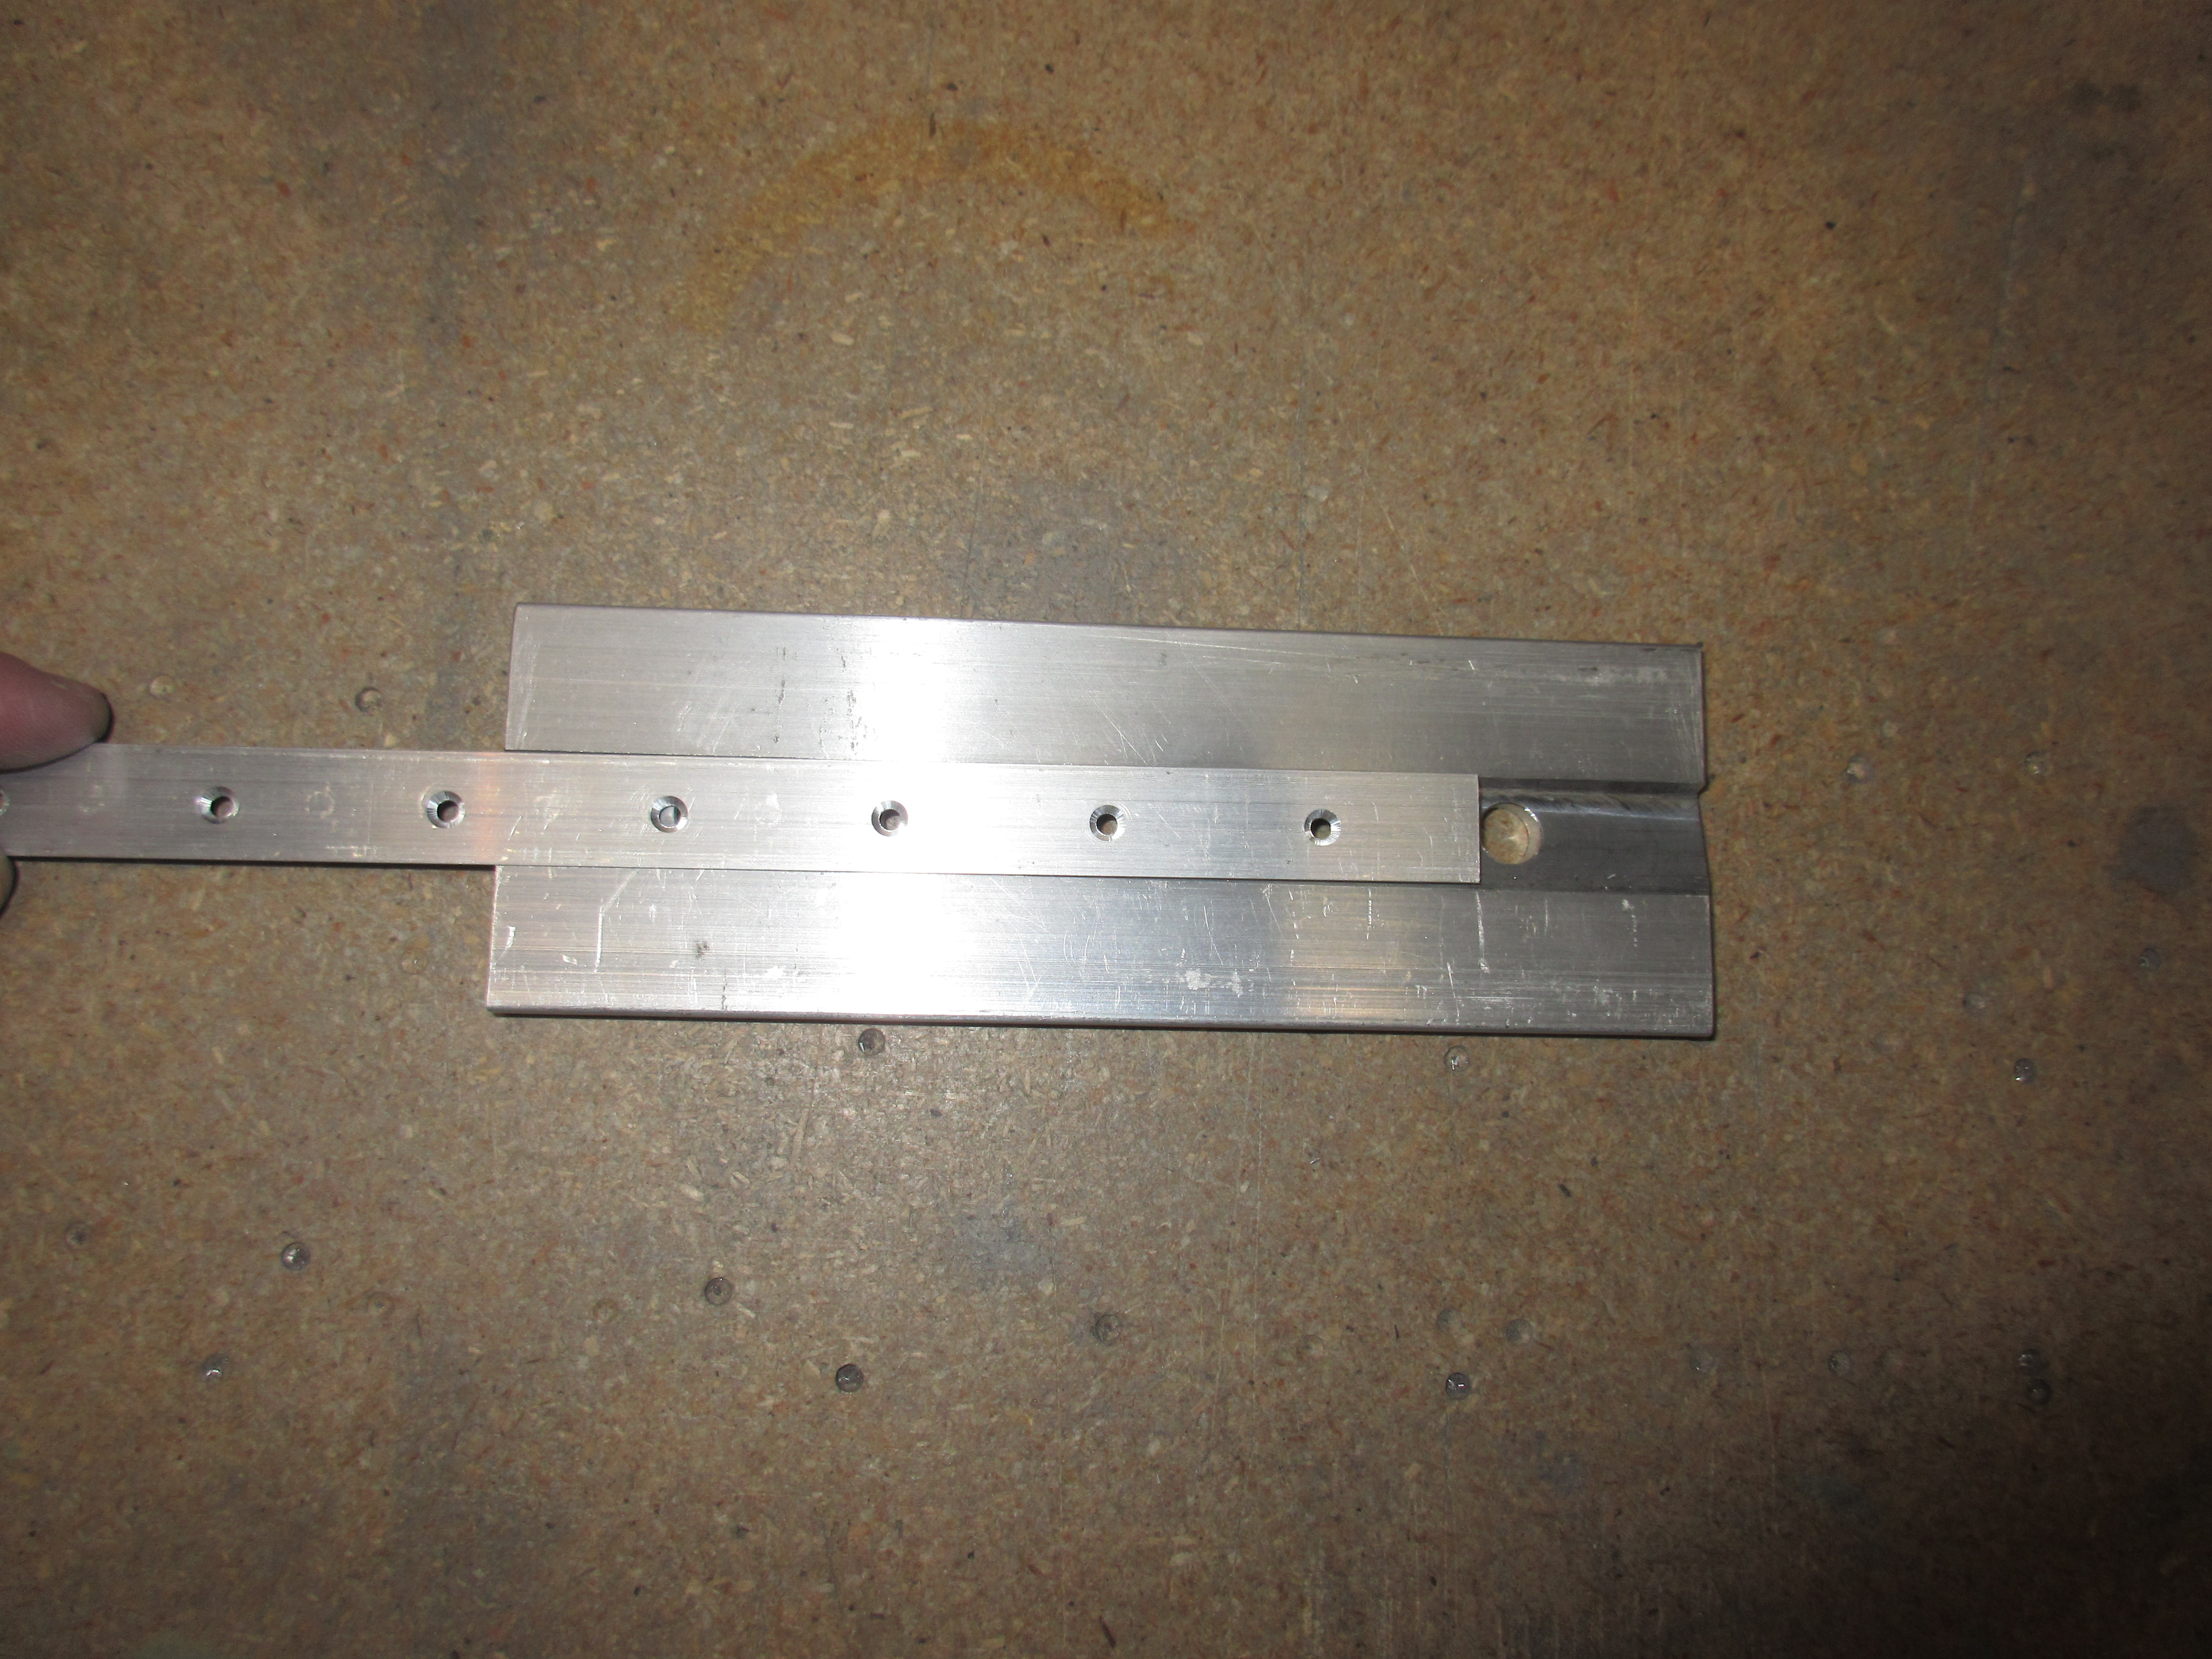
Then I set the angle aside and kept on working on the rudder itself. I decided to fit the bottom R-710 rudder horn brace to make sure I could rivet everything in place with the brace installed, and luckily my squeezer will fit in the tight space of the horn brace and set the rivets easily. I decided to use the AN470 rivets instead of the blind rivets that is optional for this part. I used my squeezer to set the rivets and left the ones that the skin rivets too for later. You can see in the photo below that the access hole in the R-710 horn brace gives just enough clearance for the squeezer to get in and set the rivets along the bottom rib.
After that, I decided to get the trailing edge ready for assembly before I cleco on the skins. First I used the DRDT-2 to dimple the trailing edge of the skins, and the I used a new jig from Cleaveland Tools that makes countersinking the trailing edge wedge a breeze! This thing is dead simple, its shaped to fit the angle of the trailing edge wedge, so that the working surface sits flush and allows all of the countersink cage to sit flush while countersinking. This is something a lot of builders have a hard time with, and struggle to make a good jig, so Cleaveland made one from a solid piece of billet. Here’s how it looks:
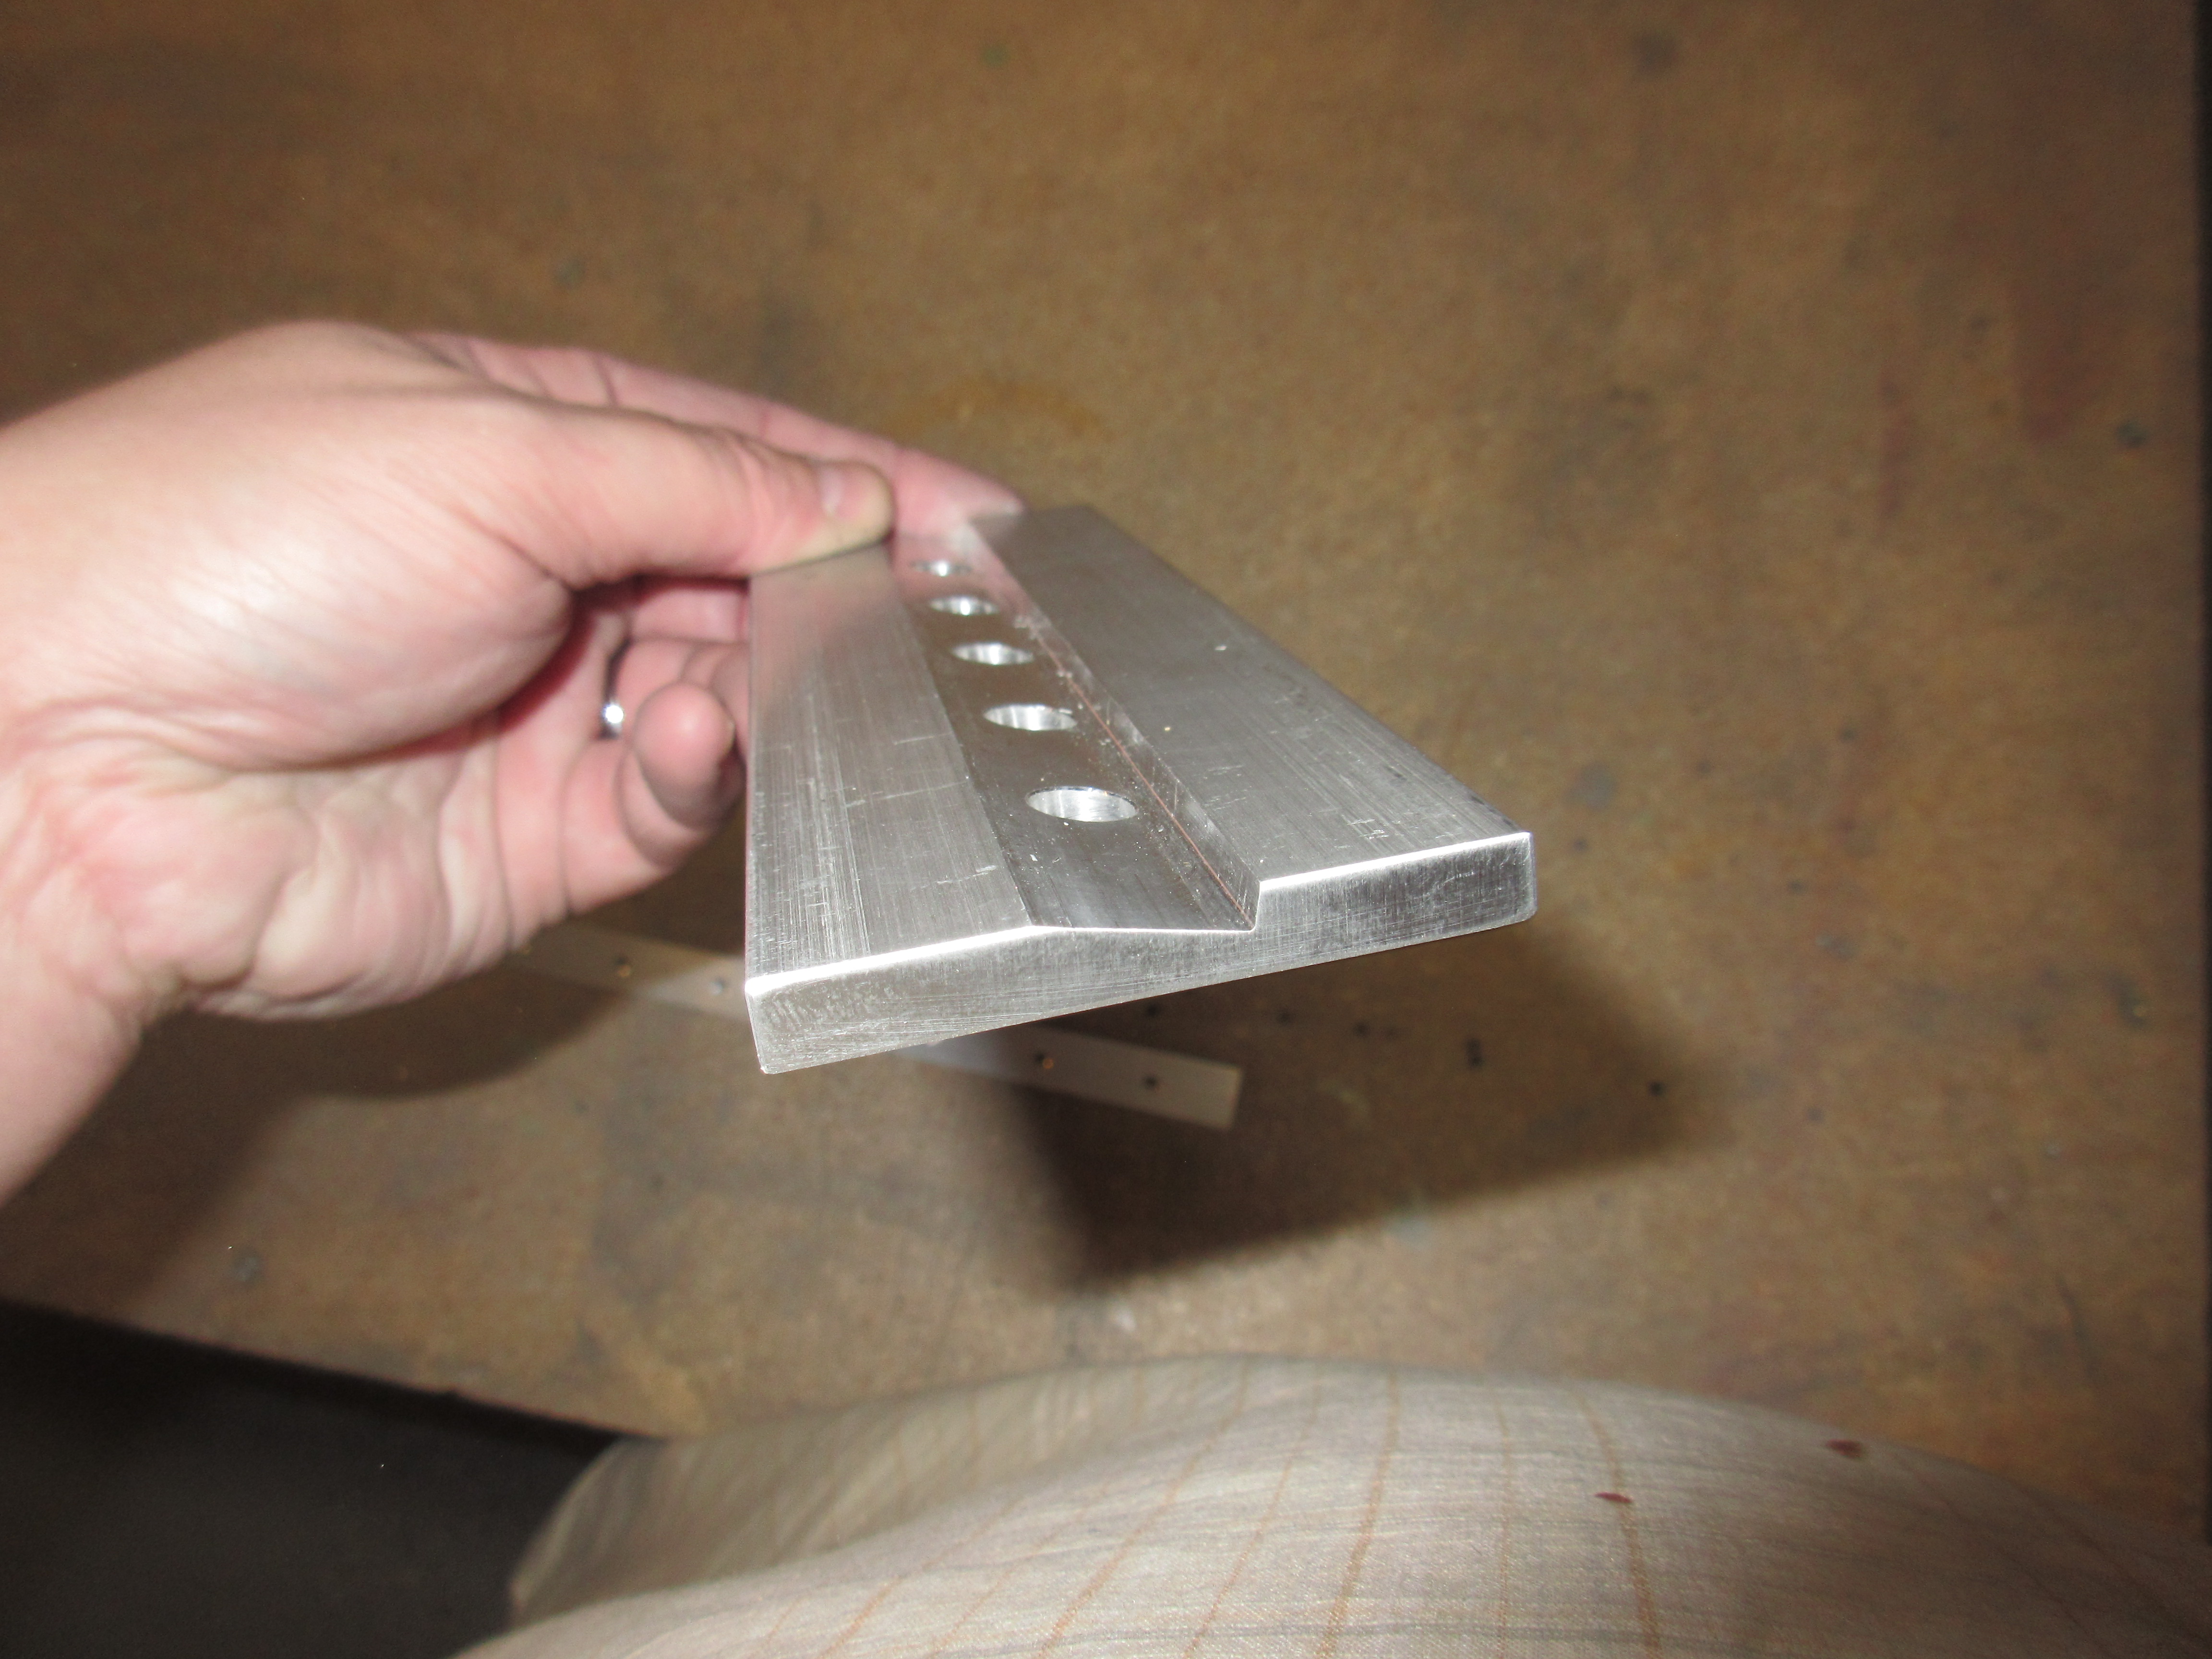
You can see how the trailing edge wedge sits perfectly in the groove, and the holes in the jig allow the nib on the countersink cutter to travel completely through. This little $36 tool made this job so simple I was glad to have it. I had both sides of my wedge done in about 30 minutes, counting the time I took to adjust the depth.
With the trailing edge wedge done, I was ready to cleco on the skins and make sure everything still aligned right before riveting them on. I clecoed on both sides and then inserted the trailing edge wedge and clecoed it together. My rudder is still in alignment and its looking great. However, while I was sitting down admiring my work, I started questioning when I should insert the rod end bearings for the rudder mounts. They thread into the plate nuts I installed into the spar, but the plans has some specific lengths they need to be, and it looks like its measured from the inside of the spar to the center of the hole in the rod end bearing. Heres what I am talking about:
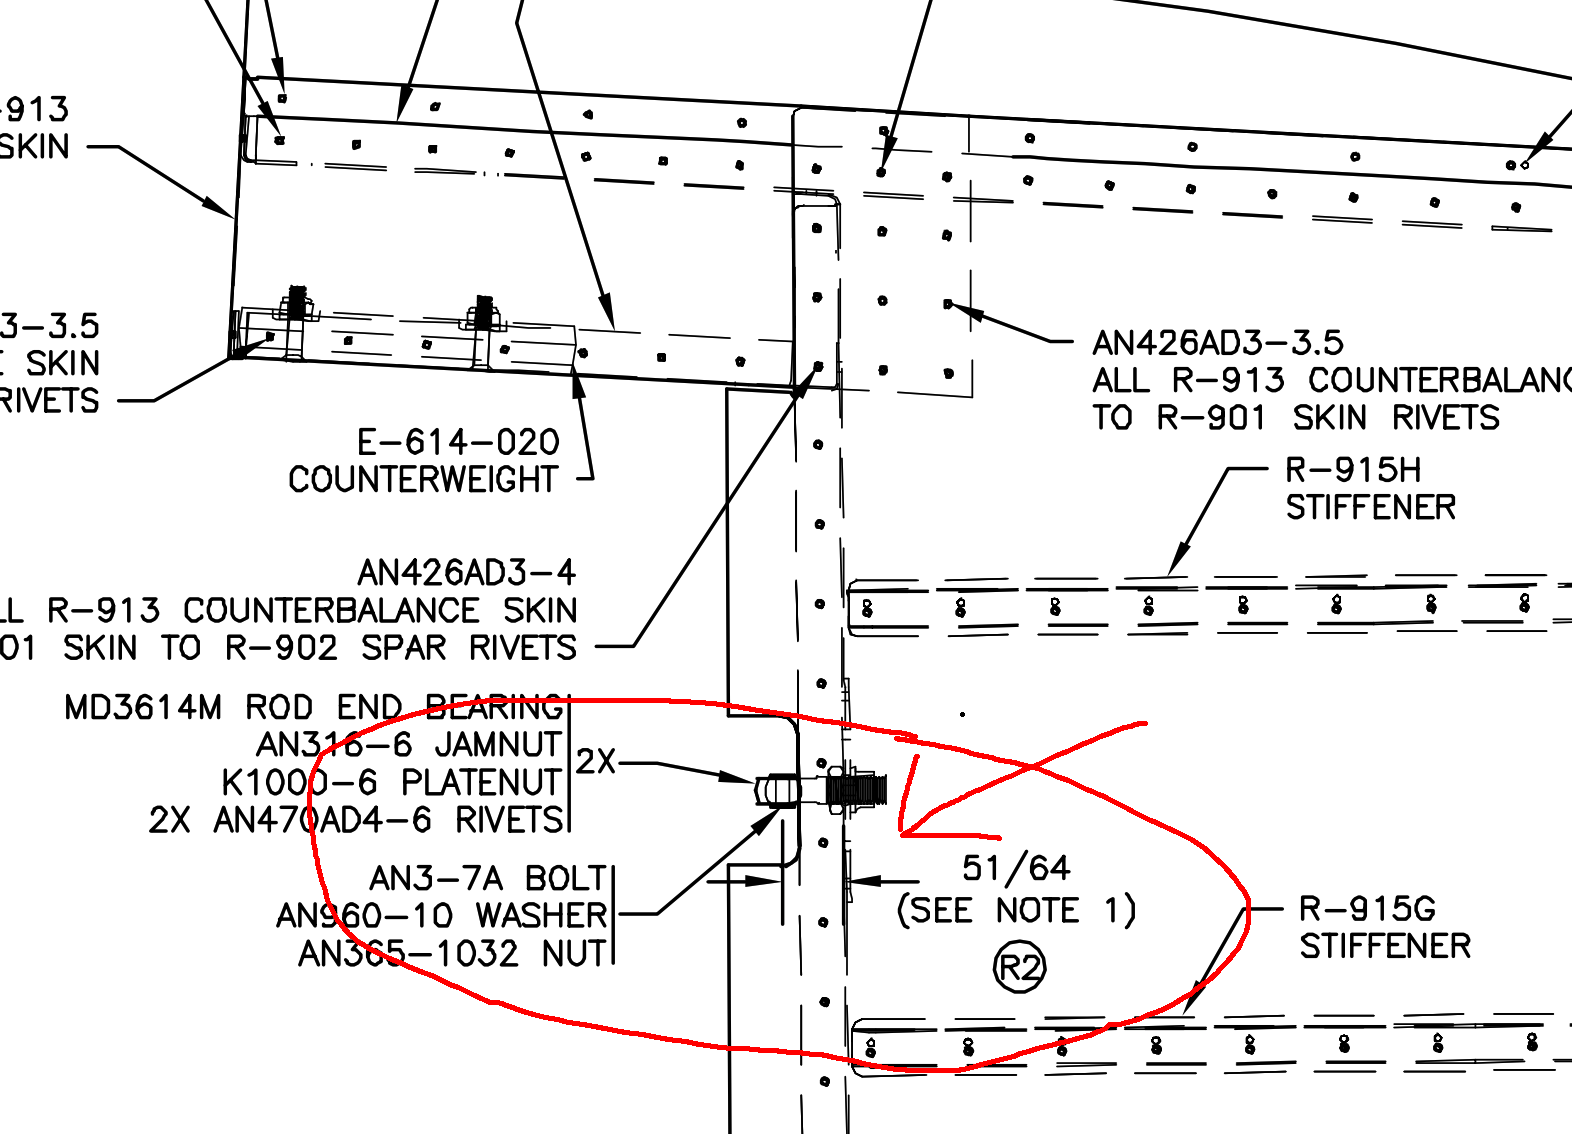
Of course, with the skins on, I wont be able to measure from the inside of the spar, and it looks like its calling for a distance of 51/64 in this particular instance. So, I am going to ask in the forums if I should go ahead and install those rod end bearings before I rivet on the skins. So, with that little dilema, I decided to call it a night and wait until I get some advice on how to proceed before I make it harder on myself down the road. This is a good stopping point anyways!
Here’s an album of all the photos from tonights work:
Google Photos album link: https://goo.gl/photos/aHYpcitVP9jL4eYBA
Hours Worked: 3.75