


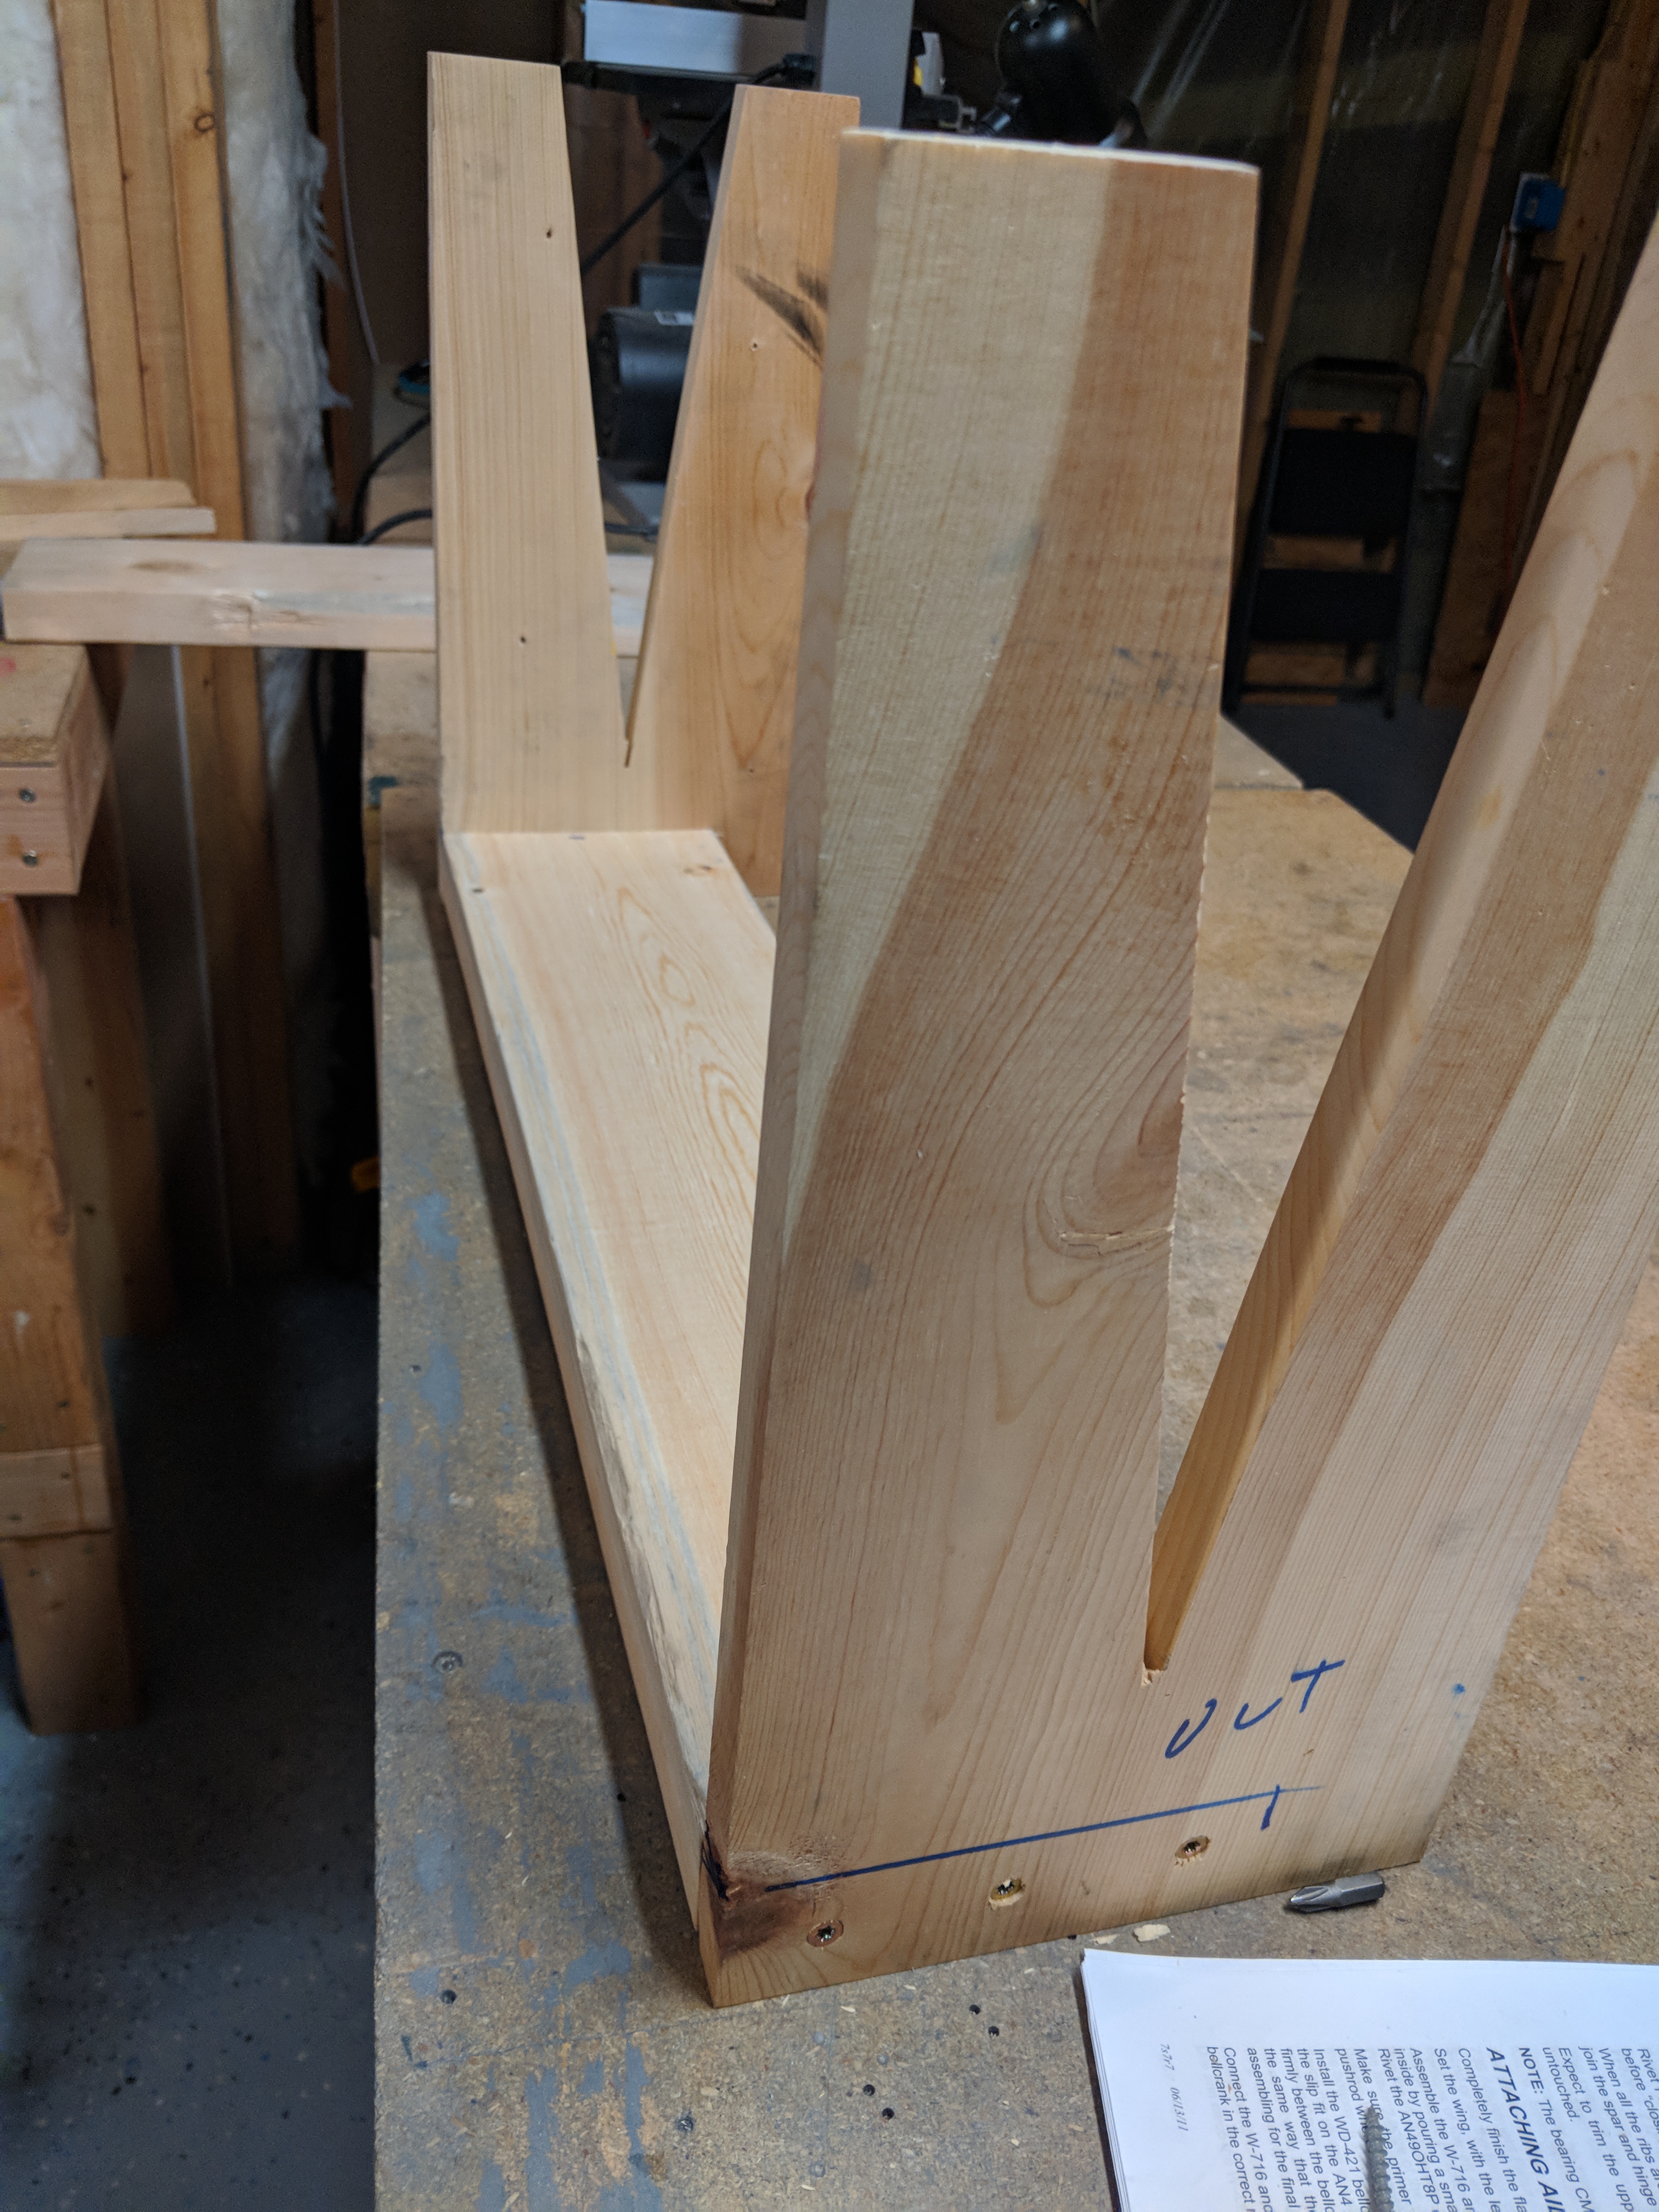
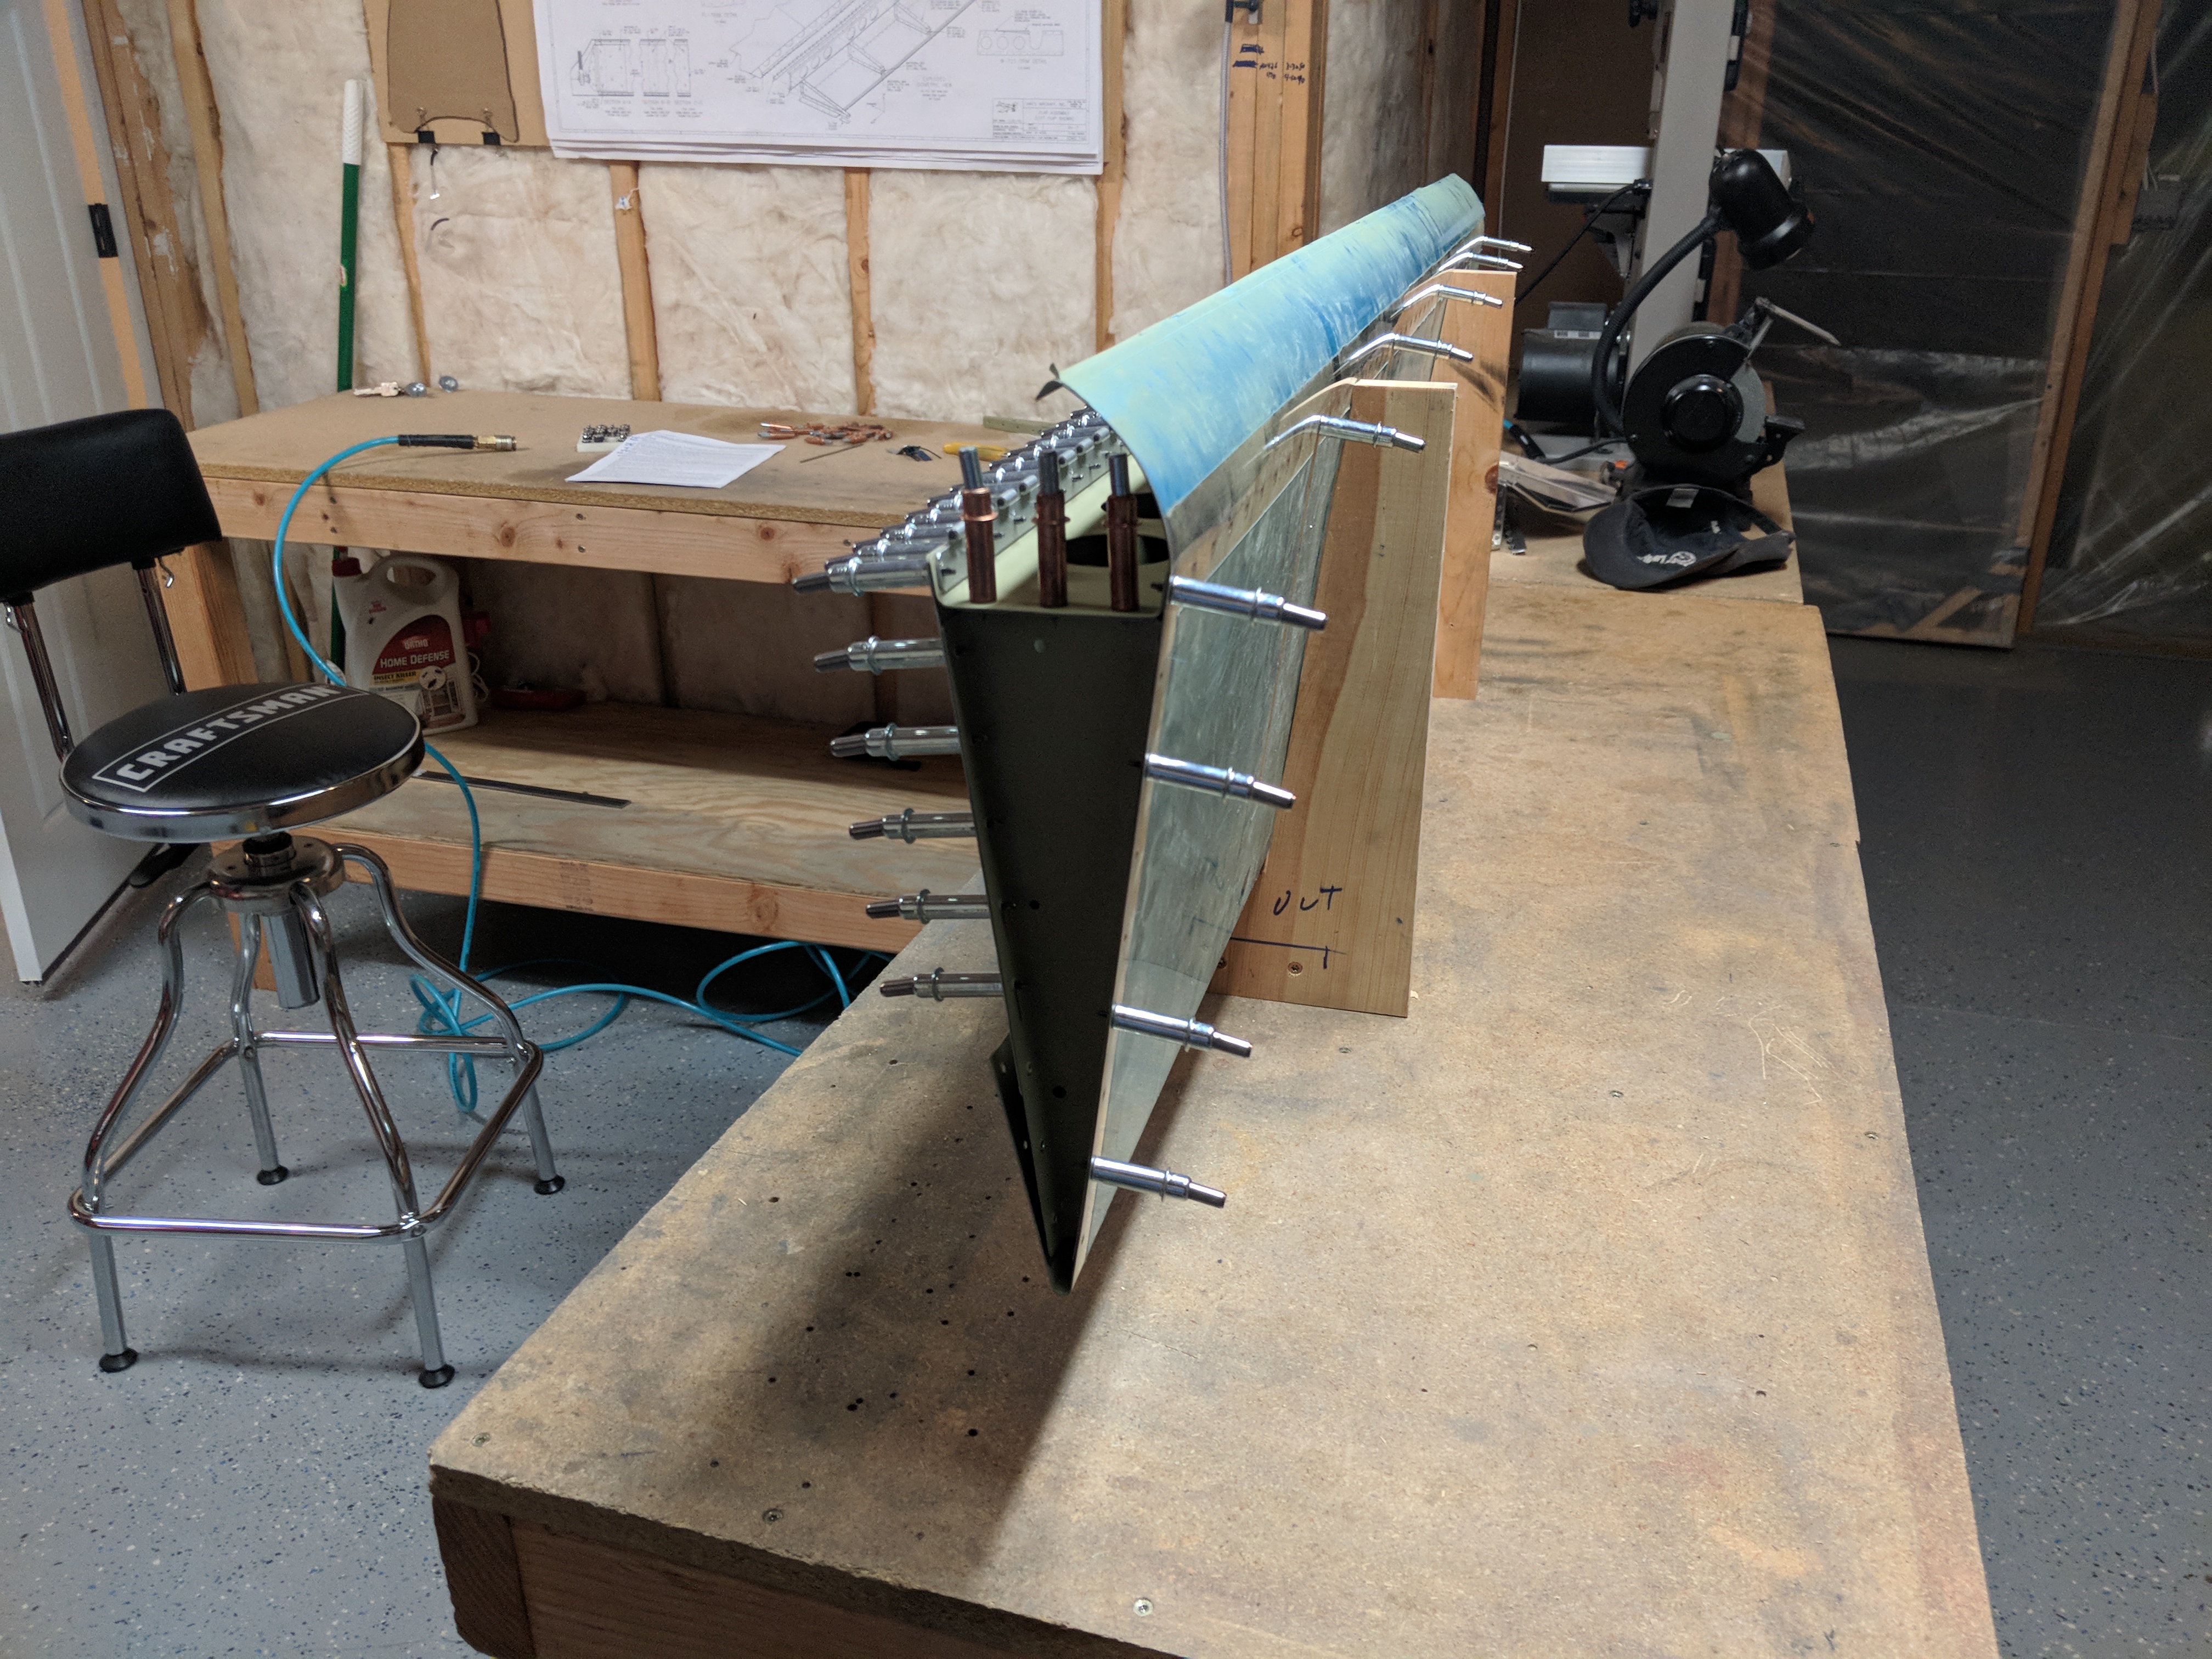
Back to riveting! Tonight I started riveting some parts together to actually for a control surface. With the flaps being at the point they are ready for final assembly, all that was left was to build a set of V-blocks to hold them to make assembly and riveting easier. So I started work tonight by making a V-block. I grabbed one of the end ribs use them as a template on the 1×8 pieces of wood from the spar crates. Van’s surprisingly uses pretty decent wood on their crates, and it comes in handy for stuff like this.

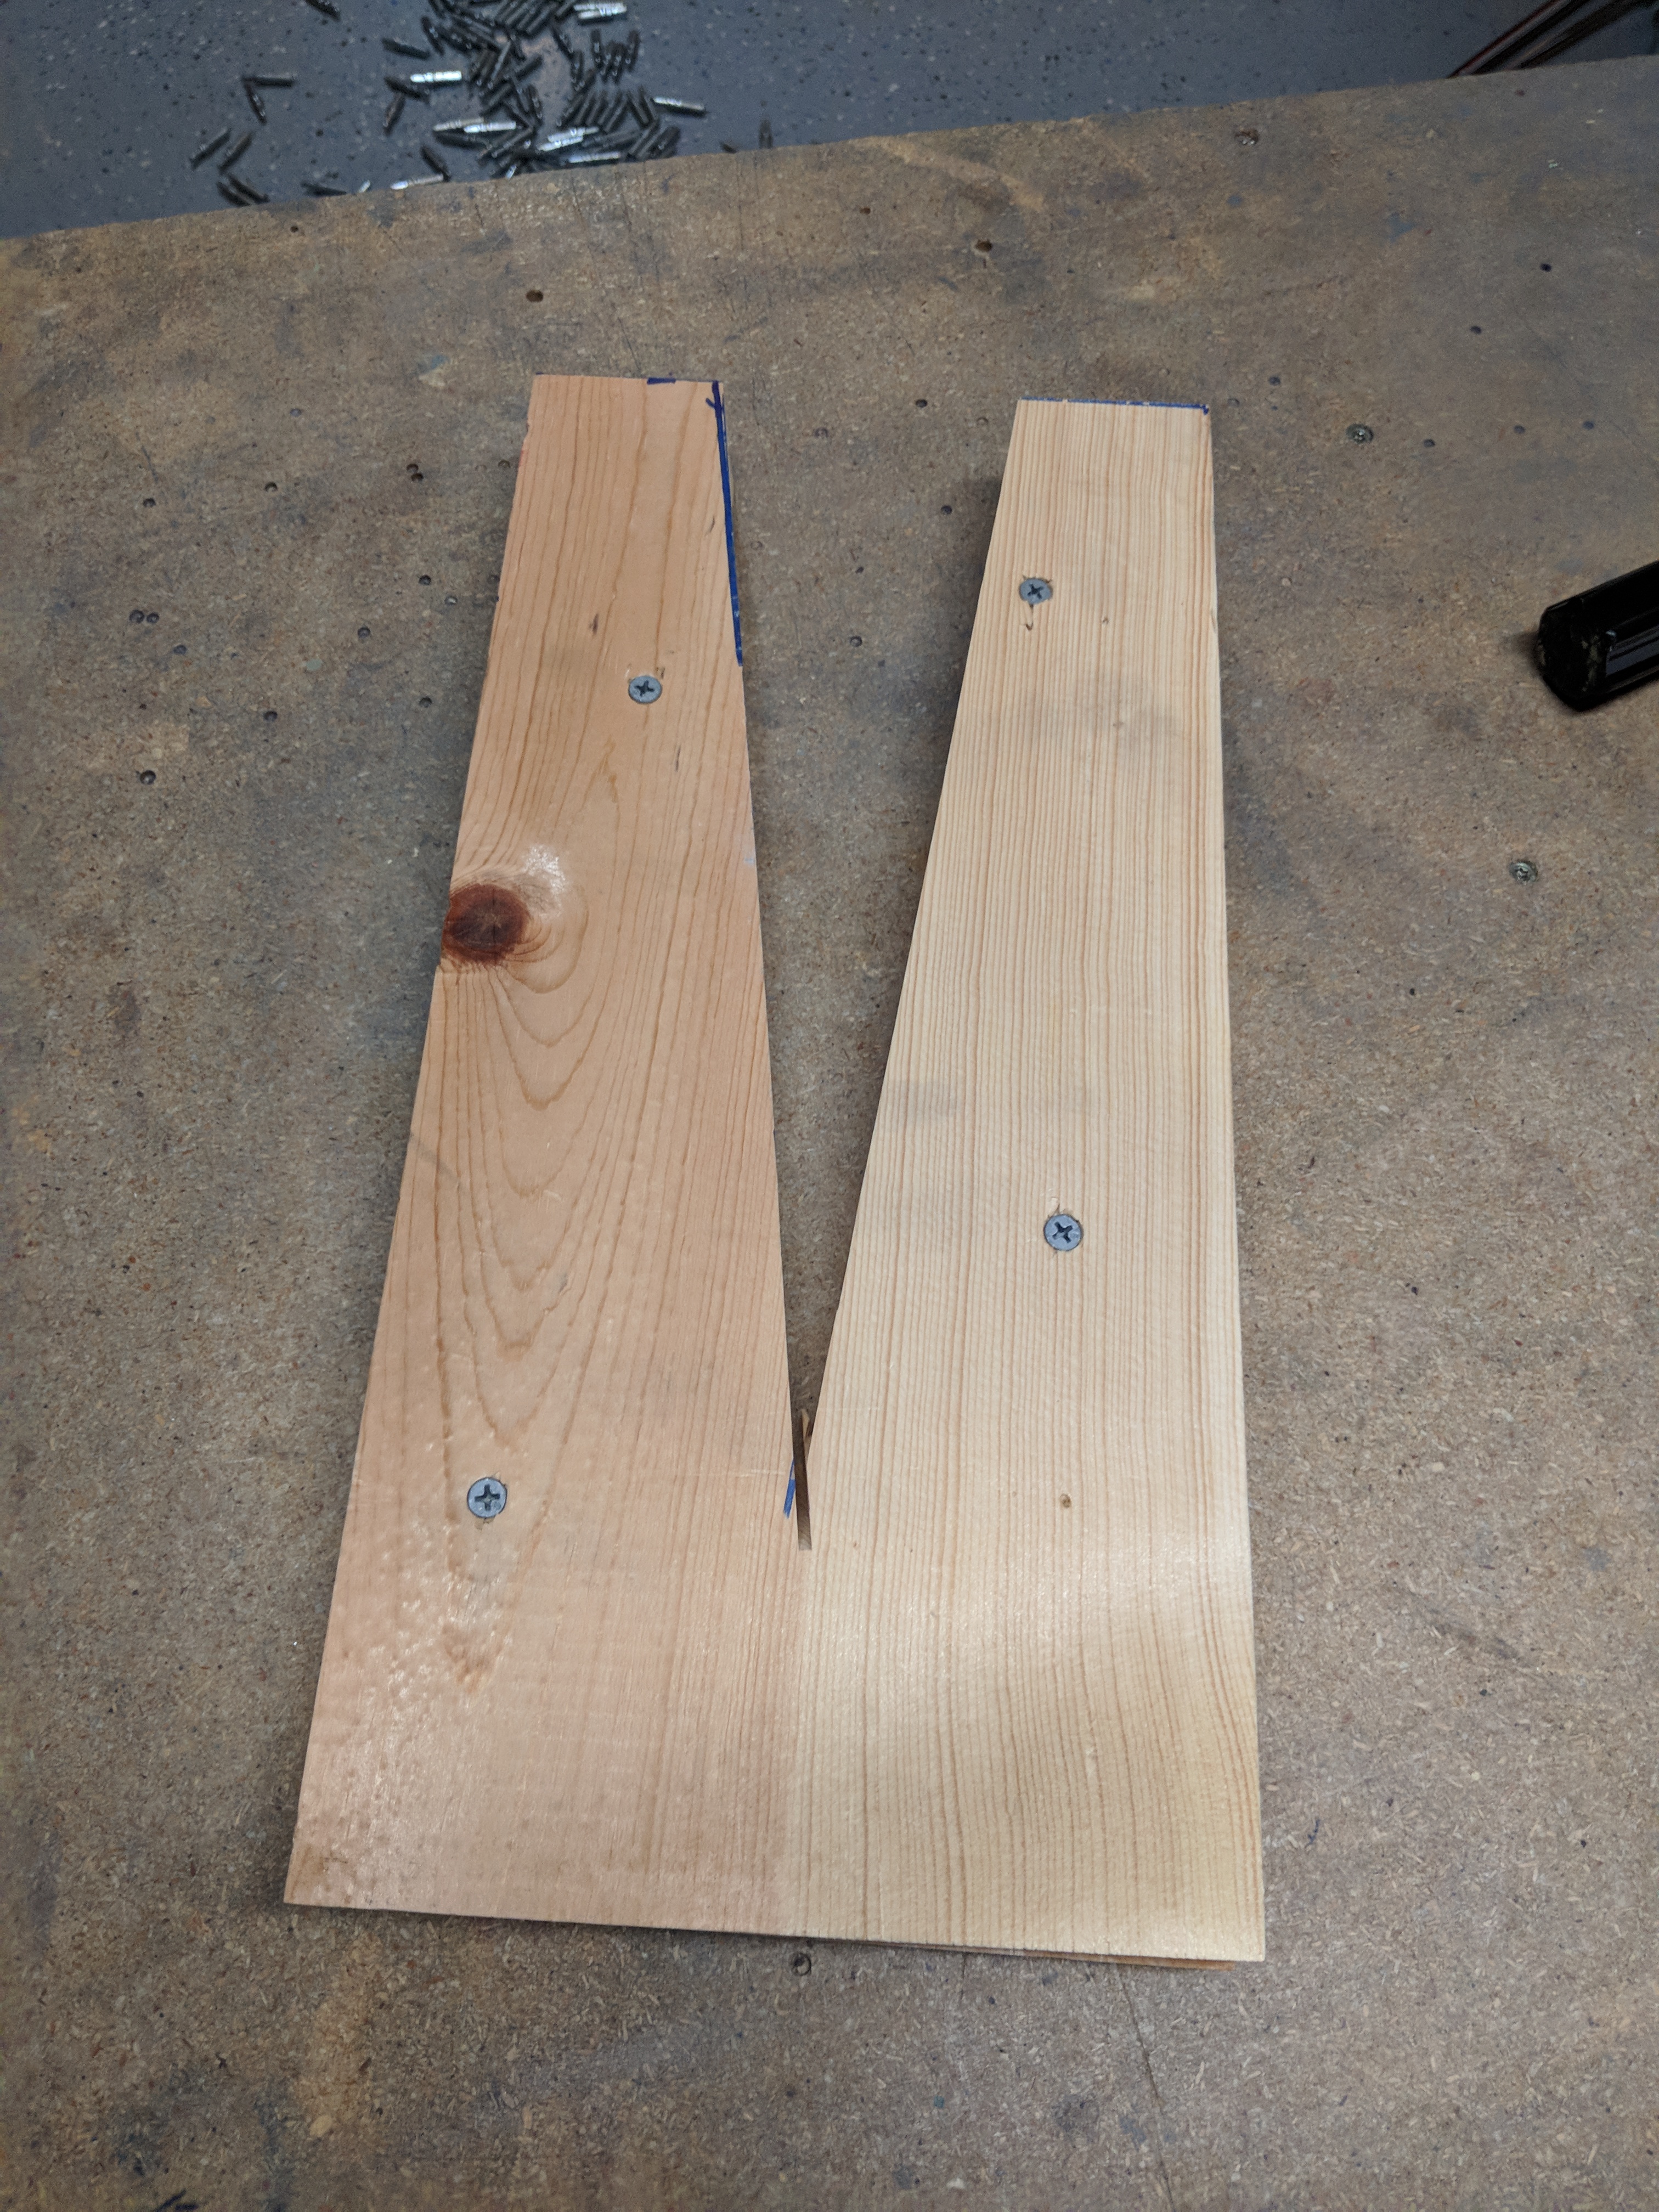
I marked out the outline of the rib with a sharpie and then extended the lines on out using a ruler. I wanted to make the cut as true as possible, so i used my mitre saw to make the cuts. It doesn’t make the most square cuts at the ends, due to the round blade, but it’ll be fine for what I want to do, the angles are true. Also, to make sure I had both sides of the V-blocks cut with the same exact angle, I screwed the two pieces of wood together and cut them at the same time. I also had a piece of 2×6 left over from where I made the trailing edge bending jig and used it to make a solid base to attach the V-blocks to. It turned out pretty nice, and works great!

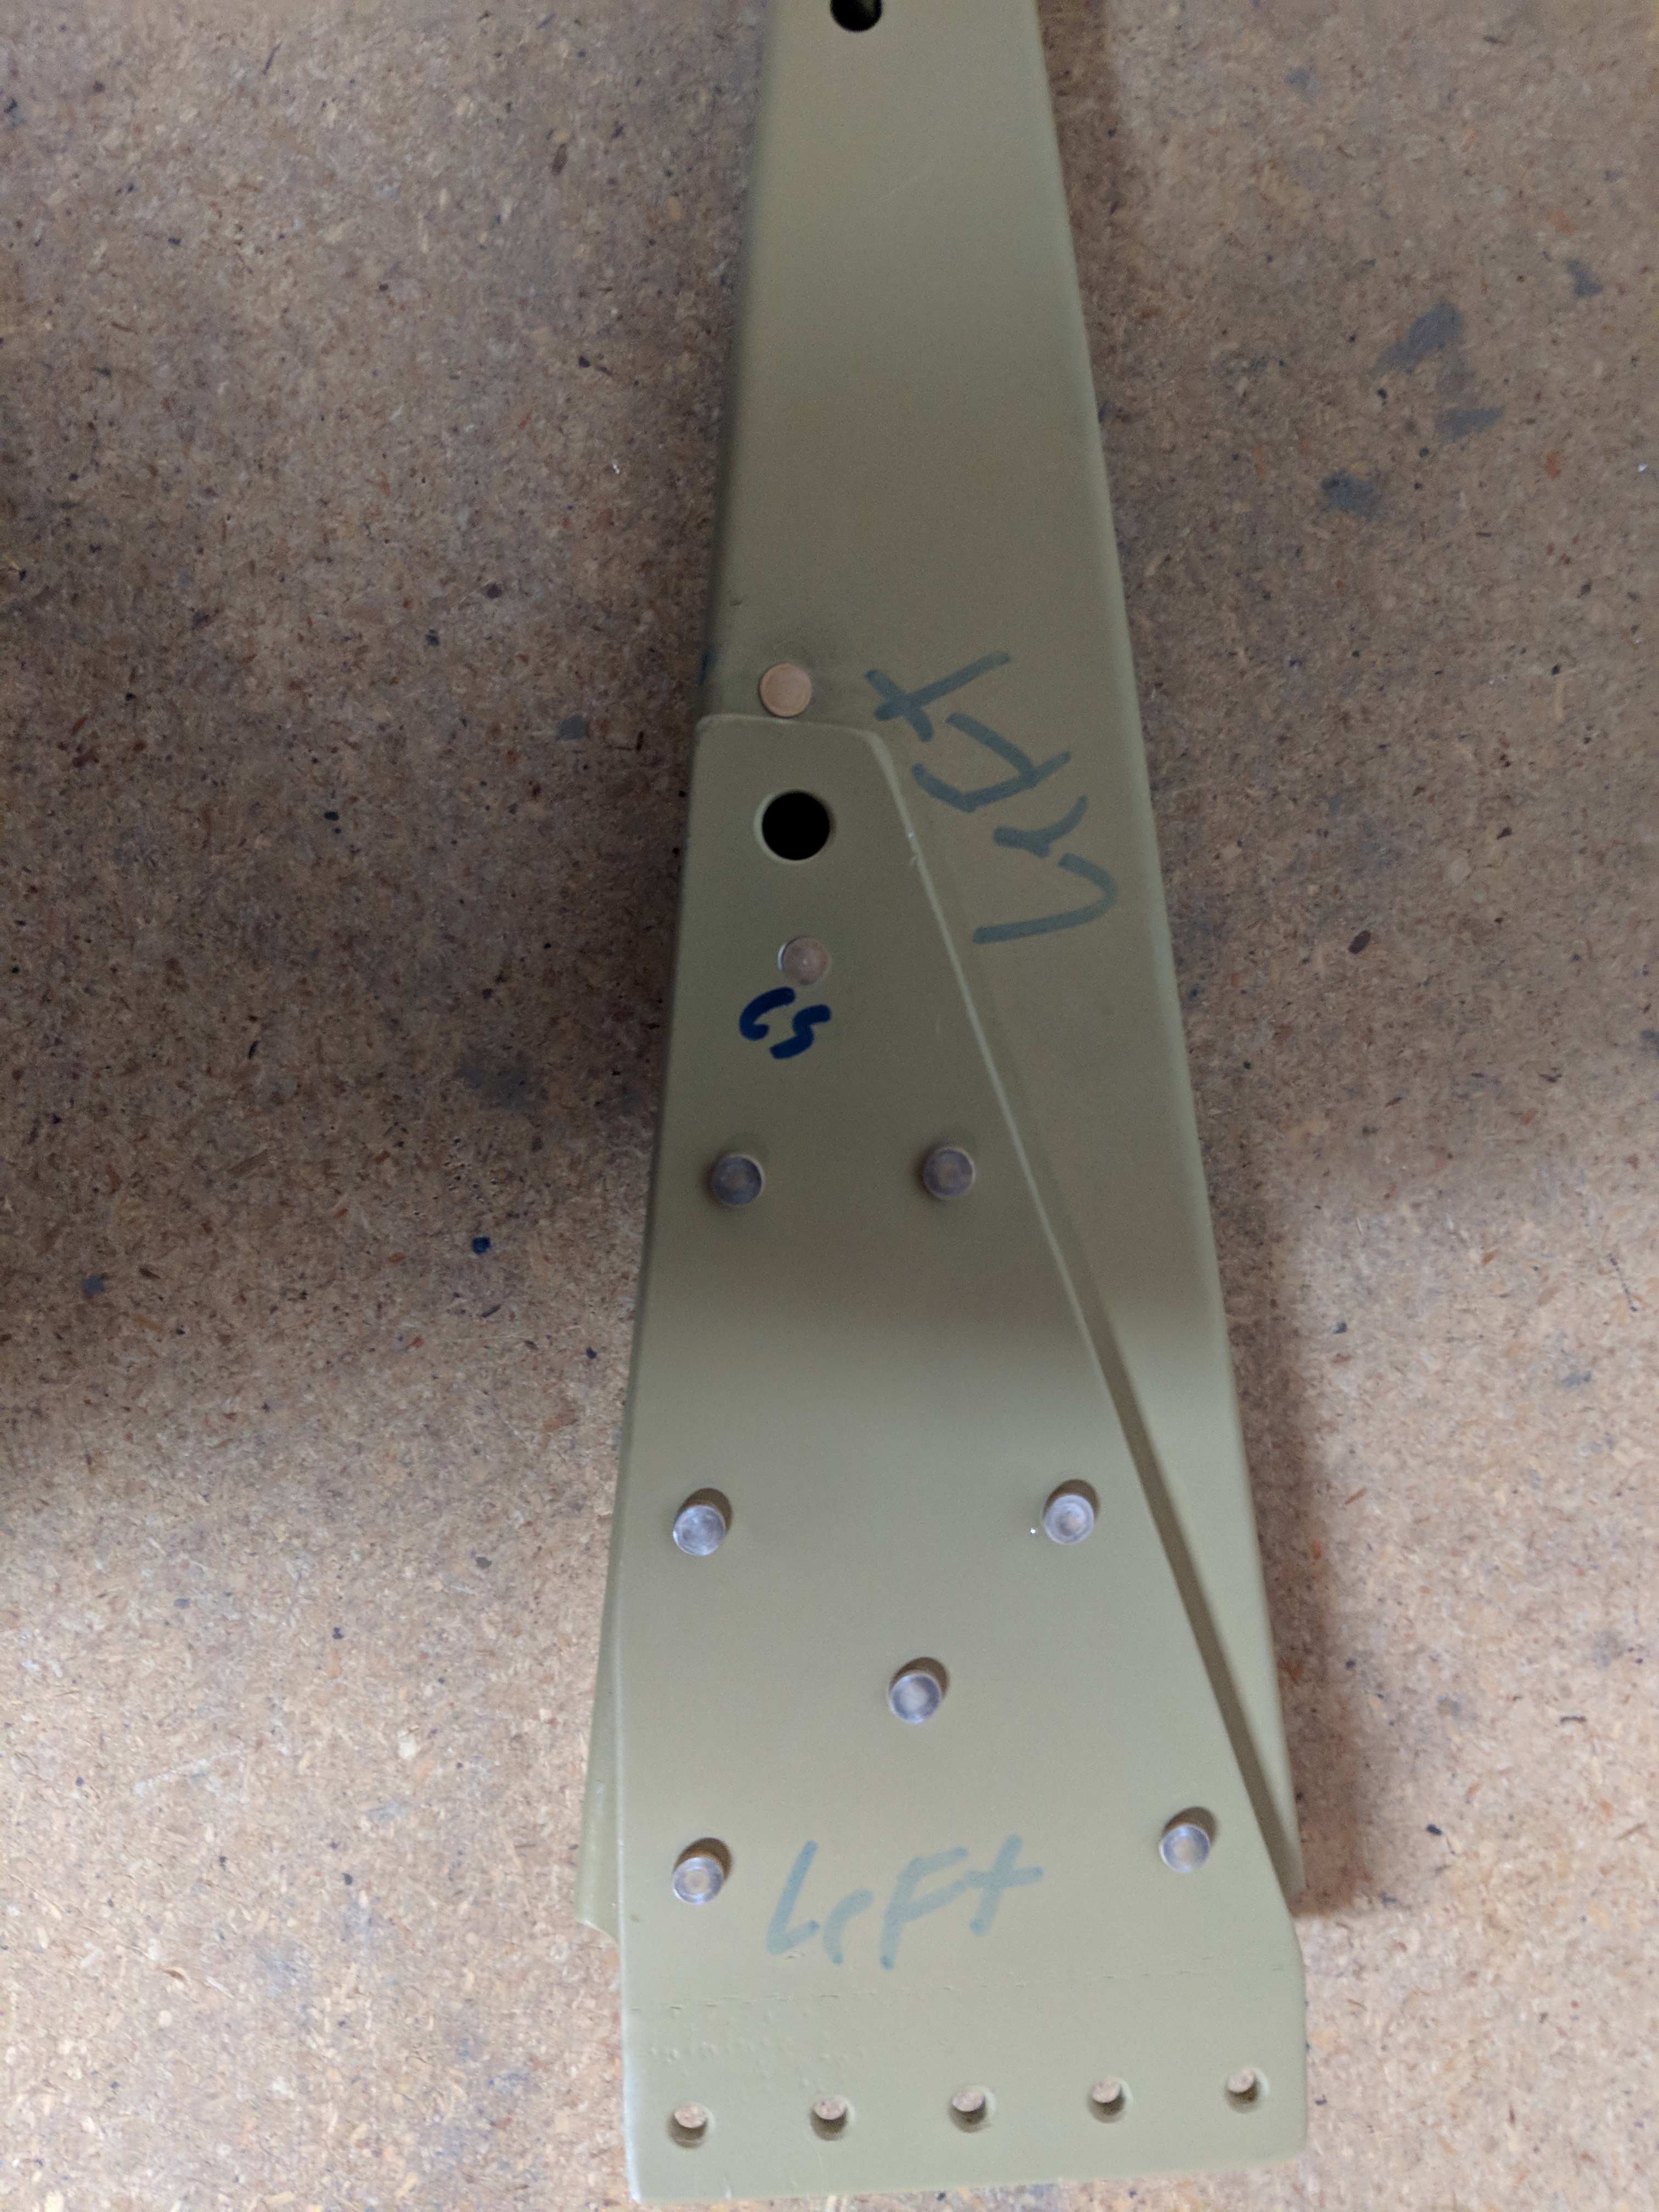
Now, it was time to start riveting parts together. I started out with the FL-704 end rib and the FL706B doubler plate. I clecoed them together, and made sure I included the nutplate on the inside, and used my “oops” rivet on the hole in just the FL-704 end rib (see my posts earlier as to why). This was the first time I was able to use a new tool I picked up a few months ago: A Numatx Hydraulic-Pneumatic rivet squeezer as seen here: http://www.numatx-tools.com/ It makes squeezing rivets SOOO much nicer, and much easier on the wrists because it weighs about 1/4 the weight of my old pneumatic squeezer.

After that, I riveted the FL706A doubler plate to the spar, and then began assembling the skeleton of the left flap. Once I had the ribs and spar assembled together, I clecoed on the bottom skin. Theres a few rivets that need to get set on the rear “spar” of the bottom skin, otherwise they are unreachable when the top skin goes on. I inserted the shims between the rear spar and the end of the rib and then squeezed the rivets.
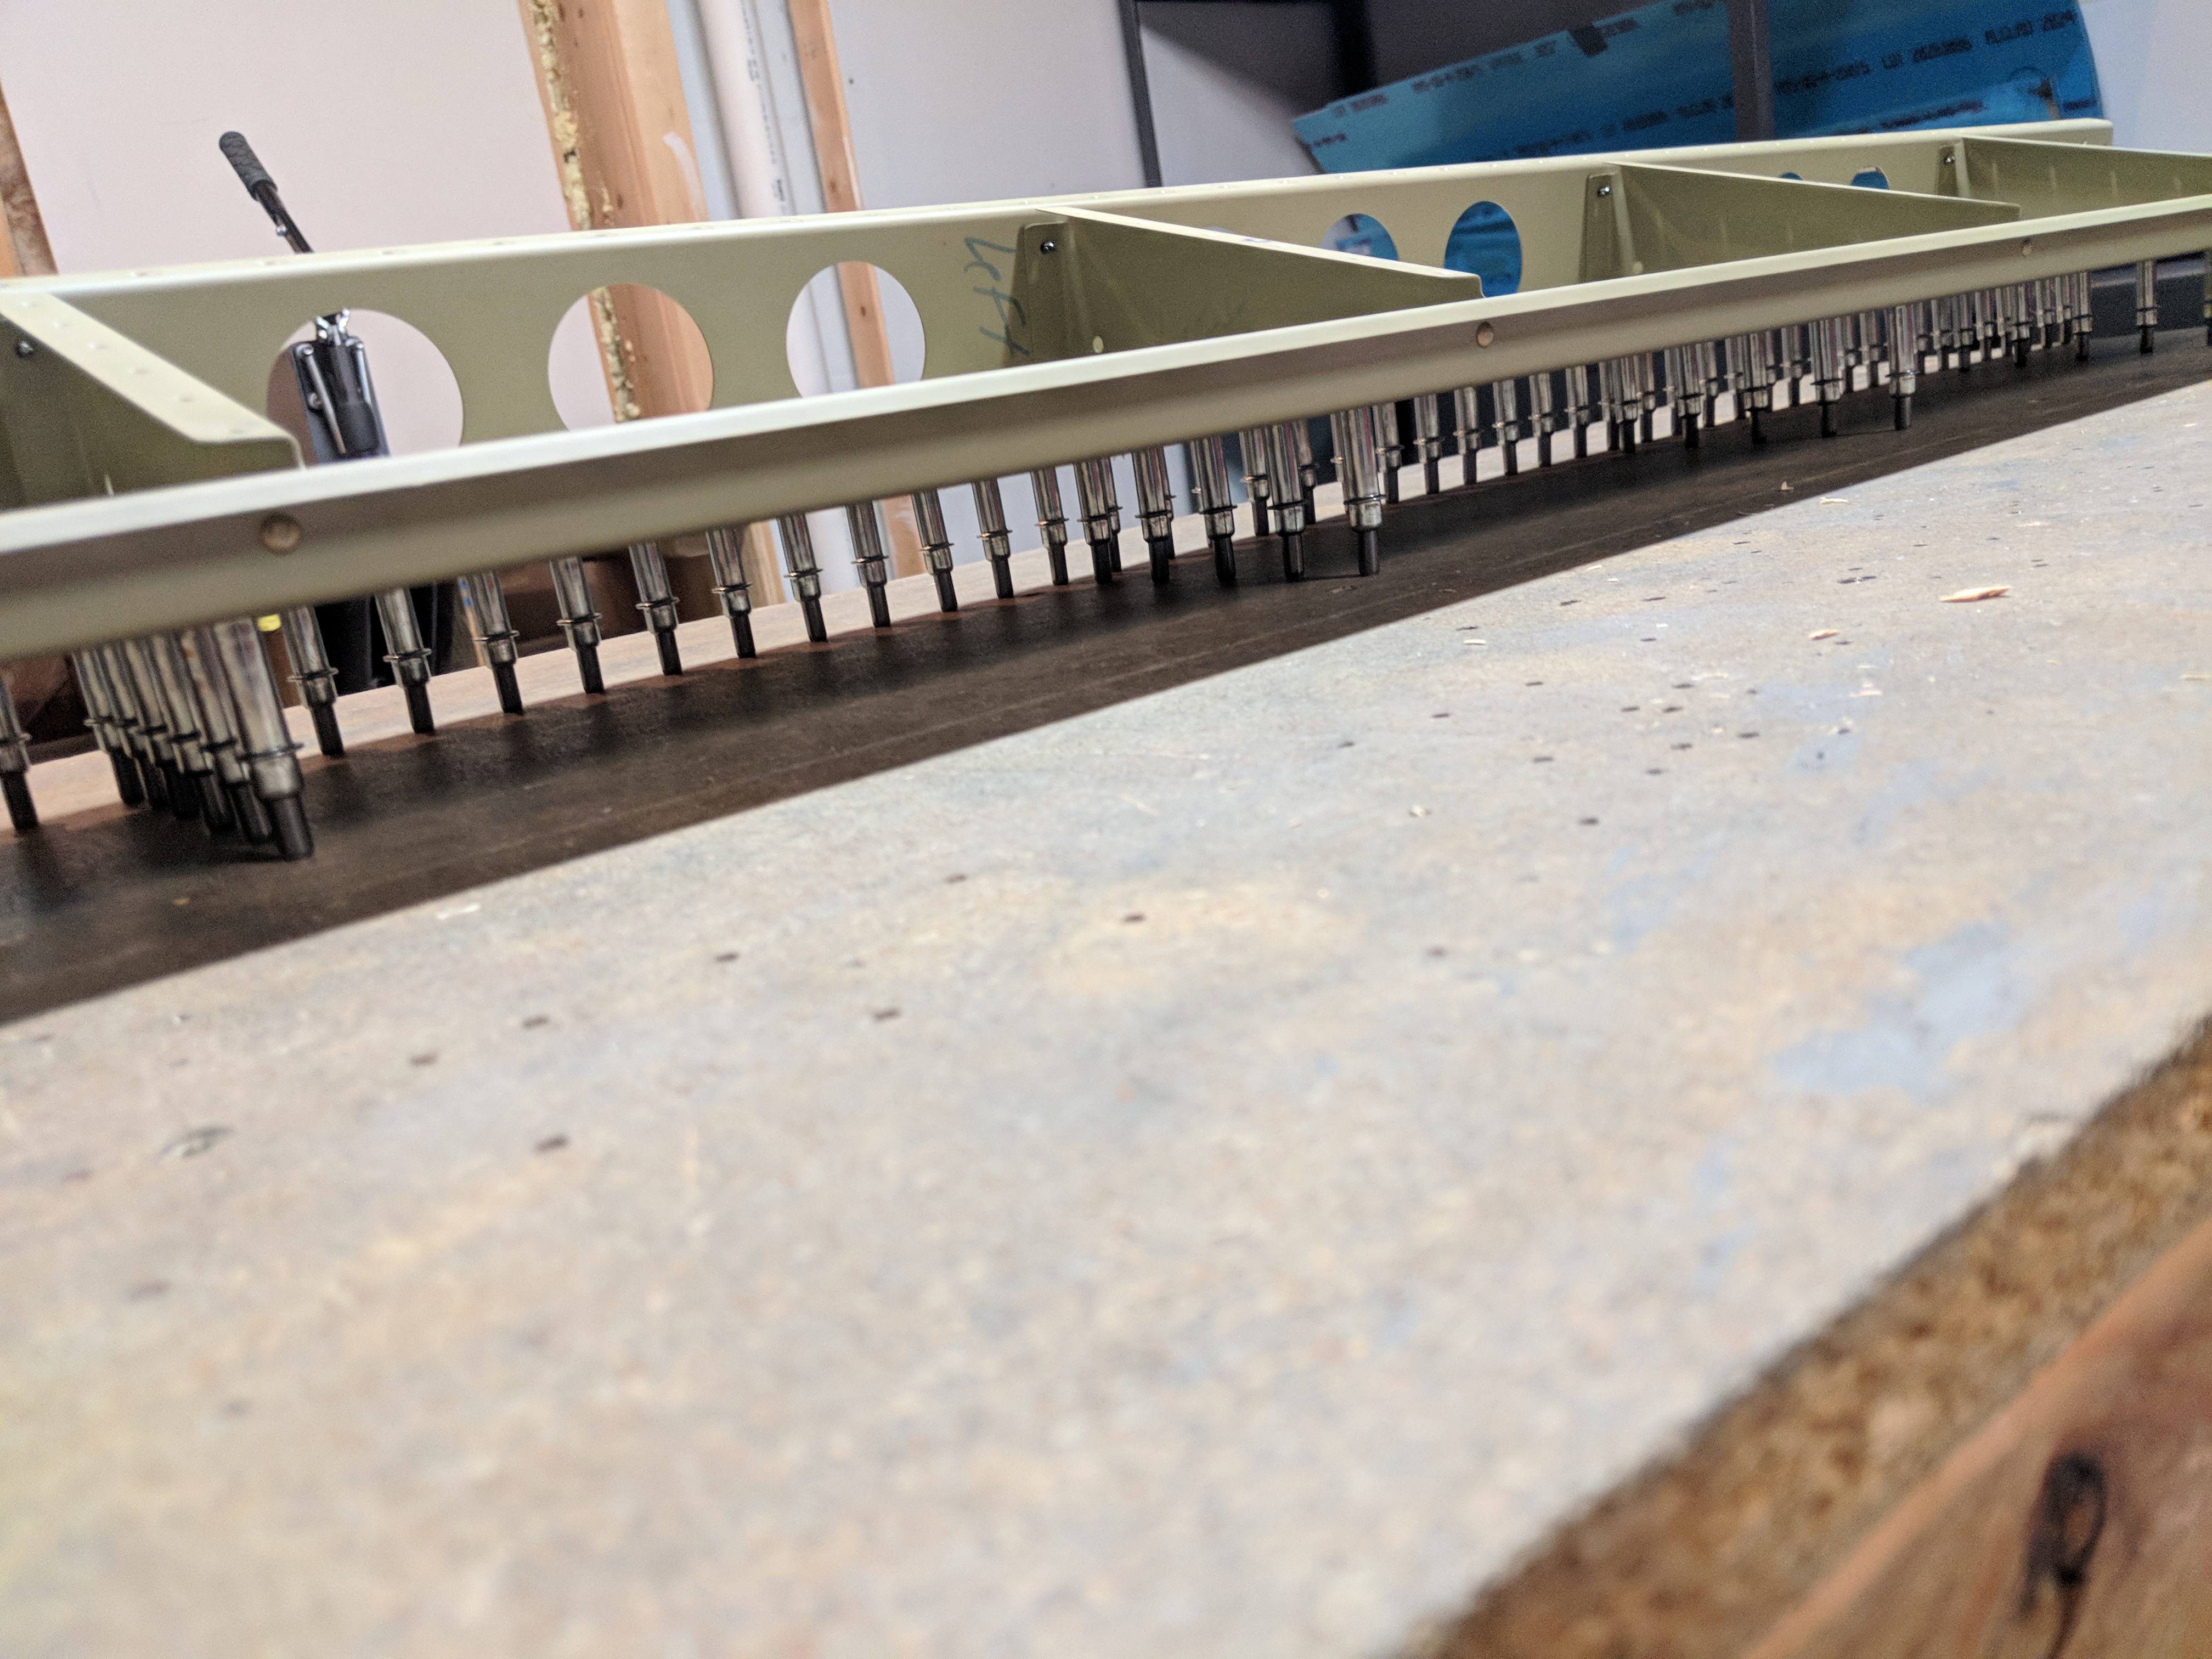
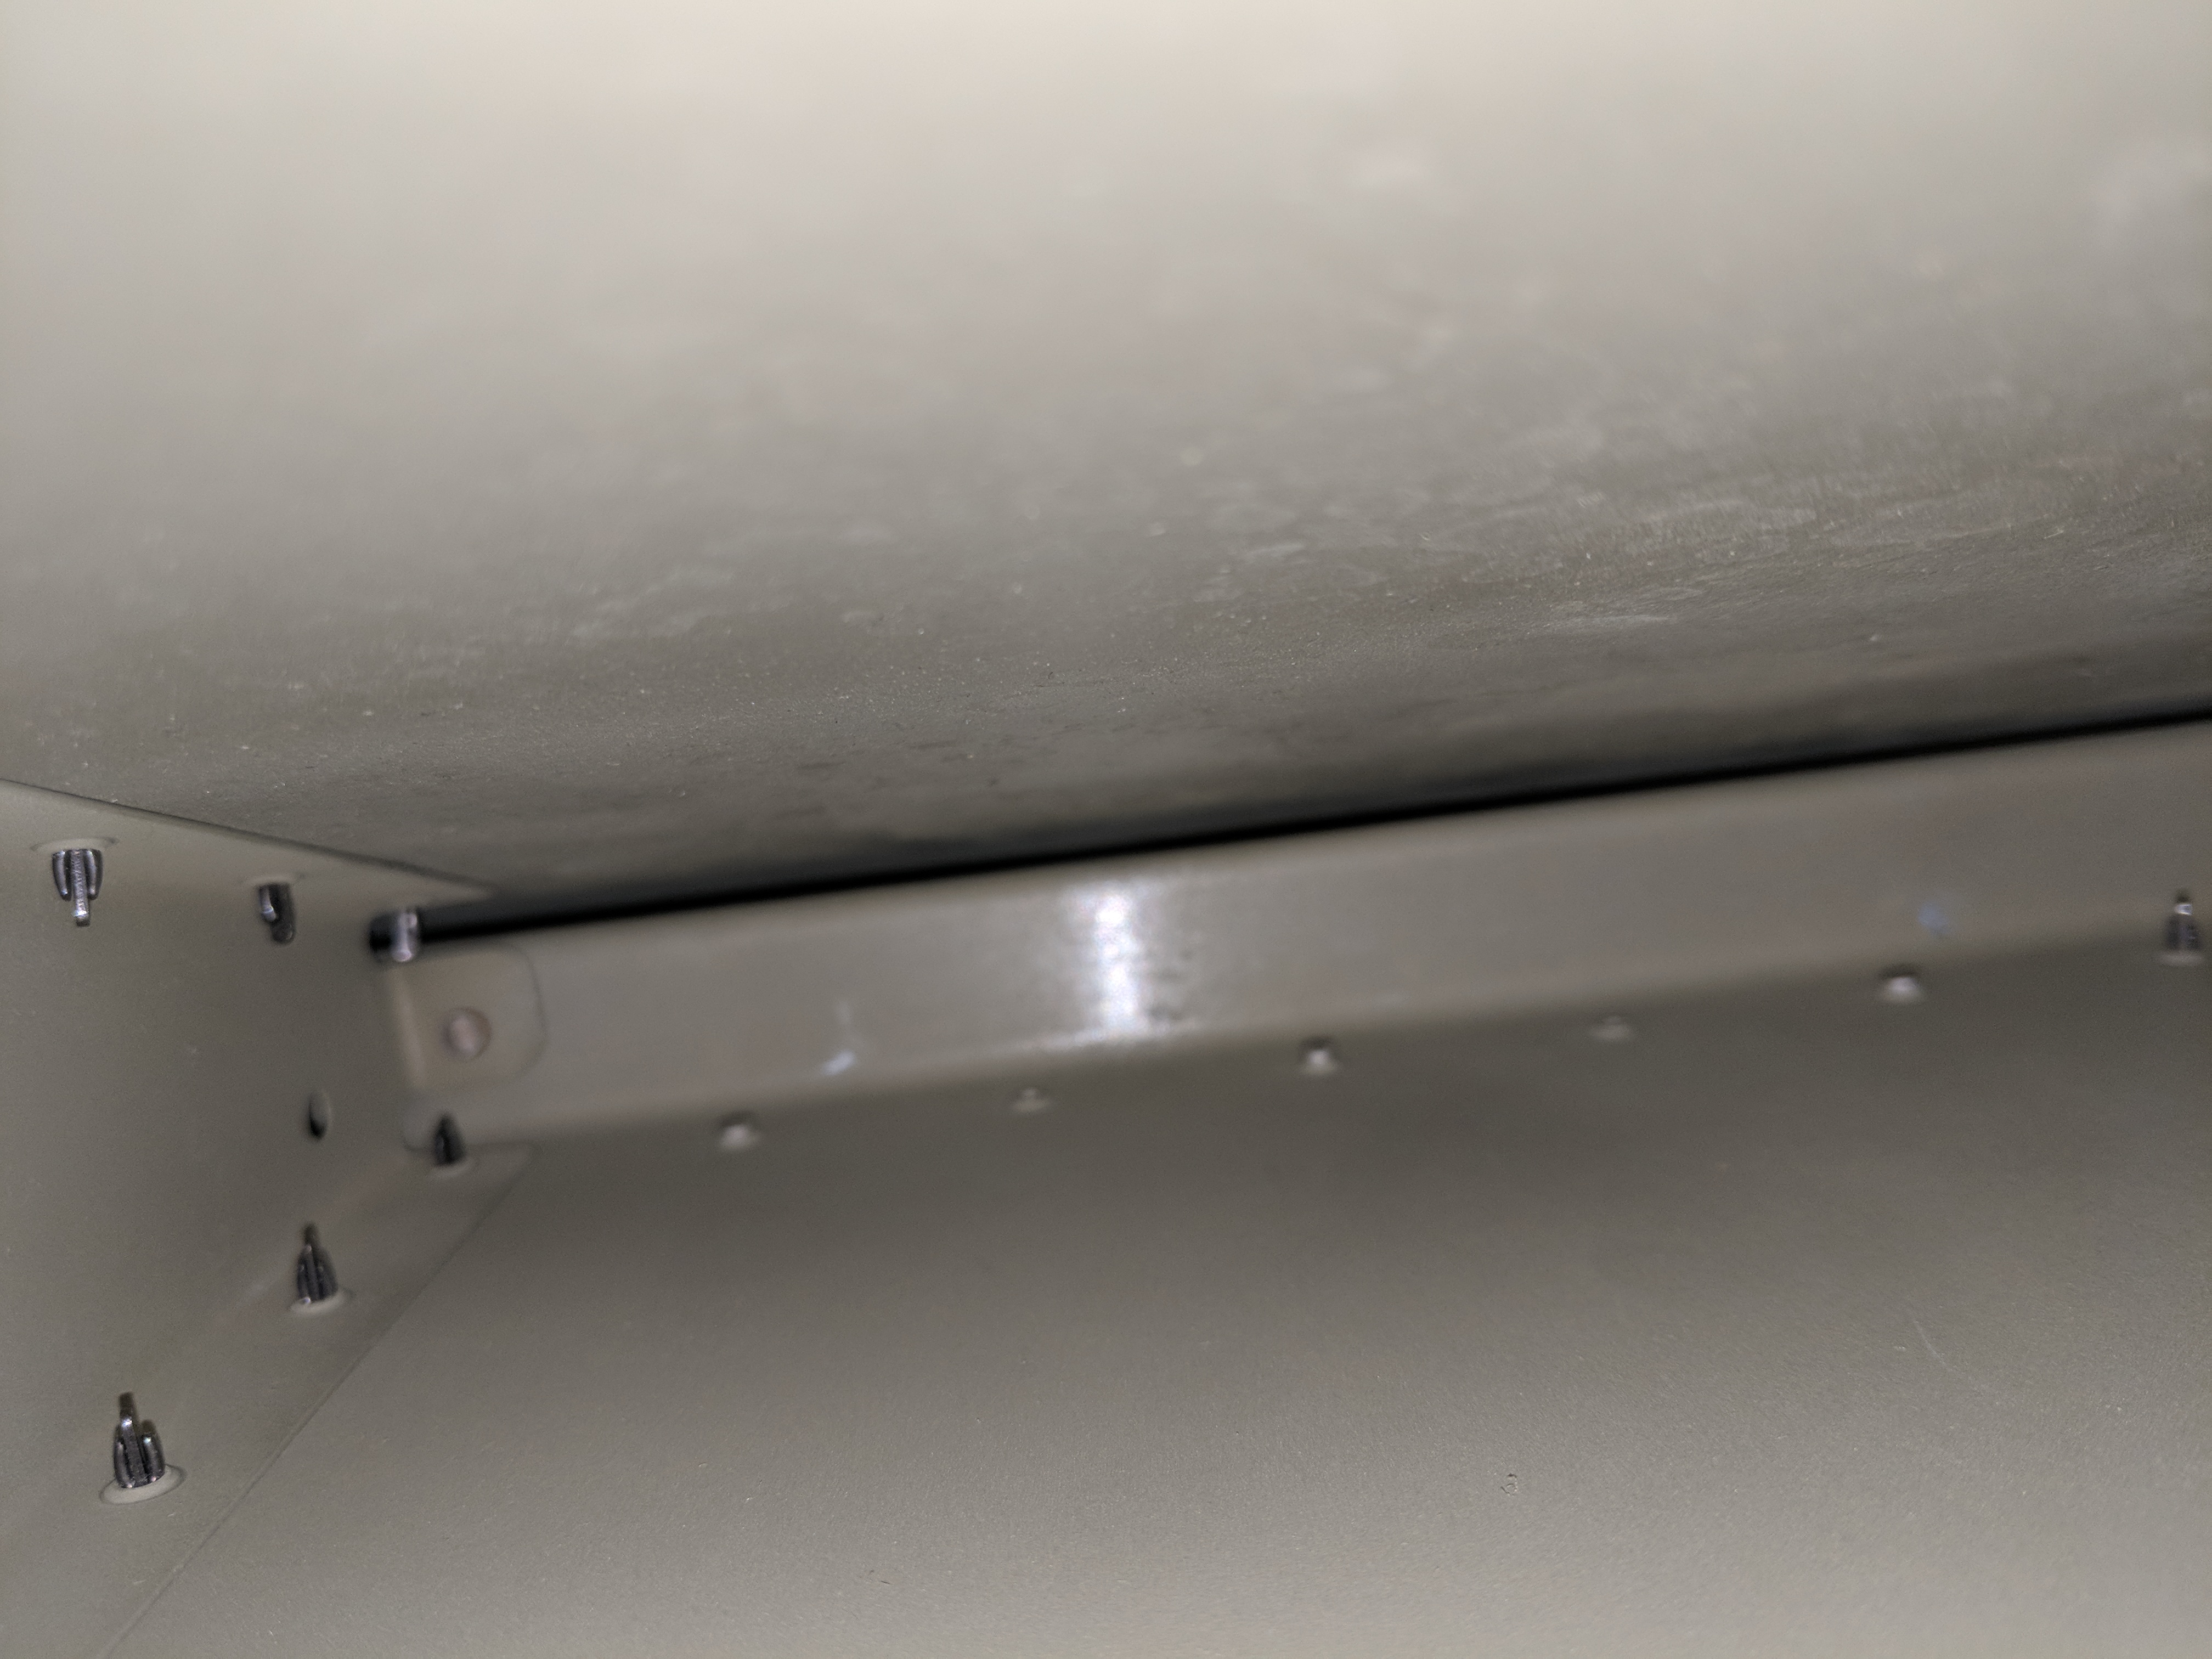
With those ribs riveted on the rear spar, it’s time to fit the top skin on and get it in the V-blocks. I cleco’d every other hole and made sure it was all trued up before removing the spar. We have to remove the rear spar so that I can reach in and buck the rivets along the line where the top and bottom skins as well as the ribs.

Vans has us rivet the line on the bottom where the bottom and top skins join together first, and then work on the ribs. I had read a trick from another builder that used a 3″ yoke as a bucking bar in the tight space, so I gave that a try, and it worked out pretty nicely. It made bucking these rivets a lot easier in such a small area.
I ended up not getting this flap done tonight. I spent a good hour building the V-blocks, so I didn’t want to stay in the basement all night. I was able to get about every other hole riveted along the line where the top and bottom skins join. I removed the clecos from the other holes and will finish up riveting this thing together in another build session. It felt good to buck some rivets after such a long break from not bucking. Here’s all the photos:


Google Photos Link: https://photos.app.goo.gl/1Ri61yvzWL4zl31w1
Hours Worked: 3.25