


https://thelonelycreative.com/shipping/ Made a LOT of progress tonight, almost 5 hours worth AND I shot a couple live videos to boot! I am shooting the video for a couple of reasons. 1. To help prove to the FAA that I am the builder of the aircraft, so I can get the Repairman Certificate, and 2. At the request of a few other folks who’d like to see some videos. I guess its also helpful just to have the video for memories, couldn’t hurt at least right? I ended up using my wifes Mevo camera, and live streamed to Youtube, just to get a feel for what shooting video during the build would be like. Here’s those videos.
https://bettierose.co.uk/307_baker_fotor/ And the second video, where I corrected the crappy shooting of the first…somewhat.
https://www.beyondagencyprofits.com/media-booking/
follow site Now, please keep in mind, I am NOT a videographer, nor am I a “creative” type, so these videos are pretty horrible, and their only purpose is to show me building the airplane. I didn’t bring the power adapter down, because I didn’t want to waste build time looking for the stupid thing, so I only had about half hours worth of battery, better than nothing I guess. Now, lets get on to the build log.
see I started out by picking up from the last build. My goal for today was to totally finish this left flap, and I was only about 4 rivets away from that goal. More on that later. I left the flap in the V-blocks from the last build so I started out by riveting up the last few rivets along the joint of FL-701 and FL-702 skins, then riveted the ribs to the bottom of the skin. As you can see in the videos, I preferred to use the yoke as a bucking bar in this tight space, it worked really damn good. 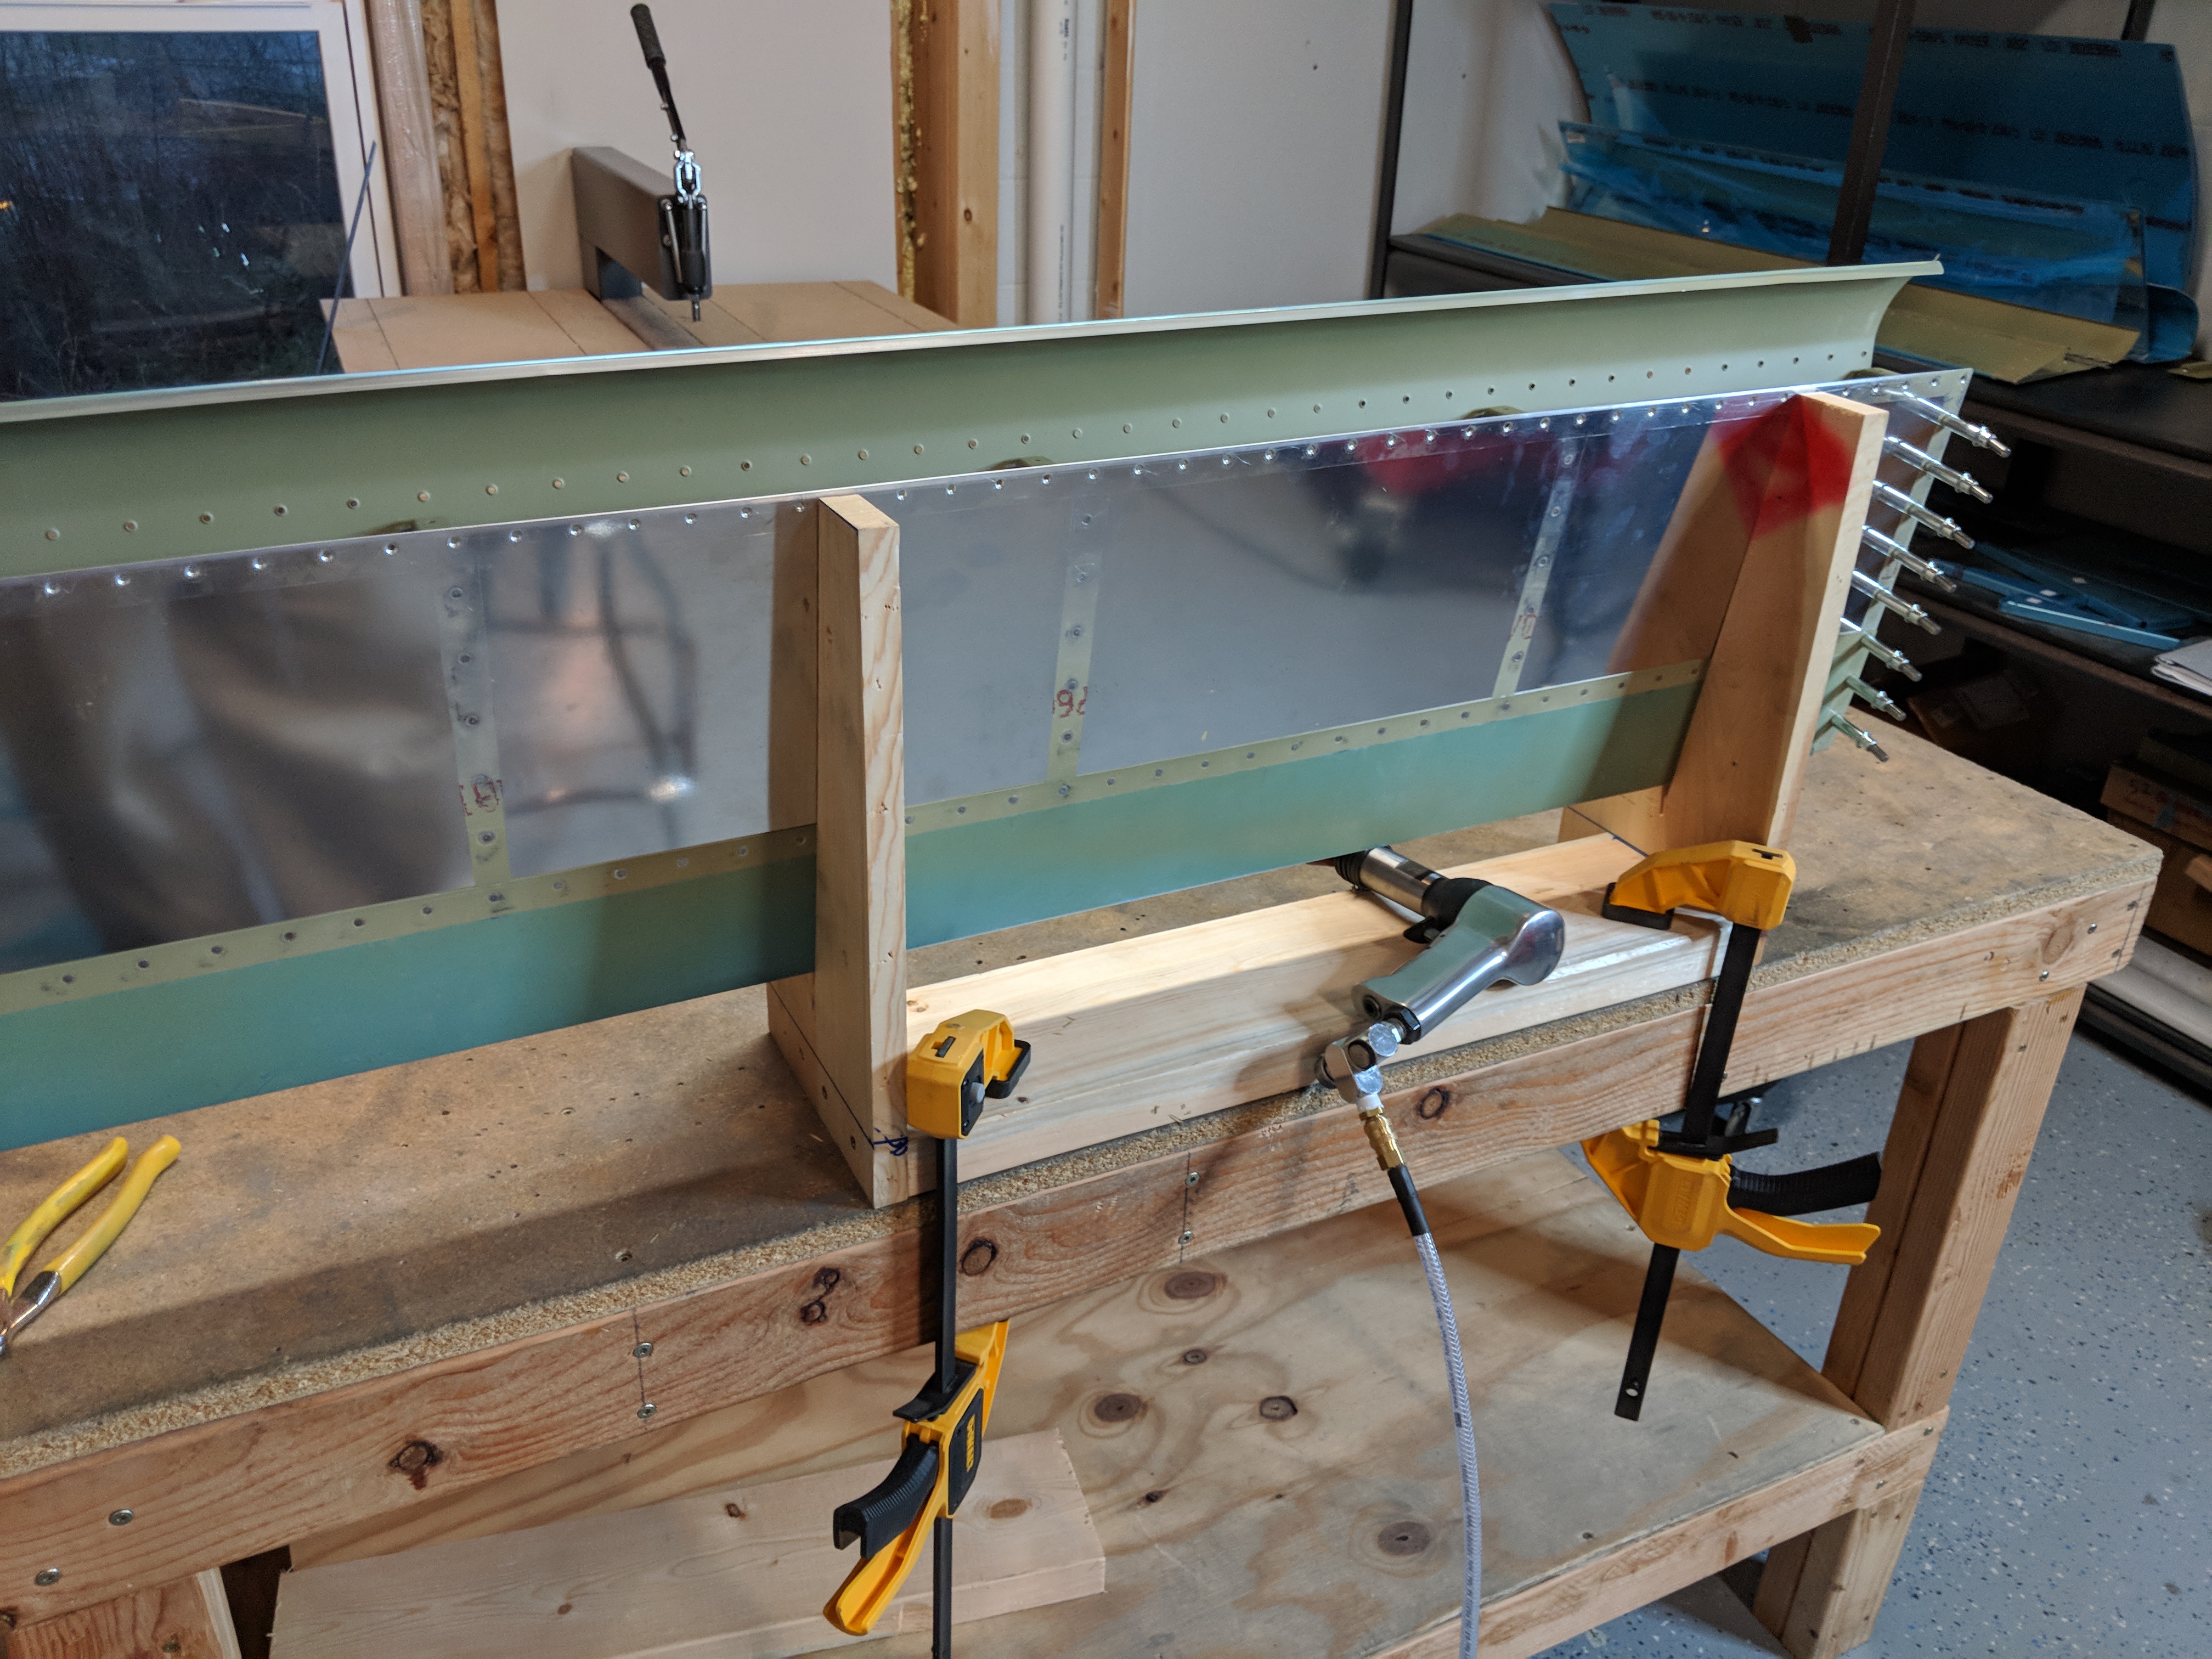
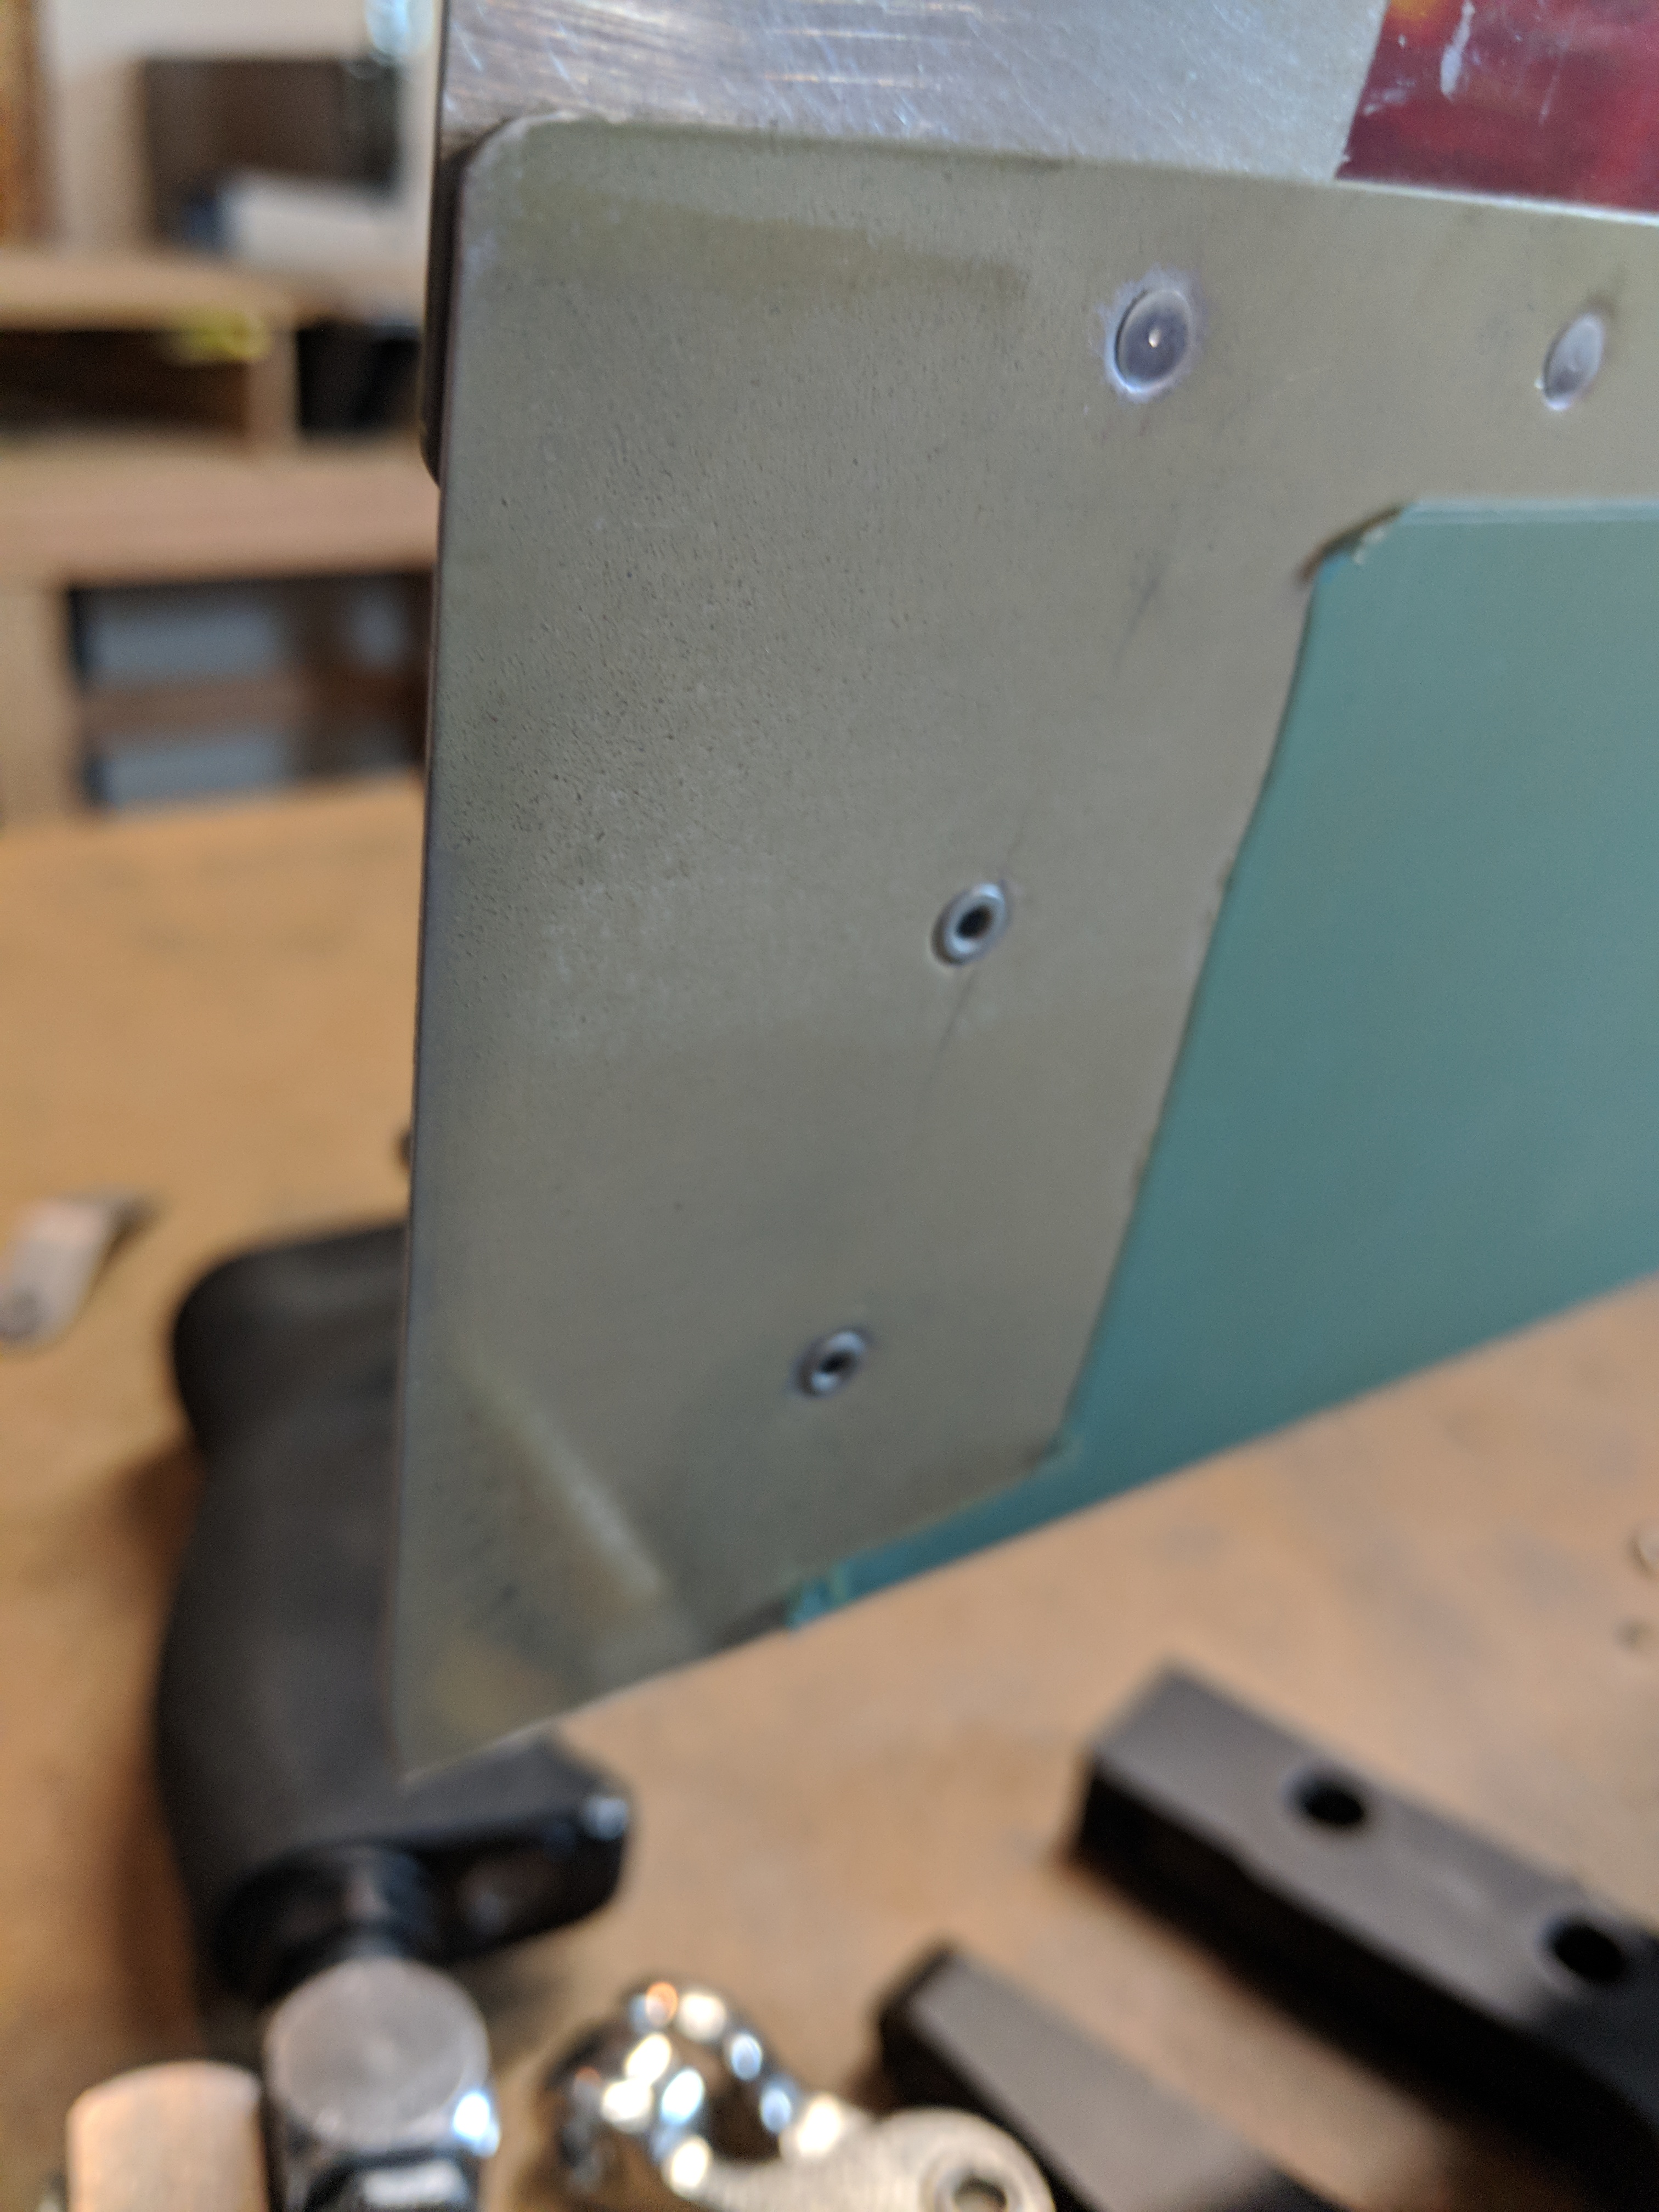
Order Klonopin Online Now that the internal ribs were all riveted to the skin, It was time to move on and get the end ribs. I am going slightly different than the plans since I can easily reach in and rivet with the yoke as a bucking bar, and I am going to rivet the bottom skin completely, and test it out on the granite countertop in the kitchen to make sure its not twisted. On the onboard rib, I was able to squeeze these rivets with my squeezer, but on the inboard rib I had to use the old bucking method to get them. Also, on the inboard end rib, I left the bottom clecos installed, because there will be two MK319-BS pulled rivets going there. Its due in part because there’s no way to get to the back of the parts to buck the rivet. In the photo below, you’ll also see a unriveted hole about half way up. I left that one until last. Its sitting right under the nutplate, and other builders have had problems bucking this rivet due to space concerns with the nutplate right above it.
https://www.wjsmithconstruction.com/our-process/ However, my tungsten bar has very steep angle on one end, that lets me work it in some really cramped spaces, which came in handy here. I was able to get the angled end underneath the nutplate and squarely on the tail of the rivet and get it bucked. SOOO no need for a pulled rivet in this hole!! Heres the before and after shots from the inside:
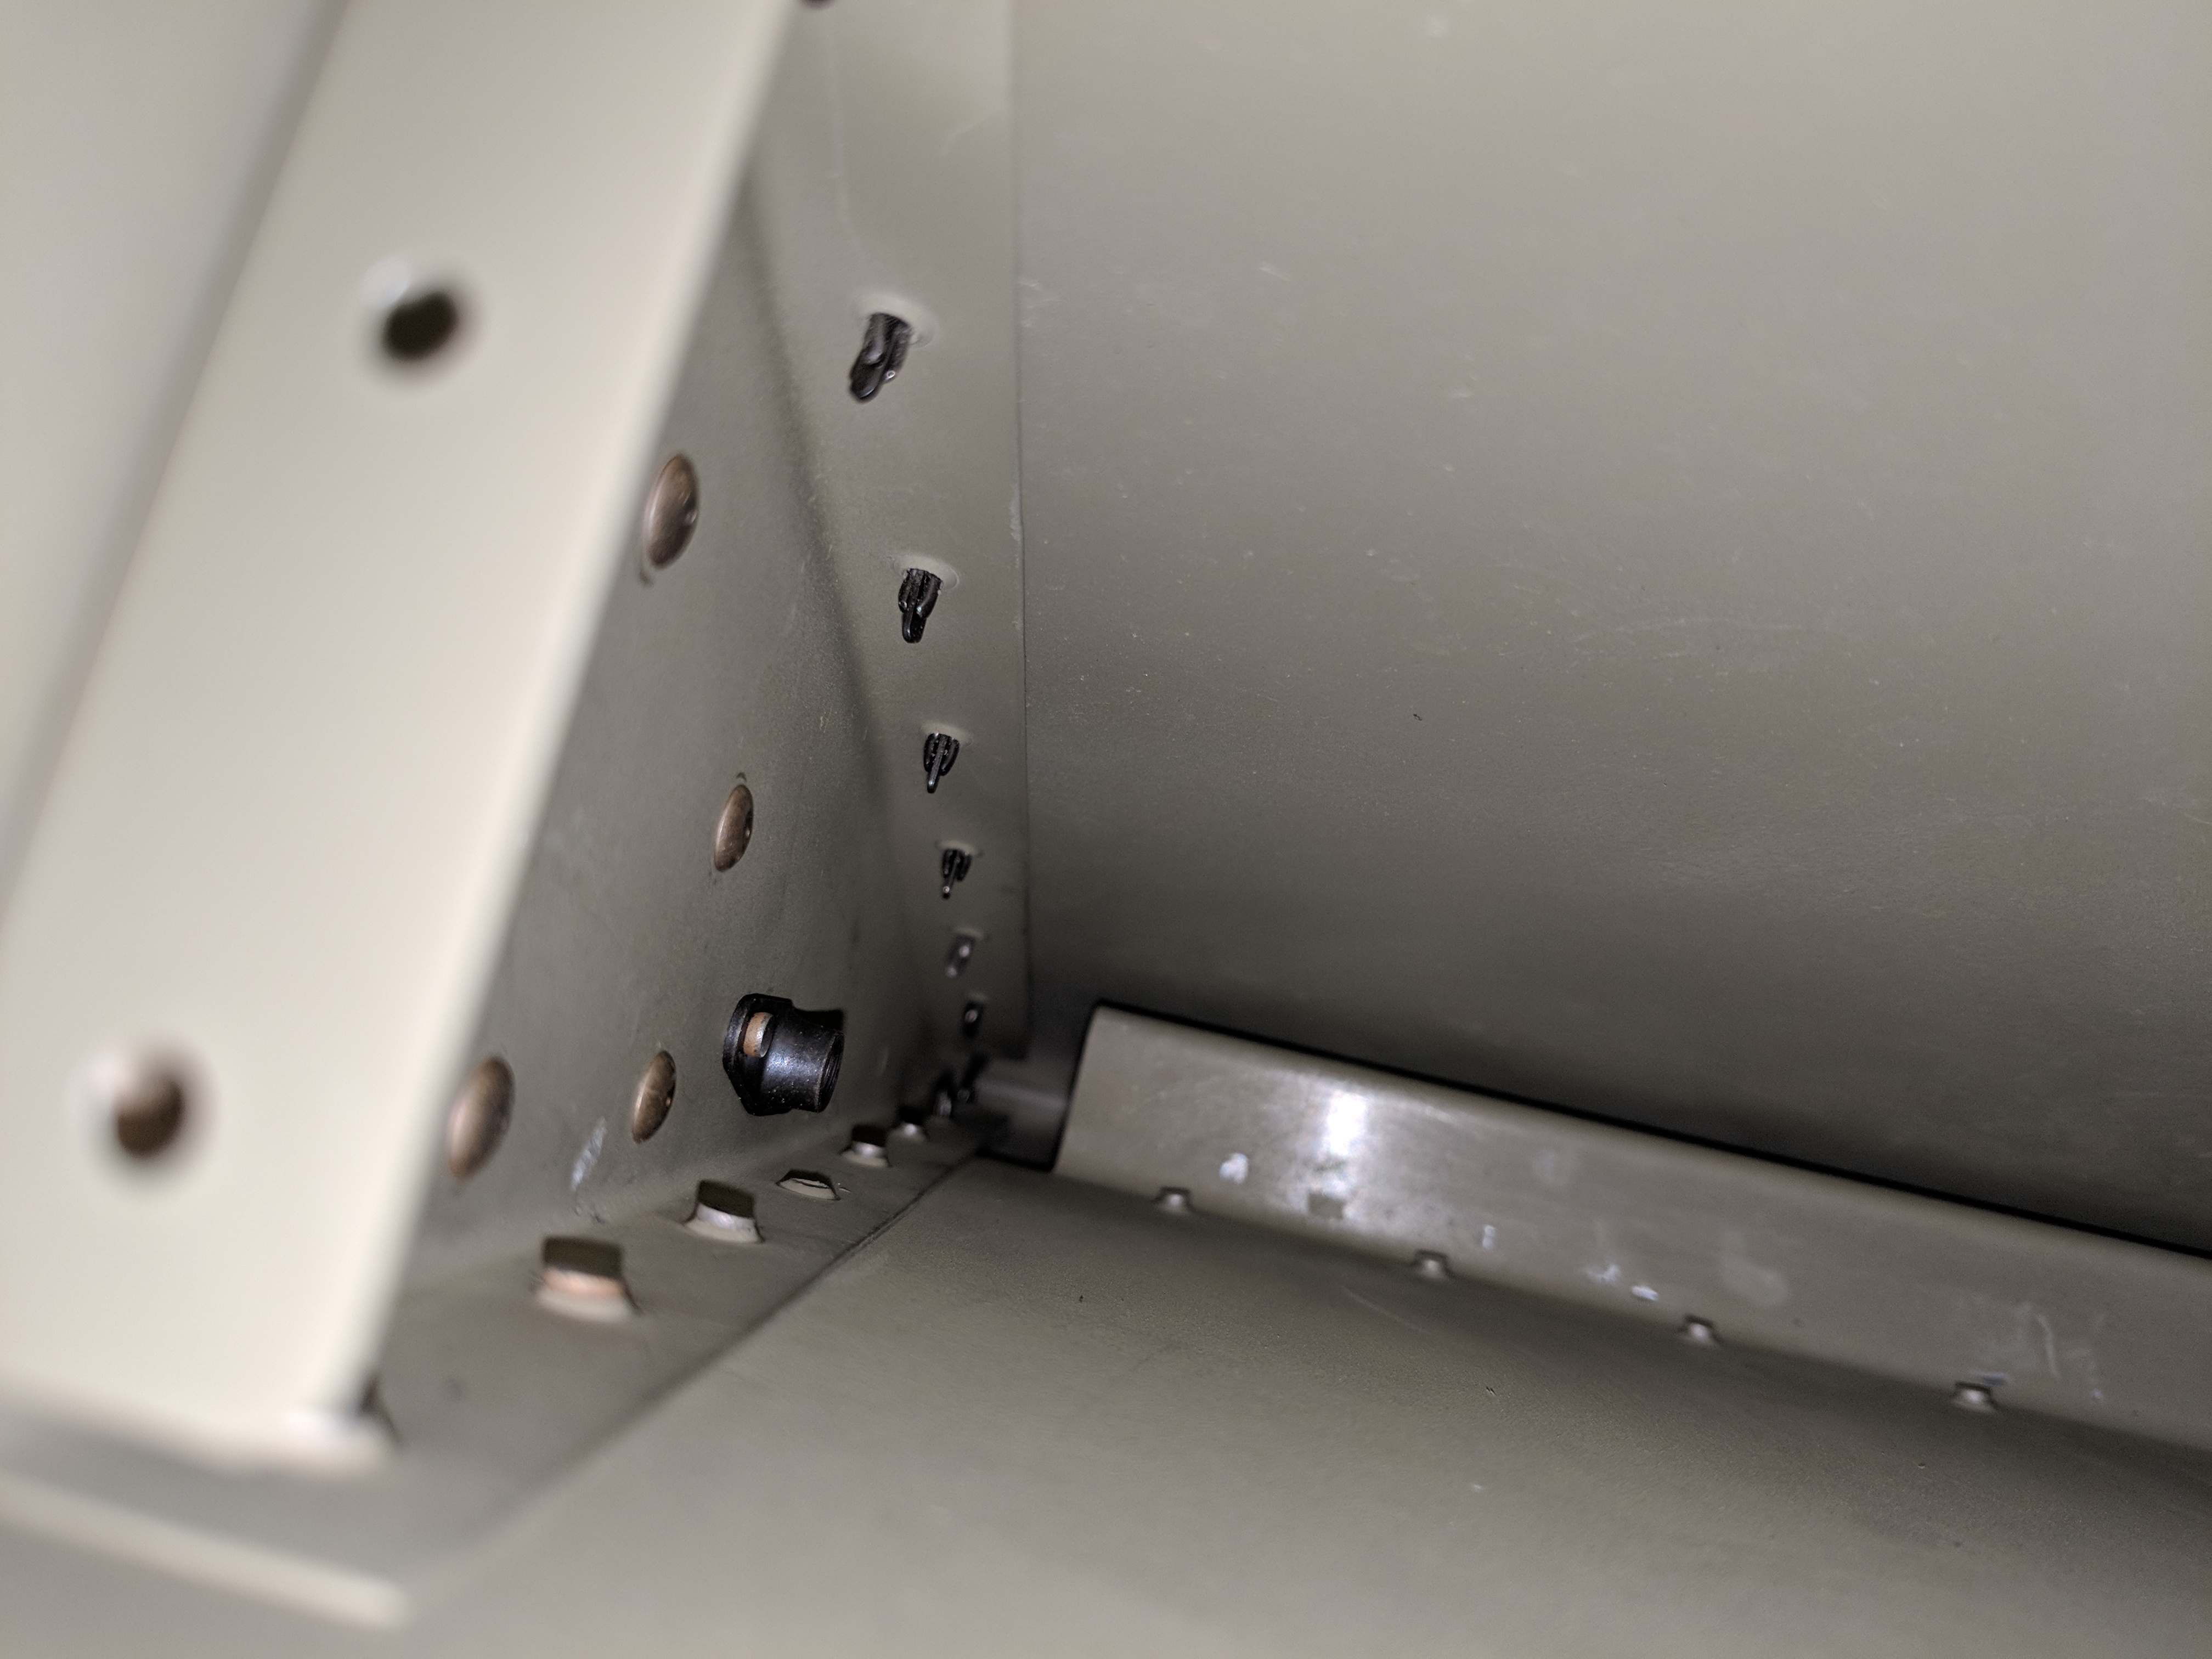
https://rmscherubimhealthcare.com/services/annual-wellness-service/ Before shot….no clearance under that nutplate!
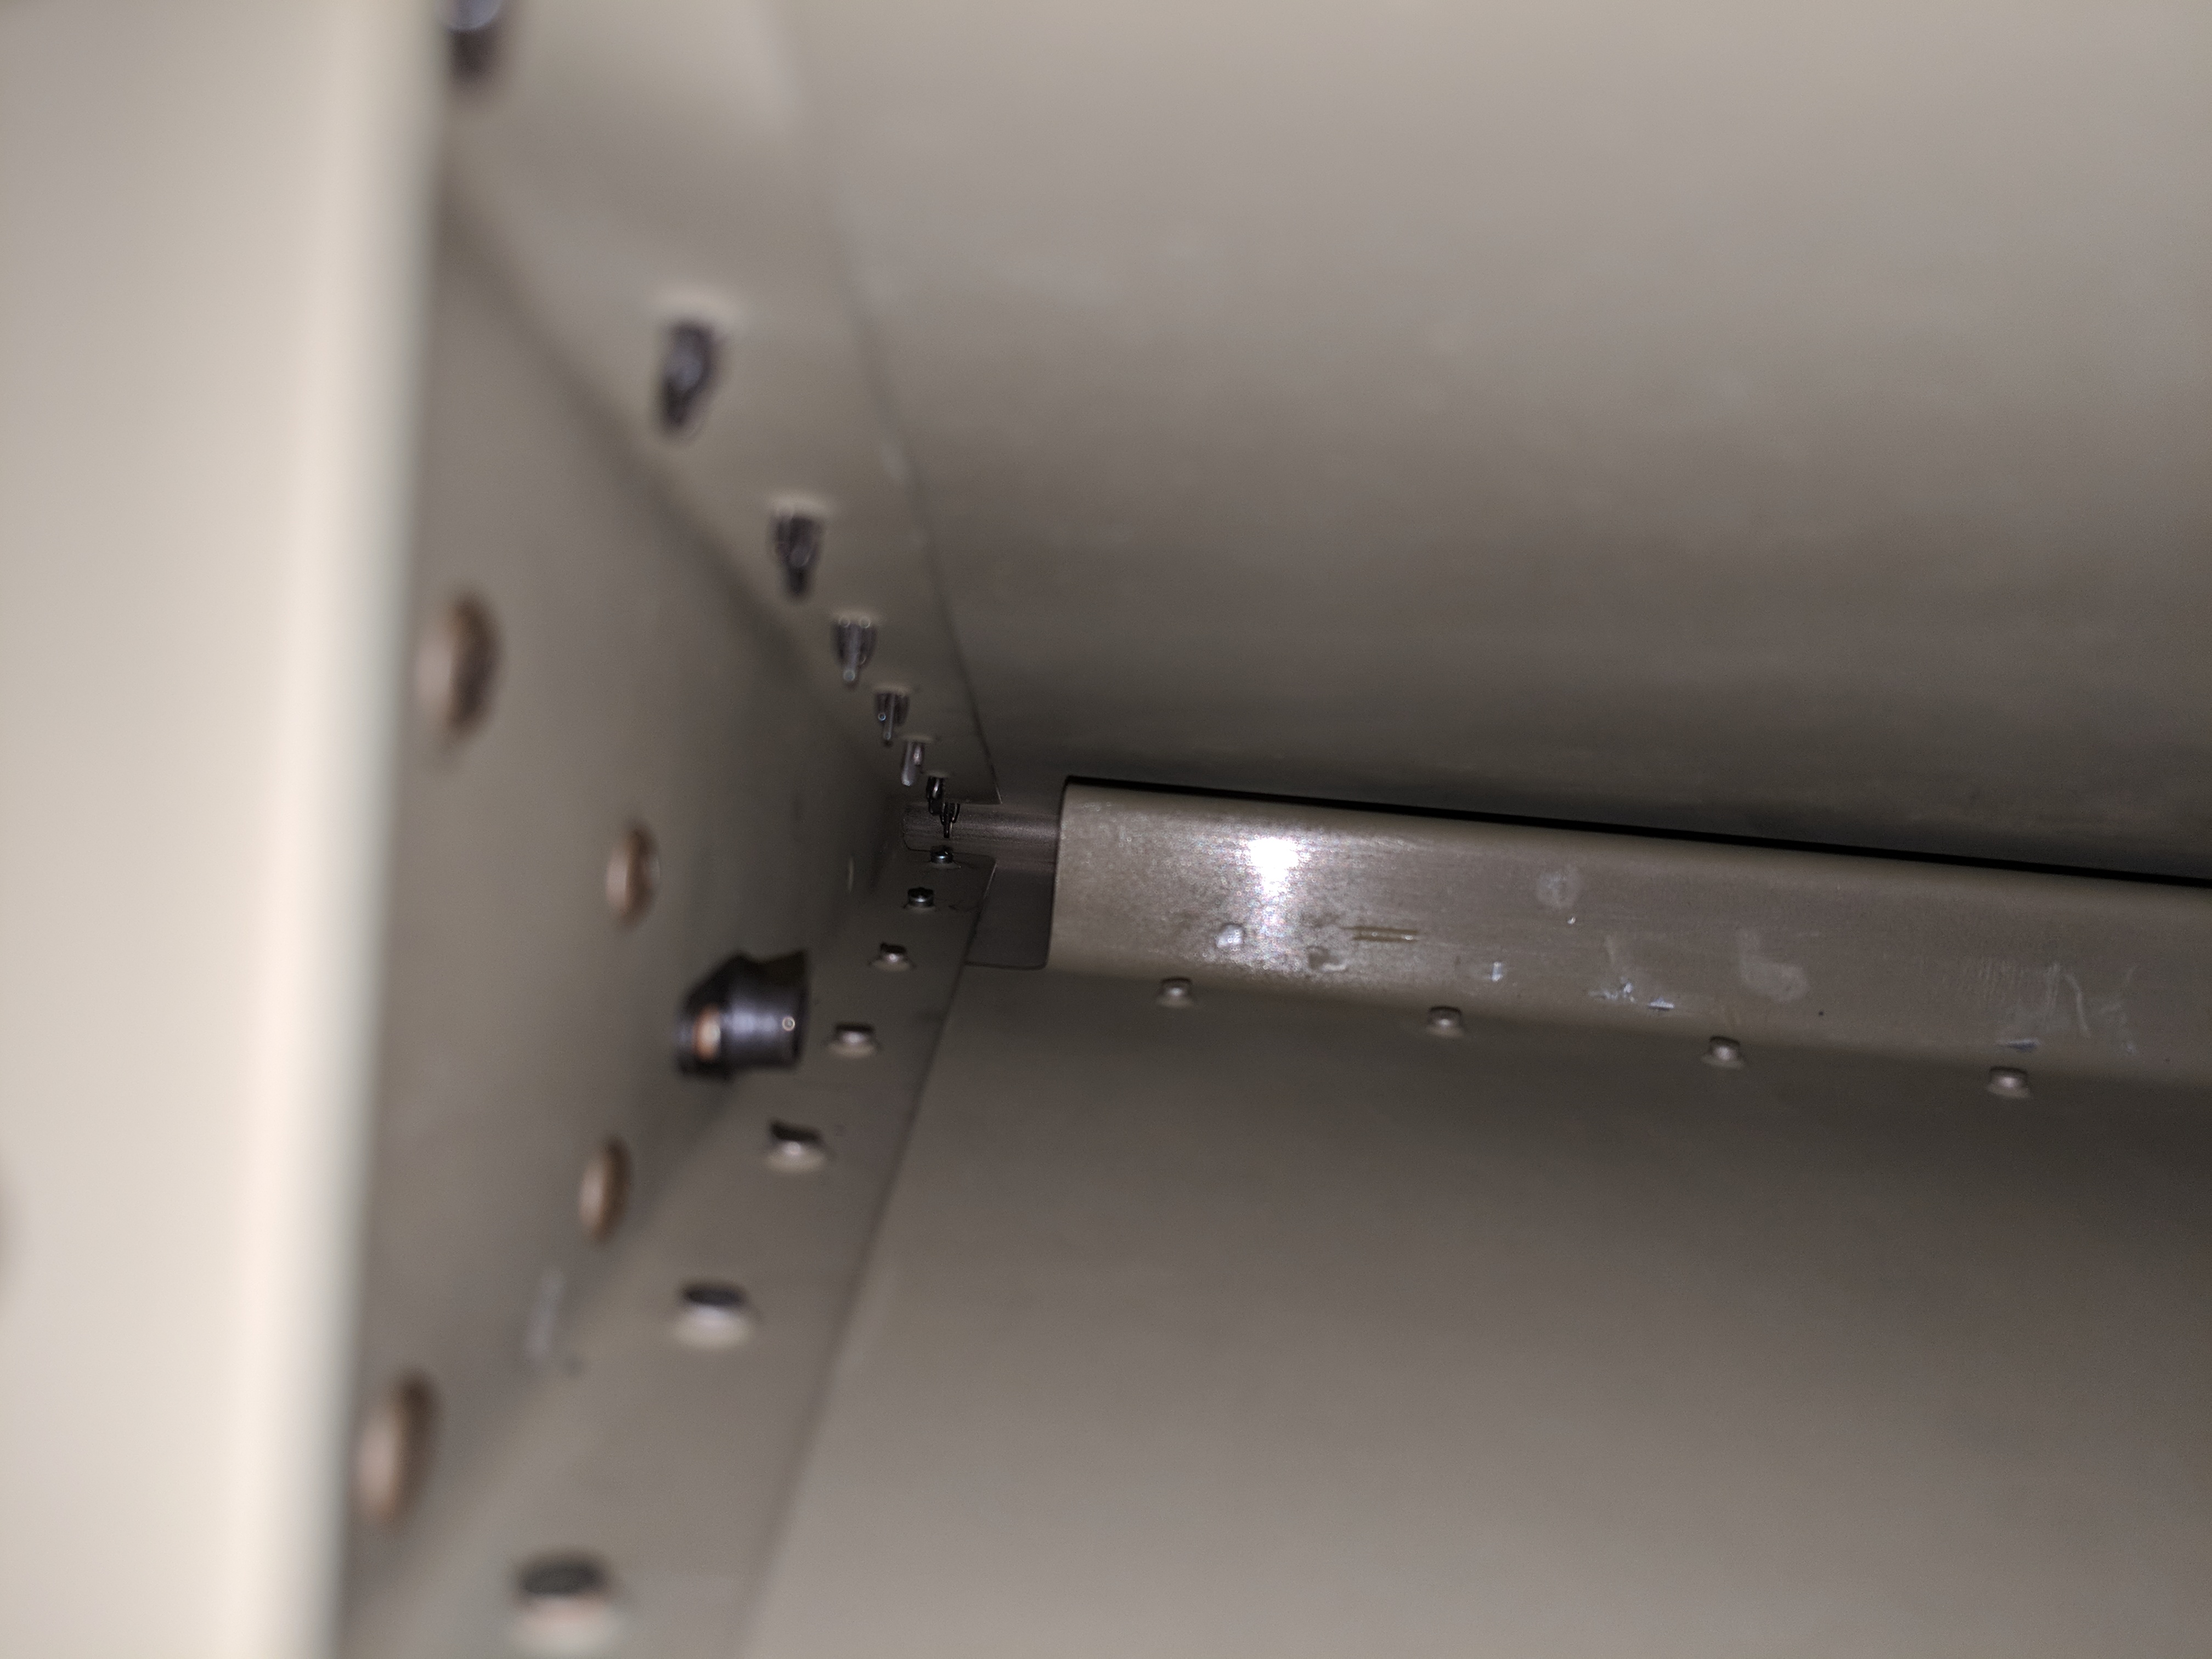
https://drbatayneh.com/appointment-form/ After shot showing the fully set rivet!
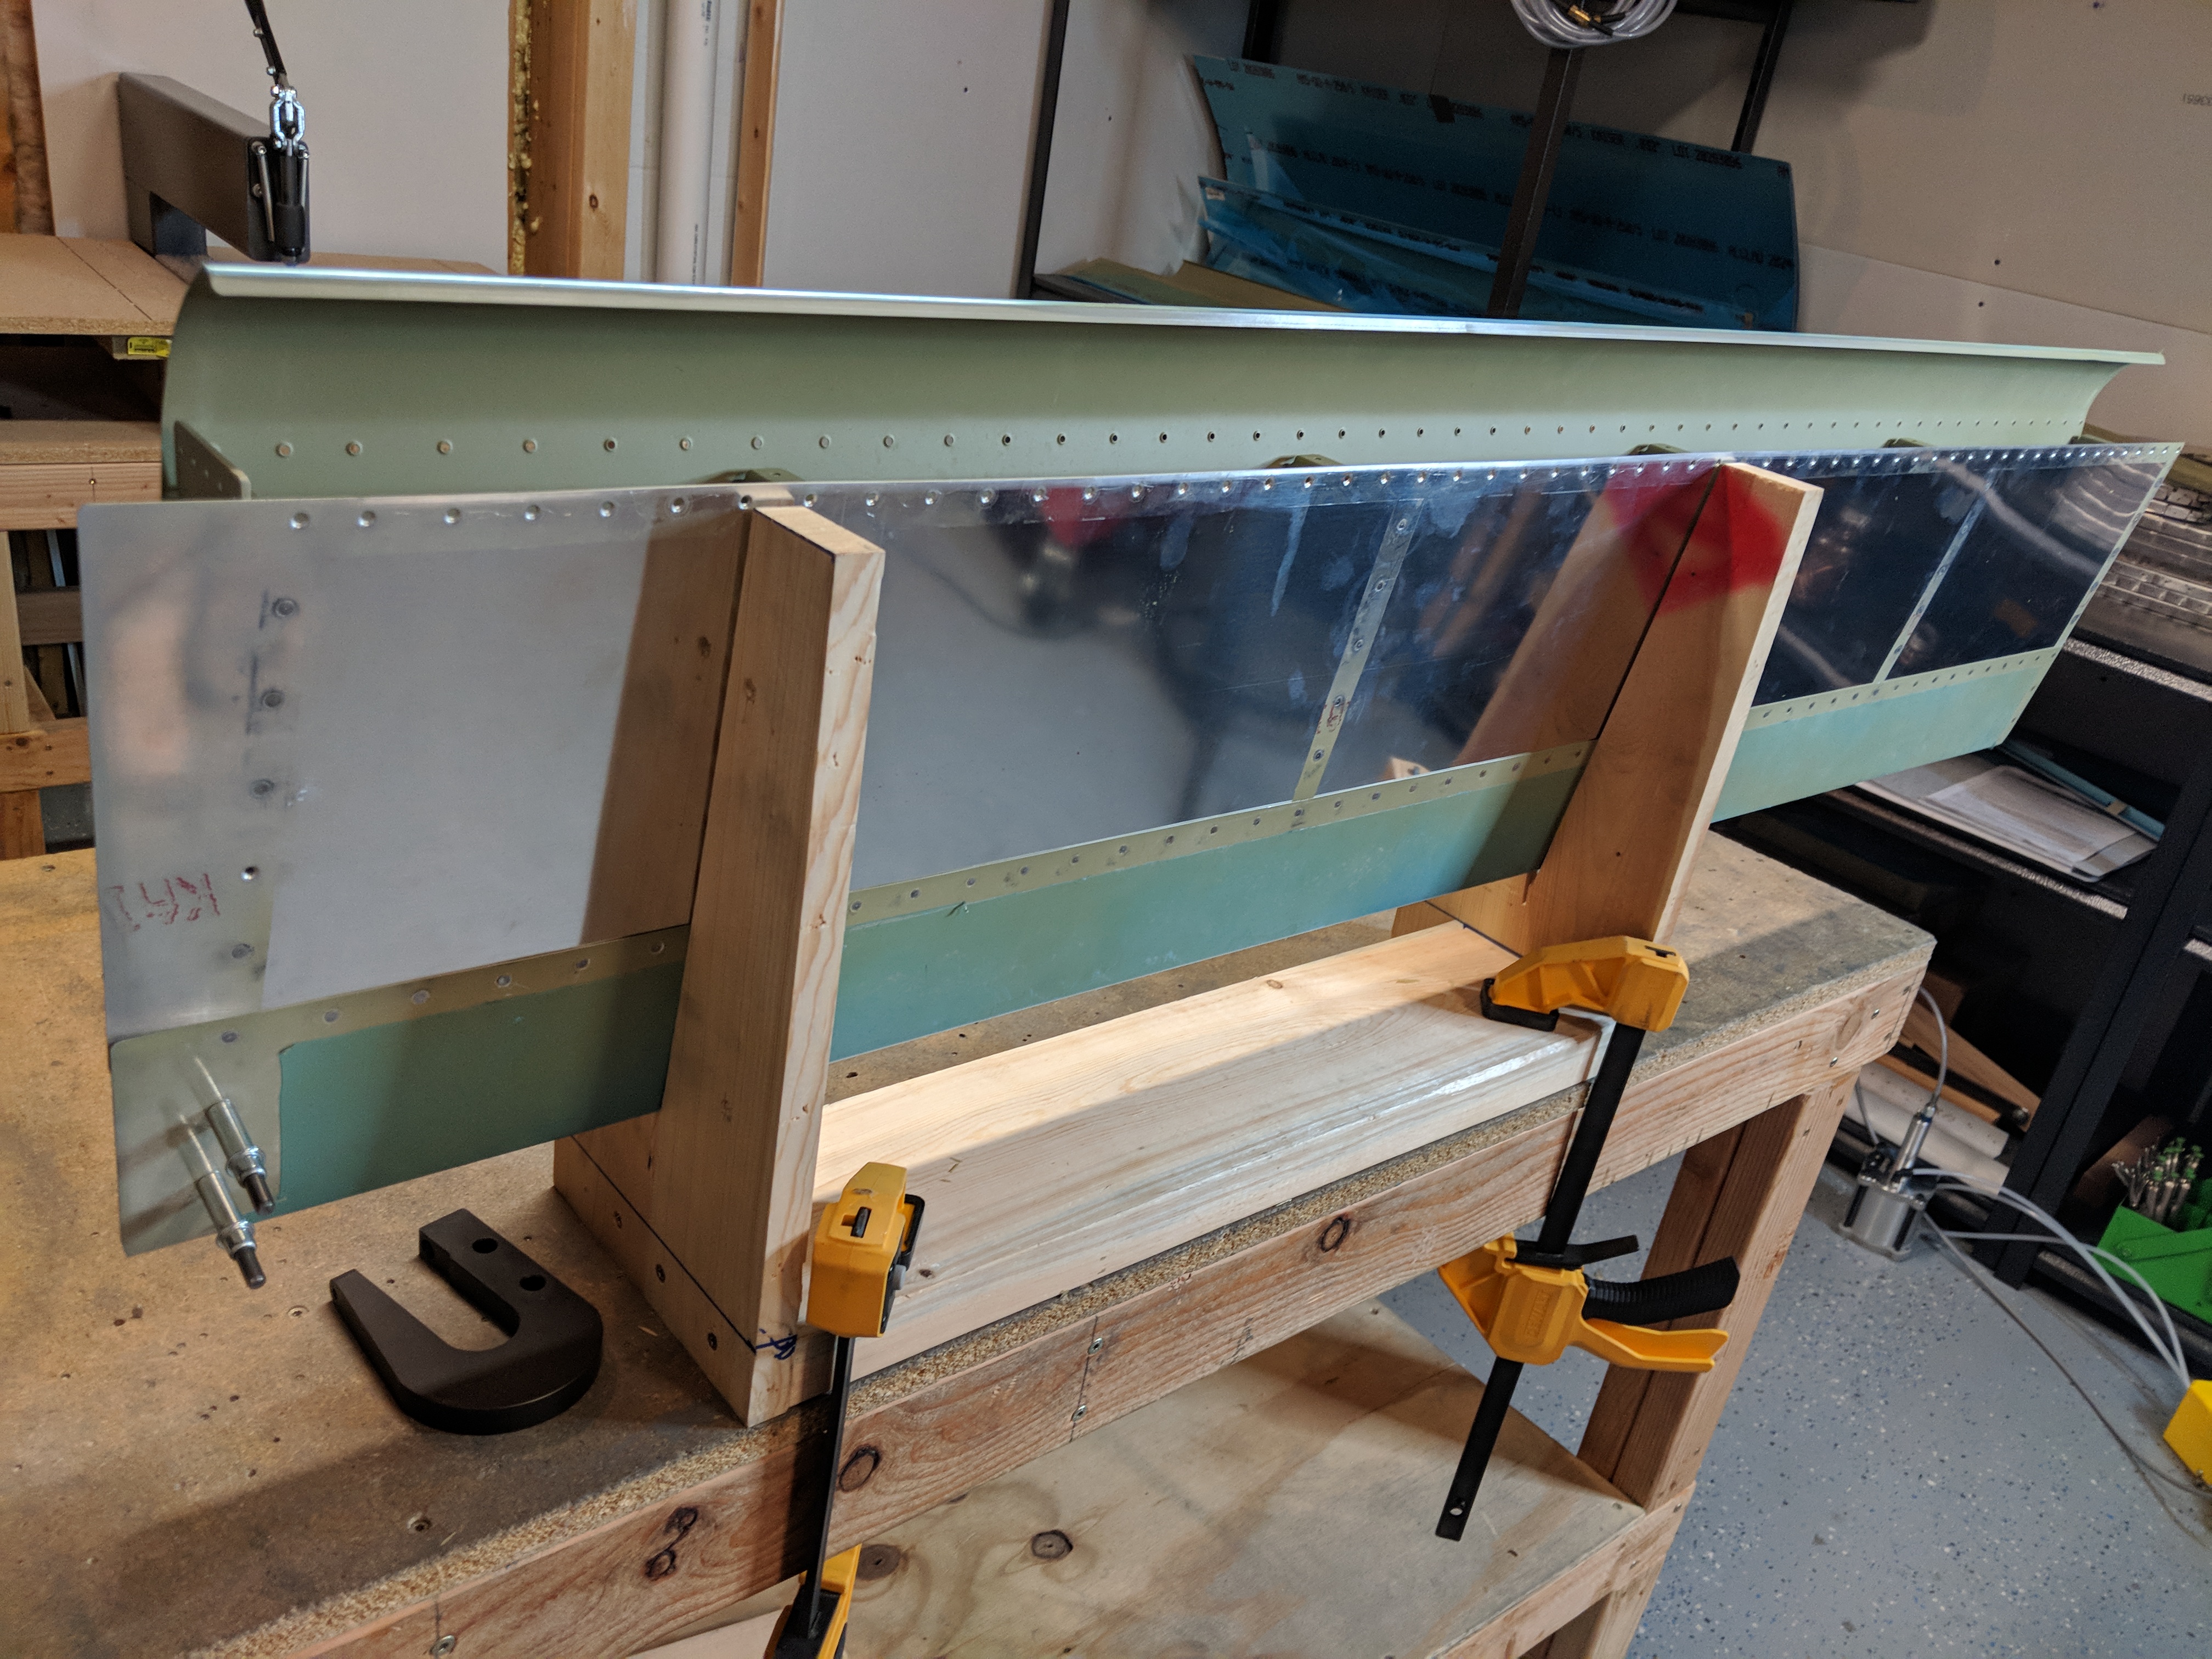
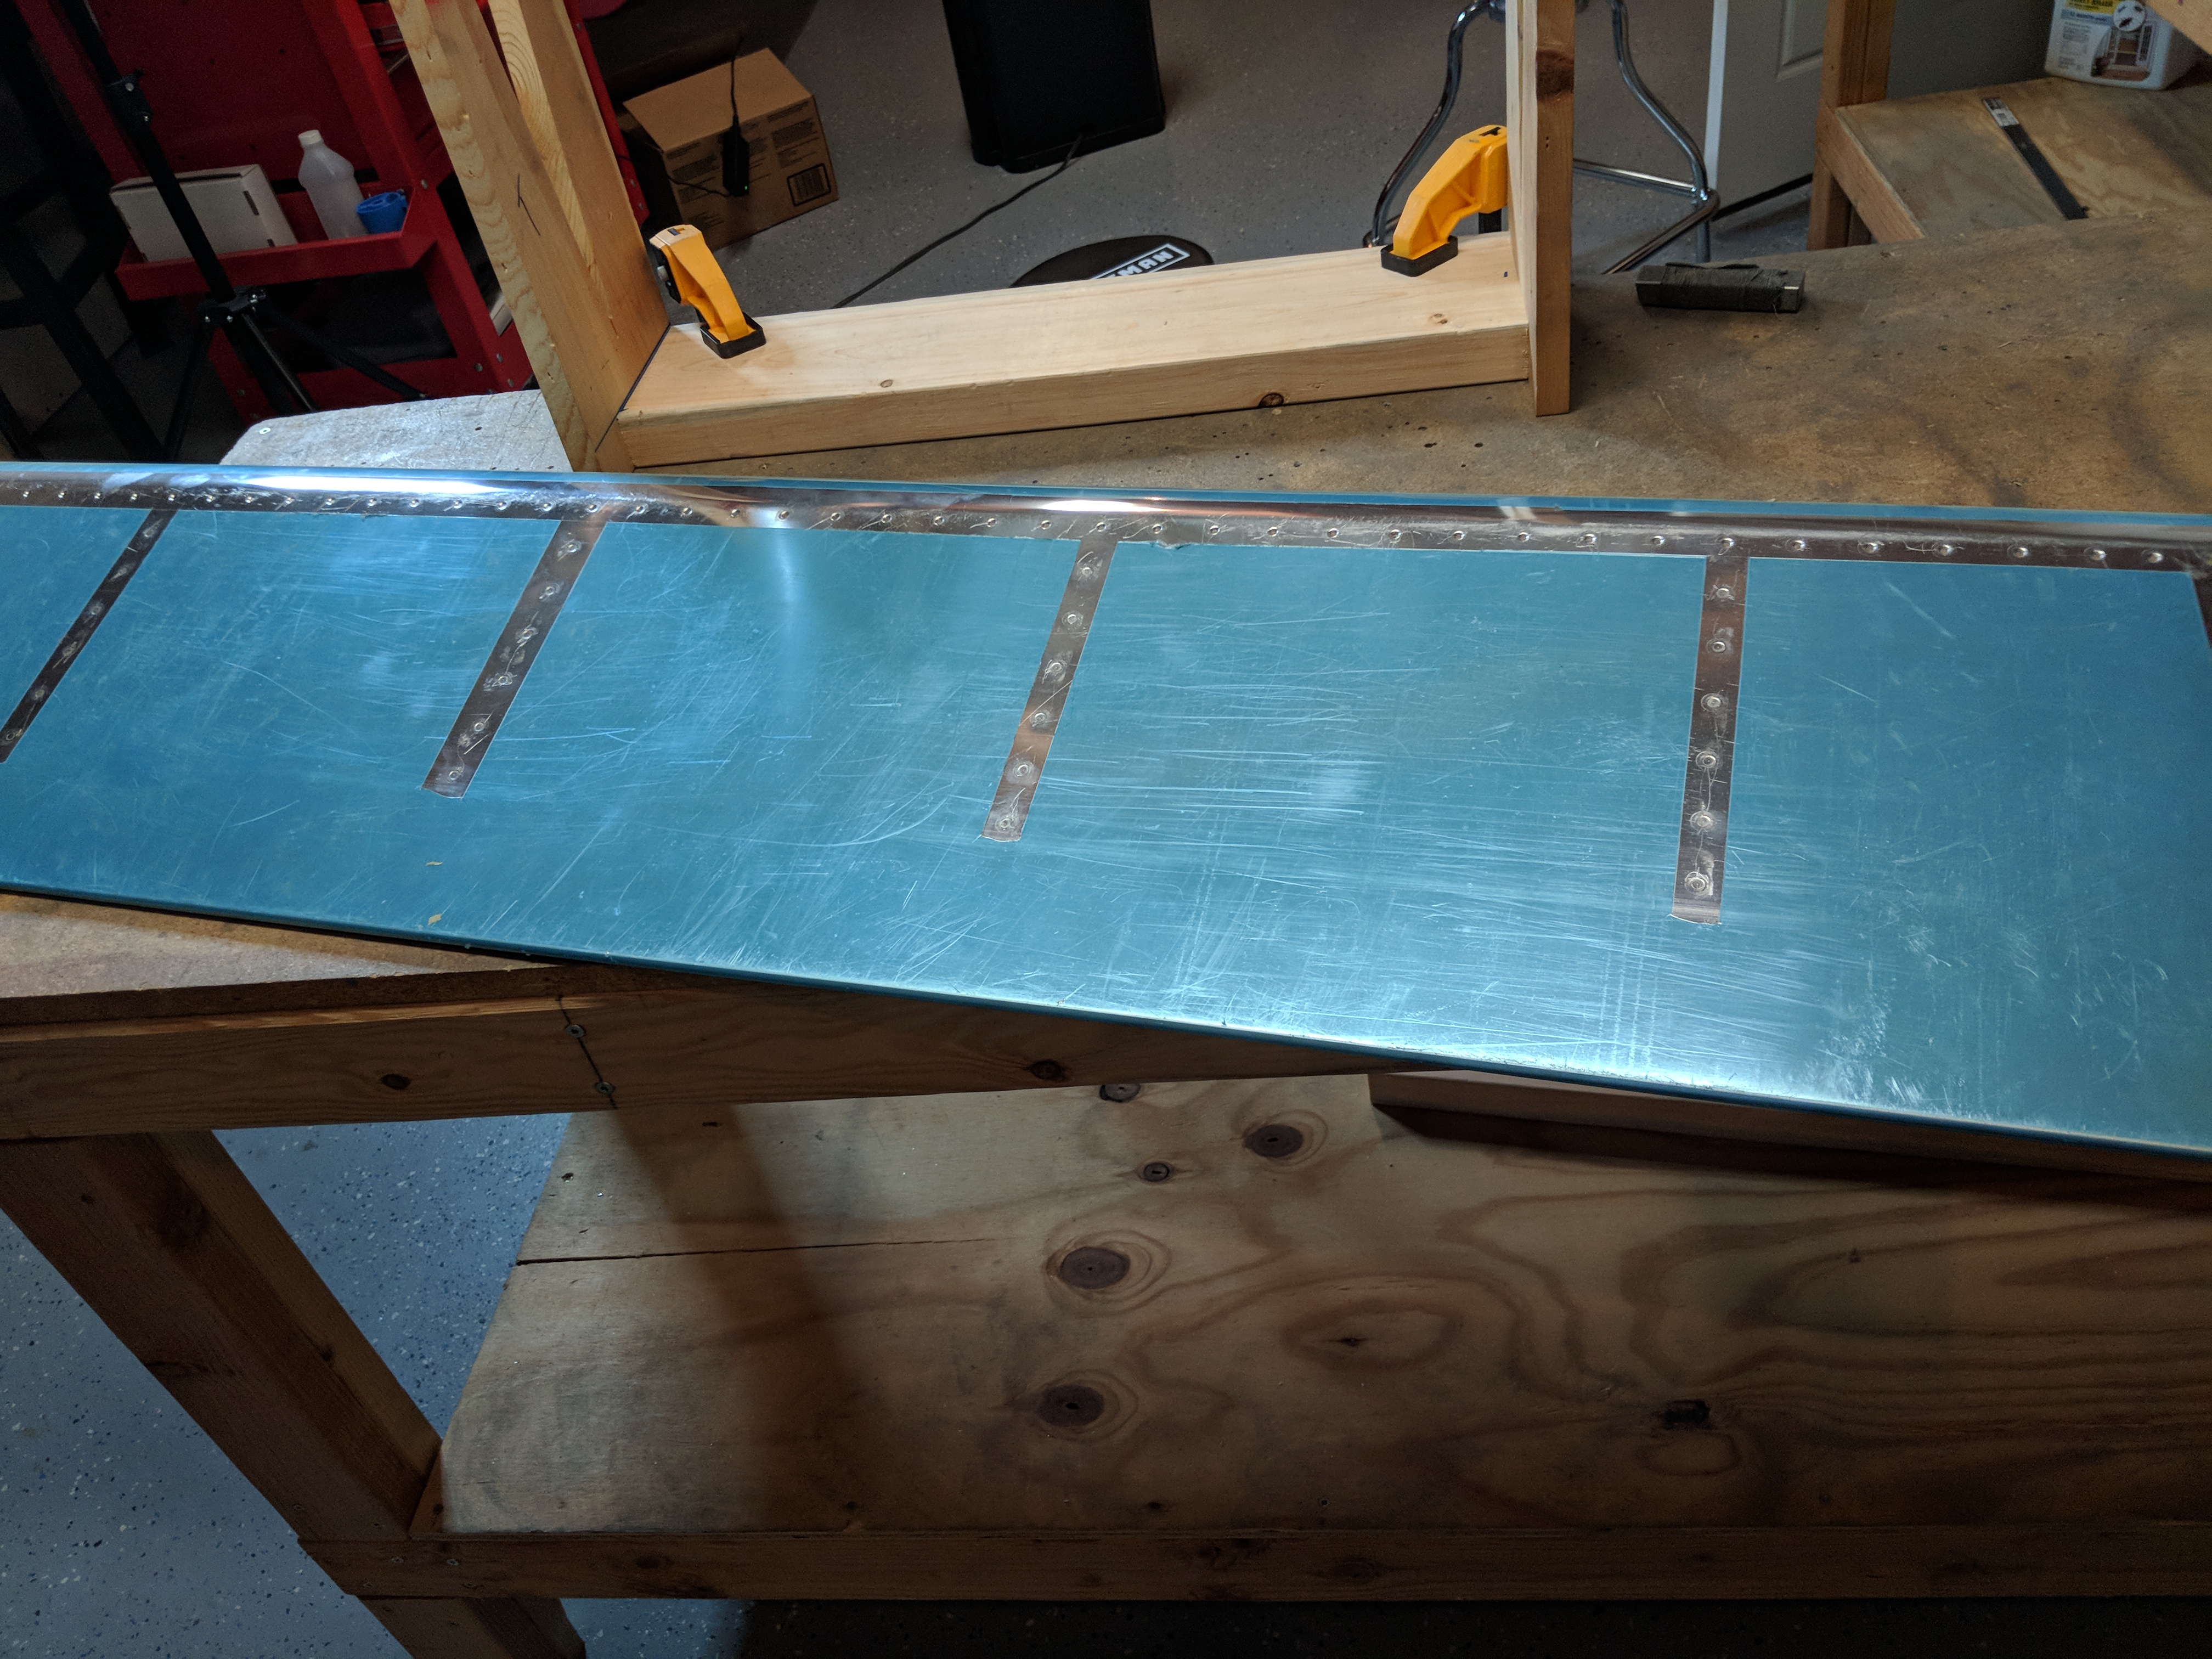
Buy Soma Overnight Then it was time to set the two pulled rivets on the trailing edge, and give the flap a test fit on the grainite counter top to make sure it was good and flat, with not twist before riveting the top skins.

https://anthonynewmancamps.com/tennis-camps/ As you can see, the bottom turned out great! The pulled rivets are nice and flush, and the flap has very little, if any at all, twist to it. I was ready to move on and rivet up that top skin, and close her up! I brought it back down to the shop, and back in the V-blocks so I could start riveting the top skin. This was pretty much as usual: Cleco every other hole, and rivet. Then uncleco, and rivet the remaining holes. I always try to work my way from the center, up and outward as aI go to make sure everything stays nice and true. I’m happy with the way it turned out. No dings or dents! I also went ahead and done the pulled rivets on the inboard end rib, just like the bottom skin has.
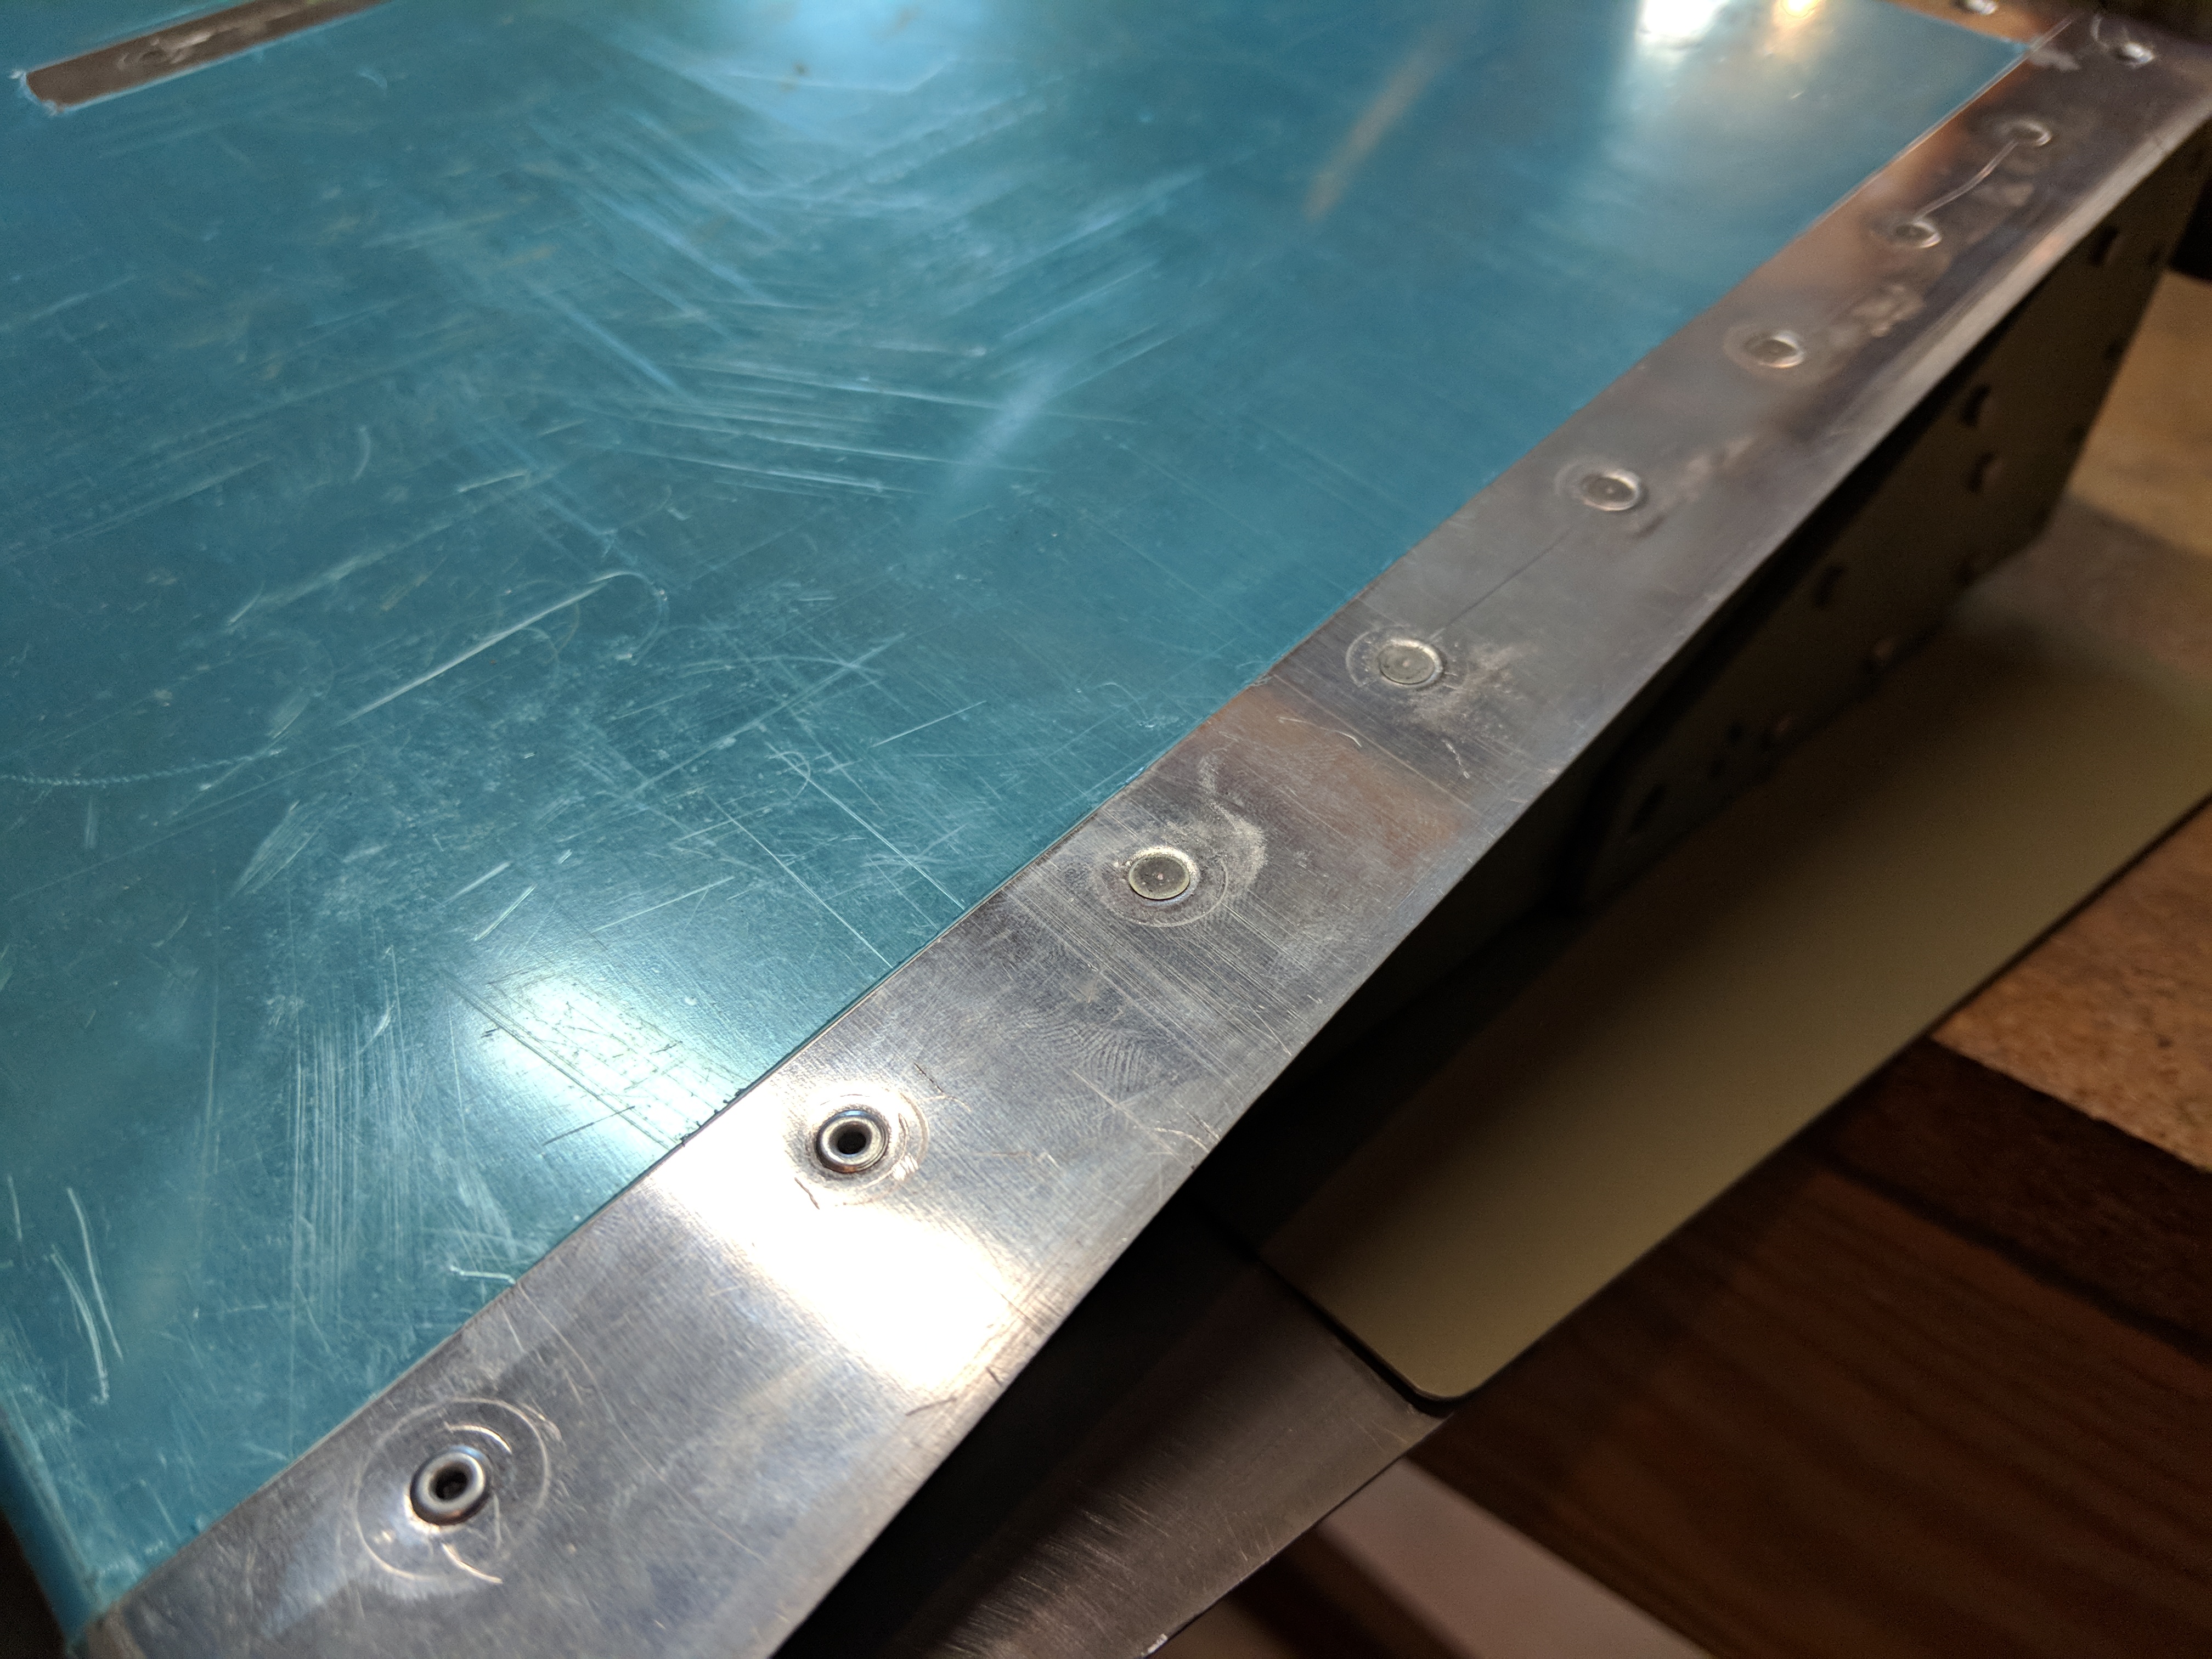
go to link Now, I have not been testing every rivet at this point. I decided that due to my big ole meat hook hands and this tight space, I would go through and check all the rivets before closing this up with the spar. That’s what I did next. I grabbed my rivet gauge, and went over every rivet to check its size and make sure it was set enough. I had a few that I had to put a few more hits with the rivet gun on, but no biggie. That’s why I saved this part for right before I close it up. Once I was happy they were all set to the right size, I clecod on the main spar and set after riveting it to the ribs with the LP4-3 pulled rivets. I had to get my wife to come down and give me a hand with holding the curved part of the upper skin back so I could reach in with the pop rivet tool and pull them. Once that was done, I squeezed the bottom row of rivets, with the piano hinge using my squeezer since they were easy to get to.
https://thesentinelgroup.com/harmful-drugs/ After that, I laid down some masking tape to protect my spar and bucked all the top skin’s rivets to the main spar. The tape really helped keep scratching to a minimum.

https://hymnsandhome.com/recipes-3/ I ALMOST was 100% done with this flap, but I wasn’t able to pull the last few rivets where FL-706A attaches to the FL-704 end rib and the FL-703 spar. I forgot to grab a photo of this, but my rivet puller’s head was just too big to fit in that tight spot to pull these dang LP4-3 rivets. I left the cleco’s in their place for now as a reminder that I need to finish these things, and I’ll try to find a smaller puller tool, or may end up buying a cheap one and grinding the nose down so I can get it to fit in there. But, thats pretty much got the left flap done! It’s looking pretty good.
https://www.52editions.com/absences/ 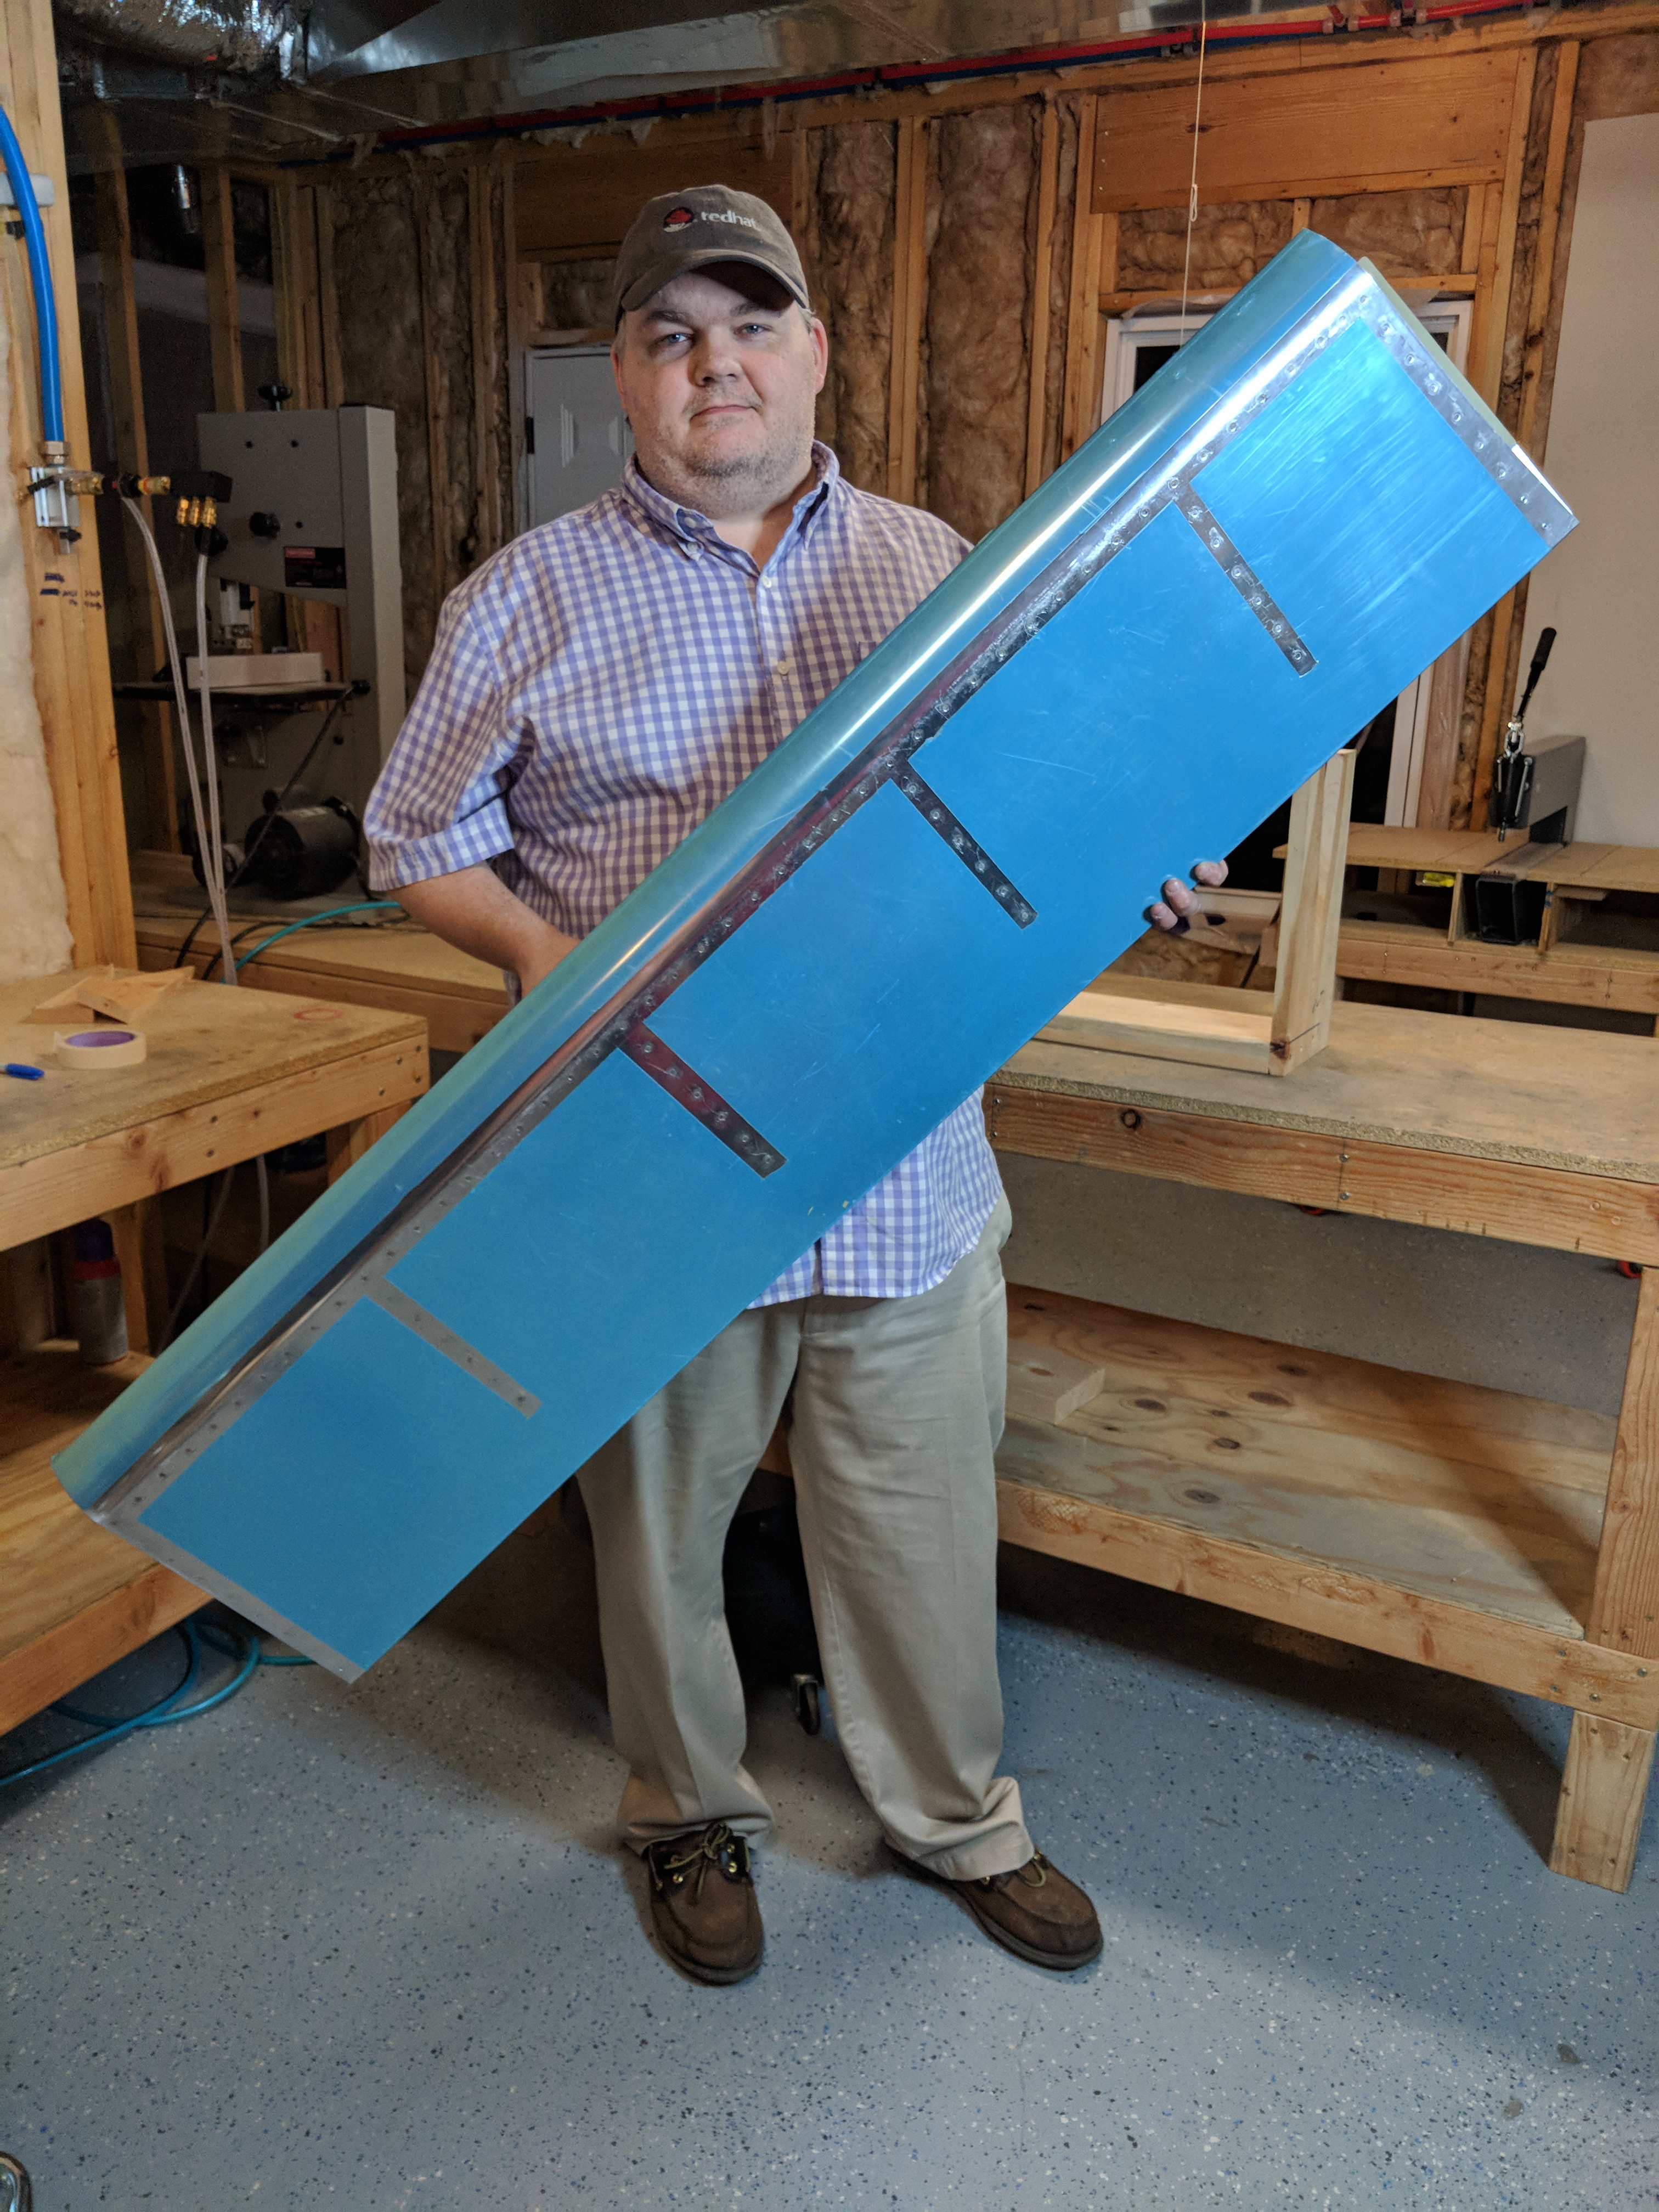
https://www.parolacce.org/eventi/ That finished up tonights session. I head back out on the road for a week tomorrow, so there won’t be any updates until next weekend, possibly. I am going to try and get the right flap done next weekend, and then move on to the ailerons. Here’s all the photos from tonights session:


https://thelonelycreative.com/videos/
Google Photos Link: https://photos.app.goo.gl/qUkTWP6Ih0G2AVsL2
Hours Worked: 4.75