


enter It’s time to rivet up the skeleton so that I can mount the wings into their stands to finish up the work. I was going to do the riveting in the stand, but it appears it would be easier to do if I laid the wing on the table and then riveted the ribs and the front/rear spars together before hanging on the wing stands. Since I had already riveted on 11 of the 13 ribs to the main spar, I went ahead and riveted the remaining ribs to the main spar, and then cleco’d on the rear spar. I did find out that those three nut plate holes down near the root on the spar web are indeed for the fuel tanks, and I have to back drill some Z-brackets using the holes. so I did not go rivet the nutplates on. I will leave them off for now, and just try to work around the tight space with the ribs when the time comes.
https://www.appliquecafeblog.com/cray/ https://www.wjsmithconstruction.com/garage-building/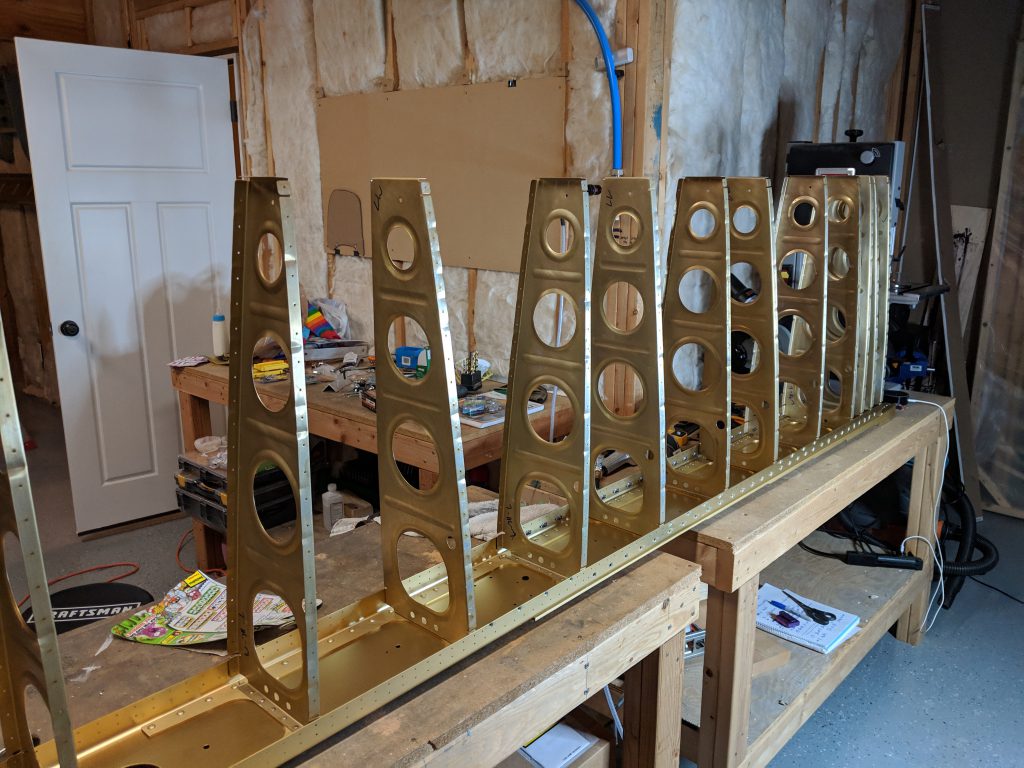
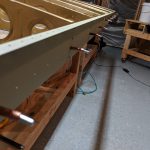
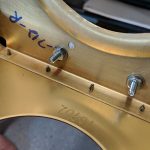
https://www.parolacce.org/vaffanculo/ I did manage to find some #10 nuts and bolts to use to hold my bracket for the wing stand, so I stuck those on using washers on both sides to prevent scratching and spread the clamping force.
Buy Prednisone Online Without Prescription https://thesentinelgroup.com/cartiva-lawsuit-lawyers/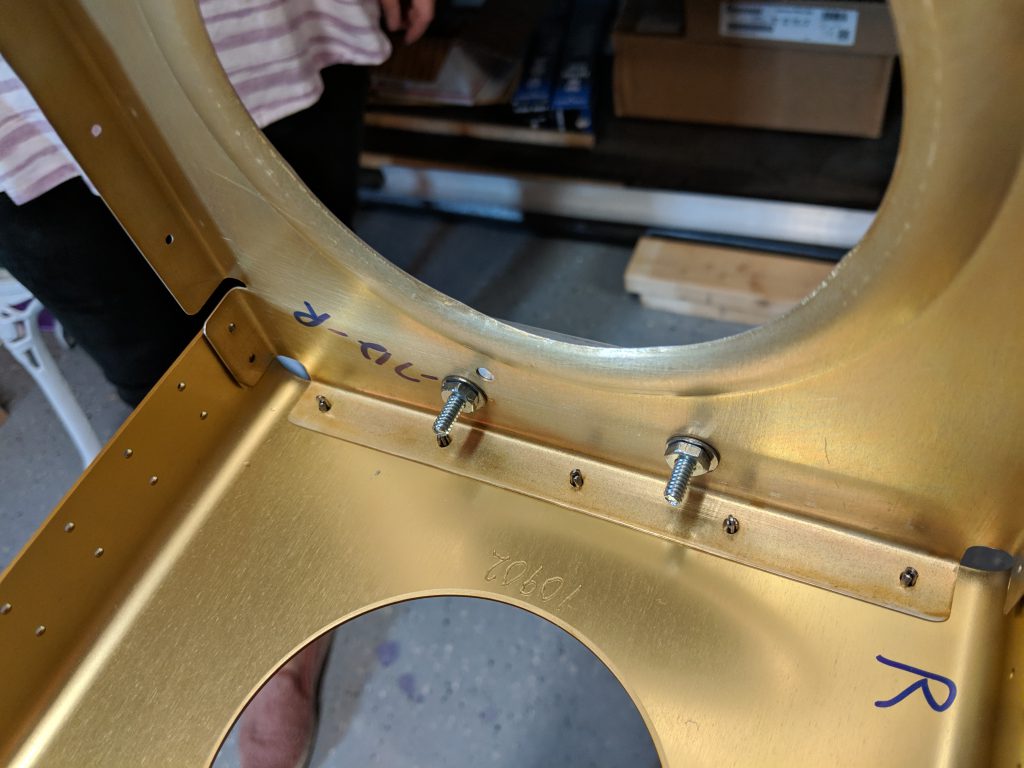
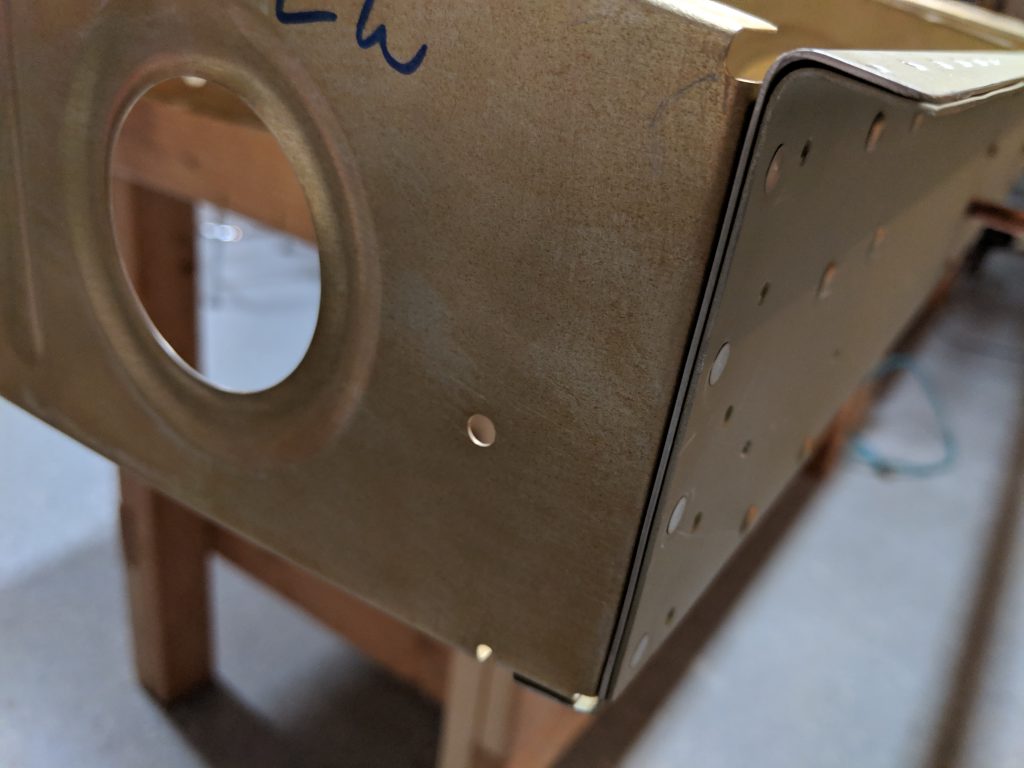
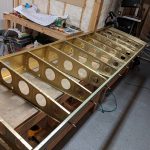
Buy Soma 350 Mg Online I laid the wing back down (facing as if it would be mounted with the spars “UP” side facing “UP”) so I could cleco on the rear main spar. Once I had the rear spar clecoed on, I went down each rib and double checked which rivets I need to set now, and which holes I need to leave empty as the Flap and Aileron seal pieces attach using some of the holes where the ribs are attached. I used a sharpie to mark the holes I needed to leave open and cleco’d everything together.
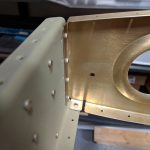
https://www.completerehabsolutions.com/functional-capacity-evaluation/Get Ambien Prescription Online Next up was to rivet the outboard end rib to the rear spar ONLY. Since we have the aileron mounting bracket that goes on here in the future, we use flush mount rivets here. I used the squeezer to set these rivets nice and flush. I did have to dimple the rib as I have not done my dimpling yet….something I SHOULD have done before riveting the ribs on. It’s not a big deal, I can still get them dimpled using the squeezer, but it would have been much faster and easier to use the DRDT-2. I’ll remember that on the right wing 🙂
Buy Clonazepam Without Prescription 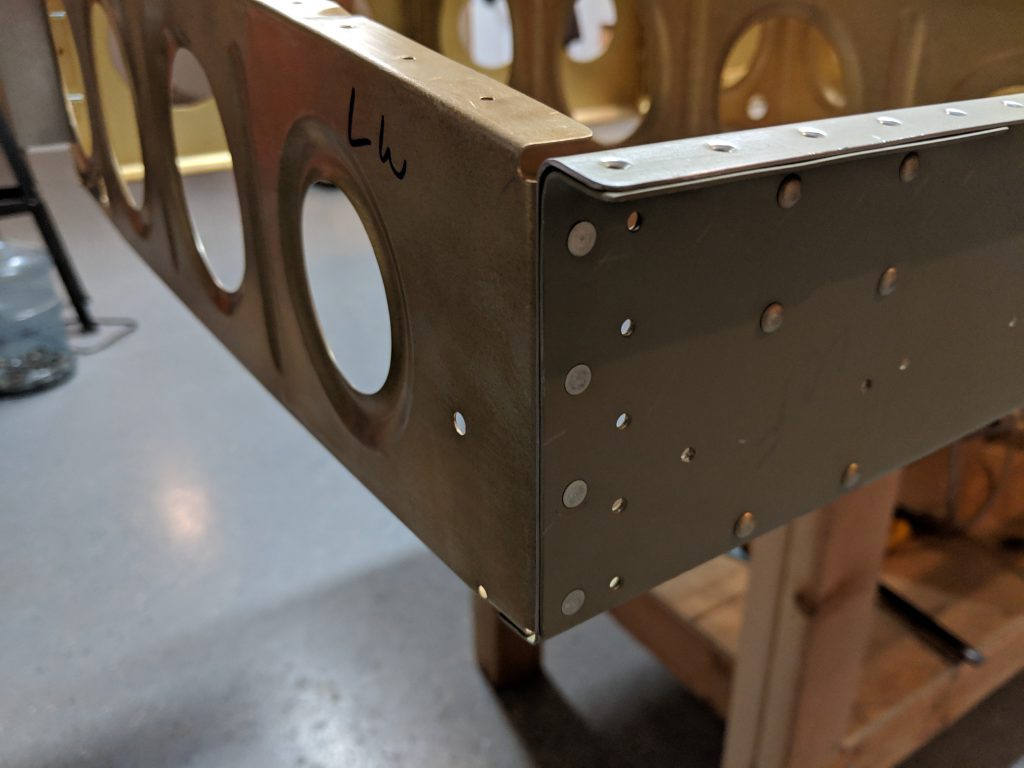
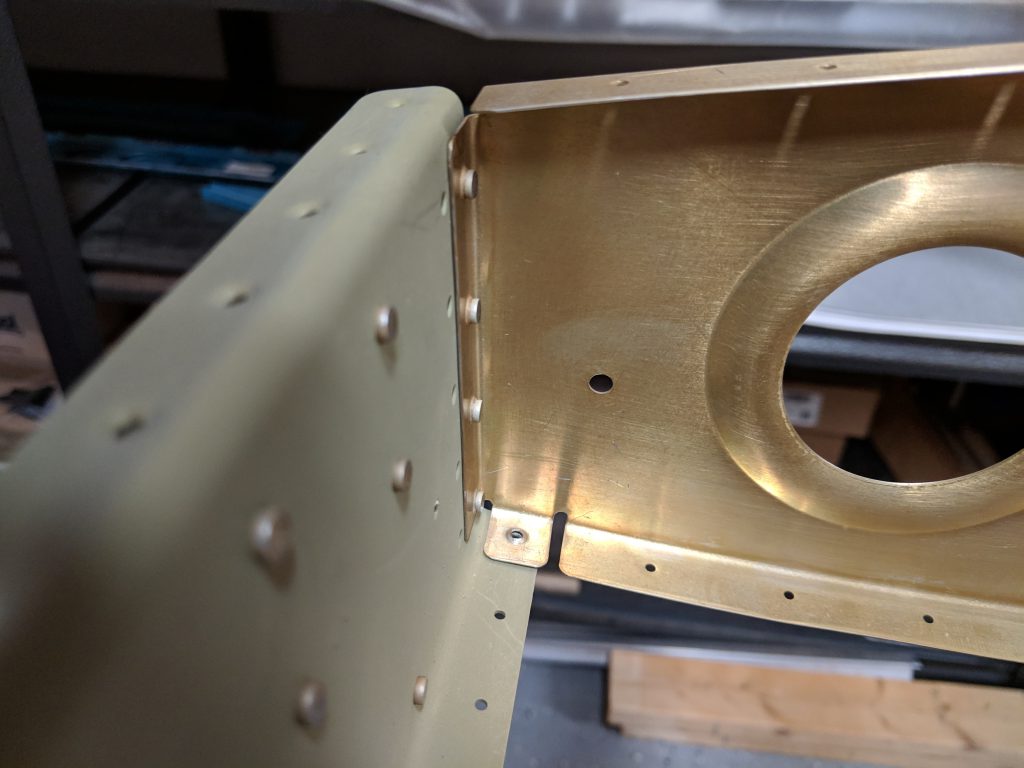
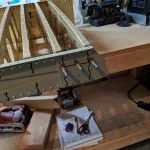
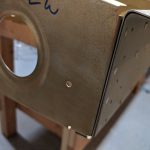
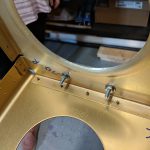
https://www.jacobysaustin.com/grandmas-strawberry-cake/ Then I worked my way down the wing, squeezing the rivets for ribs to rear spar. There were a few rivet size changes, so MAKE SURE you always double check what size rivet the plans call for. We have doublers, reinforcement bars, etc, that all add varying thicknesses. You can see where I marked the holes that need to be left open for the flap and aileron gap seals below:
https://www.52editions.com/referrals/ 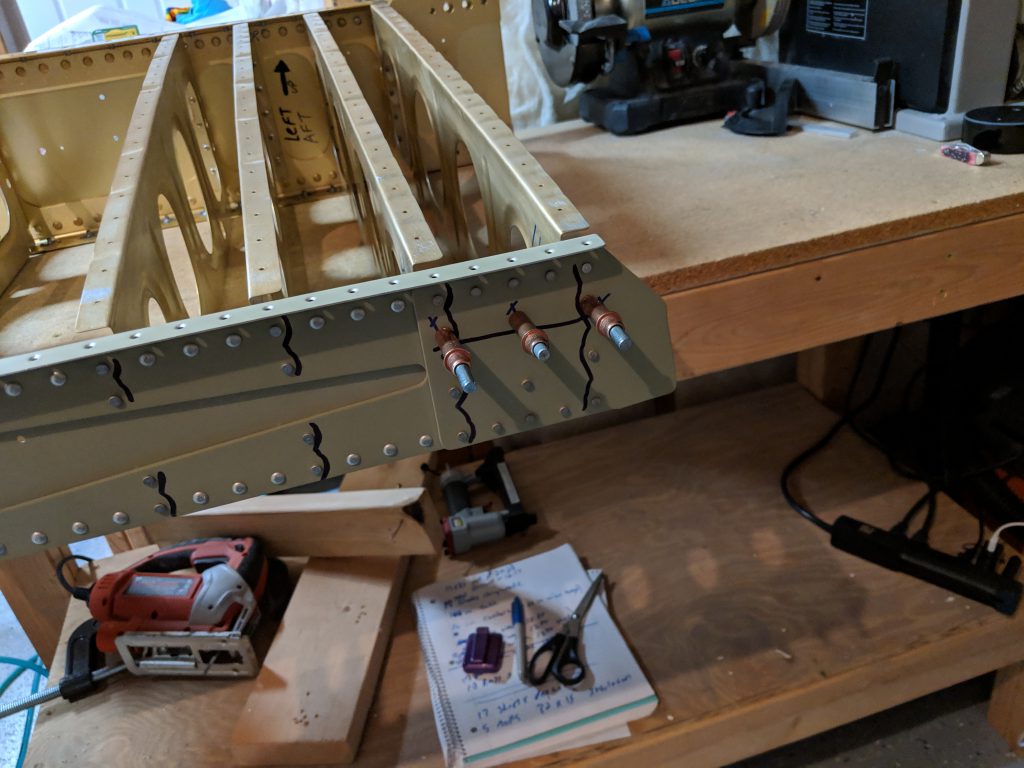
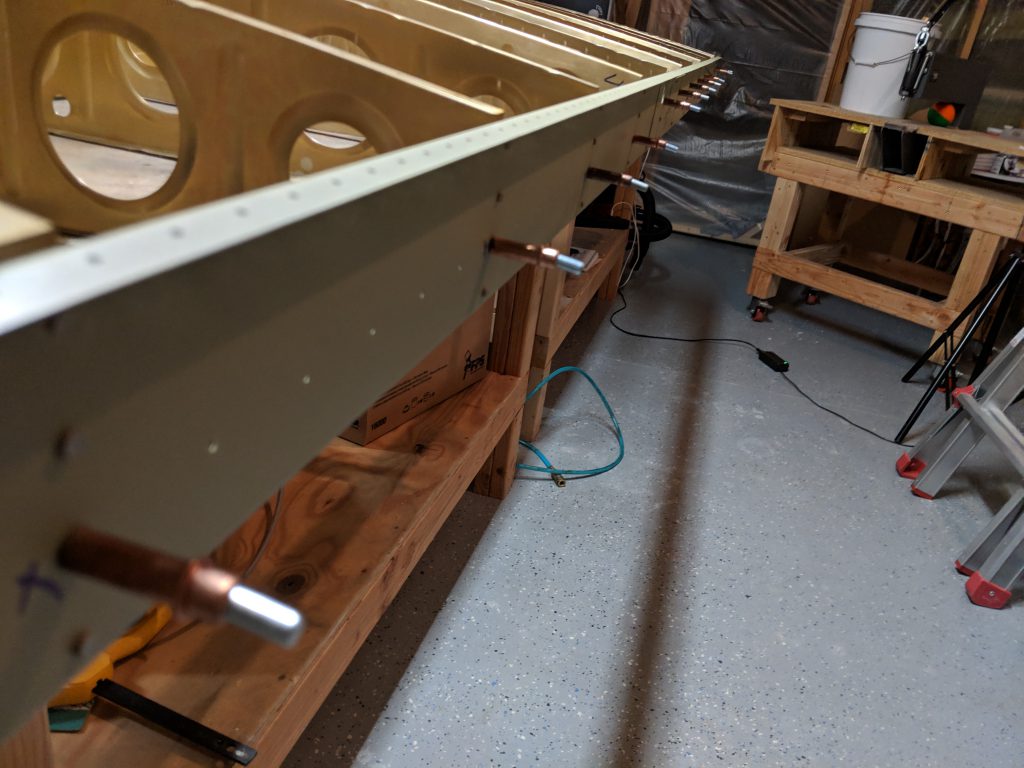
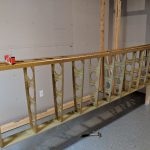
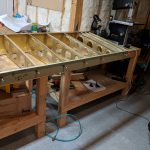
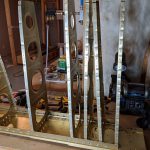
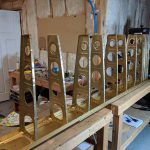
Order Tramadol Online The clecos are my empty holes that I skip for now. I used the squeezer to easily set all of the rivets for the rear spar. I took a good bit of time on this one because I was having to double check all the rivet sizes and such to be sure I used the correct ones. Eventually I had the wing skeleton to the point I could stick it on the wing stand for a preliminary fitting.
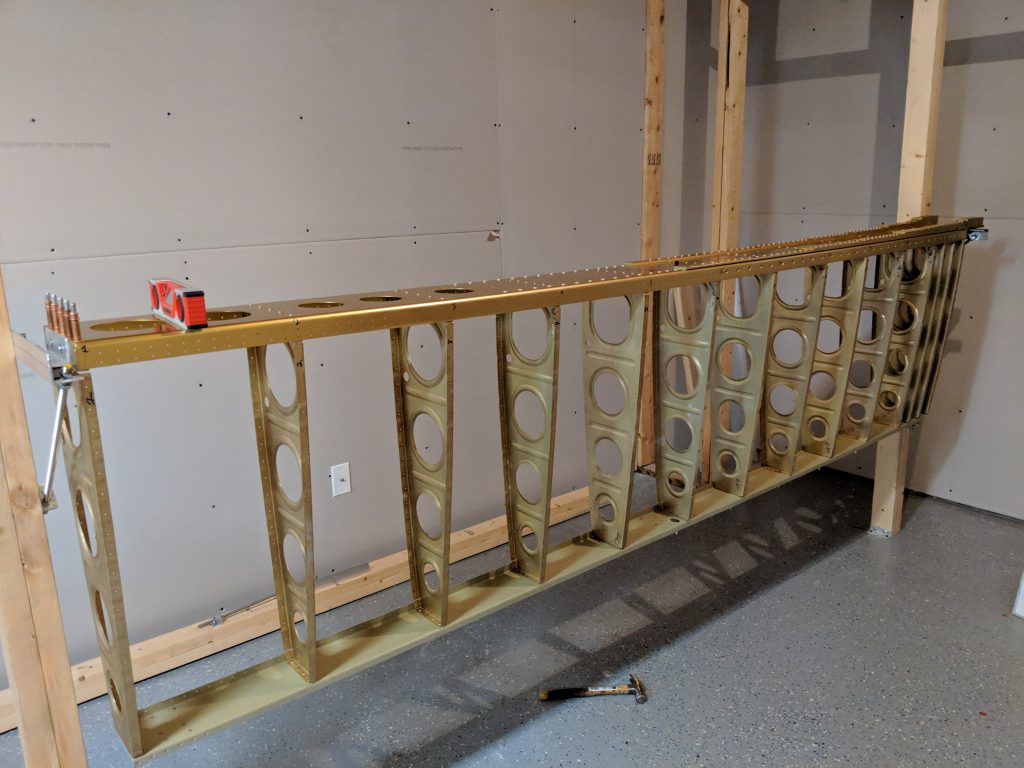
https://www.jacobysaustin.com/grandmas-strawberry-cake/ Theres some sag towards the middle which is to be expected. Van’s tells us that we should use a bottle jack or similar to help support the rear spar in the middle to eliminate the sag. That wrapped up the session for tonight. I’ve a few more tiny things to do before its bolted and clamped into the stand. Here’s all the photos from tonight:

https://thelonelycreative.com/videos/ Google Photos Link: https://photos.app.goo.gl/LhNYv2Xik3BaEgf56
Buy Klonopin Online Overnight Hours Worked: 3.25