


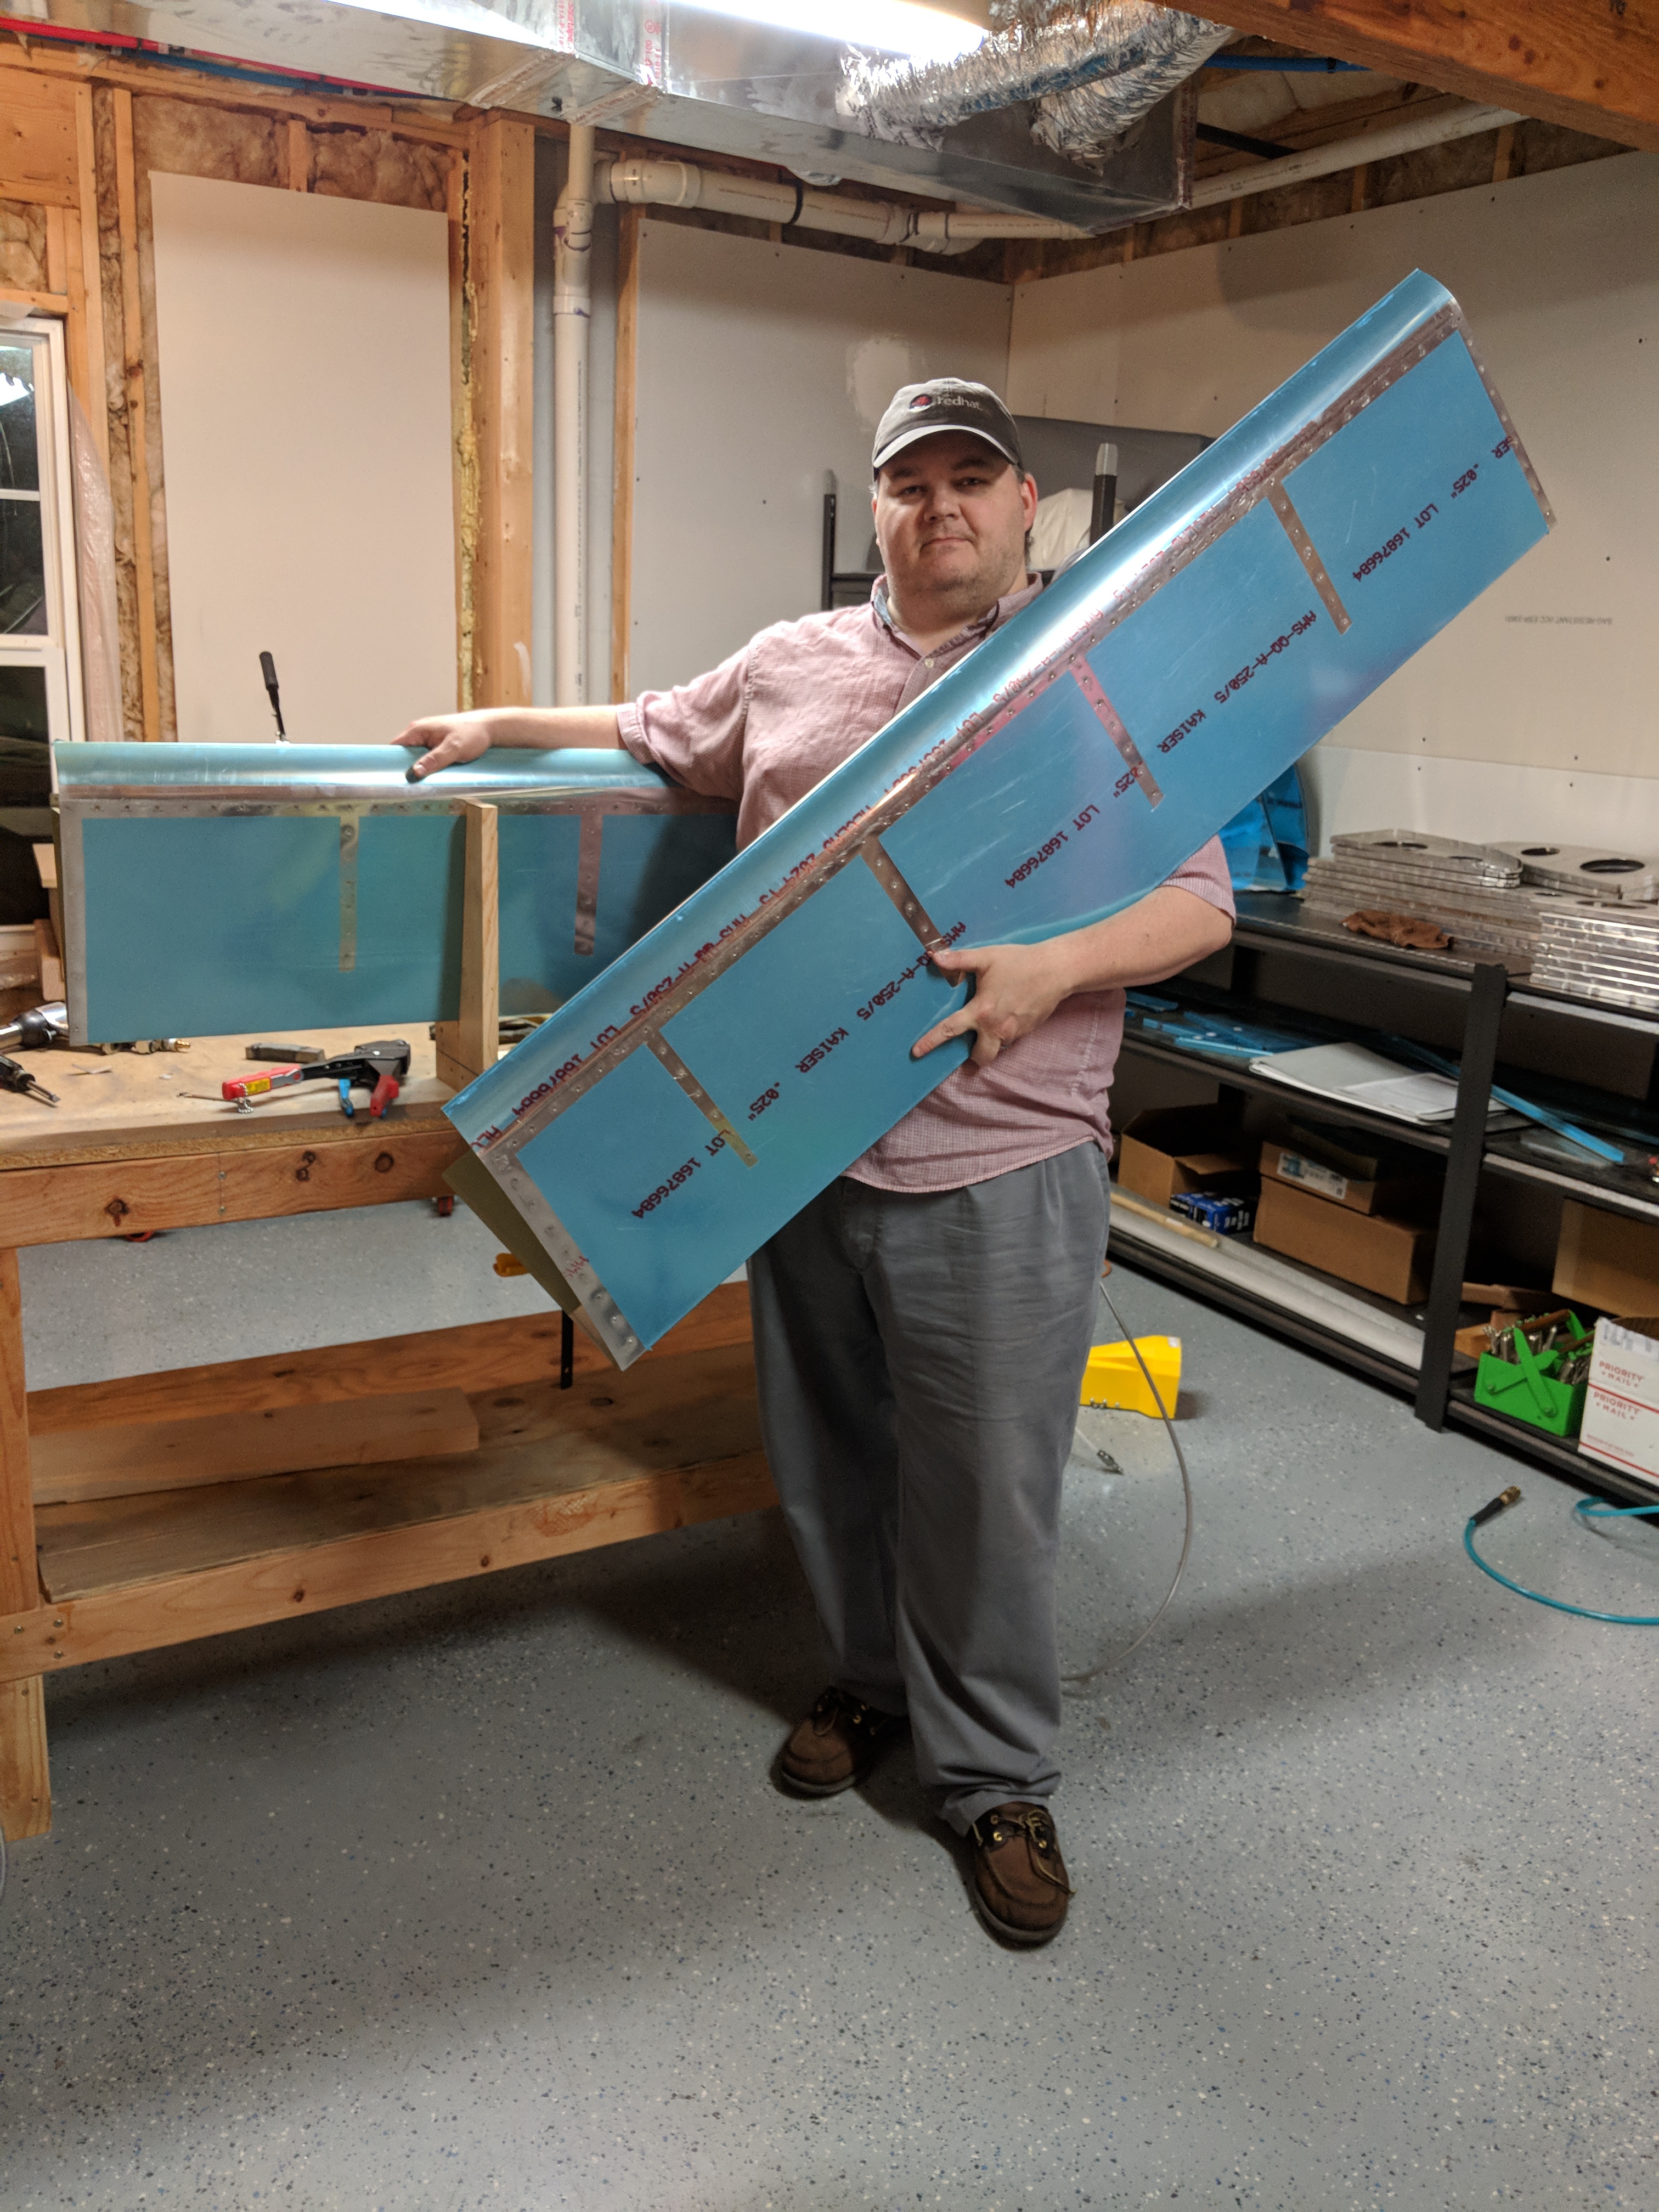
I now have two fully assembled flaps! I wanted to knock out the last few rivets on this right flap, and then the last 5 on the left flap this weekend, so I could mark them as 100% complete. Thankfully, I was able to get both flaps completely done and ready to go into storage until its time to mount them on the wings! I picked right back up where I left off last night, and riveted the internal ribs to the top skin. My wife went through last night and checked the sizing of all my rivets, and we marked the ones that needed a little extra bucking, and I went ahead and took care of those few rivets while I had the spar off.
Once I had all the rivets set, and checked, it was time to place the spar and close up the flap. I inserted the spar into its spot and then clecoed it into place, making sure to attach the piano hinge on the bottom of the flap. Once it was all squared up and in place, I used the LP4-3 pulled rivets to secure the spar to the internal ribs as called by the plans. Theres a few tight spots, especially where the top skin curls over the spar as a flap gap seal. I had Tammy come down and gently pull this curved skin back so I could get my pop-rivet tool in there and pull these suckers. Once I had all the pulled rivets set, it was time to rivet on the top and bottom skins to the spar. I started out with the top skin, since I would need to buck these rivets due to the skin curling over. Here’s where my night got interesting:
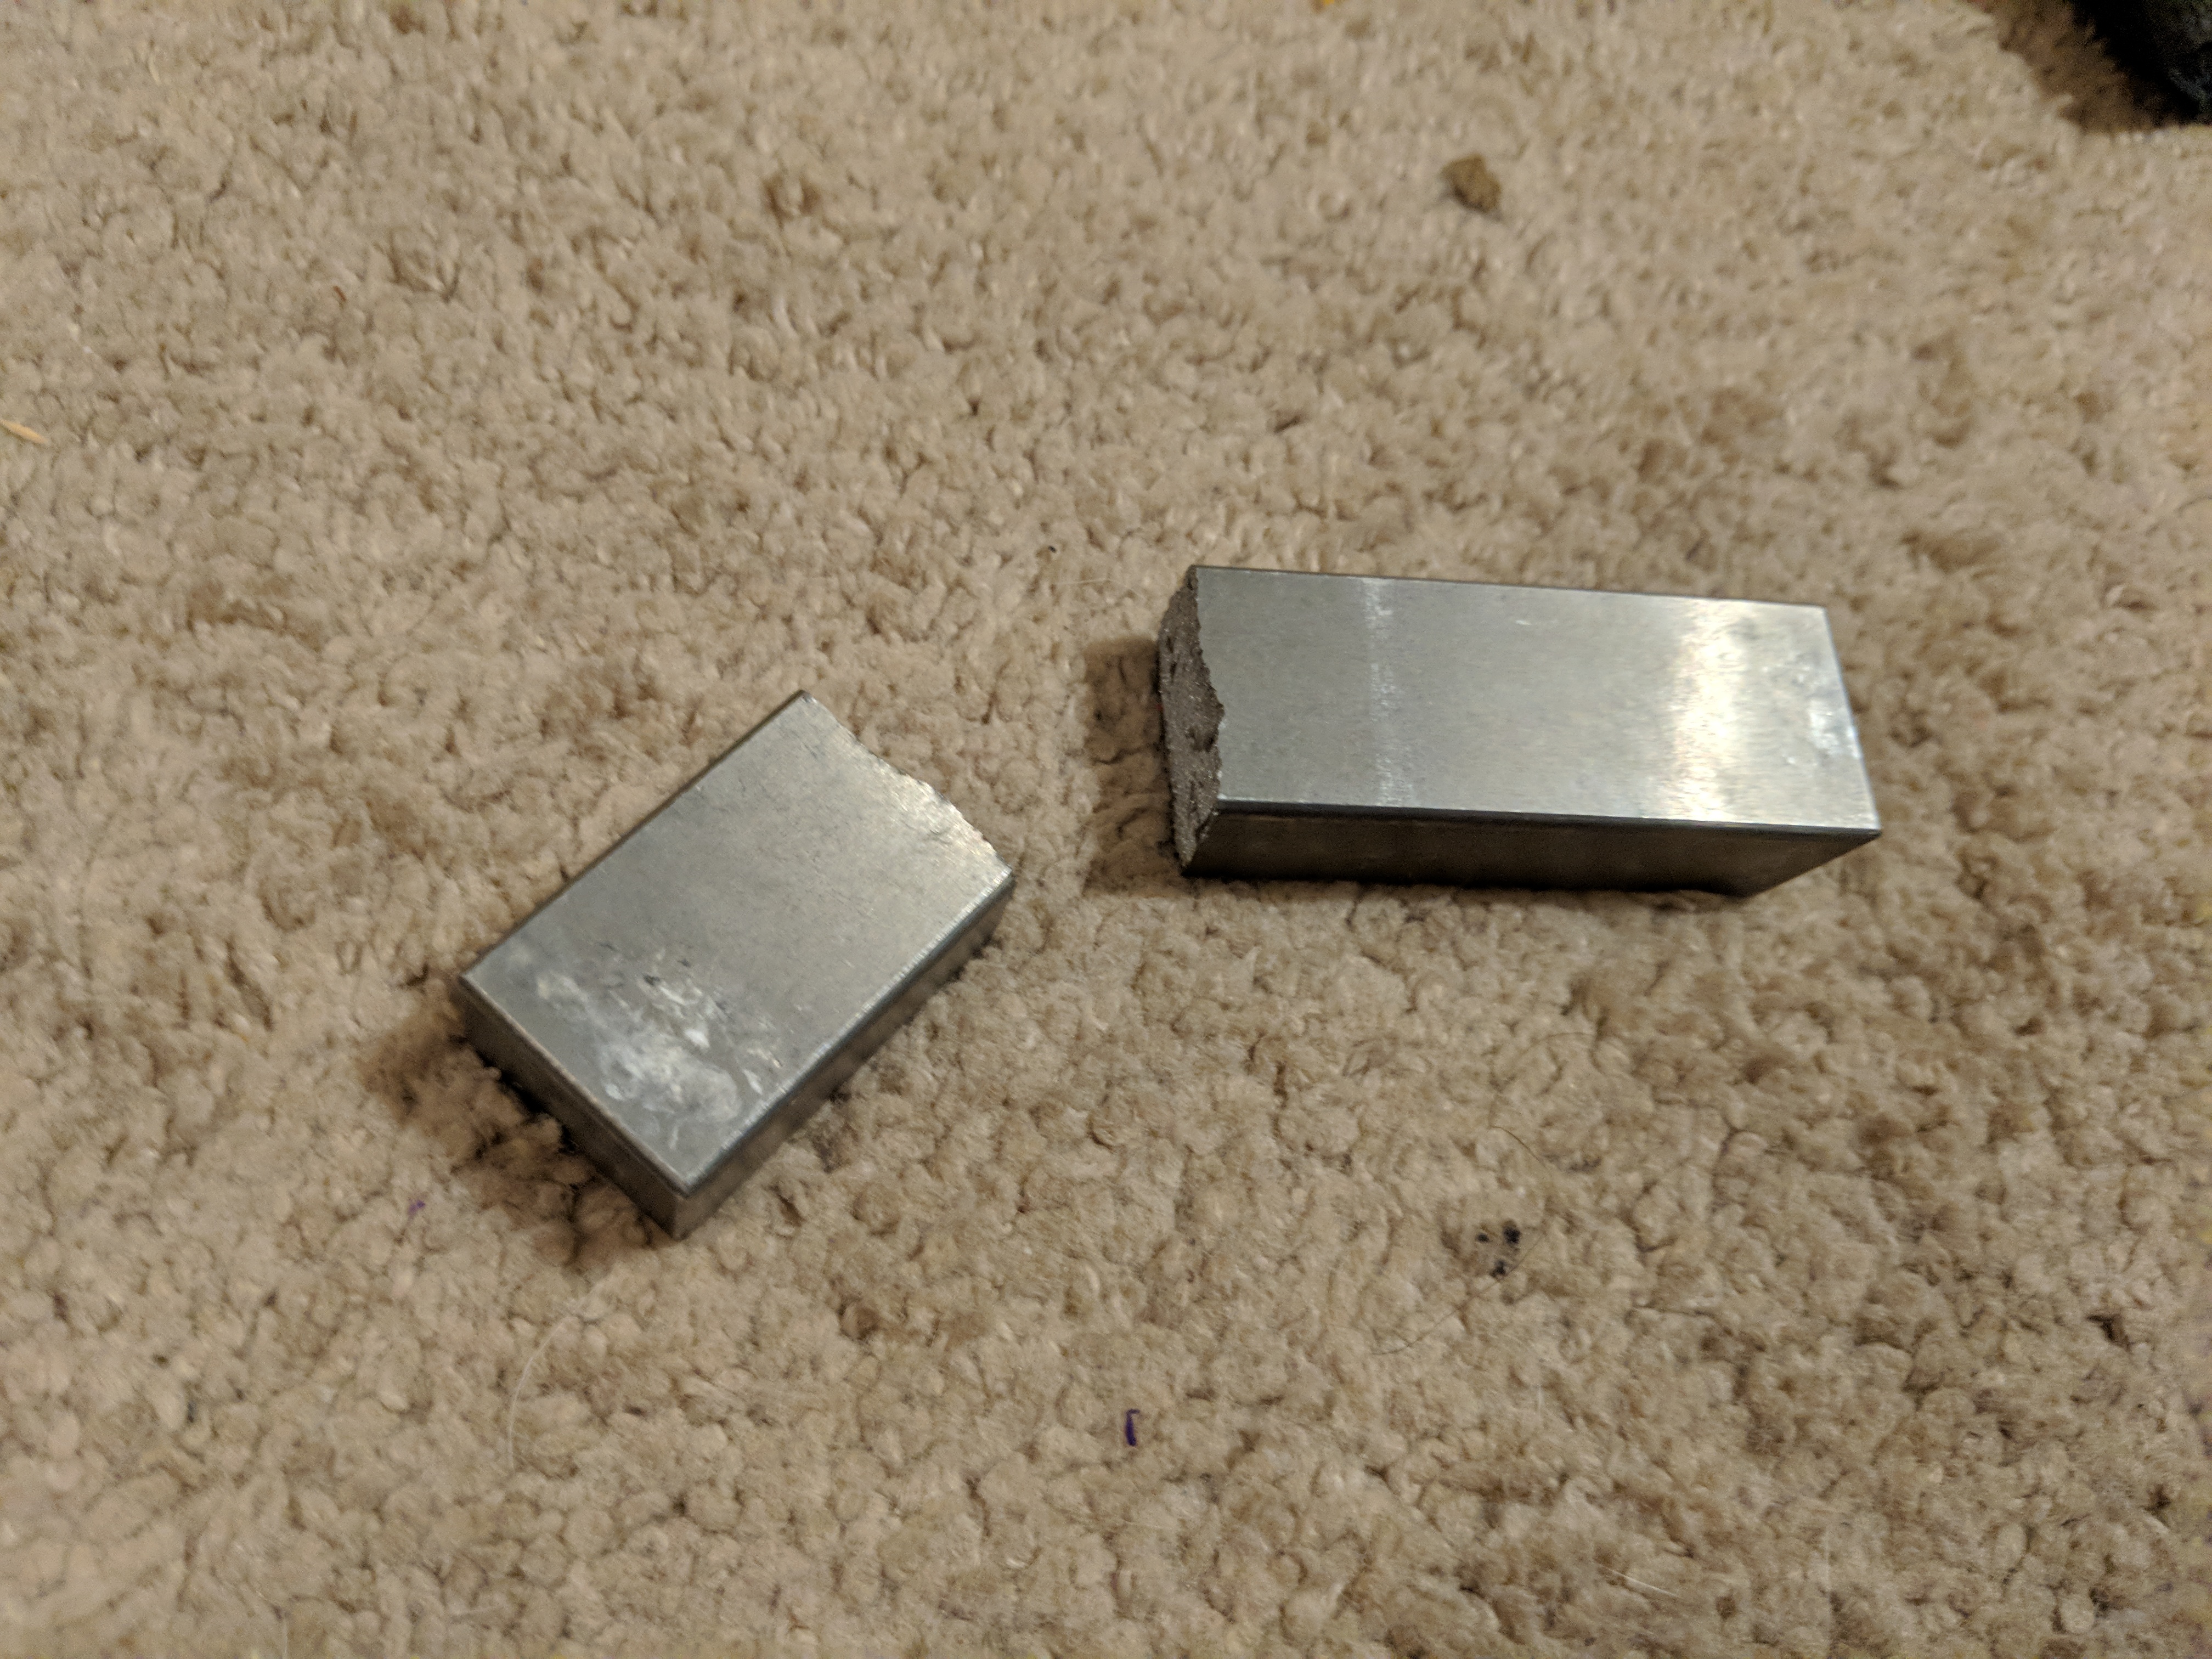
Thats a tungsten bucking bar, broke right in half. I kept it wrapped in athletic tape to make it easier to handle and to keep it from scratching up the skins as I use it. After bucking a few rivets in the top skin, I noticed it felt like it was flopping around, and when I started unwraveling the athletic tape, I noticed it had broken in two. This sucks! Fortunately, I was still able to use it to set the last few rivets, but I am going to have to see if Isham Tools will let me get it replaced under warranty, lets hope!
Anyways, after I had the rivets bucked for the top skin, I moved to the rivets on the bottom skin, that also hold the piano hinge. These are easy to get to, and my squeezer made quick work of them.
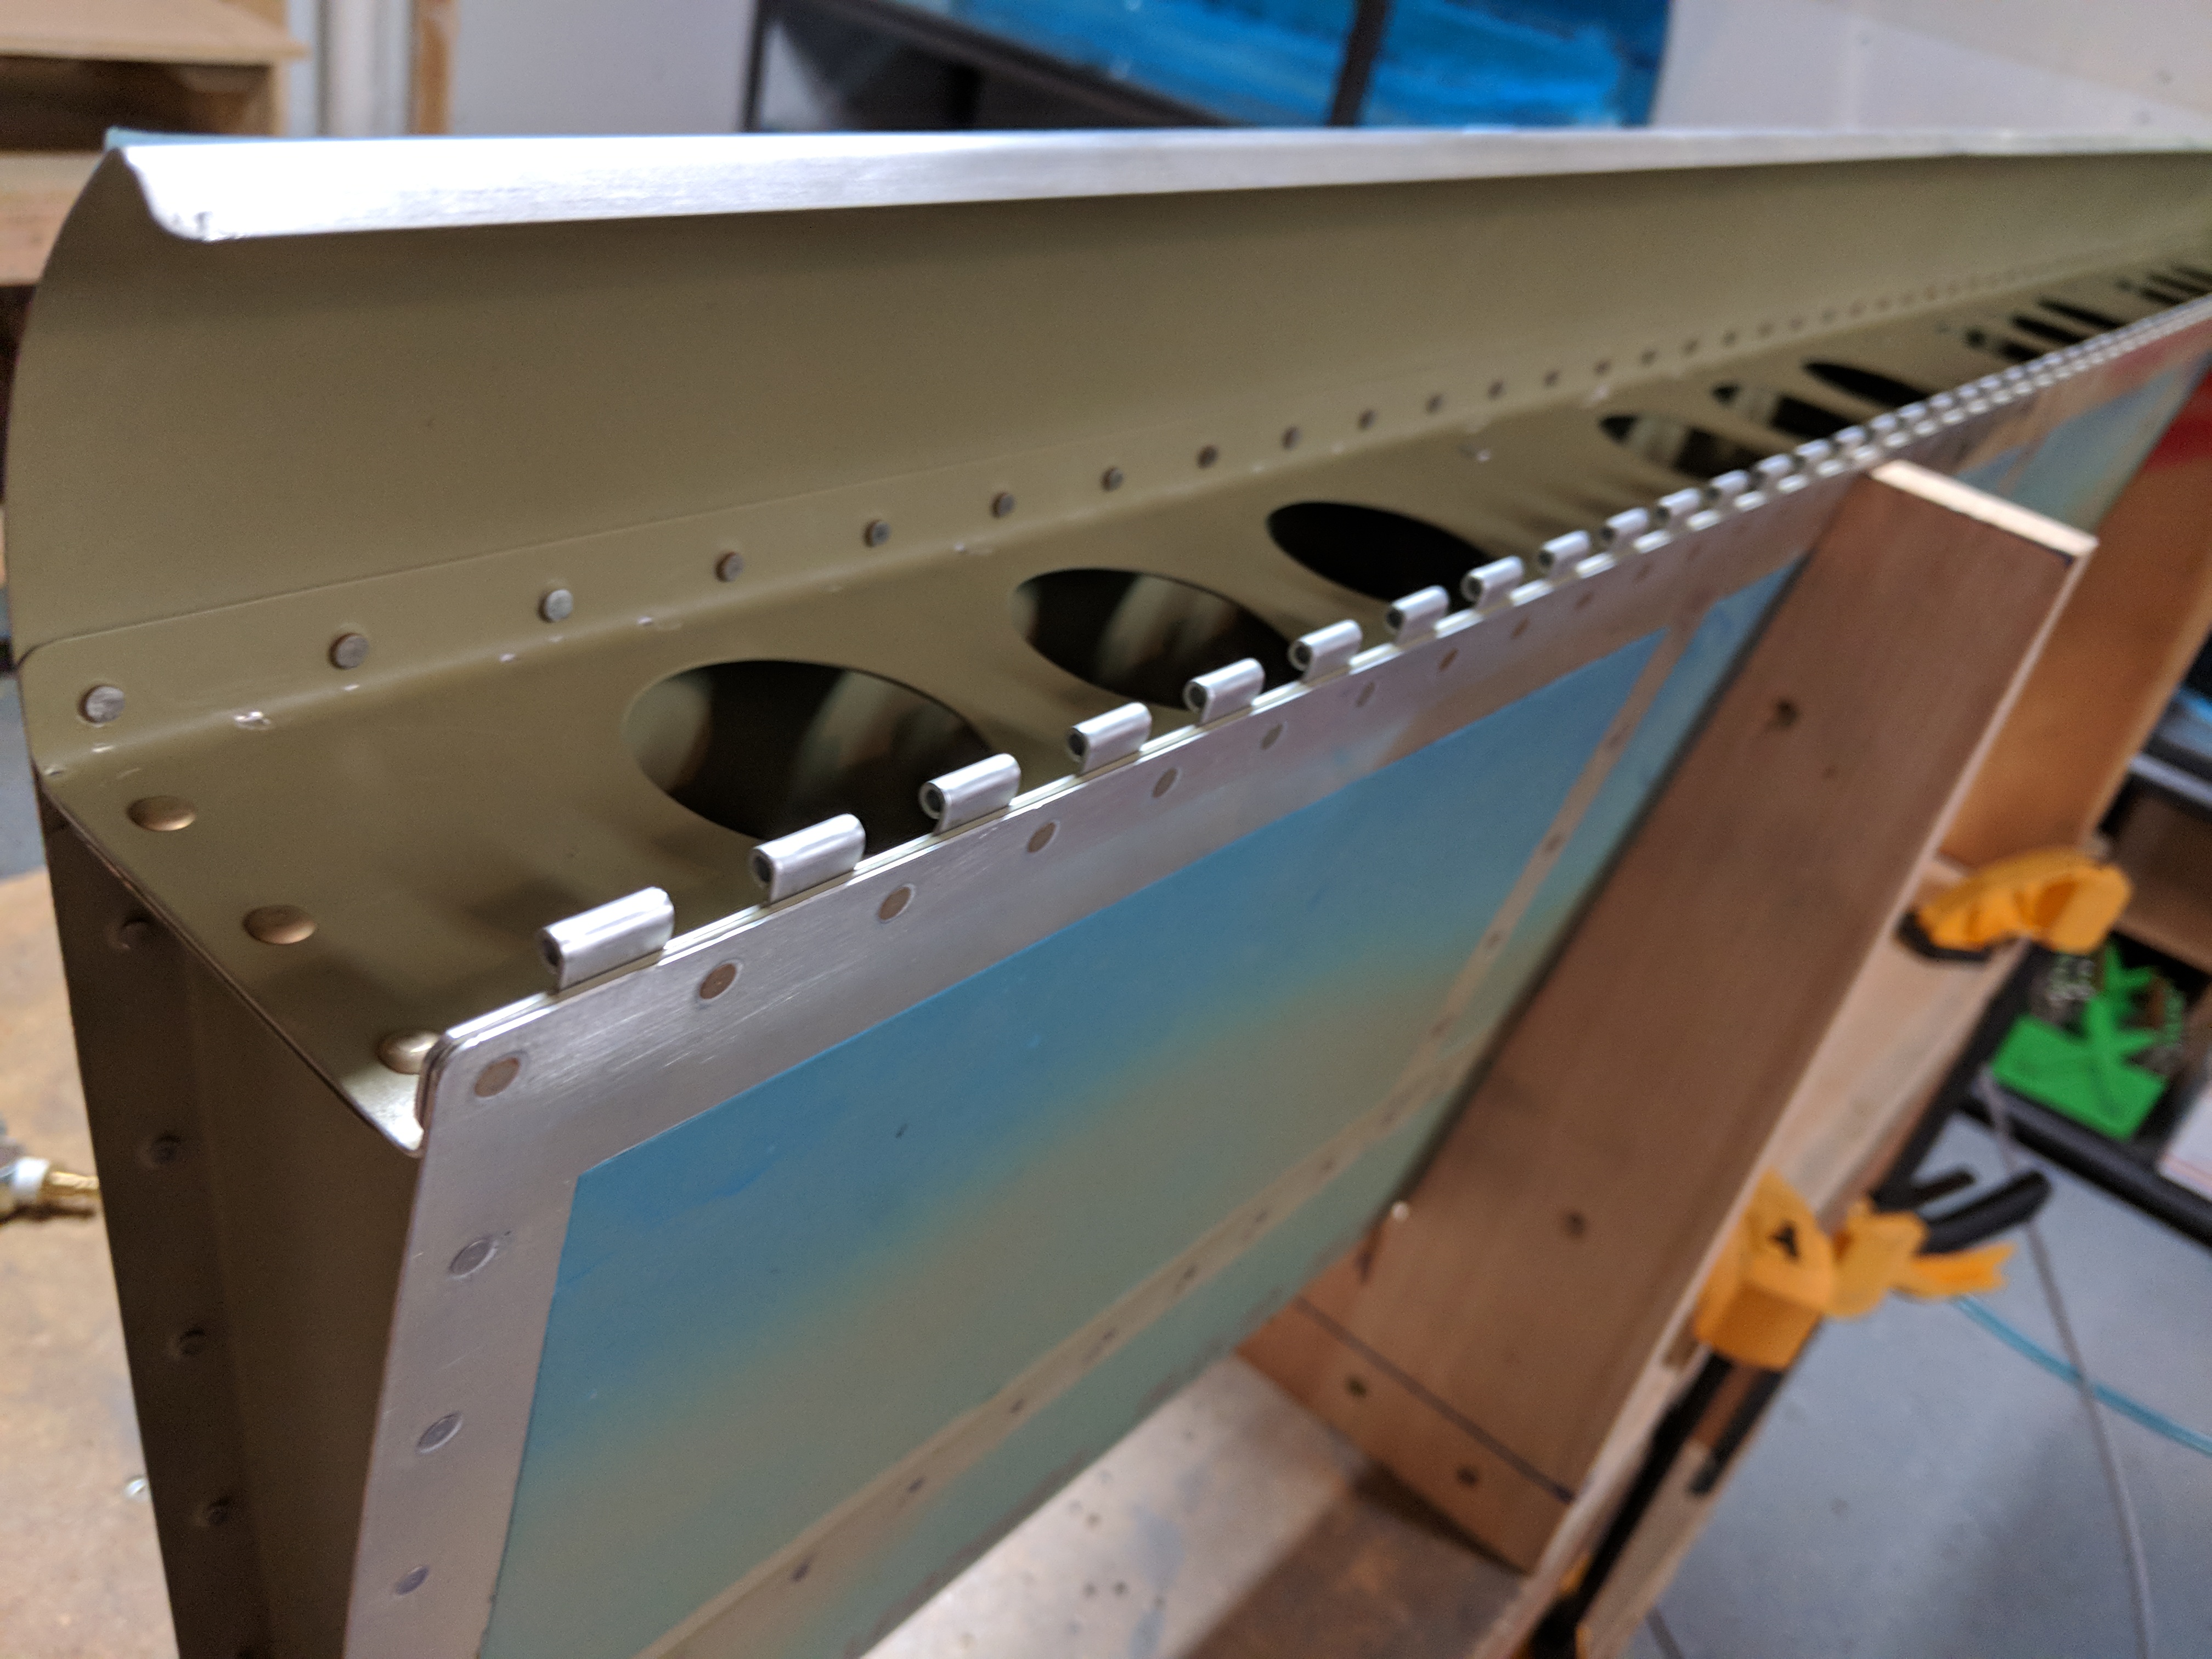
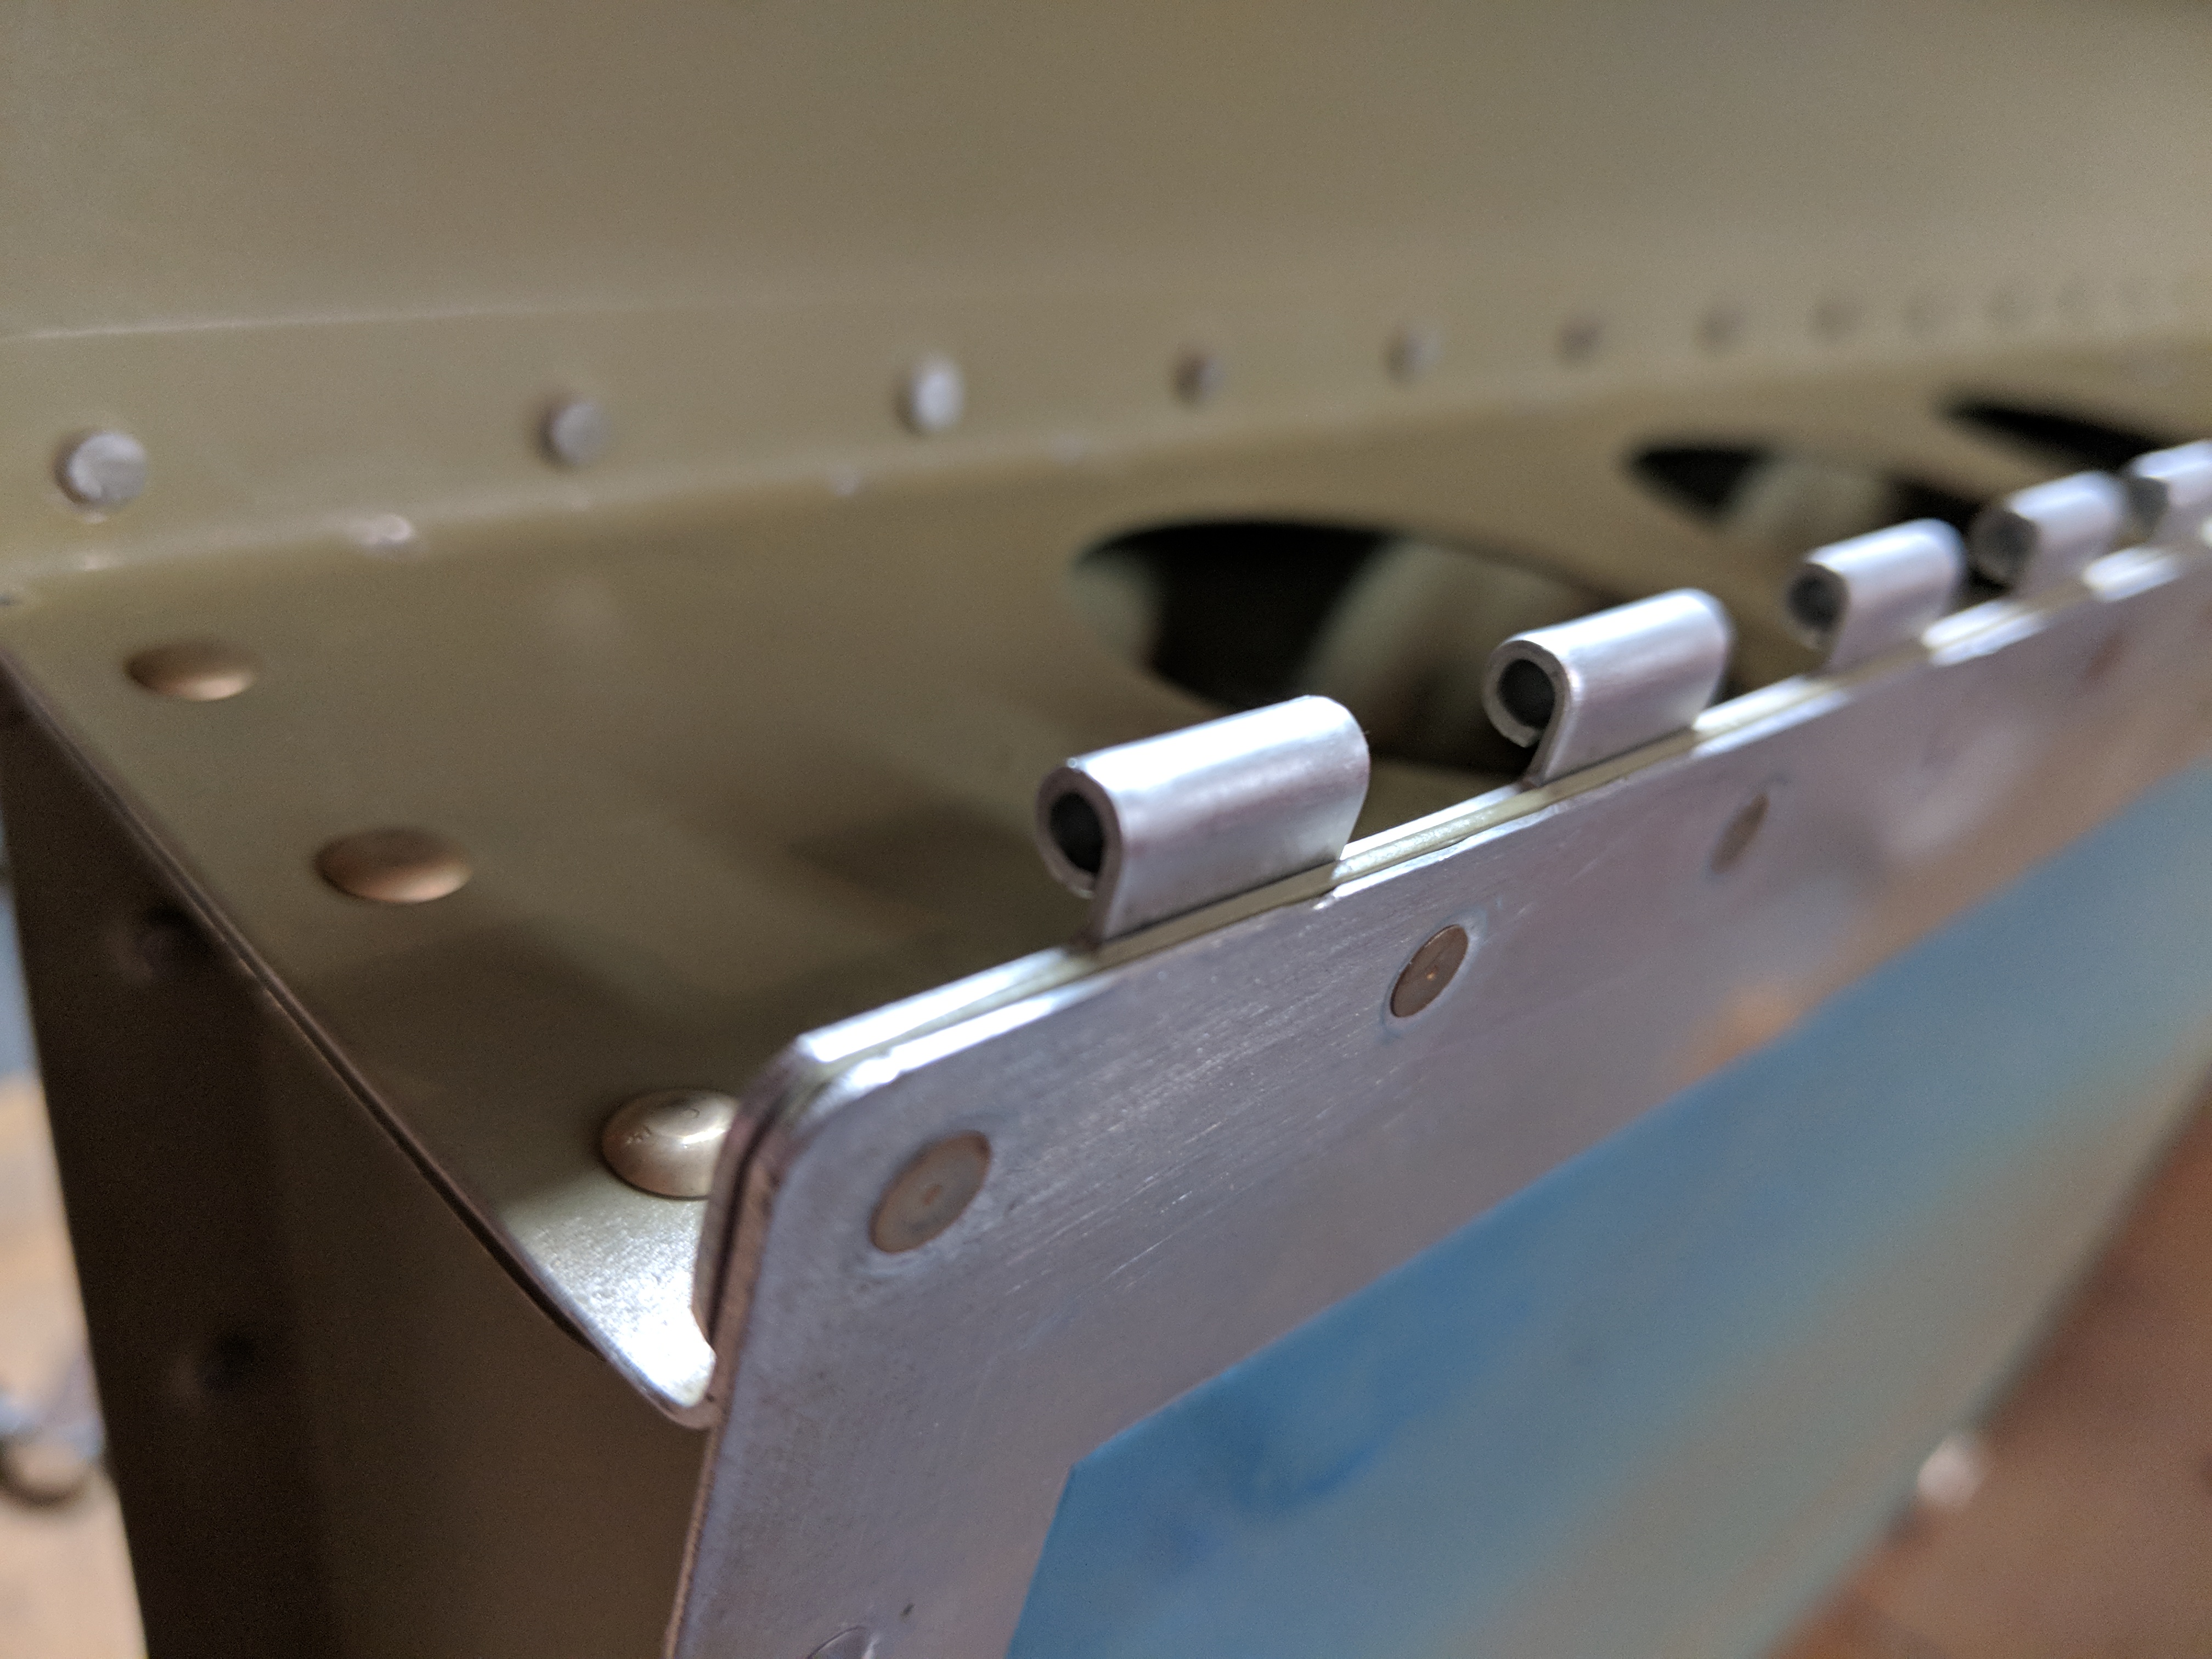
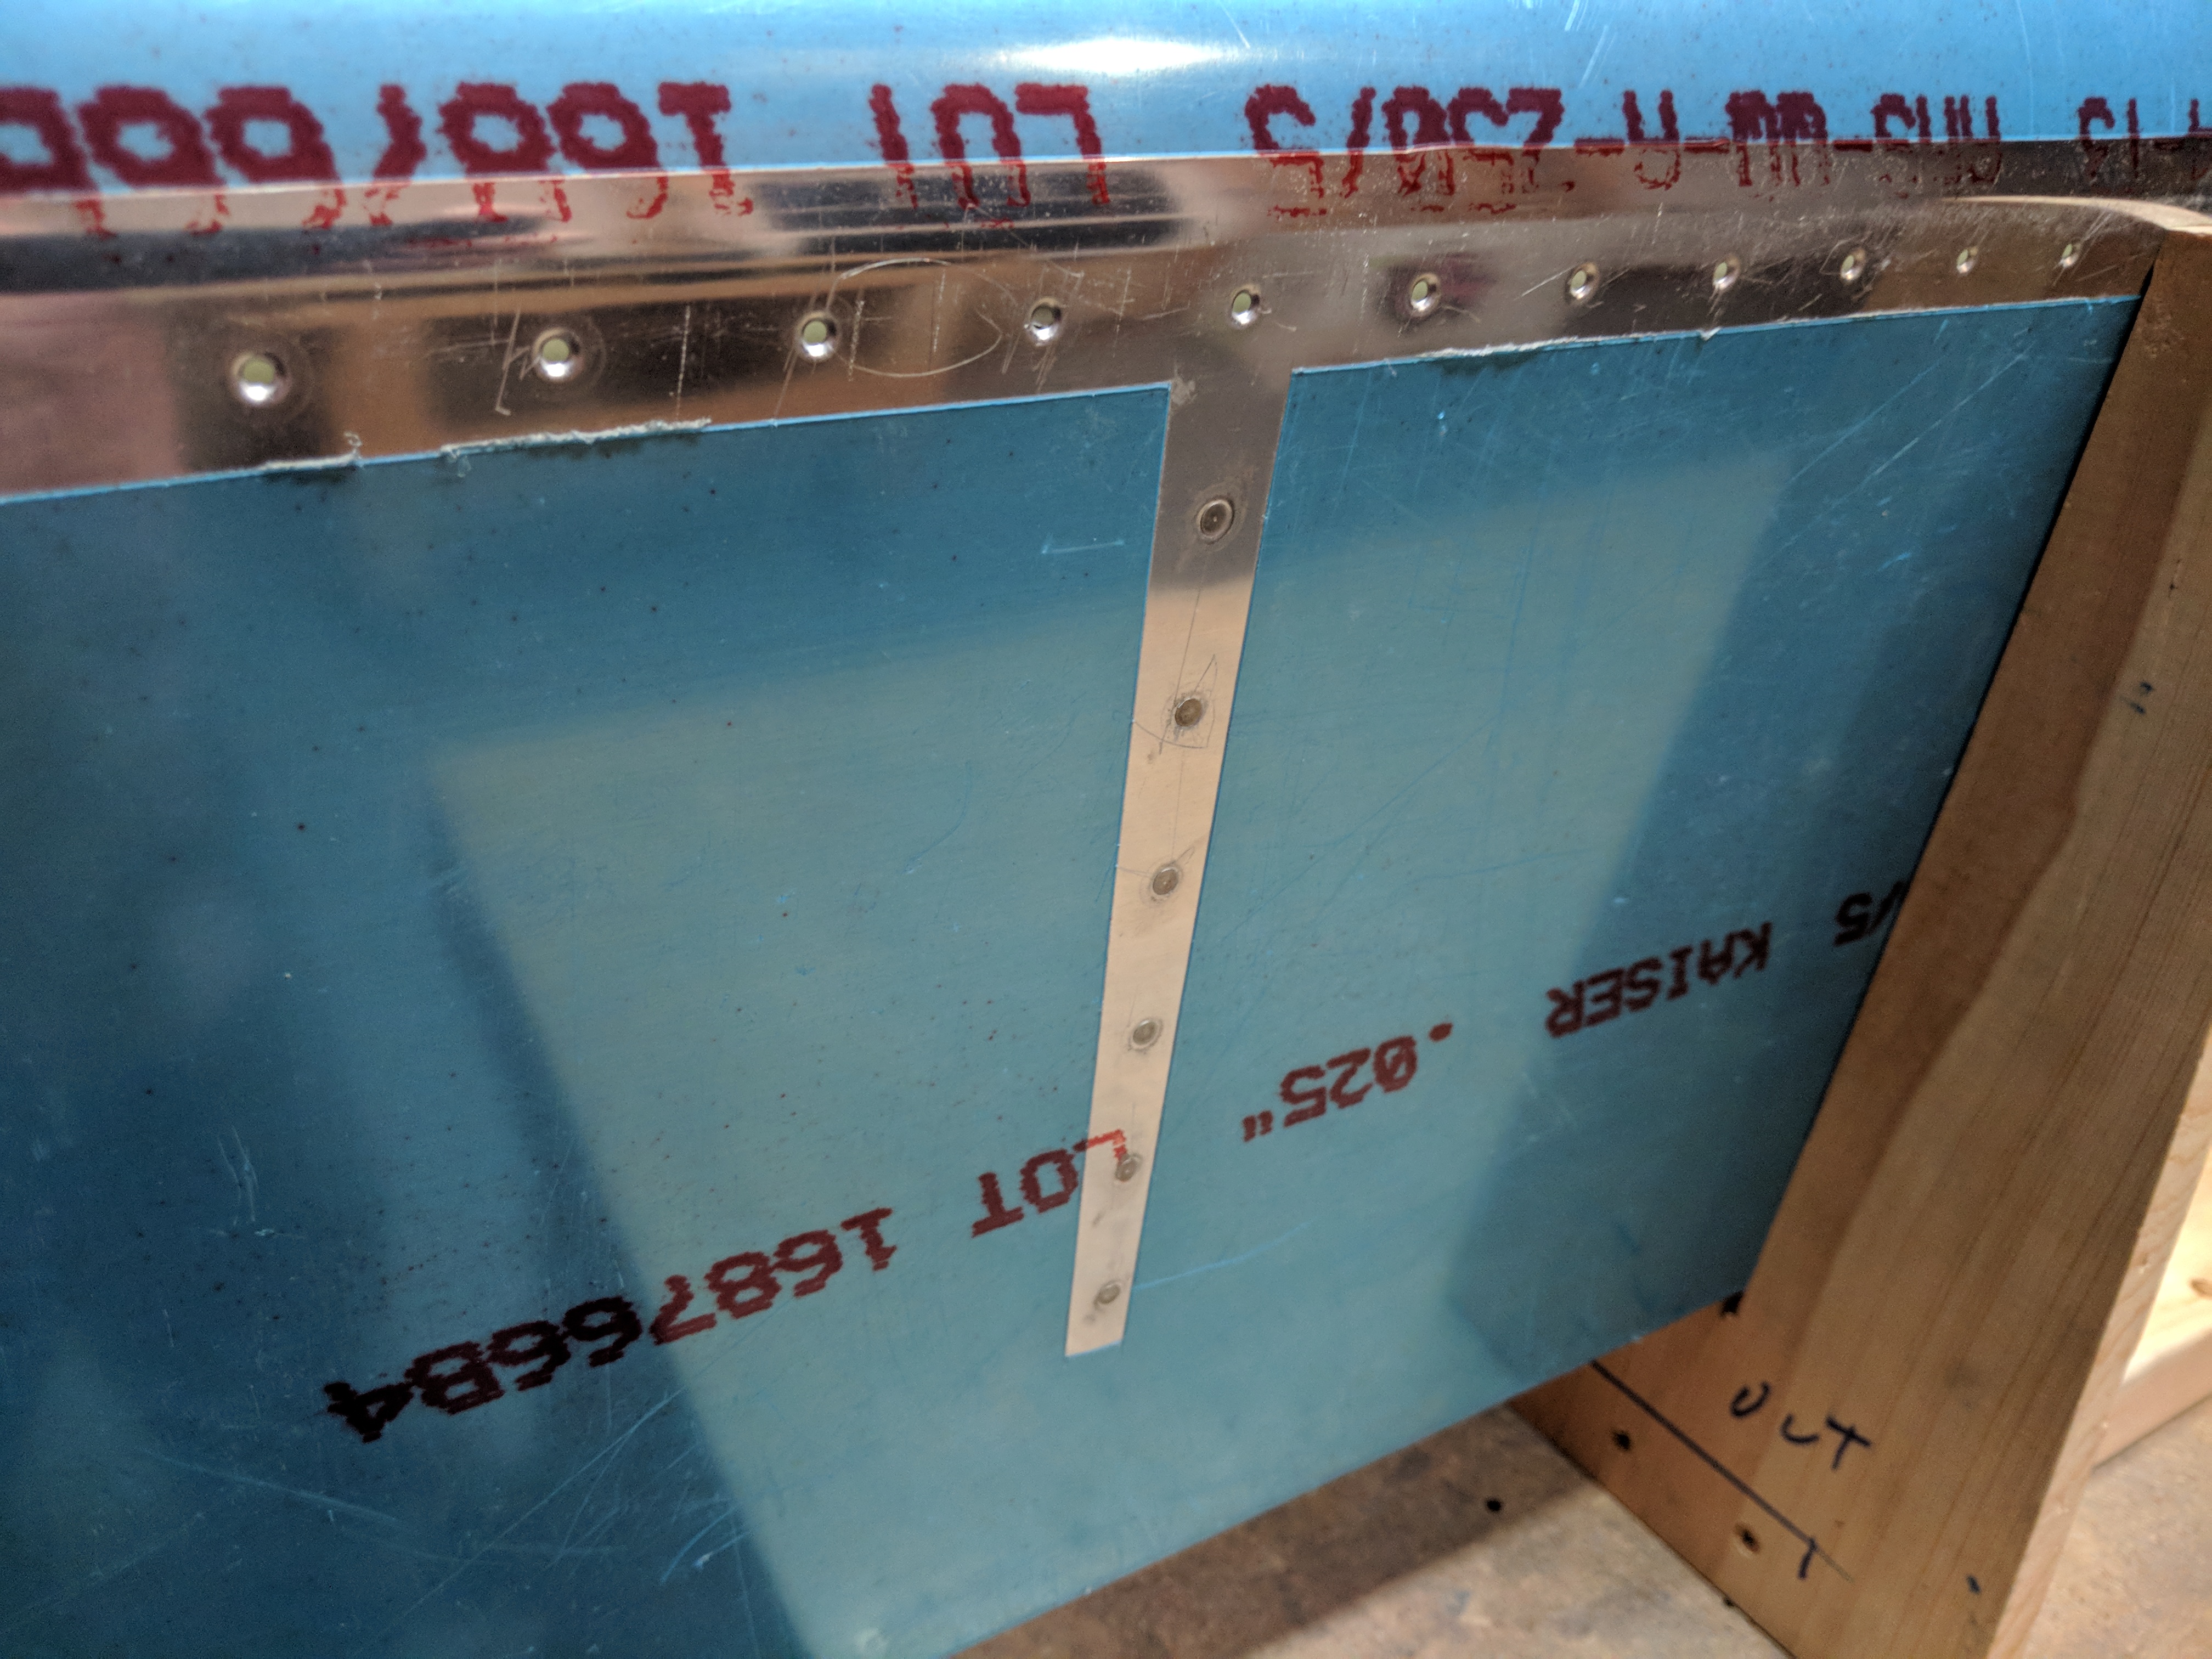
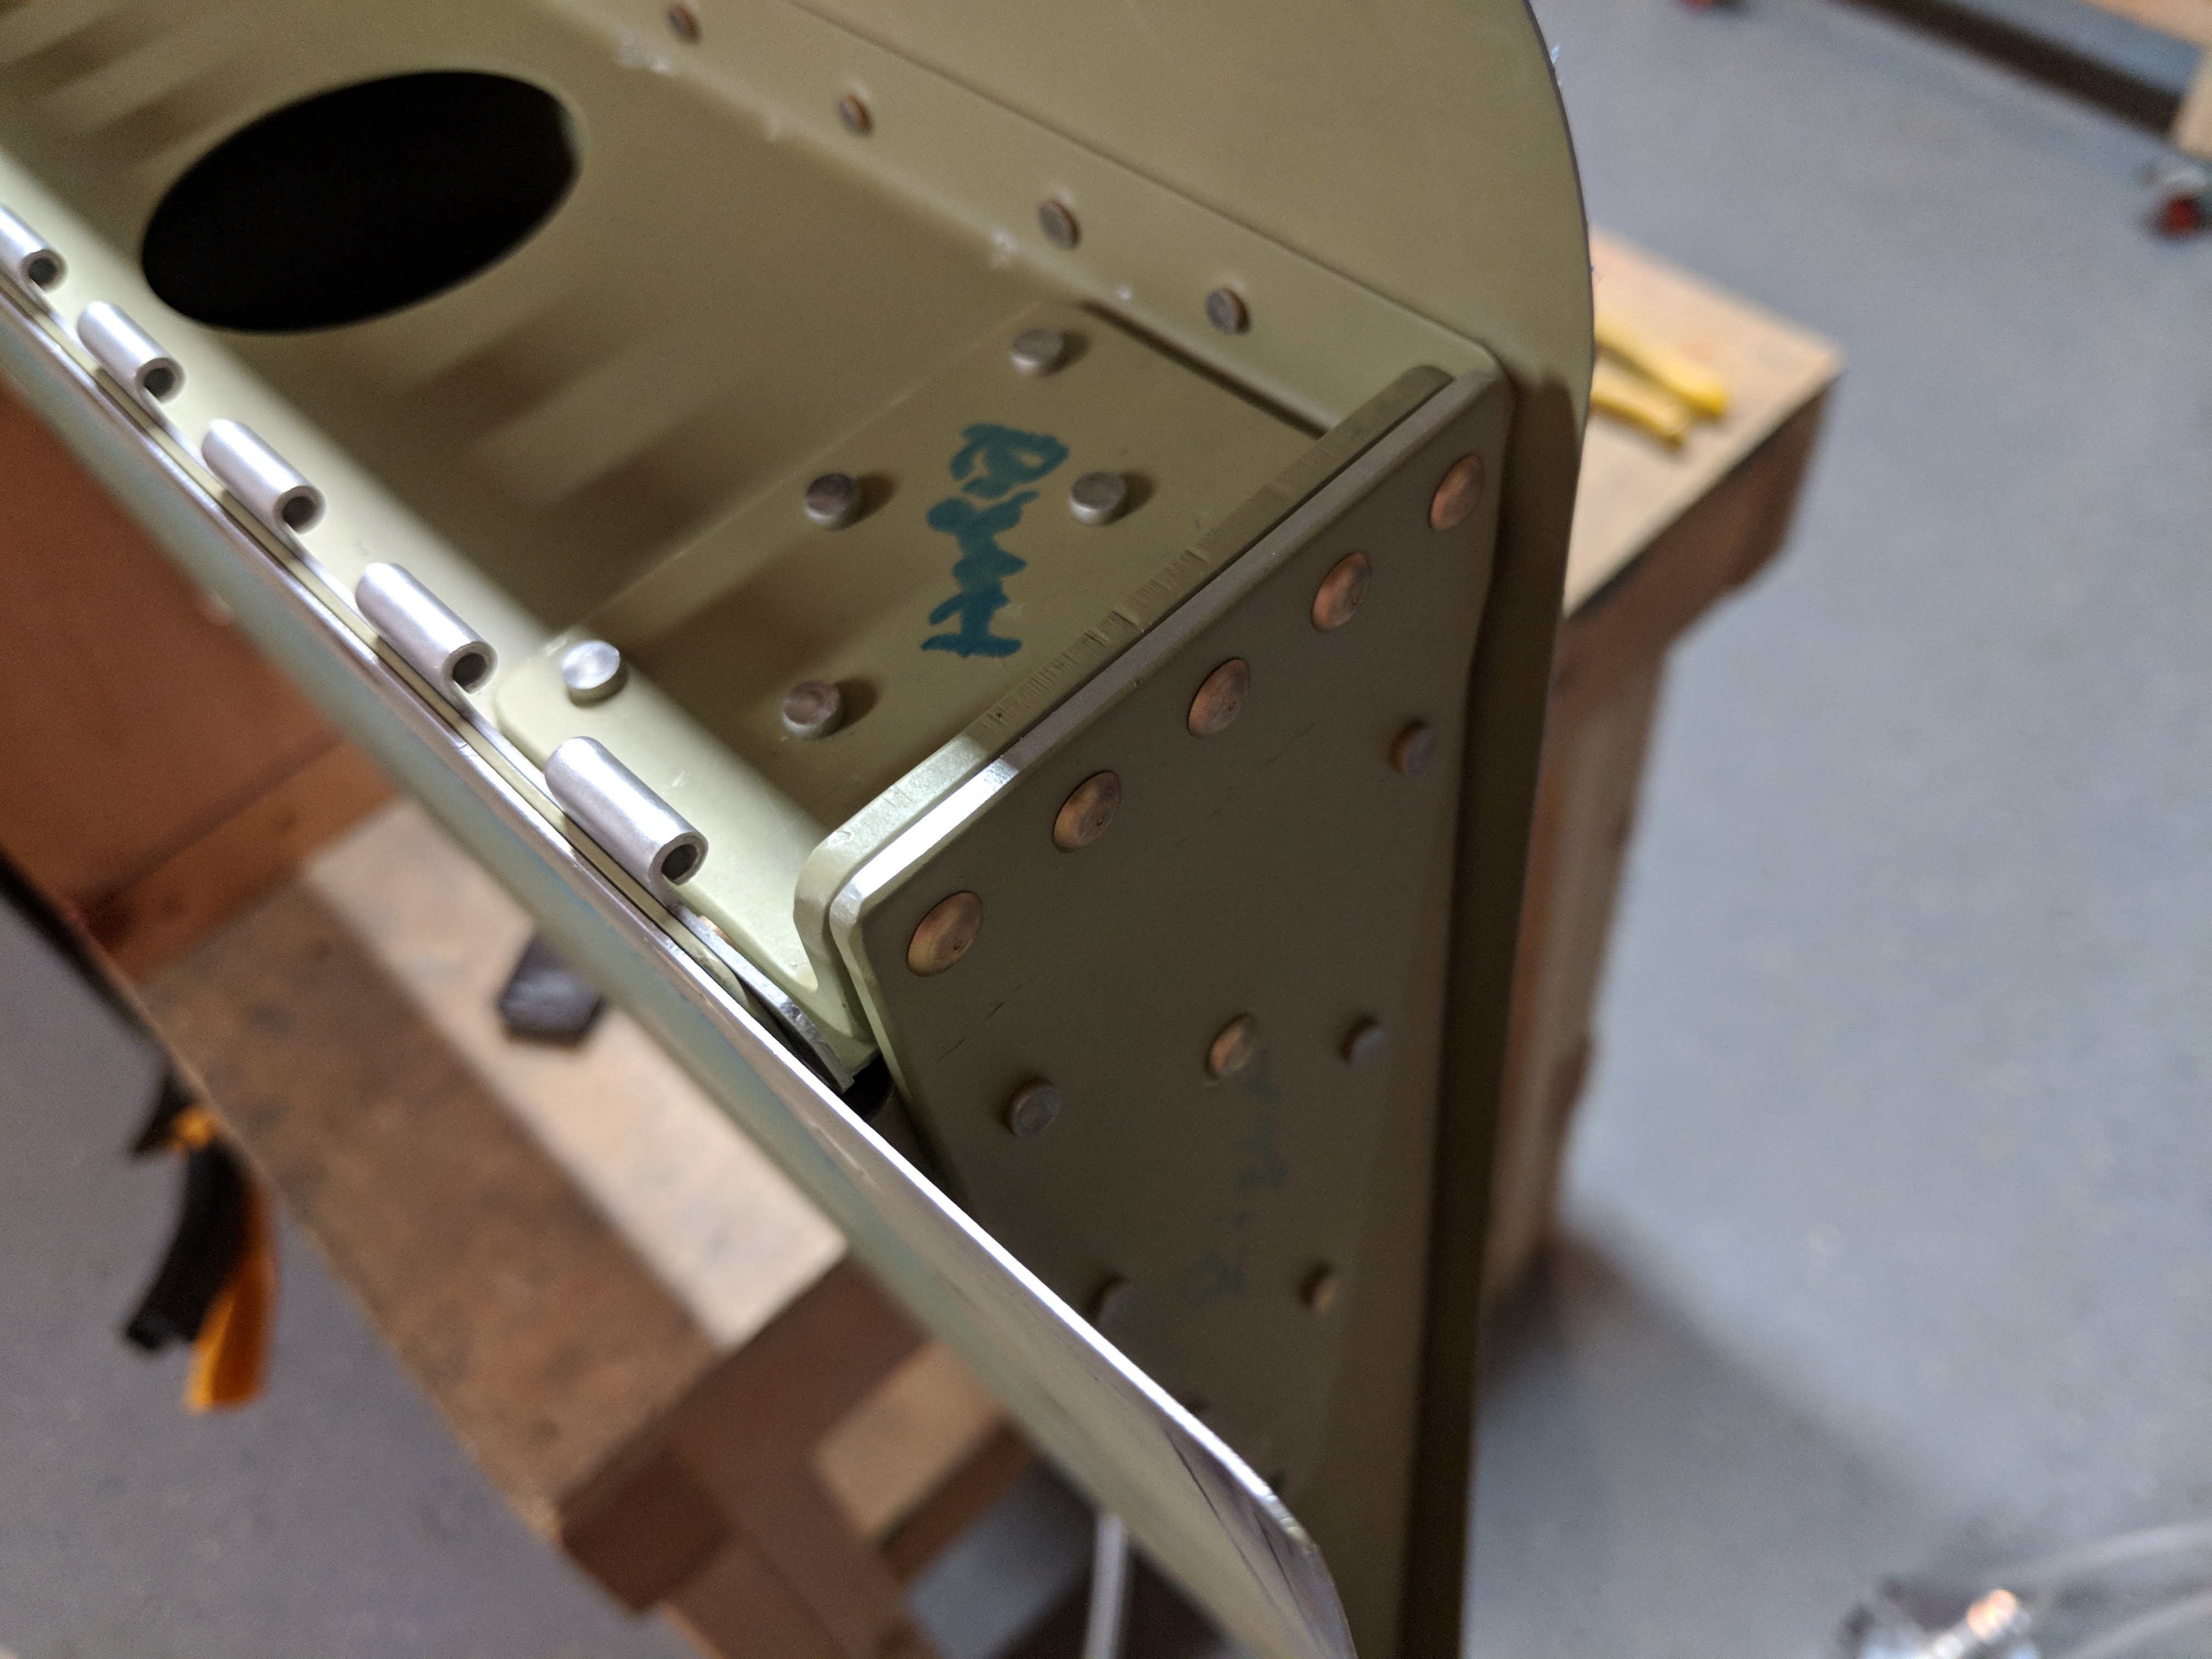
You’ll notice that in those two photos, I also have used AN470AD4-4 rivets to attach the spar to the end rib, instead of using LP4-3 pulled rivets. I figured the squeezed rivets would be stronger, and actually look better, and since I was using a squeezer, there’s no issues with getting them set. Once that was done, it was time to get the last few rivets: The doubler rivets! I used my squeezer to set the AN470AD4-7 rivets where the two doublers join:
I also pulled the left flap down from the shelf, and had my wife assist me in setting the pulled rivets like she did on this right flap. That was really all I was lacking on the left flap. Once I had the last three pulled rivets done on it, I went ahead and squeezed the left flaps doubler plates together, and that compeleted both flaps!
Here’s all the photos from tonights work:


Google Photos Link: https://photos.app.goo.gl/TMMVCGc4jHKmACXs1
Hours Worked: 2.5
I thought the “spar” was the main beam running the full length of the main wings.
I think what you are referring to would technically be called the main wing spars. Several of the control surfaces also have spars, its typically the portion of the control surface that carries its load into the fuselage.
You can see here in the plans that Vans refers to this is the FL-703-L/R spar for the flap: https://cl.ly/2V1w2H3r412o
Its confusing at times 🙂