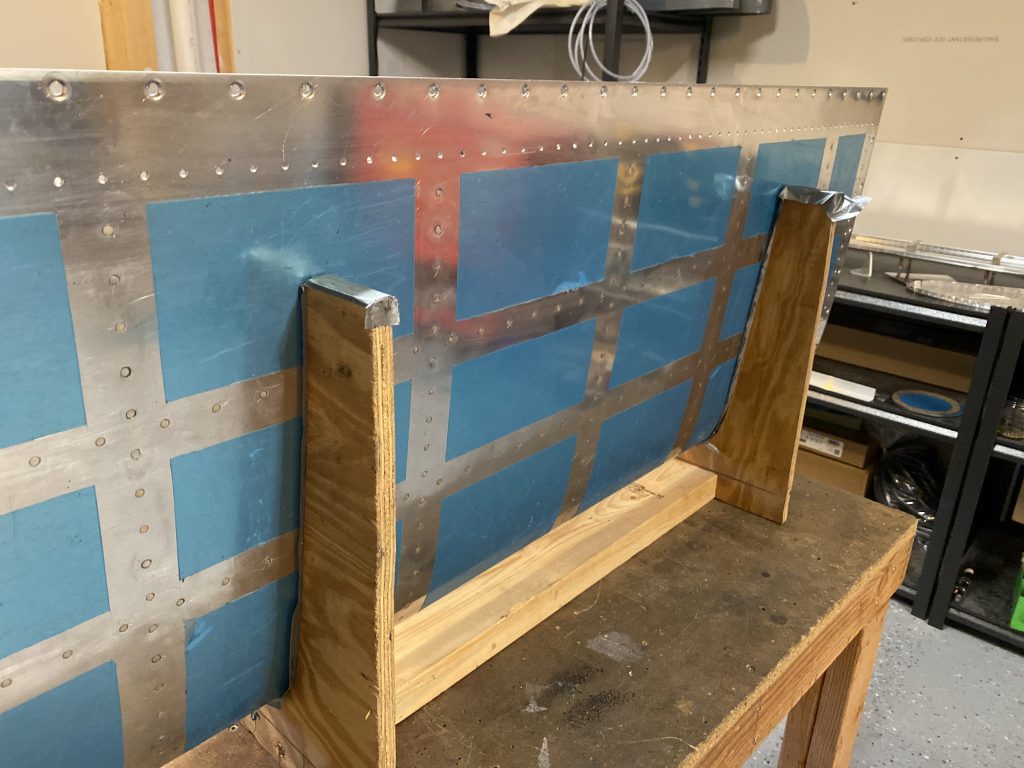
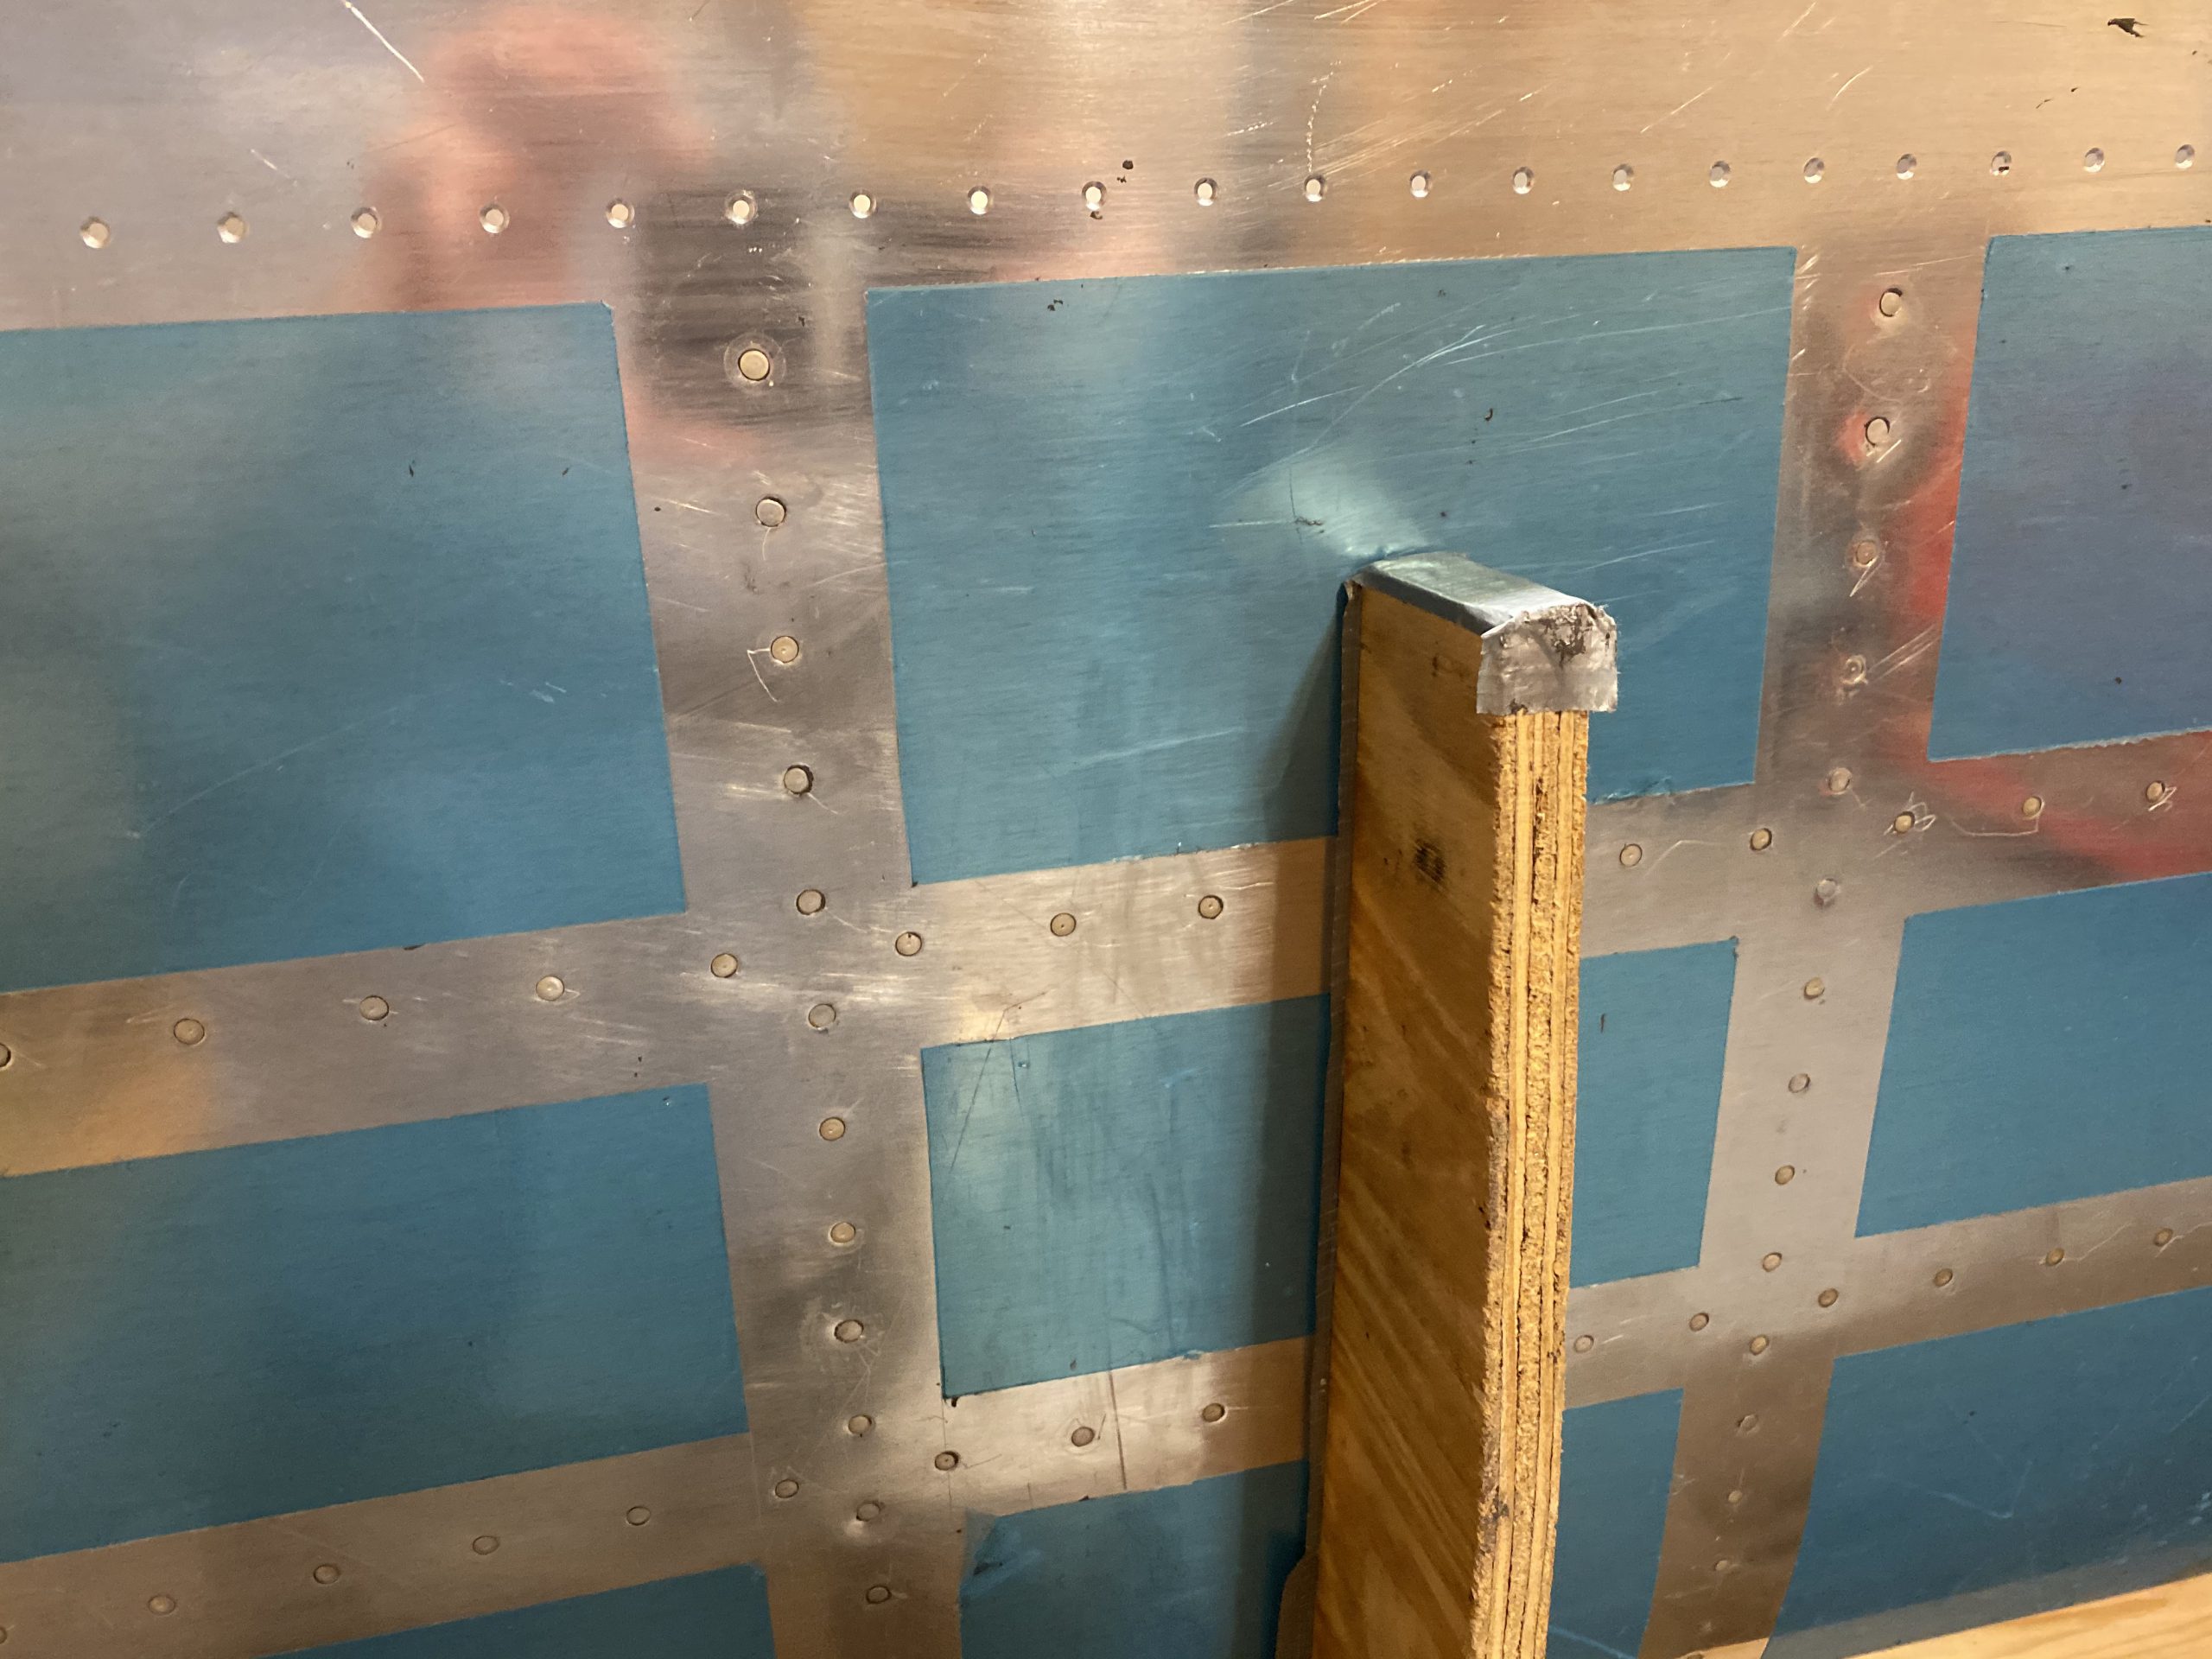
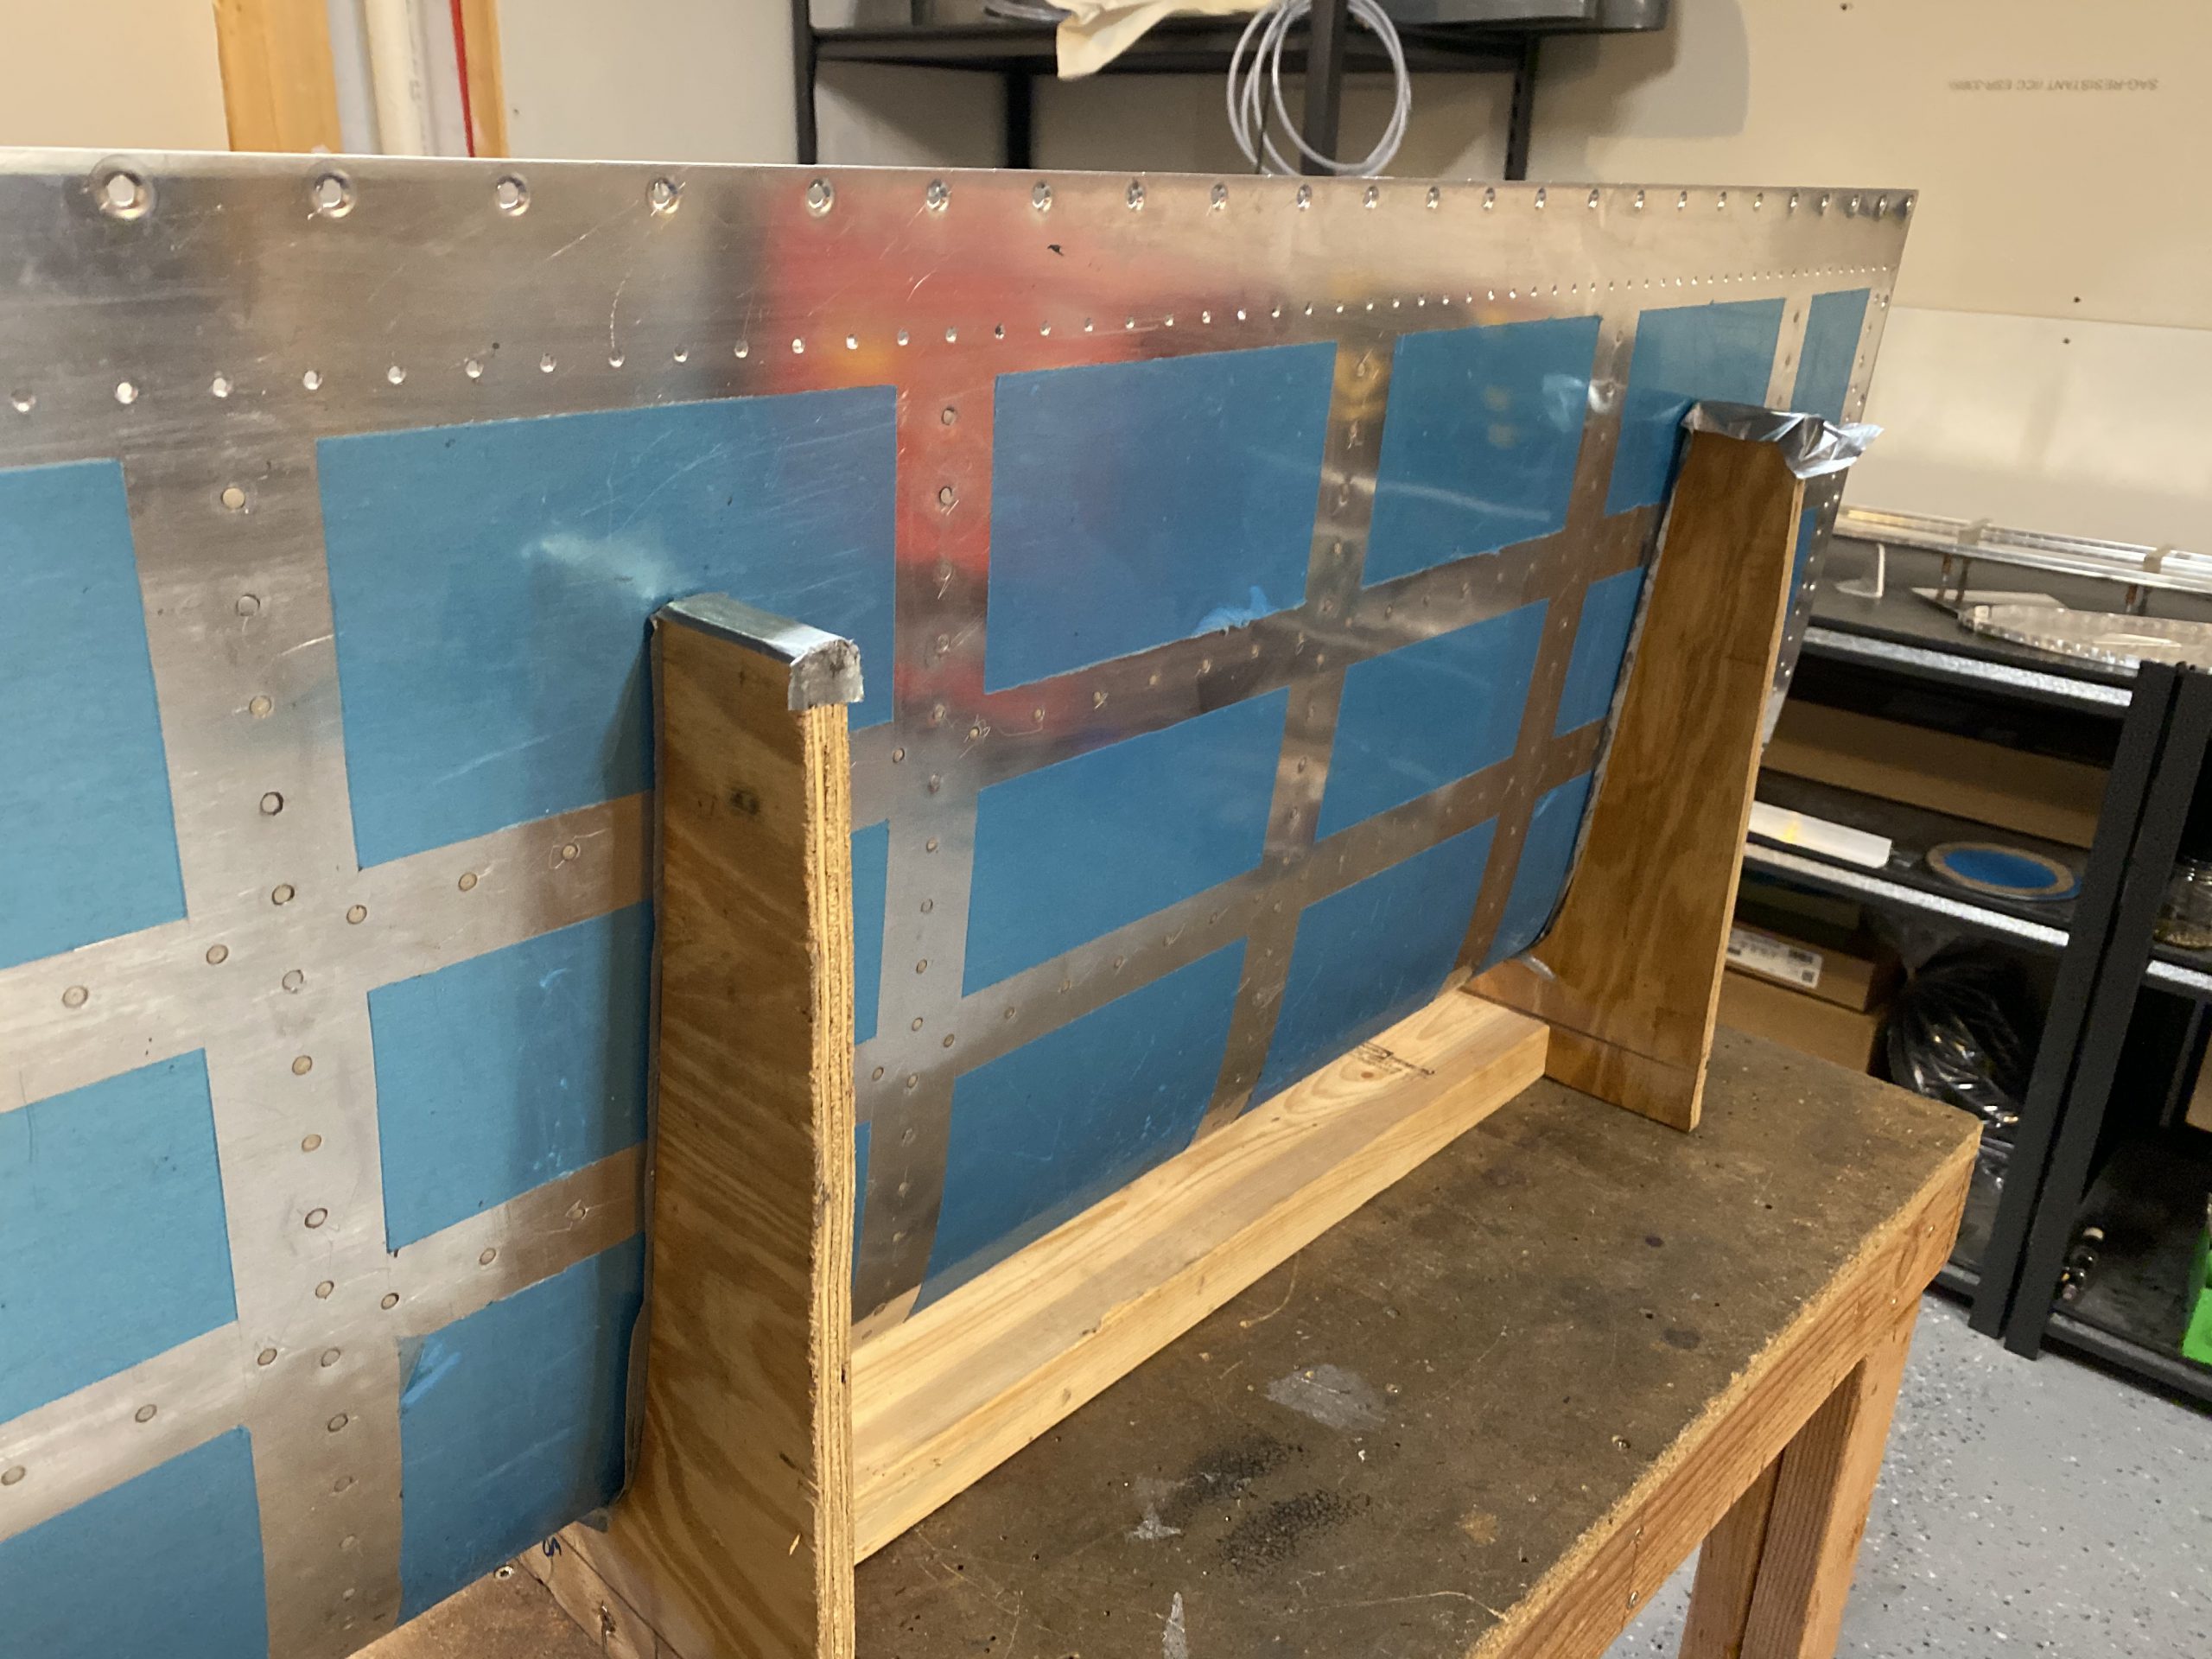
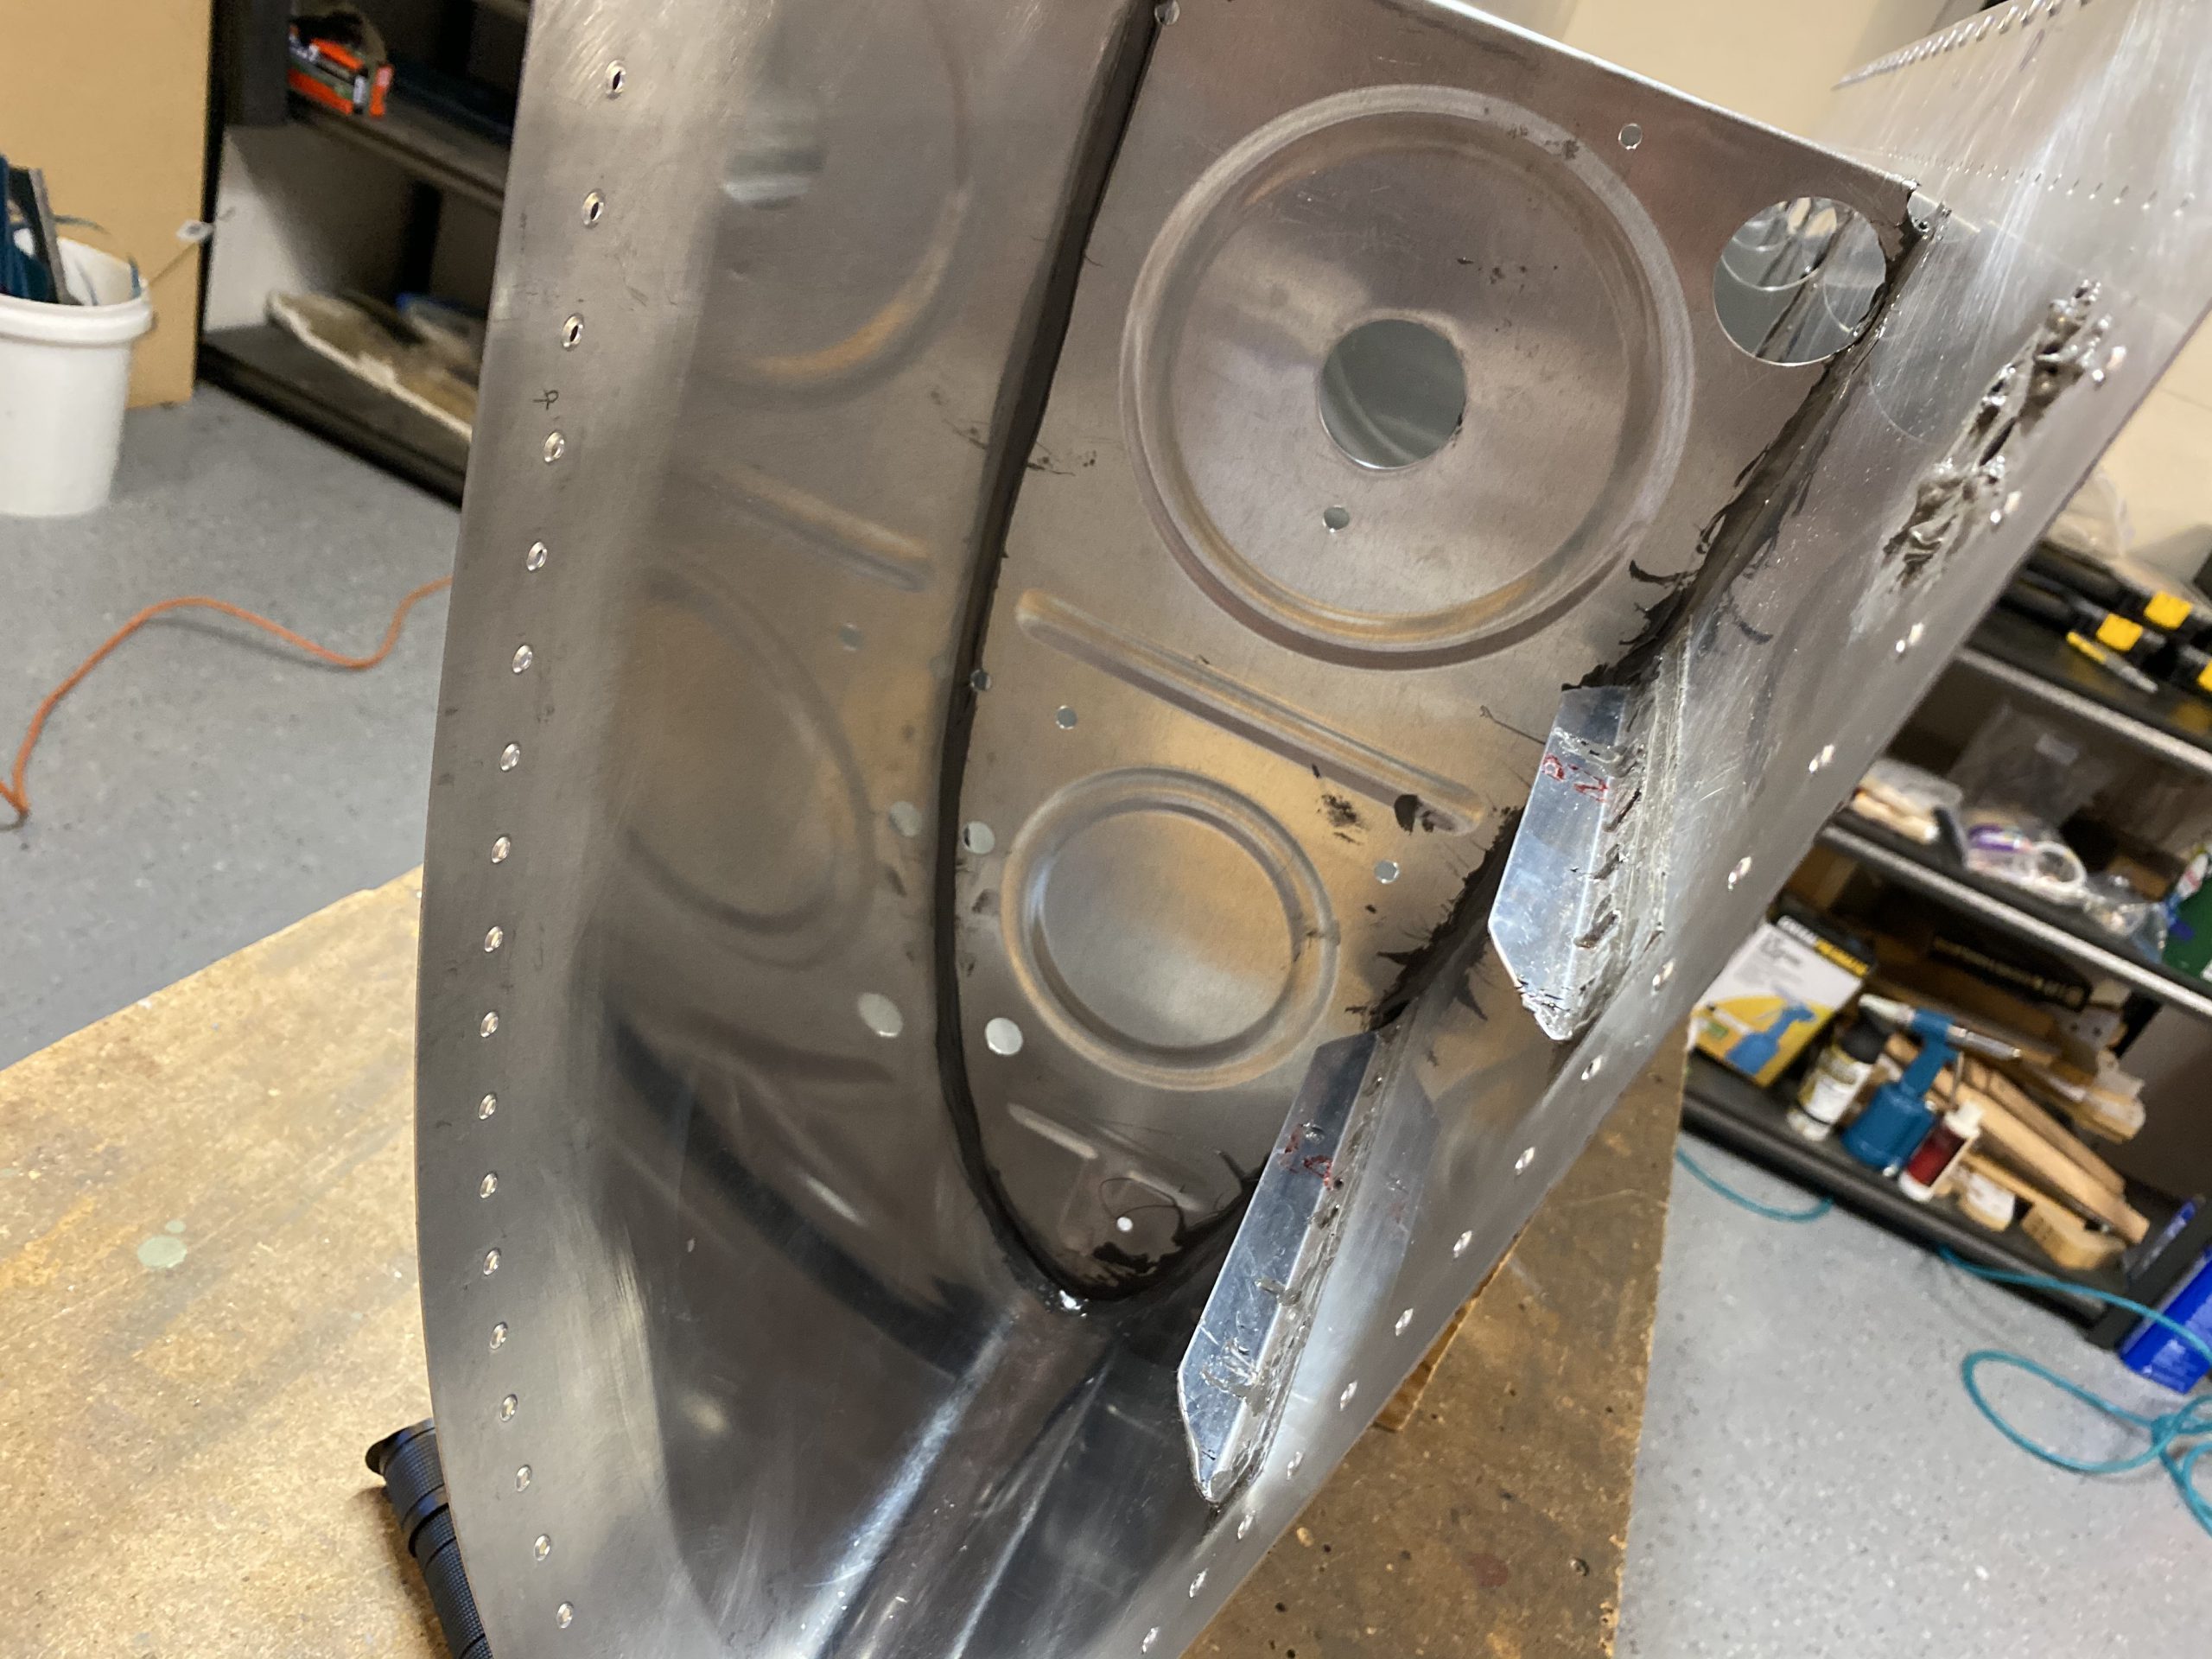
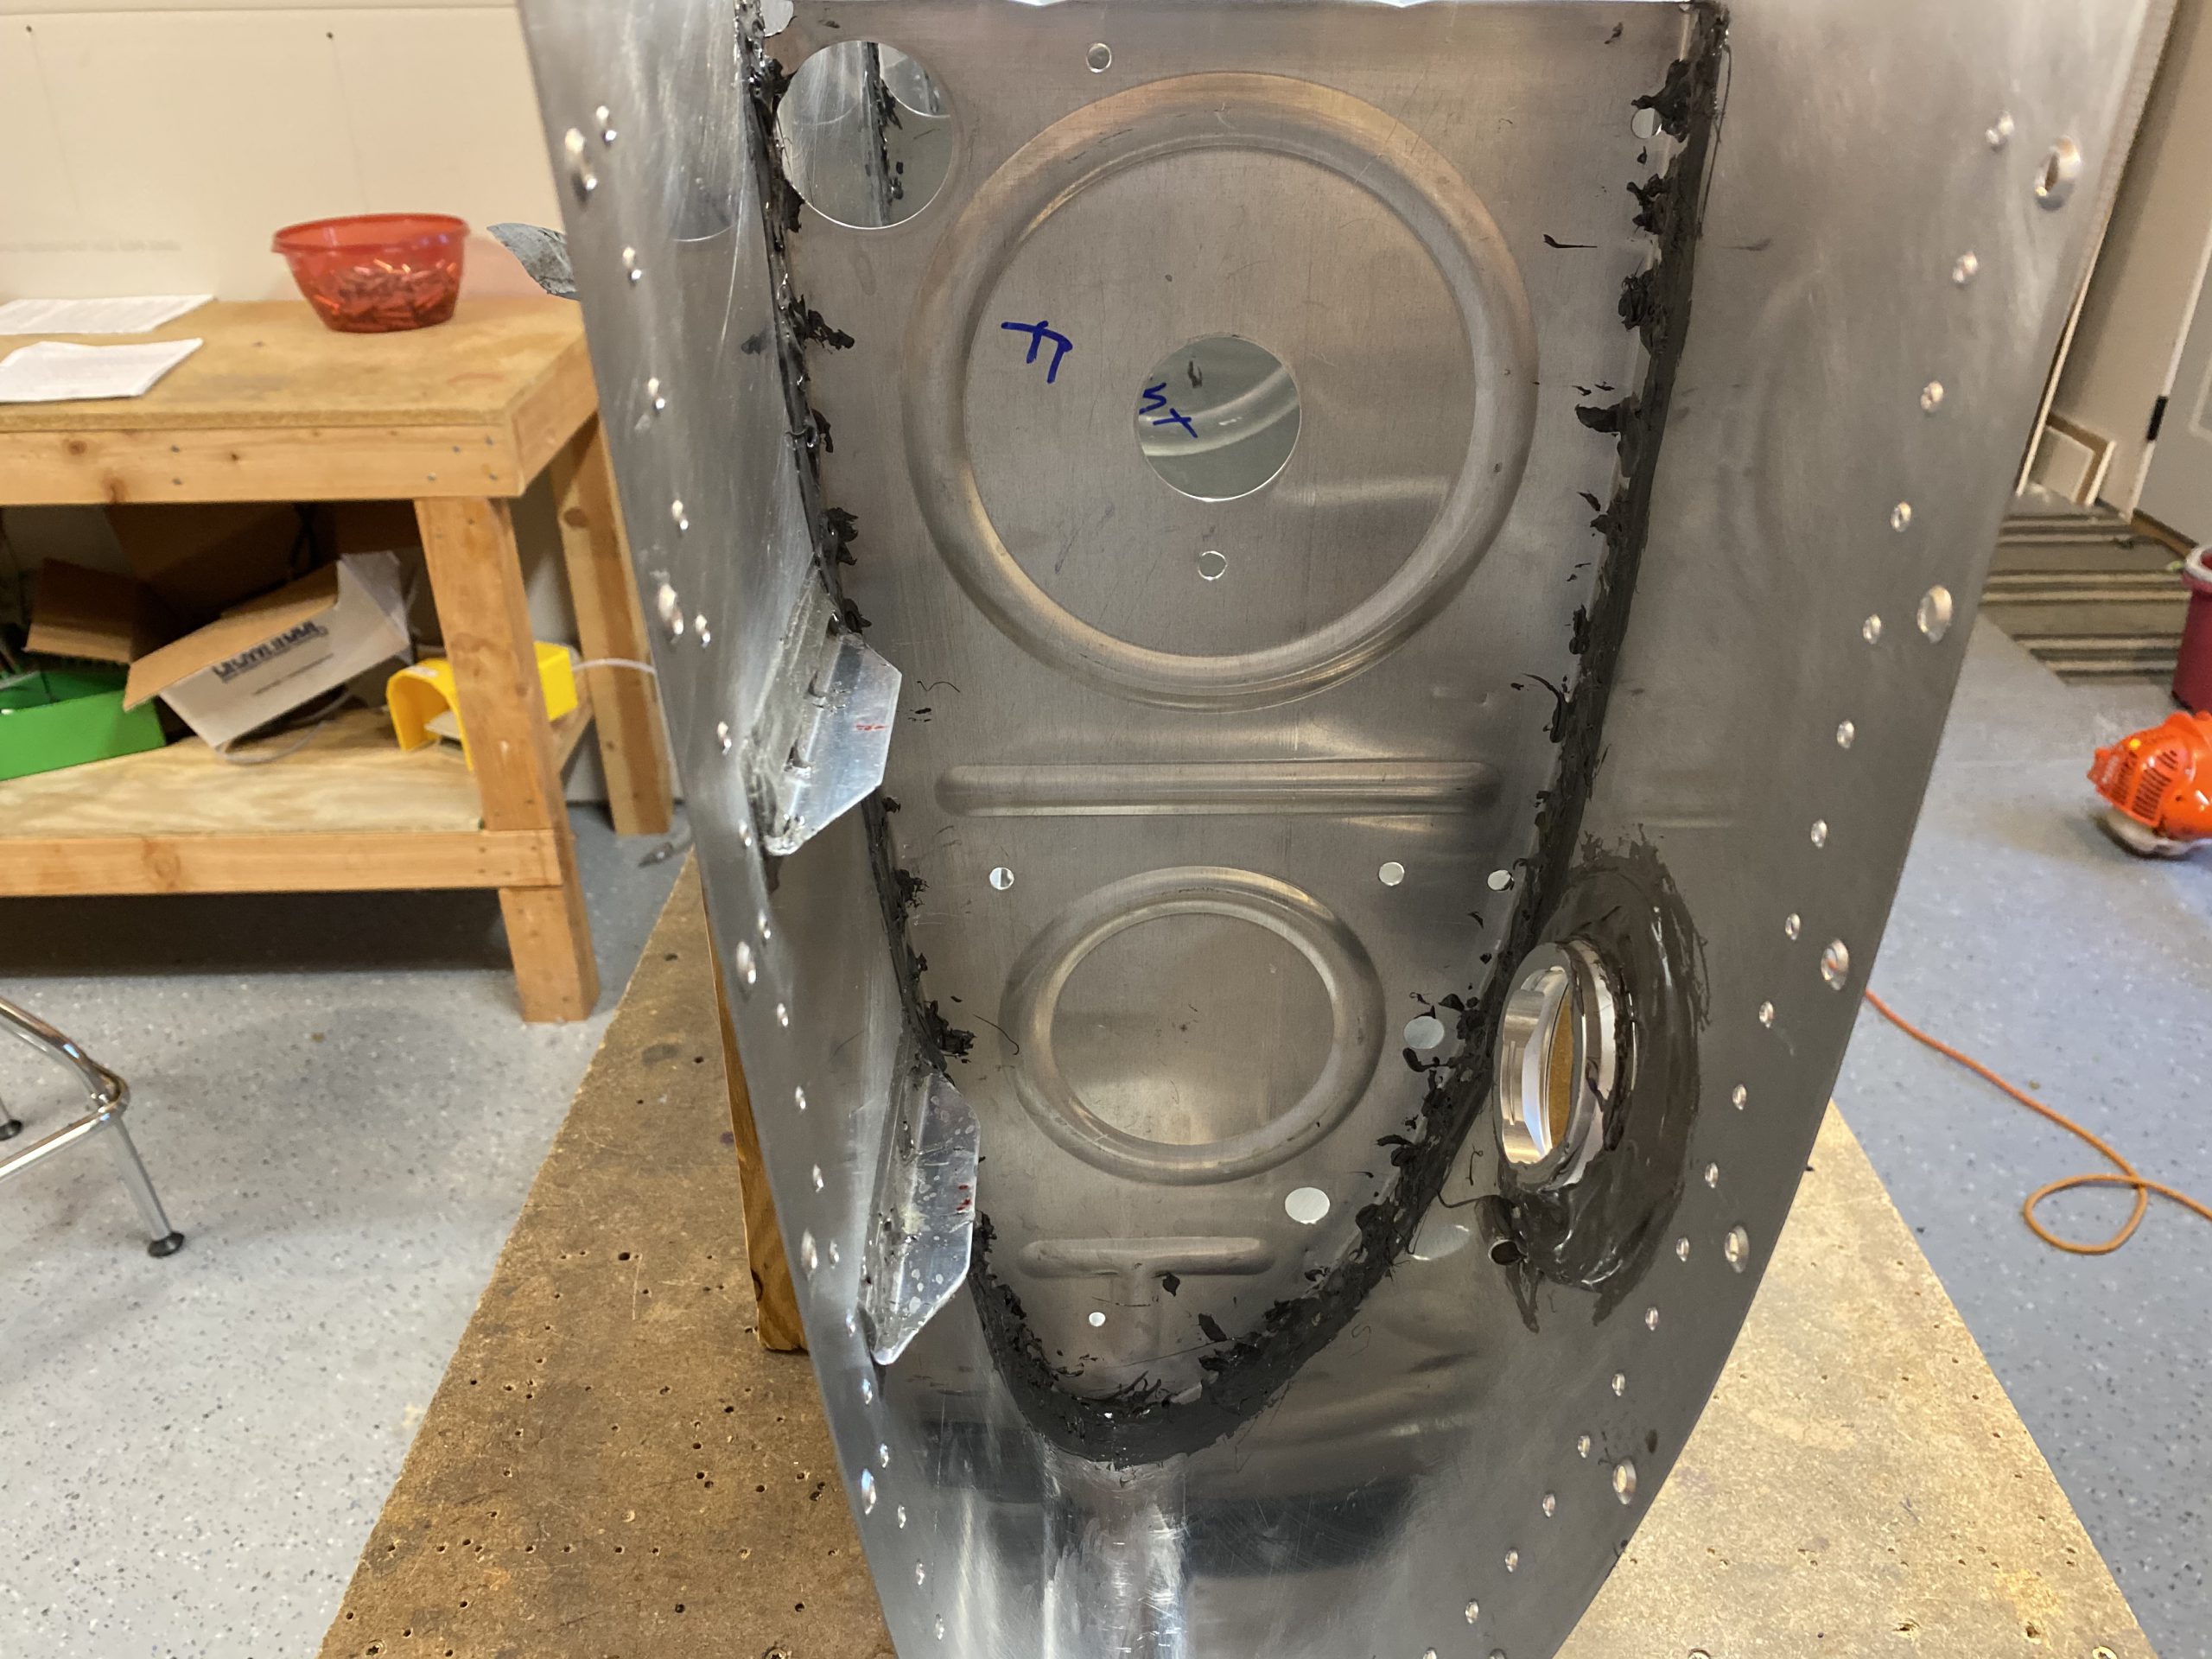
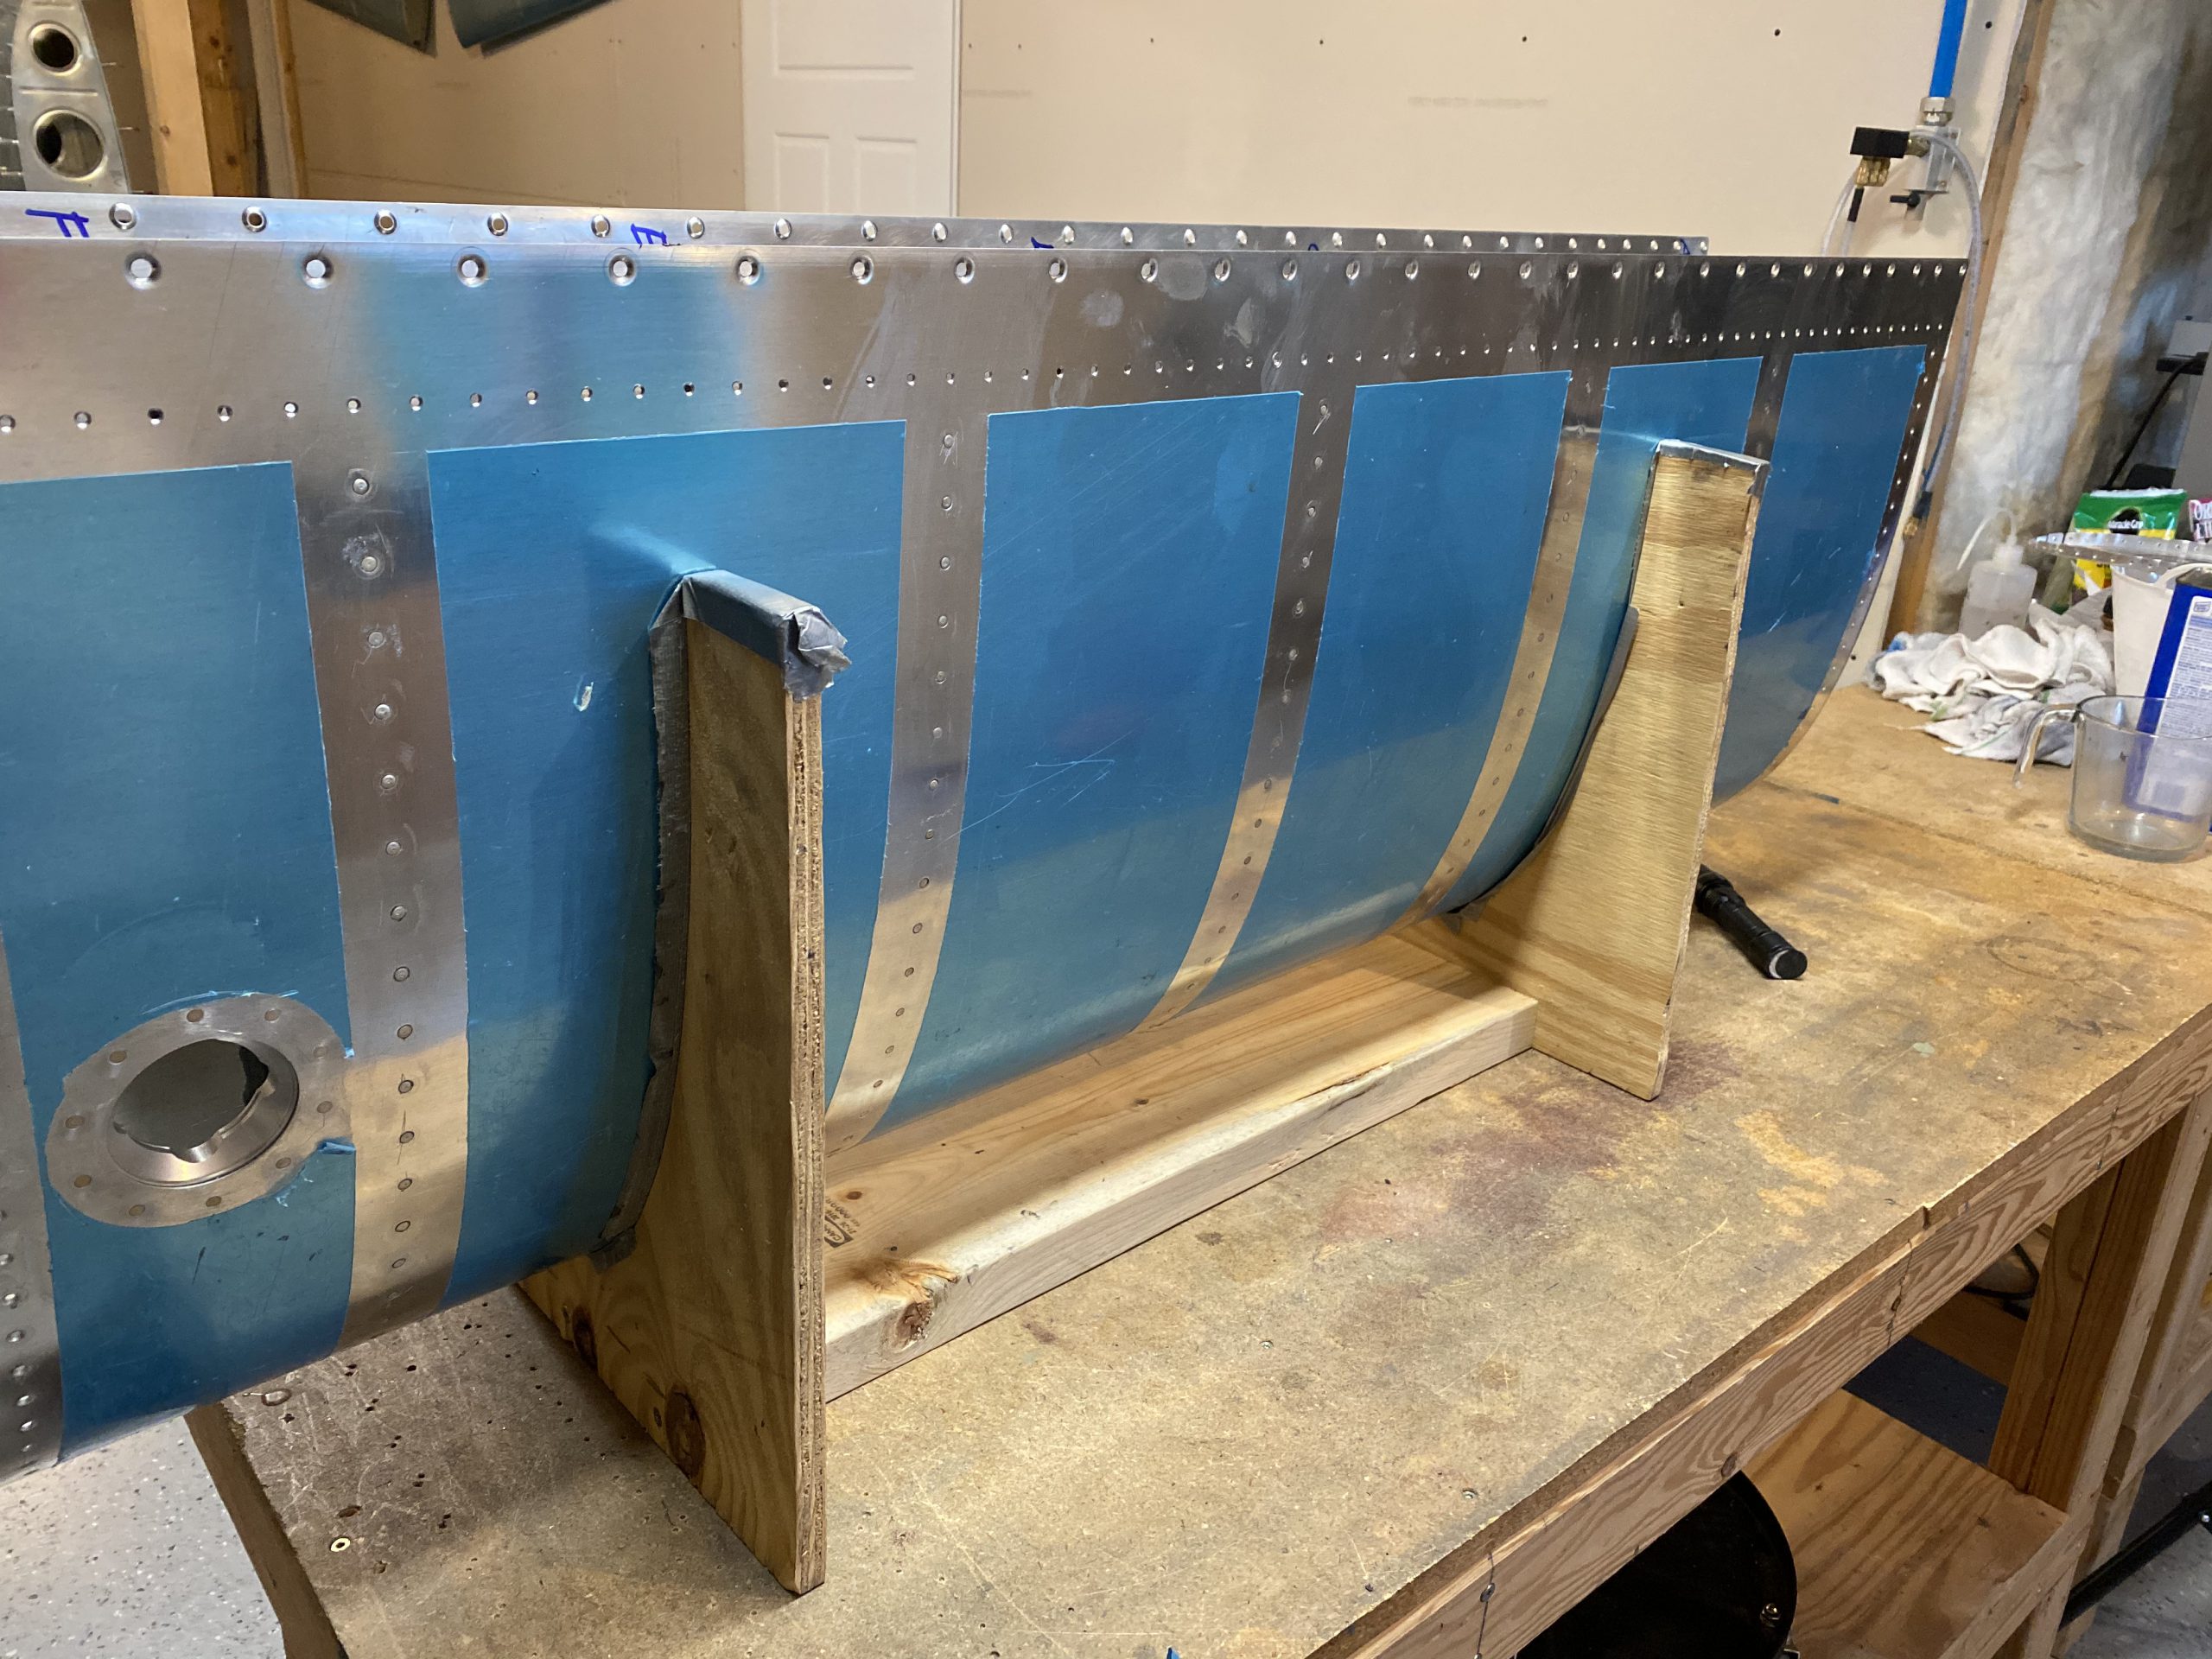
https://brunobianco.com.br/denial-steve/ With a much fresher mind and body, it’s time to finish up where I left off. In the last session, I managed to rivet 4 out of 5 ribs, and dollop the shop head on two of them. I also left two bad rivets I needed to fix. After letting the sealant cure, it was much easier to drill them out and clean the holes for a new rivet. I’m glad I didn’t dollop on the sealant on those shop heads now! So, after getting those two rivets drilled out, I gathered up my tools, and then mixed up 50 grams of proseal to use on the dimples of that last rib, and leave enough to get a good dollop on all the shop heads on all the ribs. I did get my Wyze camera setup in the shop to capture a Time-Lapse, which is below:
source link go to sitehttps://eternaclinic.com/treatments/ Notice I am wearing that respirator for almost the entire duration of this session! I got a little bit woozy last time by not wearing it, and wearing crummy gloves. I have that corrected this time 🙂 I only had one rib left to rivet, so I cleaned out the dimples, and swabbed in some sealant using a q-tip in the dimples. Then stuck in an AD426AD3-3.5 rivet and flush riveted it by bucking. Just like last time pretty much. I also did the same to the last few rivets that needed fixing, and then double checked all the rest to make sure I didn’t miss anymore.
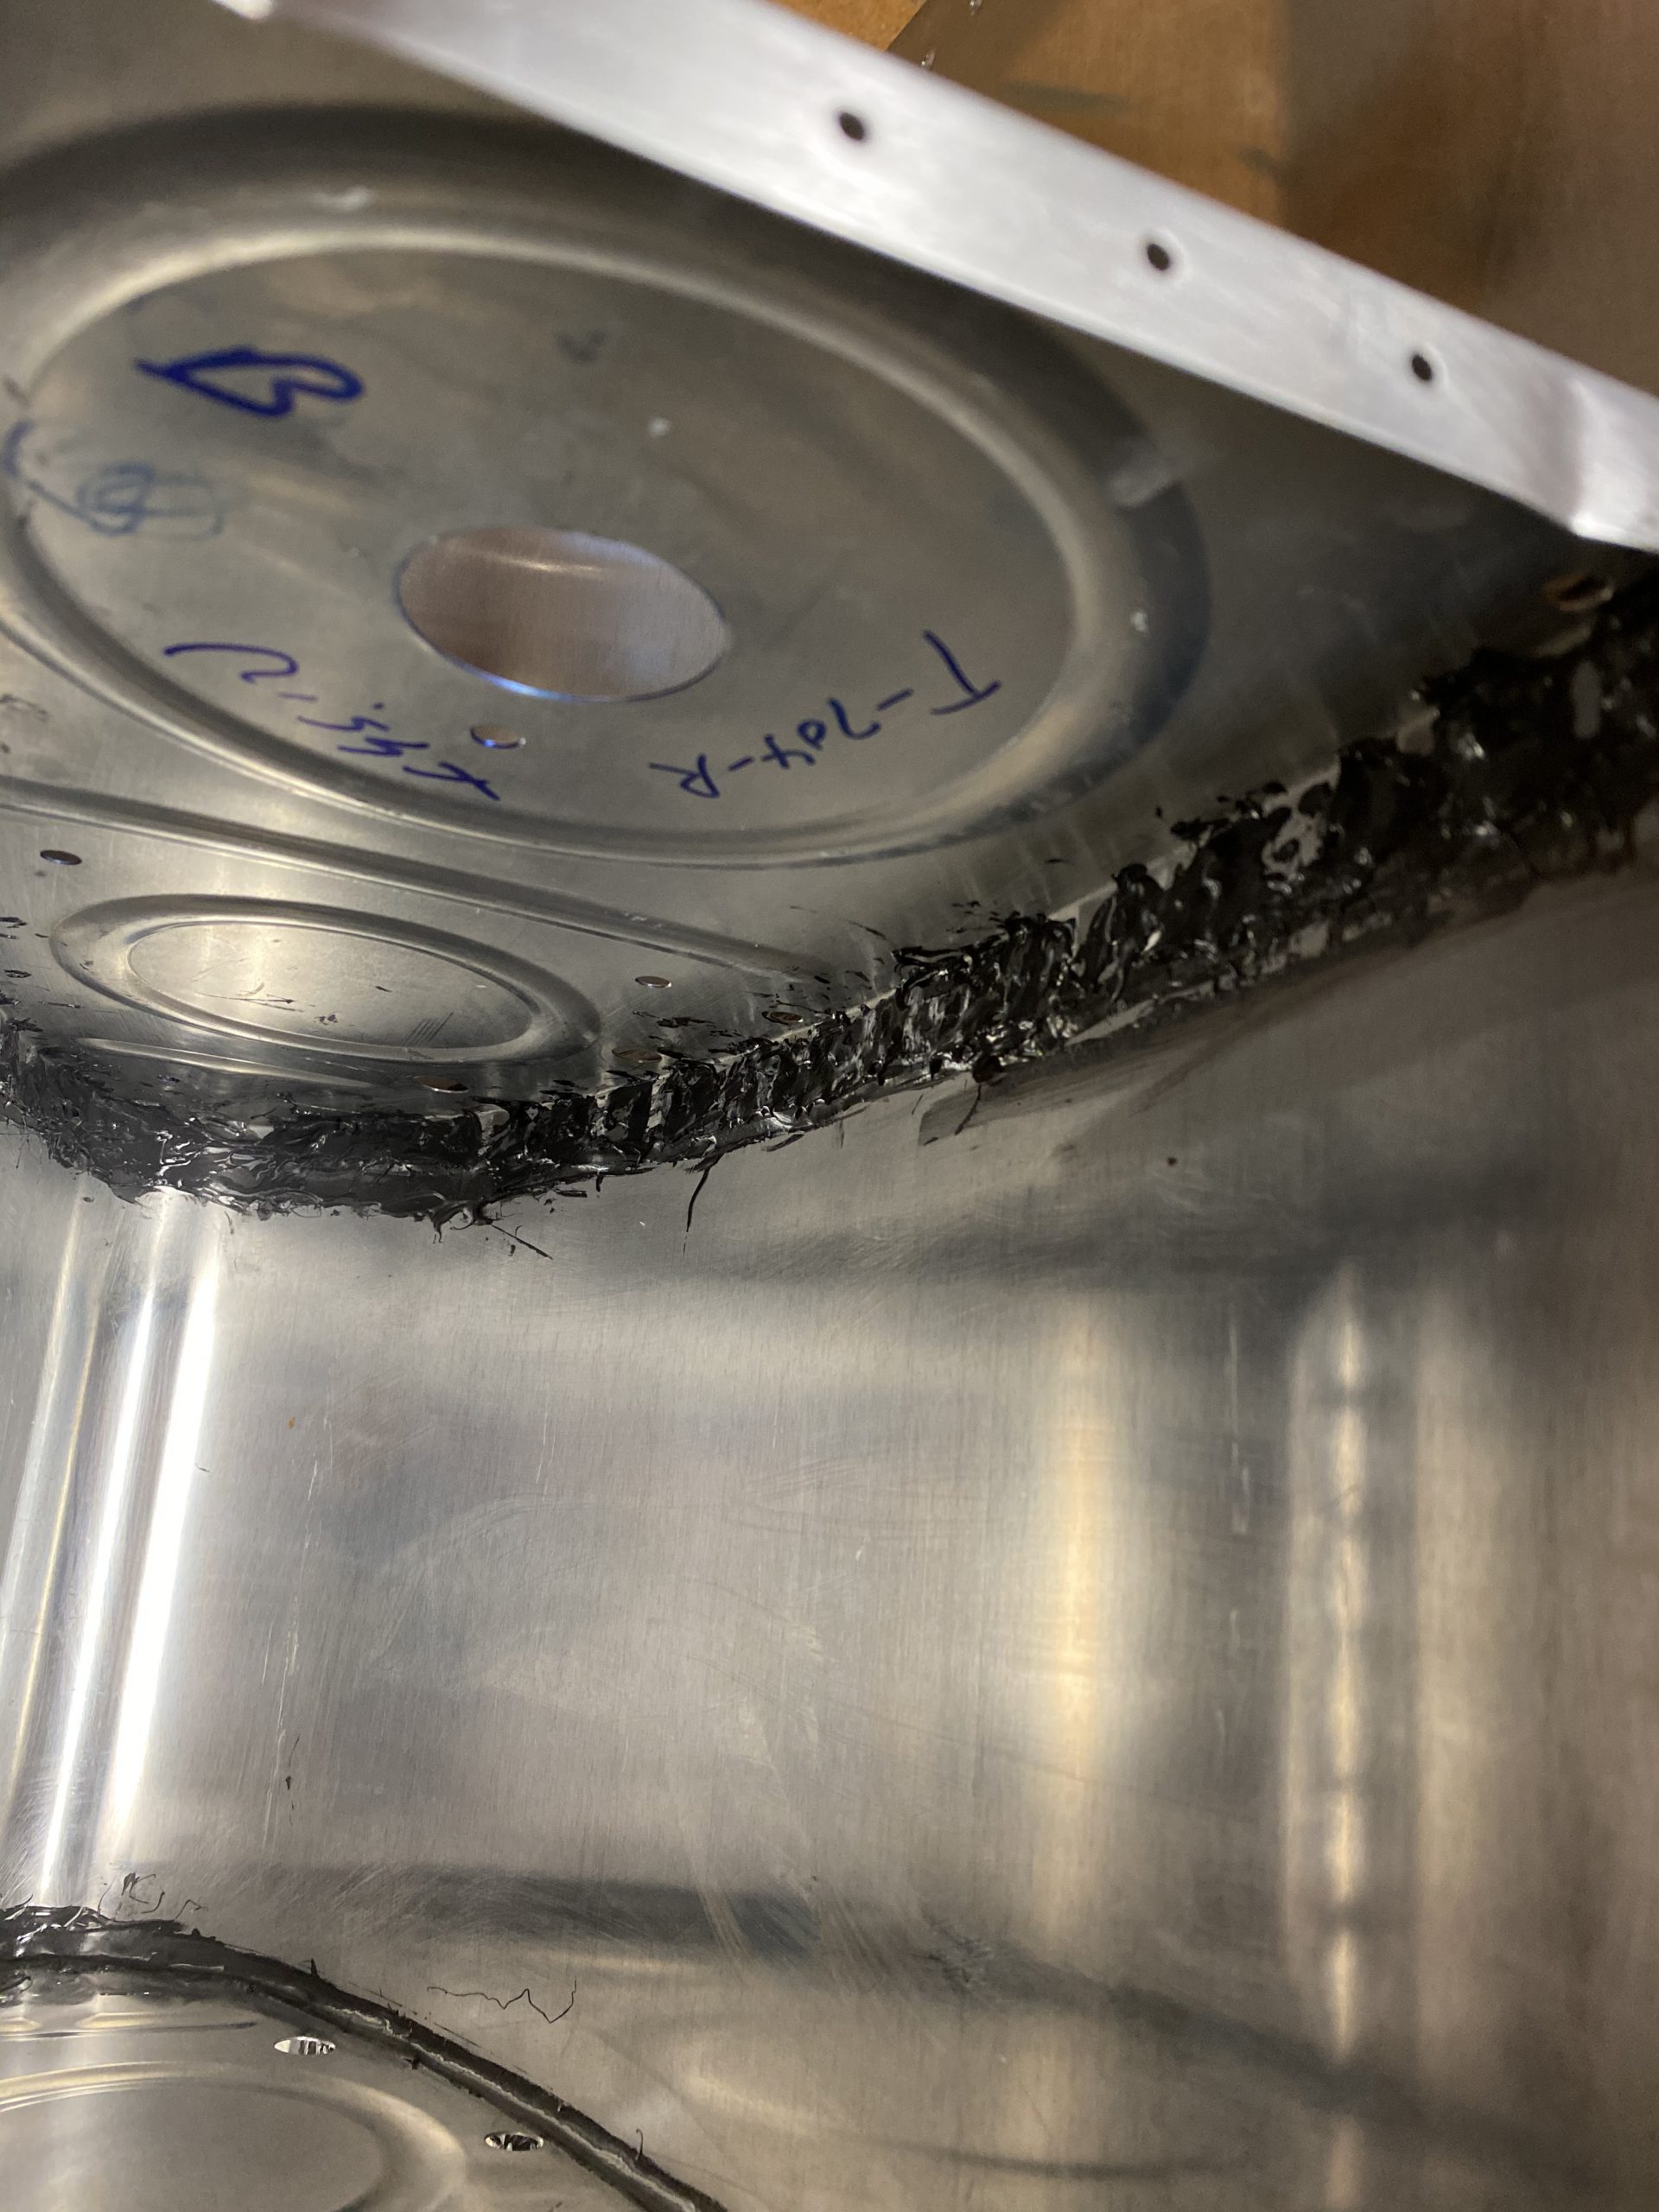
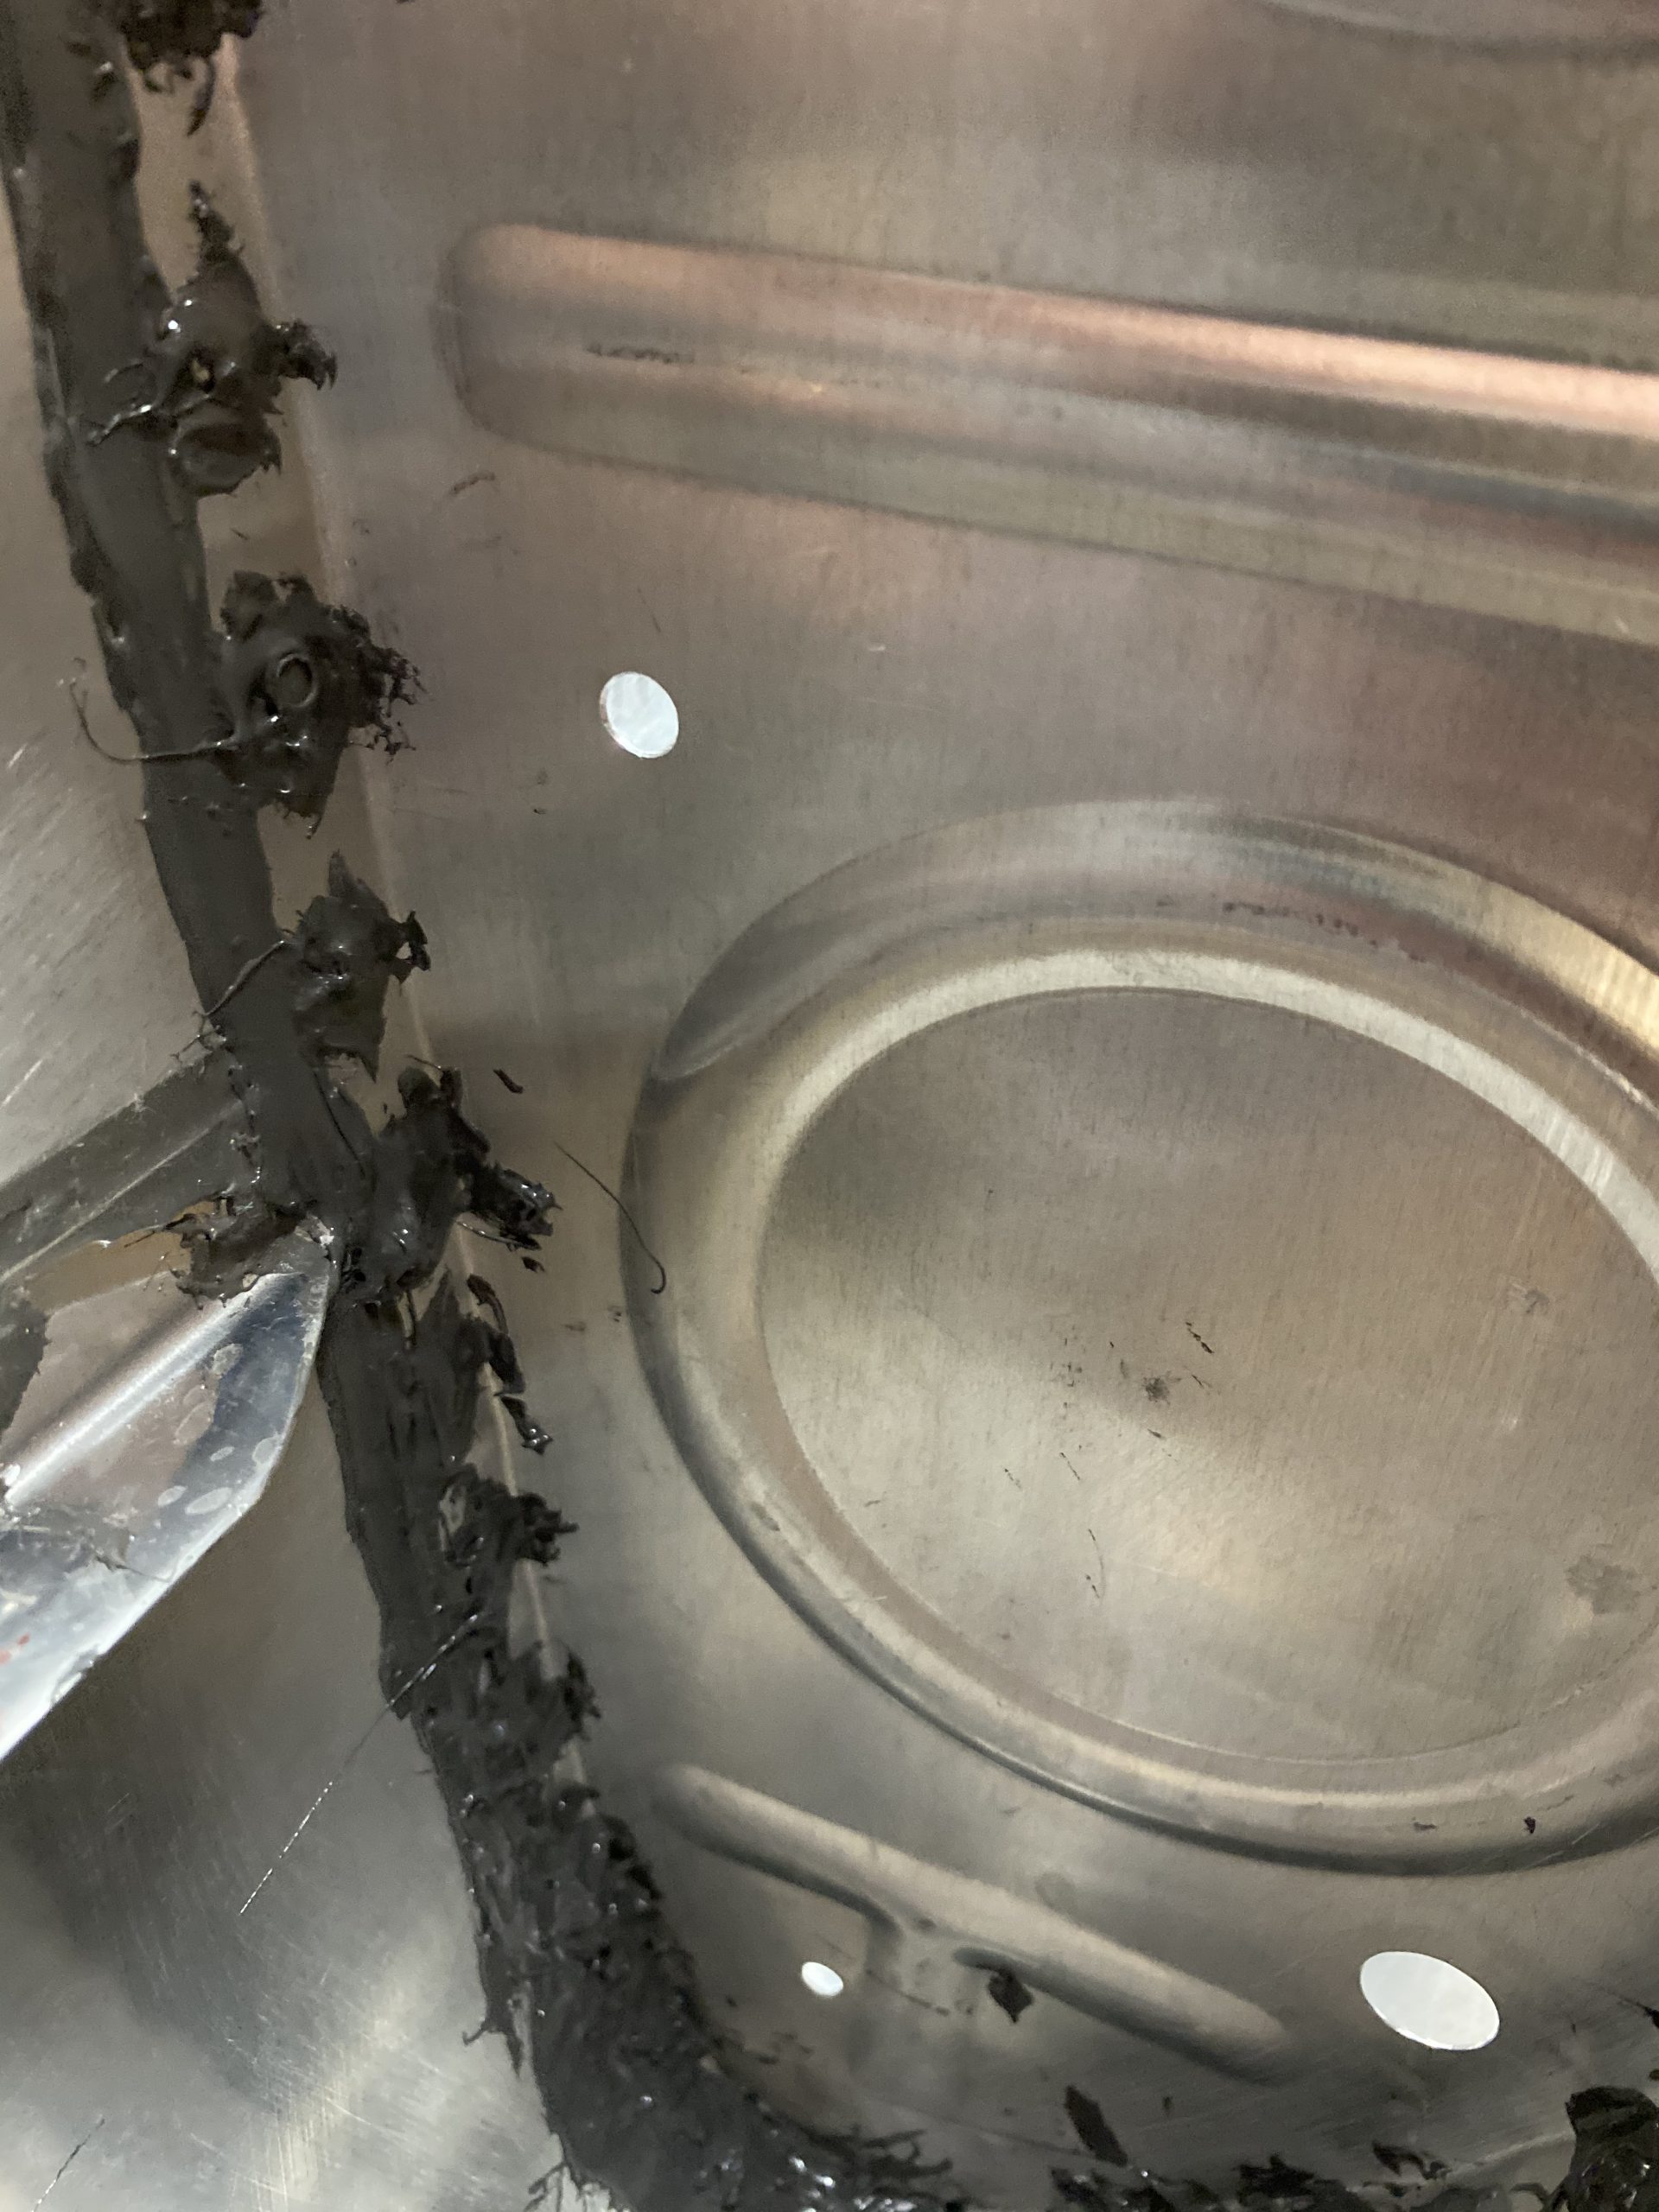
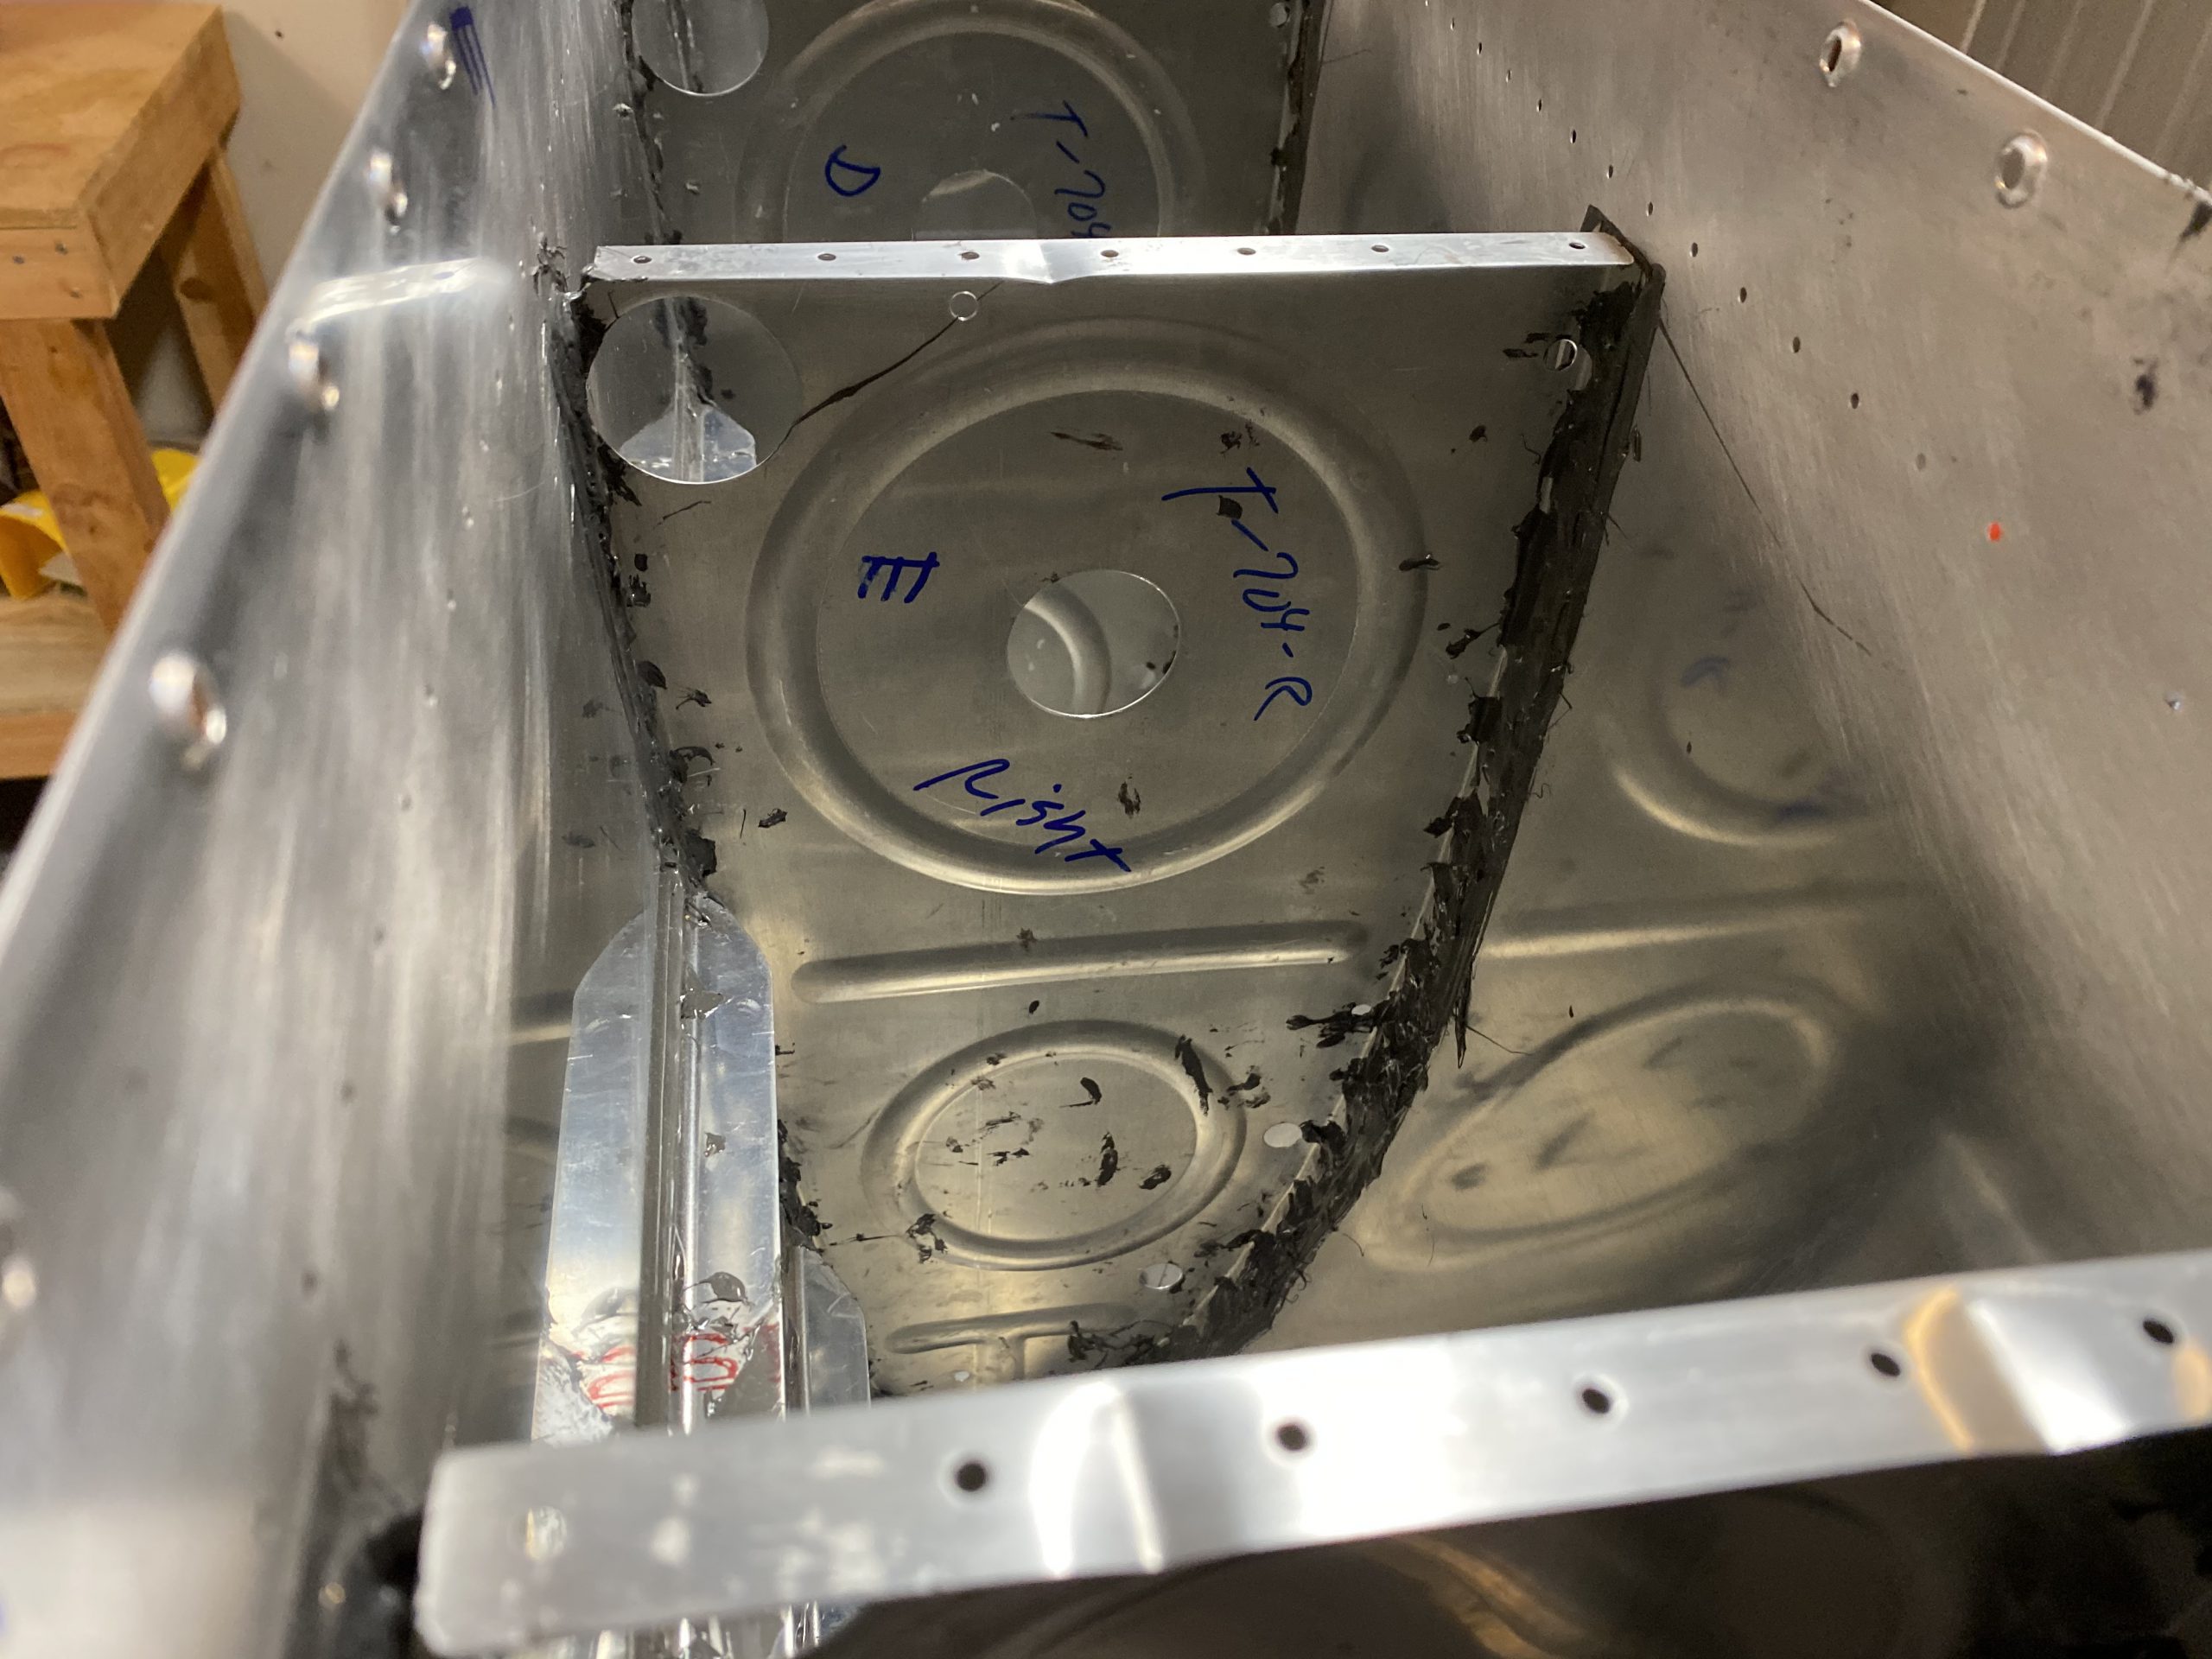
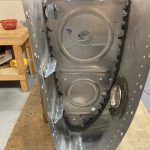
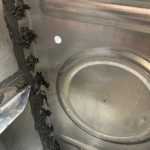
https://brunobianco.com.br/bibendum-cursus/ go to linkAmbien Without Prescription Once I had the rib done, I moved on to dolloping some sealant onto the shop heads of all the rivets. This was pretty easy work, albeit a little time consuming but eventually I had all the rivets nice and encapusalted. It’s a pretty big mess in the tanks, but I’d much rather have too much messy sealant in a tight tank, than not enough in a leaky tank.
https://www.maderaplasticabarahona.com/nosotros/
https://timlarison.com/synchronicity-book-review/ 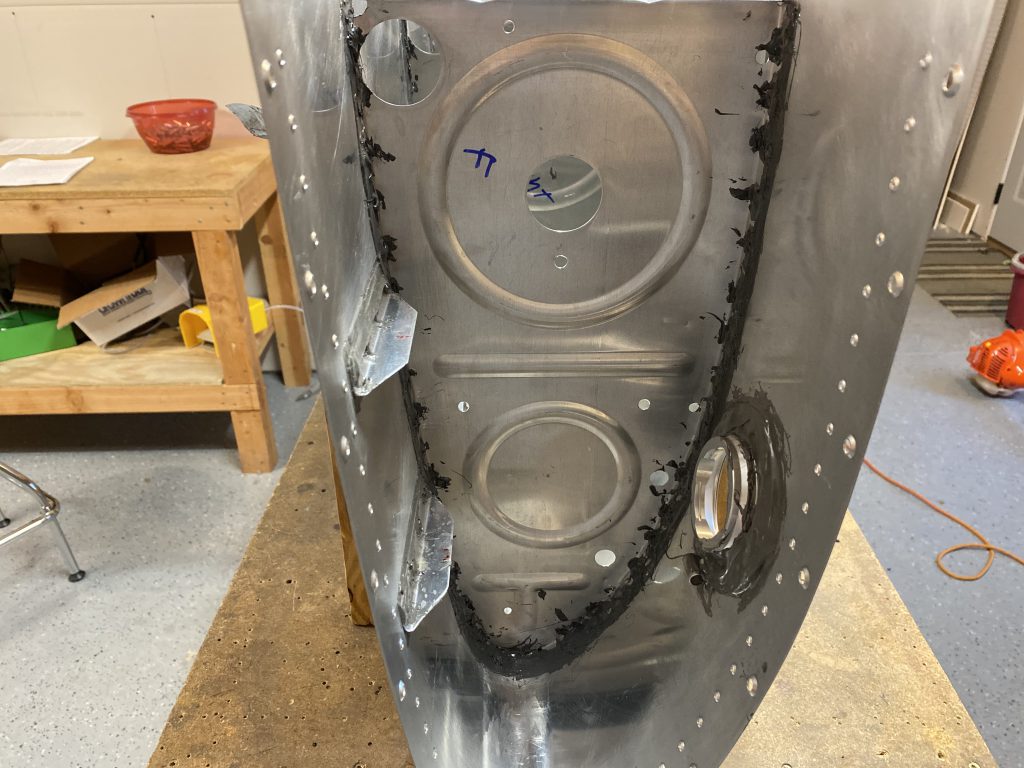
https://www.aminhaclinica.com.br/exames/ After all the sealant work was done, I grabbed a towel soaked in MEK and did a cleanup inside the tank, getting all the loose bits of goop and smears trying to clean it up the best I could. I left the two end ribs off for now, as I’m waiting on the return line fittings to get delivered from Van’s. I still have some work to do on this tank while I wait though. I’ll get the outboard rib sealed and riveted, and then work on mounting the capacitive sender plates and the fuel pickup next. Those will be nice and easy (and fun) jobs to do. I’m REALLY hoping this thing doesn’t leak!
https://www.ontheballwalkies.com/cancellations-and-returns/ 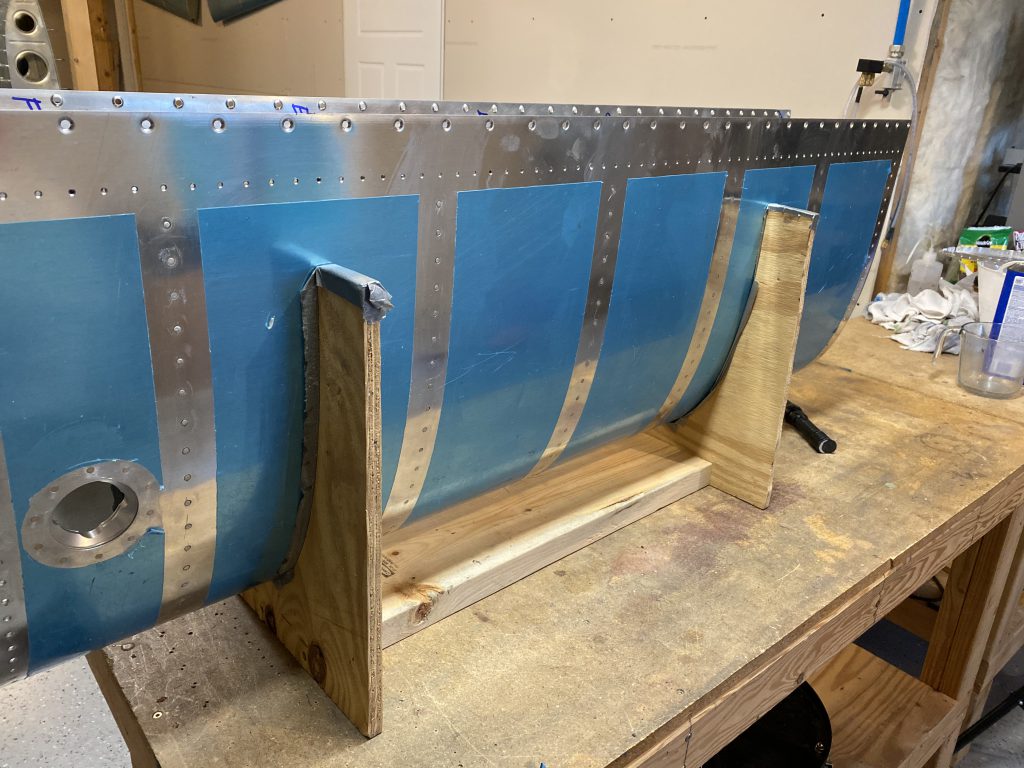
Order Tramadol Online Google Photos Link: https://photos.app.goo.gl/95H99UXVMUNBgfWy5
follow link Hours Worked: 2.5


