Closing and Finishing the Horizontal Stabilizer

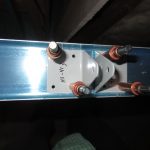
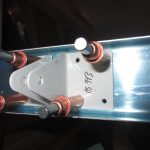
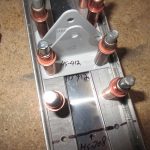
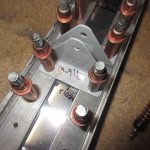
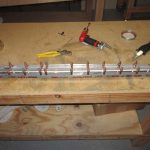
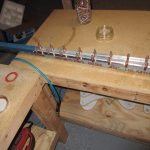
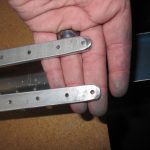
Xanax Online No Rx Since I have had my horizontal stabilizer inspected and approved, I am ready to close it up and finish it! I started tonights session by re-clecoing the front spar onto the horizontal stabilizer.  I had removed it so the inspector could get a good look inside and check my work. … Continue reading

Buy Zolpidem Without Prescription

Assembling and Riveting the Vertical Stabilizer

https://enclavedeportivo.com/sgis/cagynyk/ Tonight I worked about 4 hours and completed the Vertical Stabilizer, except for the rear spar, which I am leaving off until the EAA Tech Counselor can come by and take a look at my work.  This will give them access to view and check my riveting and assemblies.  Once … Continue reading

Buy Zopiclone Tablets Online

Riveting the Horizontal Stabilizer

here I spent about 3.5 hours on riveting the horizontal stabilizer, and ended up getting the left side completed, and ready for the rear spar.  I also got a start on the right side and have it ready for final riveting. First off I riveted the HS-706 to the front spar … Continue reading

follow url

Riveting the Left Horizontal Stabilizer

Buy Tramadol Overnight Delivery Tonight started off by riveting the HS-00005 and HS-00006 ribs to the HS-702 front spar.  I was able to use my squeezer to set these rivets, but only just barely! I had to do some finagling around the front spar support bars, especially the larger HS-714 to get the squeezer … Continue reading

Front Spar Riveting

Buy Xanax Xr My torque wrench hasn’t shown up yet, so I wasn’t able to finish up the last steps on the rear spar.  I decided to continue on to the front spar and return to the rear once I get my wrench and can torque those 4 last bolts to the proper specs.  The next step in the plans is to rivet the front spar assembly.

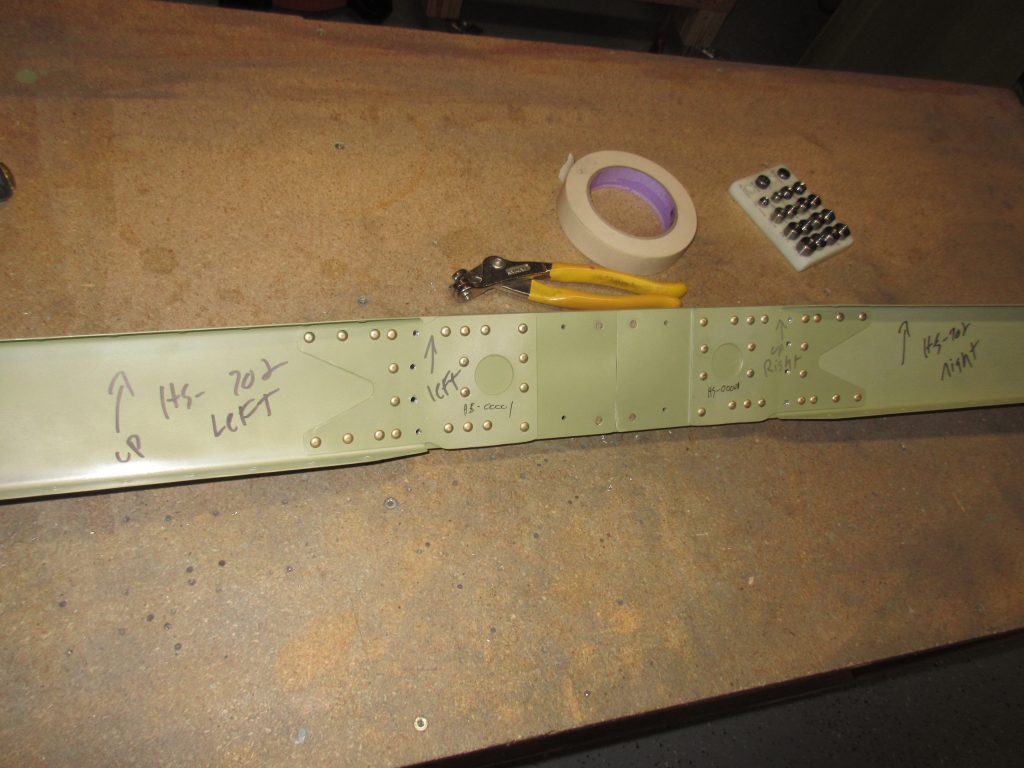
Buy Xanax Pills Online I started out by clecoing HS-710, HS-714, and HS-00001 onto the HS-702 front spar, so I could make sure everything lines up correctly before riveting. img_0735
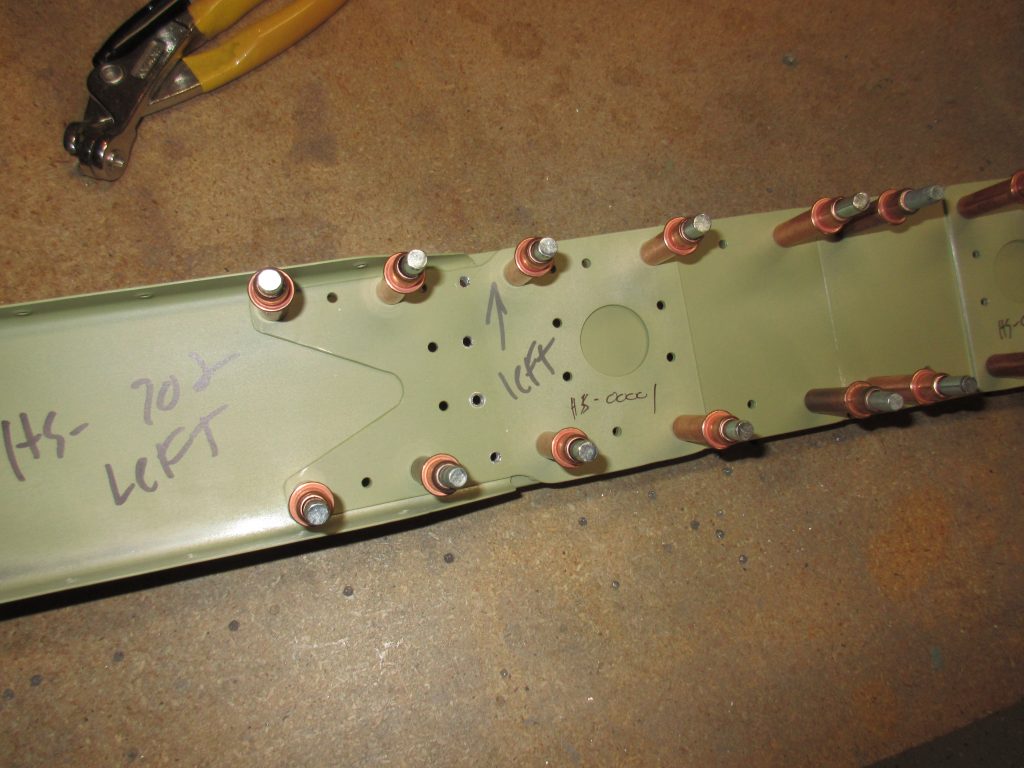
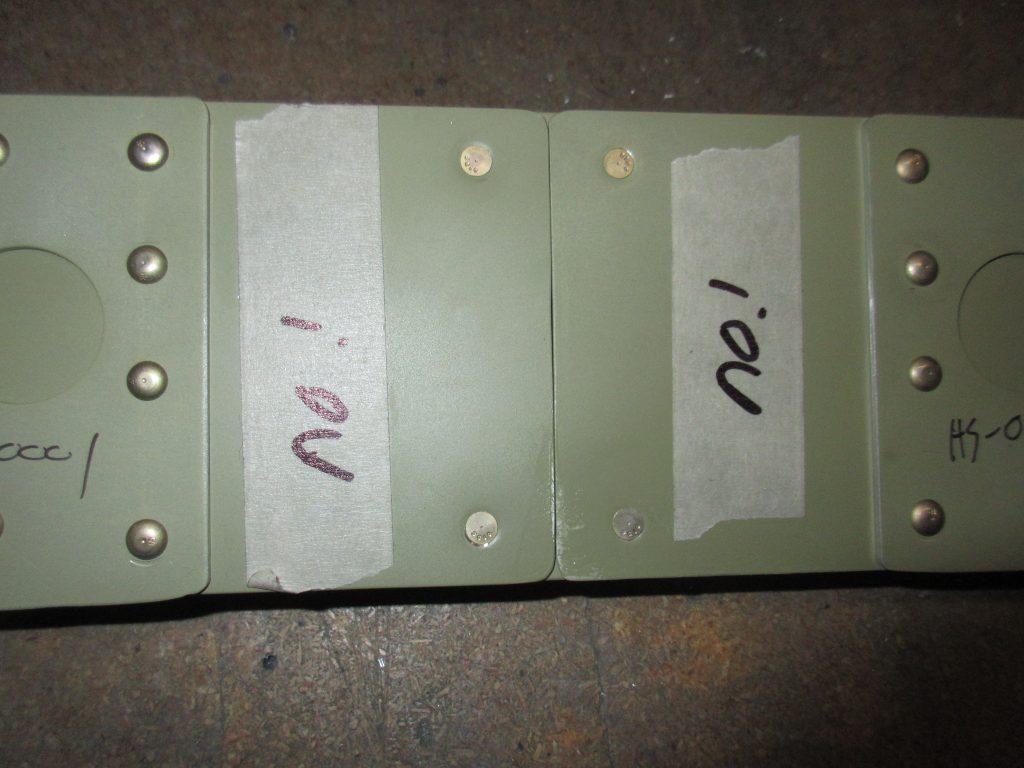
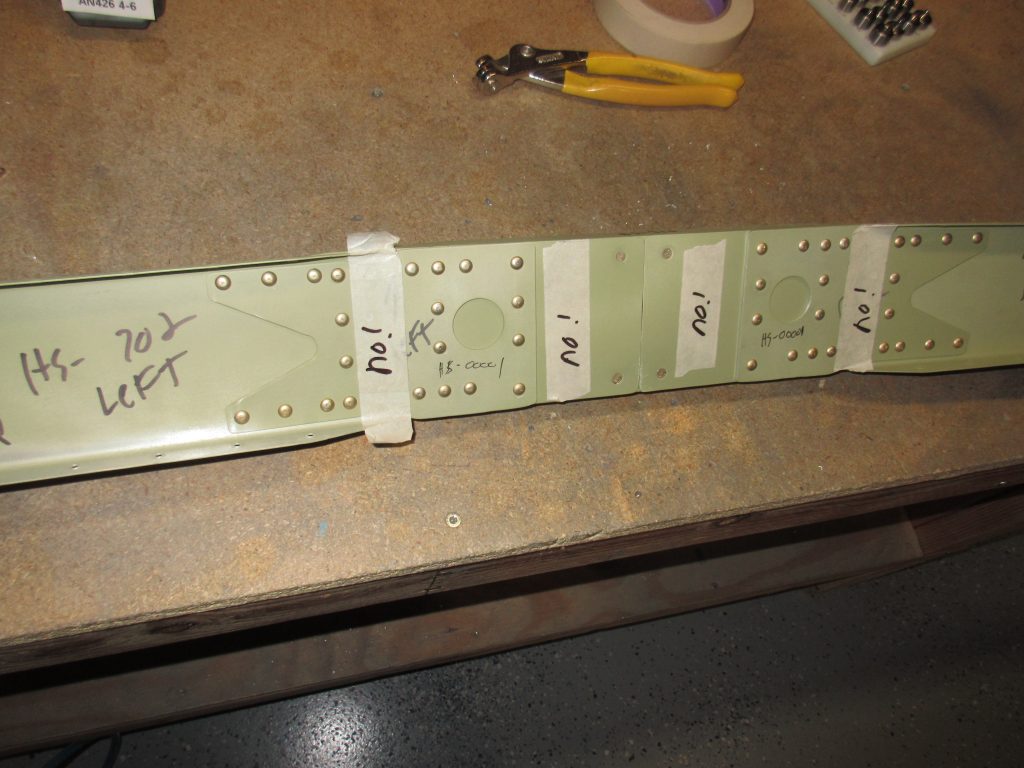
Zolpidem Tartrate Buy Online The plans call for a AN470AD4-7 rivet where the HS-710 and HS-714 go together with the HS-702 front spar and the HS-00001 doubler plate.  There are also a few location where you do not want to rivet, because the HS-000005 and HS-00006 ribs will attach later, as well as the holes that will be drilled later when the tail is attached to the fuselage.   To keep myself from sticking a rivet in those holes, I covered them with masking tape. The only photo I have of my masking tape is from AFTER driving the rivet.

see url img_0739

Tramadol For Sale I used my squeezer to drive all these rivets which made it super easy to get them correct.  Once I drove all the longer -7 rivets, I moved on to drive the shorter AN470AD4-5 rivets where the HS-00001 doubler plate attaches to the HS-702 spar.  These are shorter because they don’t have to go through the thick spar reinforcement bars.  You can see the two rows of these rivets in the middle of the spar in the photo above.

Price Of Tramadol 100Mg The next step was to rivet the 4 flush head rivets into the HS-702 to HS-710 / HS-714 reinforcement bars.  I had previously countersunk the bars, and dimpled the spar, so these 4 were easy to set with the squeezer.

https://actambulette.com/cgibin/wyjapyliq/ img_0742

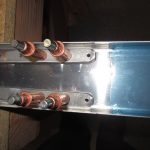
click here After squeezing those last 4 flush head rivets, my front spar assembly was completed.  I am pretty happy with the way it came out. I didn’t have to drill out any rivets, and I made sure they were all set correctly by measuring each and every one with the rivet gauge.  This is how it looked once it was all done and completed.  I removed the masking tape since it’s not going to be needed anymore.

Buy Tramadol Without Prescription Online img_0747

https://enclavedeportivo.com/sgis/dububiv/  

Cheap Xanax Here is a link to all the photos I took for this work session: https://goo.gl/photos/Swd5BBf6HfW5jP2h9

Hours Worked: 2.5

Drilling the Horizontal Stabilizer

https://riseupindustries.org/night/dawufoga/ Today was a good day on the project, with lots of progress being made, and ultimately a flying surface assembled. Tonights work began with going back a few steps in the plans to assemble the HS-00001 doubler plate to the front spar. I measured out where the edges should be … Continue reading

Front Spar Complete

Get Xanax Script Online After reading over the plans and instructions last night I decided to get to work today with a clear mind. I completed the Front Spar Assembly section of the empennage section with the exception of deburring, dimpling and priming. I am going to combine as many of the parts as … Continue reading

Front Spar Assembly

follow link Today I started the “Front Spar Assembly” of the tail kit. After feeling good about the rear spar, I figured this would be just as easy. That wasn’t the case. I spent much of my time just looking at the planes and holding parts together to visualize what was needing … Continue reading

The Journey begins!

https://www.leicesterstartups.com/pics1/myxyrif/ Like every journey starting with the first footstep, I started my journey on the rear spar, like so many others who have gone this way before me.

get link I worked a solid 2.5 hours tonight. I didn’t want to push myself to do to much in my first session, and really wanted to just dig in and start cleco-ing stuff together to help motivate me.

Buy Xanax Online Tonight I completed all the steps for the “Rear Spar” section of the first page on the plans. I found that using my bench grinder with a course wheel made quick work of the thick HS-609PP reinforcement bars. I had to break the edges and then taper the ends off. I rough outlines my shape with a sharpie and used the course wheel to work the metal down to the marks. Once i was happy with the rough shape, I used my file and the scotchbrite wheel to smooth the edges. I really like that scotchbrite wheel, its a great tool.

Buy Zolpidem 5Mg I am leaving the flat surfaces unfinished for right now, so I highlighted that step in my plans so i don’t miss it. I am going to prime the interior sections with AKZO, and I am going to try to consolidate all my priming so I will leave the surface as is, until priming day.

Buy Zopiclone 7.5 I made sure to mark that 8th hole on each side where HS-708 will attach so as to not rivet it by accident.

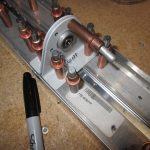
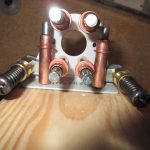
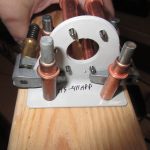
https://buyeragentsearch.com/simpler/qujigulu/ Then I moved on to building the HS-411PP bearing assembly. I actually picked up a good trick from George Ordorffs videos of drilling the VA-146 bearing assembly. I clamped HS-411APP and HS-411-BPP together u

follow url sing cleco clamps. The I clecod those two down to a 2×4 block. I used BPP as a drill guide for APP and clecod to stabilize as I worked my way round. Once it was done, I test fit VA-146 between them and it fit beautifully. Deburr’ed the holes, and then sprayed VA-146 with some rattle can self-etching primer after I gave it a good roughing and cleaning. I will let it sit overnight to dry before riveting this assembly together.

follow  

https://riseupindustries.org/night/noginiraz/ Here is a link to the photos from tonights work: https://goo.gl/photos/Pk6pCY4hnbneTEA17

Hours Worked: 2.5