


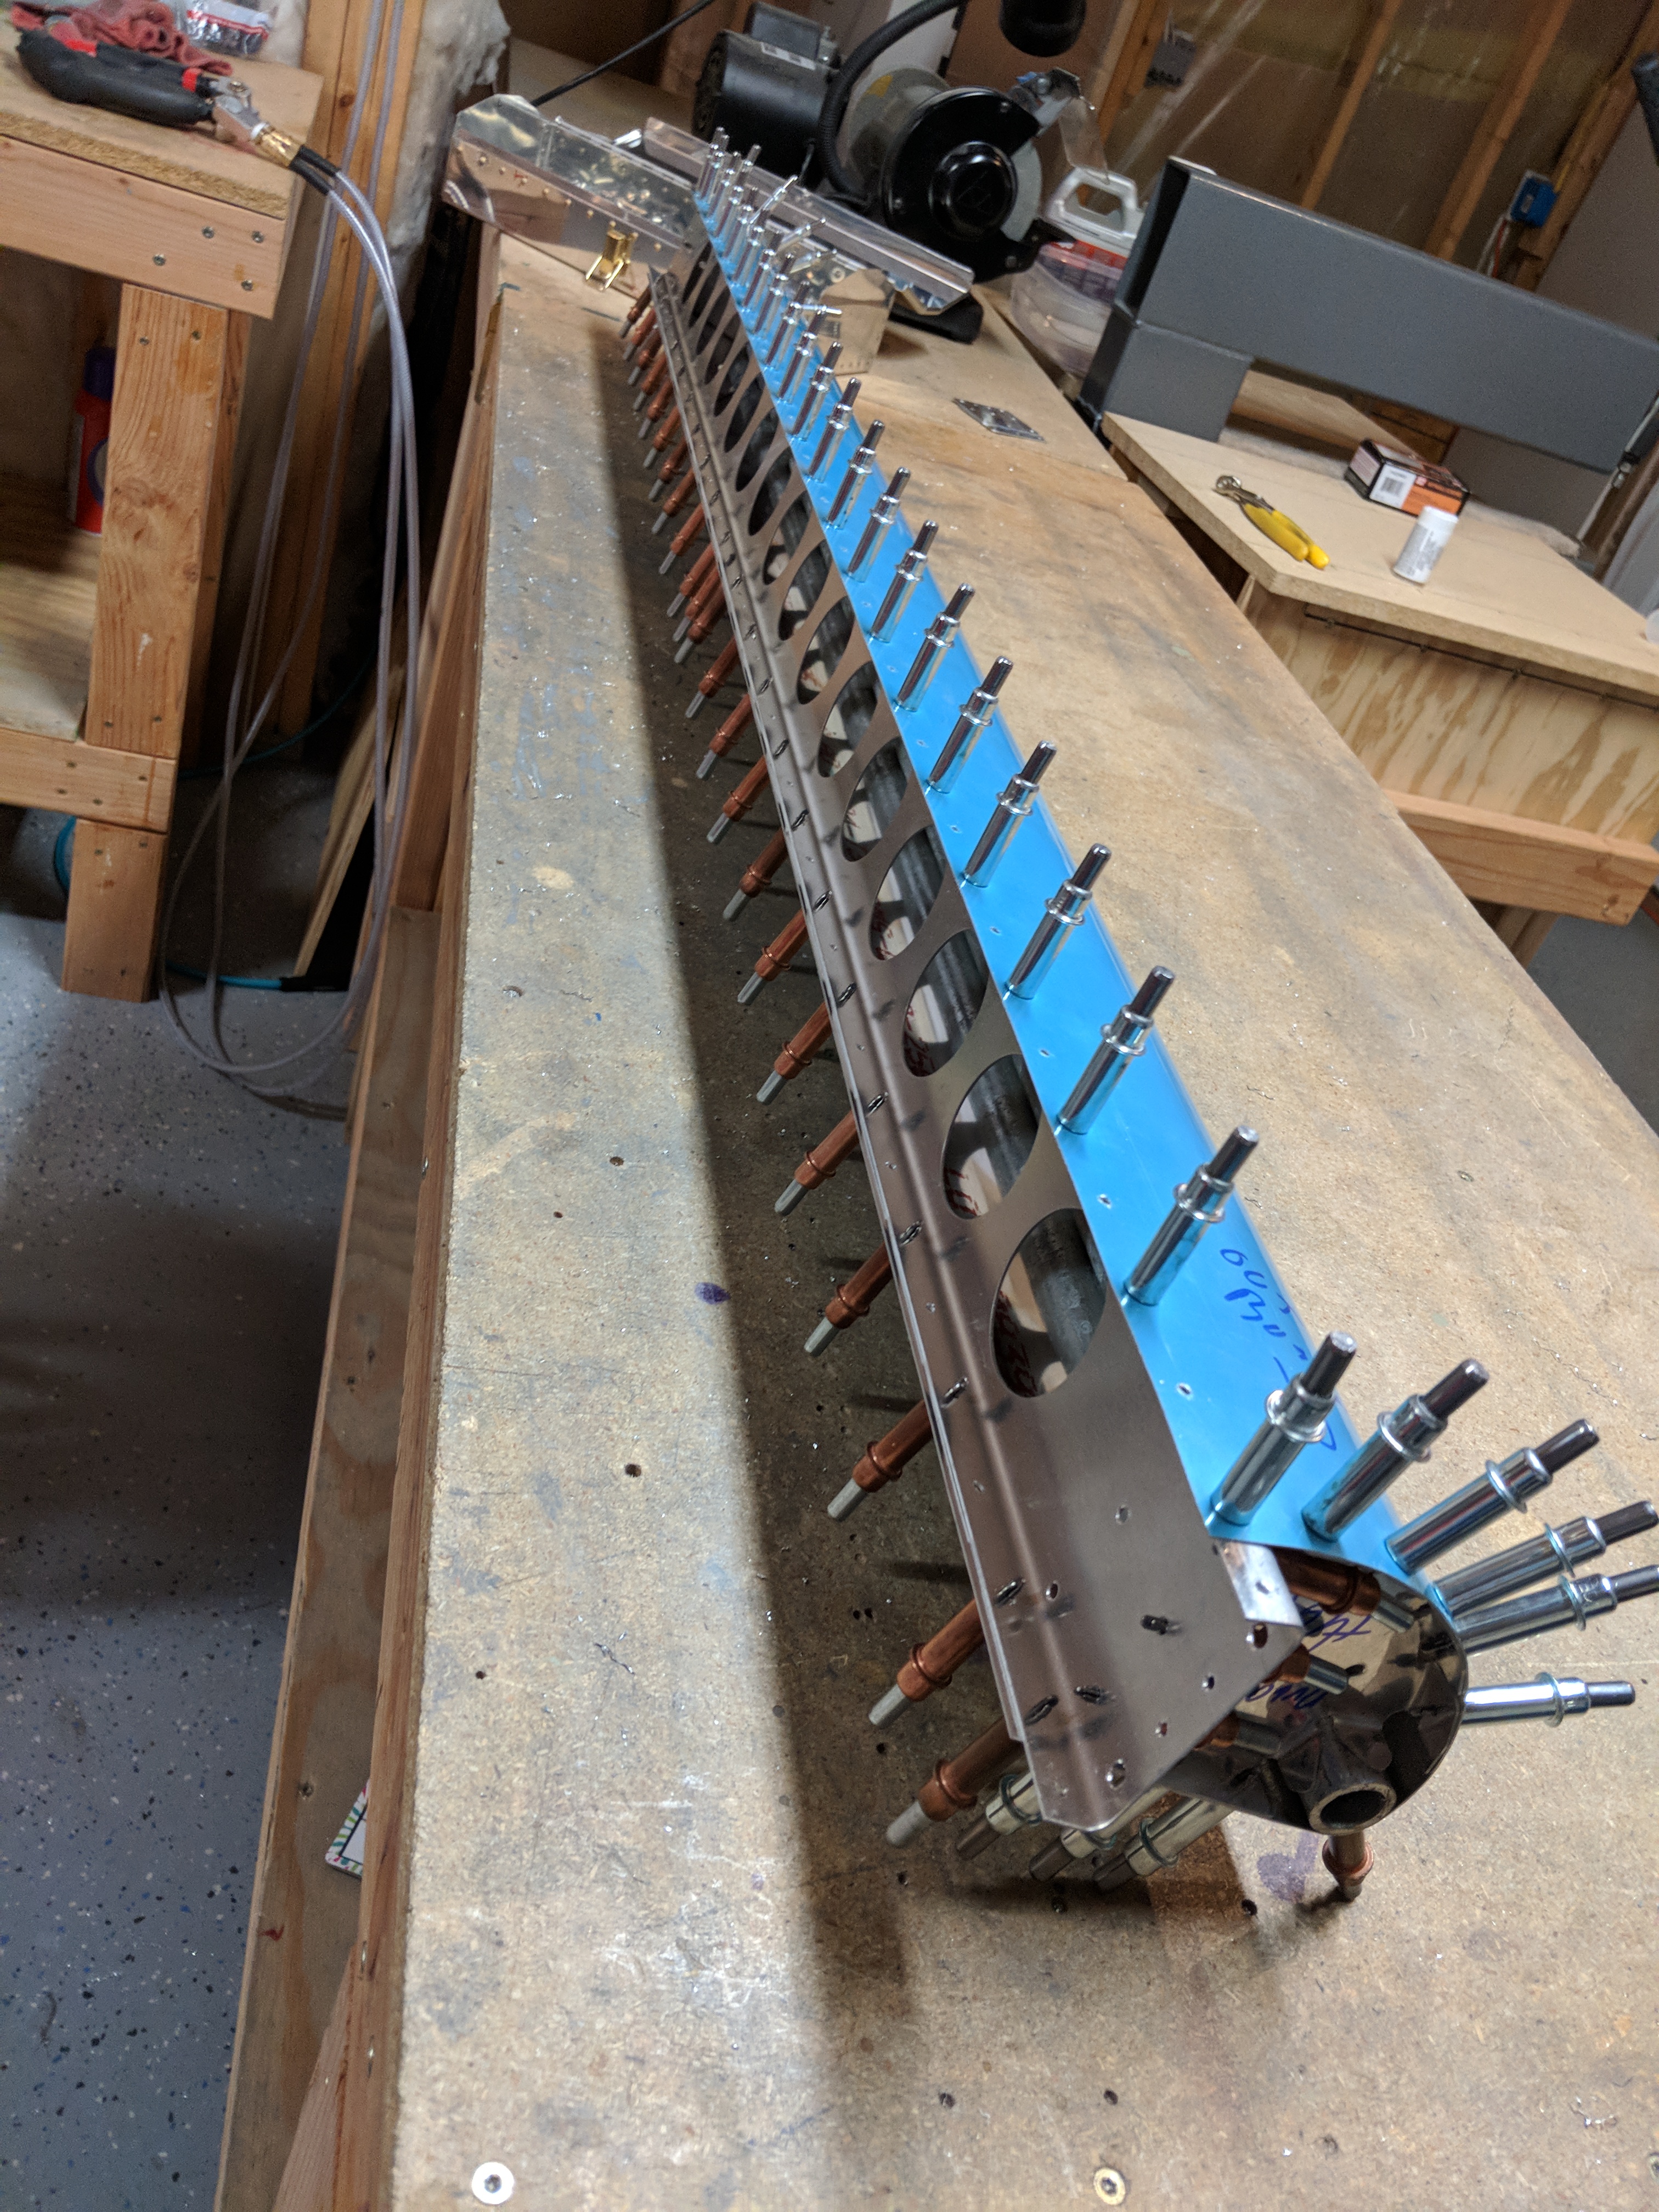
Tonight was pretty much a duplicate of last night. I started out by assembling the leading edge and the trailing edge skins to the skeleton and match drilling everything. Making sure to drill out the holes along the bottom to a #30 hole where the skins overlap the spars. Once I had both sides match drilled, I flipped it over to finish the work.

Next up was to drill the counterbalance pipe using the leading edge skin as a template. Learning from the work last night, I used a #40 drill to first drill the holes in the counterbalance, and the opened the holes up to a #40 size. After drilling into this steel, I believe my drill bit is finally getting dull. I’ll finish up the ailerons and then replace it.
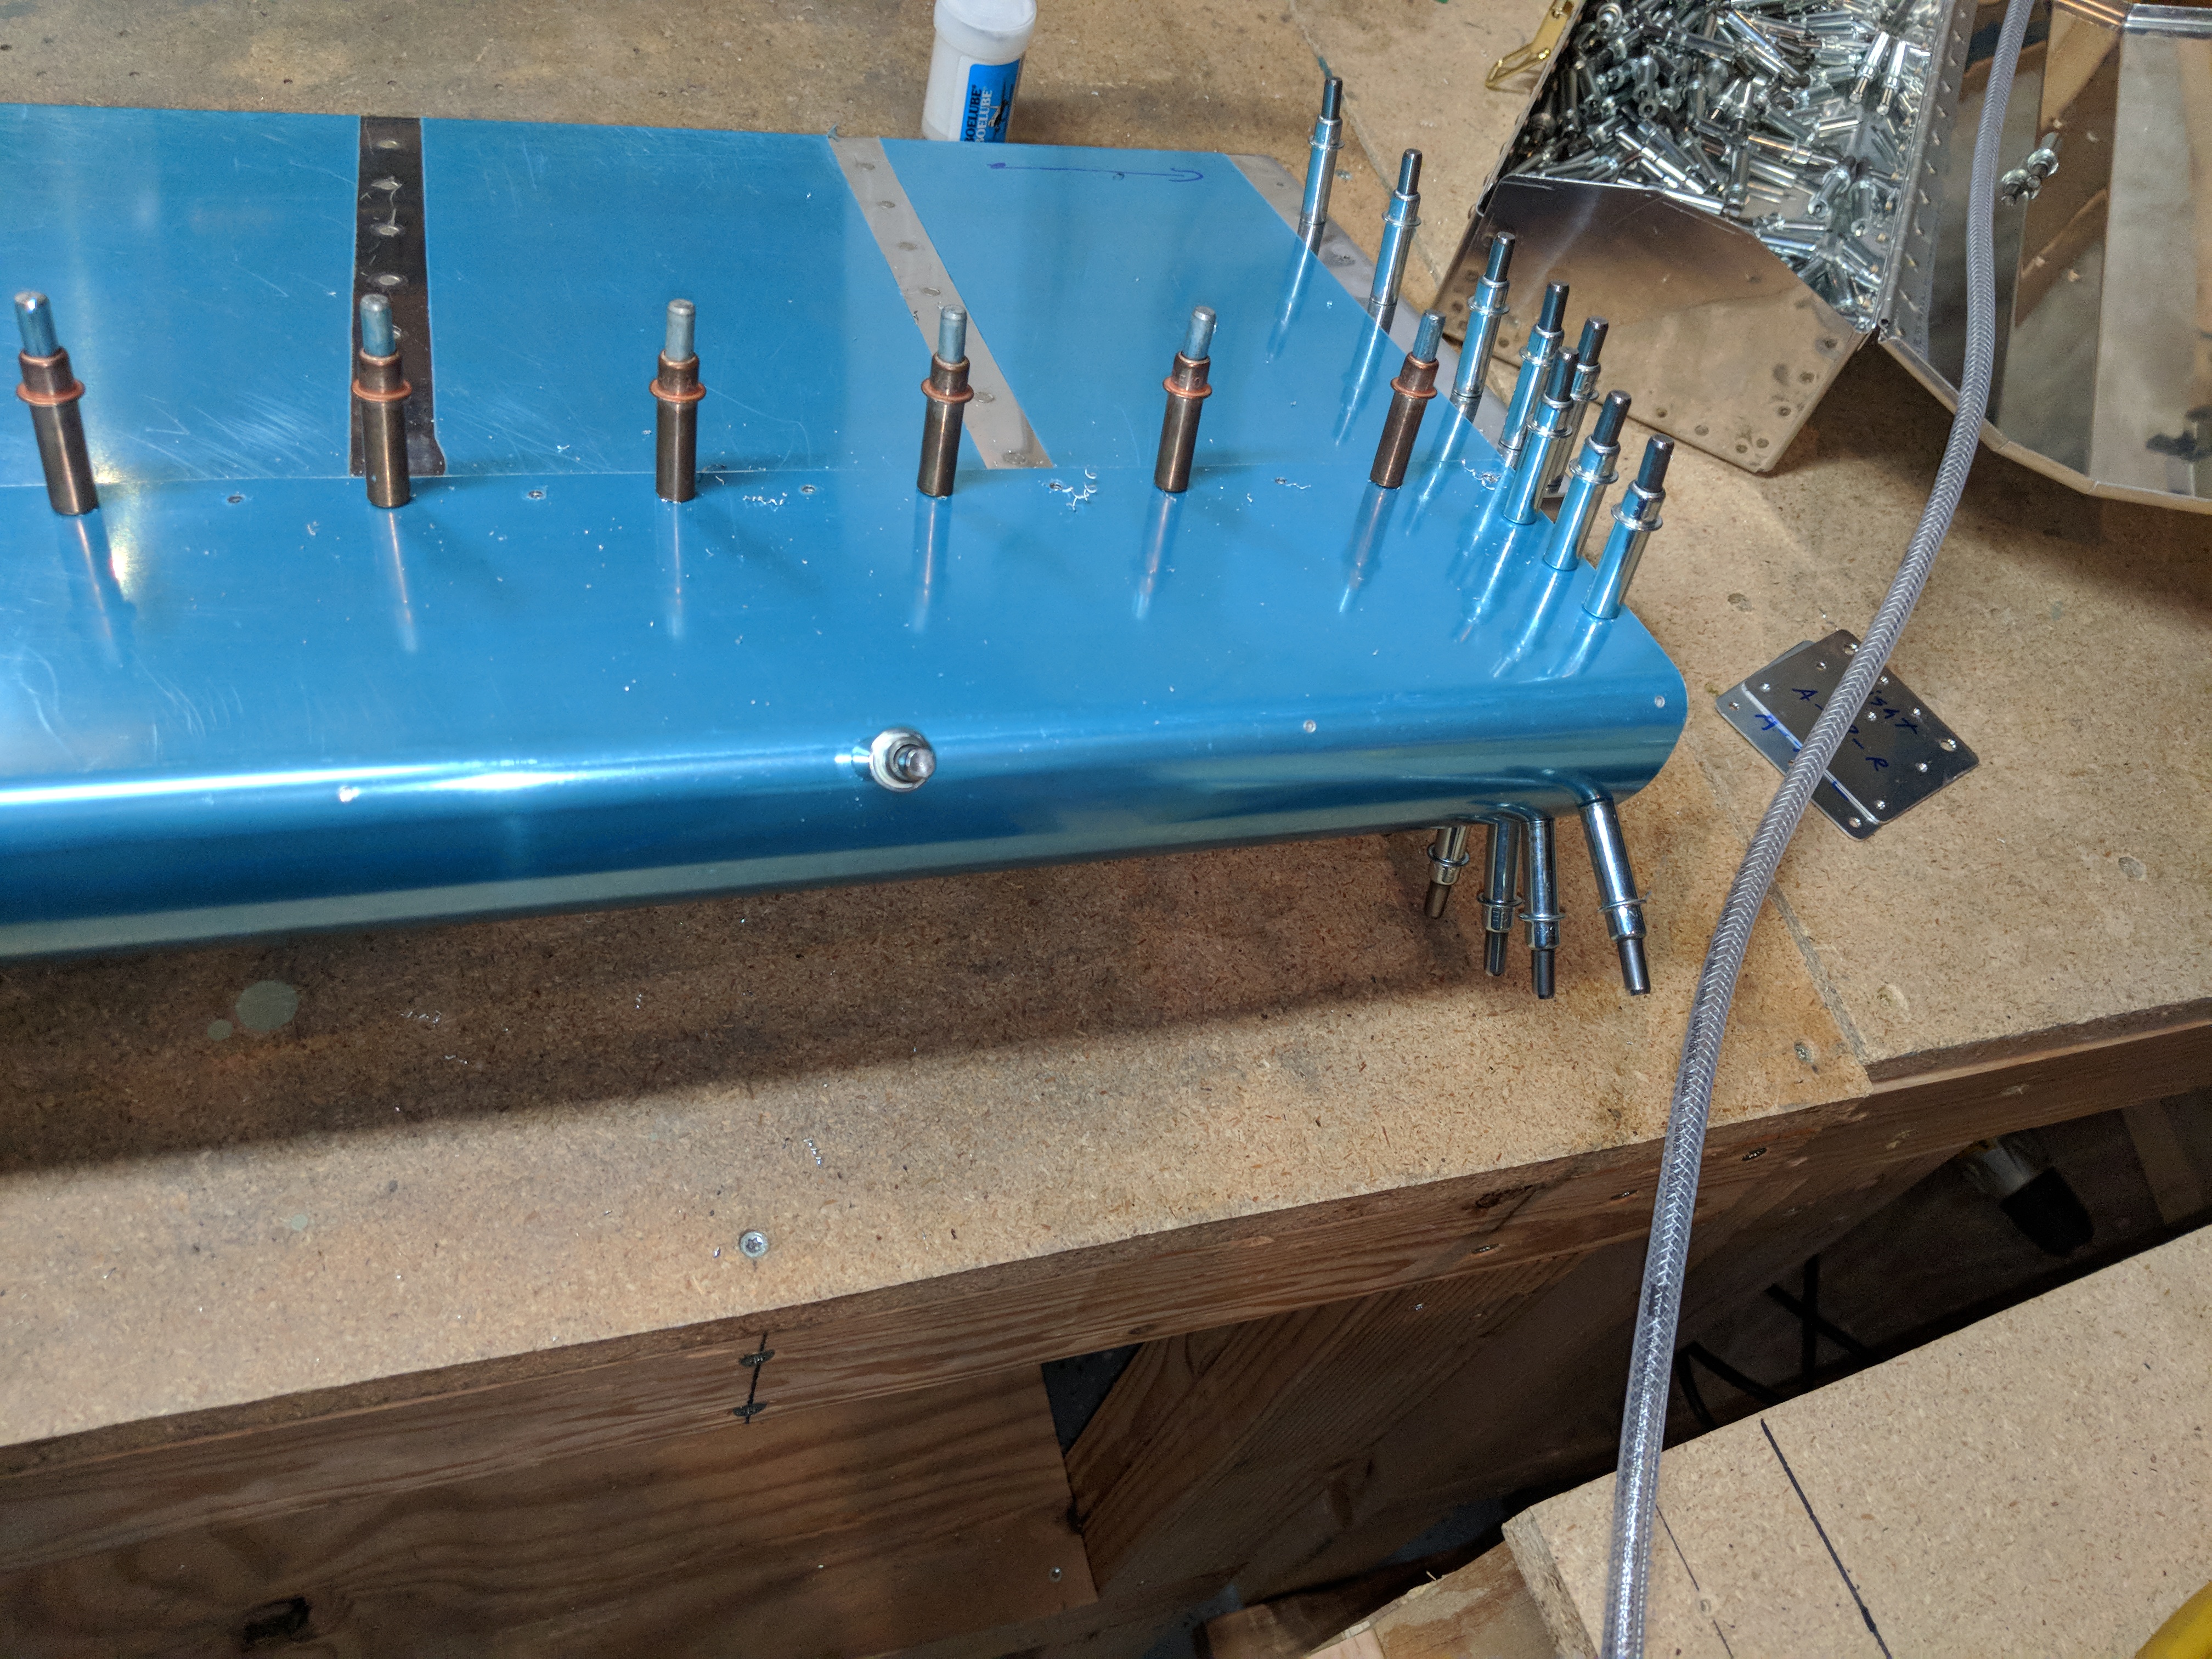
( That photo doesn’t show very good, but thats a 3/32″ cleco in that hole…it looks like a giant hole from this angle heh )
Now its time to remove the trailing edge skins and re-cleco the leading edge skins to the spar so I can drill the last two holes in the counterbalance pipe. Just like last night, I used my long drill bit, and went in through the lower mounting hole in the nose rib to back drill the counterbalance and that went well on both sides.
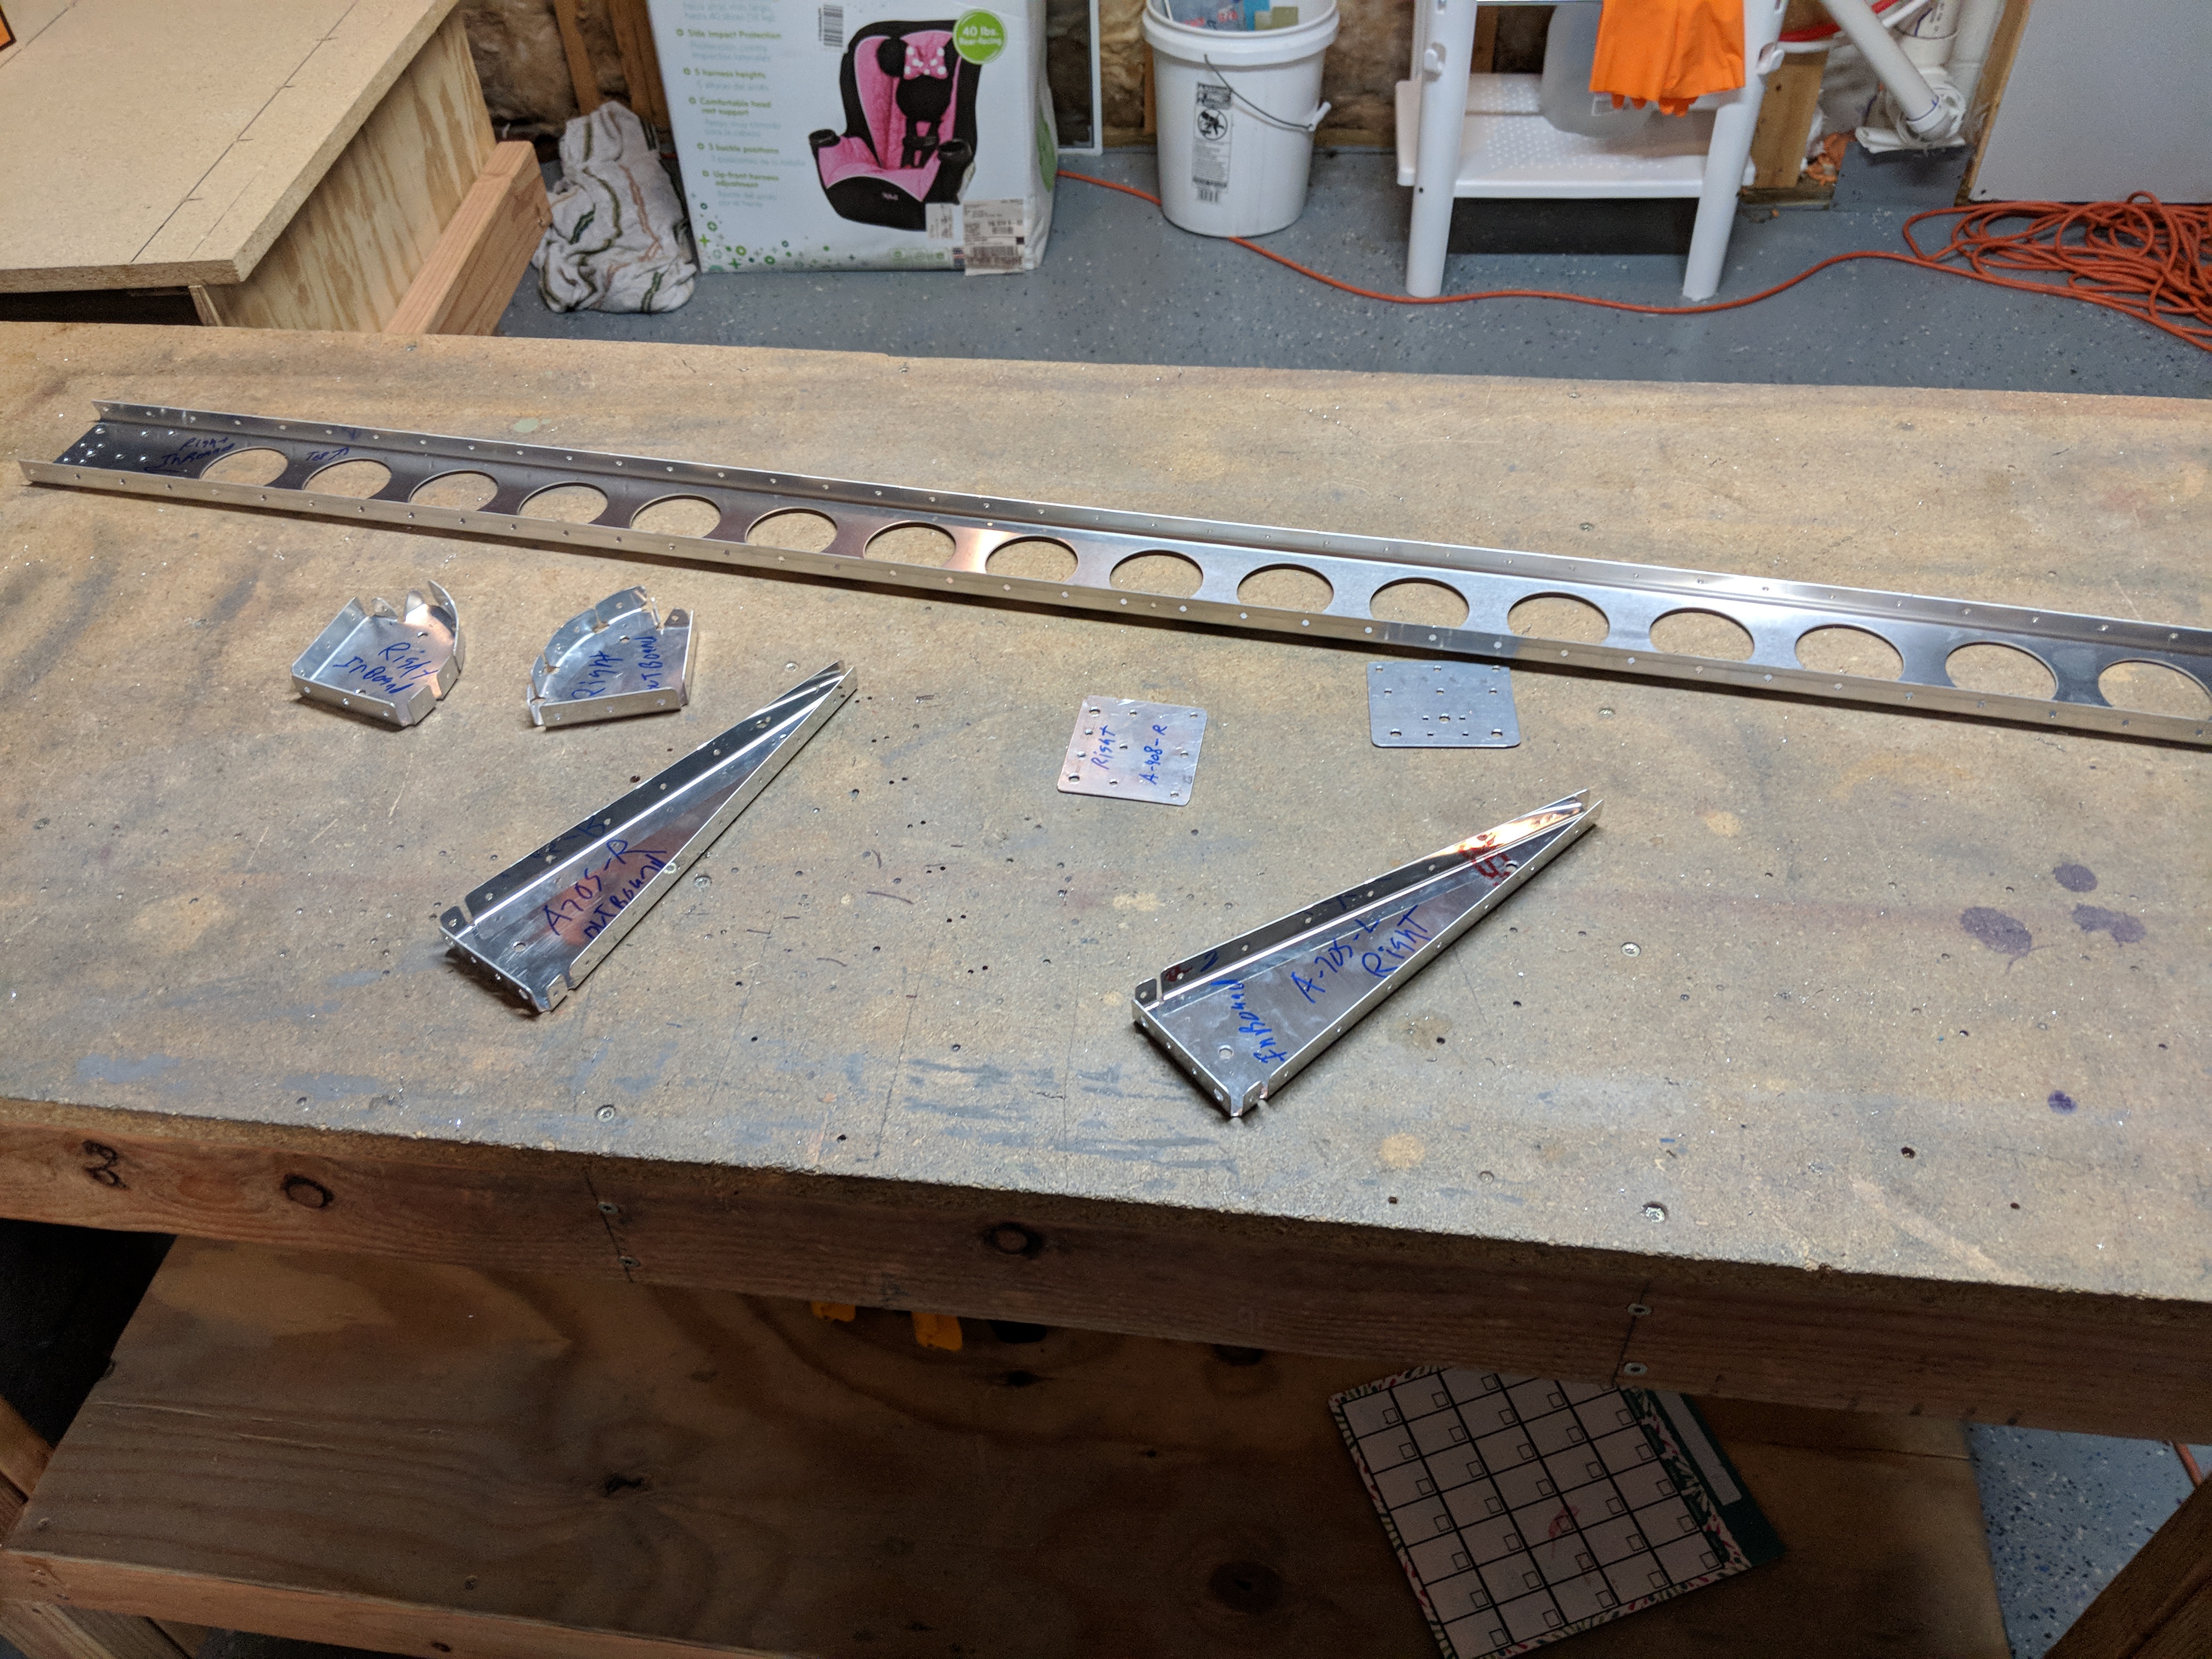
With all that, the right aileron is ready for deburring and edge finishing. So far, I had only worked about an hour, and I was still ready to get some work done, so I went ahead and started deburring the holes in the parts for the right aileron. I was able to get all of the skeleton parts holes deburred, and all I have left is the skins. BUT, I need to remove some of the blue plastic before I do that. So, I’ll save that for tomorrow. Here’s all the parts I was able to get the holes deburred on.
That wraps up tonights short work session. I am still working on a few things for my job, so I don’t want to sink to much time in to each nightly build session. Hopefully that will change soon.
Google Photos link: https://photos.app.goo.gl/RDvsOnVtc6D38a9g2
Hours Worked: 1.5