


Bending skins is one of those tasks that make me nervous! Van’s ships the aileron skins with the trailing edge bent only just enough to form the trailing edge. The reason is so that you can easily attach the stiffeners via backriveting. The task itself is not difficult, but it seems like something that could go wrong, very quickly 🙂
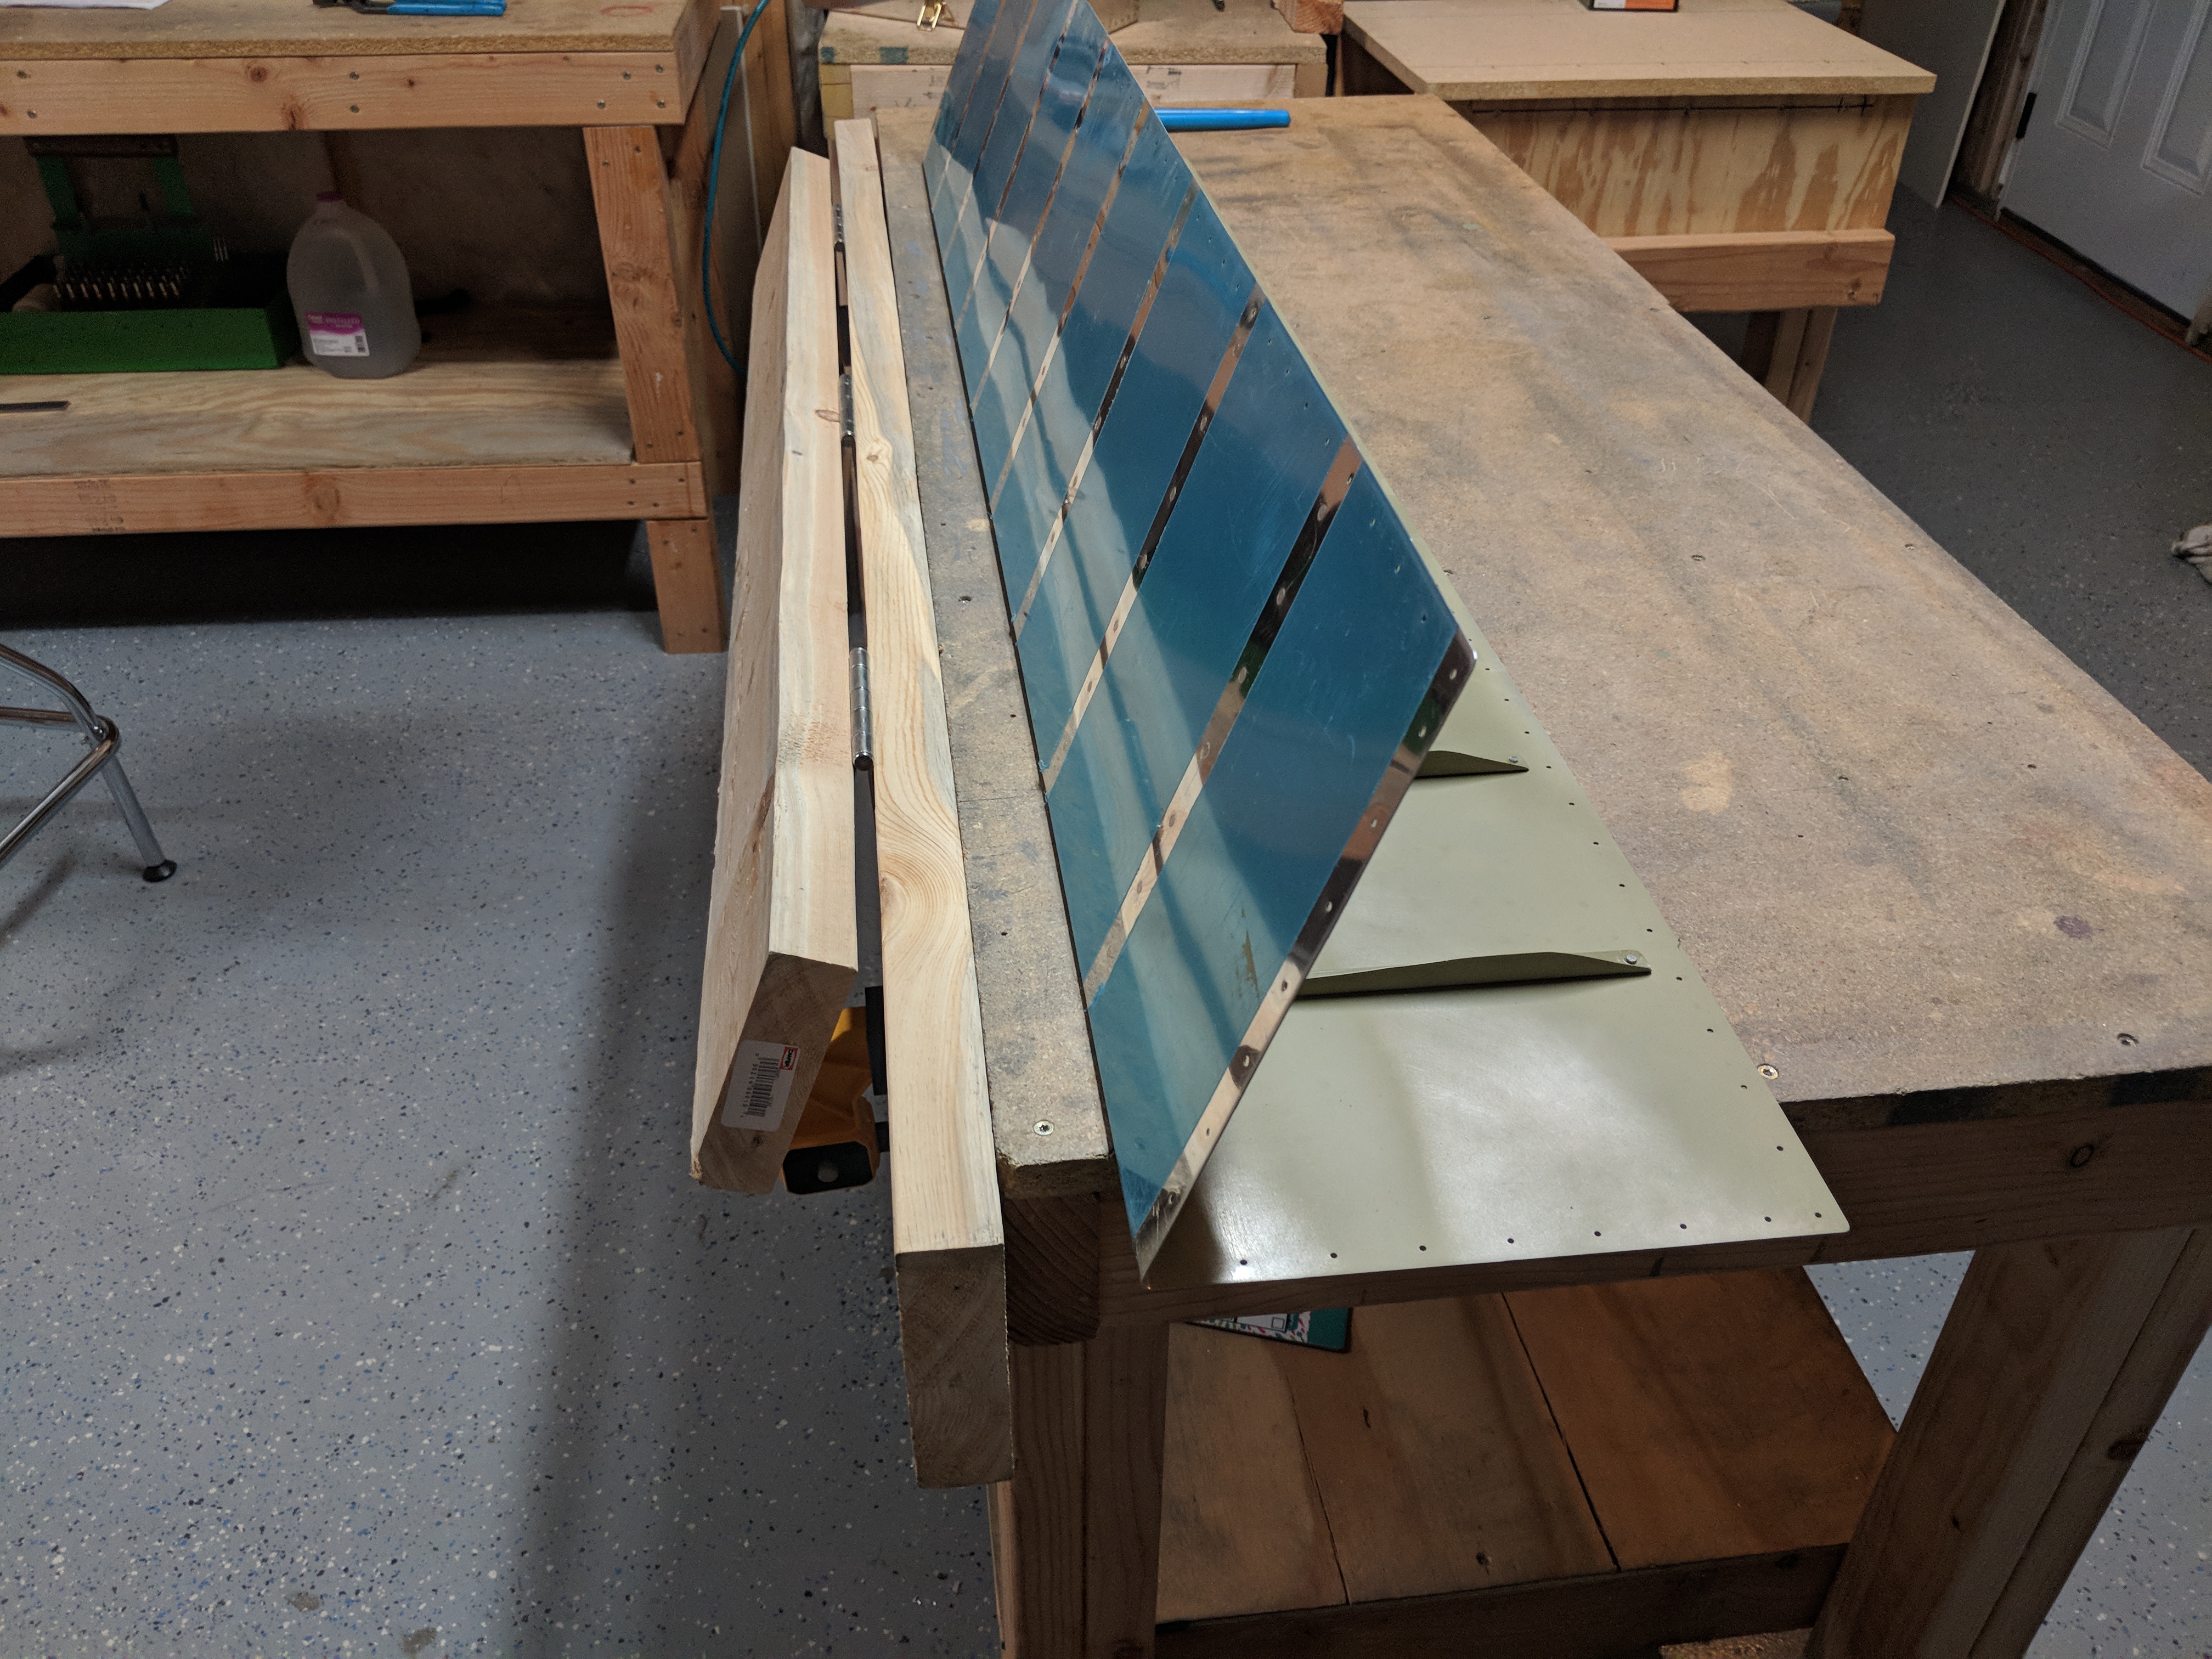
The above photo shoes how much bend comes from the factory, along with my homemade bending brake I built during empennage construction. I have it clamped on to my workbench level with the surface so I can slip the trailing edge of the skin into the “jowels” and make a nice, smooth bend along the length of the aileron. You can see more details about how I made the bending brake here: https://theskunkwerx.com/rv7/bending-the-right-elevator-trailing-edge/
I slipped the trailing edge into the brake and held it firmly as I slowly bent the skins over using very light, even pressure. I like to use the “sneak up” method, of bending a little, and then checking the fit…..and bending a little more as needed…and repeat until i have the bend just right. 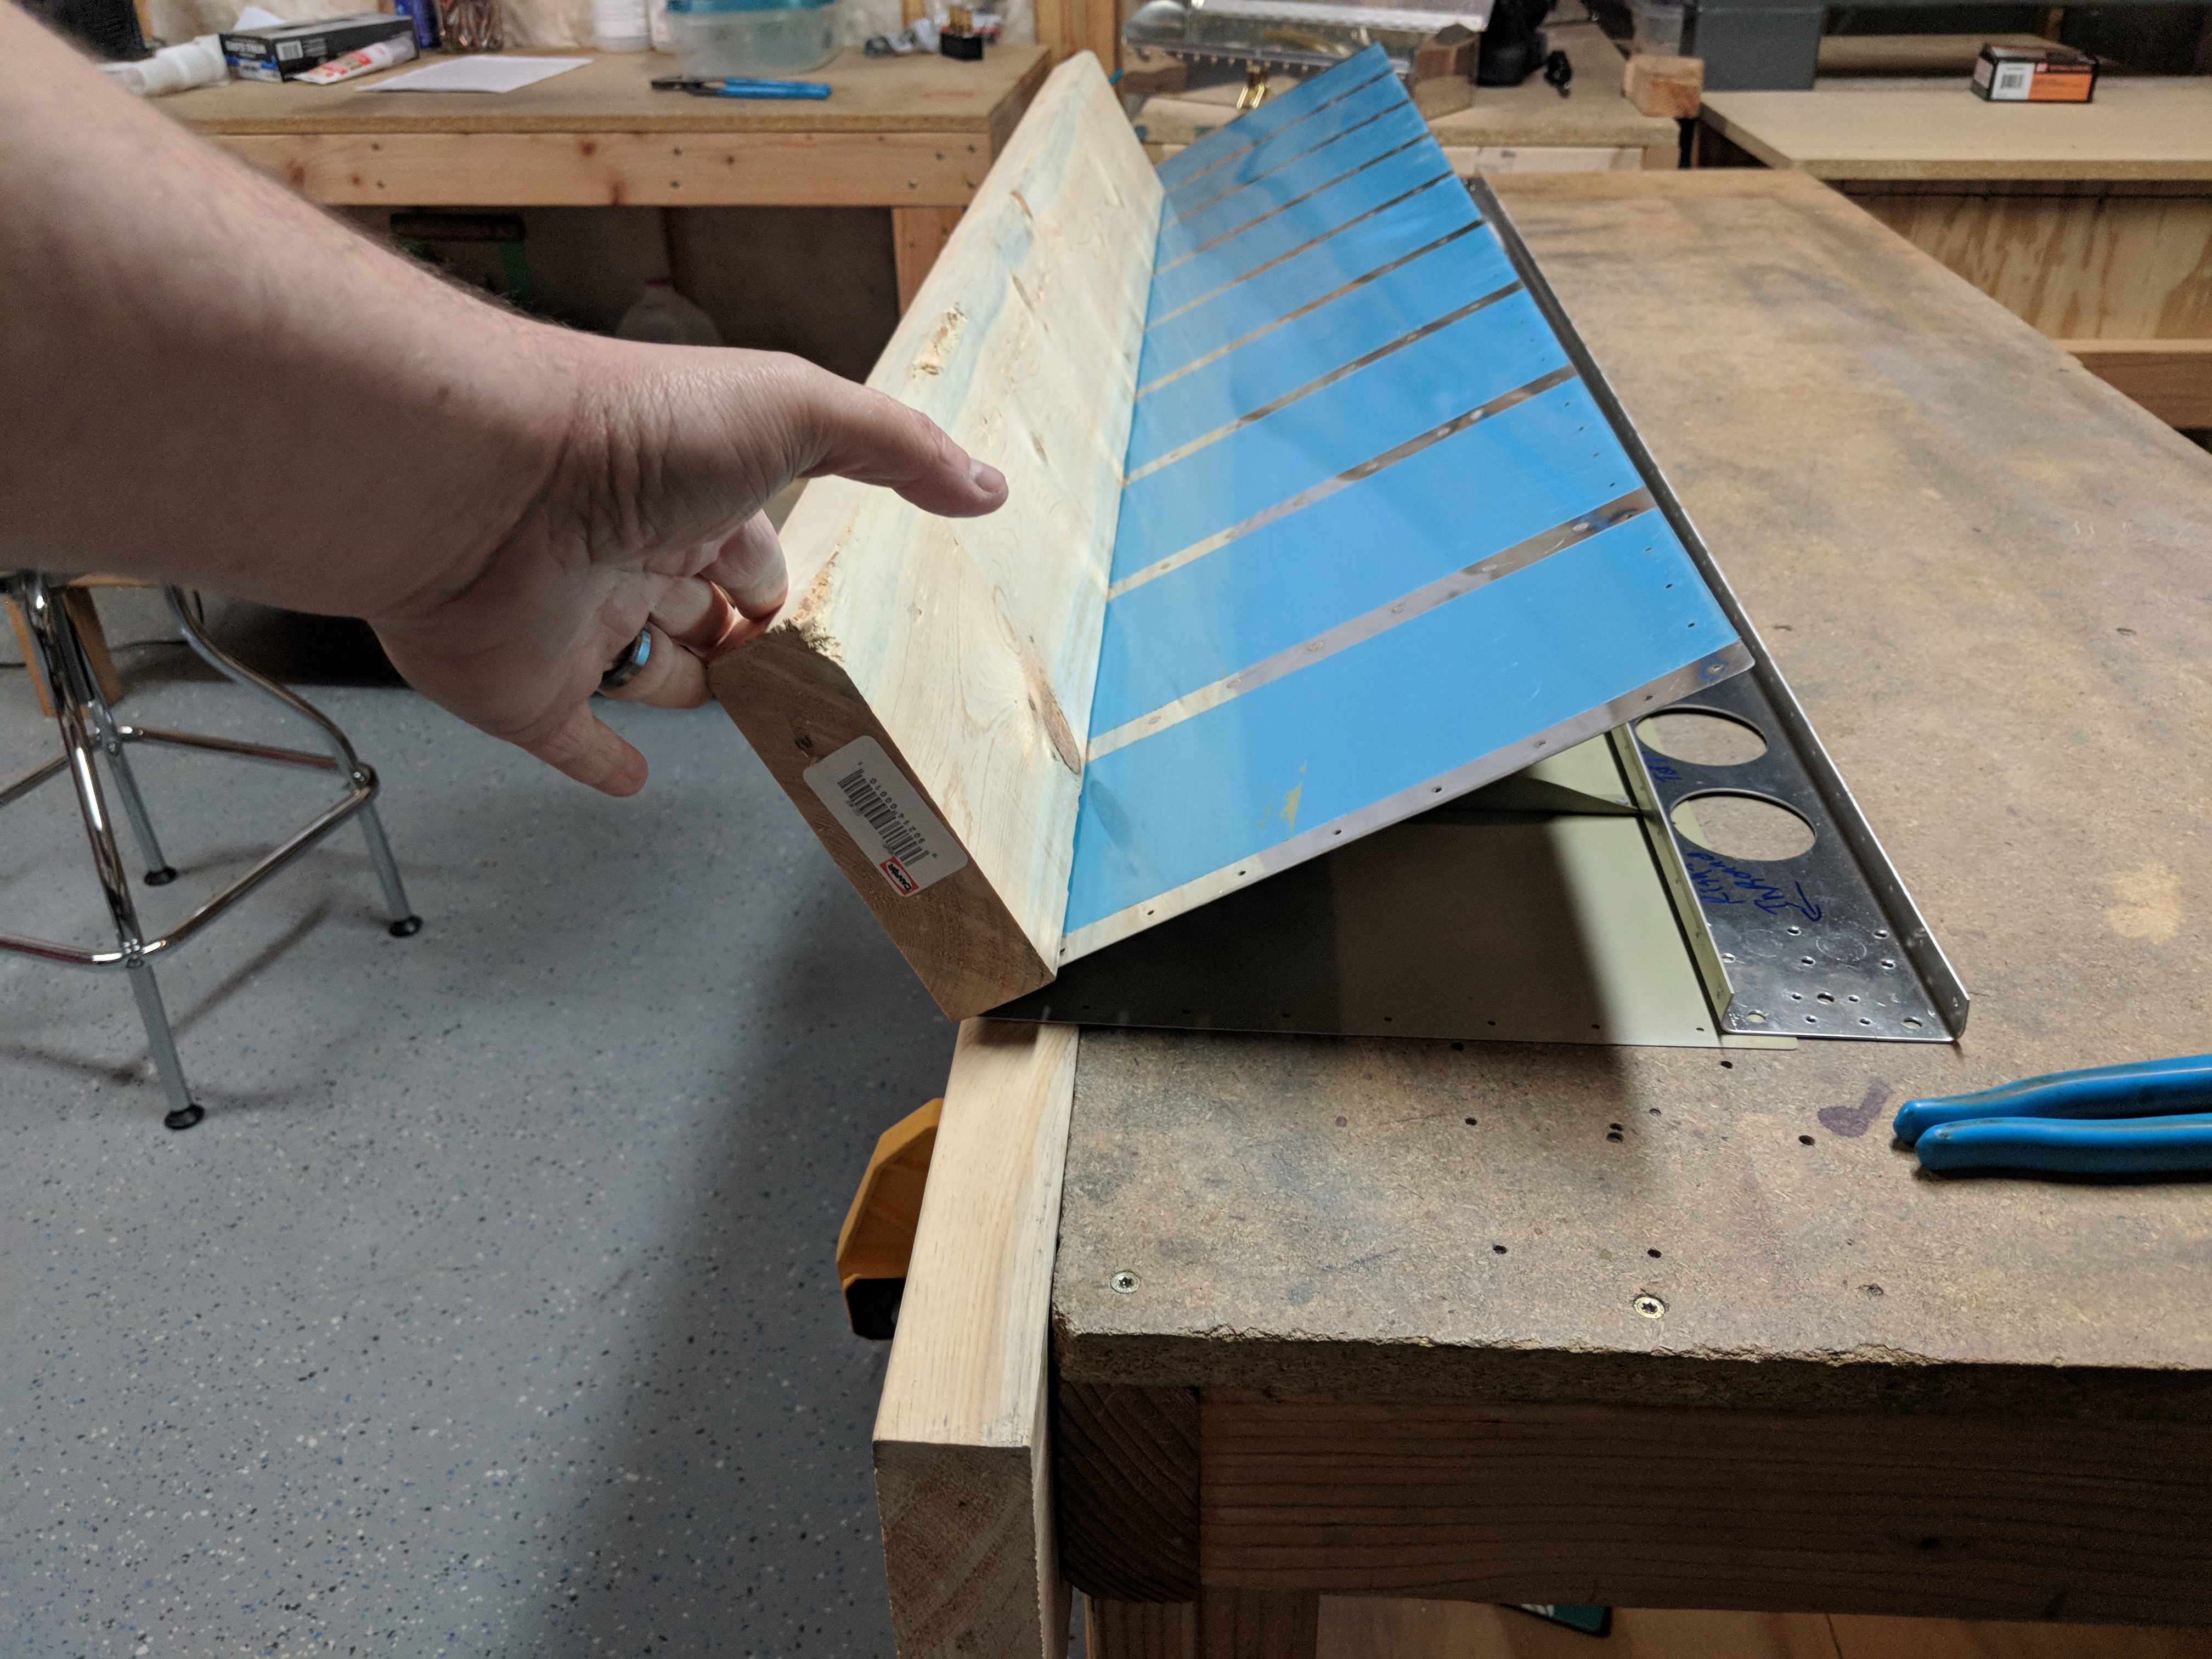

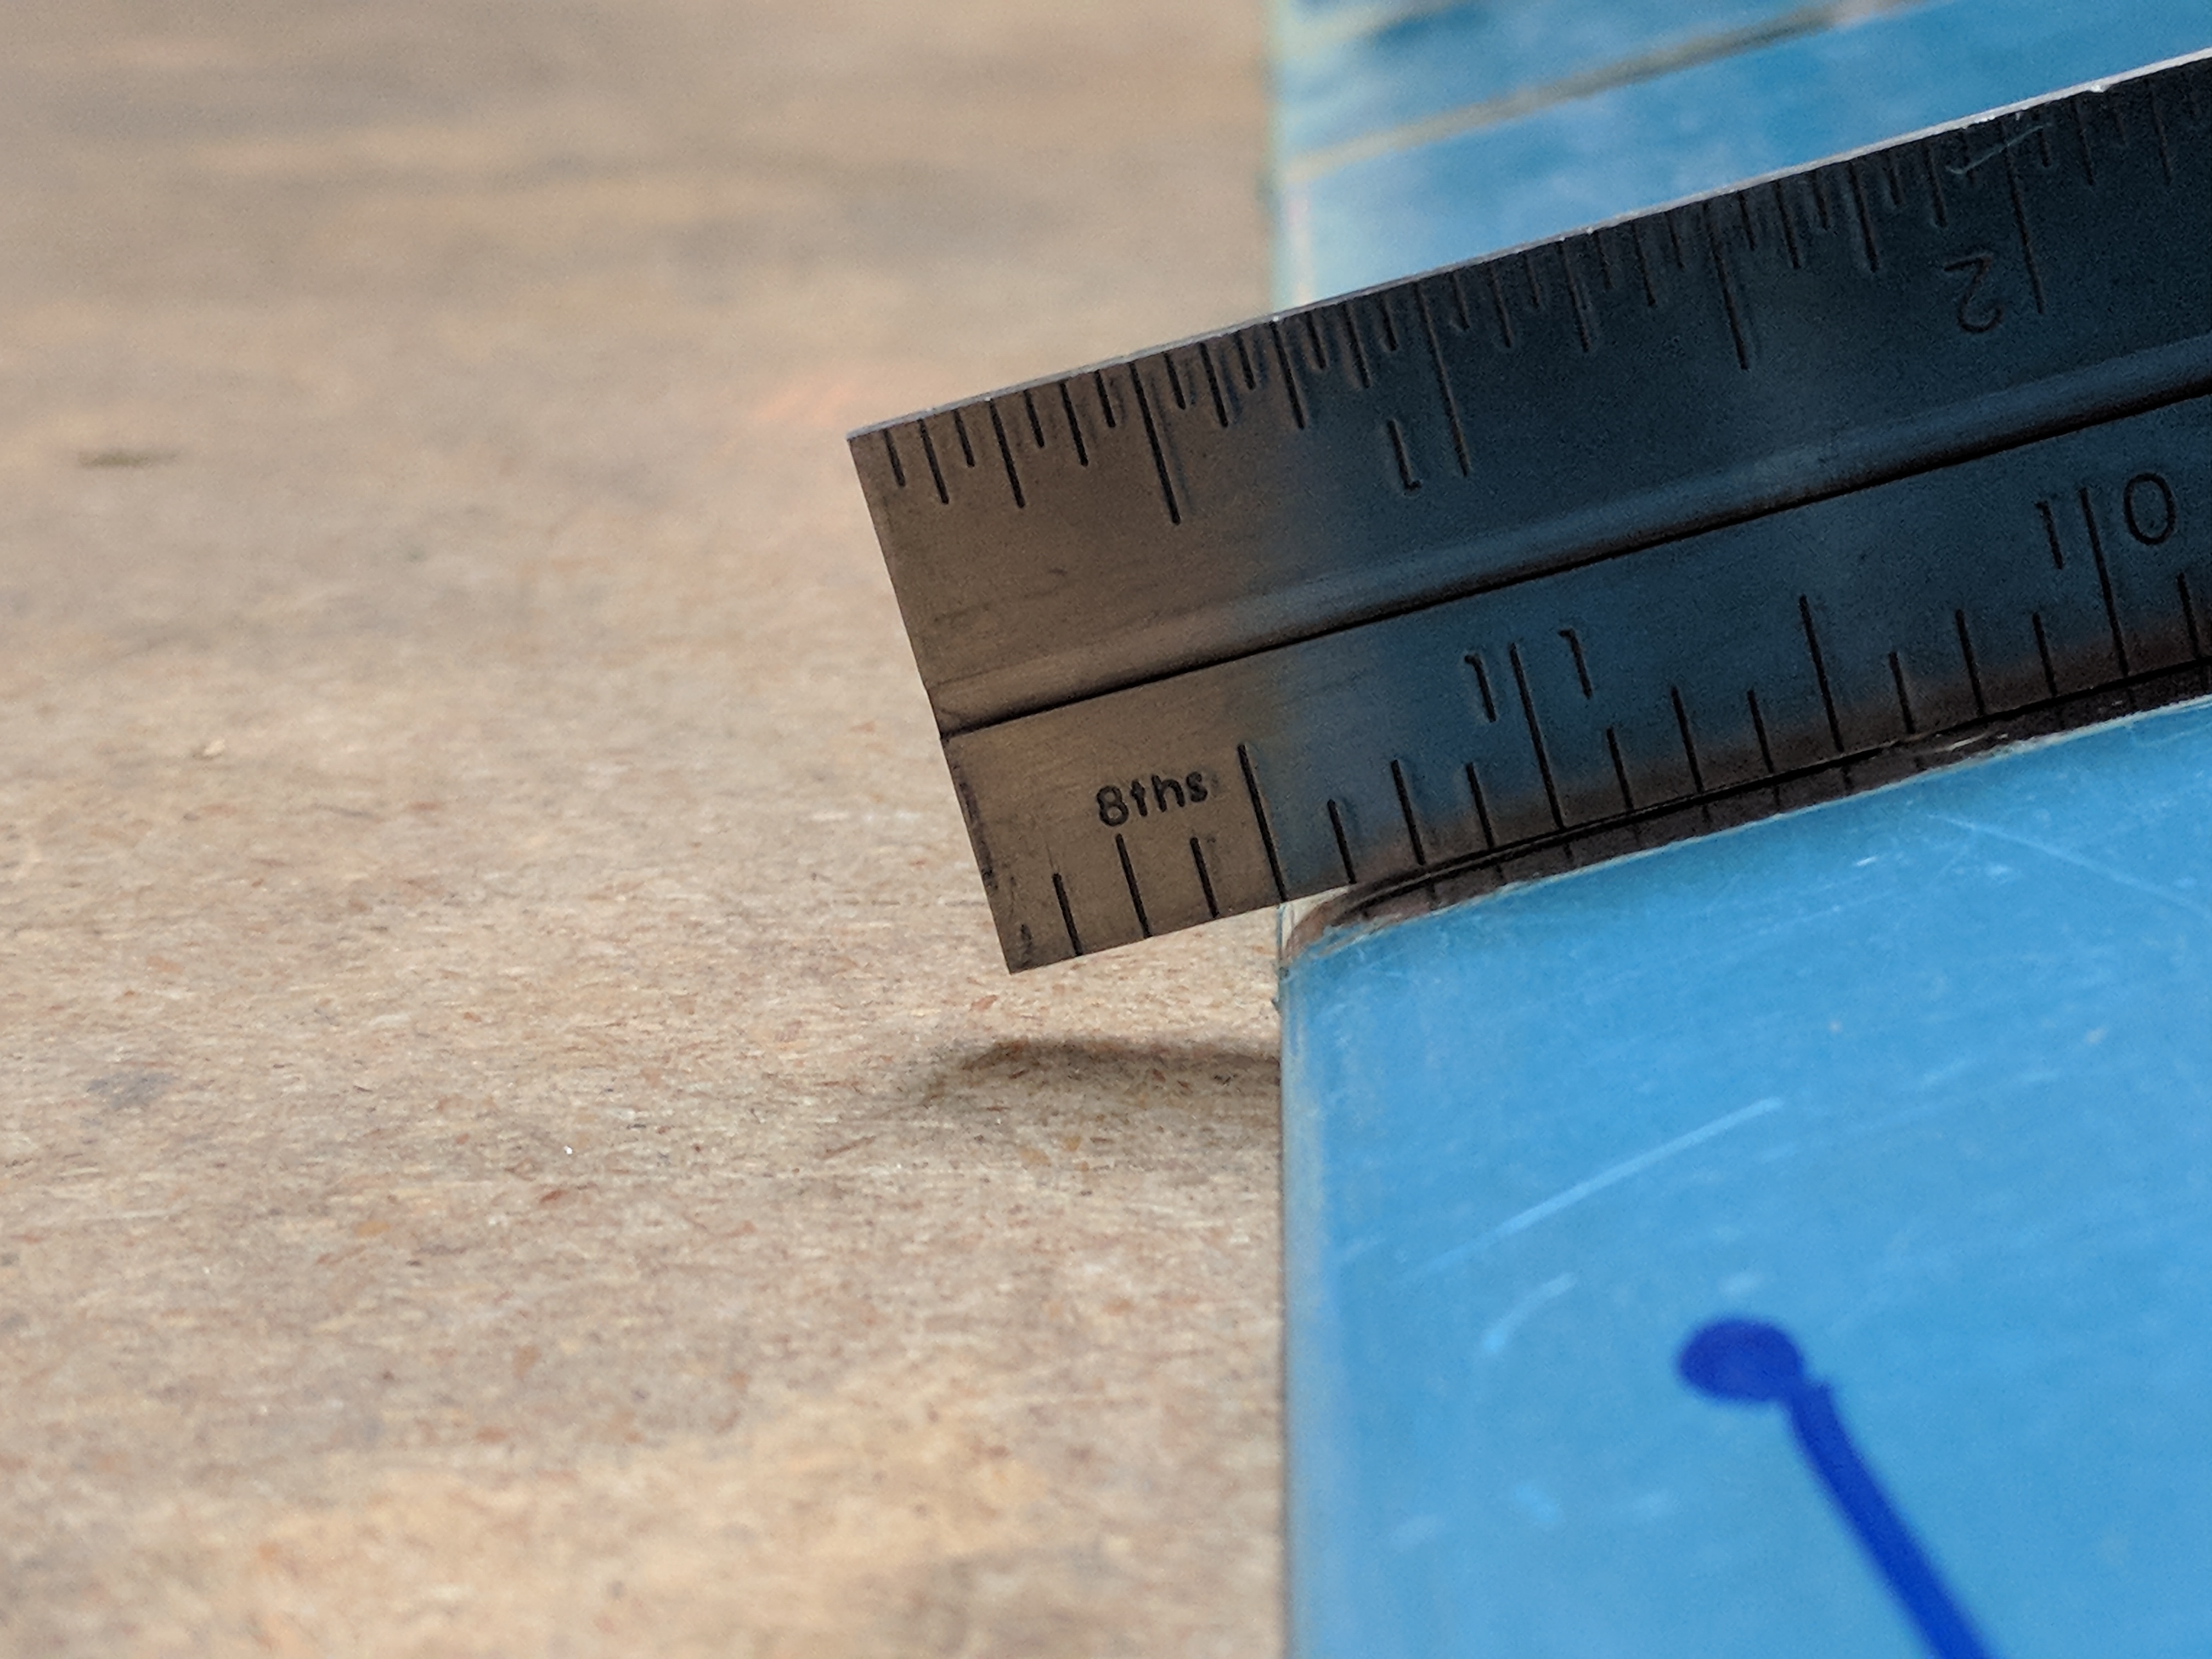
Eventually, after several rounds in the bending brake, I wound up with the aileron where I though it was close enough to do a dry fit. Vans has us bend the aileron just until the skins gently lay on top of the spars. In the photo above, I am about half-way there. Once I had it to where I thought was close, I clecoed the aileron skeleton inside the skin and measure the straightness. Per the instructions, Vans tells us that the skin should be straight, form the spar all the way right up to the trailing edge radius. The radius itself should be around 1/8″, and the profile of the aileron should match the full size drawings. Mine were REALLY close to the profile in the drawings, so I decided to use a straight edge to check the straightness.
The process goes like this: I lay the straight edge perpendicular to the leading/trailing edge and check to see if there are any humps, bumps, or divots underneath it. A hump/bump means I don’t have enough bend, where a divot means I have too much bend.
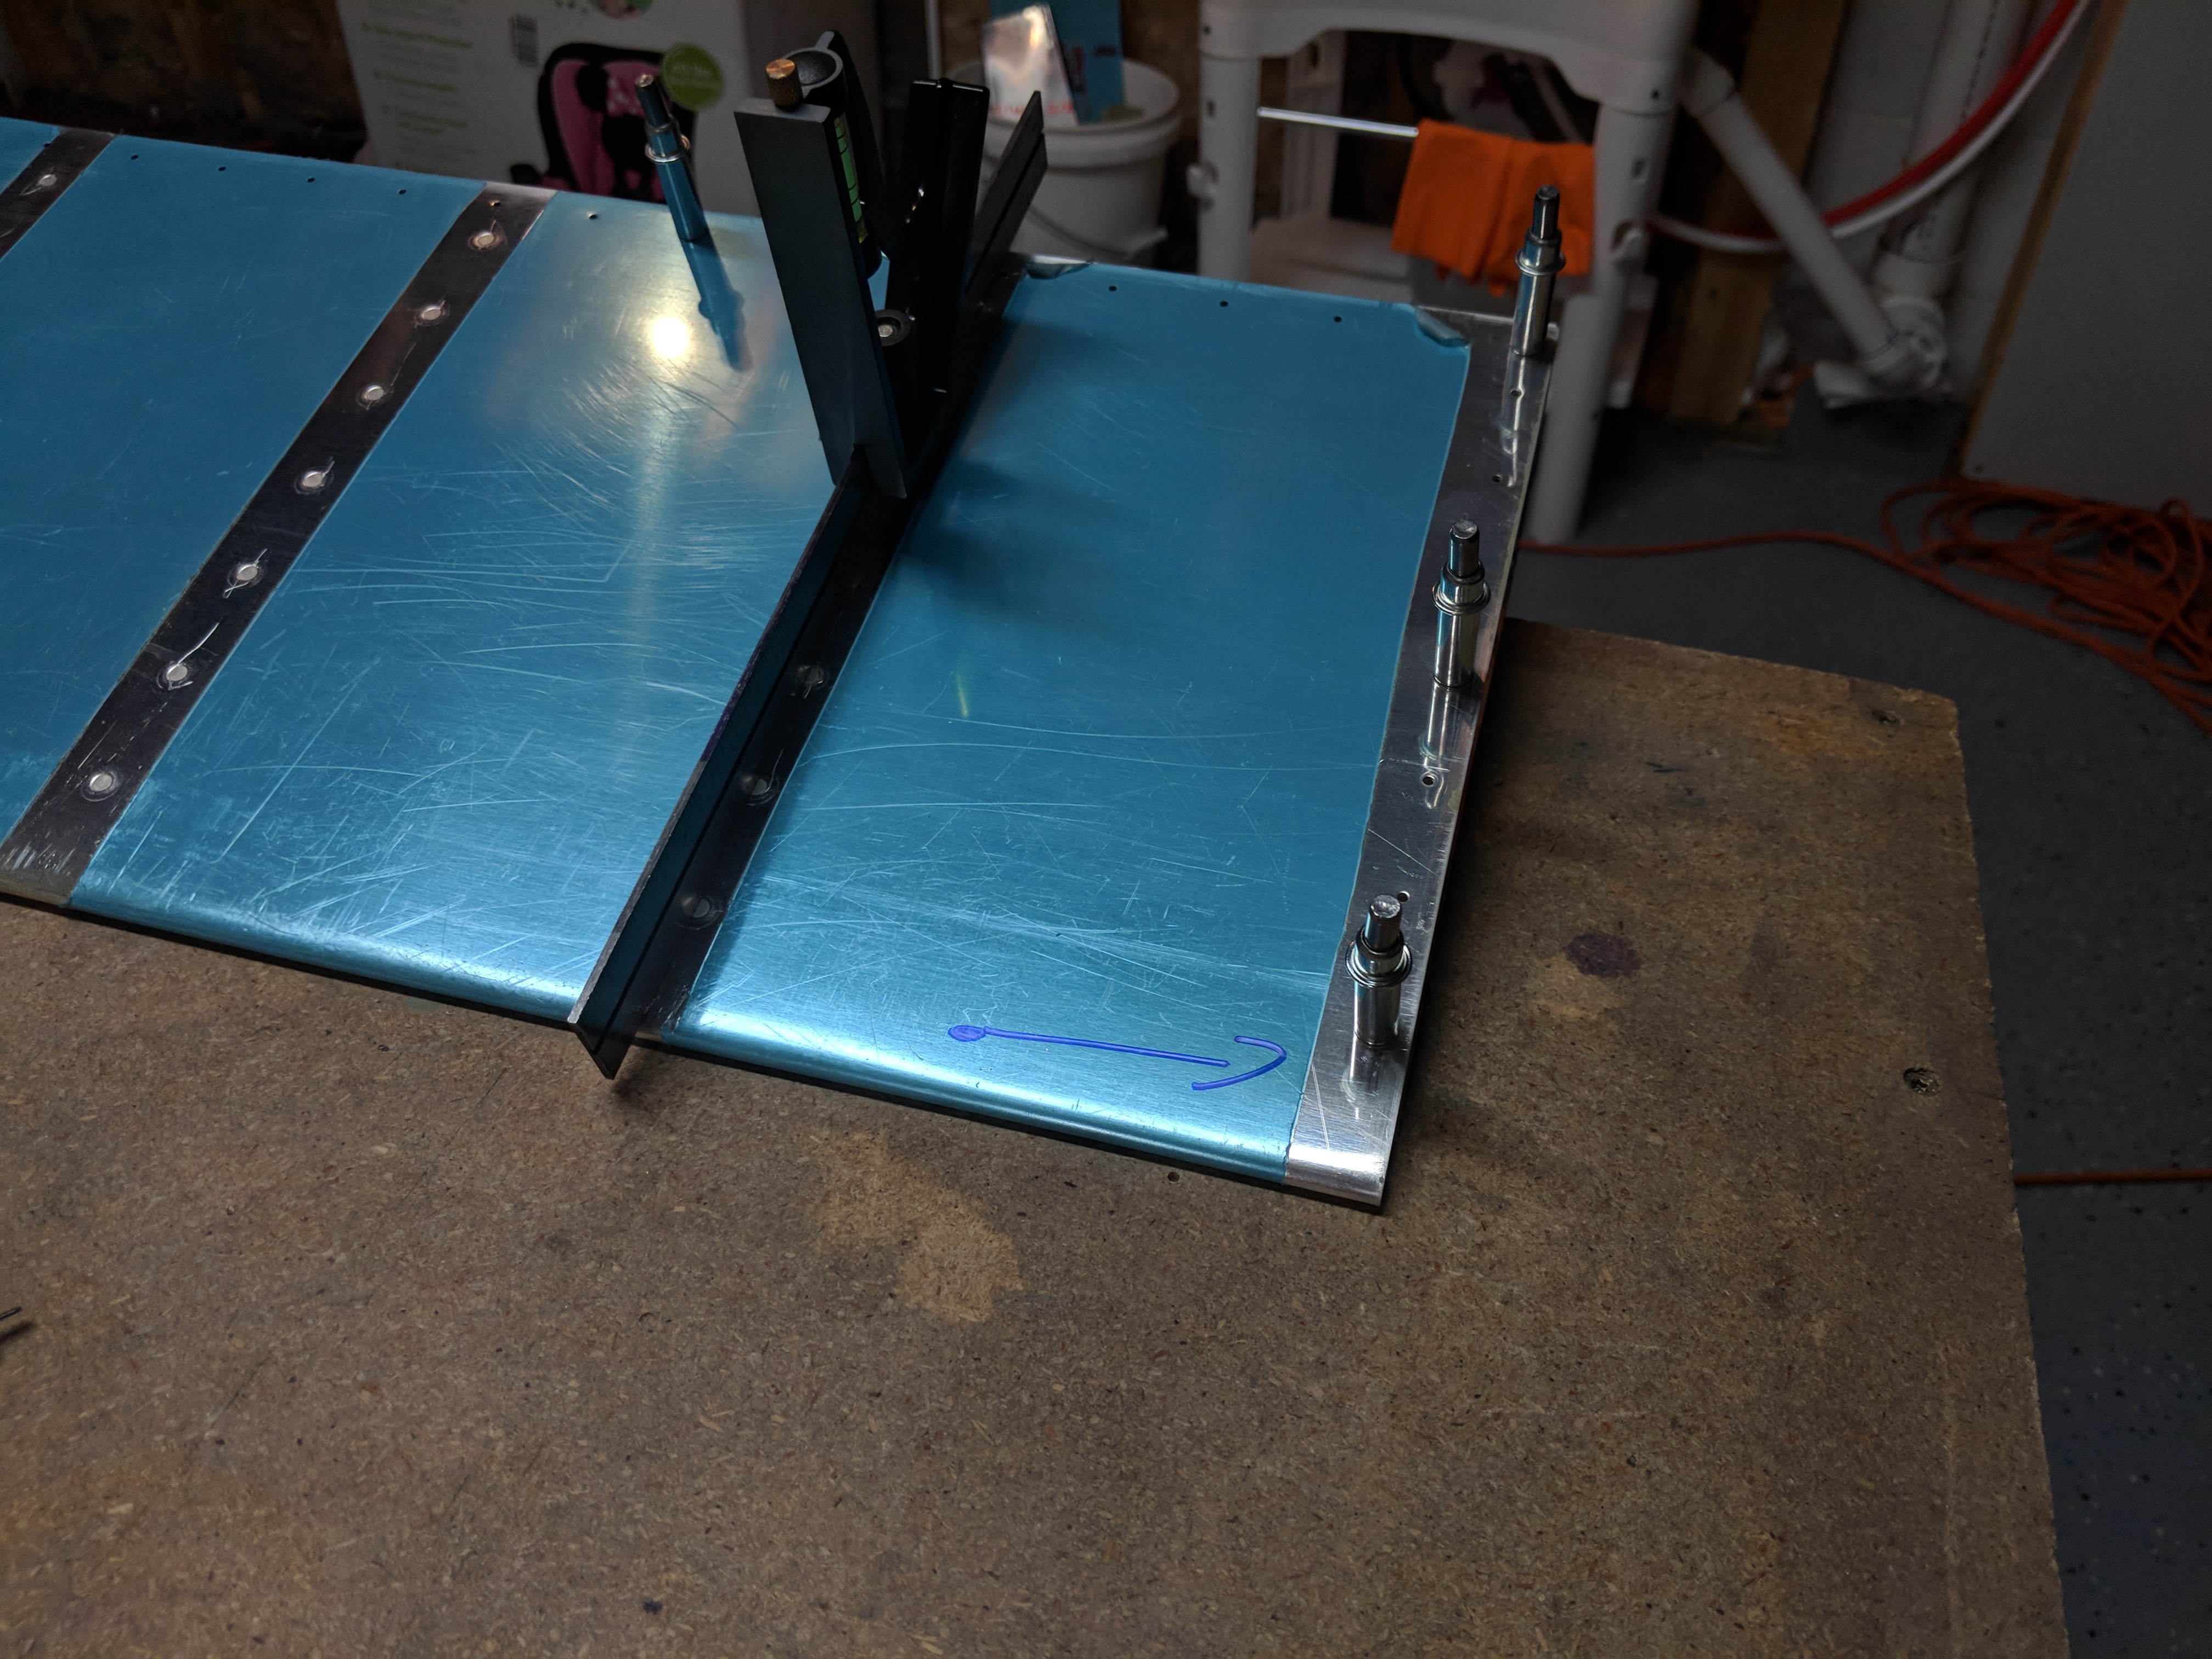
SOOOOO close this time! One or two more bends and it’ll be perfect! It’s very important to get this just right because I have heard horror stories of builders having heavy wings because of an aileron that isn’t perfectly bent. Vans actually has a procedure that calls for “squeezing” the ailerons with your hands to help get rid of a heavy wing. Its astounding such a small little control surface can have such a big impact, even when in trail.
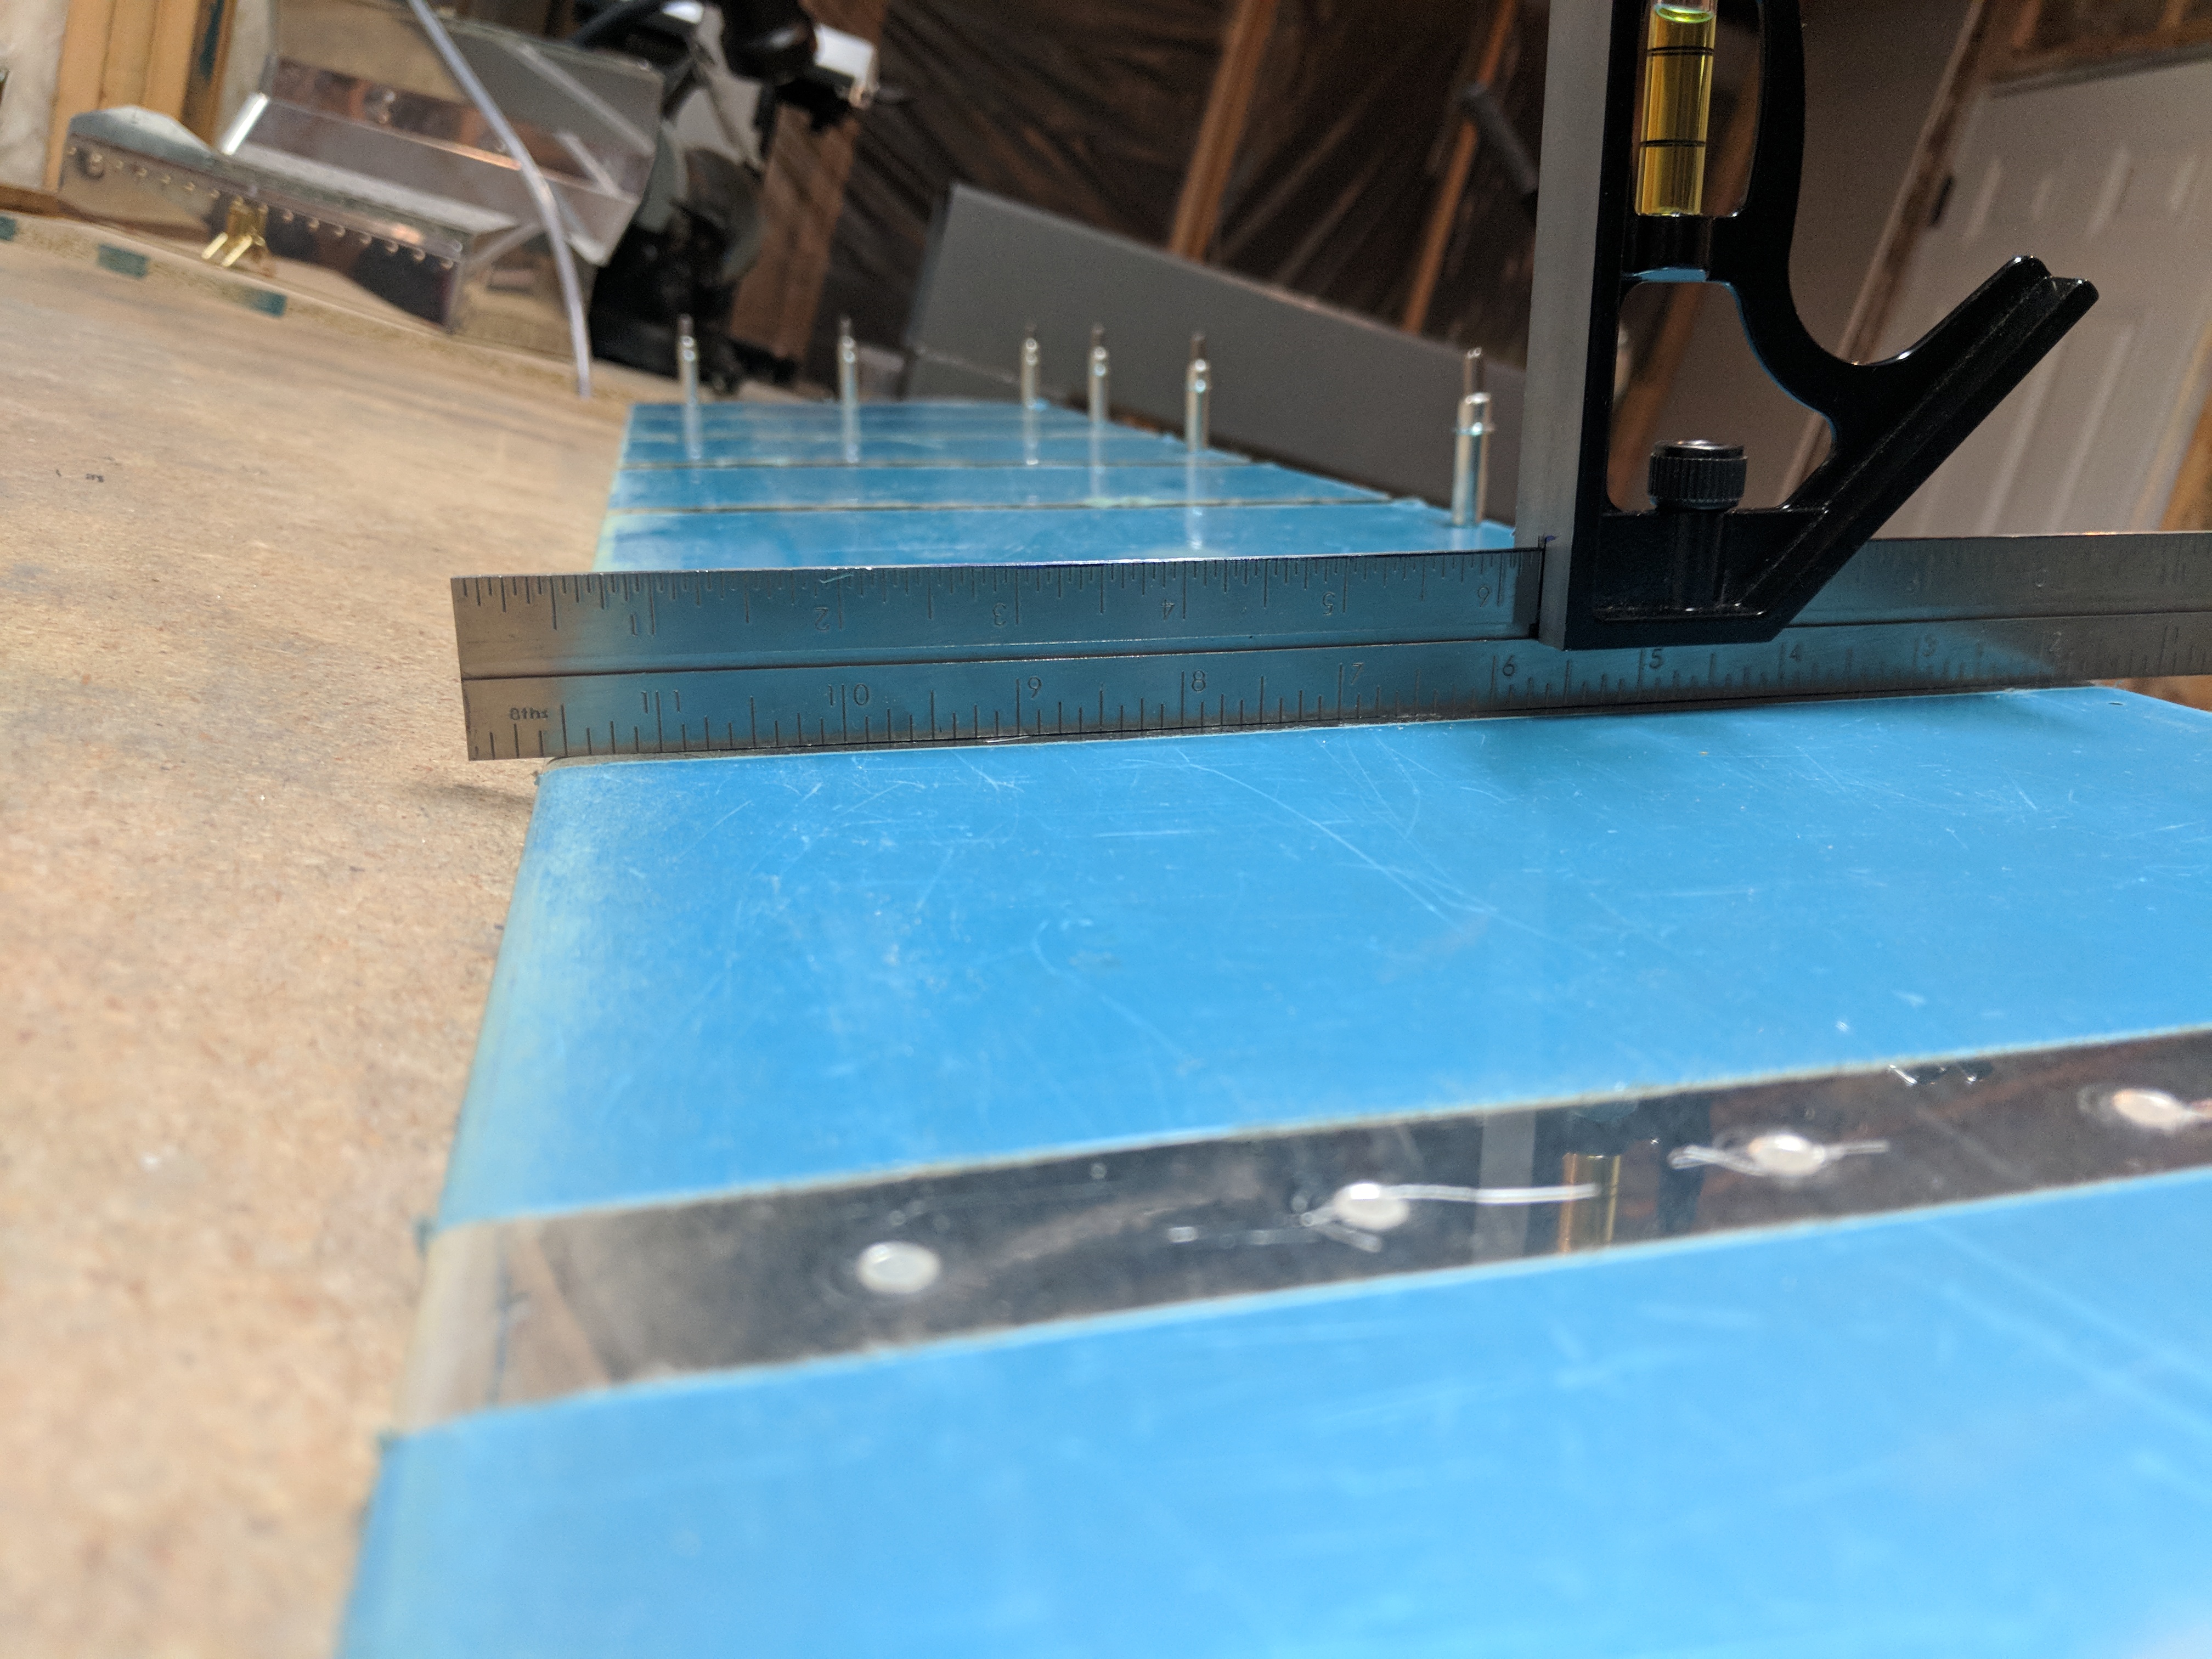
After a few trips back into the bending brake (which includes unclecoing and re-clecoing) I ended up with a darn near perfectly straight skin! Once I had the top side of the skin, I also checked the same on the bottom side, using the same procedure of measuring with the straight edge at every stiffener, and at every station between the stiffeners, including the very ends at the ribs. Things doesn’t always go great, sometimes you get a little too much bend in one section:
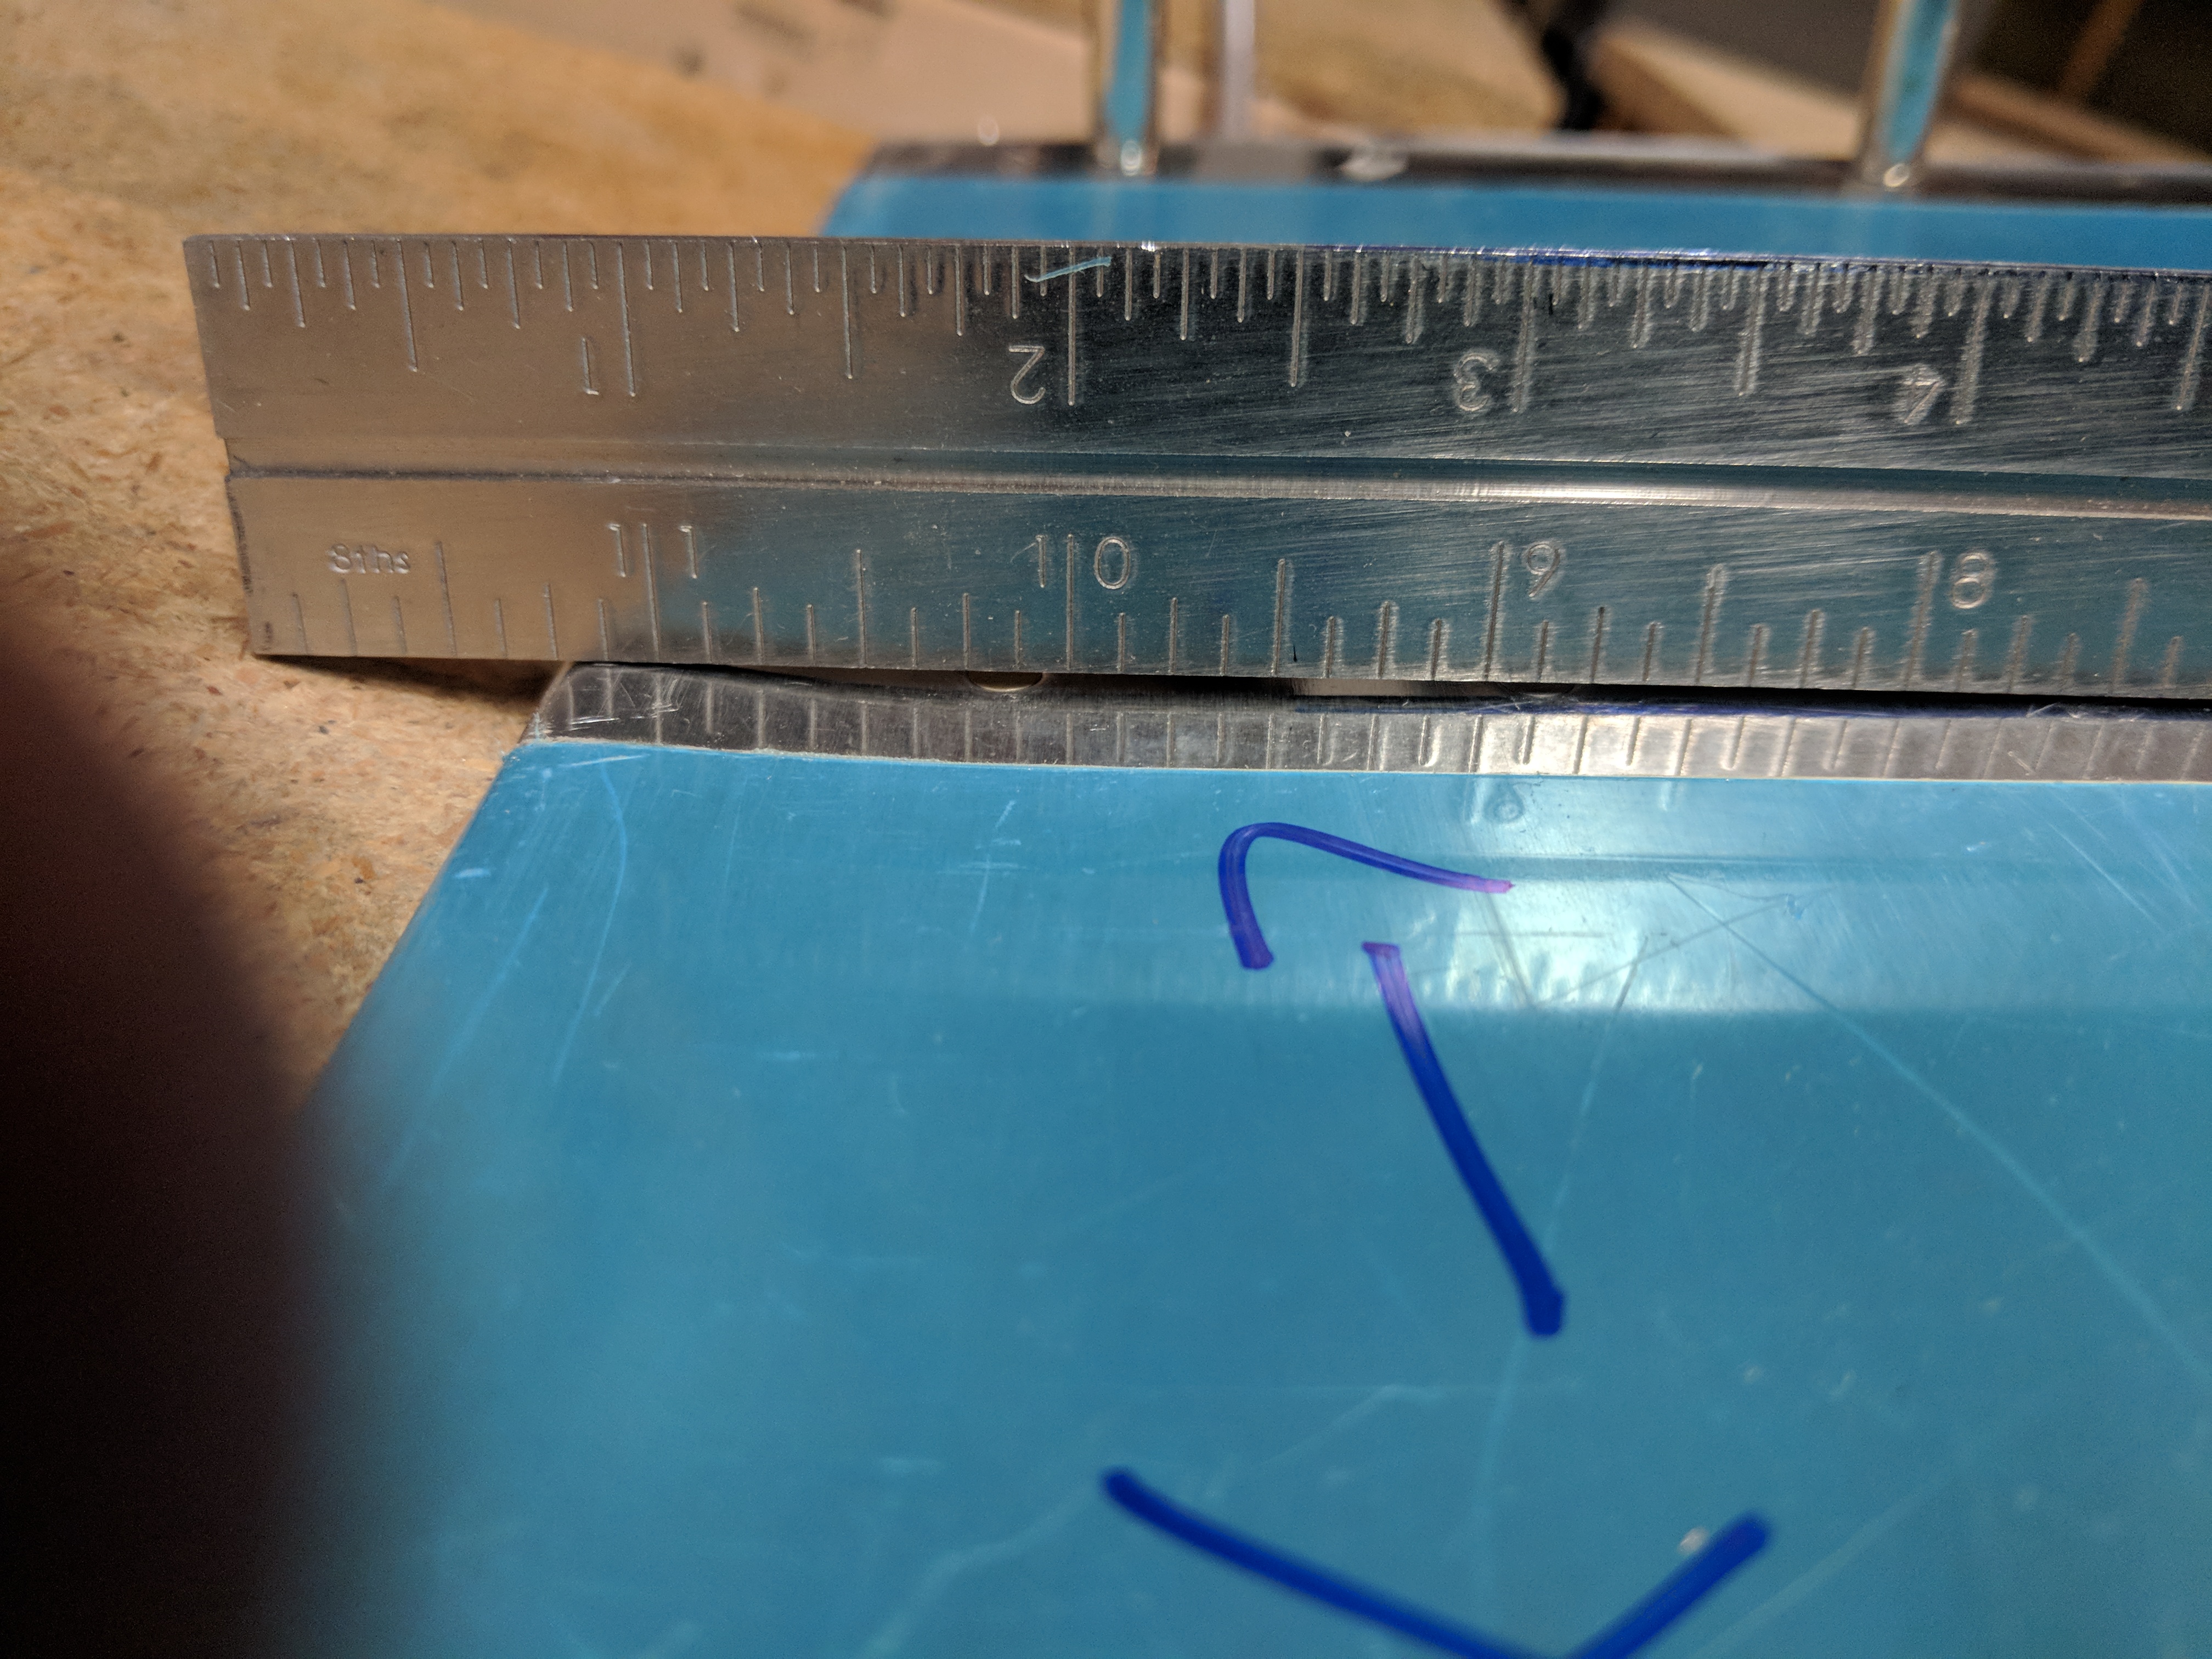
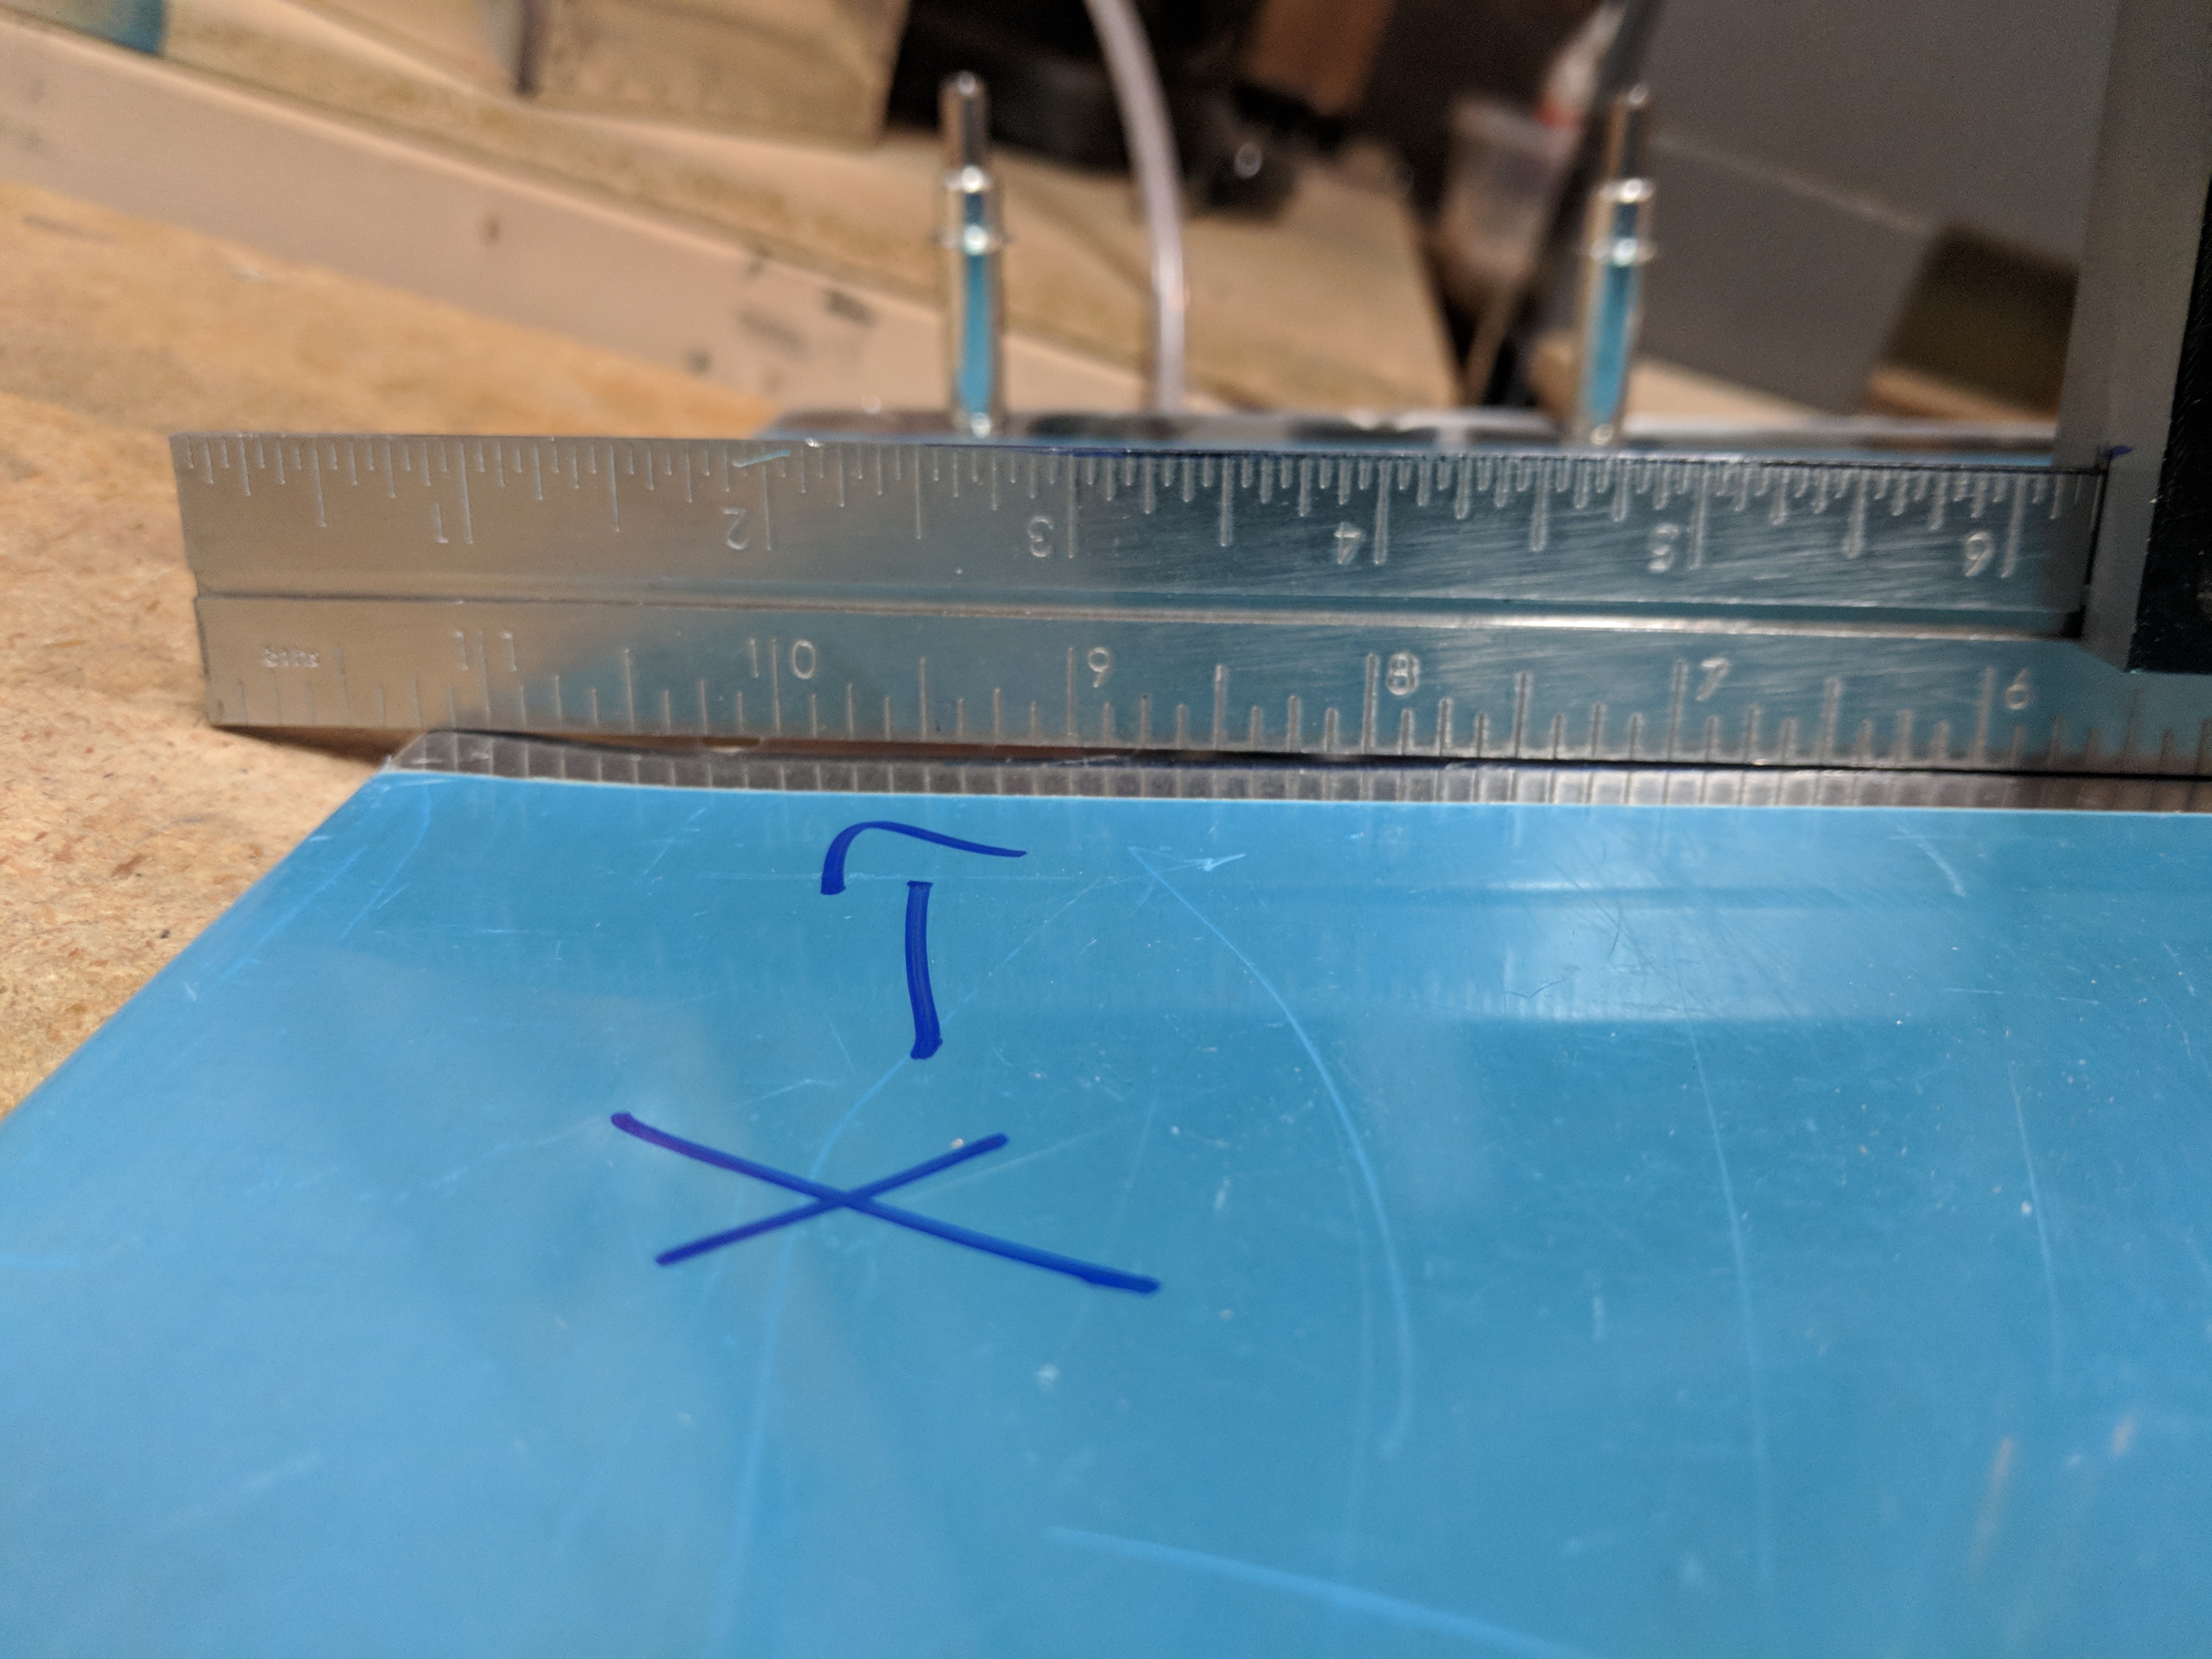
As you can see in the photos above, I got a little overzealous with my bending brake on this aileron (The left one). While the rest of the aileron was fine, this inboard end needed to be un-bent per-se. You can see the little divot right under the straight edge. It isn’t much , but I want to go ahead and get it corrected while its easy to do. So, I removed the skin and use my fingers and a piece of soft scrap wood and ever so gently bent the skins back out (opening the end up a bit) until I had the straight edge sitting perfectly level across these sections. You can see where I marked them with an “X” to keep track. Once I had one aileron bent, it went back on the shelf while I bent its sister for the opposite wing following this same procedure. Now that I have these skins bent, I can move on to fitting and drilling the skeleton to the skins and continue on. I’ll double check the straightness of both of these before final riveting, so I can make any corrections before closing up. Here’s all the photos:


Google Photos Link: https://photos.app.goo.gl/MmT1Pd7YN7GKmYgJ3
Hours Worked: 1.5
Lynn-
This page was a great help for me in bending the flaperon skins for my Zenith Cruzer. Thanks!
-Brian Thomas
Awesome, glad it helped Brian!