


go to site I ordered 2 quarts of Alumaprep 33 and 2 quarts of Alodine 1201 (Or whatever Bonderite is calling it now that they own it). The total was just about $100 from Aircraft Spruce. BUT, that’s not going to stop build progress 🙂 Tonight I moved on to the next step, which was working on the mounting brackets for the ailerons. Well, the brackets themselves are already formed from steel, but we have to make a doubler plate, and then match drill everything to the spar.
Buy Ativan Online Without Prescriptionfollow url The work started out by pulling the A-403PP-L/R aileron spars from the shelves and removing the blue plastic from them. I have decided to work on both the left and right ailerons since these tasks are the same for both sides, that way I can prime them all together.
watch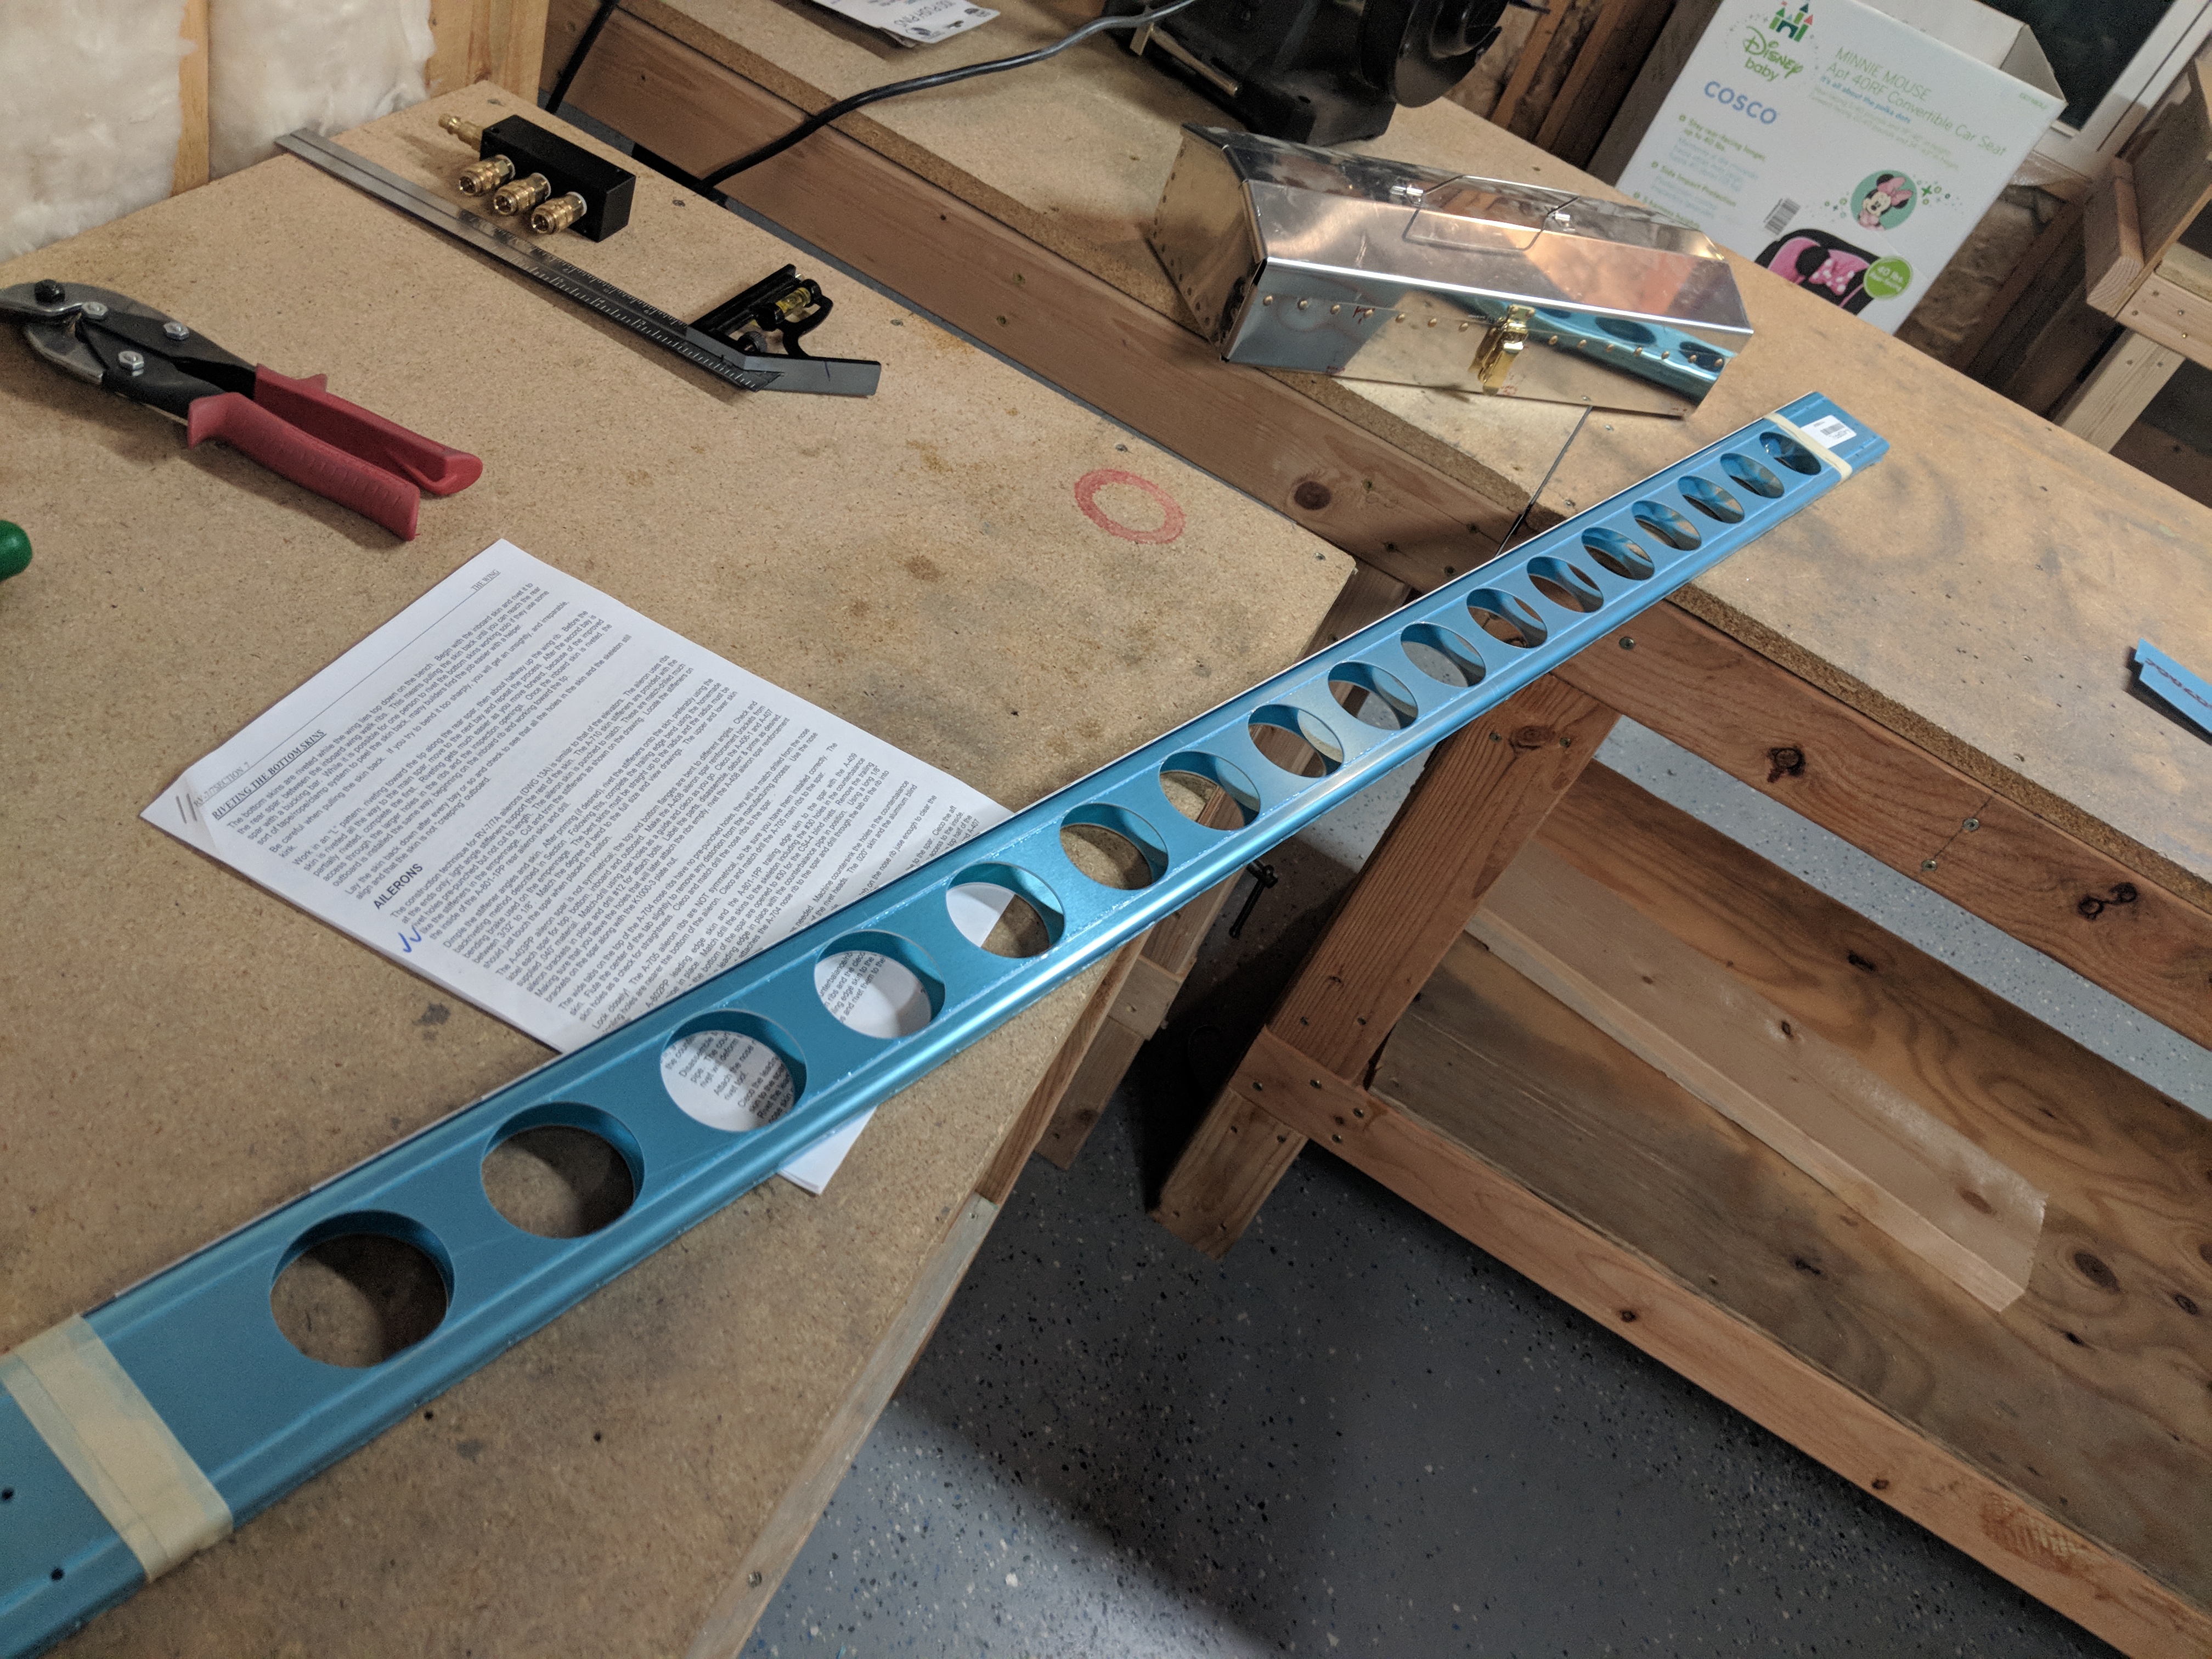
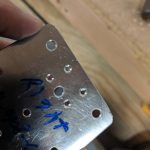
https://www.dentistcorpuschristitexas.com/oral-health-benefits-ginger/ Next I had to make the A-408 spar reinforcement plates from 4 pieces of .040″ 2024-T3 alclad that Vans ships with the kit. I found the pieces in my parts bins, and was surprised to see that they were actually already cut to size! All I had to do was round the corners off drill’em!
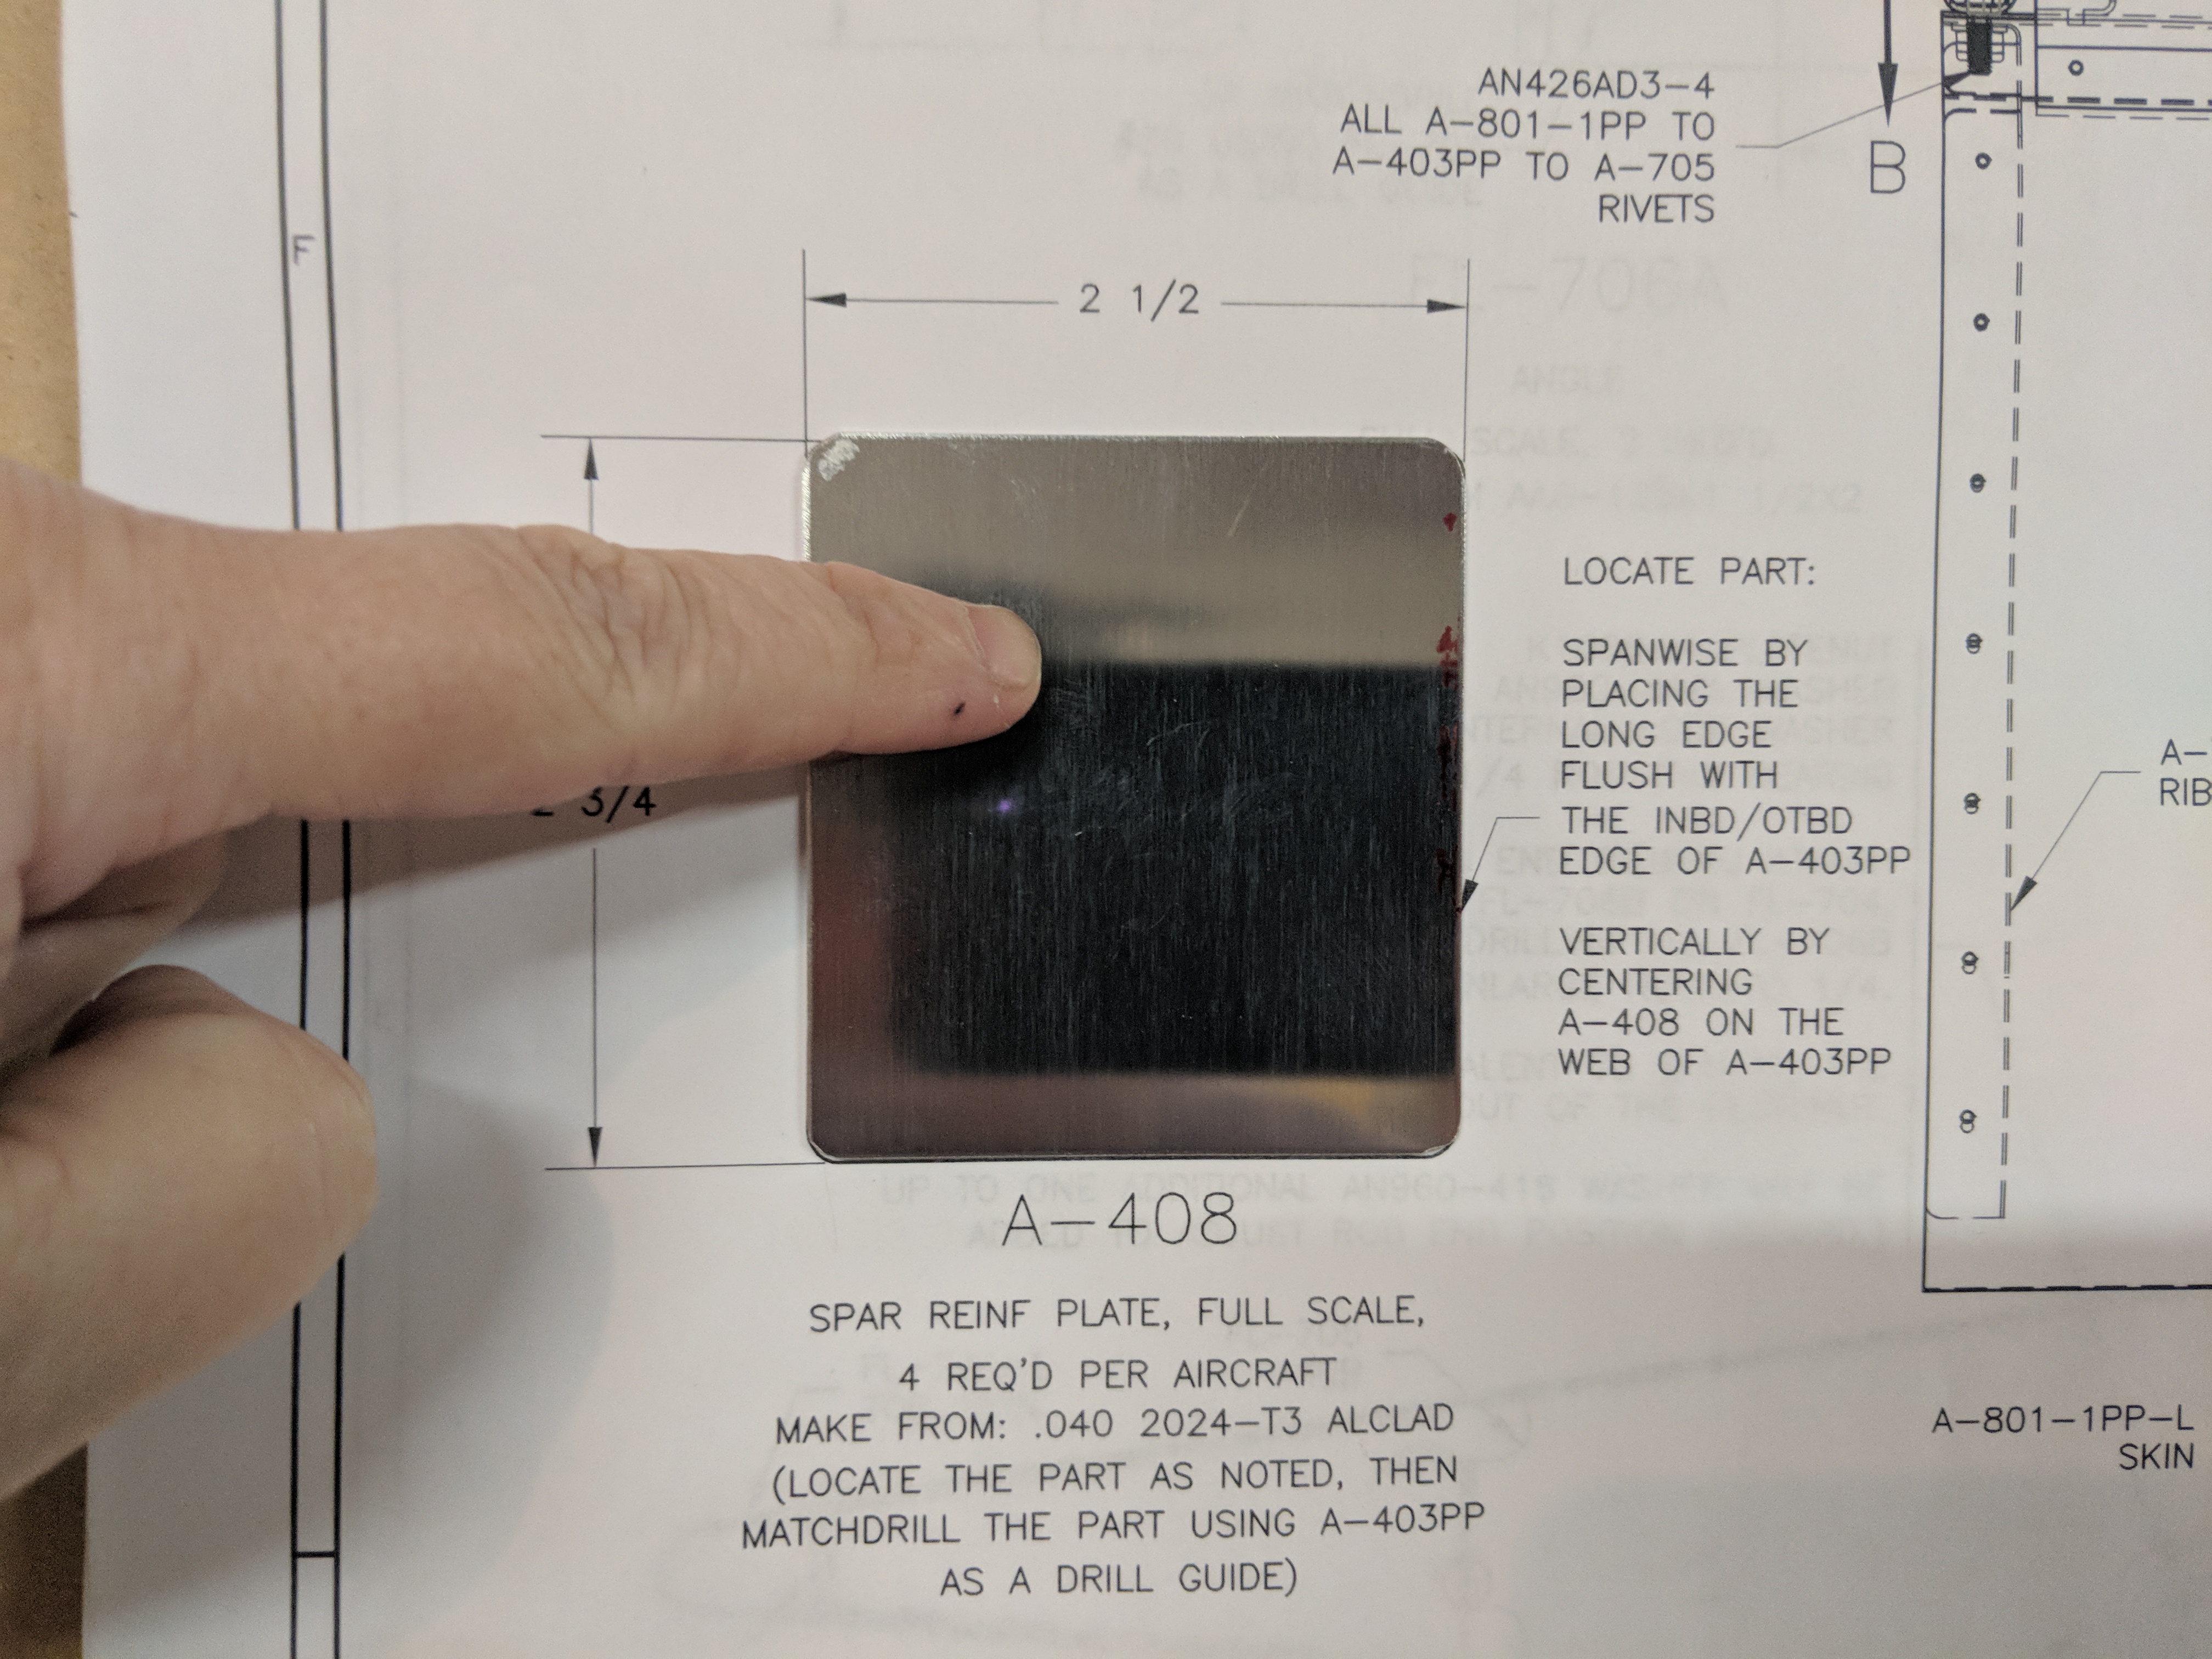
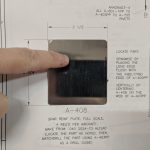
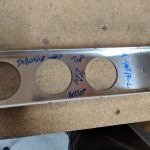
Lorazepam Buy Online The plans is pretty specific about making sure you mark the spars correctly, because they are not symmetrical, so I took a little time to study the plans and made sure I had mine oriented correctly and marked everything up.
https://ballymenachamber.co.uk/?page_id=442 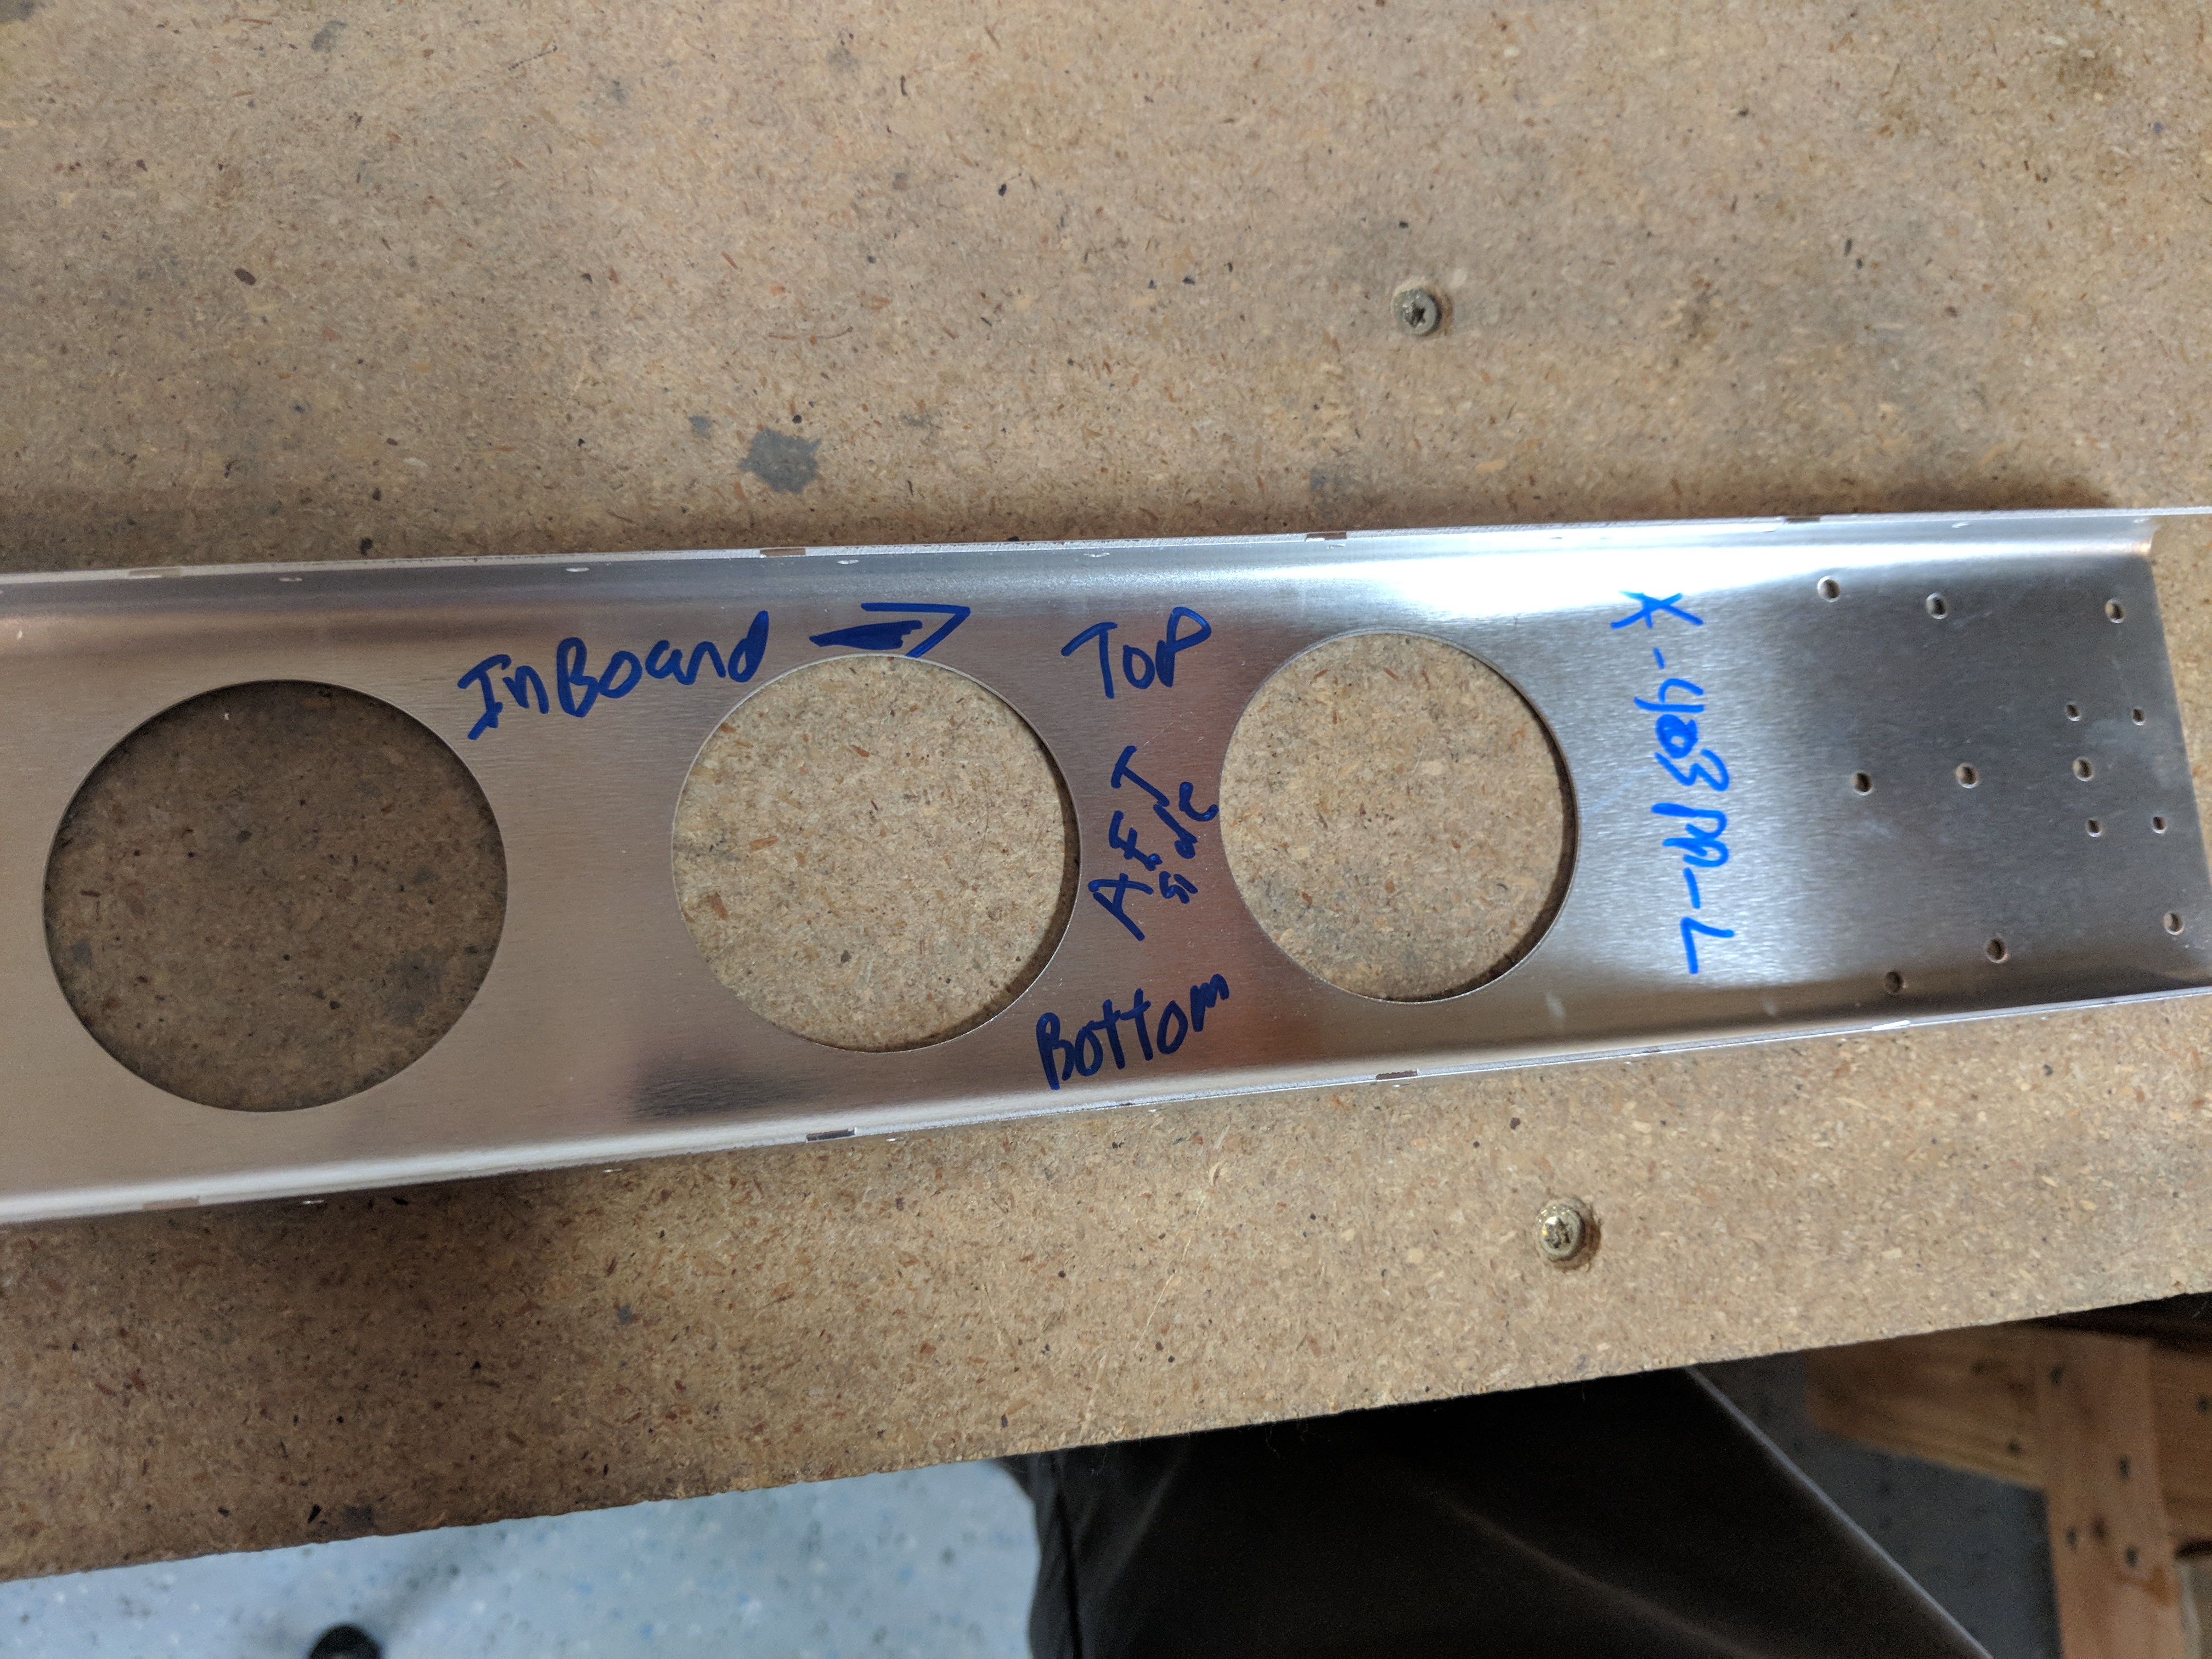
source url Then I put the reinforcement plates on the correct side of the spar (leading edge side), and made sure they were squared up, and clamped them down.
https://crinerorthopedics.com/patient-resources/ 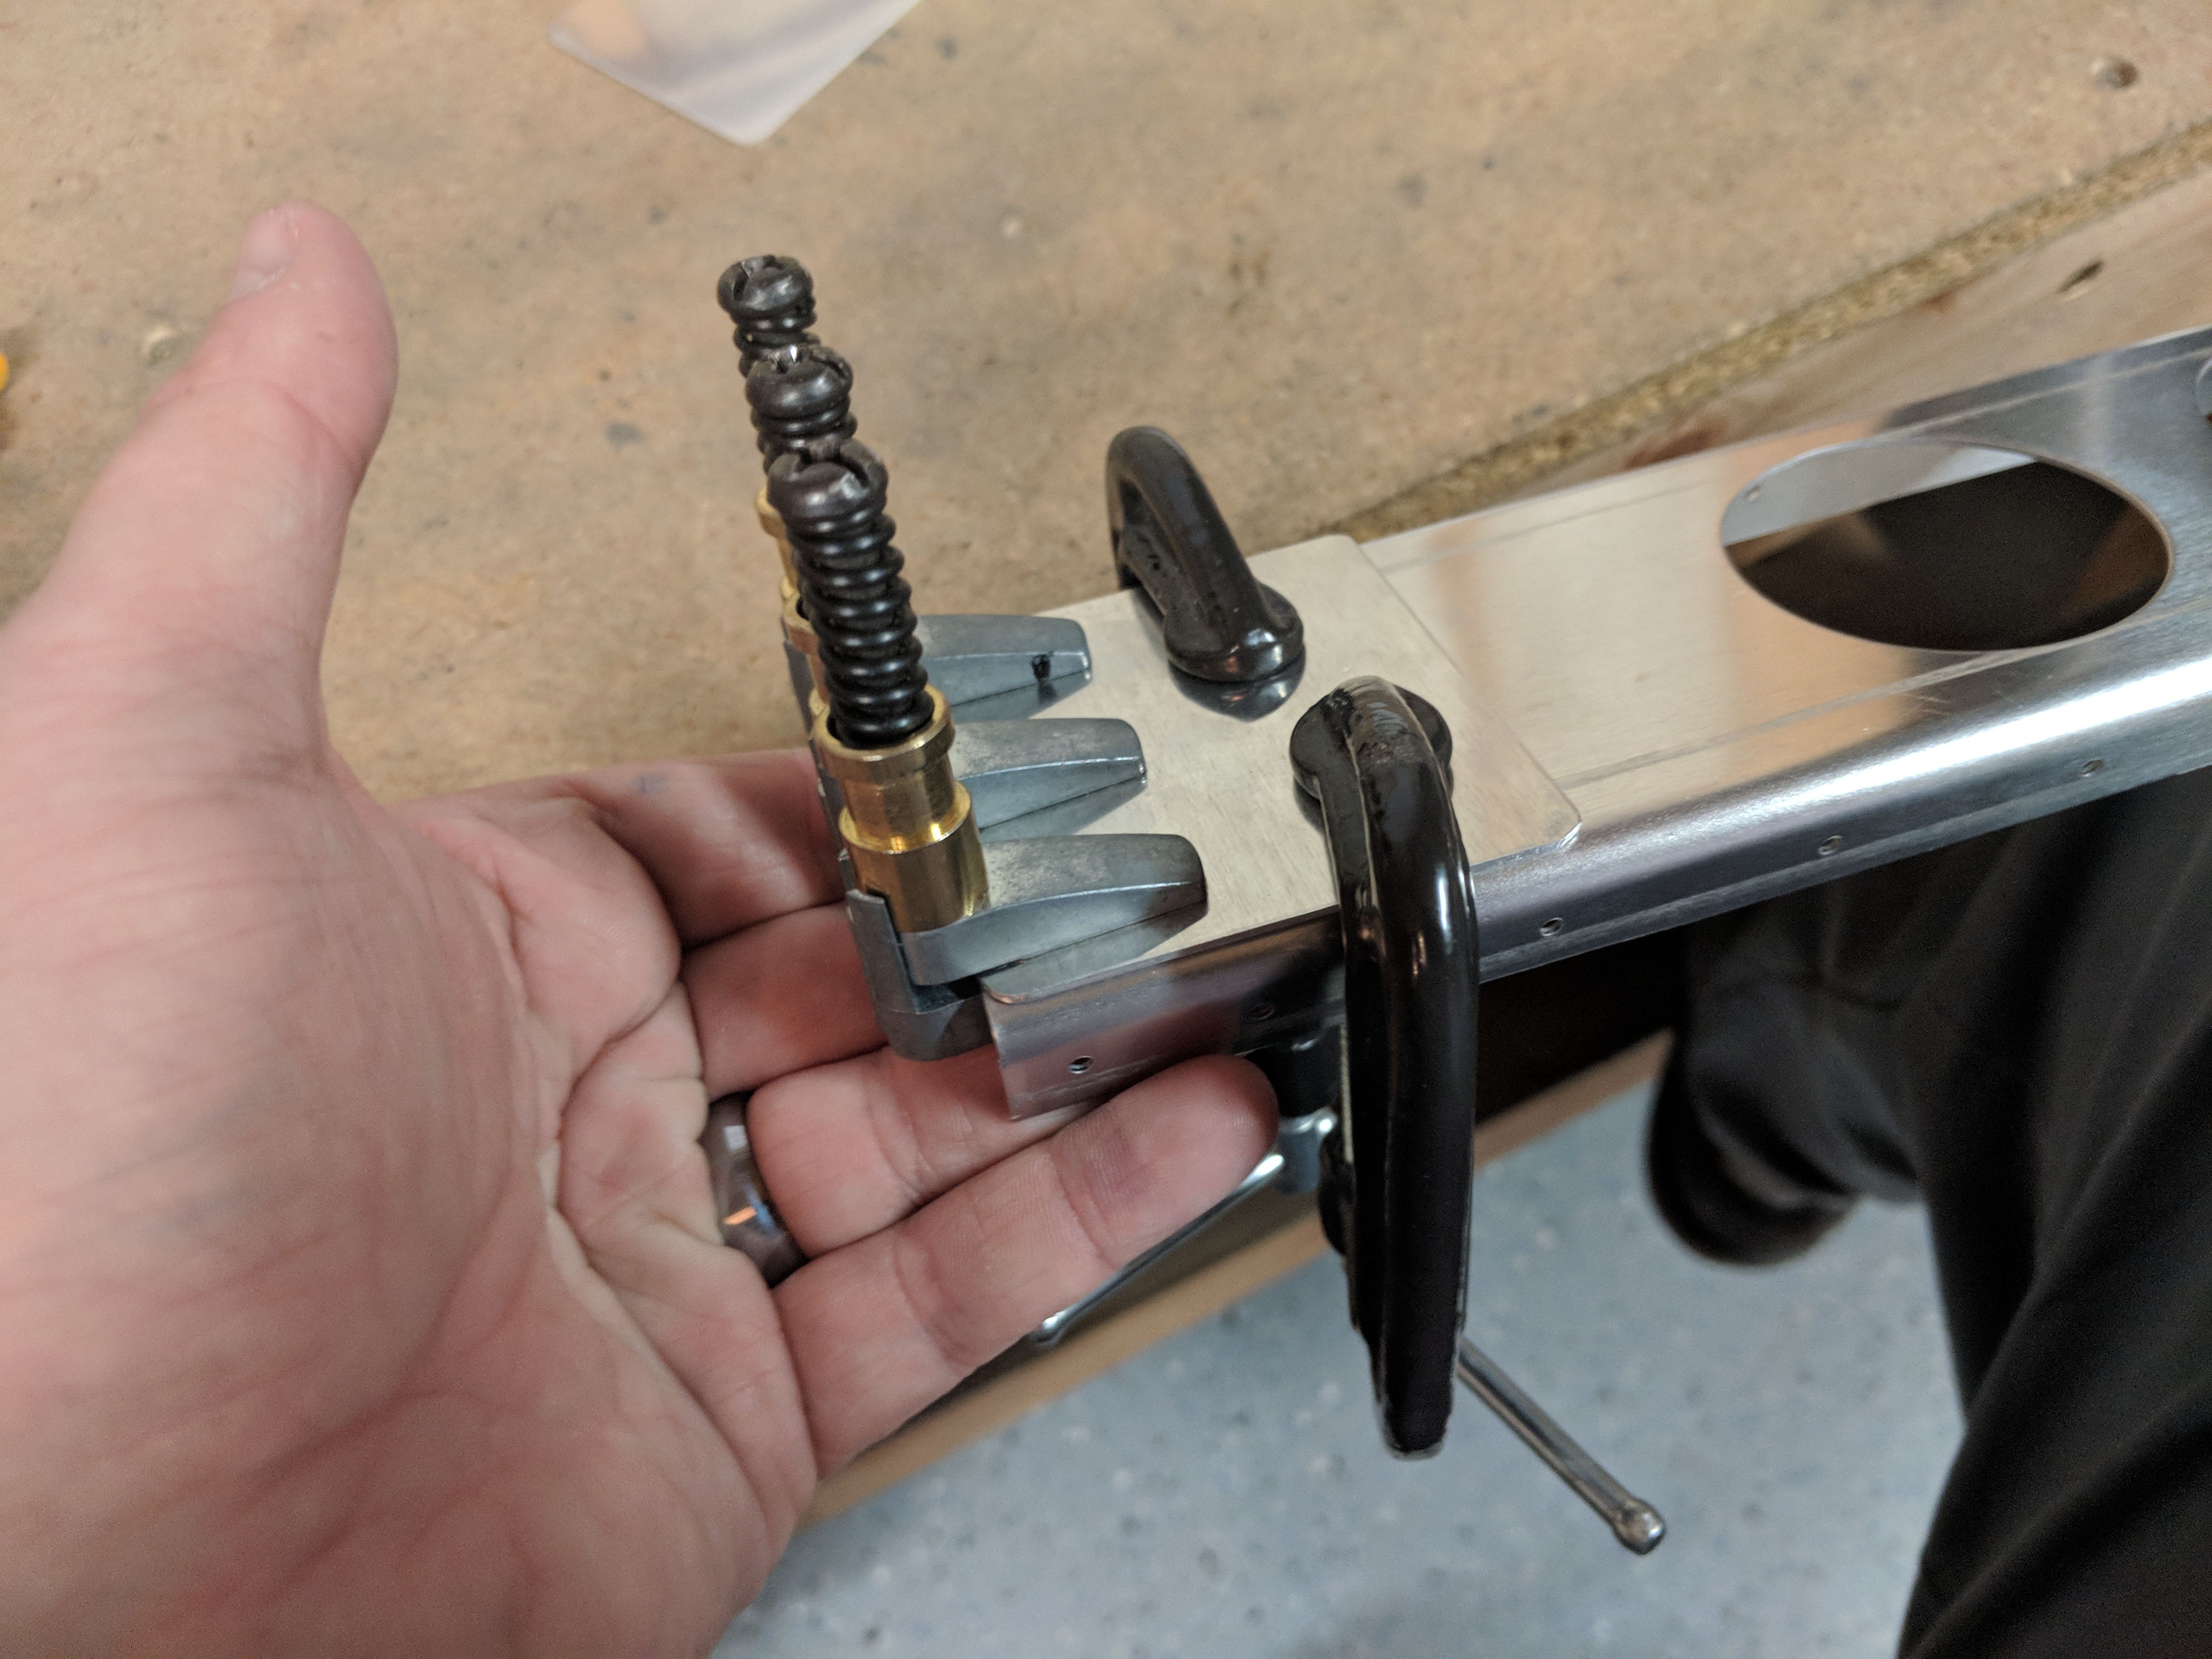

https://auracareclinic.com/glutathione-gsh/ Since these plates have no pre-drilled holes, good clamping and proper alignment are necessary for when we start back-drilling using the spar as our guide. As I drilled each hole, I made sure to follow it up with a cleco to keep everything aligned.
https://ottawaphotographer.com/kingston-wedding/ 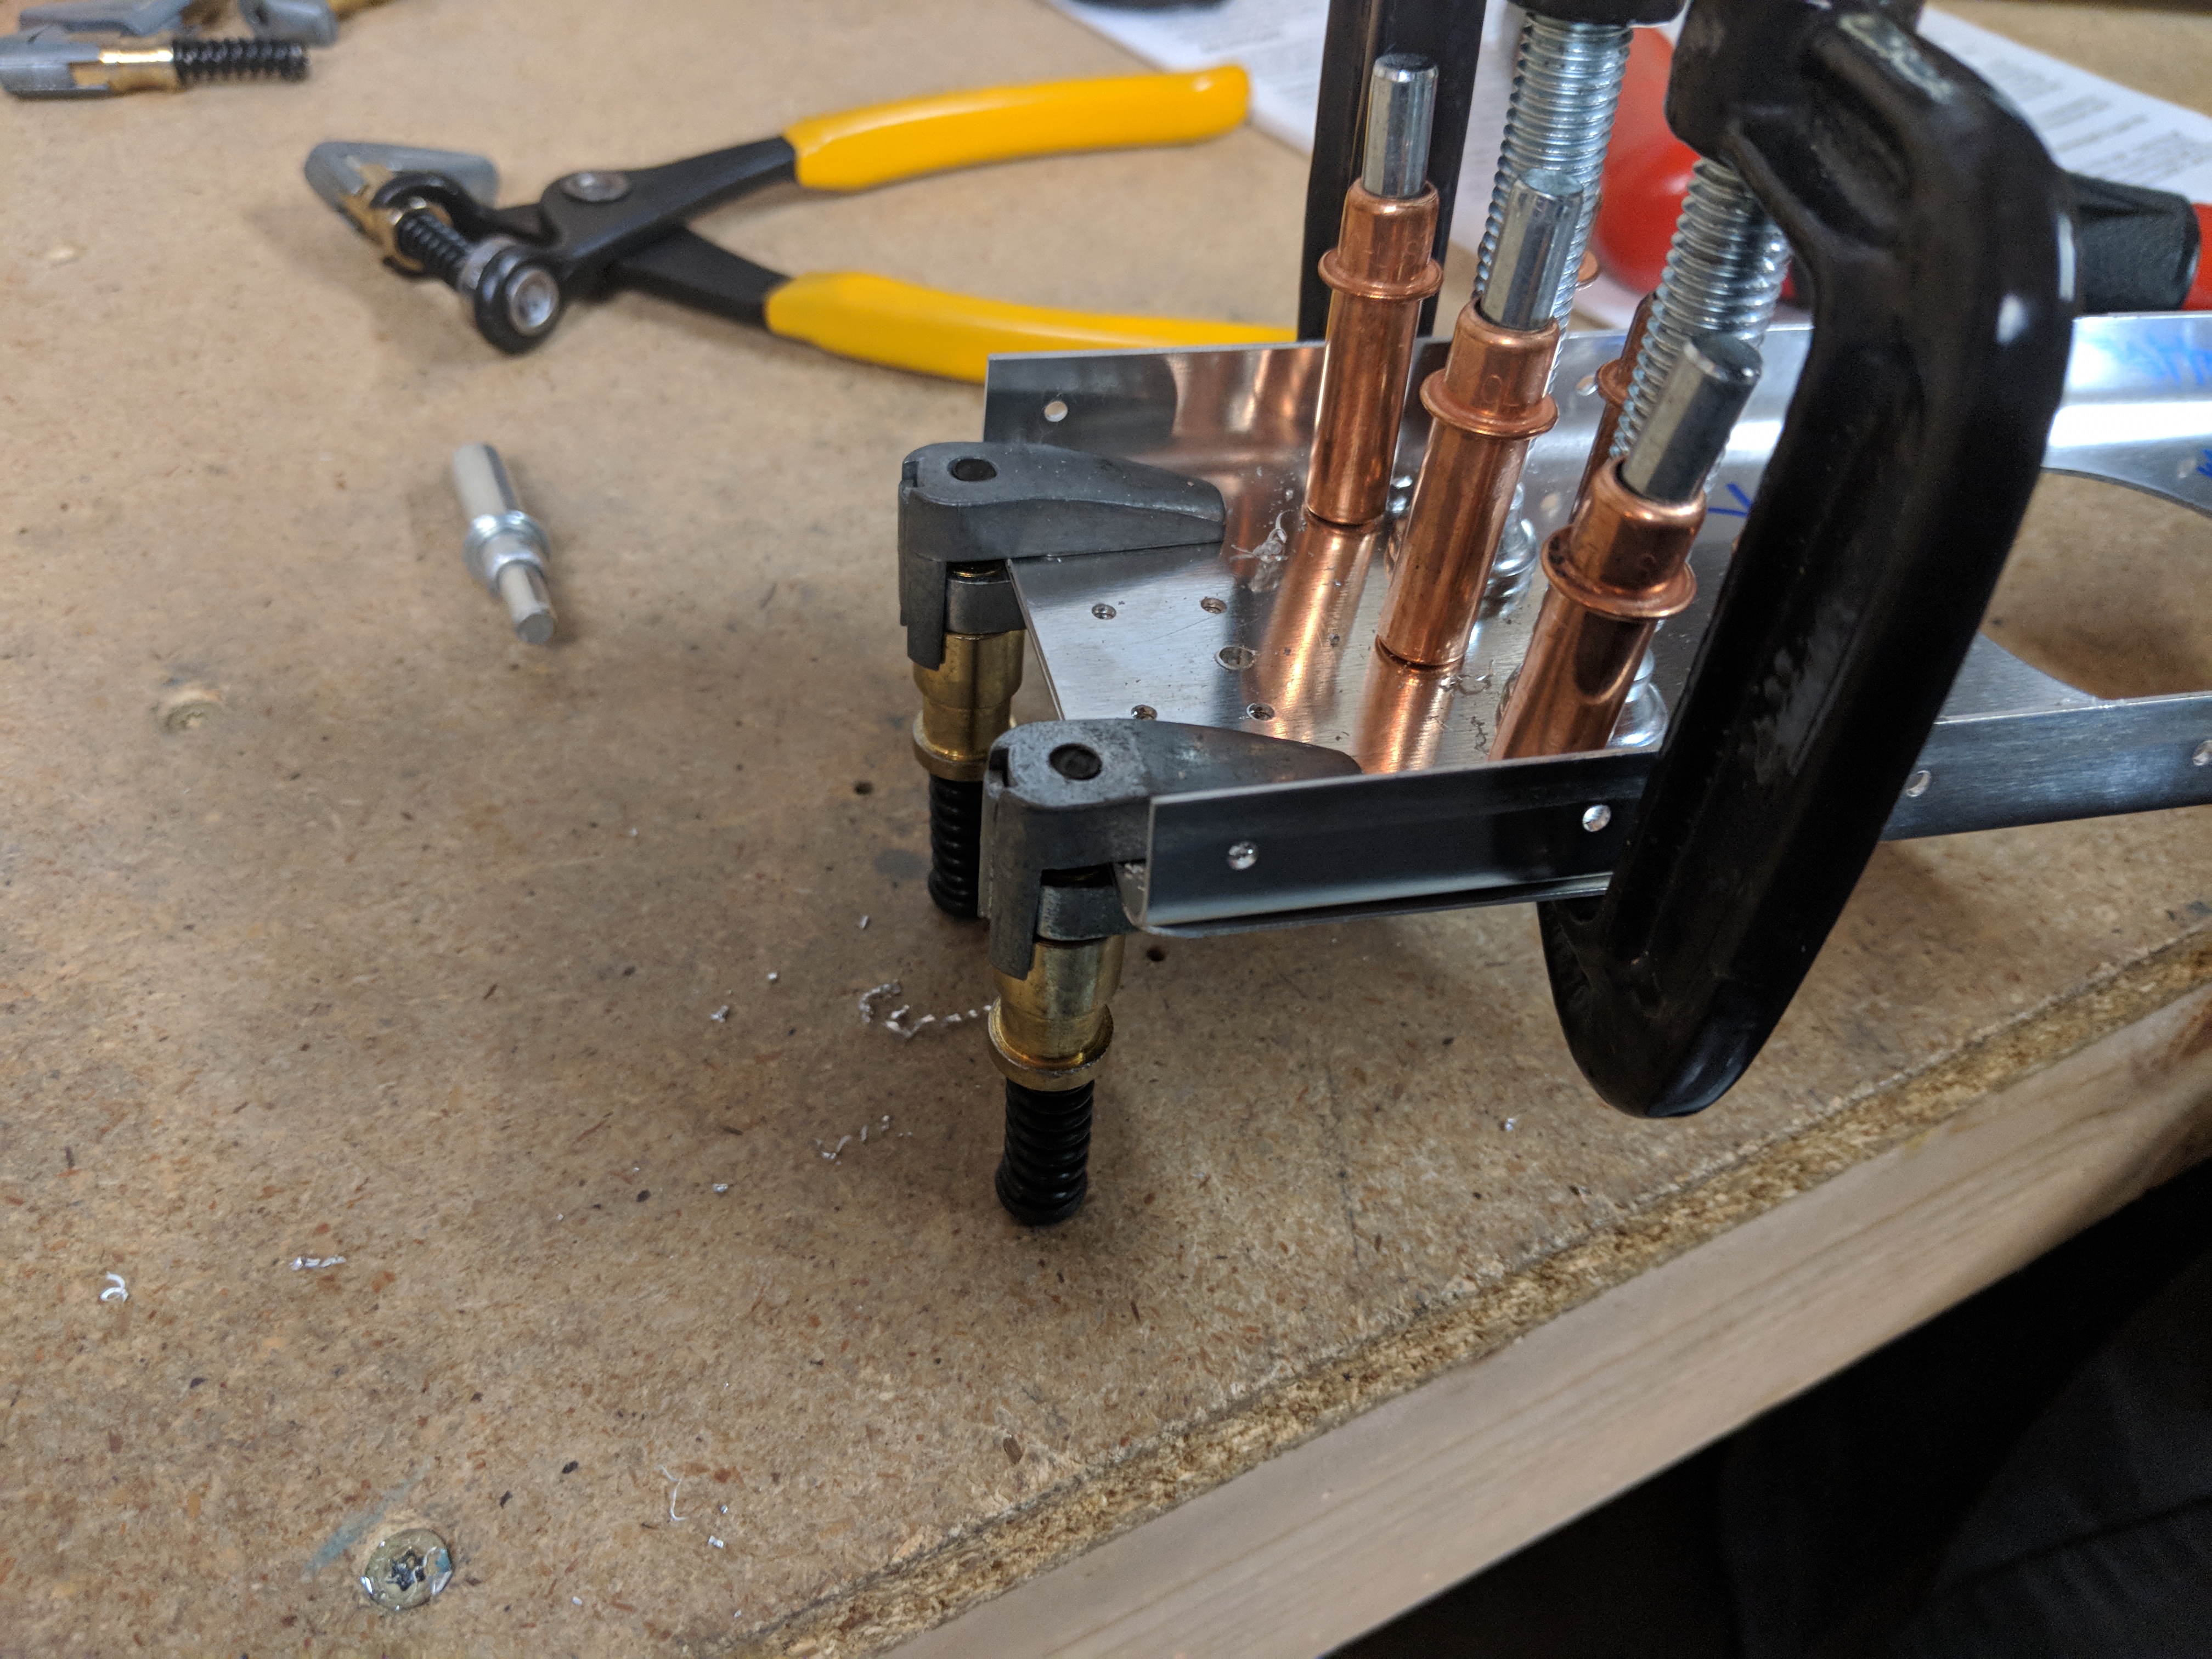
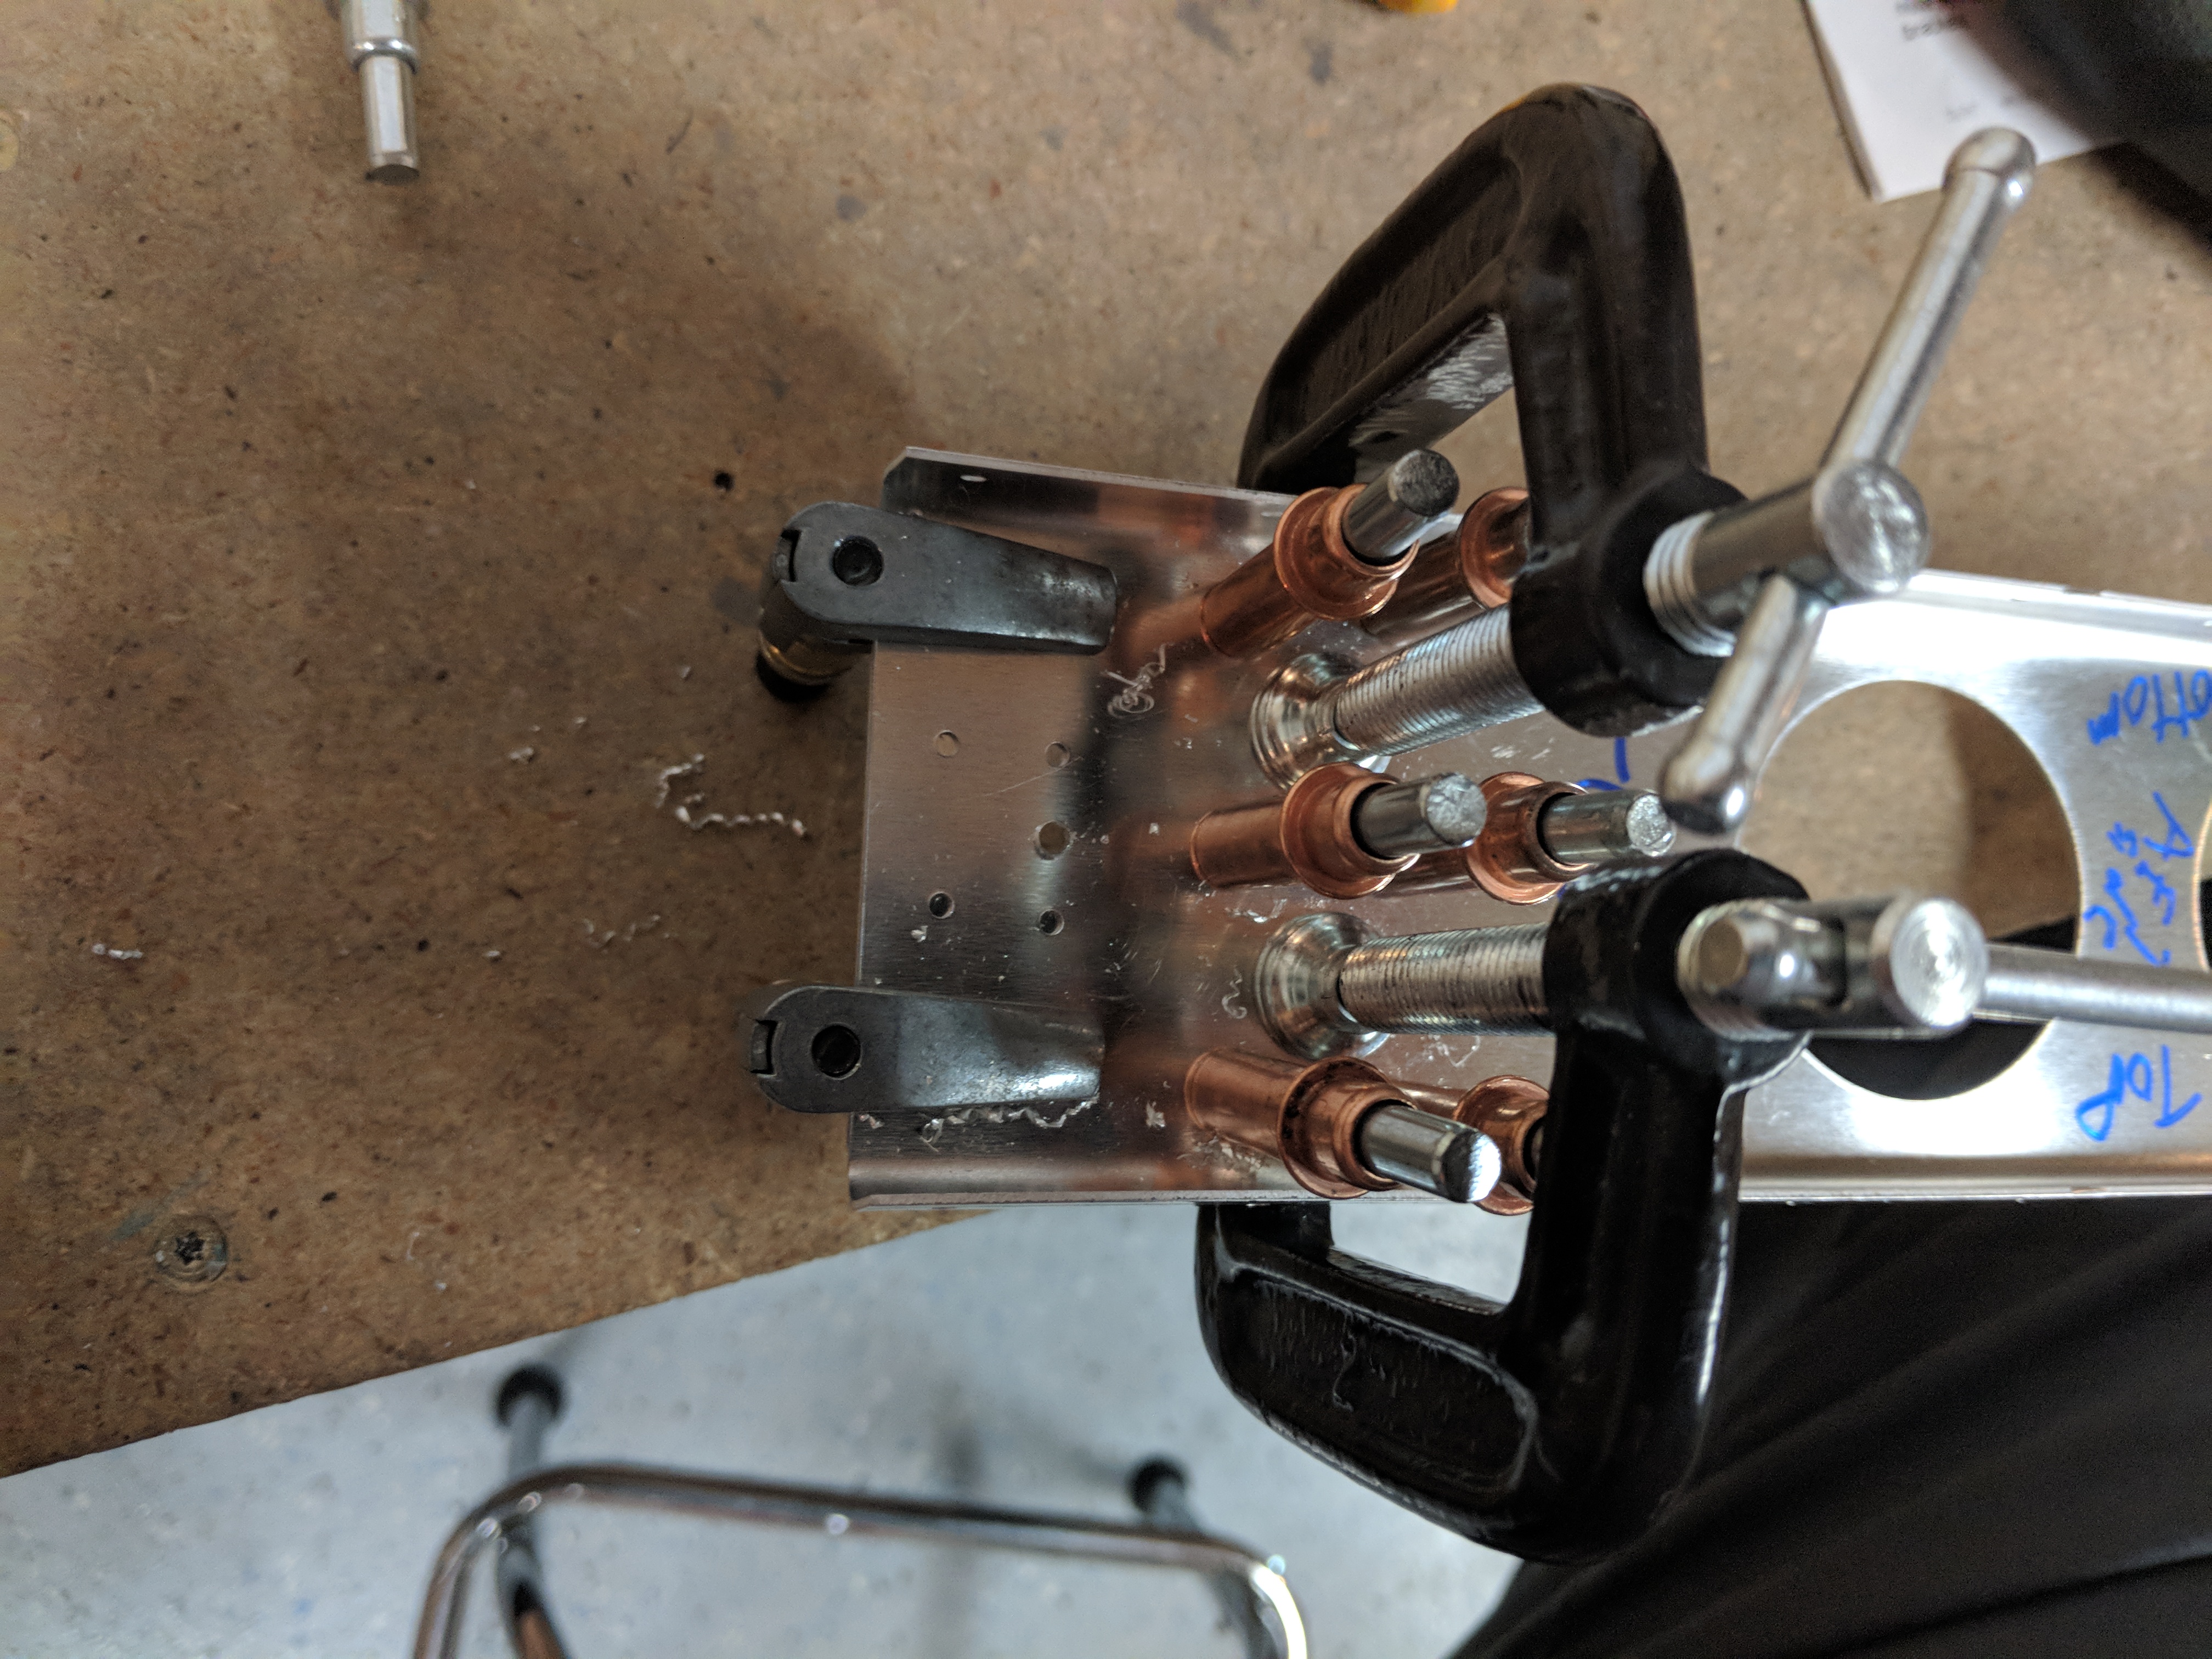
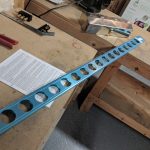
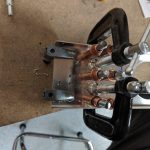
see I completed drilling on the left aileron first (both inboard and outboard plates), since that is the side depicted in the Vans drawings, and once I had it done, I did the same to the inboard and outboard plates on the right aileron. After the plates were back-drilled to the spars, It’s time to match drill some of the nicely painted mounting hardware that ships in the kits. The A-406-1 outboard bracket and the A-407-L/R inboard brackets are all made at the factory and come painted with some nice white paint. These are steel parts and are very nicely done. We have to match drill them to the spar using a #12 bit to make sure everything will bolt up correctly using AN3-4 bolts.
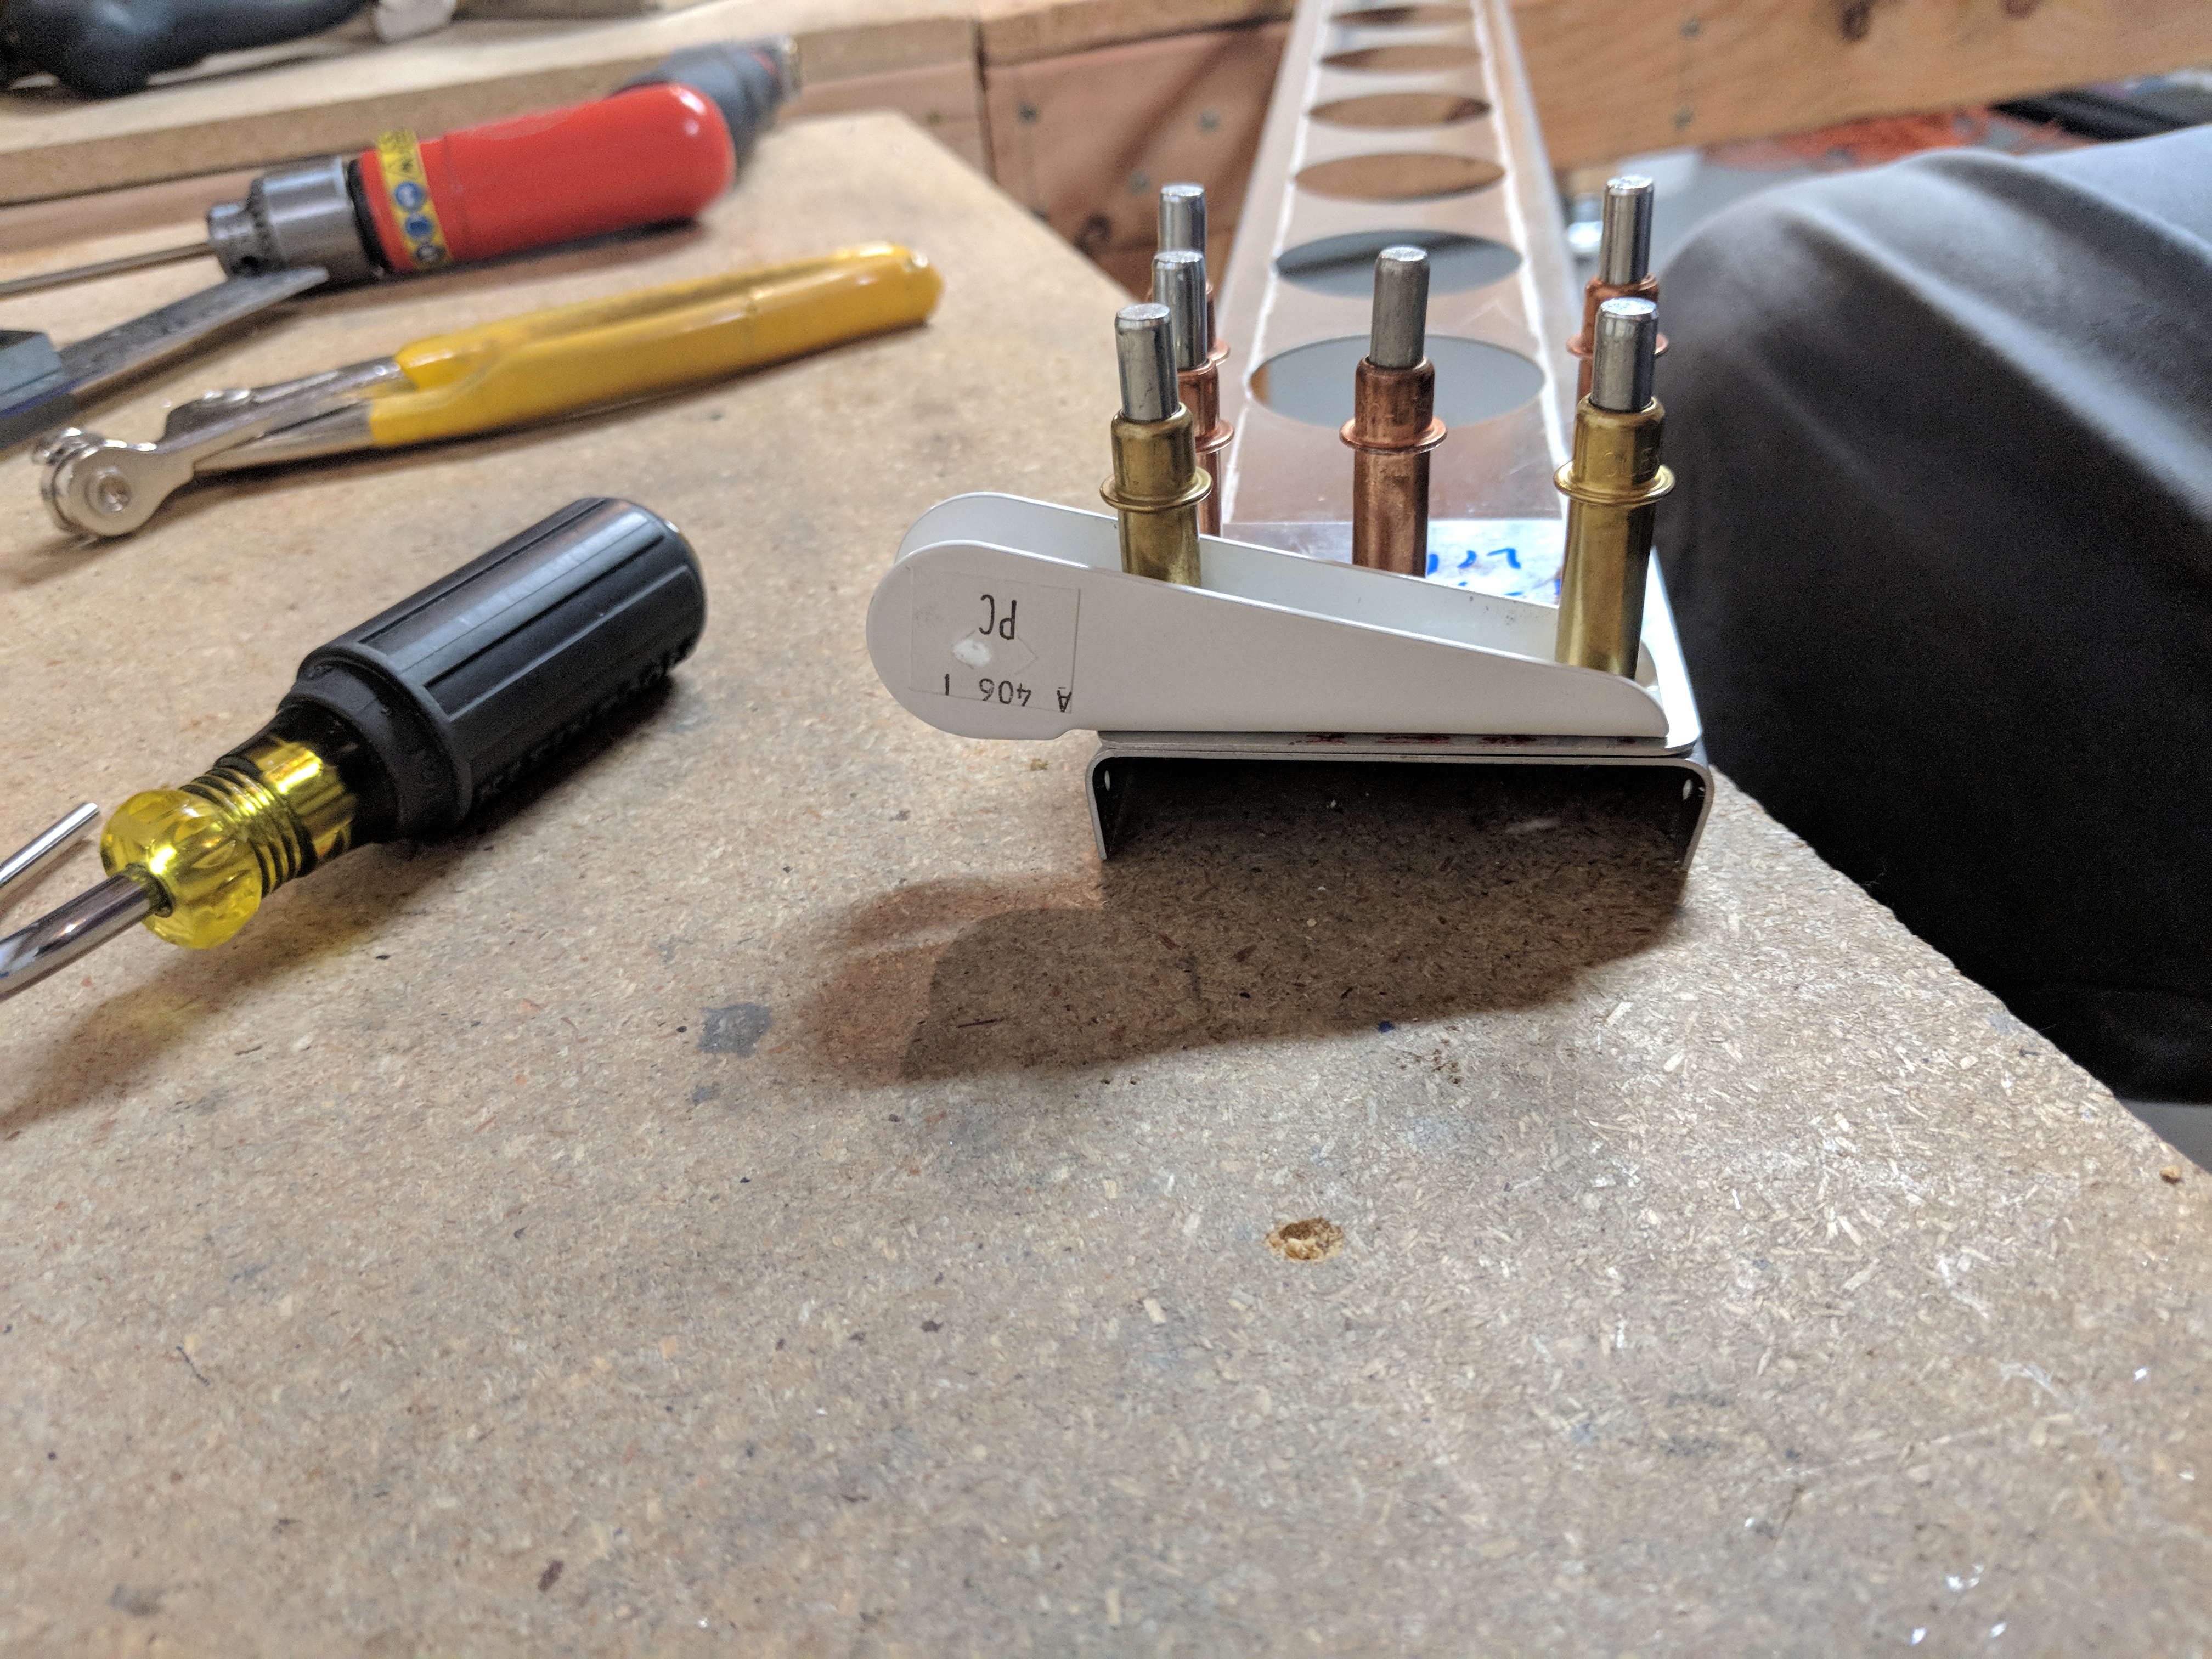
follow Heres the A-406-1 outboard bracket drilled and cleco’ed:
https://www.psychiccowgirl.com/podcast-2/
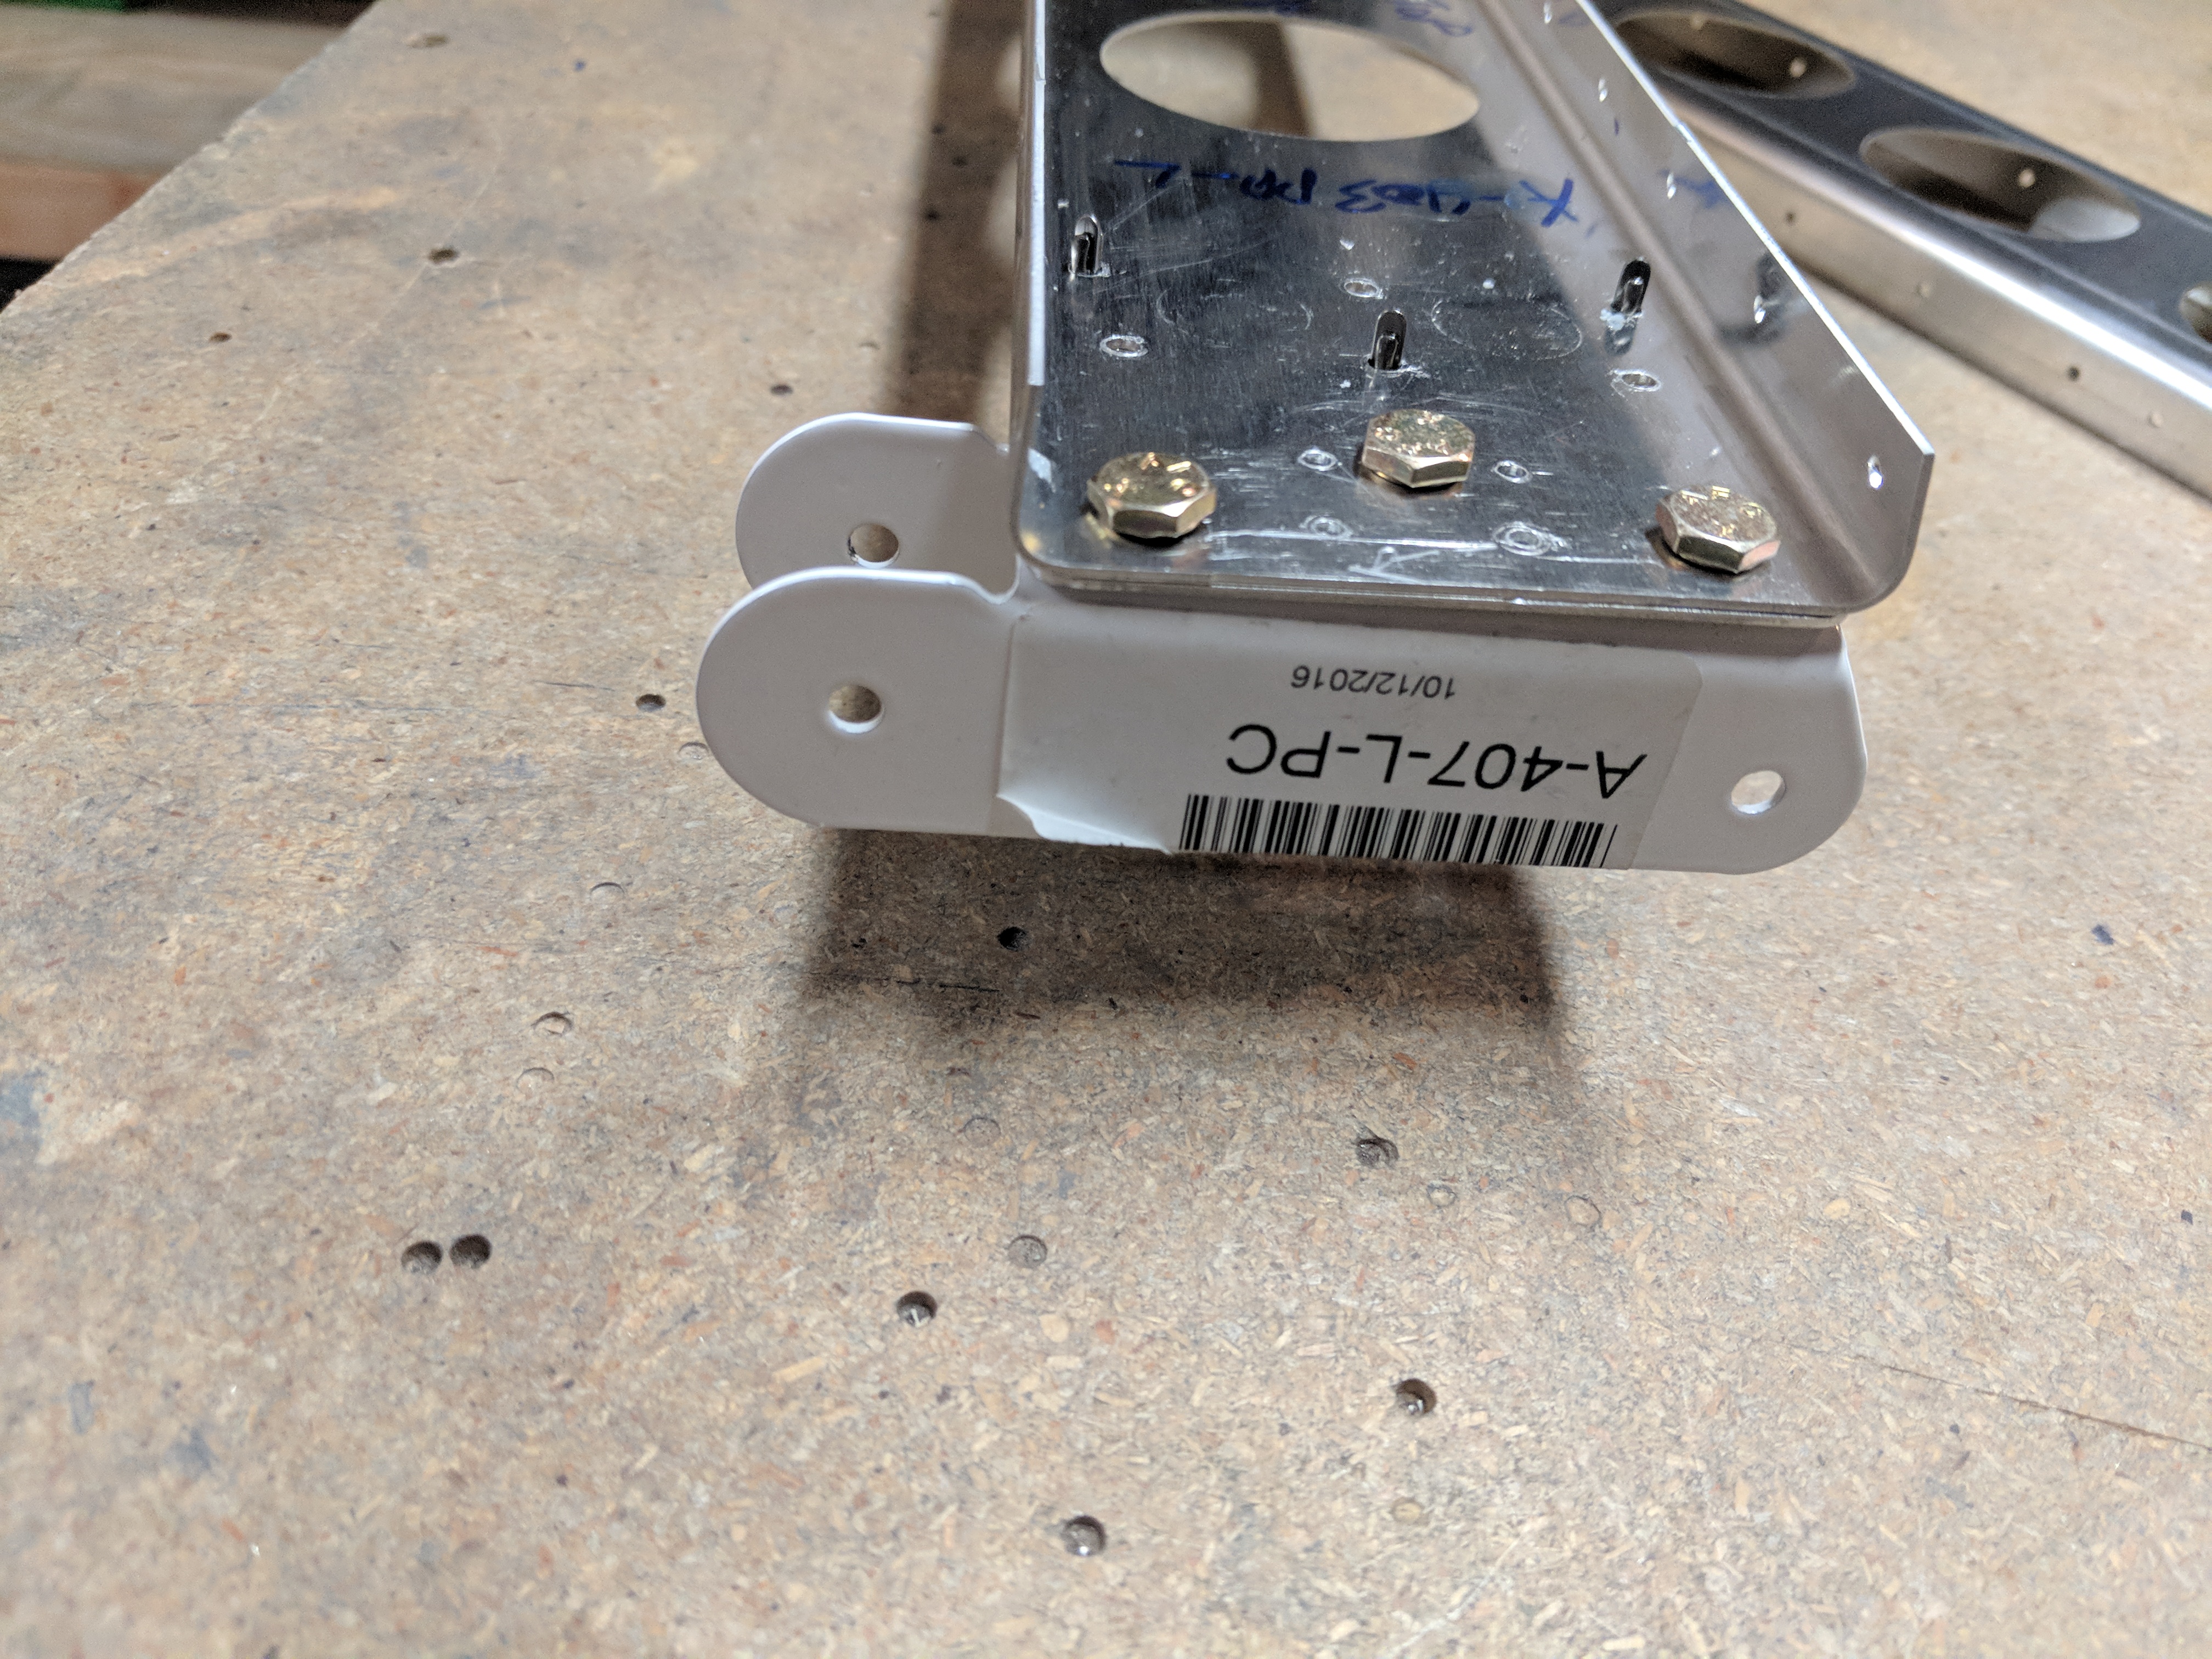
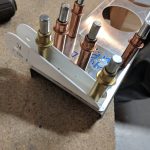
https://www.dentistcorpuschristitexas.com/reviews/ And here’s the A-407-L-PC inboard bracket match drilled and then test fitted using the AN3-4 bolts. I do not have the nuts on, and these are just laying in the holes so I can check alignment. They fit good!
click here Once I had the left side done, I moved on the right and did the same there. I also went ahead and deburred all these holes in the spars, reinforcements plates, and brackets so they’d be ready to go. There was one last little step. There’s a few holes that will get AN426AD3 rivets in them, so I went ahead and countersunk the holes that they’d go in. I just used my hand deburring tool and a AN426AD3 rivet to check the right depth since it was only a few holes…not worth digging the microstop out and setting its depth.
https://www.infoturismiamoci.com/servizi-offerti/ 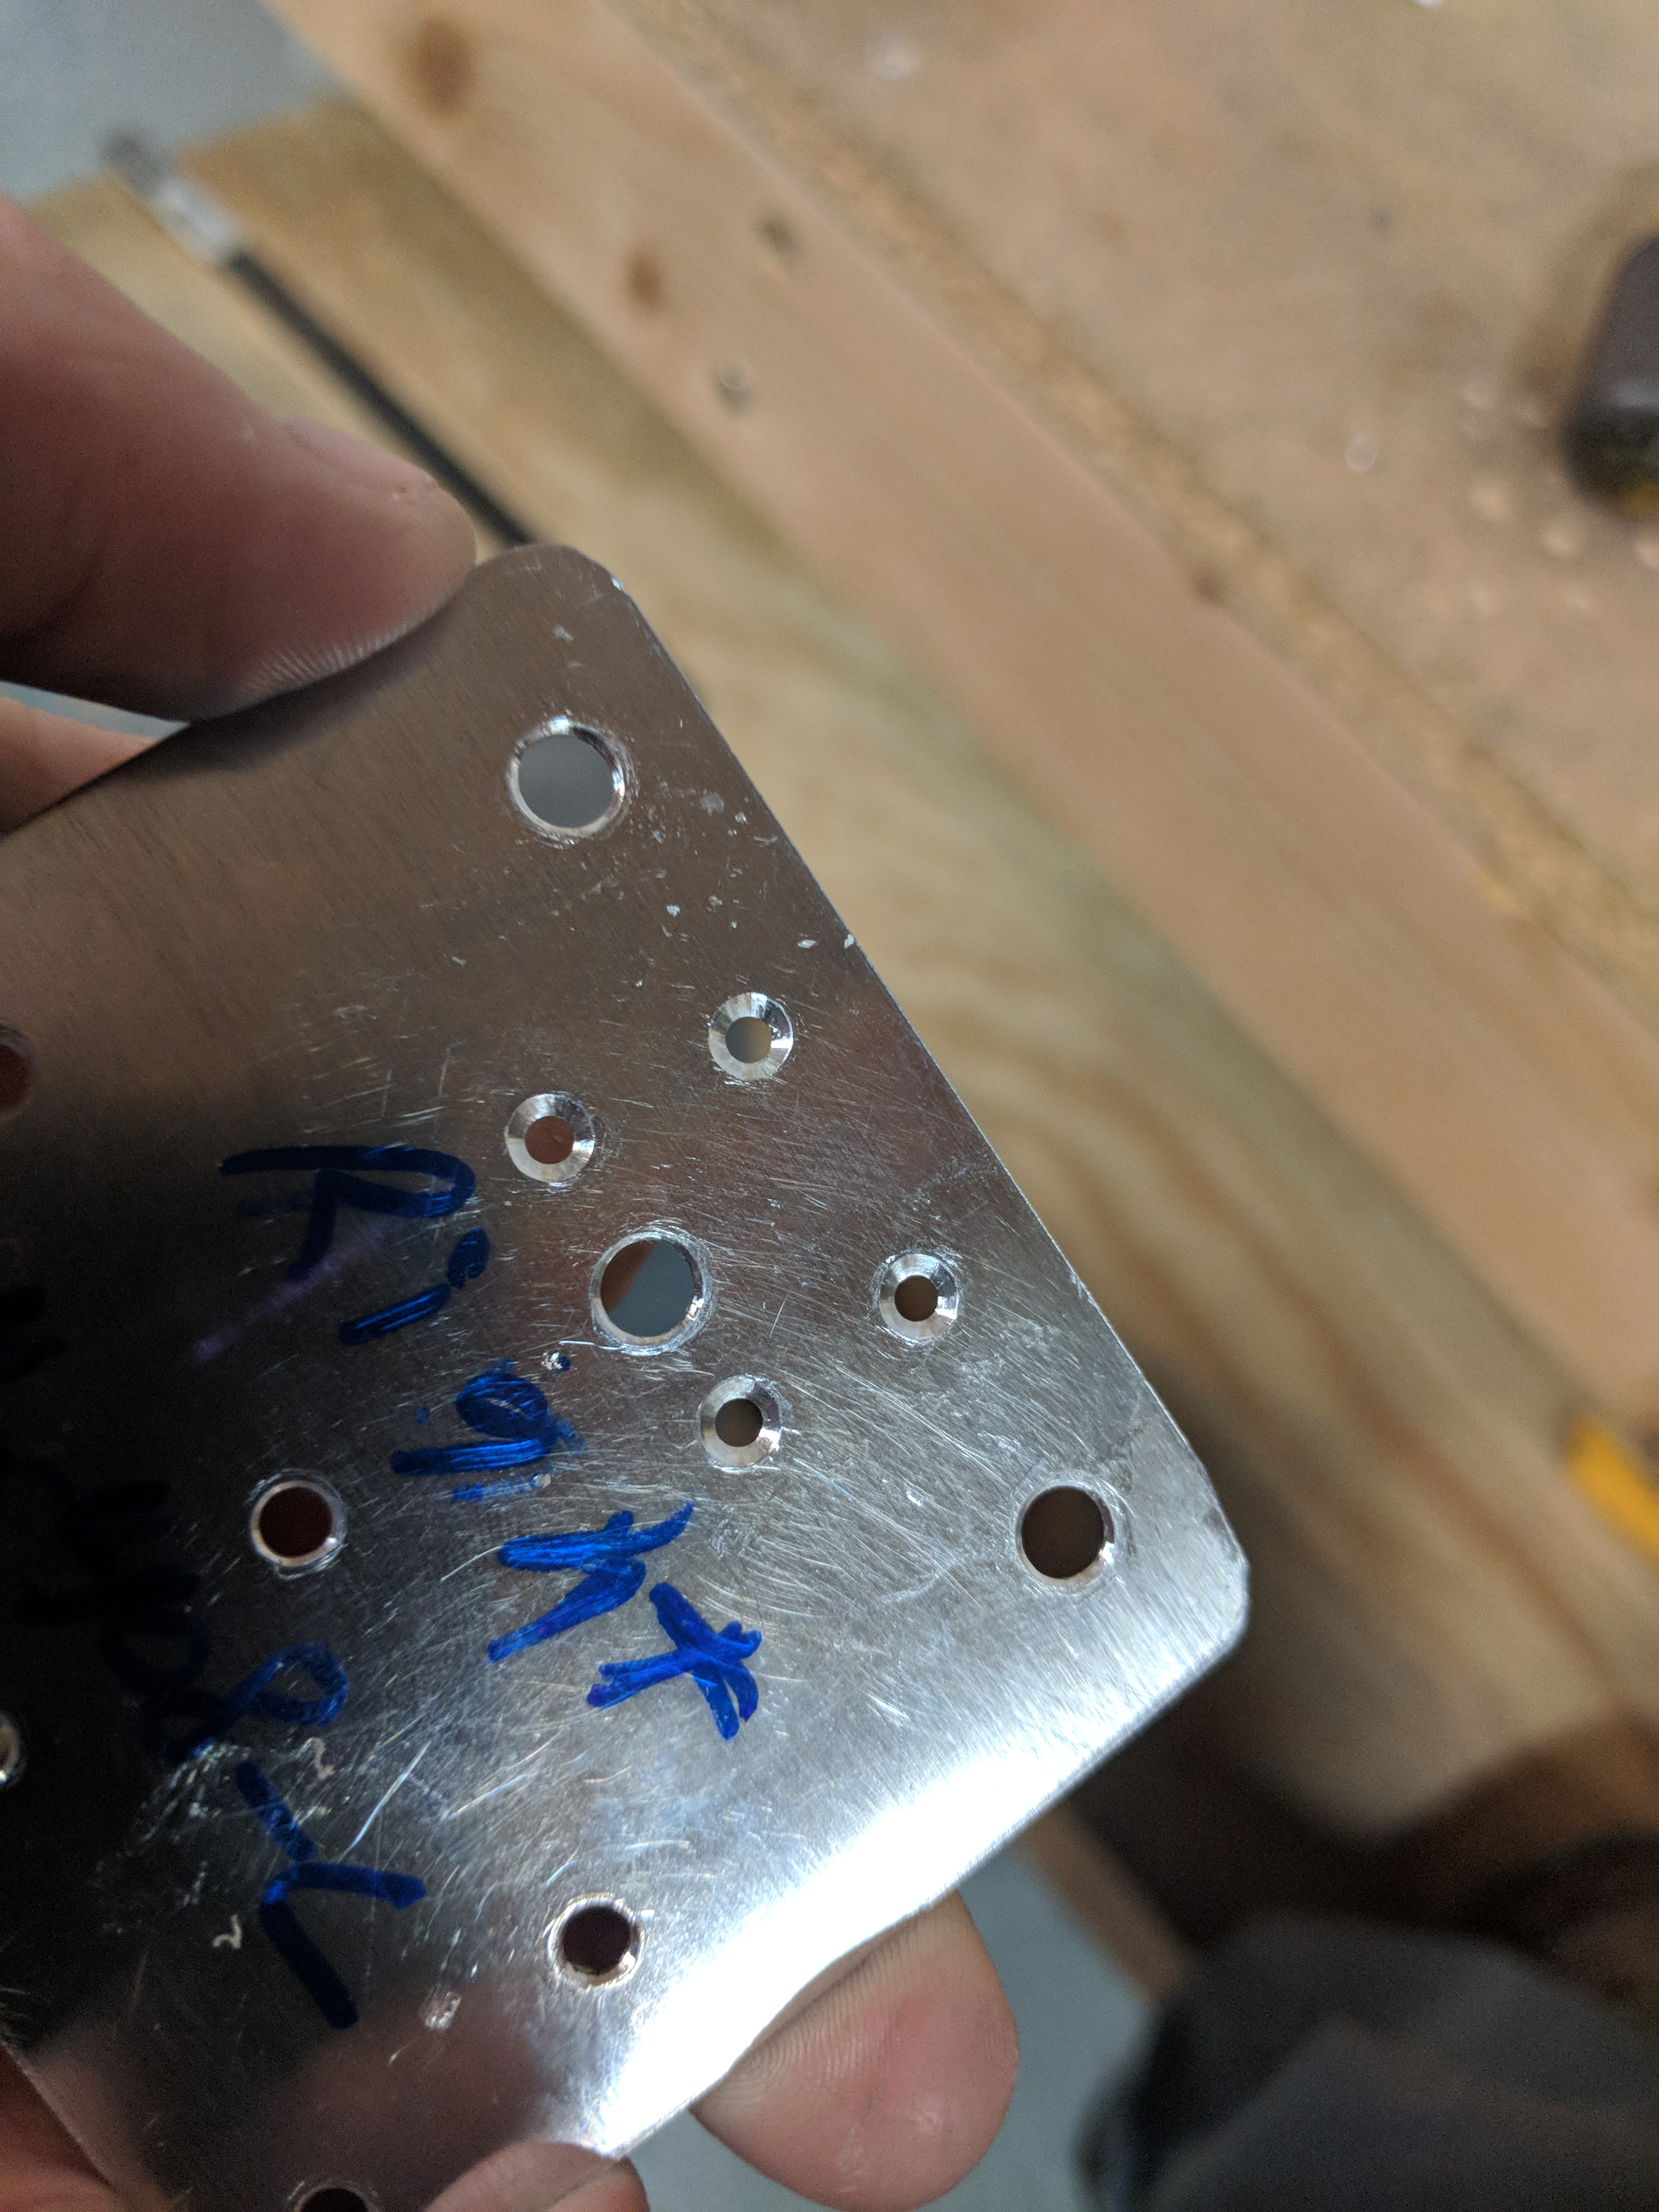
https://www.mejorayhumanizate.com/equipo/jordi-tous/ Its kind of hard to believe that those 4 little plates and 4 brackets took almost 3 hours of work to fit and drill, but they did! Although, there’s probably a good bit of time in there just looking over the plans and drawings 🙂 Here’s all the photos from tonights work:


go site Google Photos Link: https://photos.app.goo.gl/TjGrVqpVZ6OW5kb92
Order Pregabalin Online Hours Worked: 2.75