


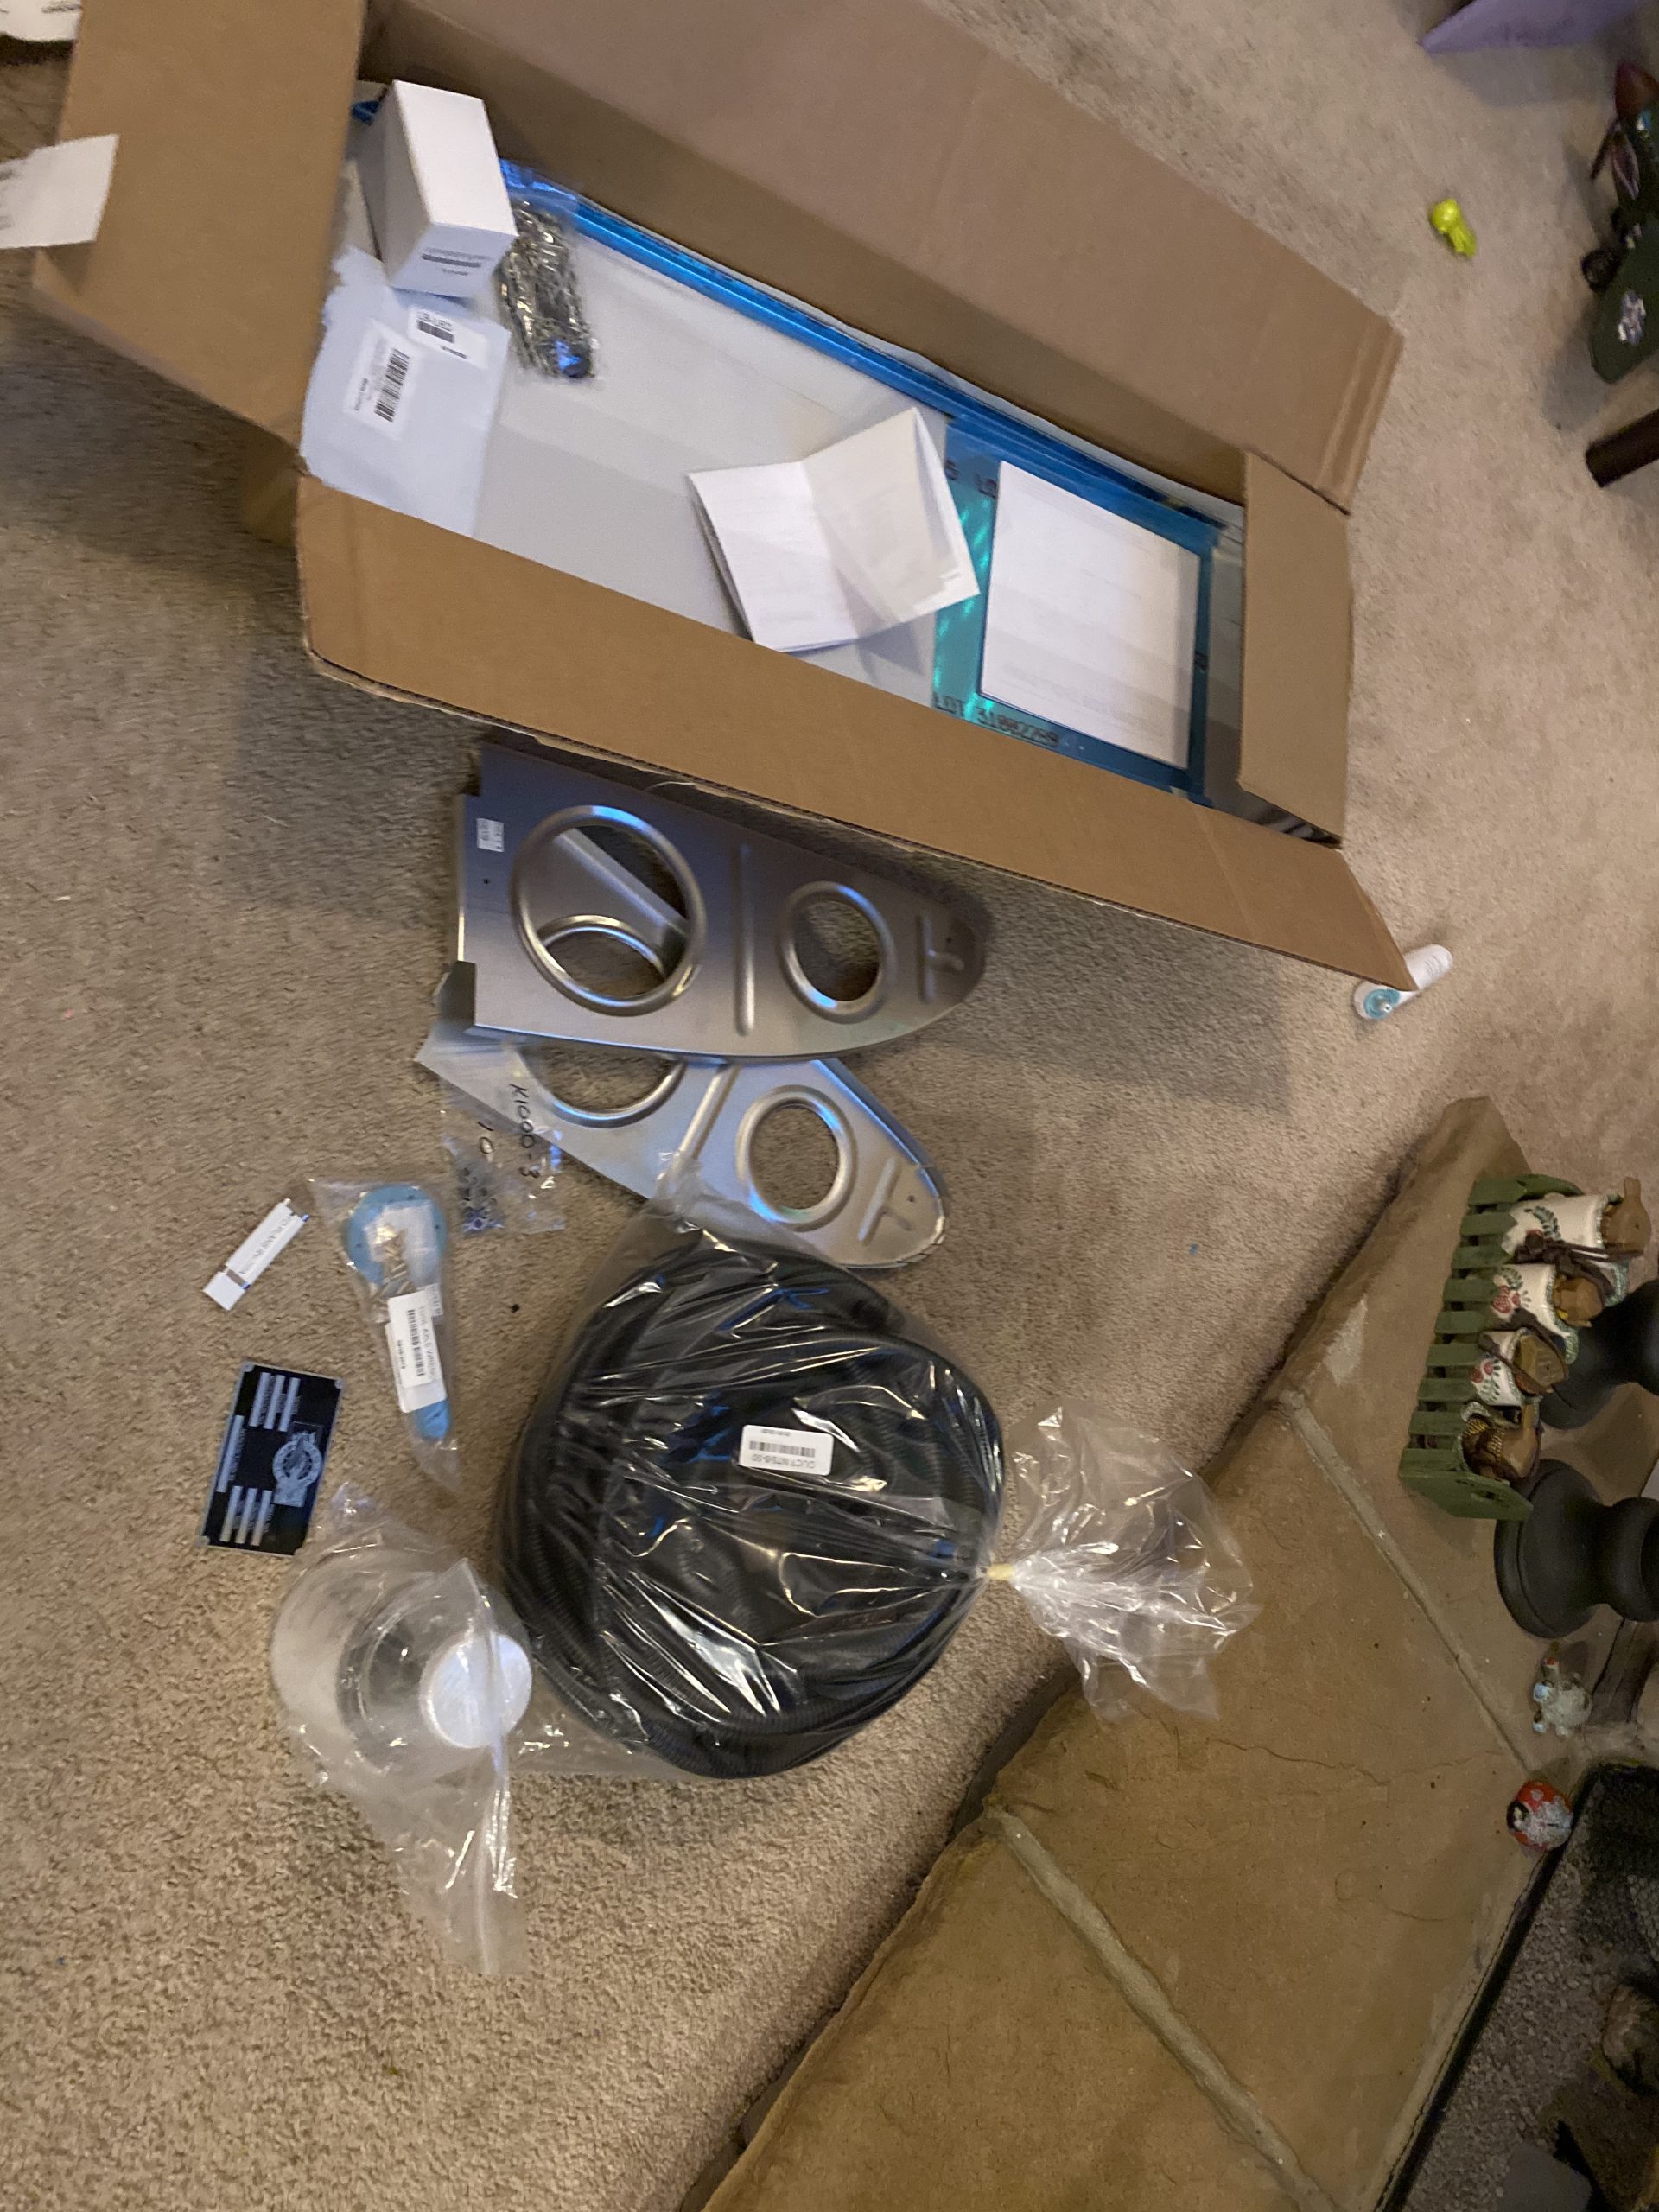
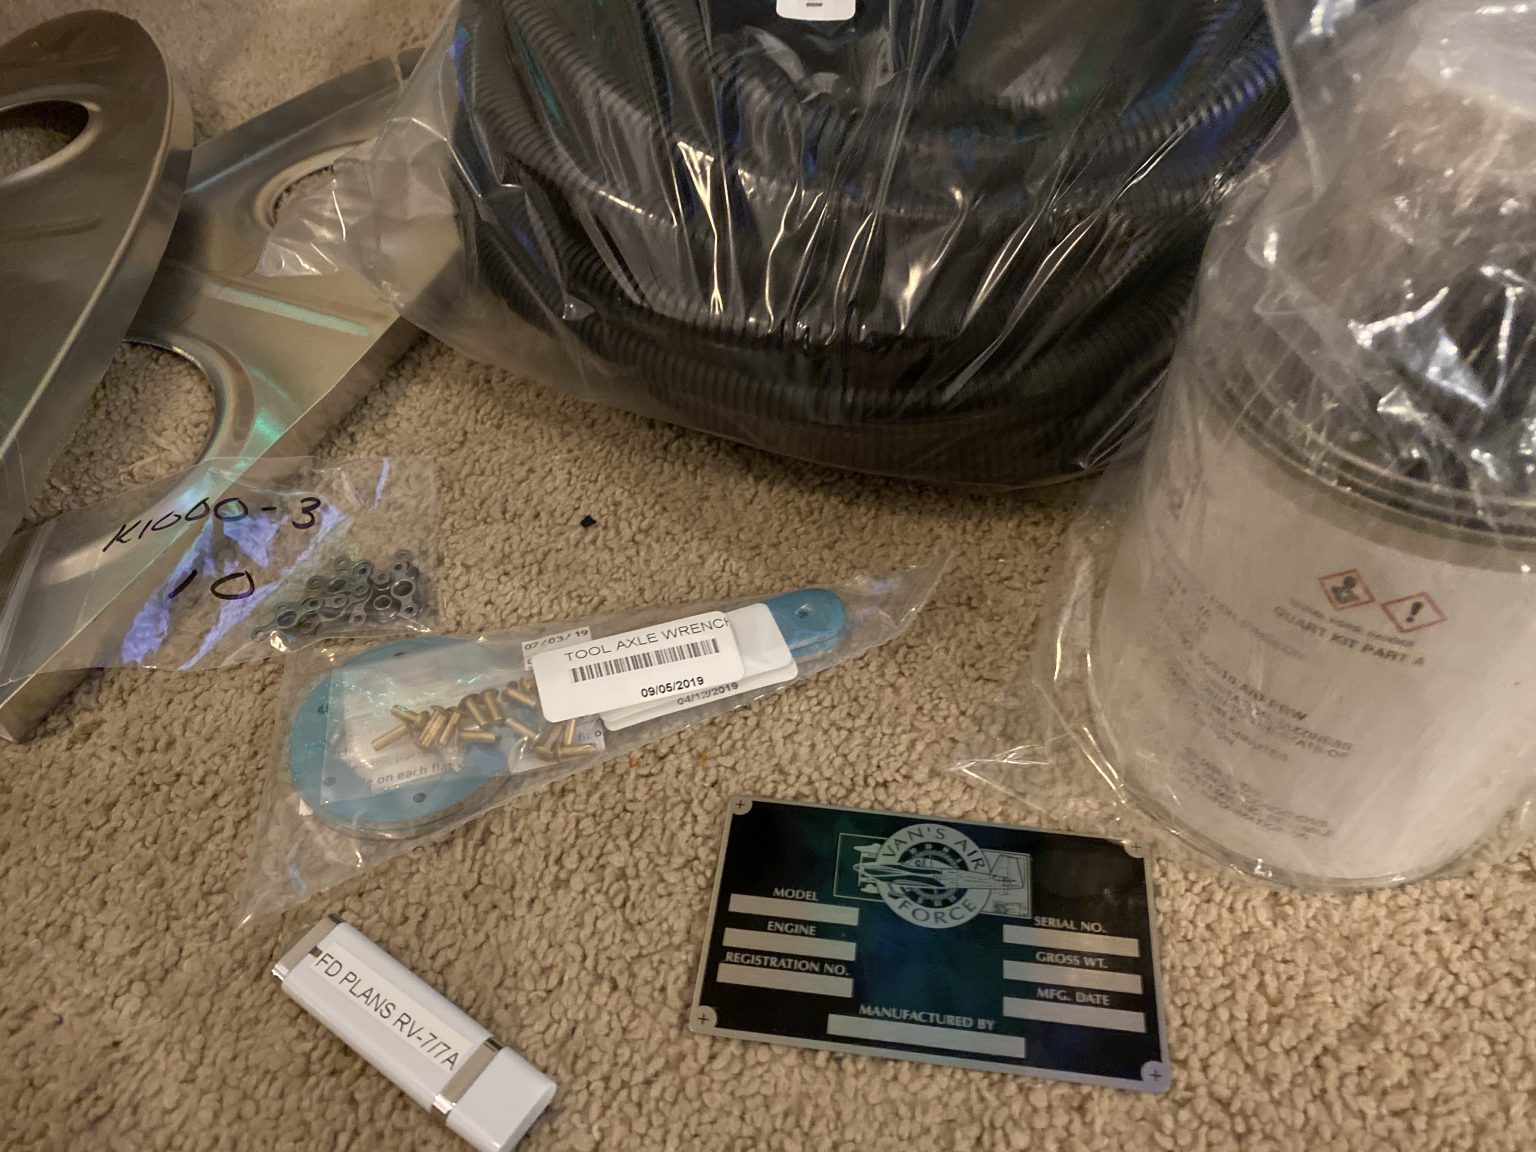
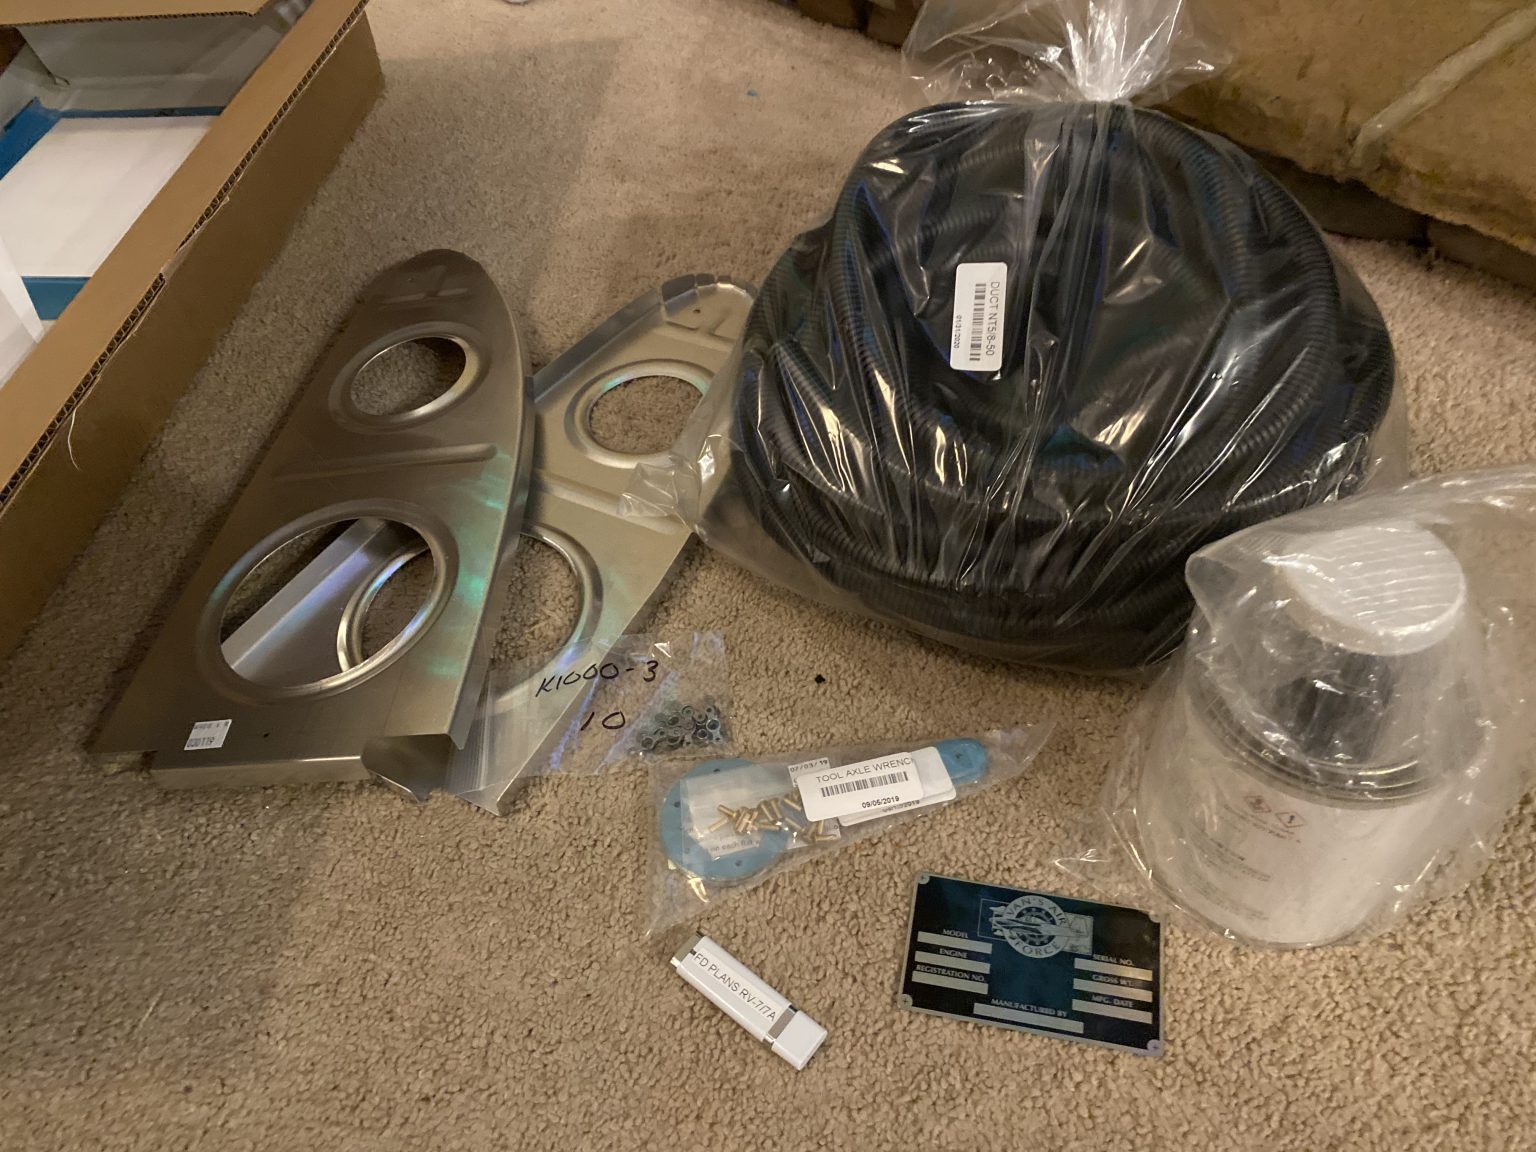
Buy Xanax Without Rx My Vans shipment came in while I was on vacation with the family. The leading edge ribs I needed were in this shipment, these are the ones that will replace the ribs that had the edge distance issue from where I mis-drilled them. I also had some proseal, 50ft of nylon conduit and a few other things I wanted to pick up; including the Vans lighted sign 🙂 I’ll build that later, dont want to use up my time on the RV-7 building the sign.
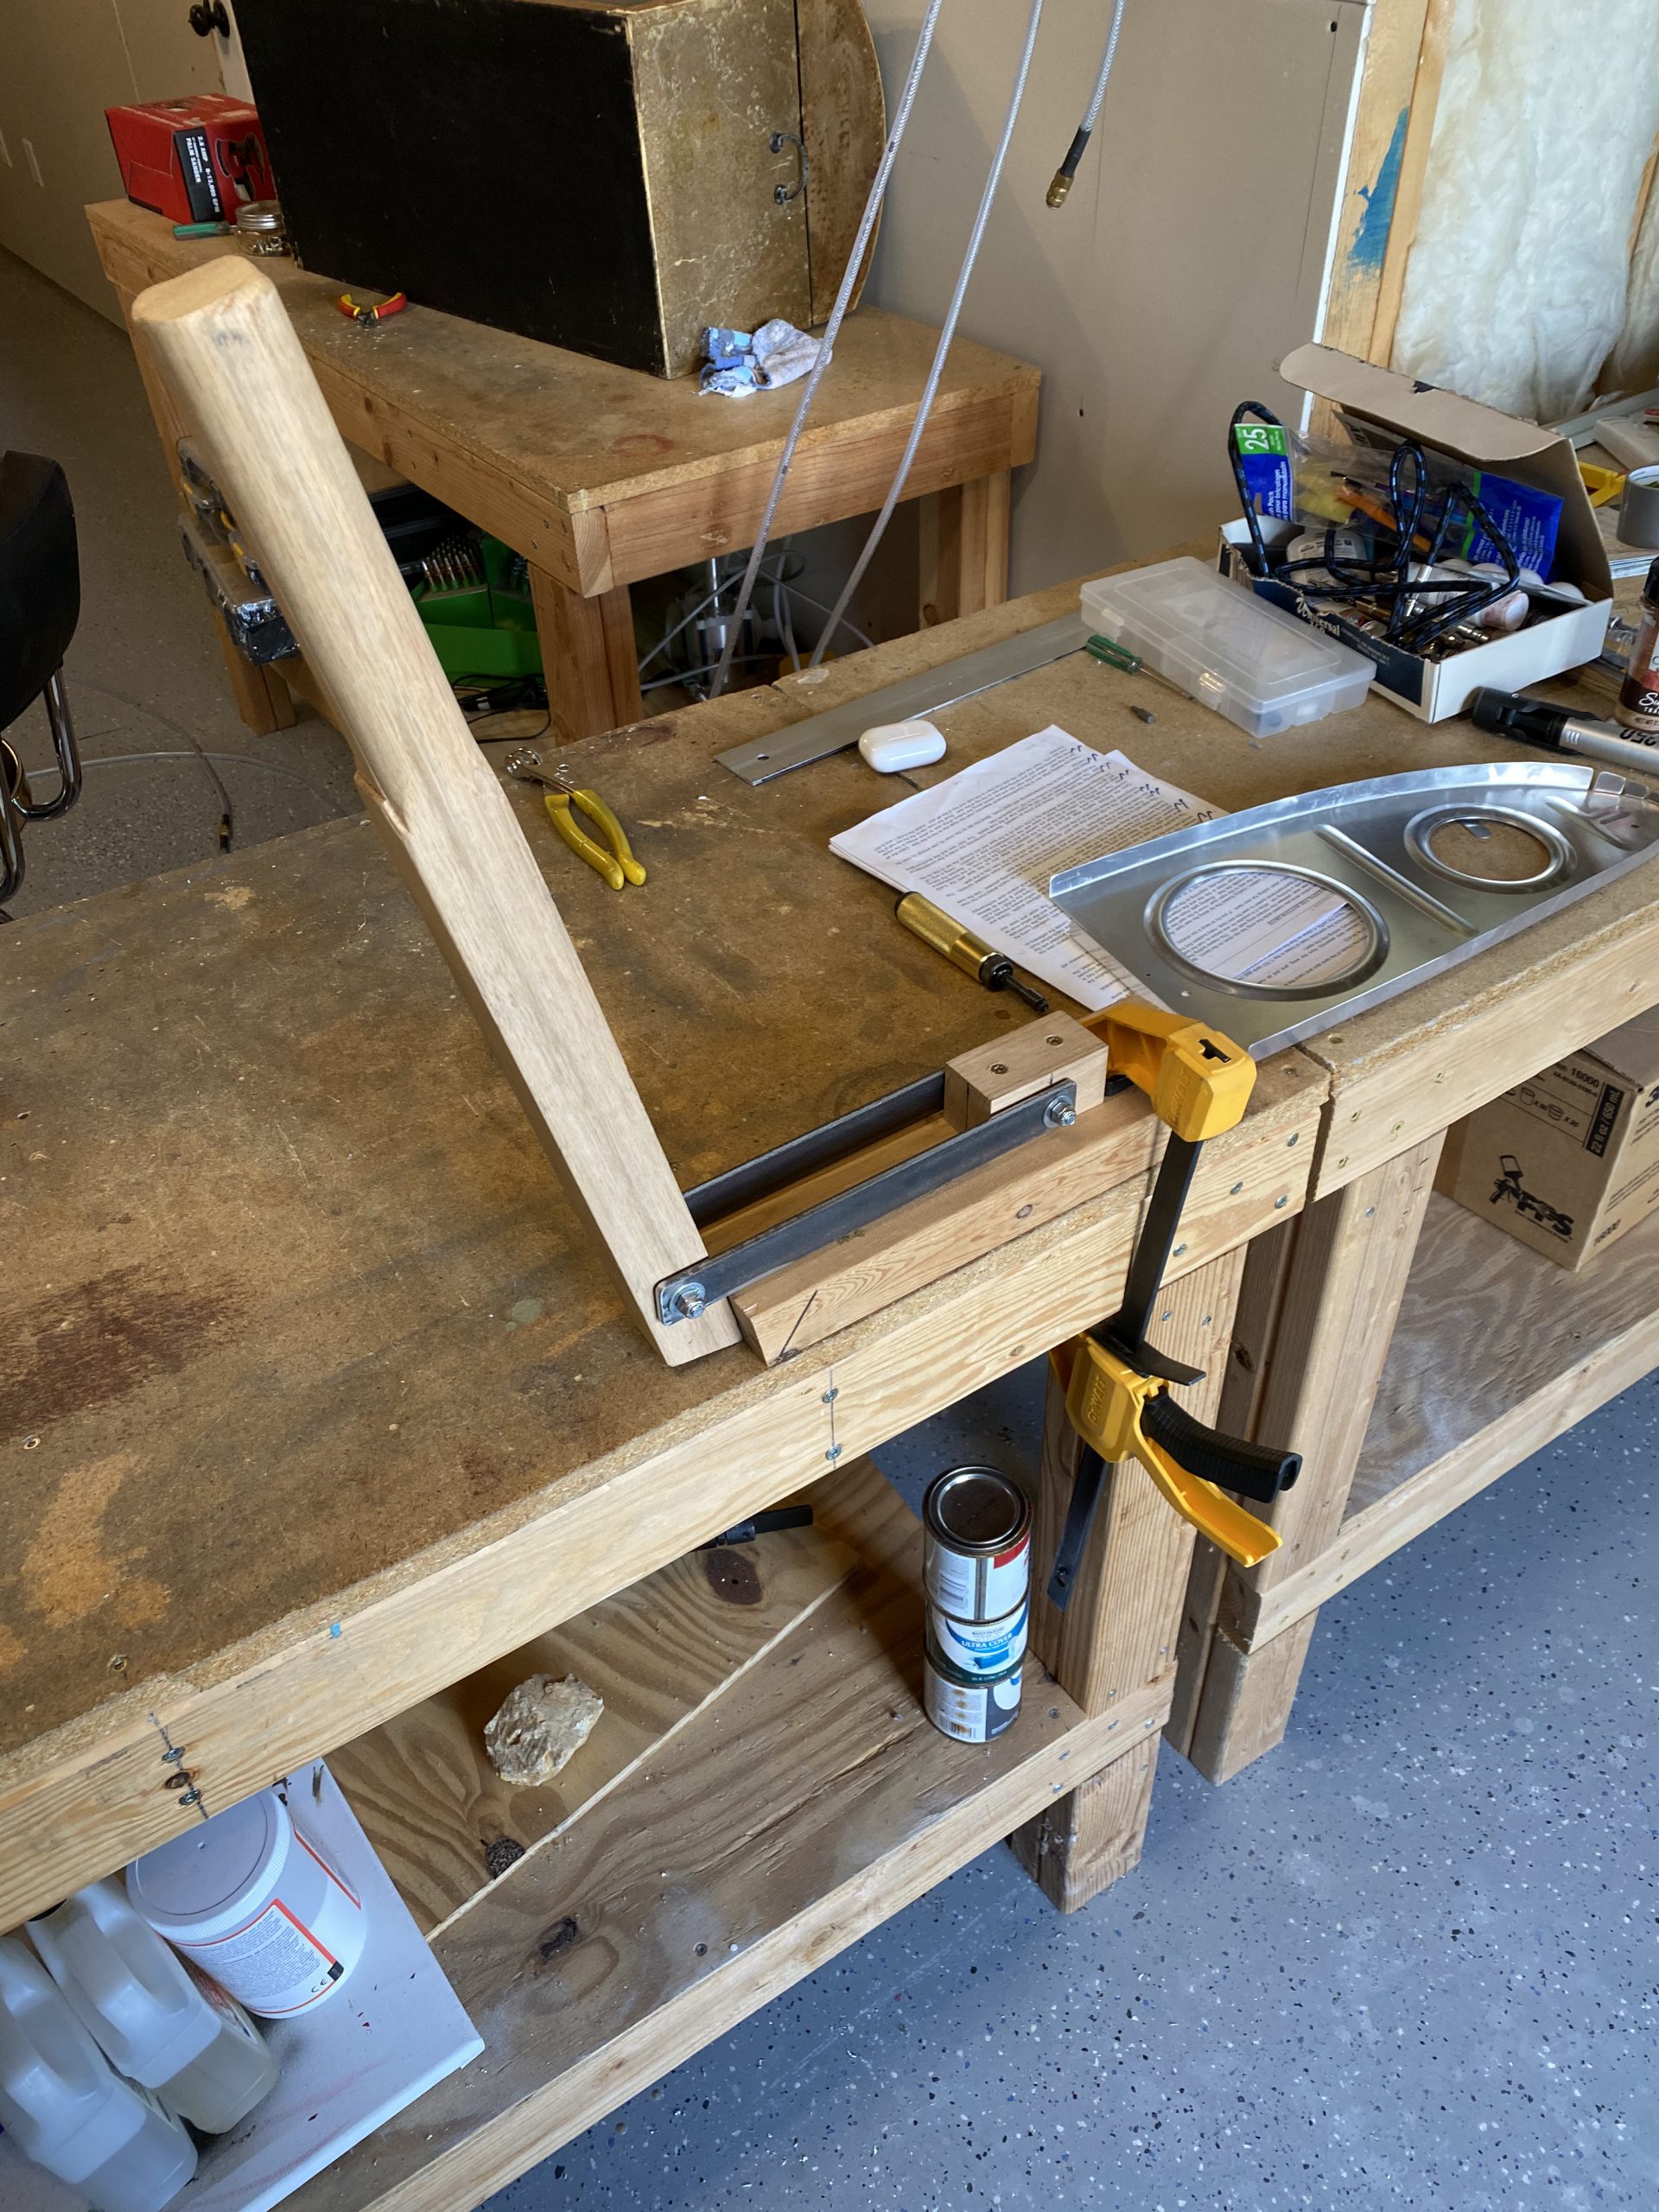
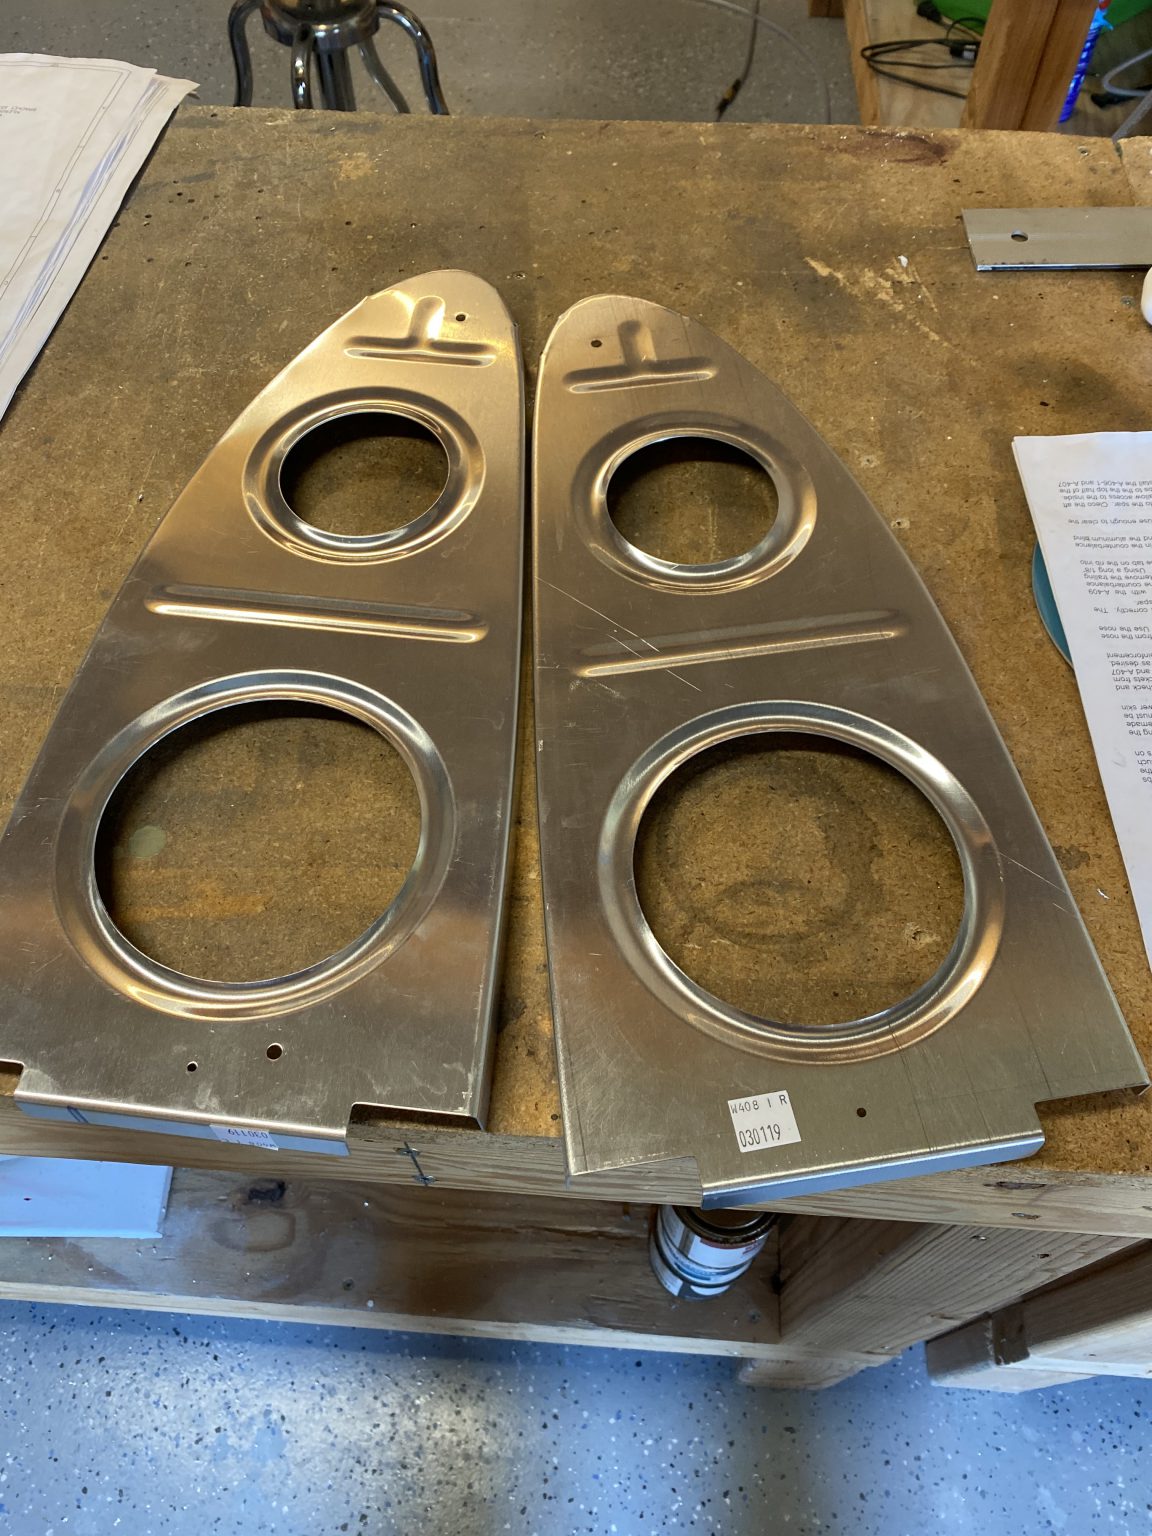
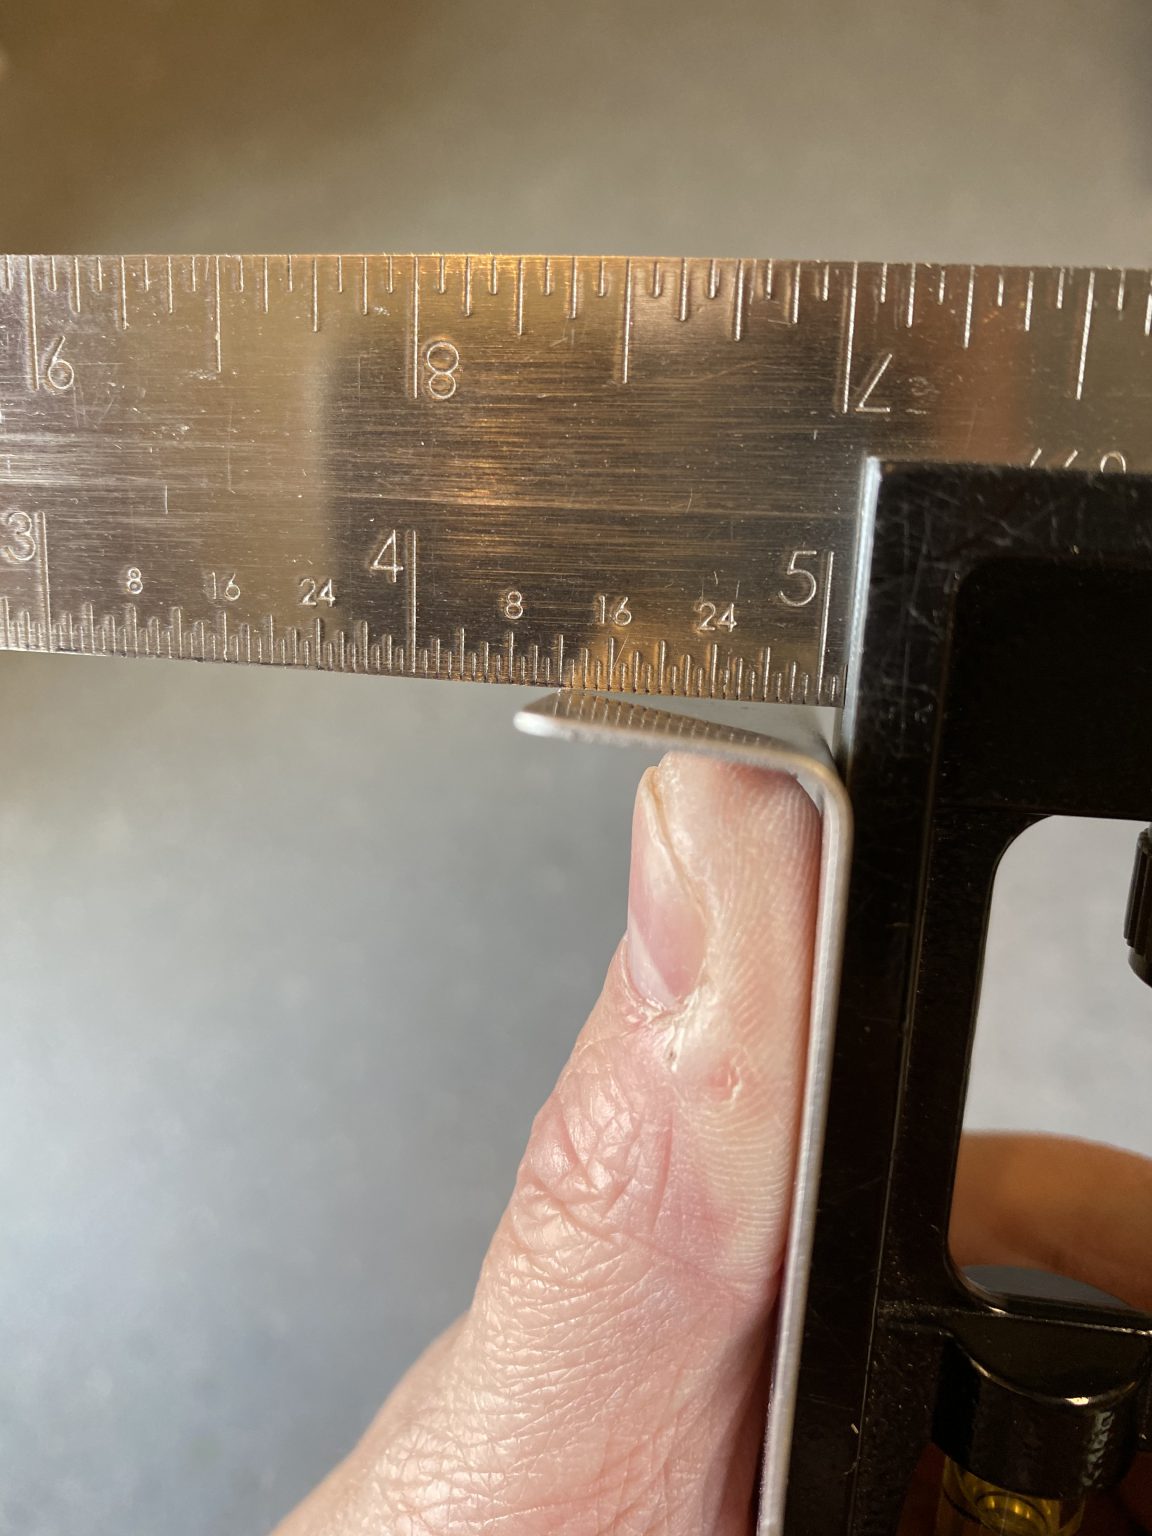
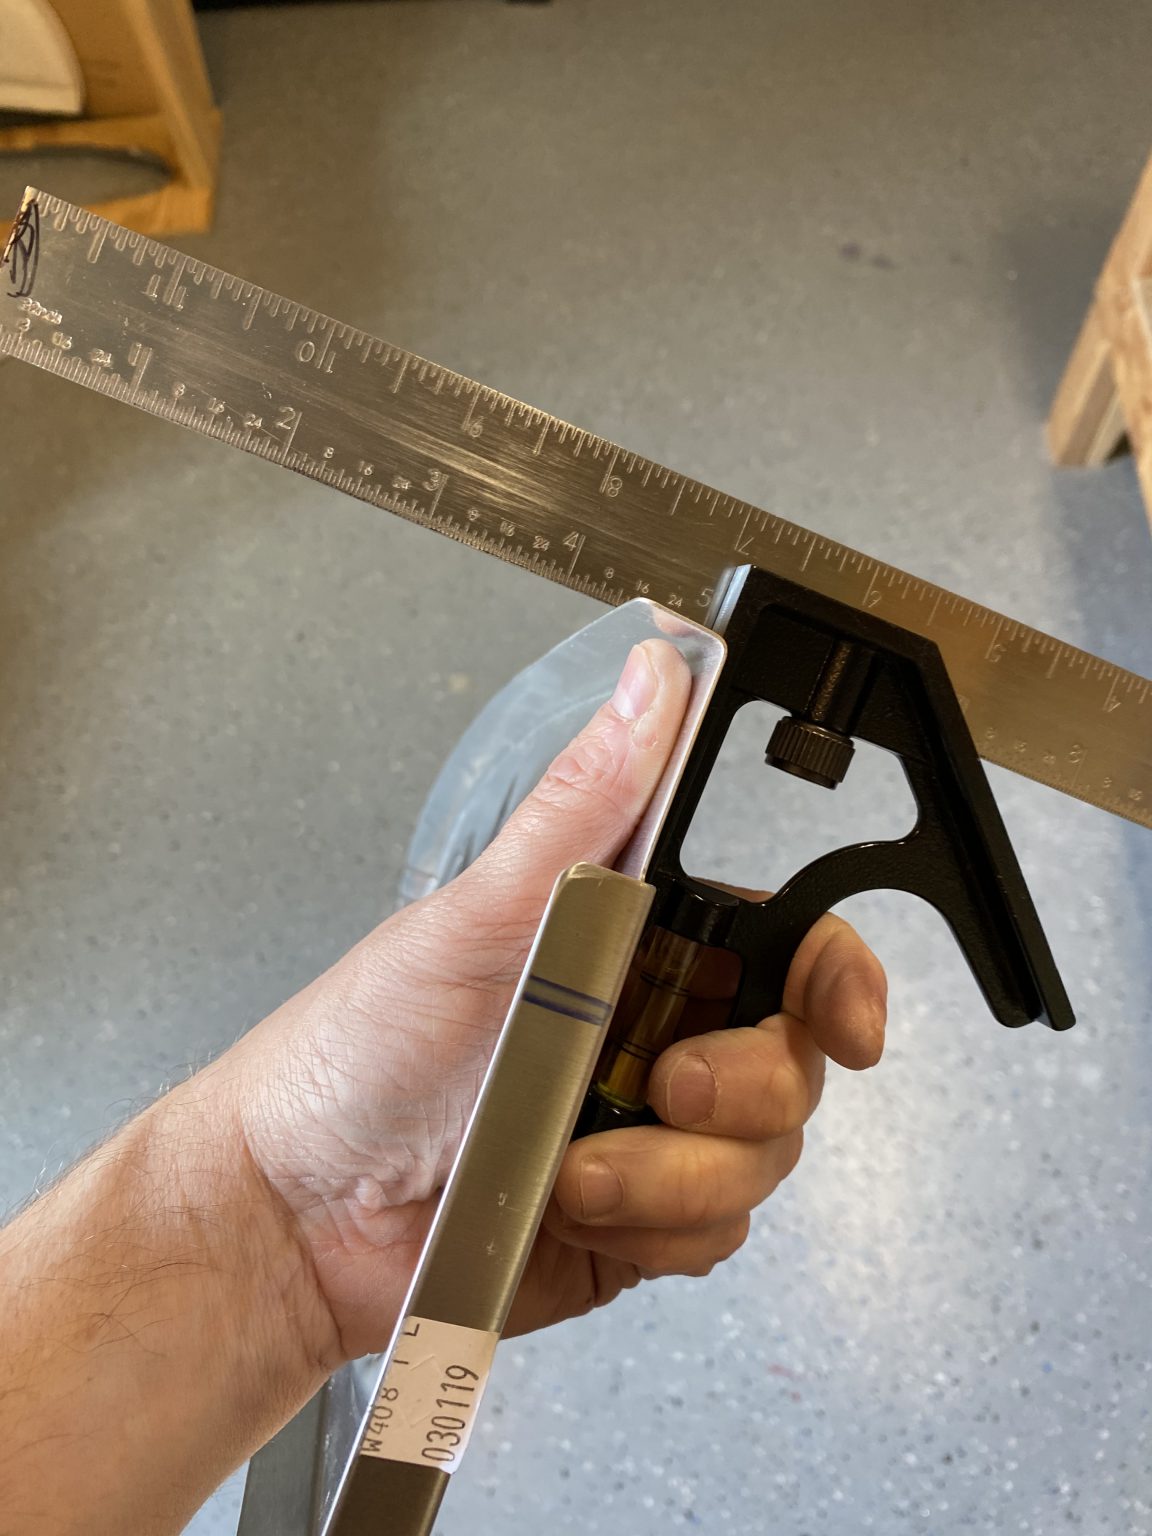
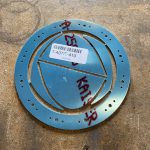
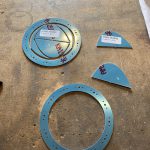
https://altamashhospital.com/dr-saeeda/ First things first: In this shipment was one of my missing K1000-3 nutplates that I needed on the aft spar web of the right wing, so I spent a few minutes riveting that nutplate on using the back rivet method. Once I had that done, I needed to get these new ribs ready to be used. That meant straightening the flanges, and fluting them, deburring, and all that good stuff. So, like so many posts ago, I set about deburring the edges of the ribs using my bench grinder, and then a combination of scotchbrite, sanding paper and emory cloth to get all the tiny gaps in the flanges. Then I used a deburring tool and a scotchbrite to deburr the edges of the lighening holes. Once they were nice and smooth, I used this handy tool I made a while back to get the flanges to 90 degrees.


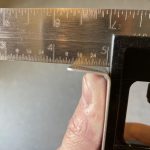
see Before correcting the flanges

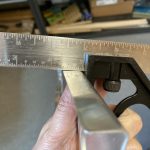
Vicodin Online Purchase After correcting the flanges
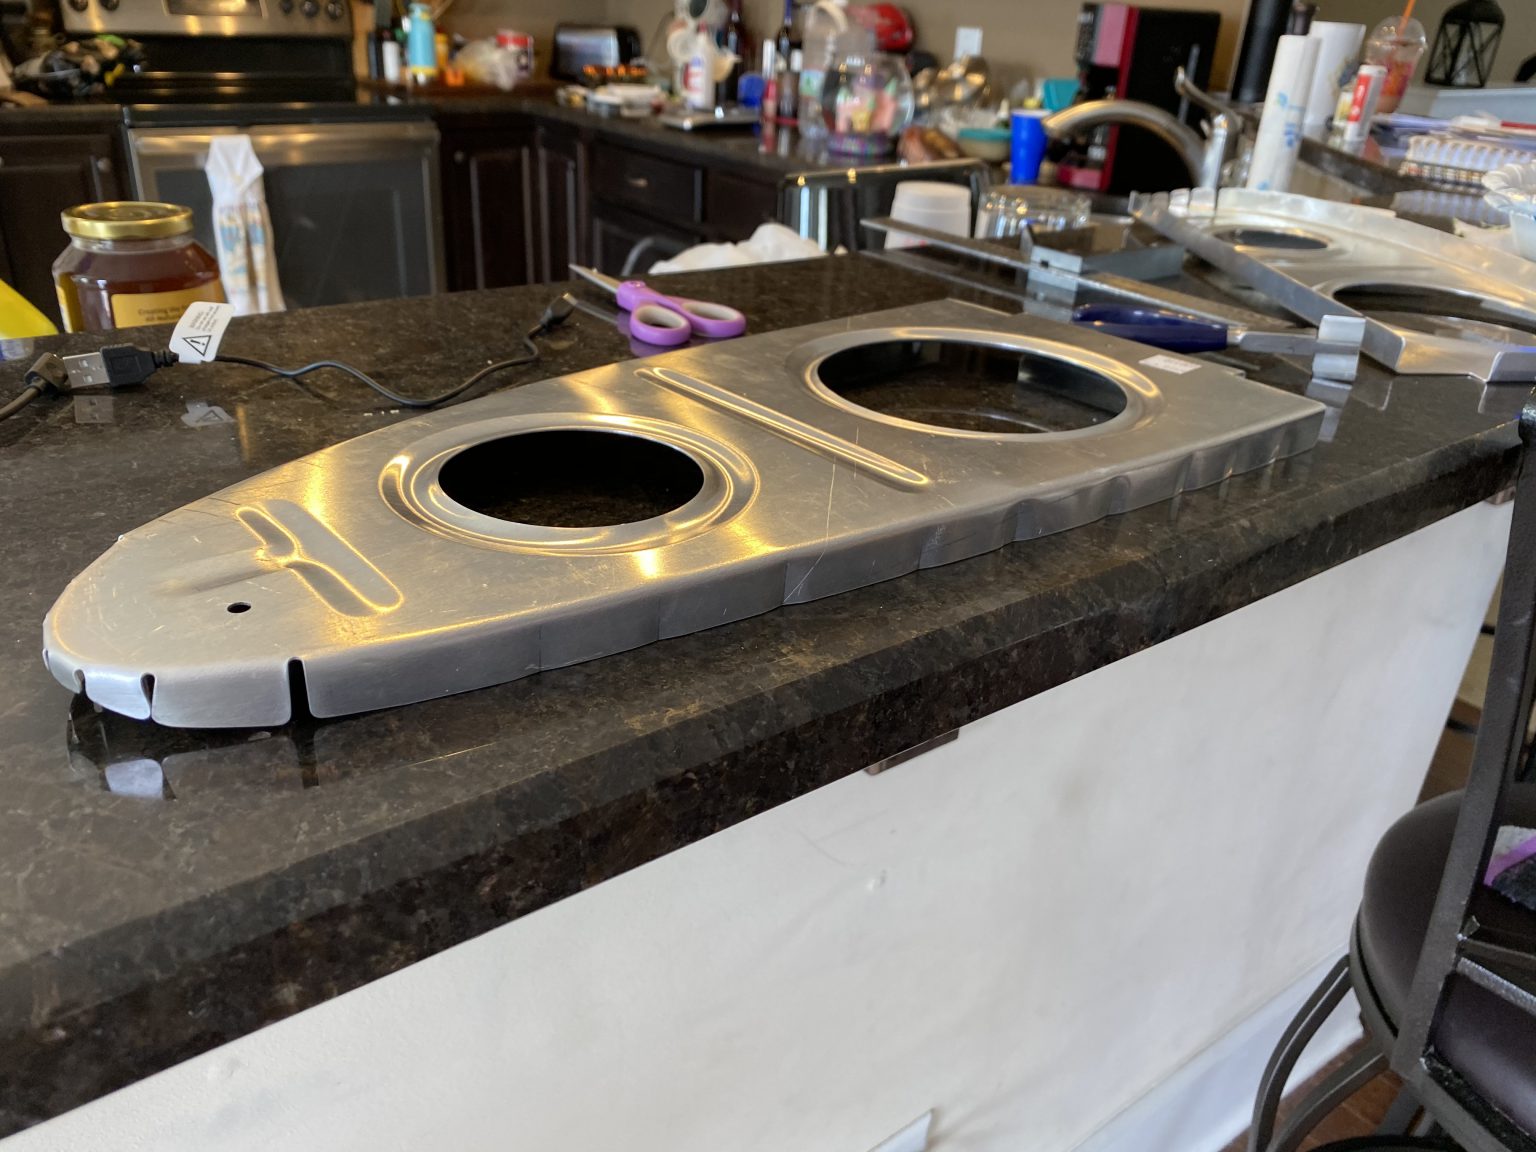
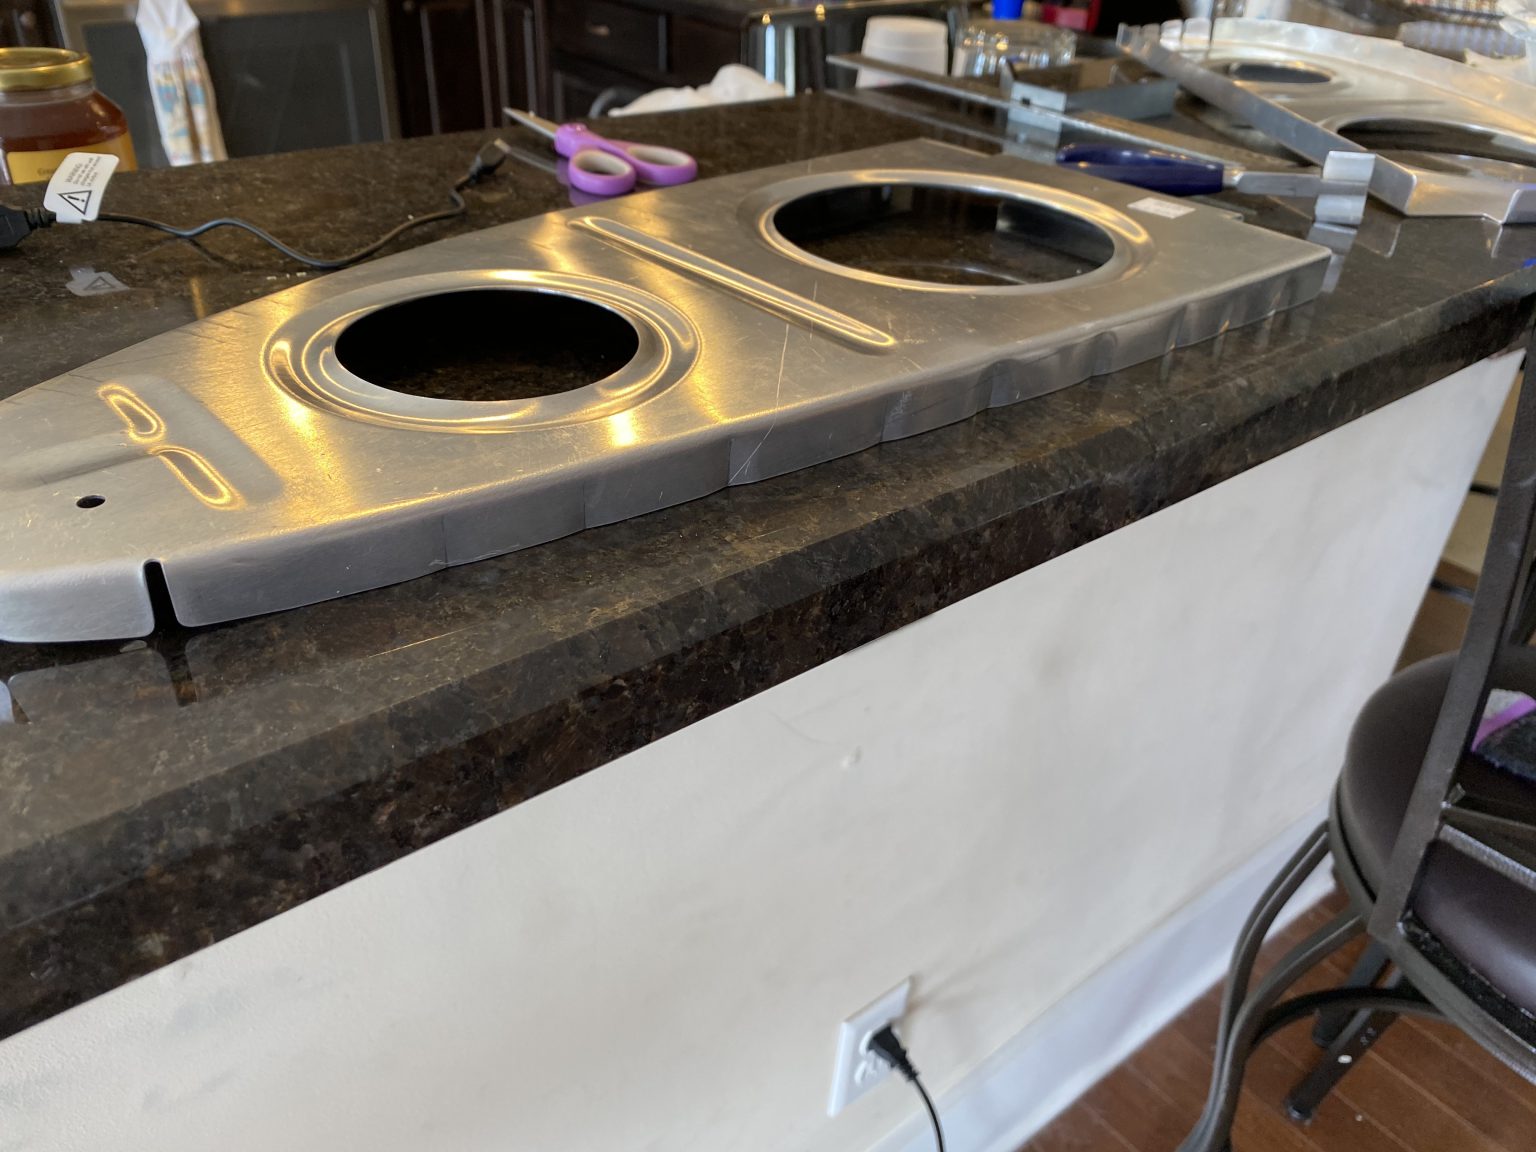
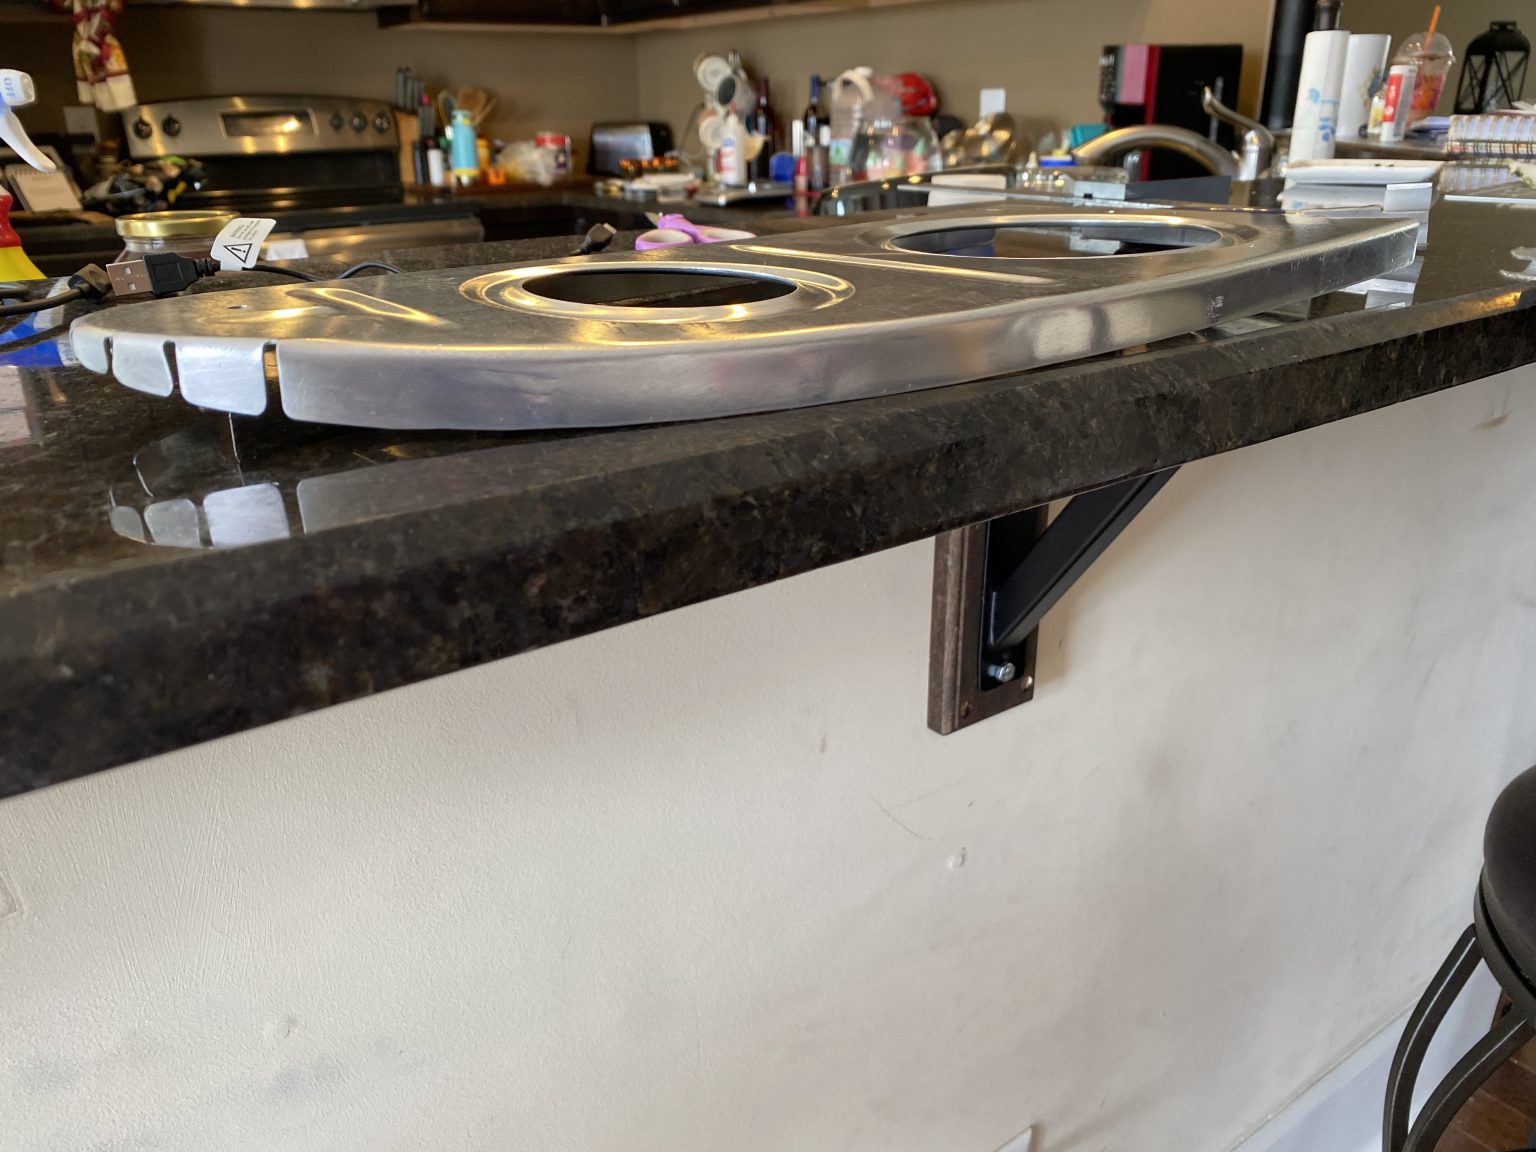
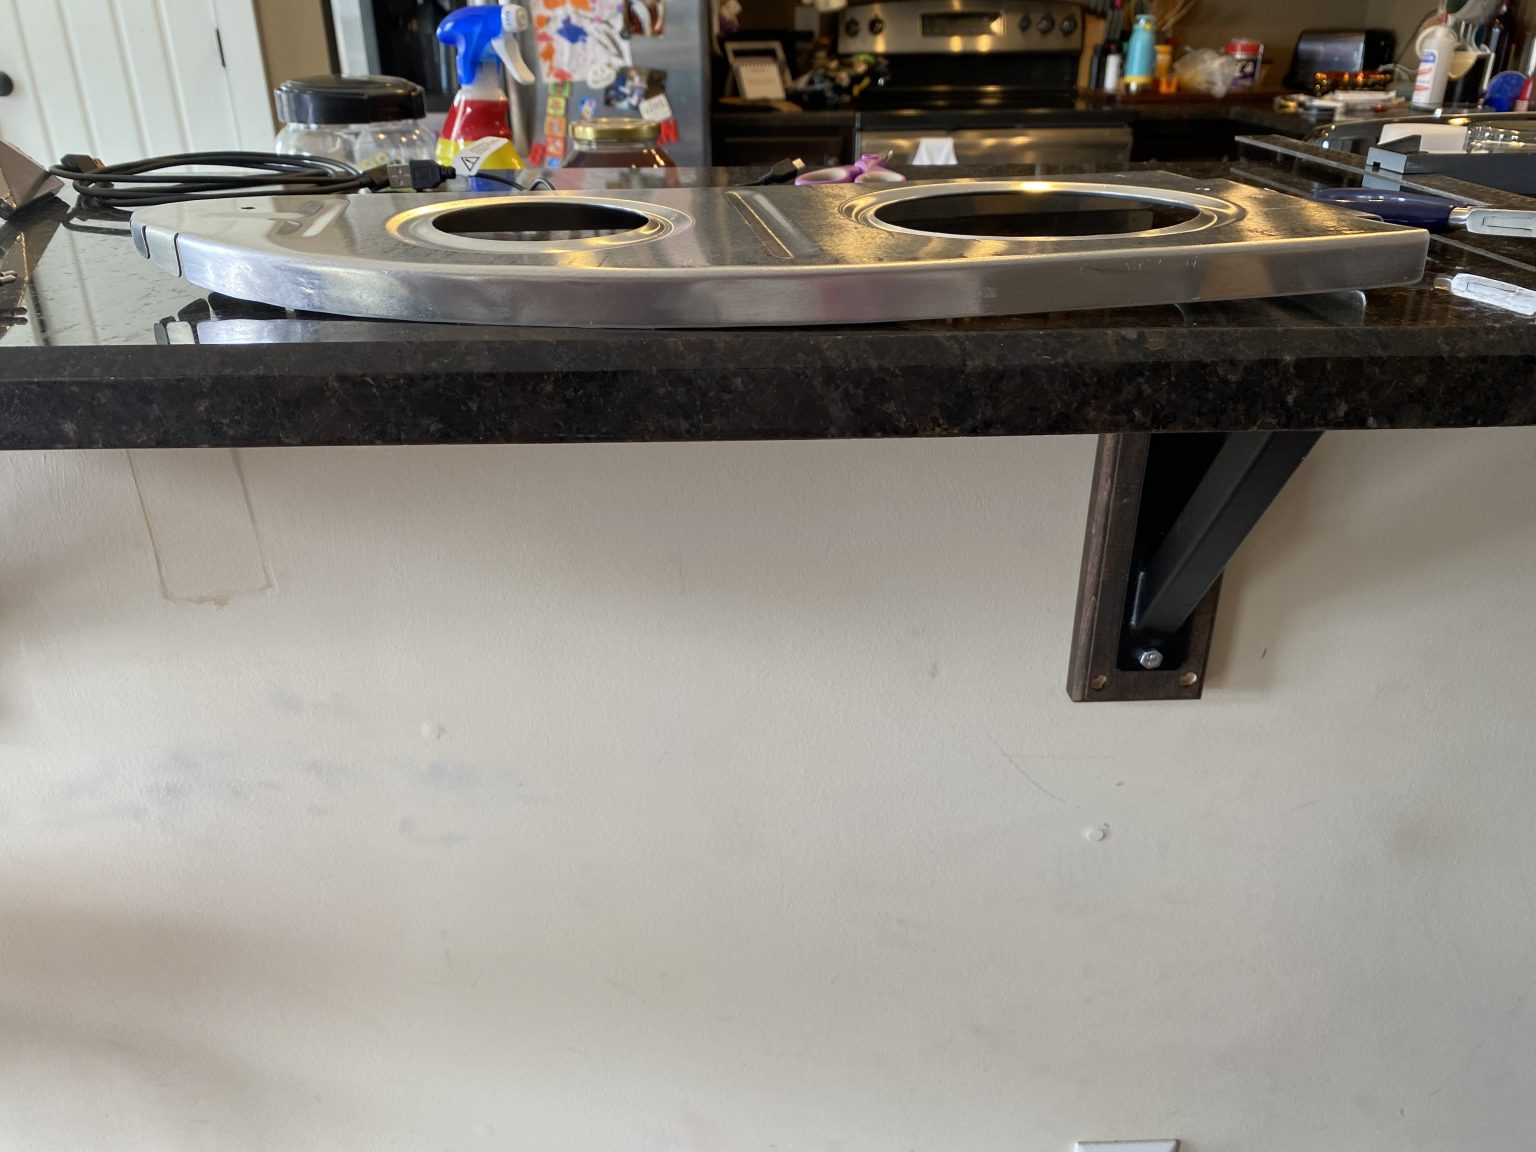
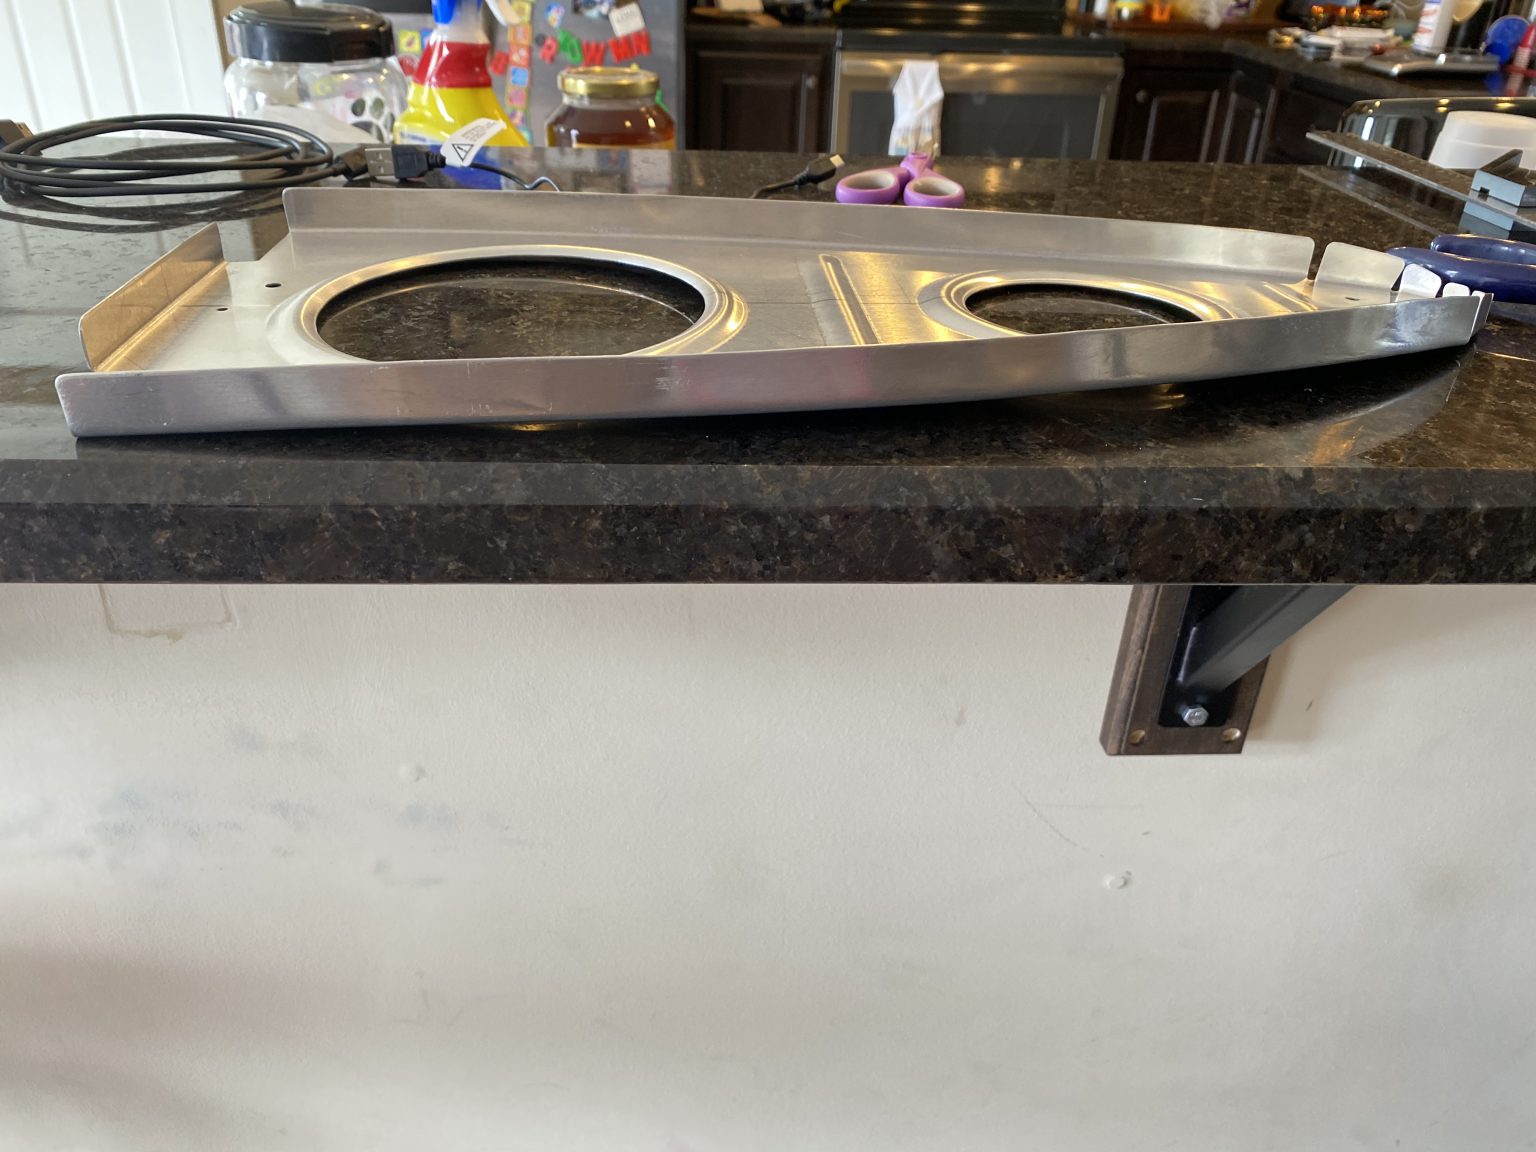
see Then it was time to do some fluting to get all the warping out from the forming process. I outline this in detail in previous posts, but here I am using my wifes granite countertop as my flat surface to check the fluting process against:
https://www.psychiccowgirl.com/contact/ 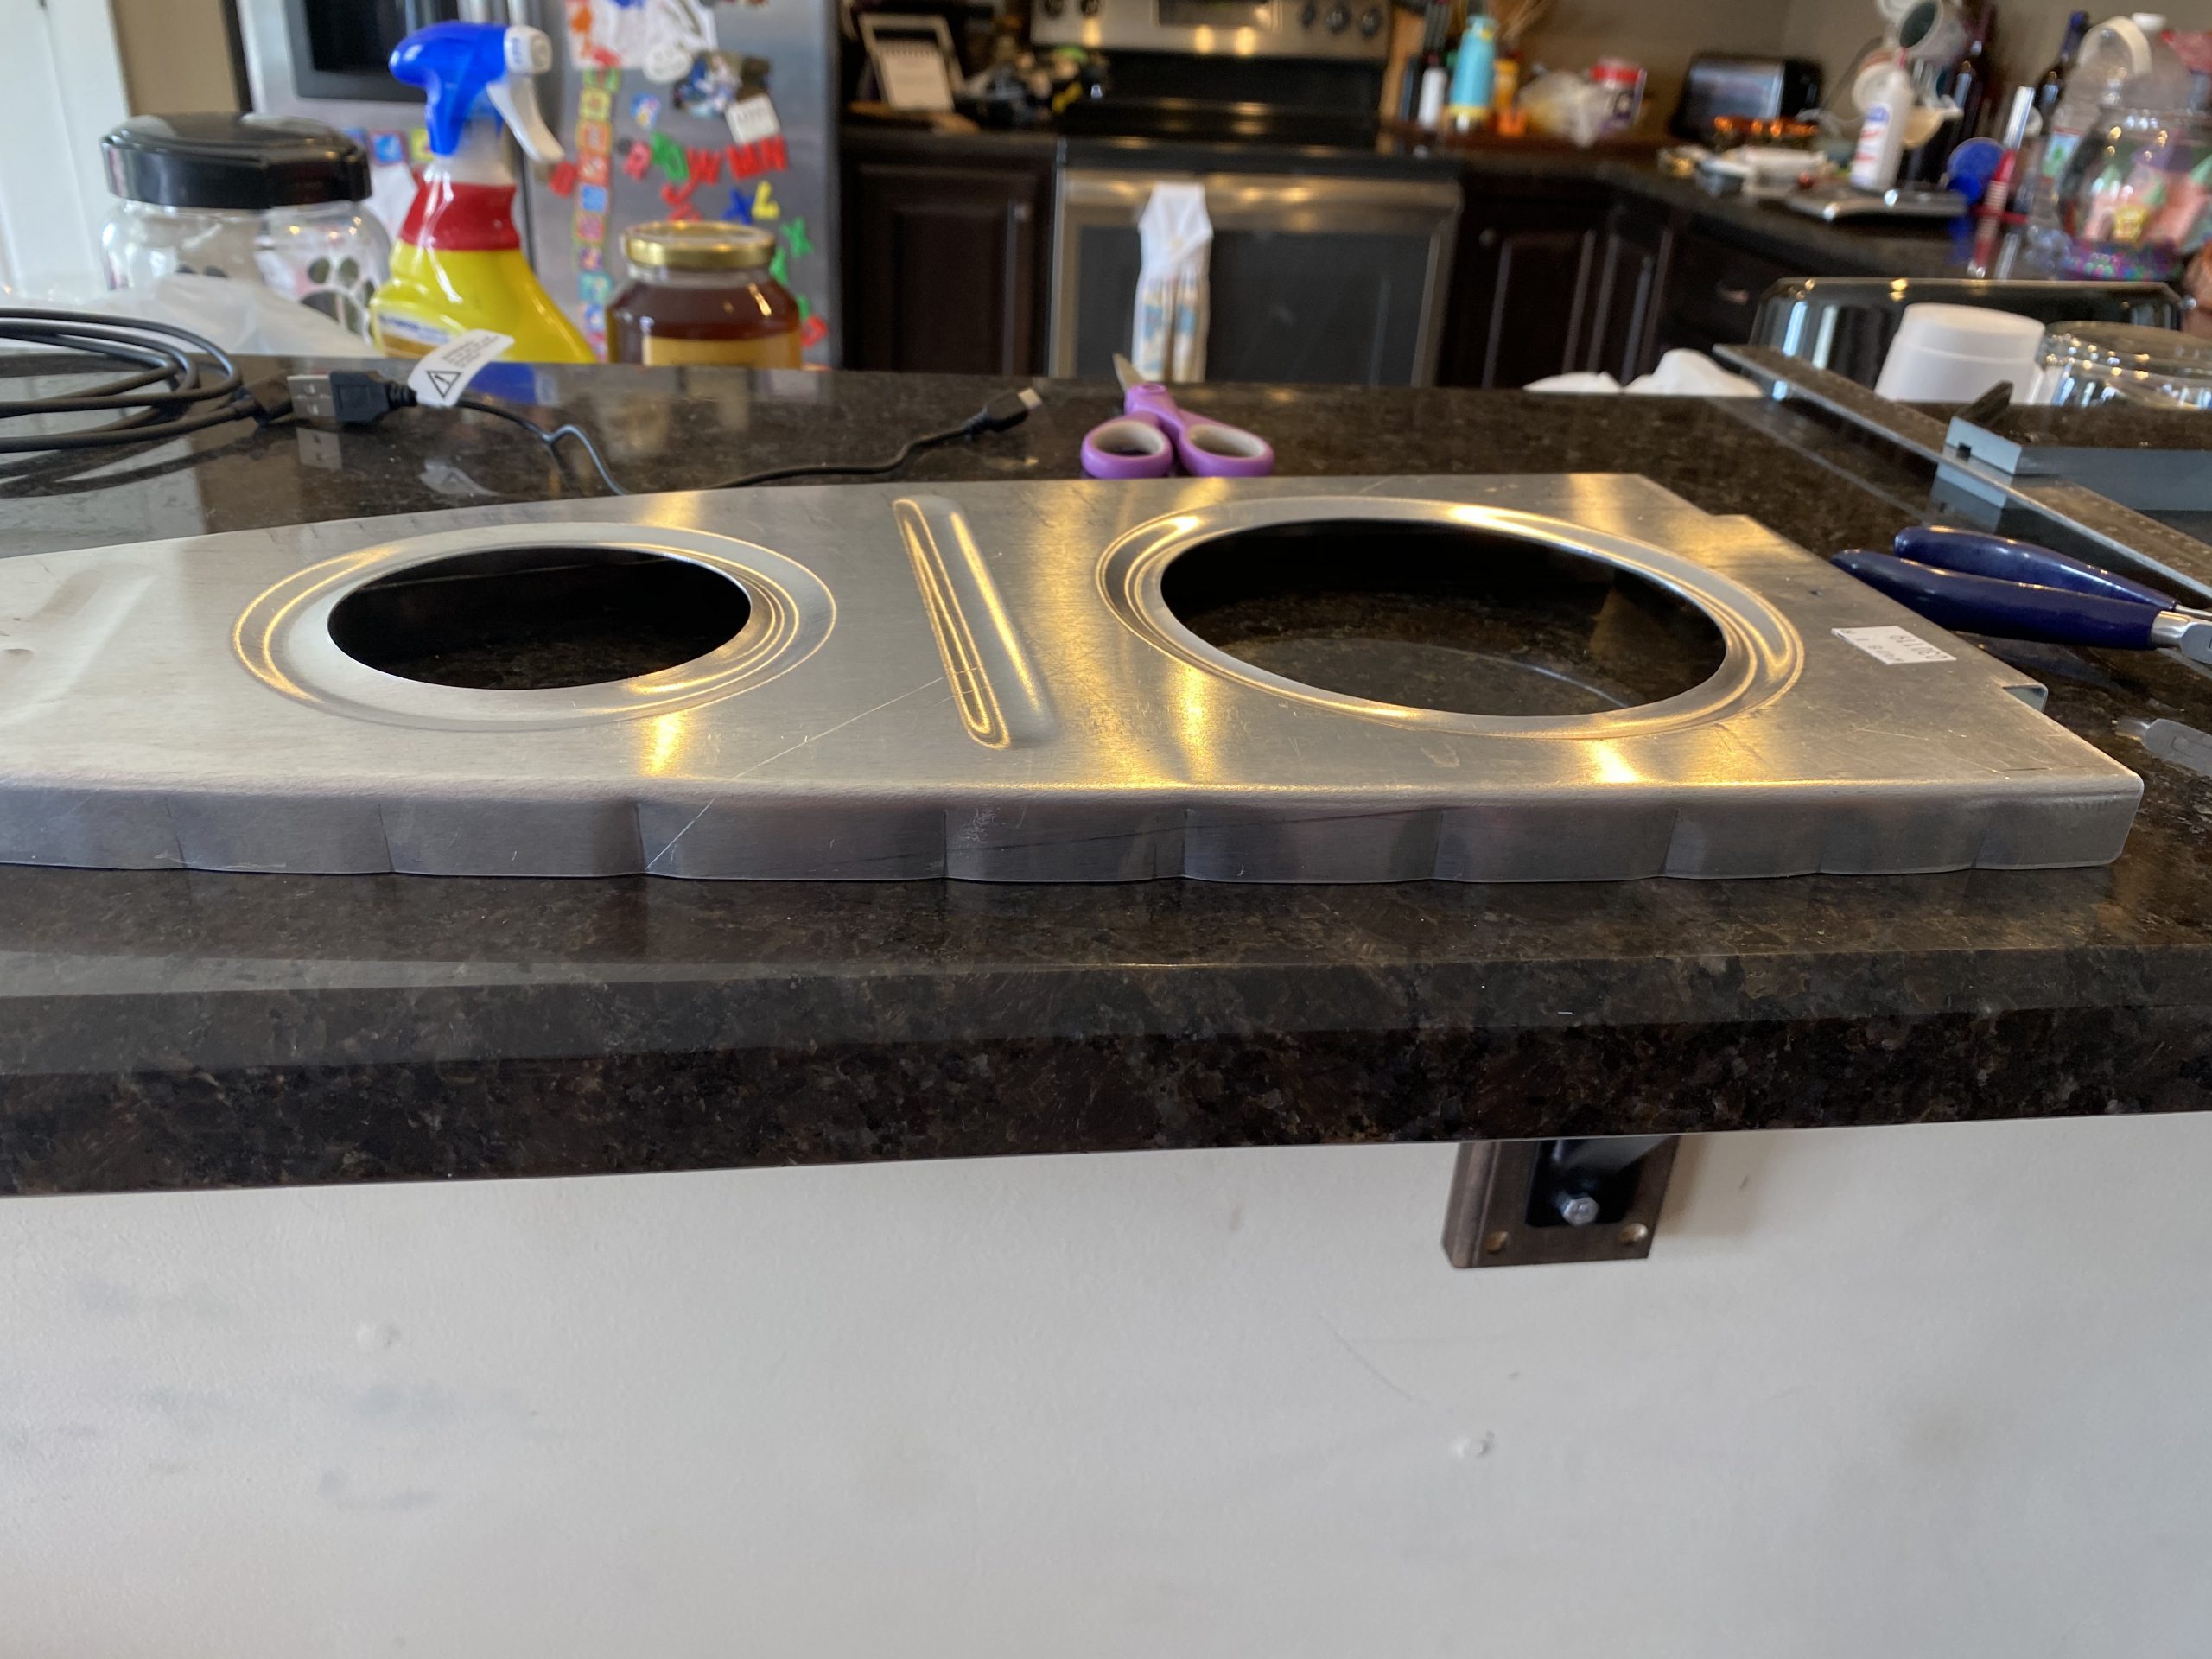

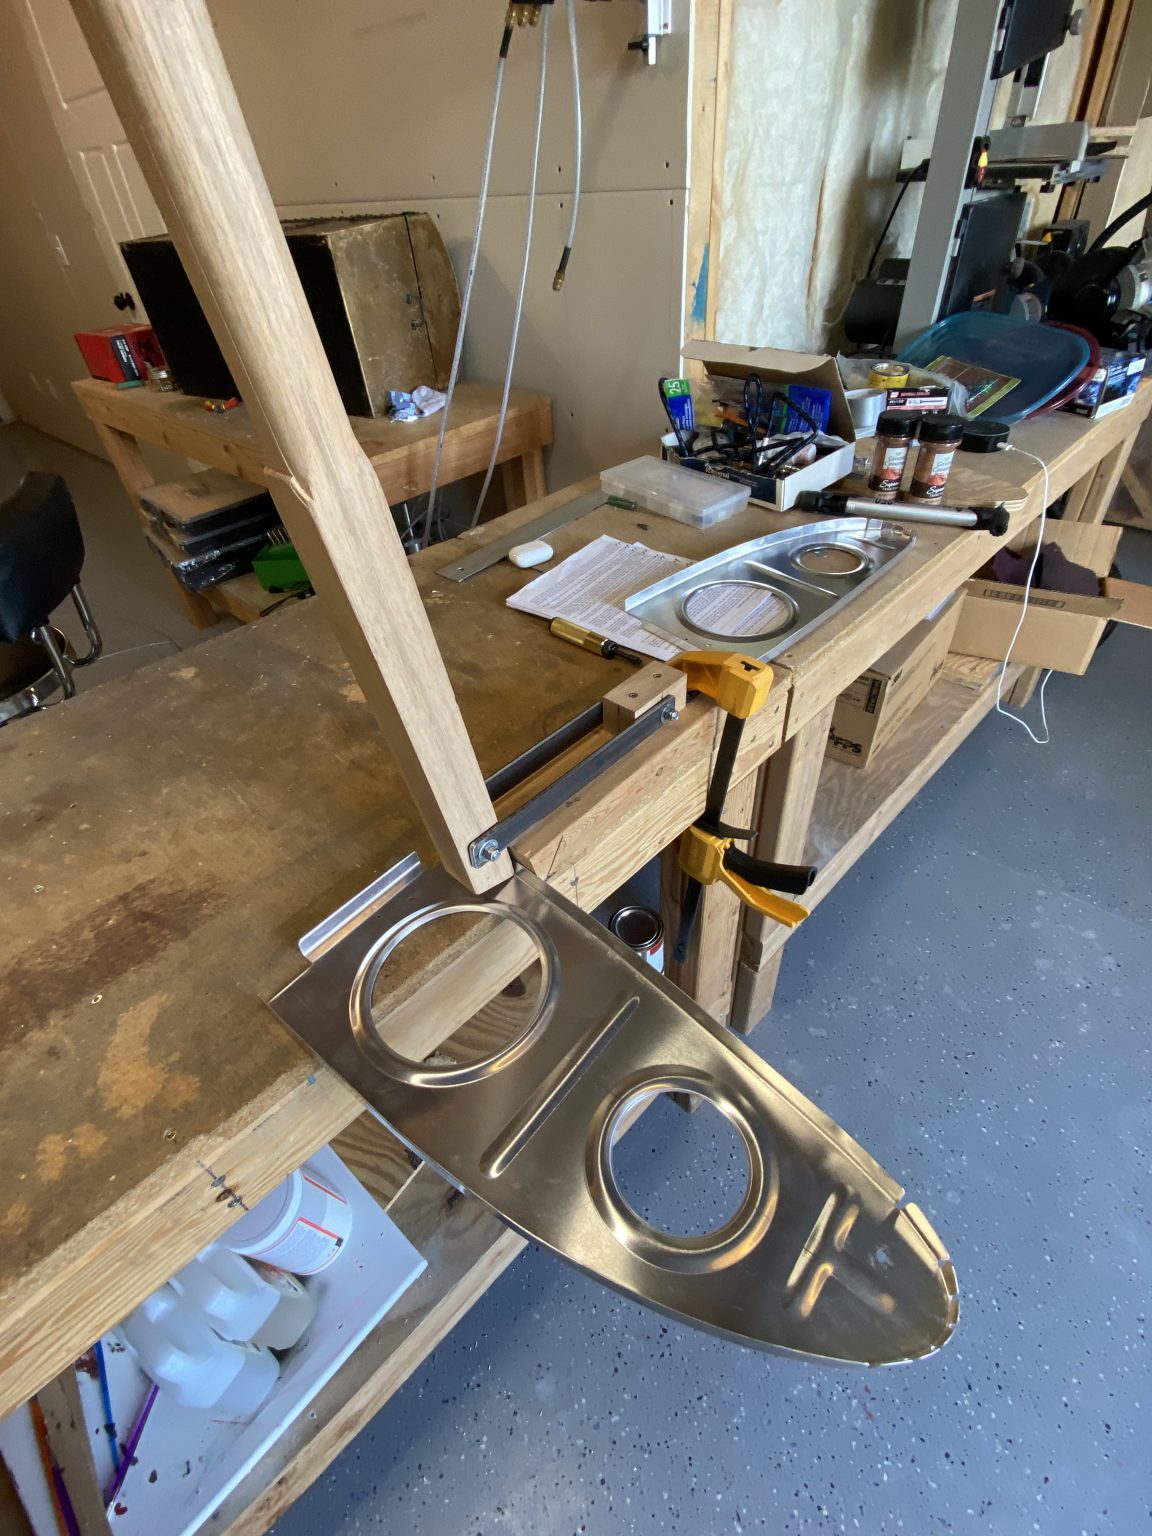
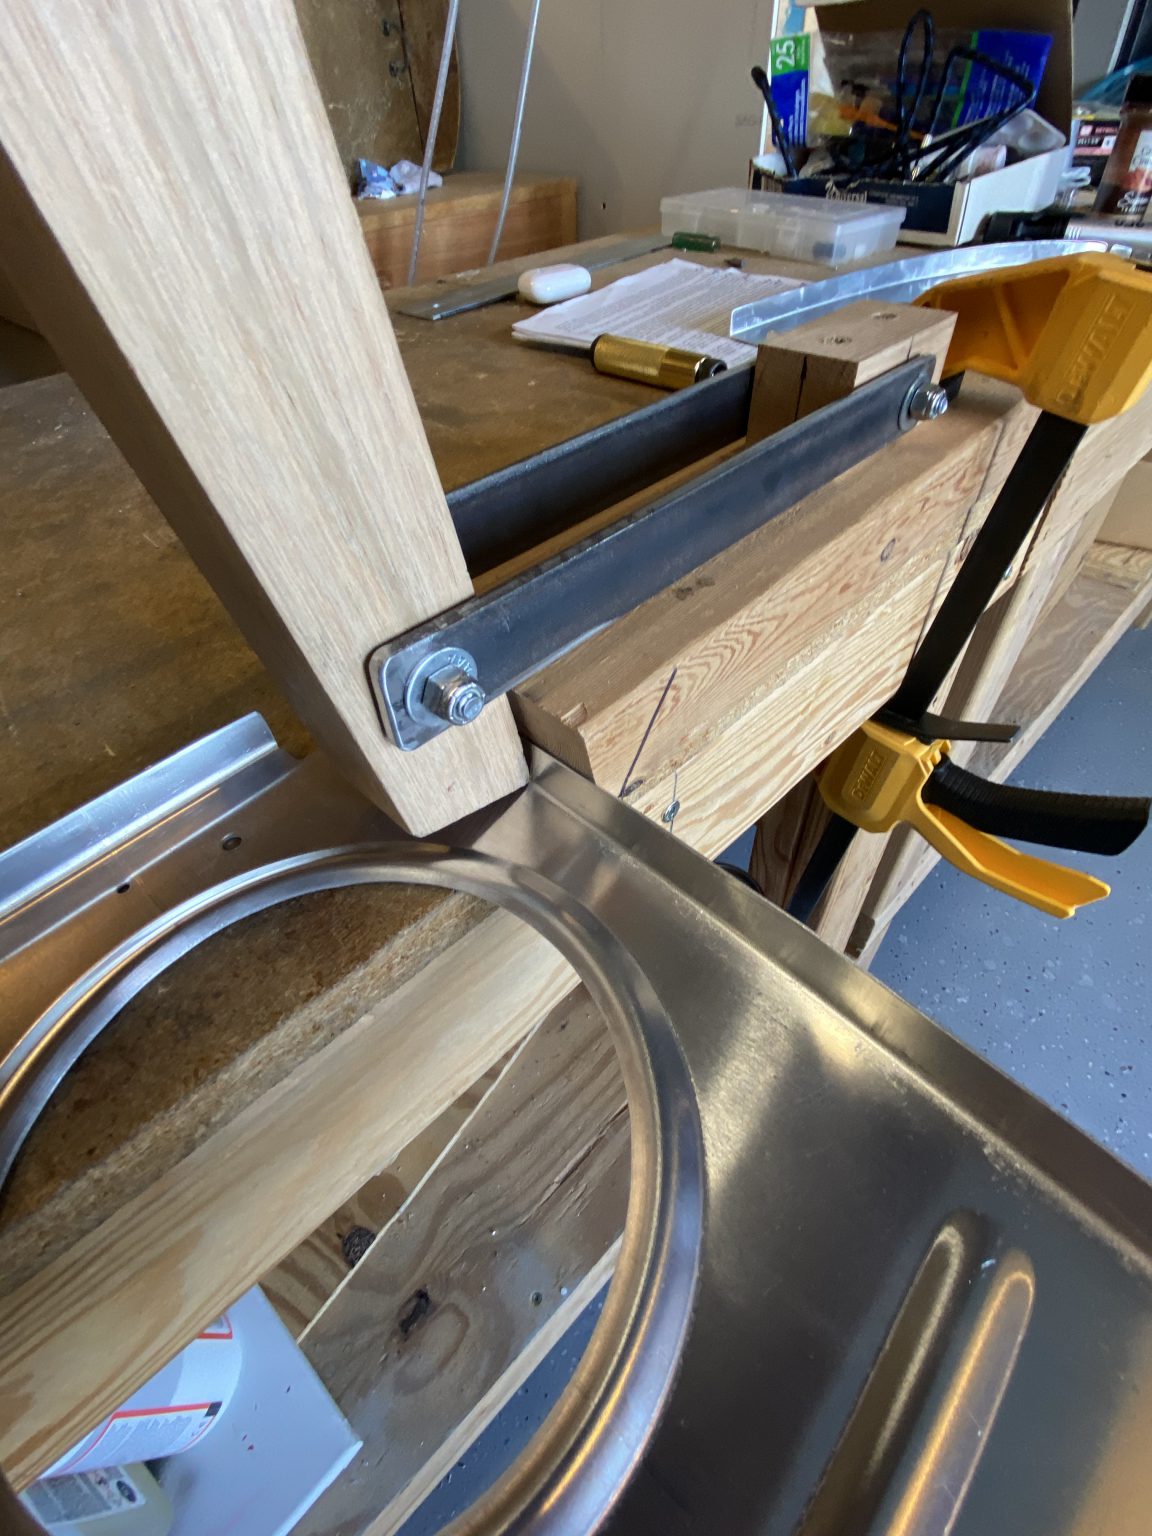
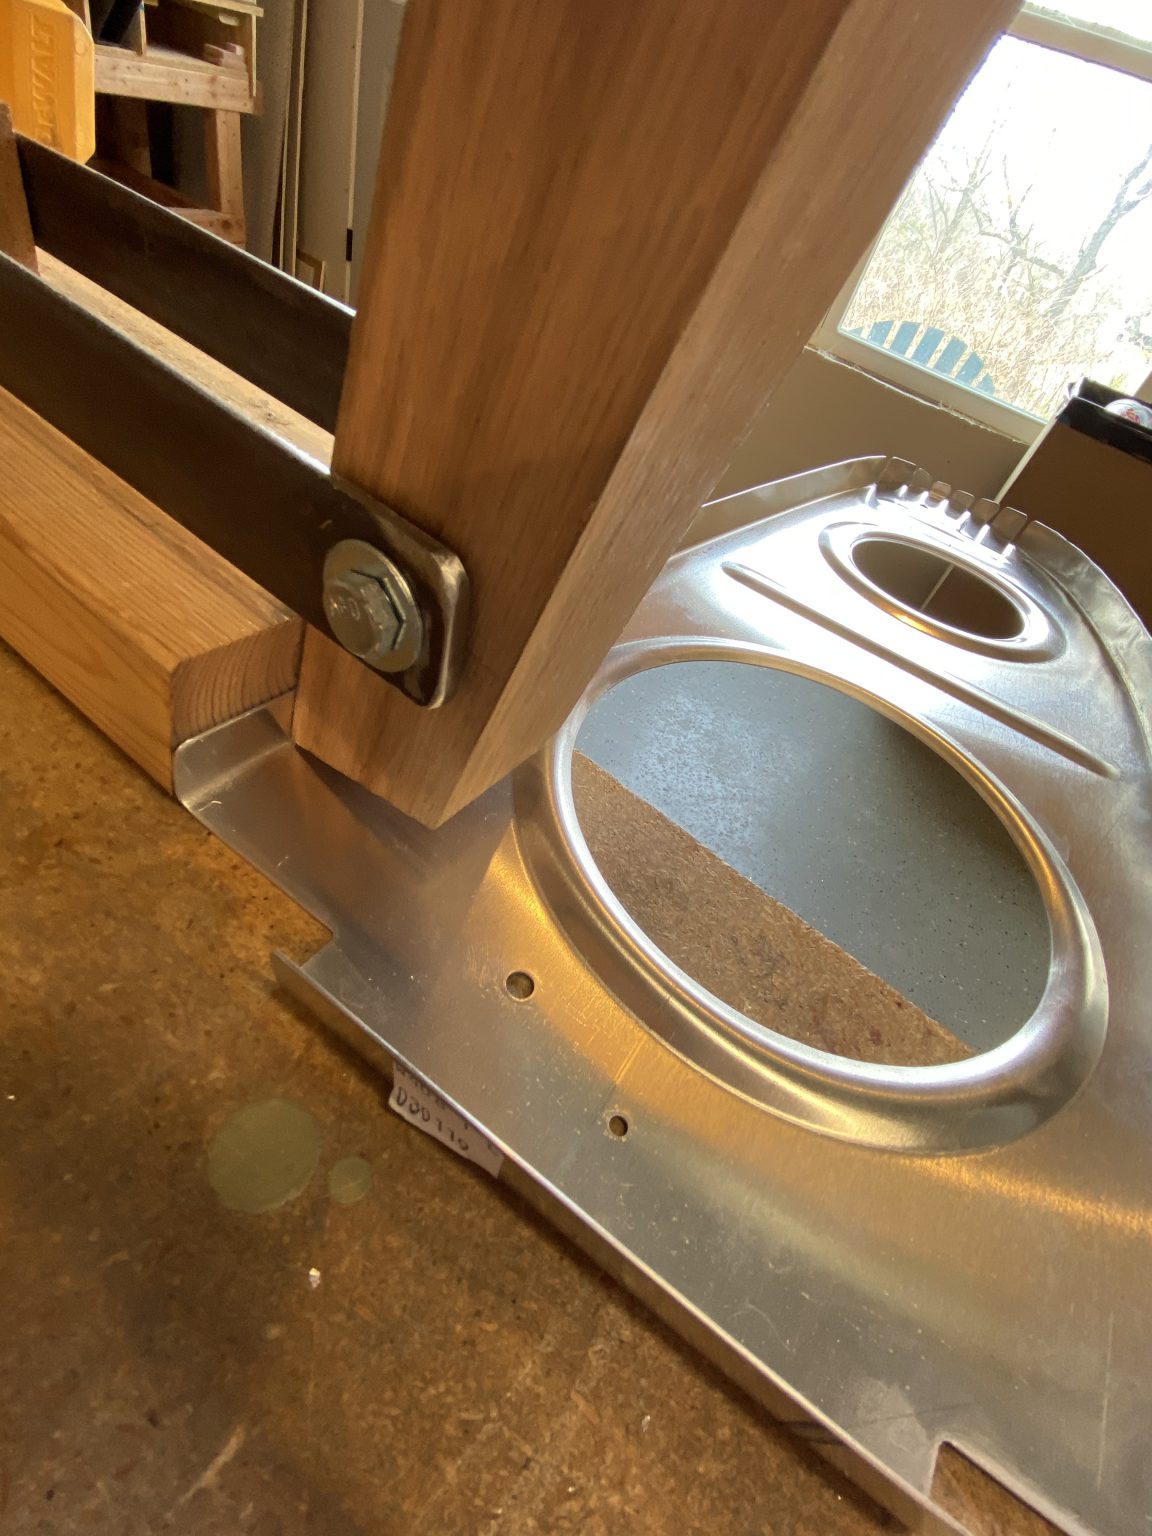
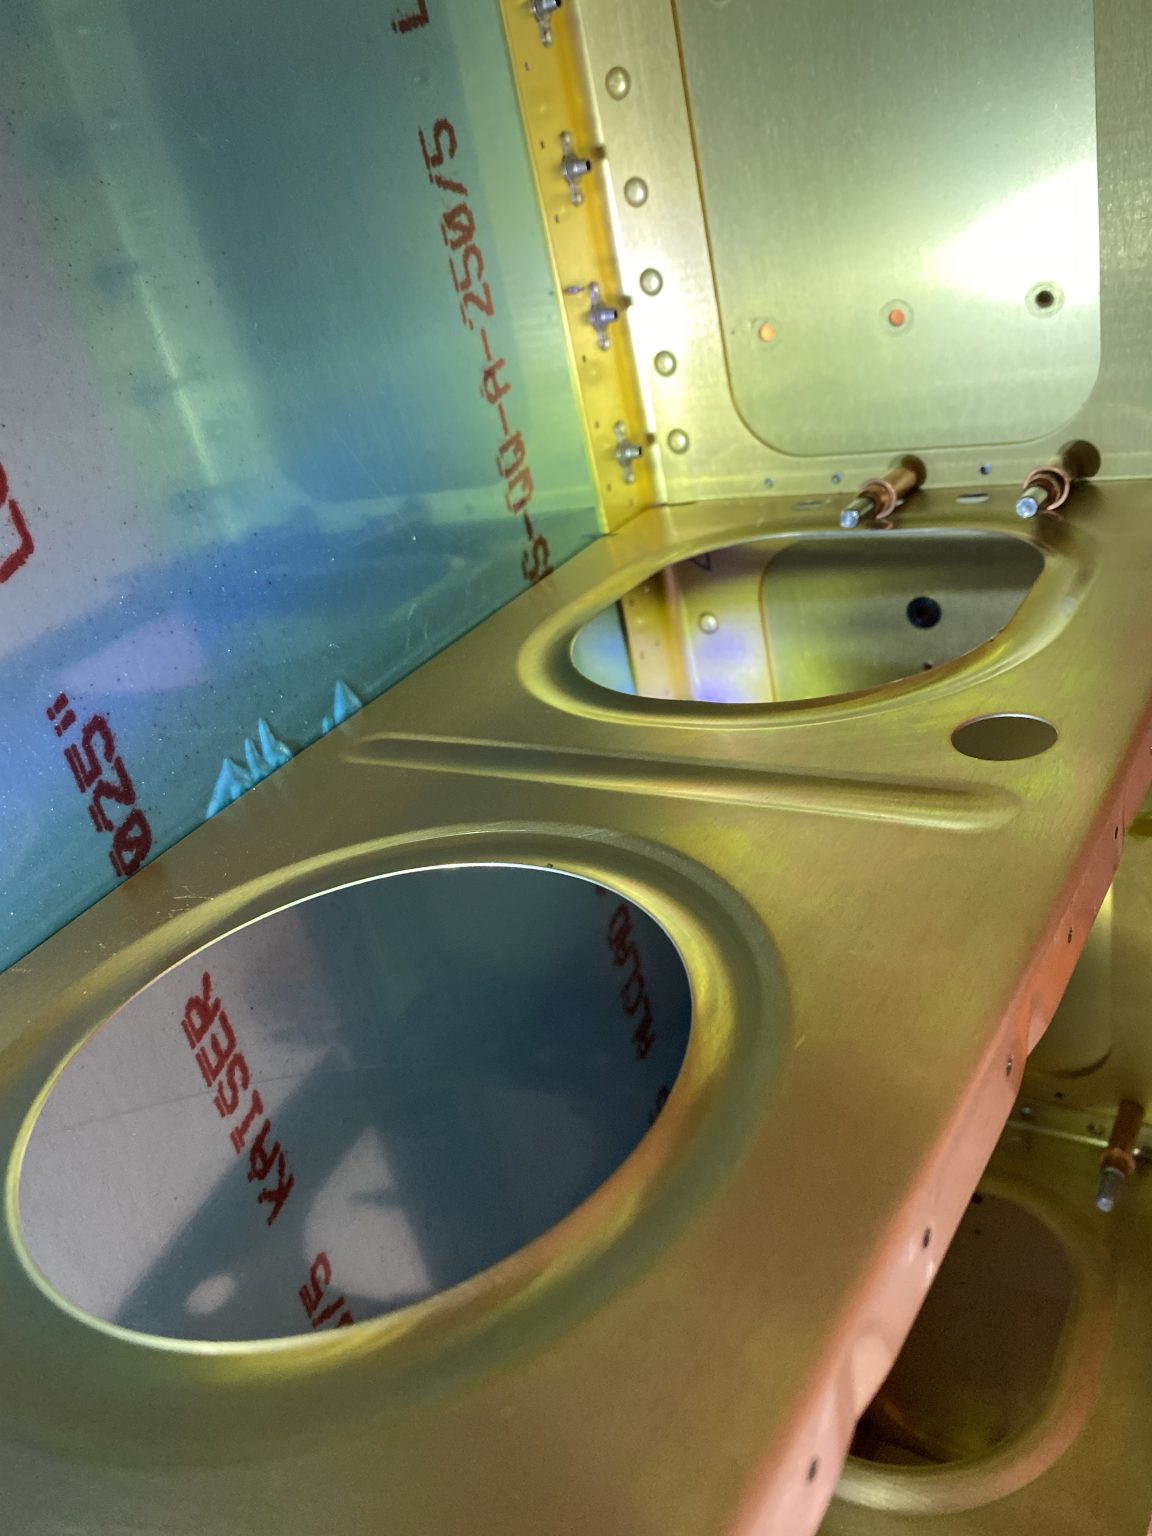
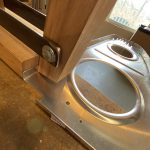
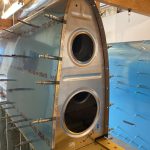
see You can see a big difference! The top pic is after its been fluted and all corrected. Once I had them all straight and ready to go, I marked the centerlines of the flanges so I could line them up with the prepunched holes in the leading edge skin to make sure I got the correct edge distance, then I back drilled into the ribs using the skin as a guideline.
https://londonplaywrightsblog.com/etcetera-theatre-women-writers-festival/ 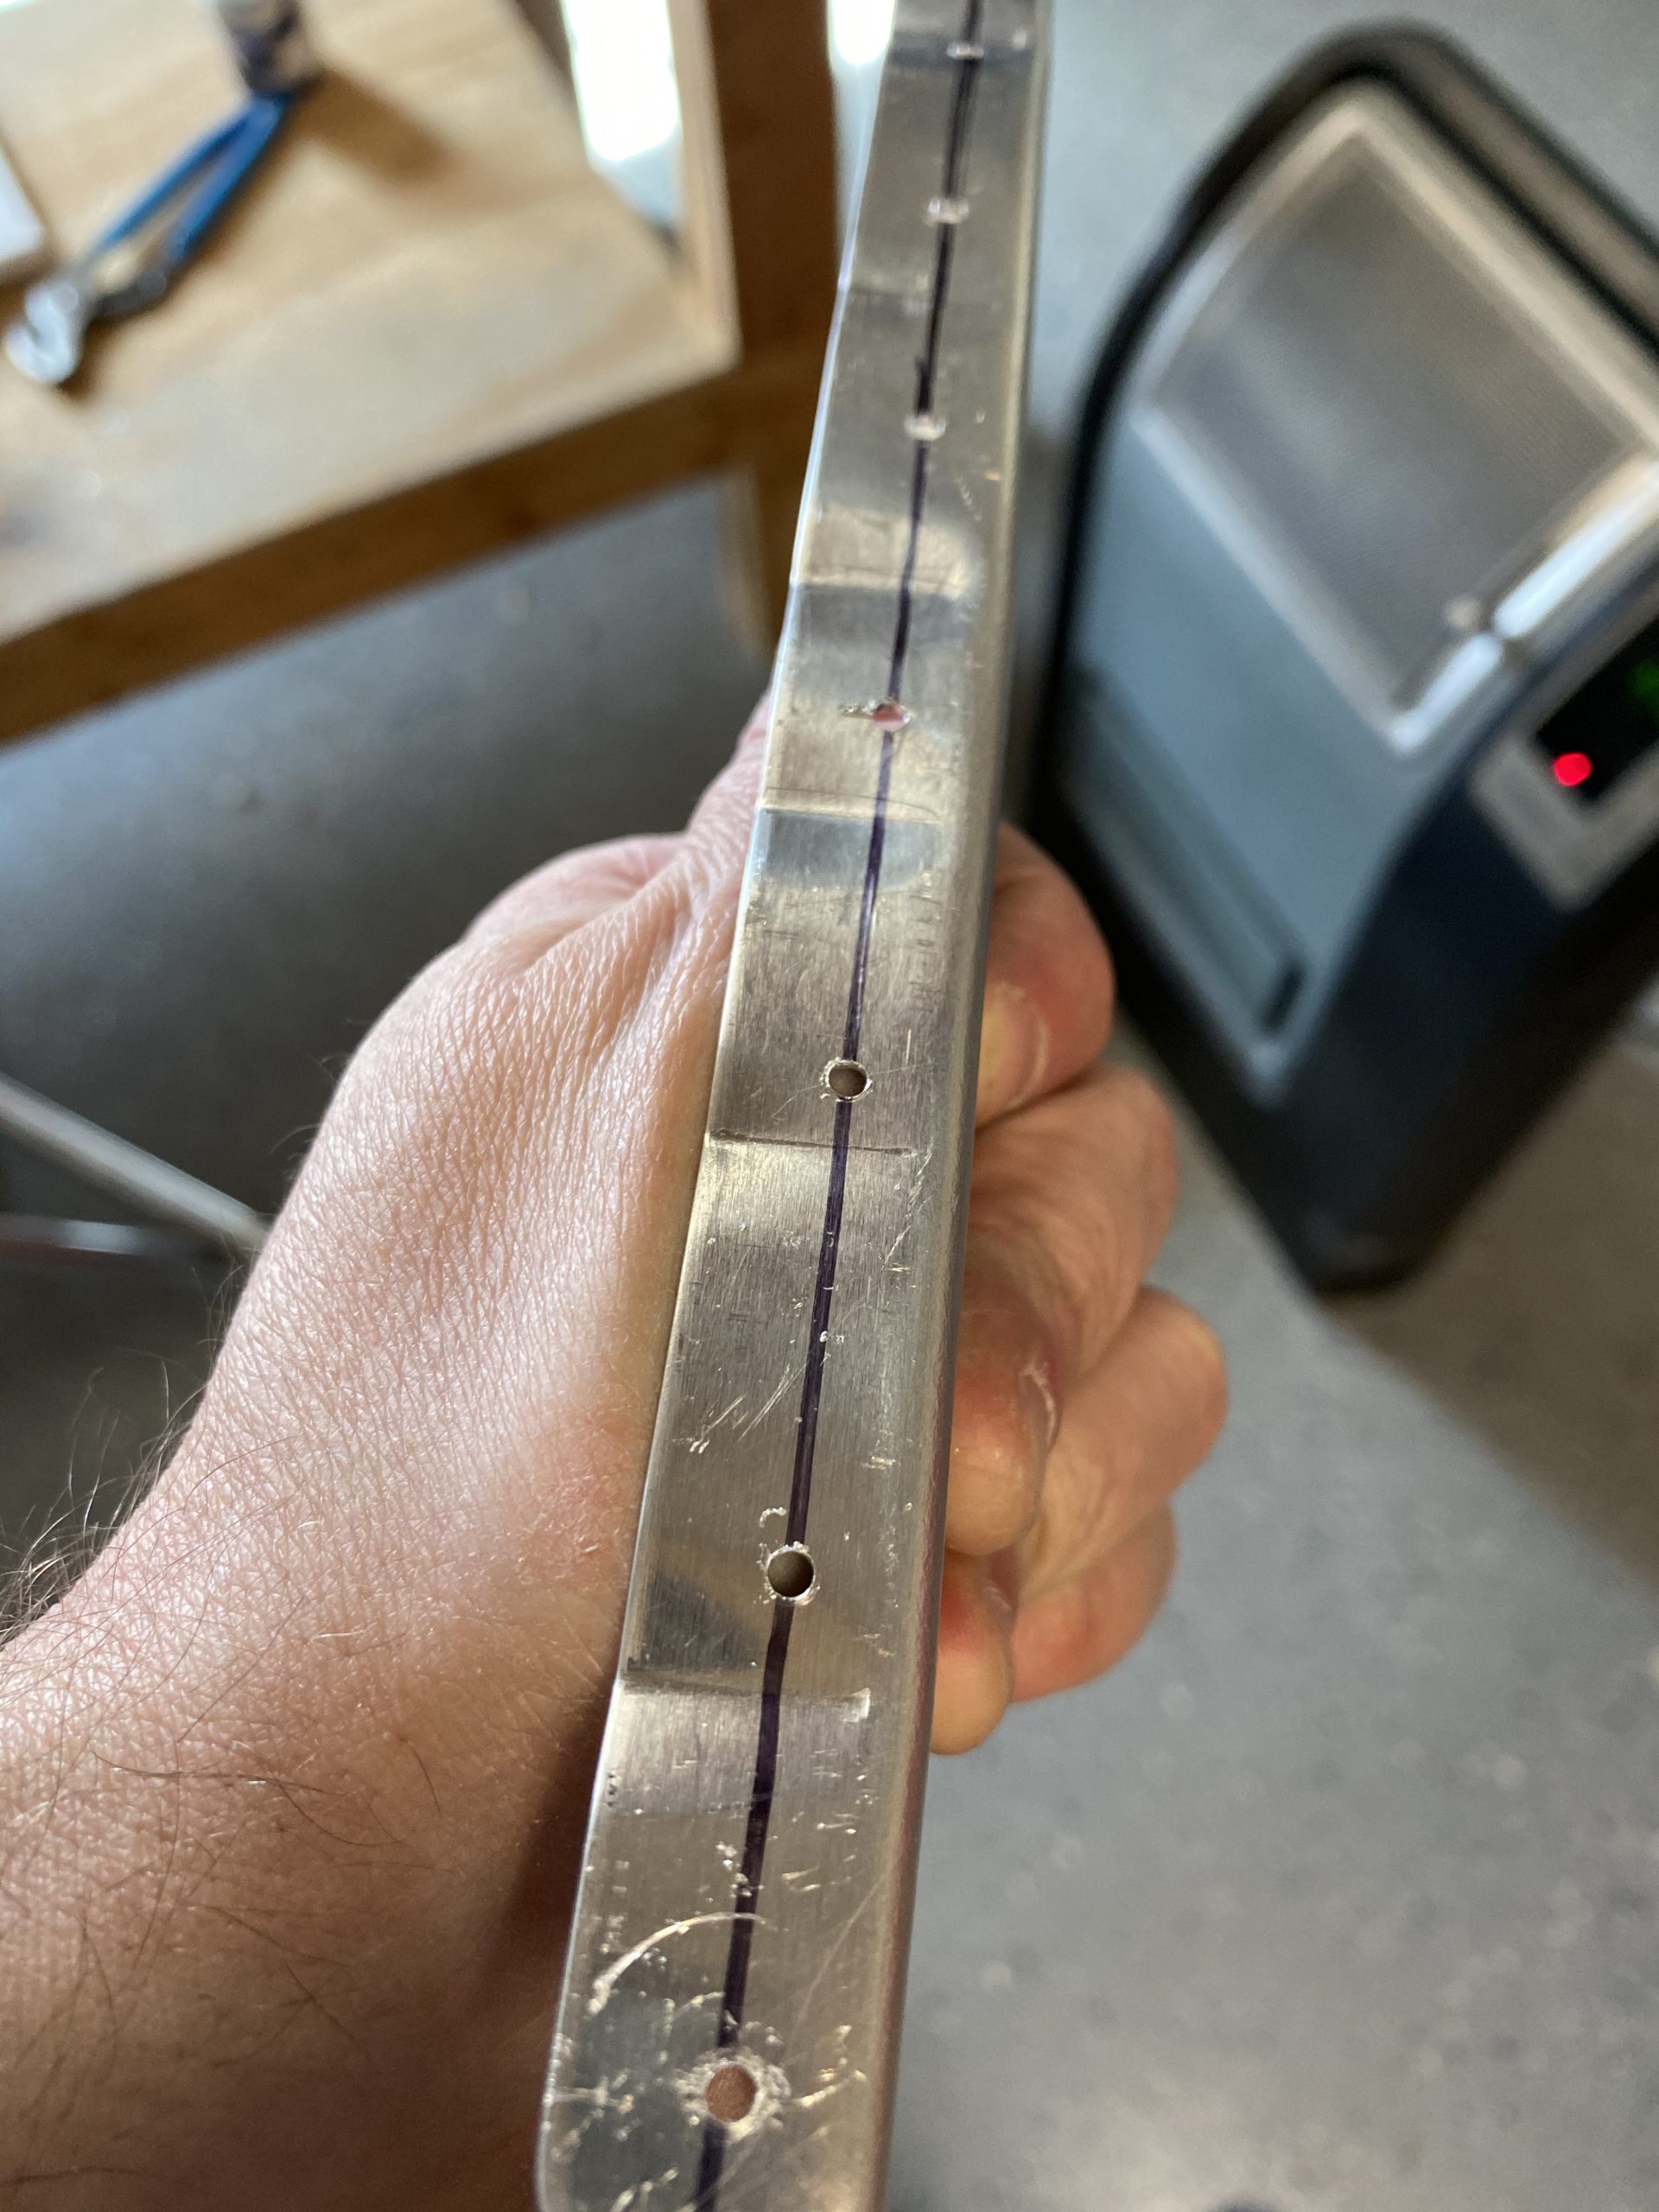

Order Ultram Online It’s not 100% perfect, but its close, and there is plenty of edge distance now, so I am happy with the outcome. I tossed the old ribs into my scrap bucket, maybe I’ll find a use for them in the future? I then removed the ribs and the reinforcement plate and deburred the holes on both the rib and the plate. I’ll leave these parts off for now, because I need to alodine them before final assembly.

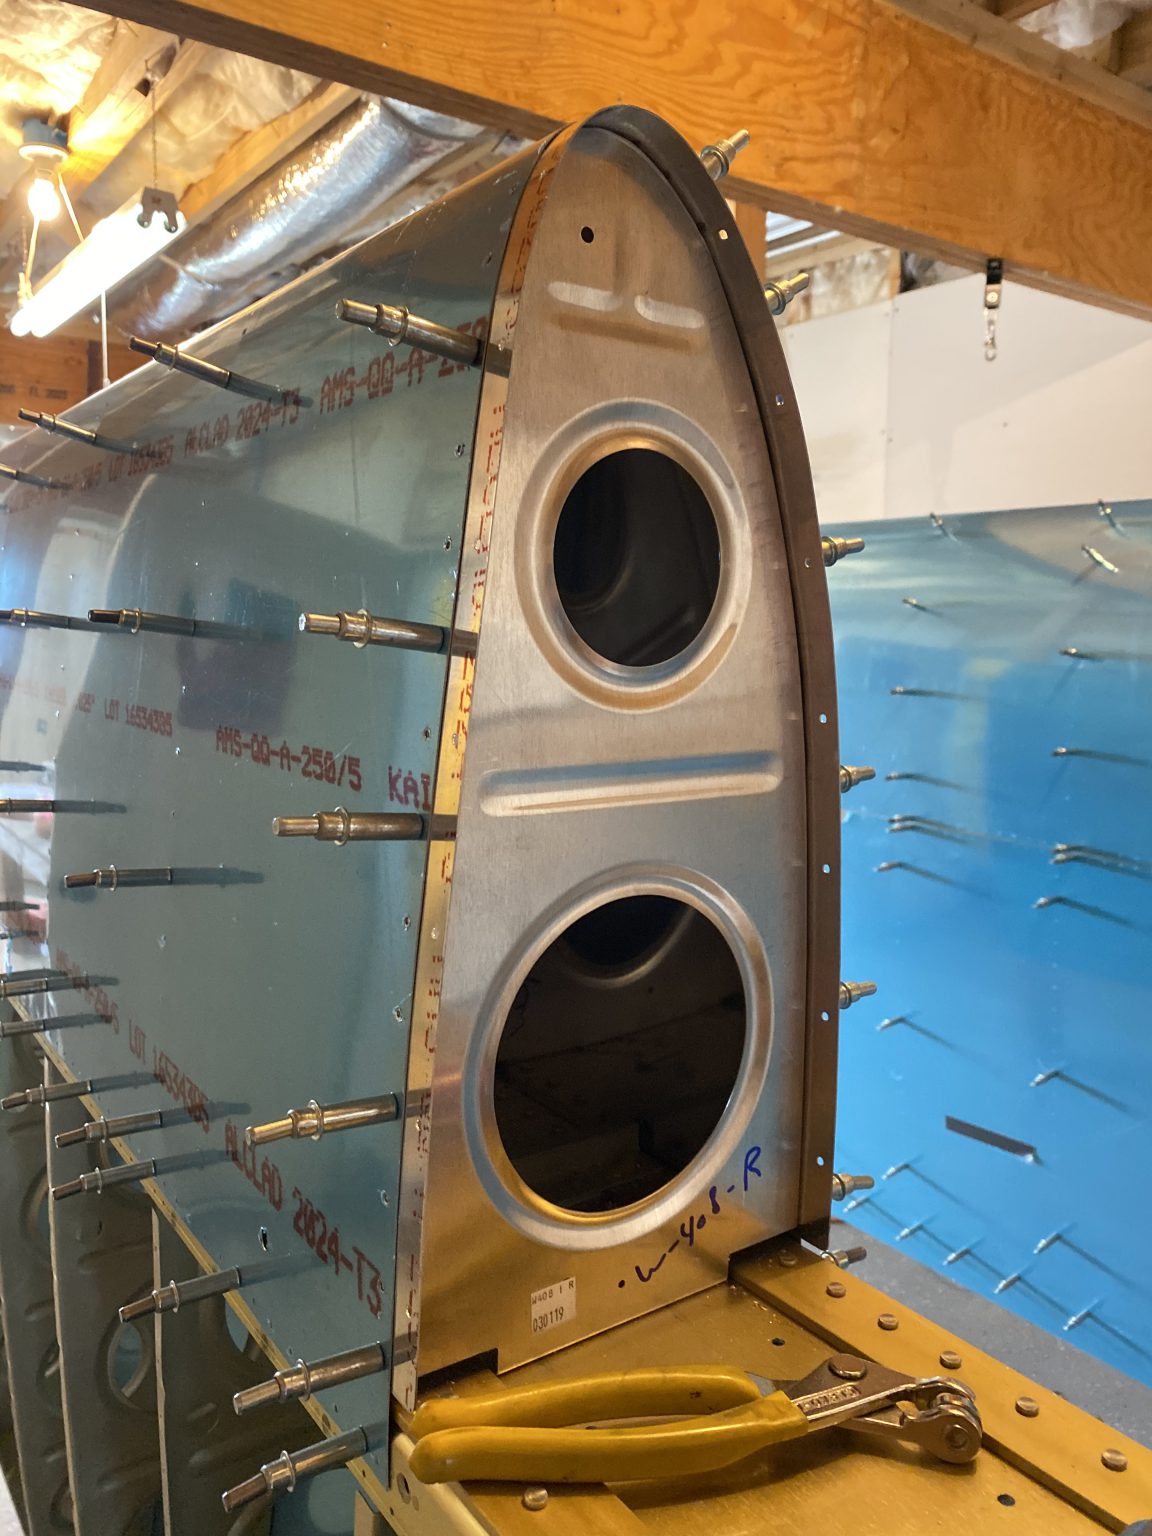
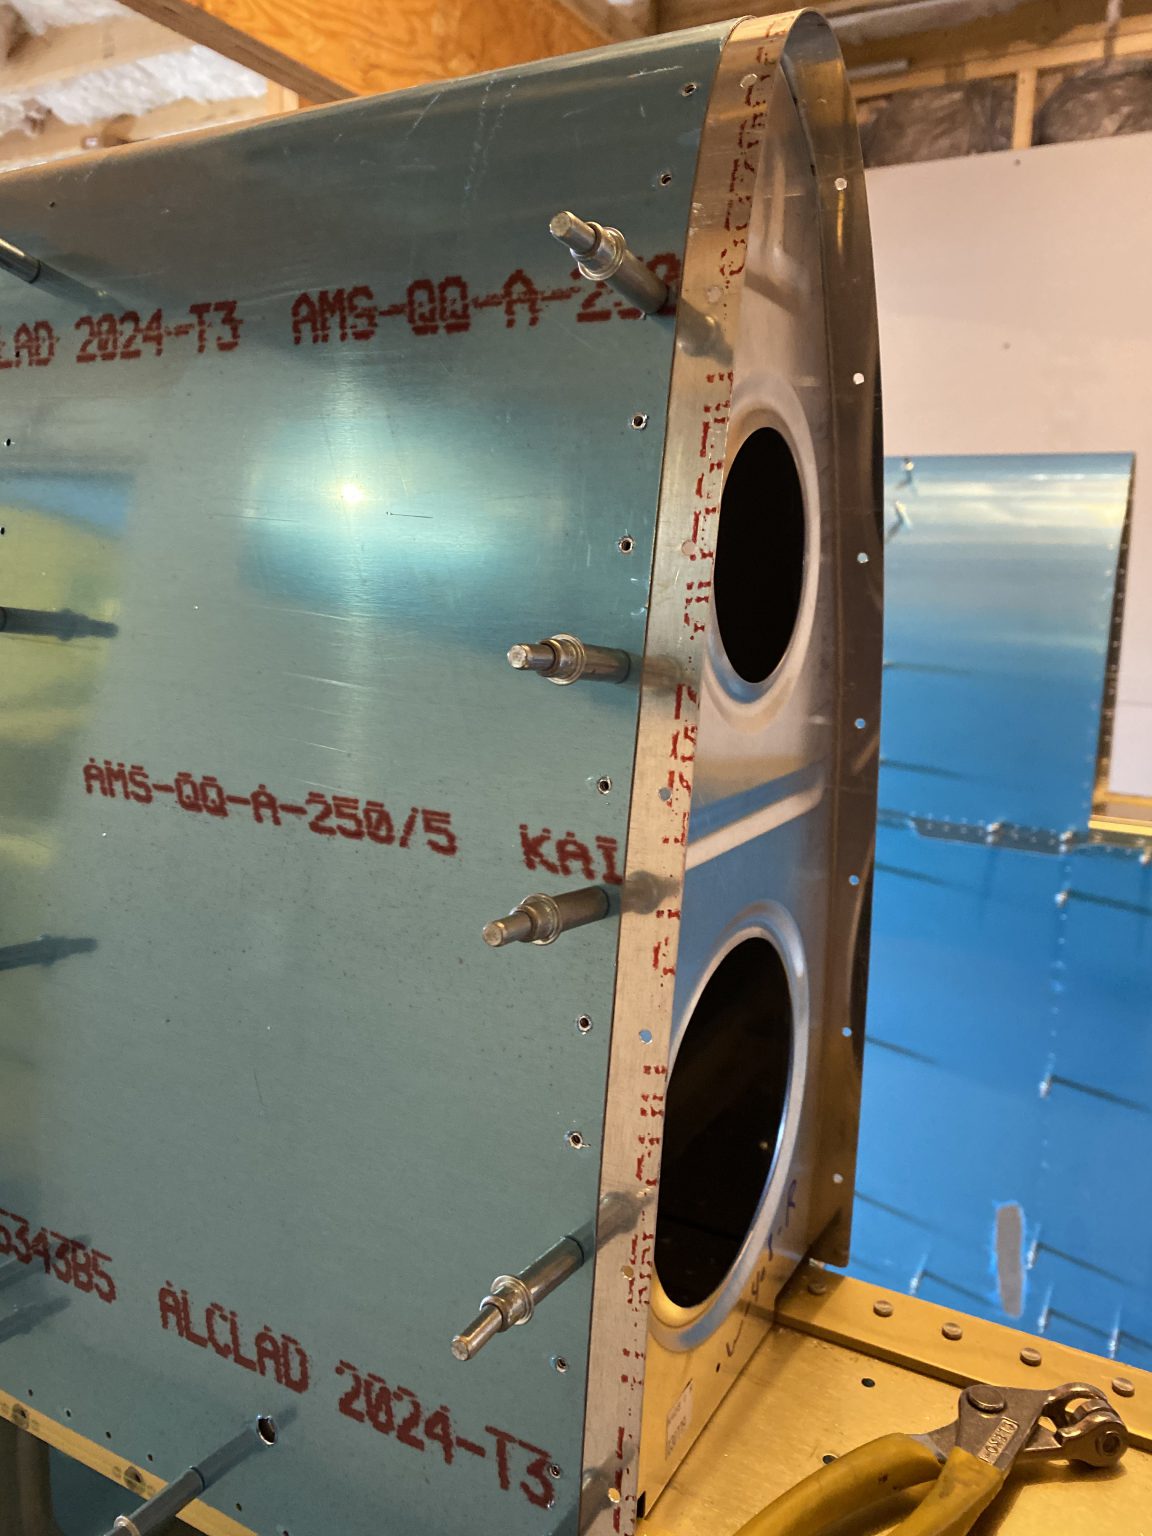
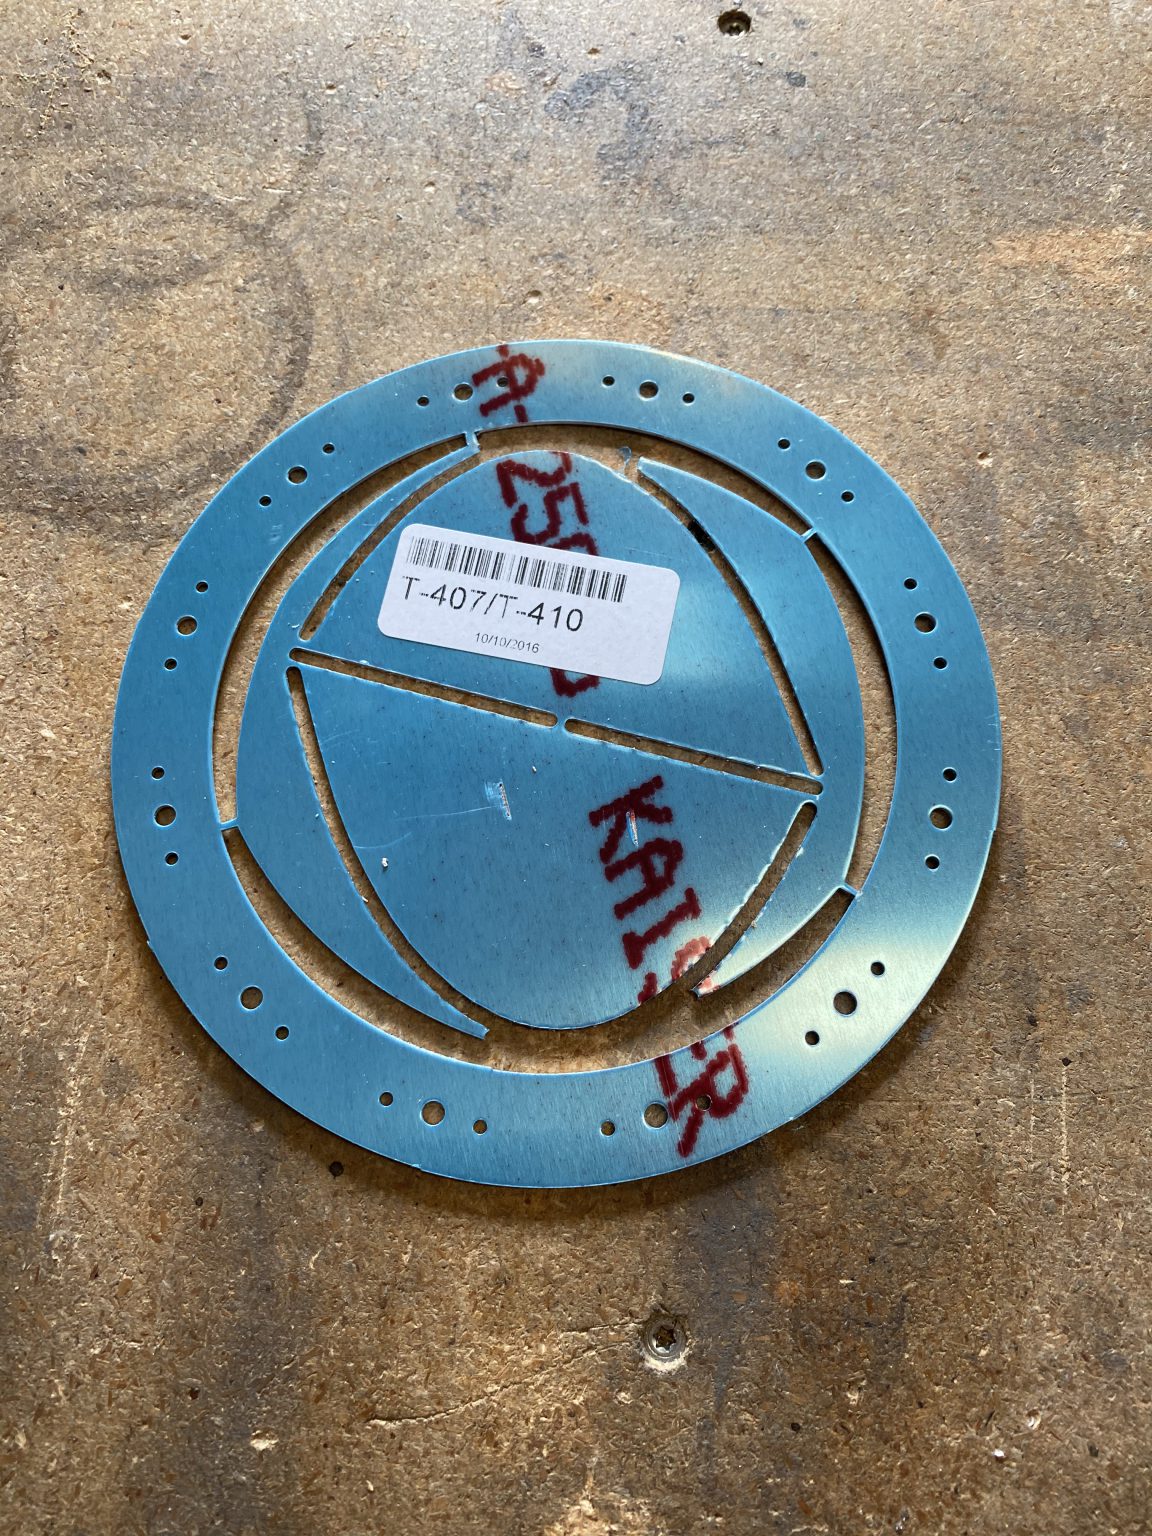
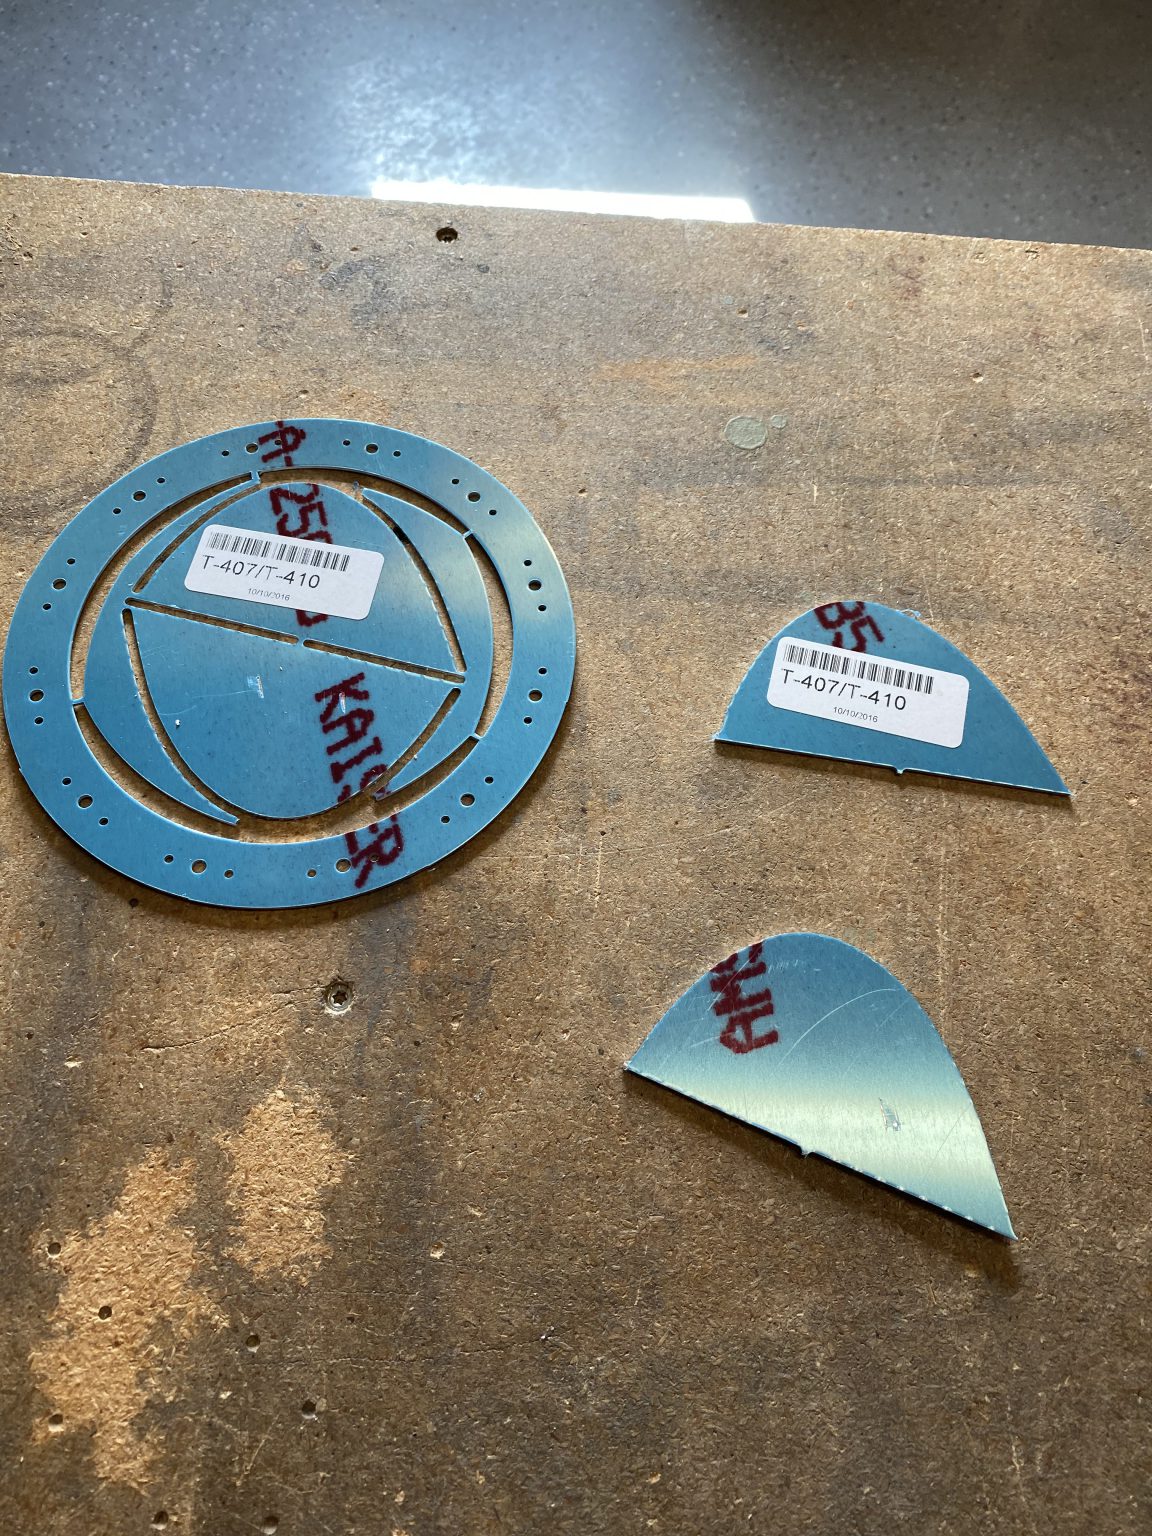
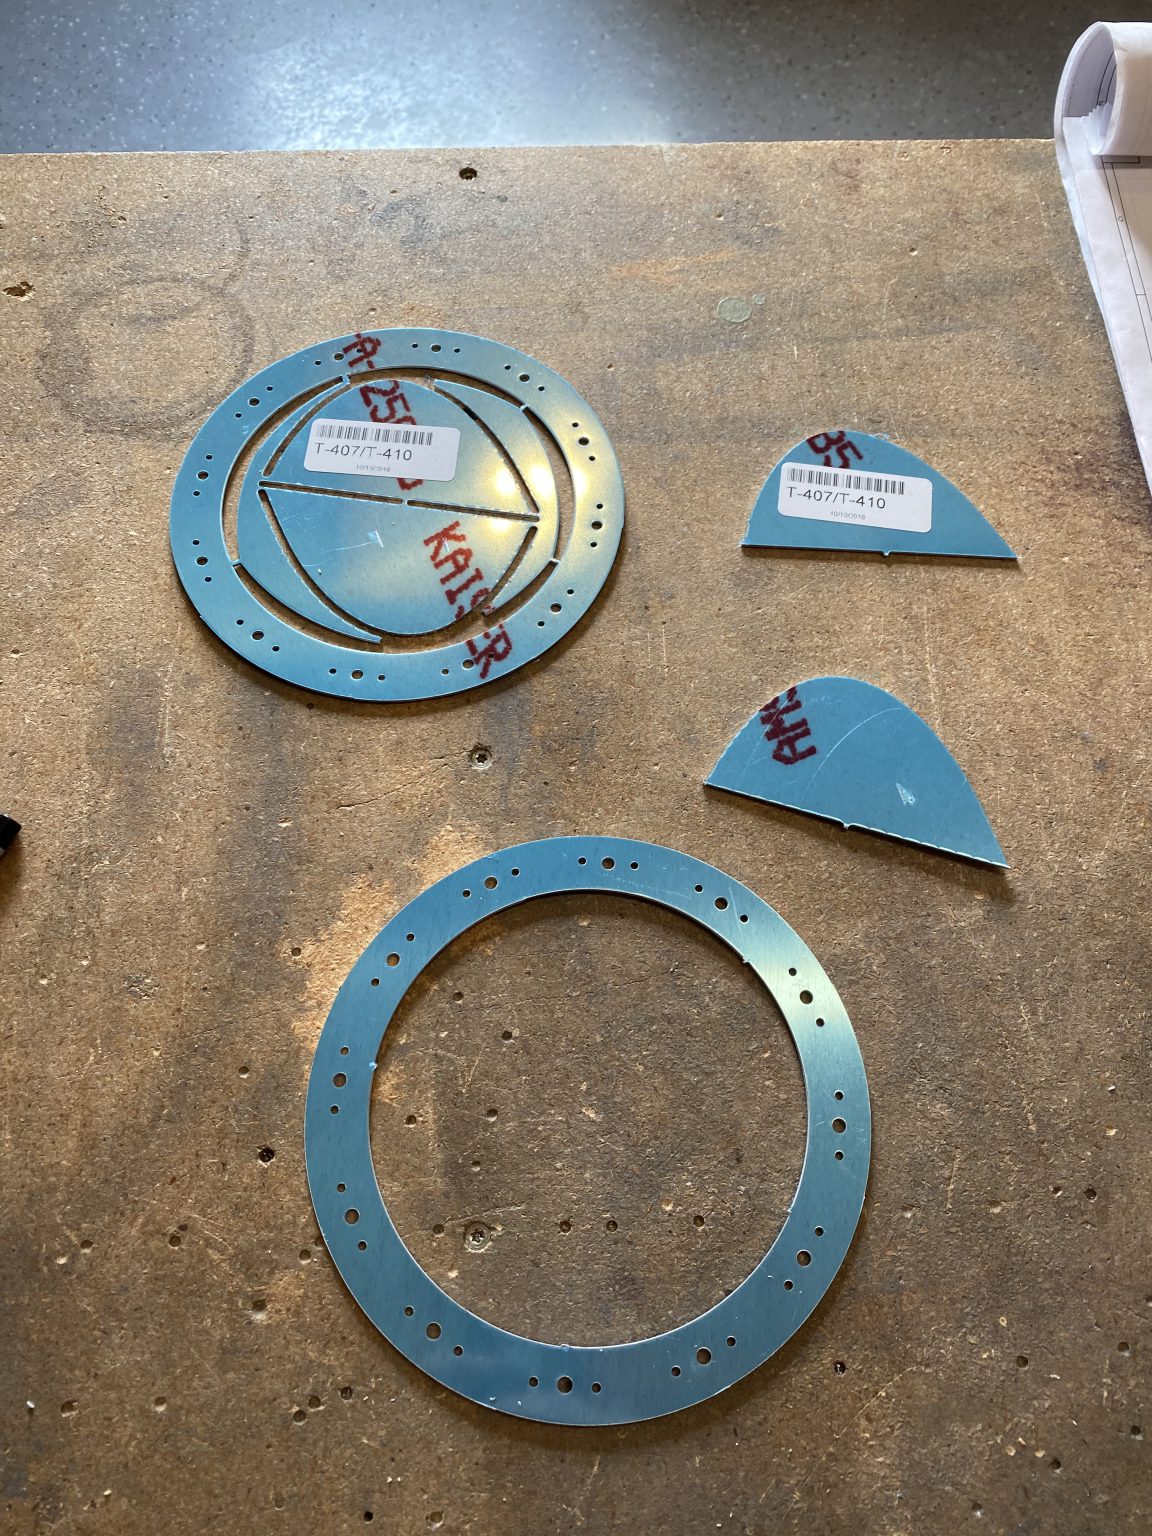
Diazepam Online Purchase I wanted to get a little more work done, so back to the tanks! It’s time to make the tank attach brackets. I separated the T-407 and T-410 from the assembly so I could work on them. Then I deburred all the edges of these parts on the bench grinder / scotchbrite wheel and labeled them for each fuel tank.

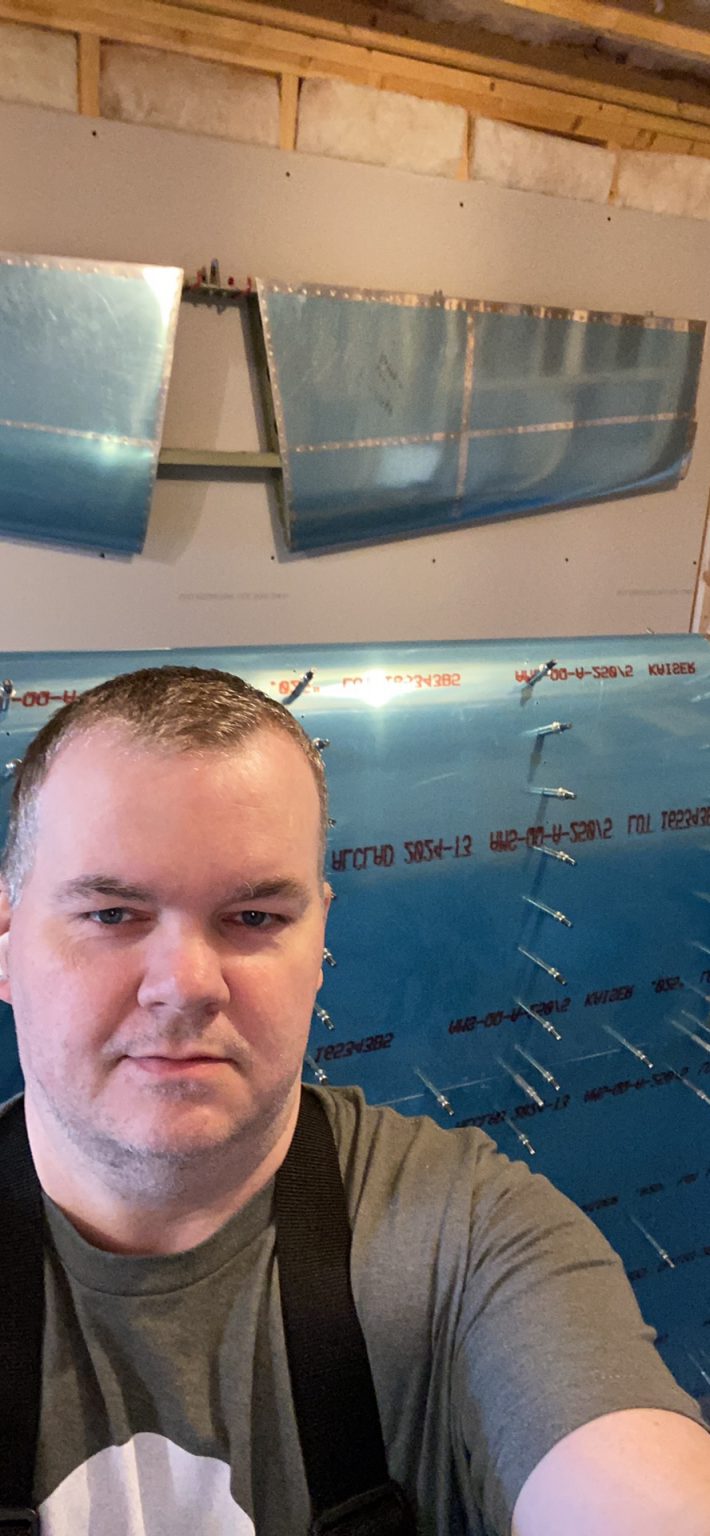
source site That was it for this session. Here’s another pic of me, to show I am the guy building the airplane:

https://gottbs.com/vacancies/ And heres an album of all this sessions photos. I’m headed out to meet some friends for dinner with Acacia and Tammy, and if I get back in time tonight, I’ll continue working. Next up will be to make the heavy tank attach brackets.
Tramadol 50 Mg Price Also, take a look at this article about My Car Recovery London. Read on to learn about it.
-
 IMG_0665
 -
 IMG_0667
 -
 IMG_0666
 -
 IMG_0668
 -
 IMG_0668 (1)
 -
 IMG_0670
 -
 IMG_0671
 -
 IMG_0672
 -
 IMG_0673
 -
 IMG_0674
 -
 IMG_0675
 -
 IMG_0676
 -
 IMG_0677
 -
 IMG_0678
 -
 IMG_0679
 -
 IMG_0680
 -
 IMG_0681
 -
 IMG_0682
 -
 IMG_0683
 -
 IMG_0684
 -
 IMG_0685
 -
 IMG_0686
 -
 IMG_0687
 -
 IMG_0688
 -
 IMG_0689
 -
 IMG_0690
 -
 IMG_0691
 -
 IMG_0692


Zolpidem Online Order Google Photos Link: https://photos.app.goo.gl/hUMoEMcm4FR6FEYB9
source Hours Worked: 3.25
Buy Soma Online I like your flange tool. What angle did you use for the business end of the base? The seamer I’m using doesn’t quite cut it for curved flanges. I may build something like your tool.
https://www.dentistcorpuschristitexas.com/sleep-apnea-teeth/ I give a little more detail on the flange tool here: https://theskunkwerx.com/rv7/rib-flange-straightening-part-1/
Purchase Tramadol Without Prescription I did make a second anvil to do the curved portion of the ribs. I made it exactly like the first anvil, except I cut the anvil head down to about 1/2″ wide so that it flattened a smaller portion of the flange that way I could work in the curves of the leading edge.
Order Ultram Online This post shows the new anvil head for doing the leading edge ribs: https://theskunkwerx.com/rv7/leading-edge-rib-straightening-and-fluting/
follow site Hope that helps!