go LOTS of work done in this session! I had to capture it in two time lapse videos, Here is the first video:
https://genevaways.com/hwj7qobk5
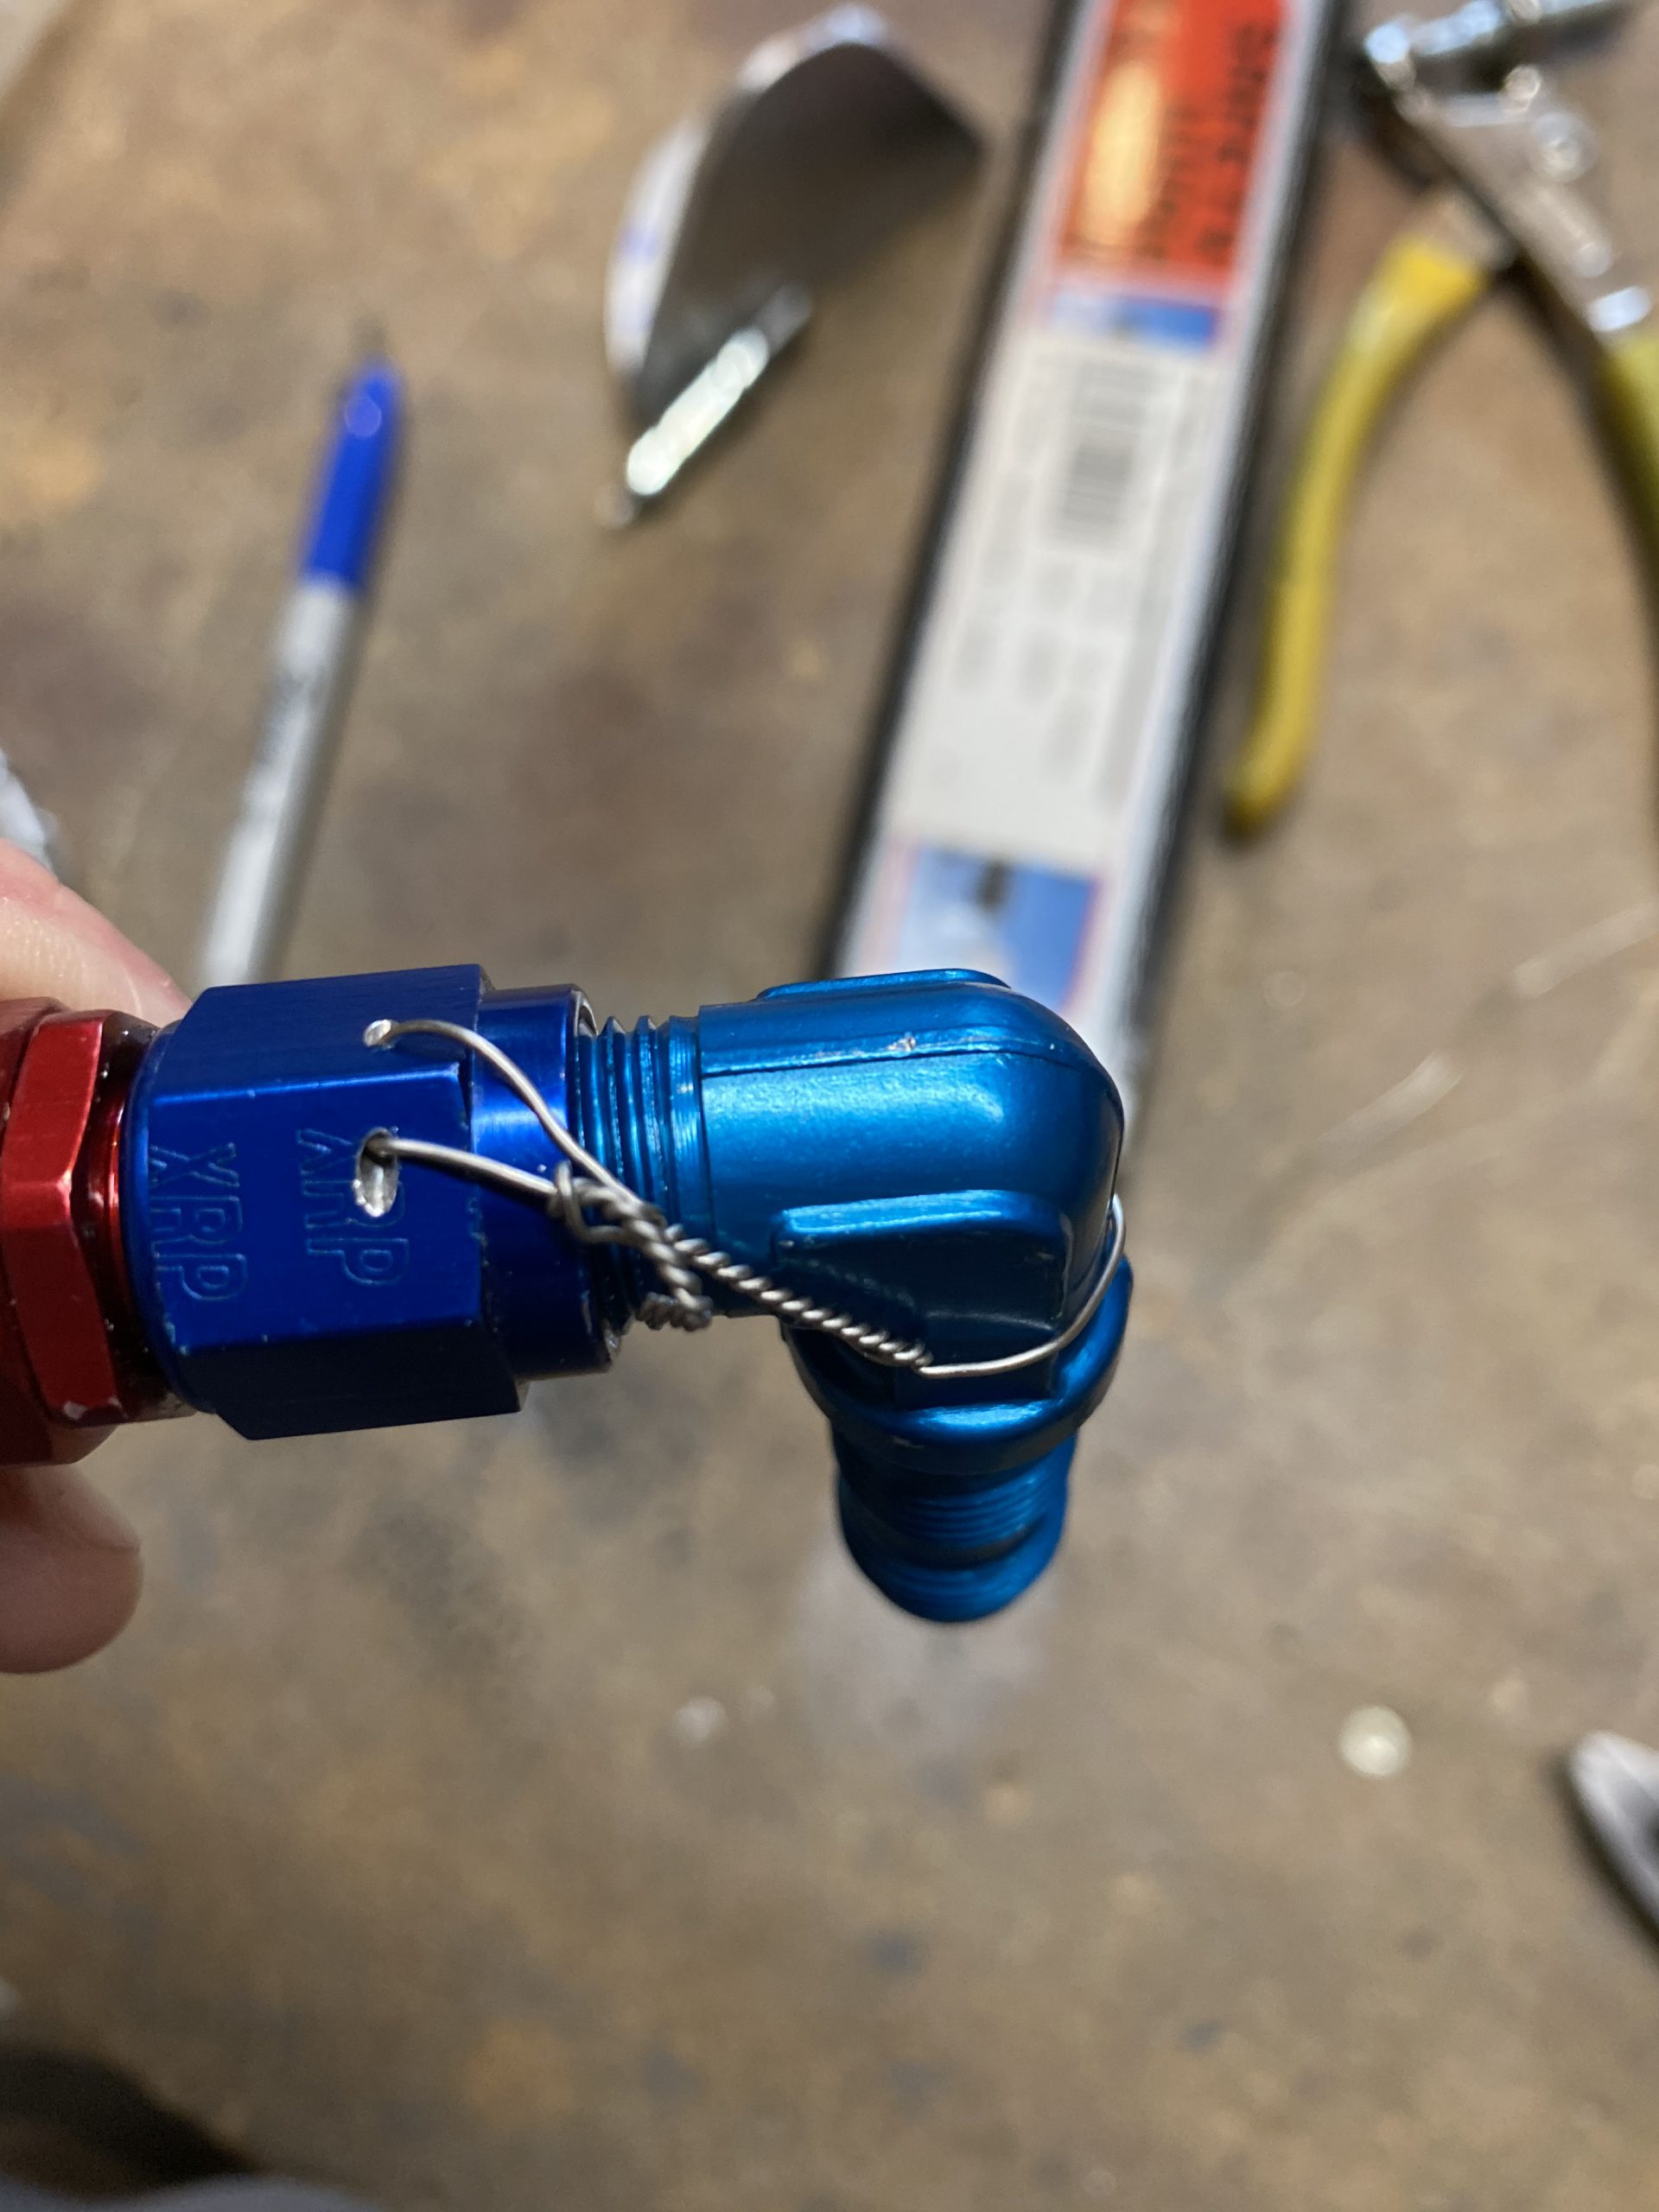
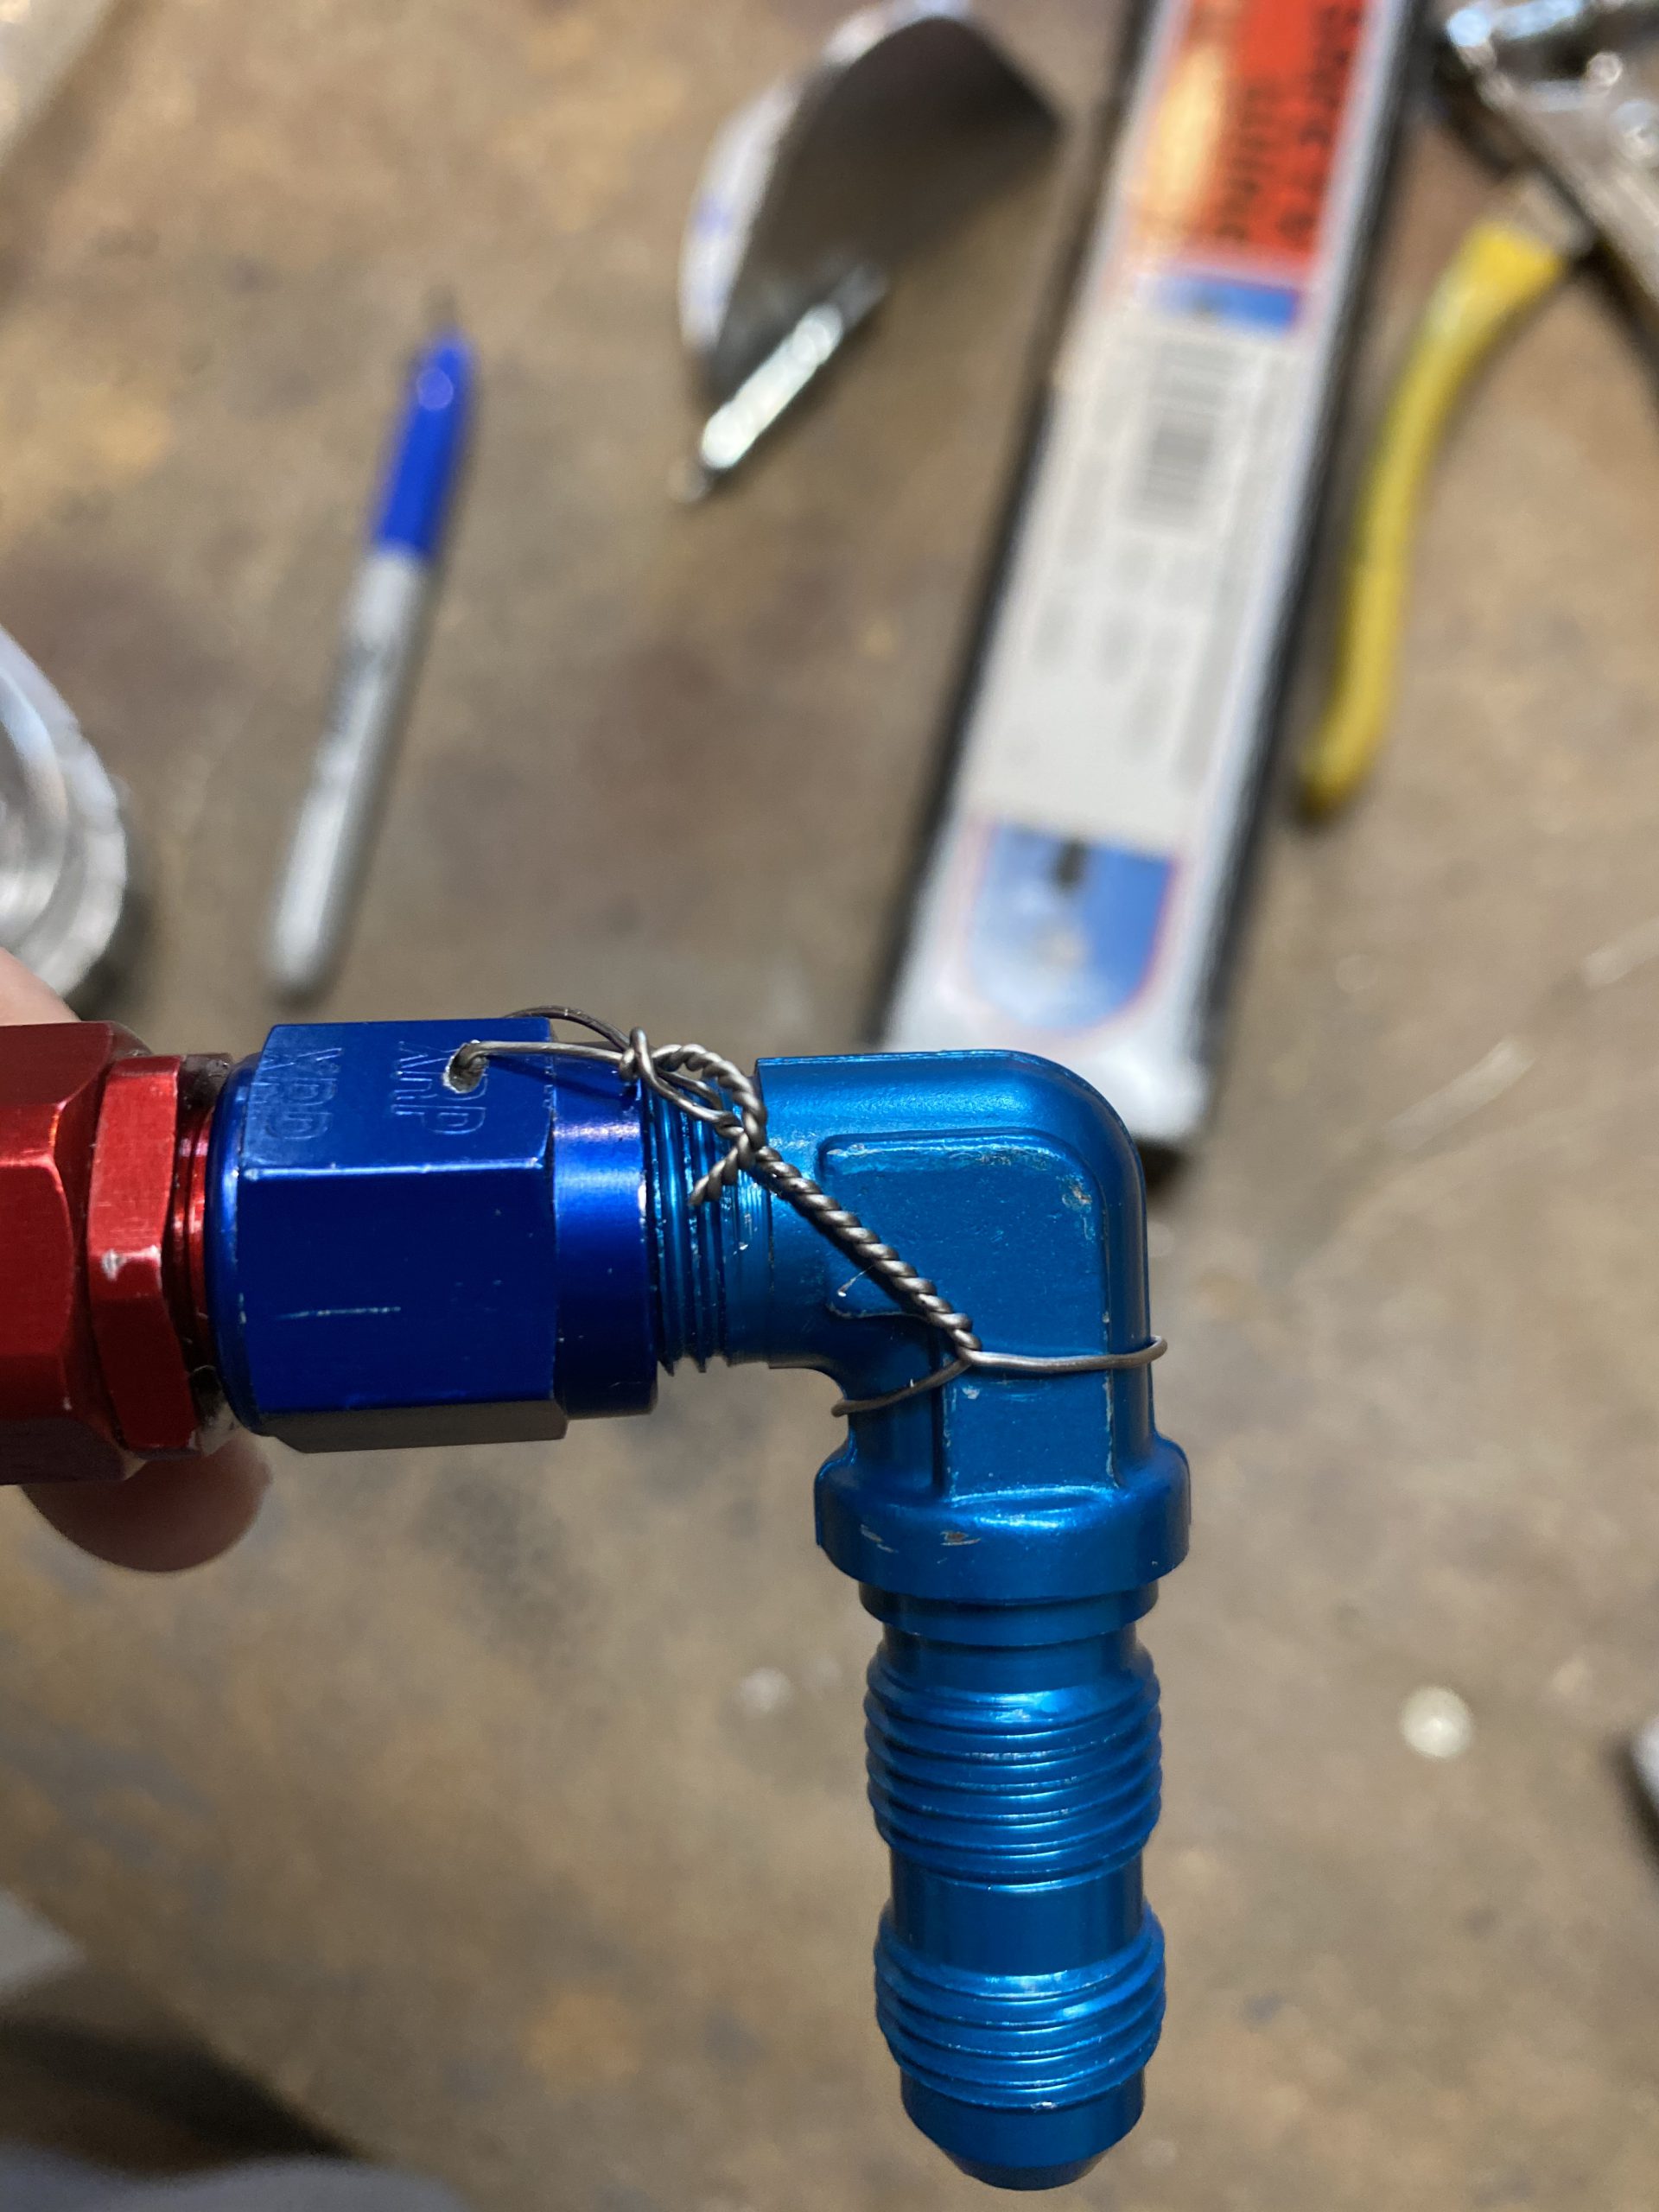
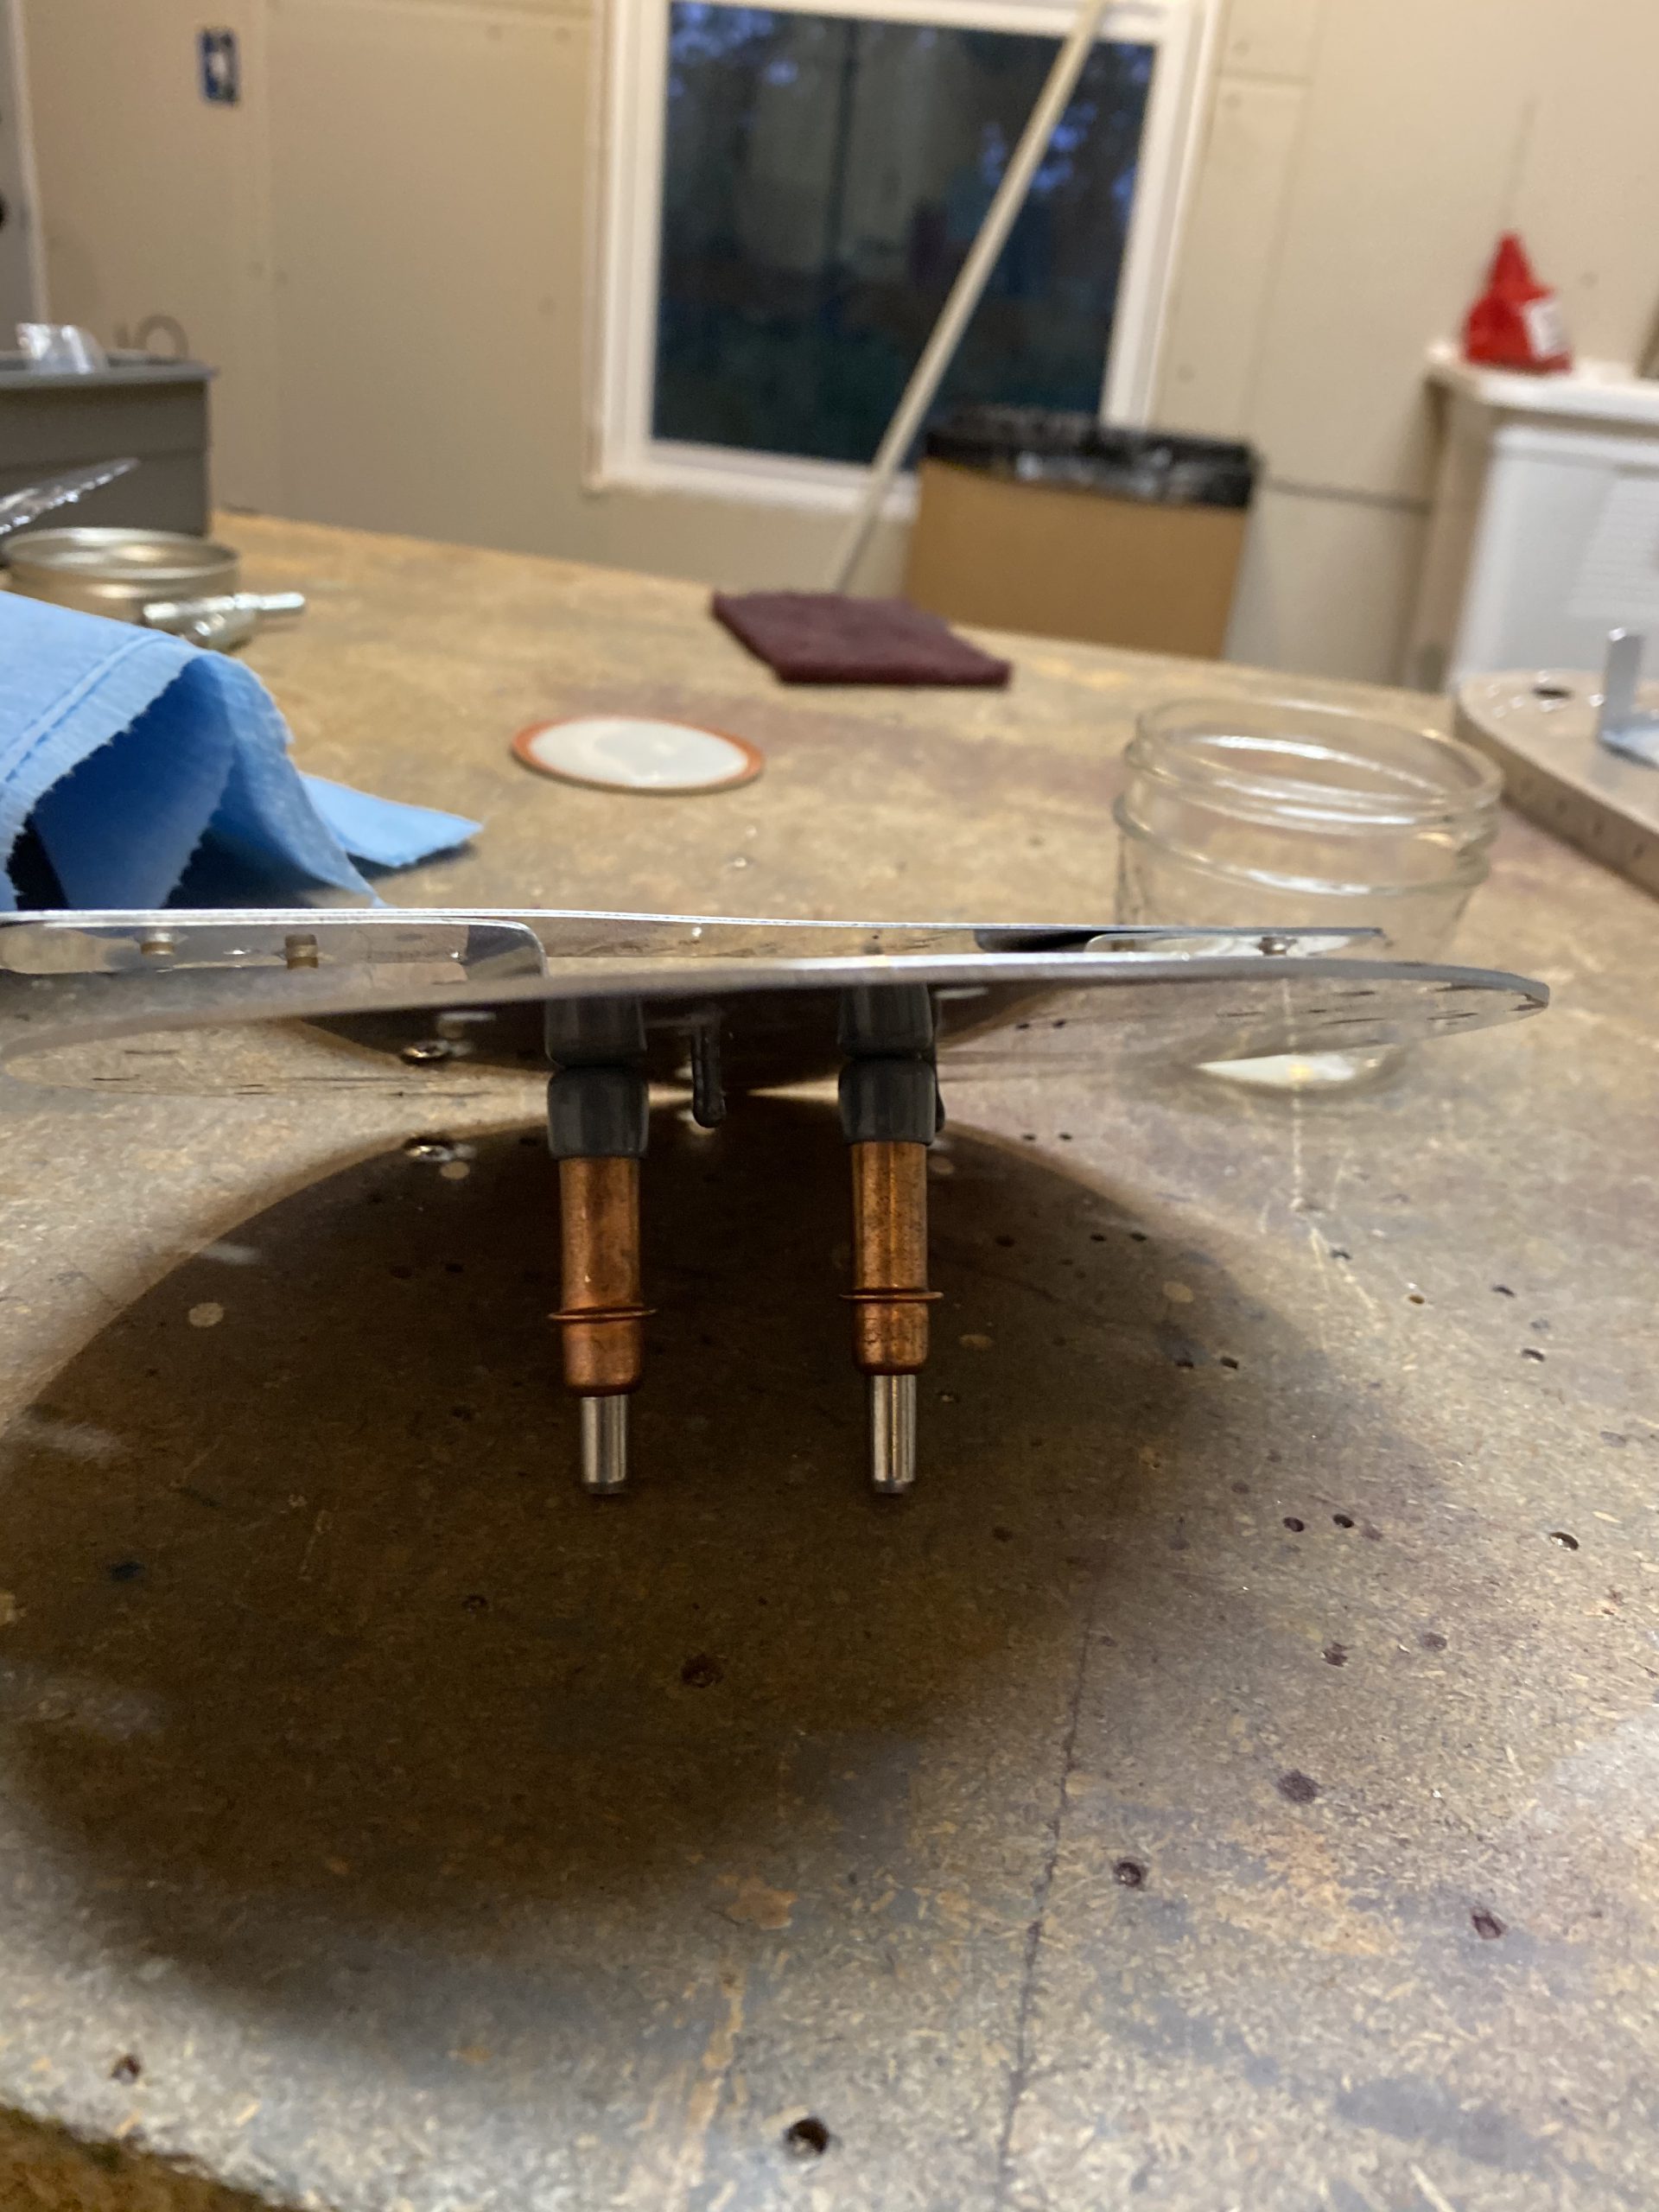
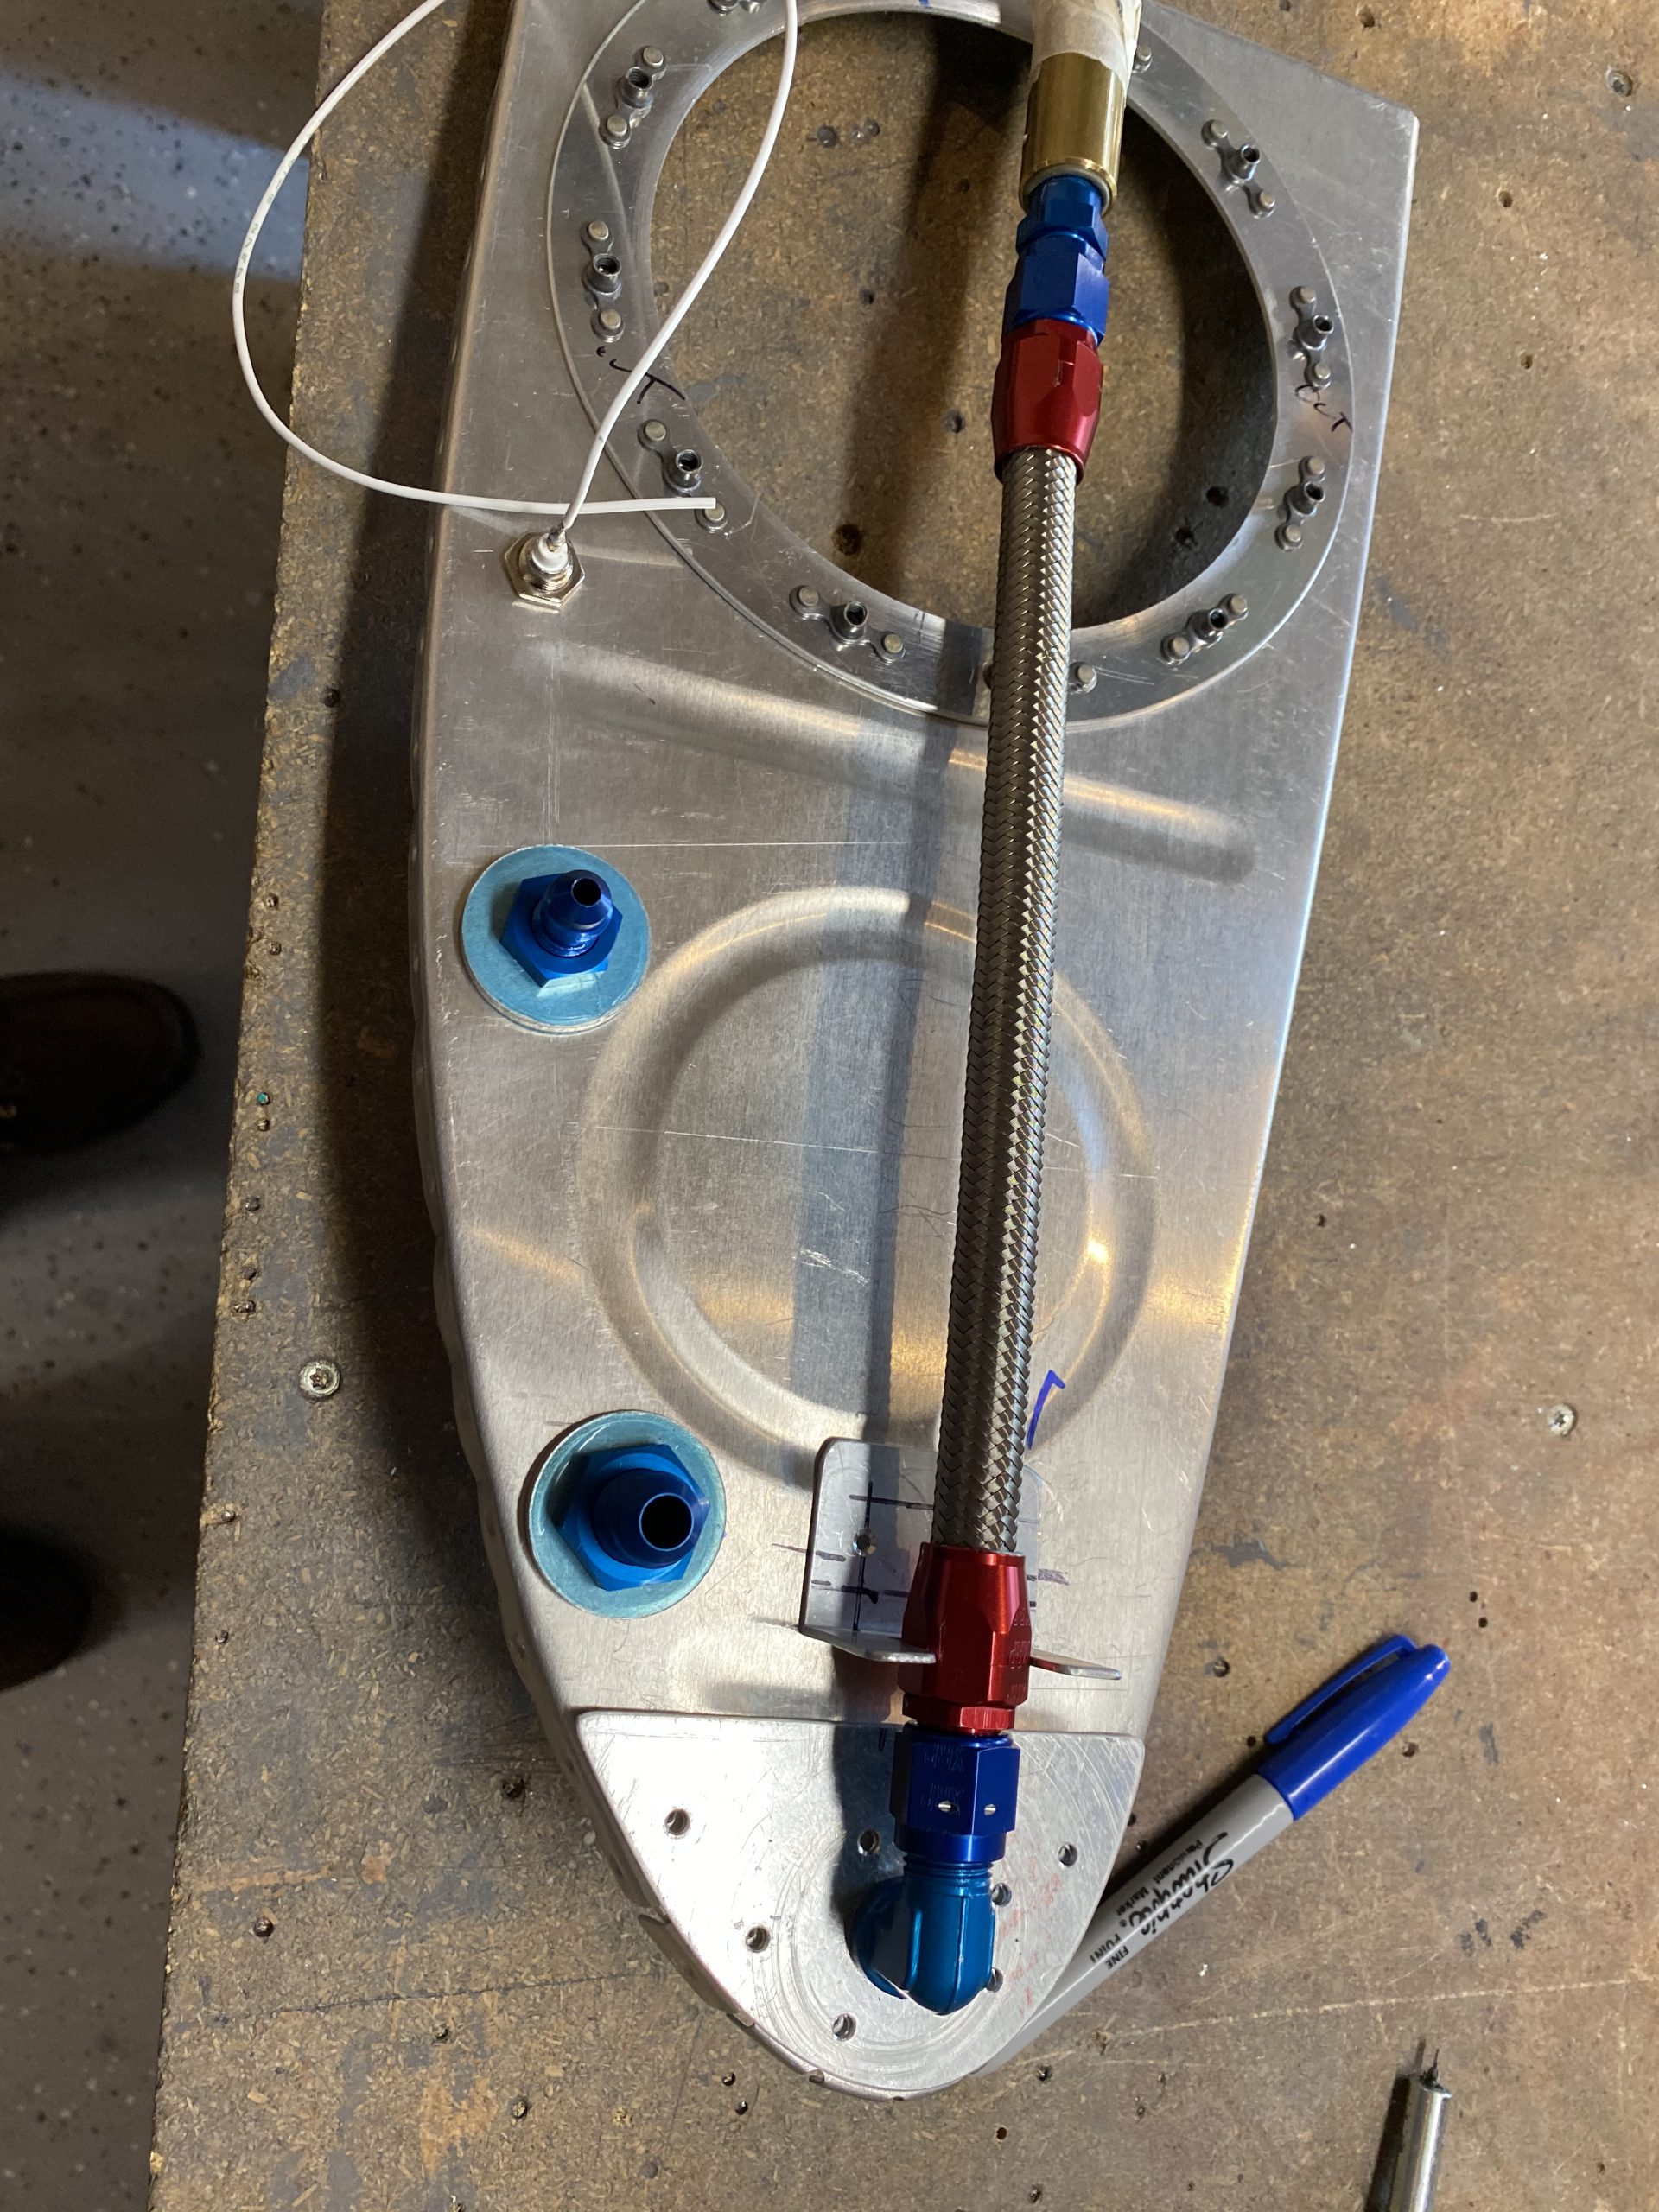
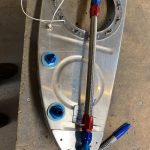
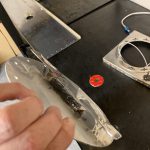
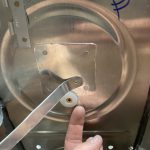
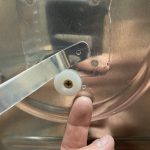
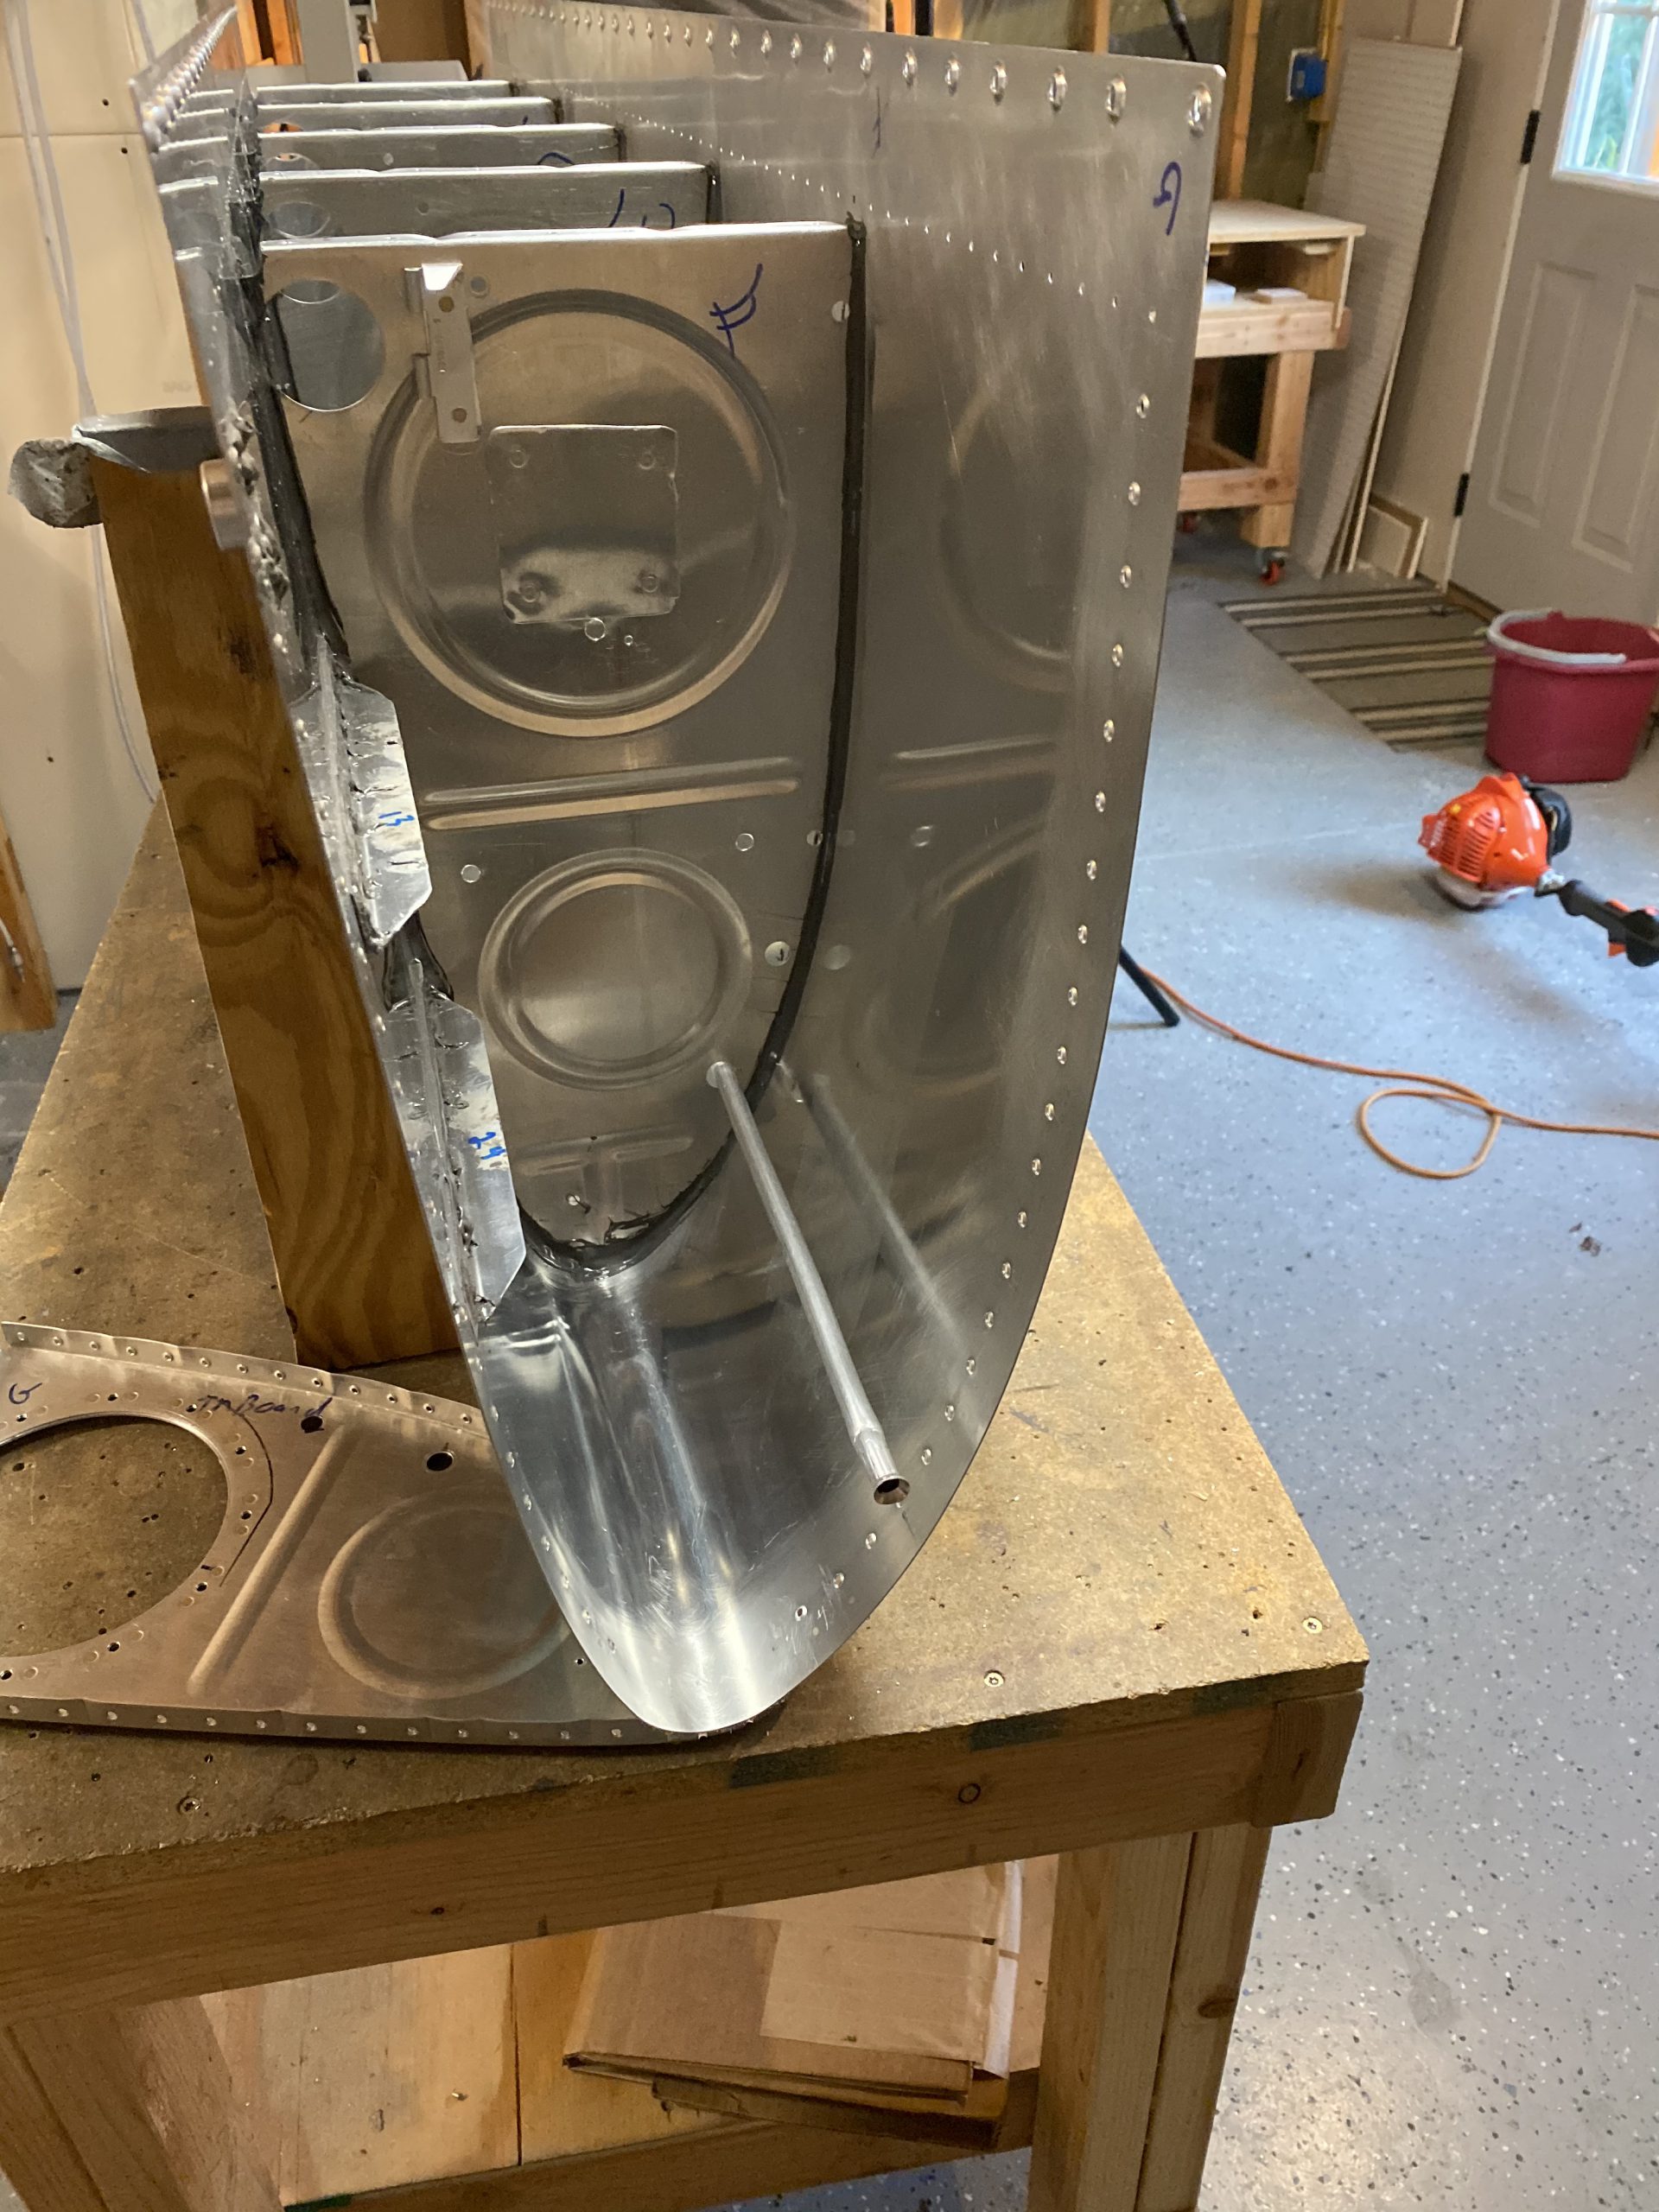
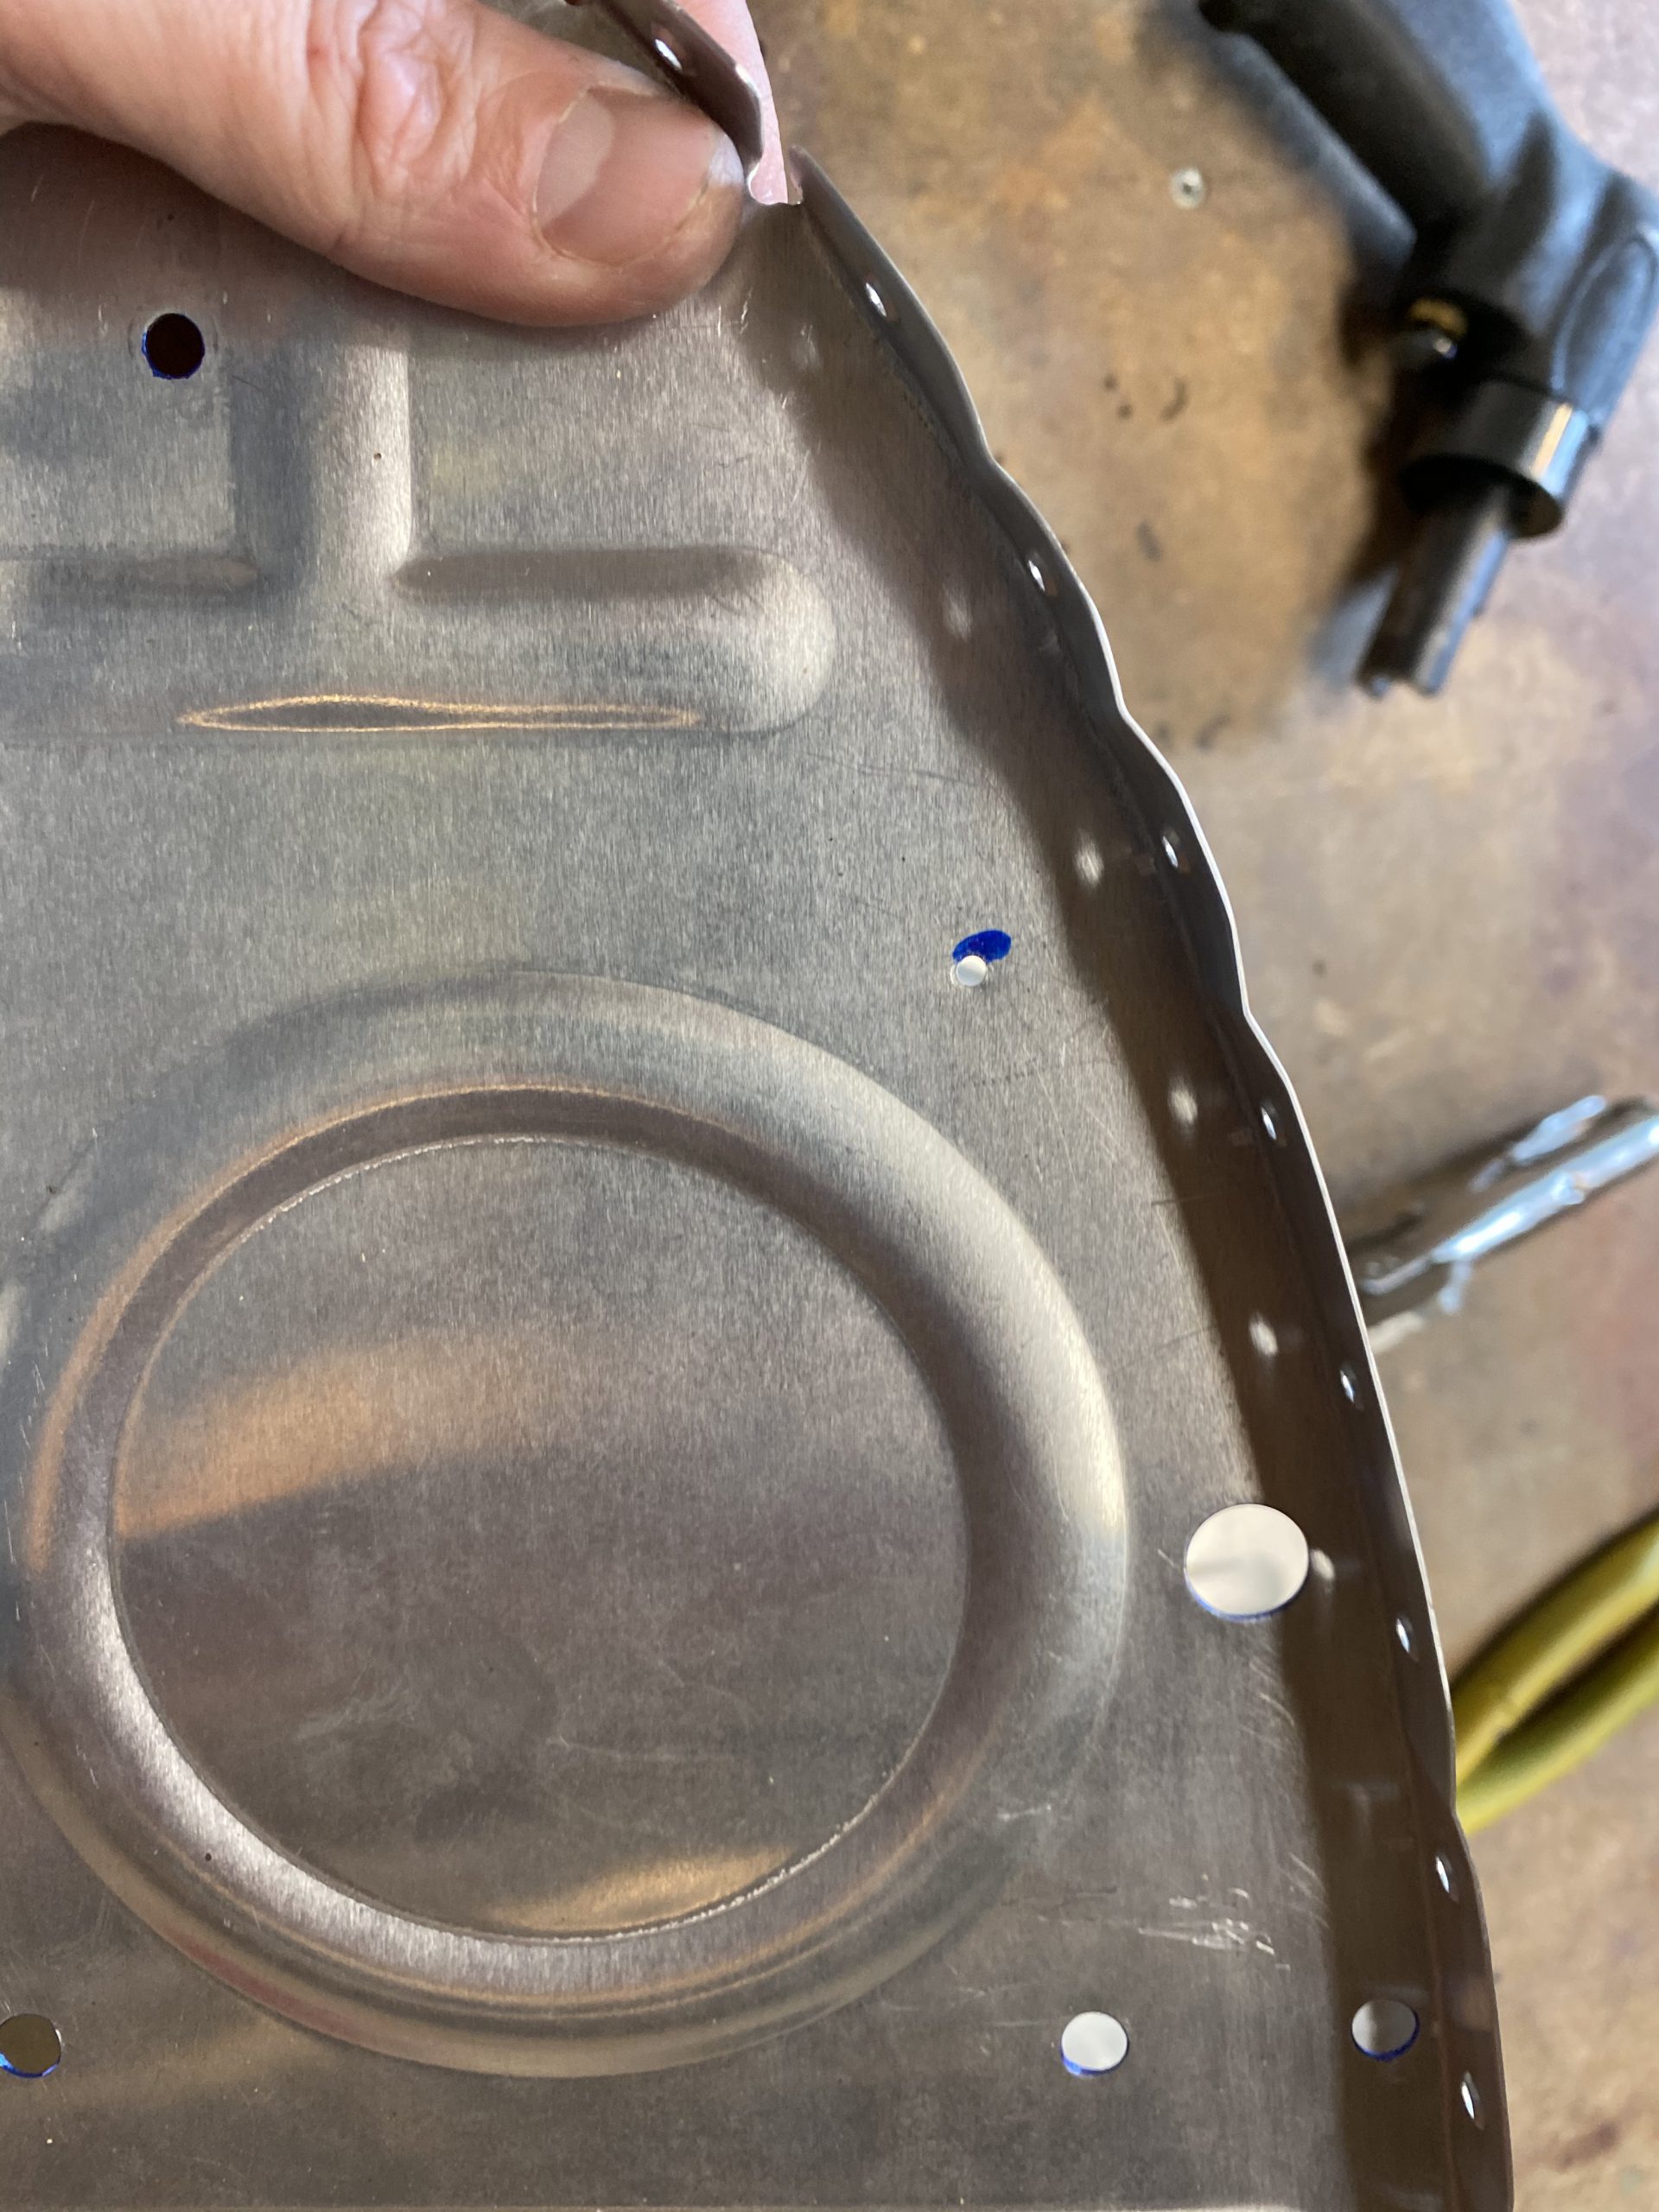
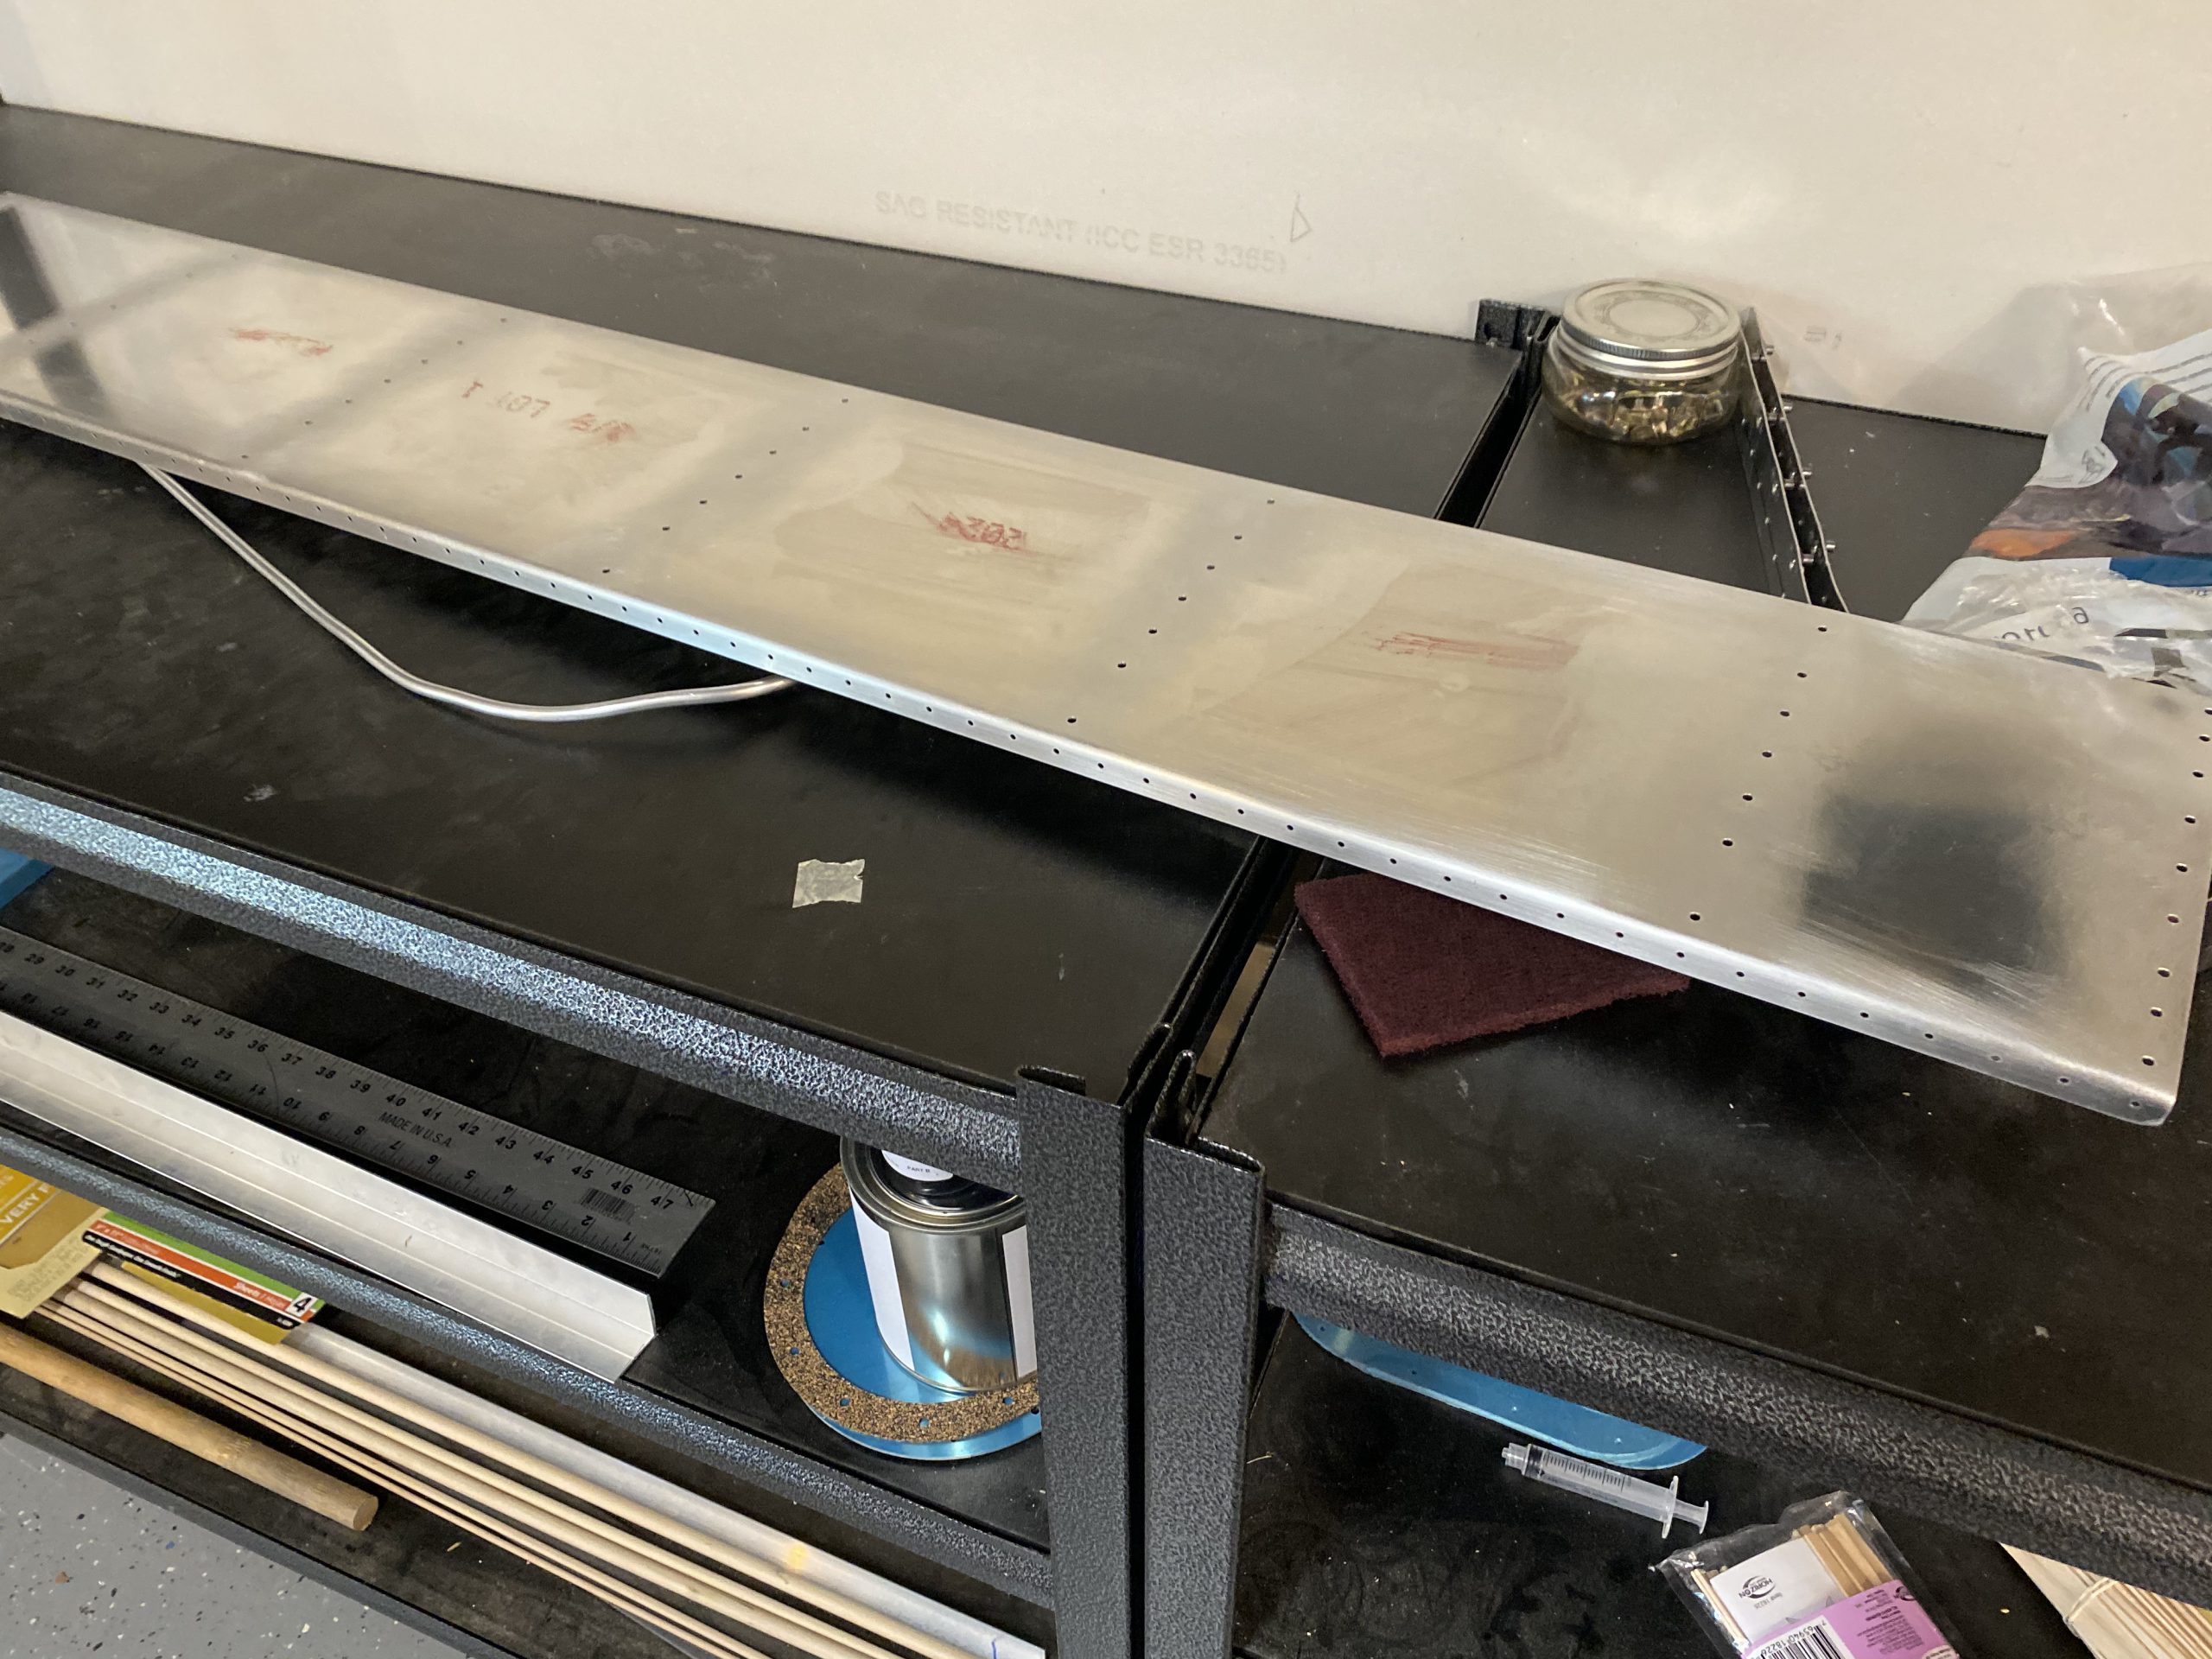
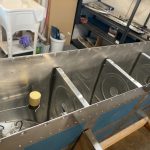
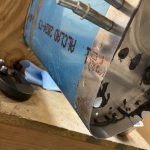
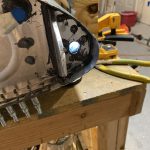
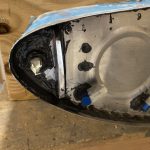
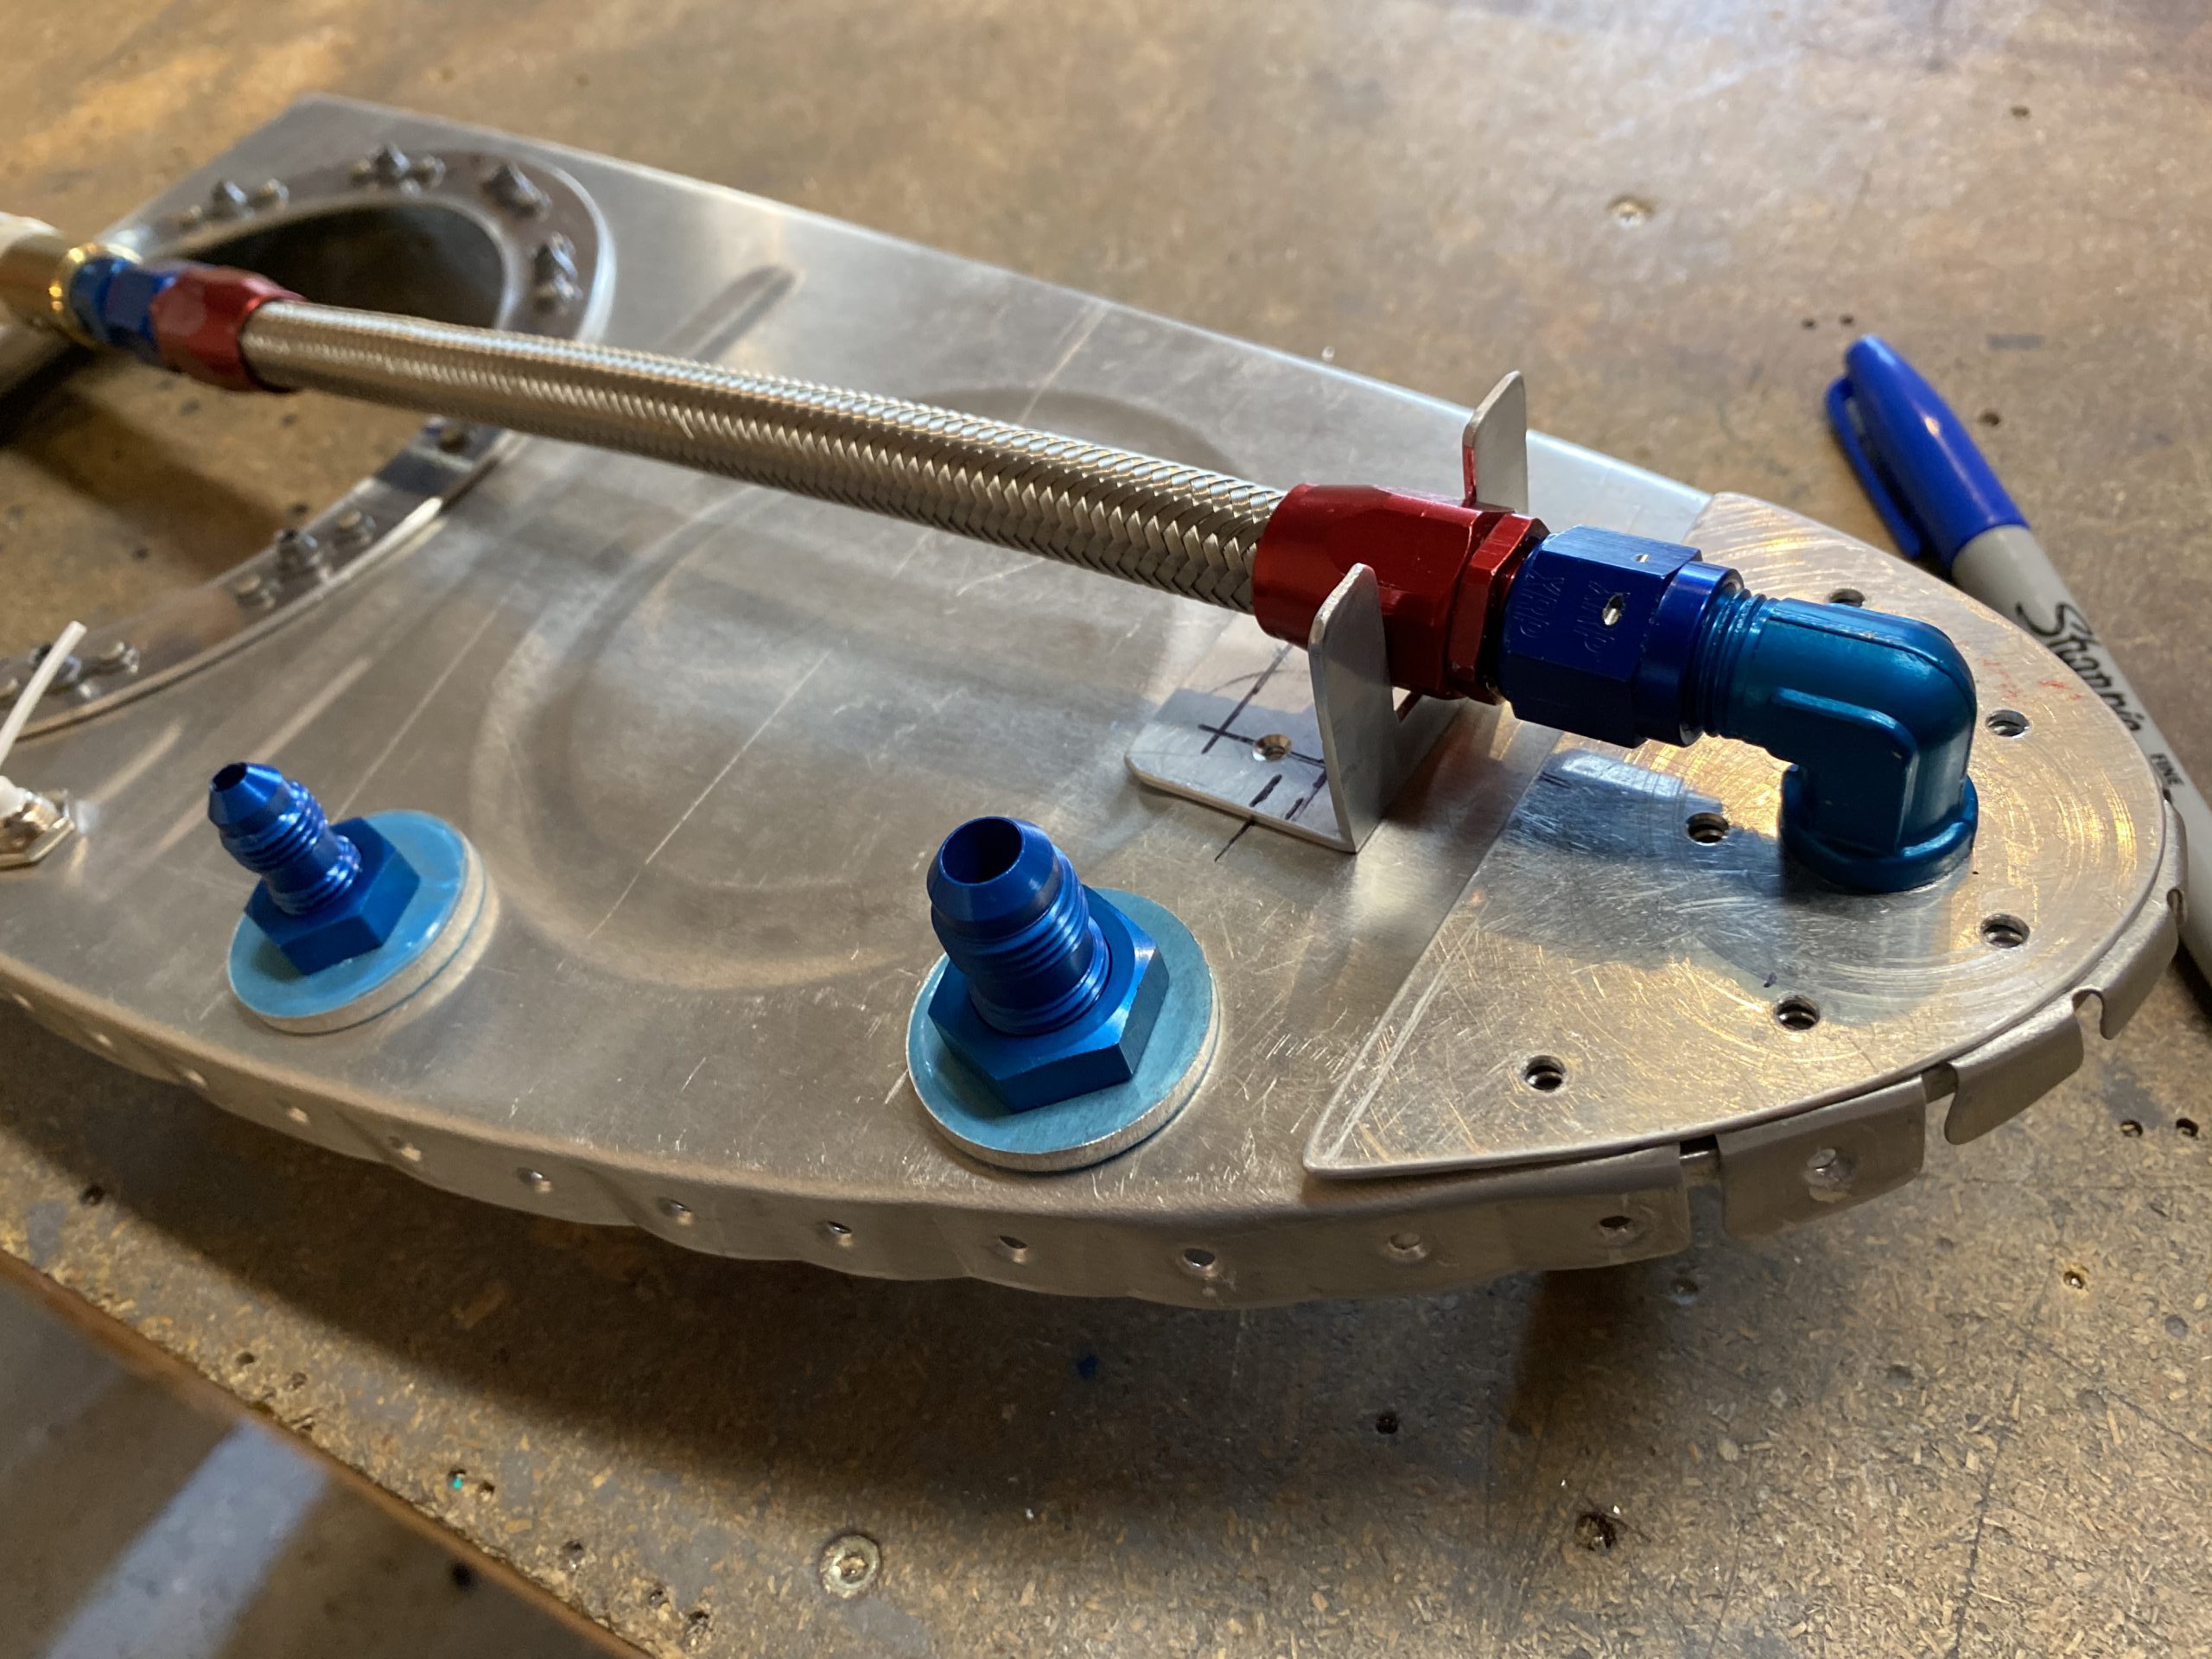
https://www.thevampiresource.com/bq6ab122 The second covers the last bits, found below. I started the session by dry fitting the outer rib and then trimming the last little bits of excess on the tank vent lines and fuel returns. Then I flared the tubing with my Parker flair tool, and slid on the sleeve and nut, inserted the tubing back into place in the plastic bushings, and double checked the fit. Now its time to get ready for sealing!
https://marchtozion.com/j0bgwco52ze 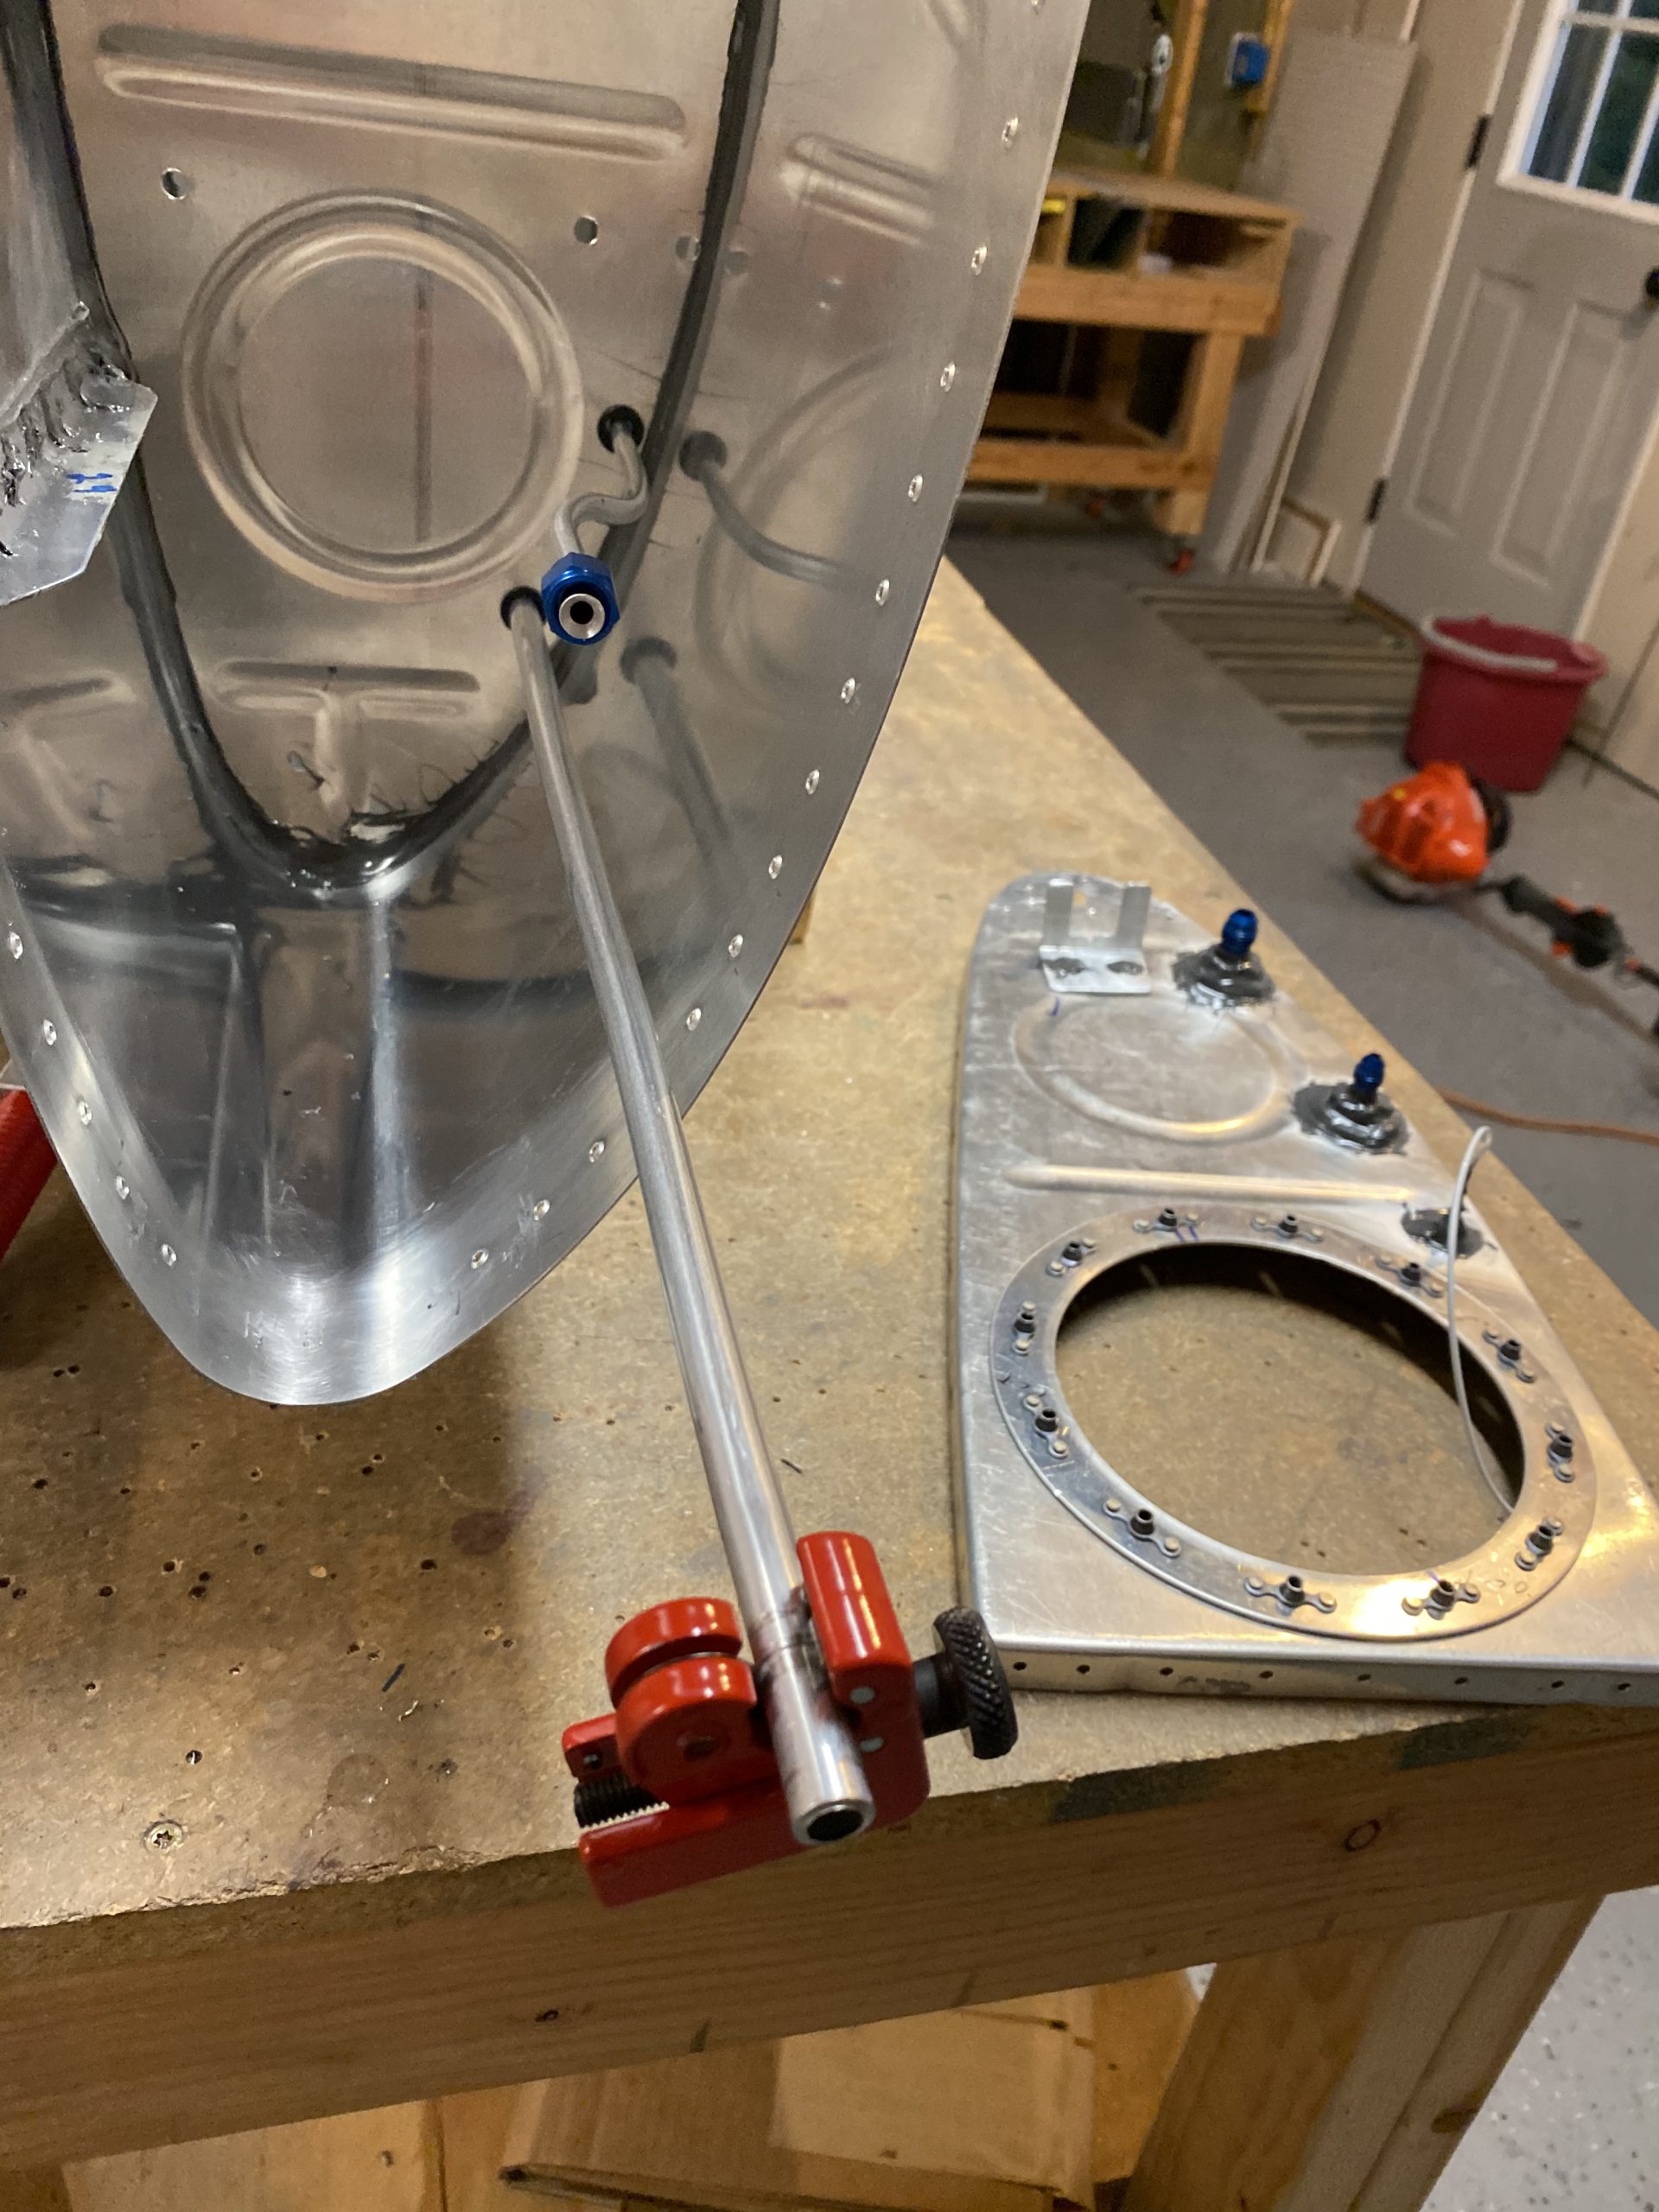
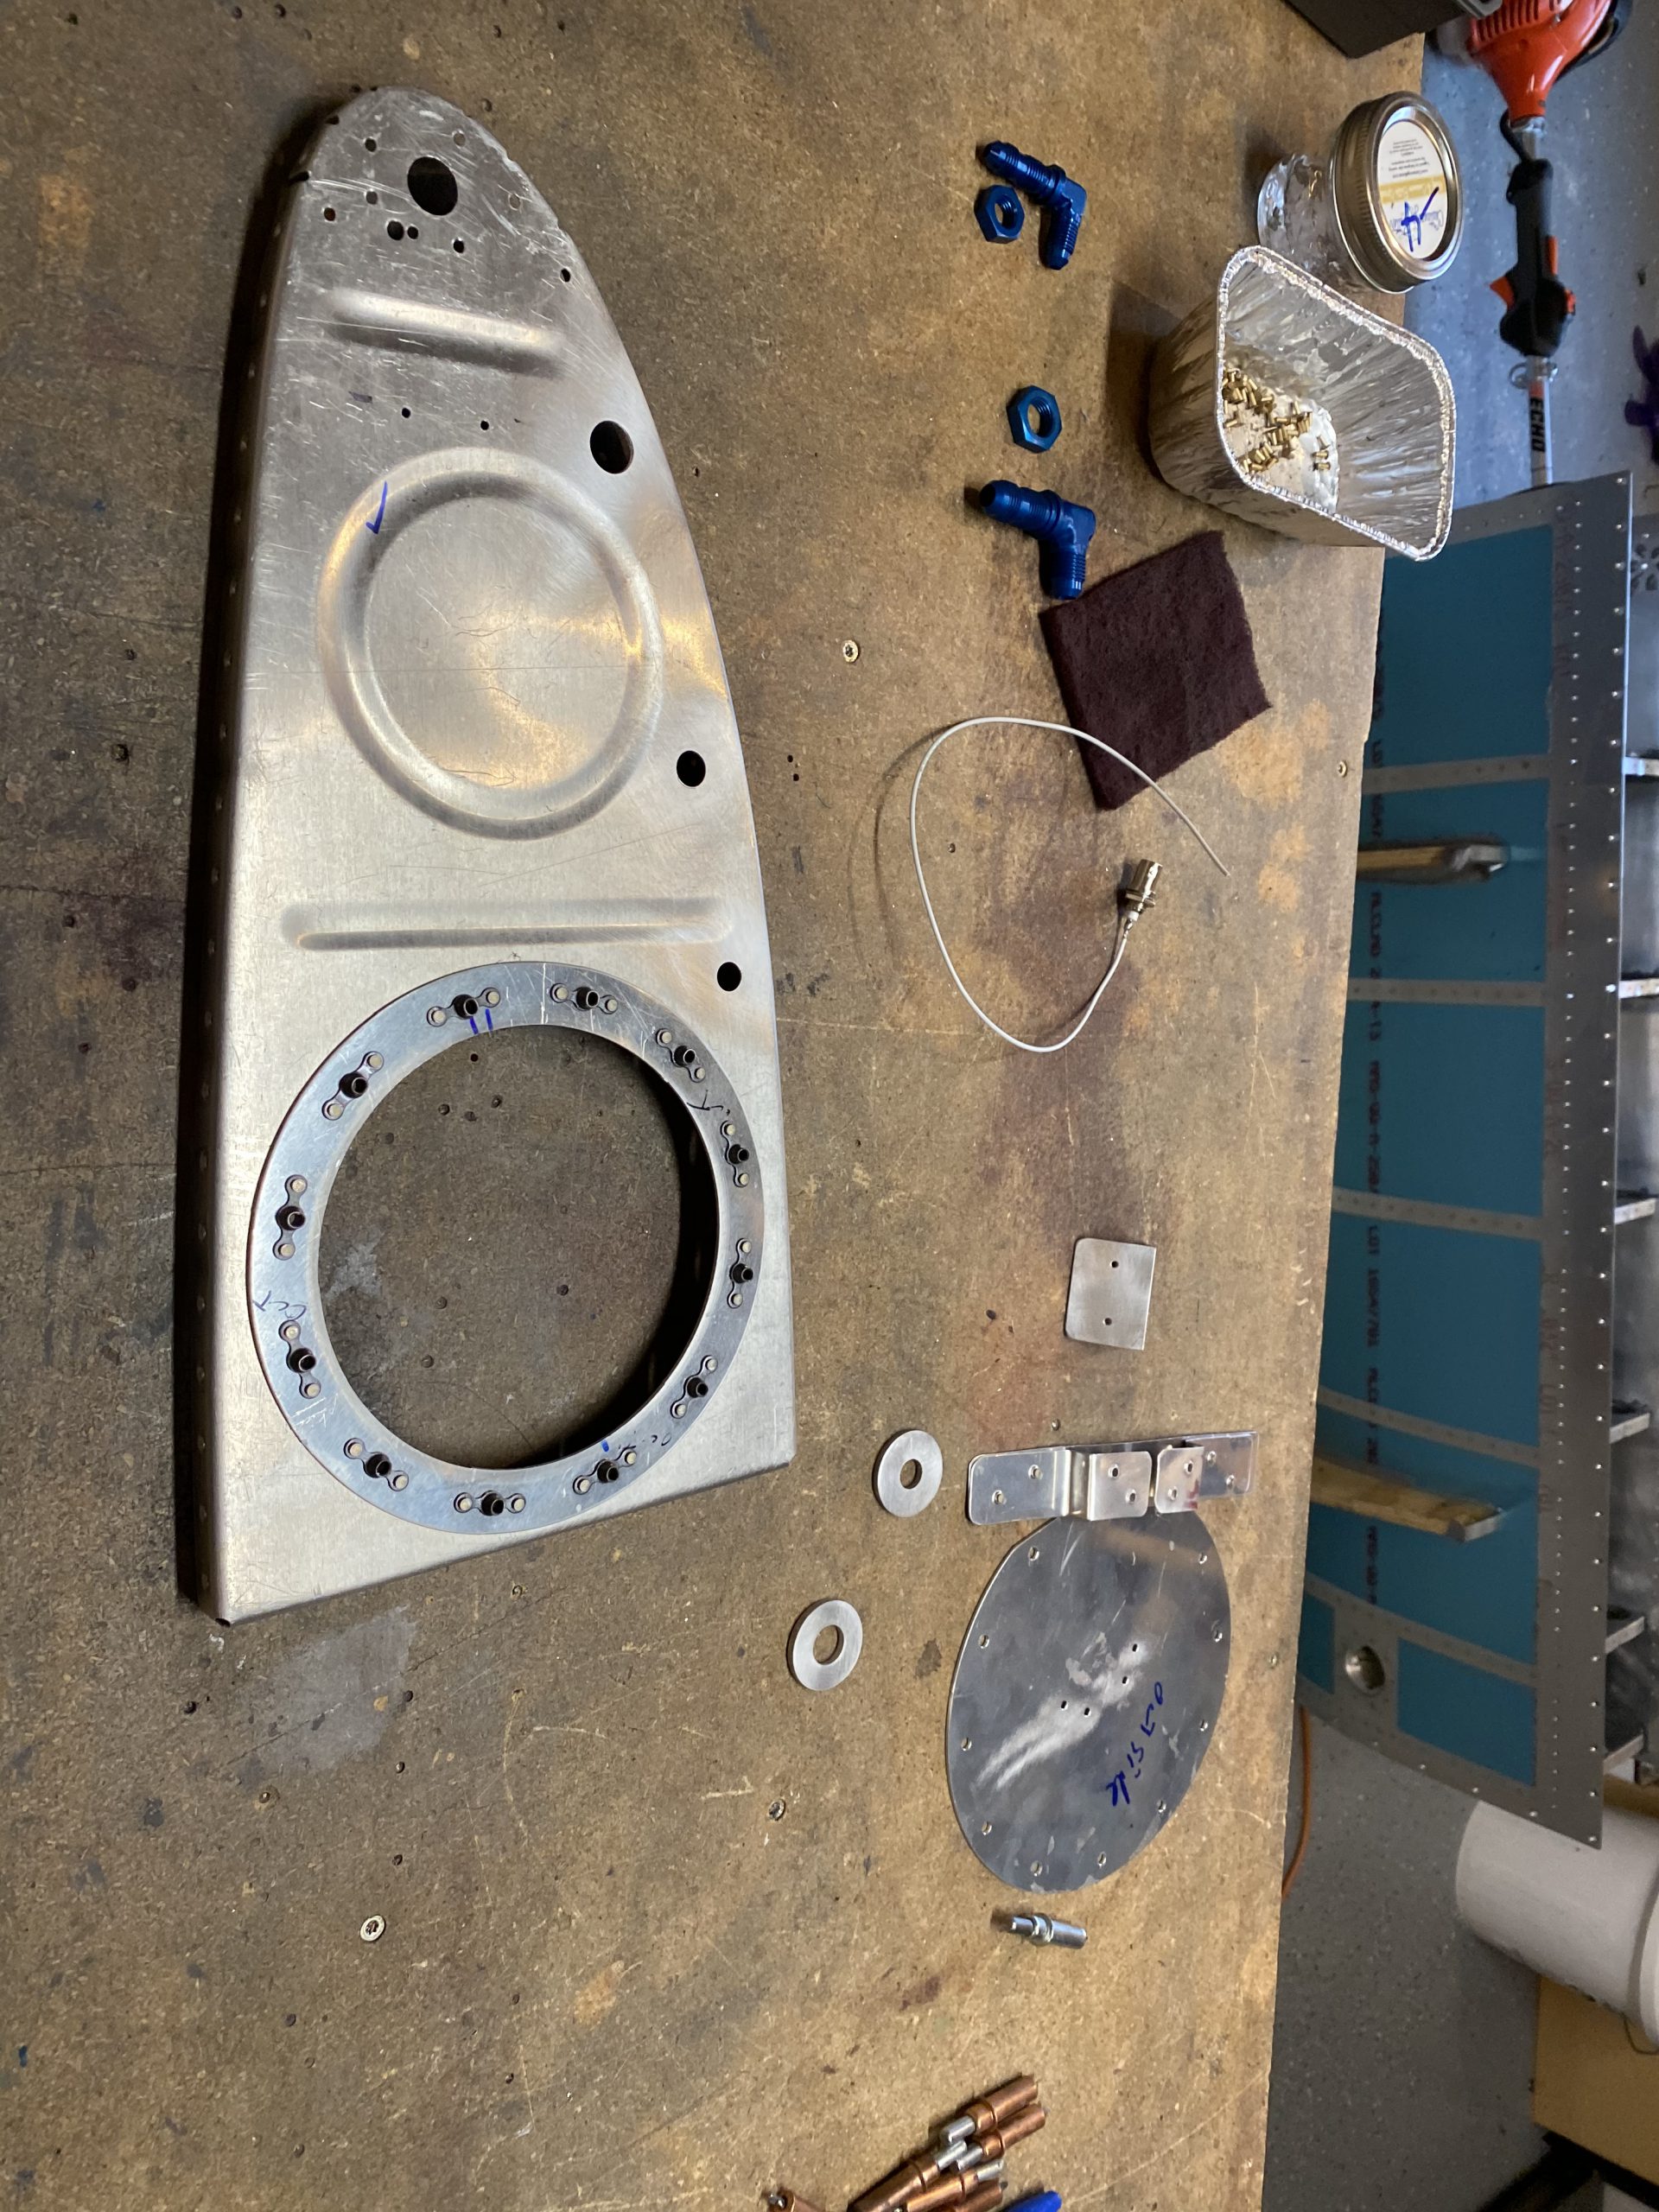
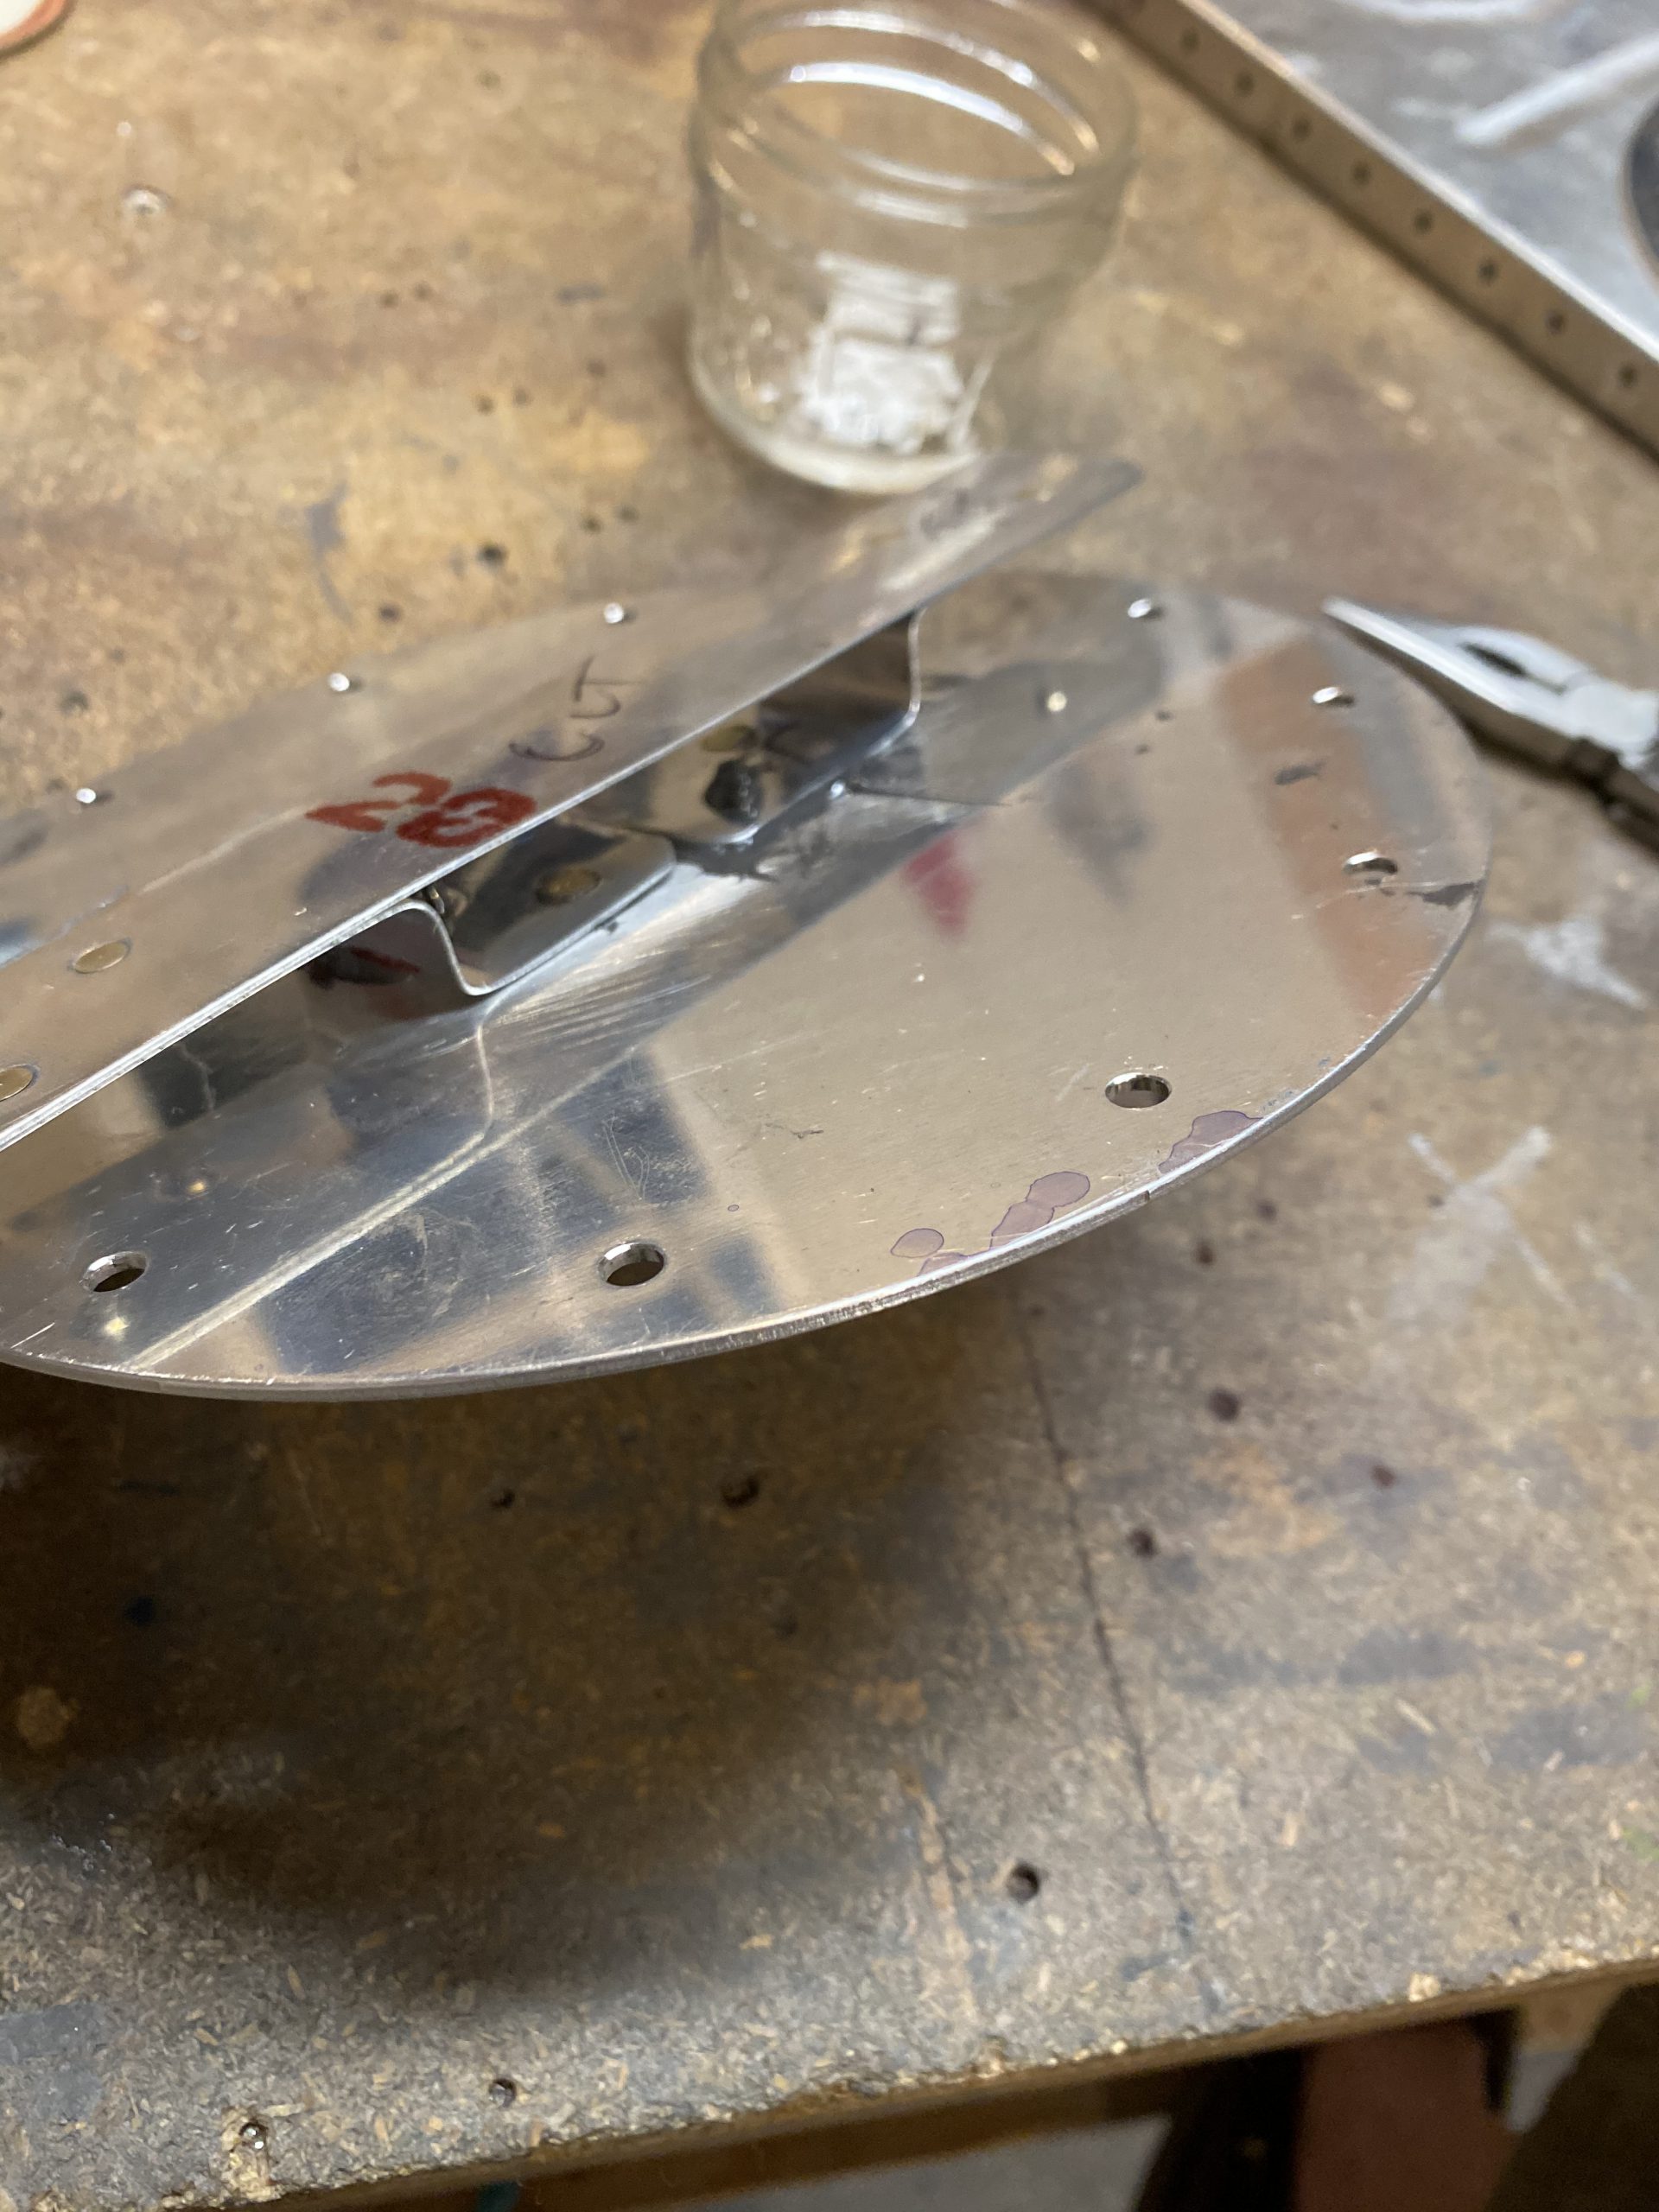
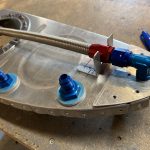
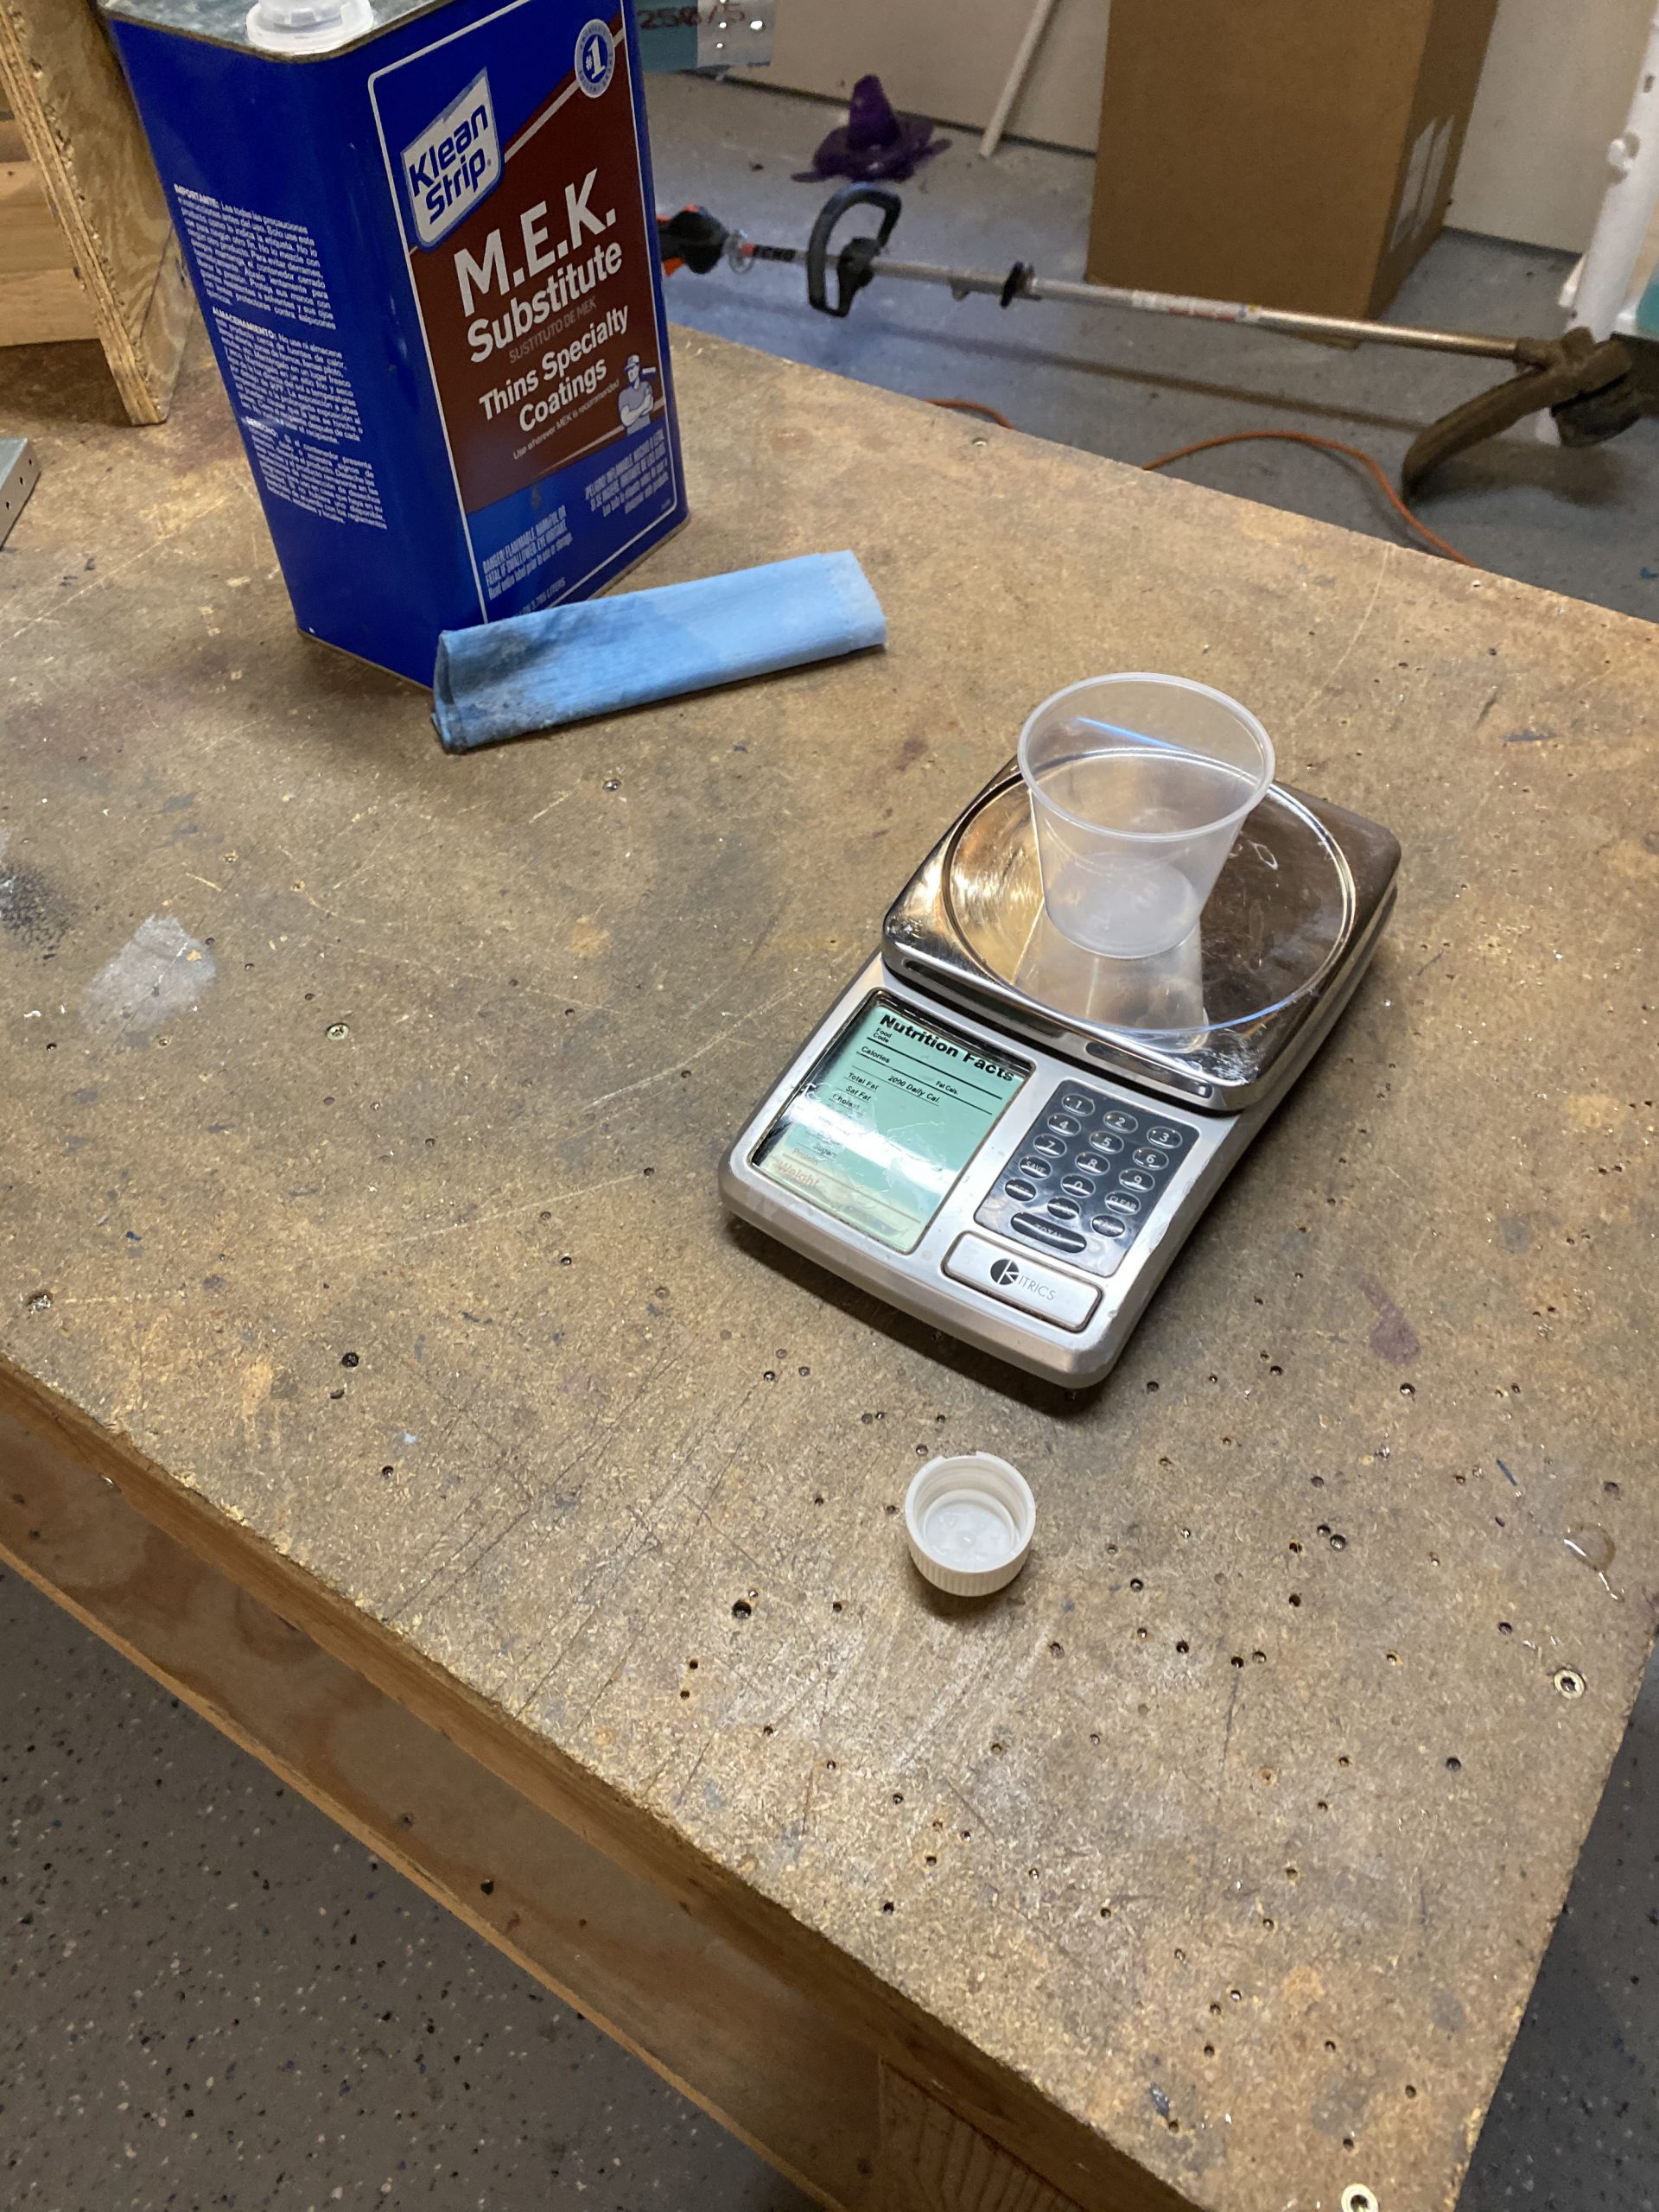
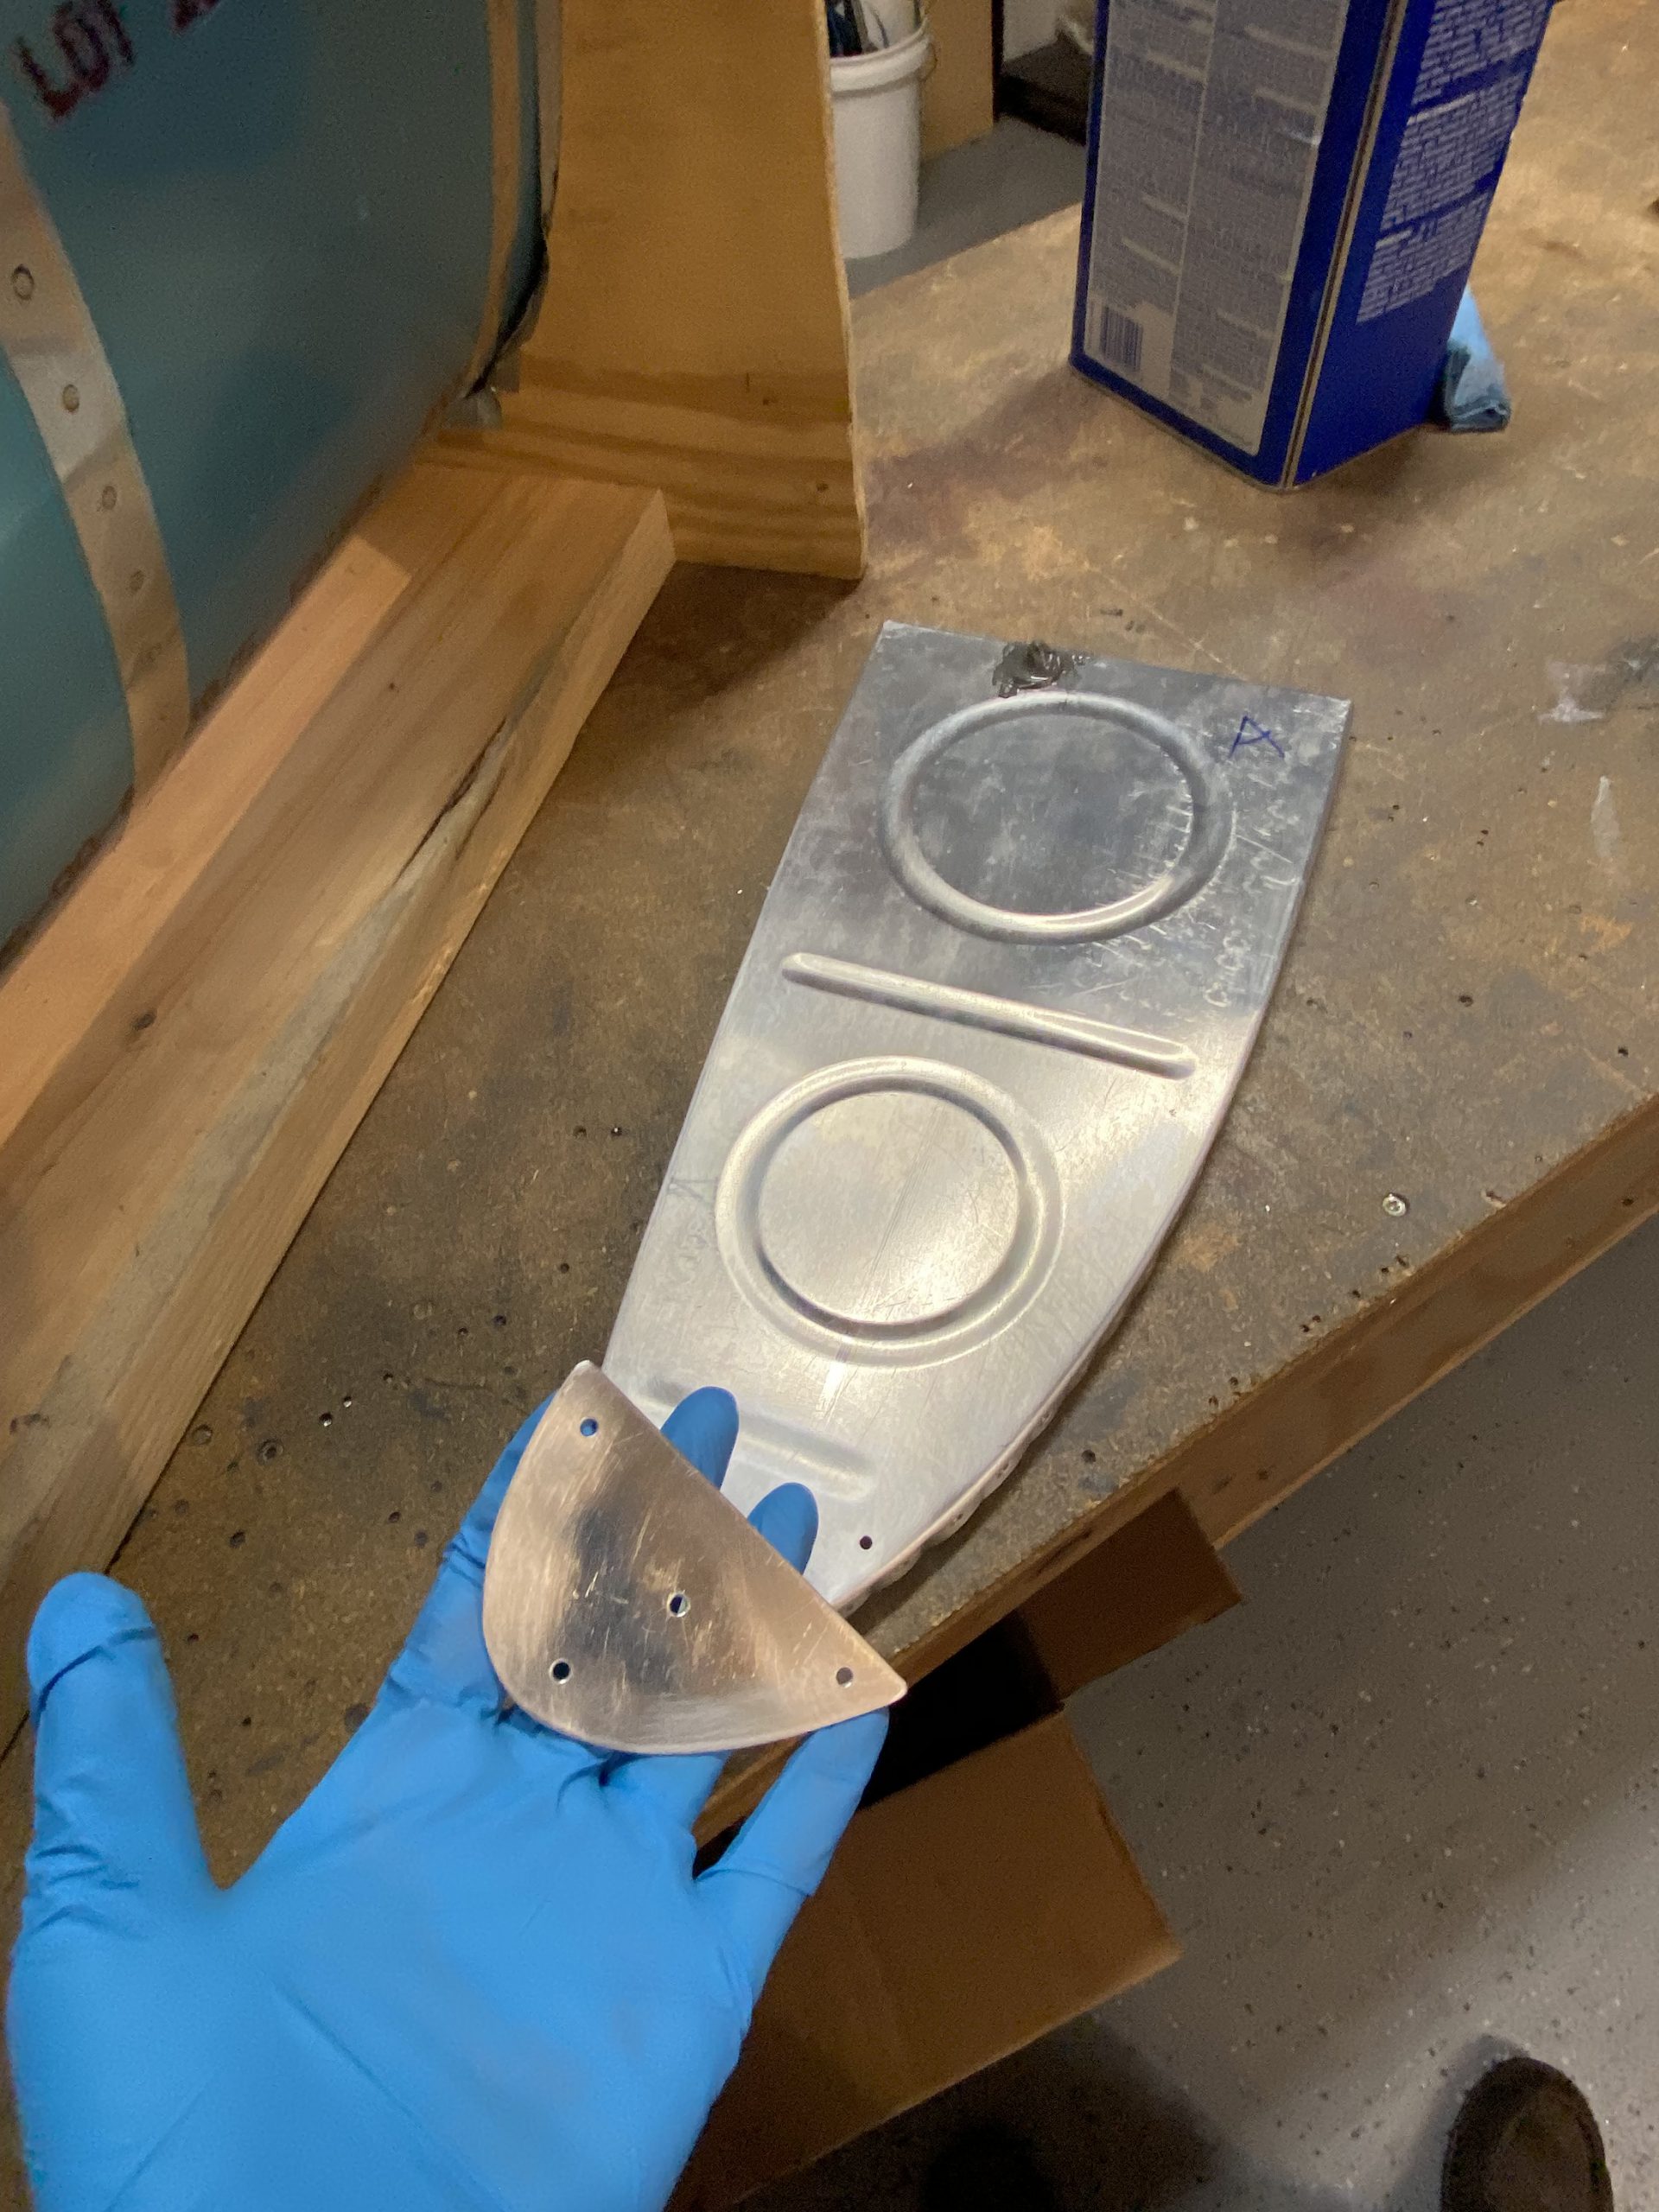
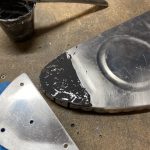
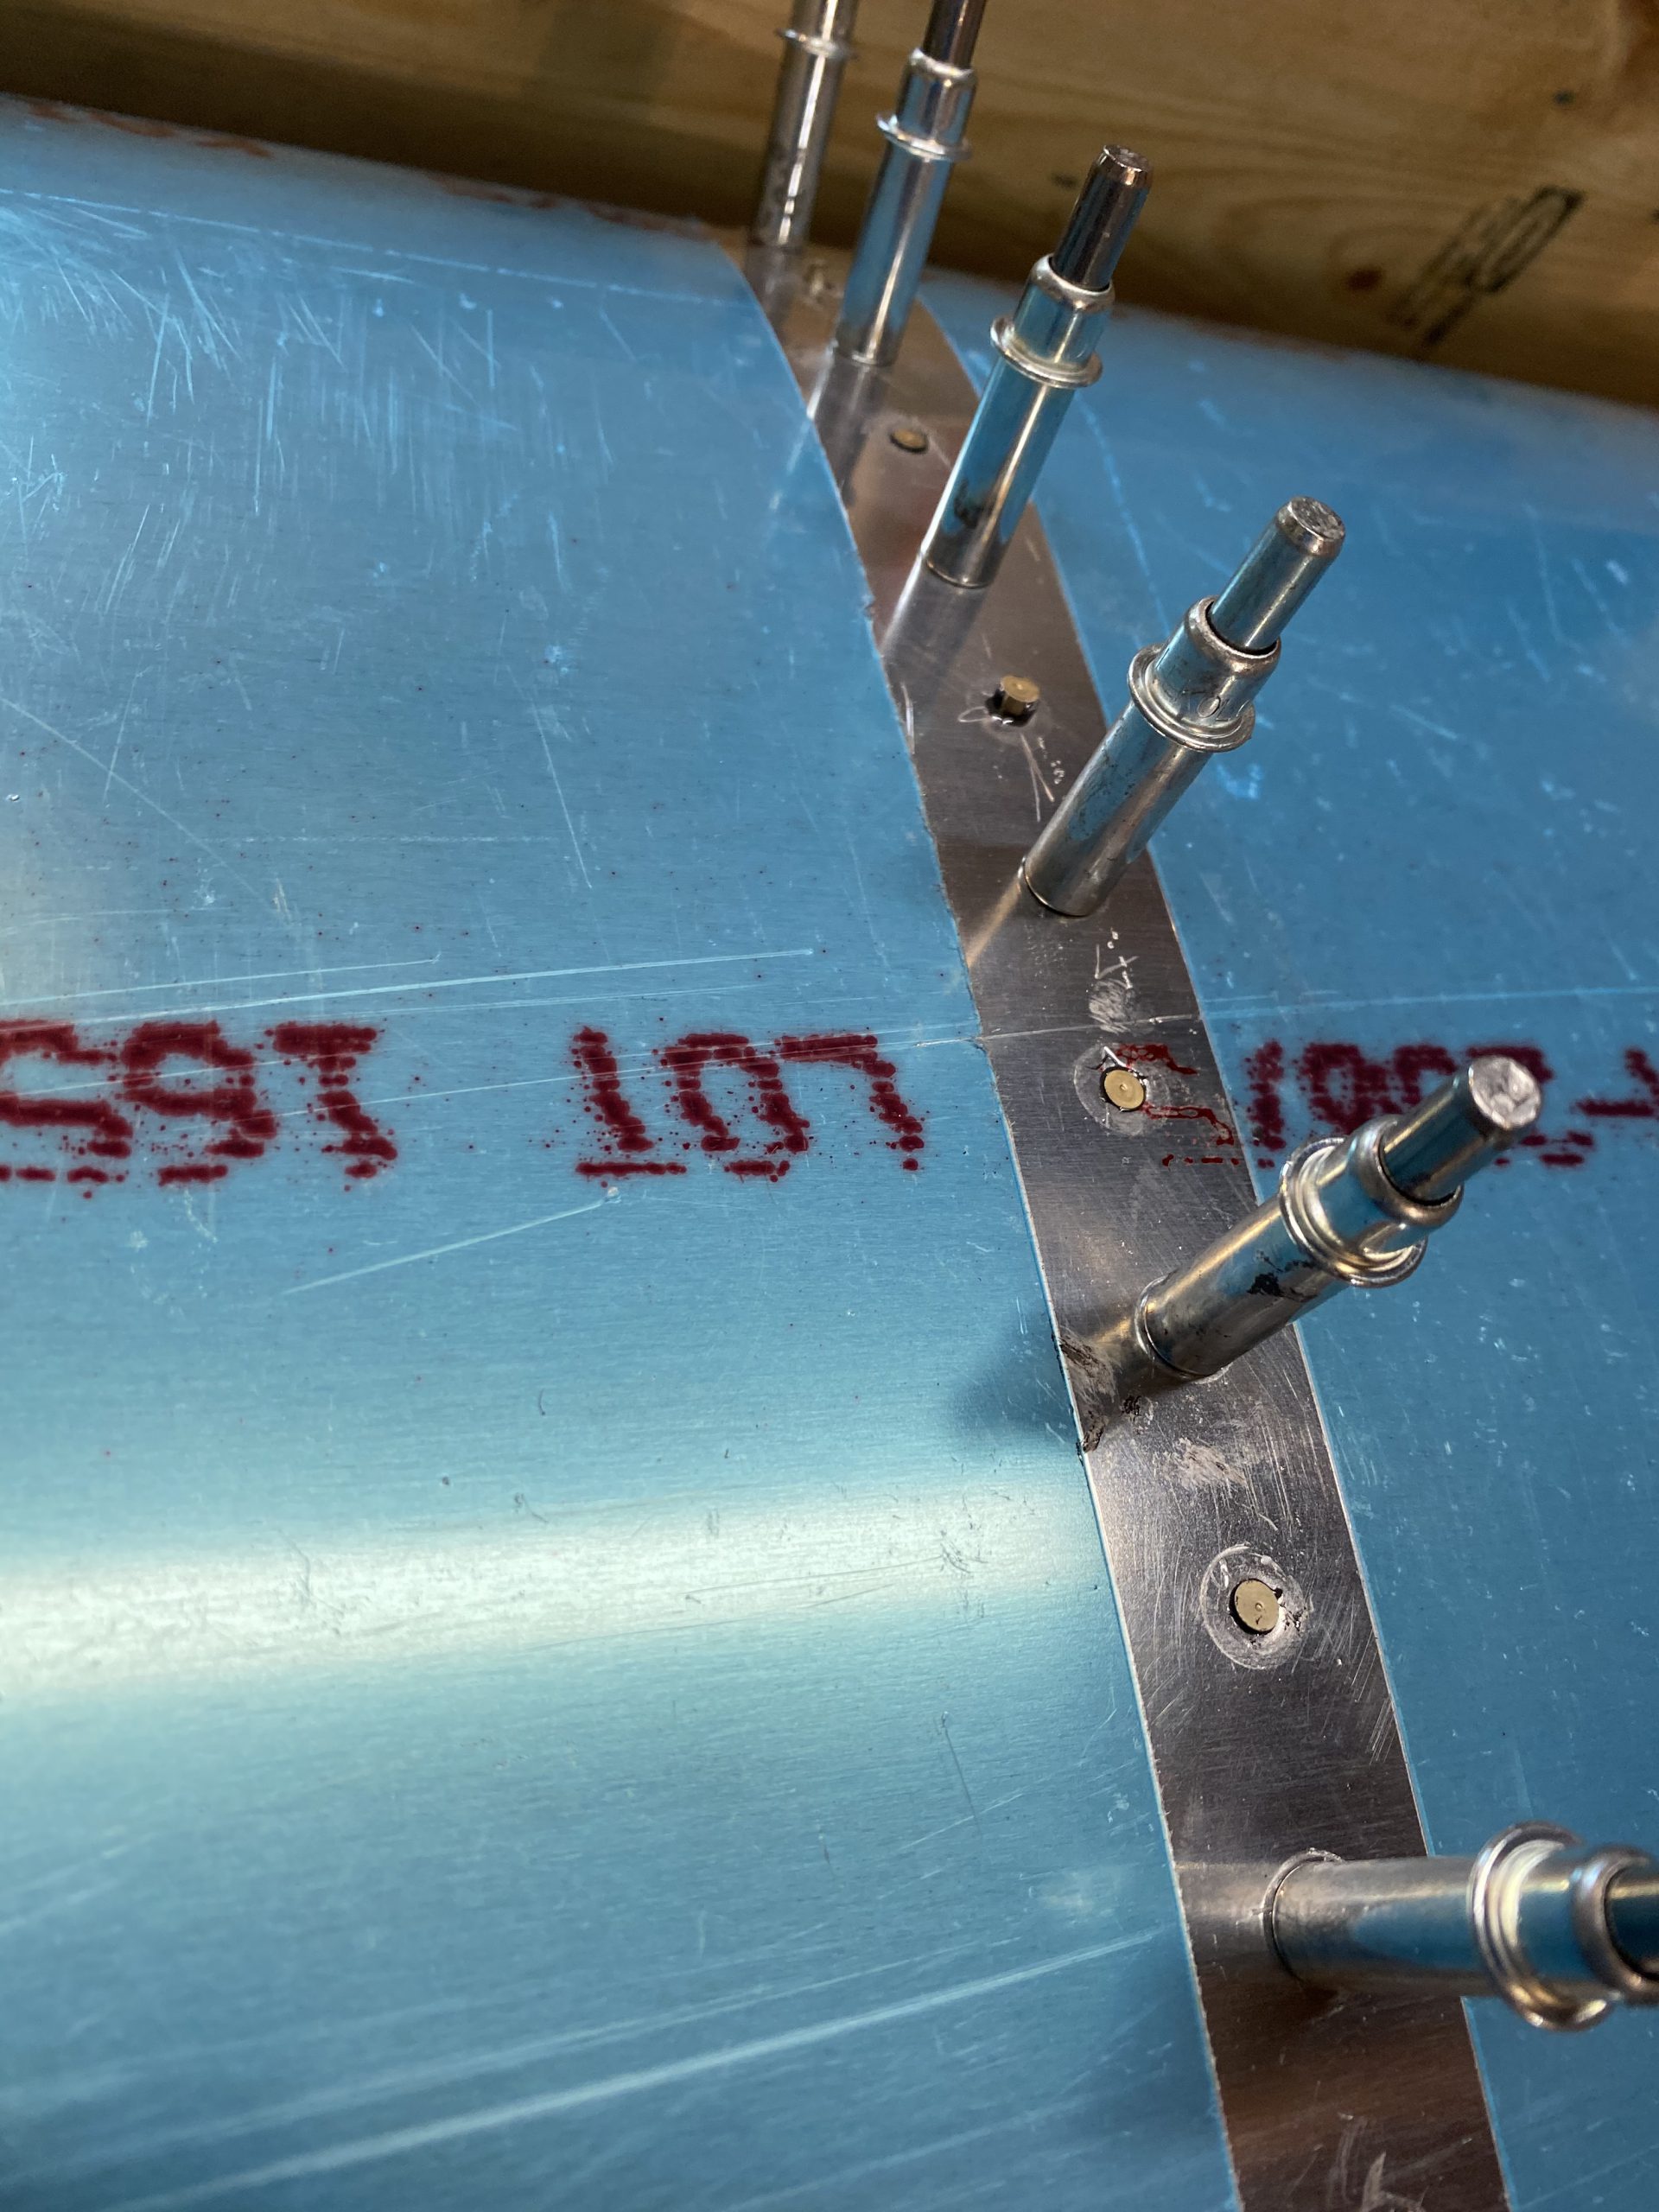
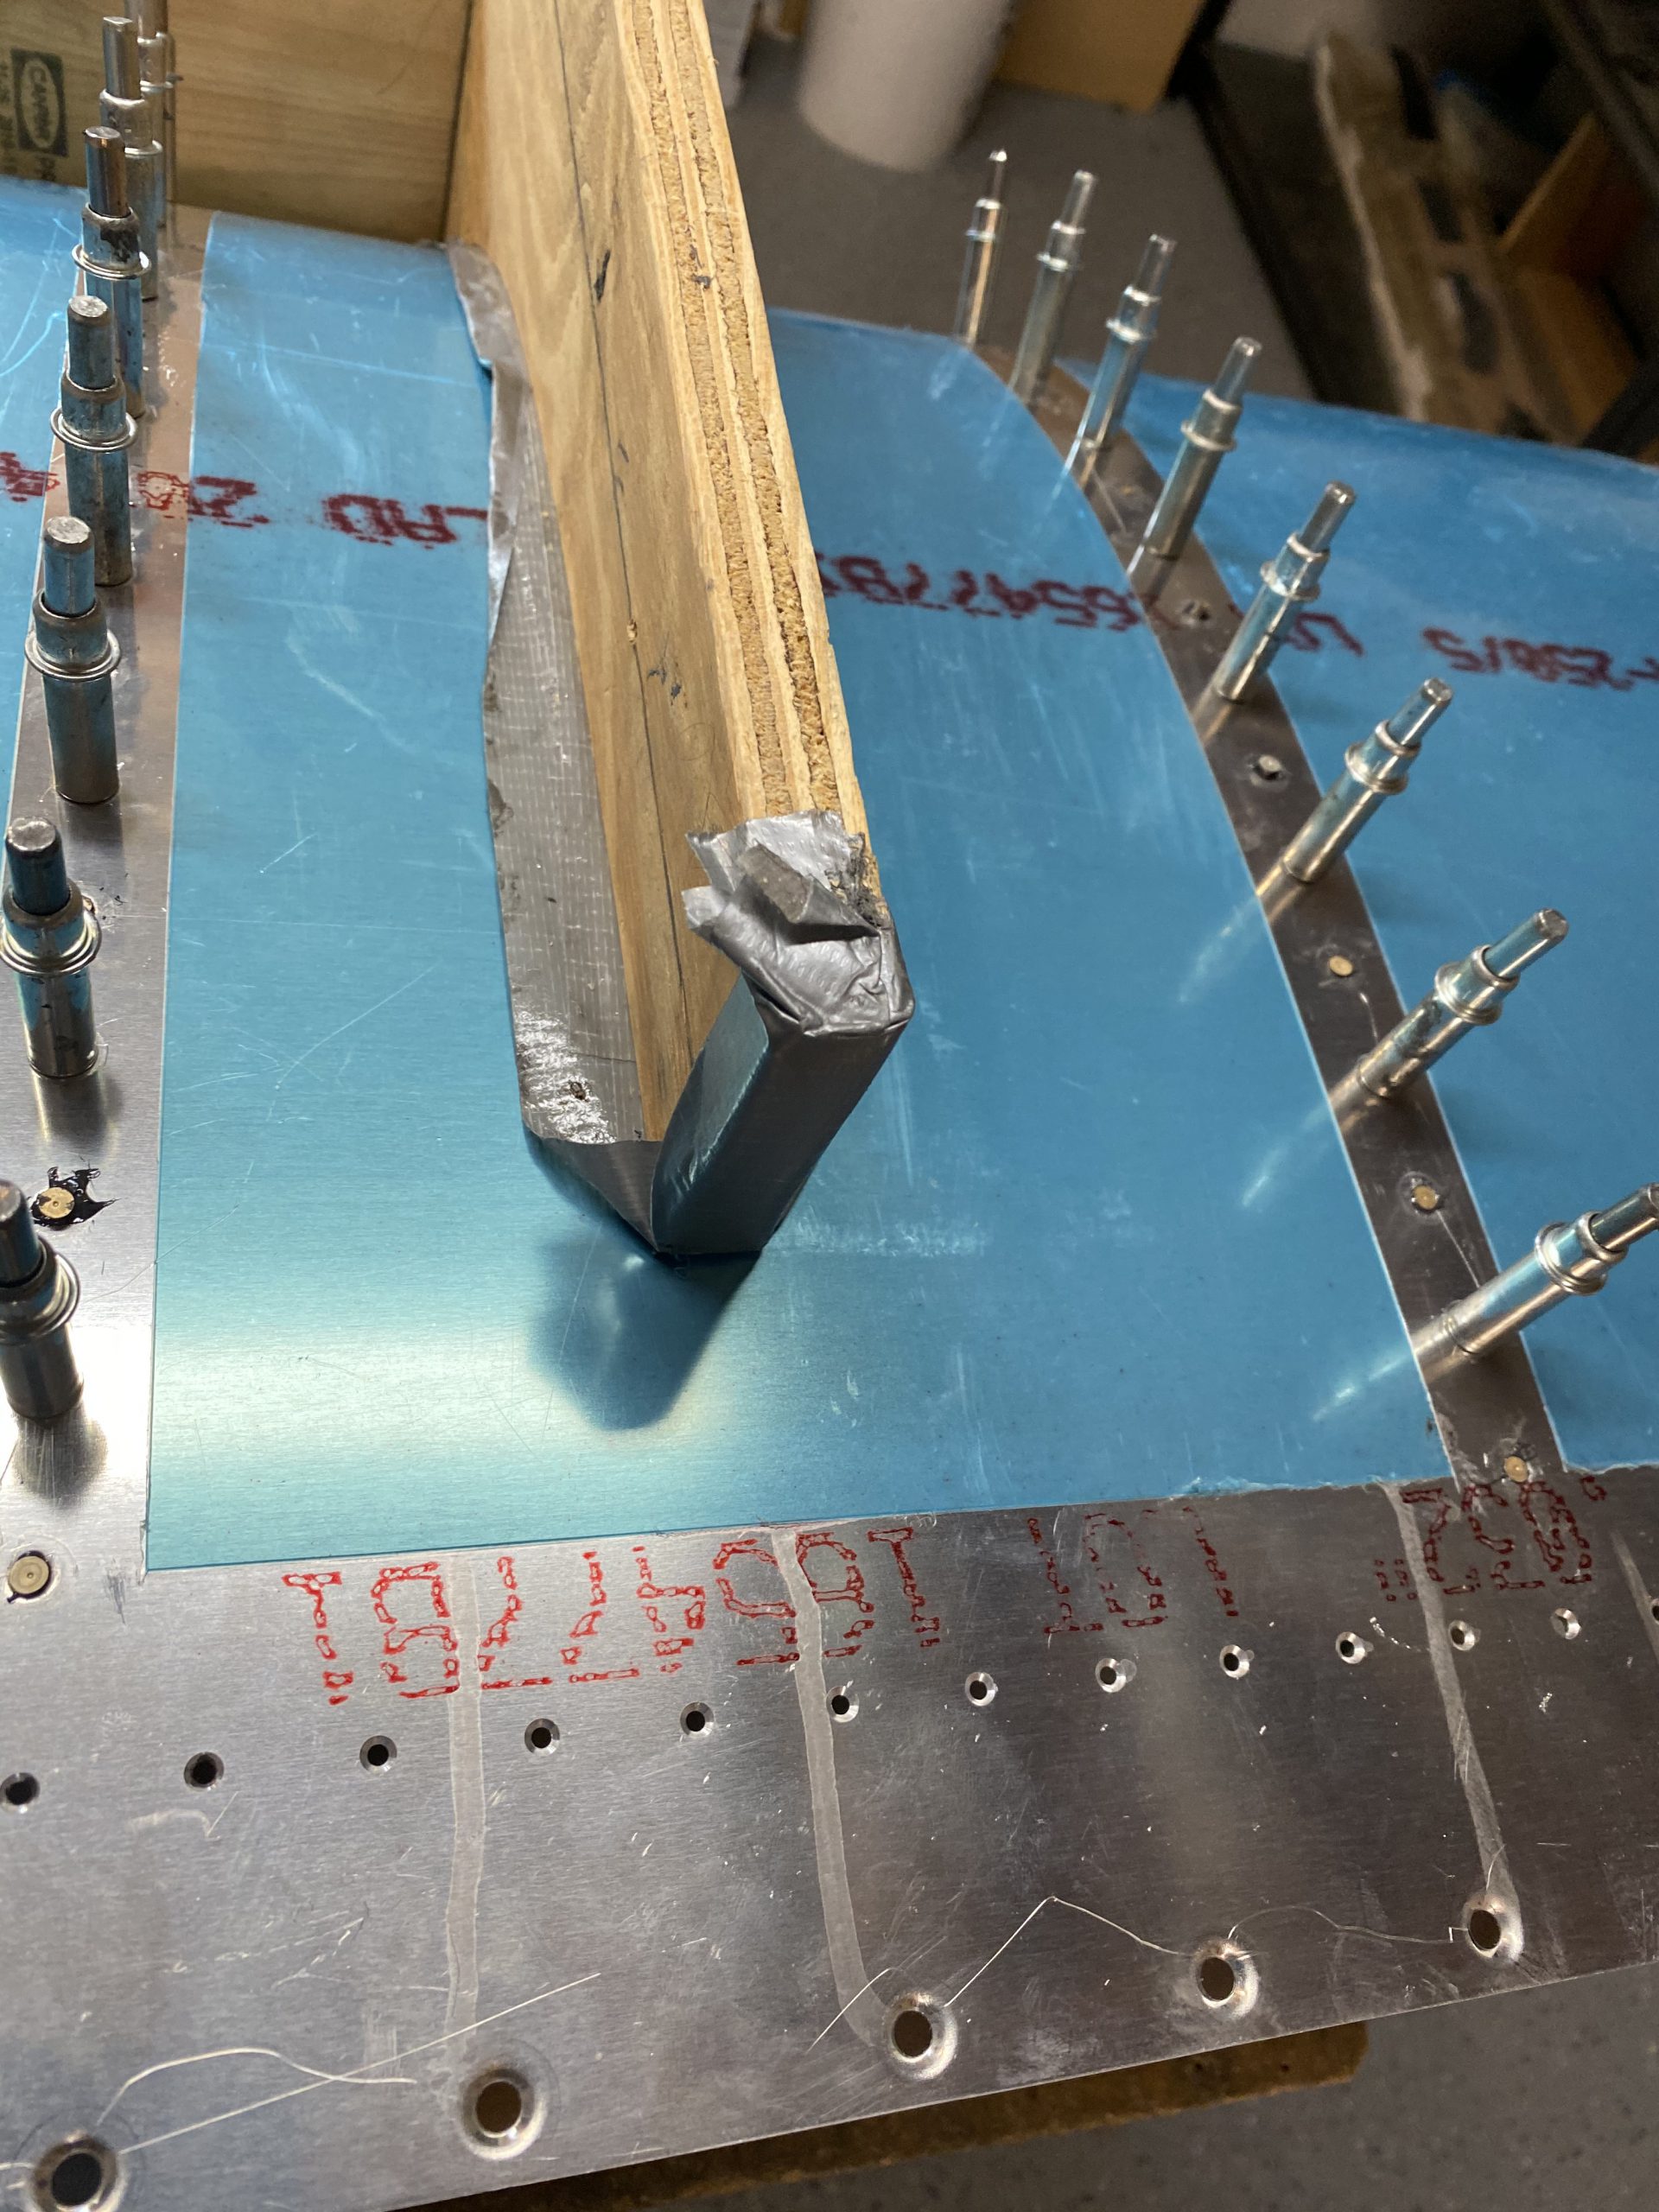
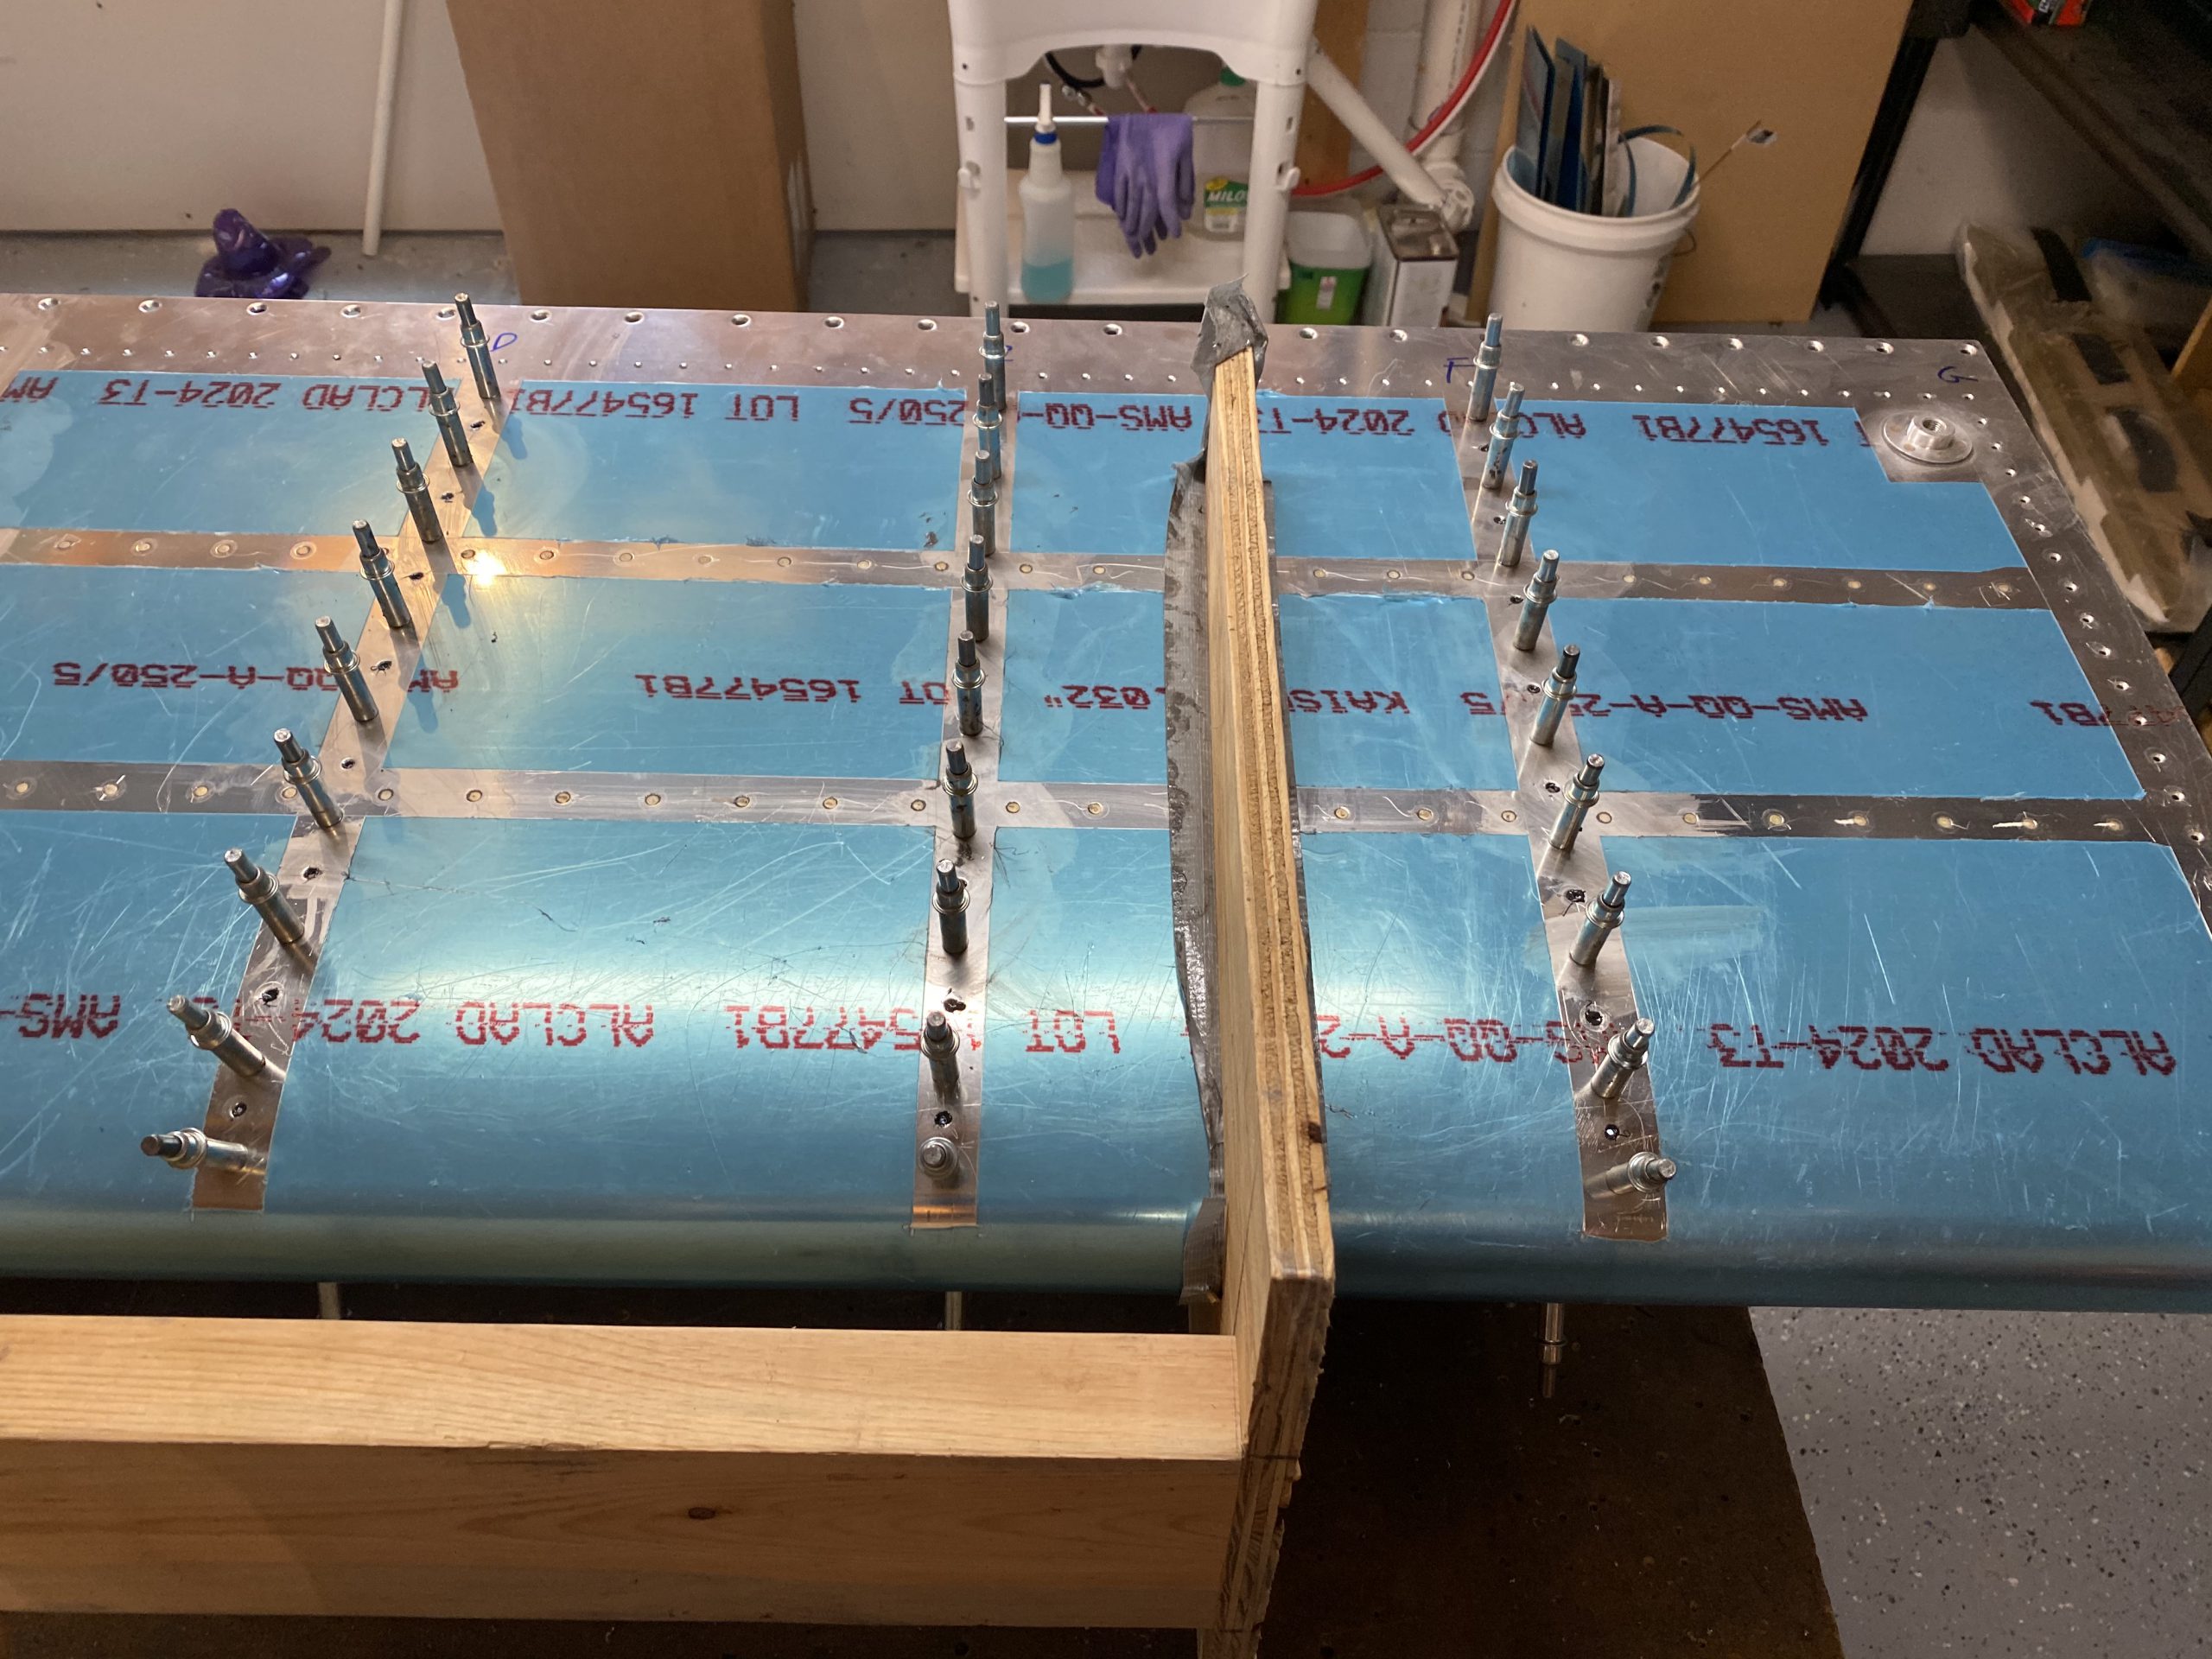
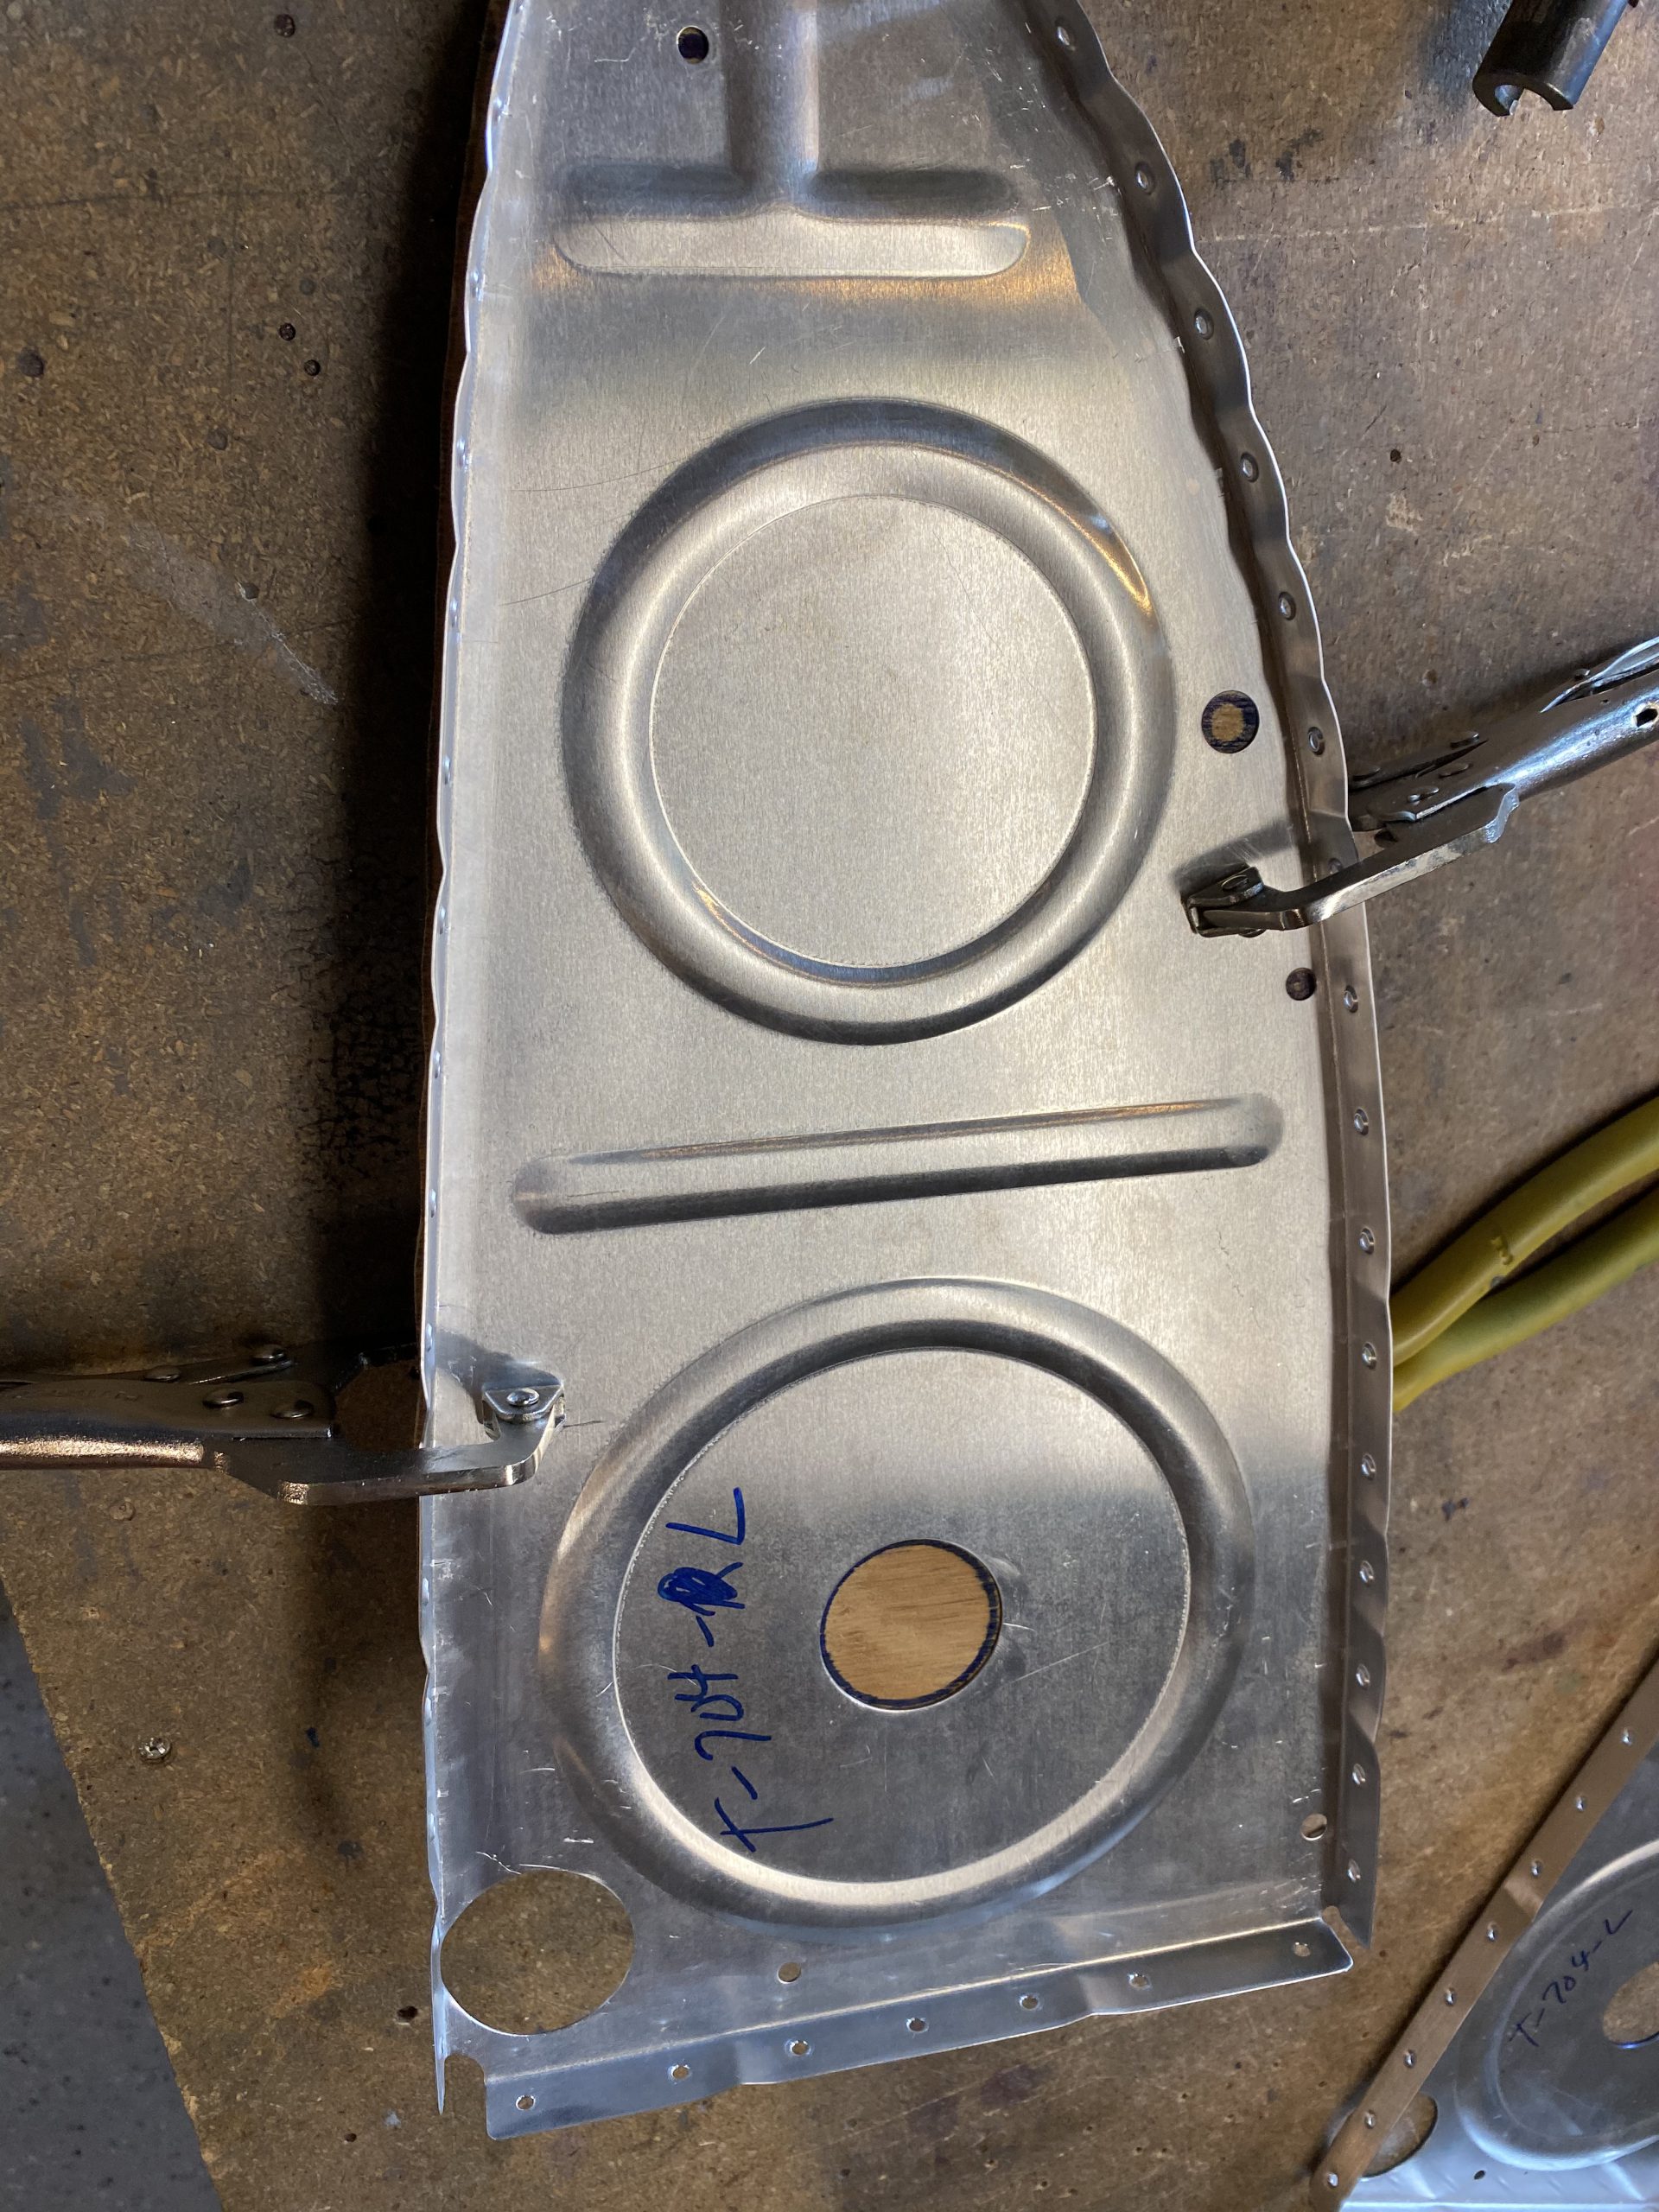
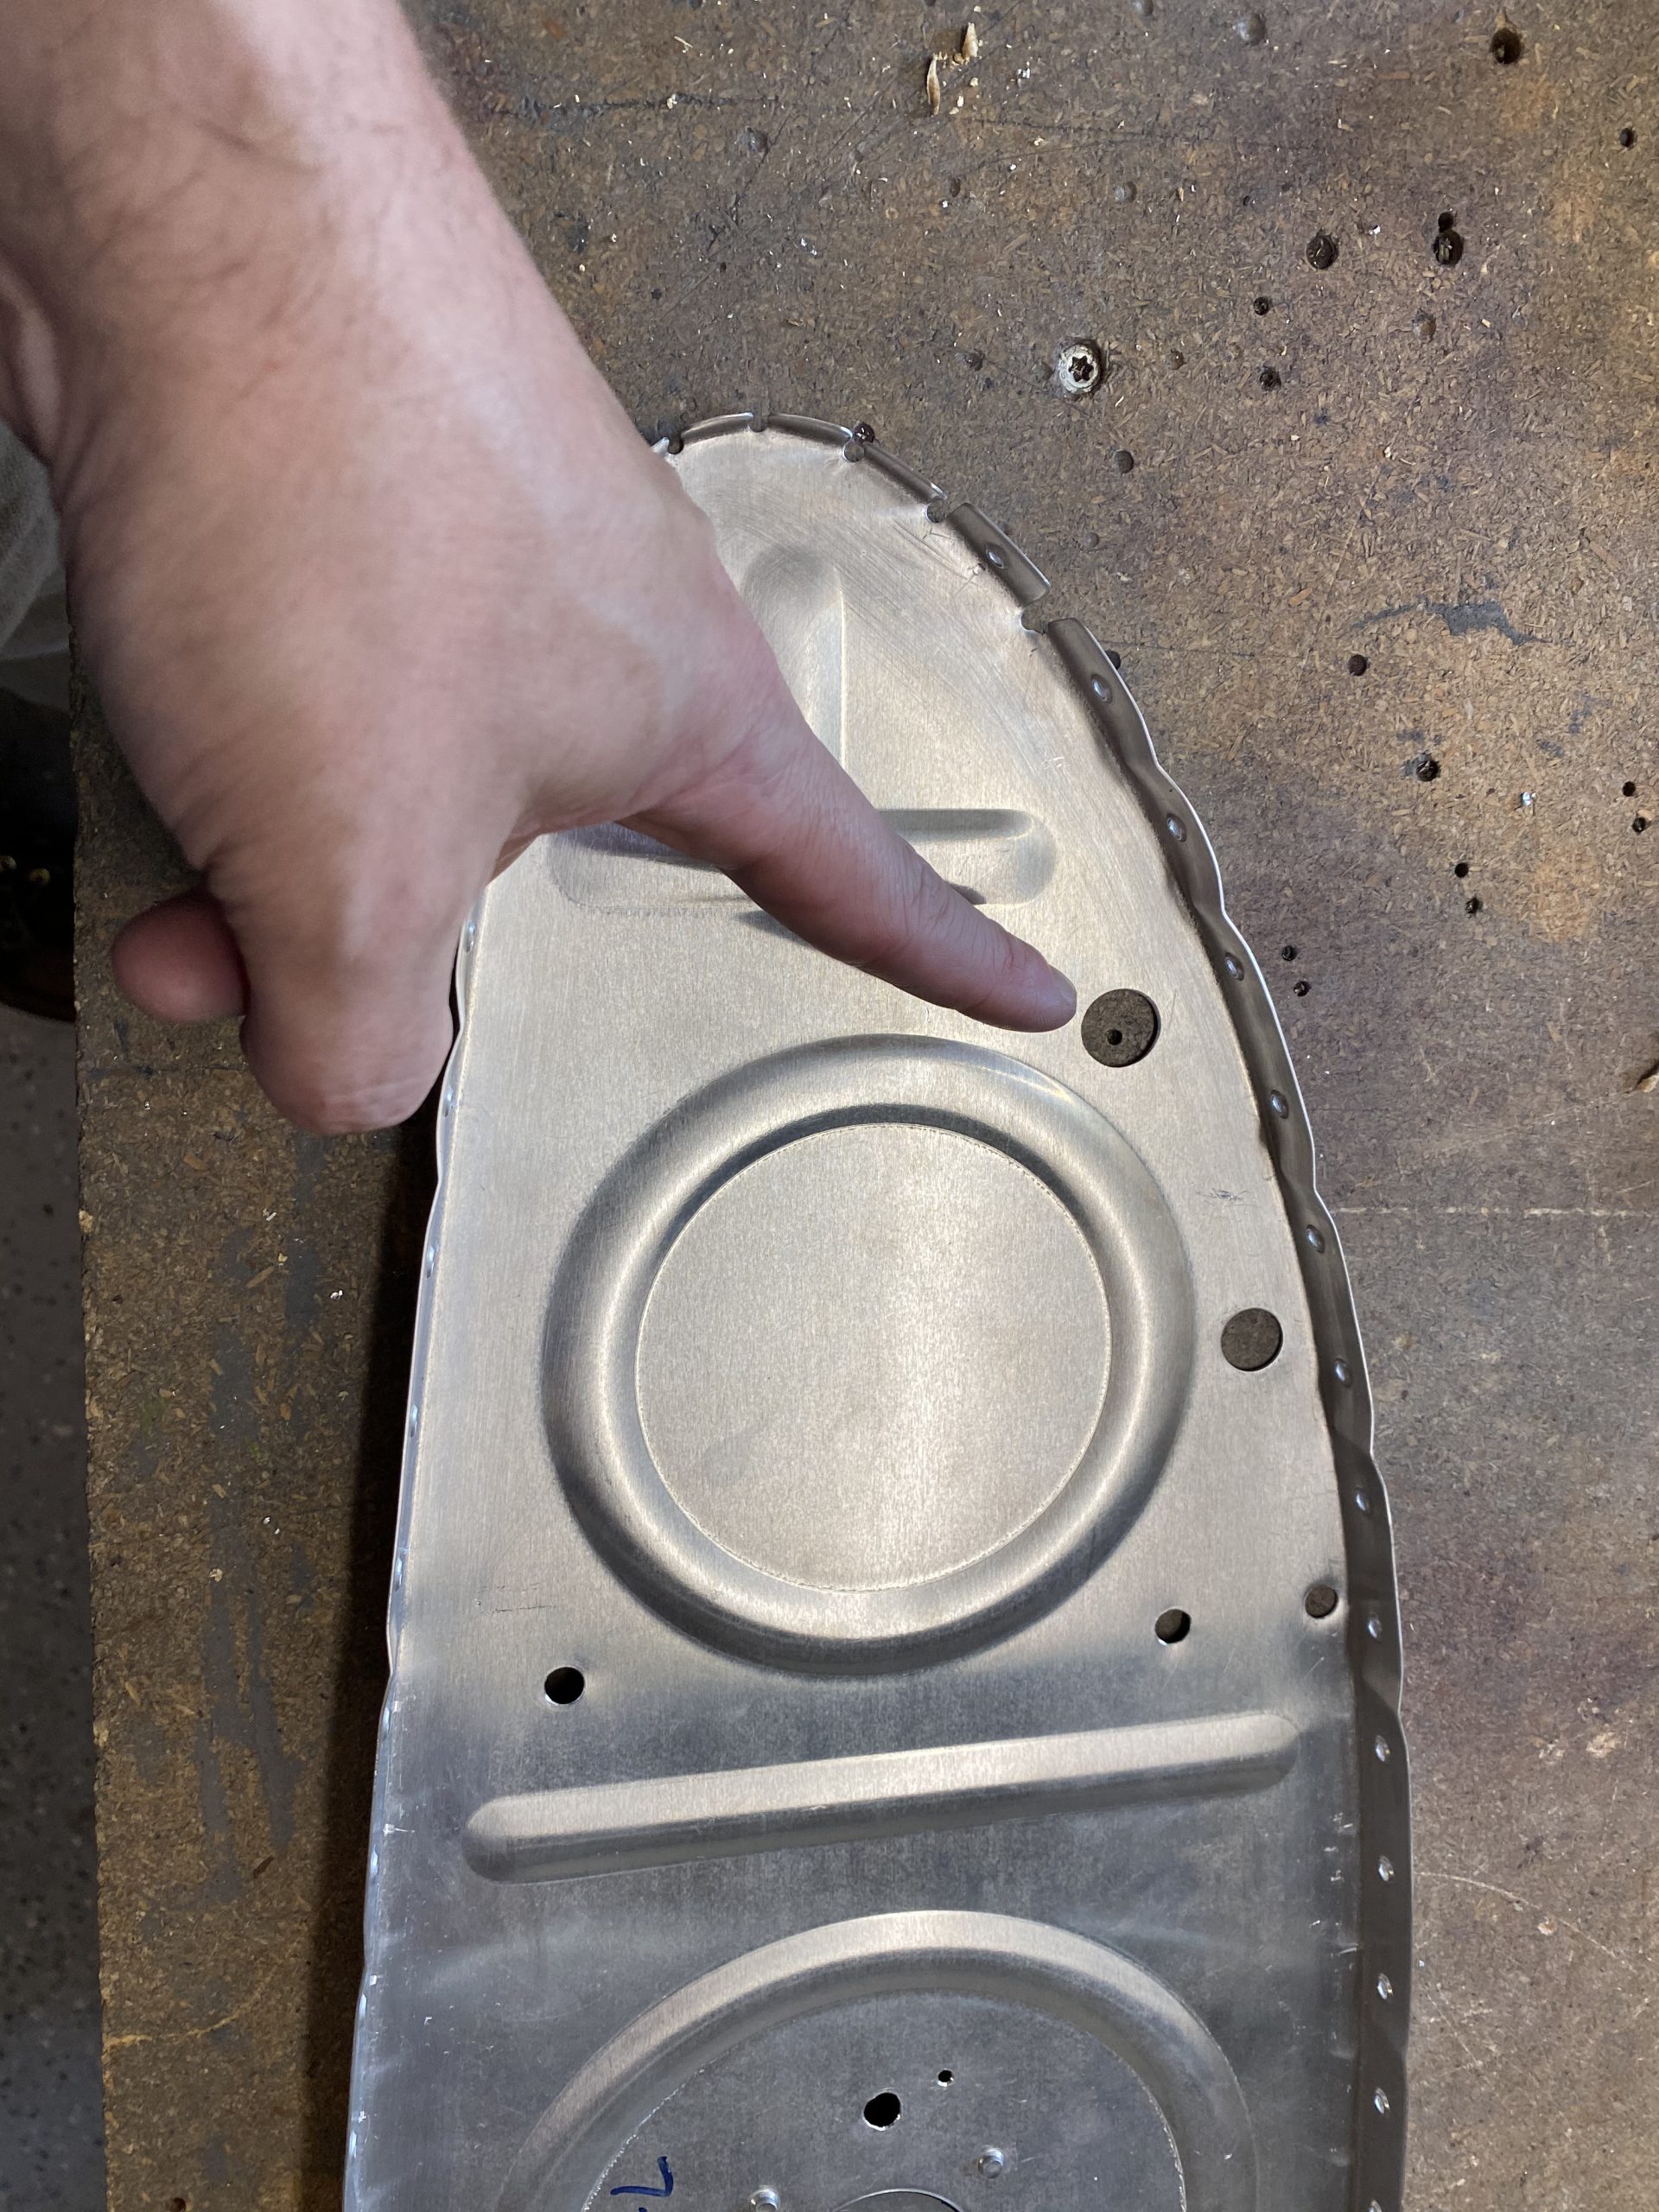
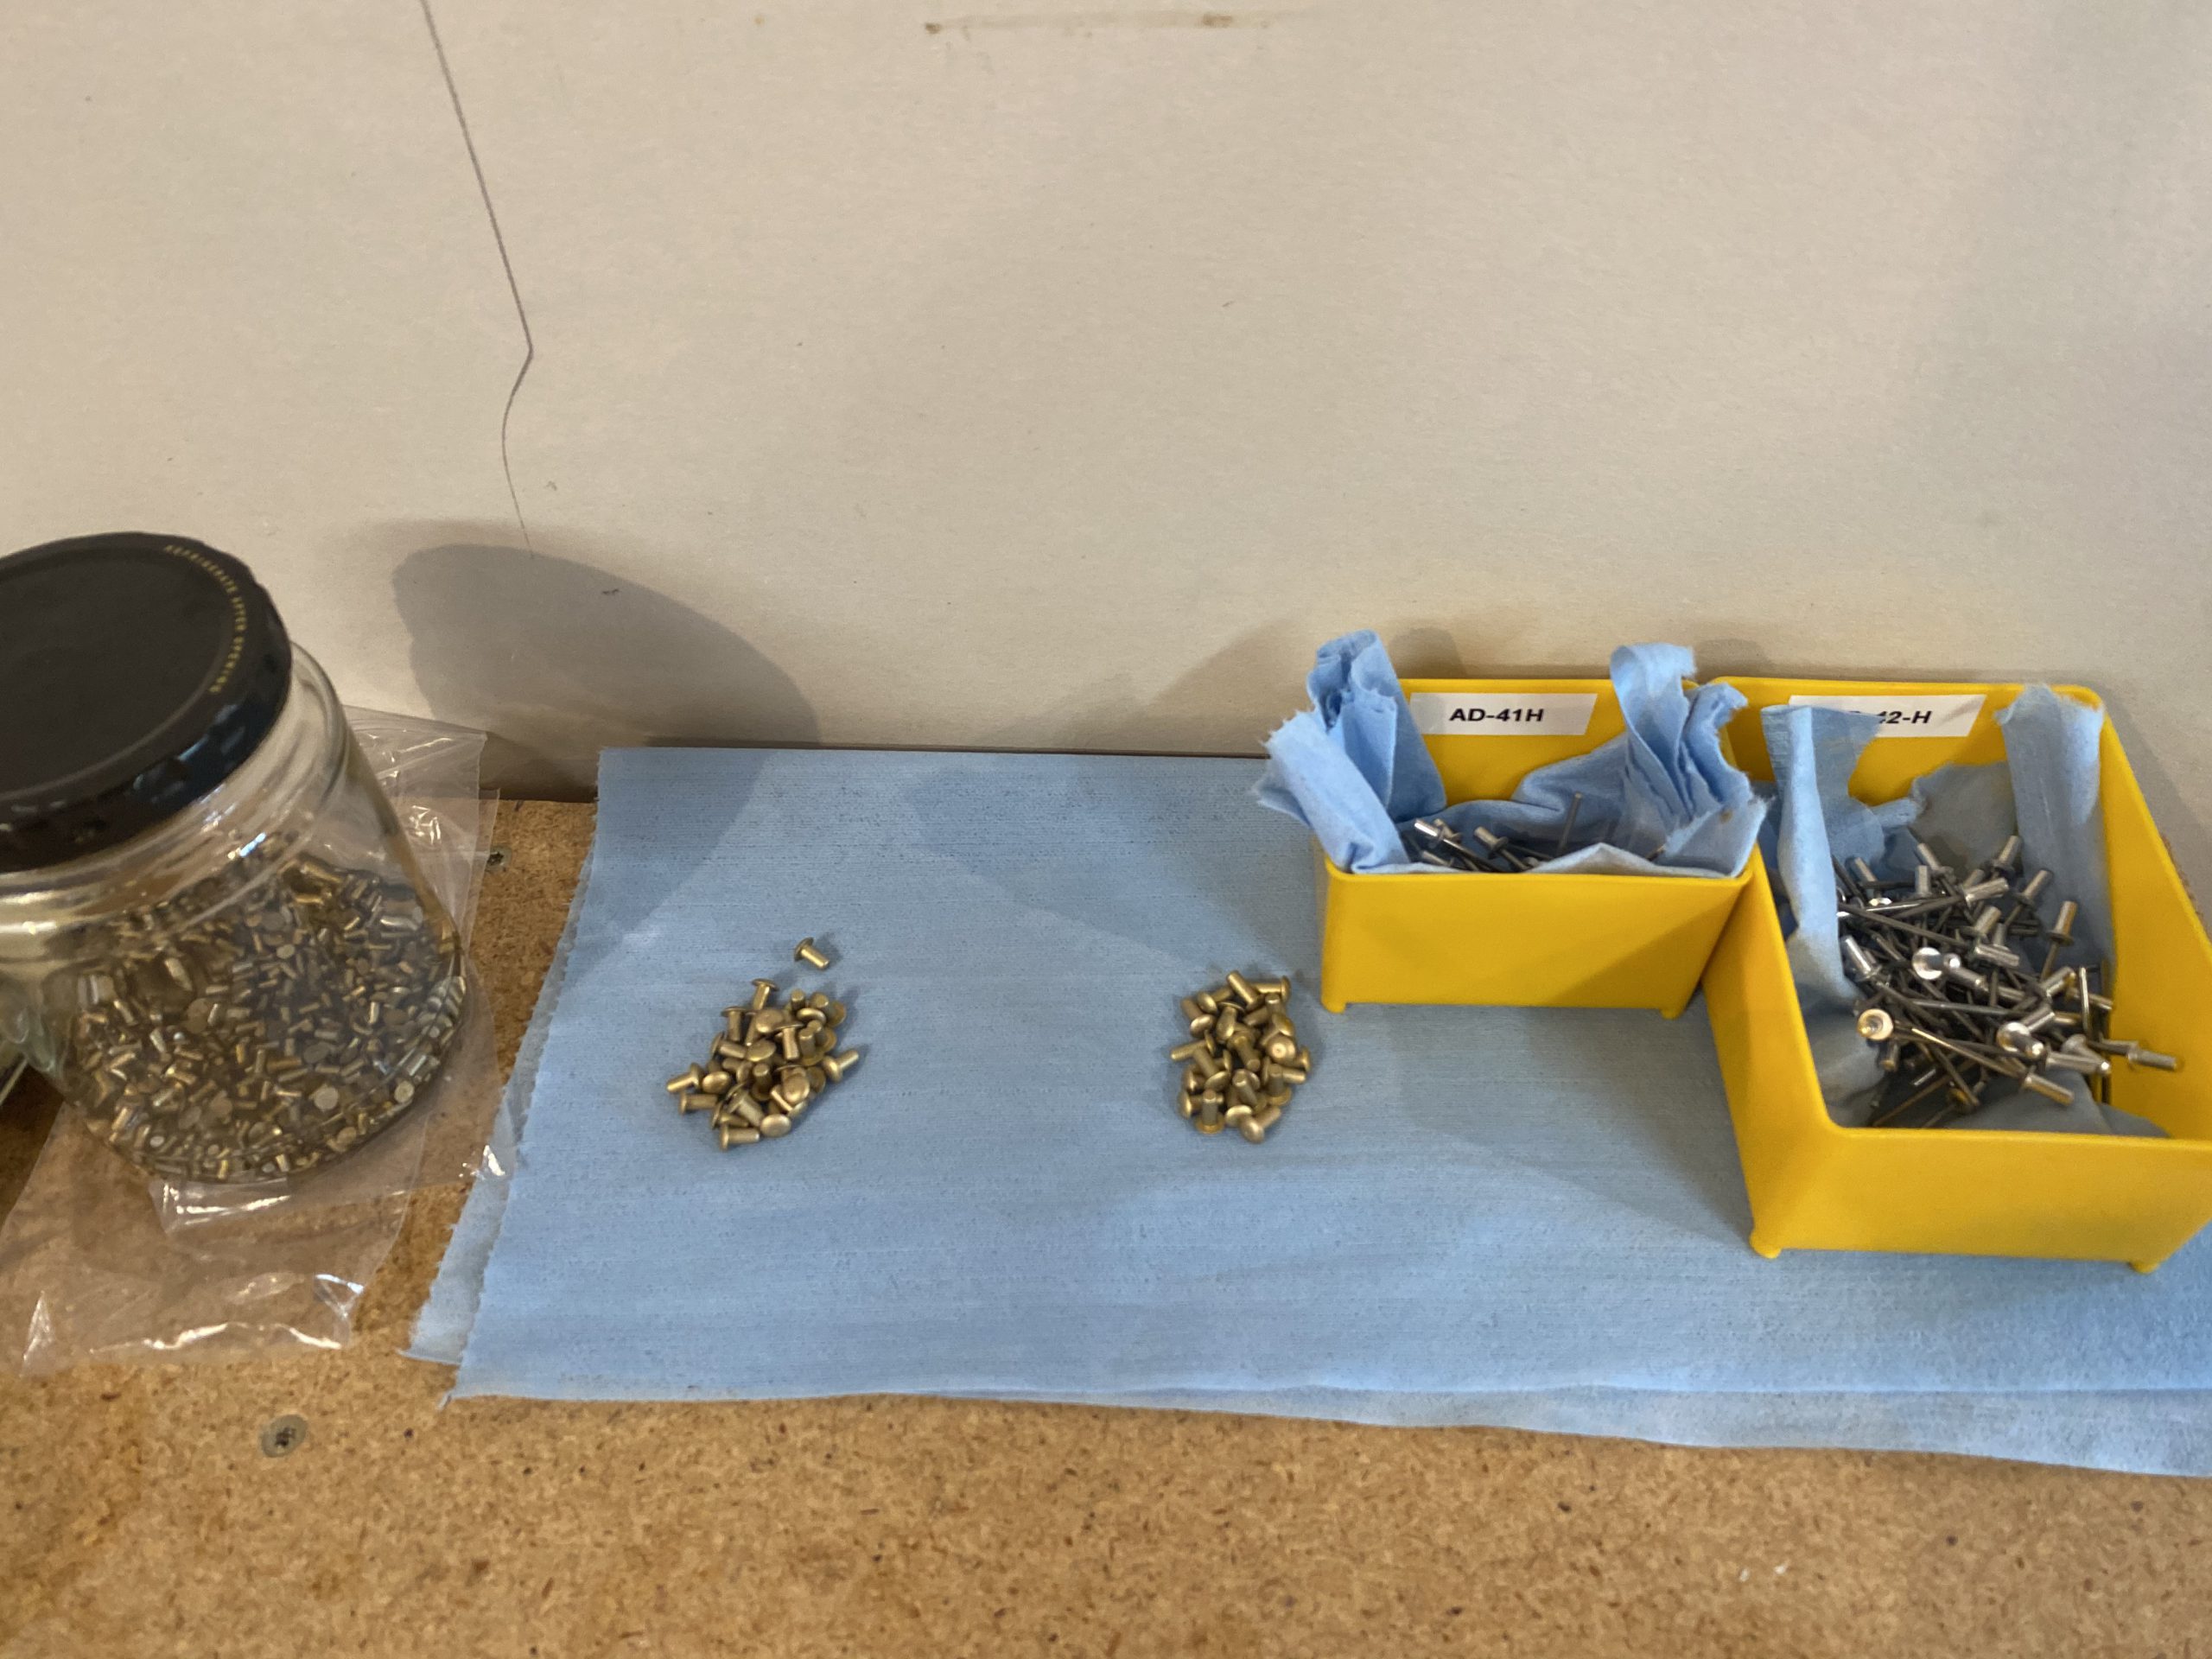
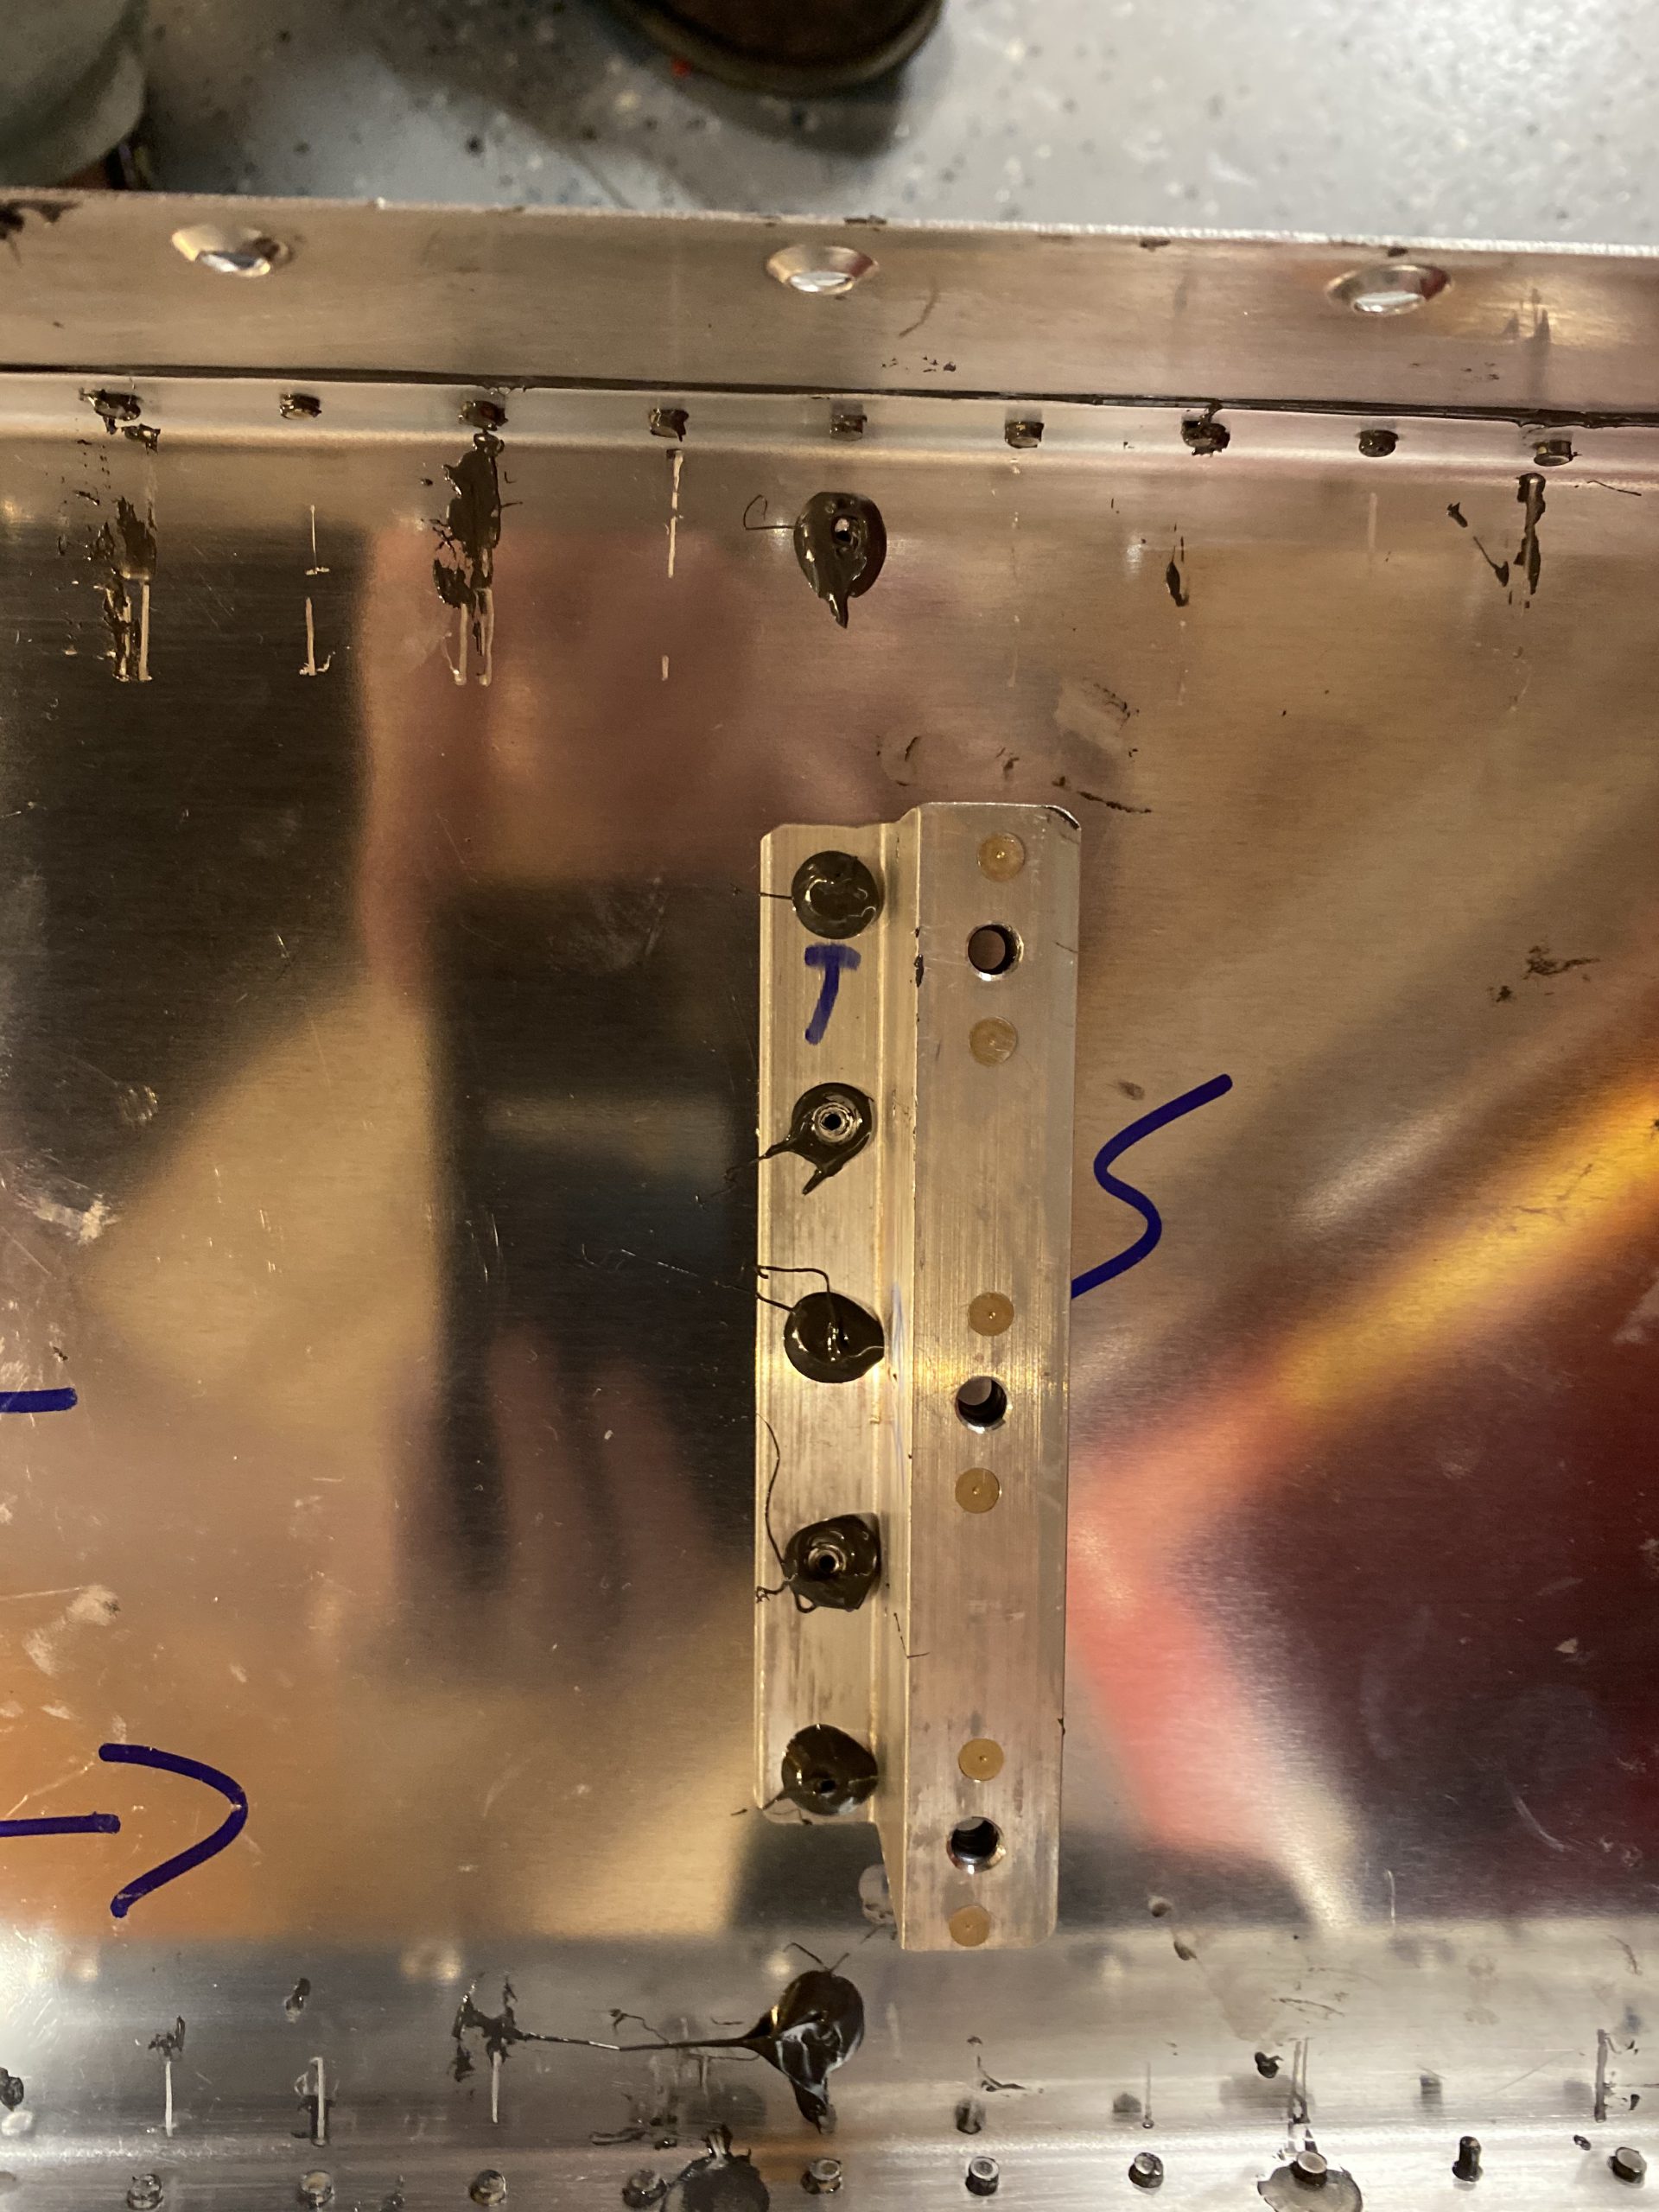
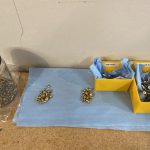
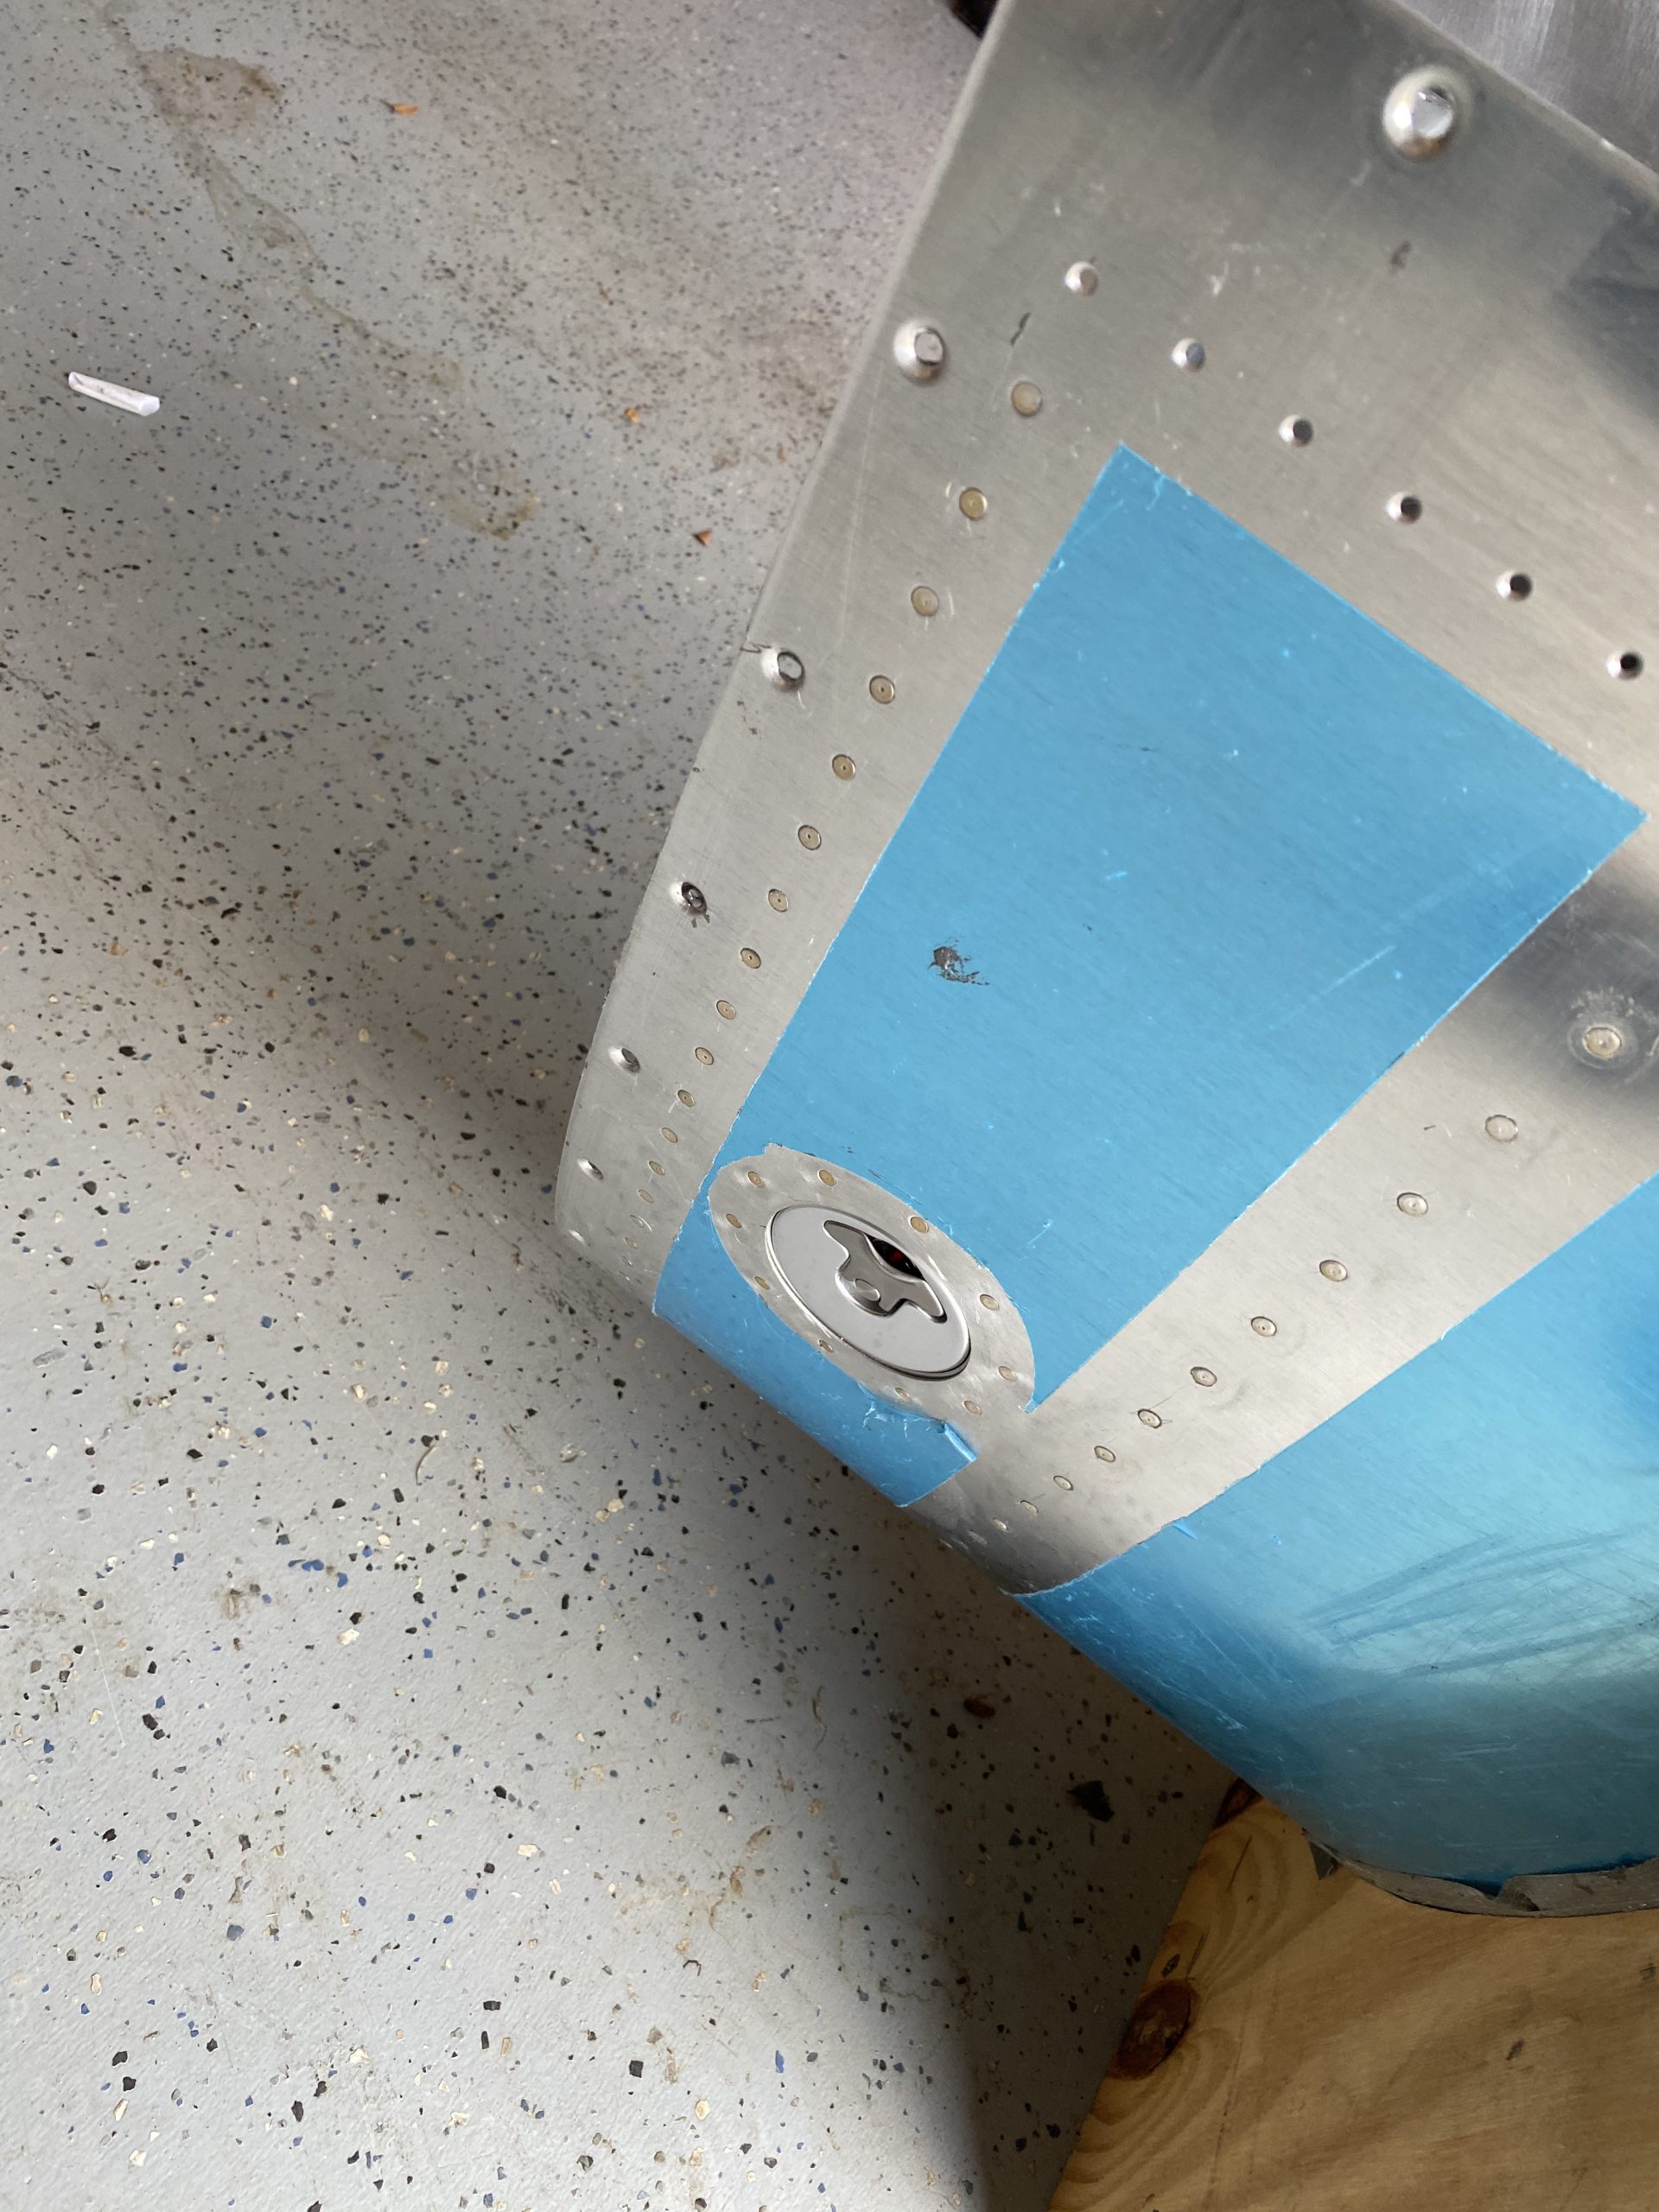
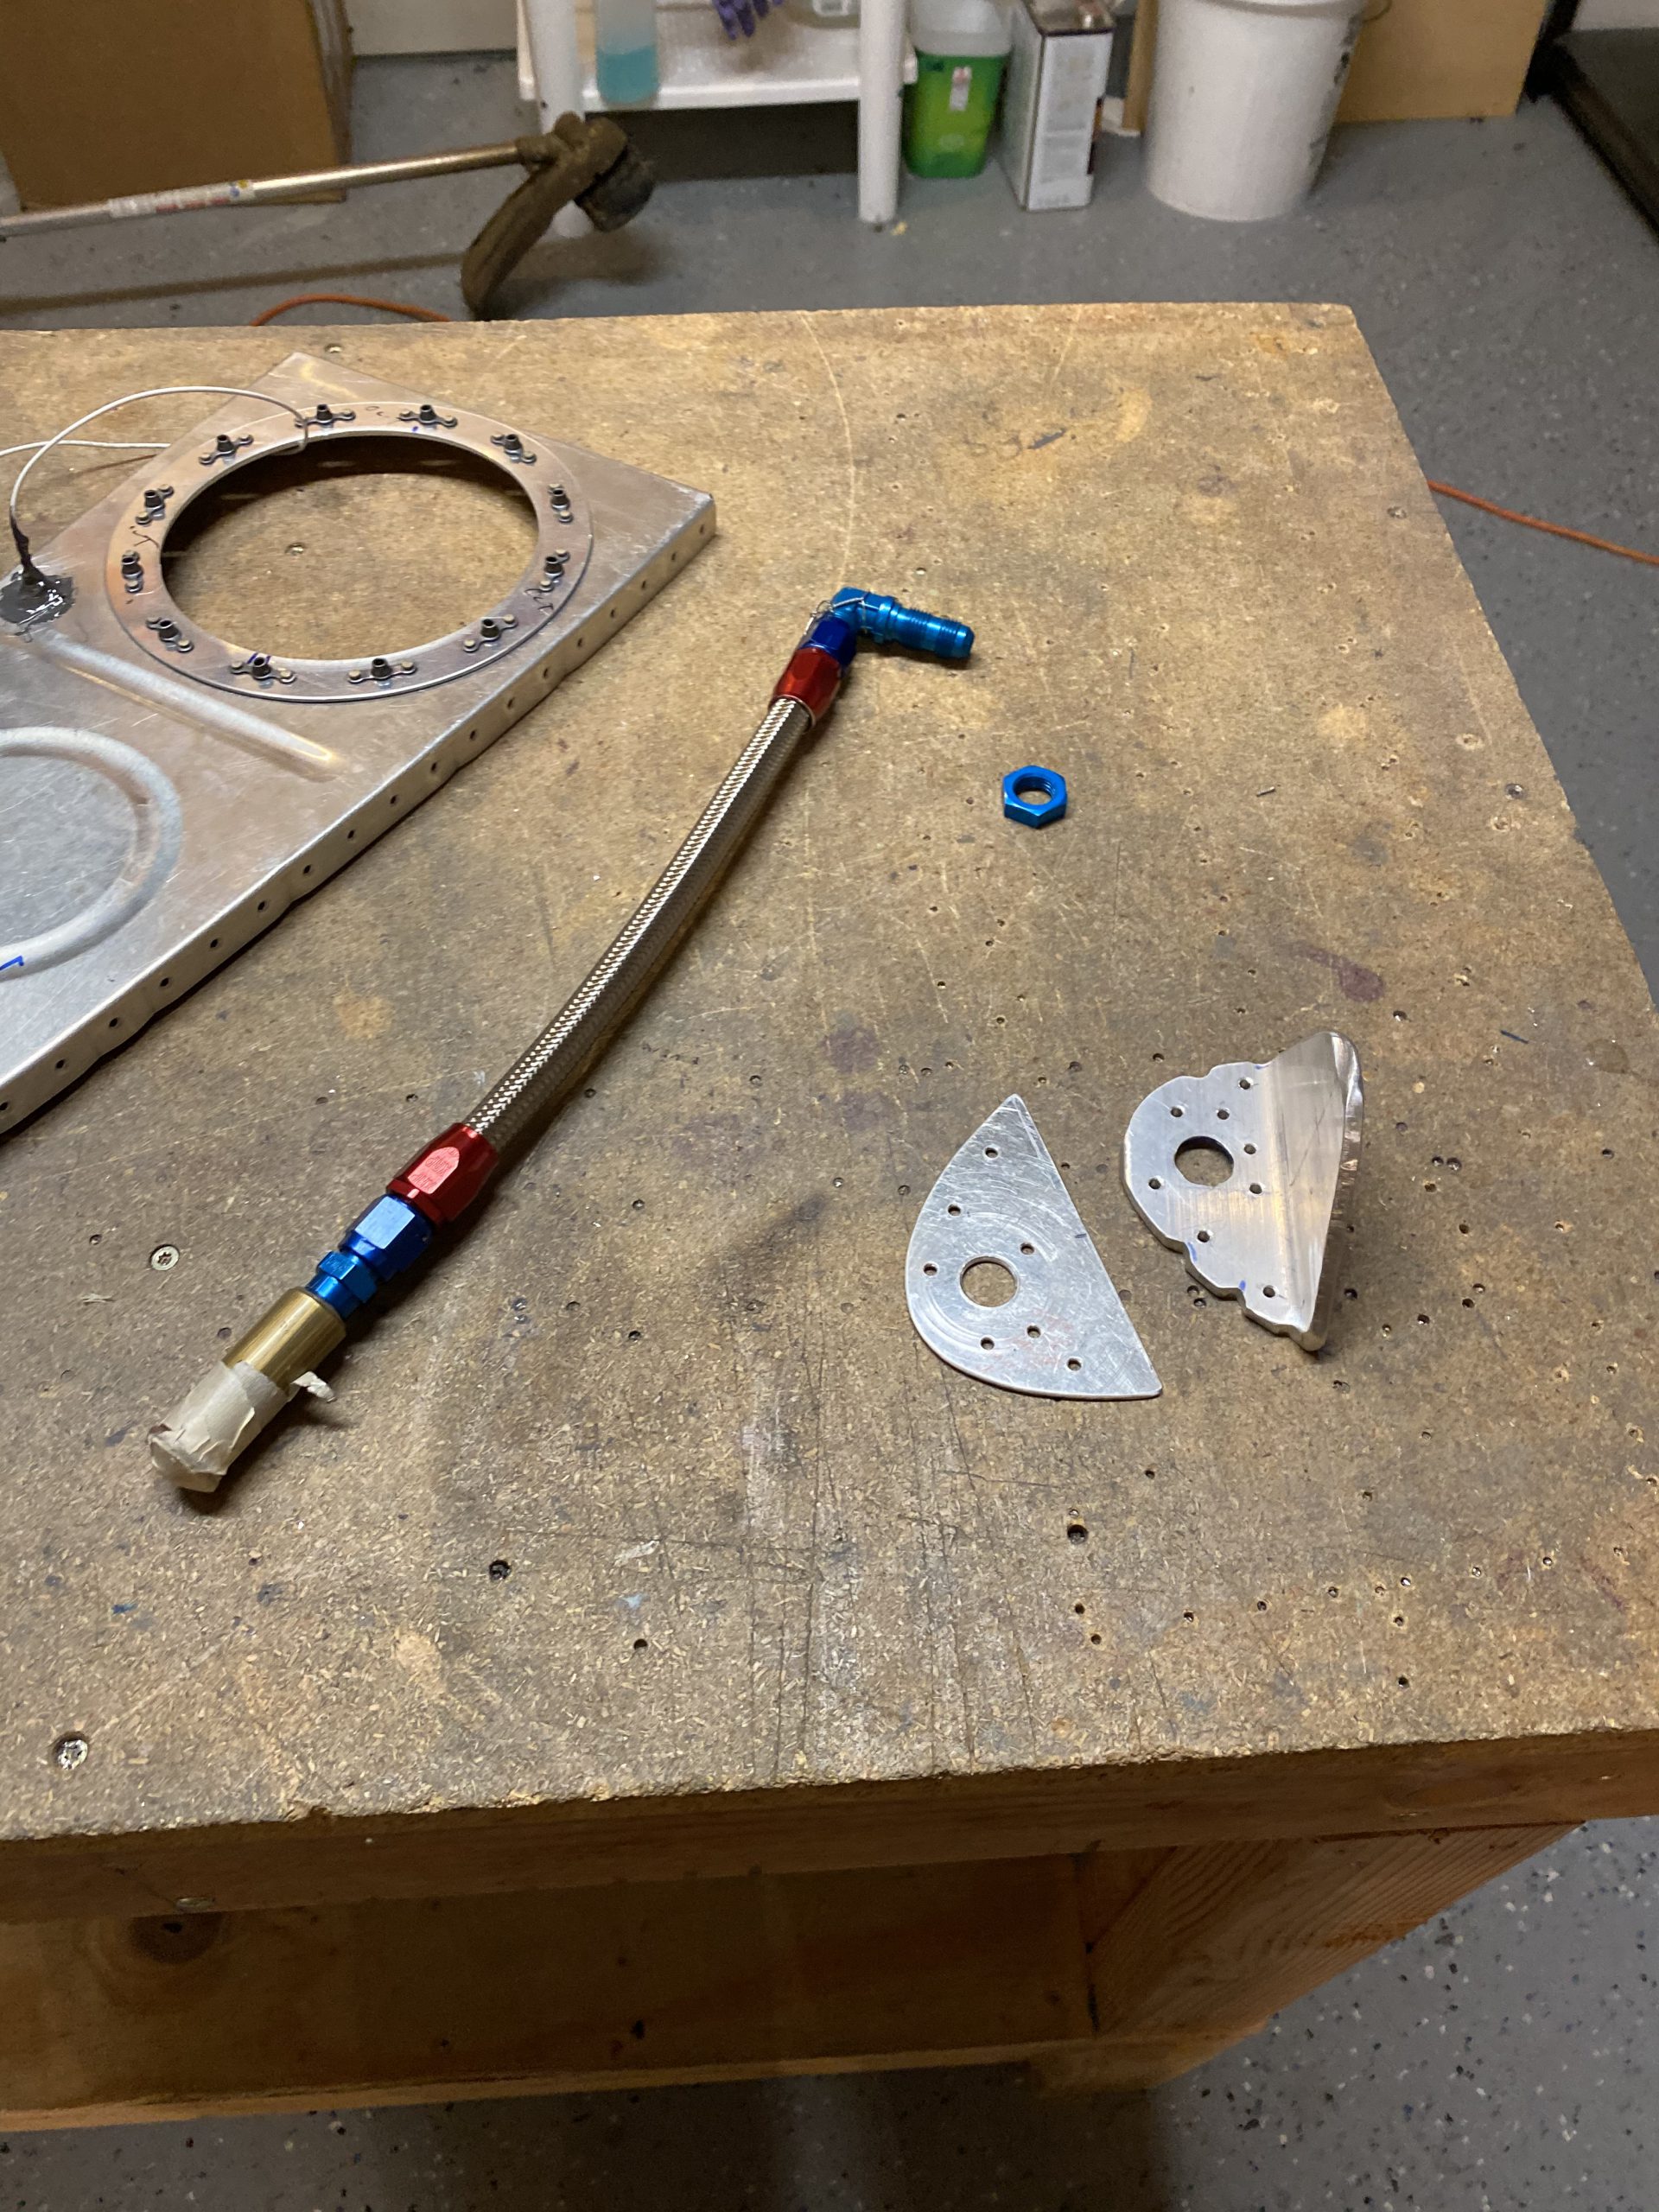
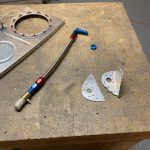
https://www.galassisementi.com/monj0dhyw Like always, I collected up my parts, scuffed them and cleaned them with MEK (same for the skin too). Heres the cast of parts for this session. I also notched the mounting bracket just a tiny bit to make clearance for the rivet heads on the rib flange. I’ll leave the masking tape on the flop tube to keep it protected during the build, and remove it right before final sealing.
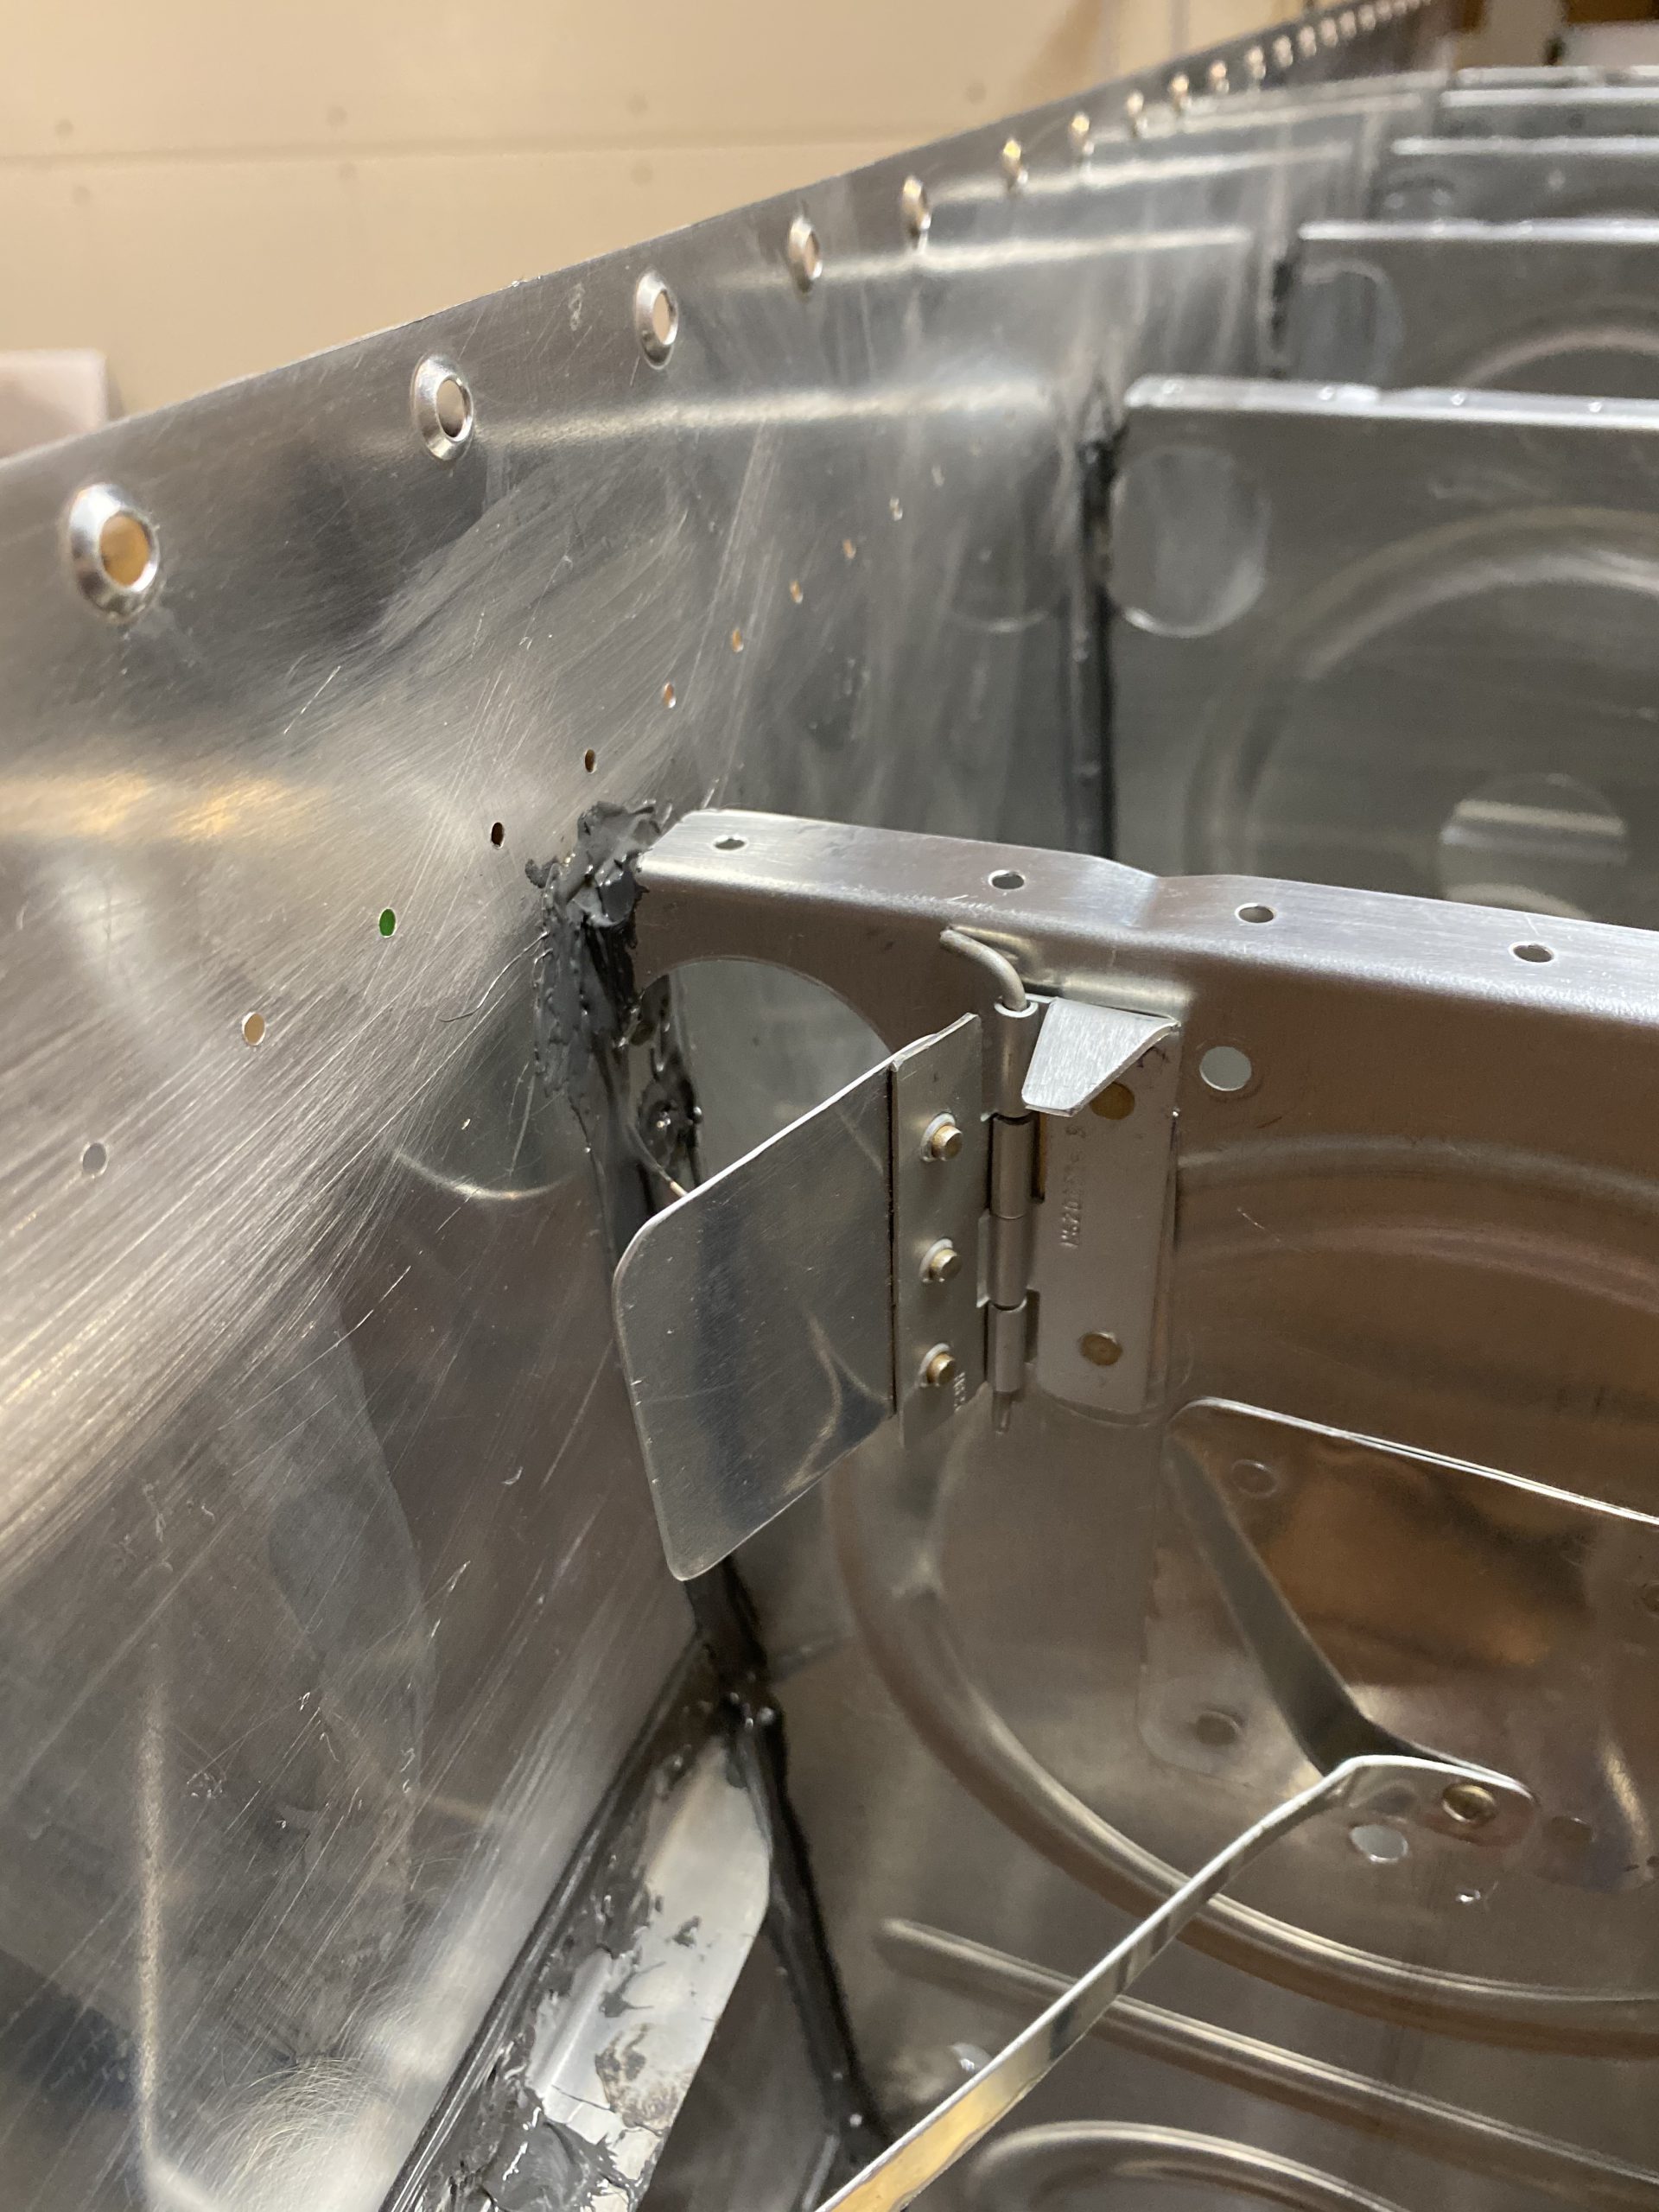
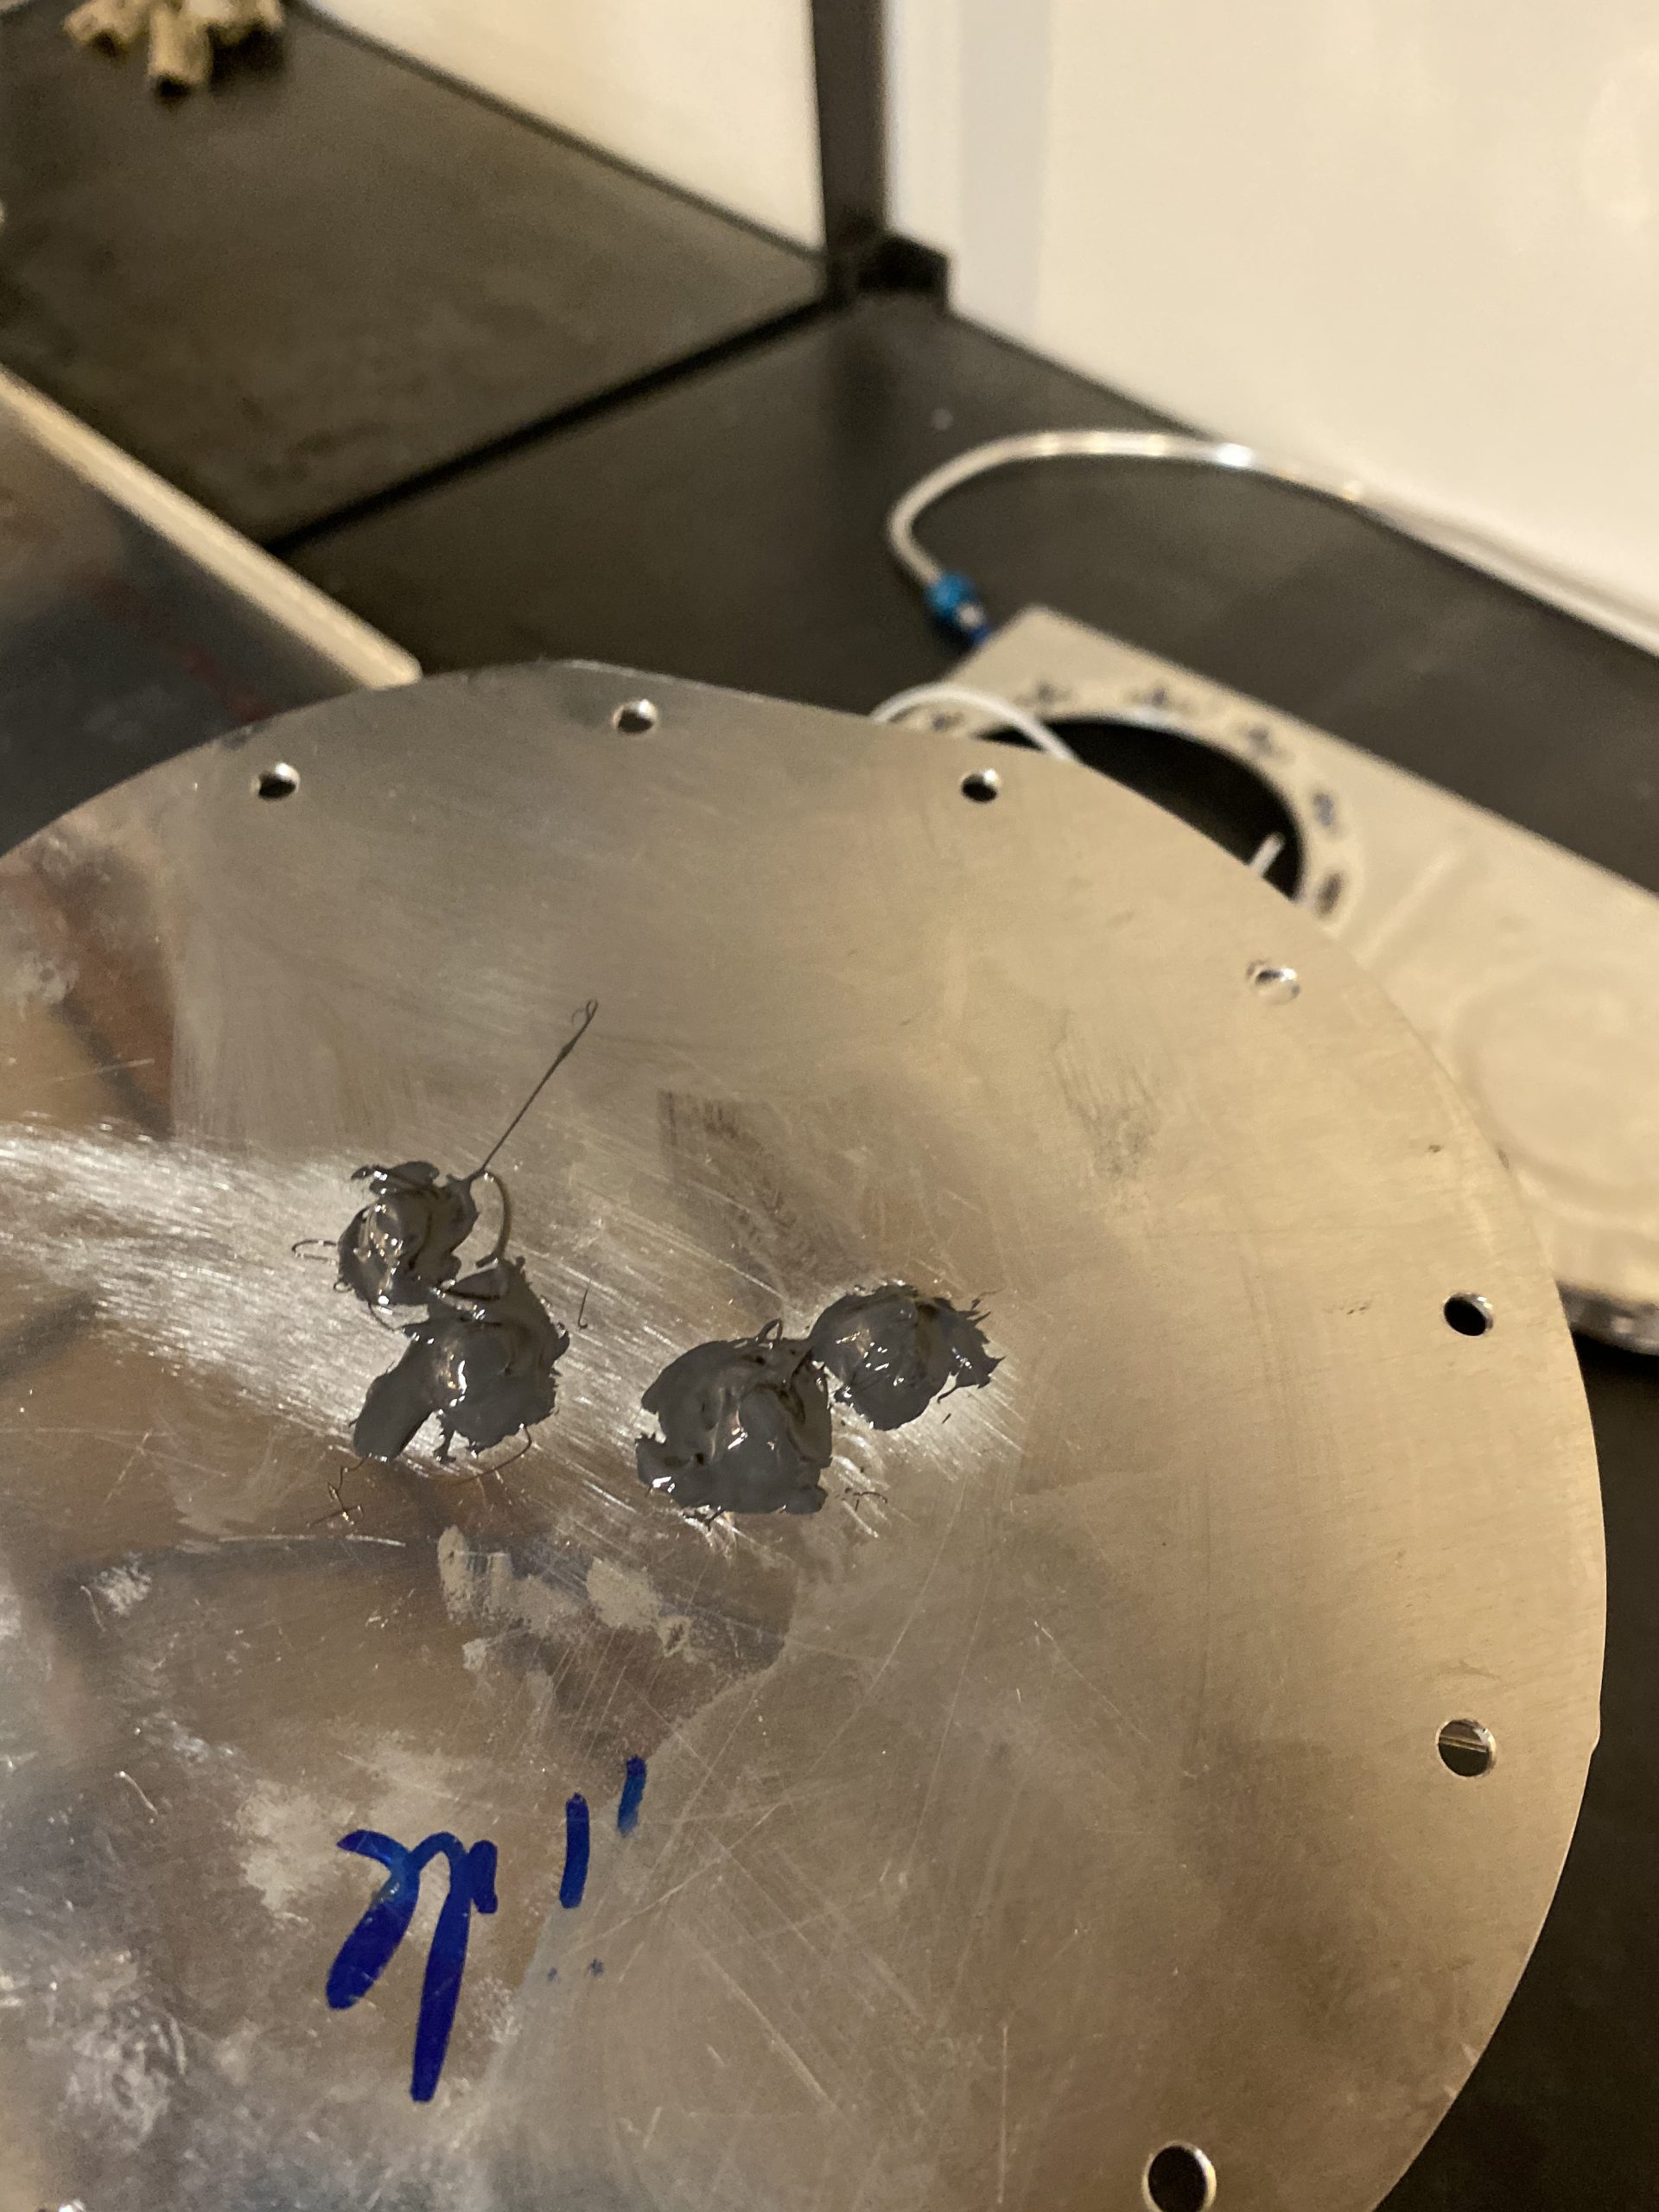
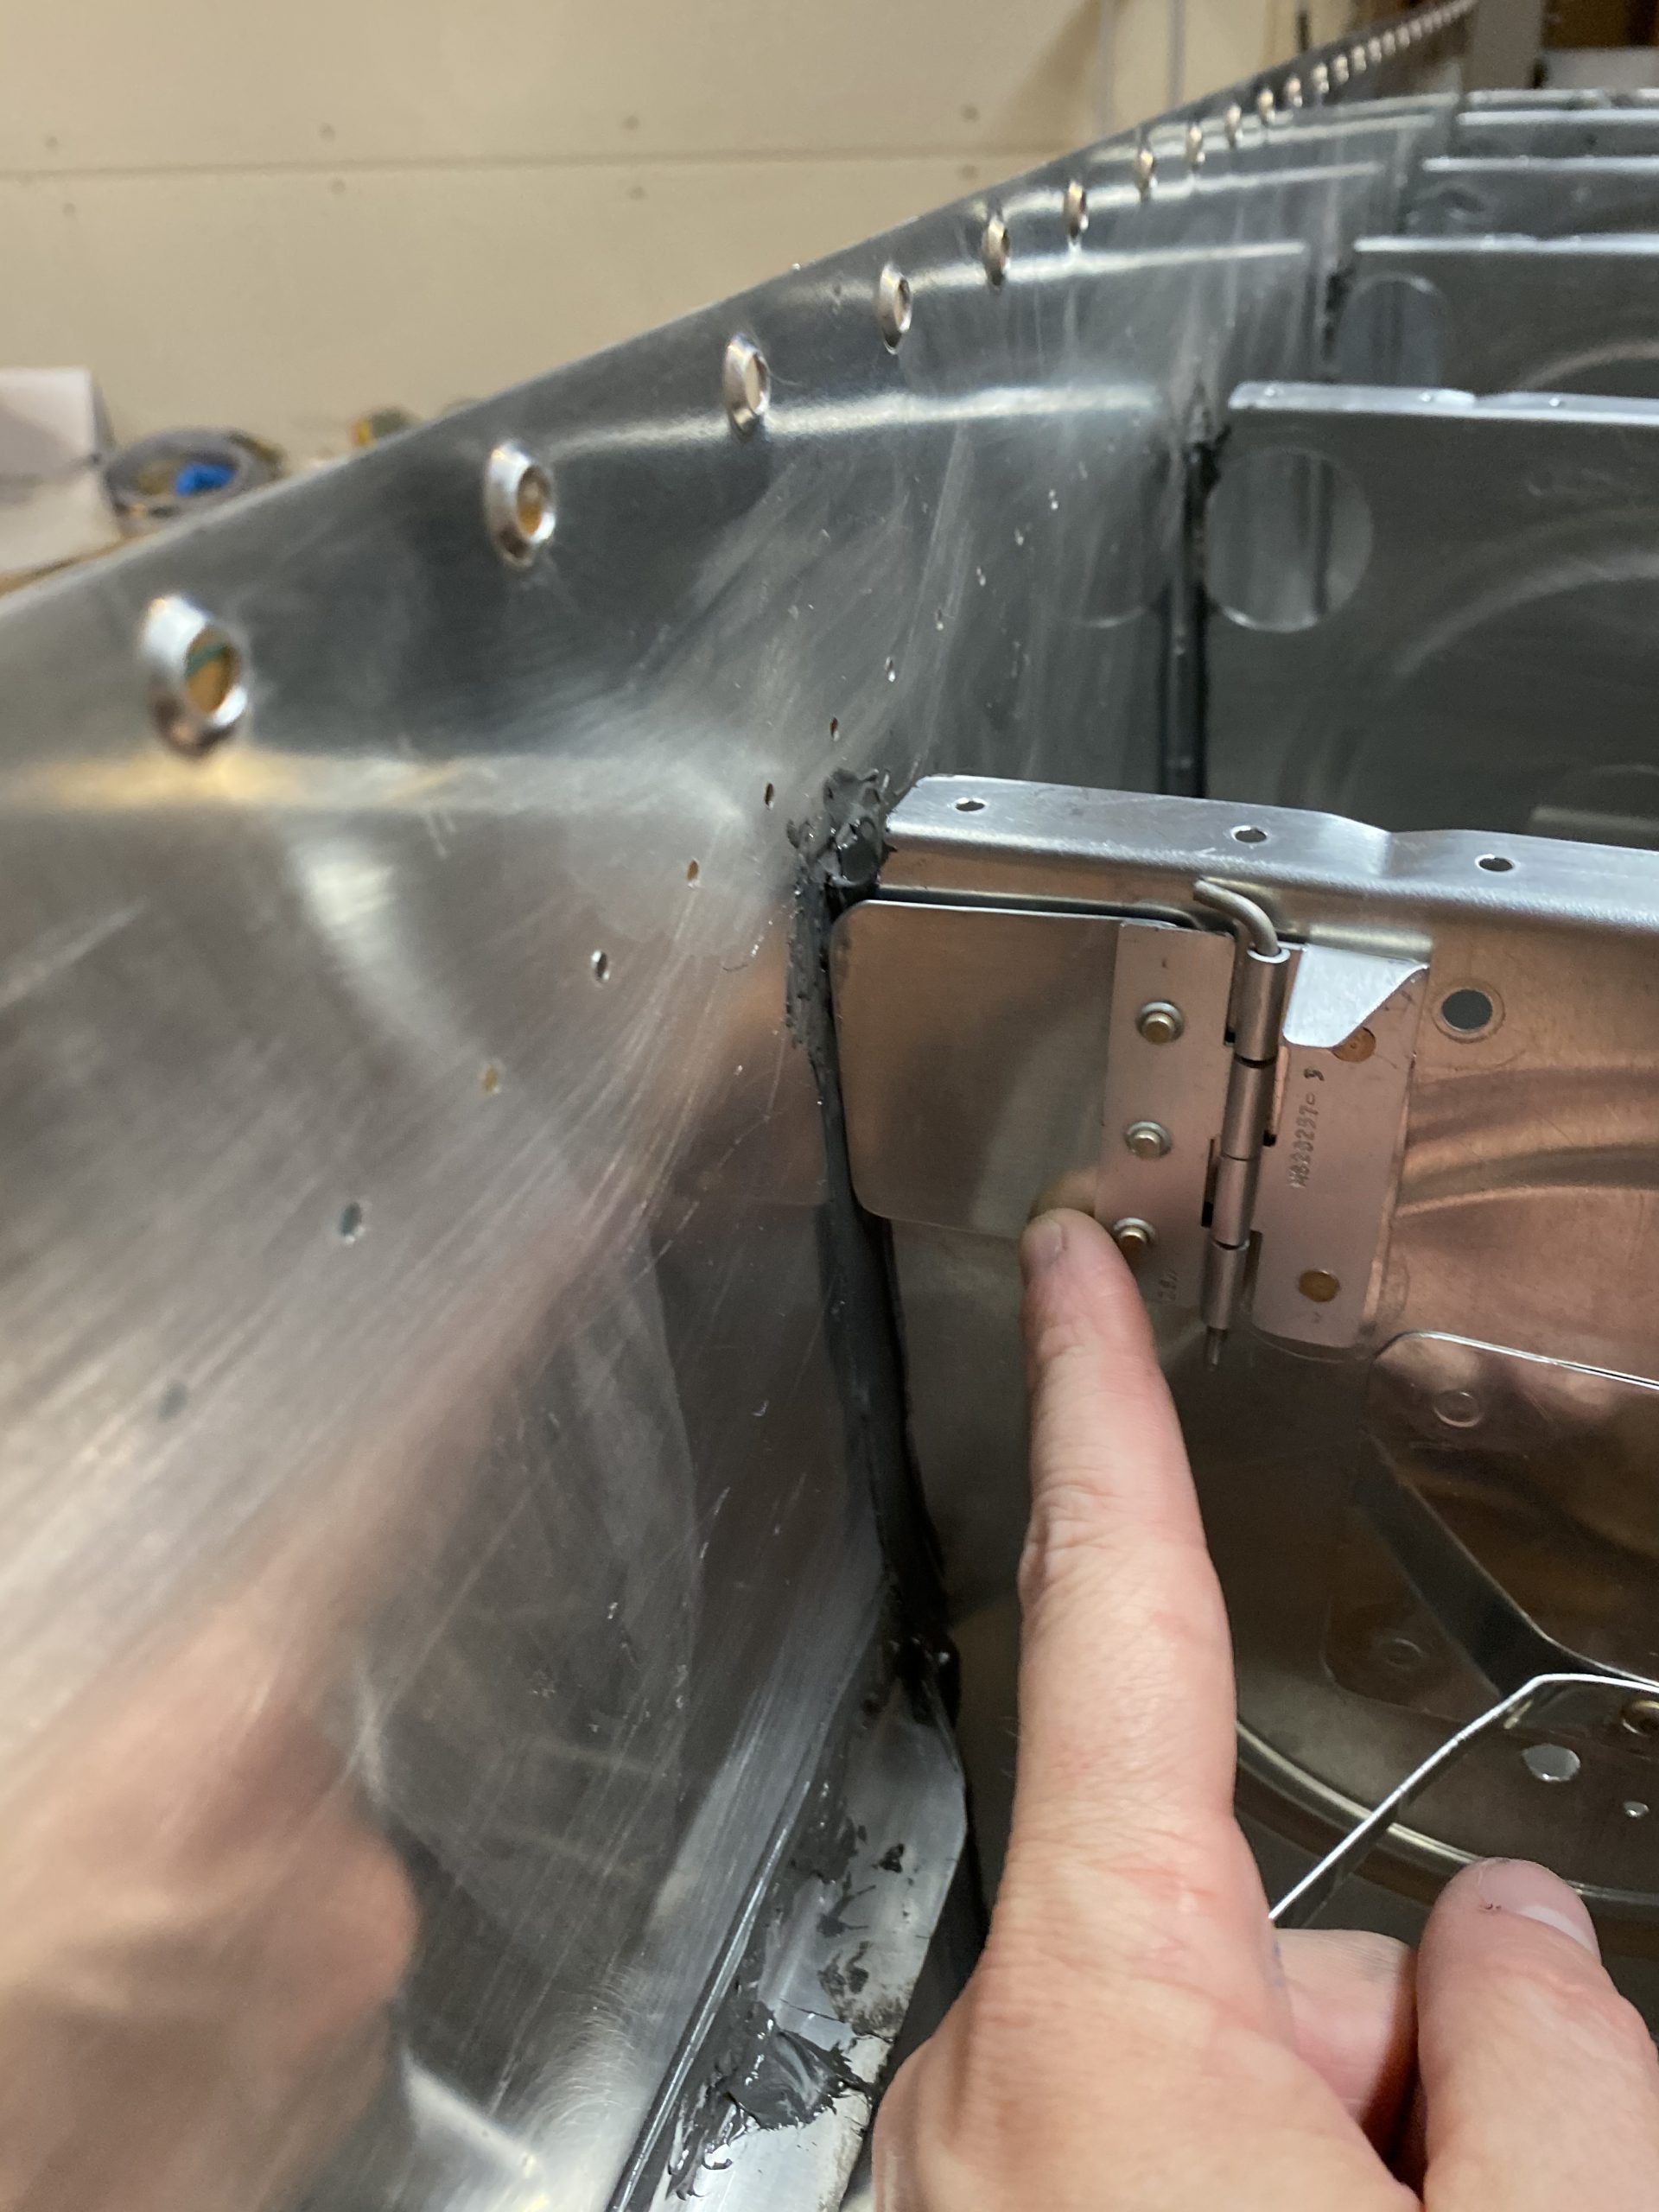
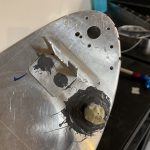
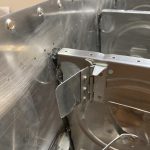
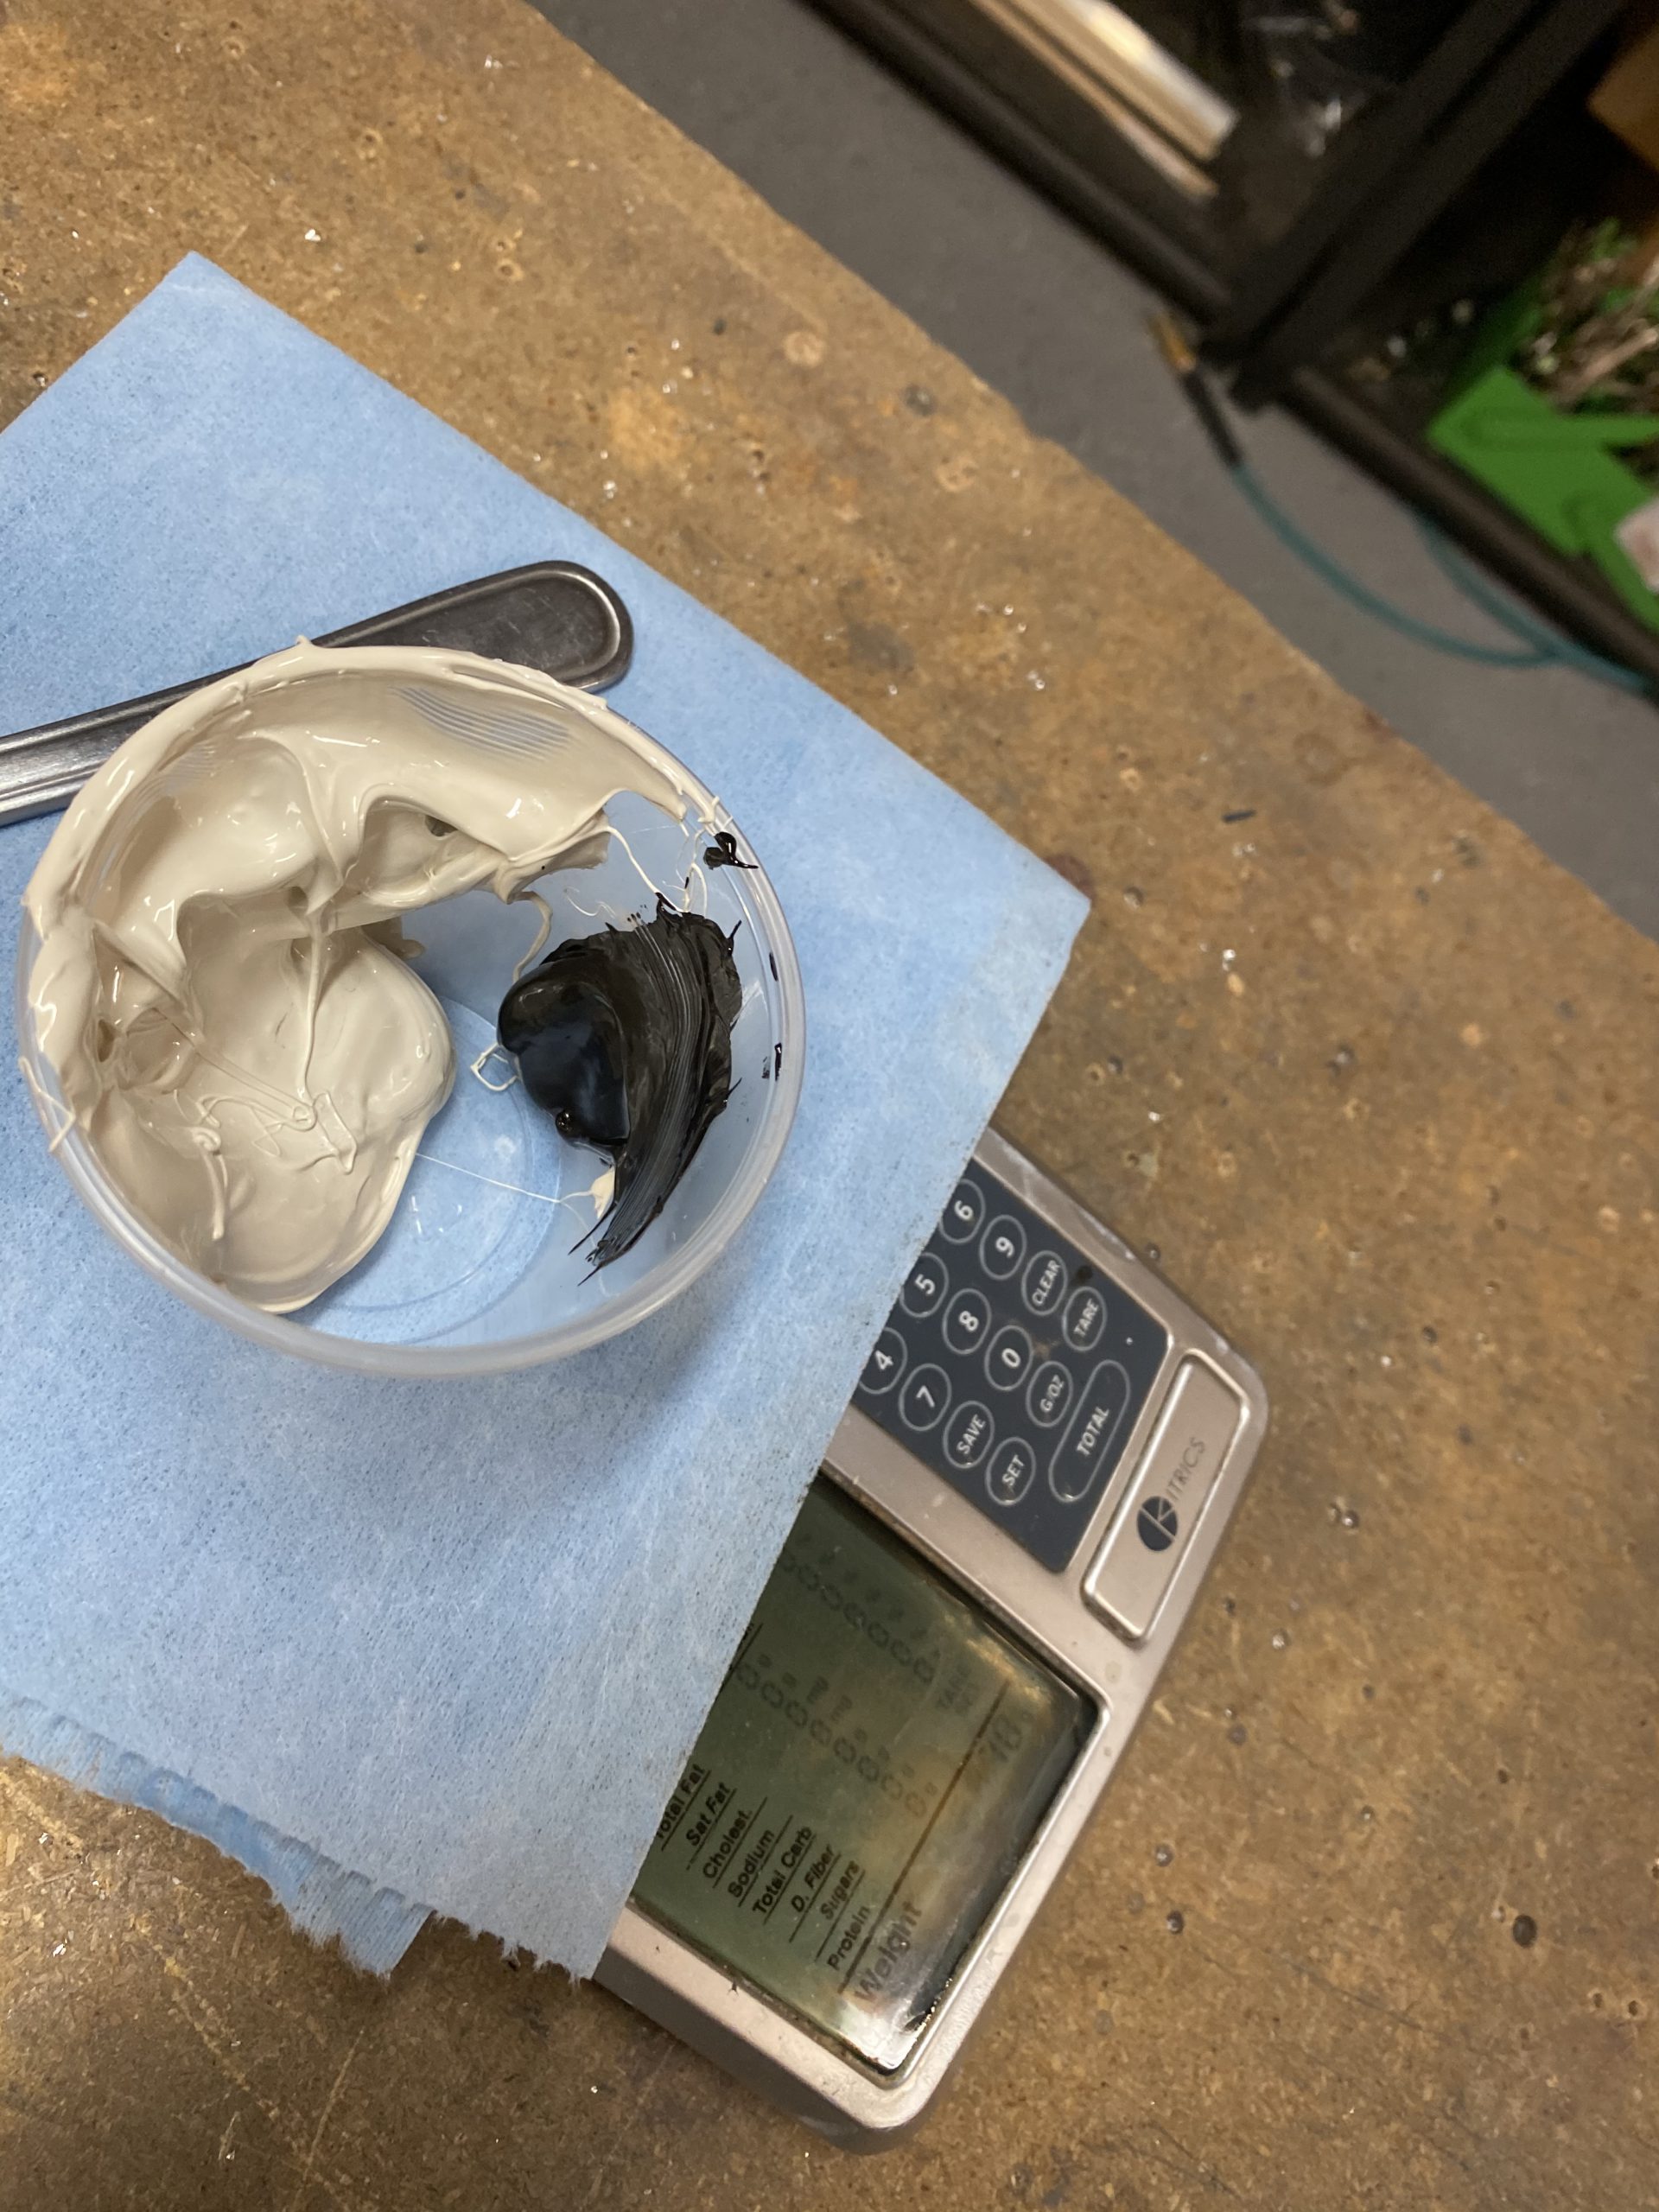
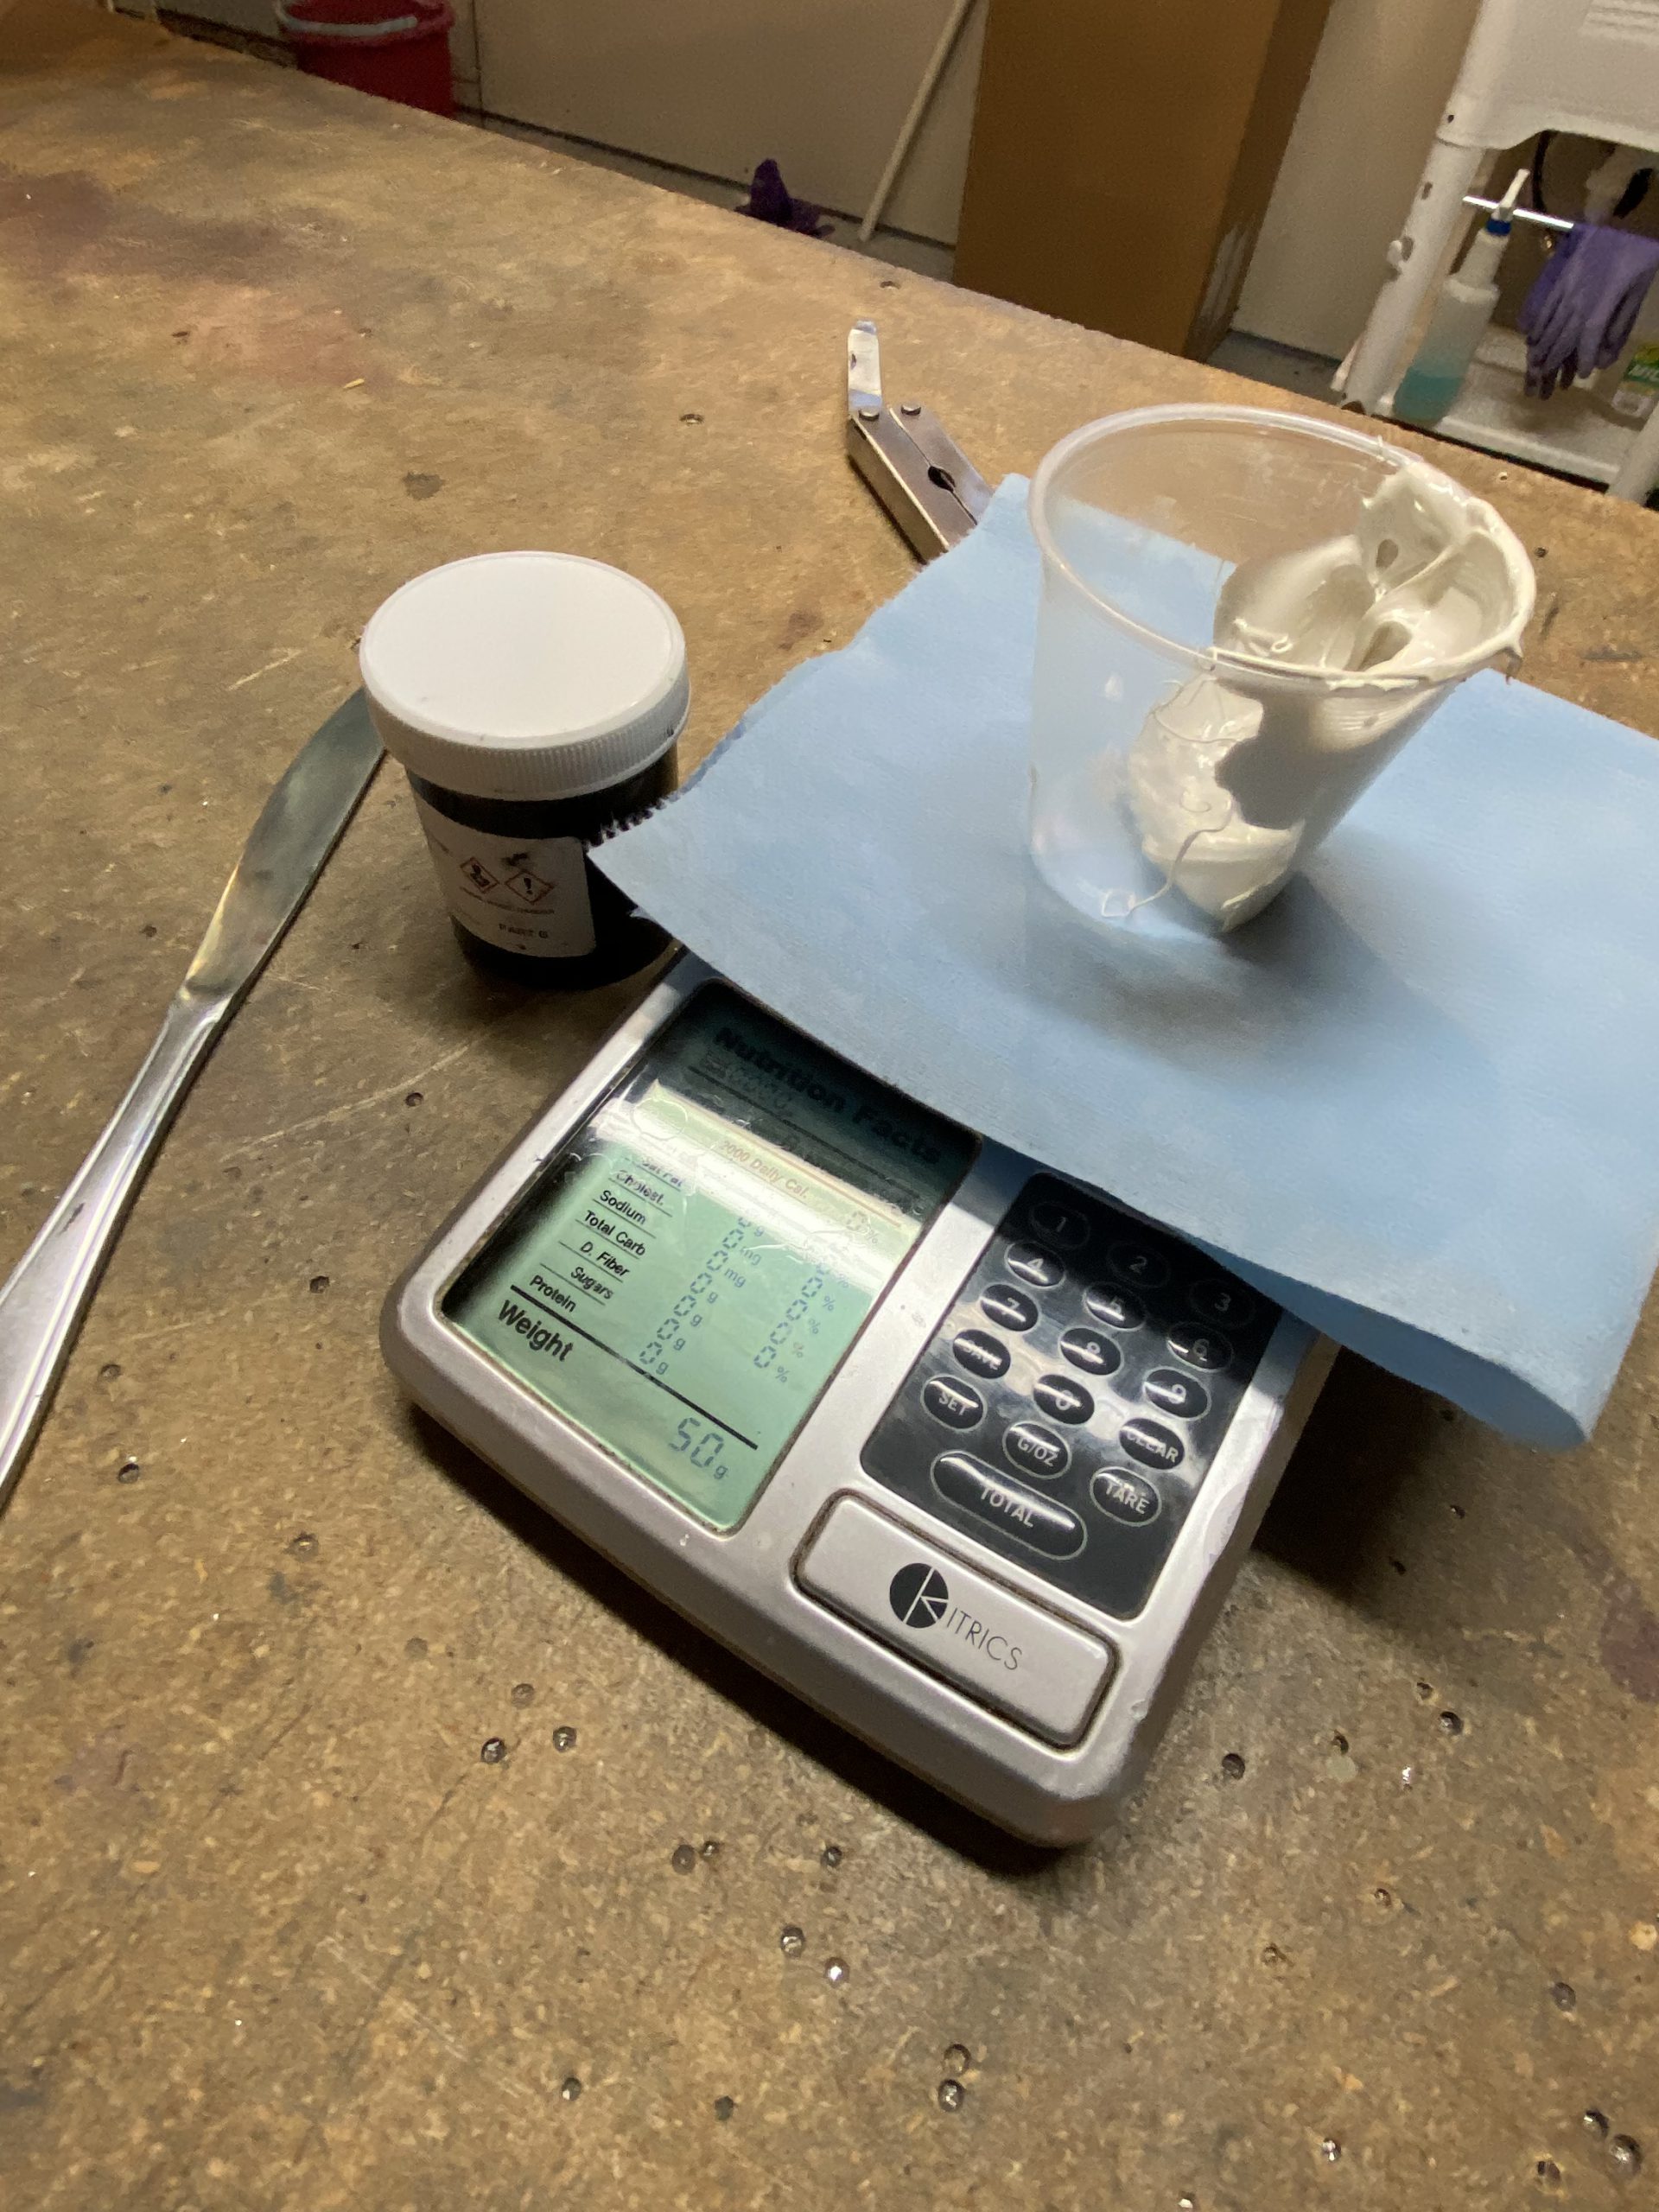
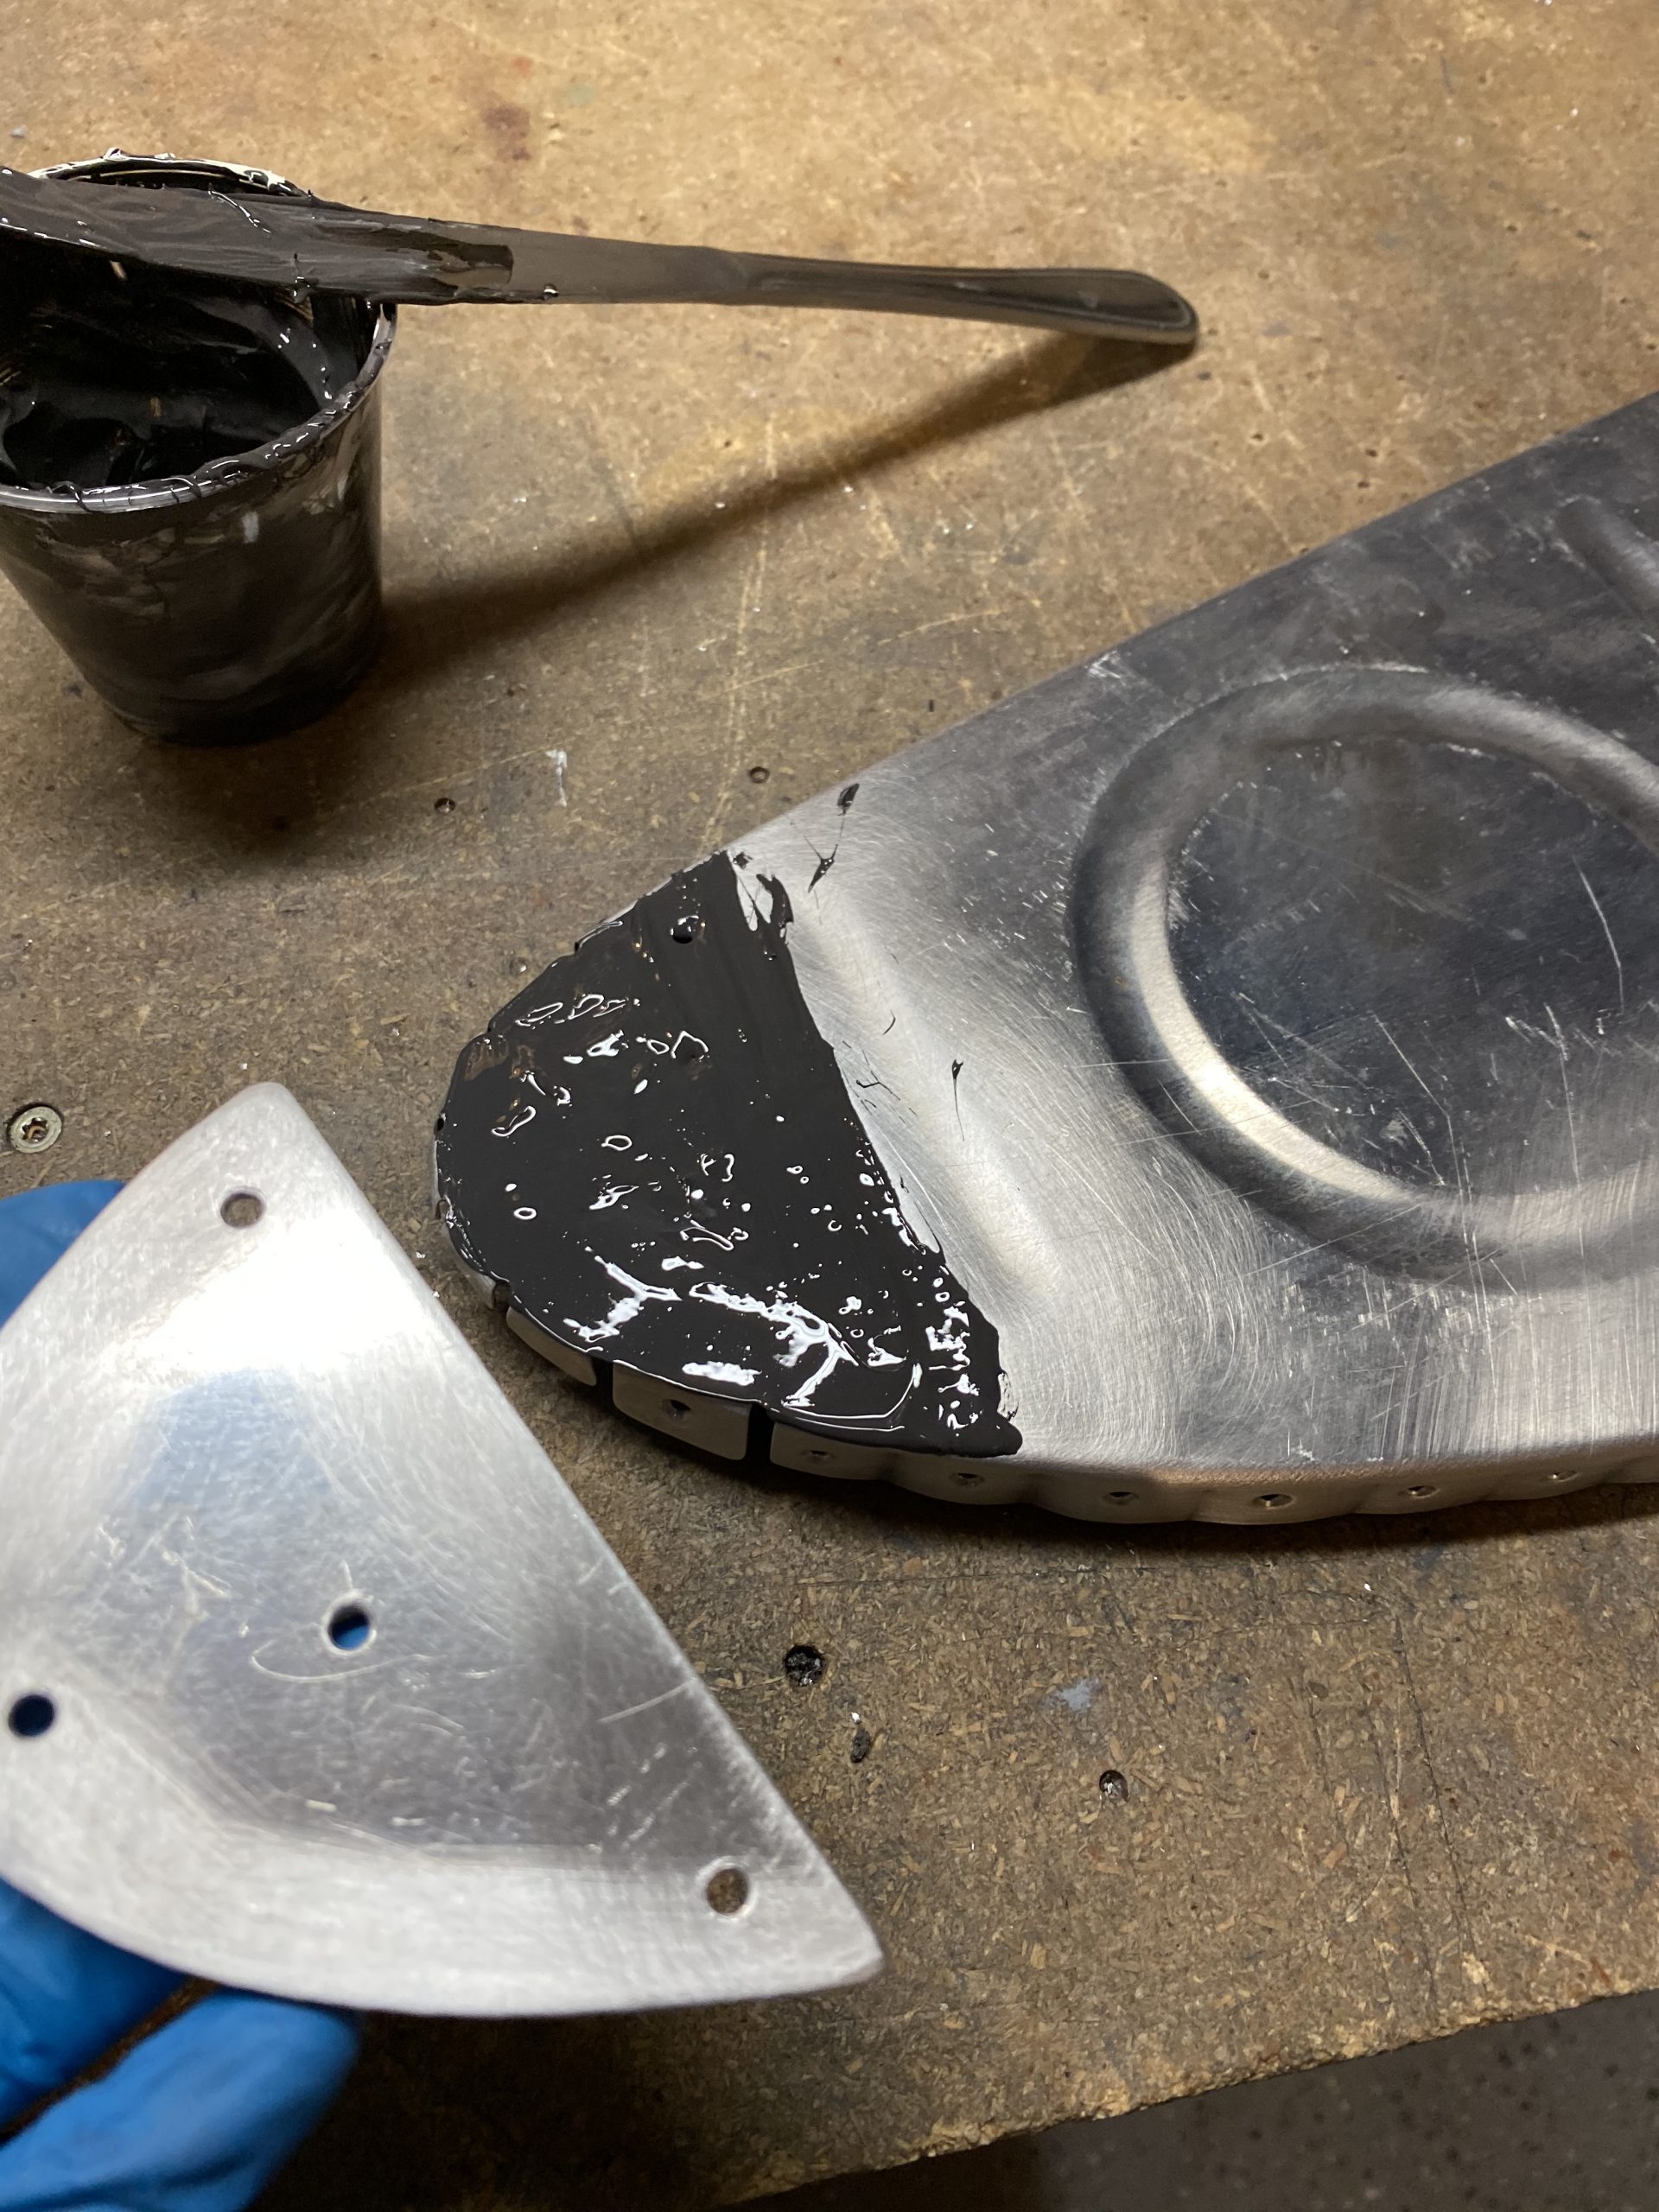
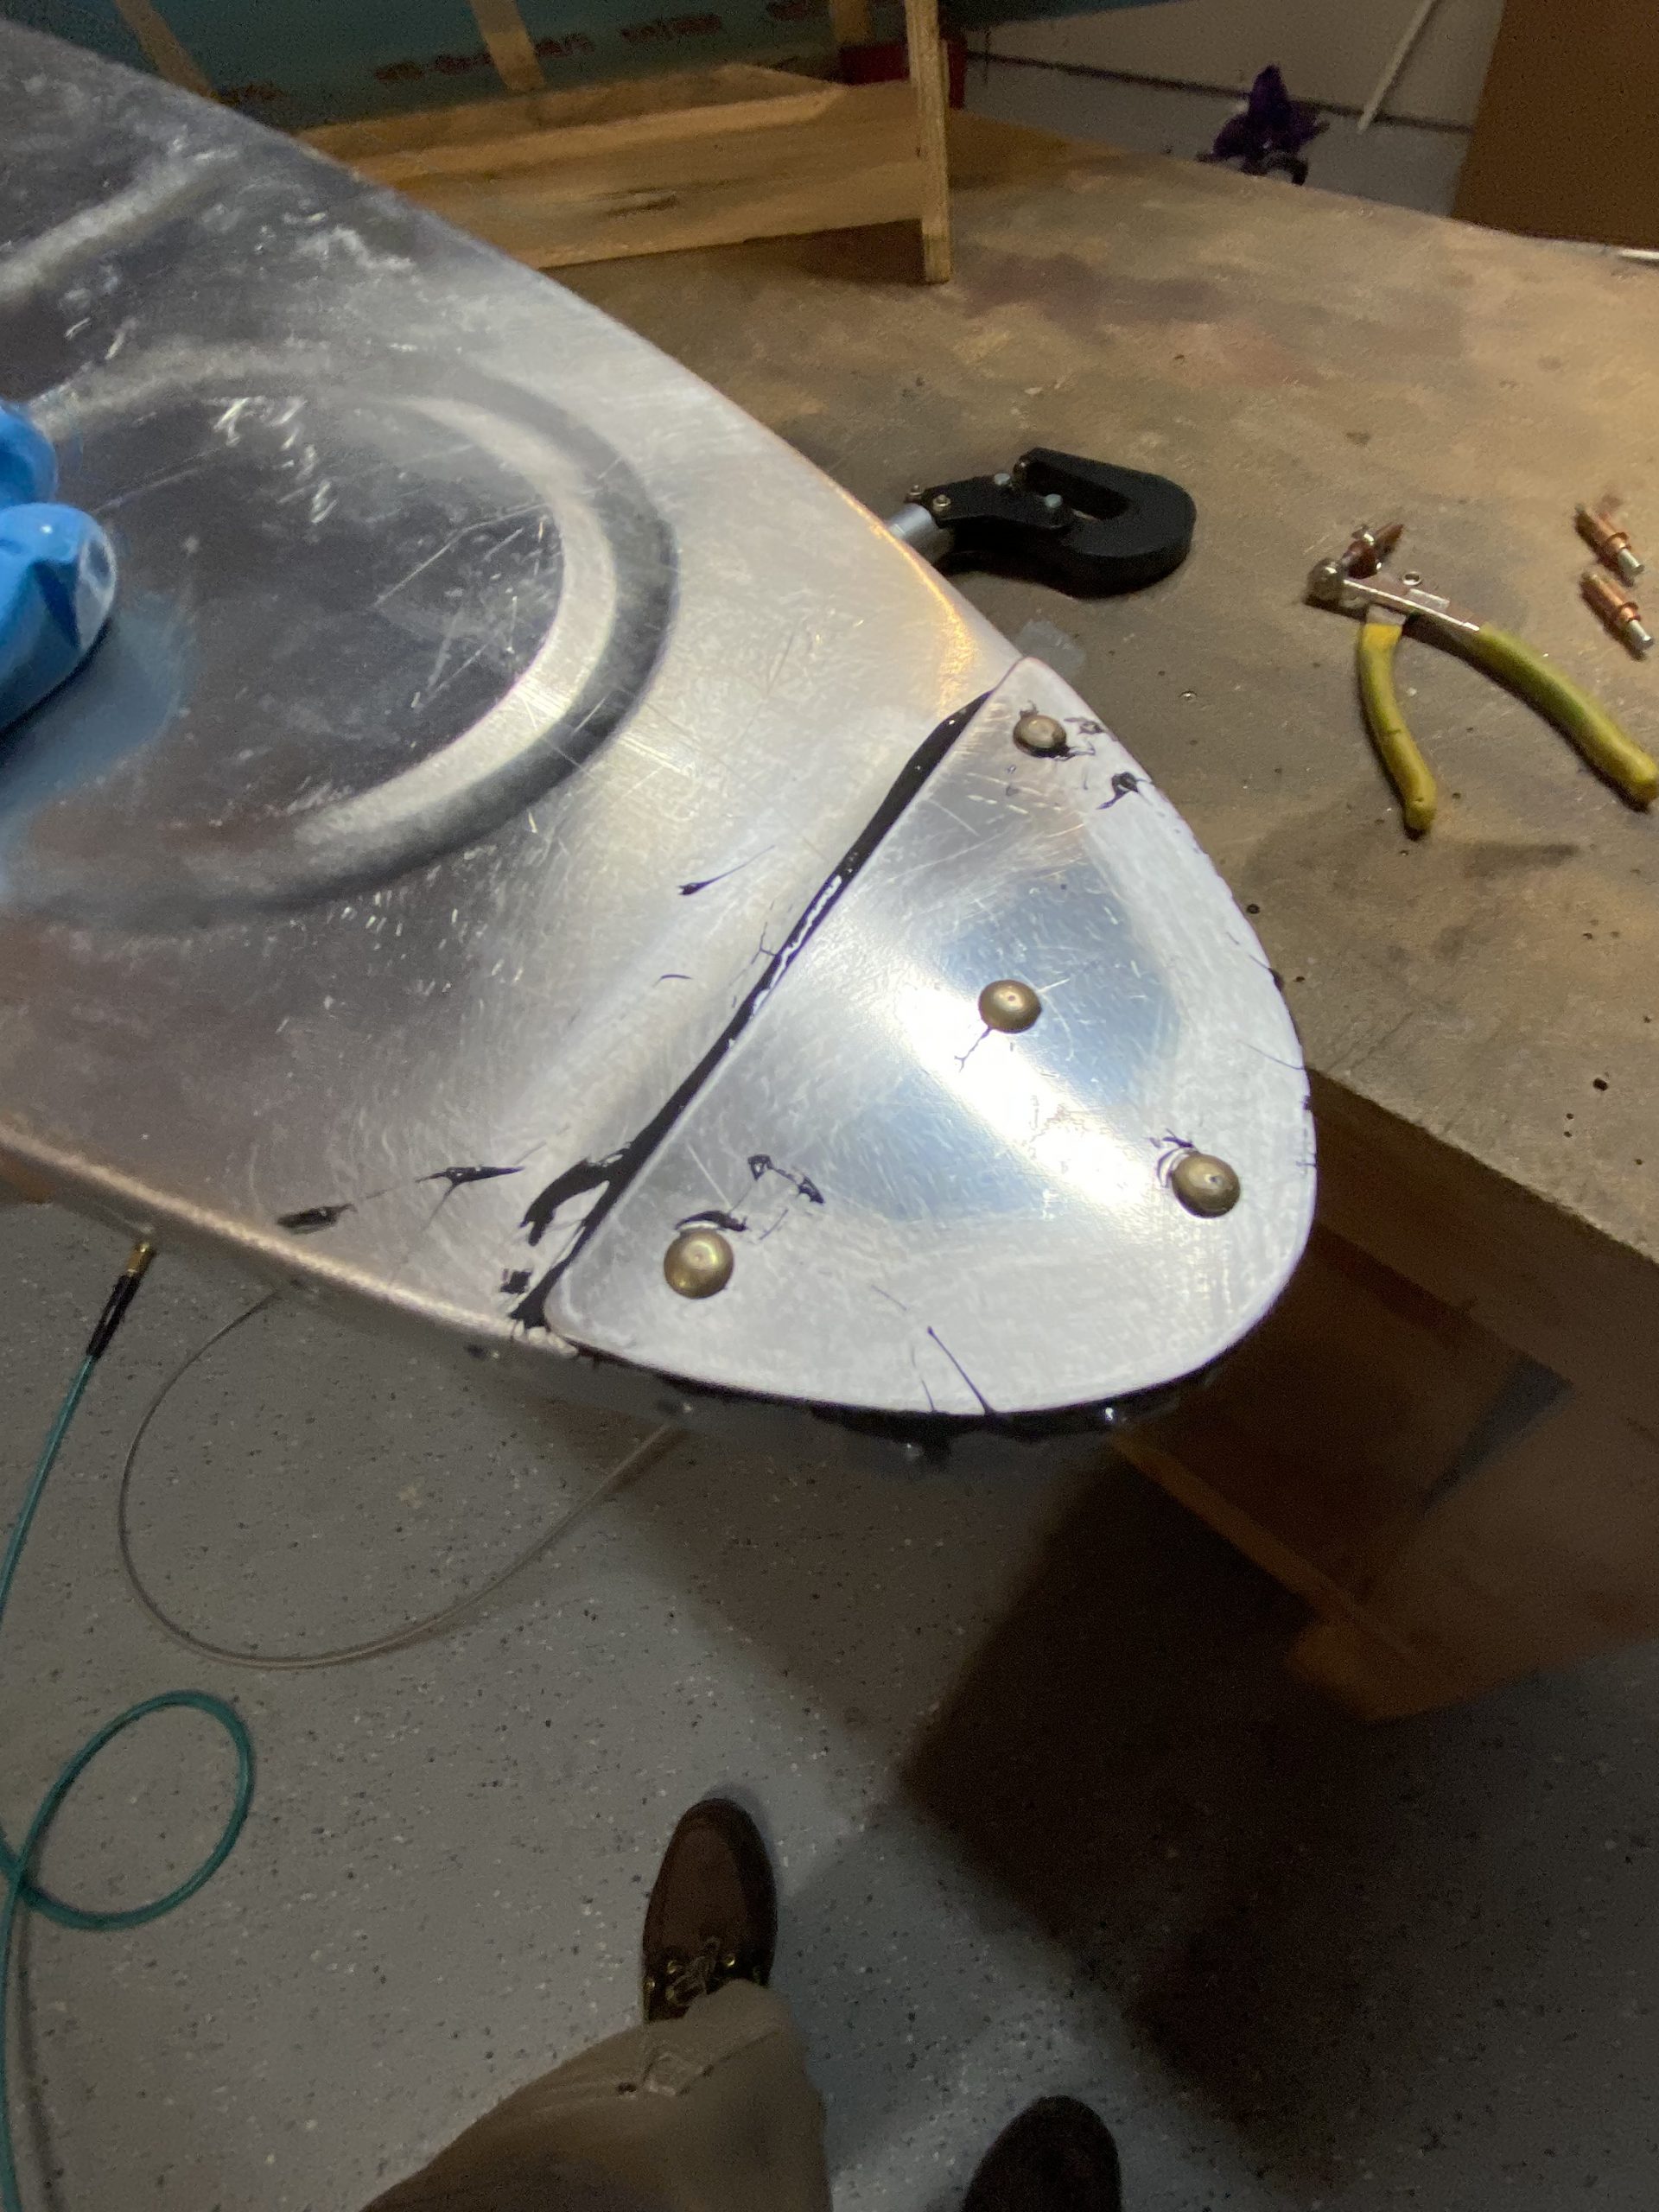
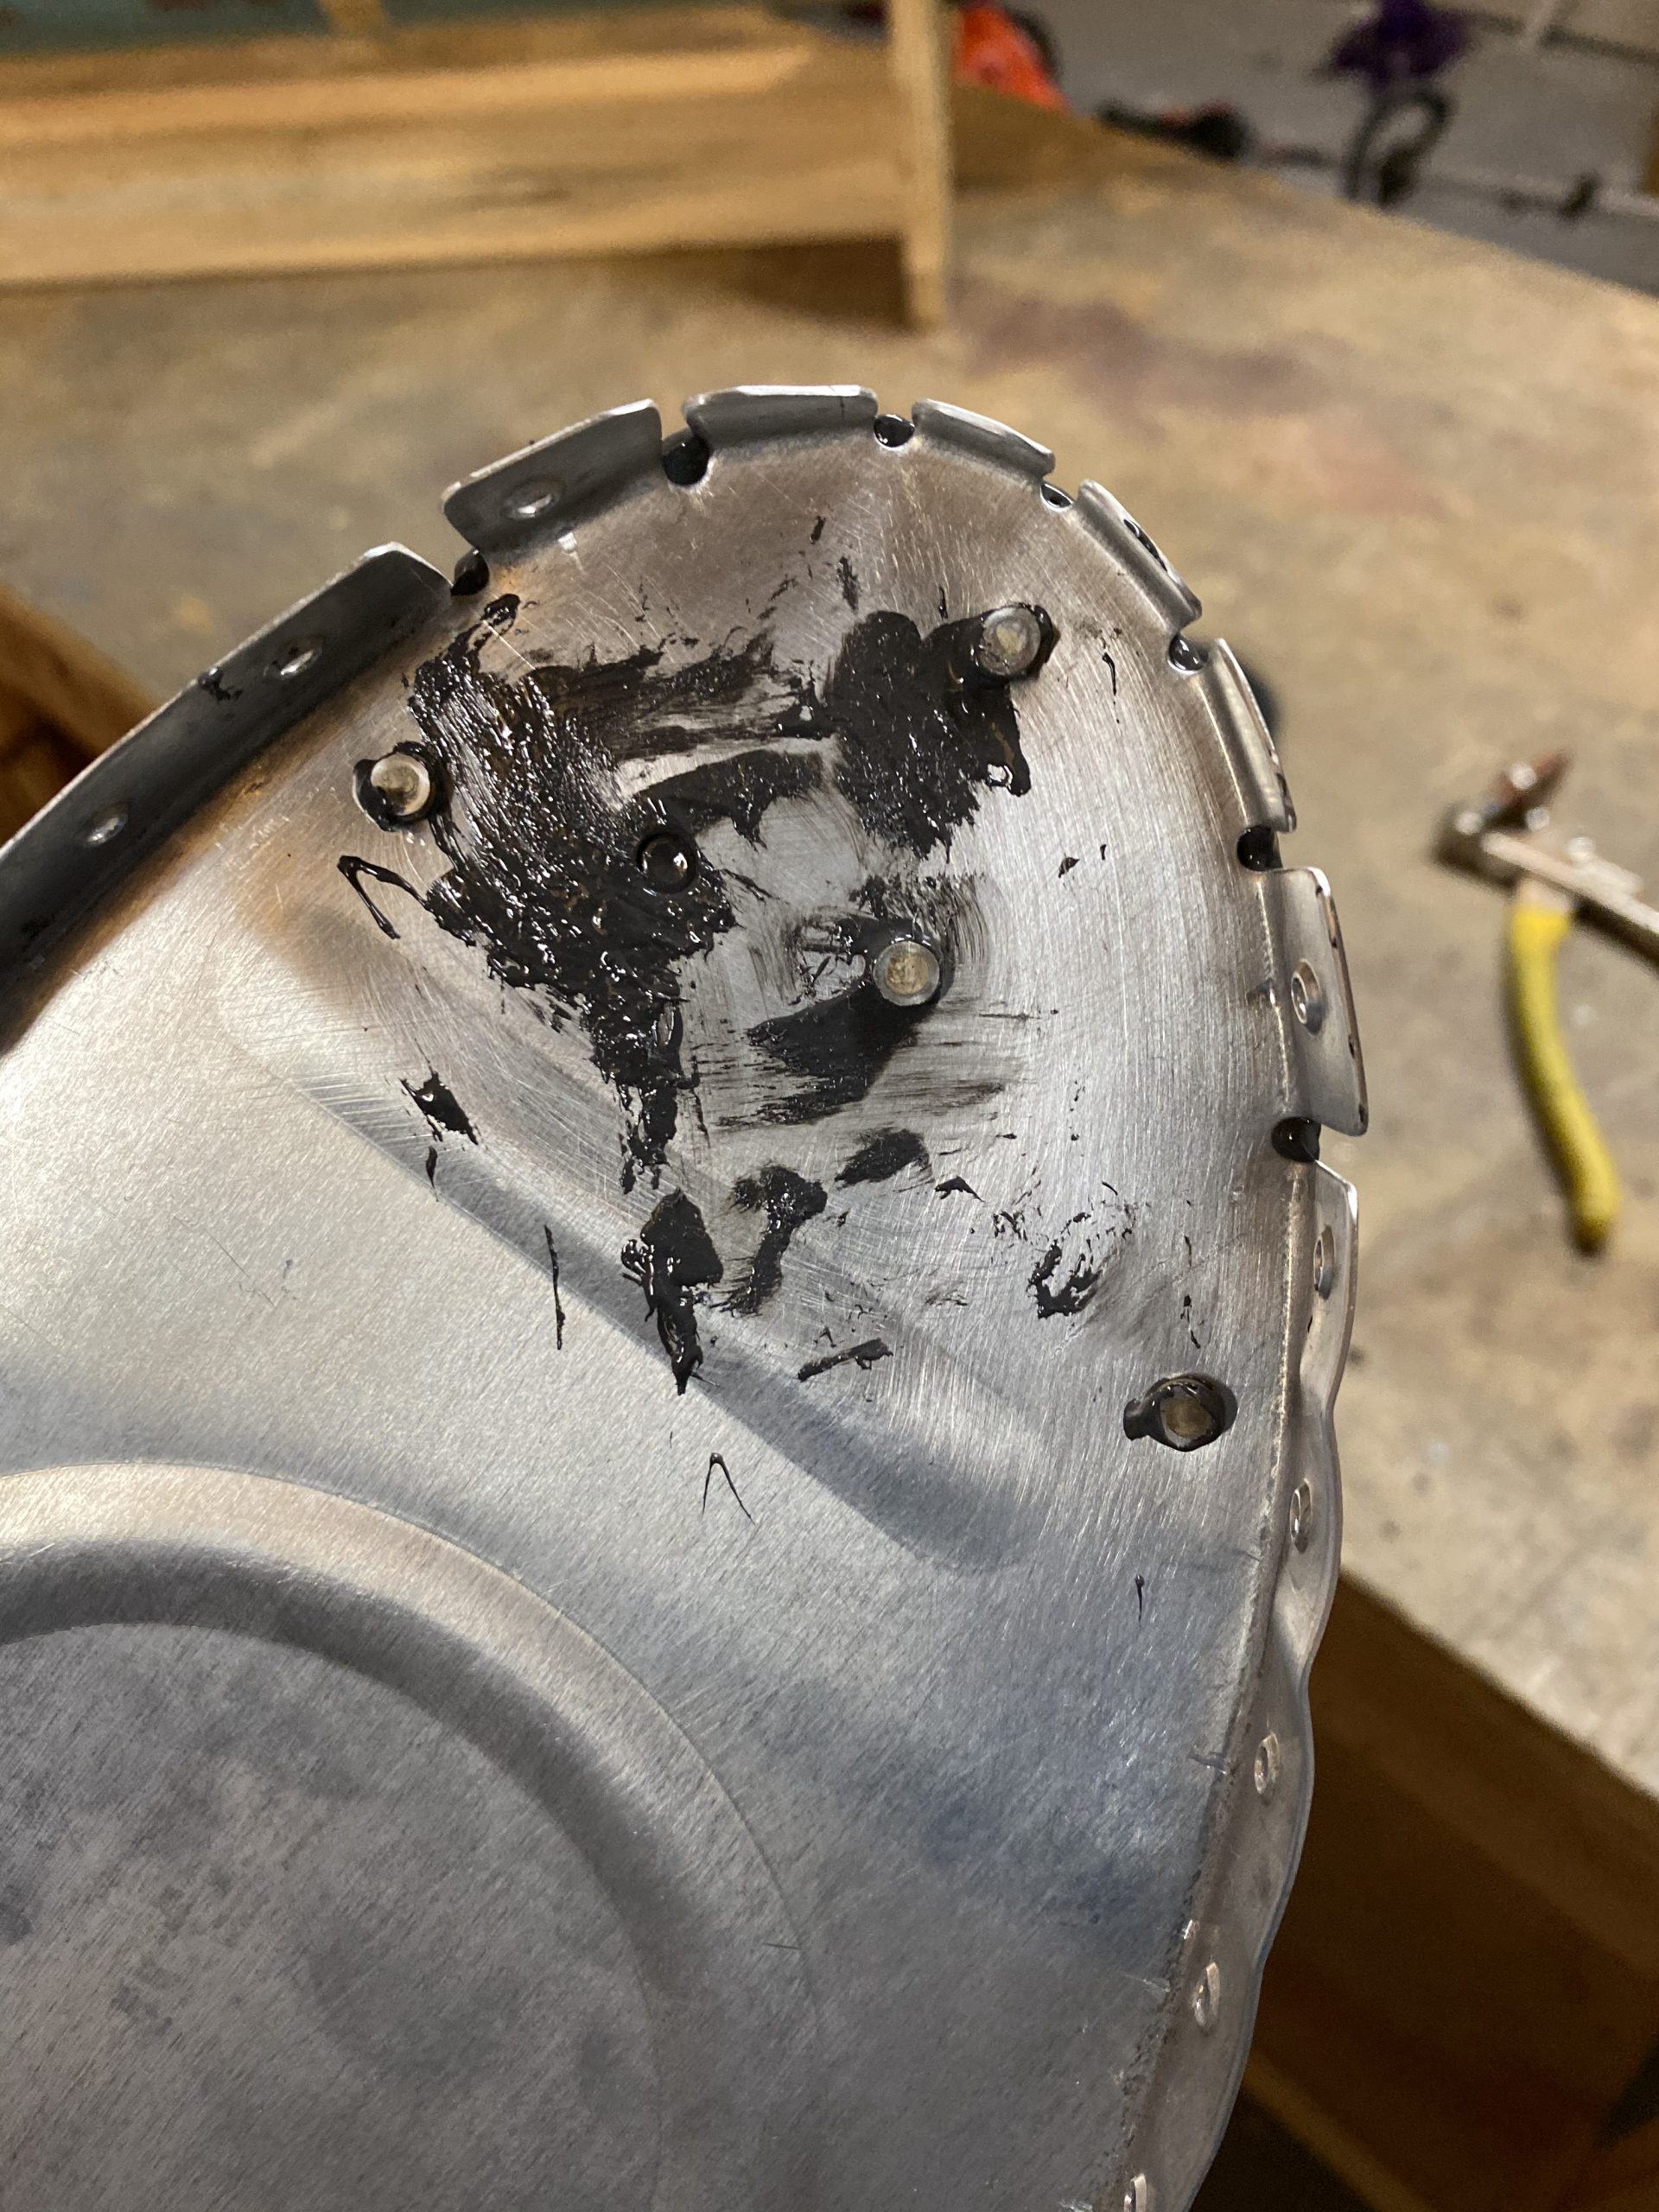
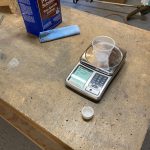
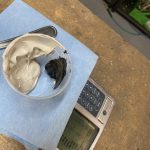
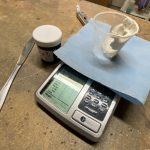
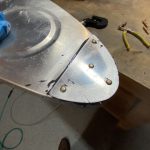
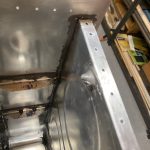
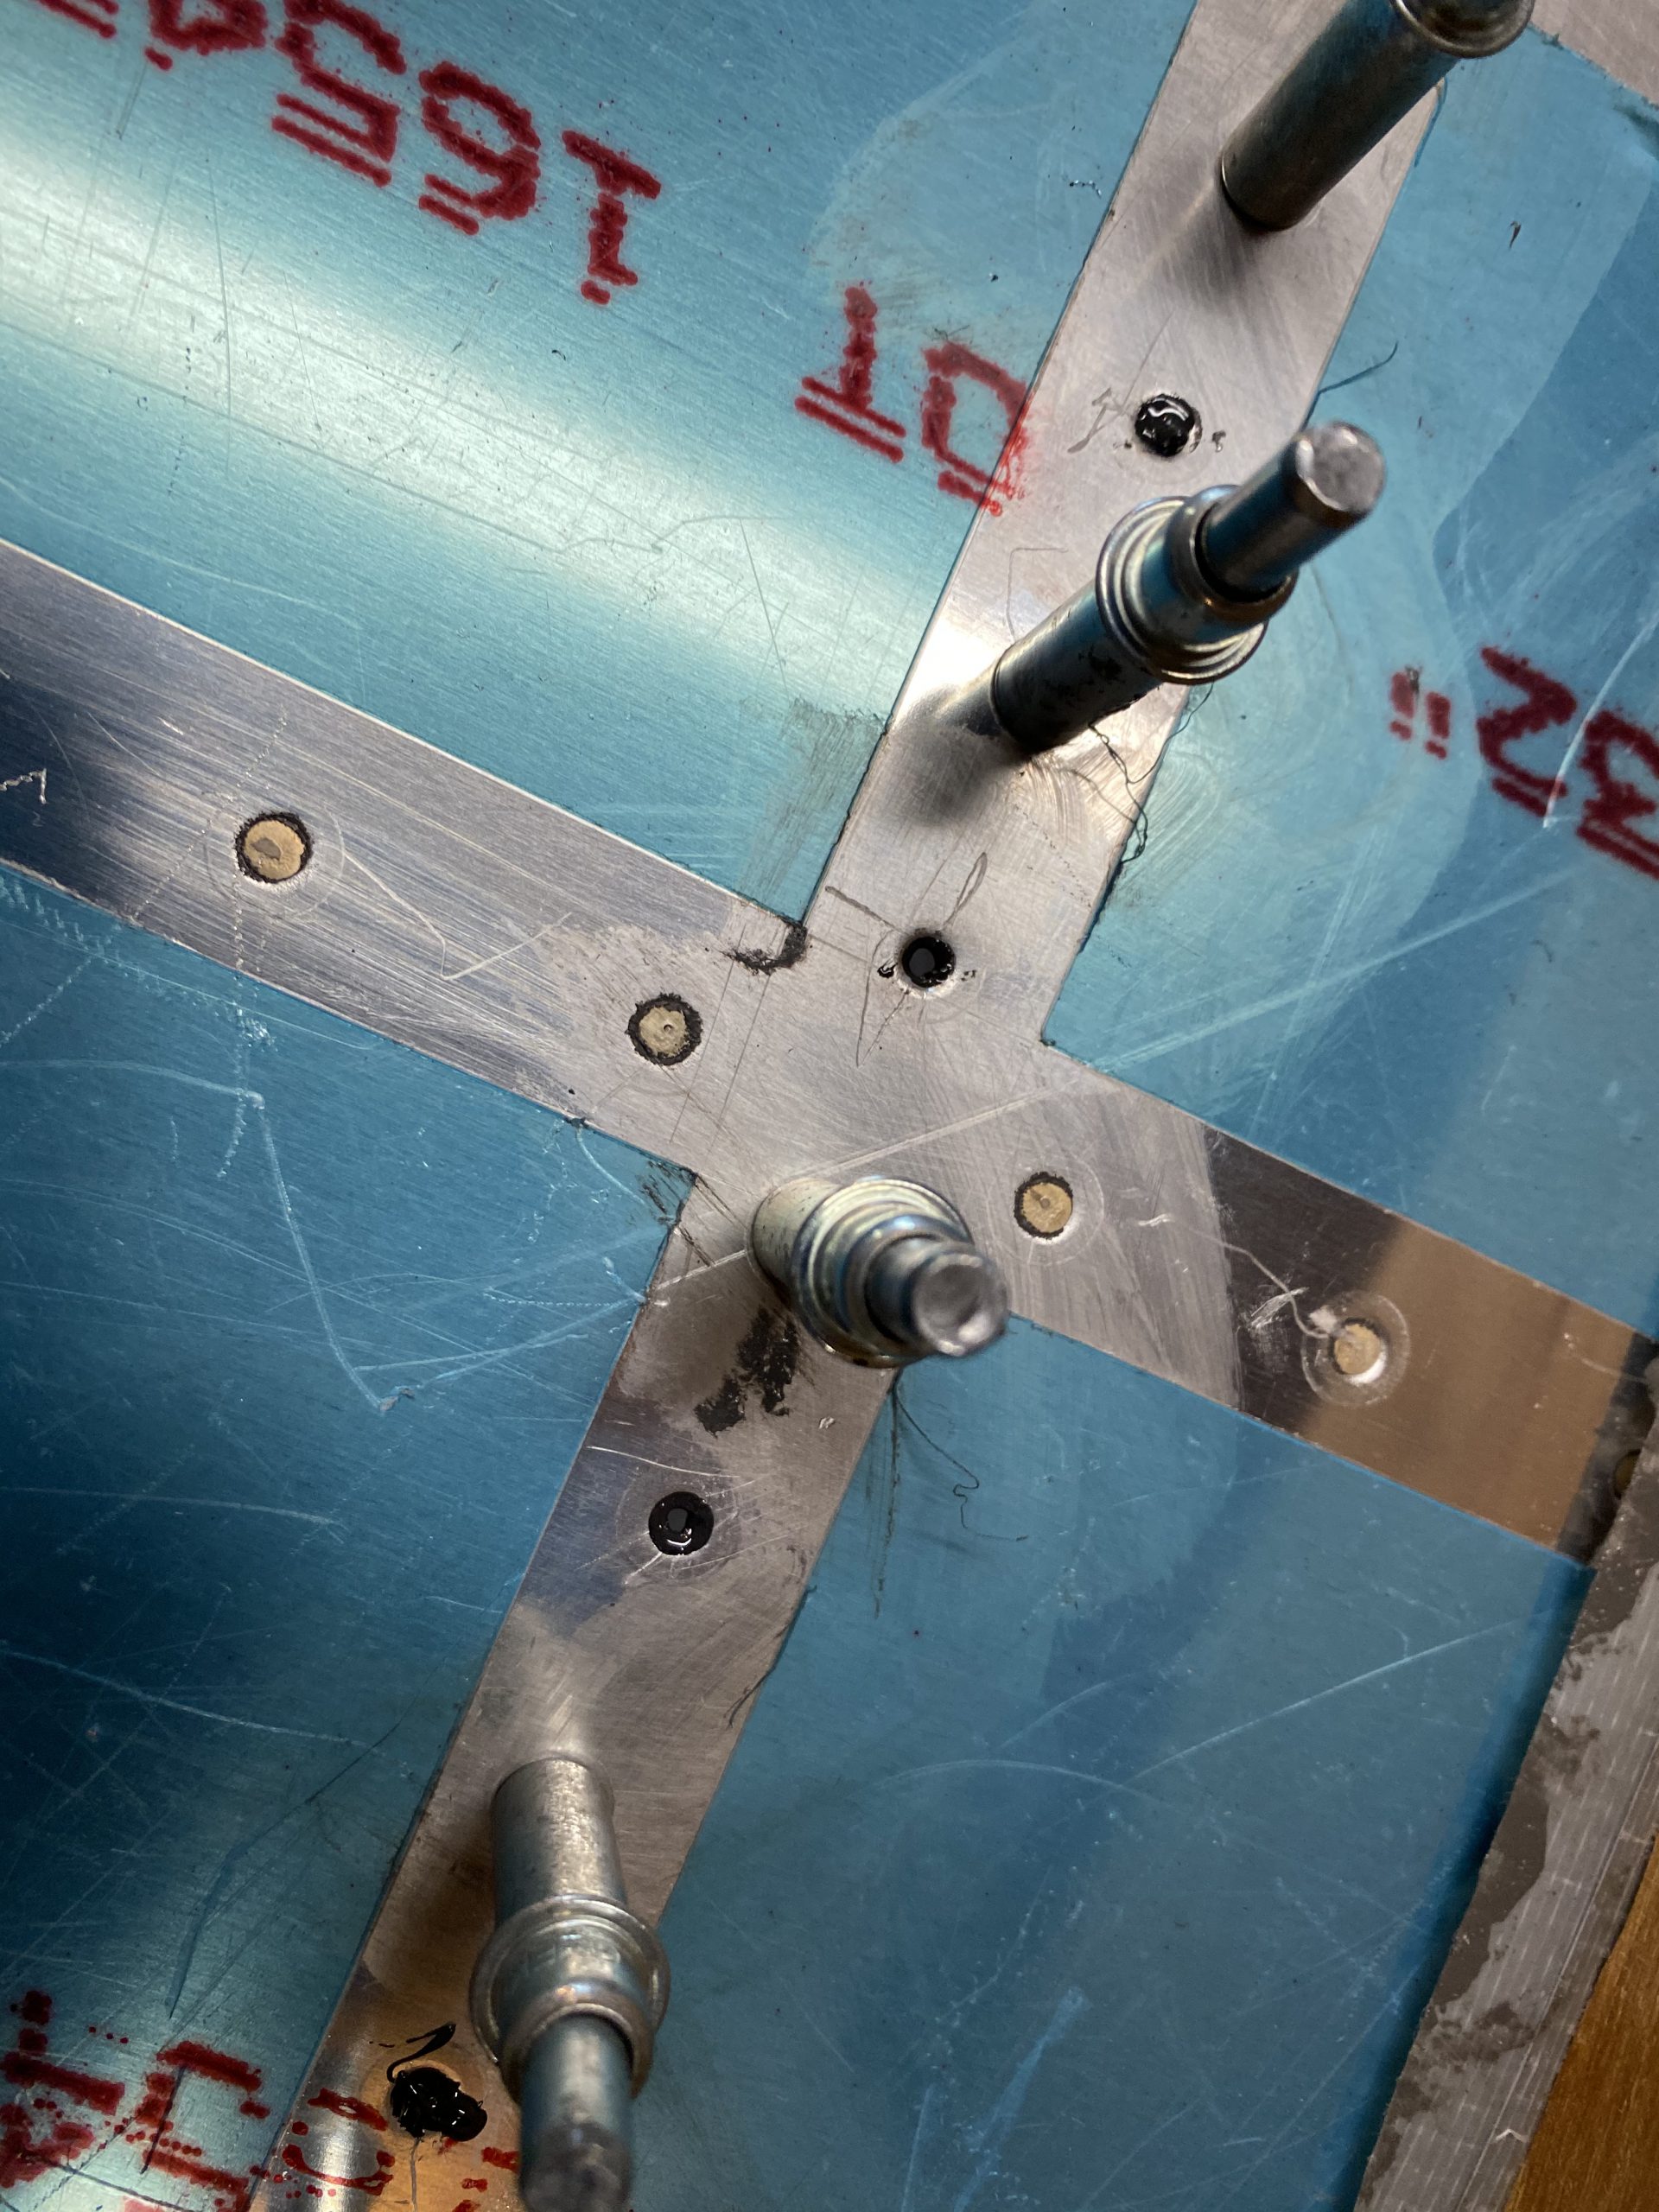
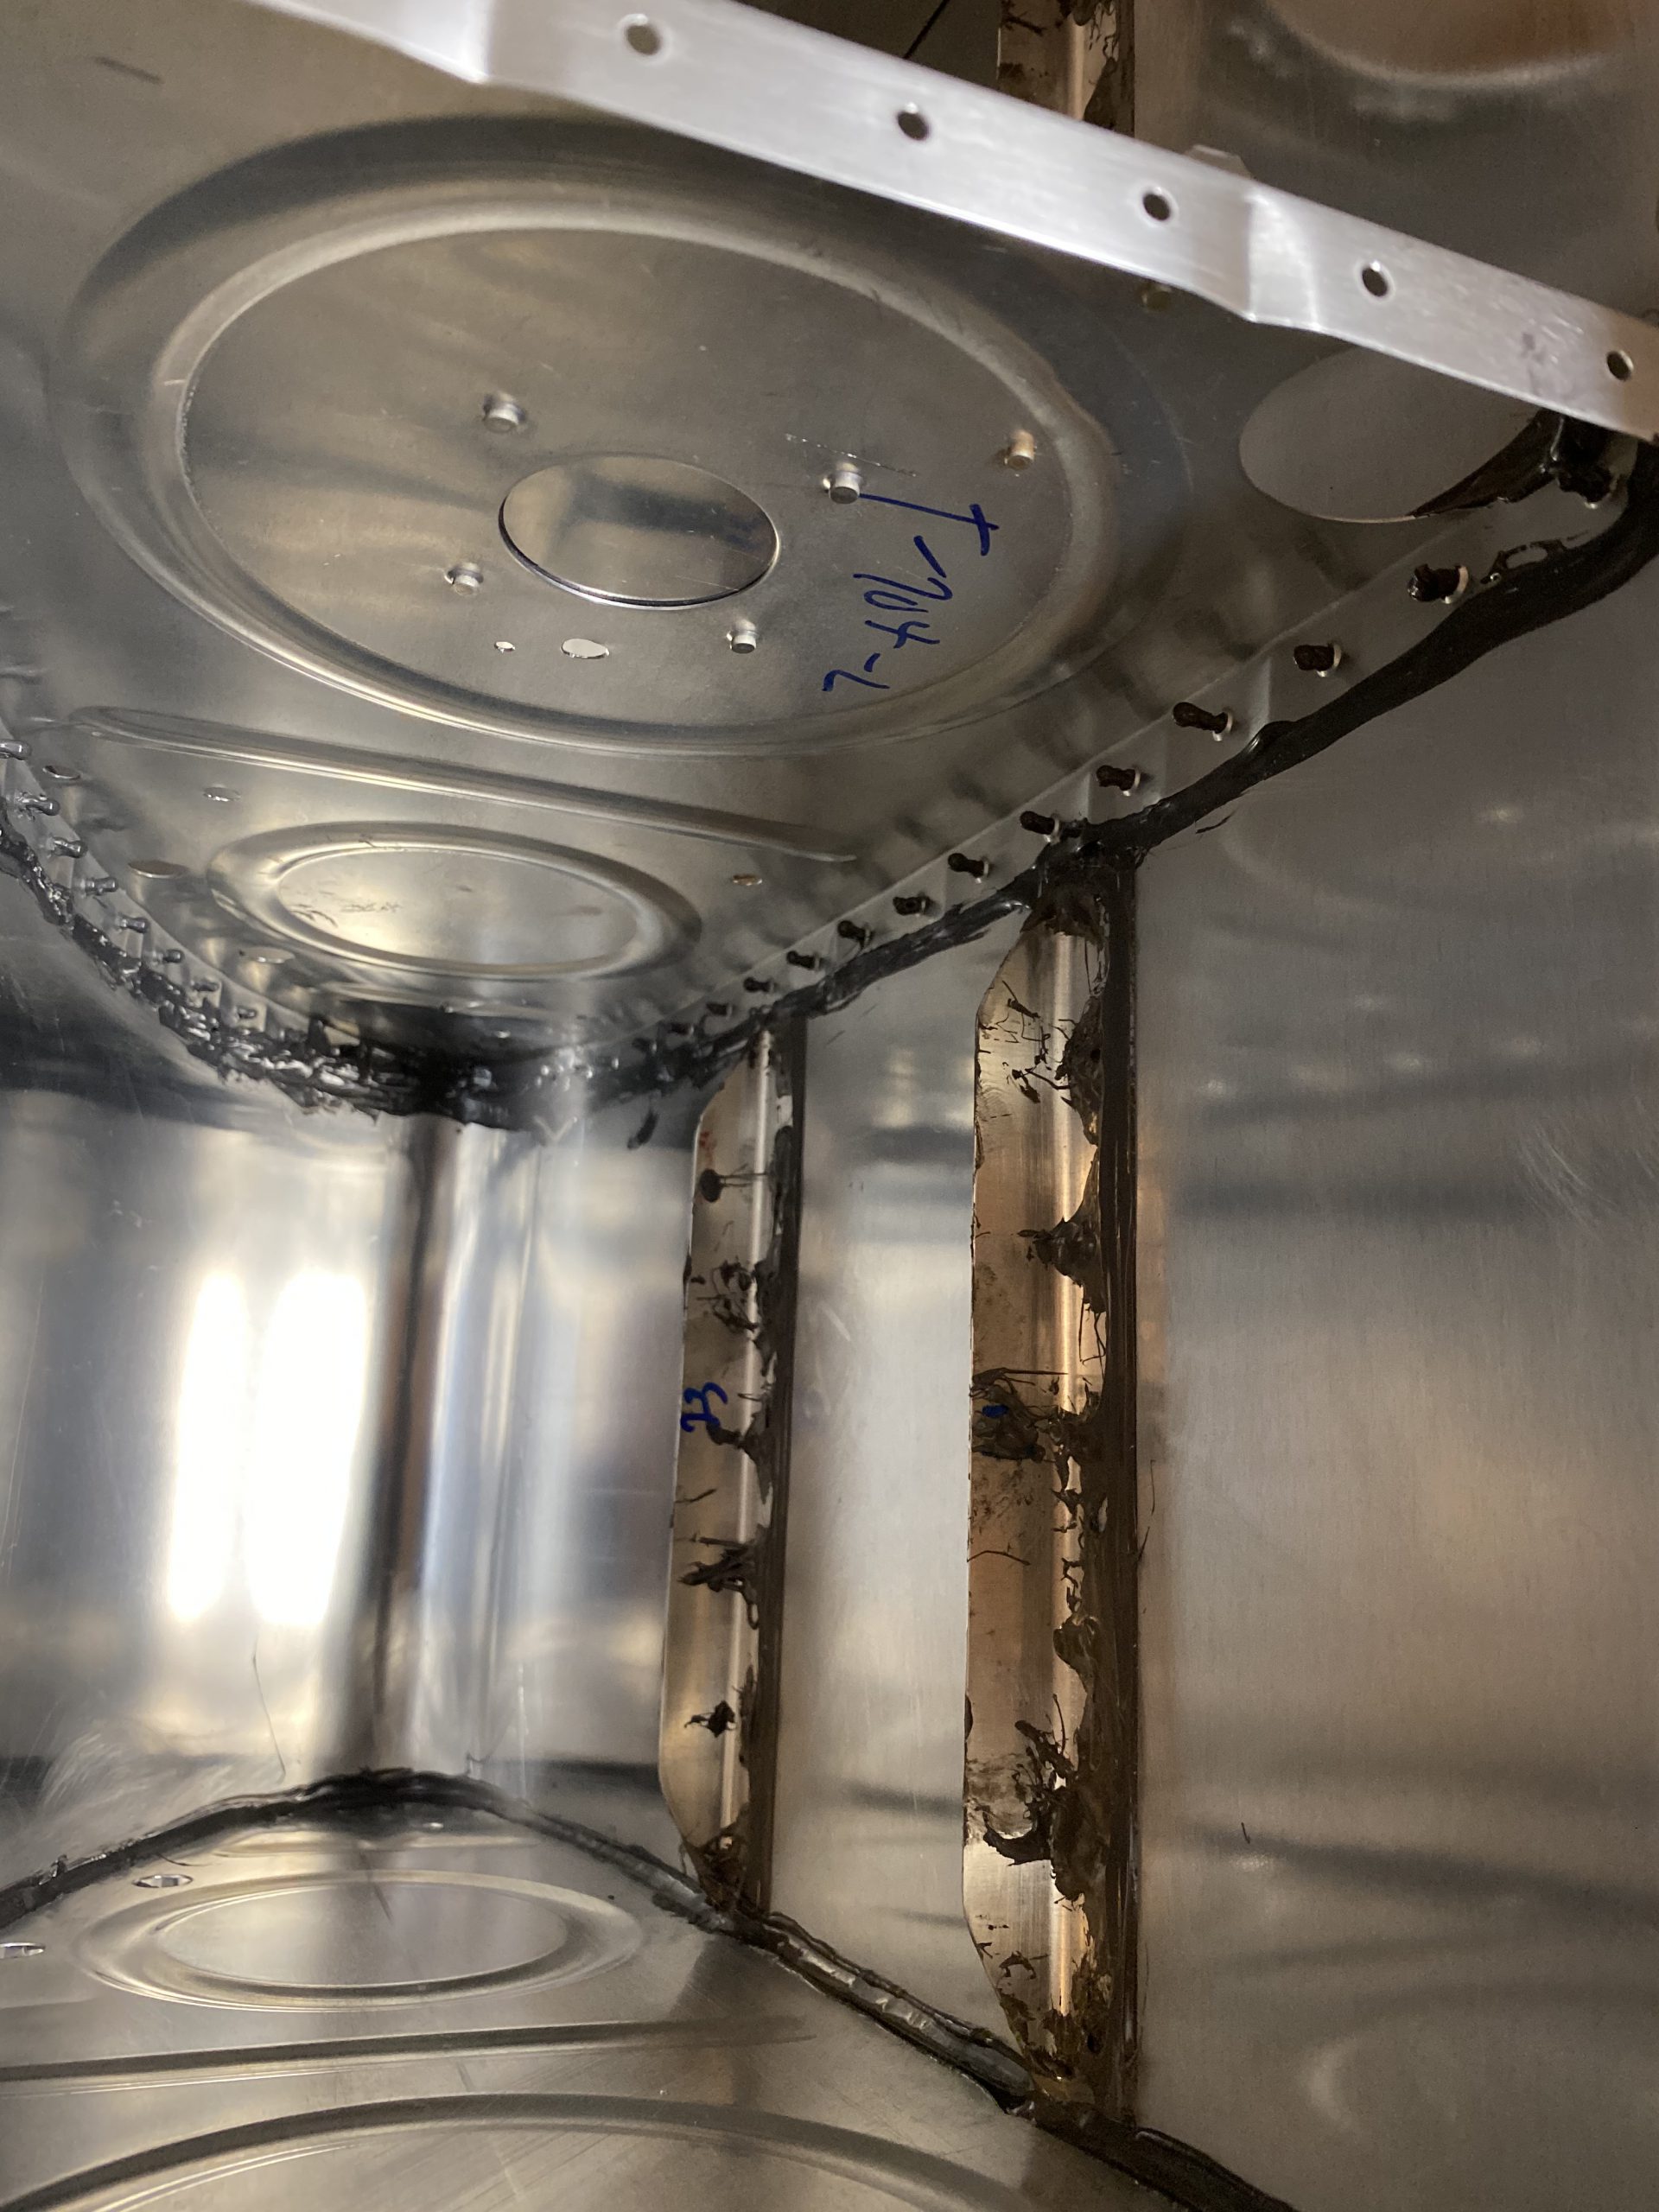
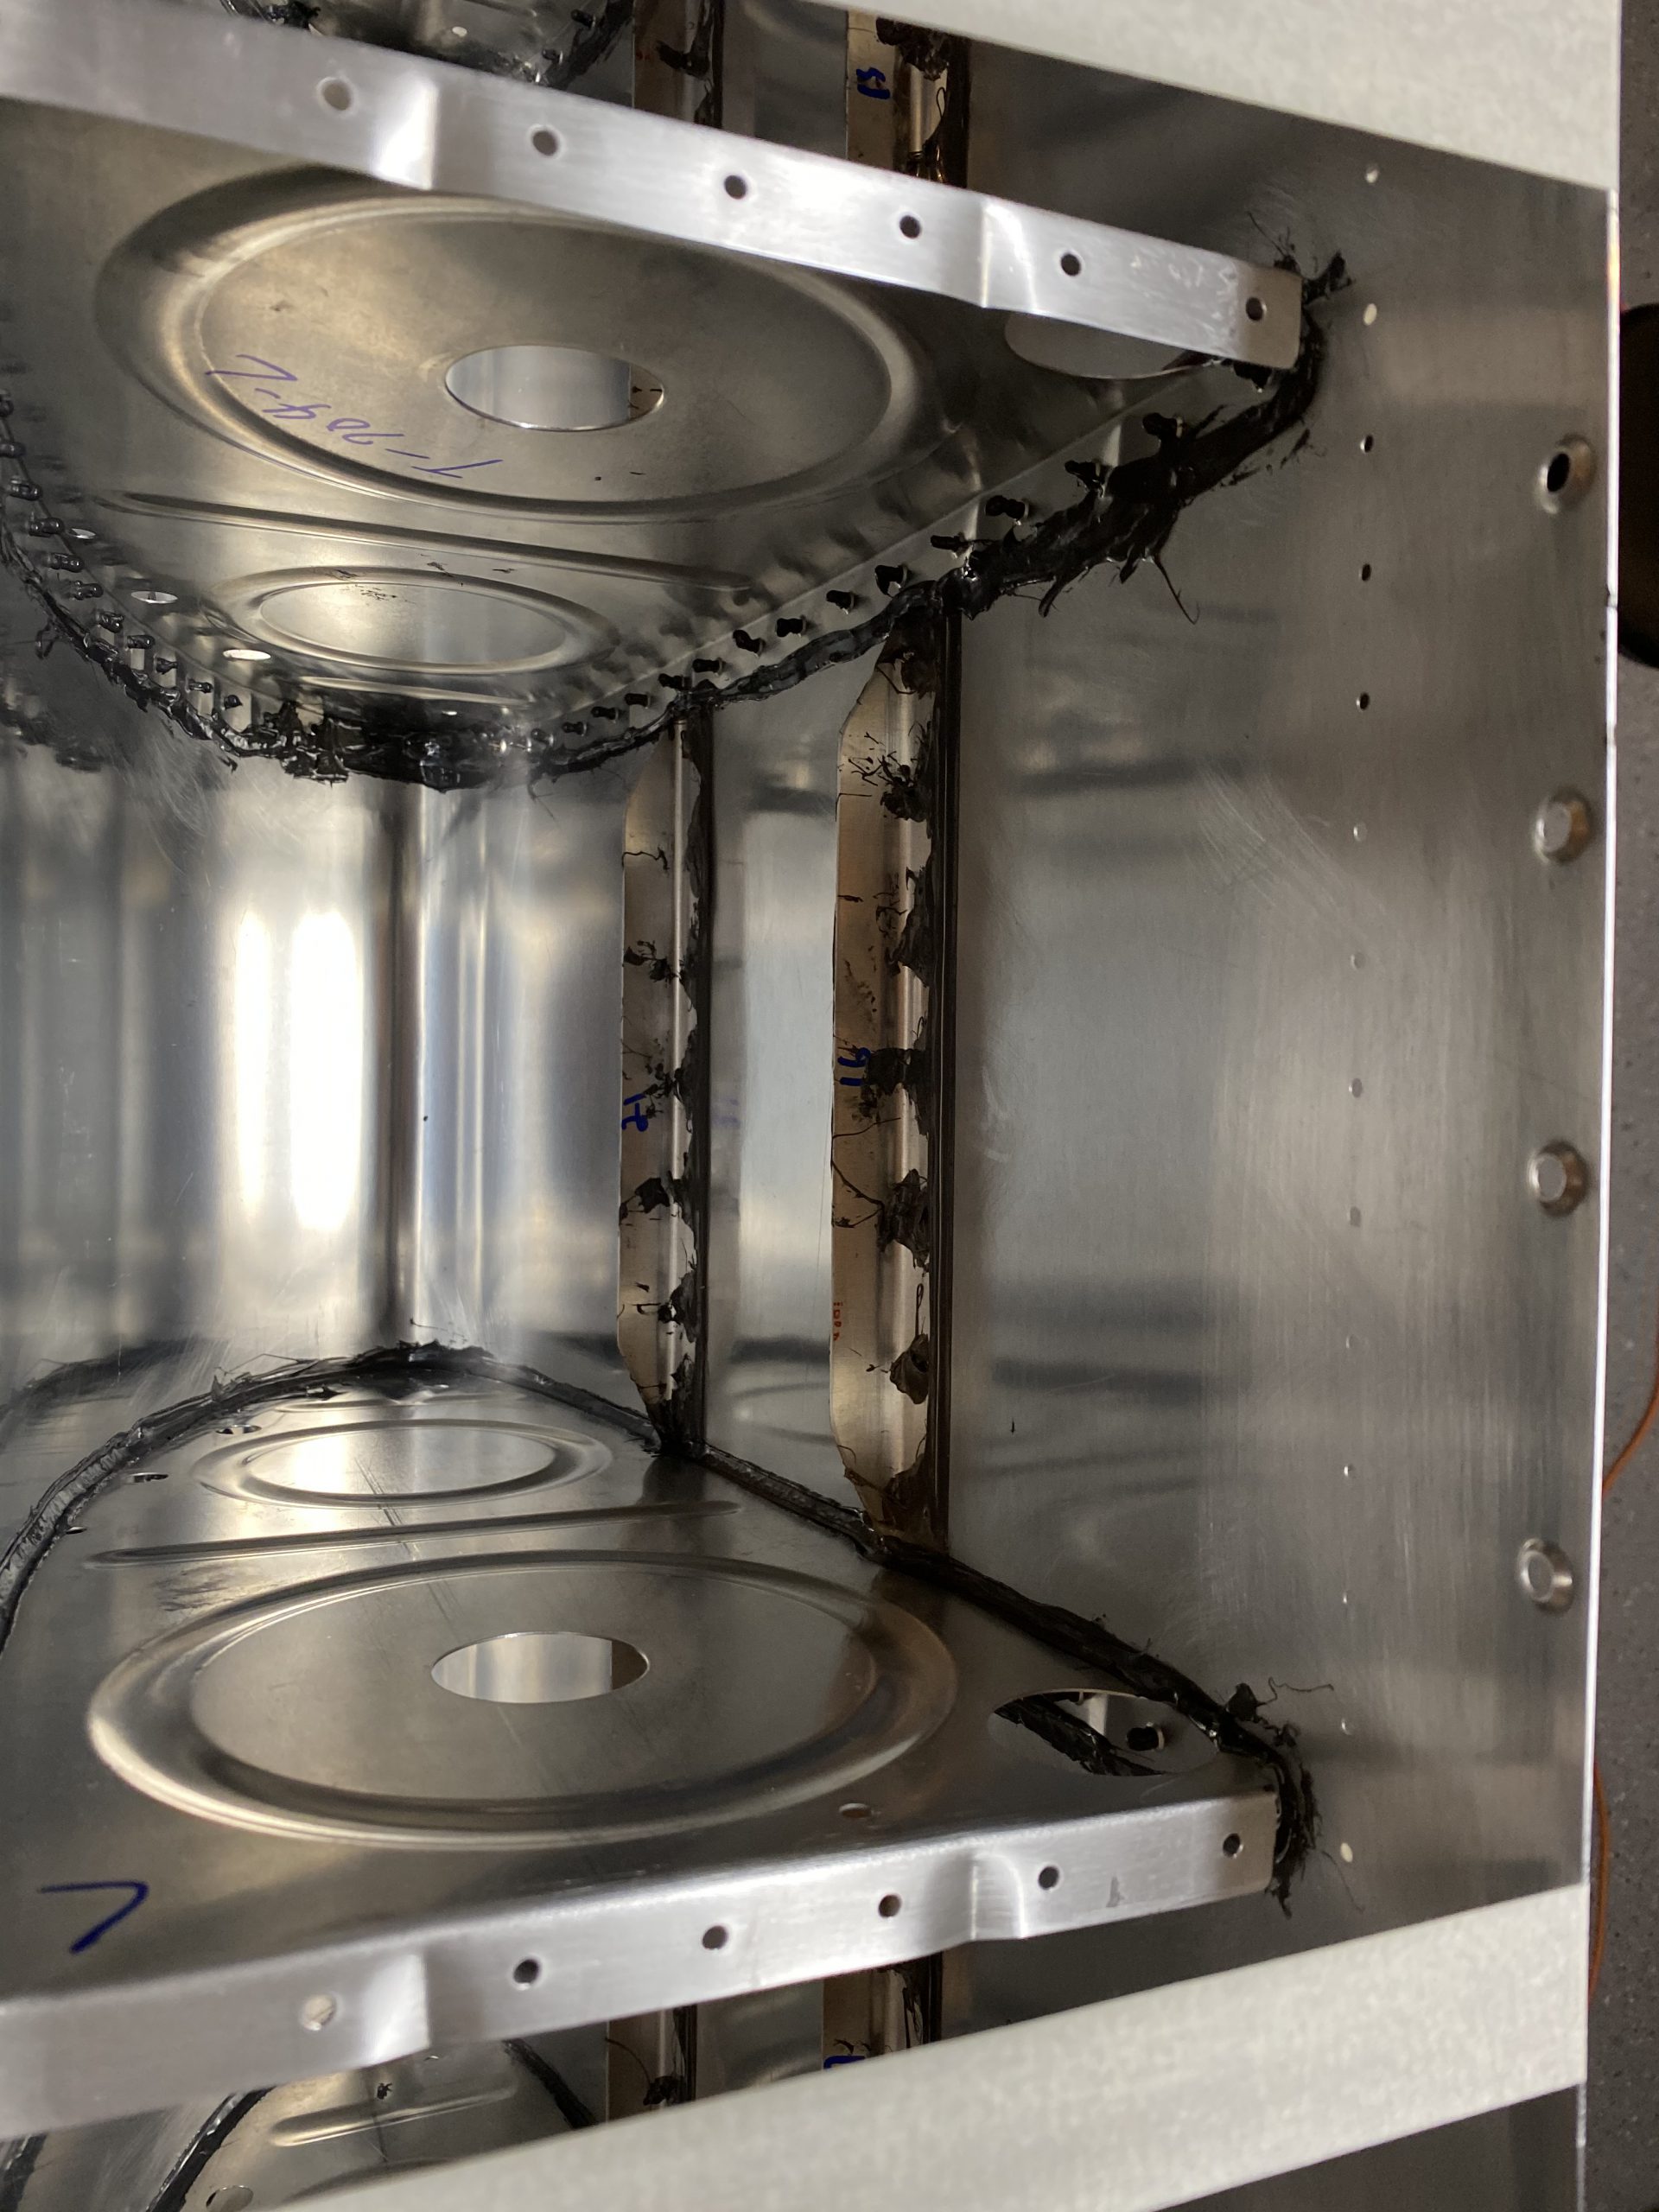
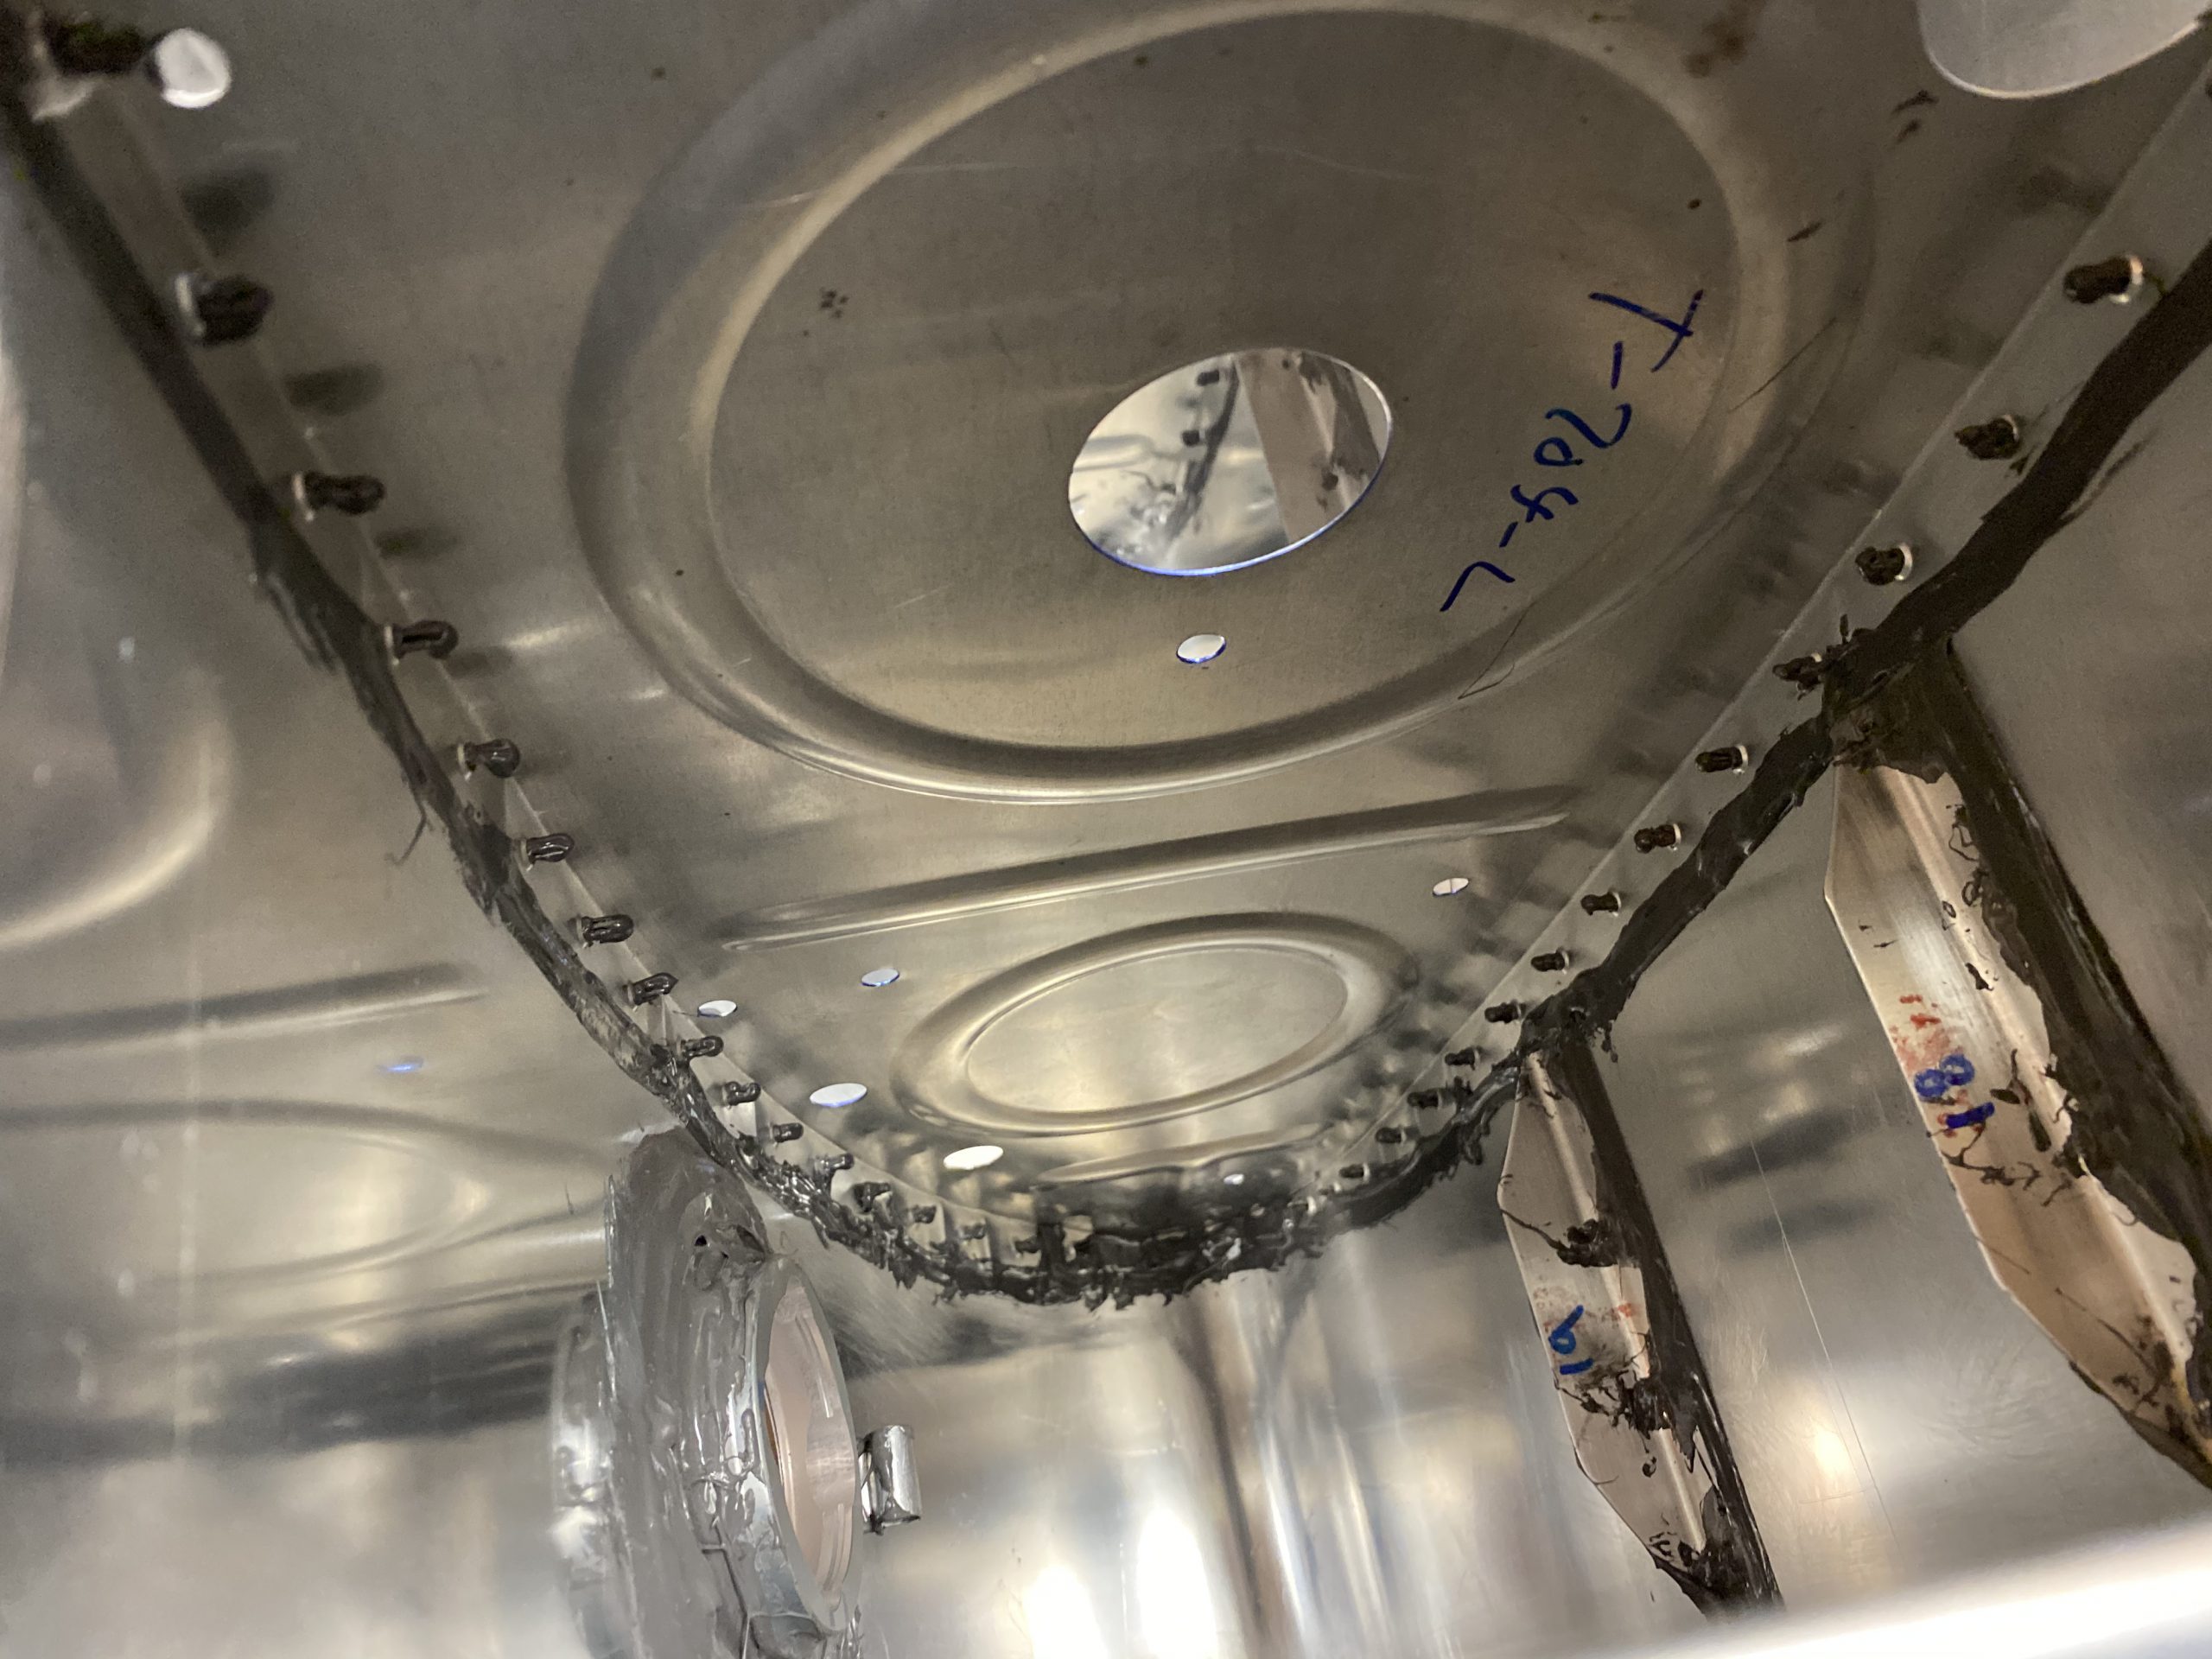
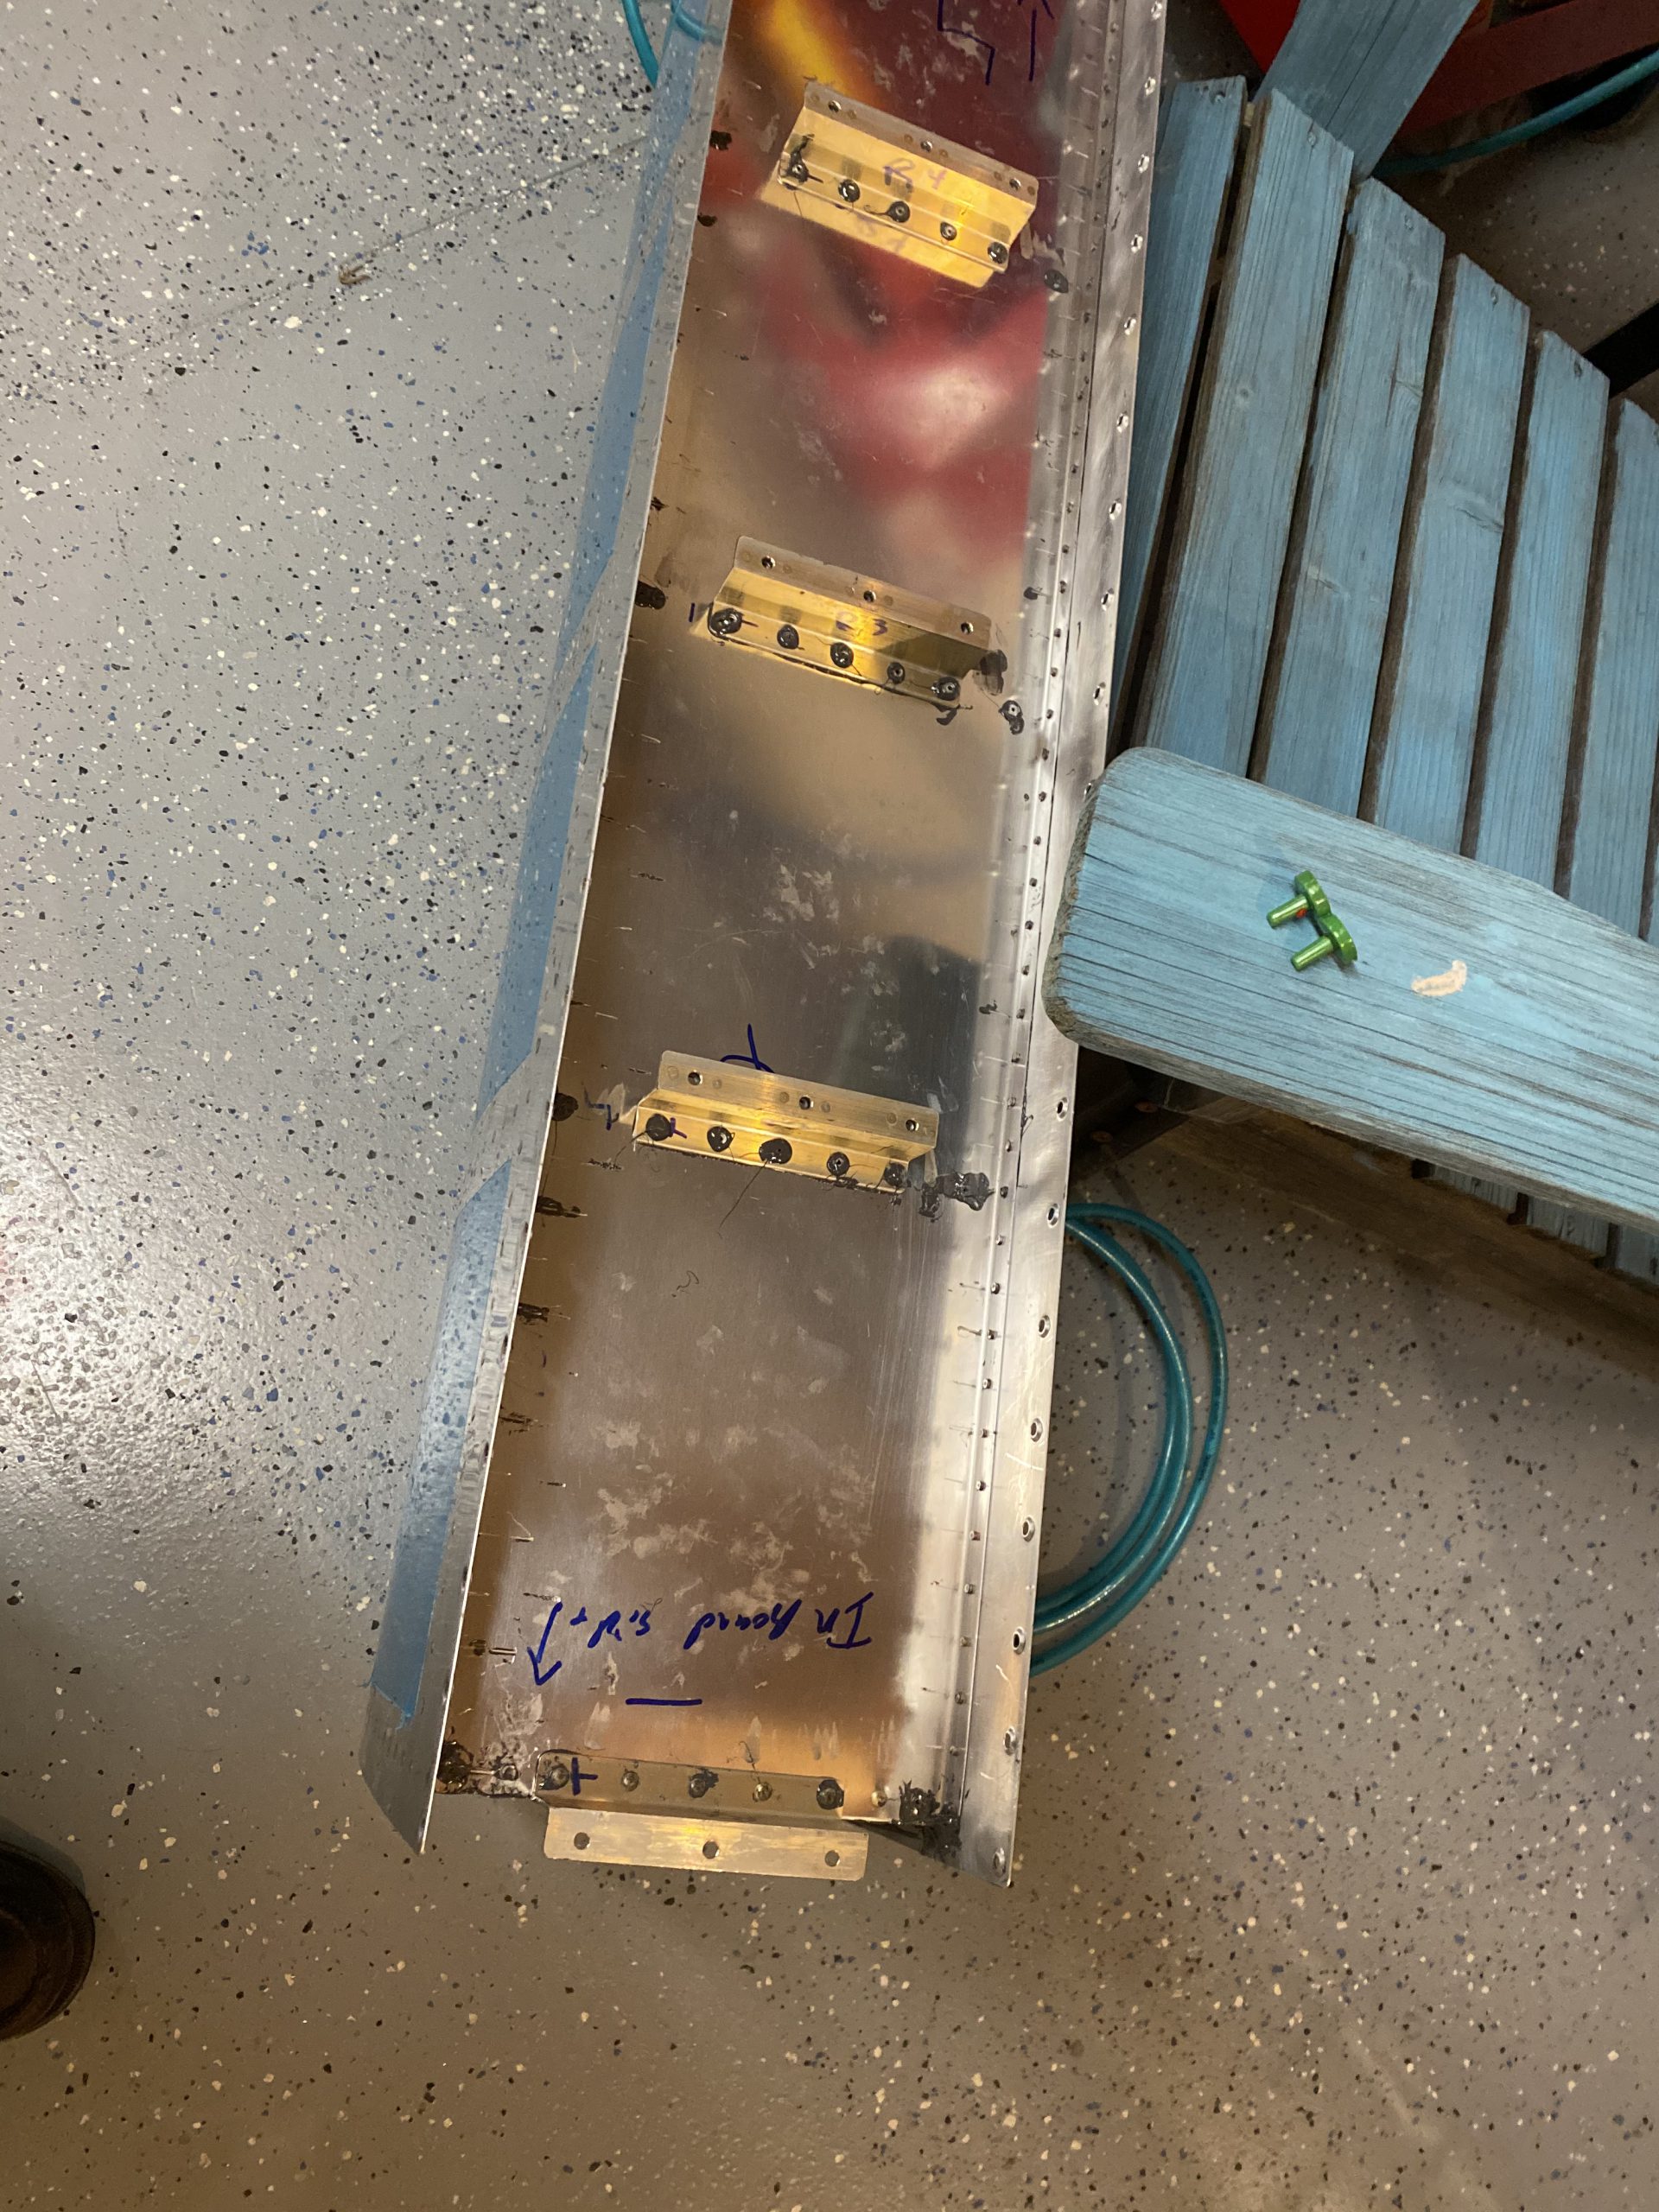
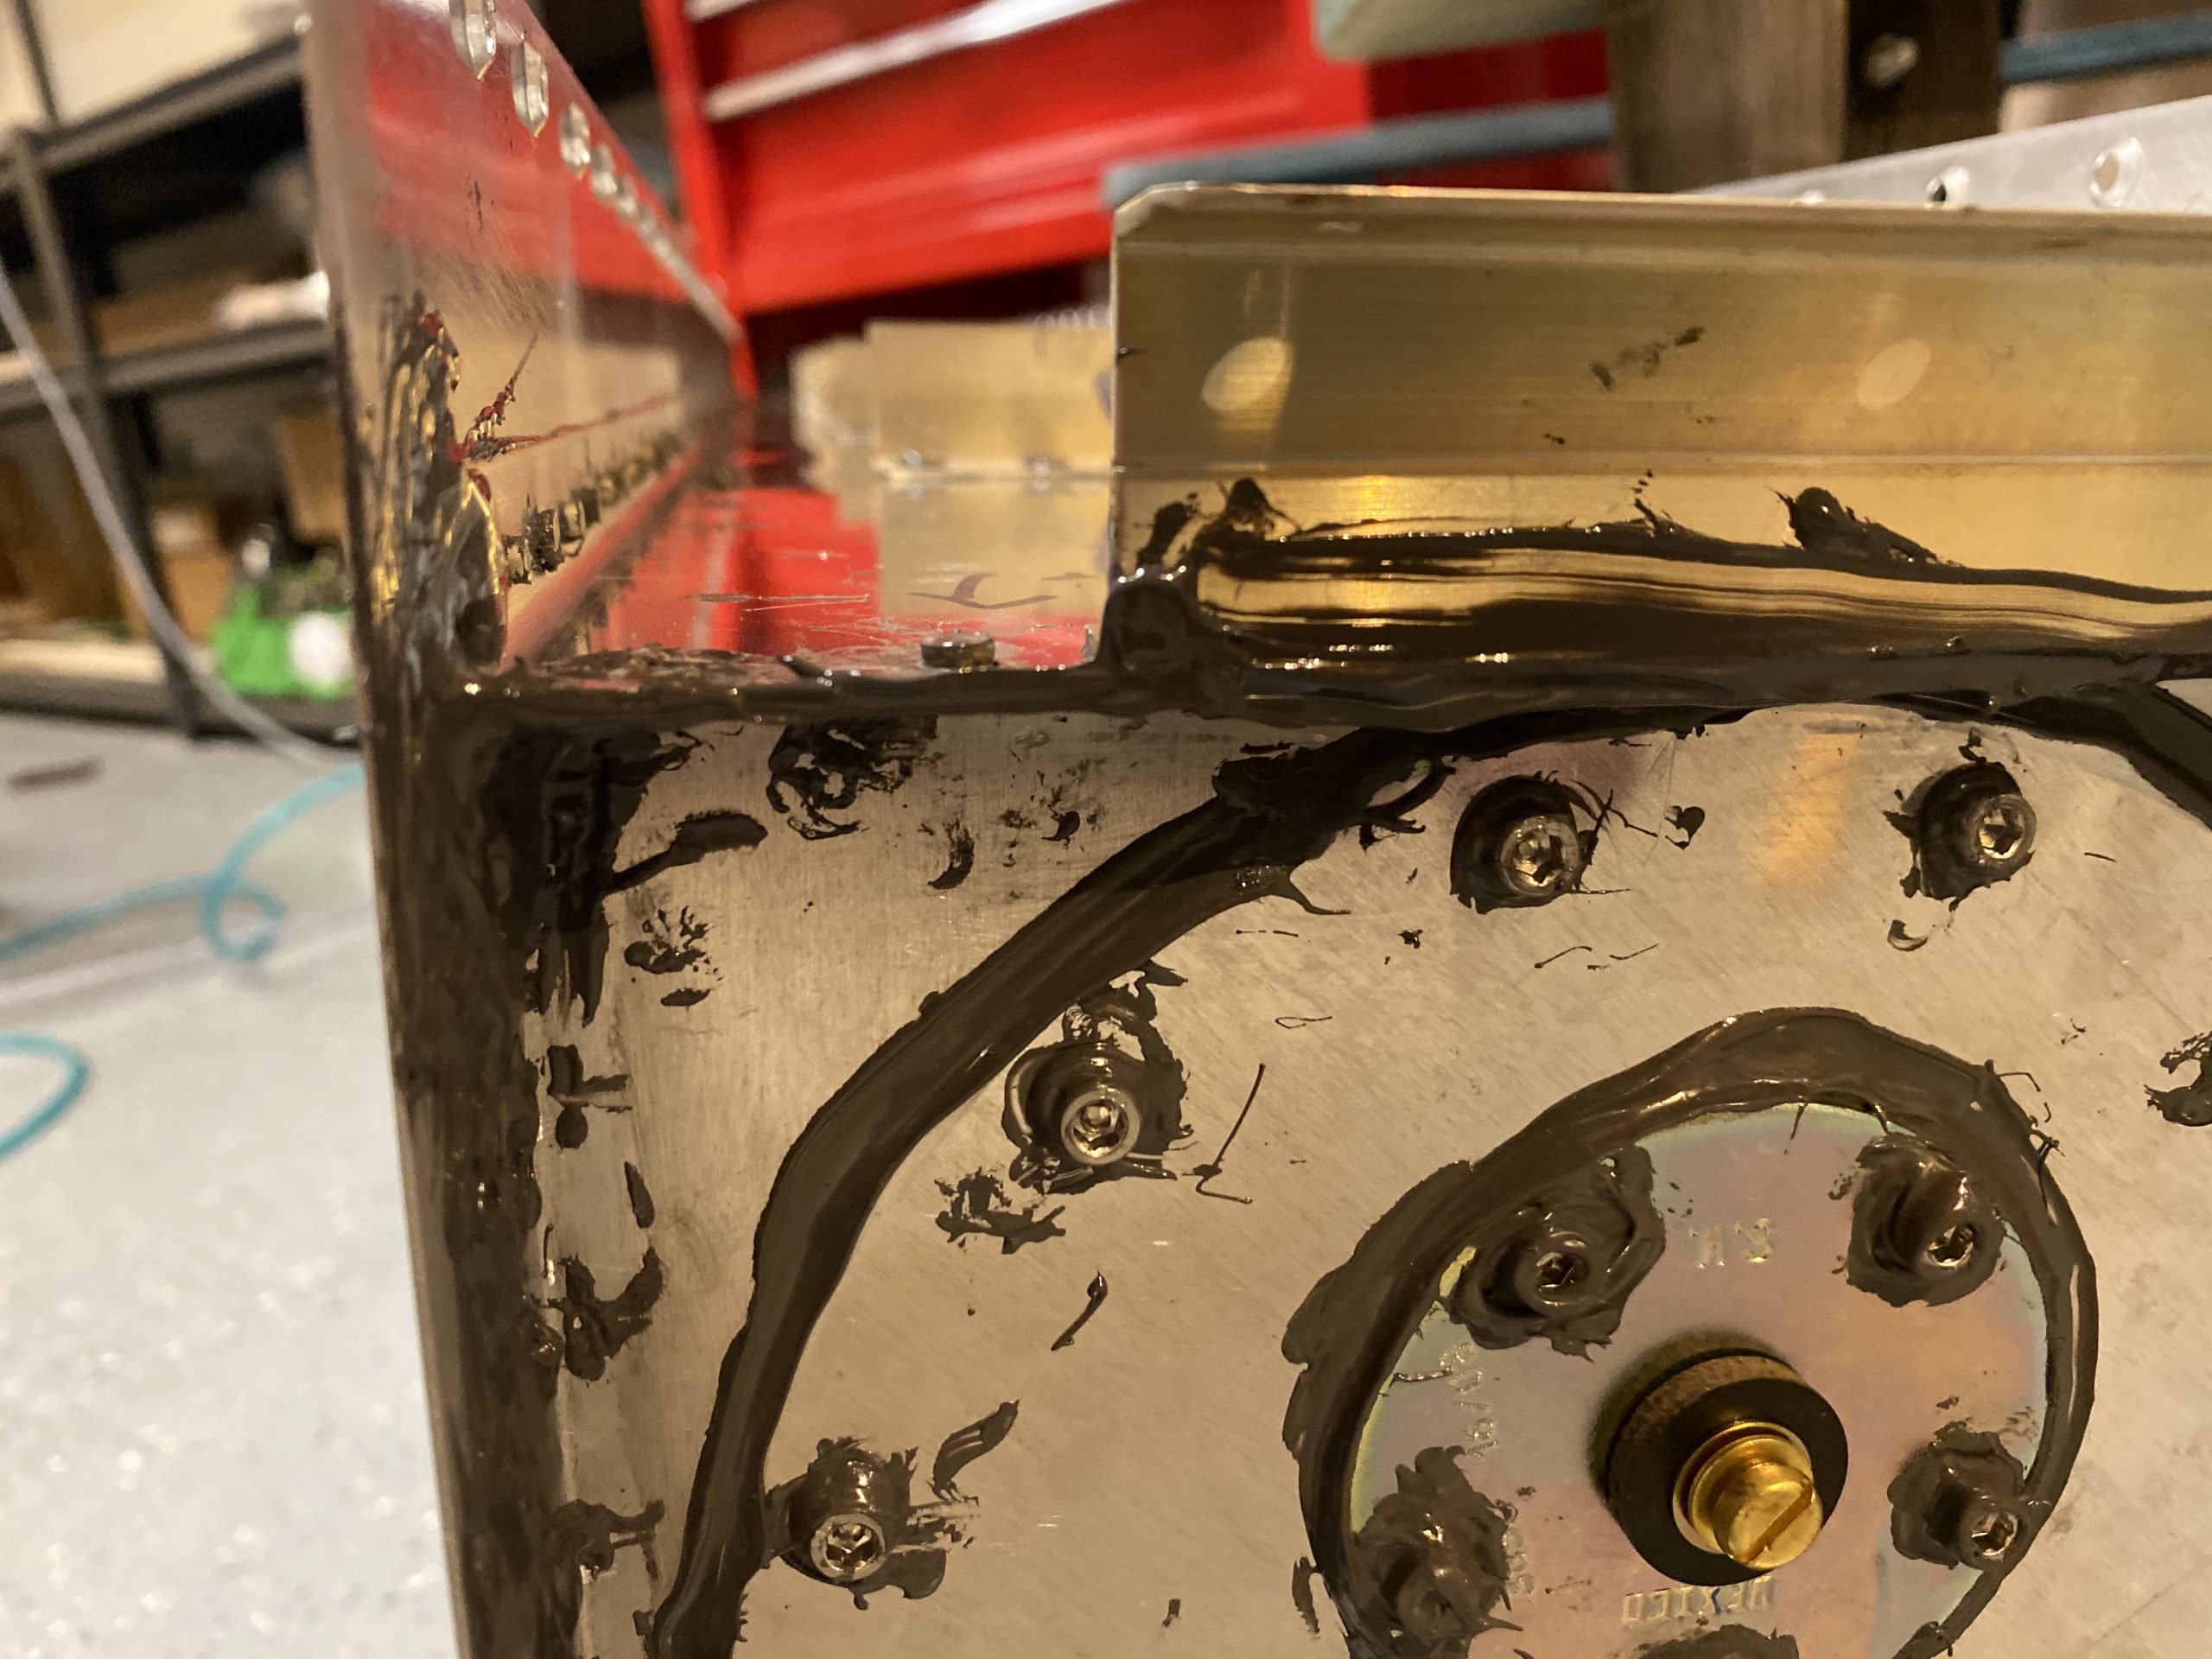
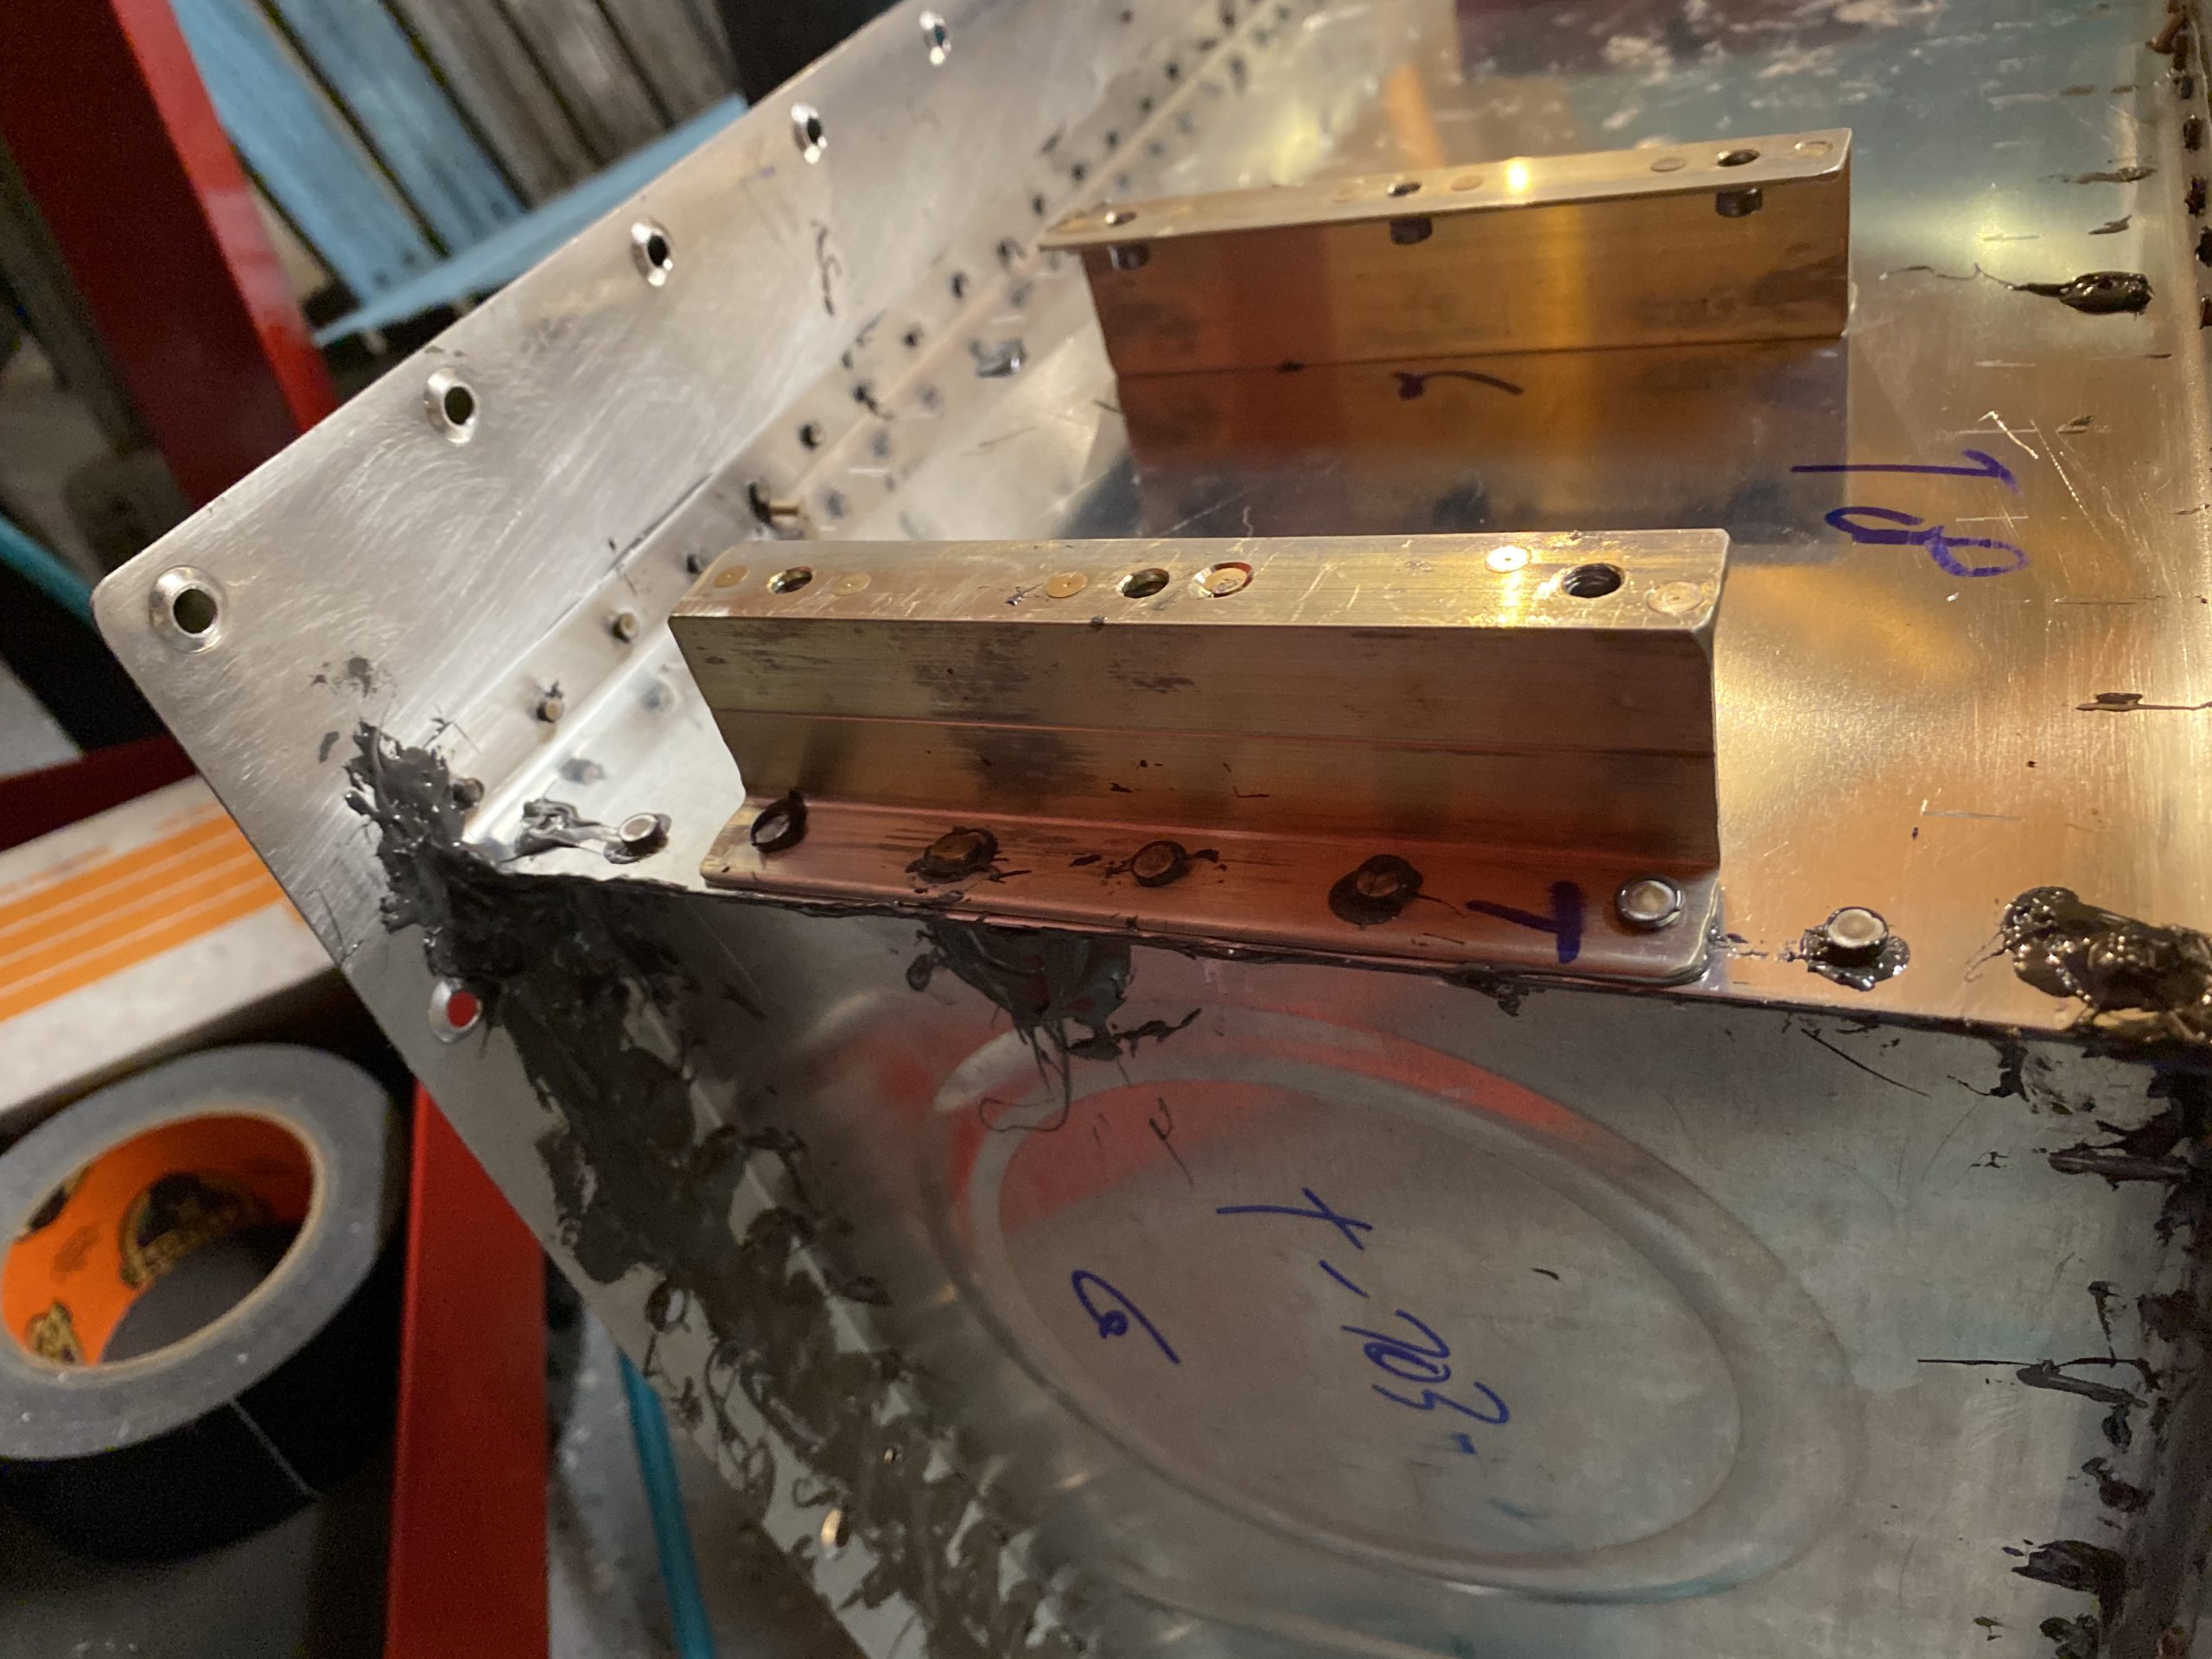
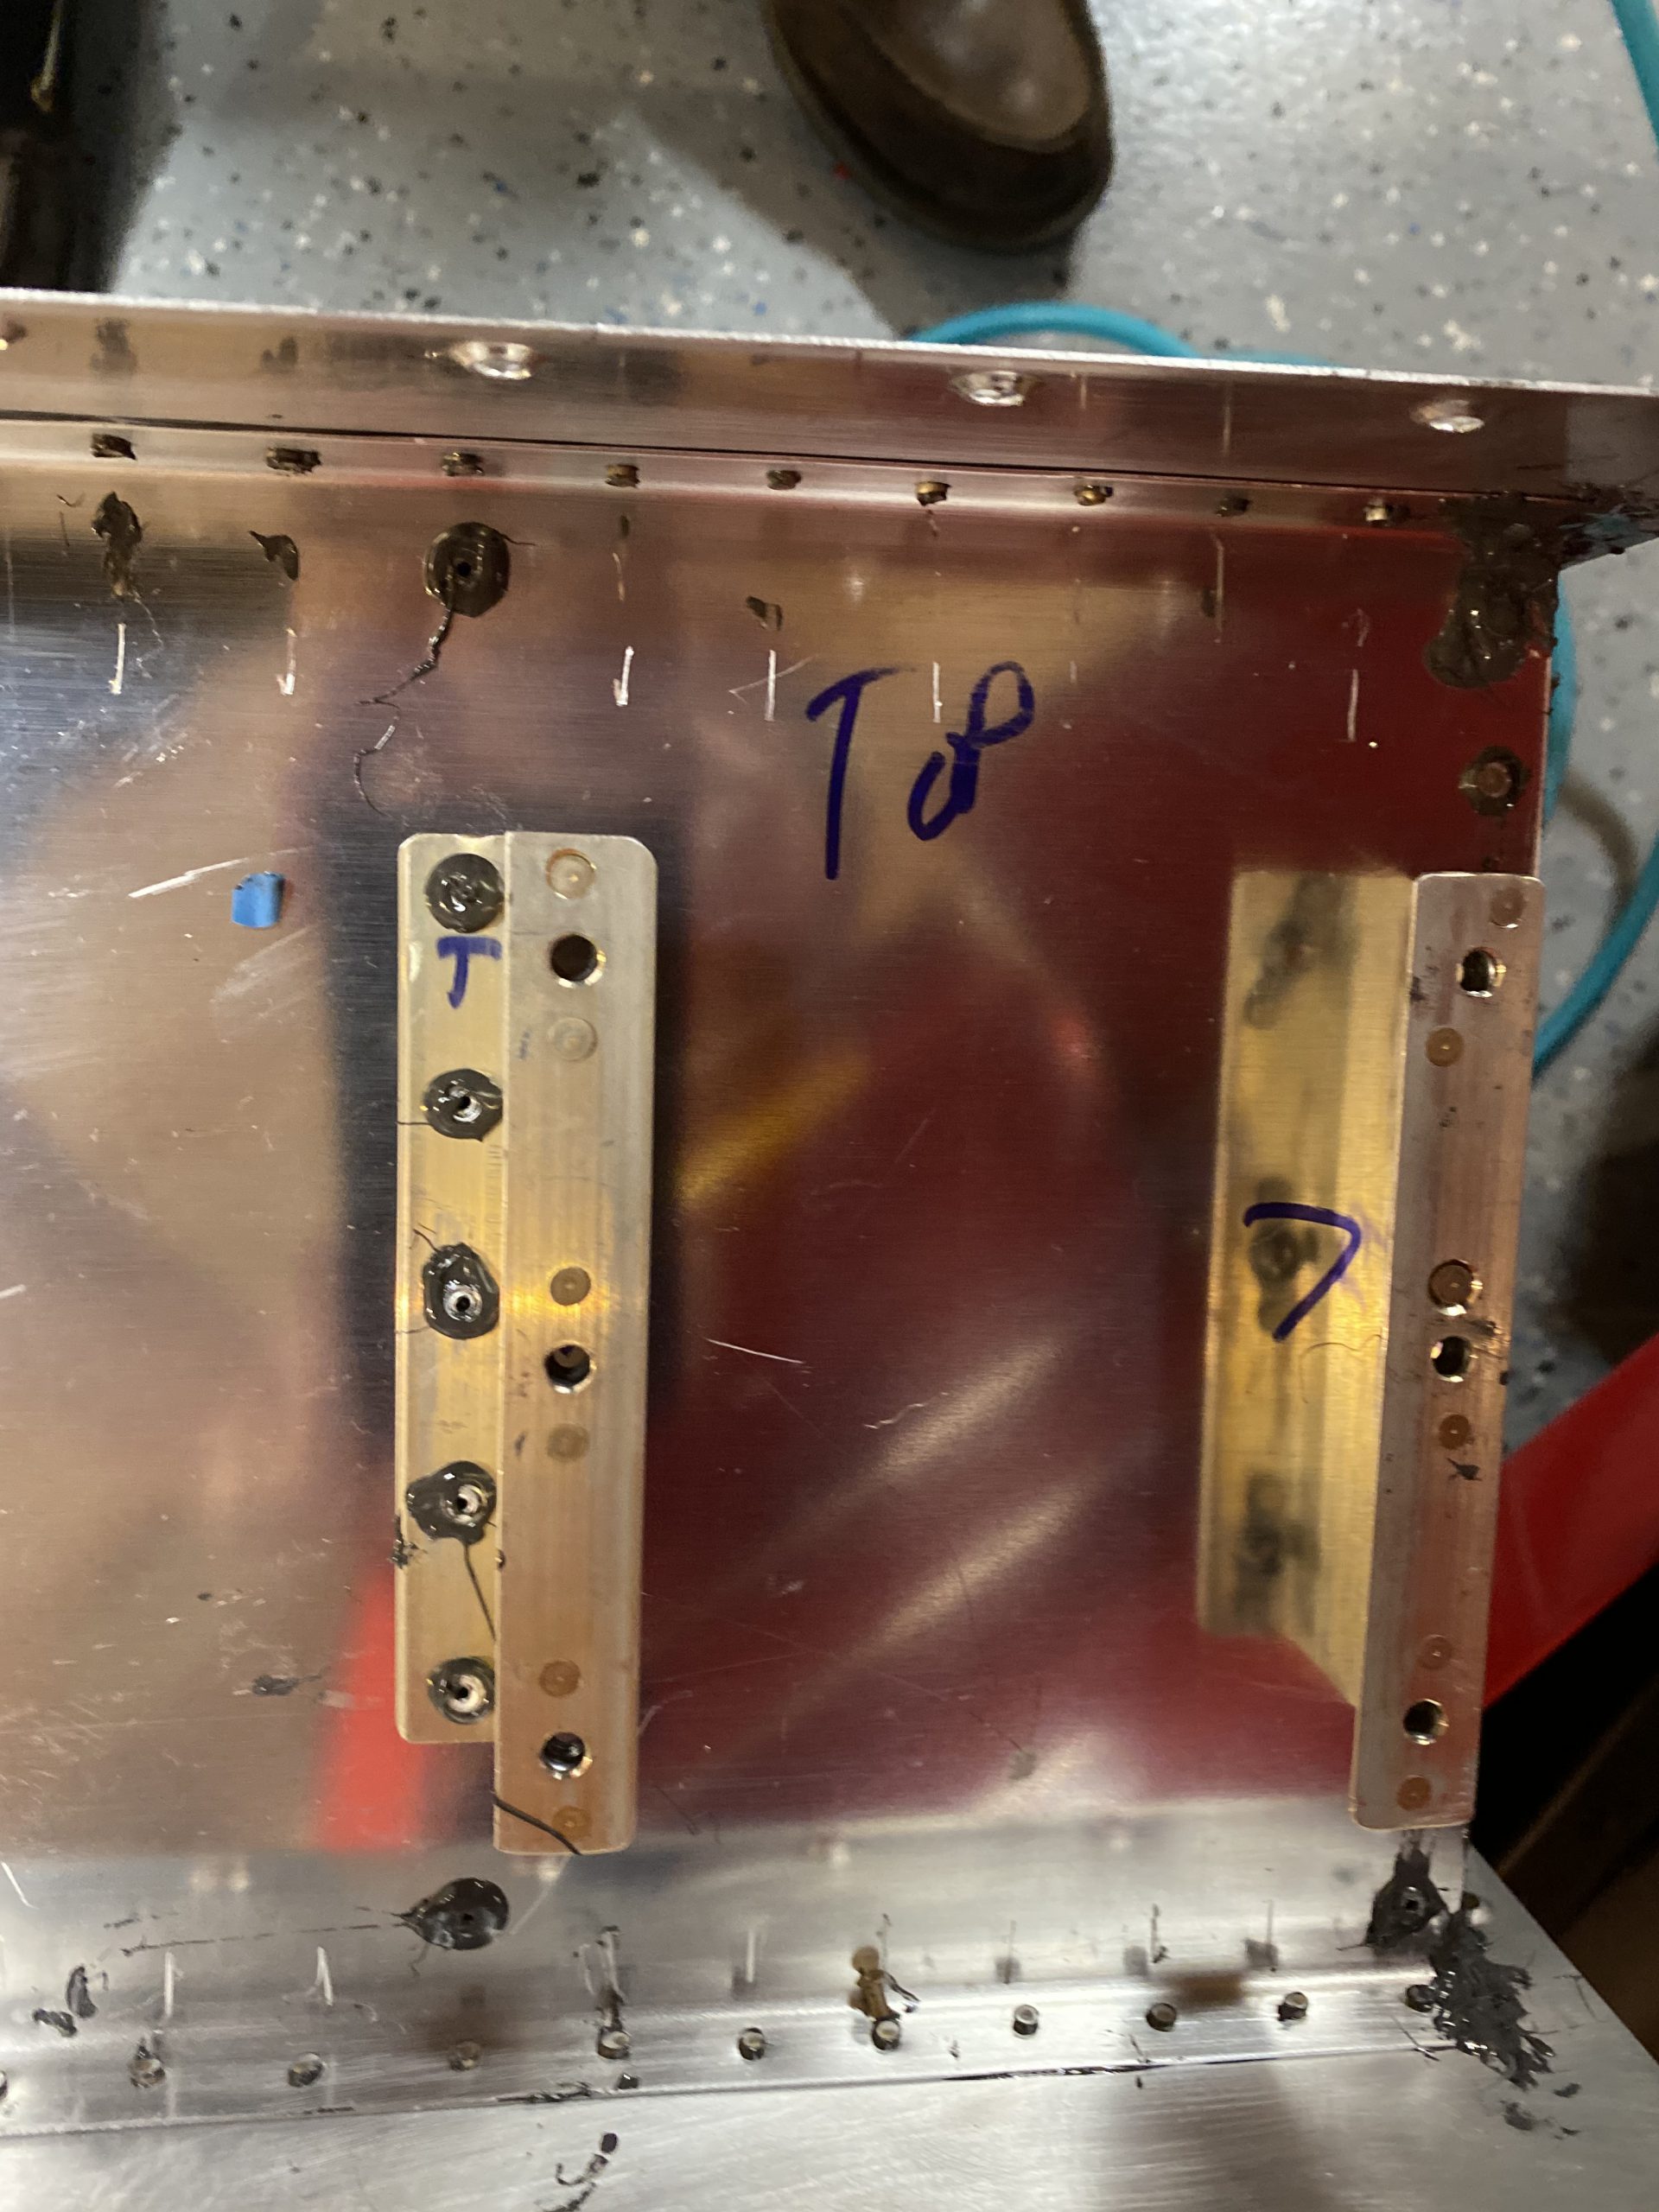
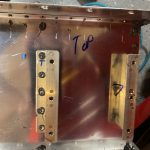
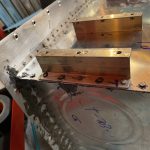
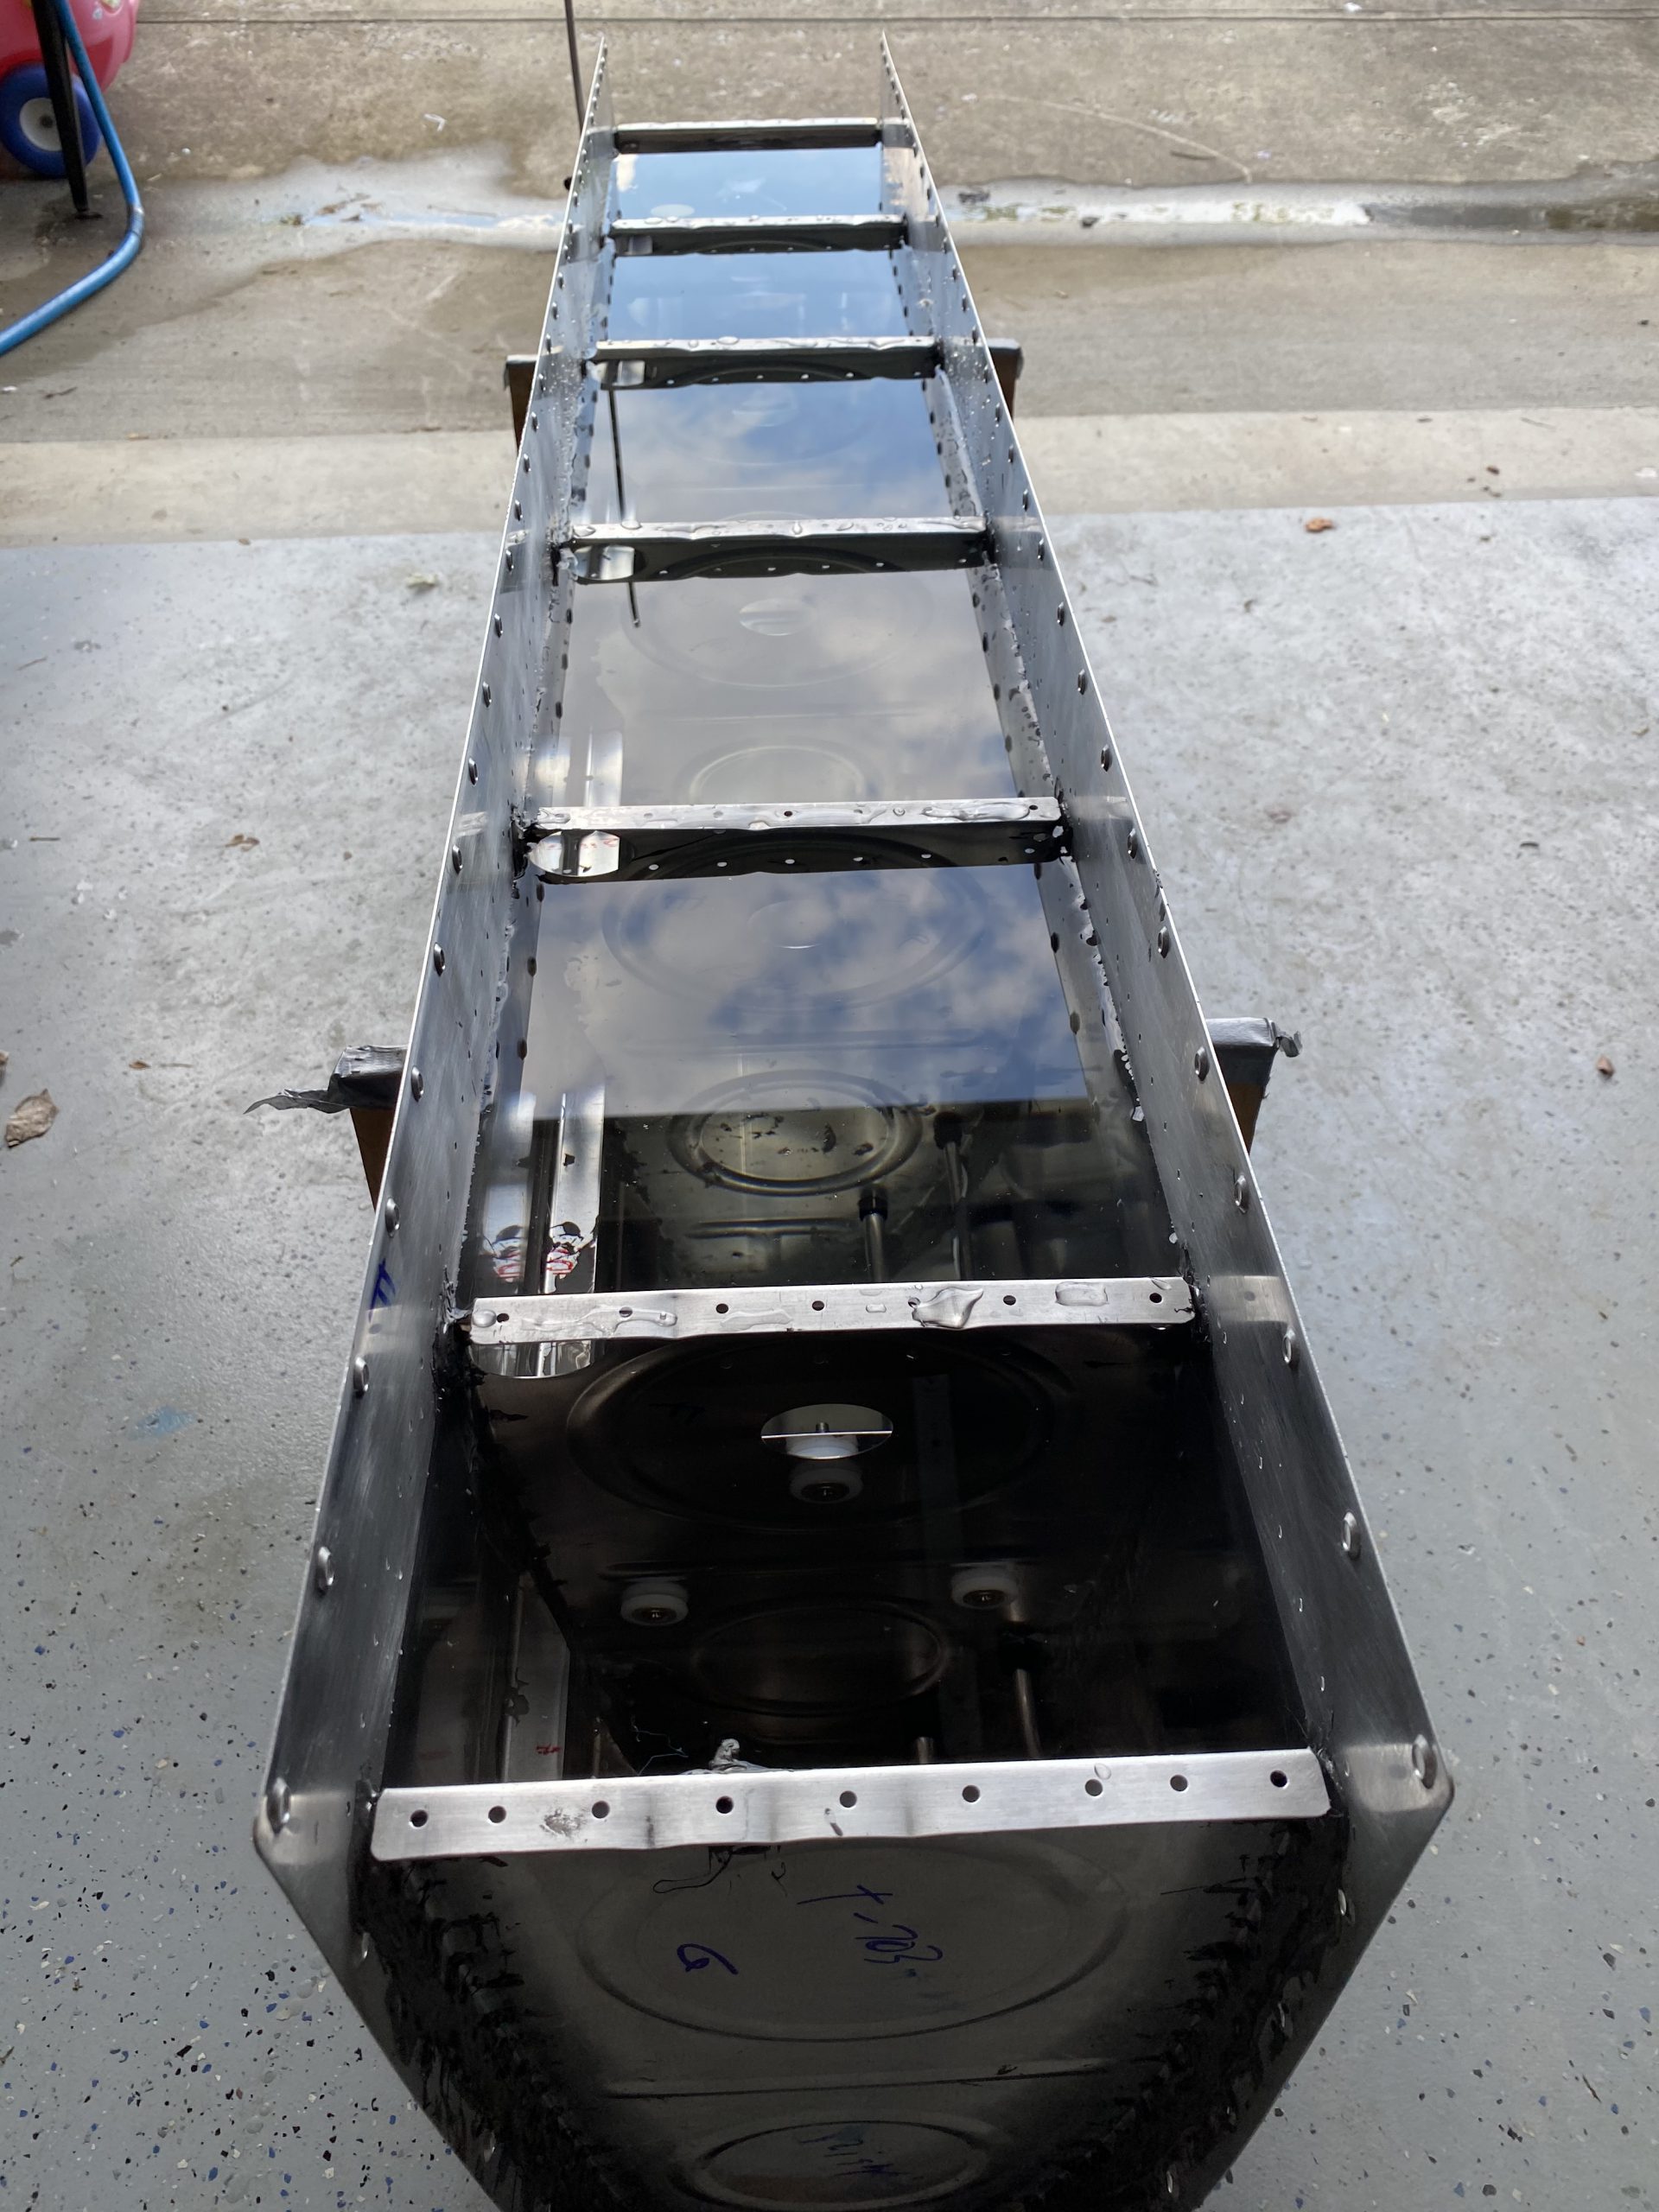
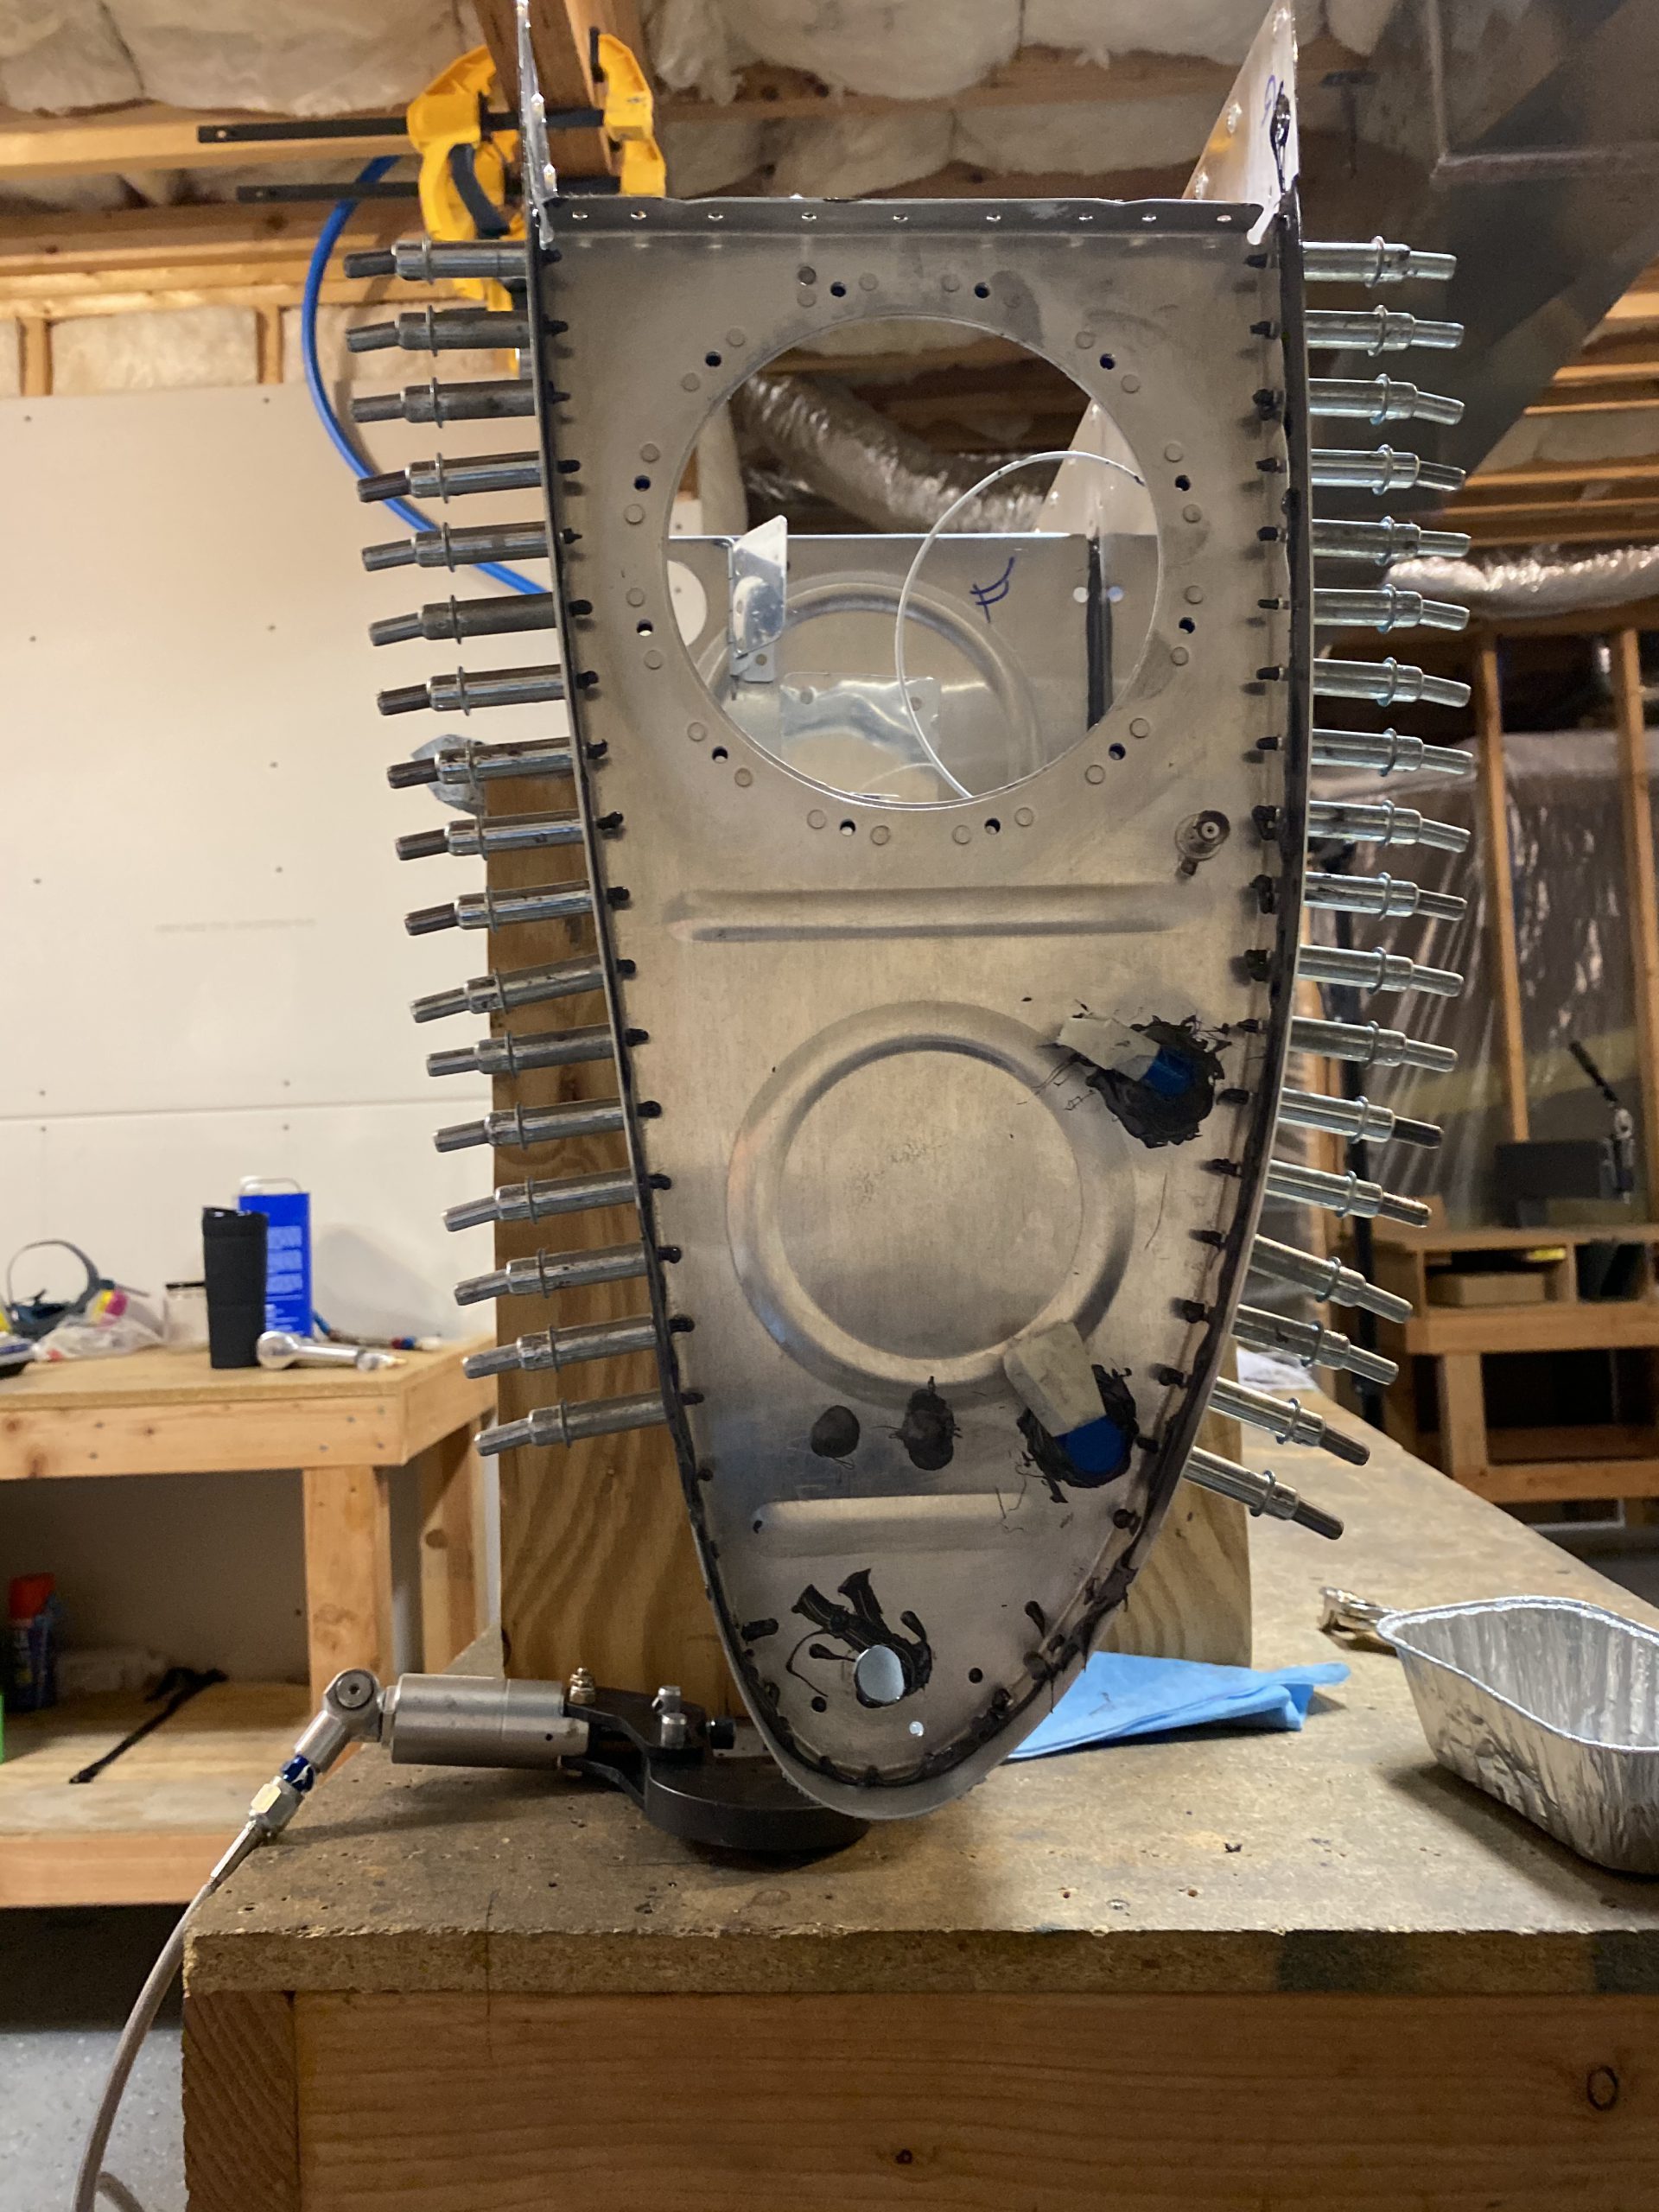
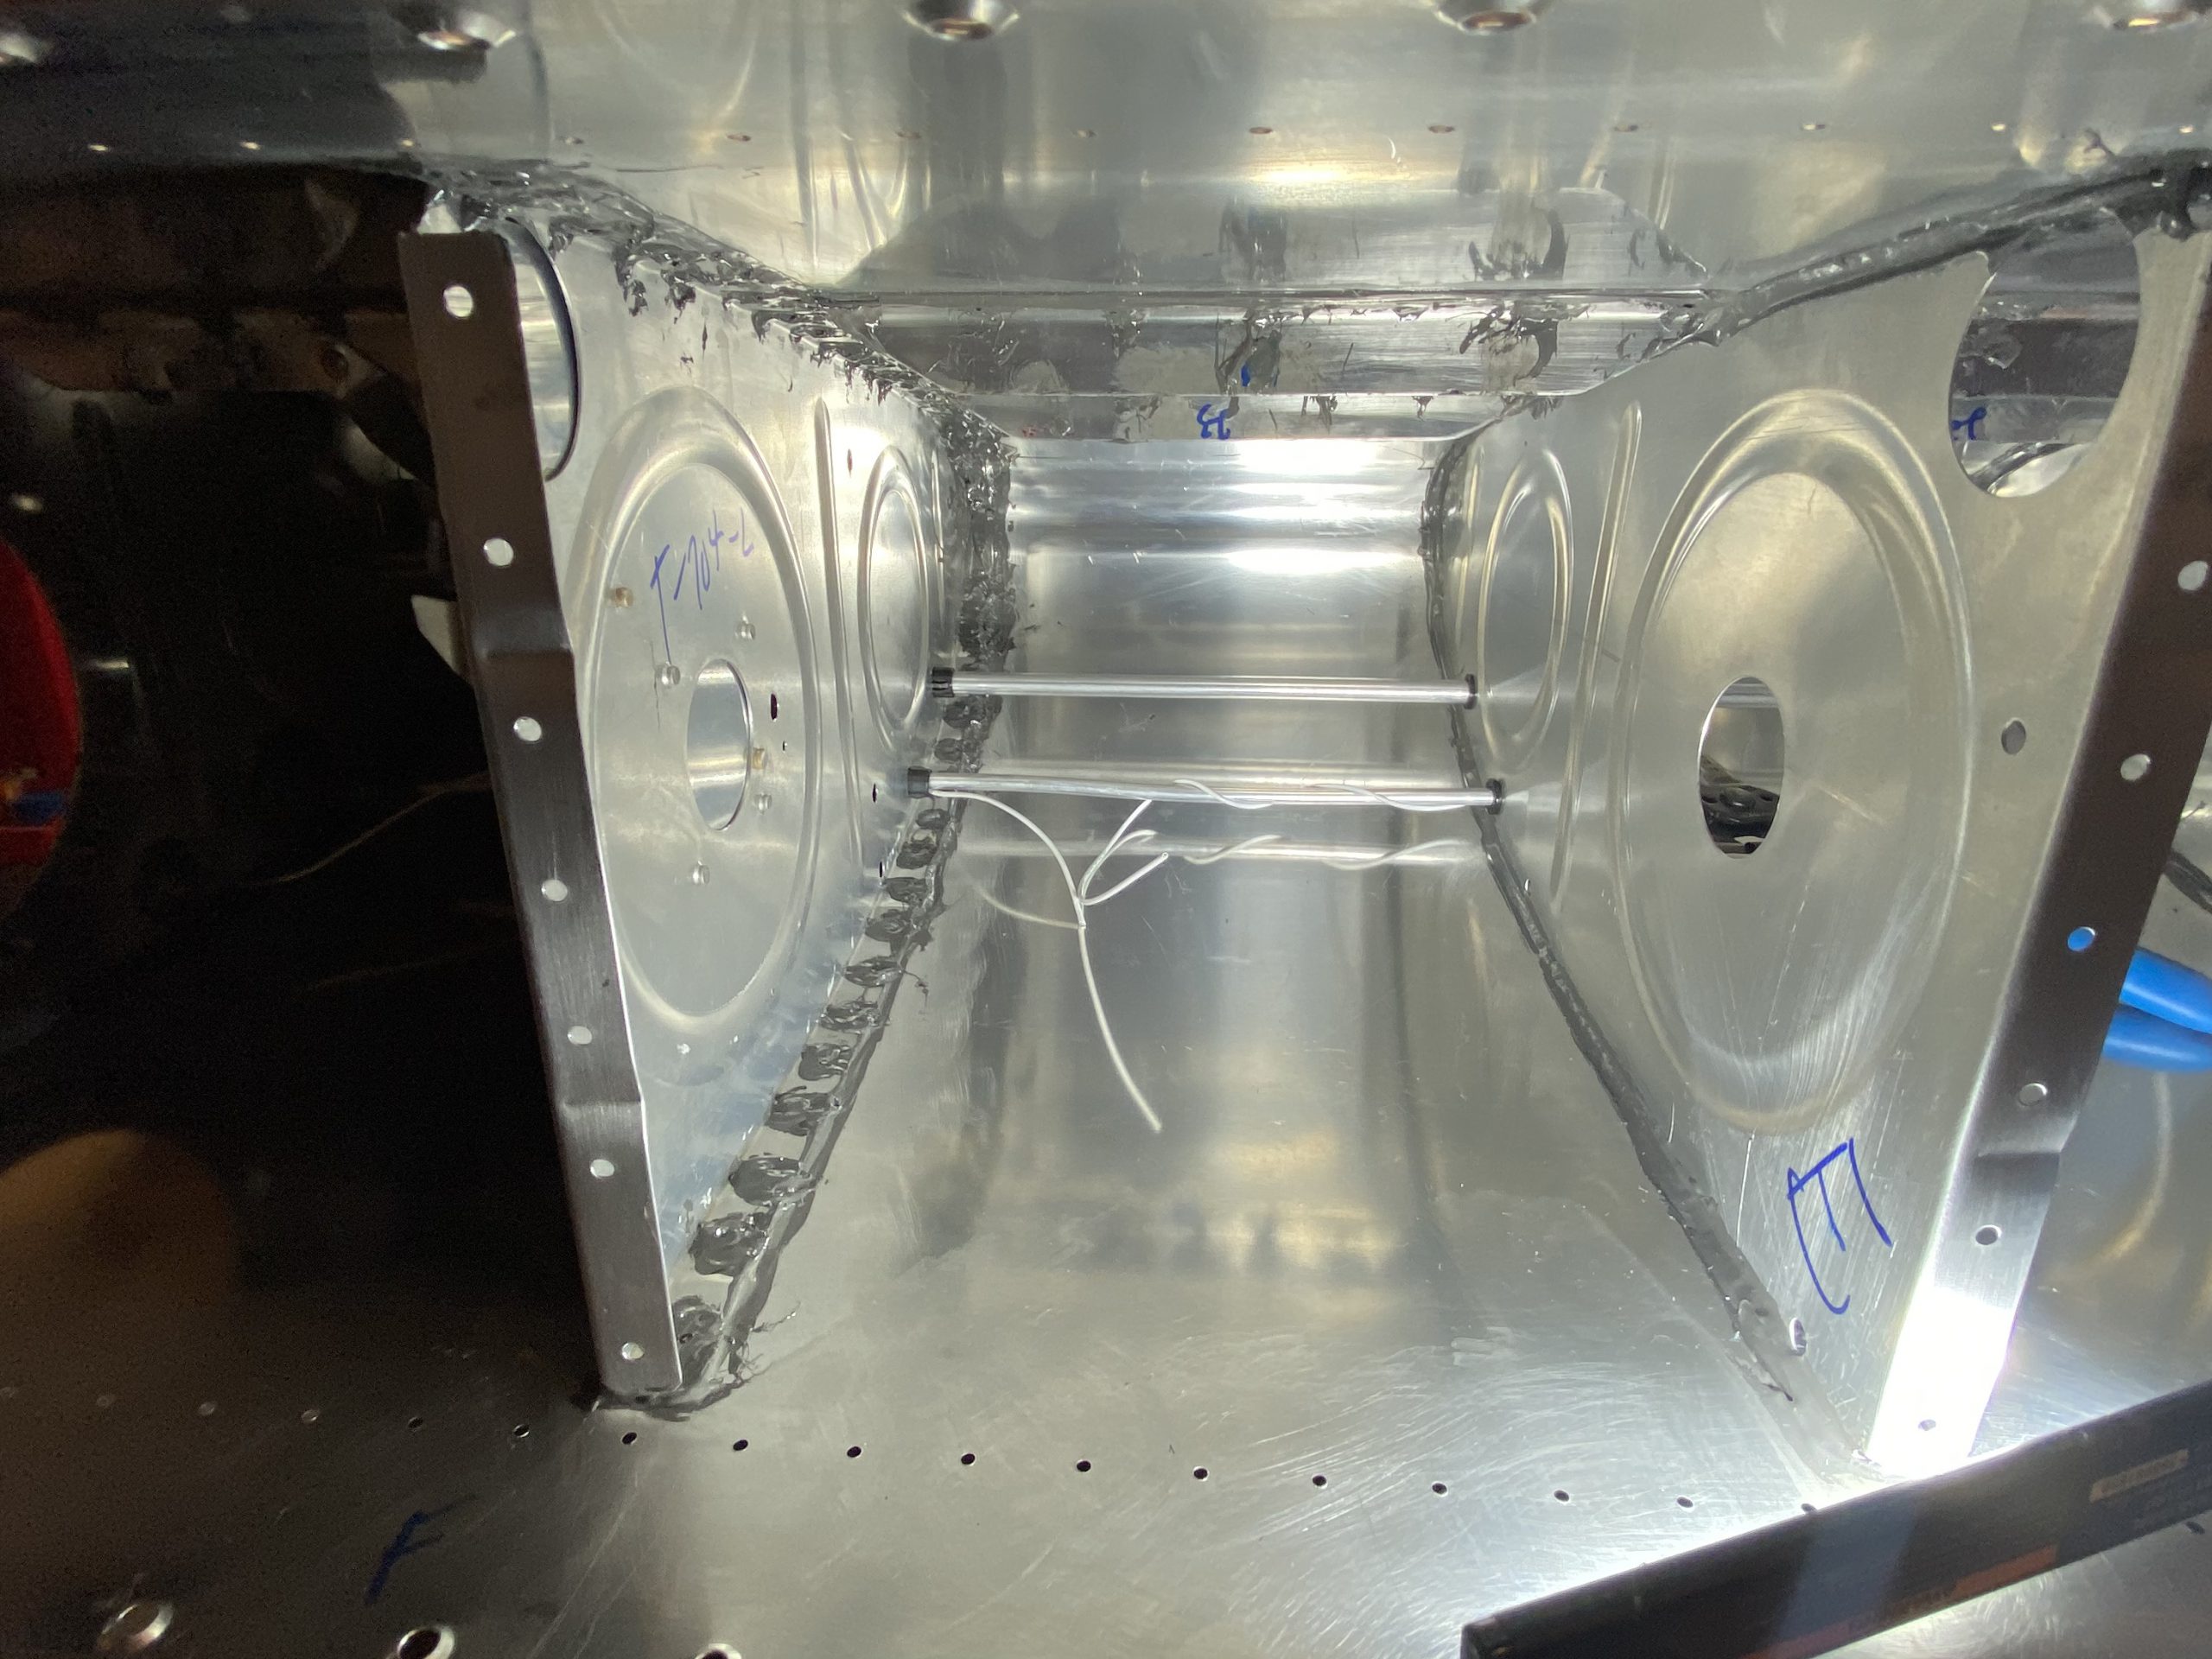
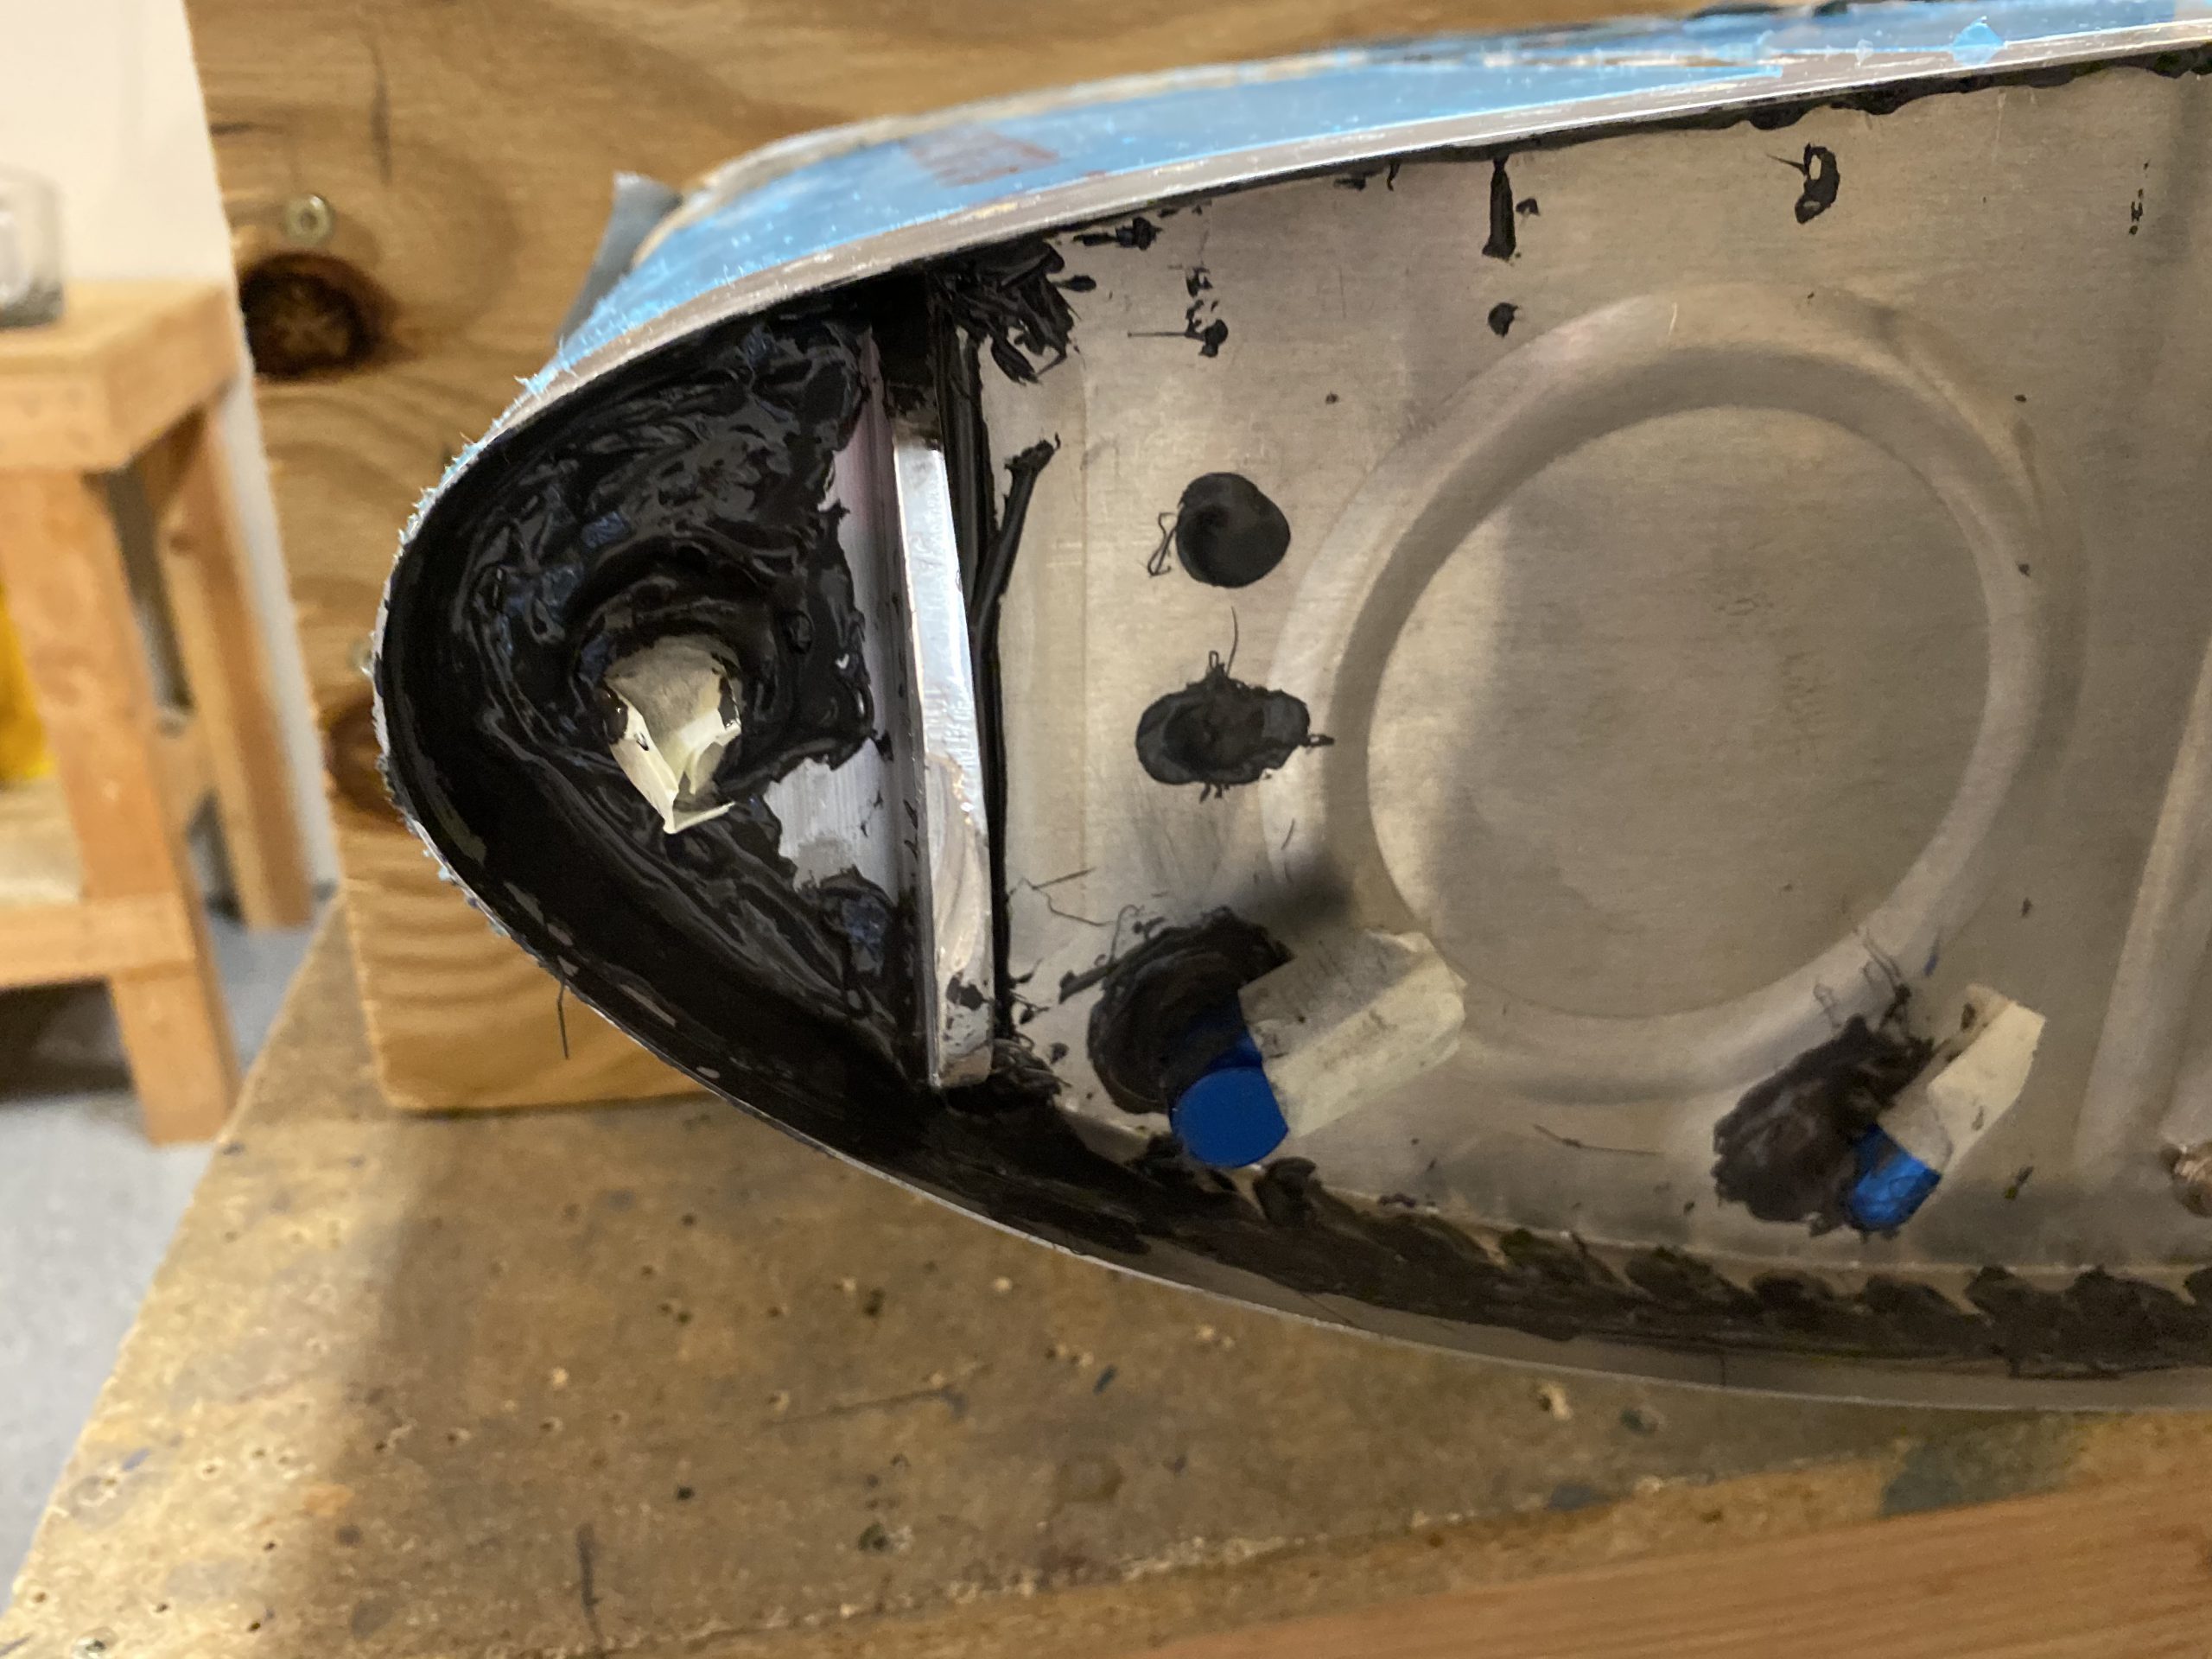
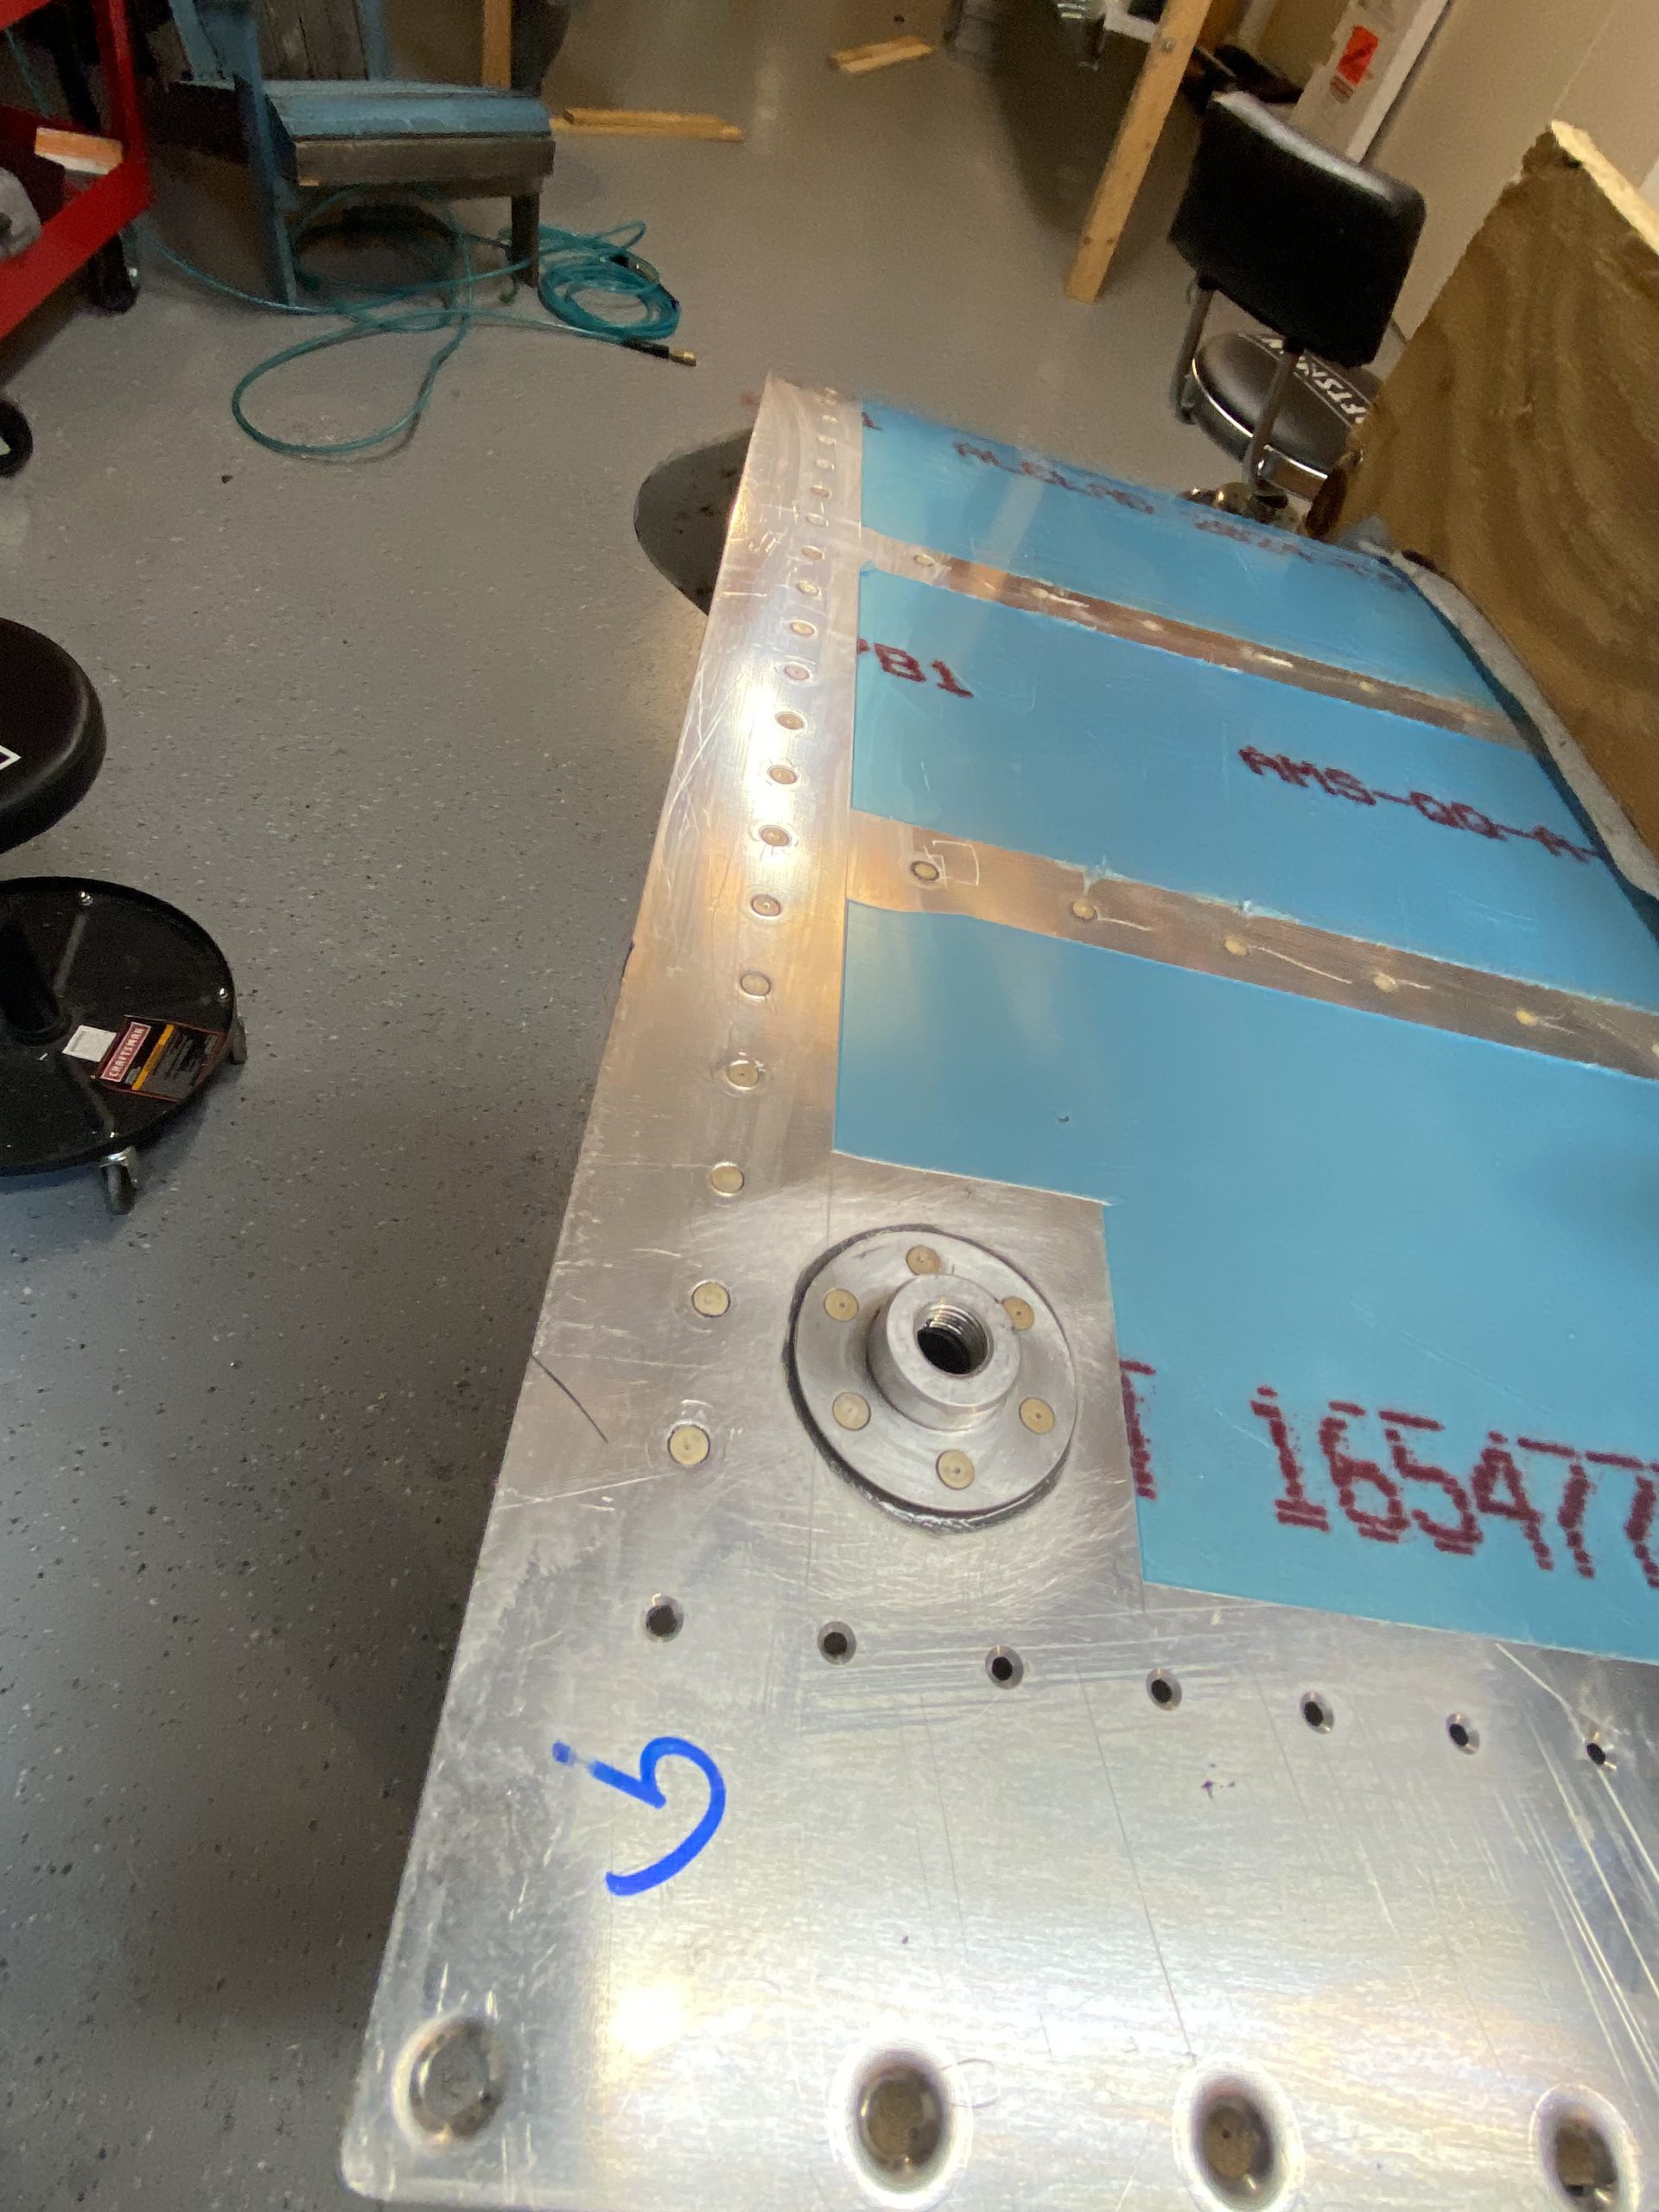
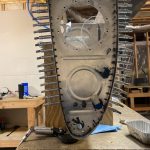
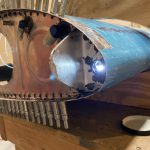
Buy Xanax Online With Credit Card I mixed up 50 grams of sealant, which was not enough. I had to mix another 30 grams for dollops and other bits I’d need to cover. But this worked out well, since I didn’t have to worry about the sealant curing while I was working with it. I had decided on buttering up the flanges of the rib, then clecoing it into place. Once 100% cleco’d I’d go ahead and squeeze the rivets around the nose / leading edge so they’d be good to go. This worked out, and I had plenty of clearance on the squeezed rivets for the T-410 and T-405 mounting brackets. Here’s how that looked. One thing to note, I did go ahead and apply a buttering of sealant on the inside of the nose rib where the T-410 would be clecoed on later. Since it would be hard to reach after the rib was in place.
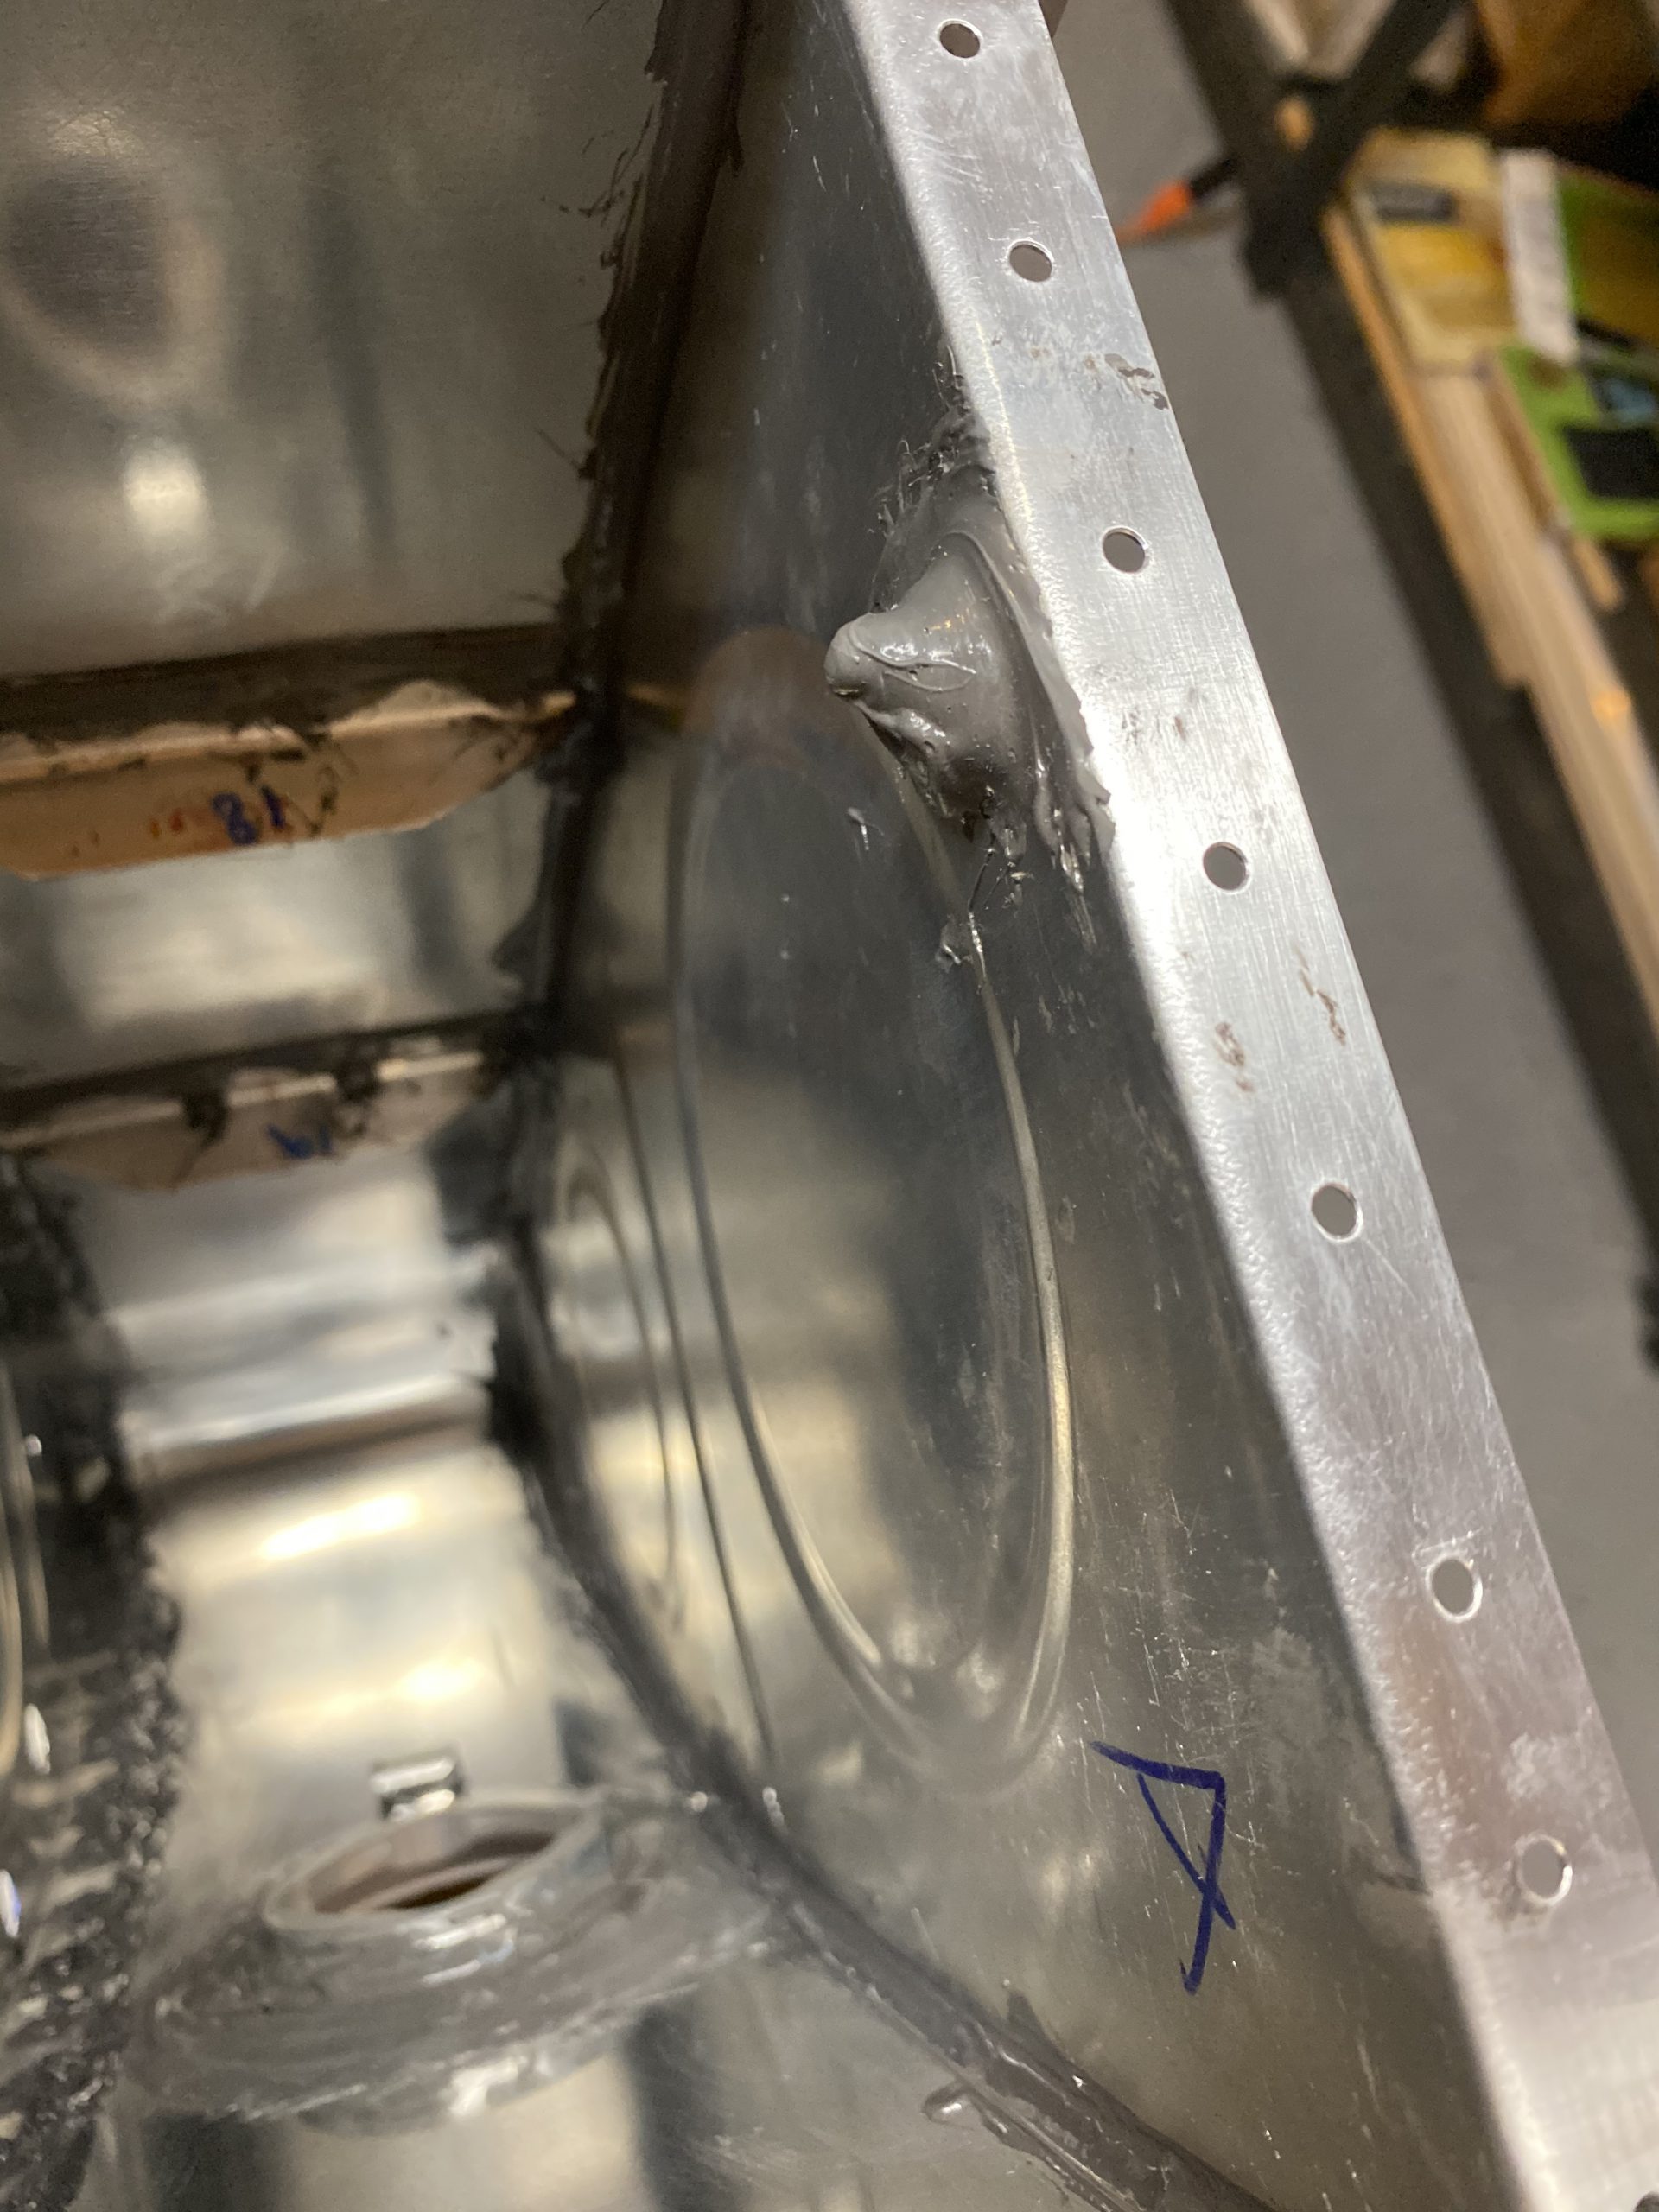
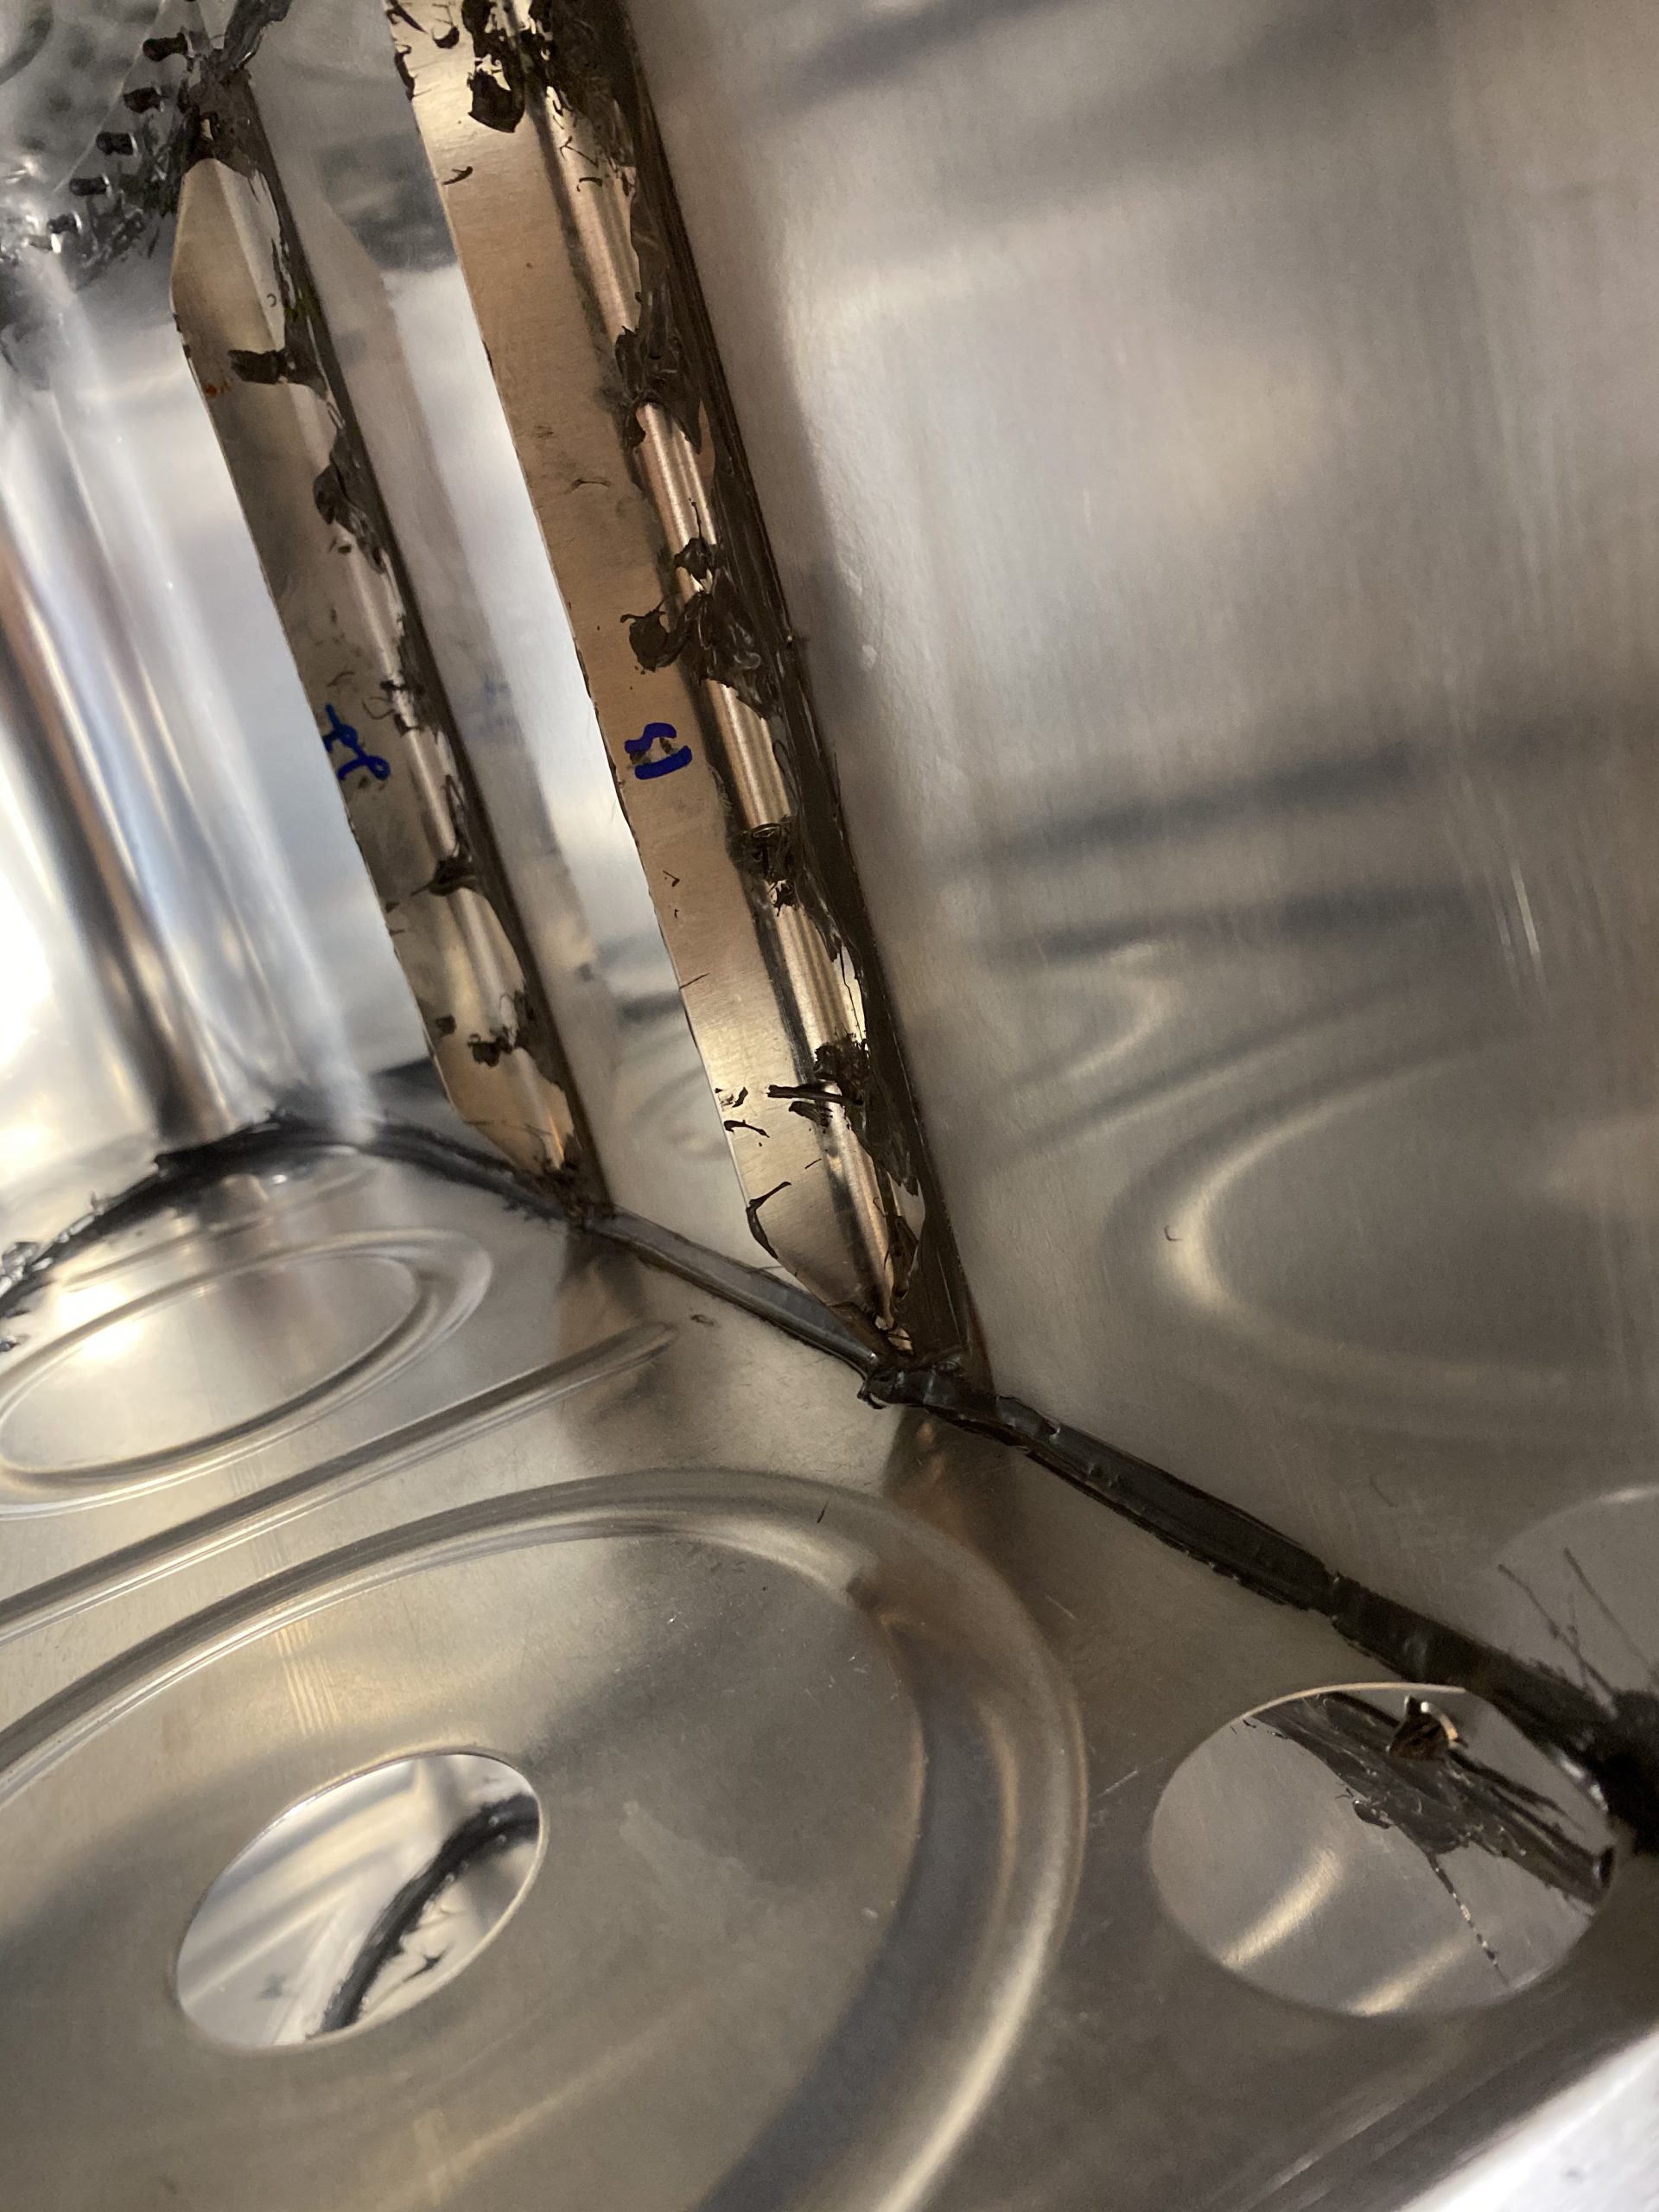
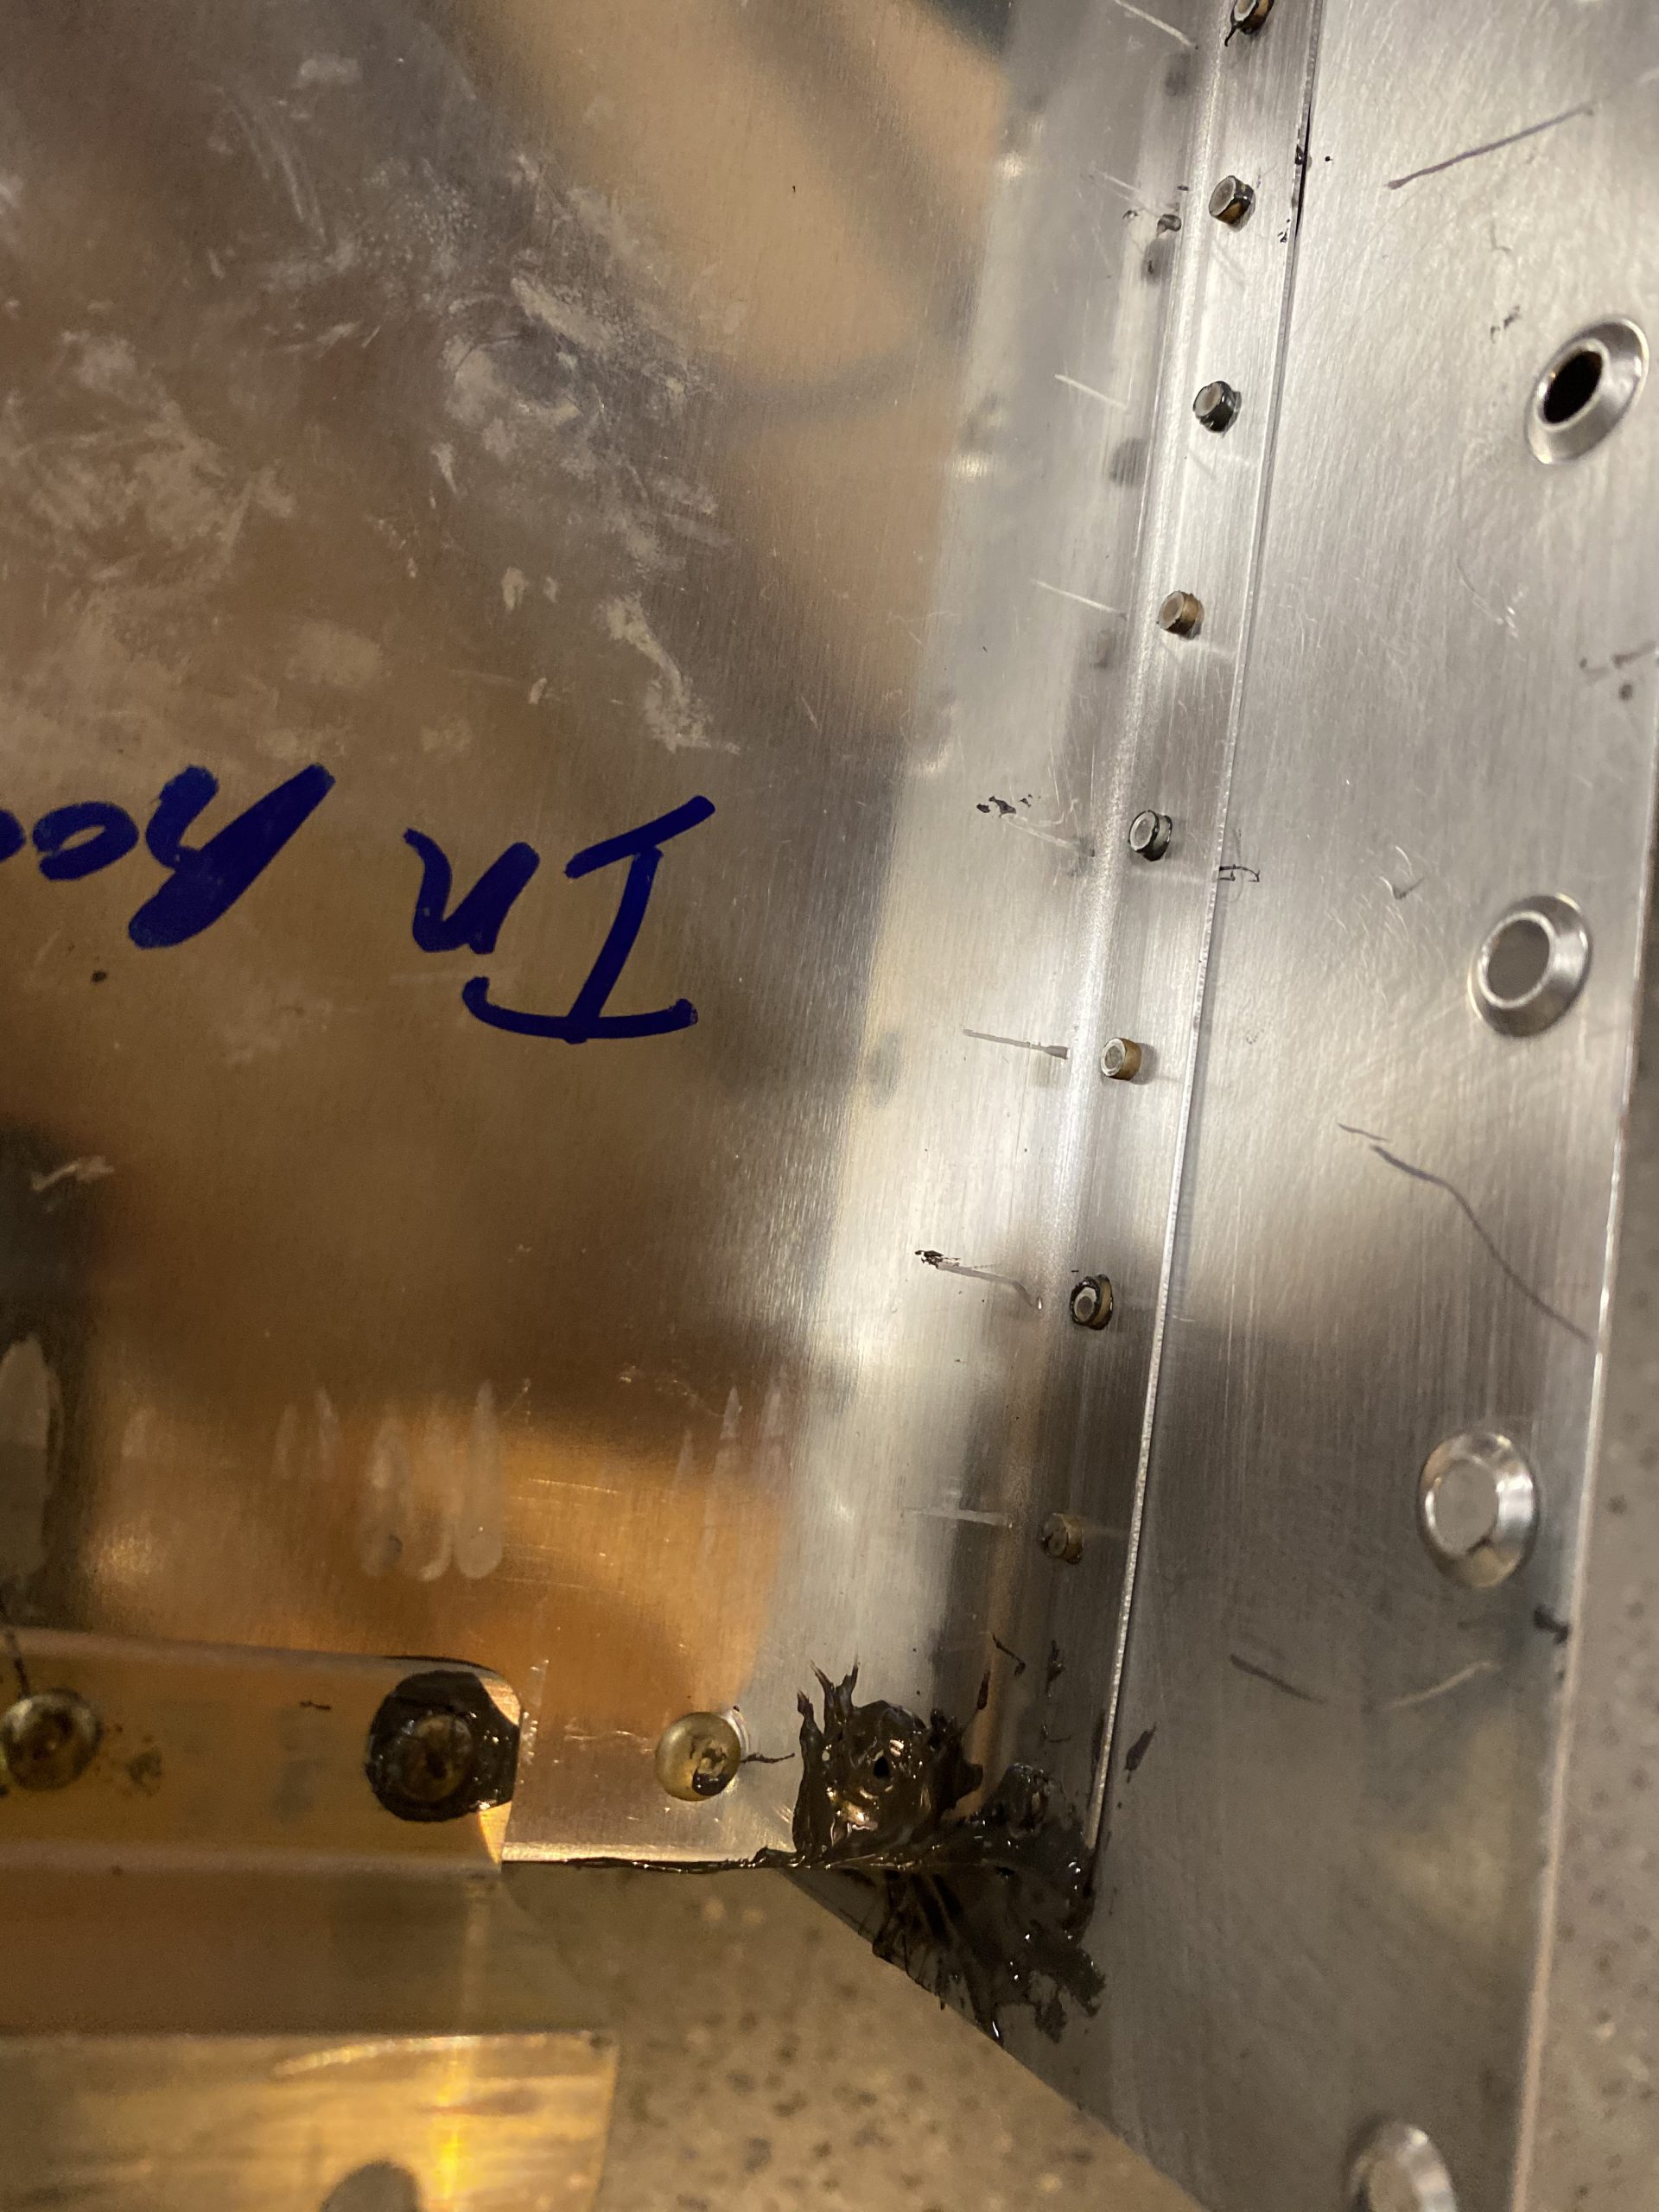
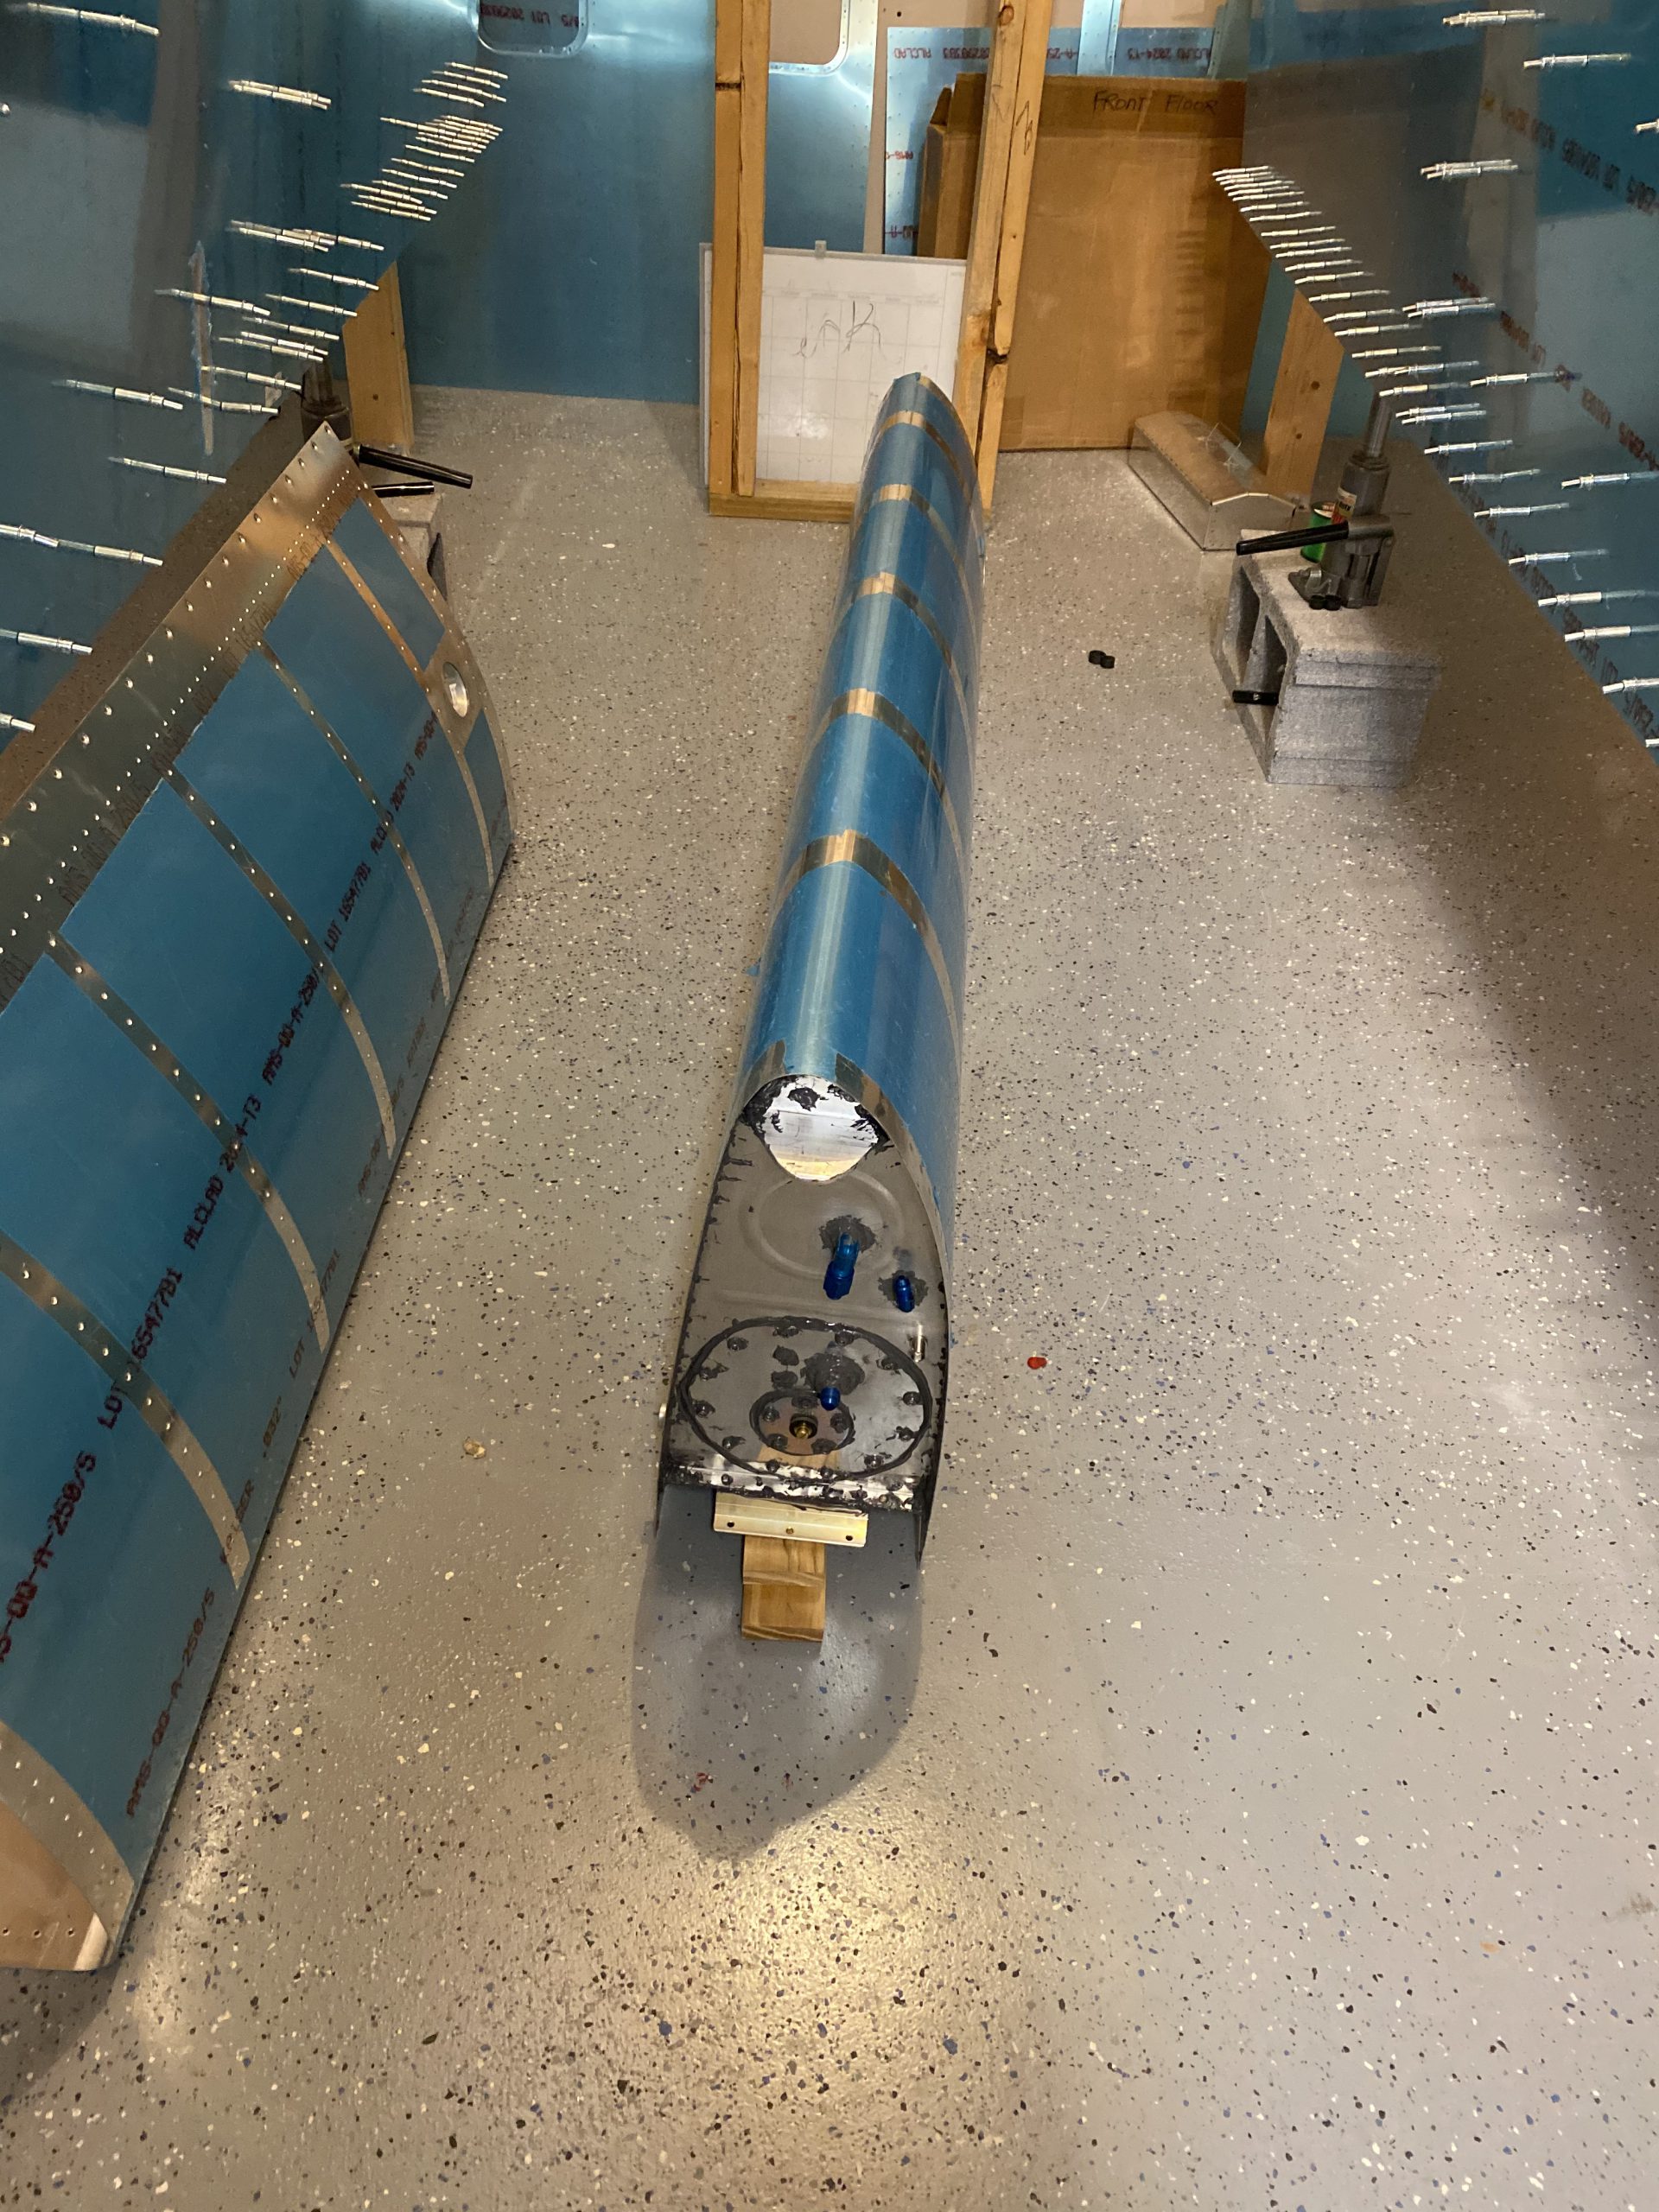
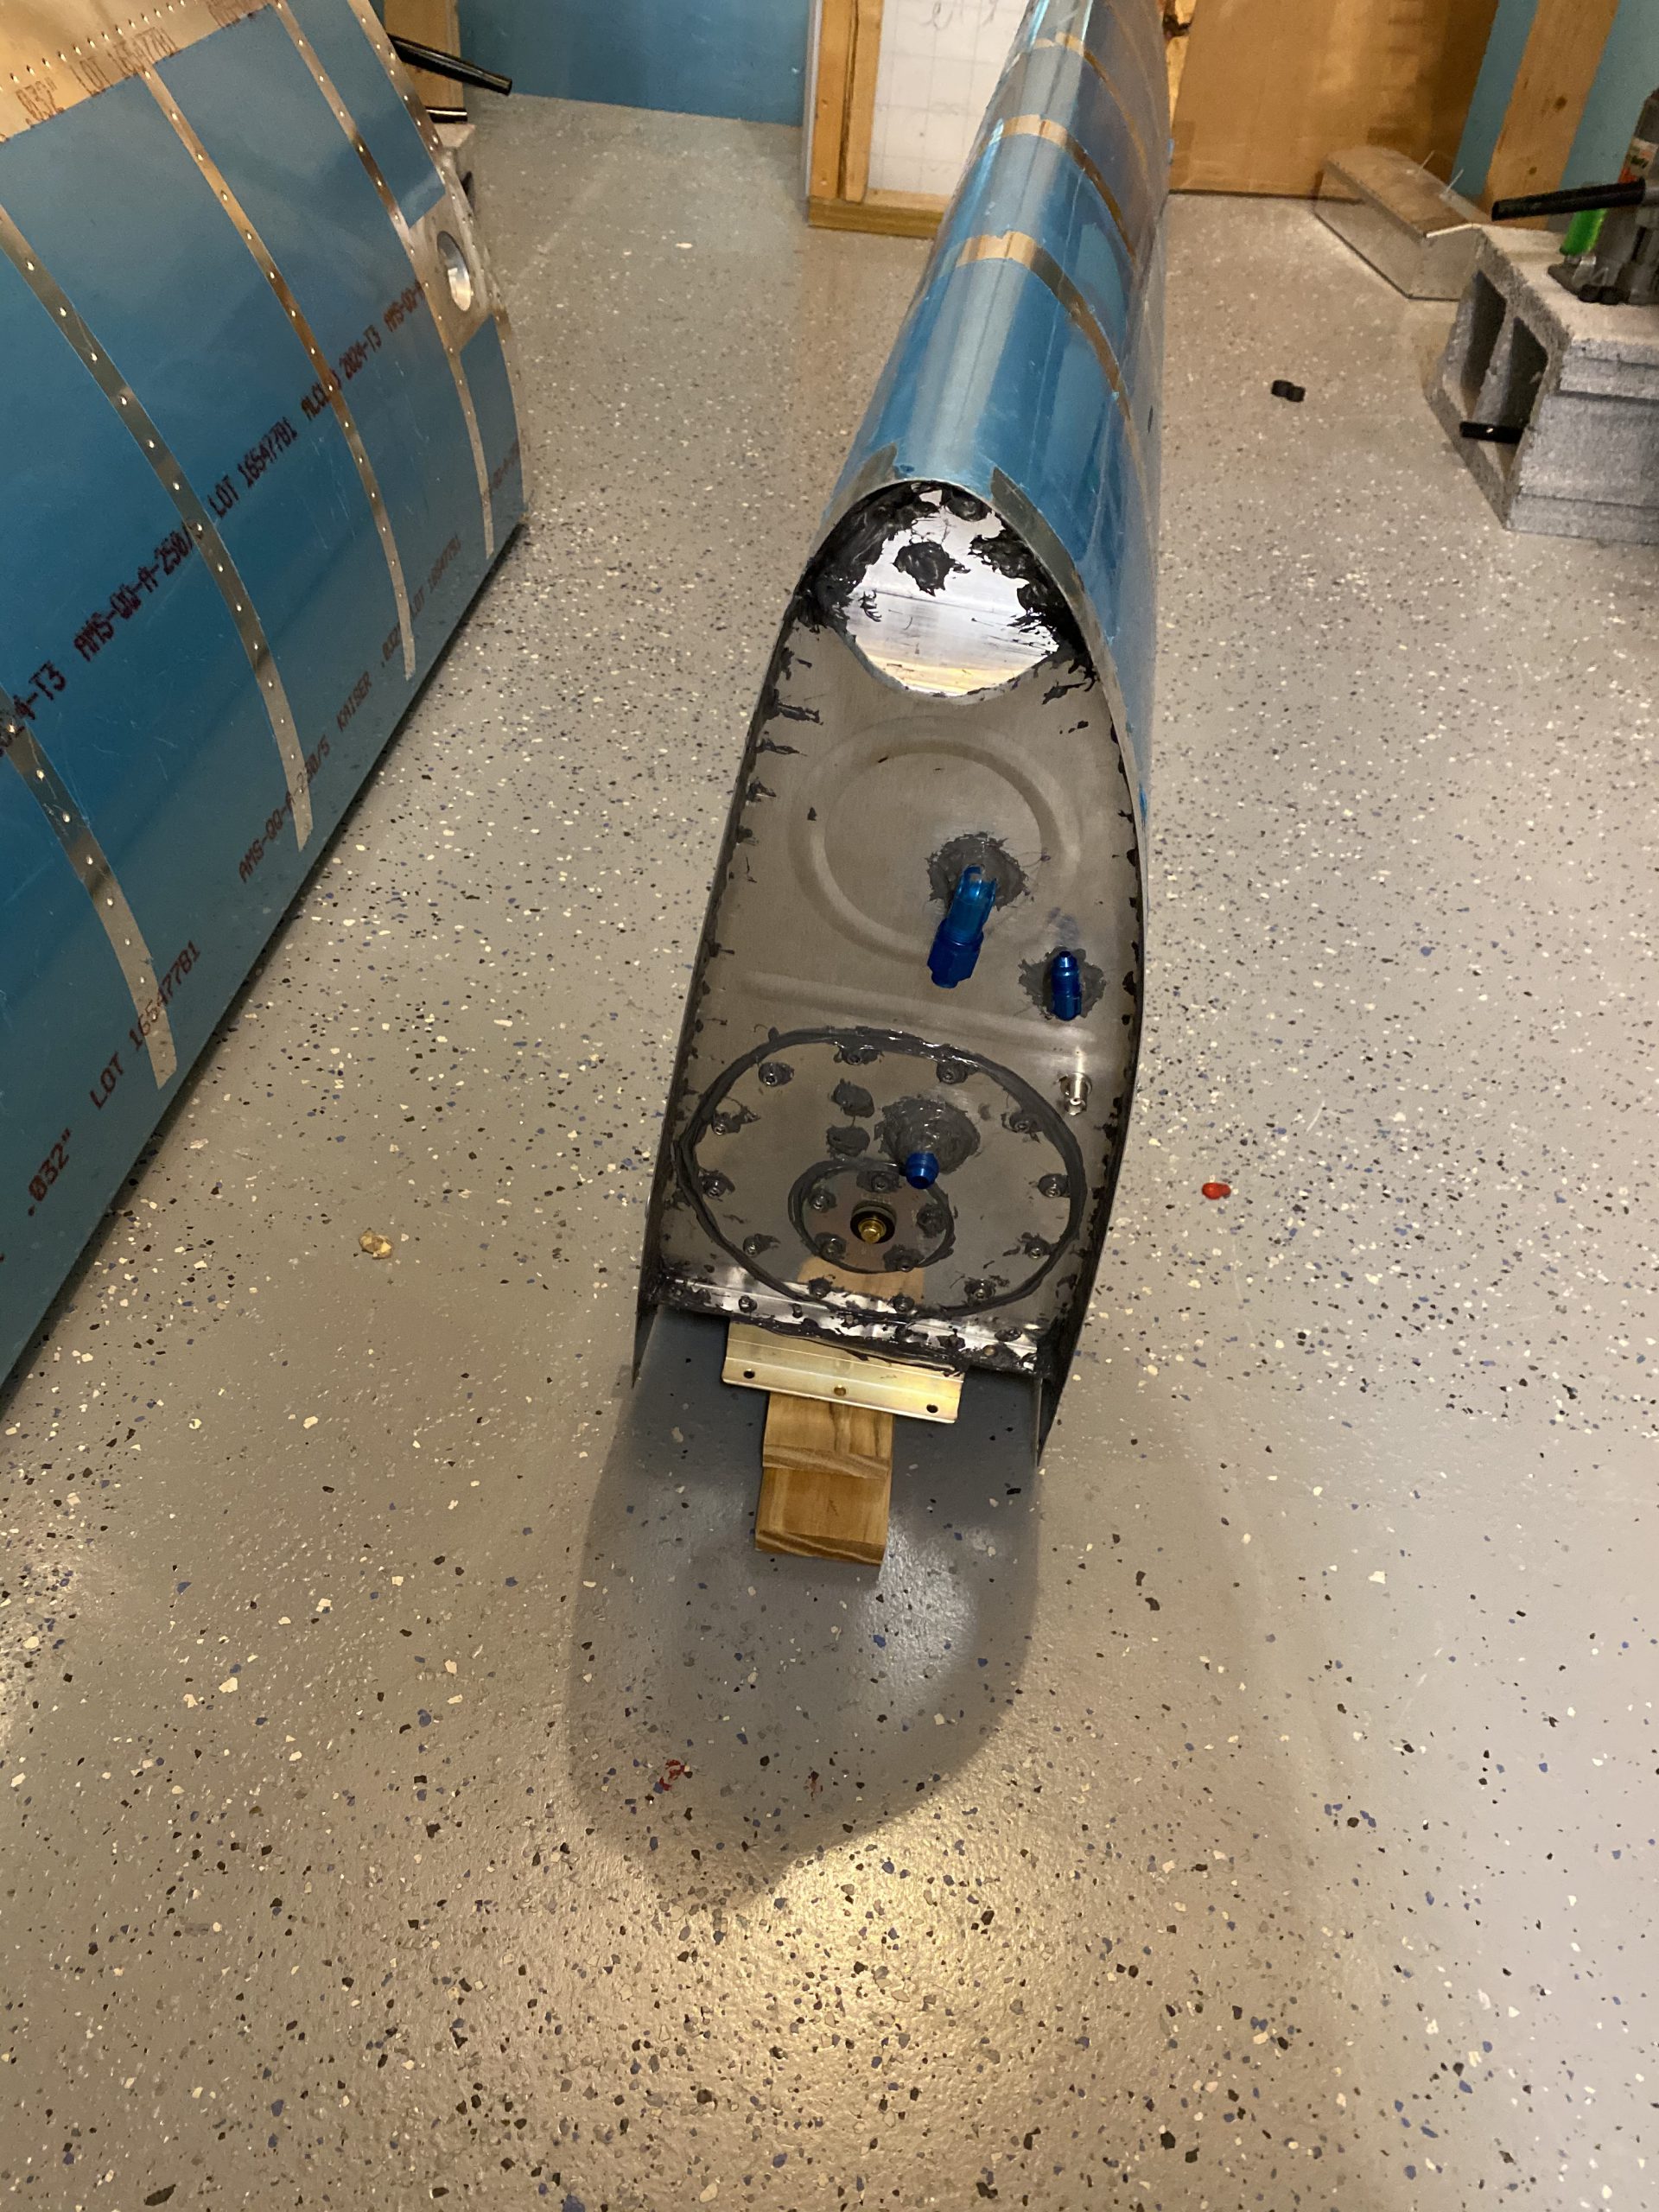
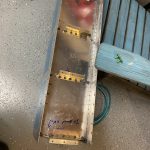
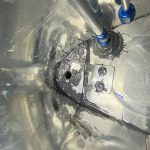
see url Then, I gently positioned the T-410 stiffener plate where the sealant was buttered and got it aligned. After it was stuck on, I buttered up the T-405 tank attach angle brackets with some sealant, and clecoed it to the T-410 / rib assembly. I cleaned some AN470AD4-8 rivets in MEK and then bucked the T-410 / Rib / T-405 tank attach angle together. After I had the rivets bucked, I smeared on some sealant on the shop heads to help seal them. It’s messy down there with sealant, but should be good.
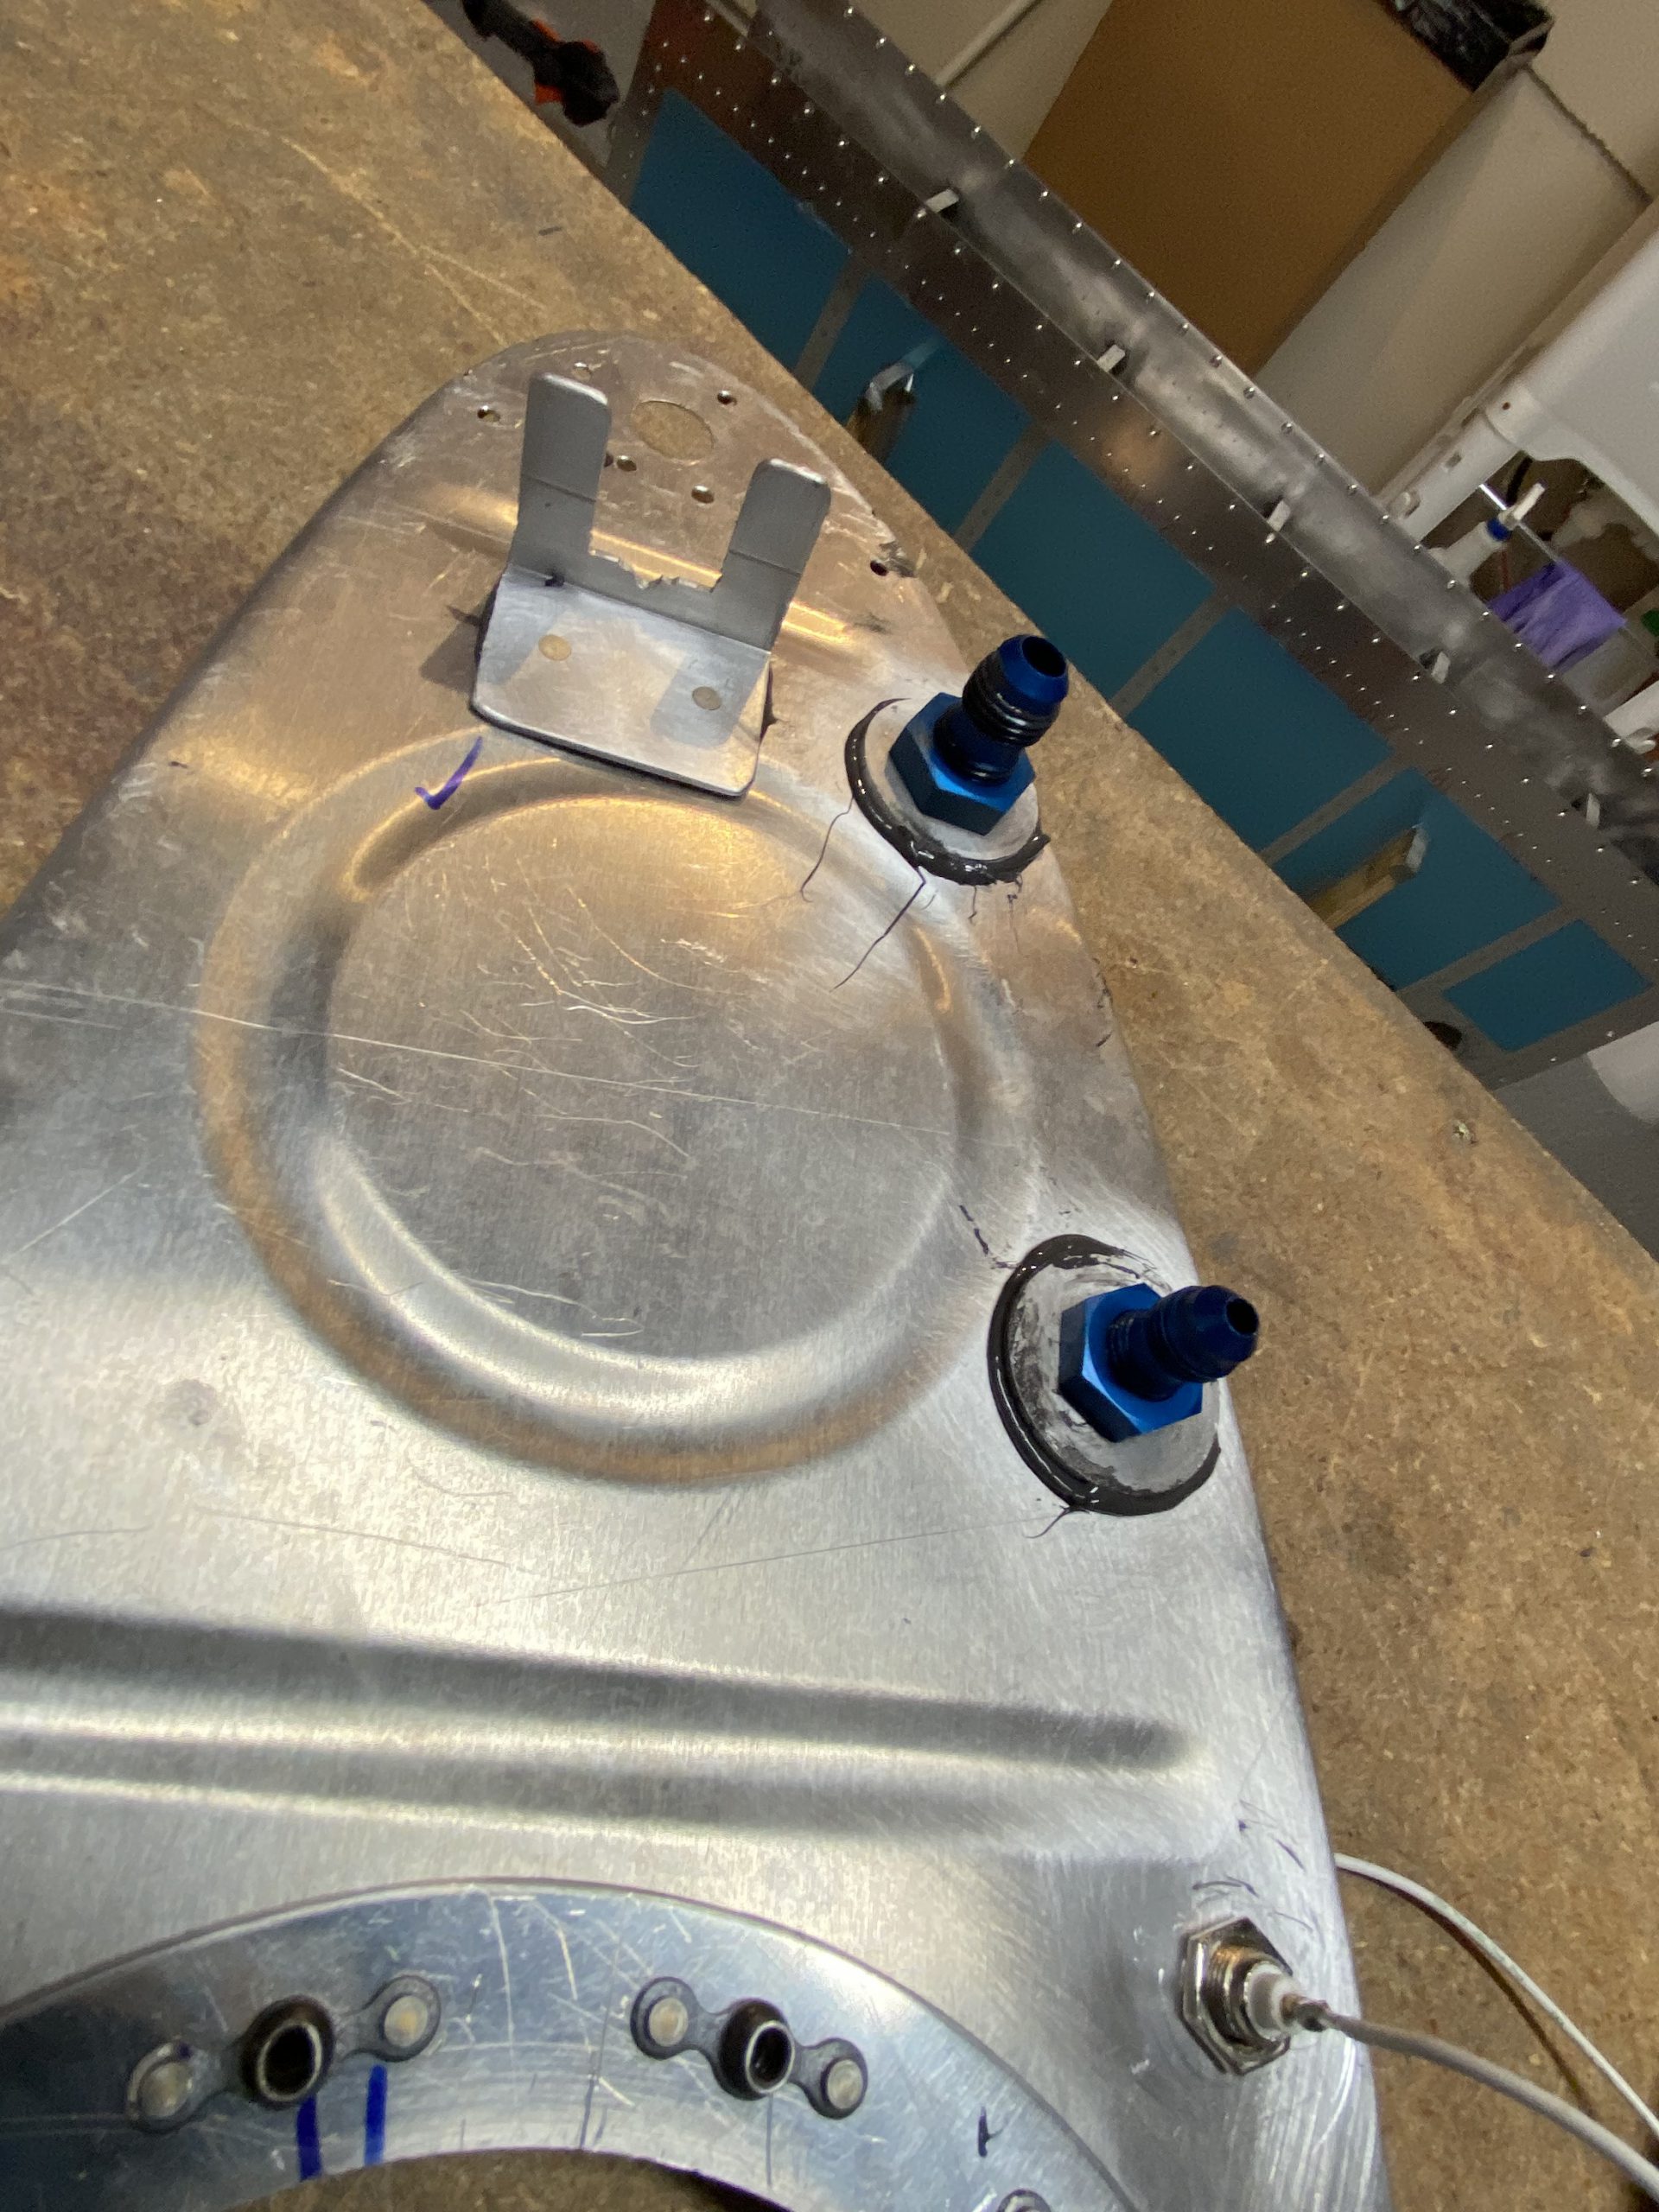
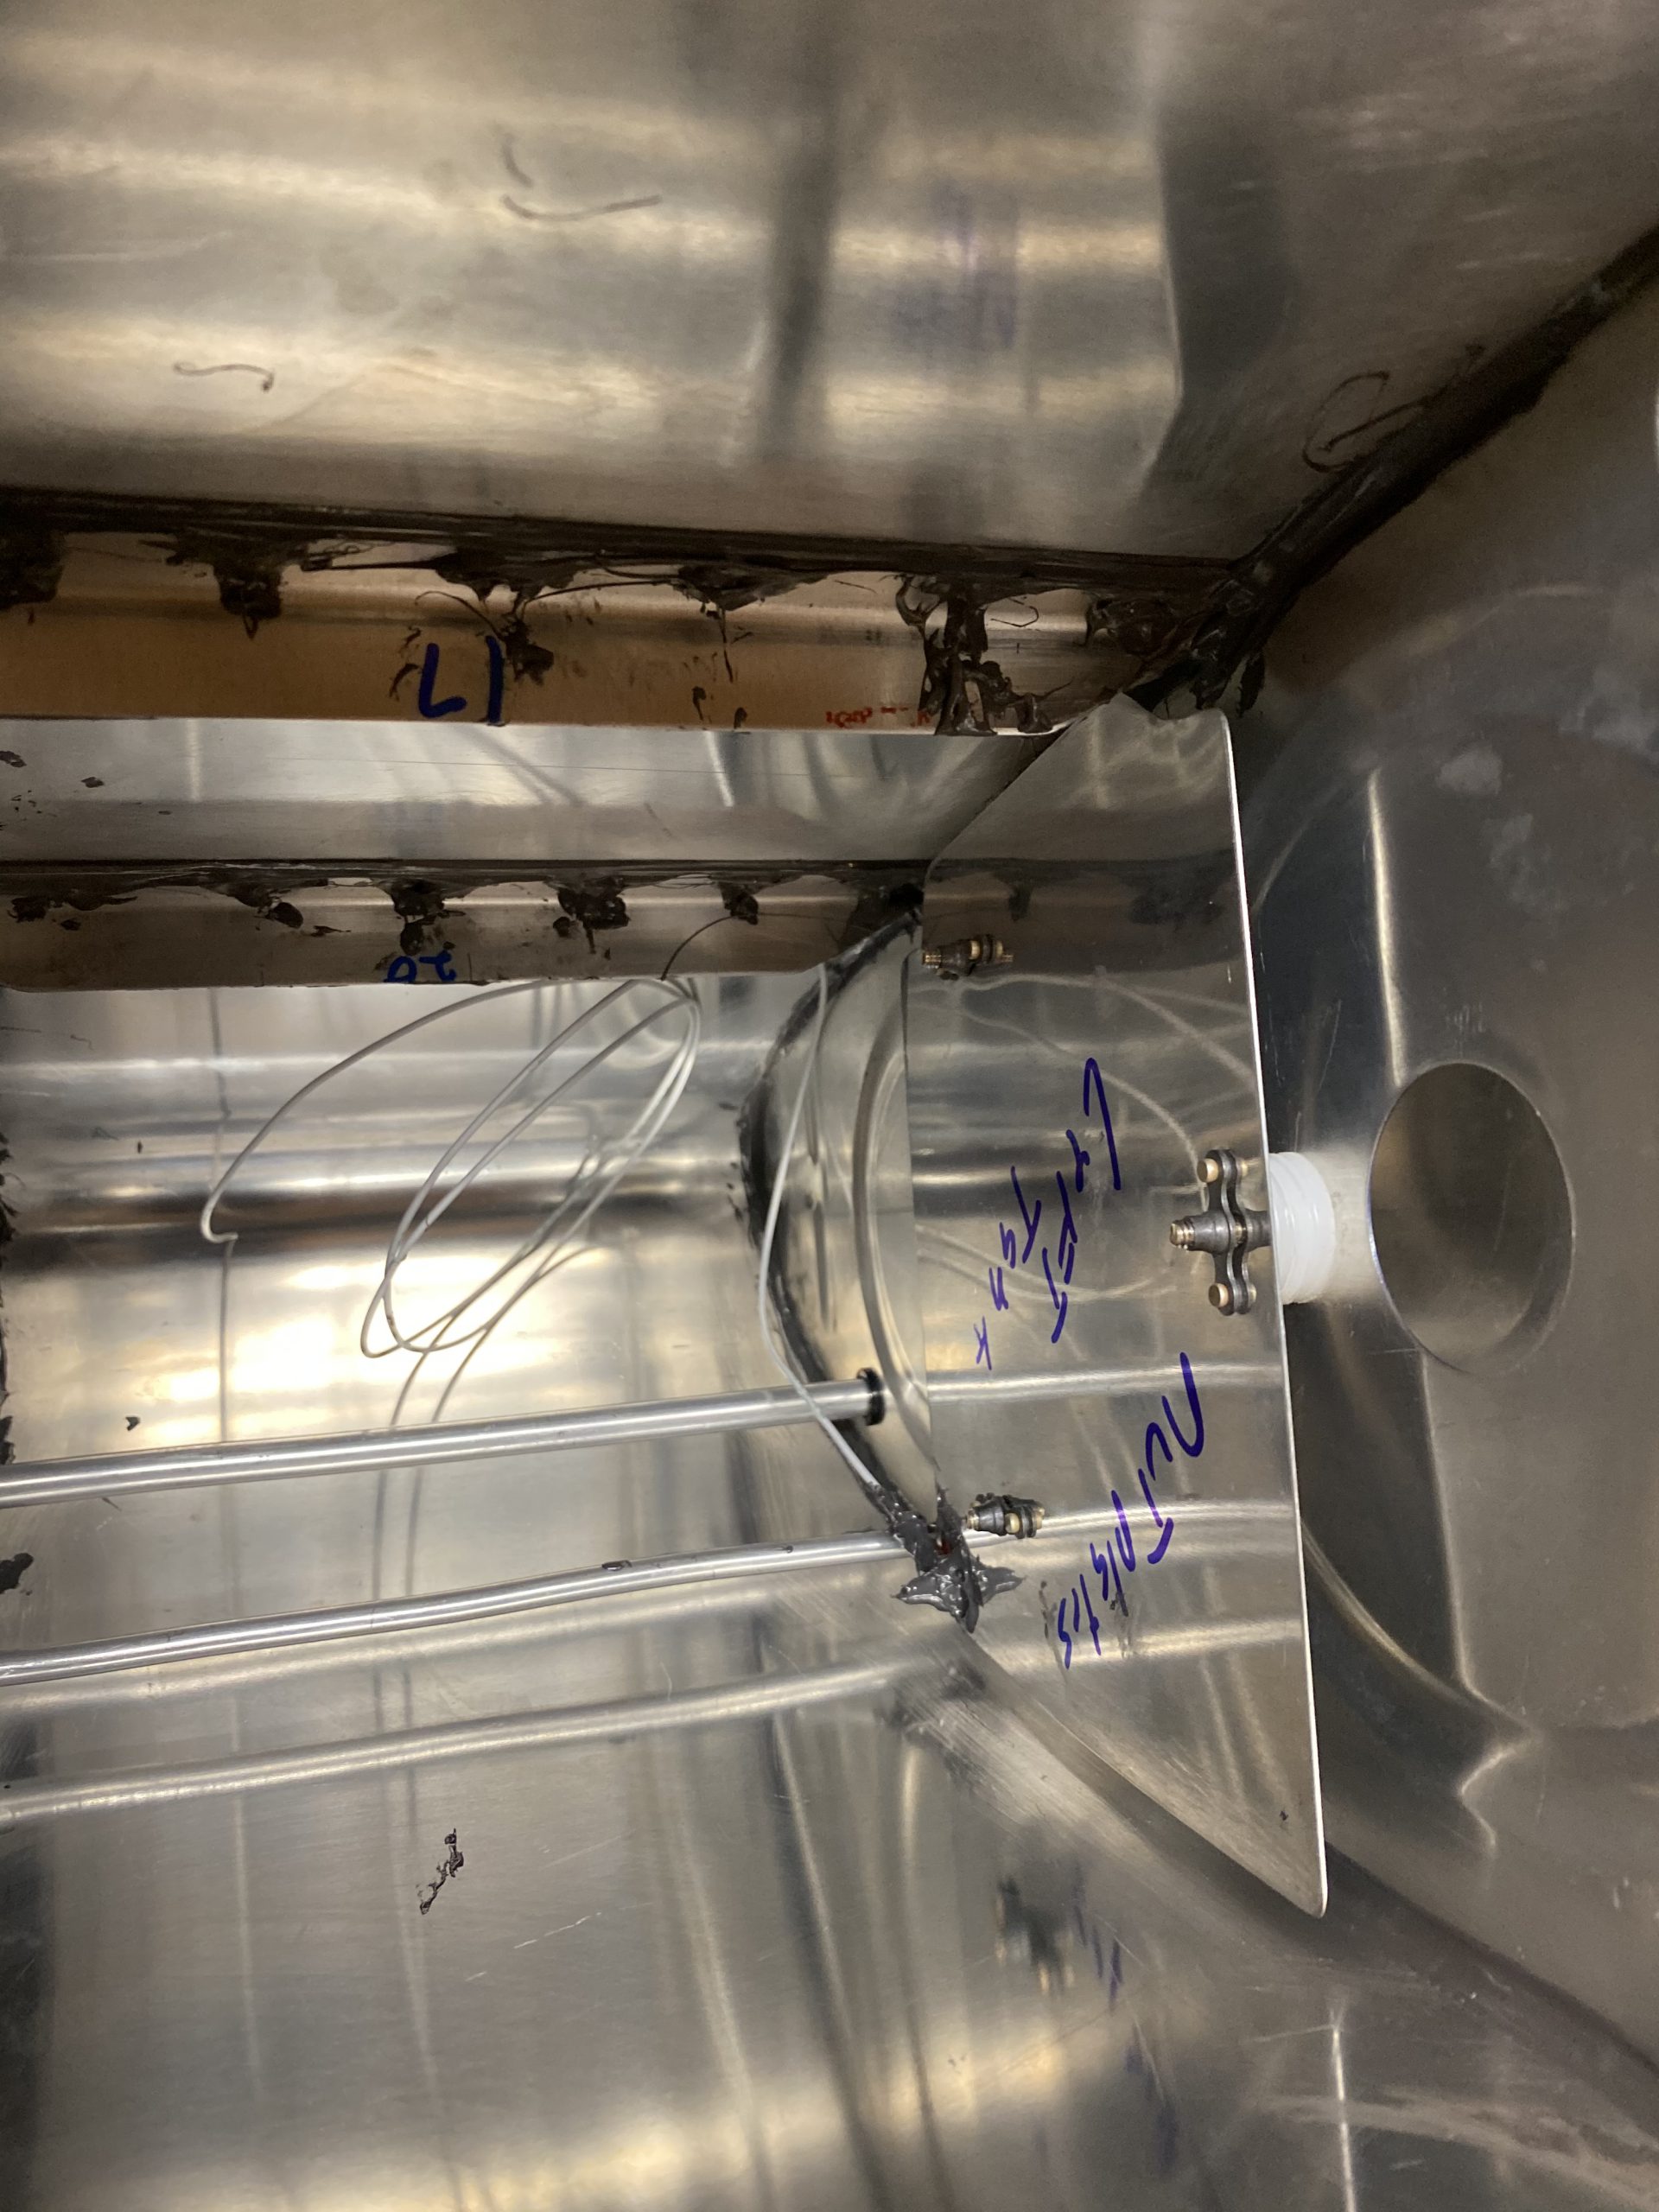
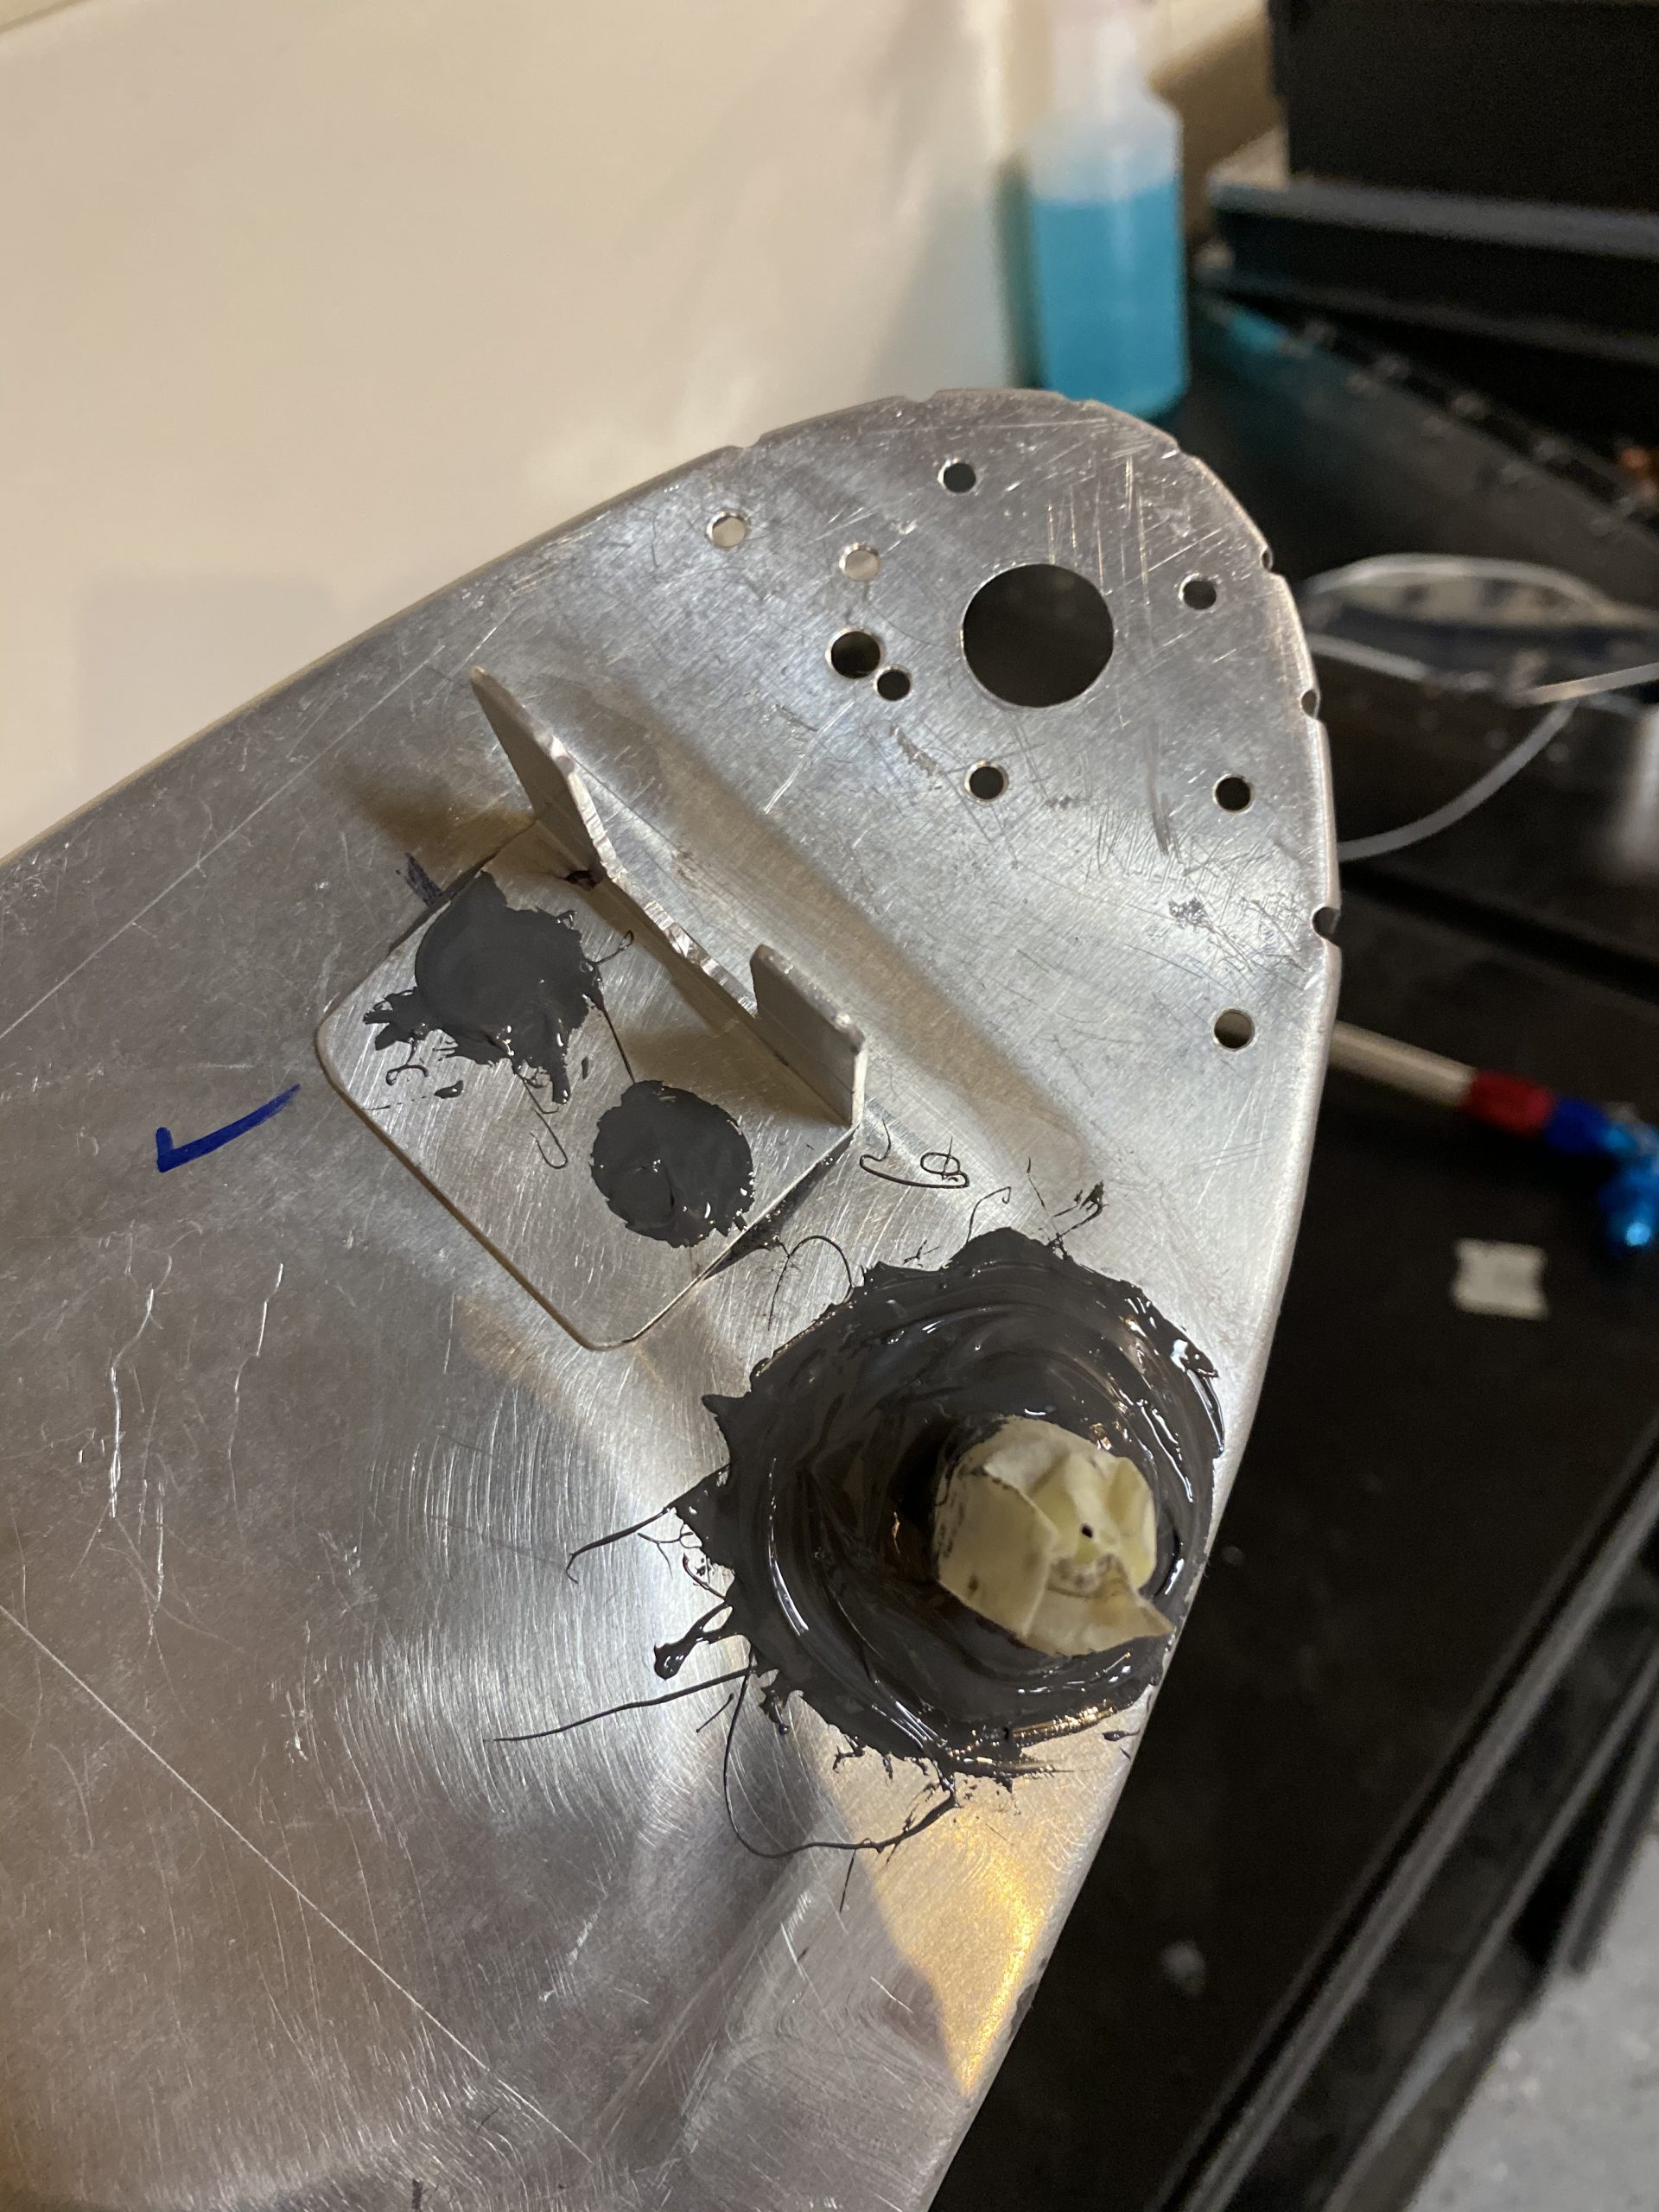
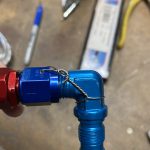
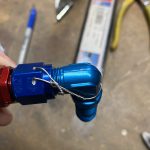
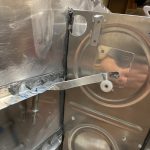
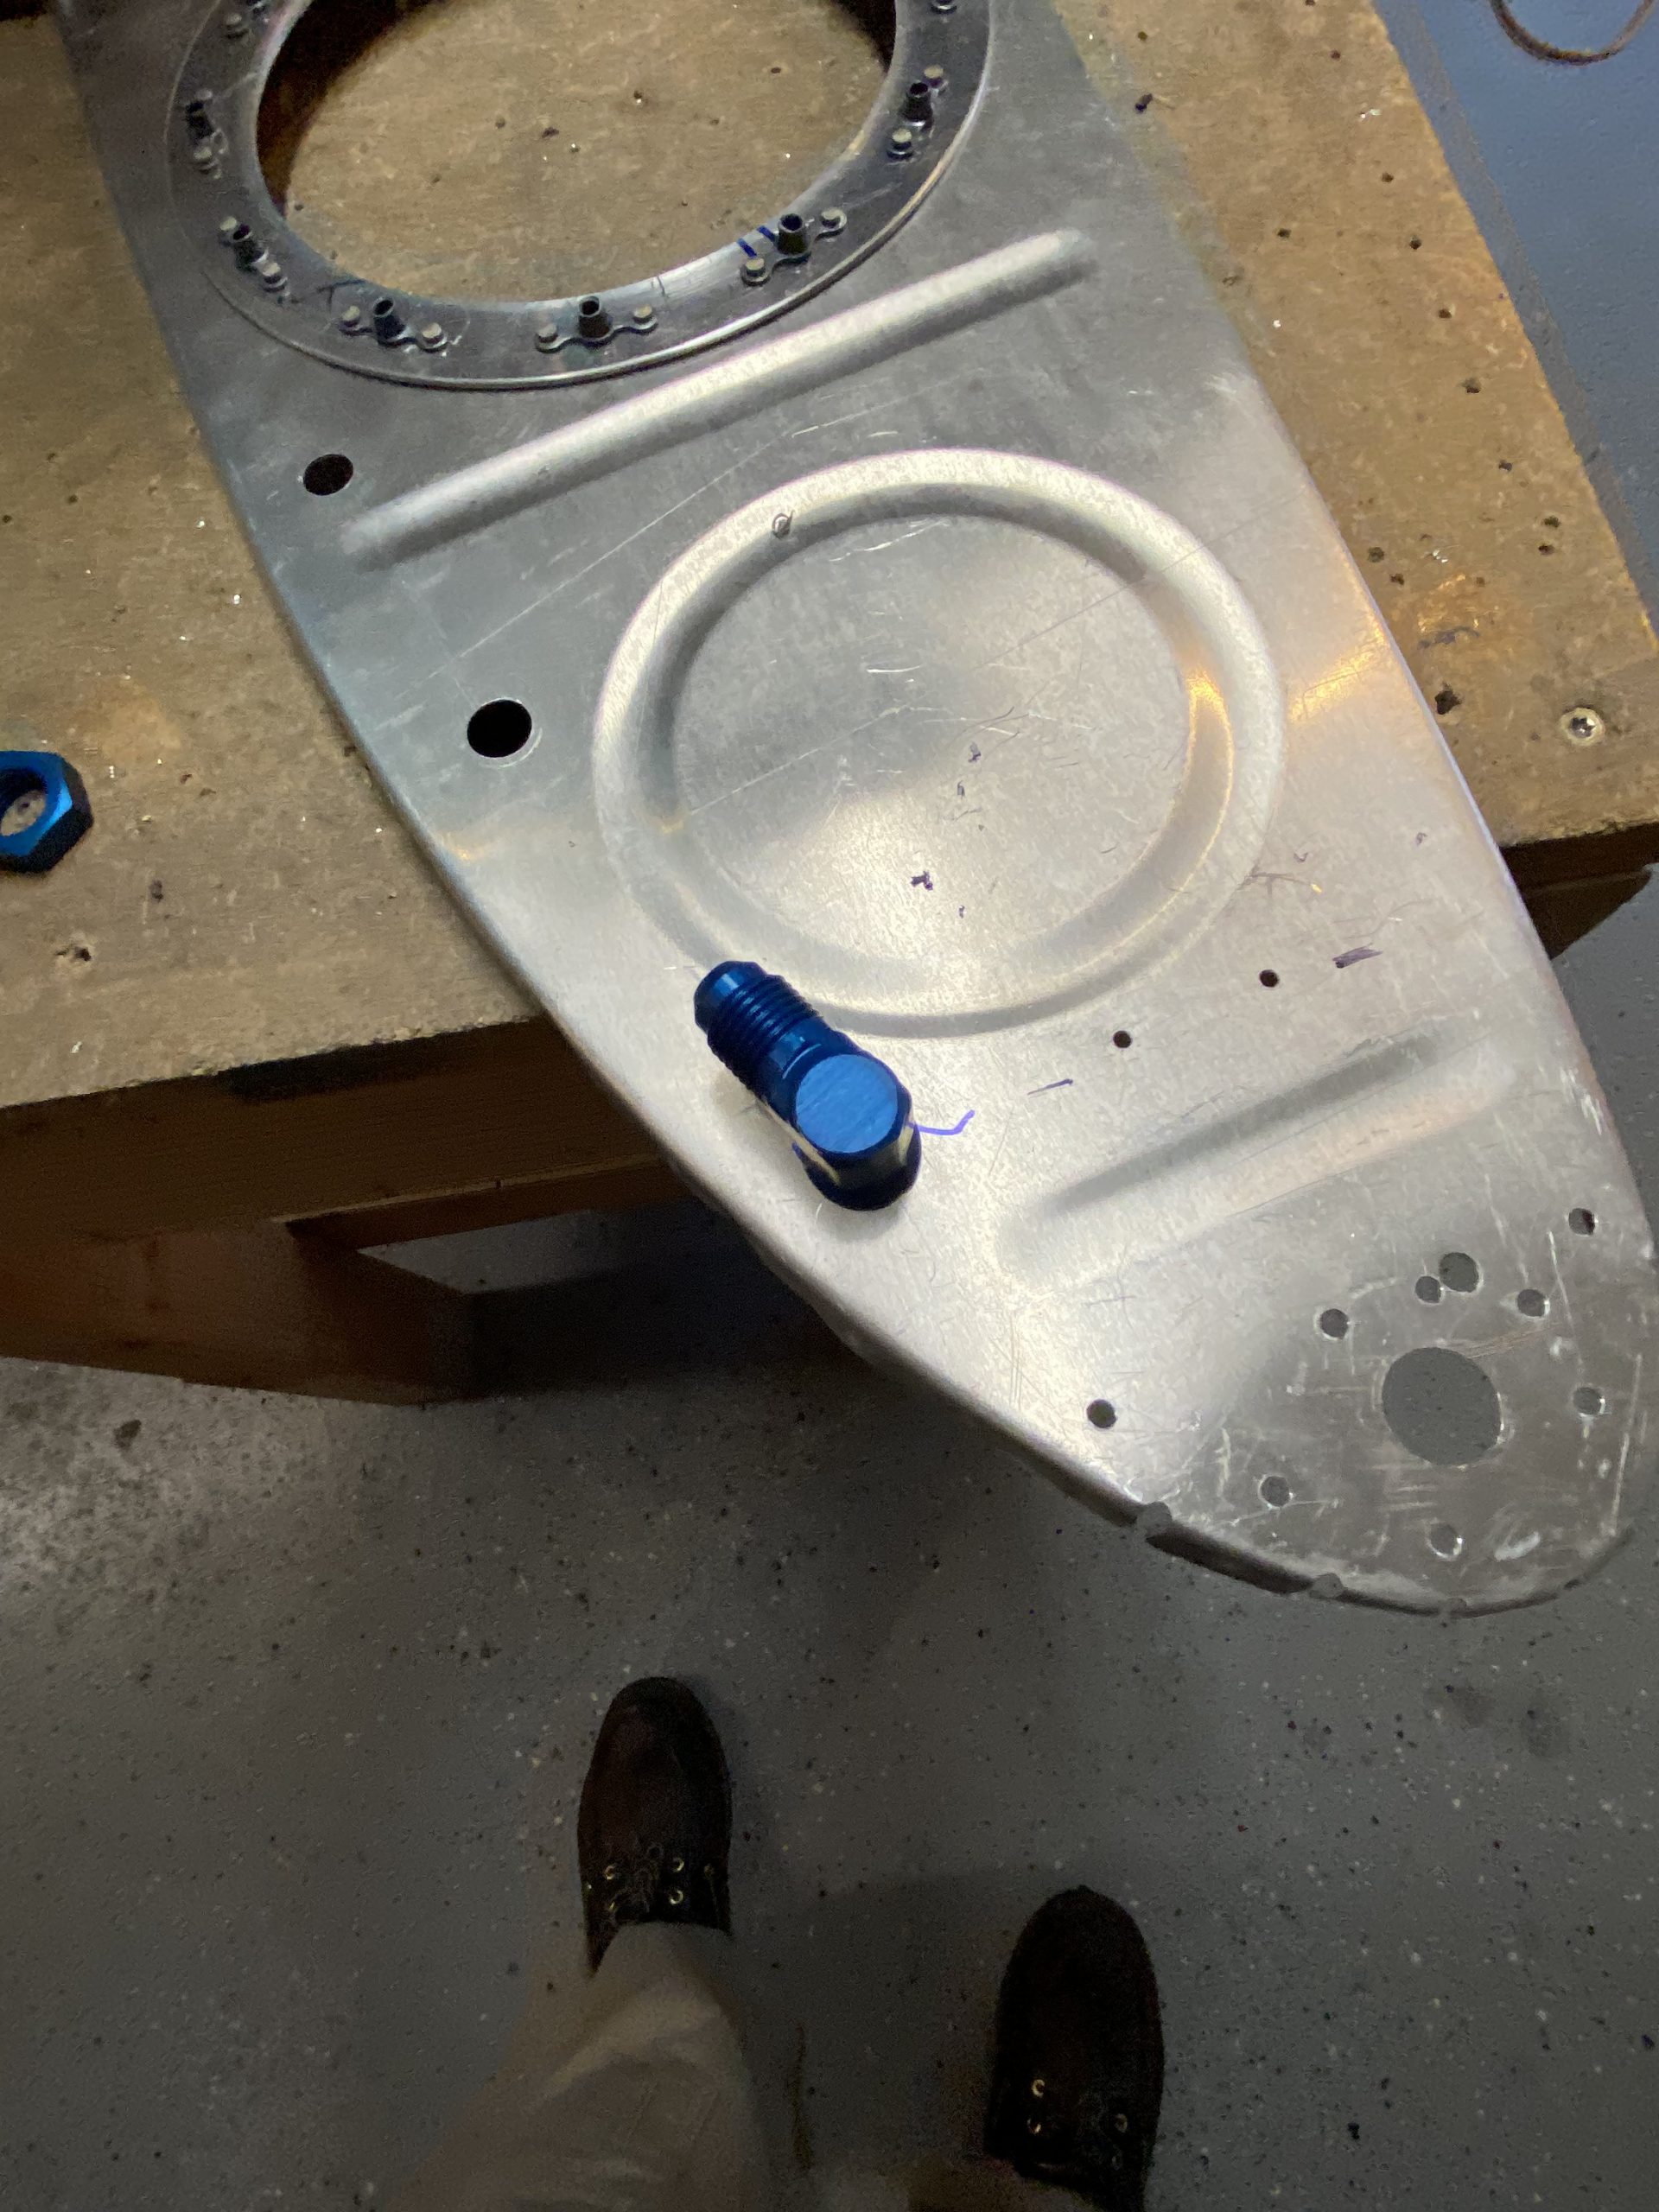
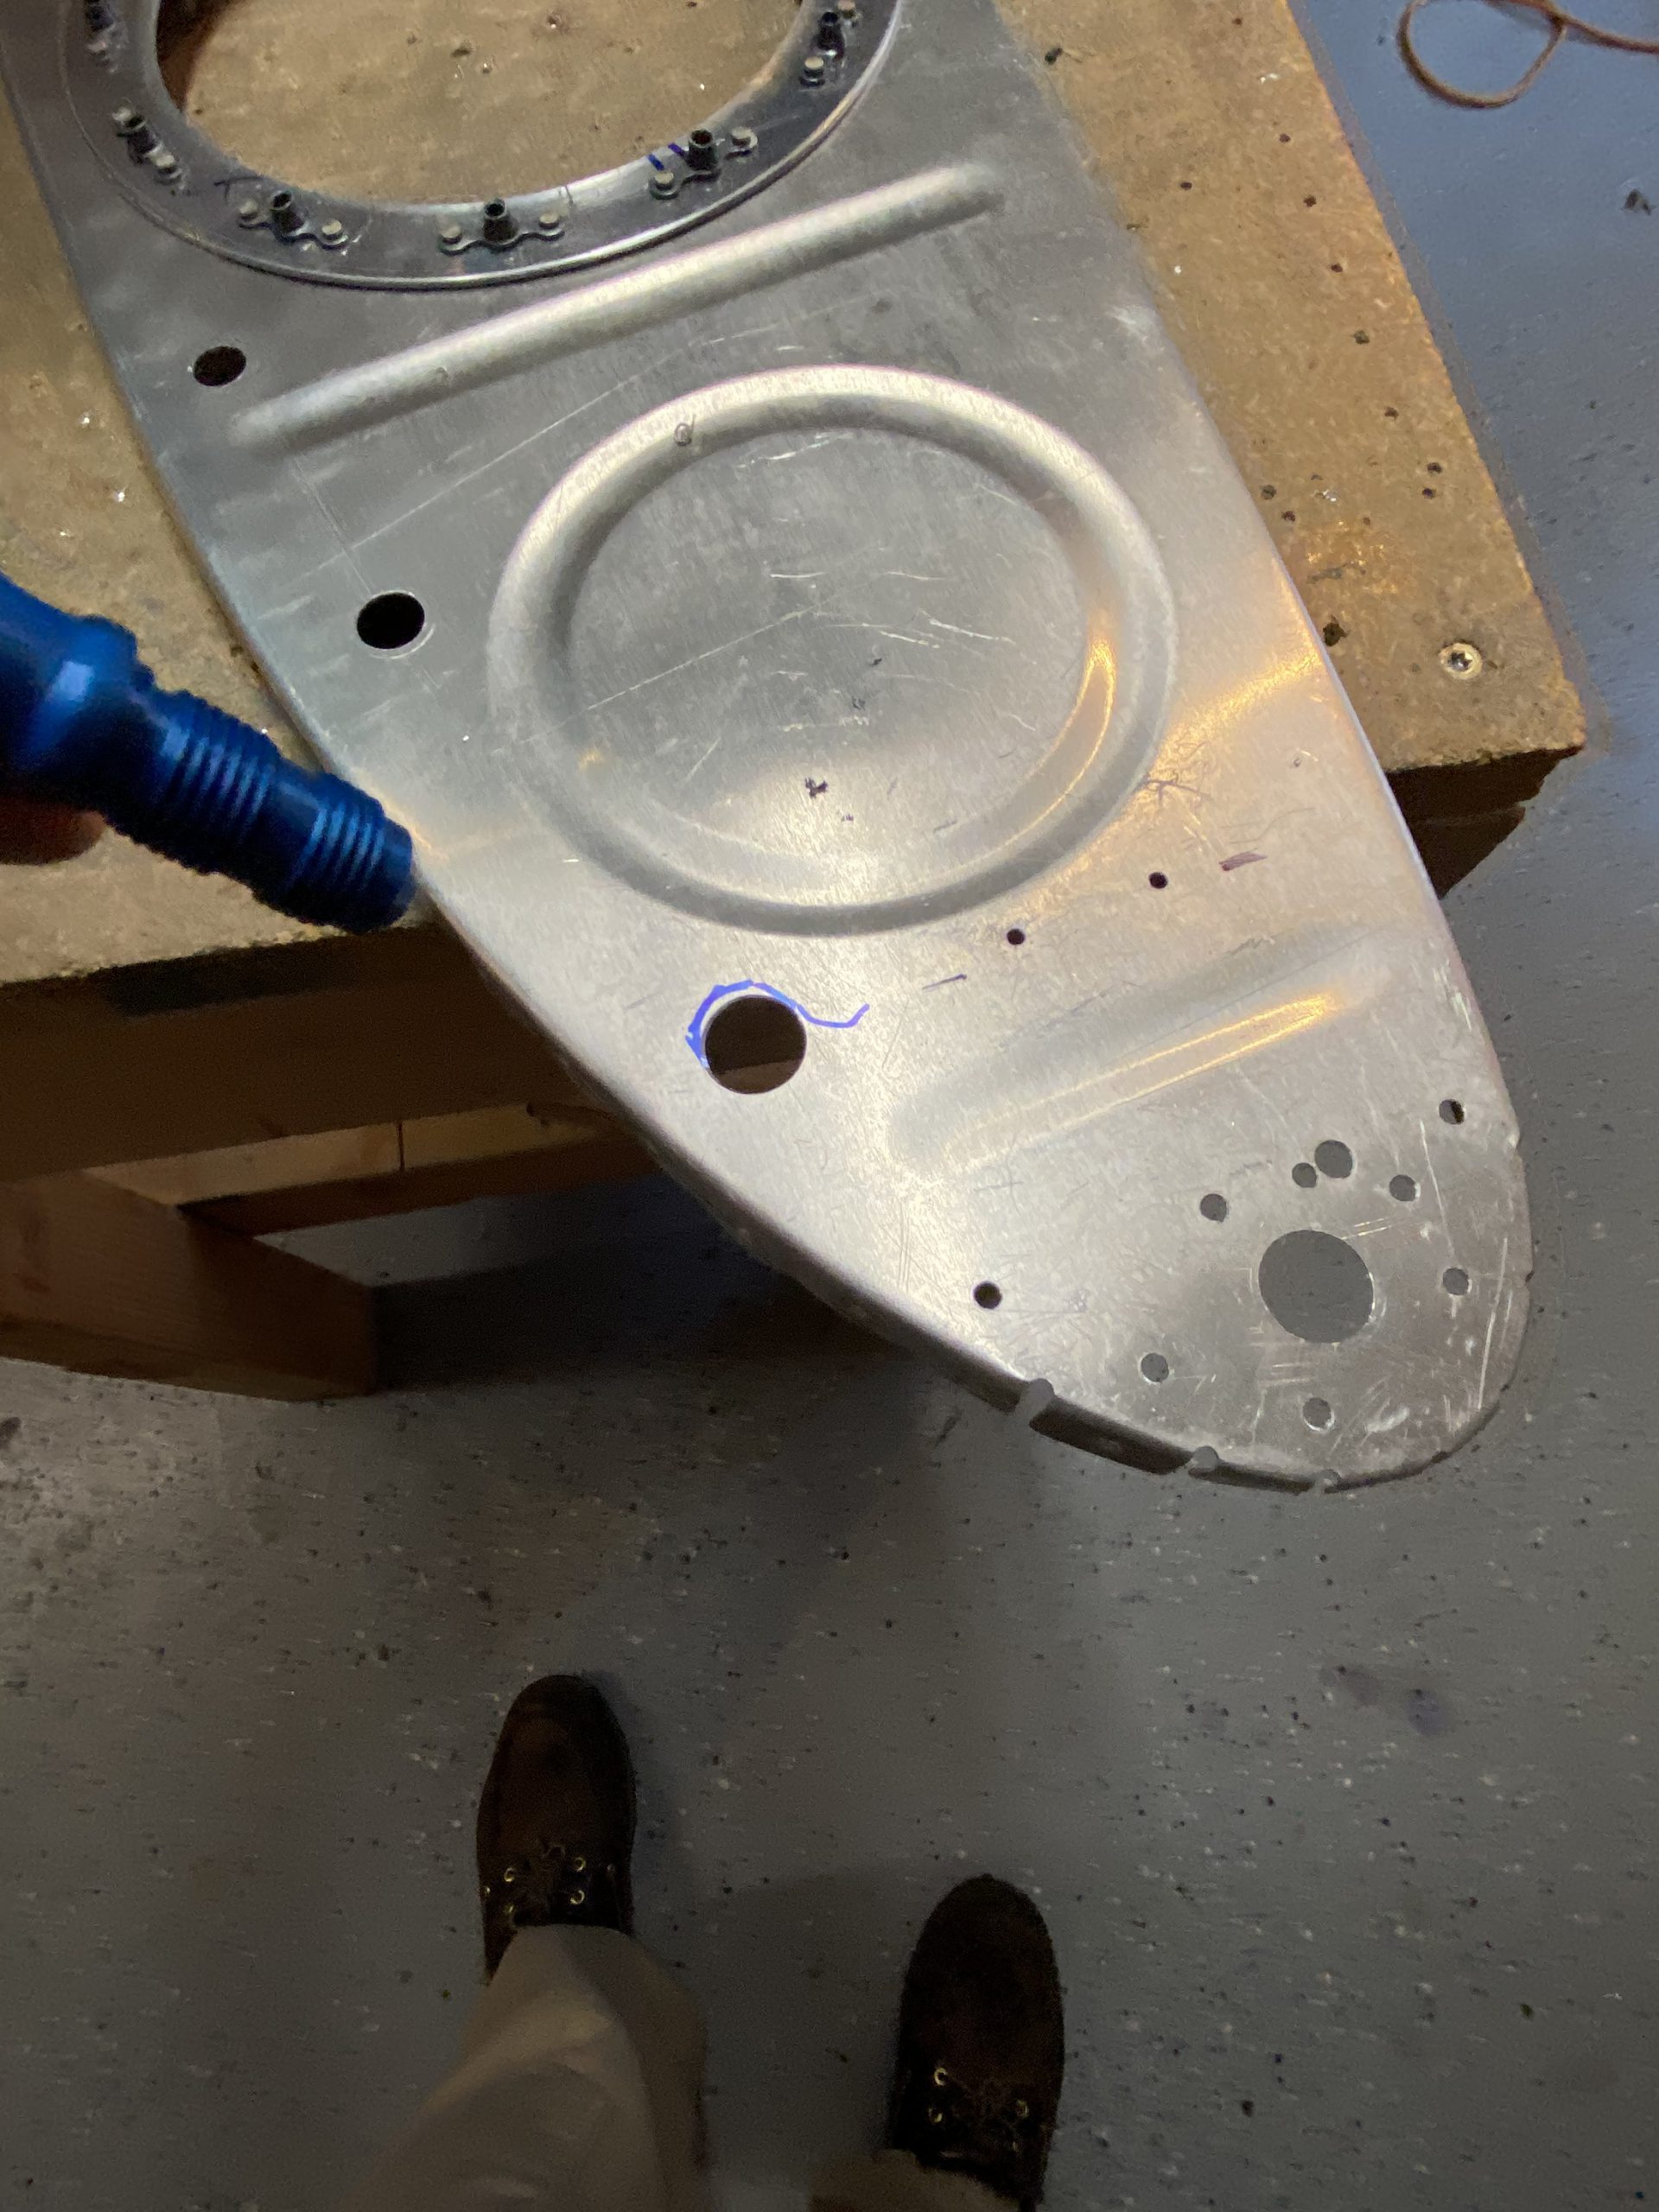
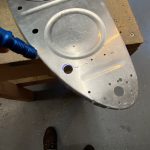
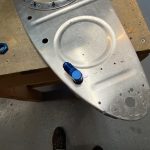
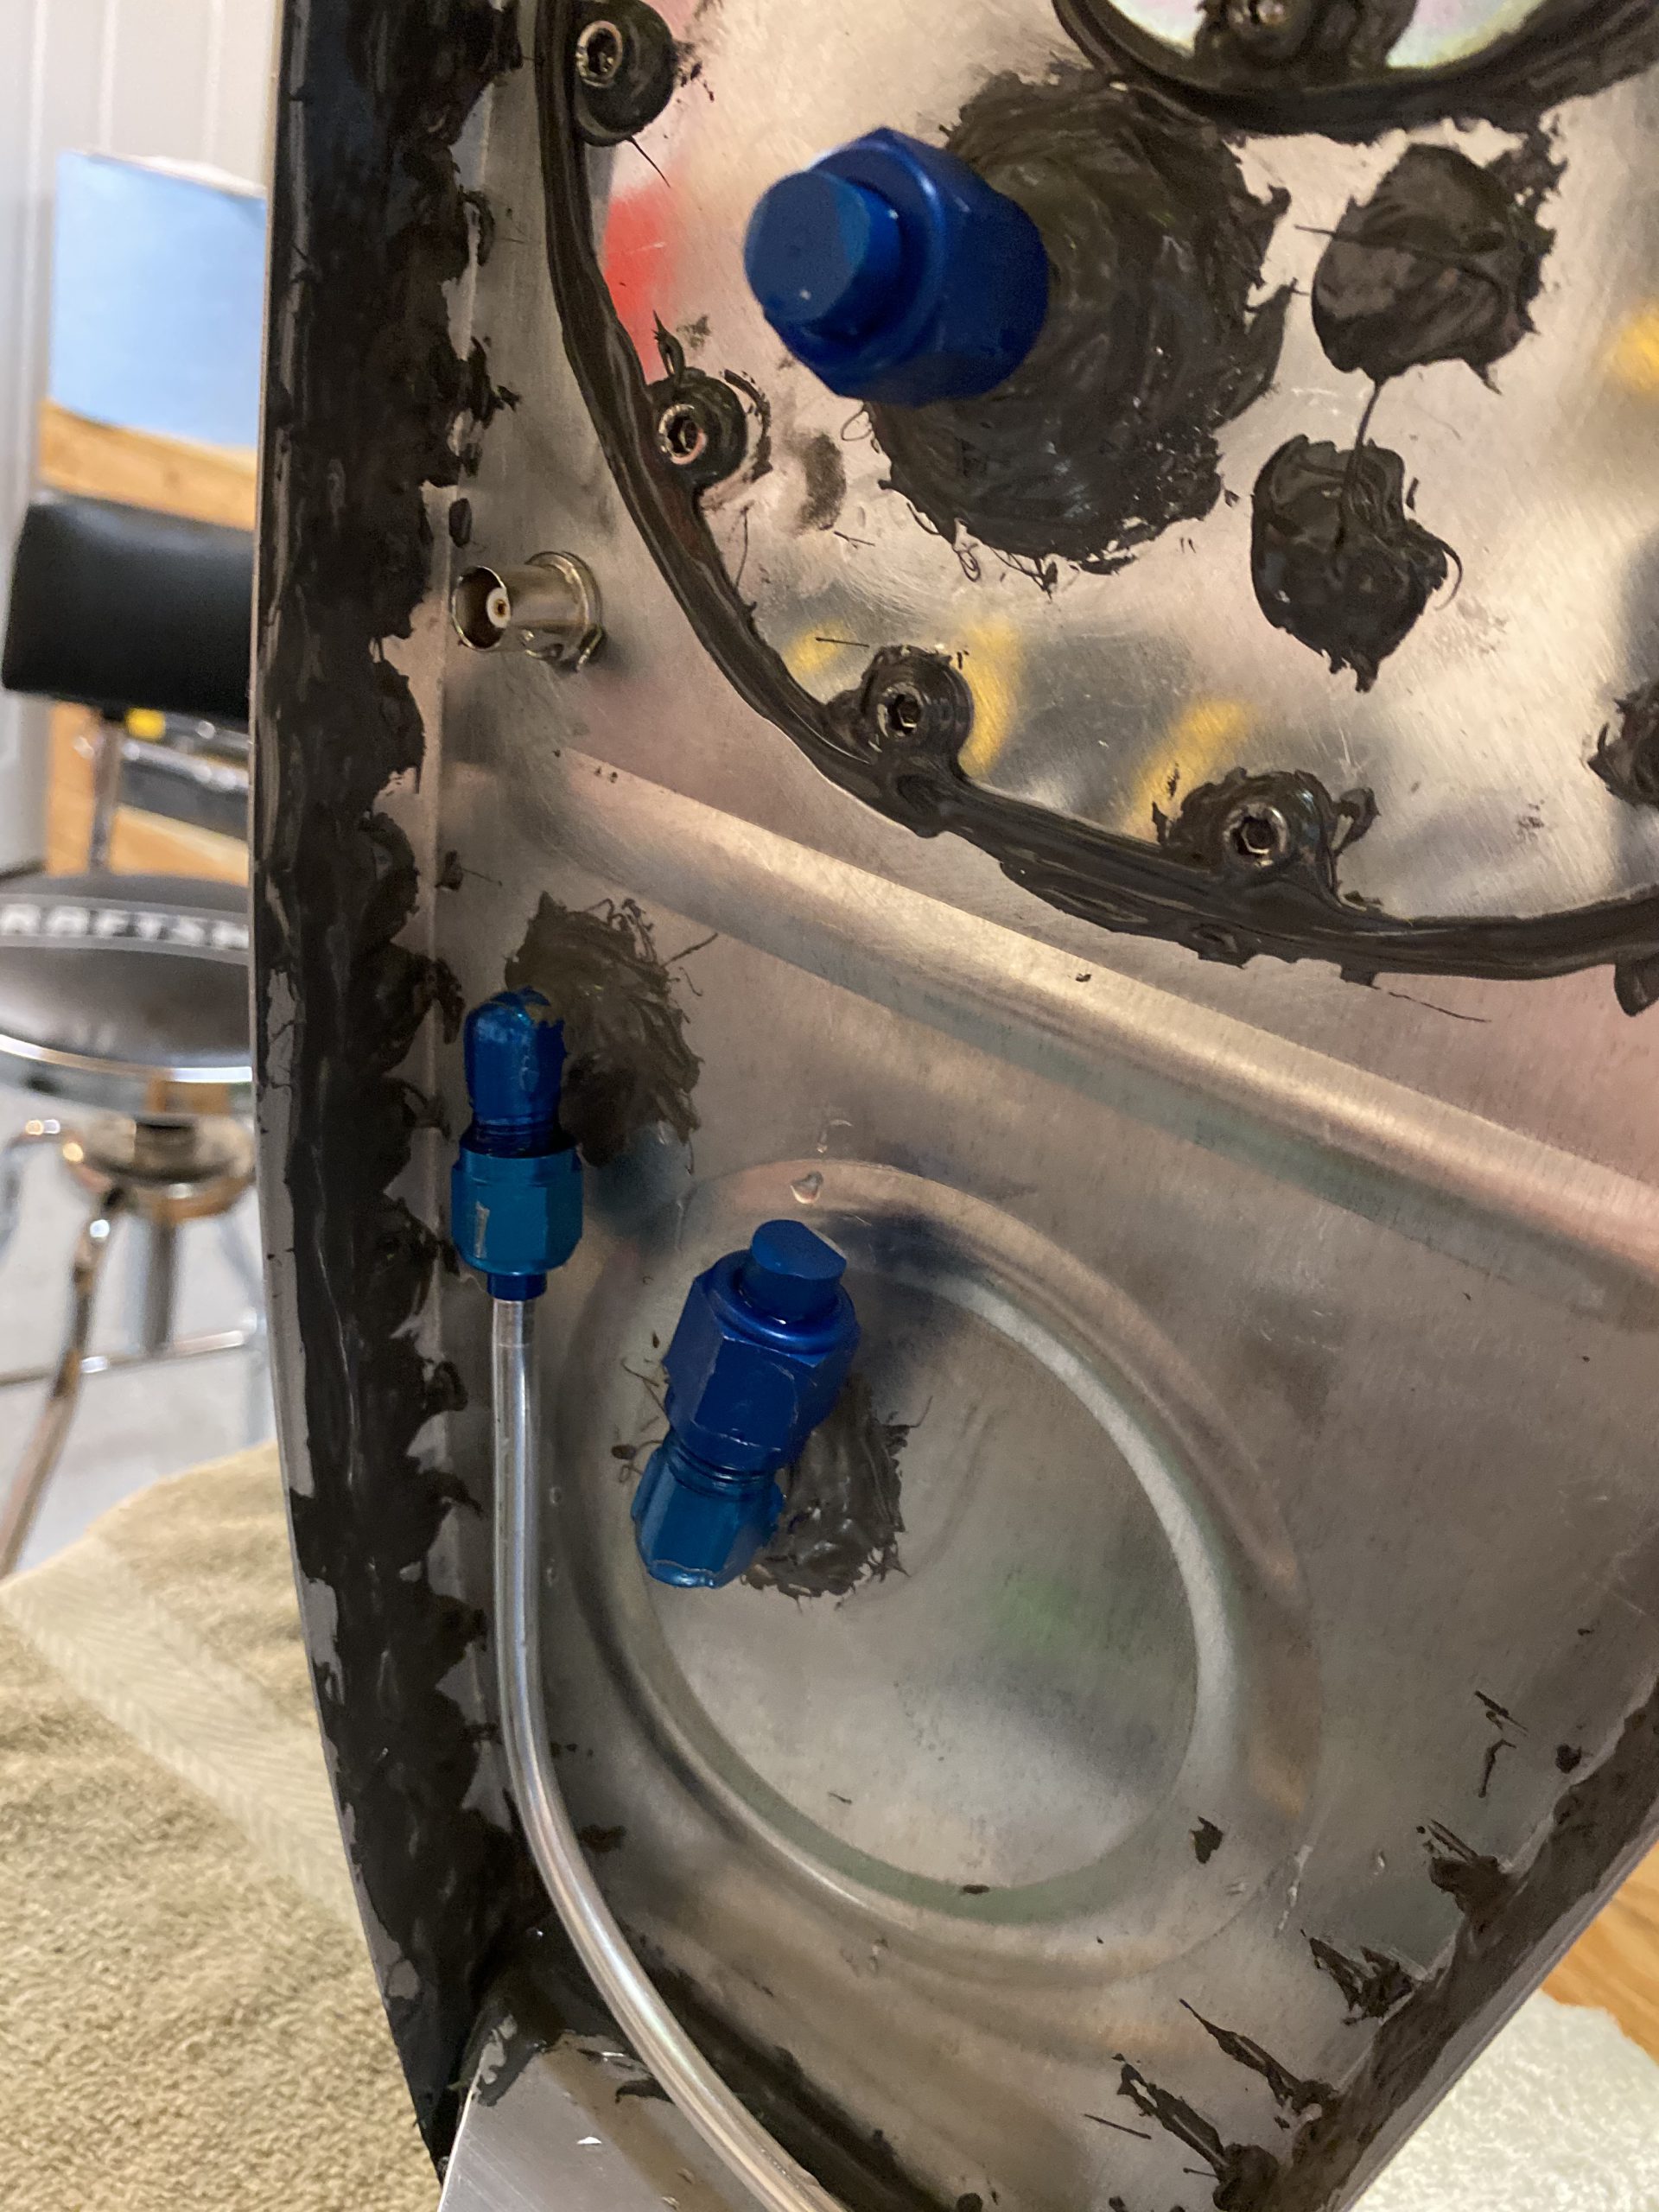
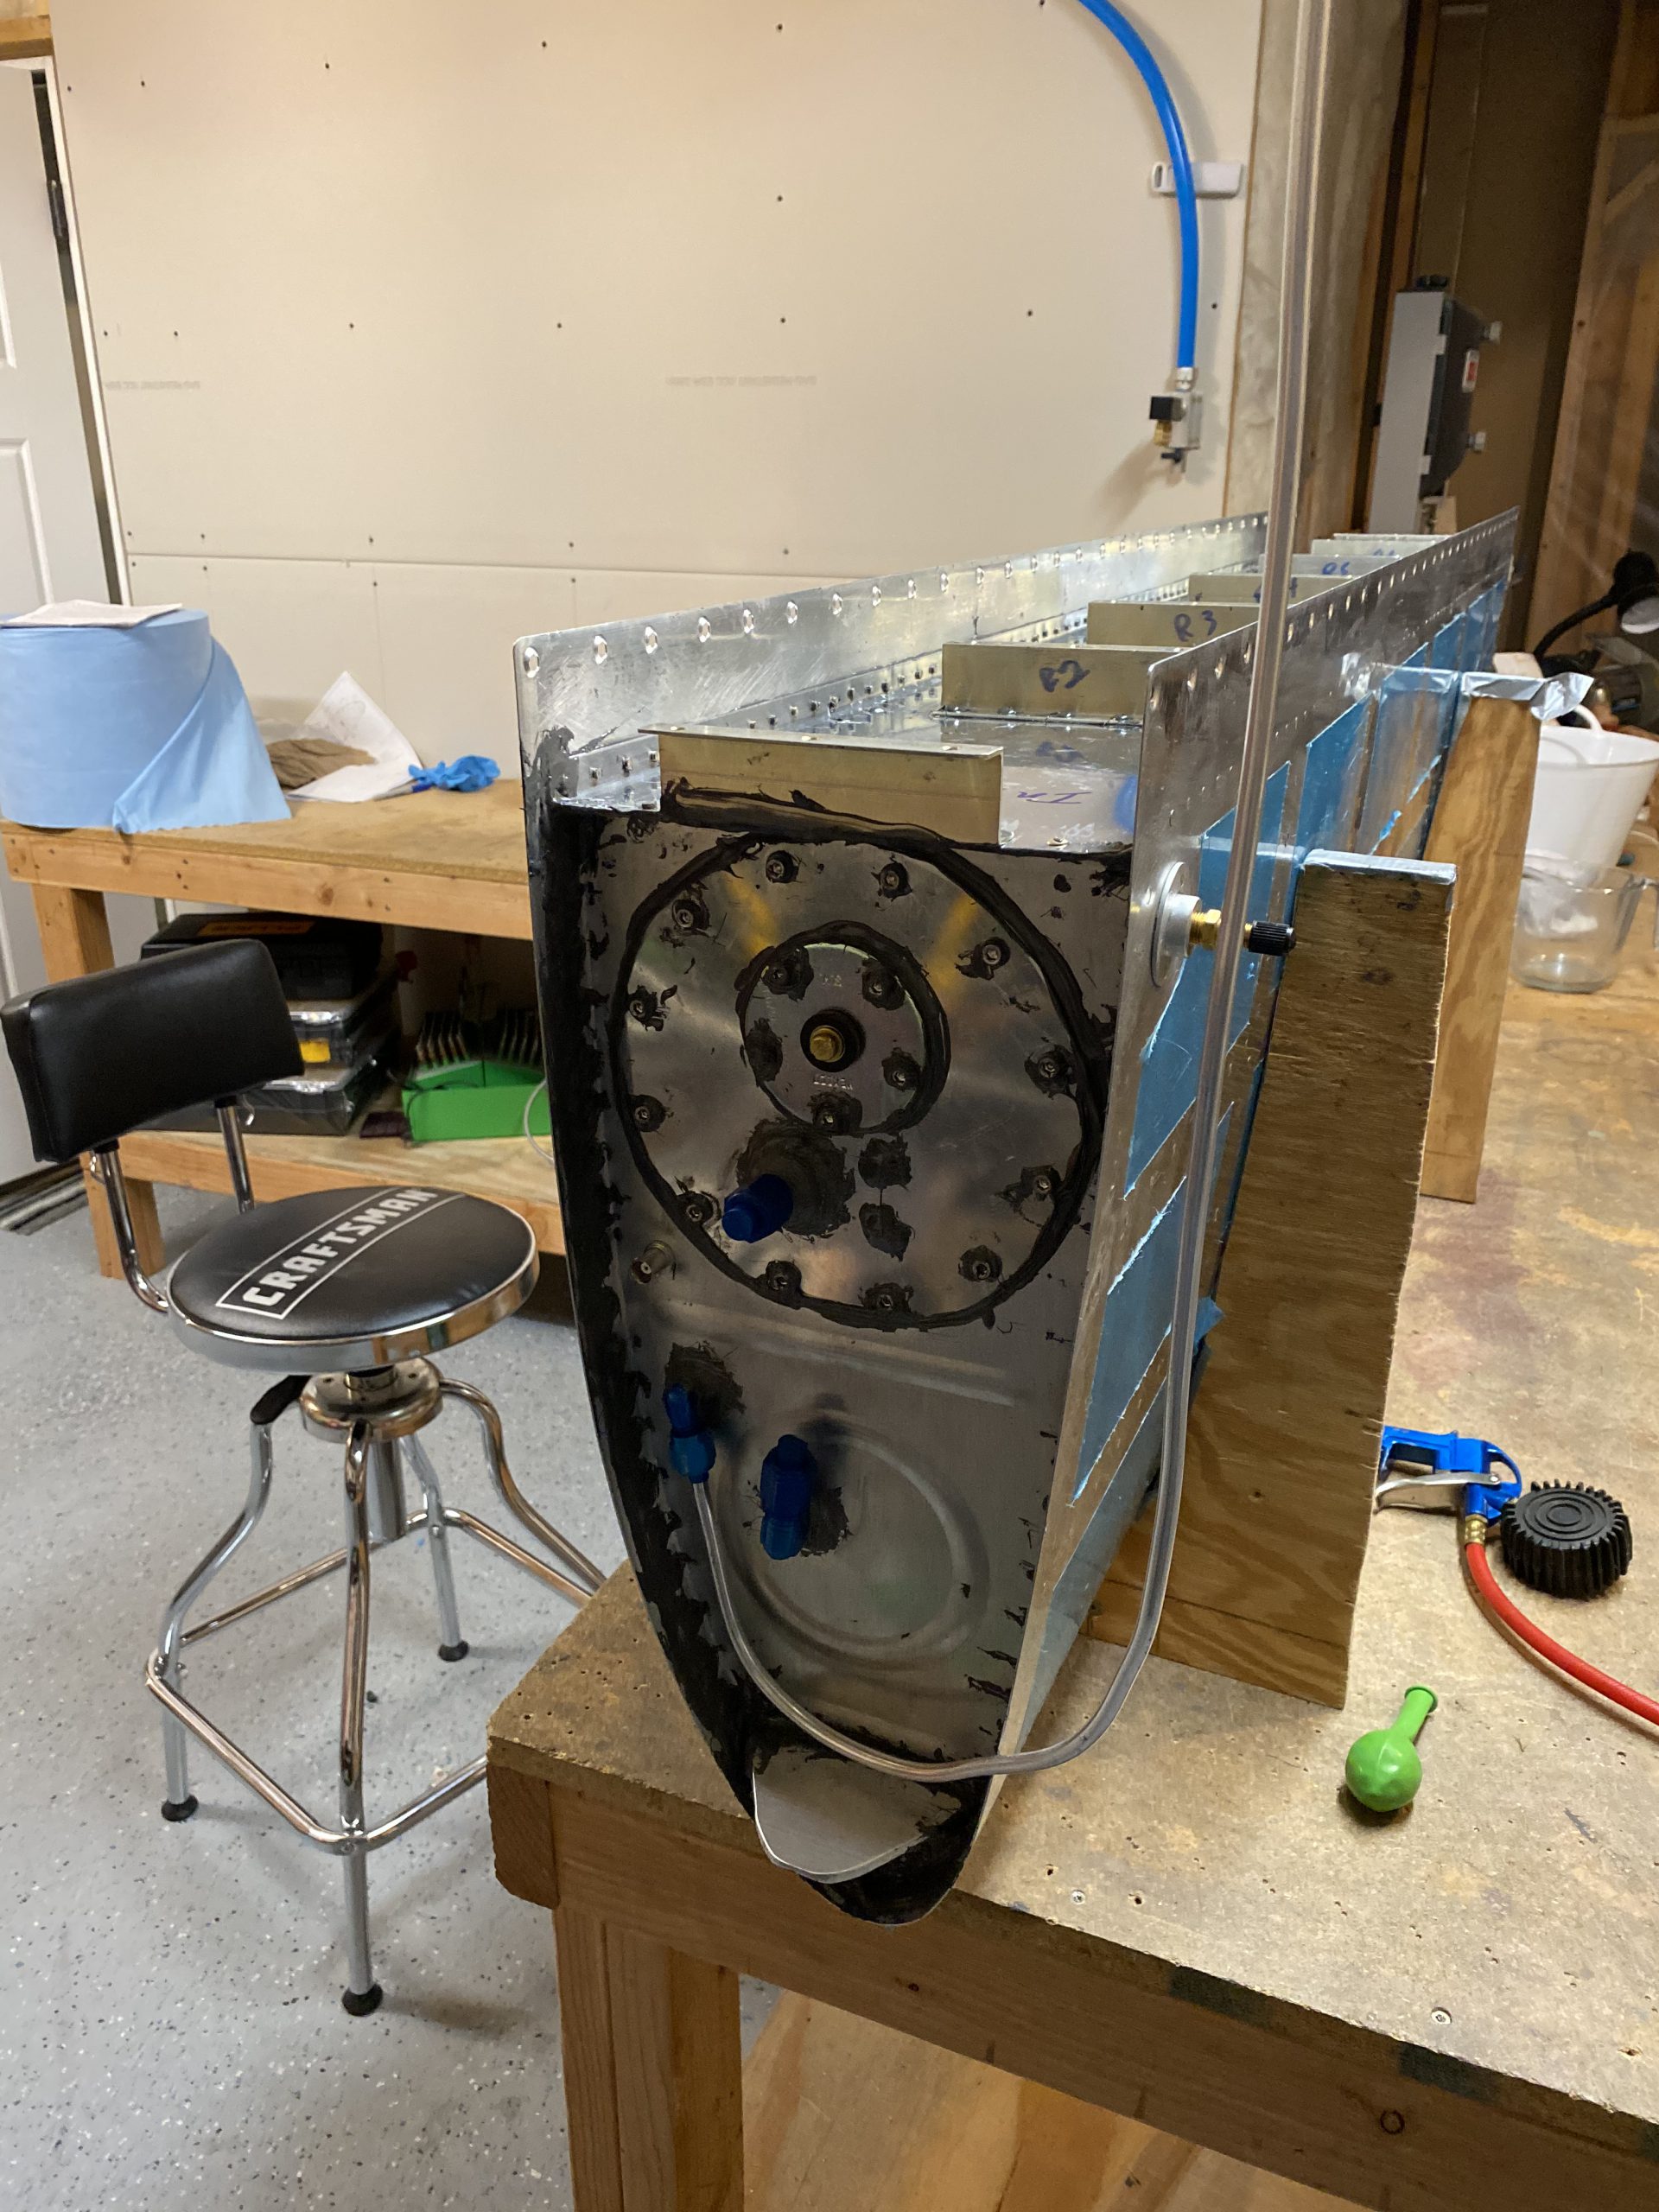
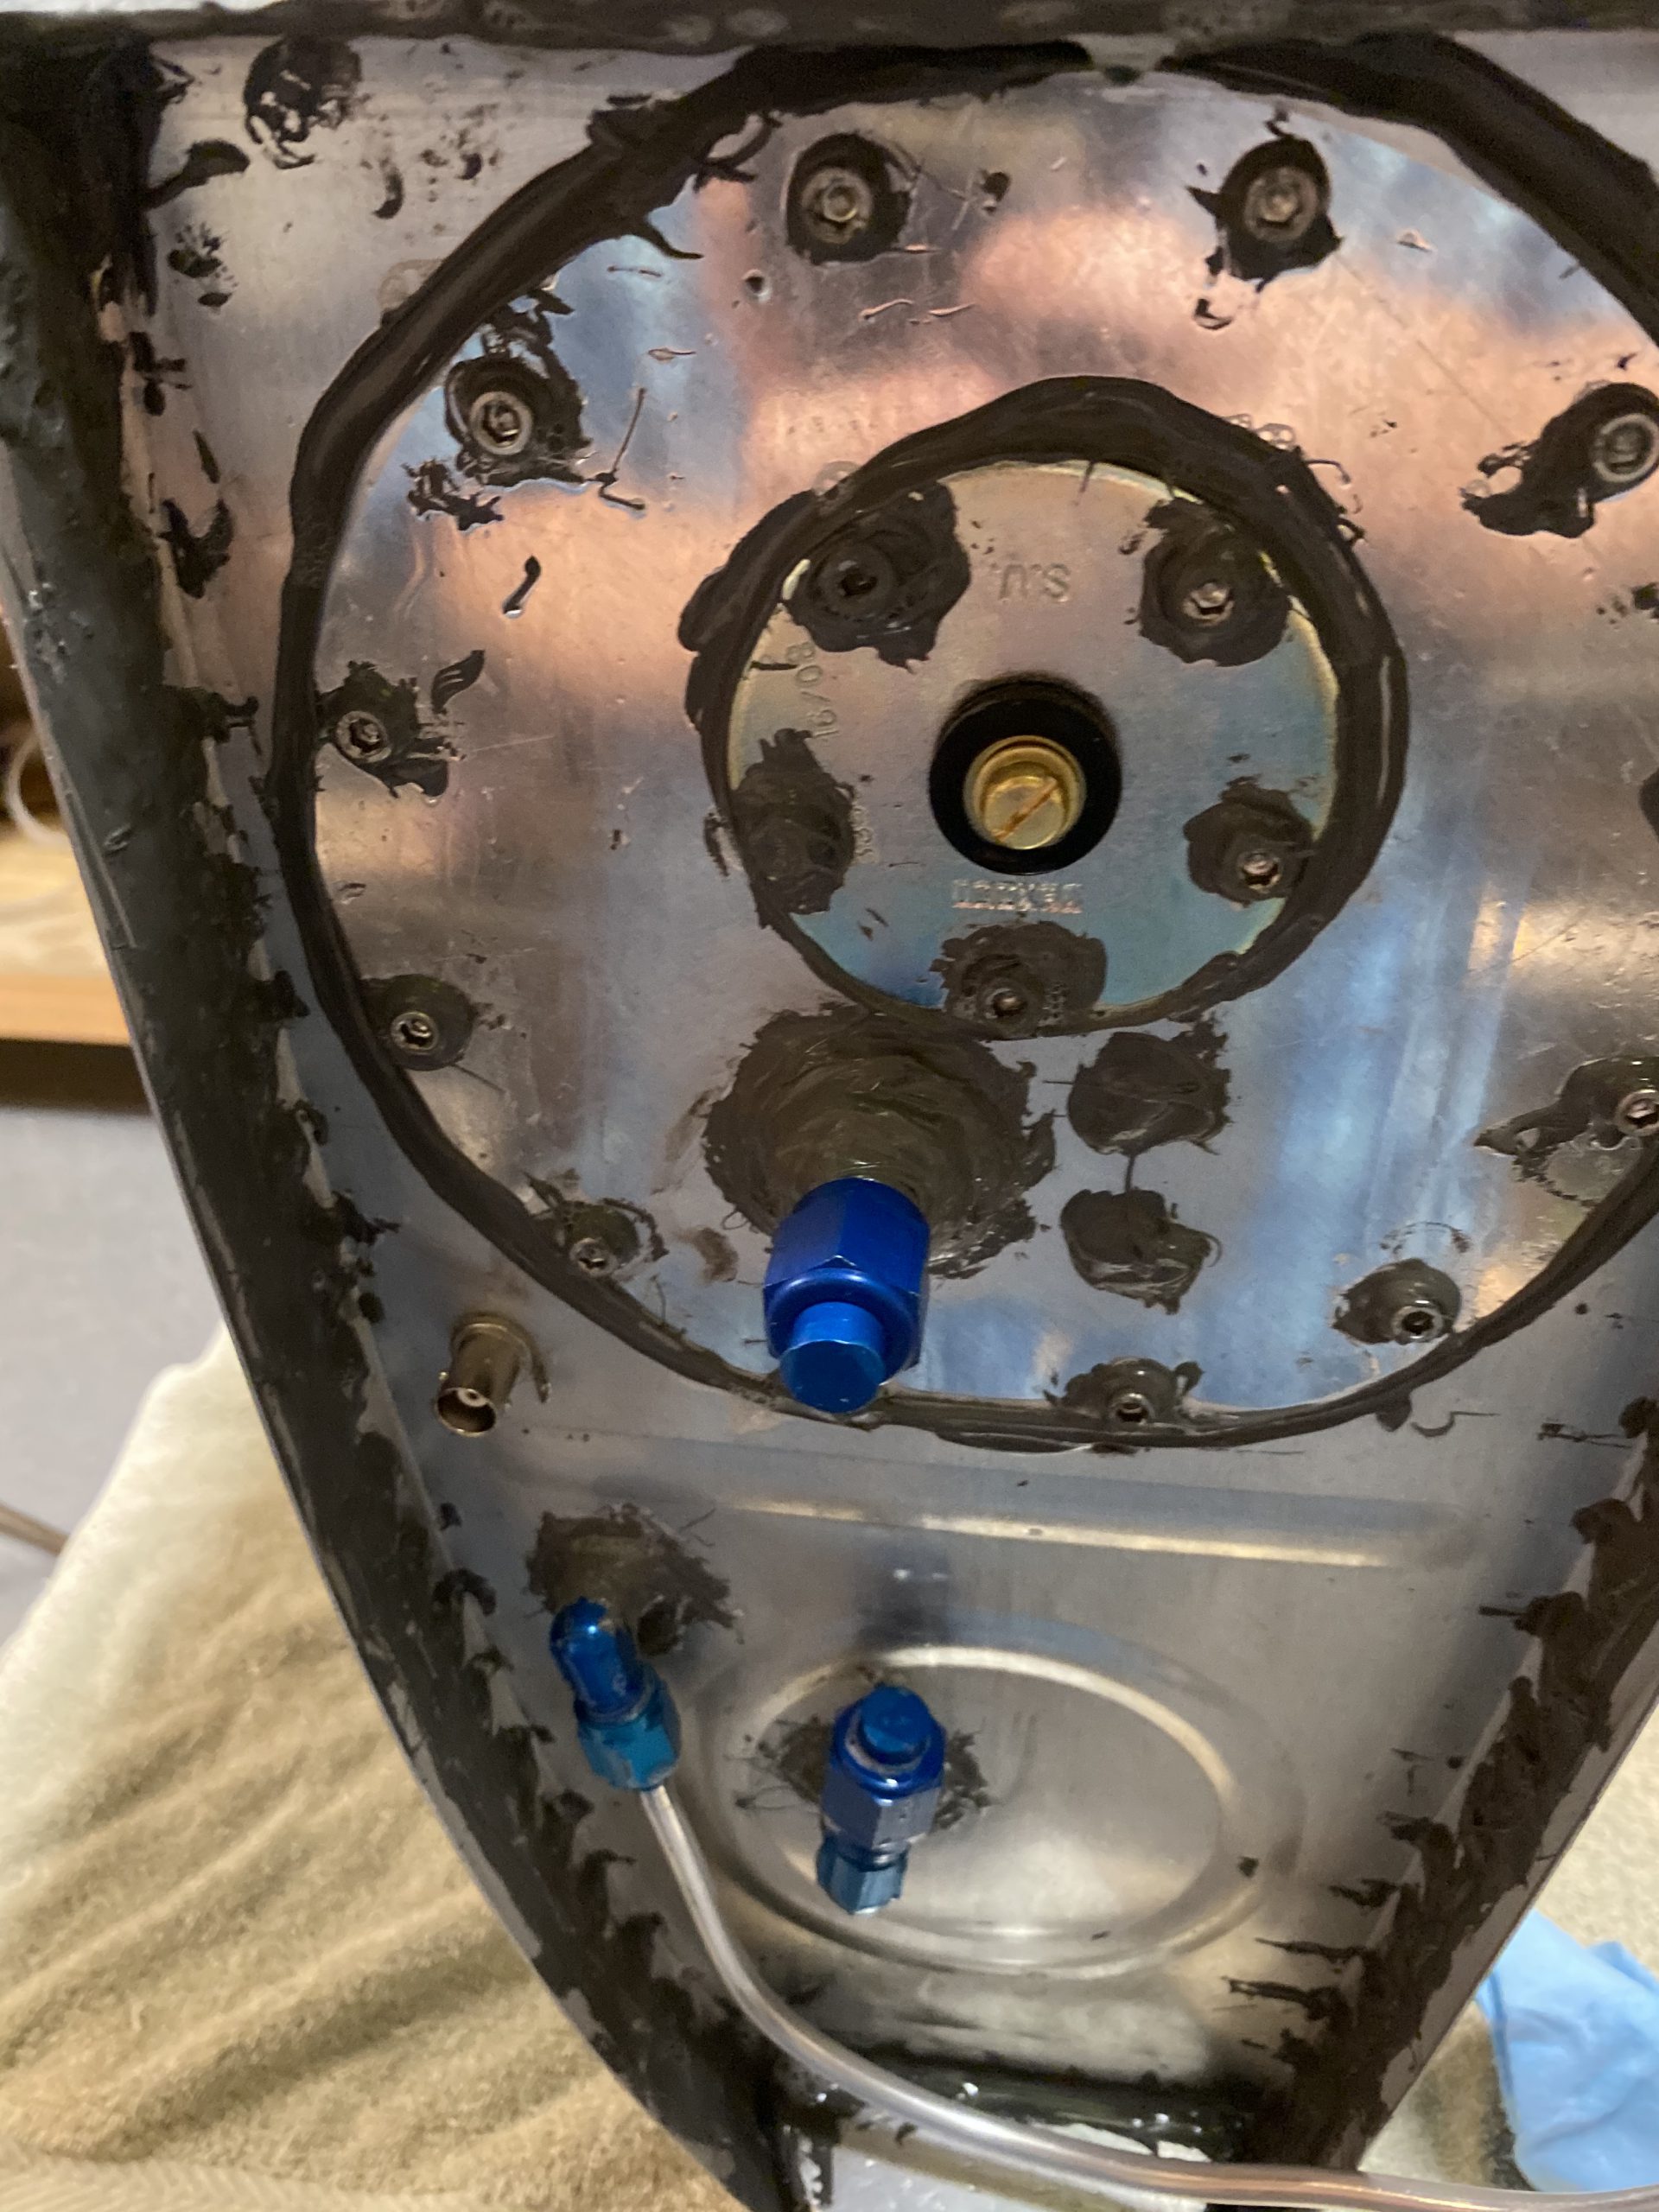
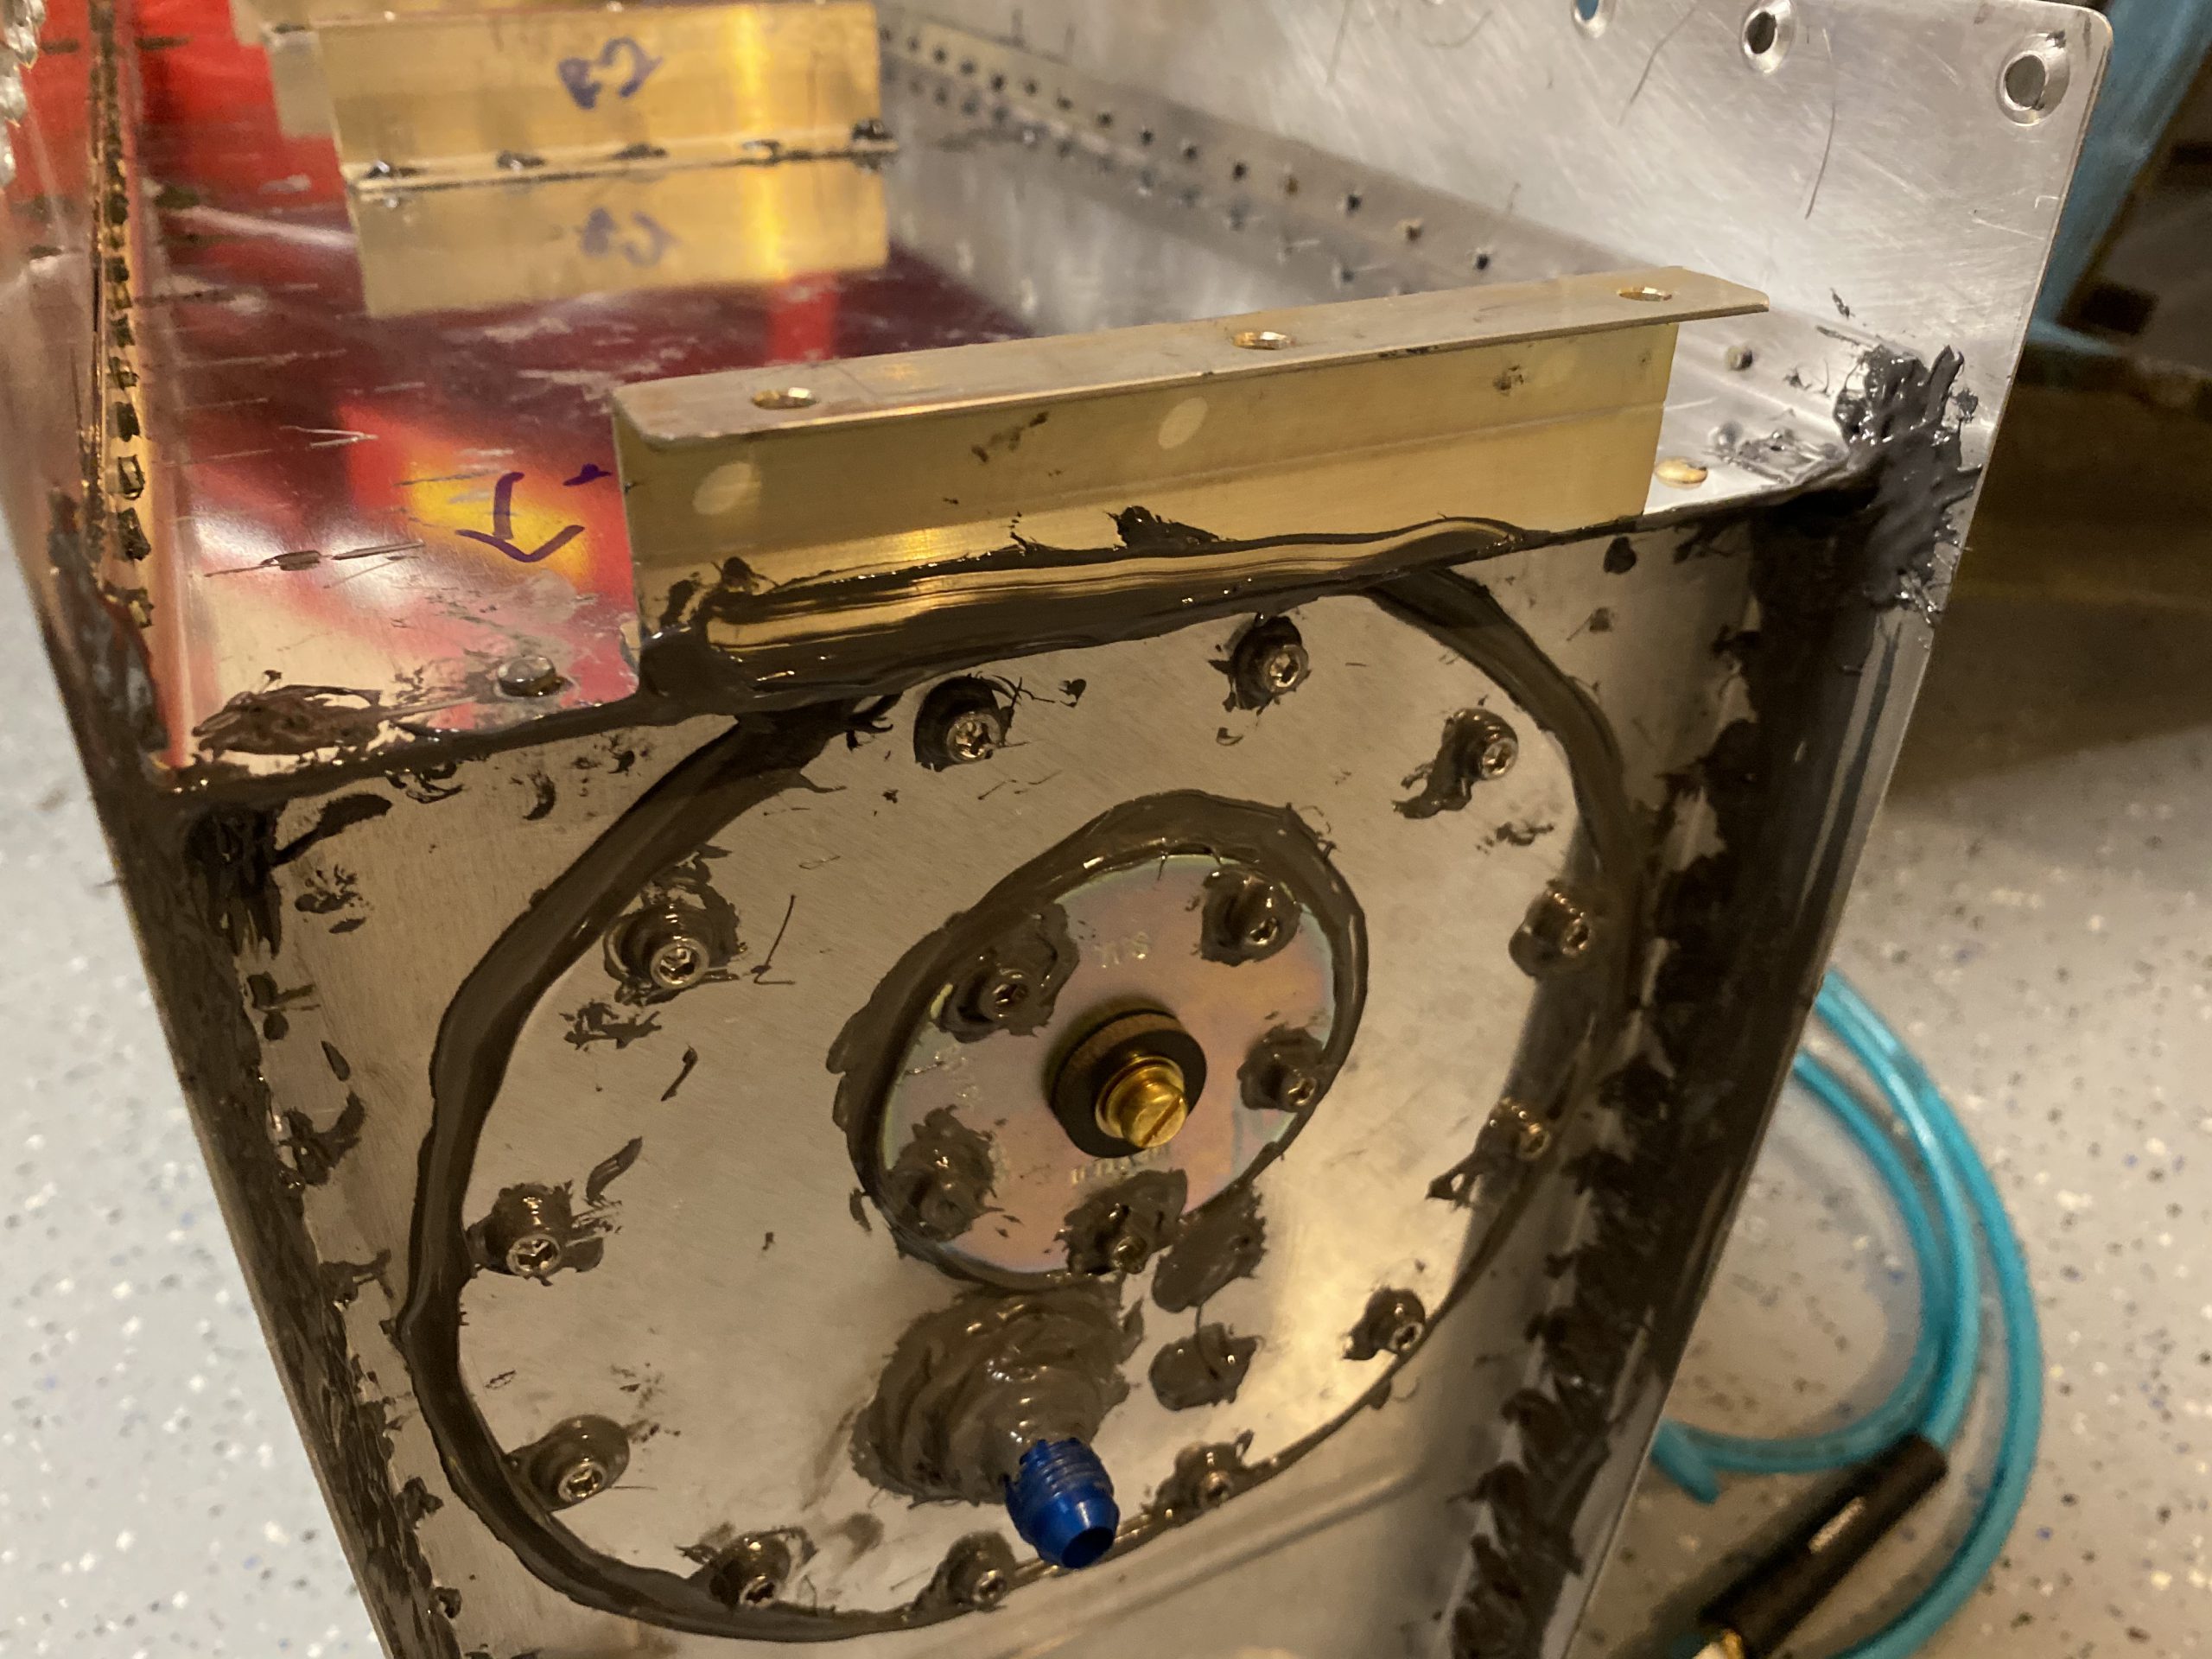
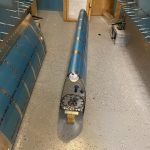
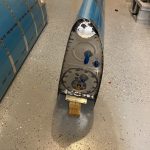
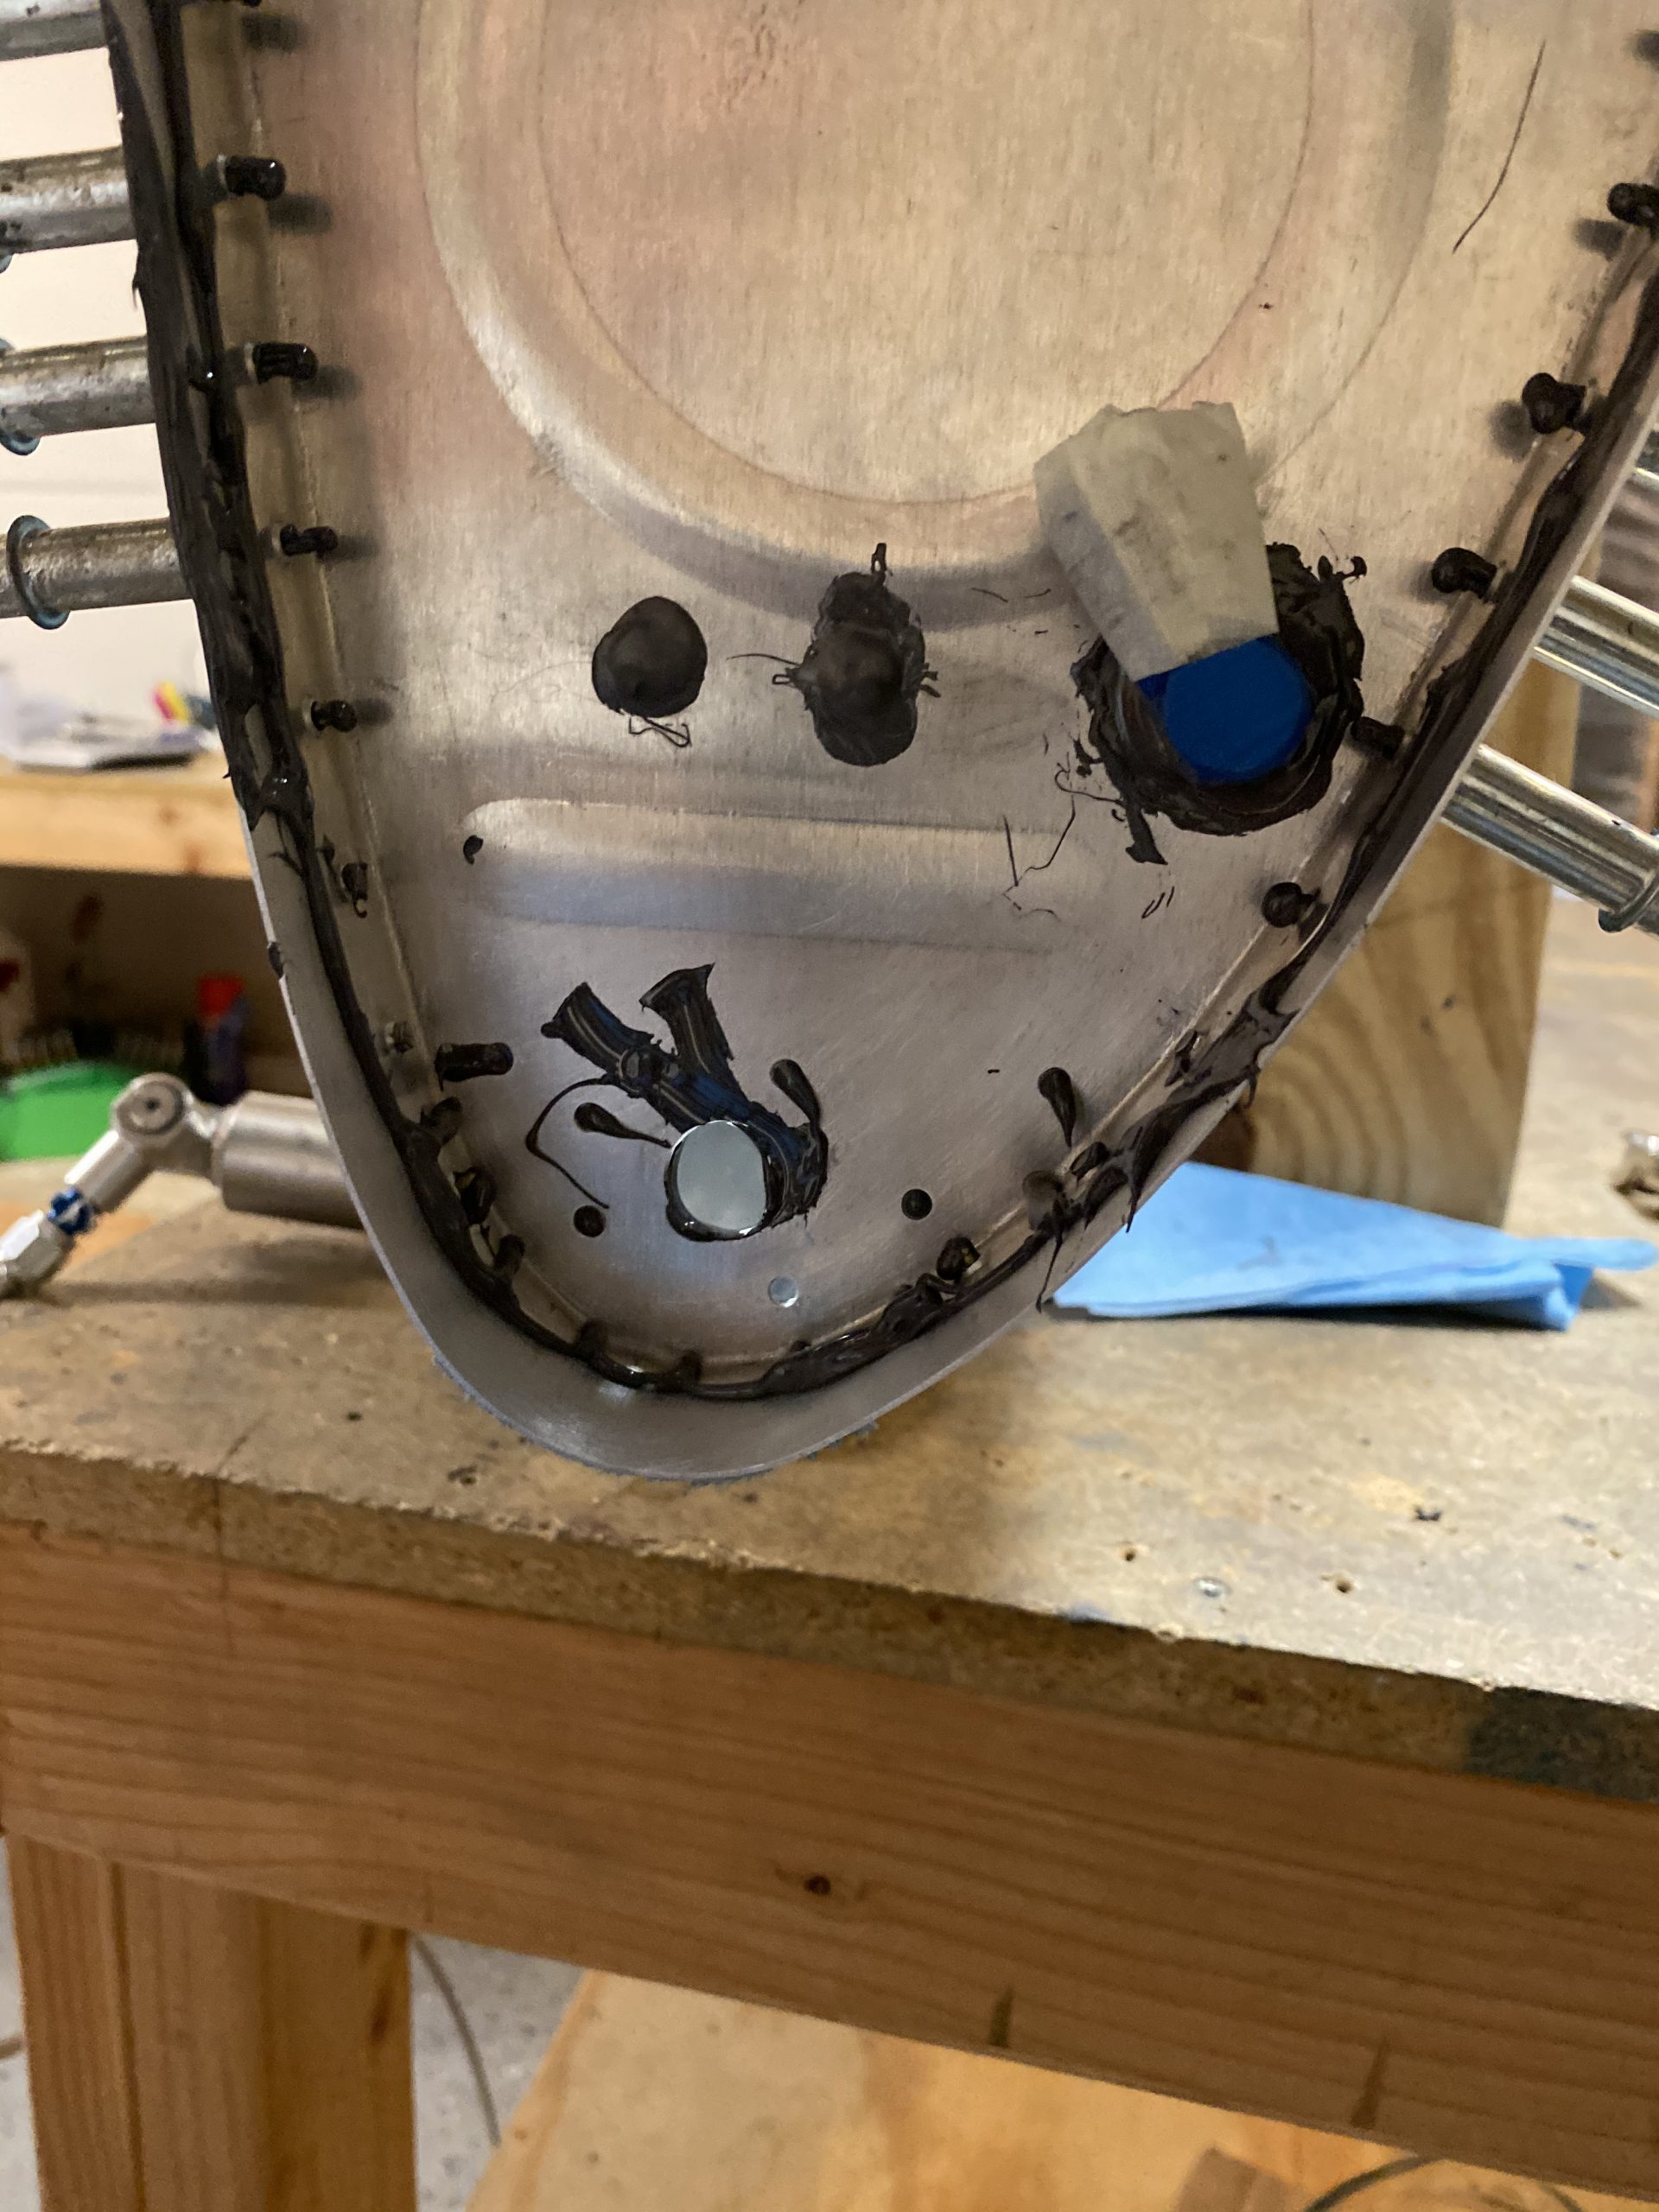
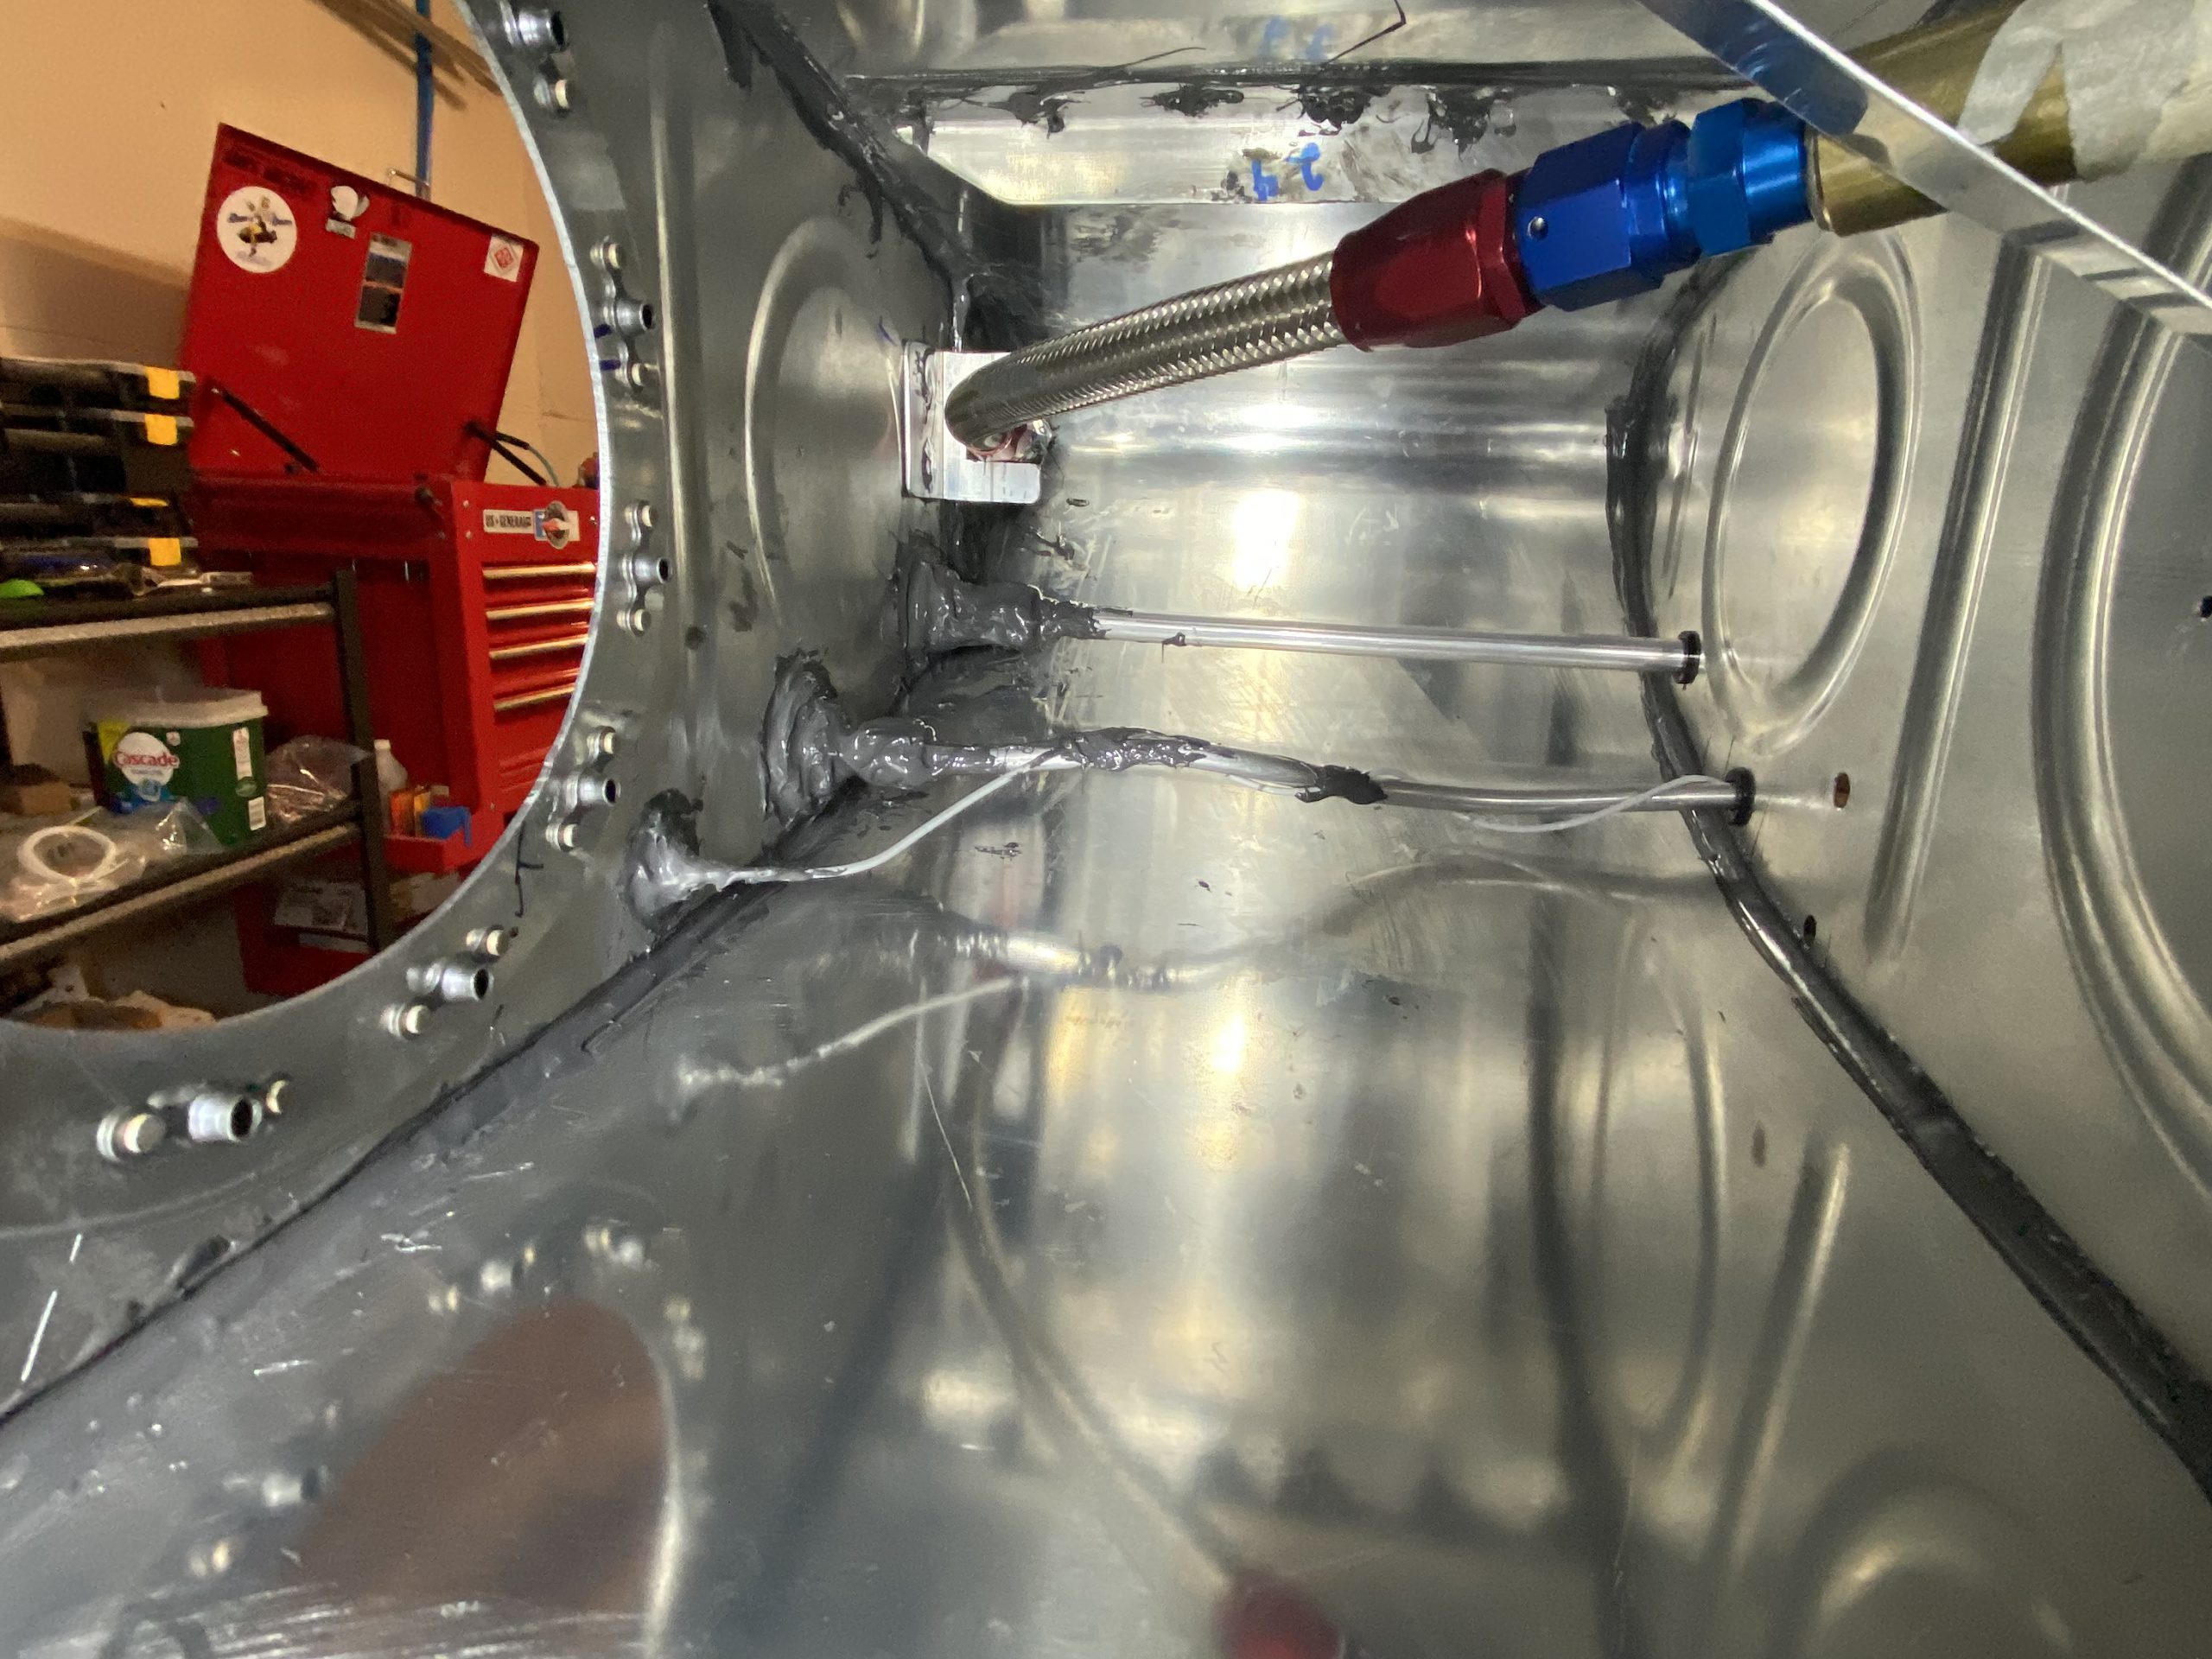
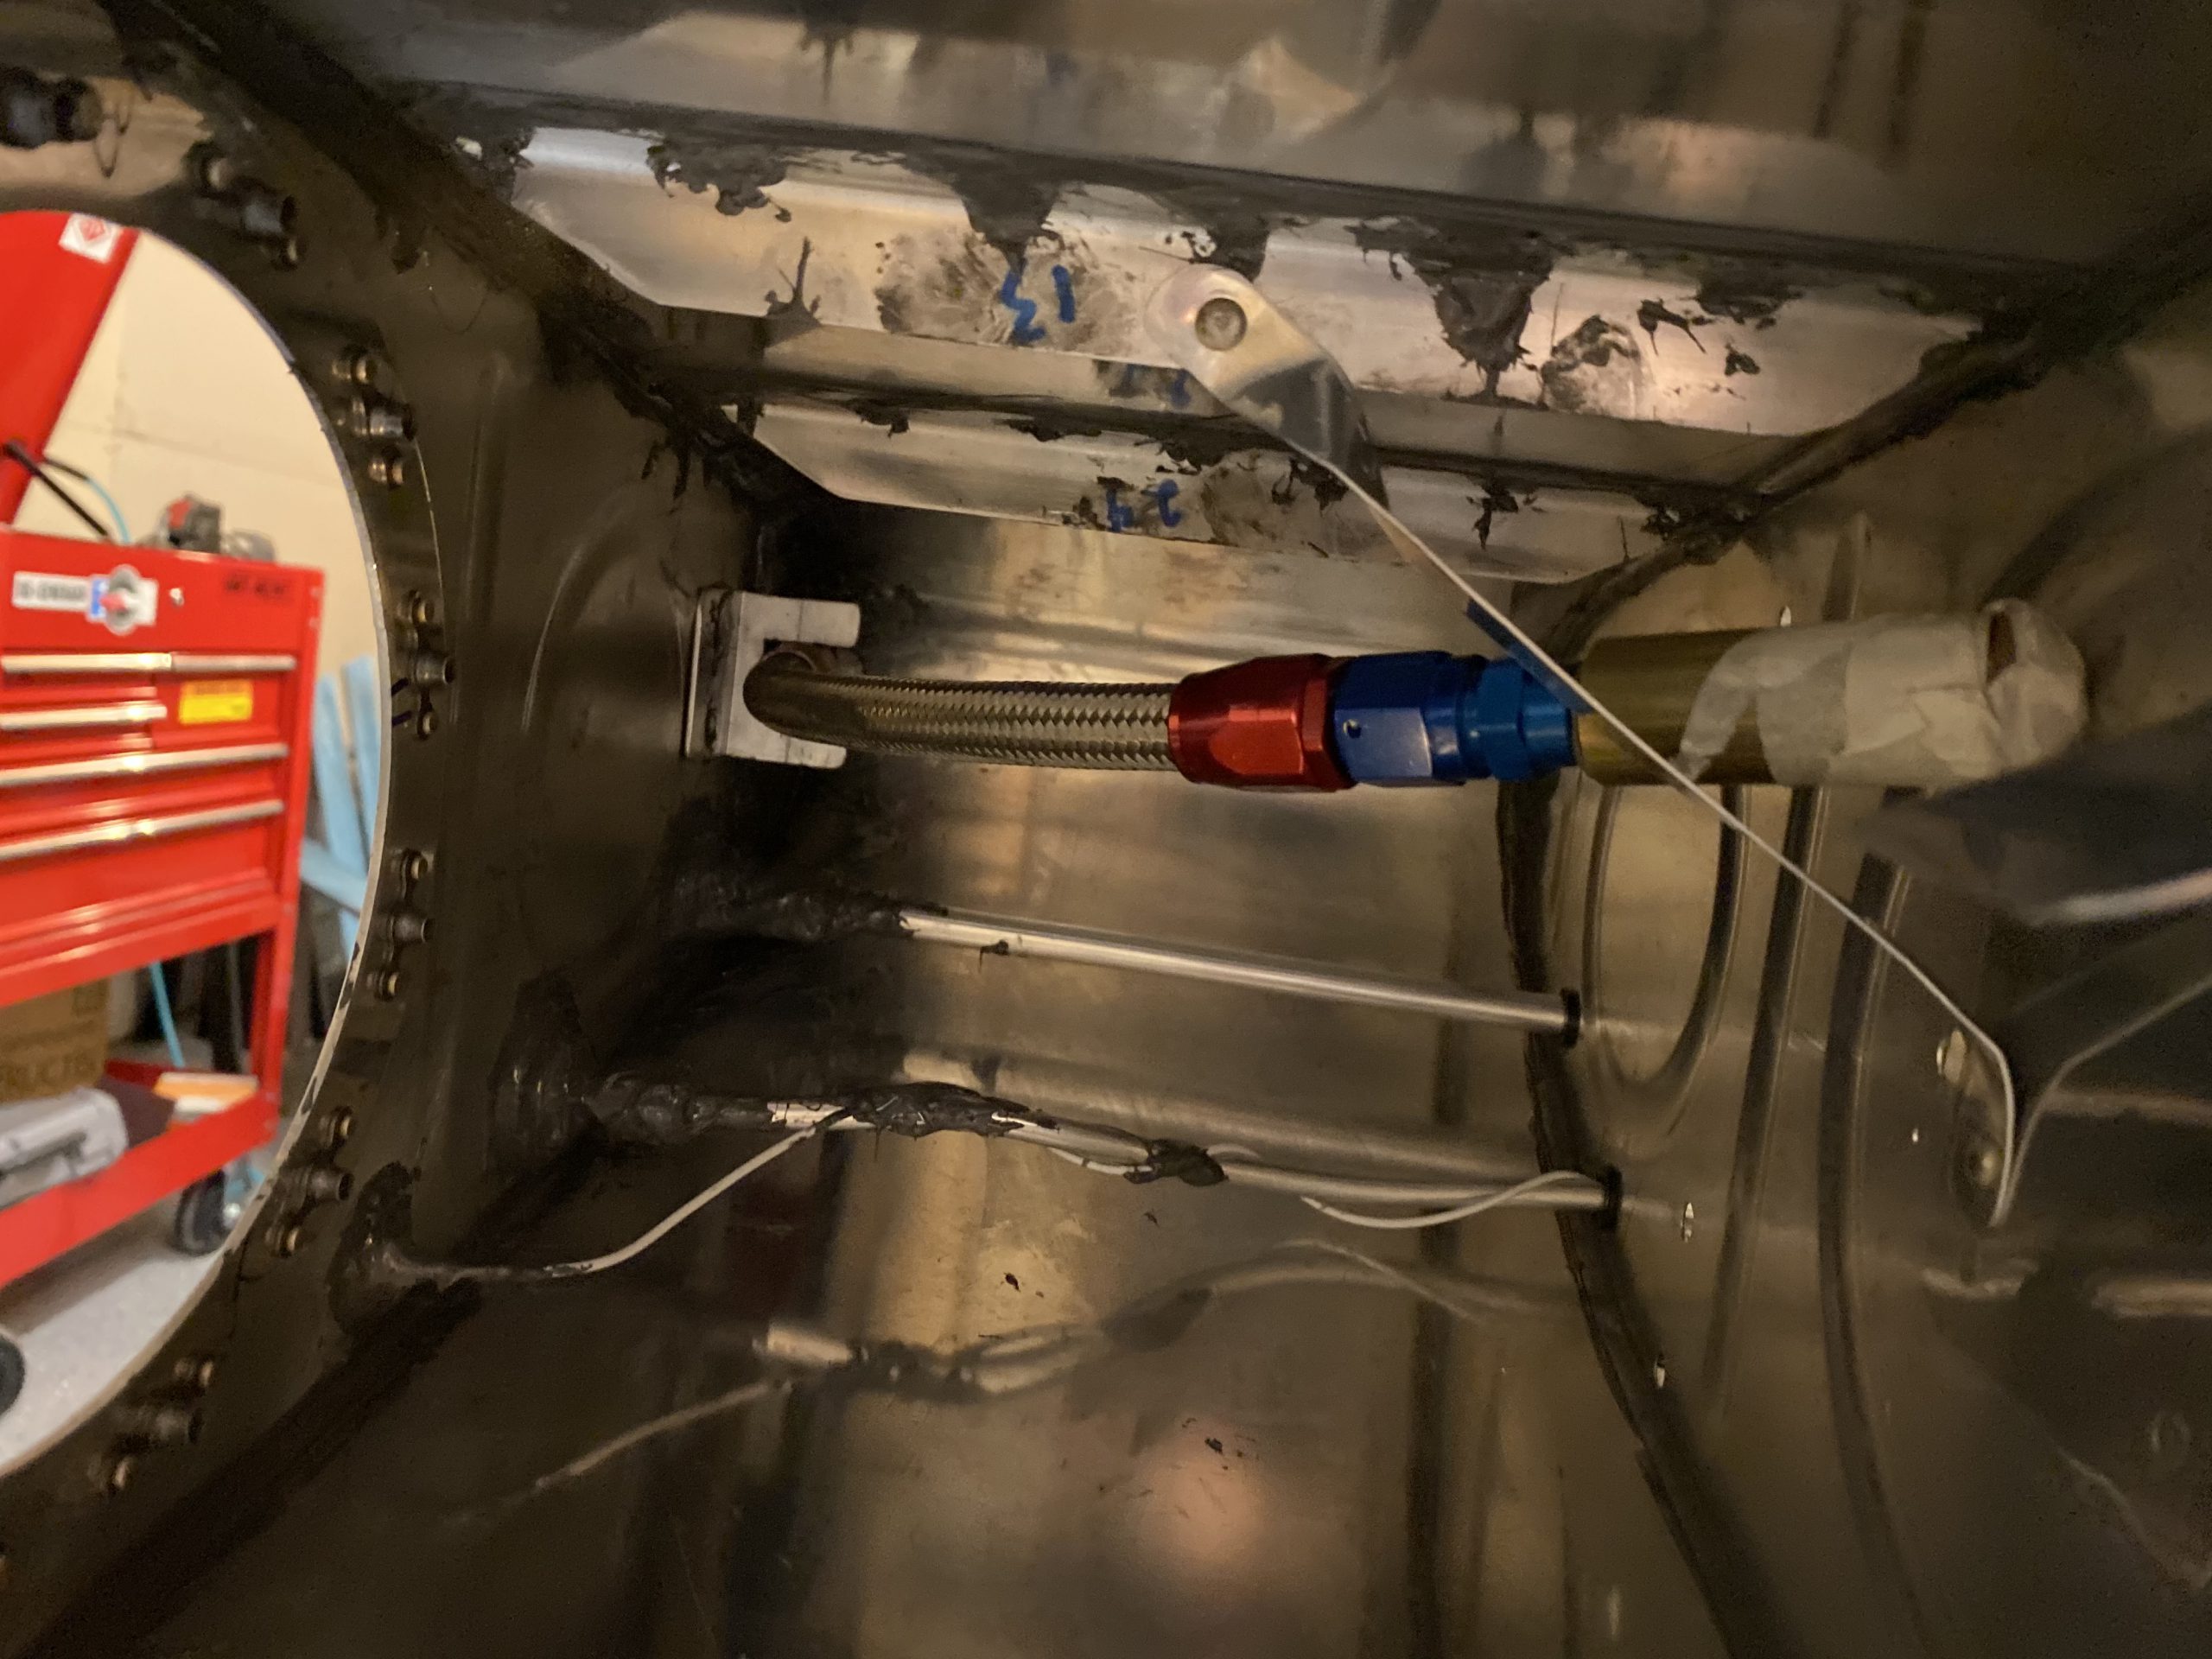
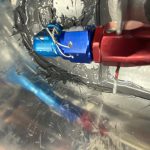
source link With that being done, it was time to get the flop tube installed. I gently inserted the already built and torqued flop tube into its hole and screwed its nut down on the outside, immediately cleaning off the sealant from the threads, and covering the threads in masking tape.
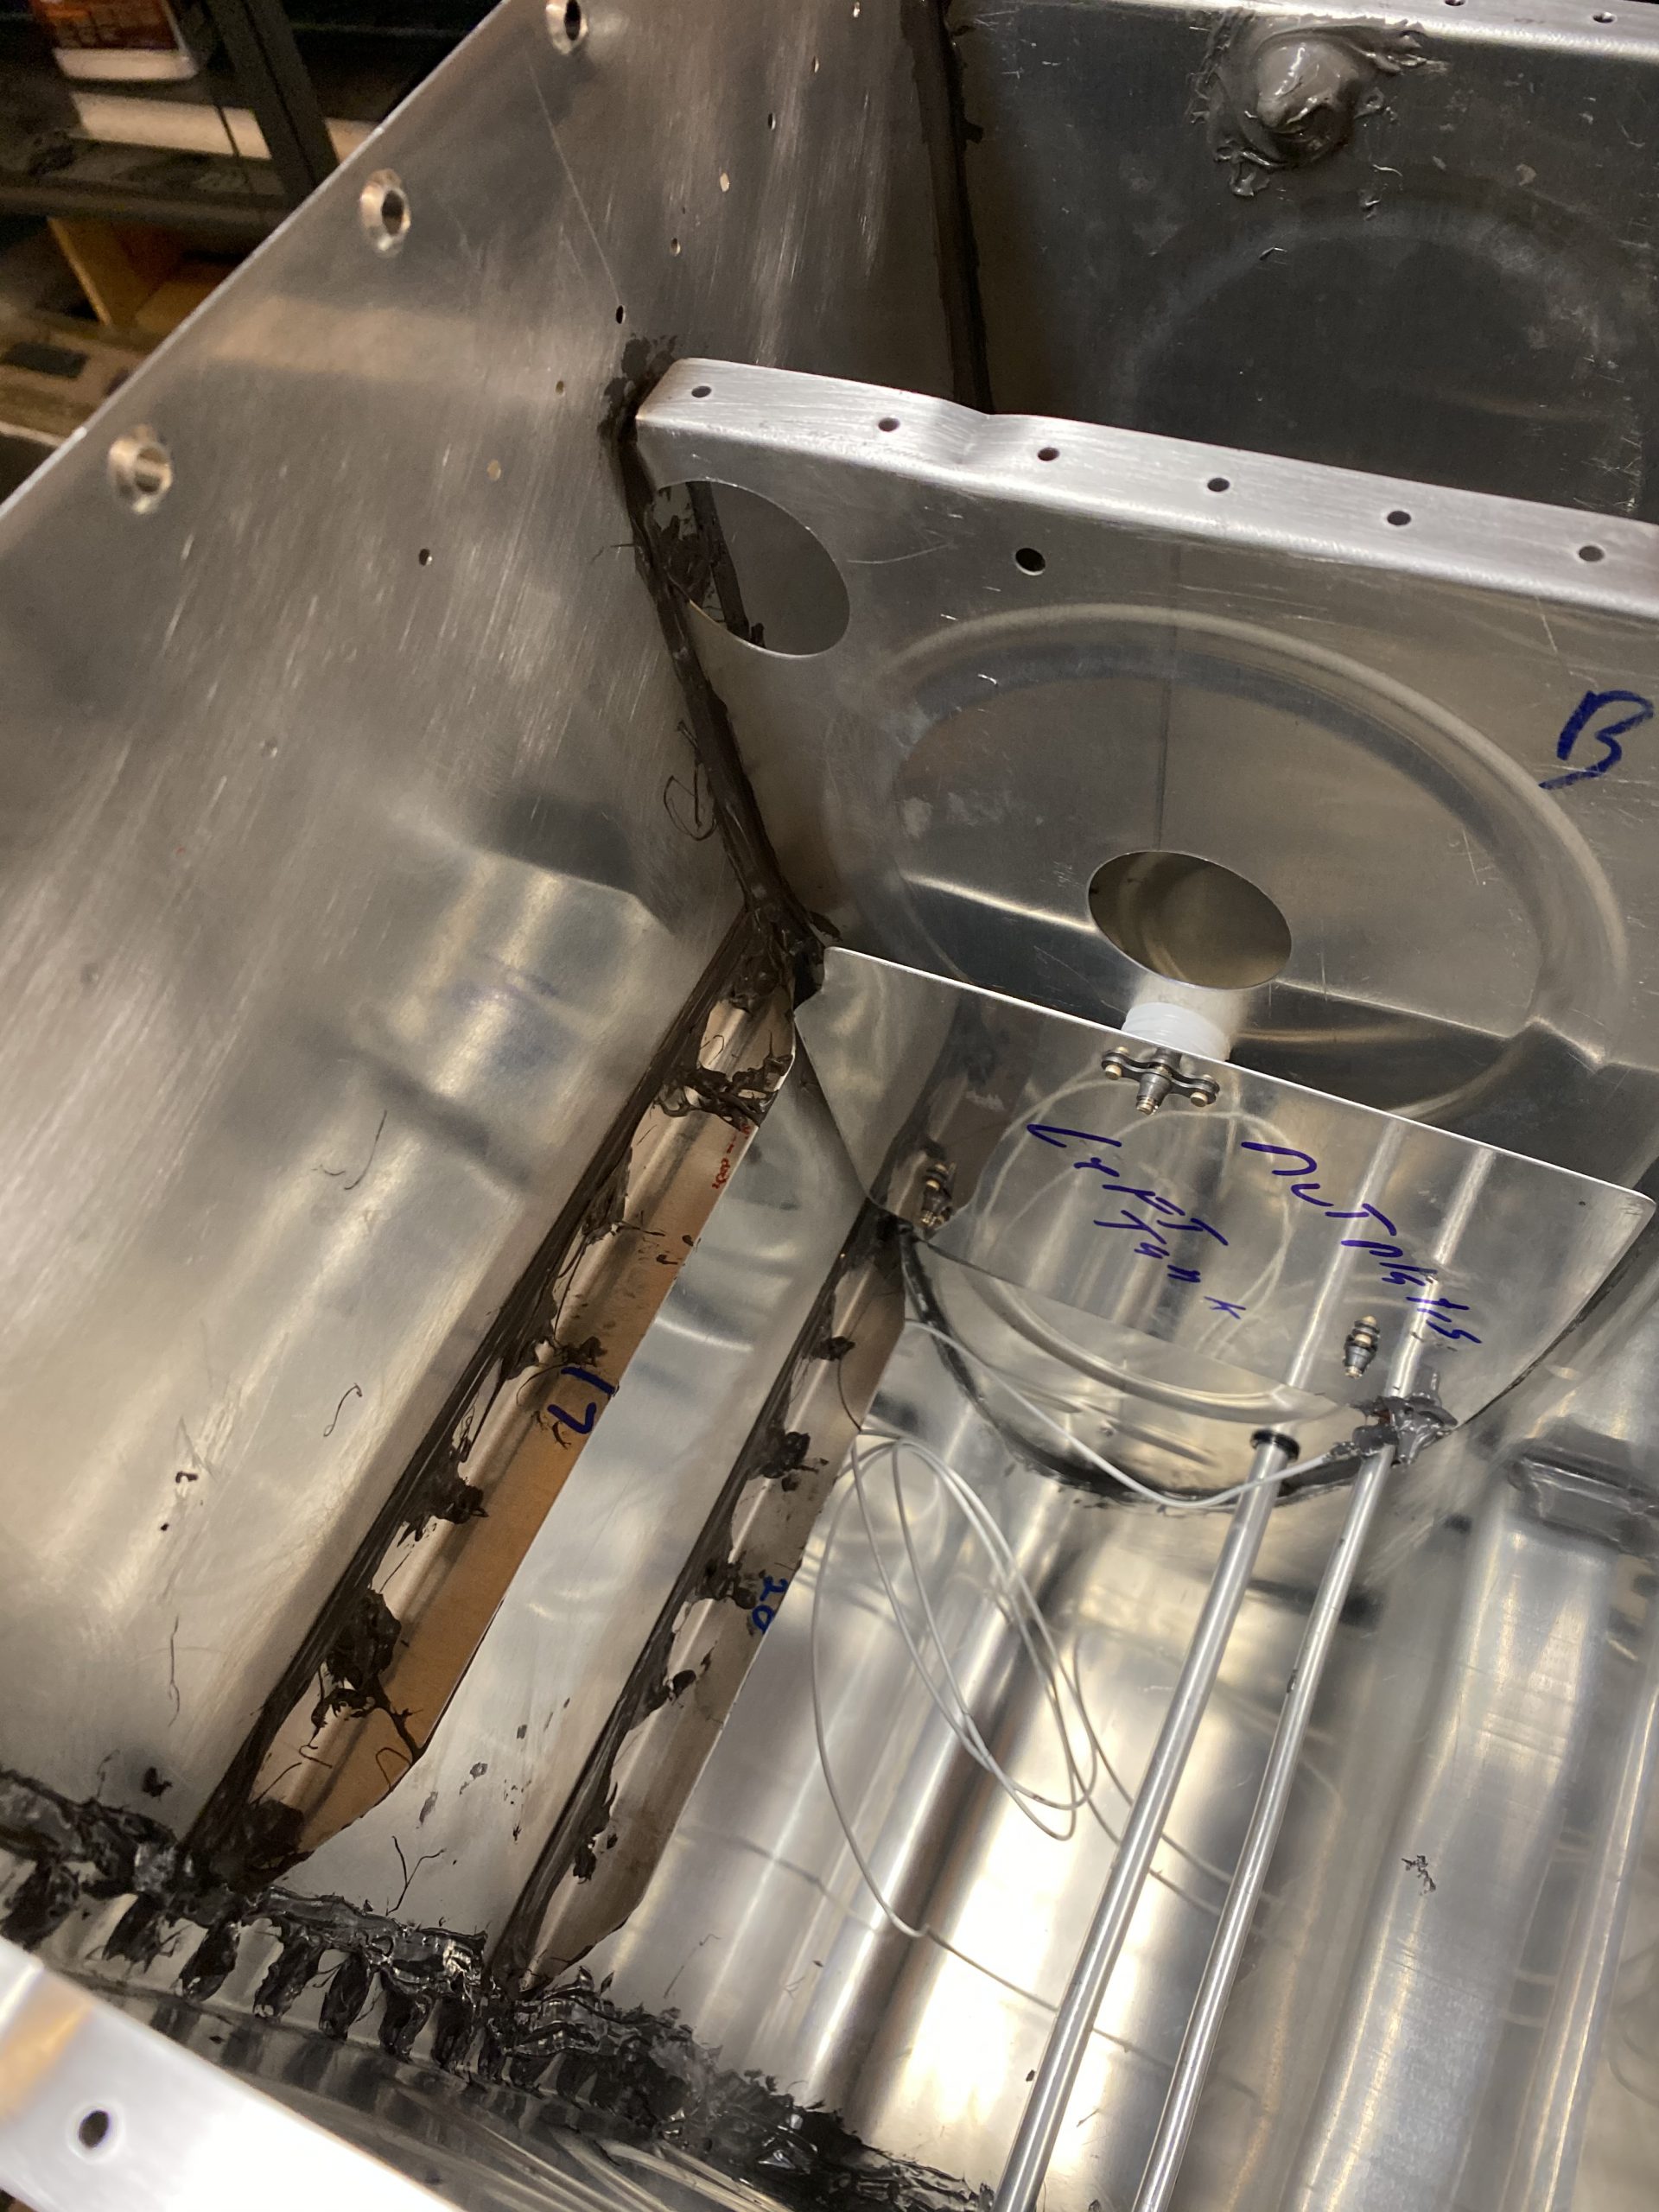
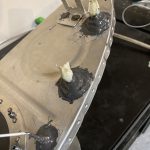
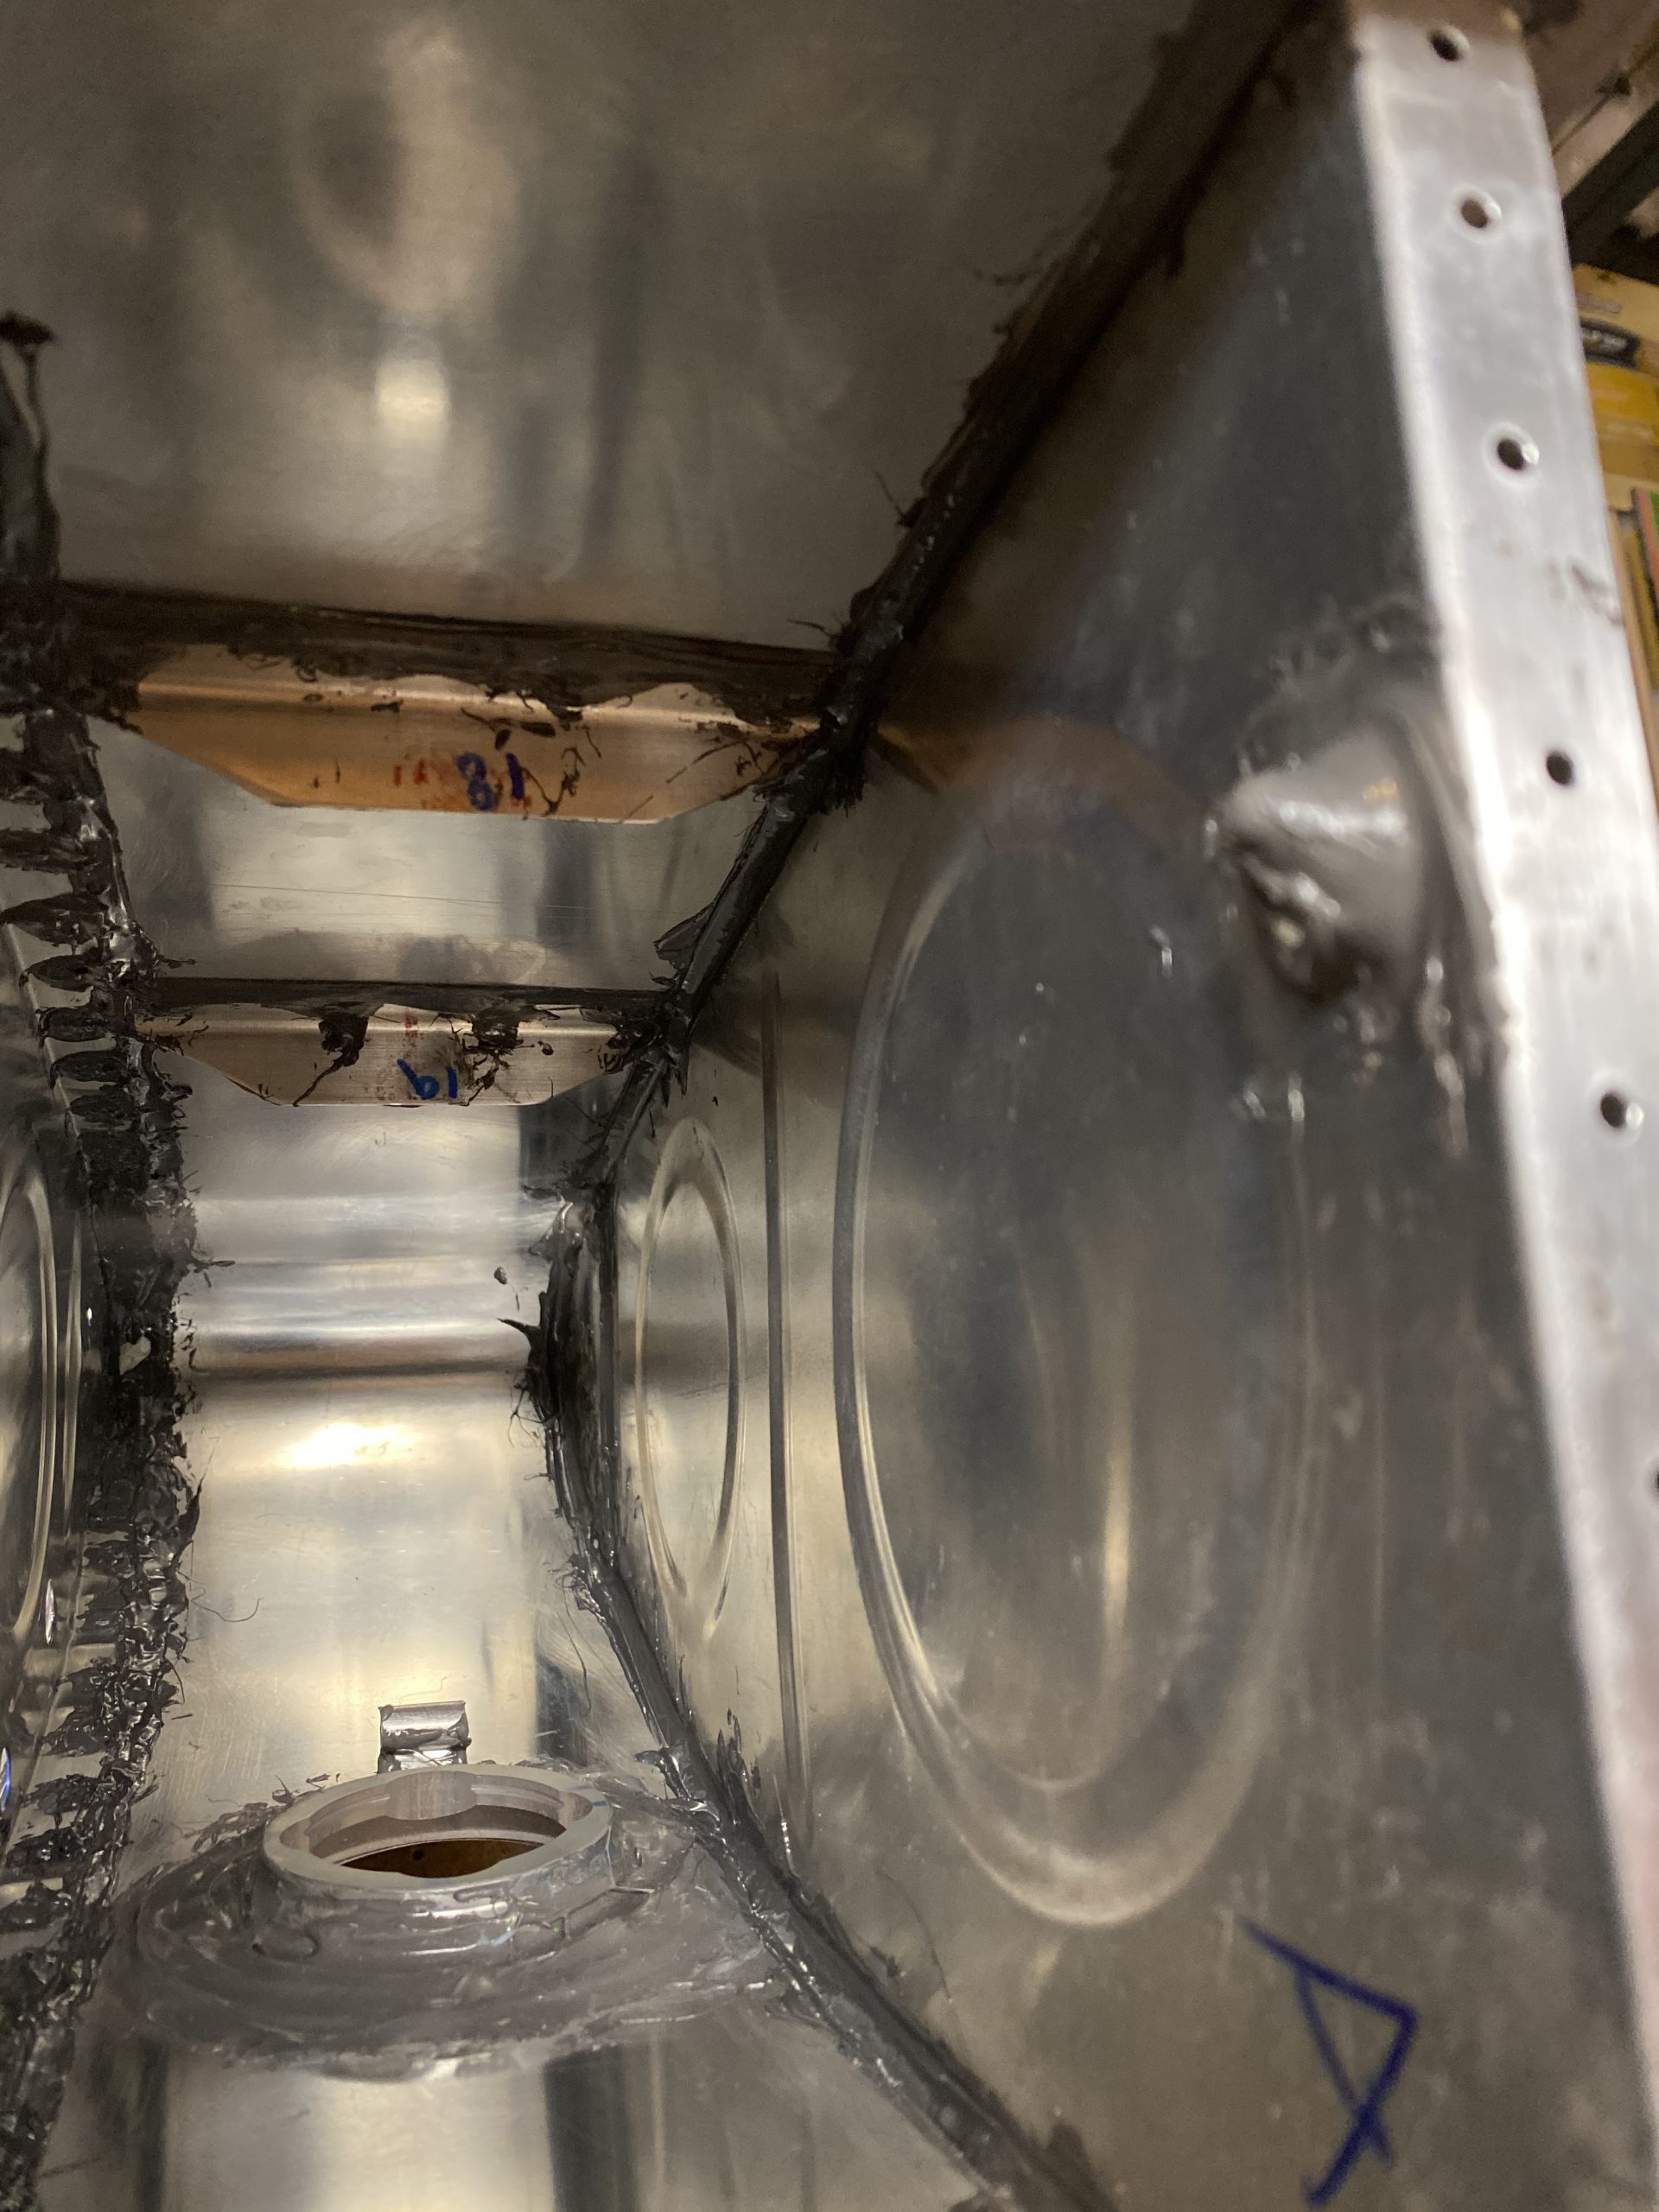
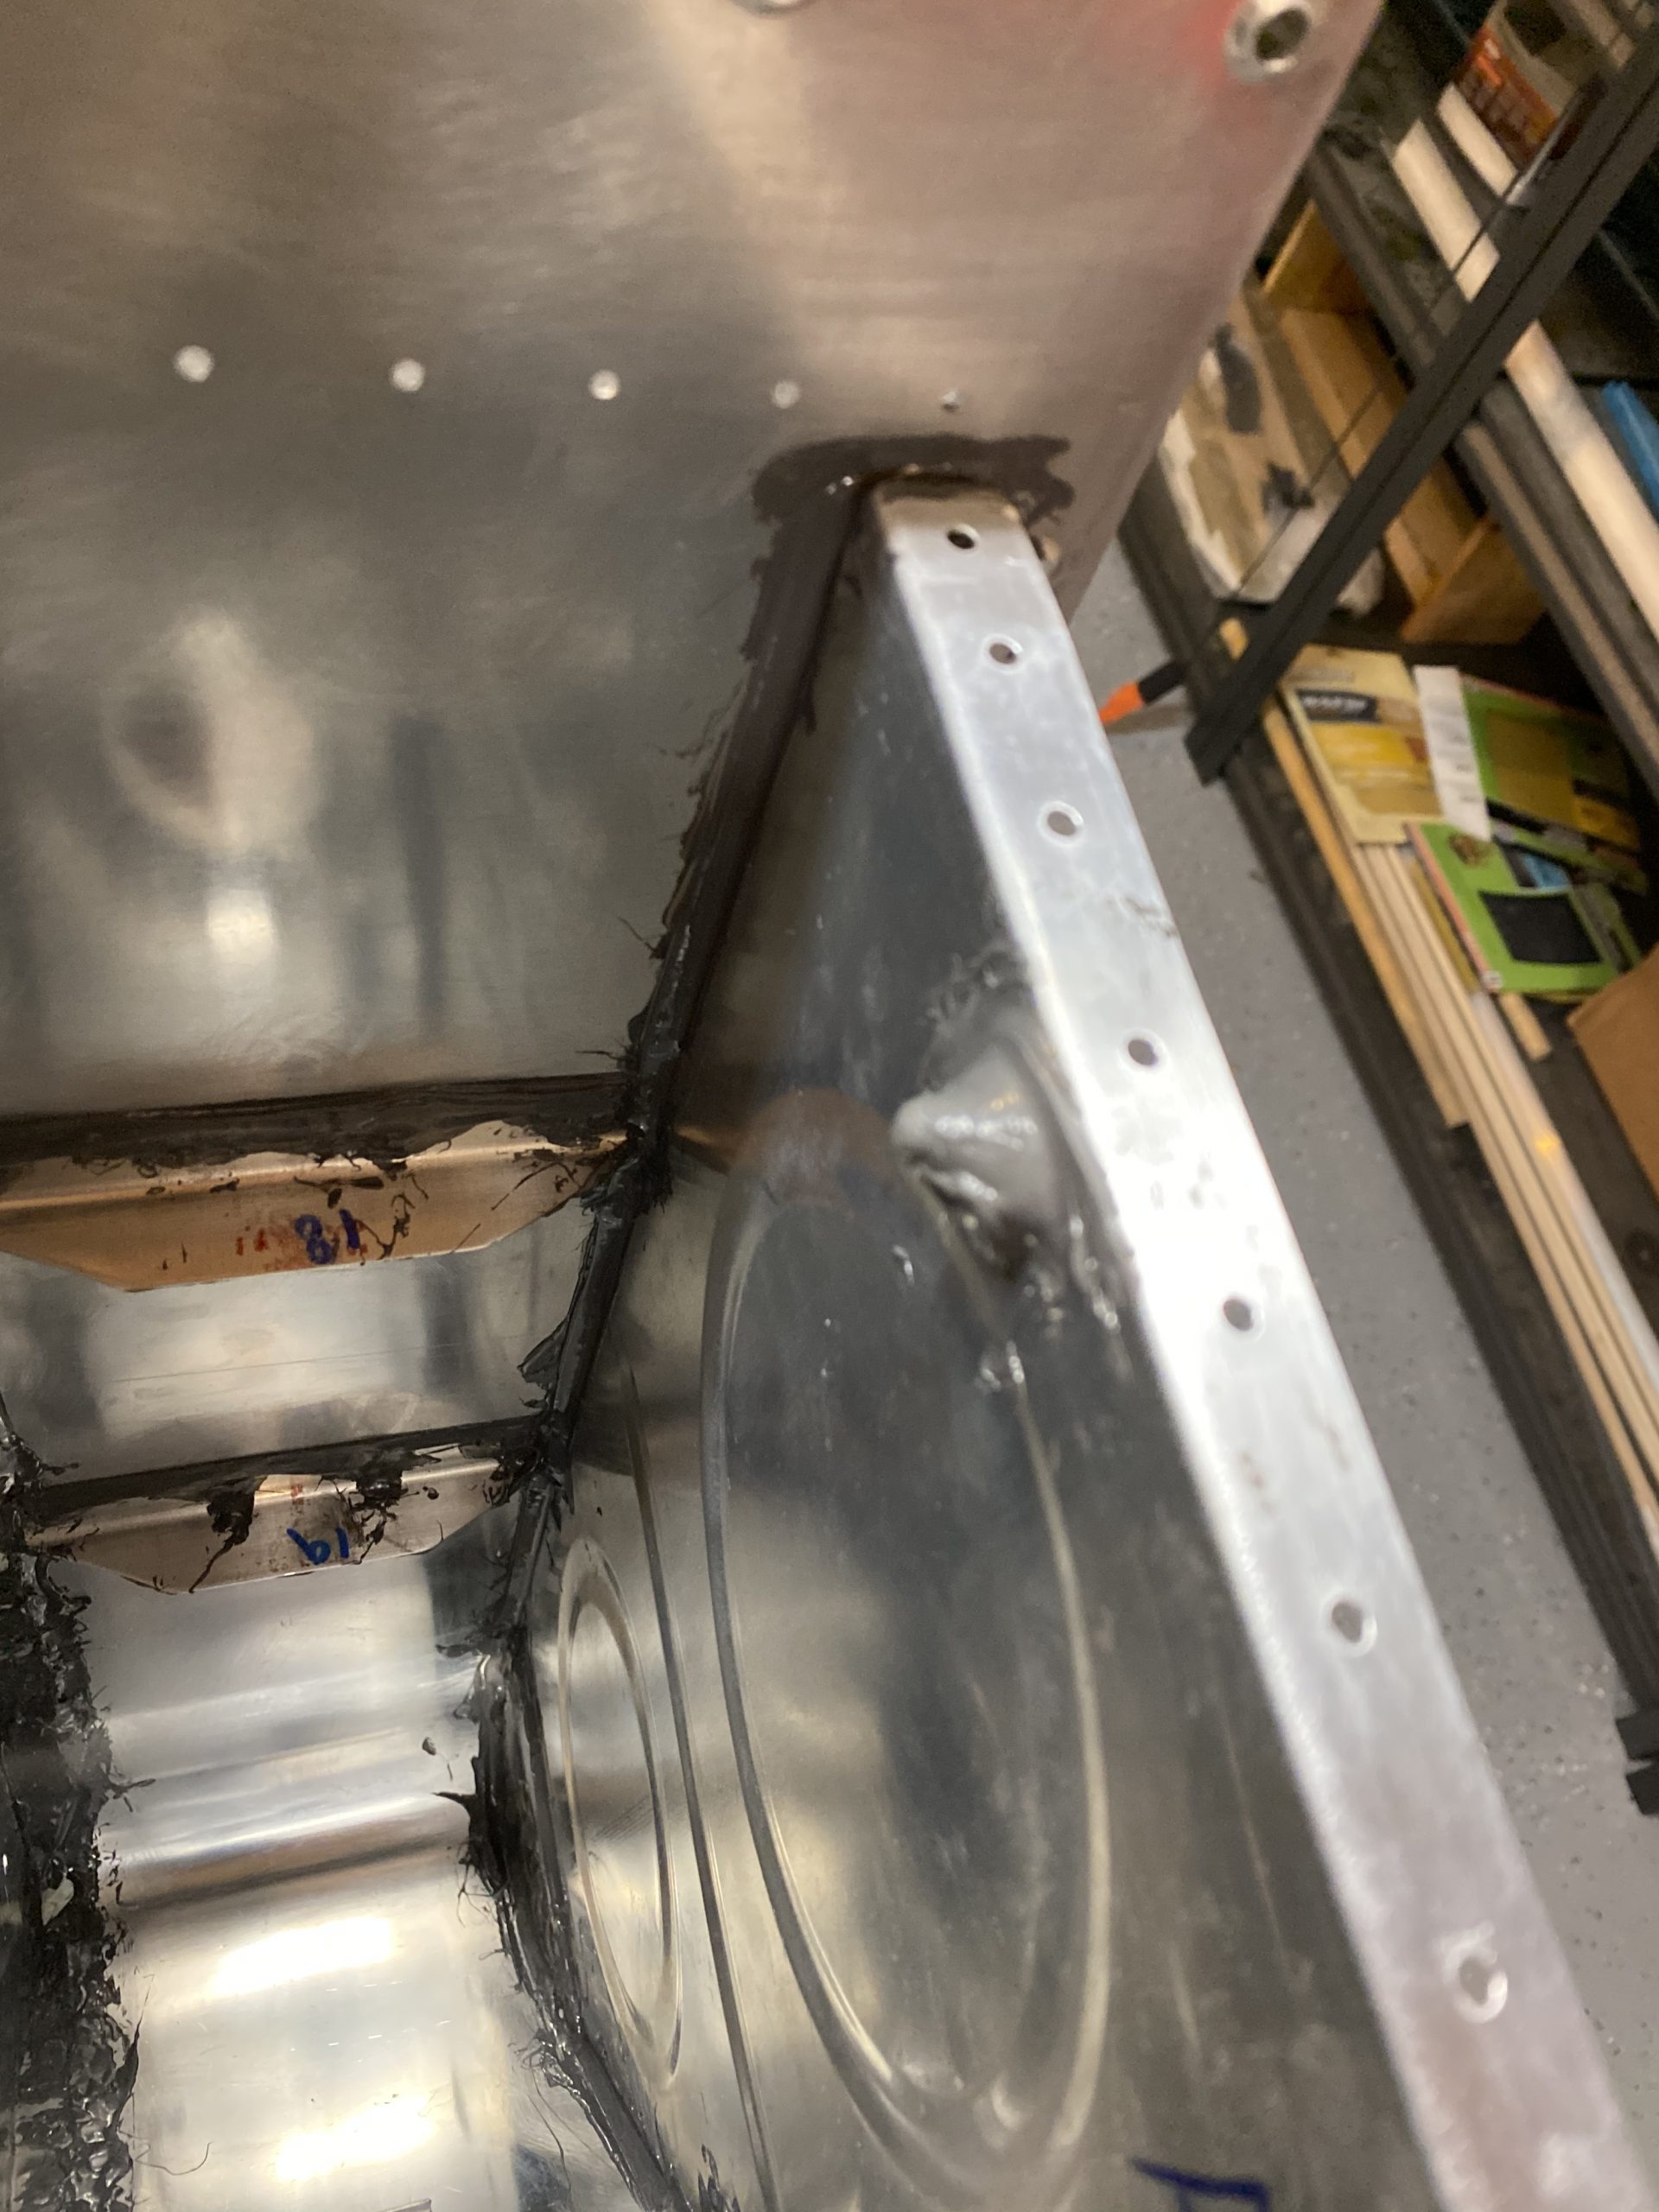
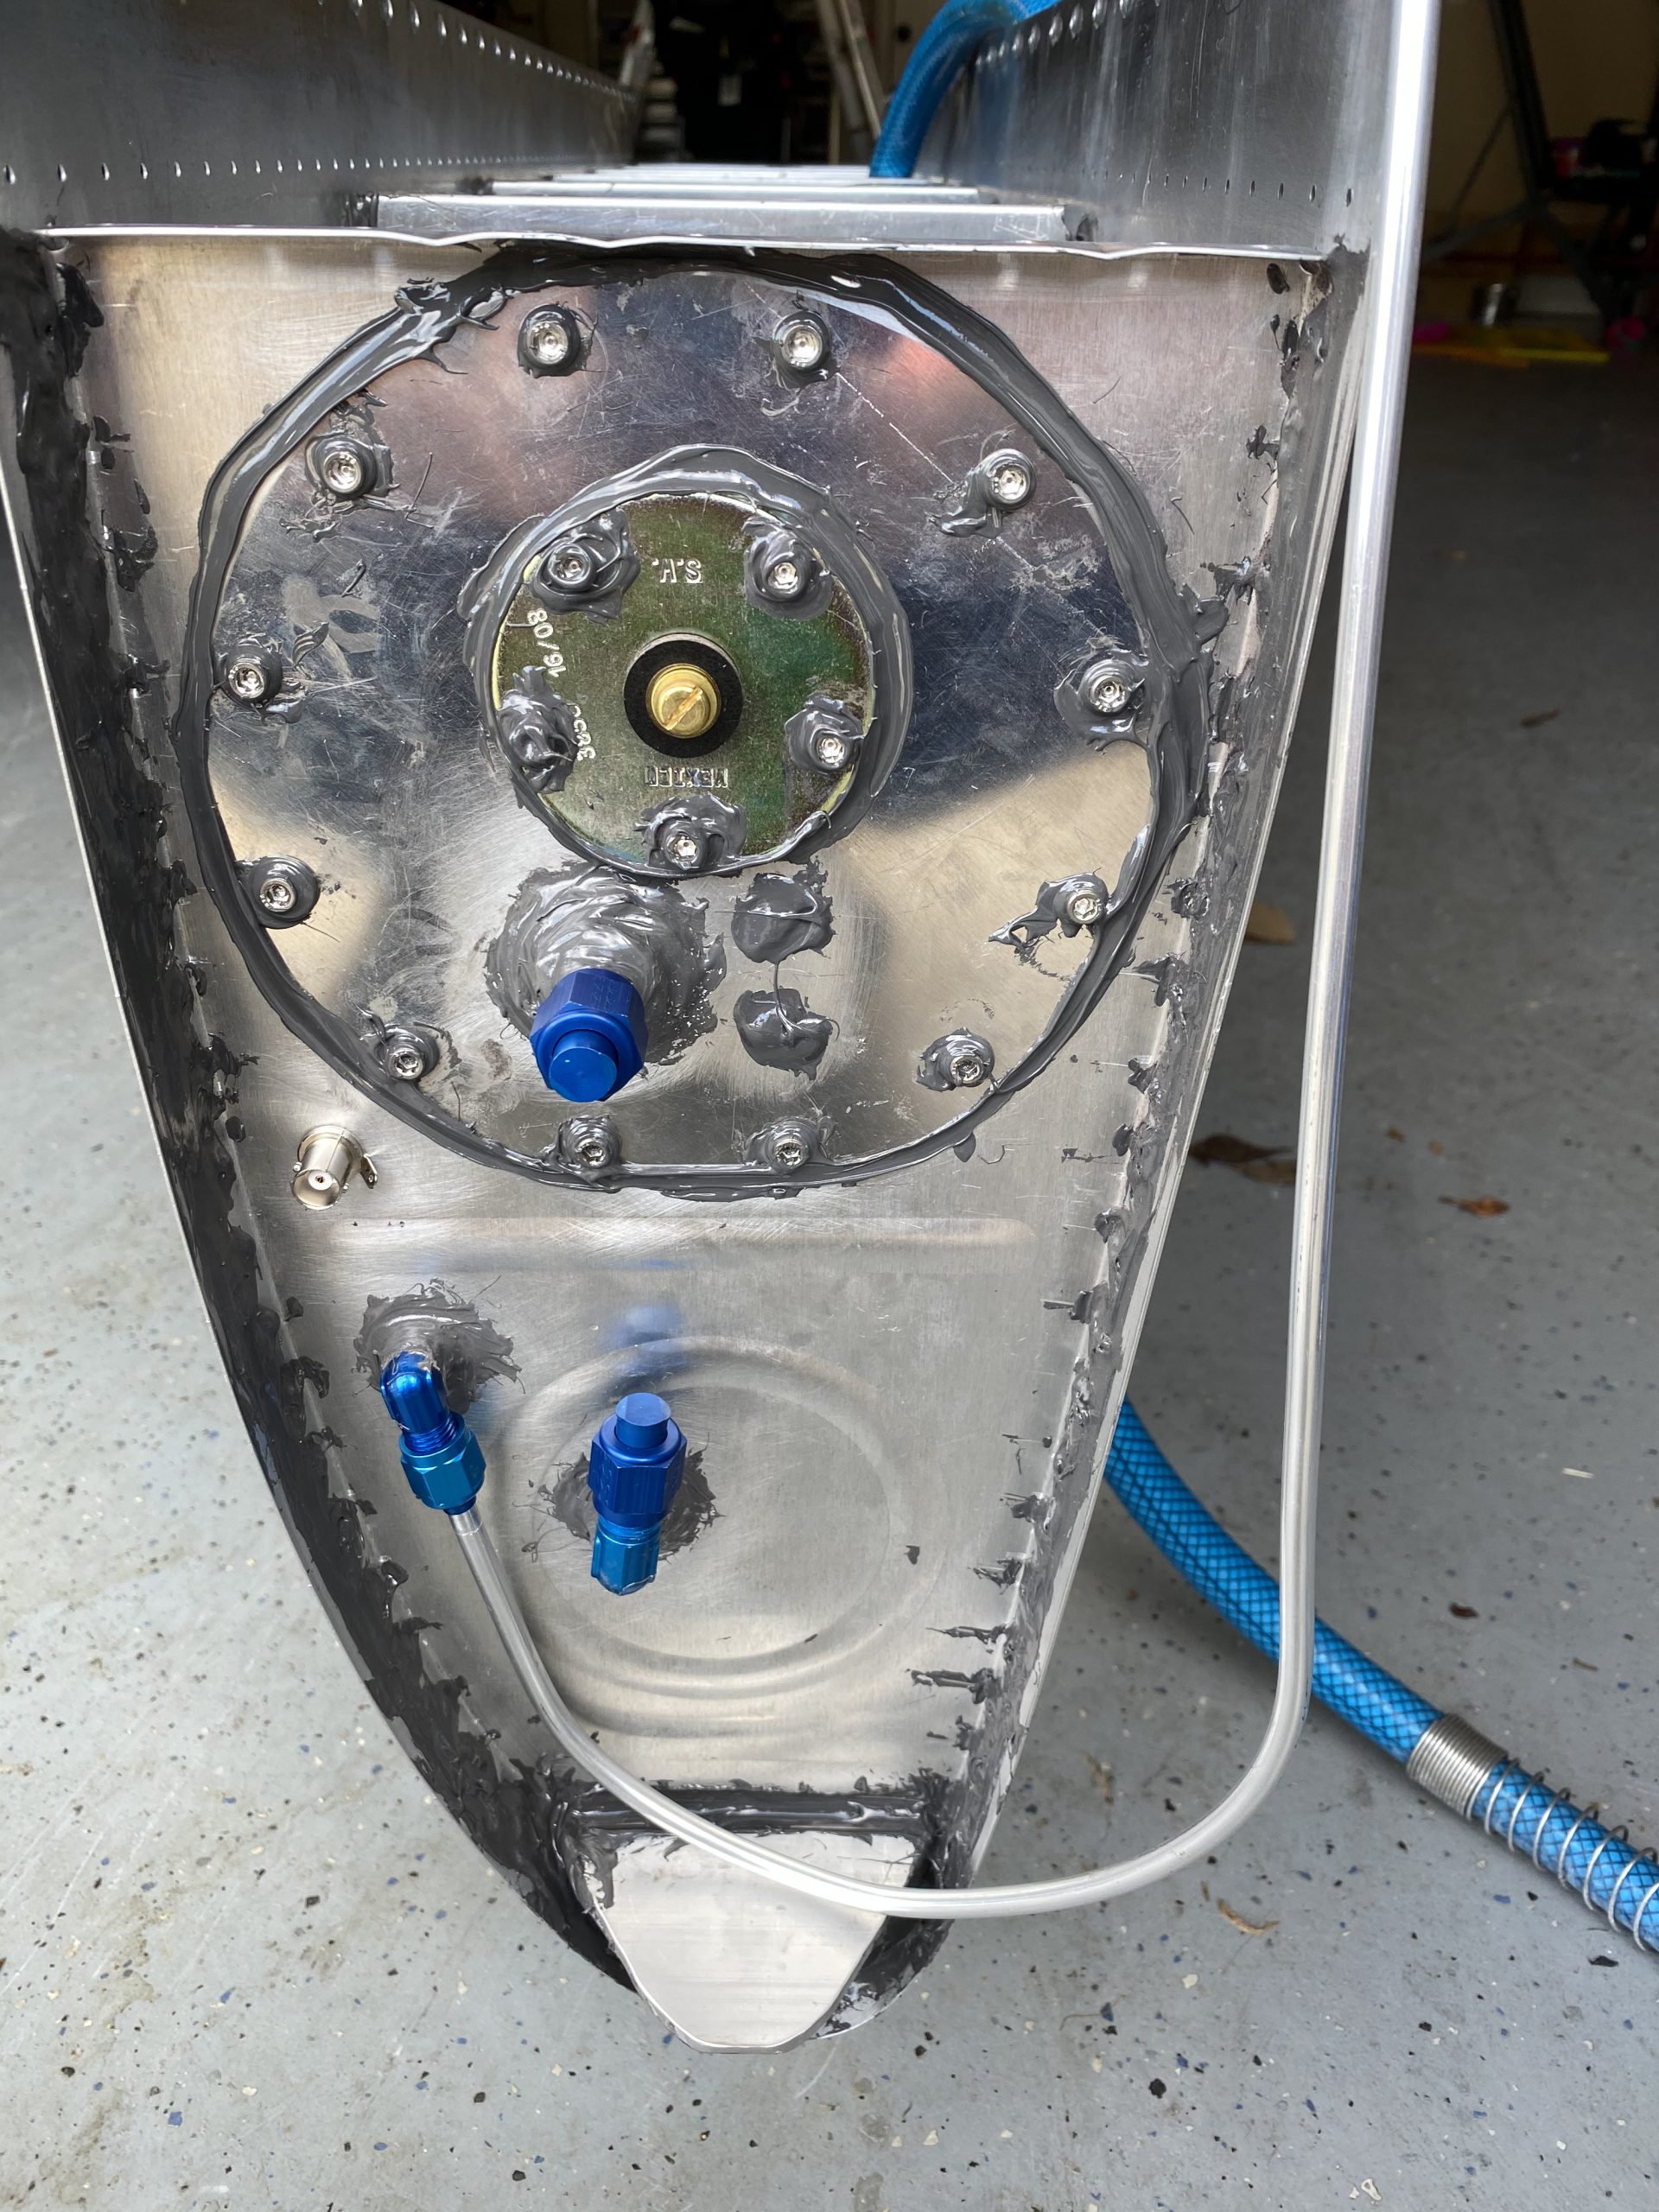
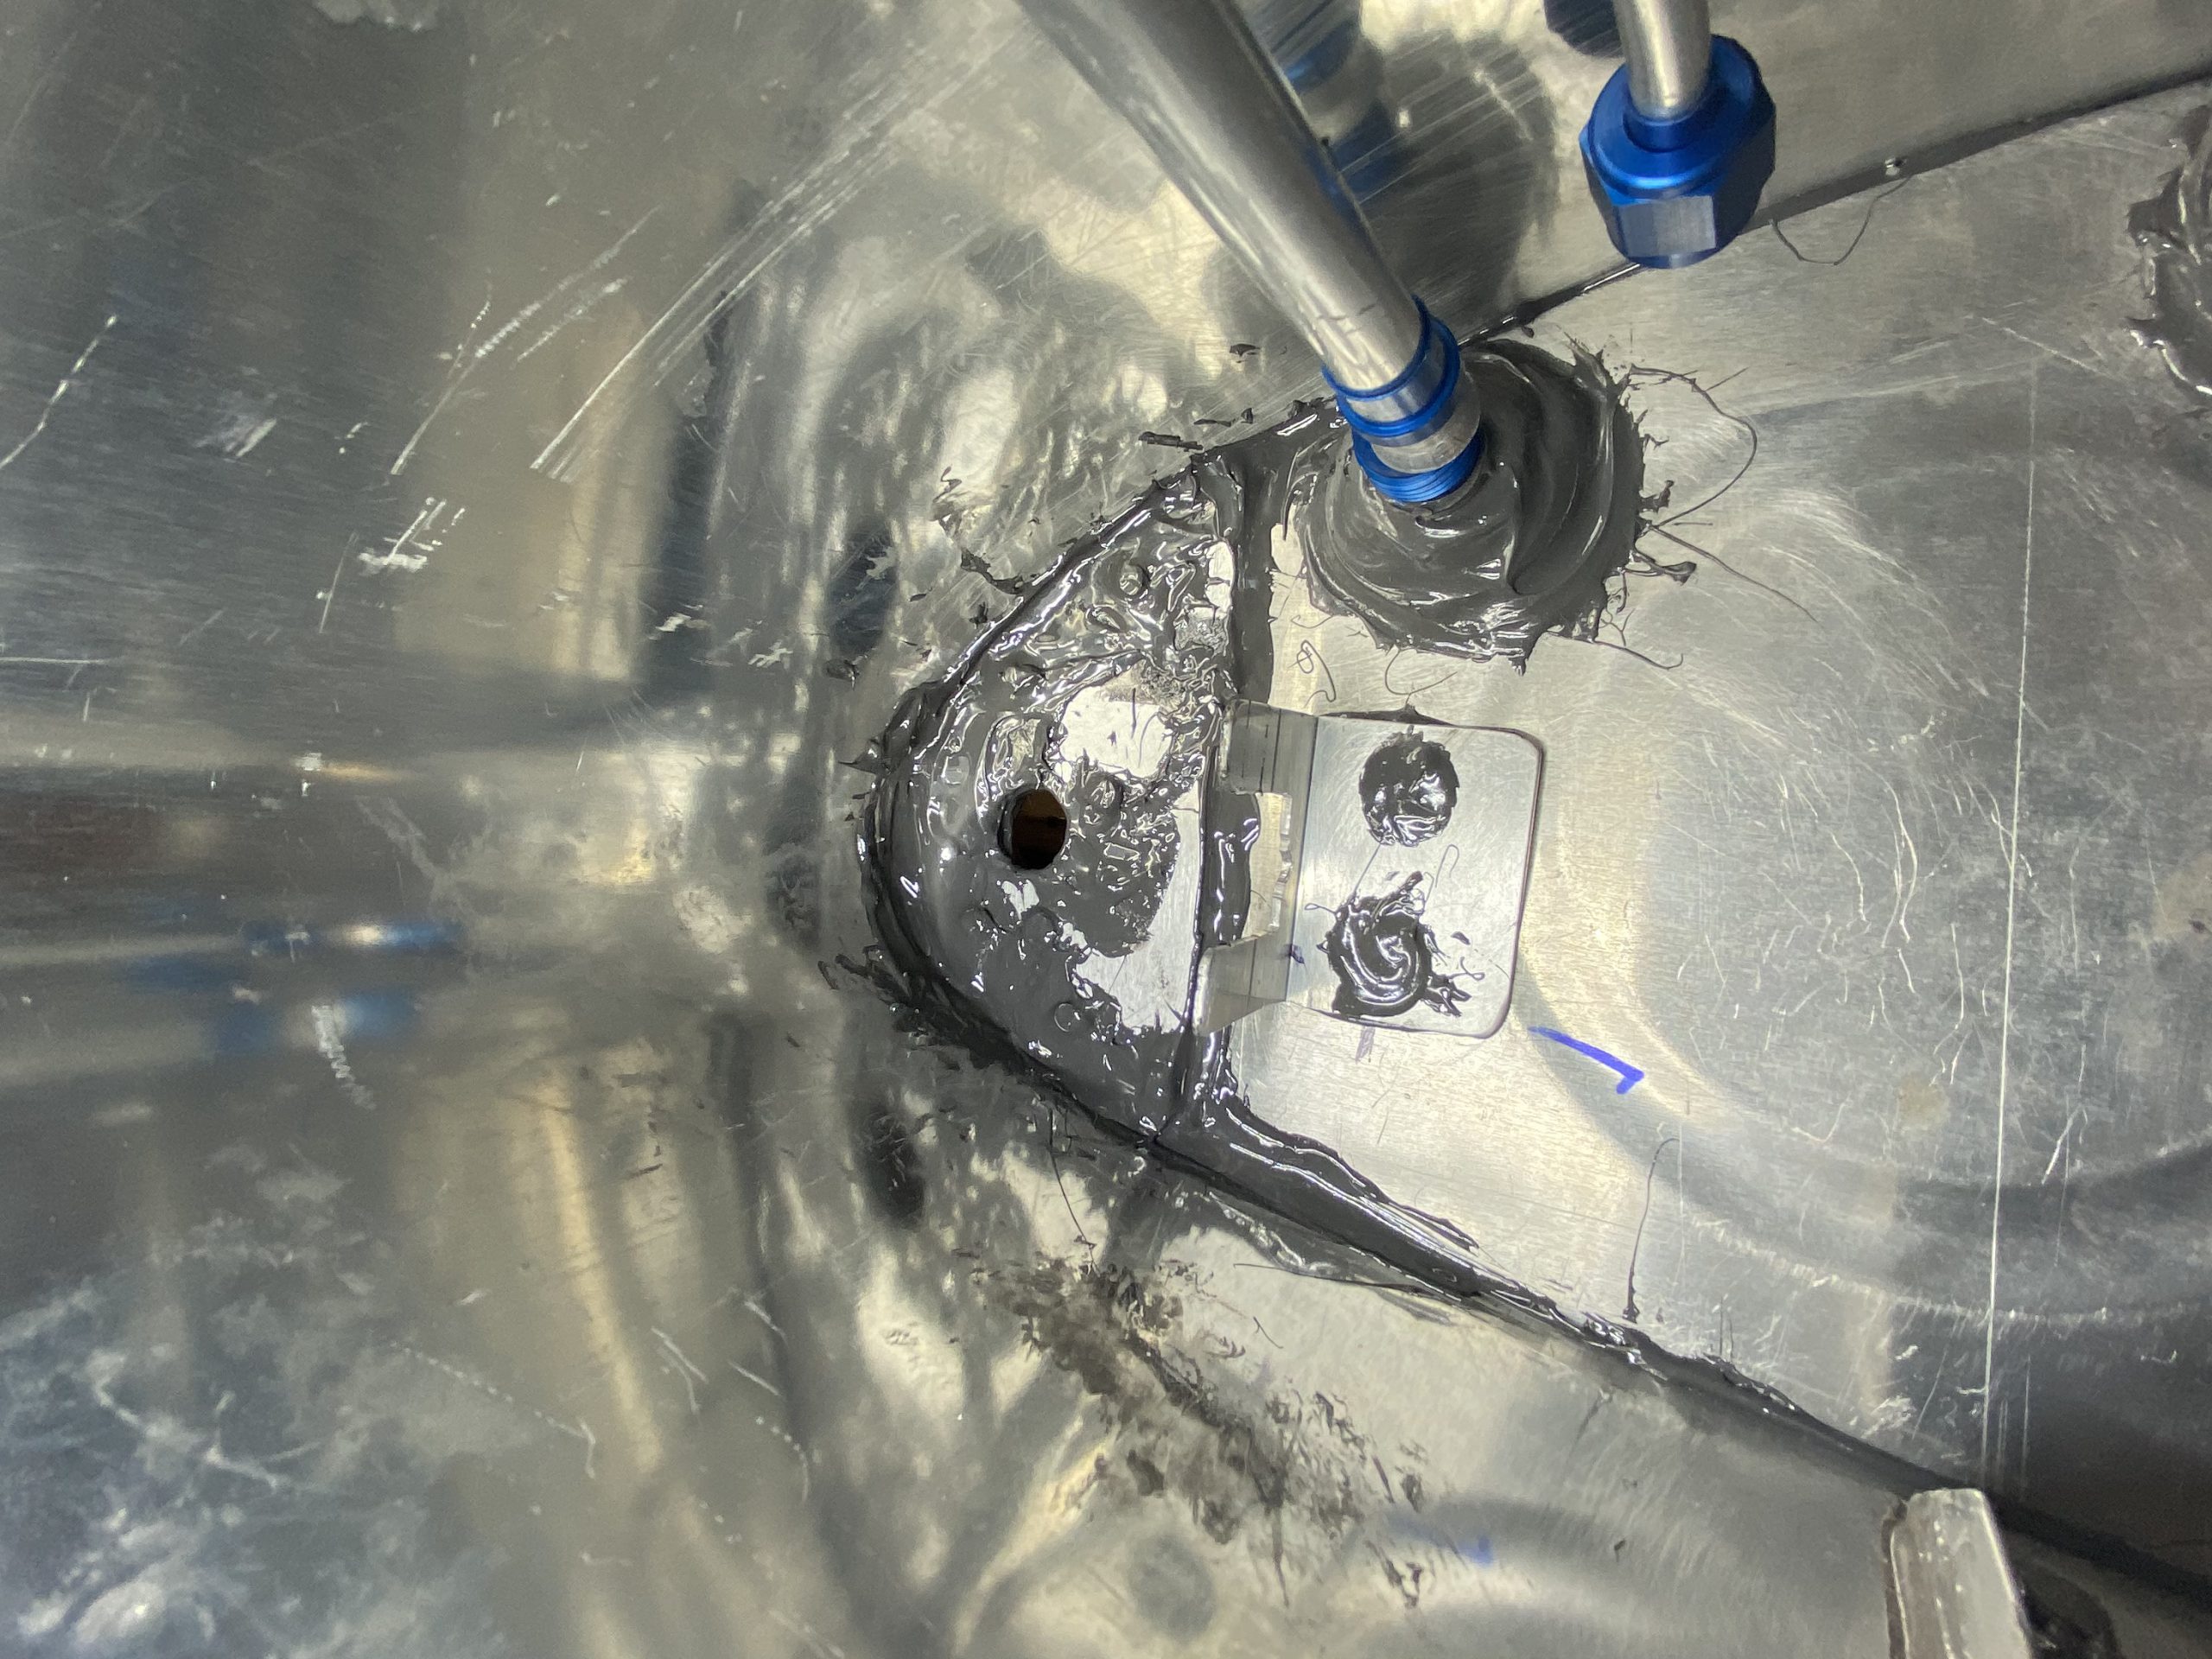
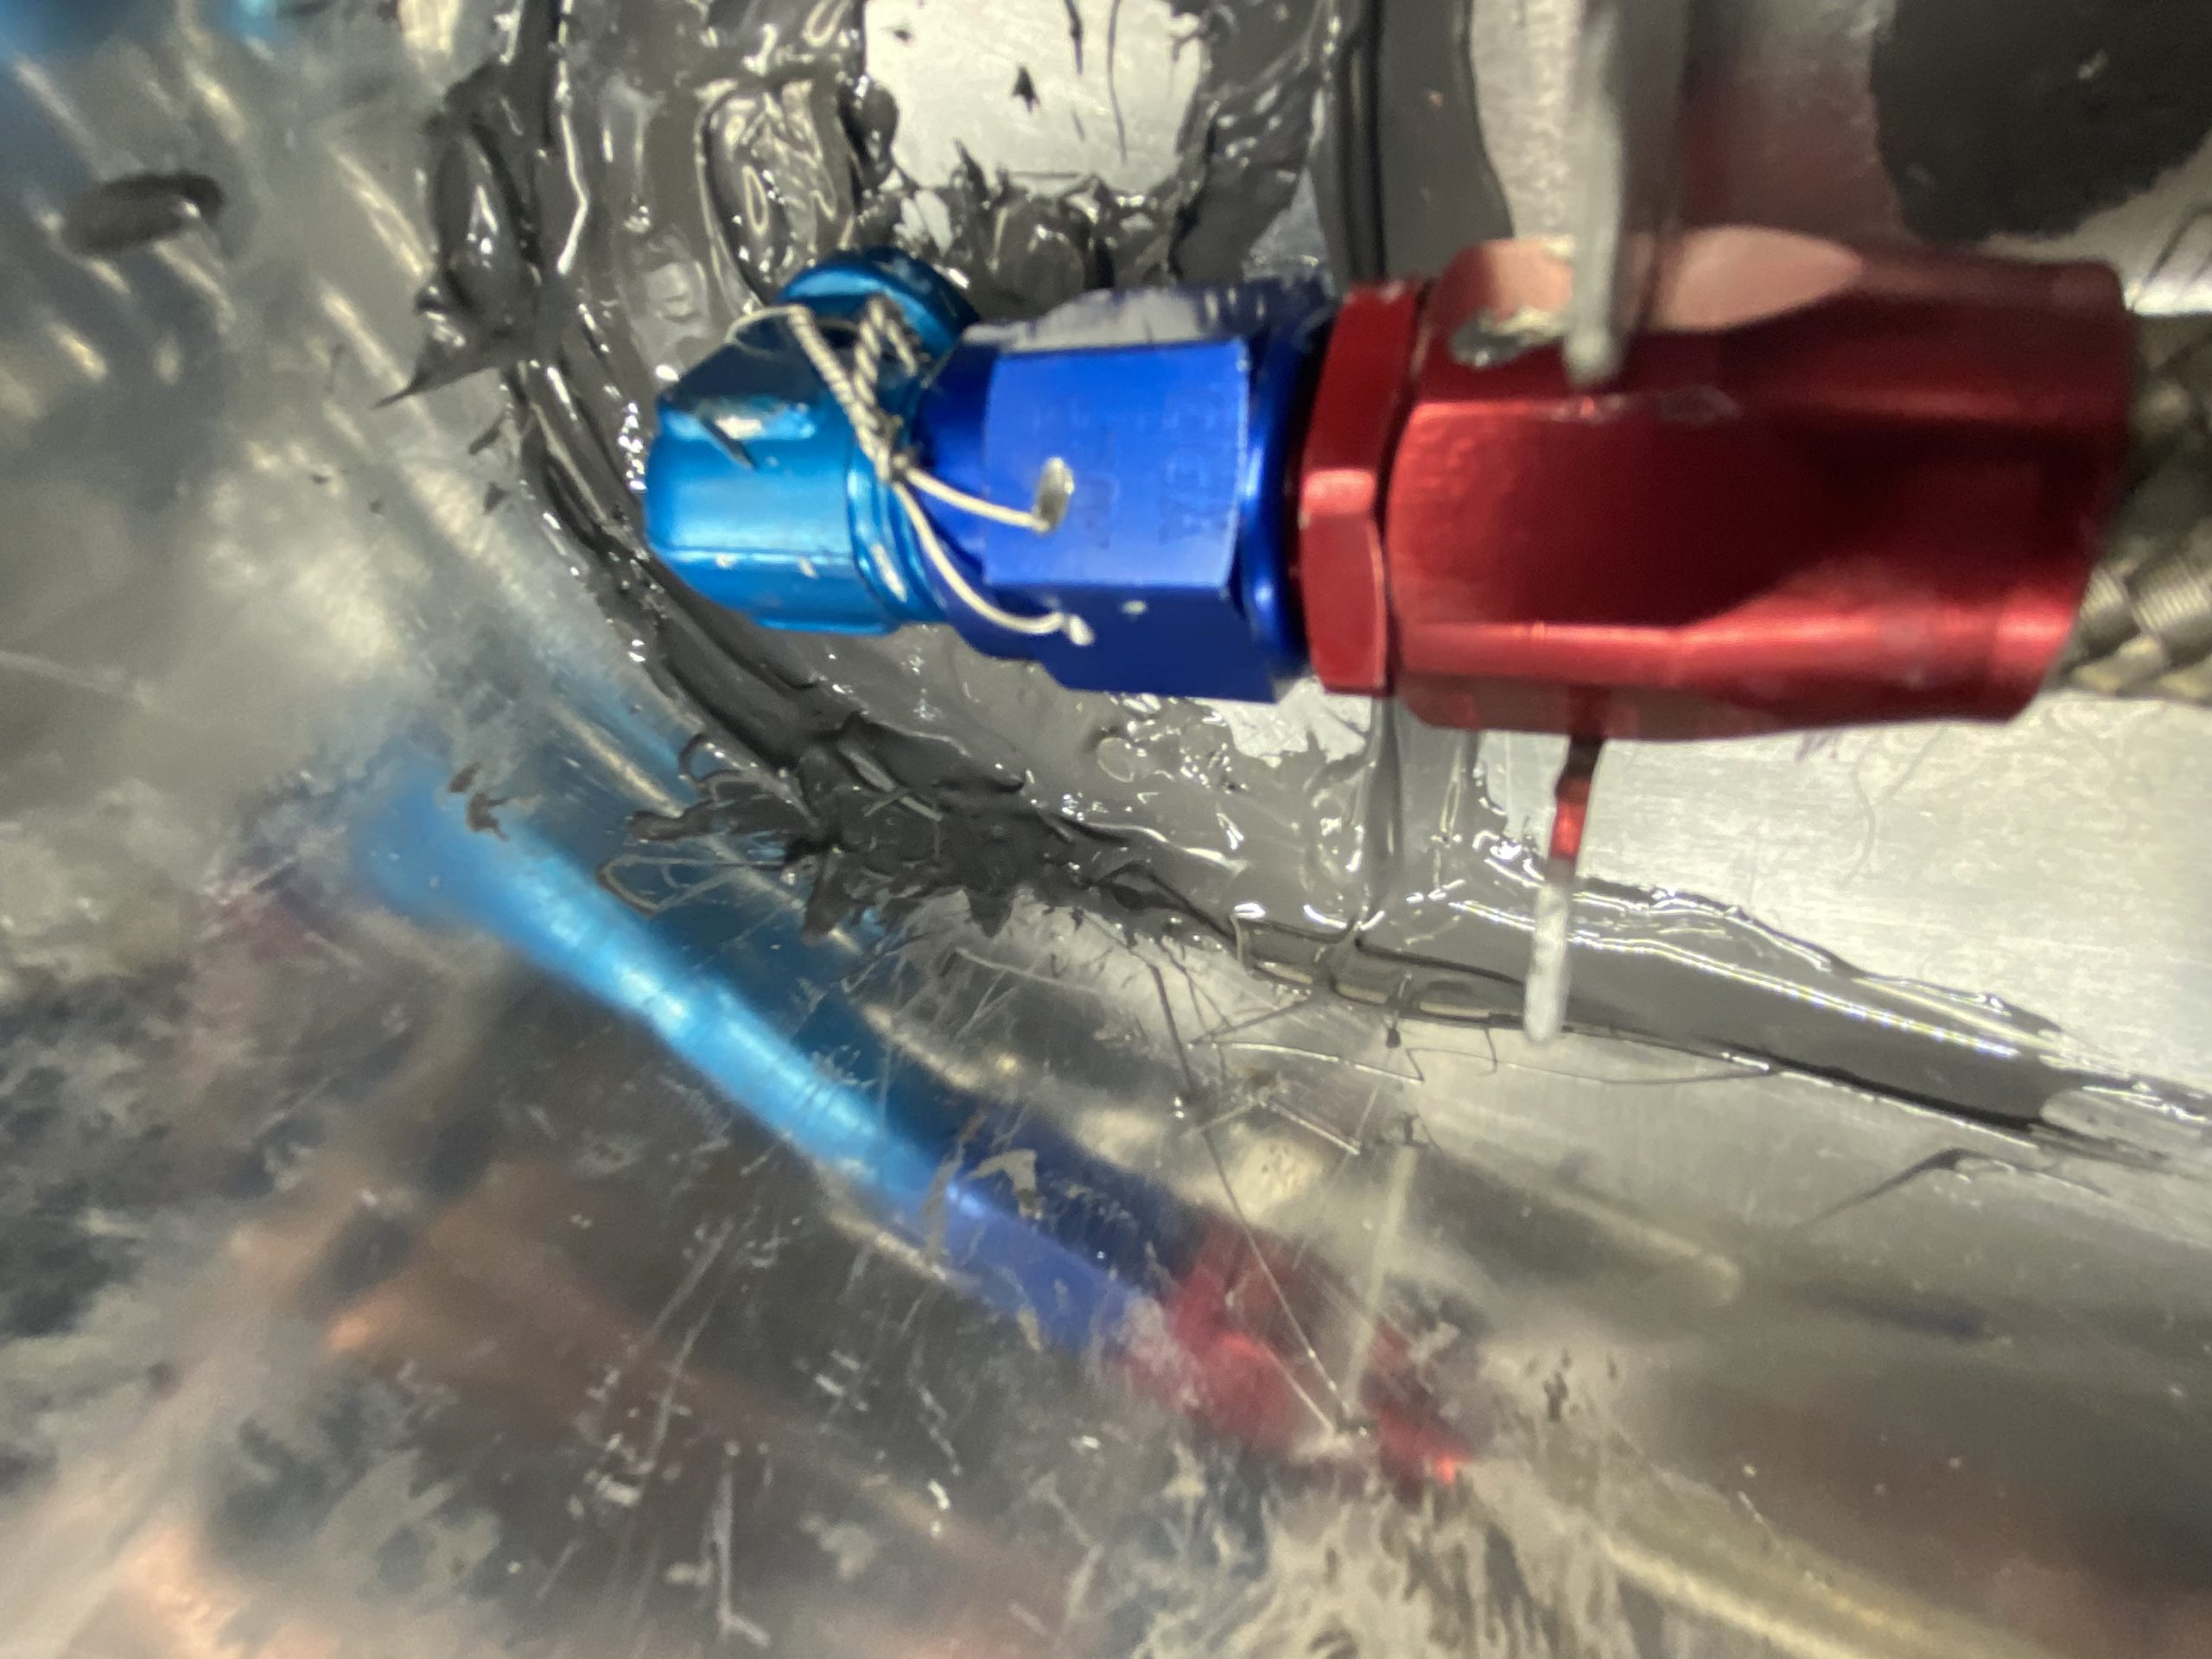
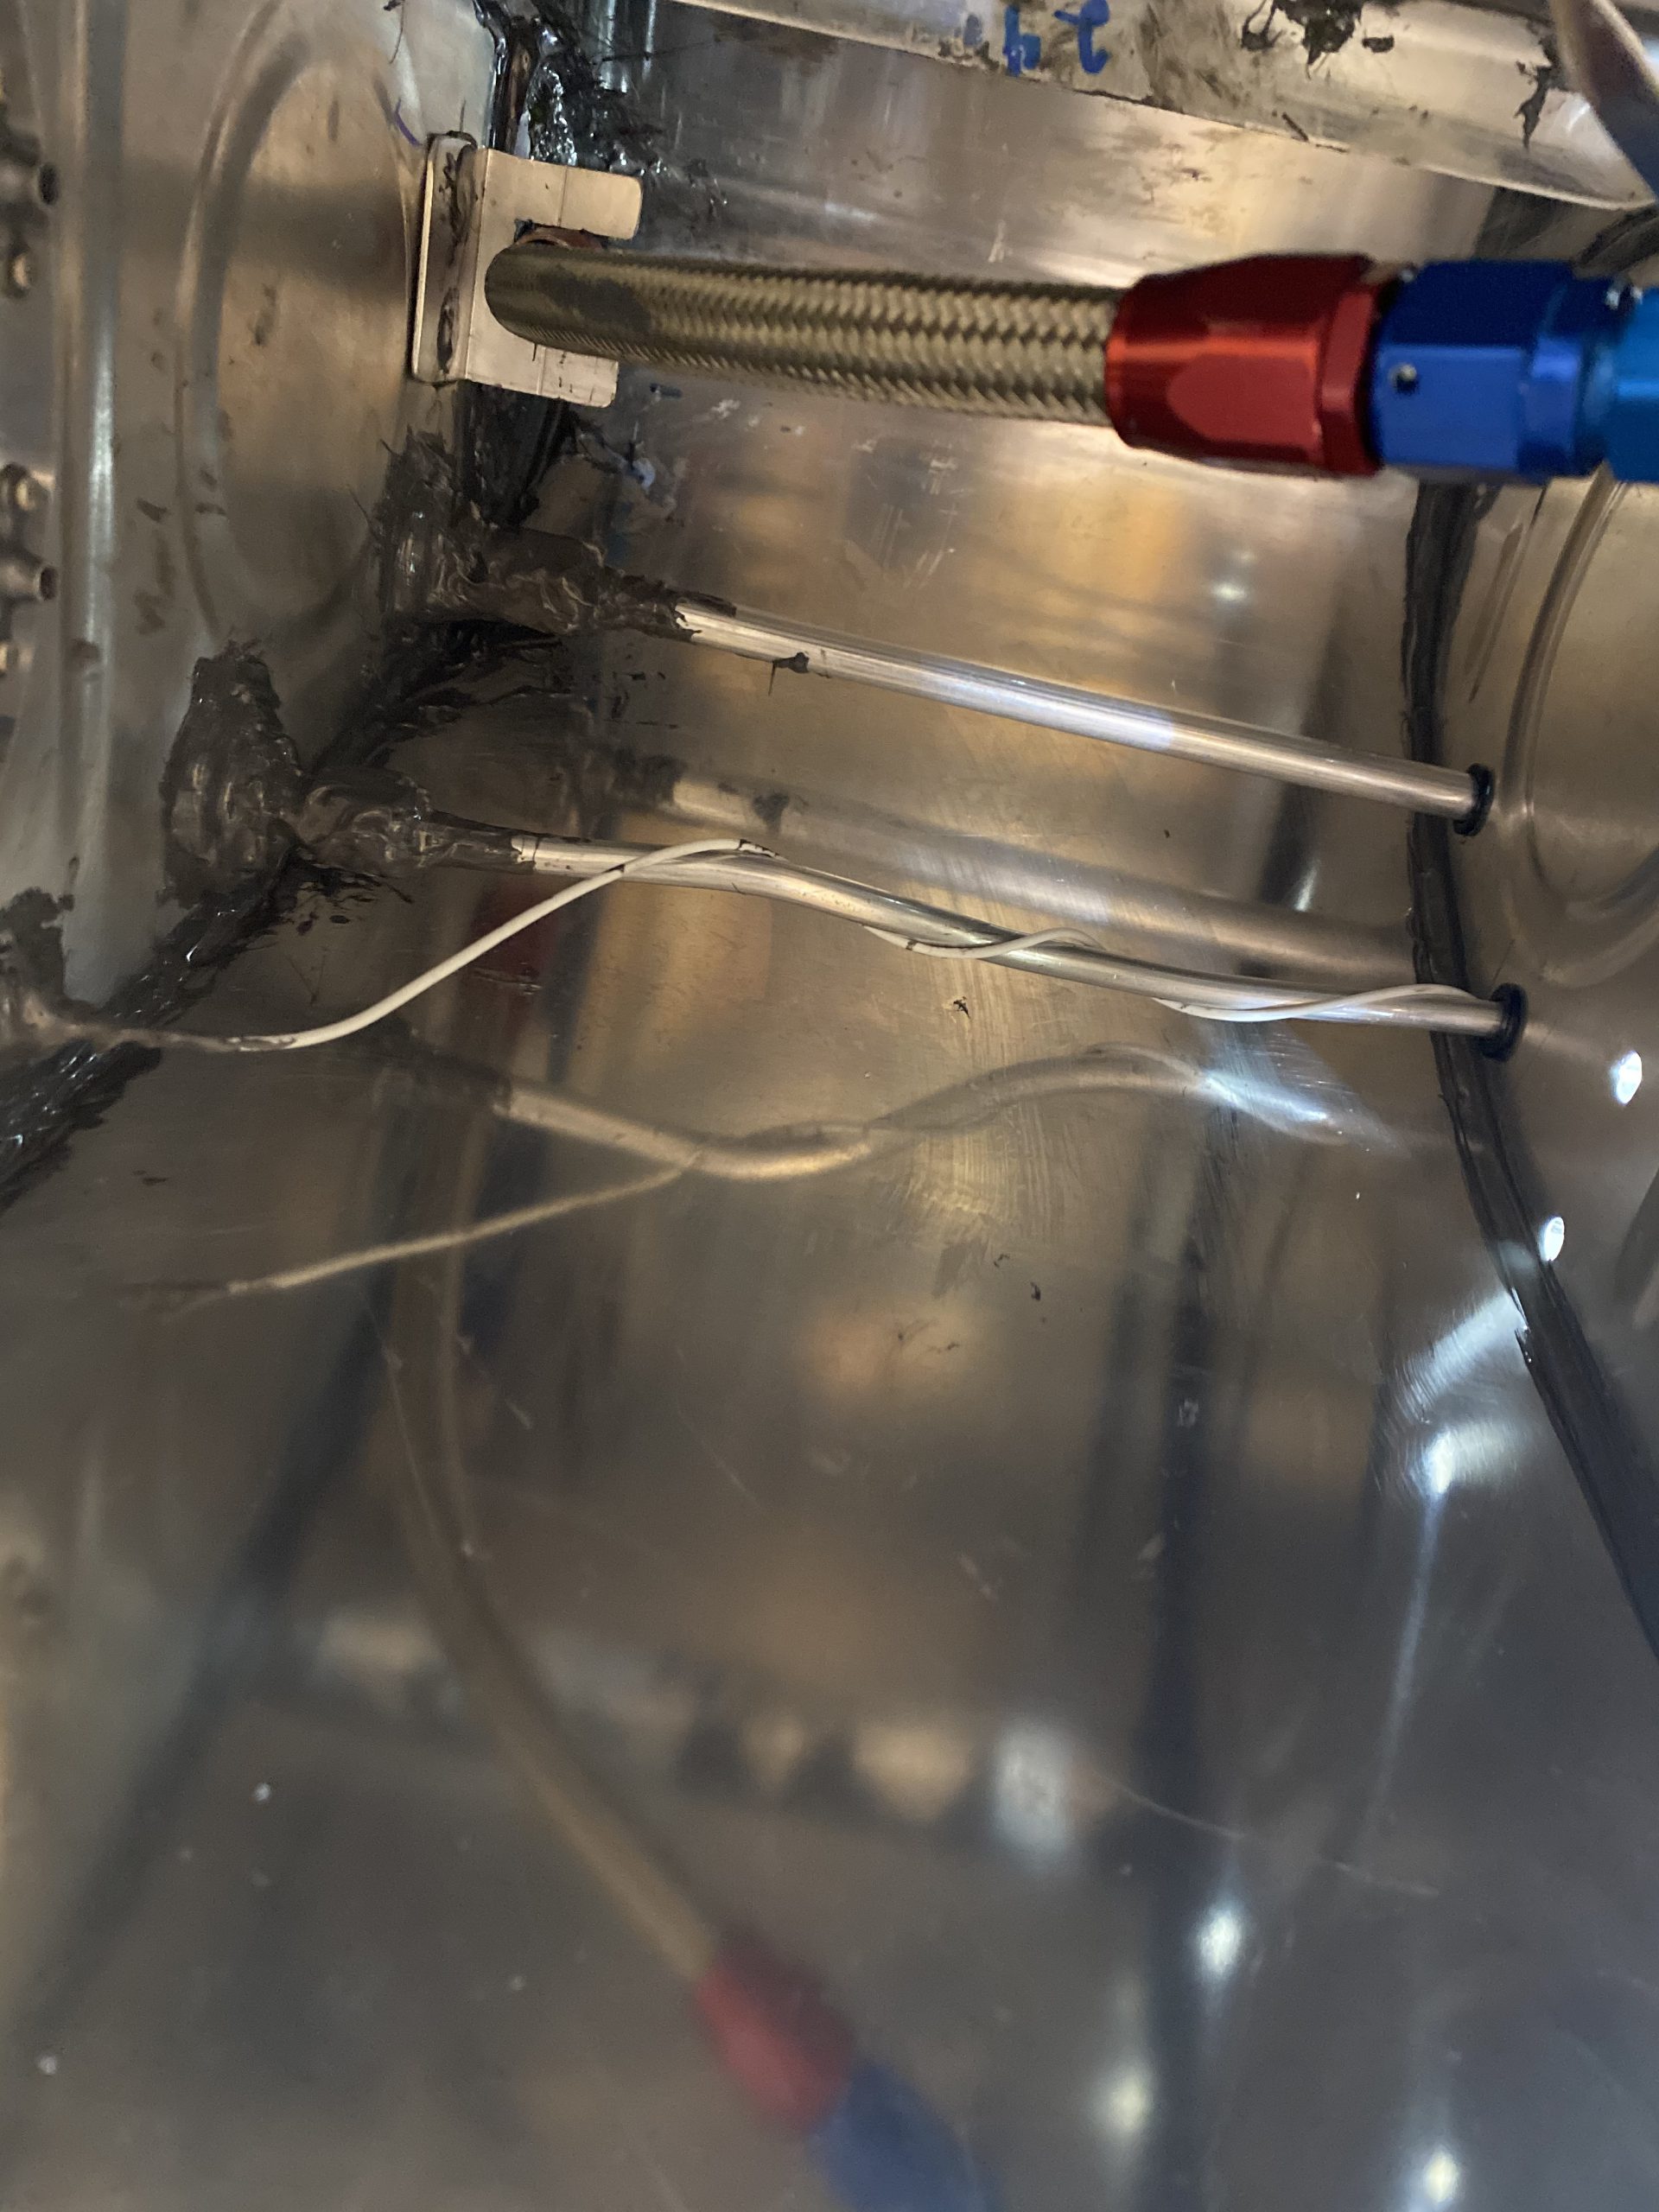
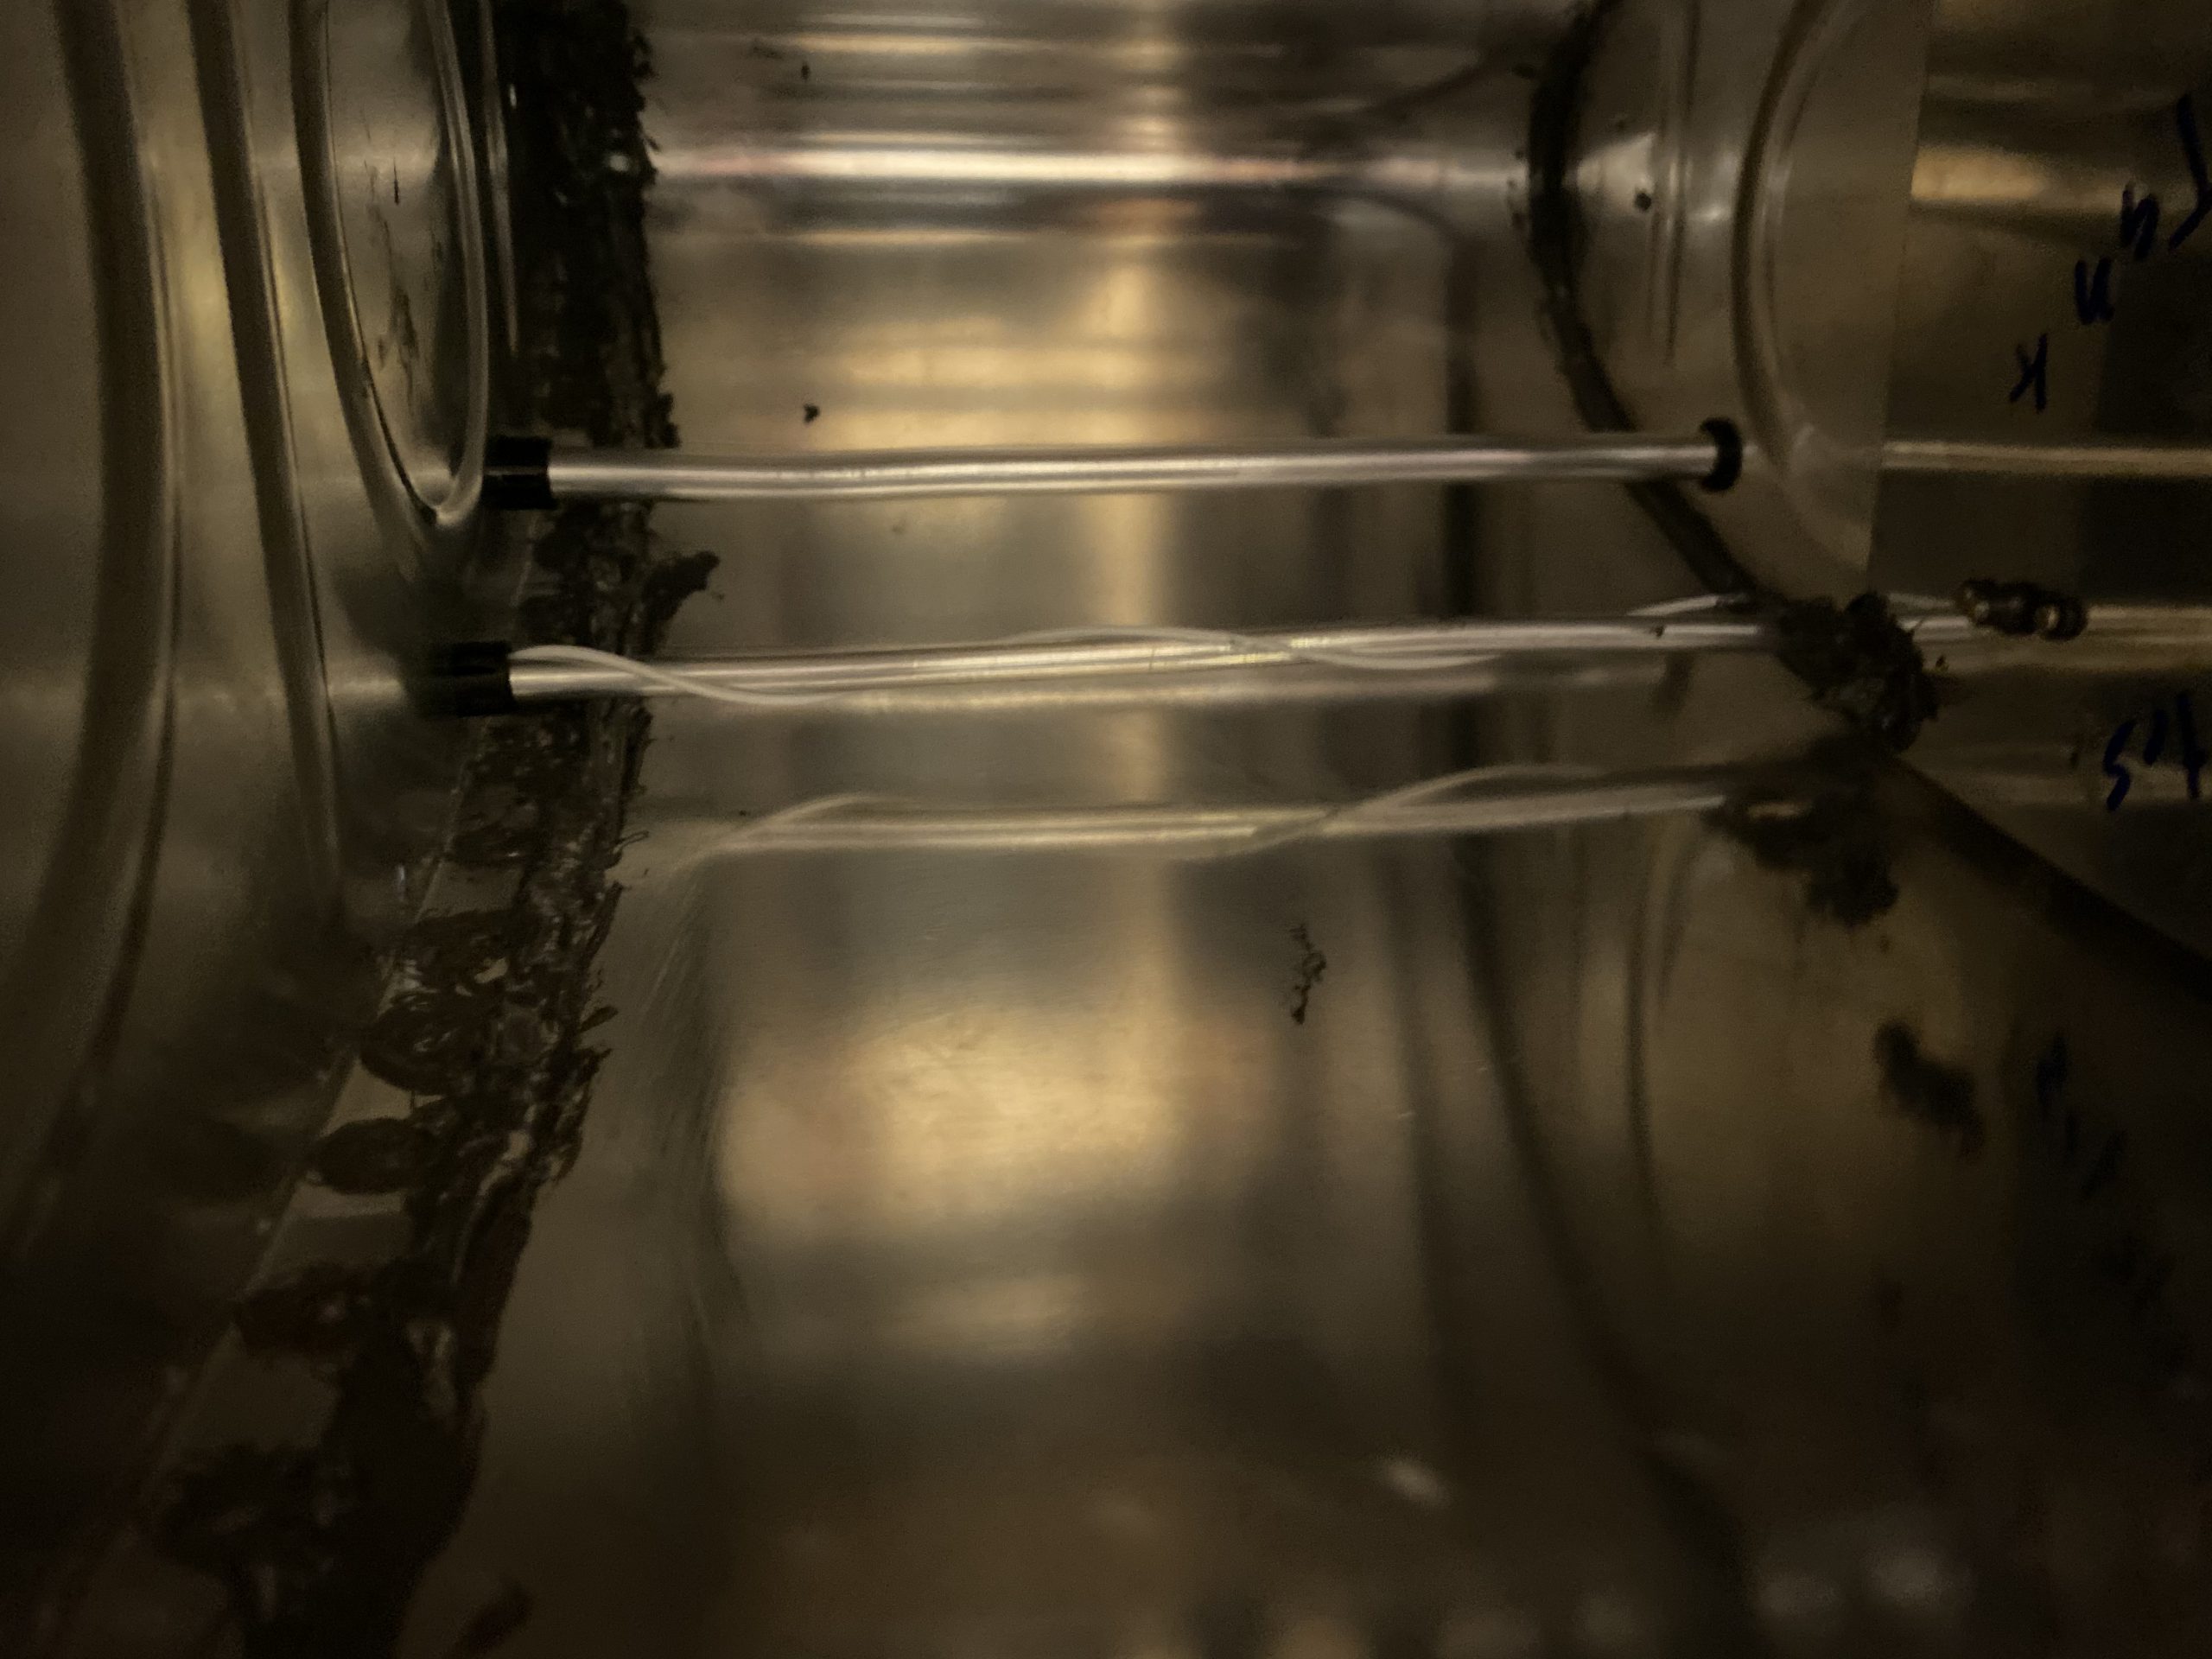
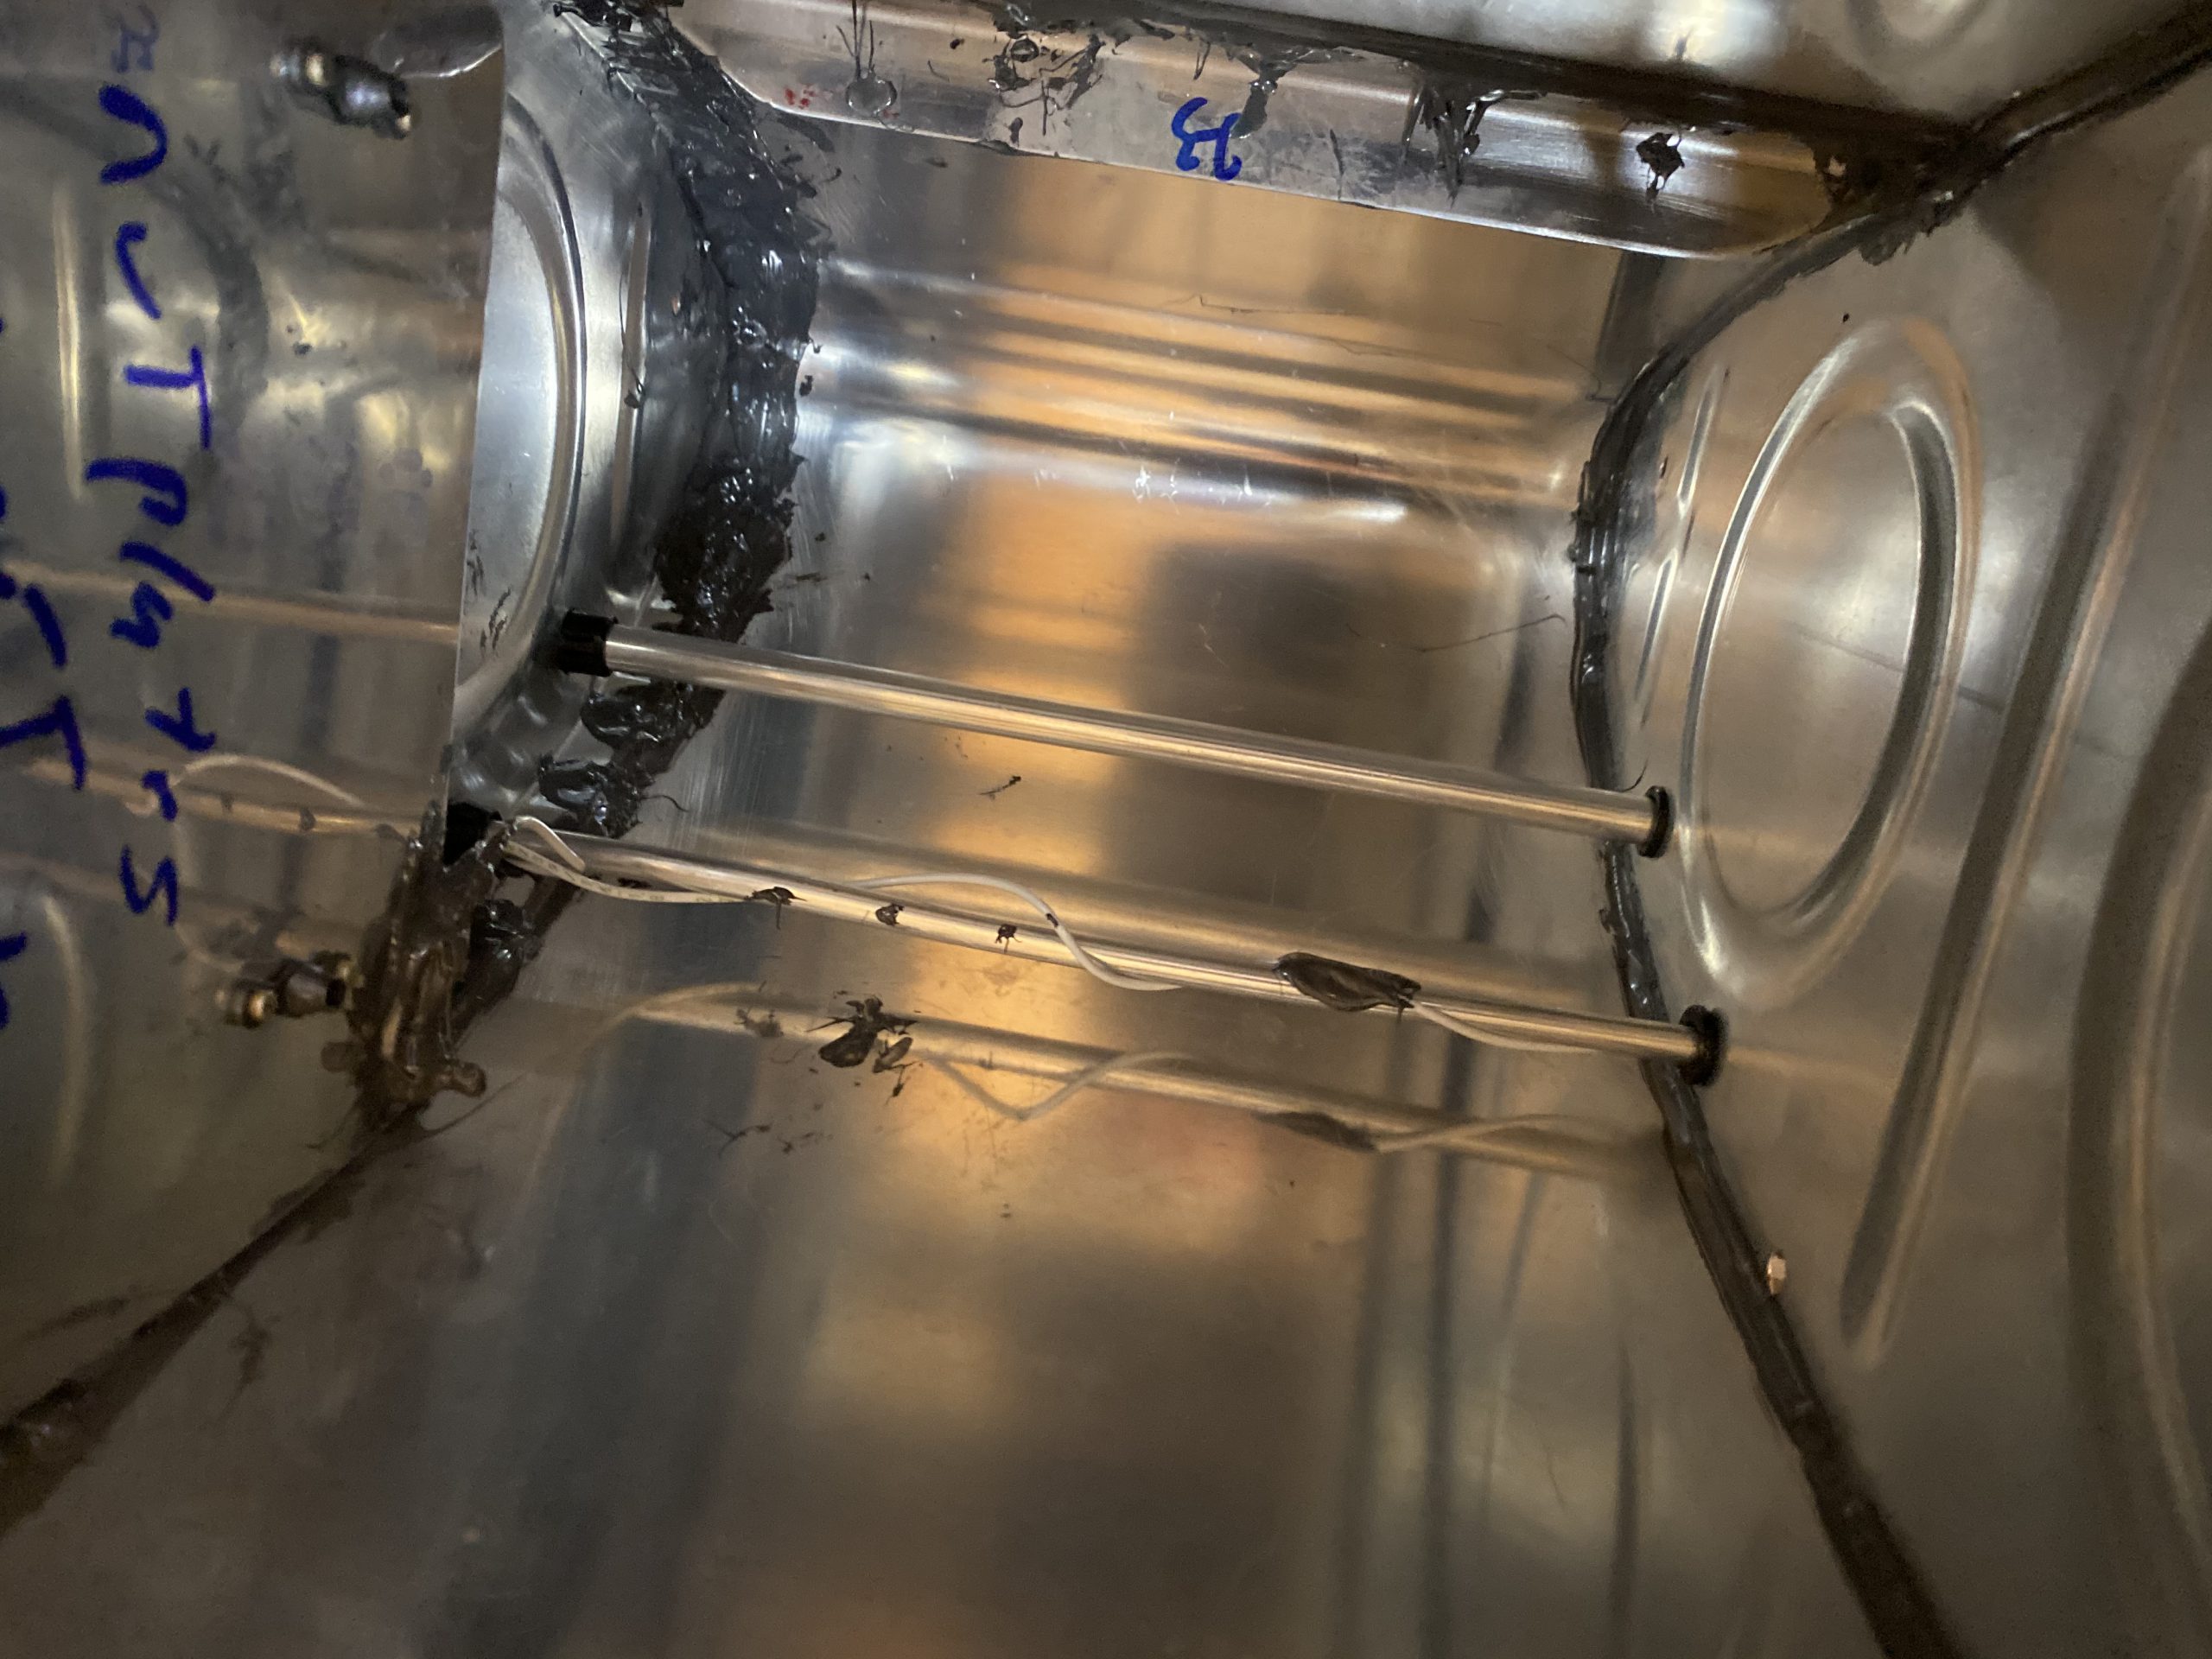
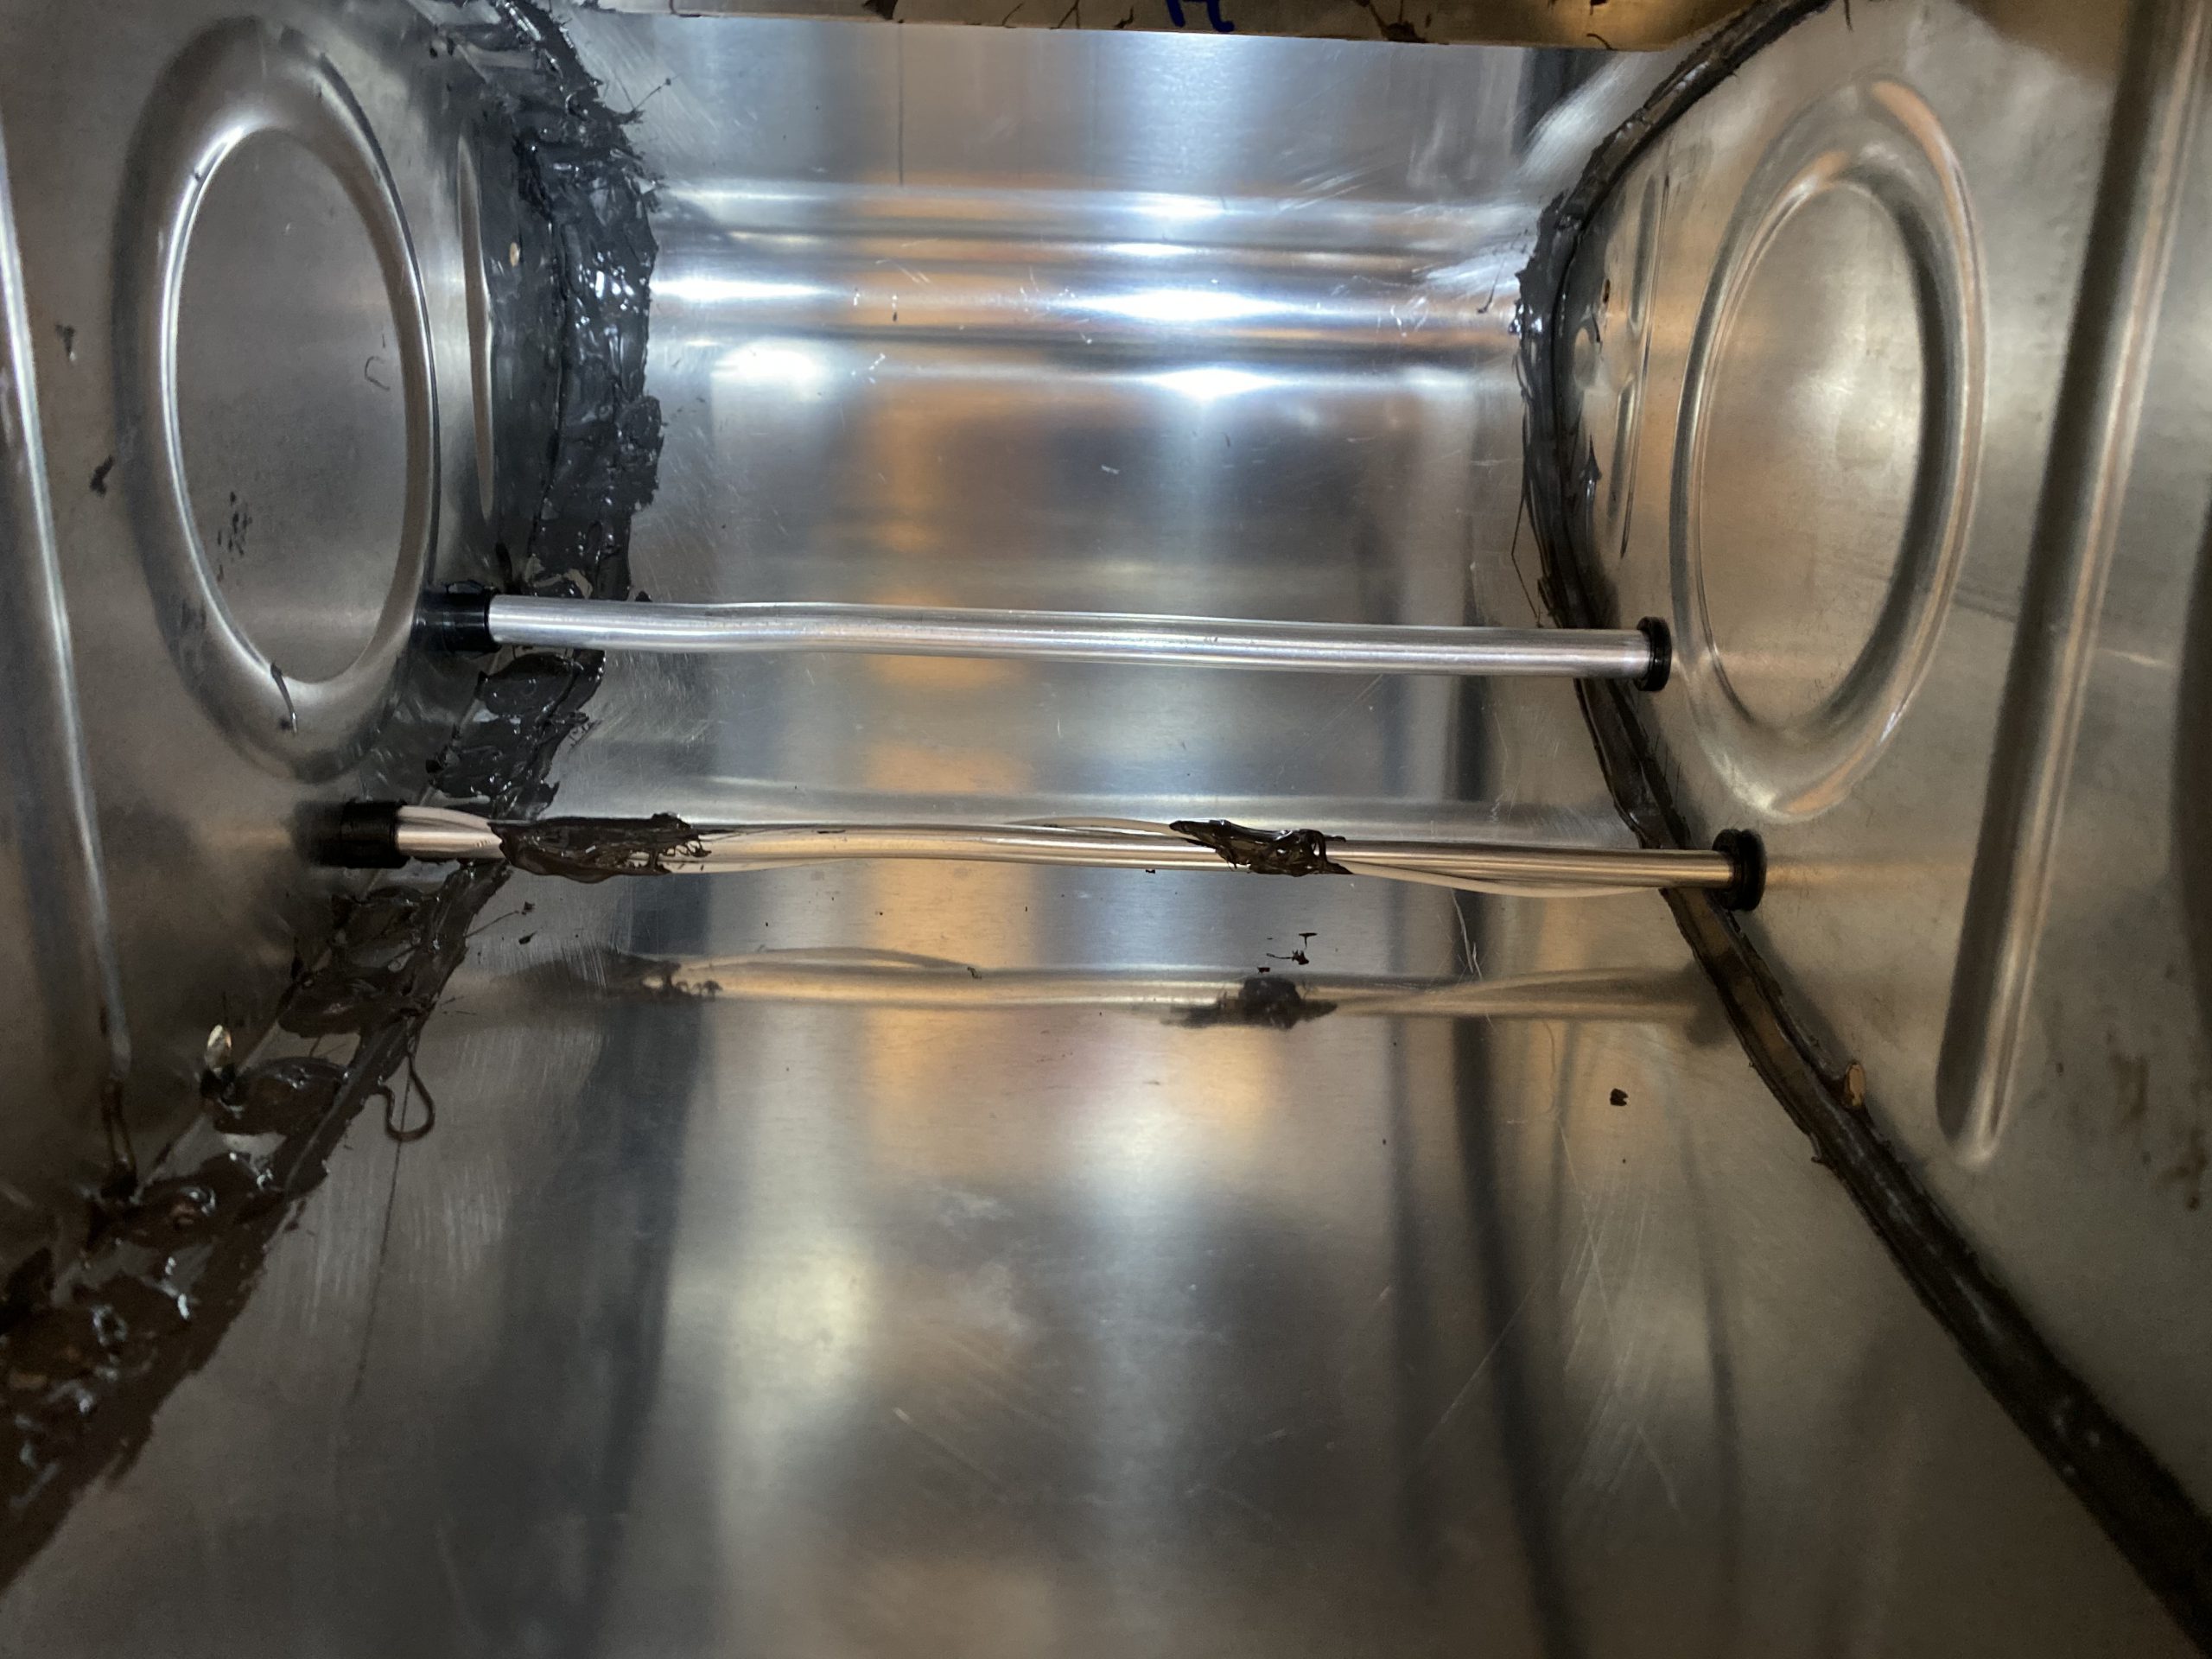
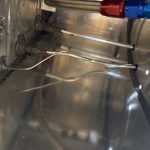
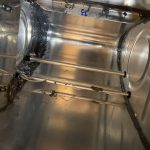
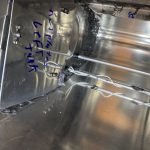
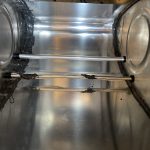
https://estherbarniol.com/7dyvs7ow I am not sure if completely covering the nut on the flop tube was a good idea or not, in case I ever need to service it. But, for now, i am wanting to avoid leaks more than servicing a flop tube 15 years from now. Then I smeared some sealant around the inside part of the flop tube, where the fitting exits the bulkhead. Next step was to torque down the tank vent and fuel return lines to their fittings and cover them in sealant to prevent them loosening. This was pretty simple, and used a decent amount of sealant. I mixed up the other 30 grams to have enough for the dollops and other bits.
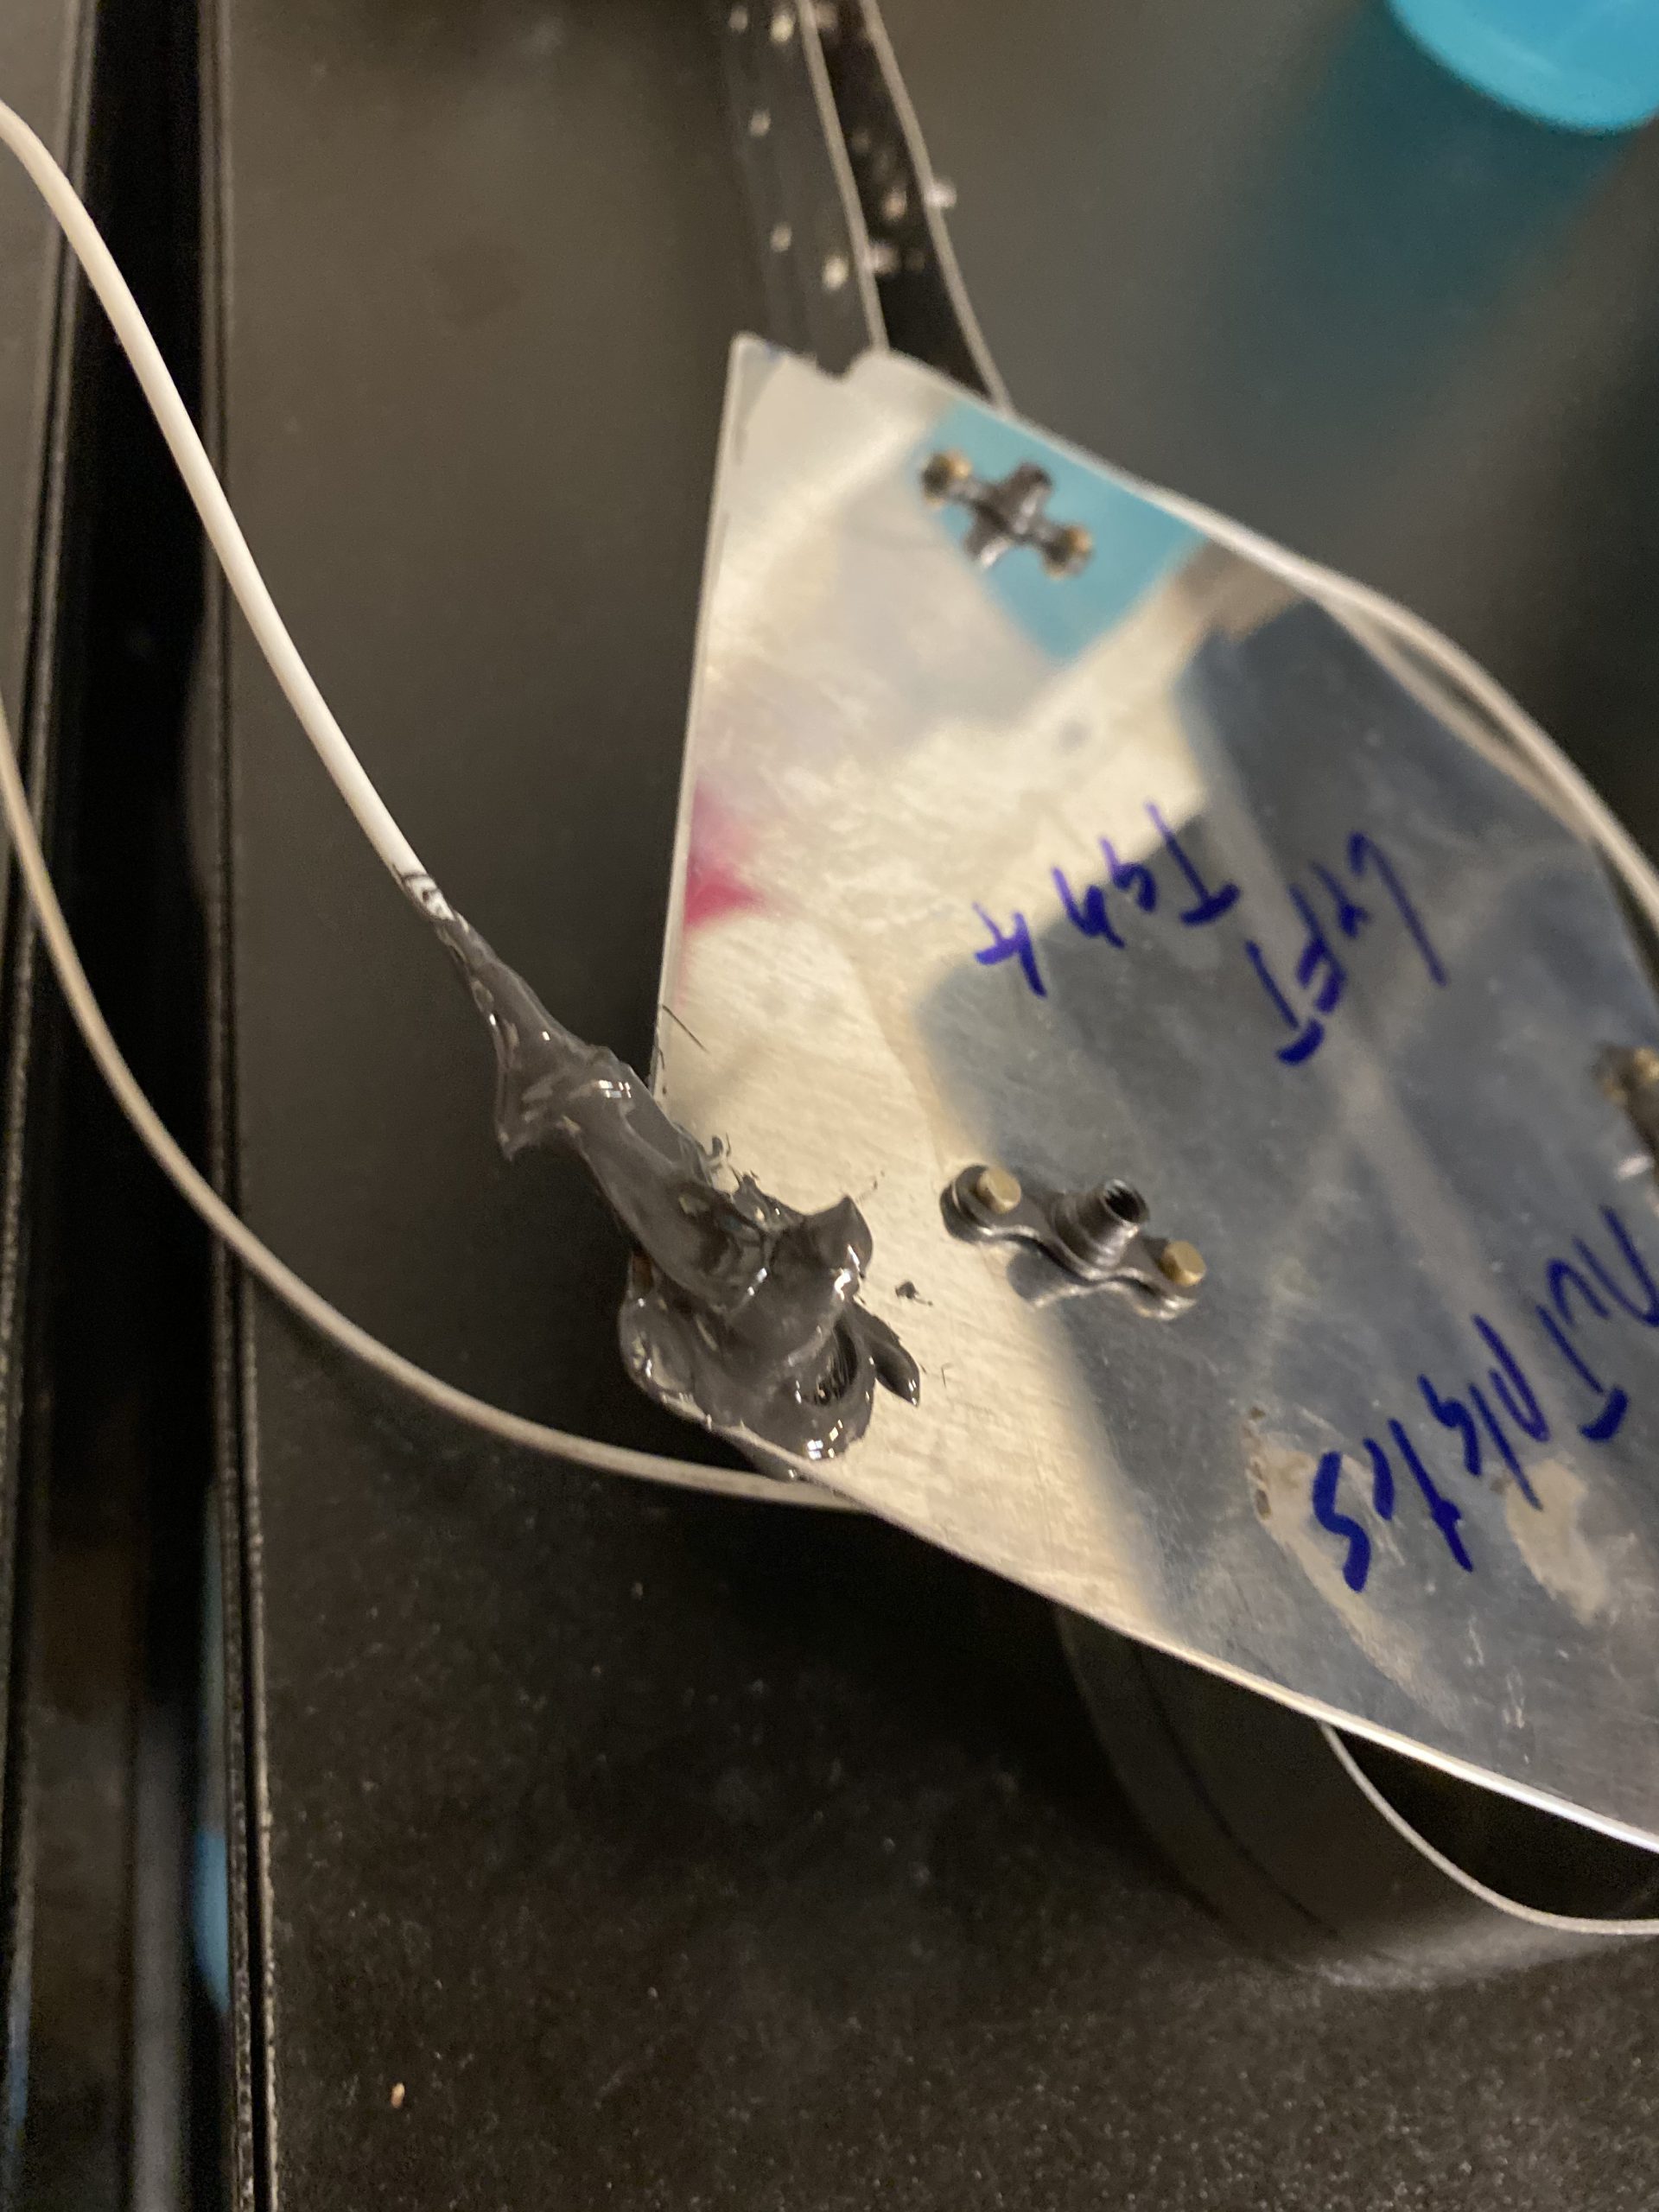
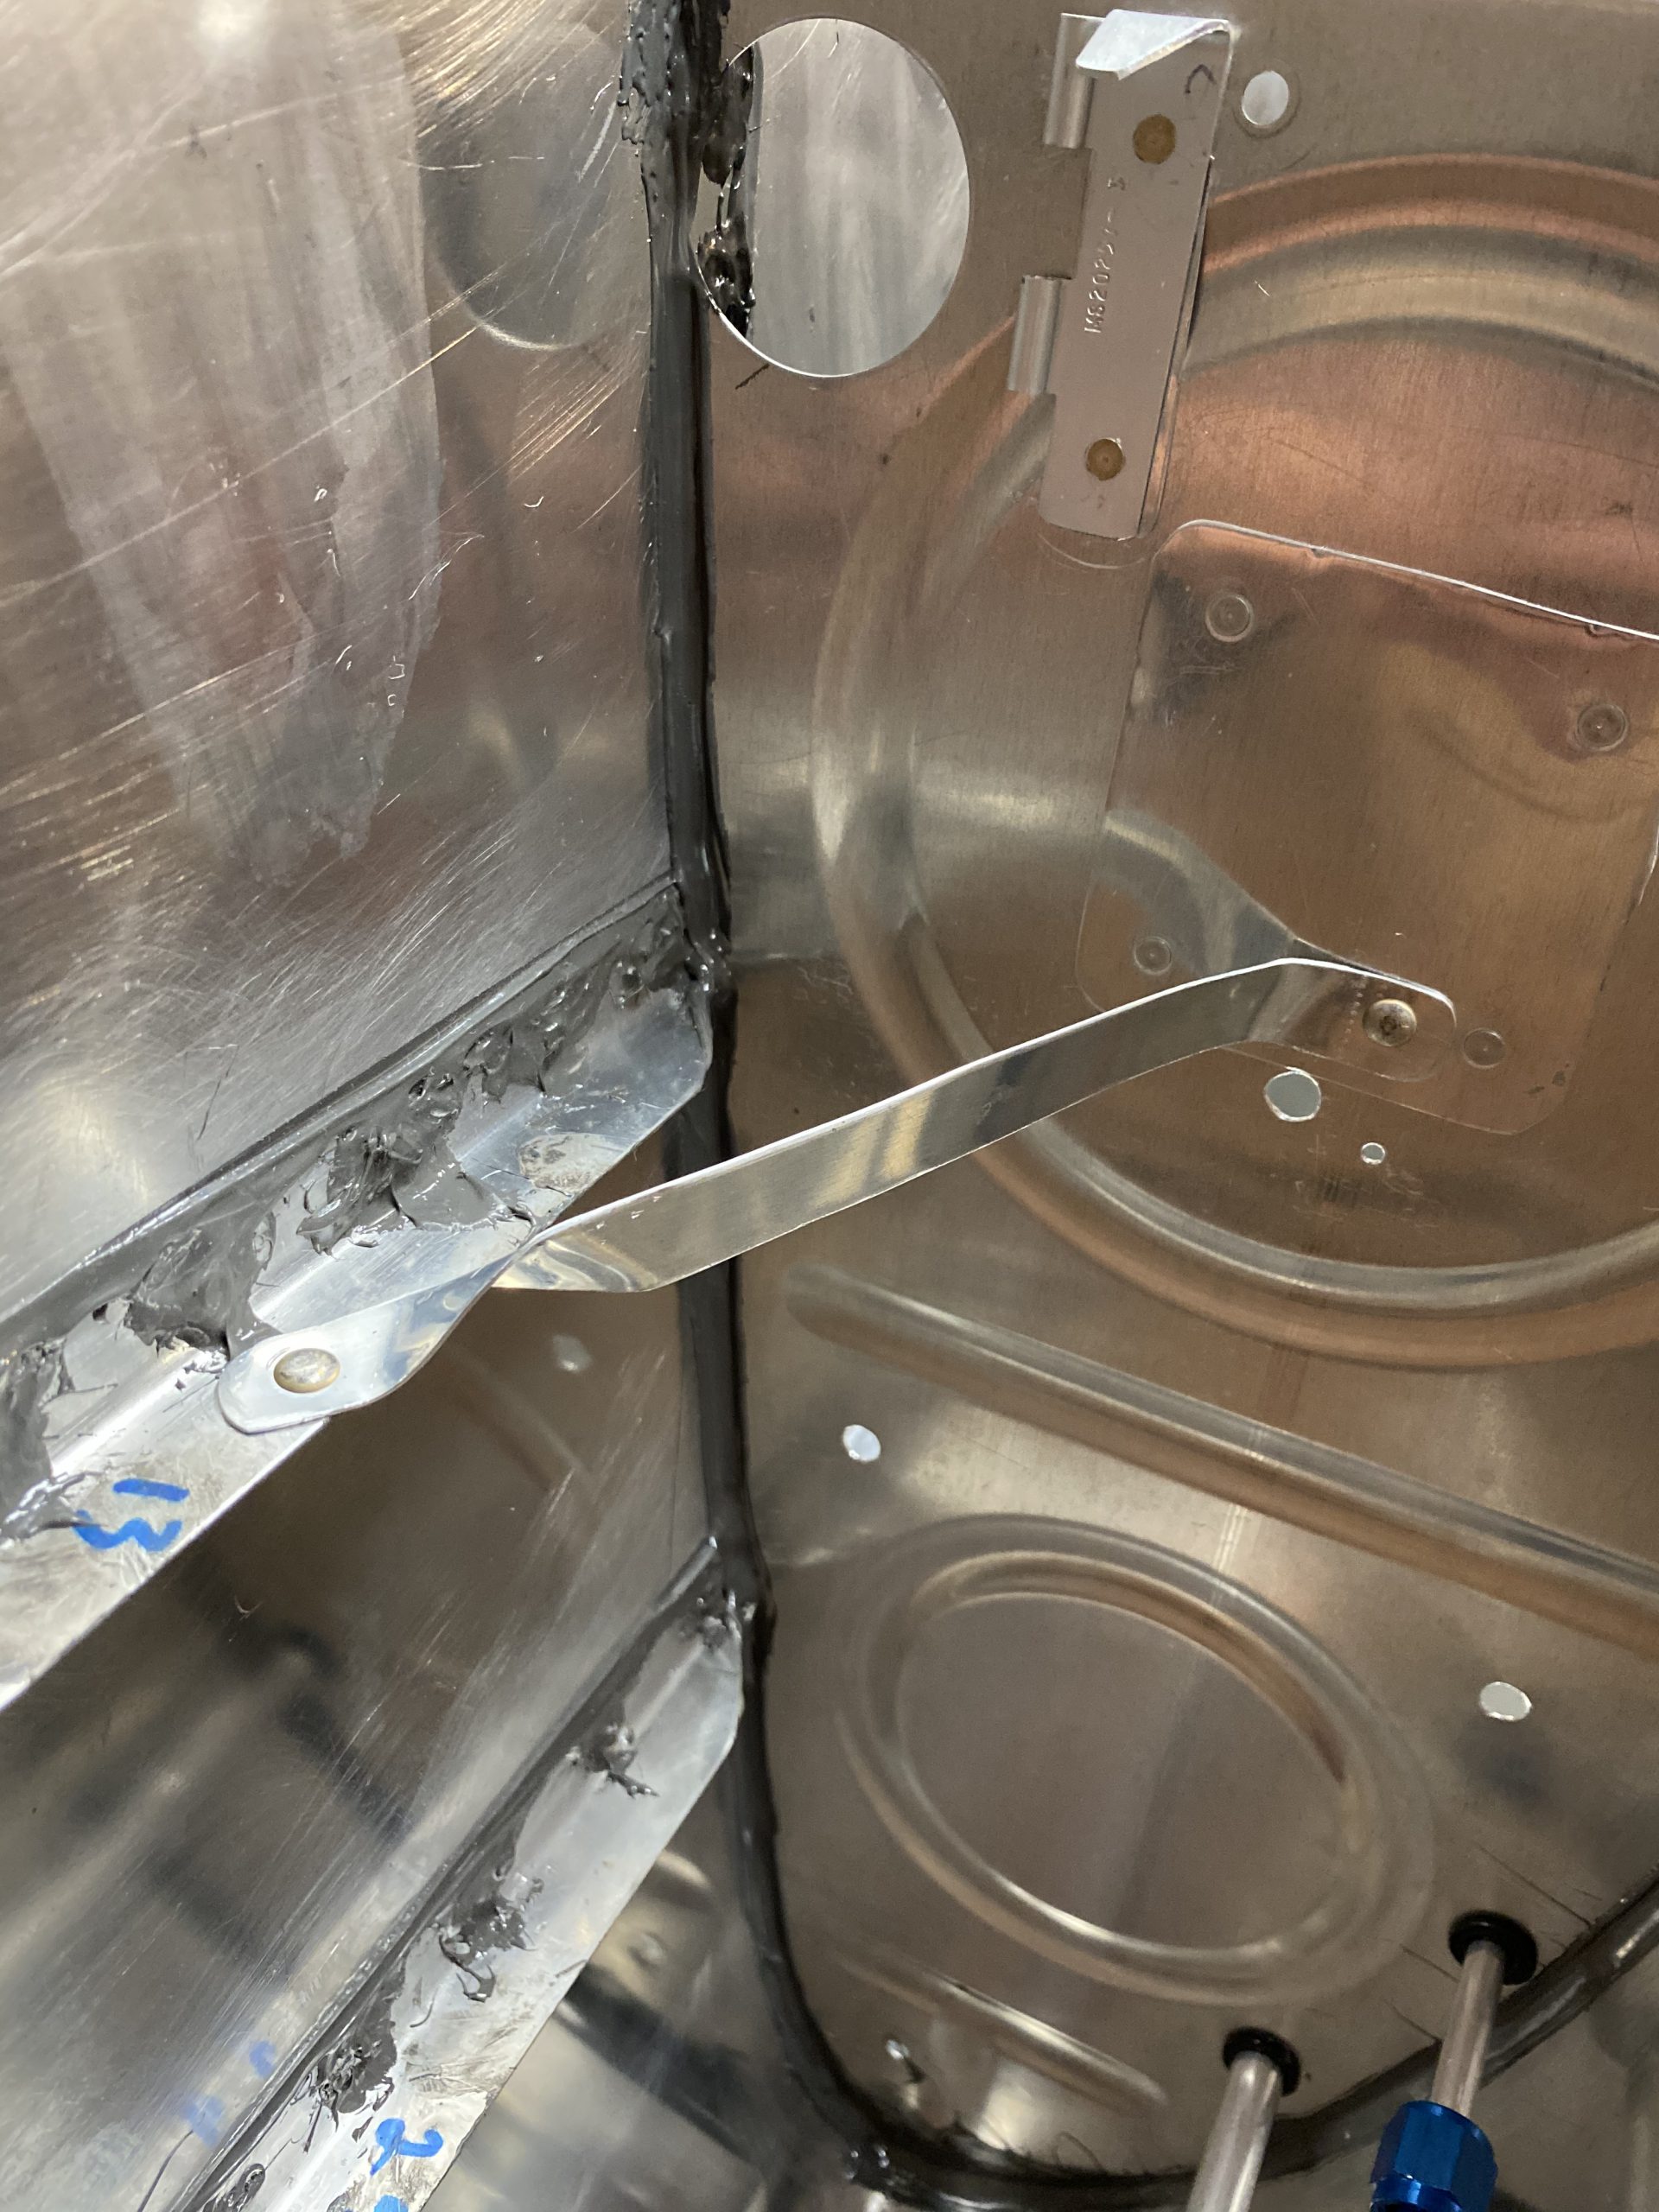
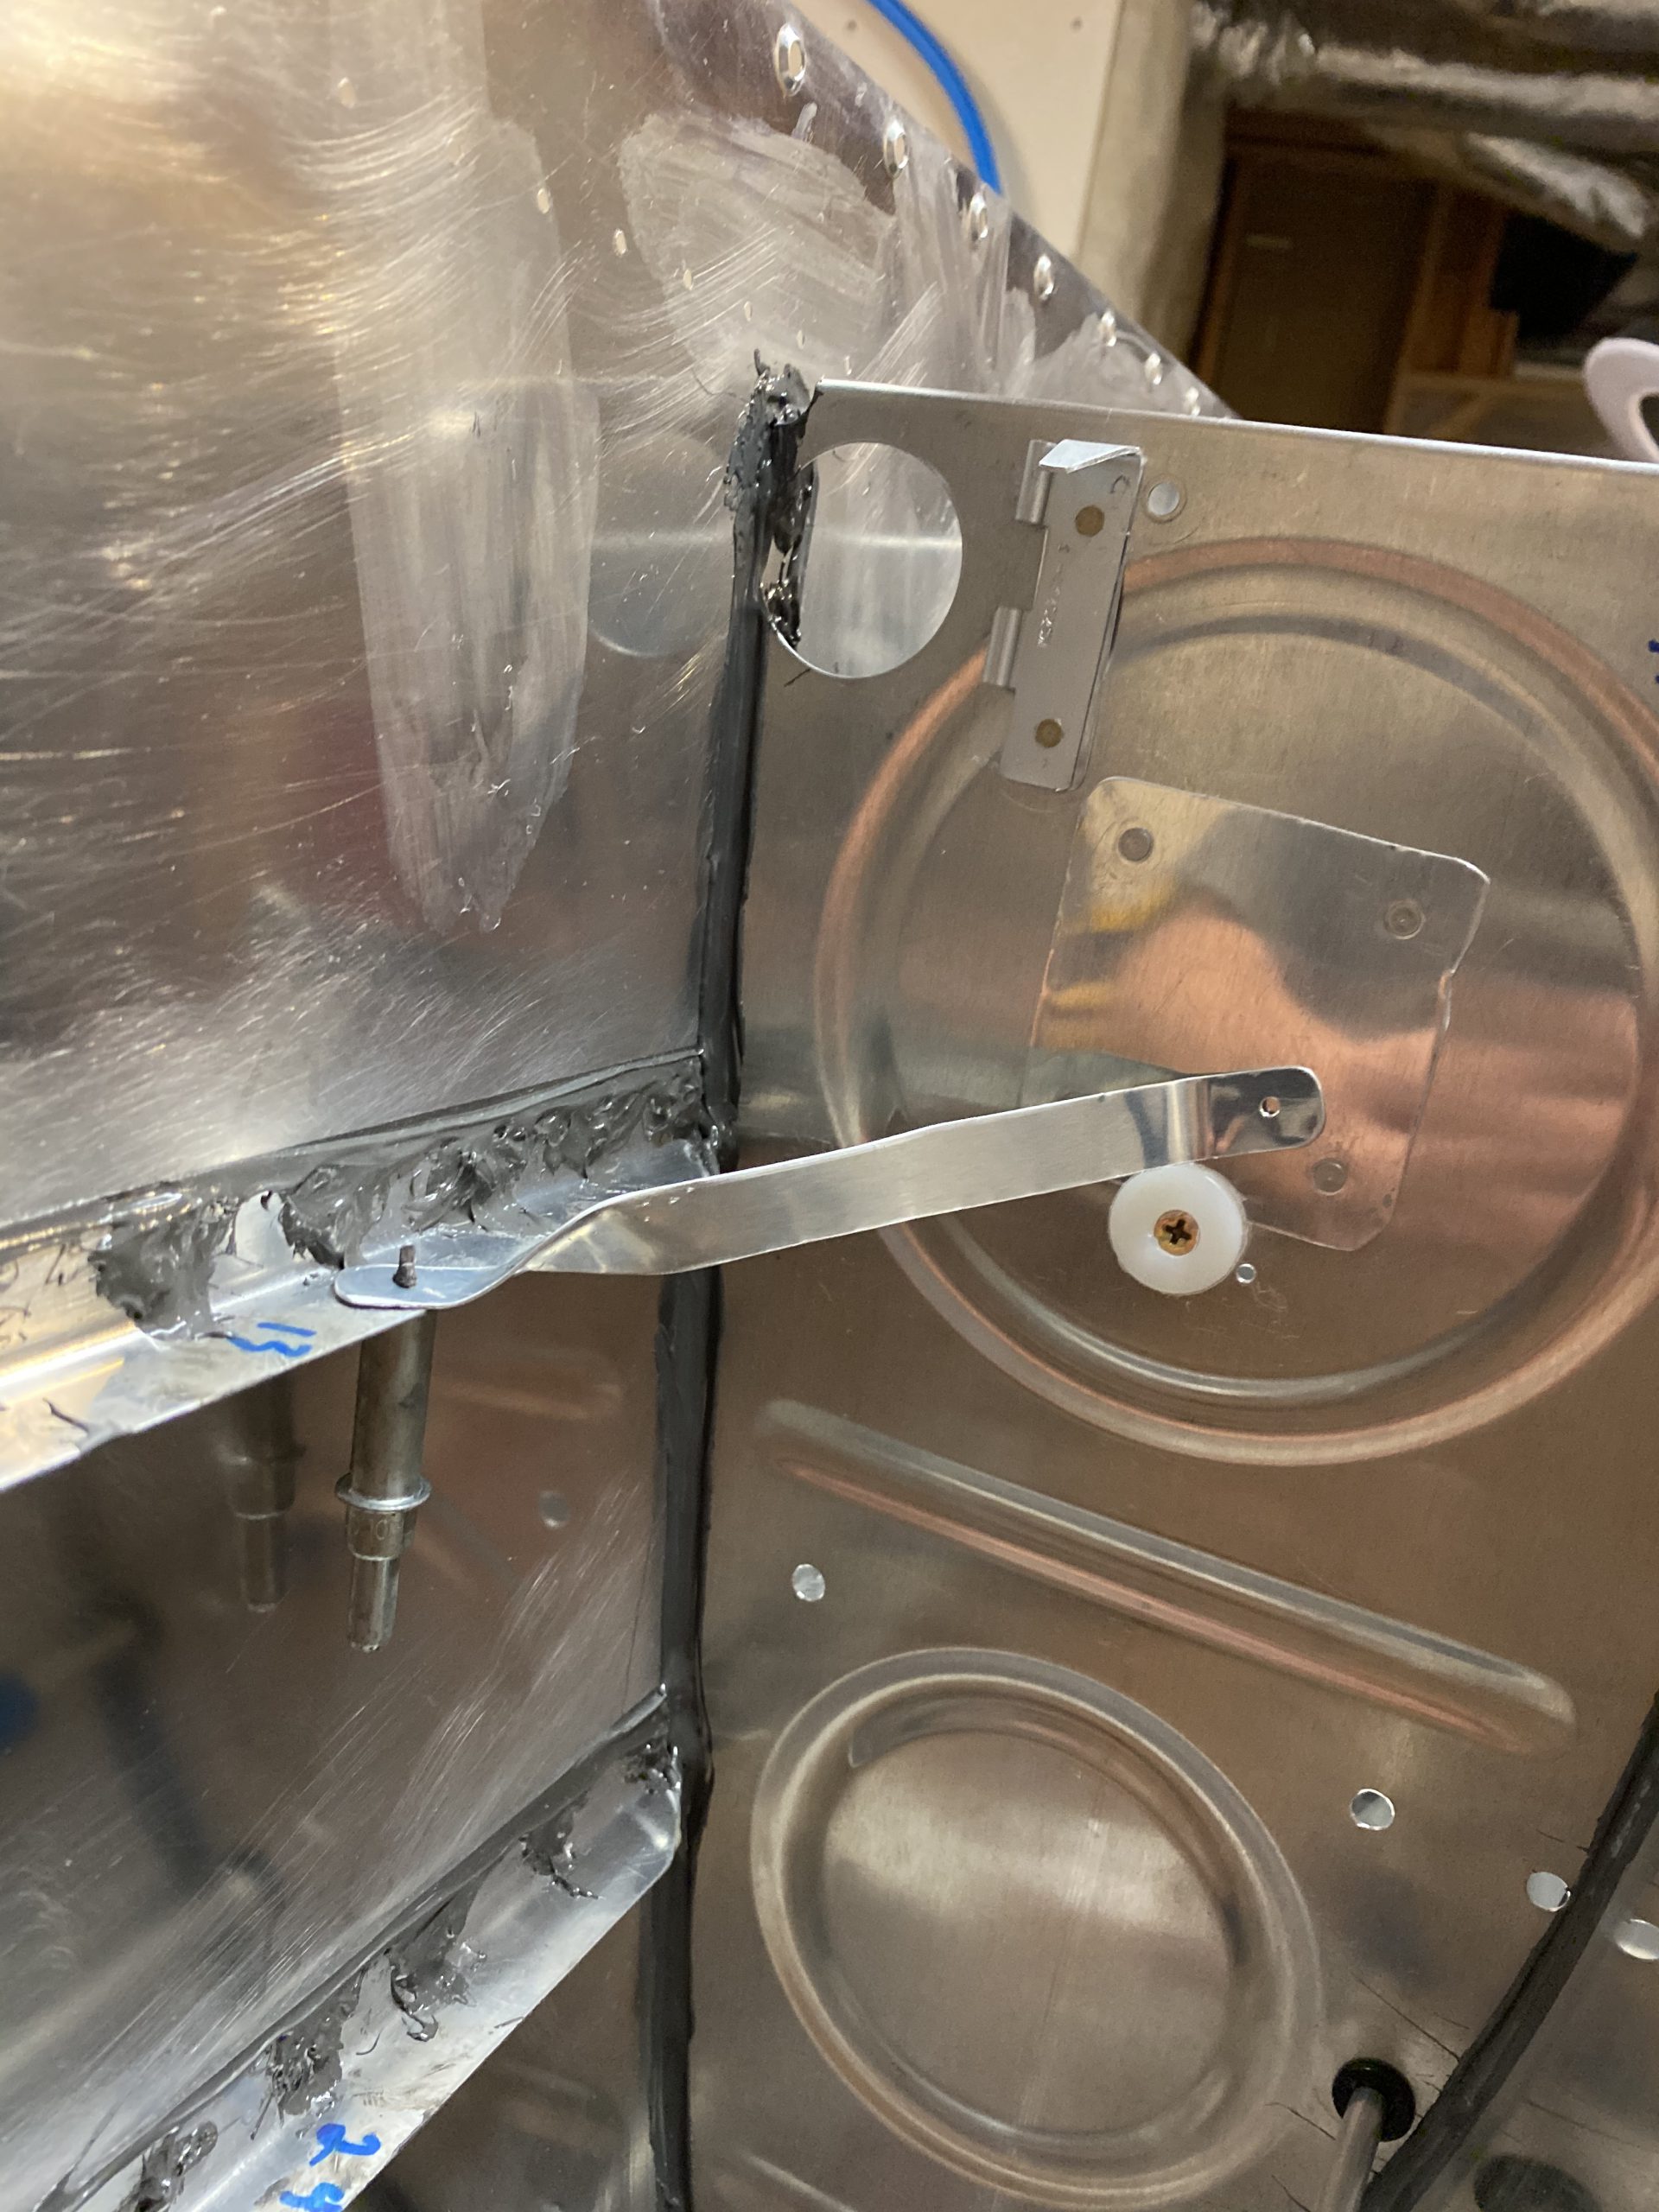
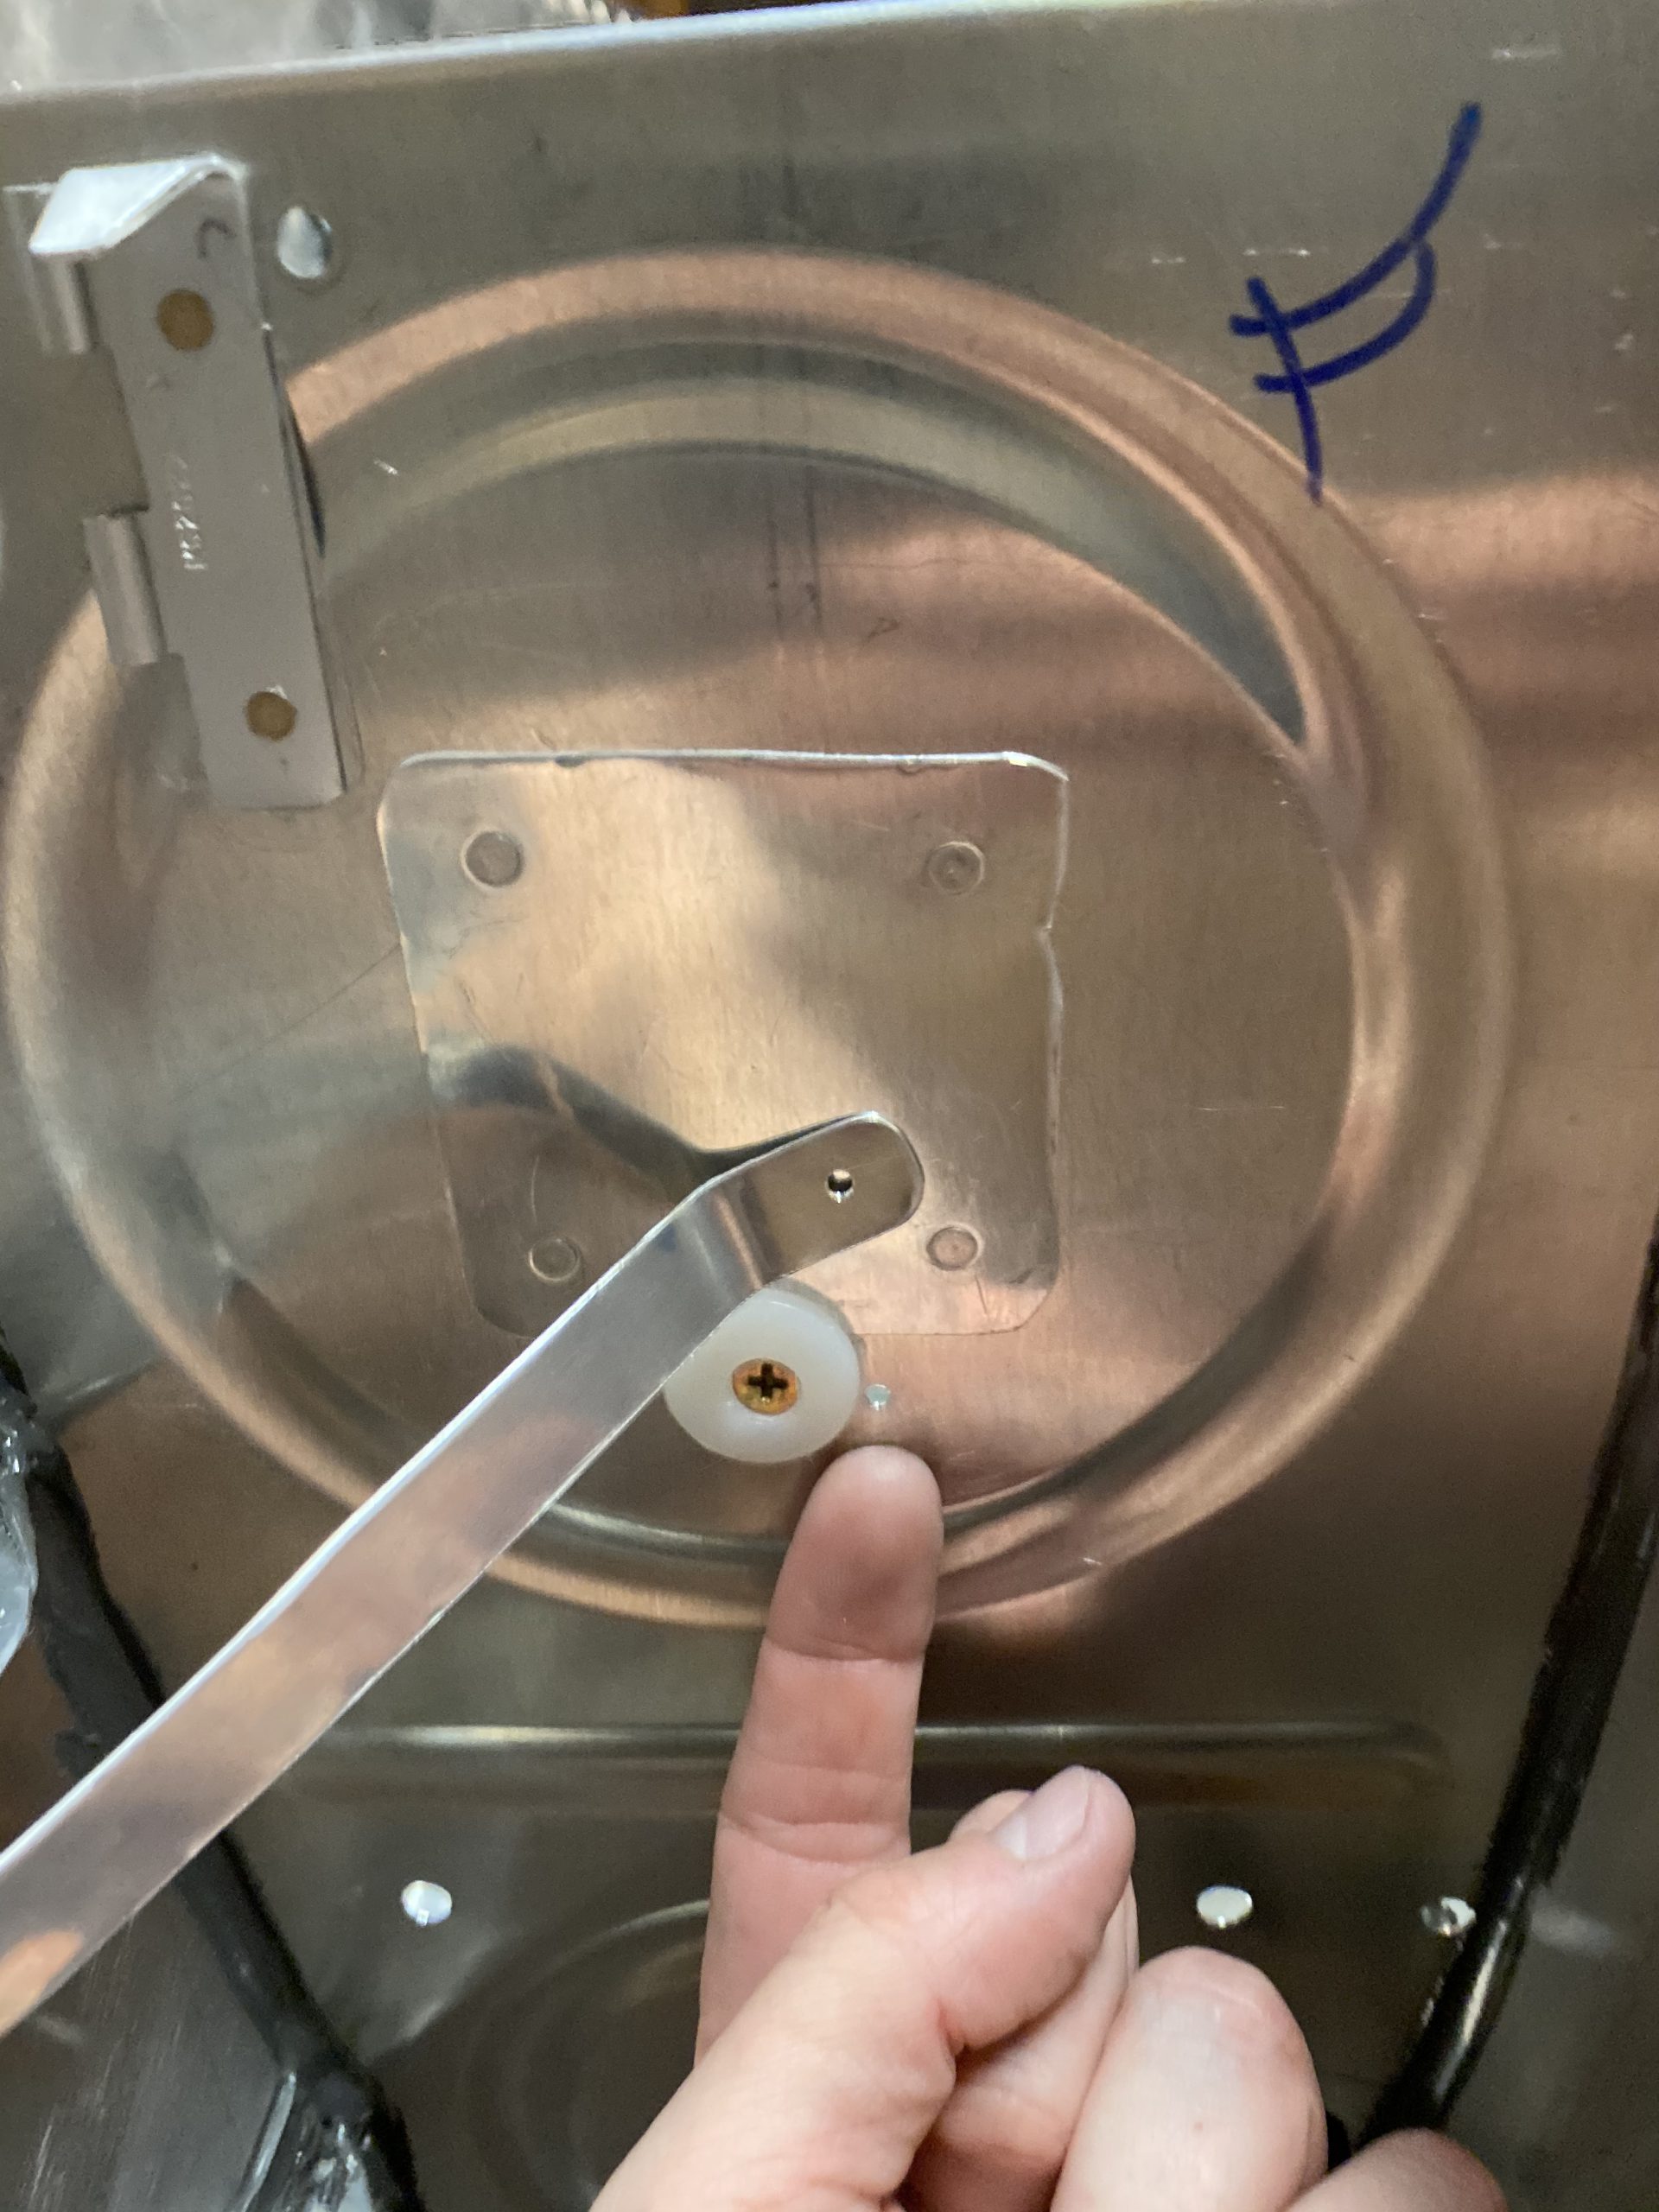
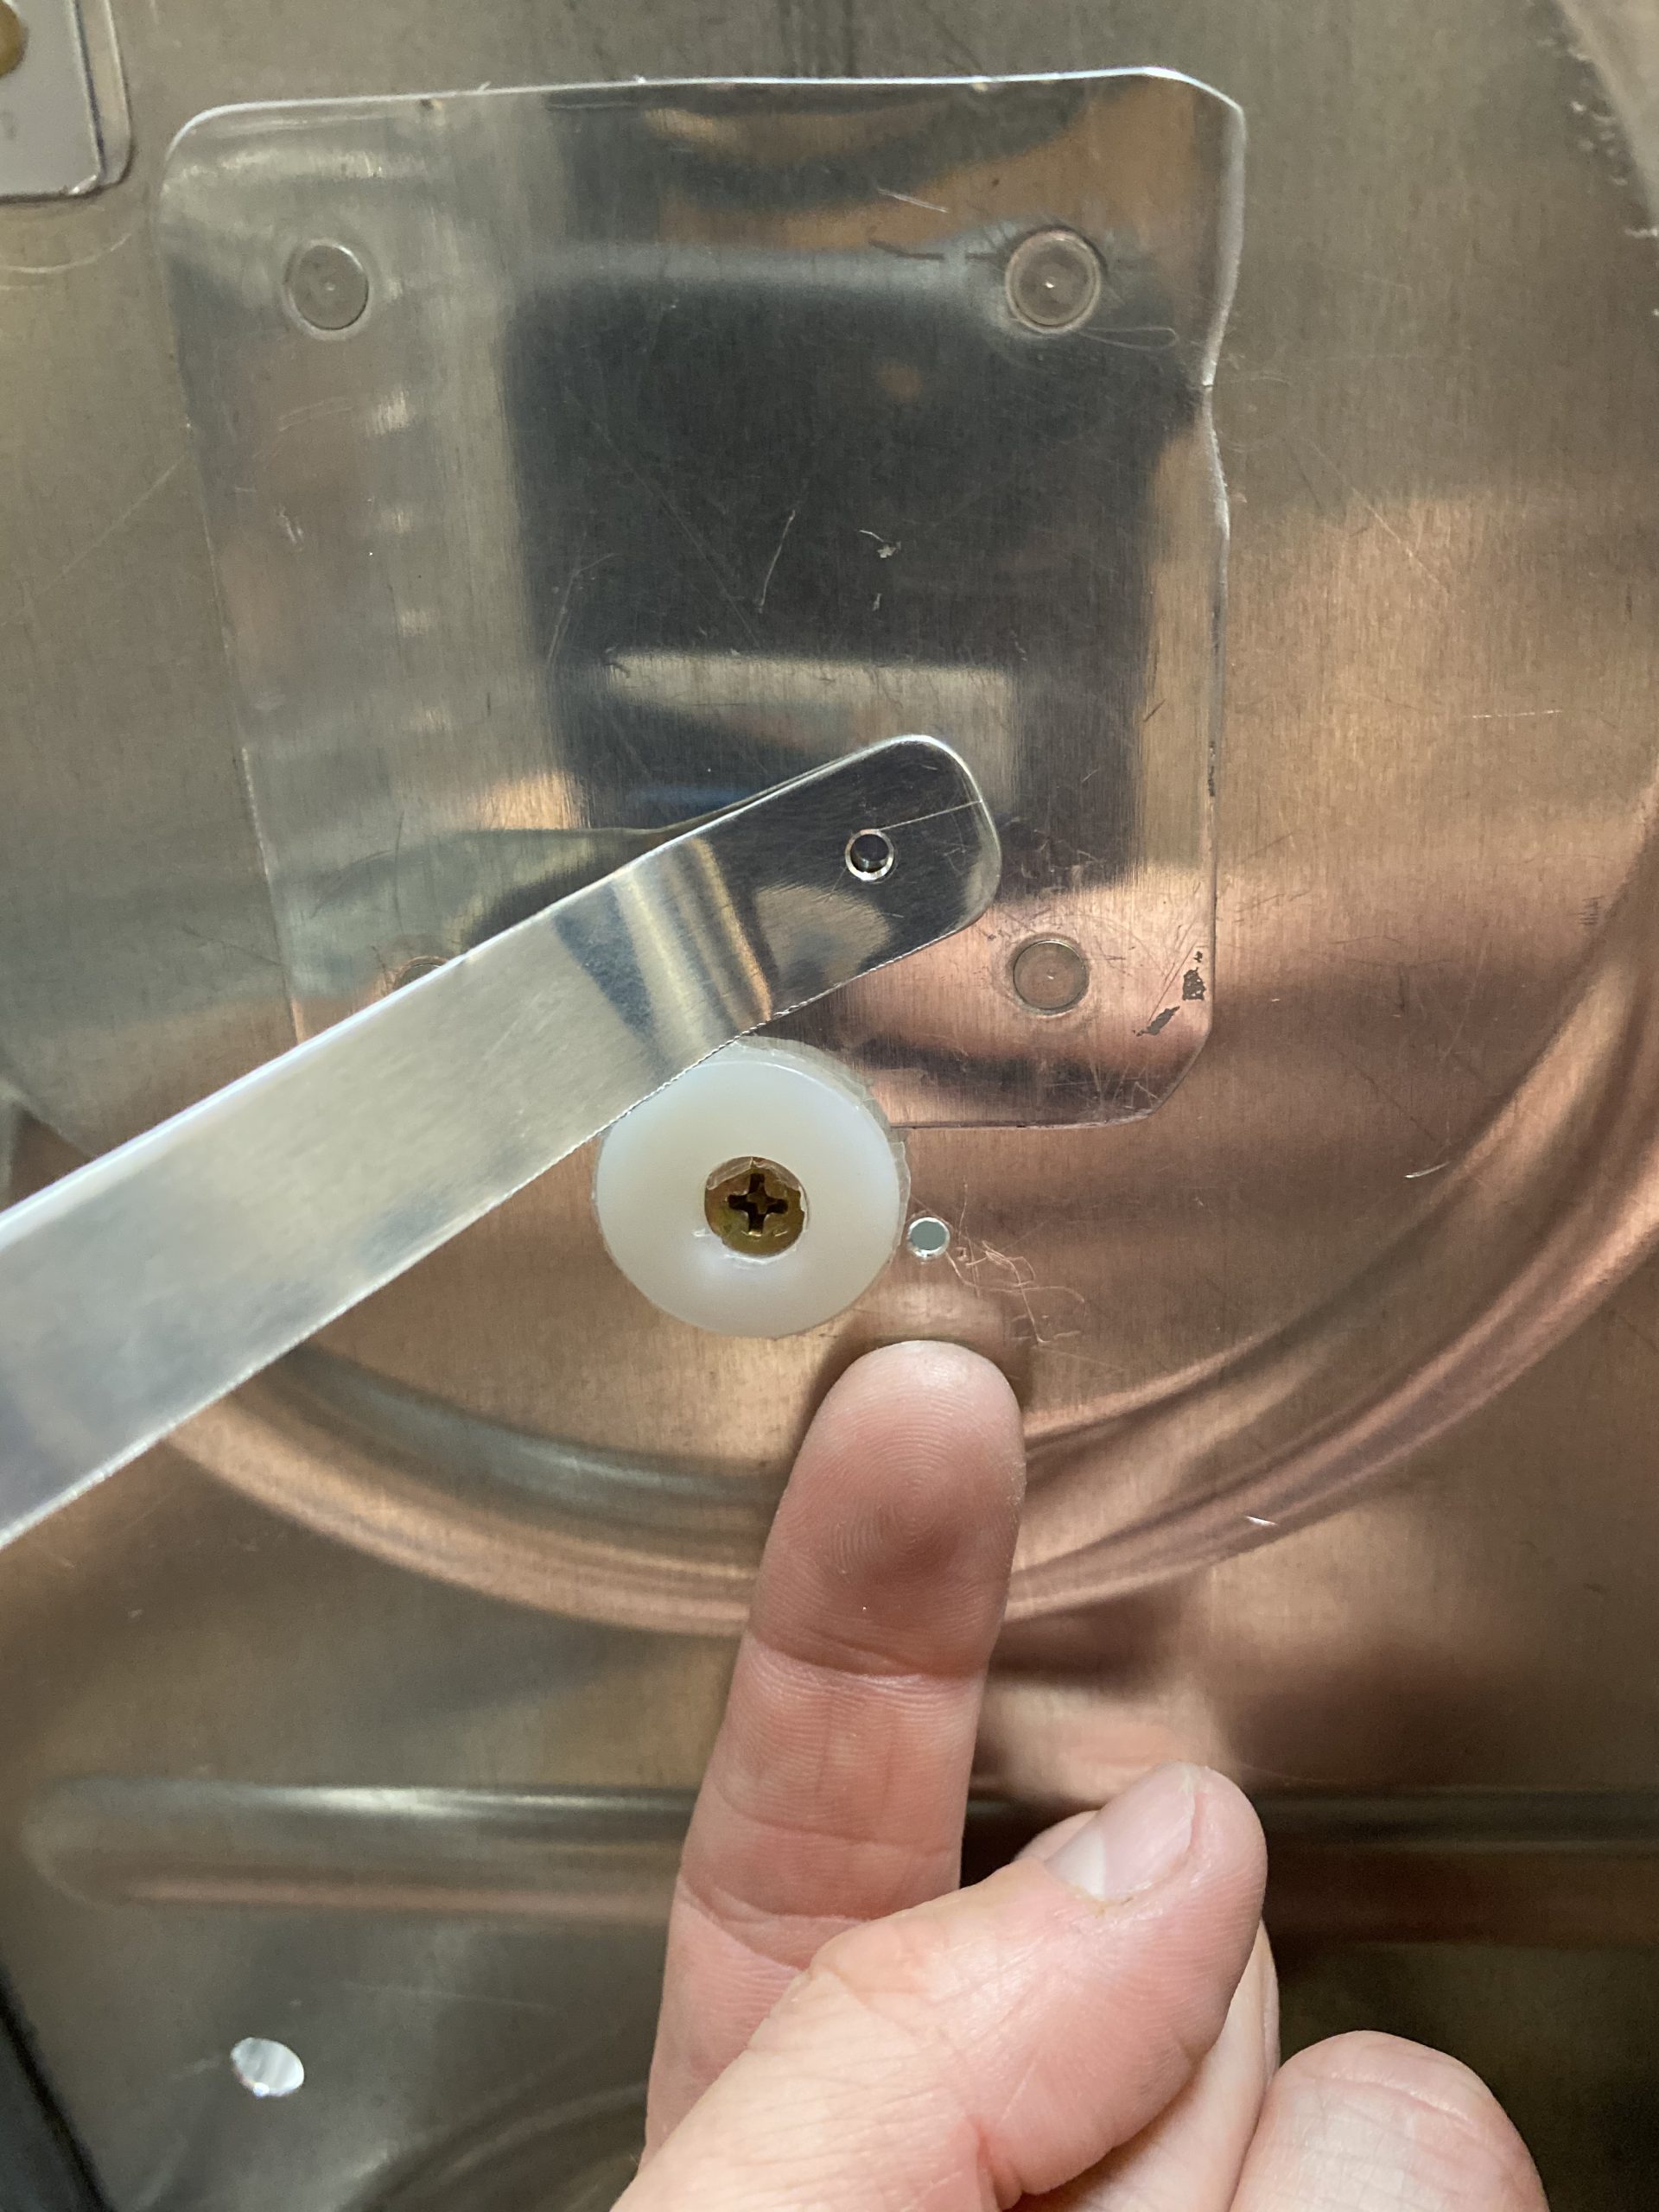
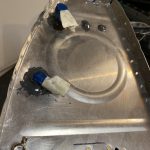
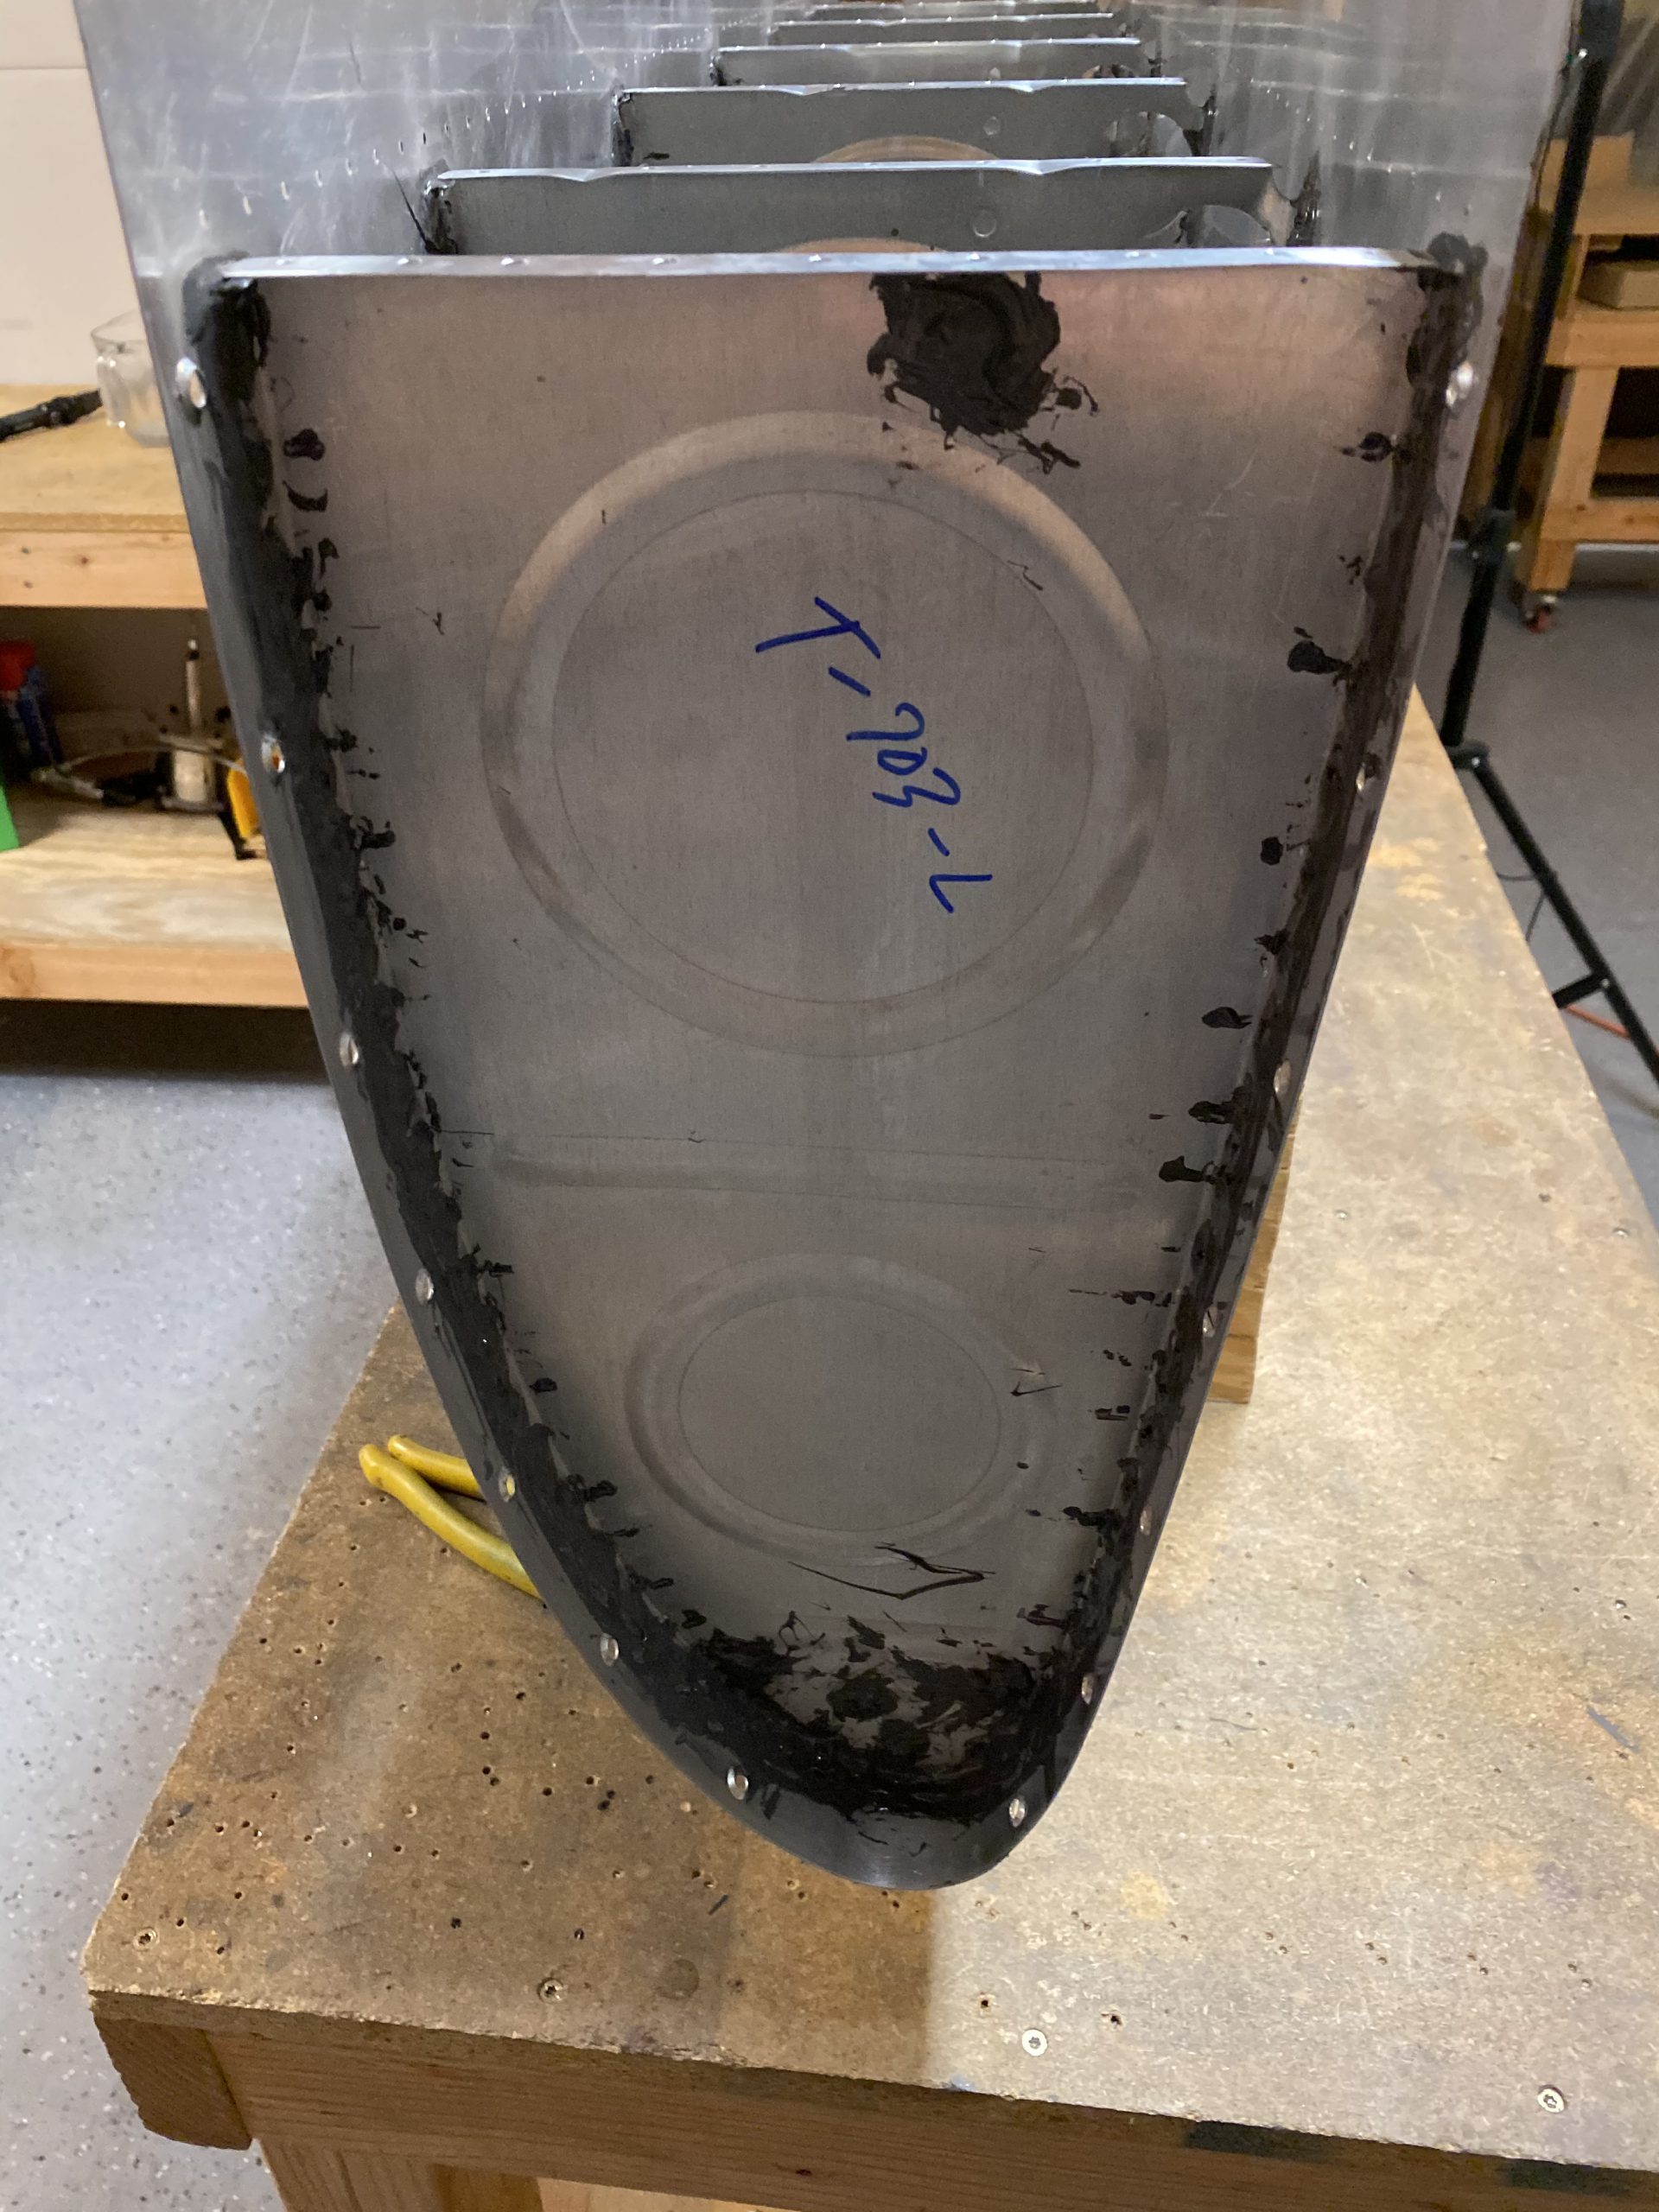
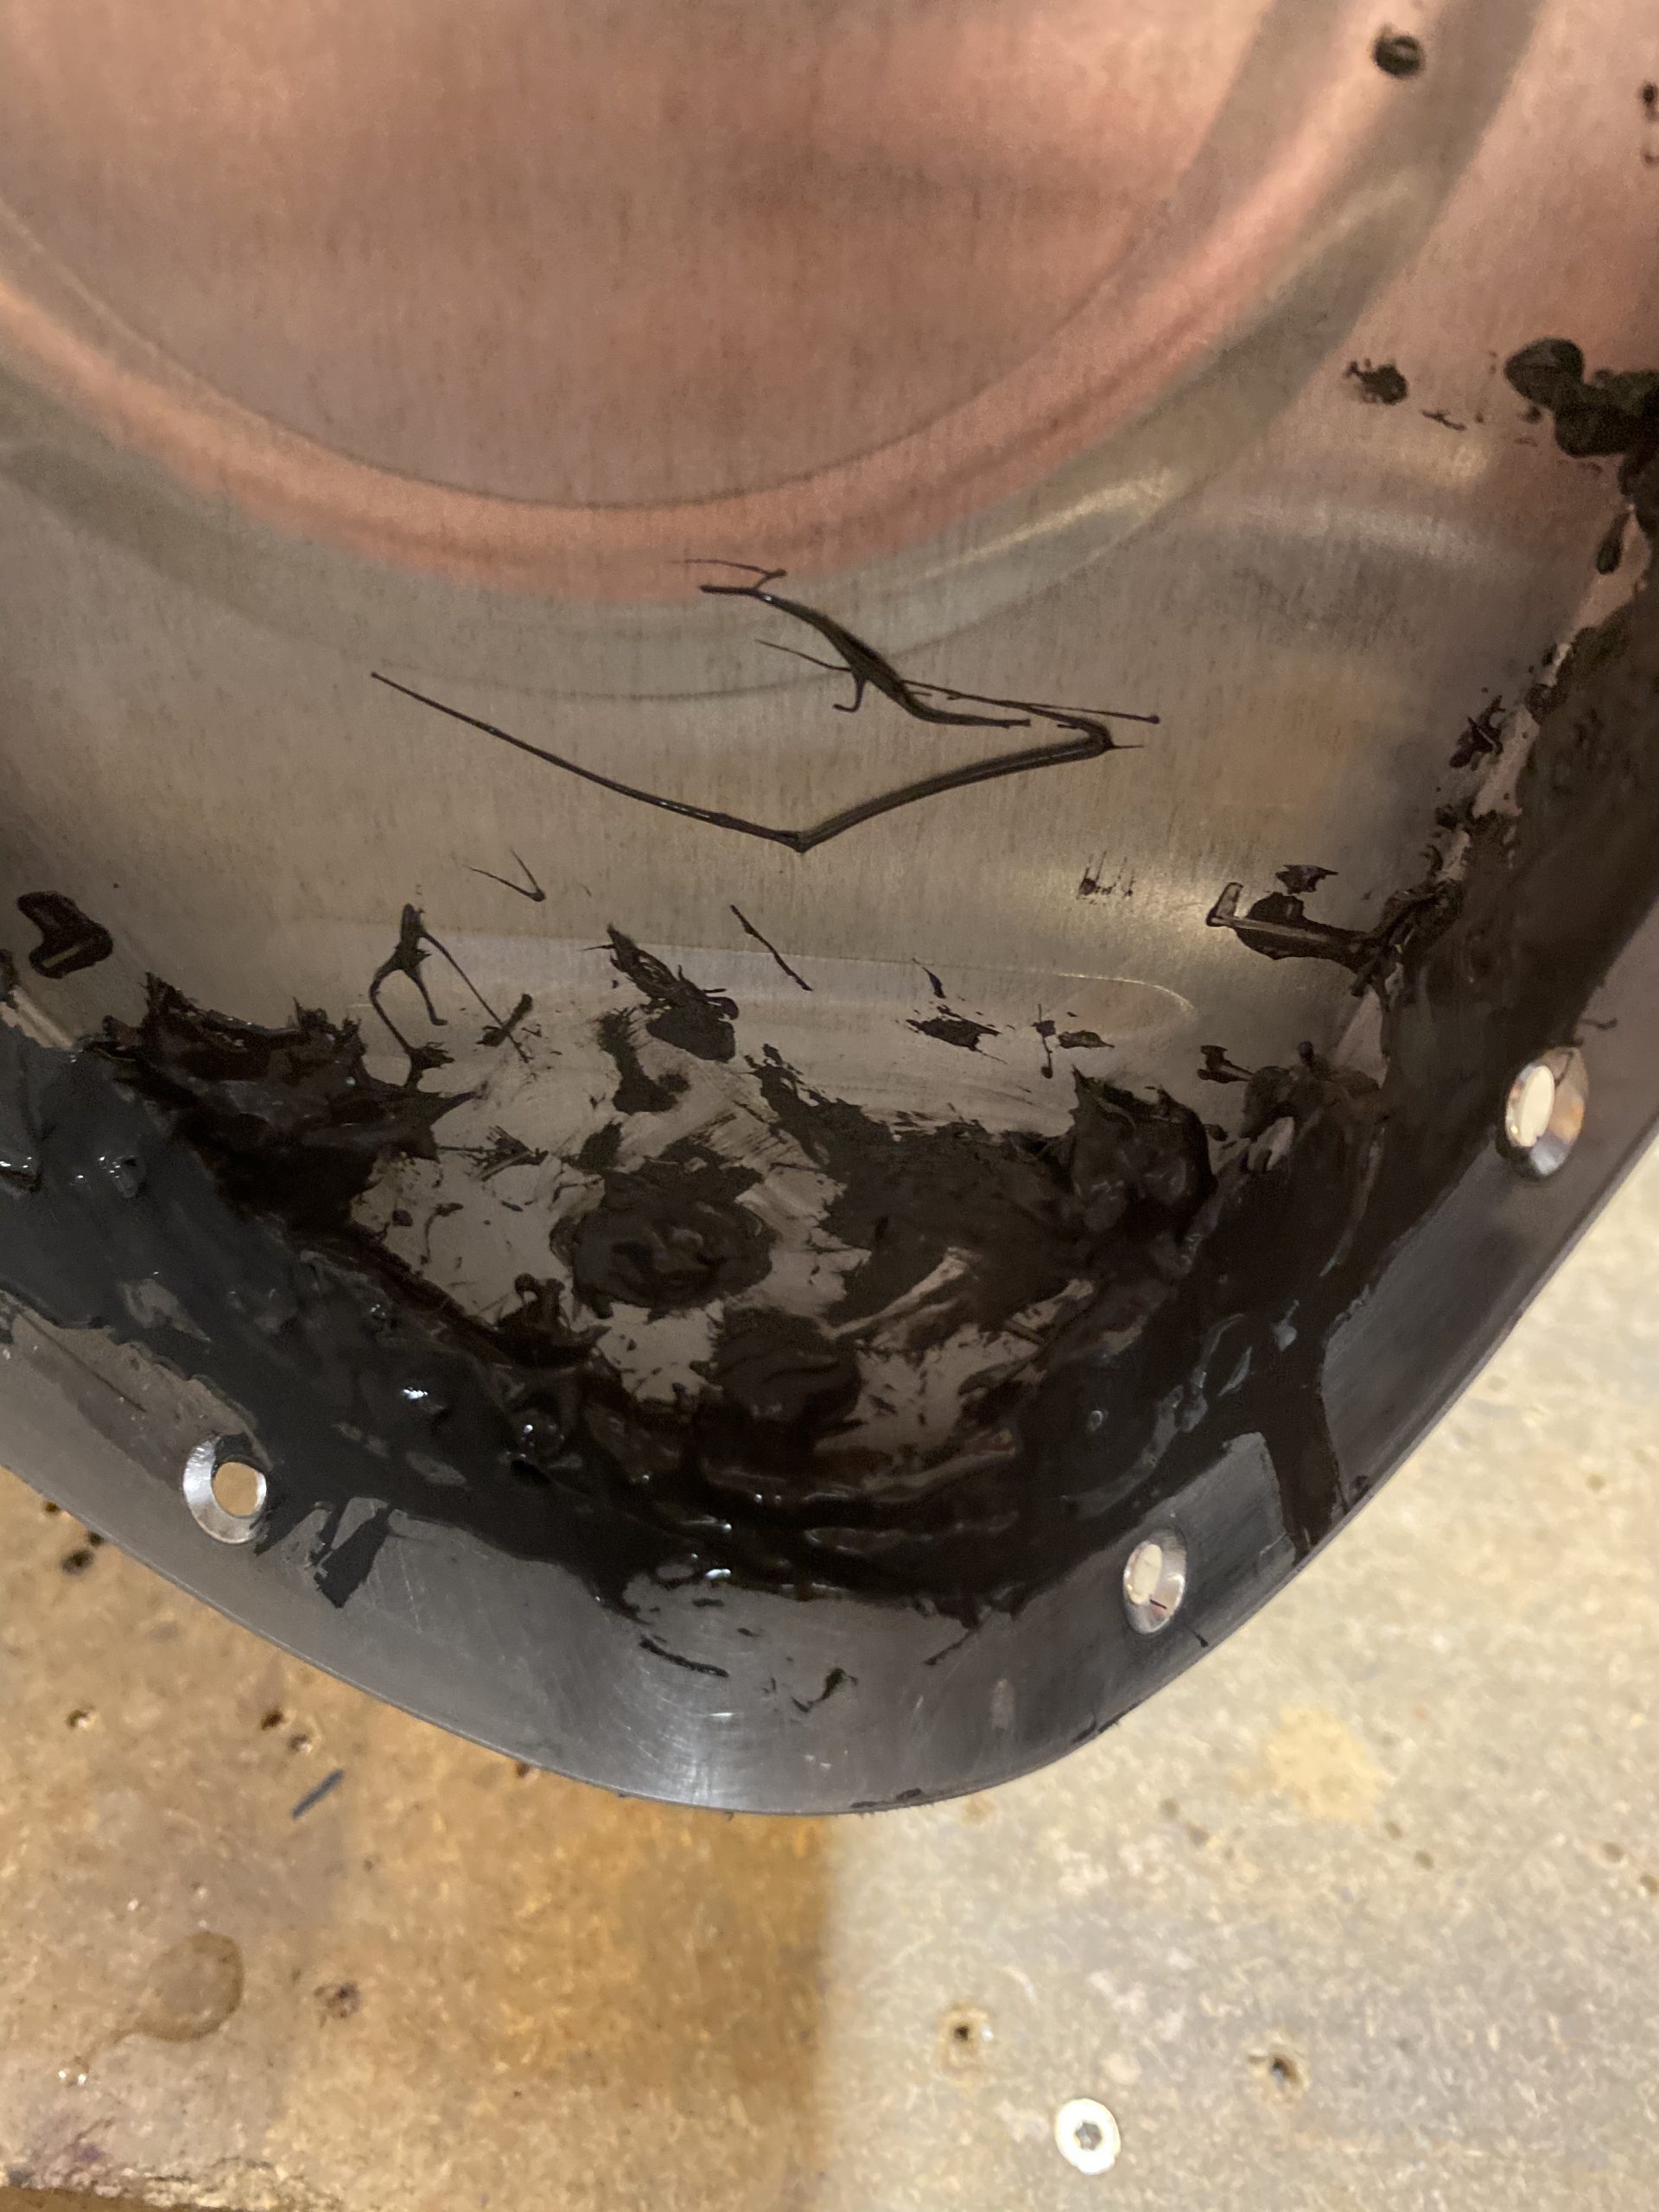
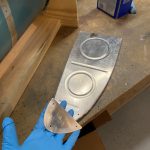
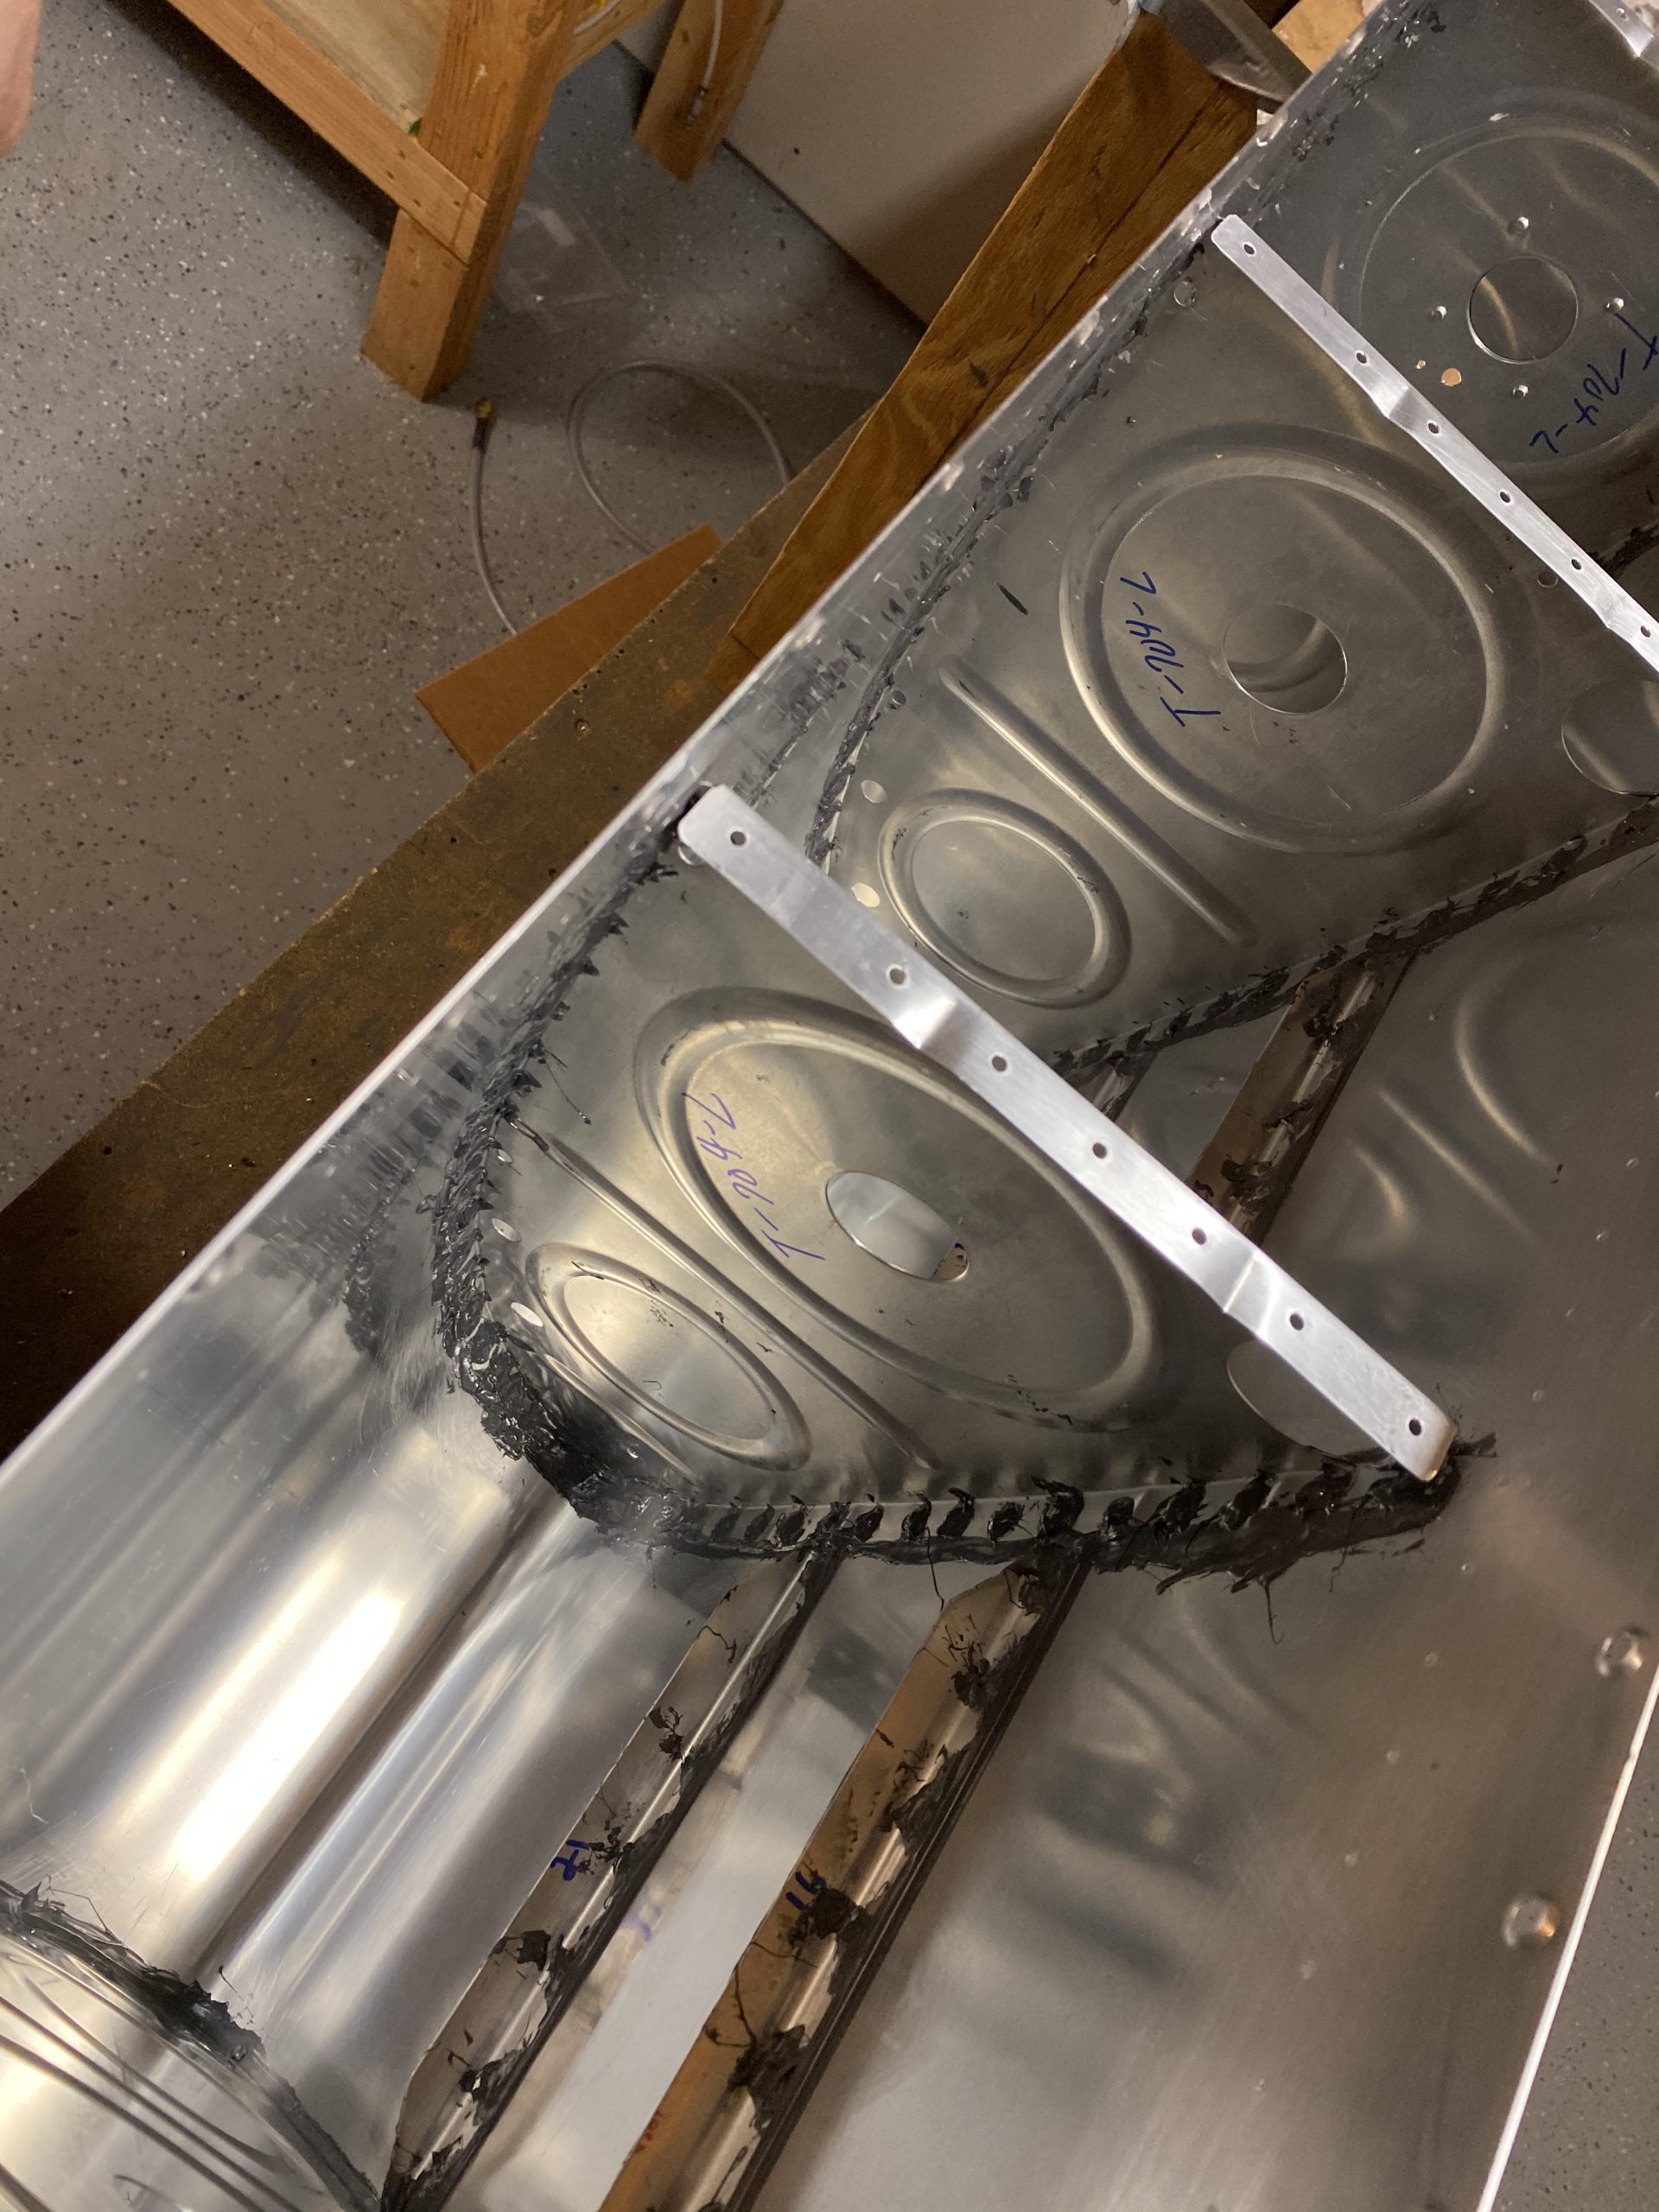
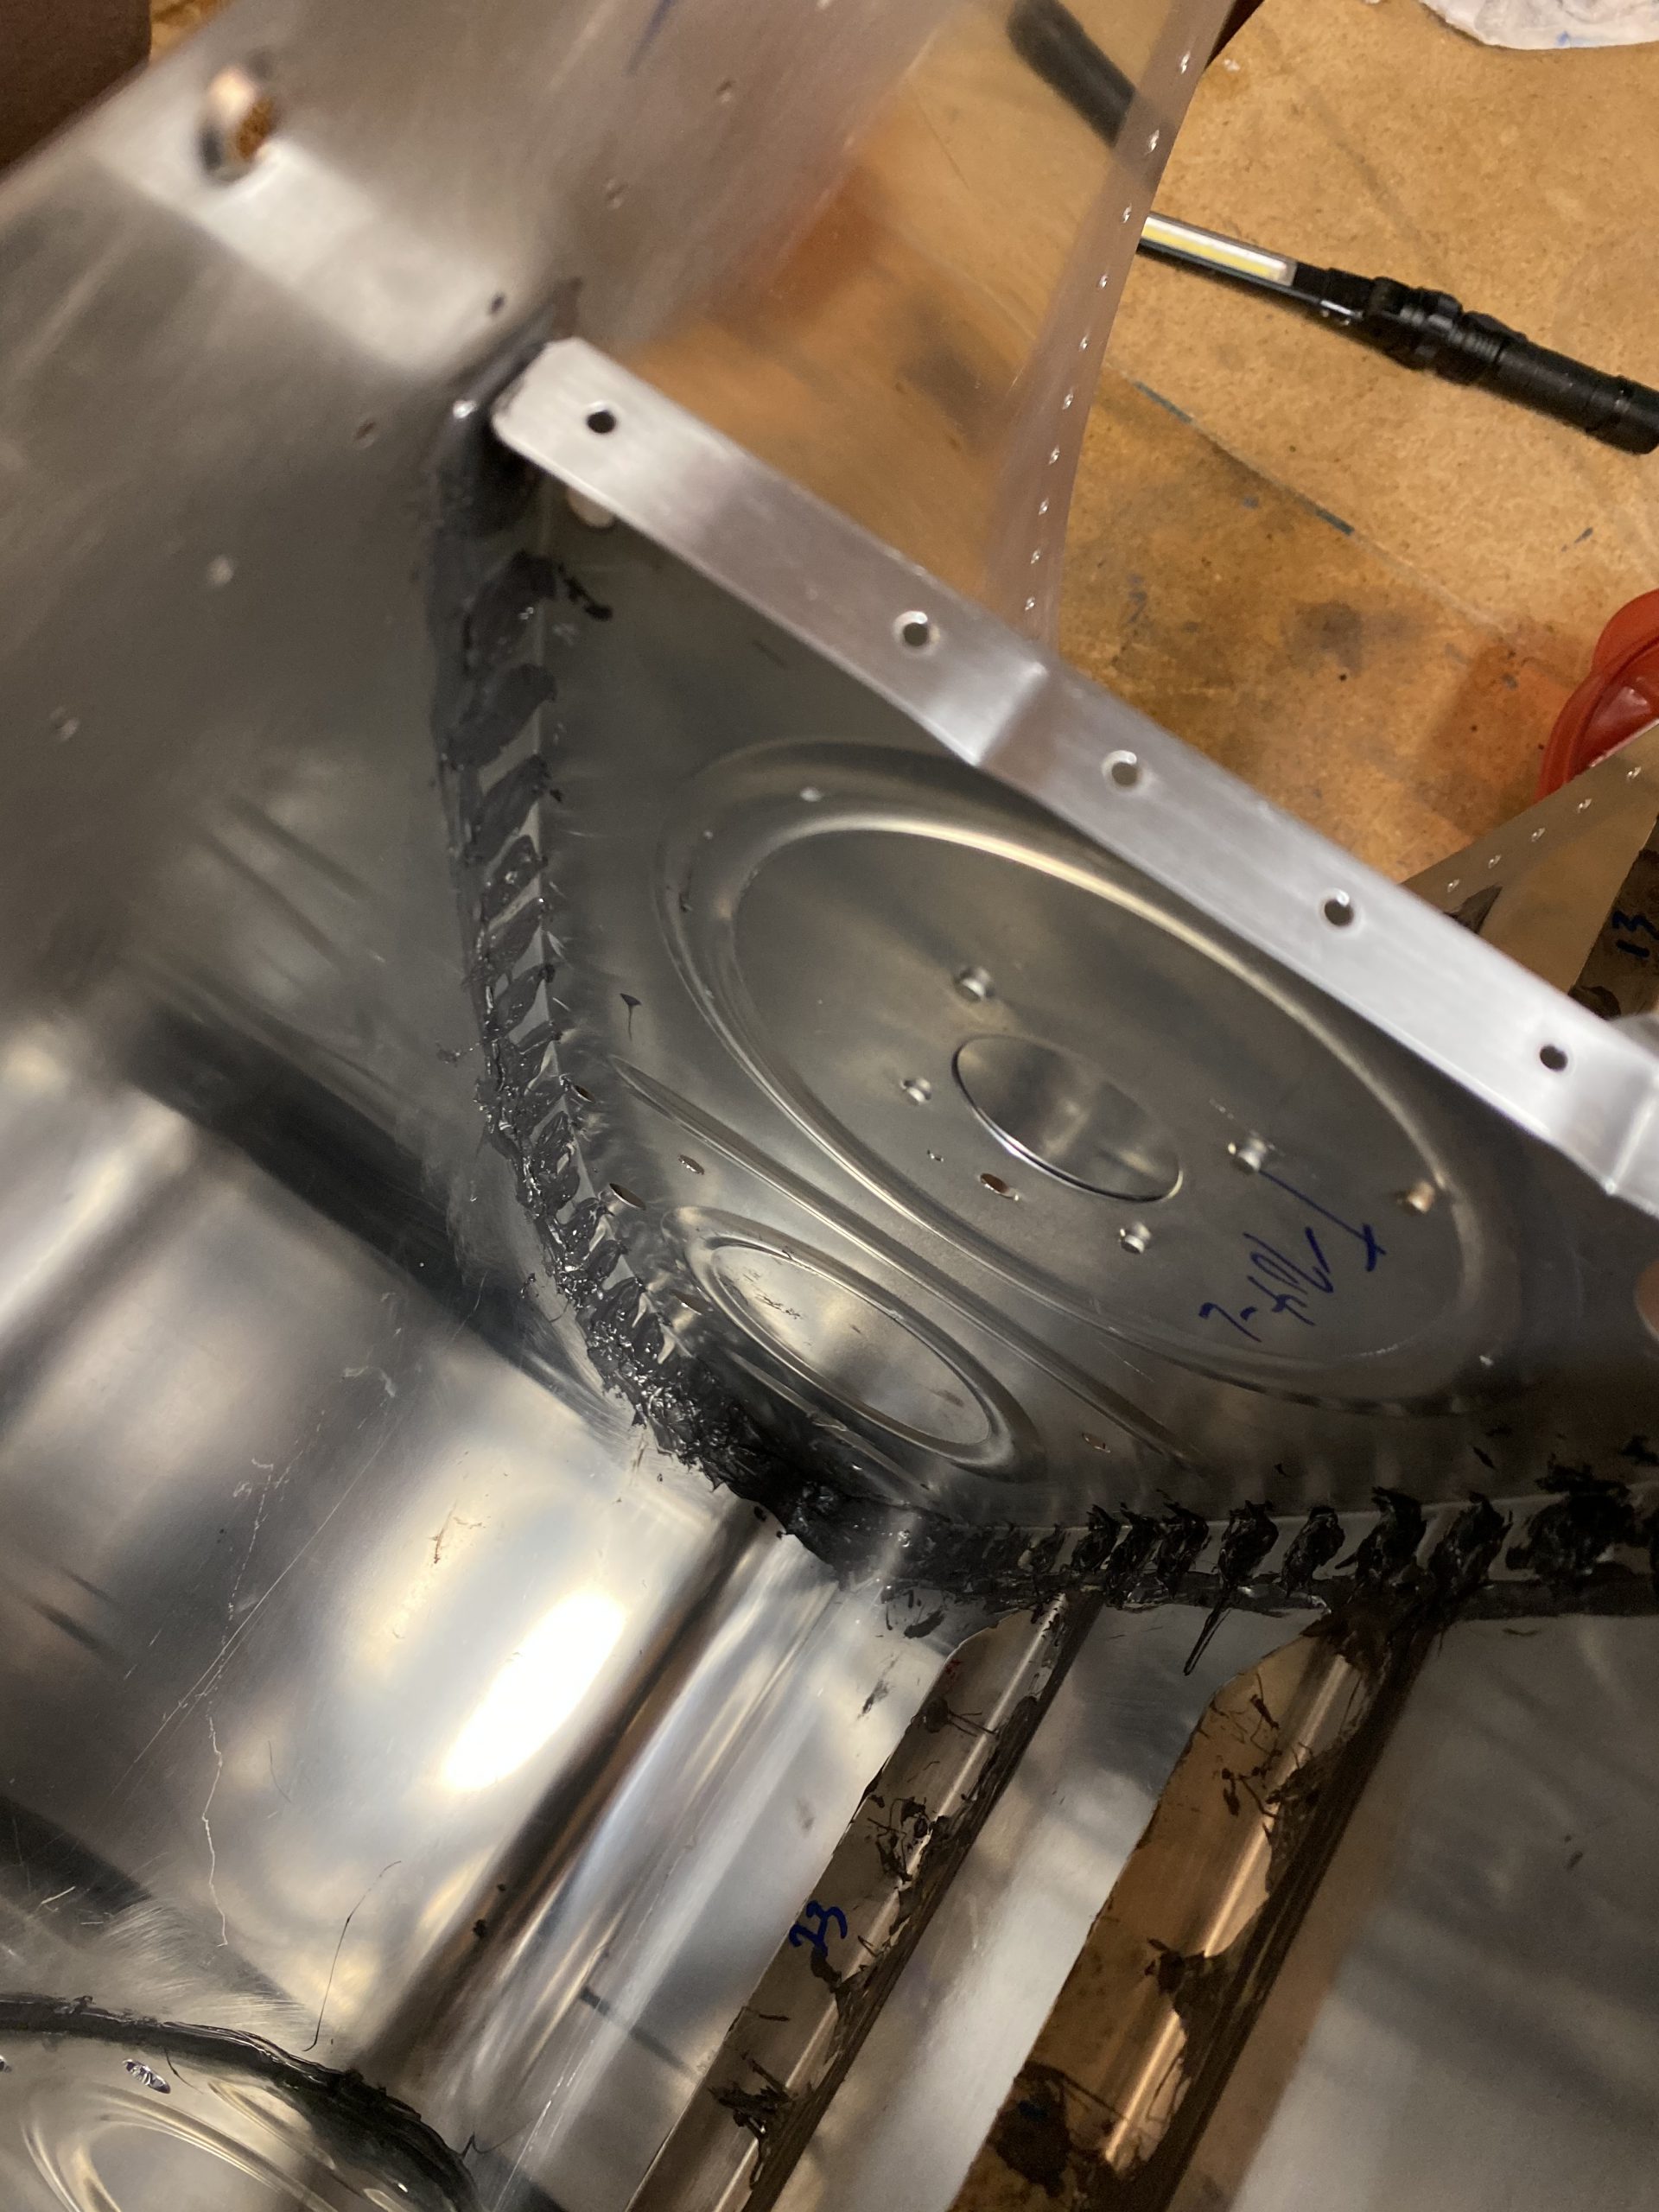
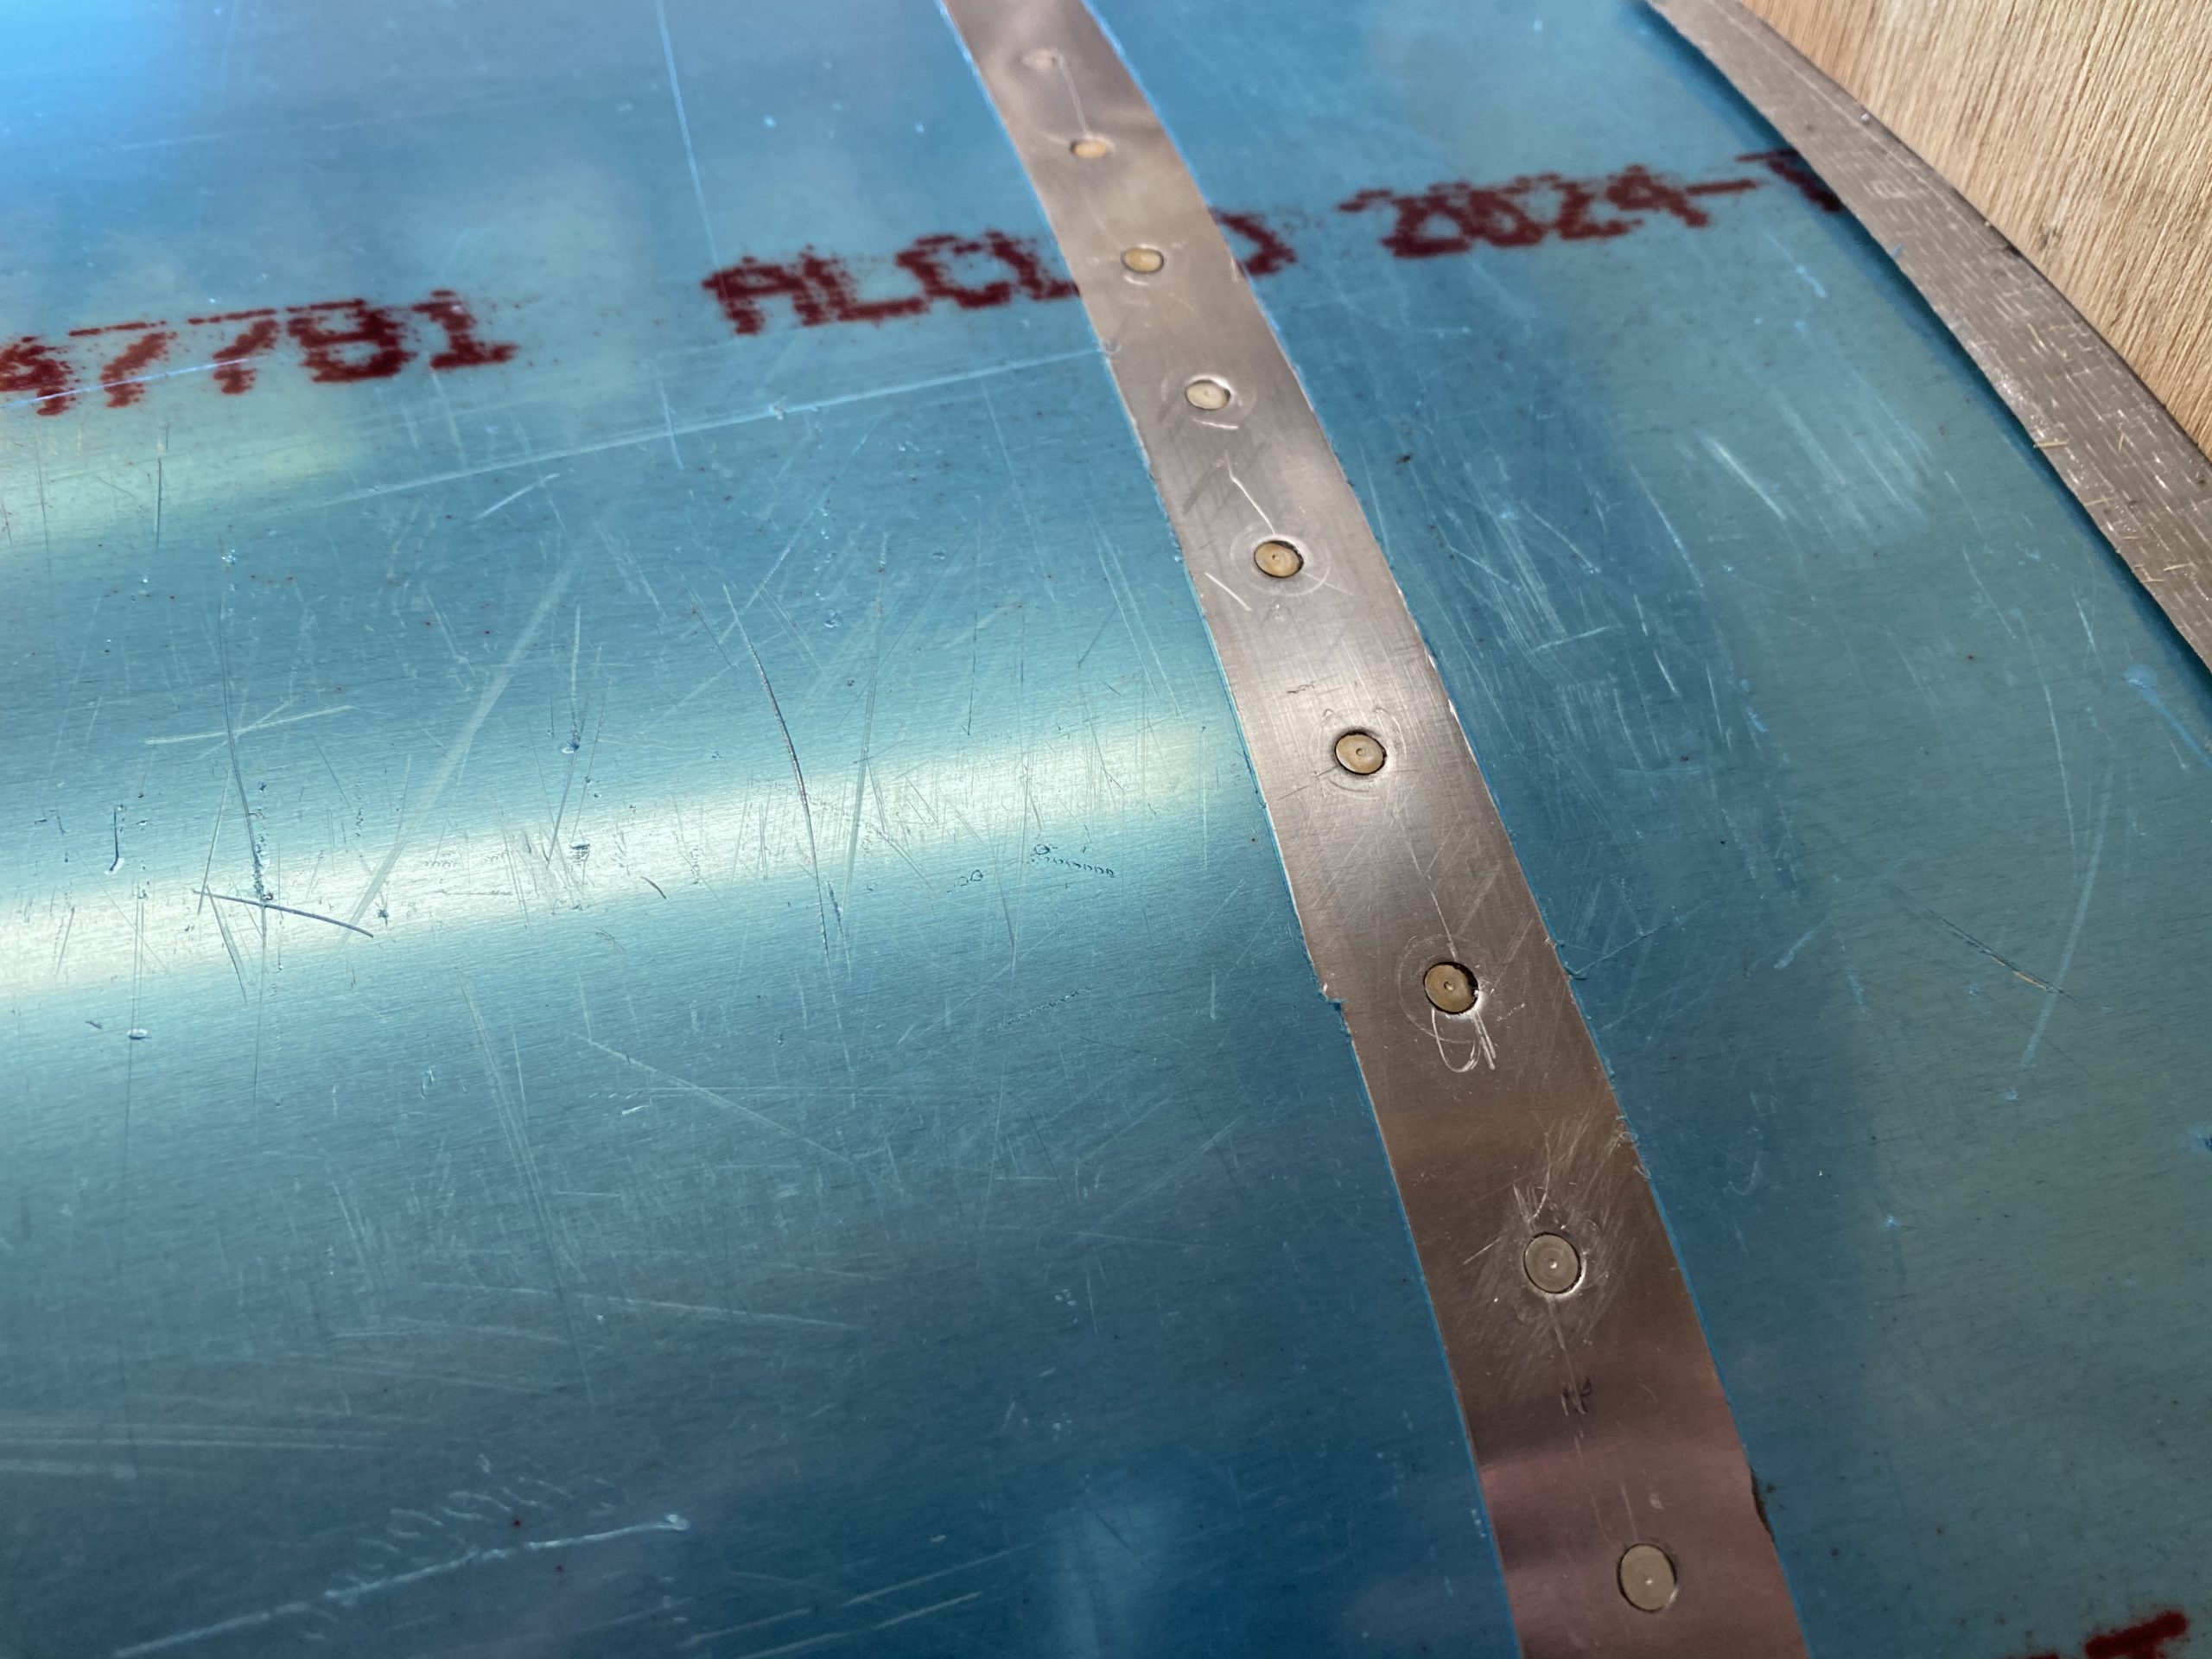
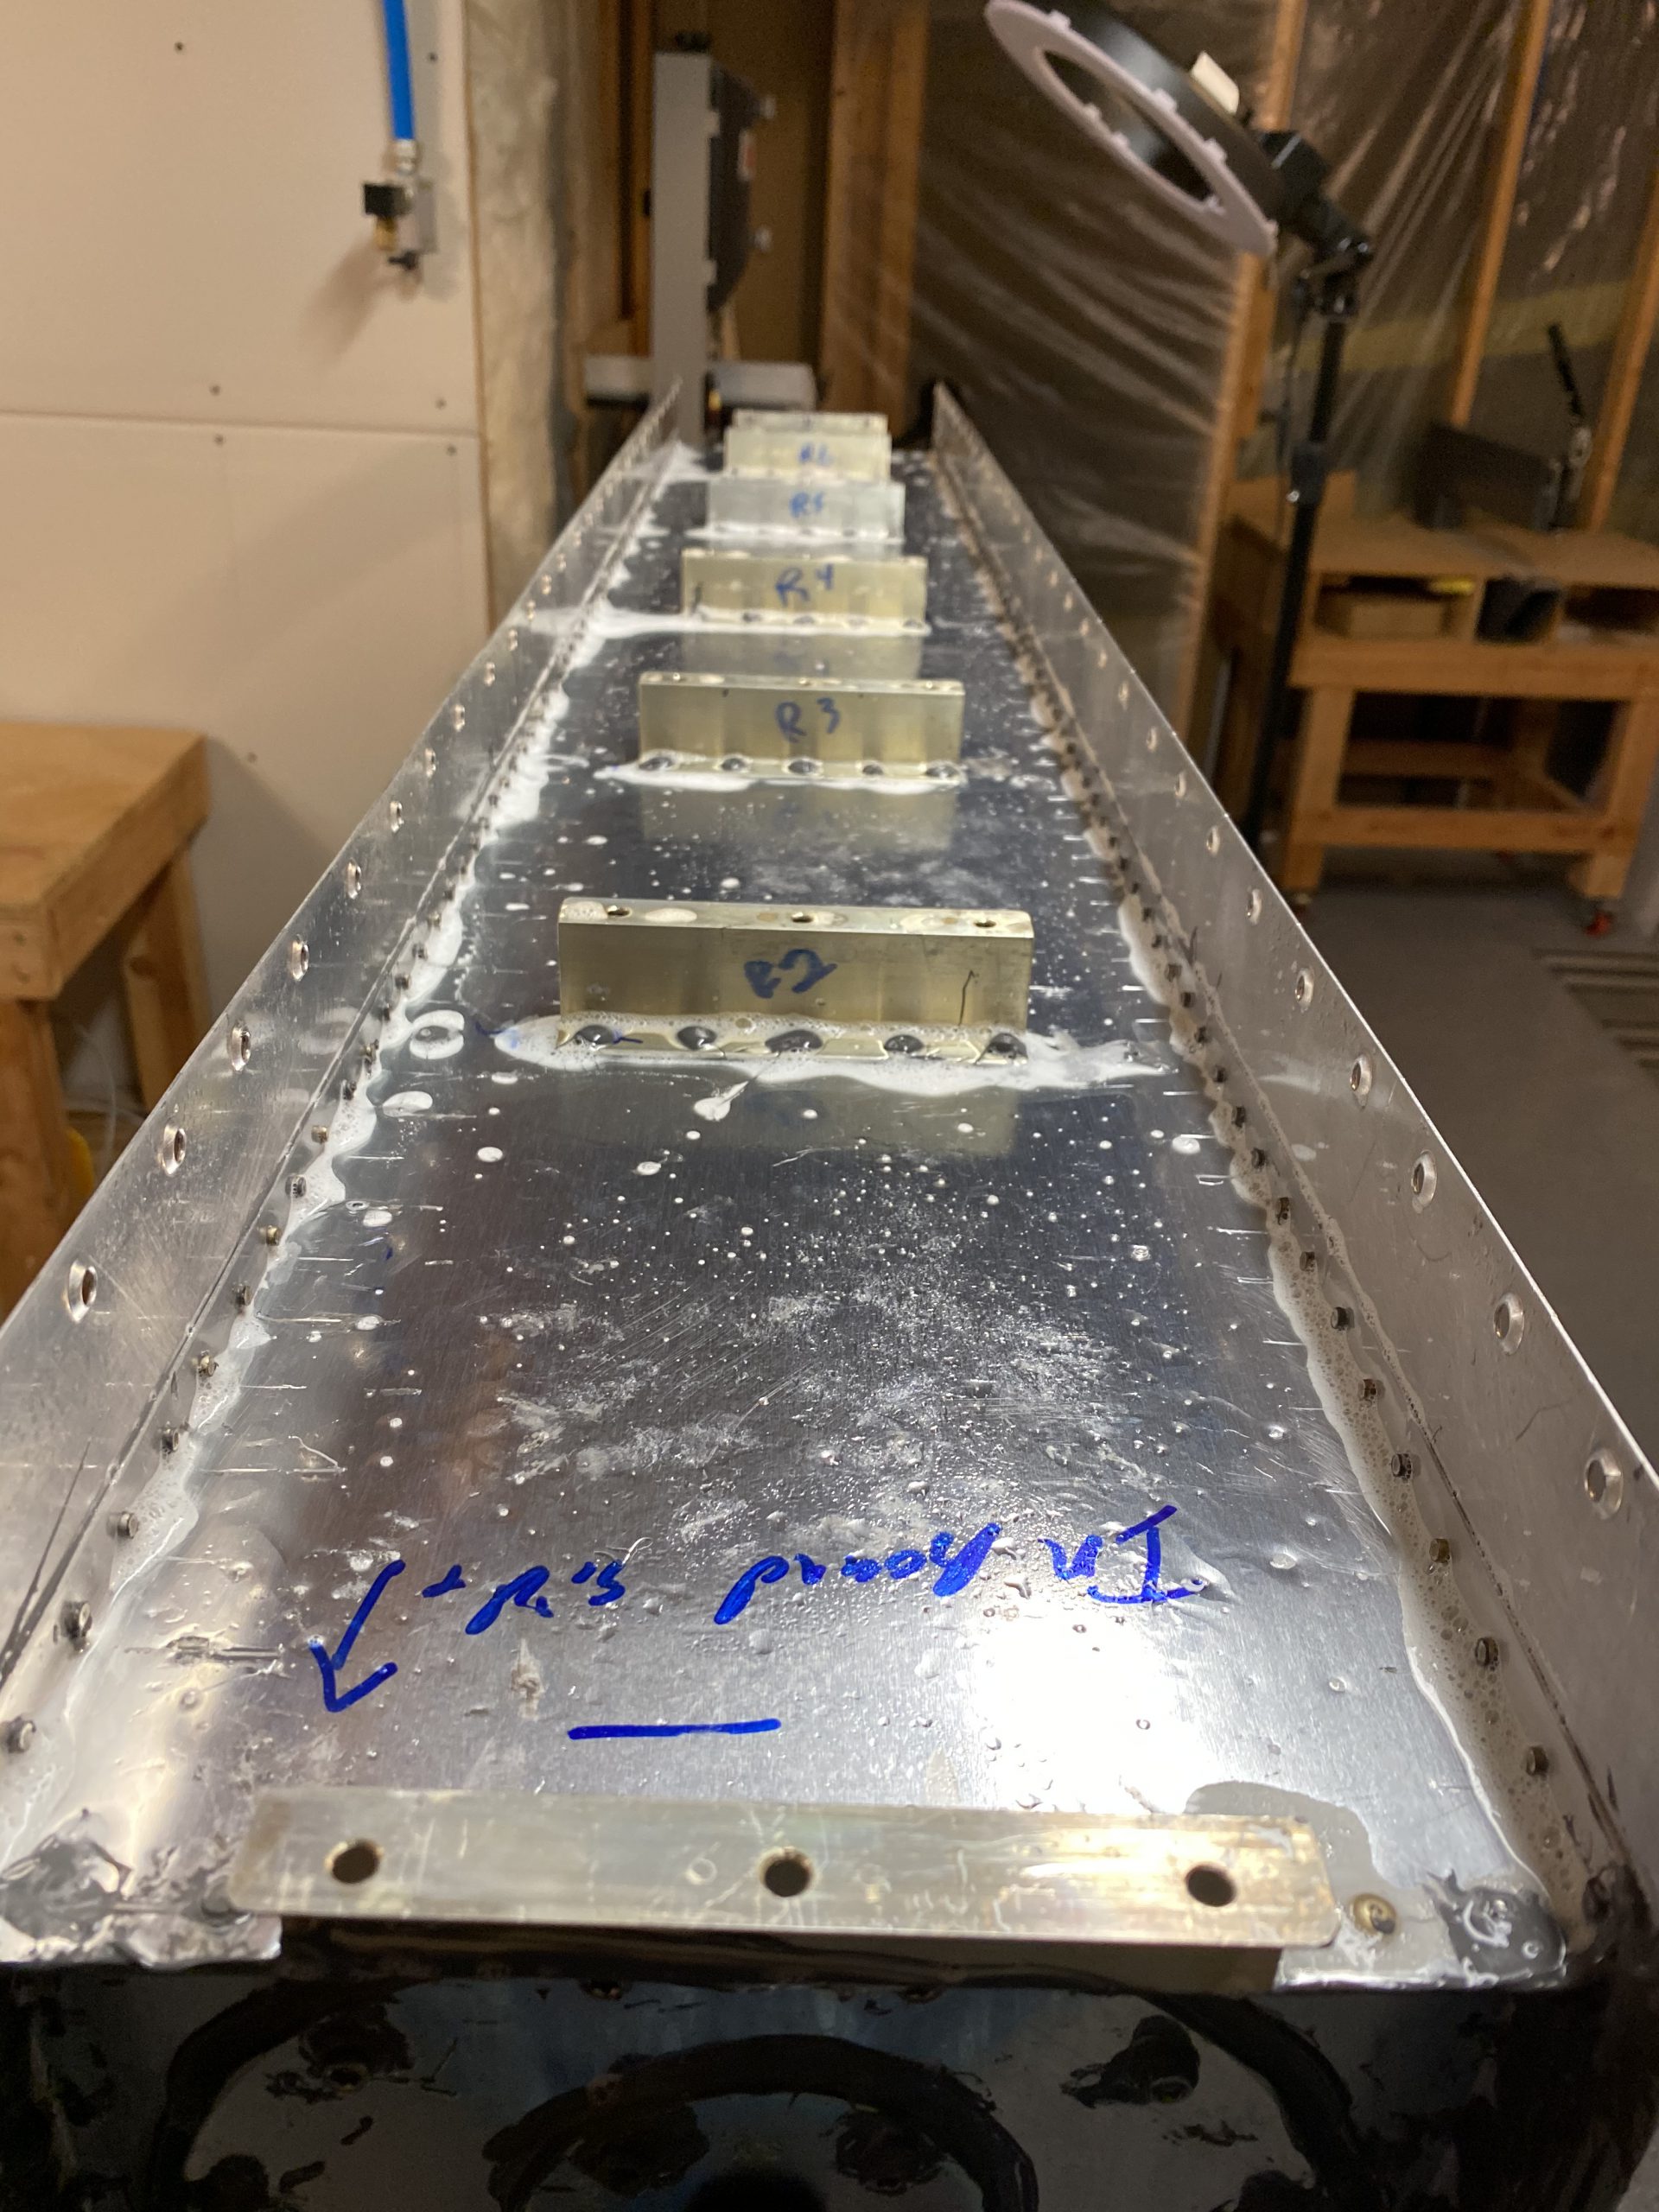
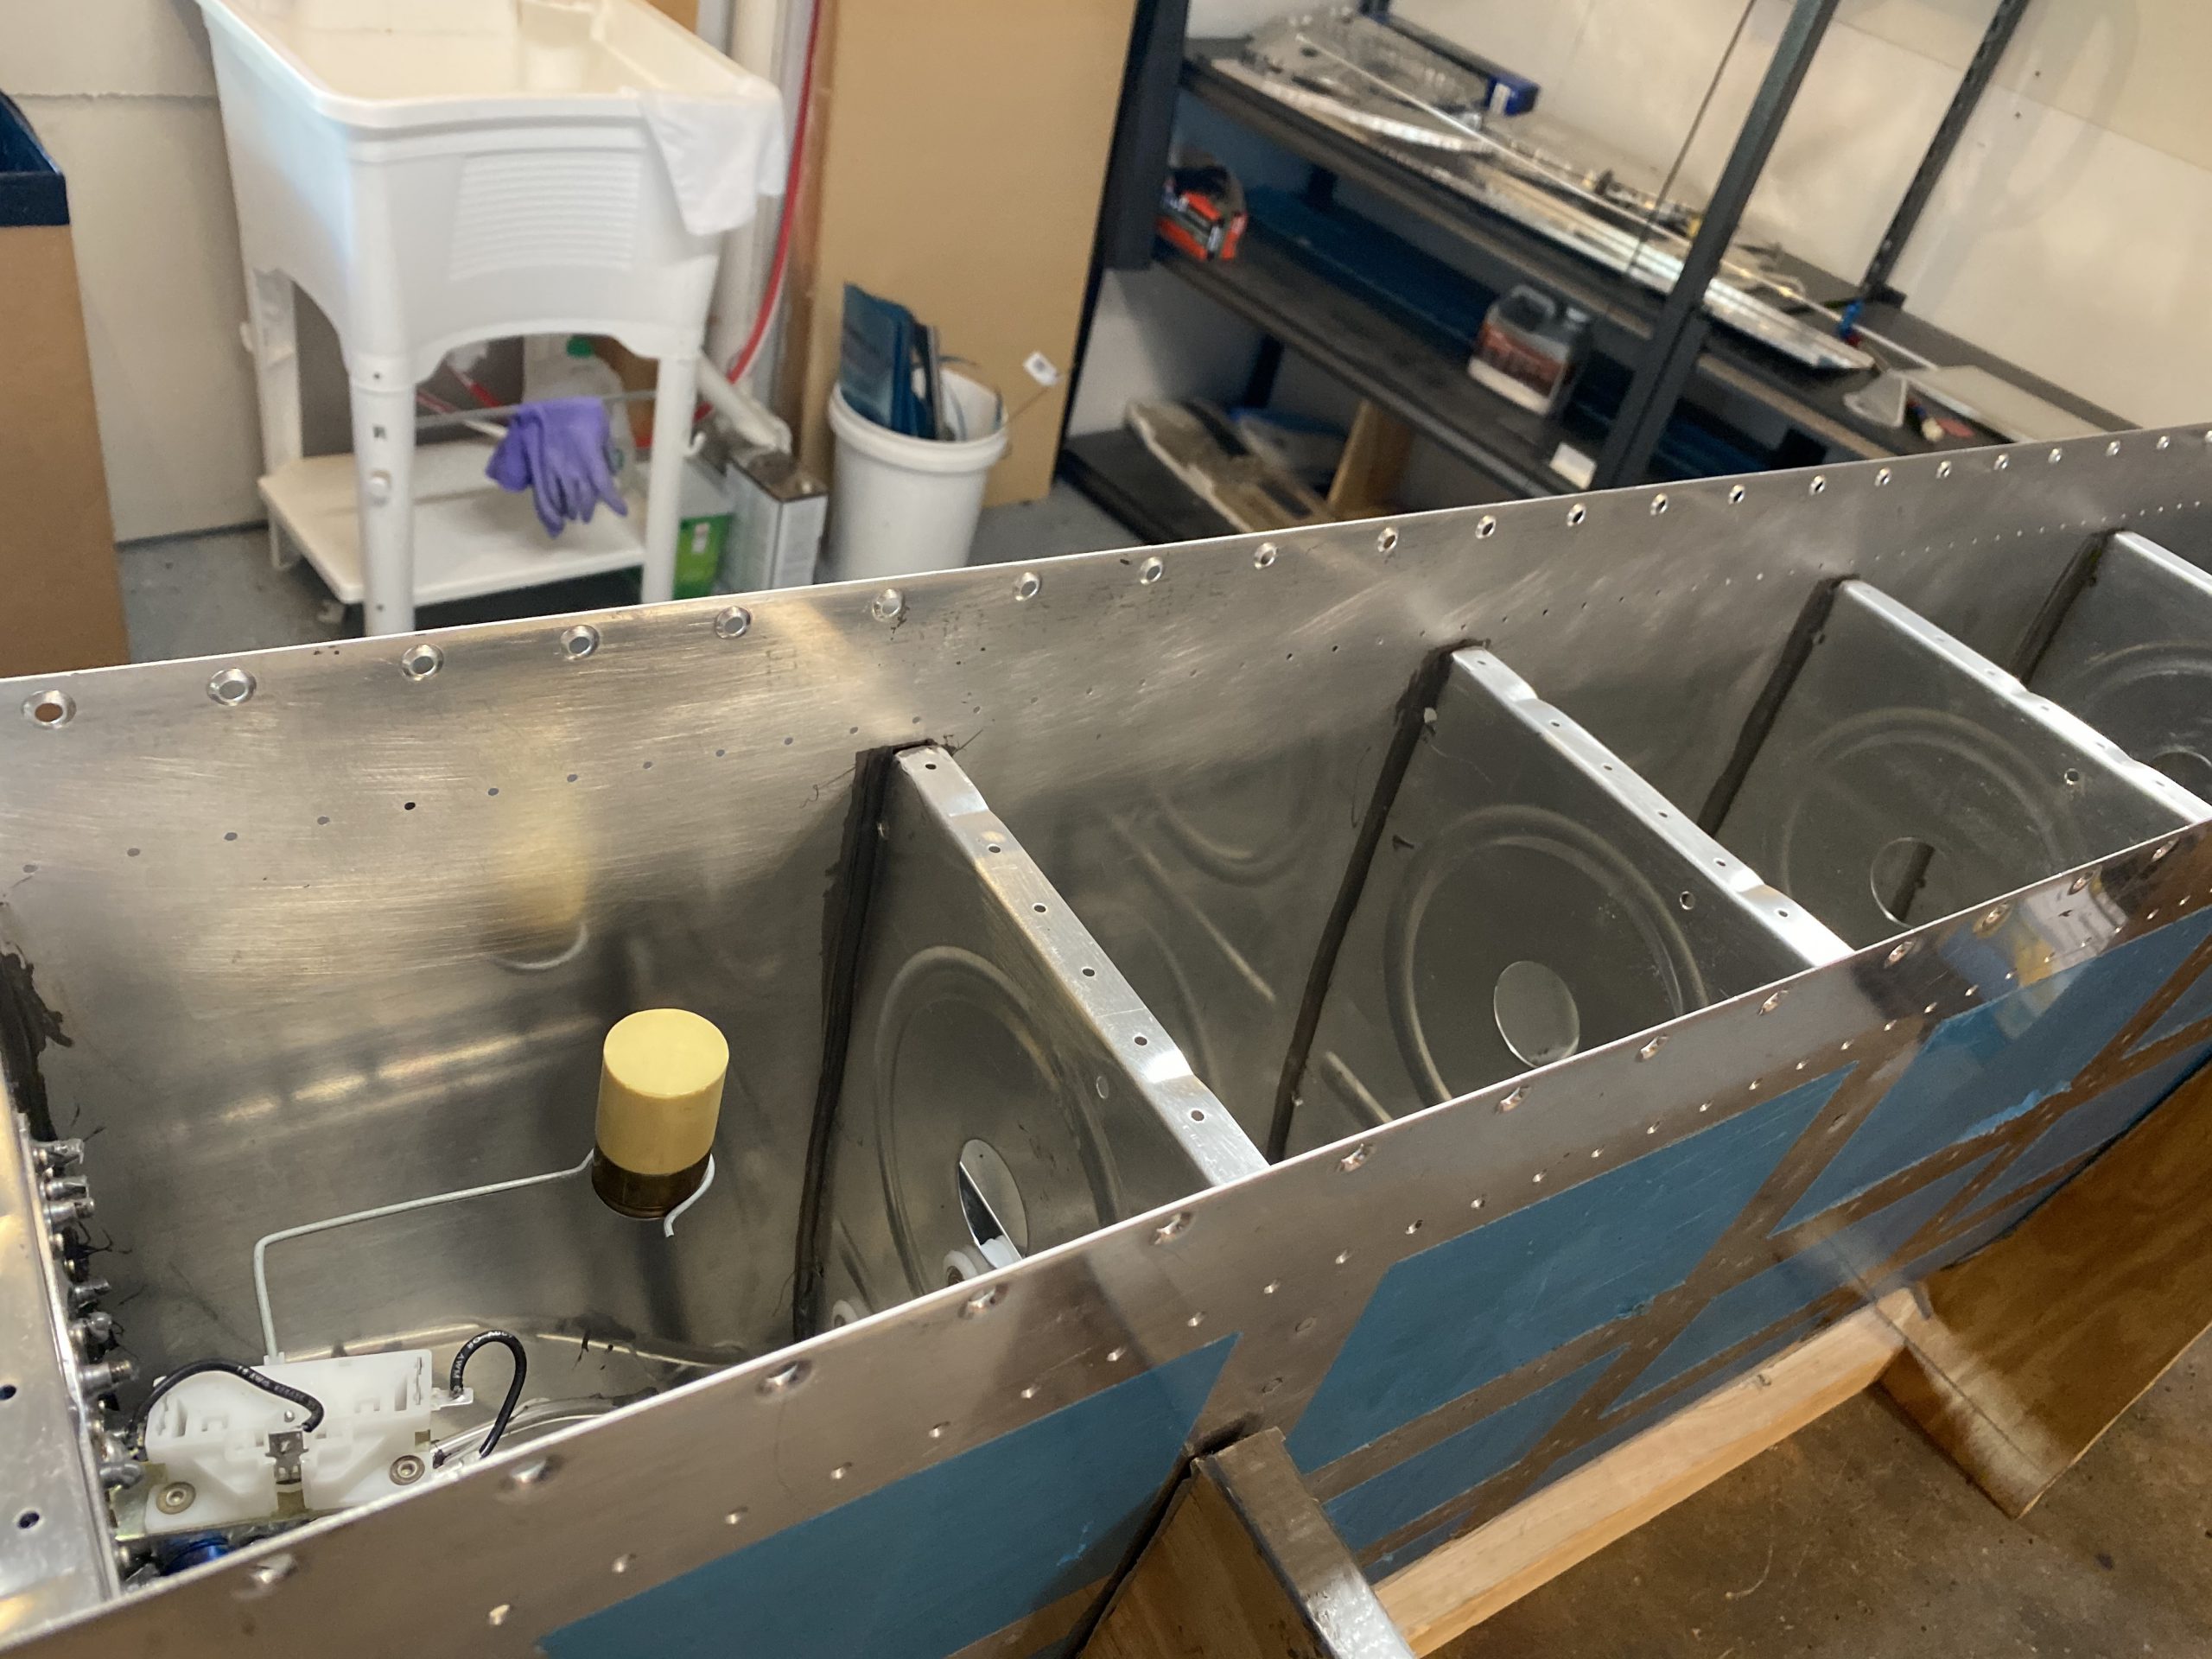
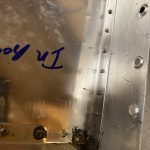
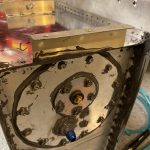
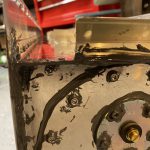
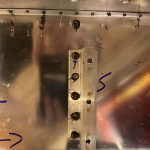
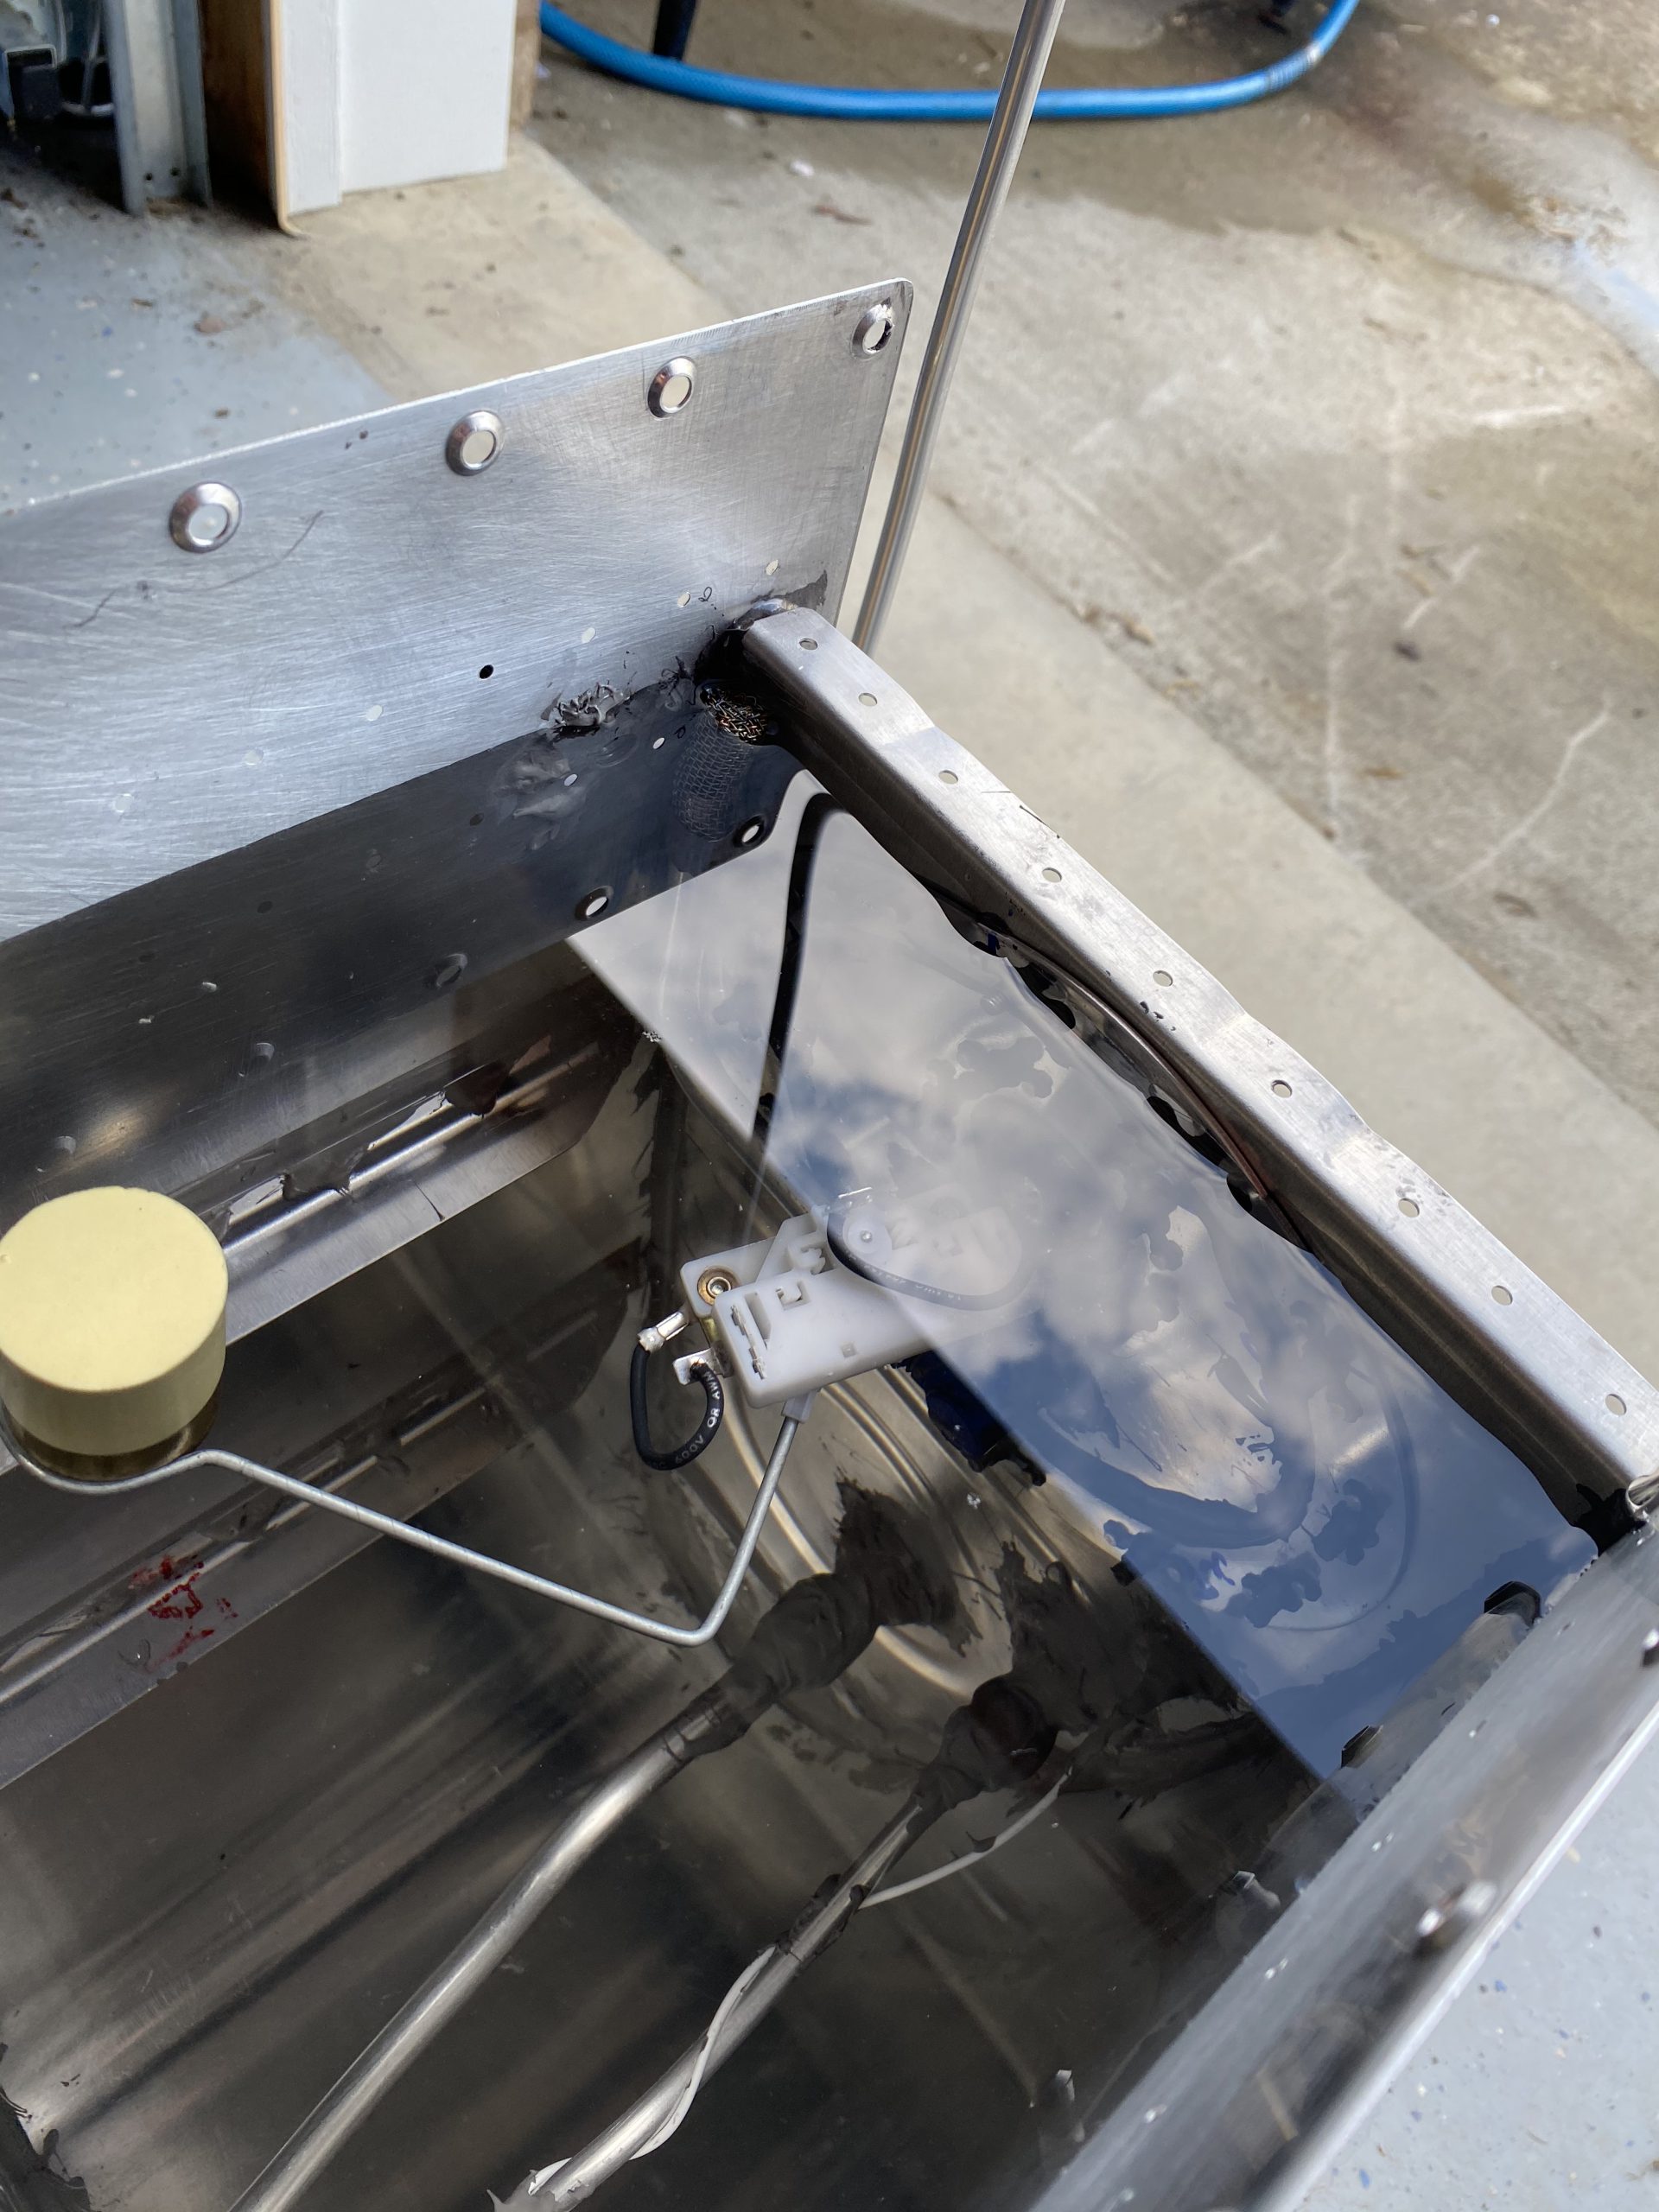
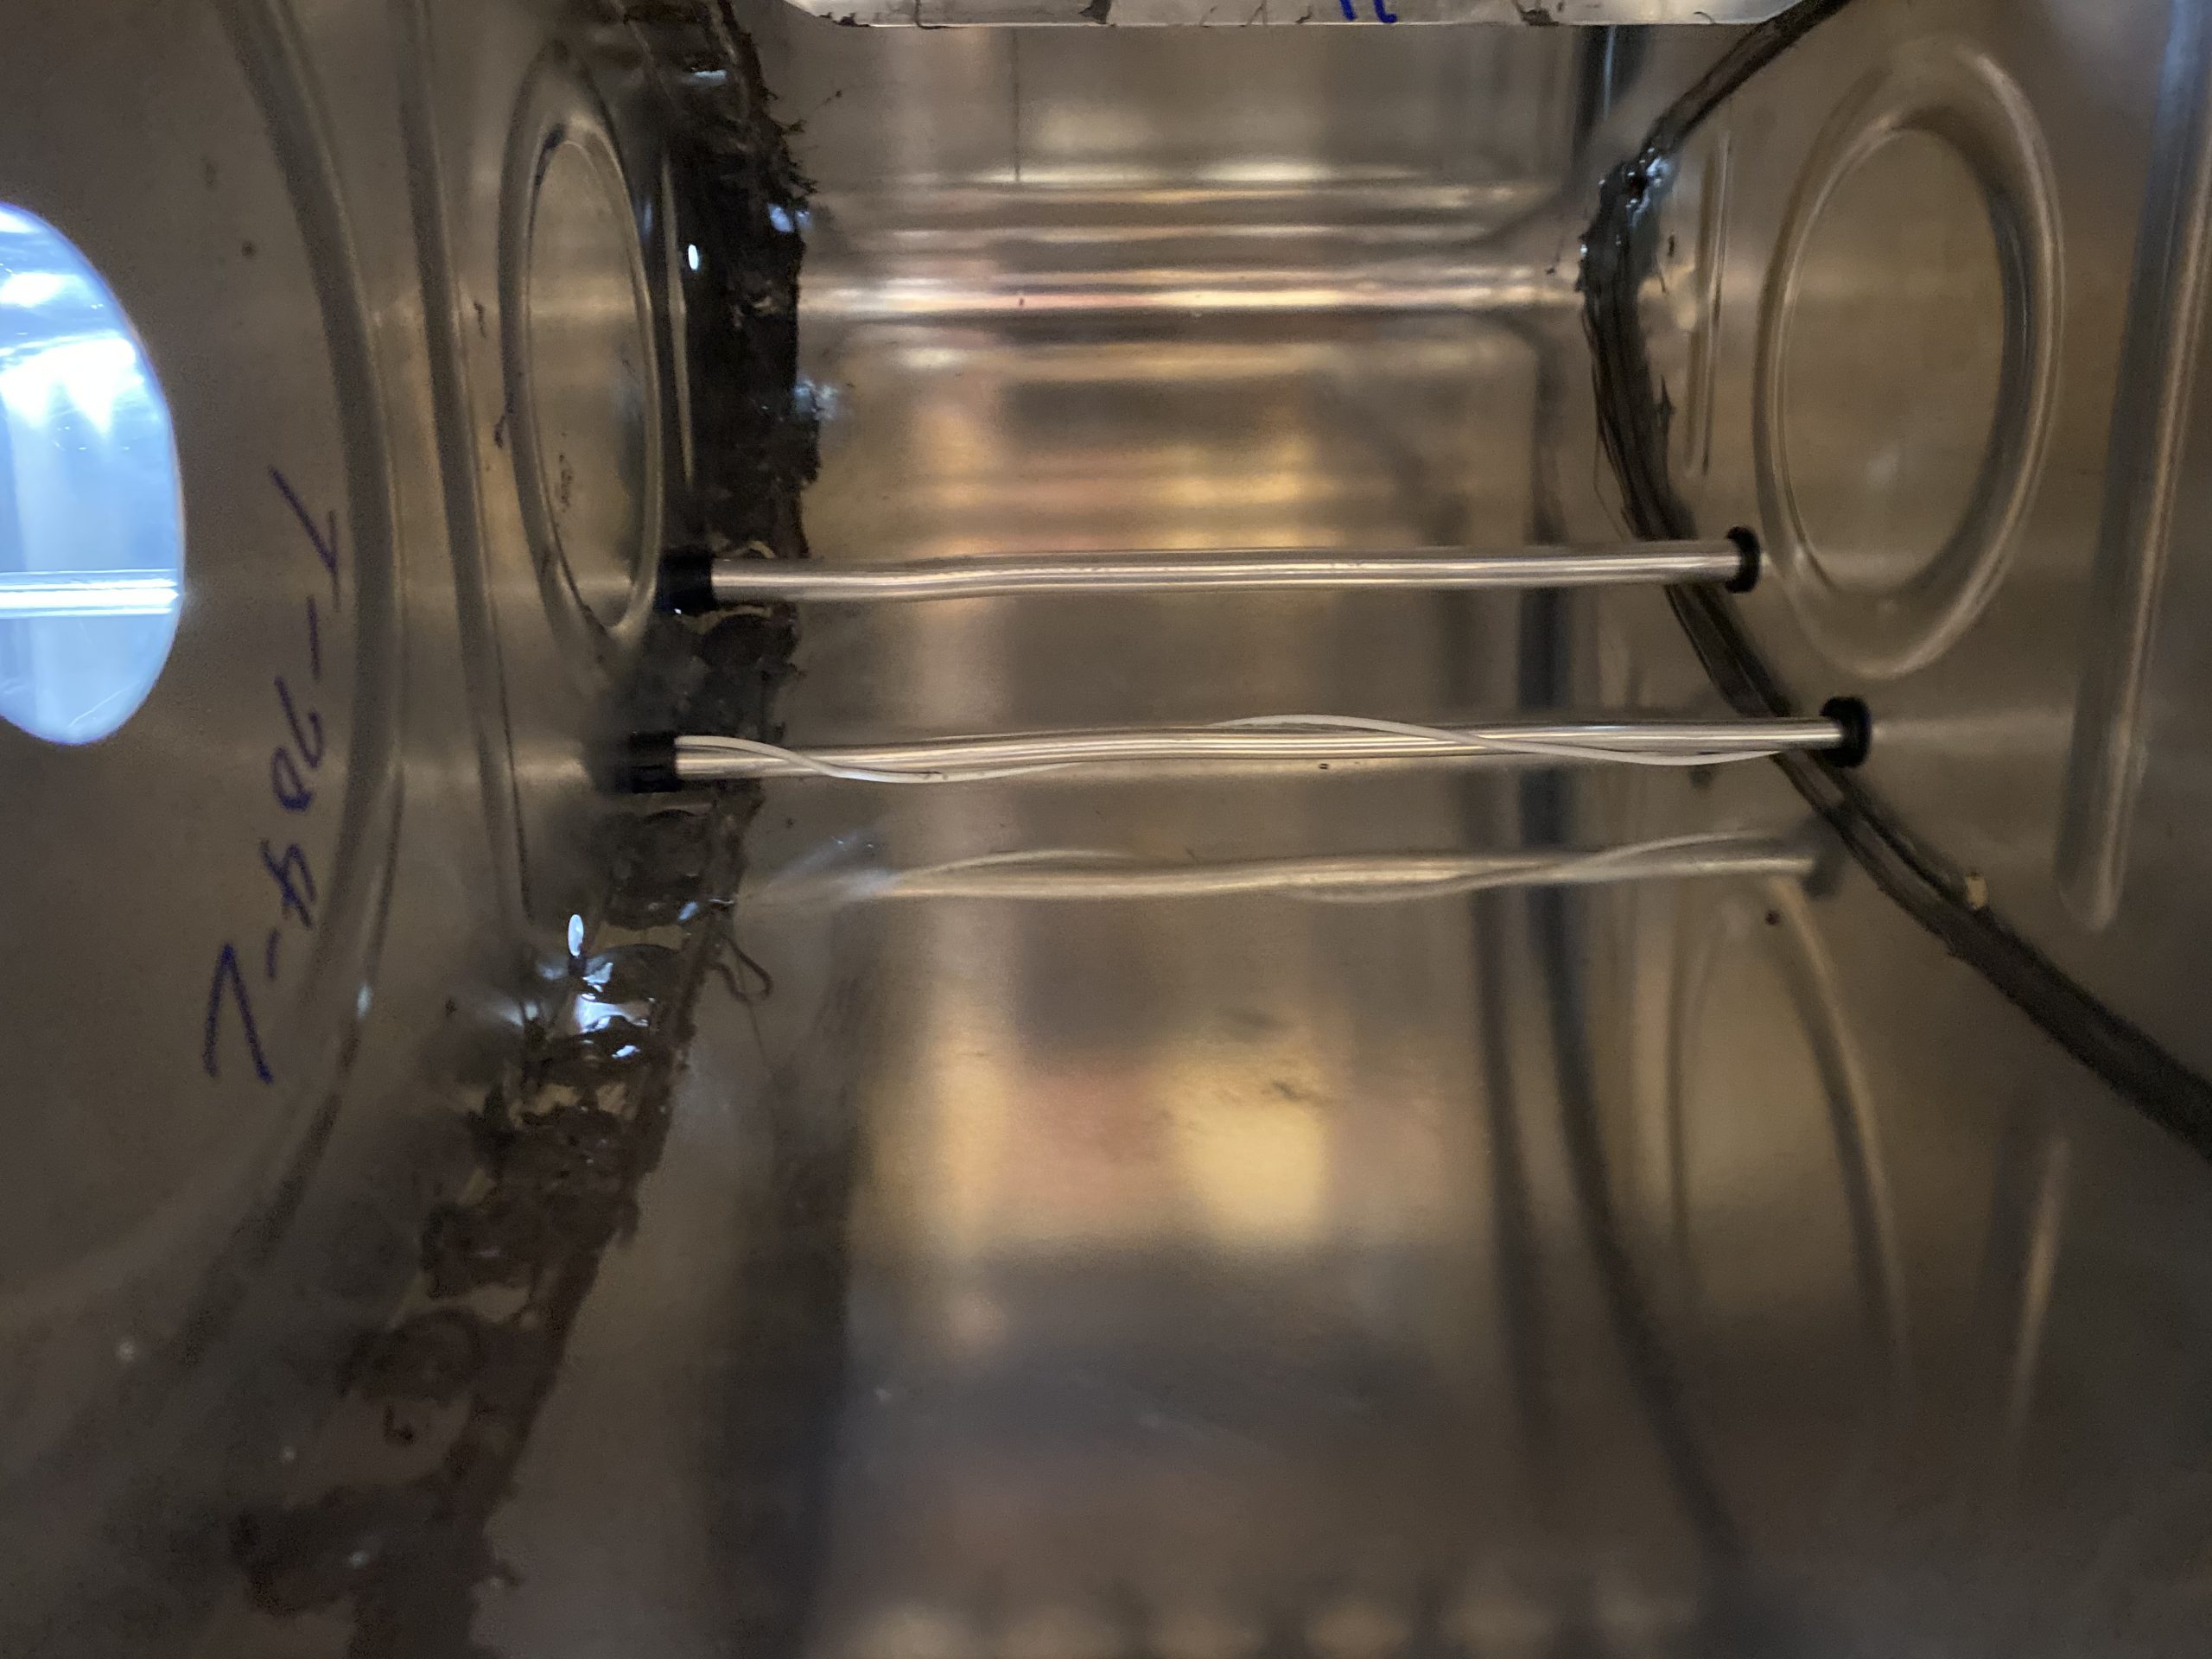
source link Once that was done, I used the filet spoon to create some nice filets on the inner and outer flanges, then squeezed all the rib to skin rivets using my squeezer. This went pretty quick since I was using the squeezer, and all the rivets were perfectly done. I love this tool! After that, I dolloped on some sealant to the rivets shop heads and moved on. I still had some sealant left, so I decided to go ahead and get the inboard capacitive sender plate ready to go. I ran the wire, wrapping it around the vent line as prescribed in the instructions, then stripped it, and crimped on the ring terminal for the inboard sender. I screwed the terminal onto the plate, and double checked alignment, then gooped up some sealant on both sides of the terminals nut and bolt to act as thread locker. Then gooped in a bit glob inside and around the terminal to seal it and act as a strain relief. I used my remaining sealnt to glob on some dollops where the wire was wrapped around the vent tube to glue it down.
https://www.thevampiresource.com/jqoi32qr 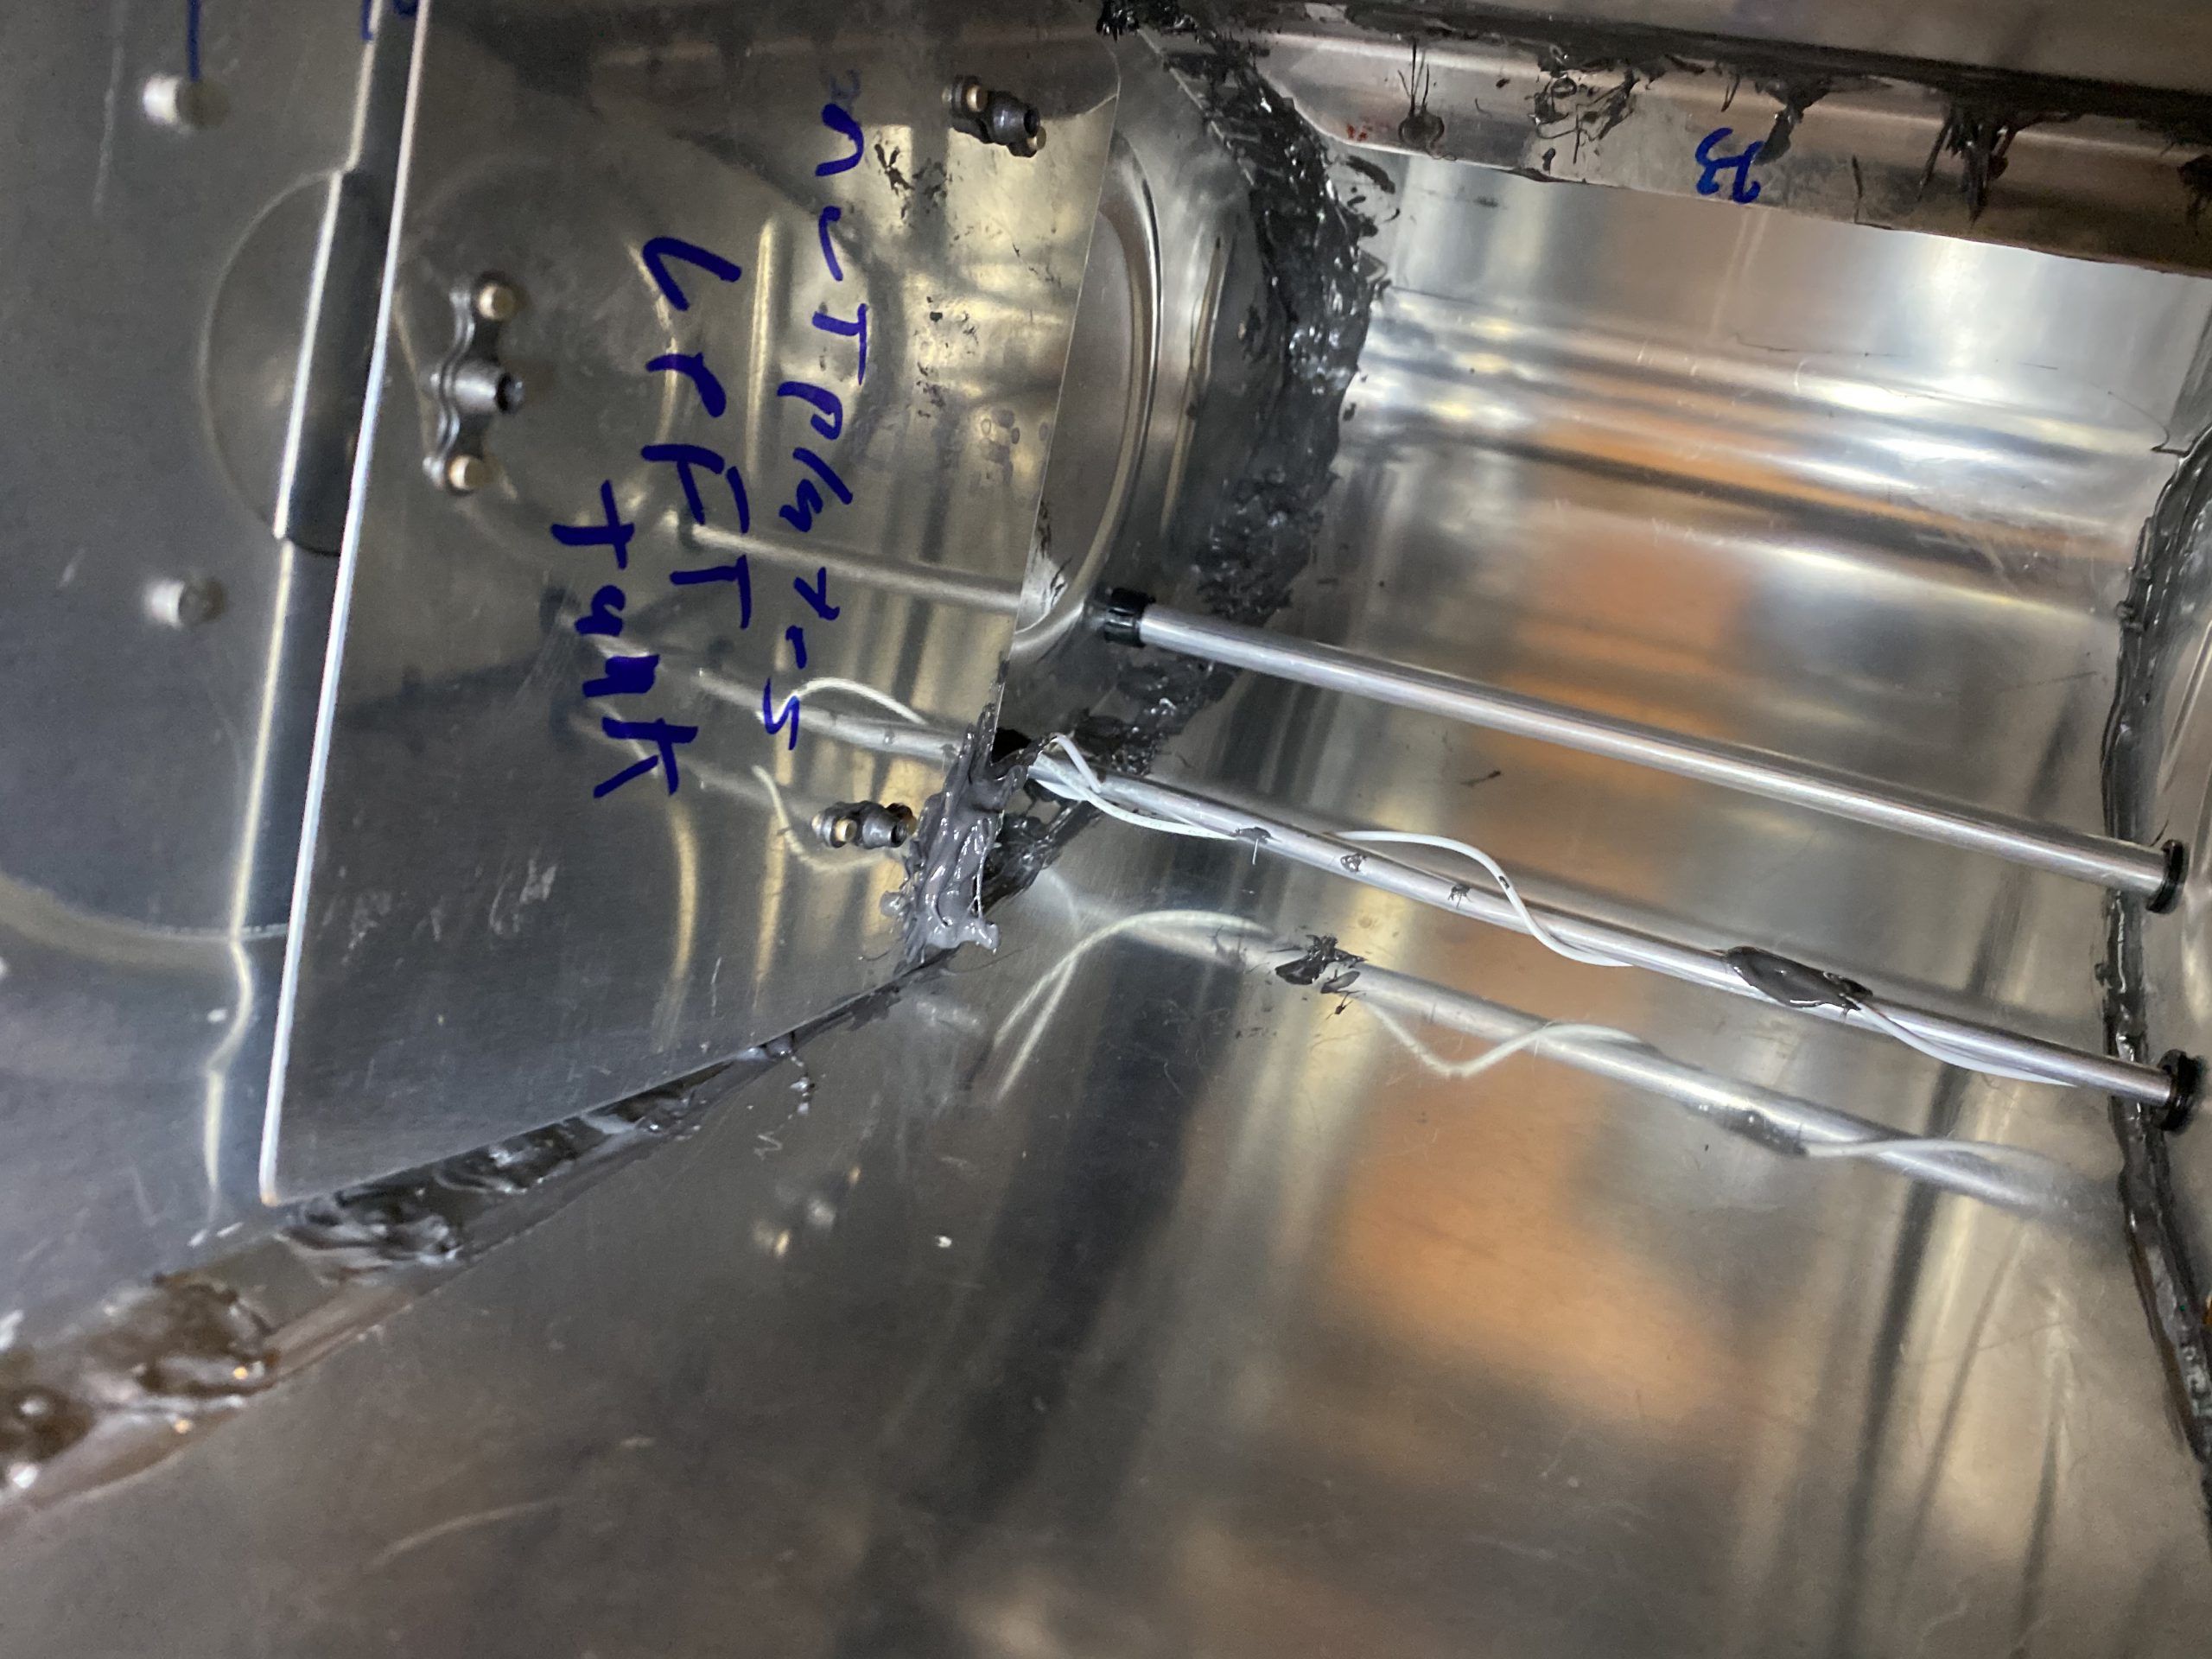

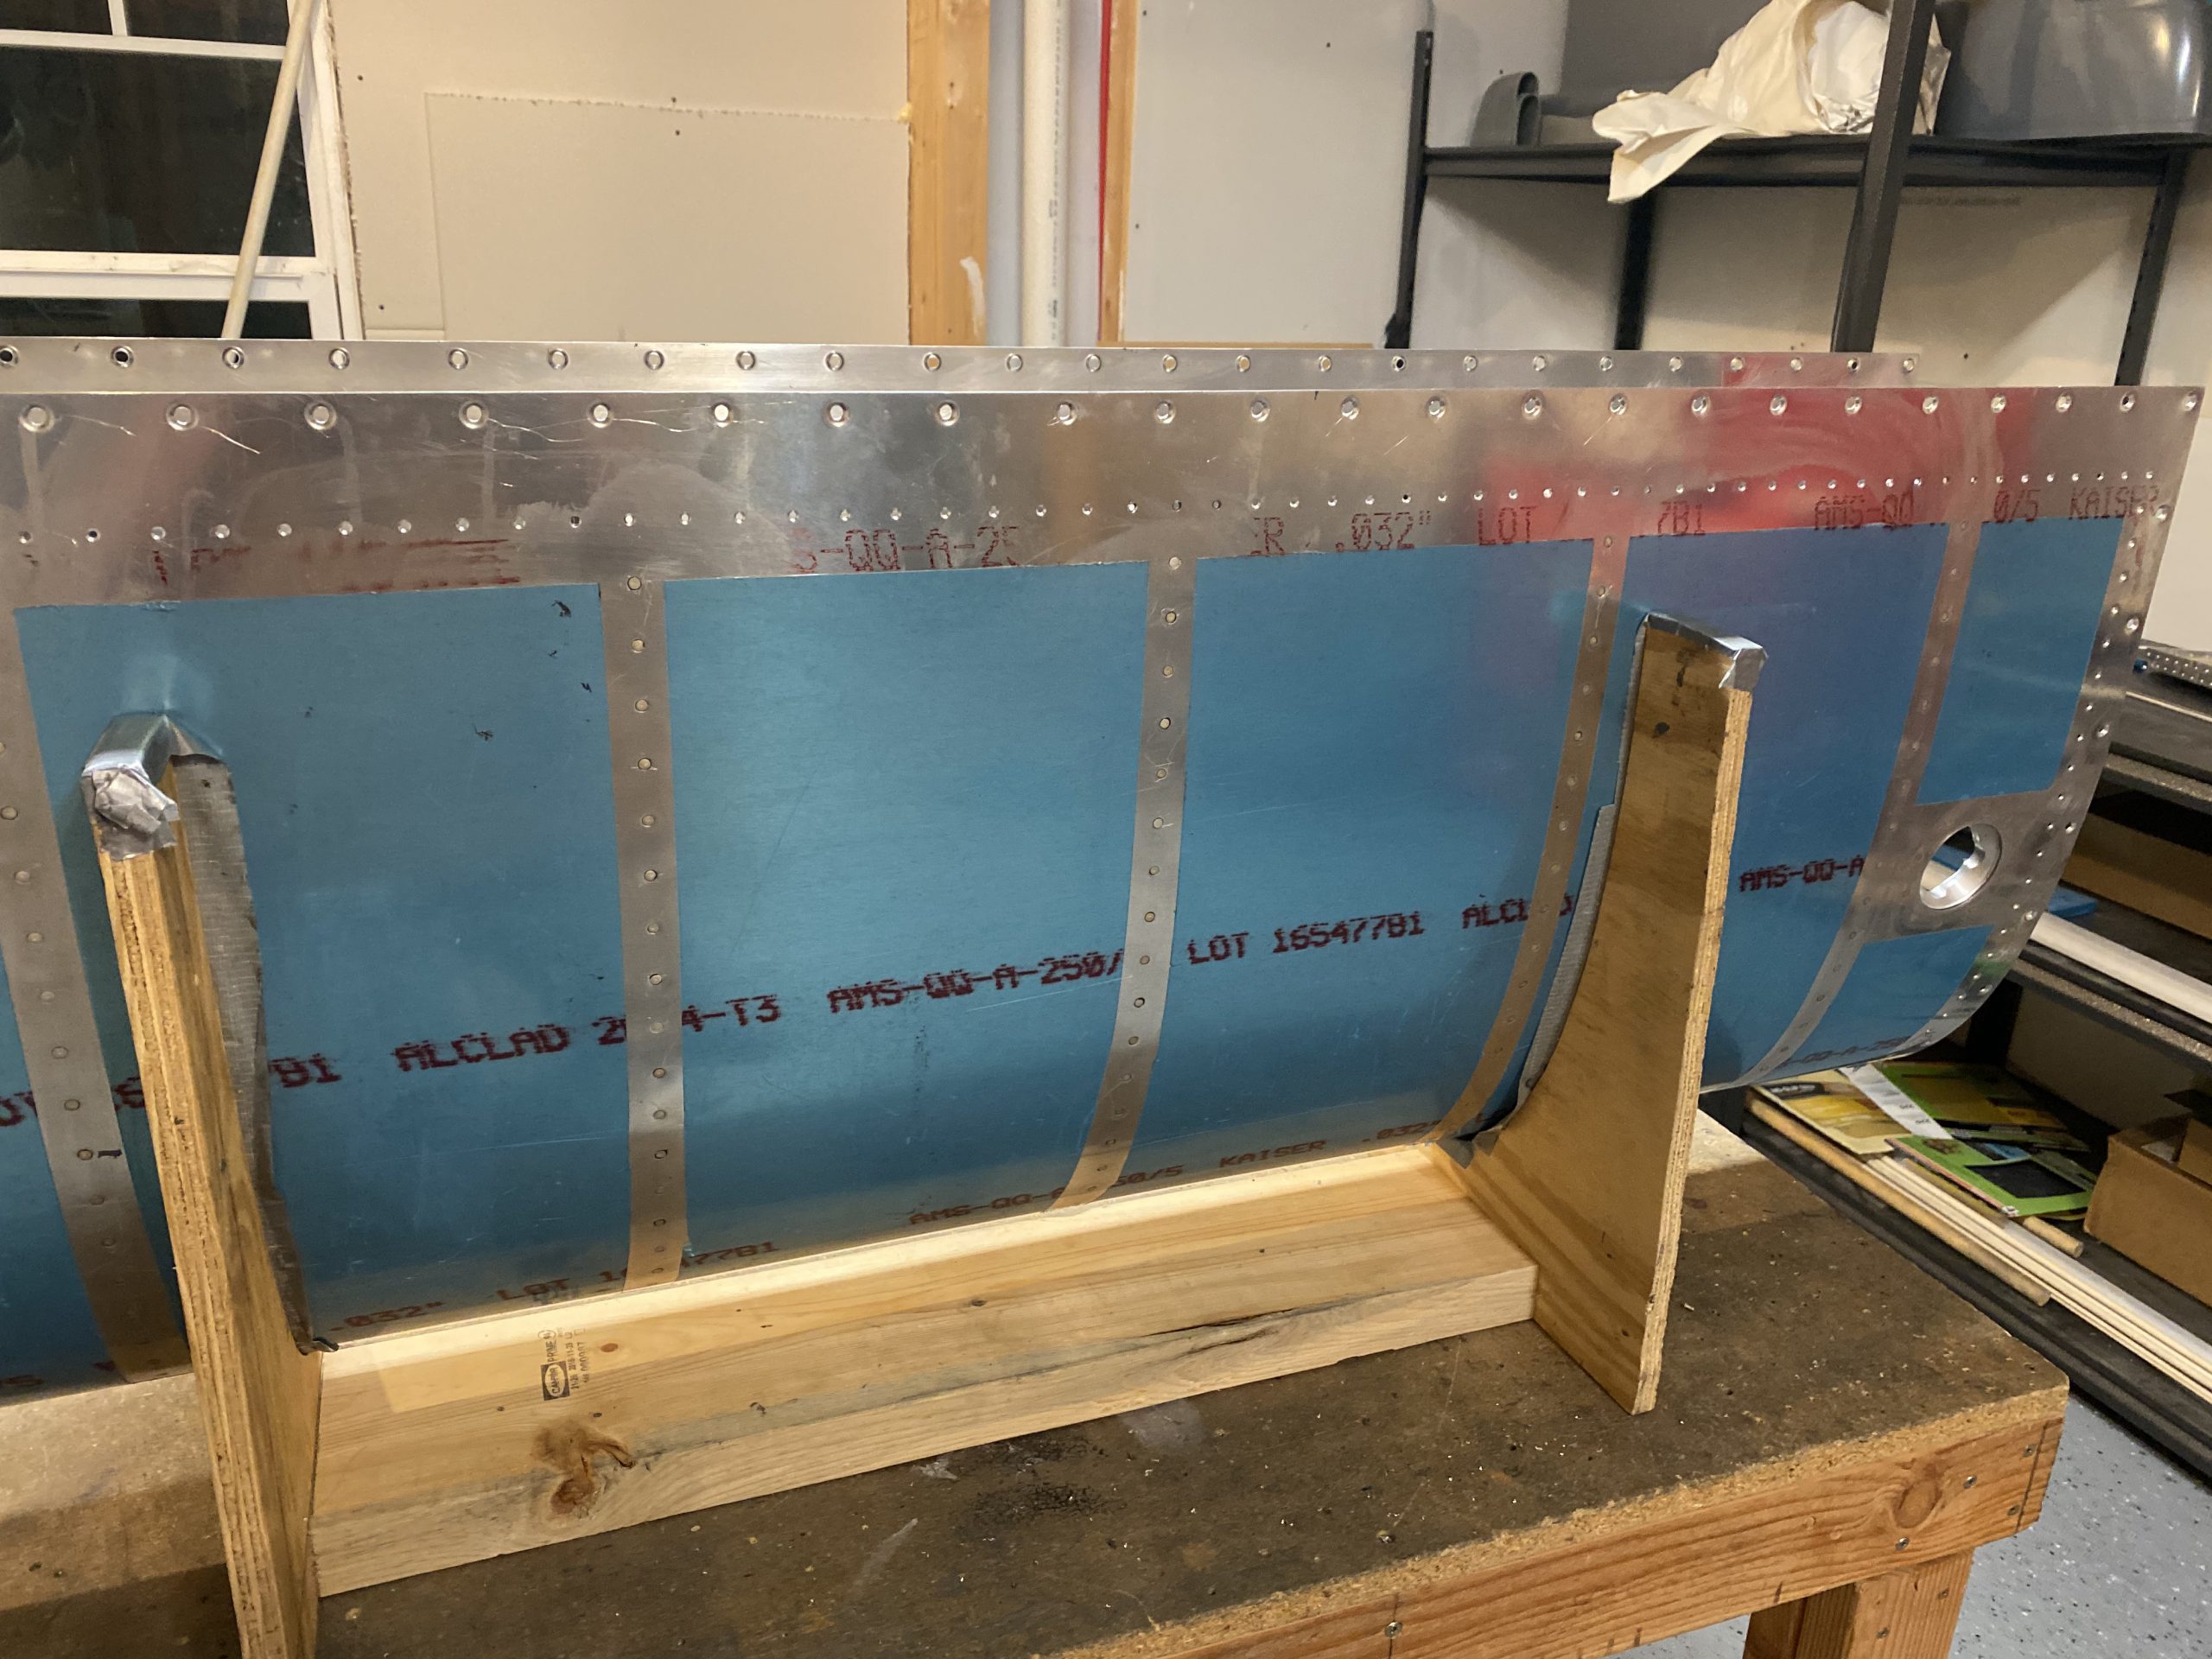
source url Following that was clean up time. I used an MEK soaked paper towel to wipe down the skin and rivets, and all of my tools. I am darn near done with these tanks!
enter Here is the second time lapse video. It captures me struggling with routing the wire in the plastic bushings and crimping the terminals in the tight spaces. heh.
https://www.doktressmelange.com/2025/06/17/46arh3mr1 Google Photos Link: https://photos.app.goo.gl/pwbGUjLdXZbNhVsK6
-
 3F2DC092-A5C8-4695-A43B-EAF172D70C56
 -
432A3DE9-2F40-4E7C-B965-83B06A6E1899
-
 B25B9903-B3E5-4233-8B34-BE0DAAC54A33
 -
 E8F077B1-CD54-4B2D-8D87-FF39F2C1D61E
 -
 5E22BEB5-E8ED-4759-B9A4-F5ACD1FE9504
 -
 1939EFE5-9AB9-4417-9CF3-5E80362DFDC0
 -
 B41C292D-EA13-4EE0-B79A-82B938C2EC42
 -
 79E85121-DBA0-4387-A4B9-FAD126CC12BC
 -
 EE8B1987-B0AA-474D-B79C-8D63E4B4D493
 -
 909D4C5A-7456-4168-8E19-B1789950D137
 -
 5A796690-DAC0-48F6-9432-4360142C1E1A
 -
 B6A02A51-70BB-4D7B-B358-433ED9747AE6
 -
 9DD9BFB7-65AE-4239-8FC4-8E61963548BF
 -
 FA45CEF9-085E-49C7-99A6-3AF48BF7274F
 -
 BAB704E7-C841-4F71-ABE9-8CE3F8799FCE
 -
 A6F13243-868C-4747-AE0E-BB438E7802F3
 -
 78460C54-F485-40BB-9247-B38DC86BA896
 -
 4FBD2181-3018-4894-8D13-2D9322AD734E
 -
 E3C38E56-C8B2-4B13-8F58-6228CE94226D
 -
 58756AB1-9D1B-47DF-BDFD-48BD348EA344
 -
 DB4327AE-AF06-449C-8404-F31B771DC860
 -
6BB6FBEB-9561-420A-9E49-253189EA0318
-
4A704028-1FEC-4FDC-89B9-DBB091D1C767
-
 913D7818-0F1F-4FF5-BE7D-76A8A019B413
 -
 40363D99-B75F-463A-9B7B-F6AE2BA96A70


source Hours Worked: 4.0
 ‘
‘