Riveting the Right Flap — Part 2

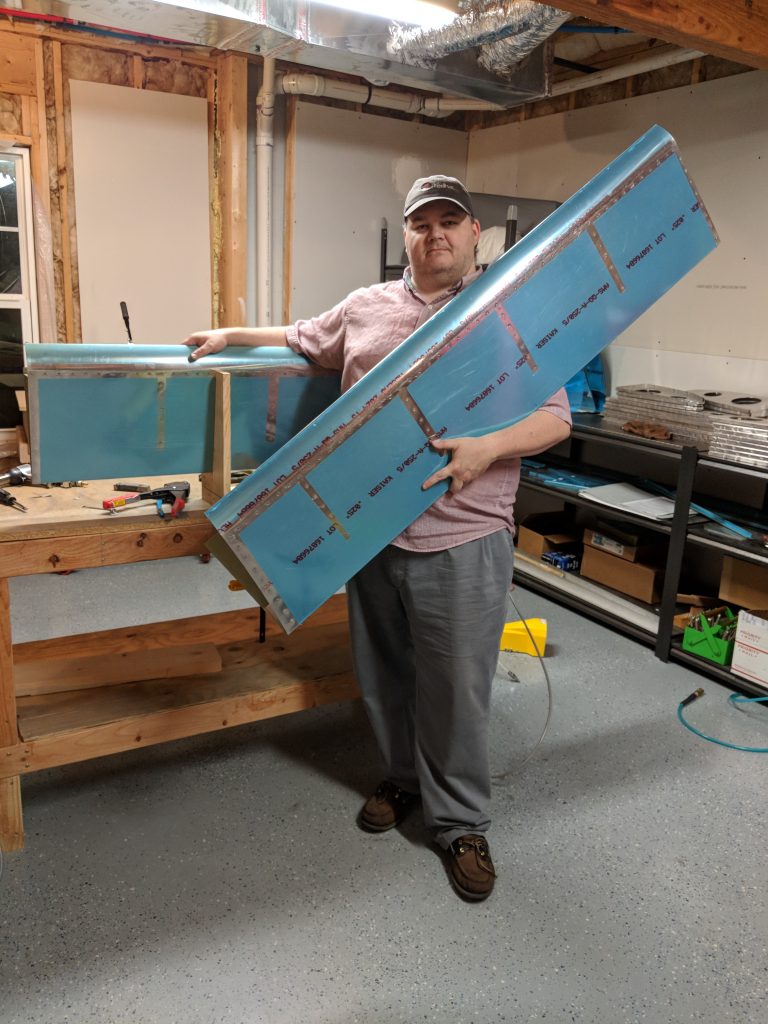
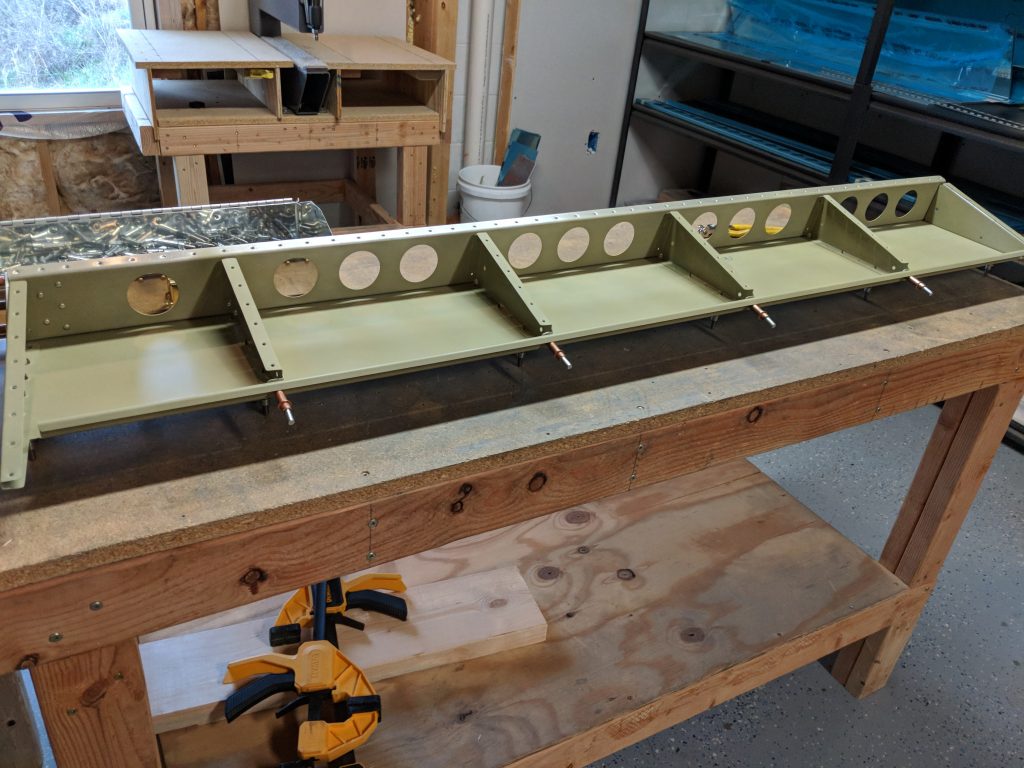
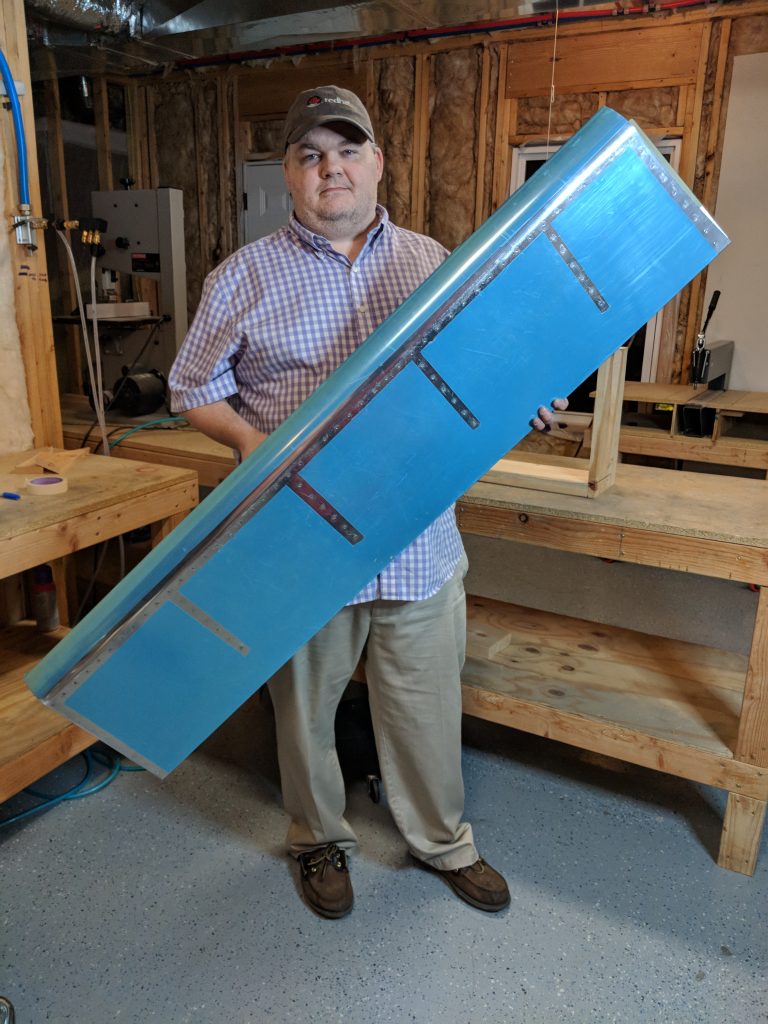
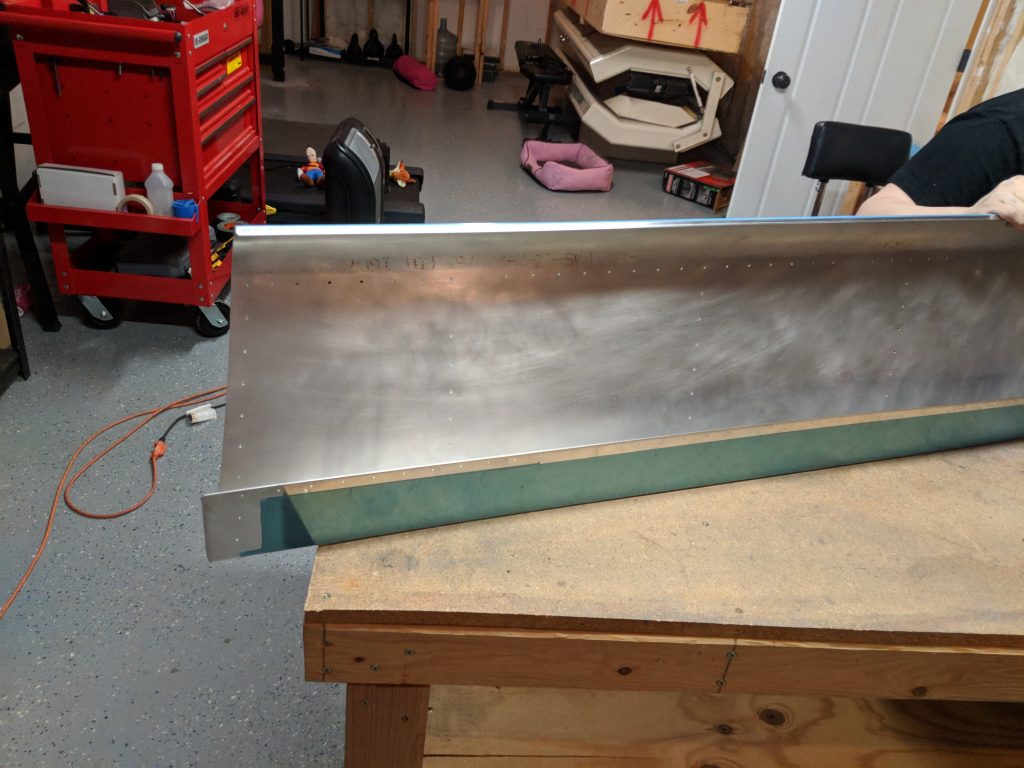
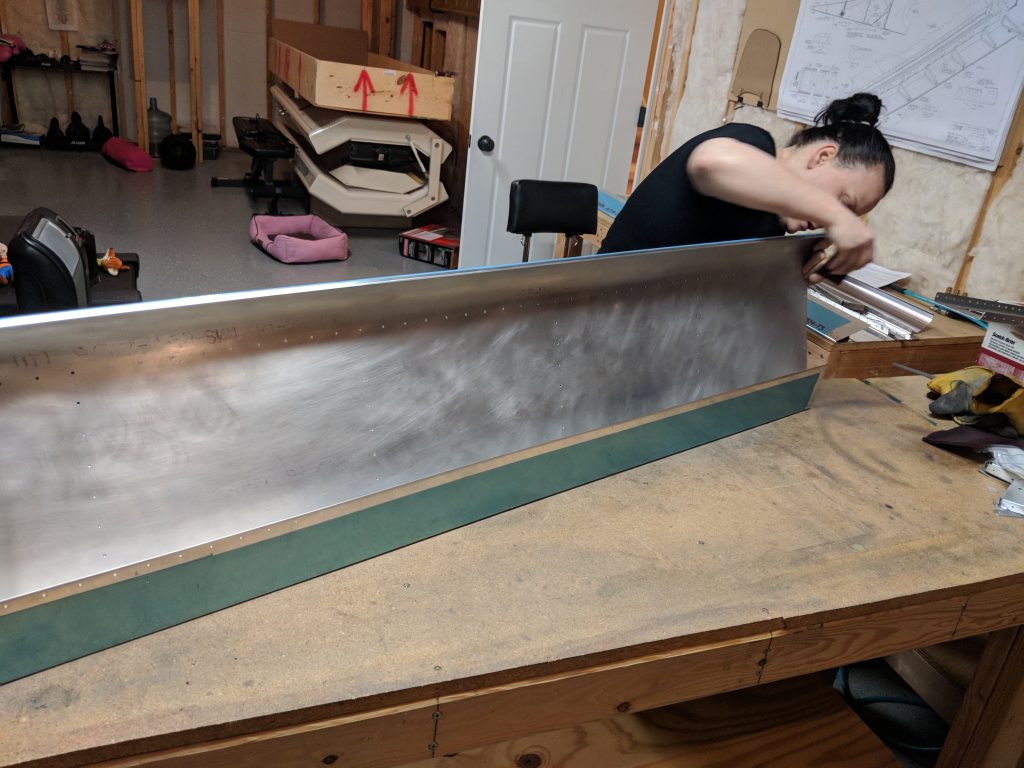
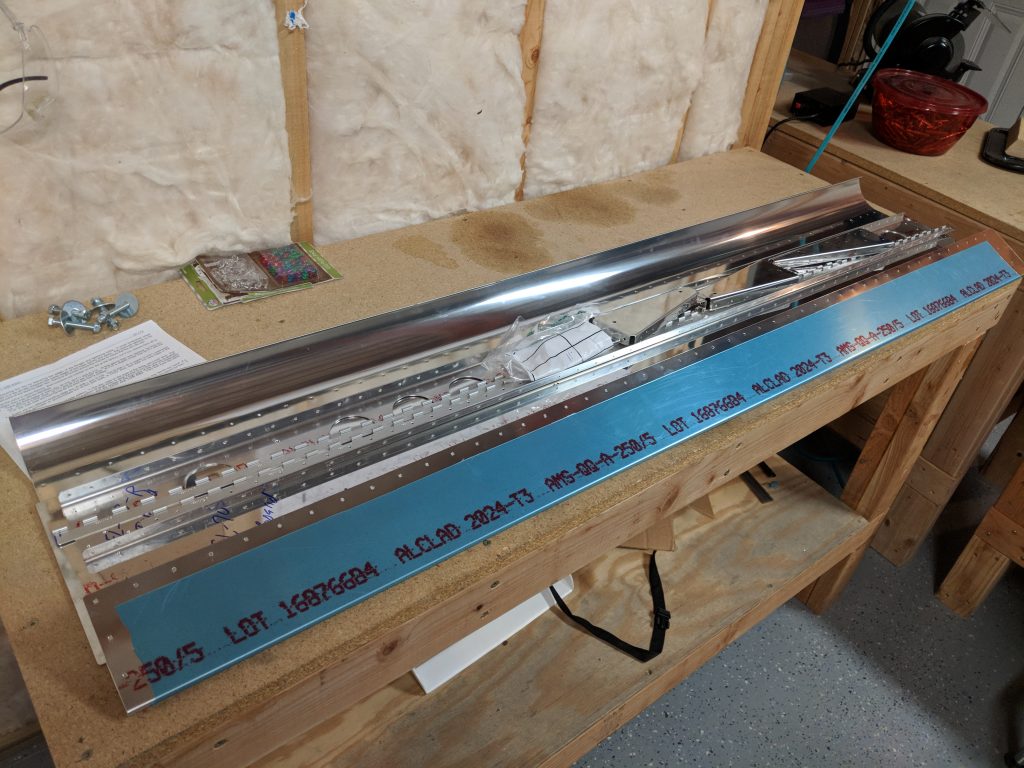
I now have two fully assembled flaps!  I wanted to knock out the last few rivets on this right flap, and then the last 5 on the left flap this weekend, so I could mark them as 100% complete.  Thankfully, I was able to get both flaps completely done and ready to go into storage until its time to mount them on the wings! I picked right back up where I left off last night, and riveted the internal ribs to the top skin.  My wife went through last night and checked the sizing of all my rivets, and we marked the ones that needed a little extra bucking, and I went ahead and took care of those few rivets while I had the spar off.

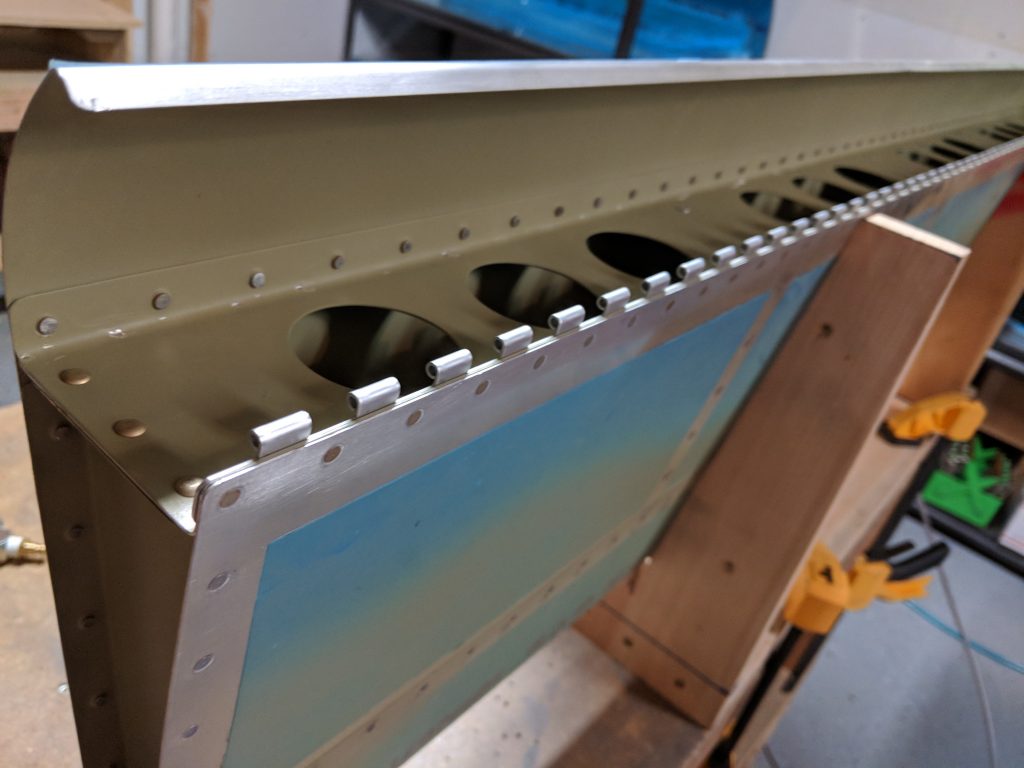
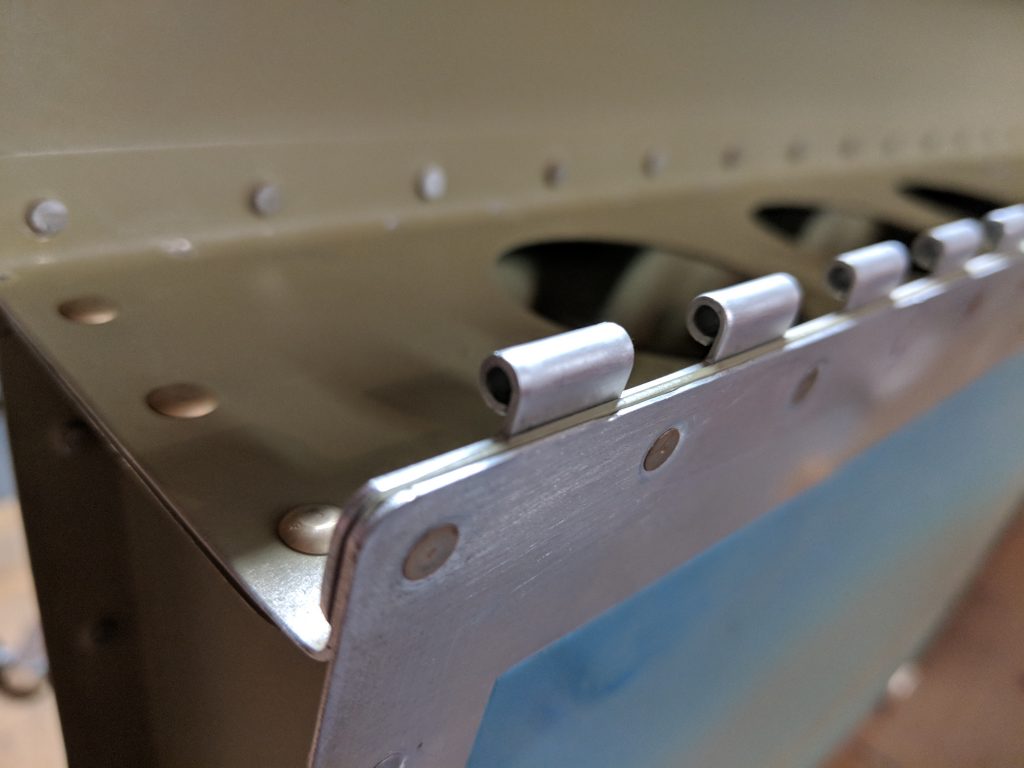
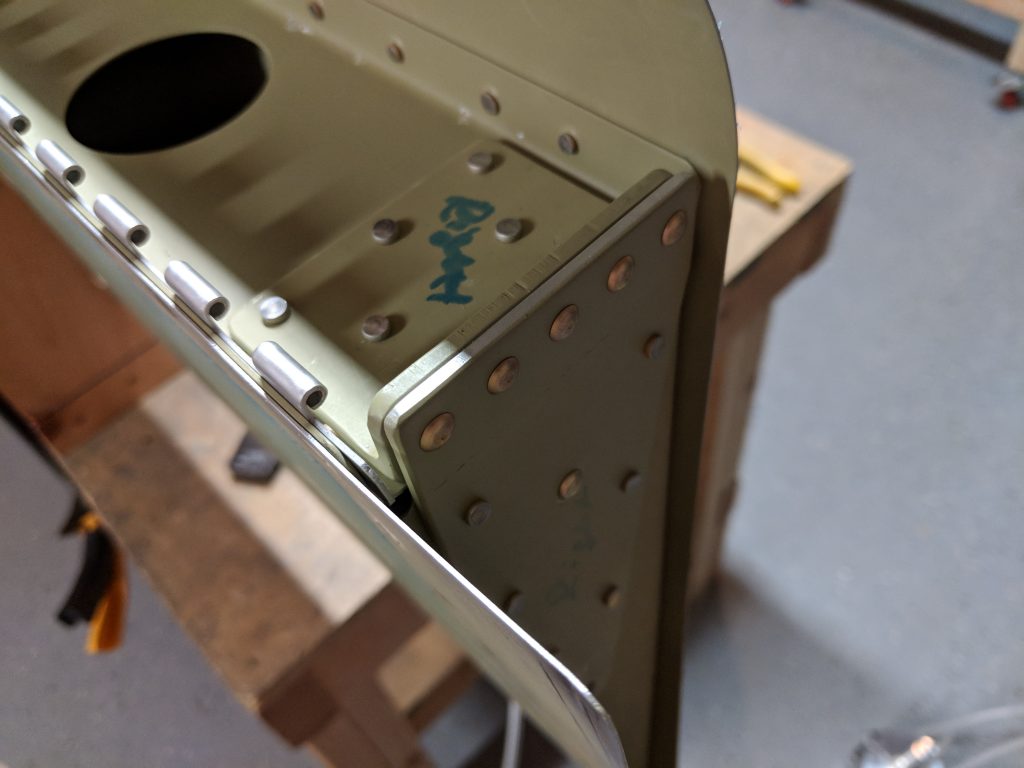
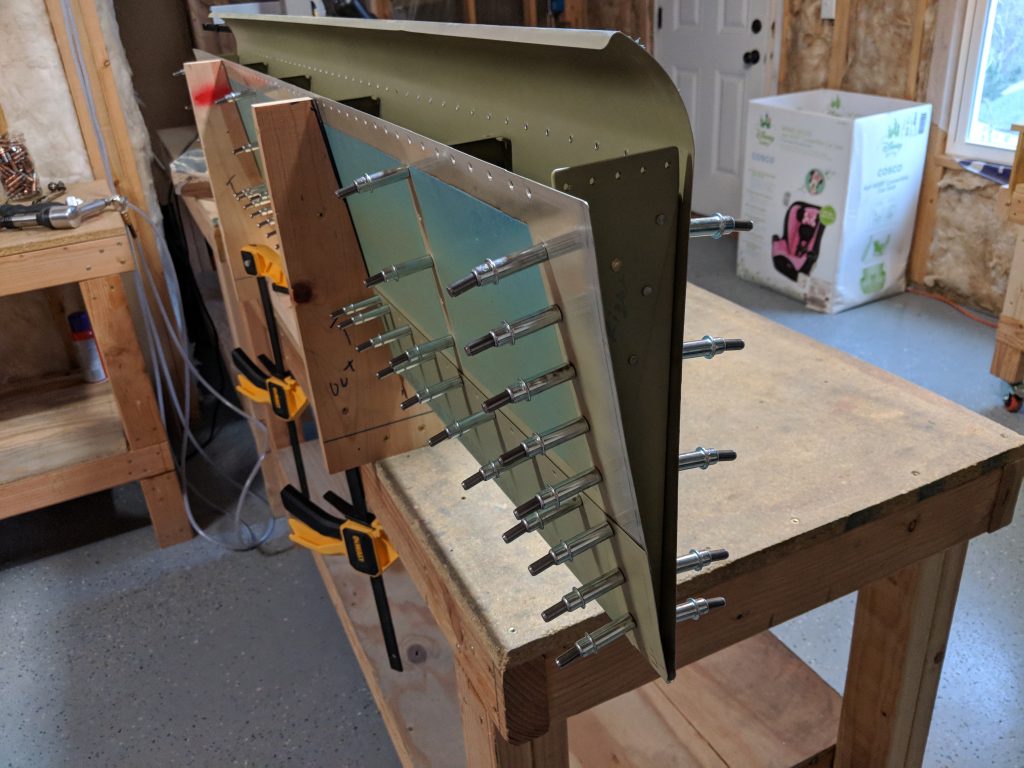
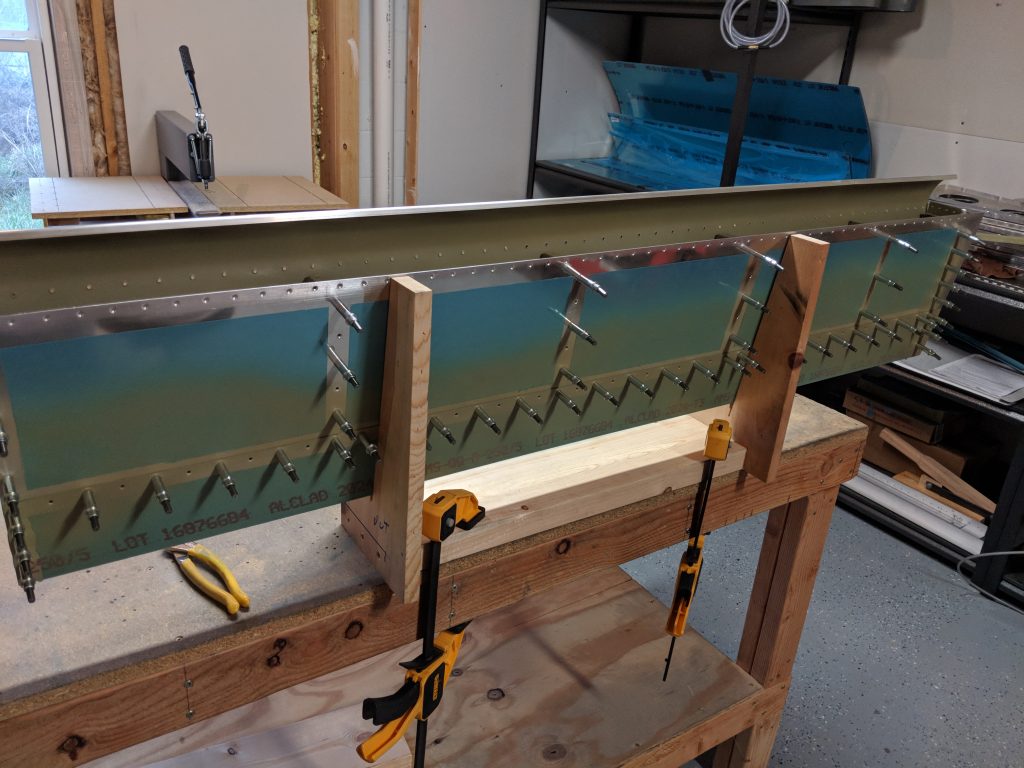
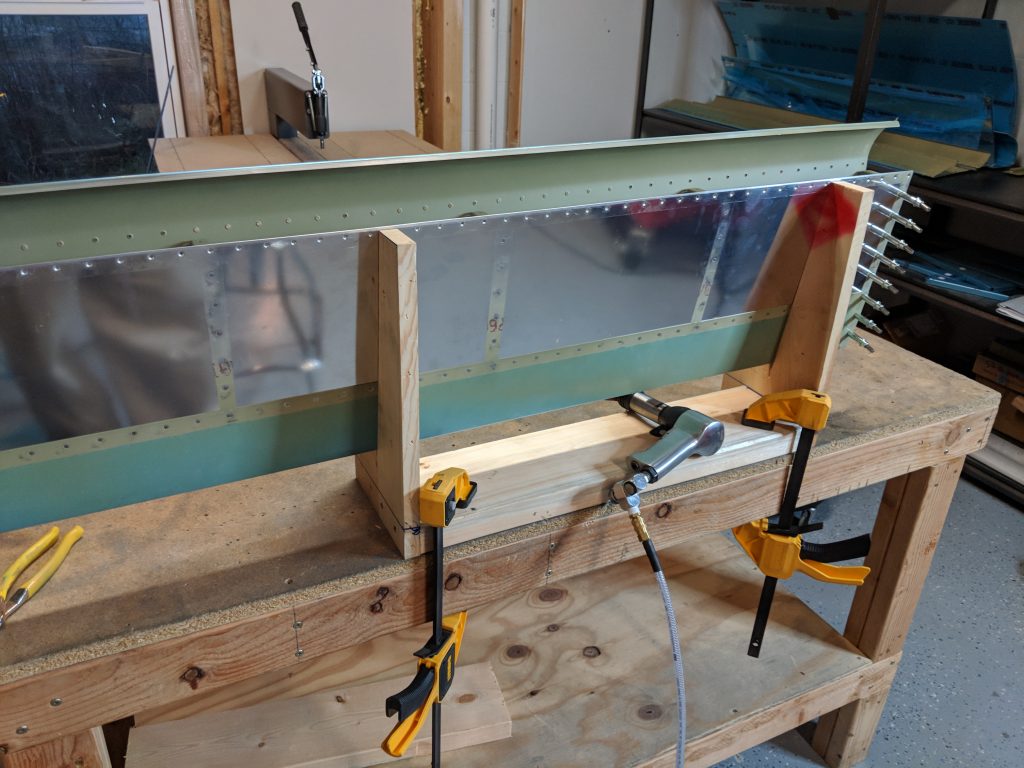
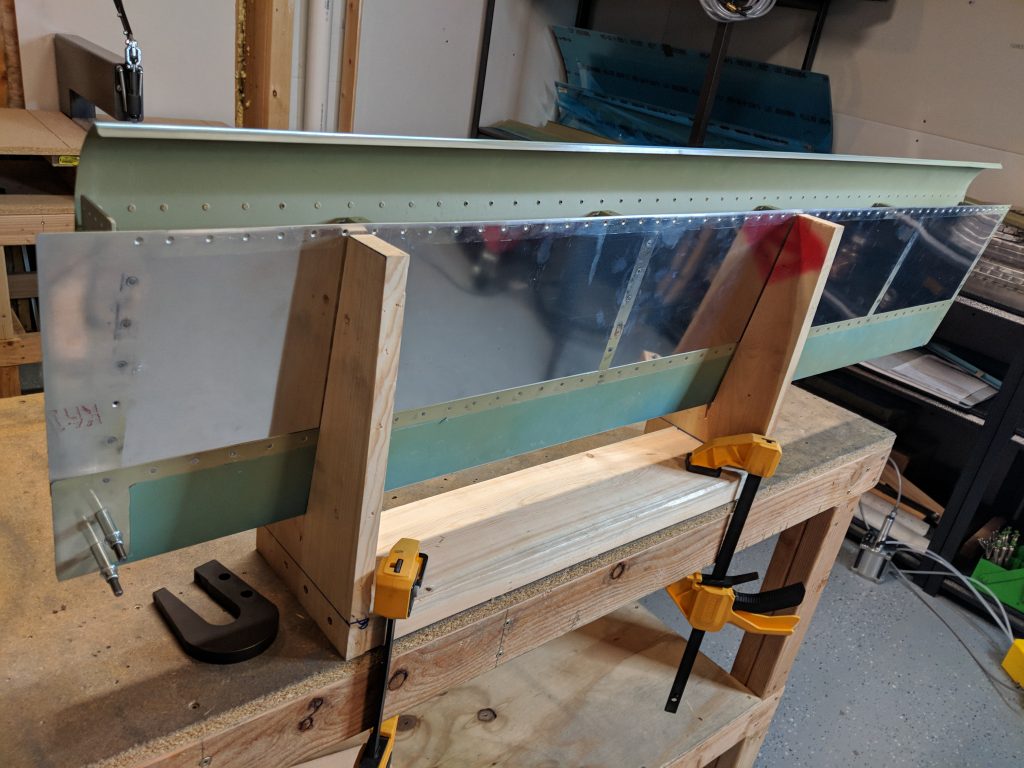
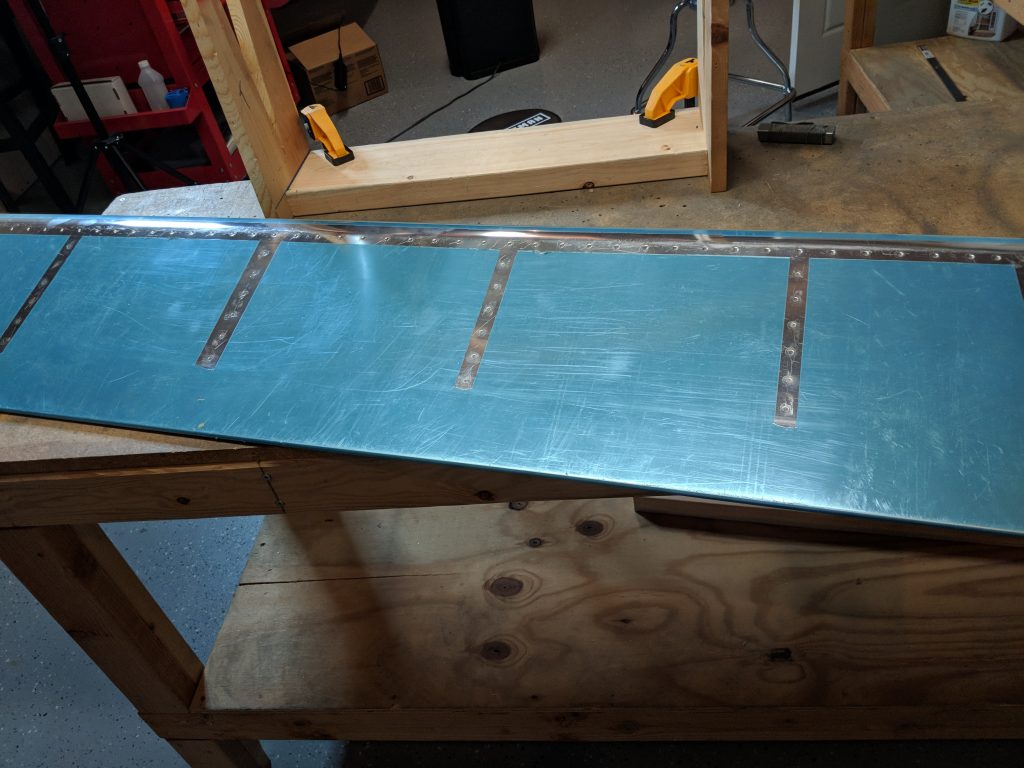
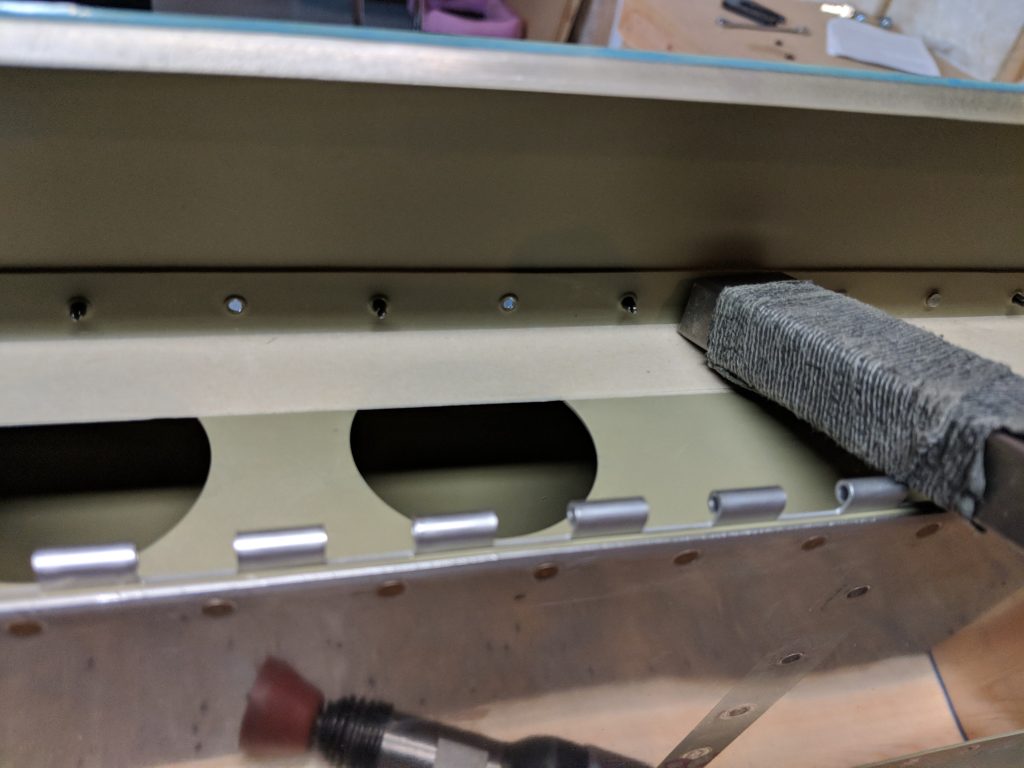
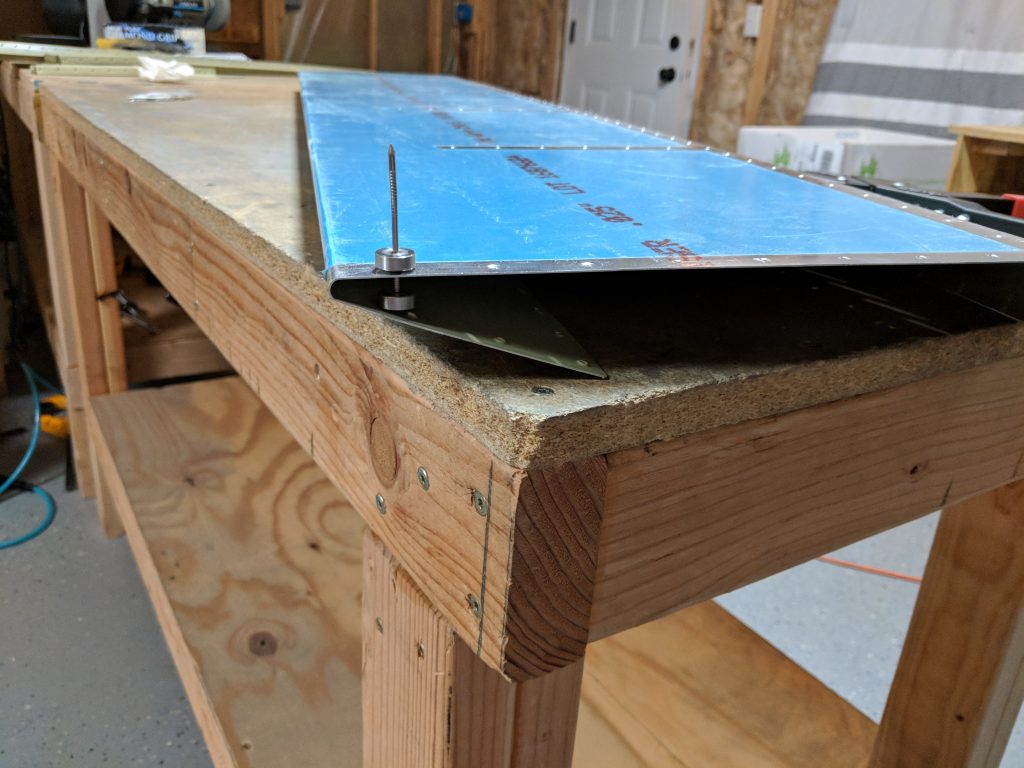
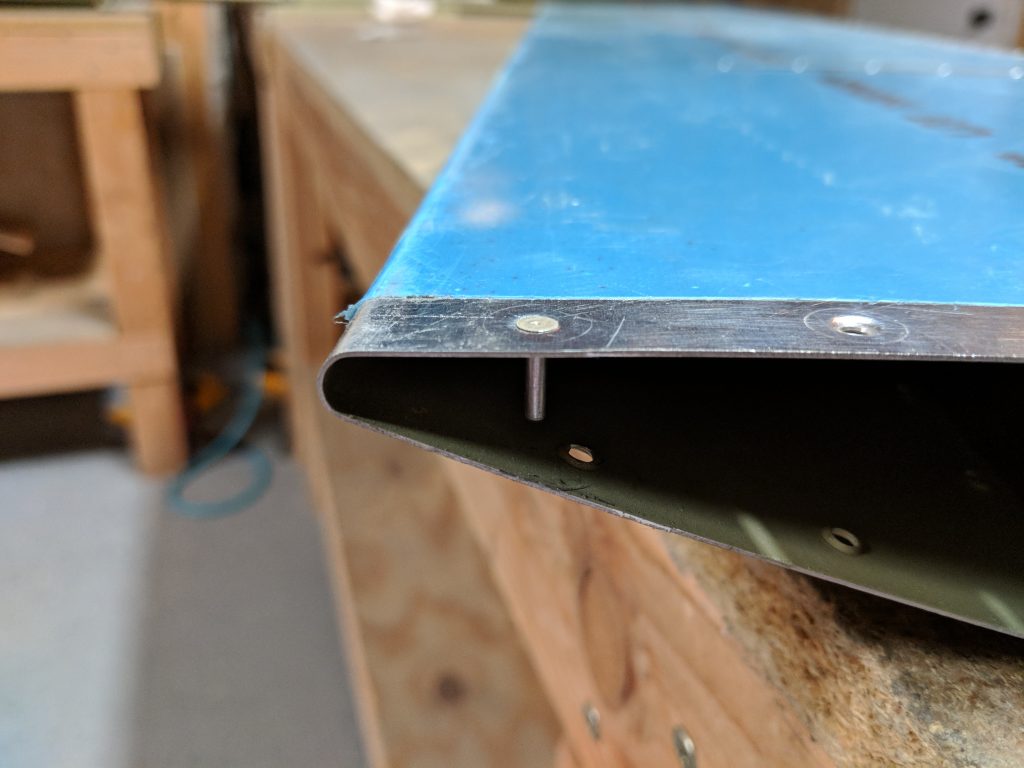
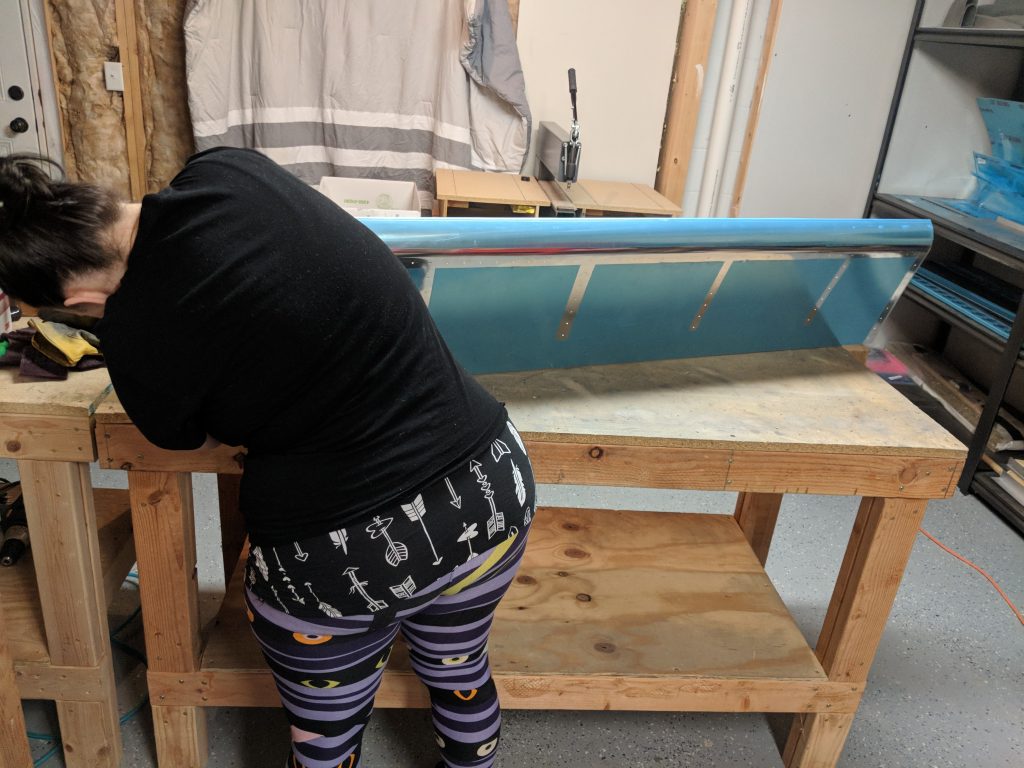
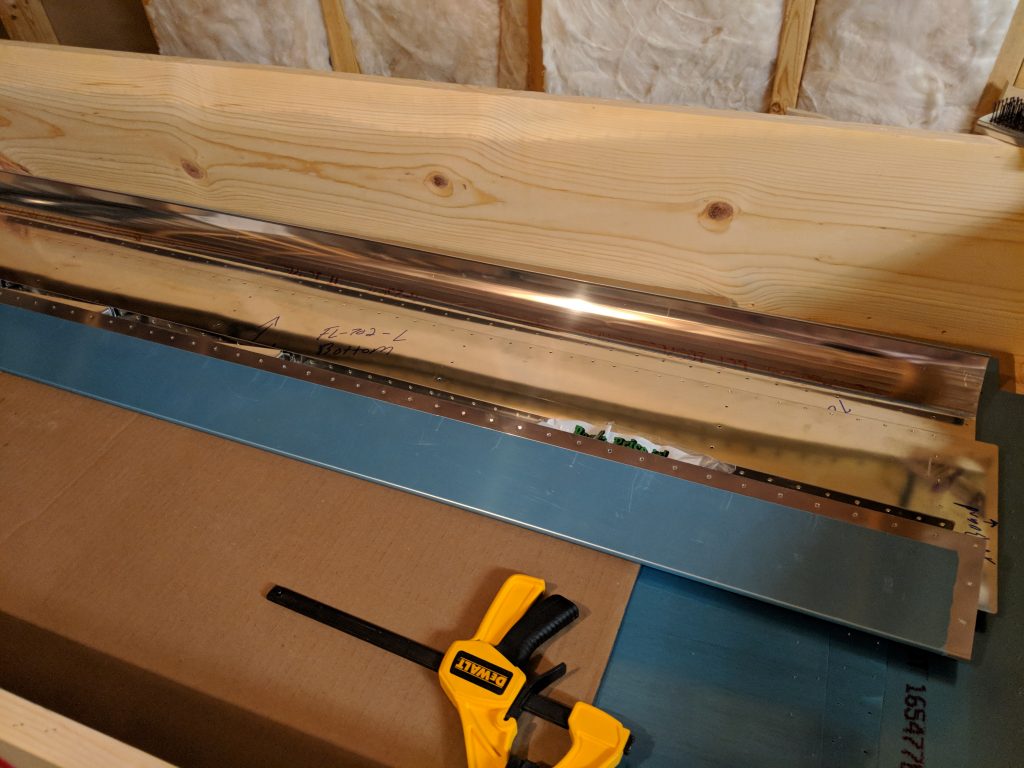
Once I had all the rivets set, and checked, it was time to place the spar and close up the flap.  I inserted the spar into its spot and then clecoed it into place, making sure to attach the piano hinge on the bottom of the flap.  Once it was all squared up and in place, I used the LP4-3 pulled rivets to secure the spar to the internal ribs as called by the plans.  Theres a few tight spots, especially where the top skin curls over the spar as a flap gap seal.  I had Tammy come down and gently pull this curved skin back so I could get my pop-rivet tool in there and pull these suckers.  Once I had all the pulled rivets set, it was time to rivet on the top and bottom skins to the spar.  I started out with the top skin, since I would need to buck these rivets due to the skin curling over.  Here’s where my night got interesting:

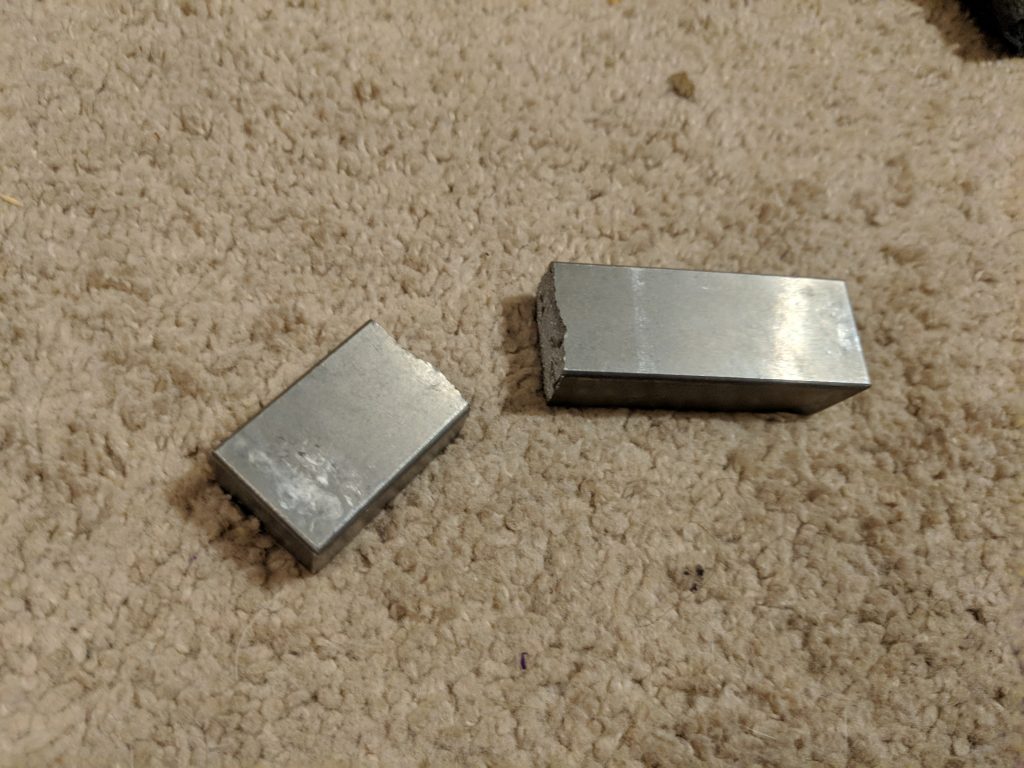
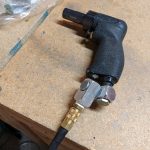
Thats a tungsten bucking bar, broke right in half.  I kept it wrapped in athletic tape to make it easier to handle and to keep it from scratching up the skins as I use it.  After bucking a few rivets in the top skin, I noticed it felt like it was flopping around, and when I started unwraveling the athletic tape, I noticed it had broken in two.  This sucks!  Fortunately, I was still able to use it to set the last few rivets, but I am going to have to see if Isham Tools will let me get it replaced under warranty, lets hope!

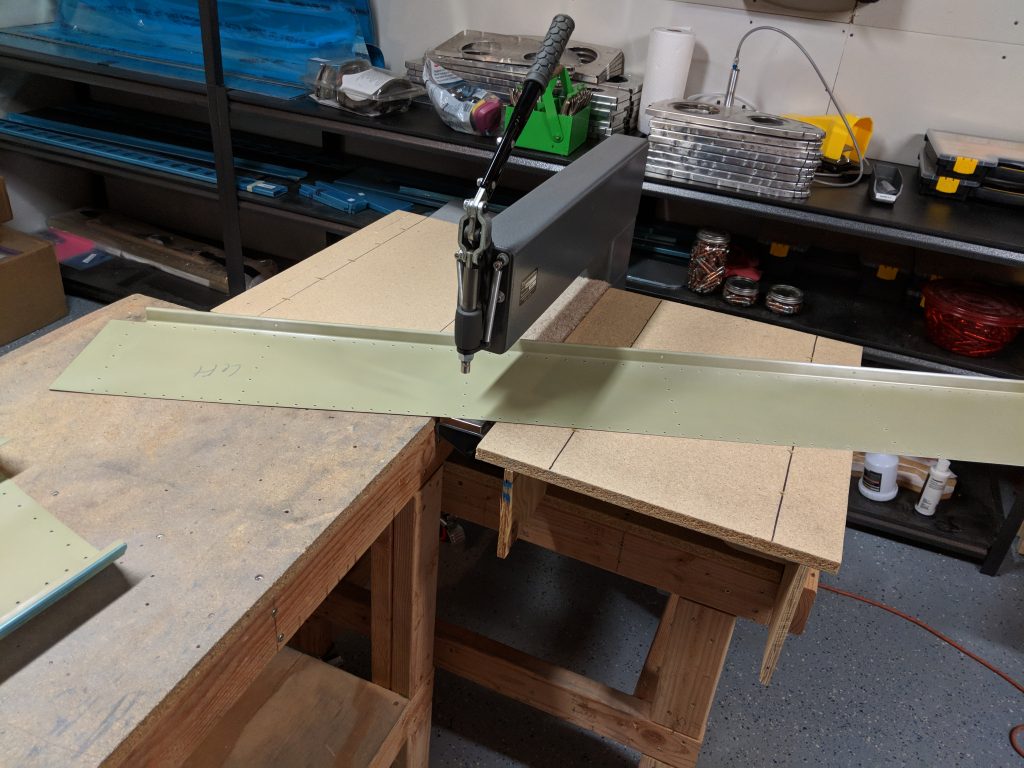
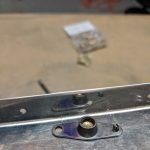
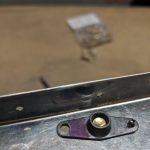
Anyways, after I had the rivets bucked for the top skin, I moved to the rivets on the bottom skin, that also hold the piano hinge.  These are easy to get to, and my squeezer made quick work of them.

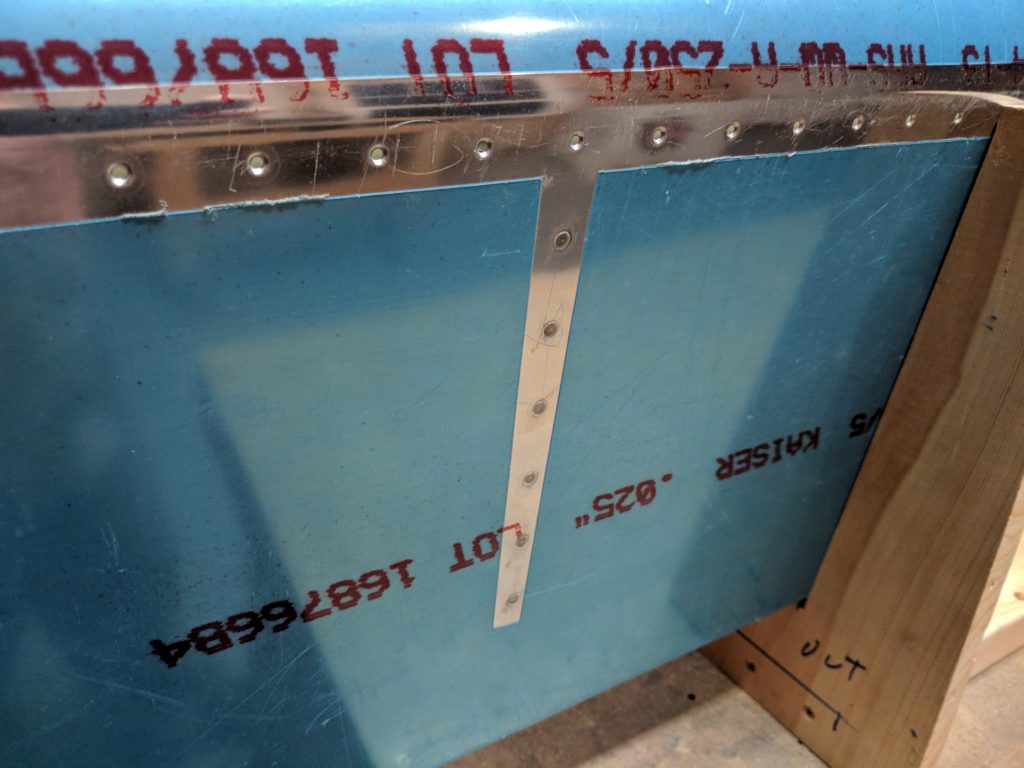
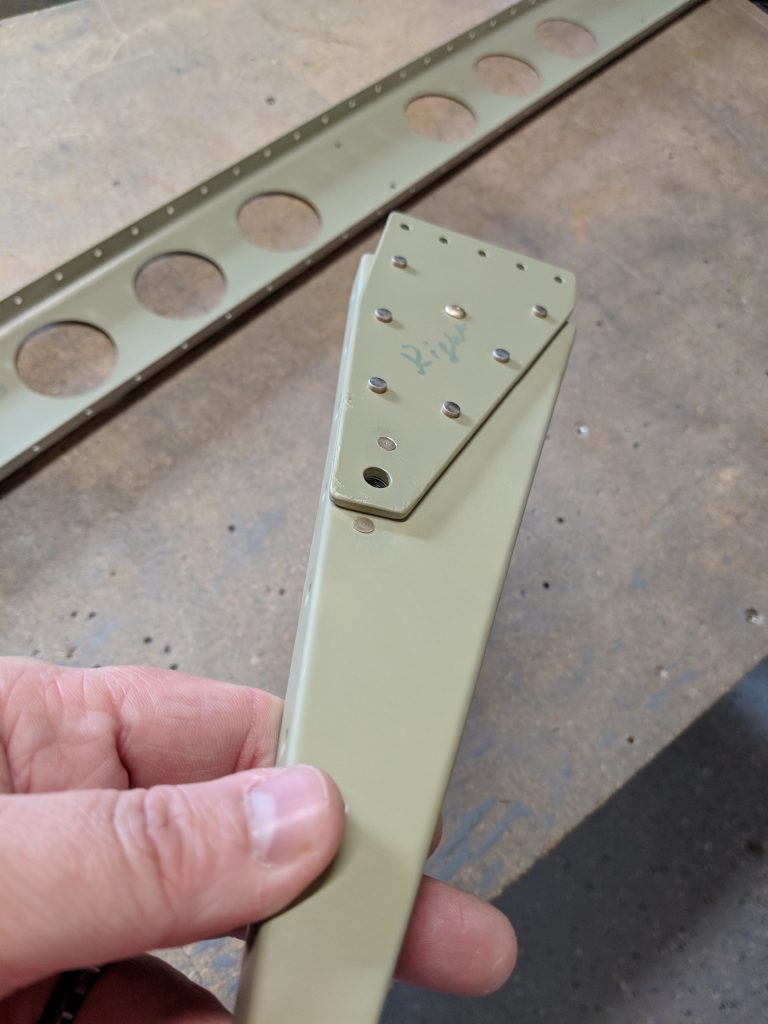
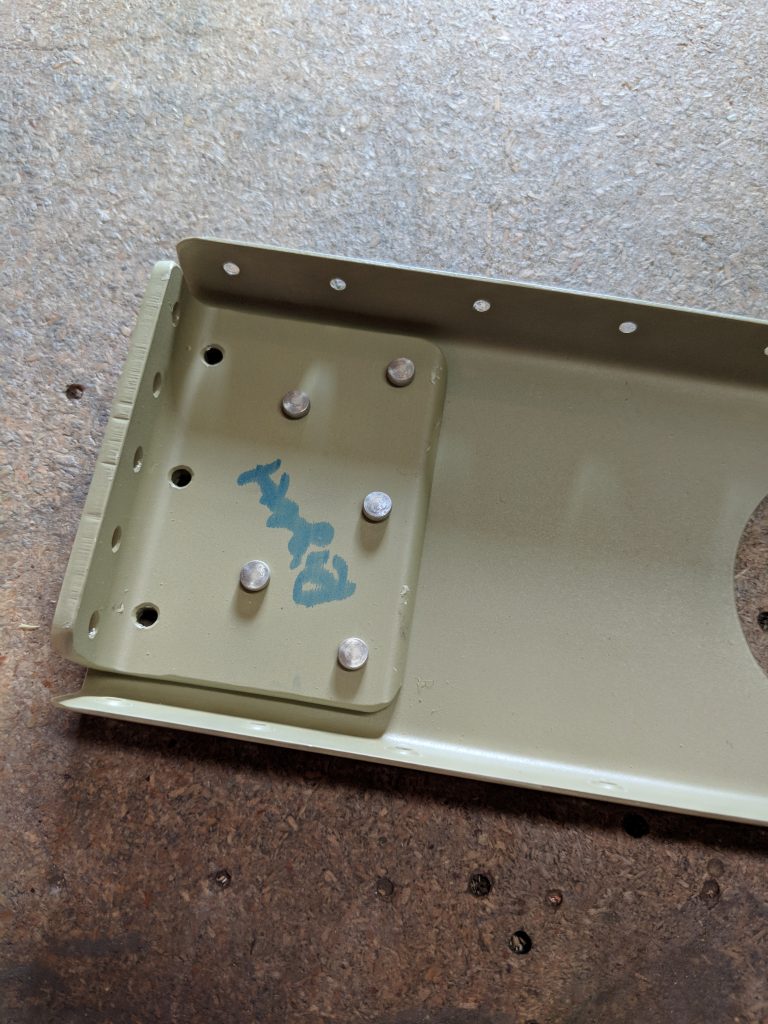
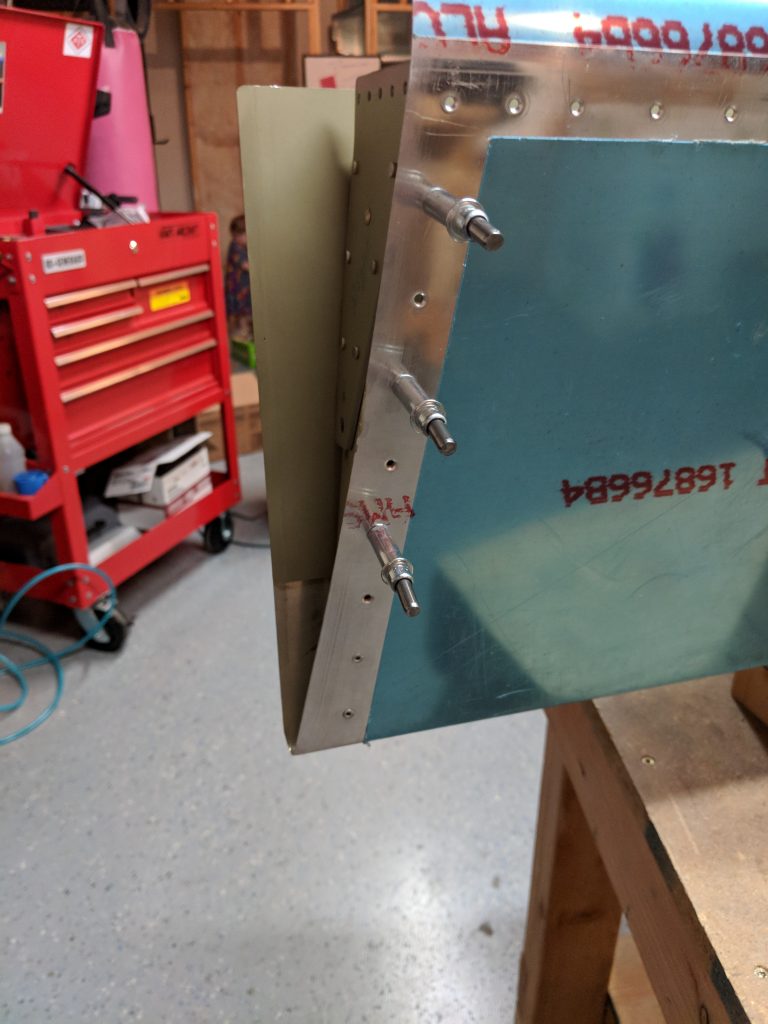
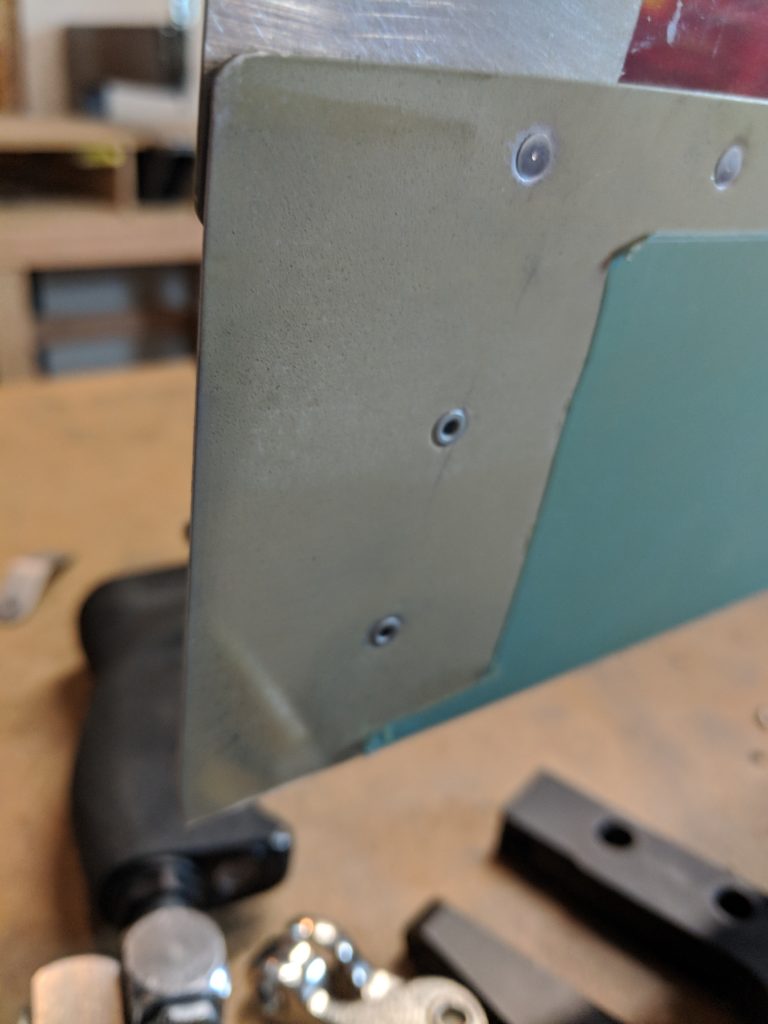
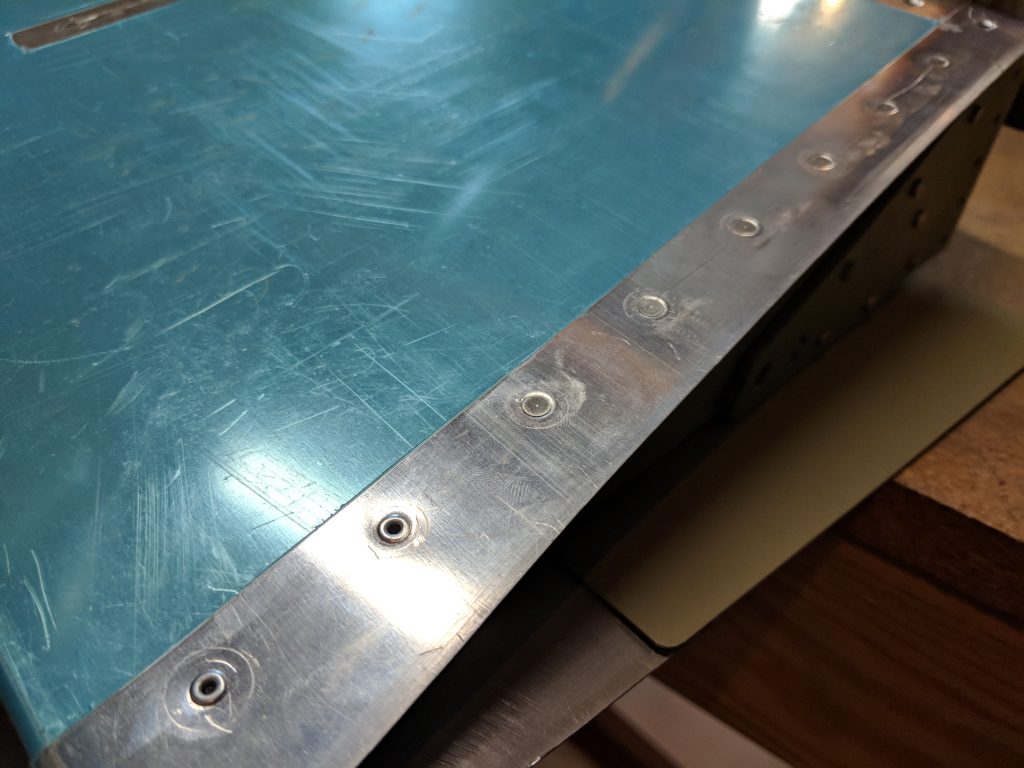
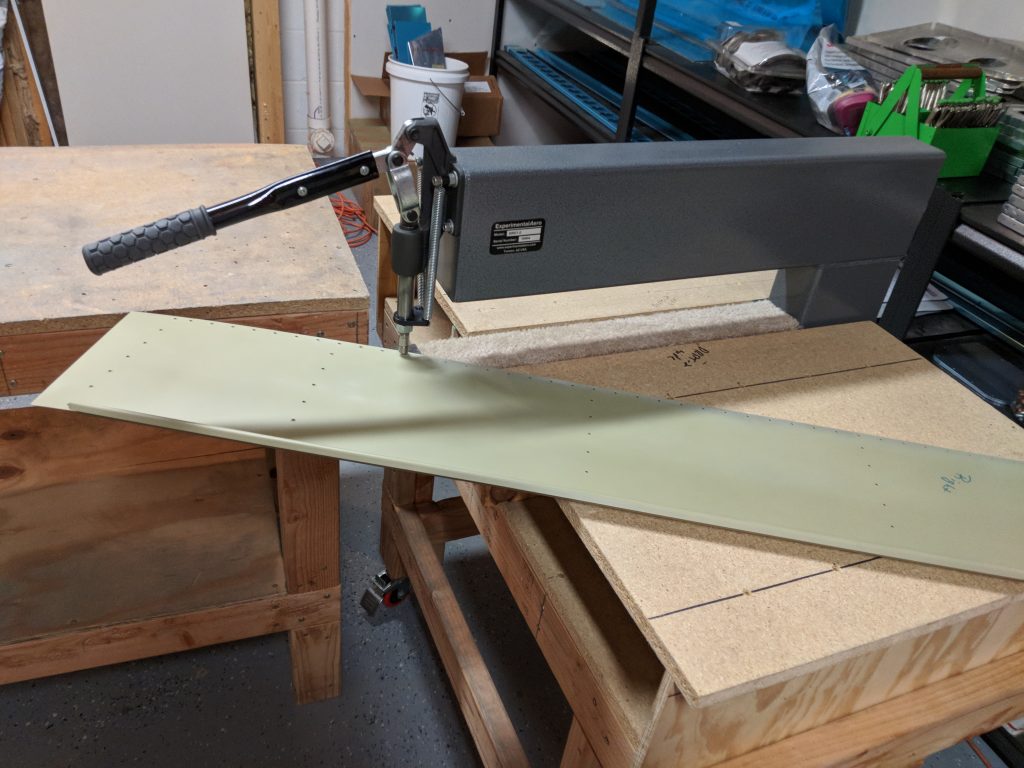
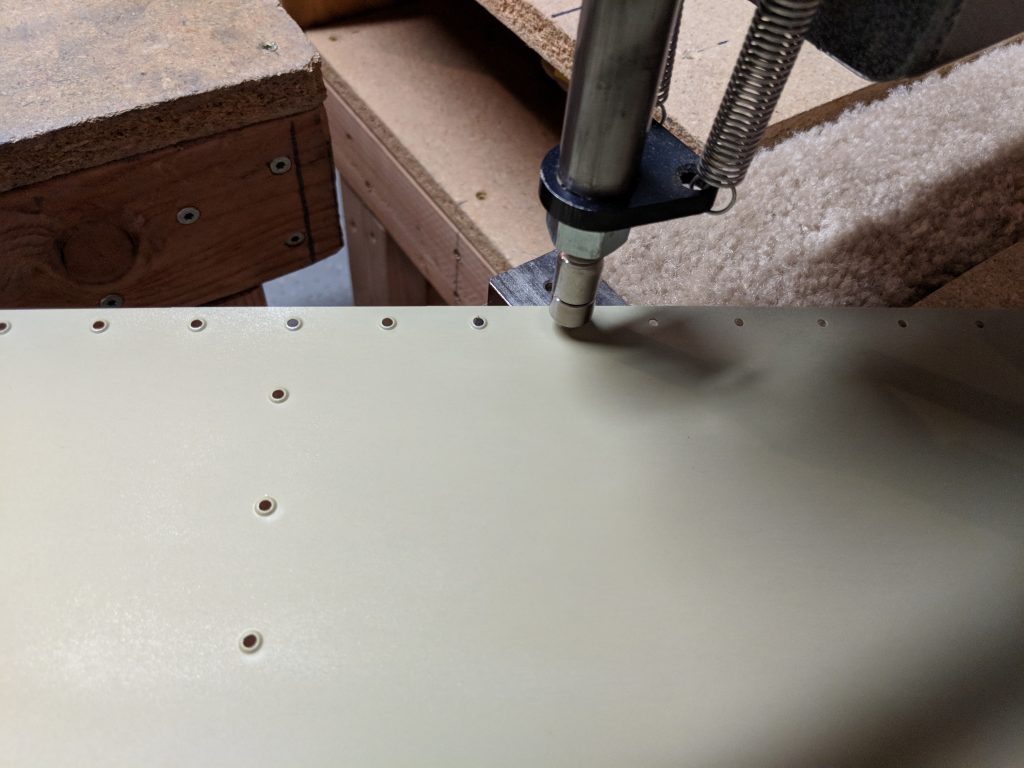
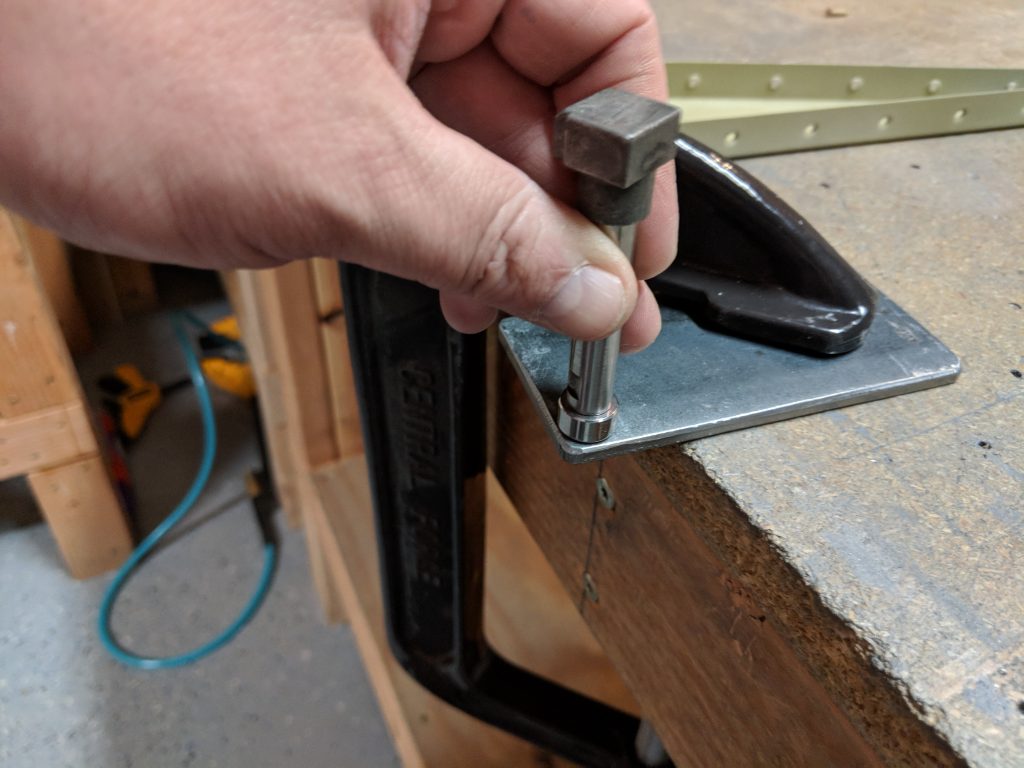
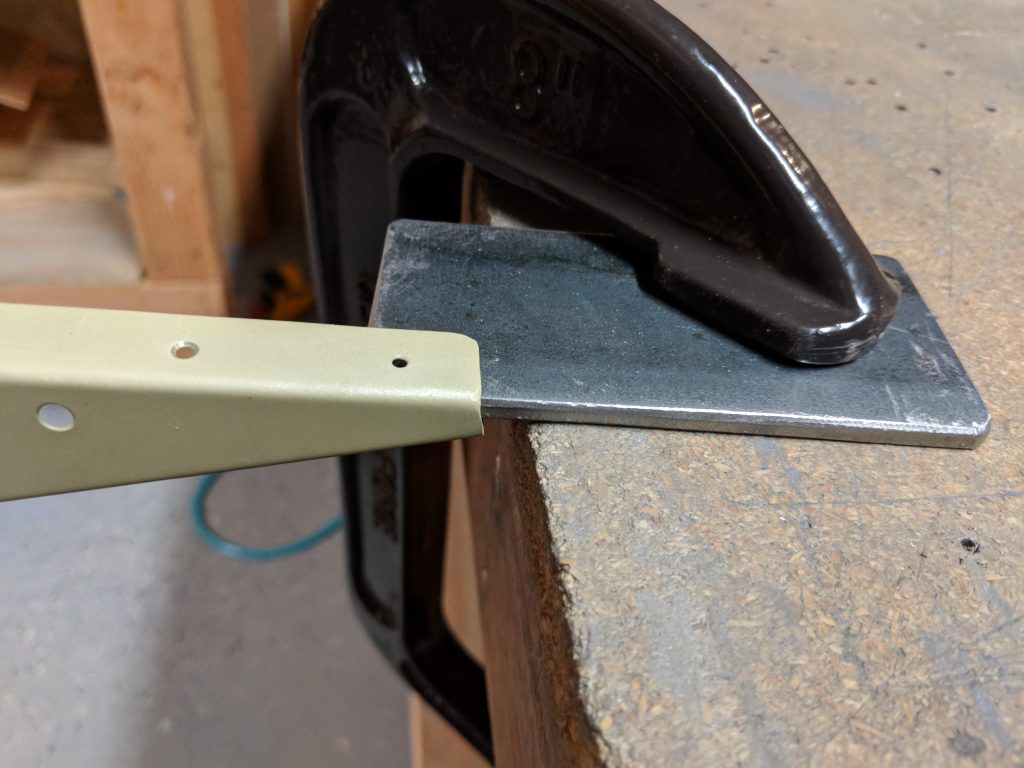
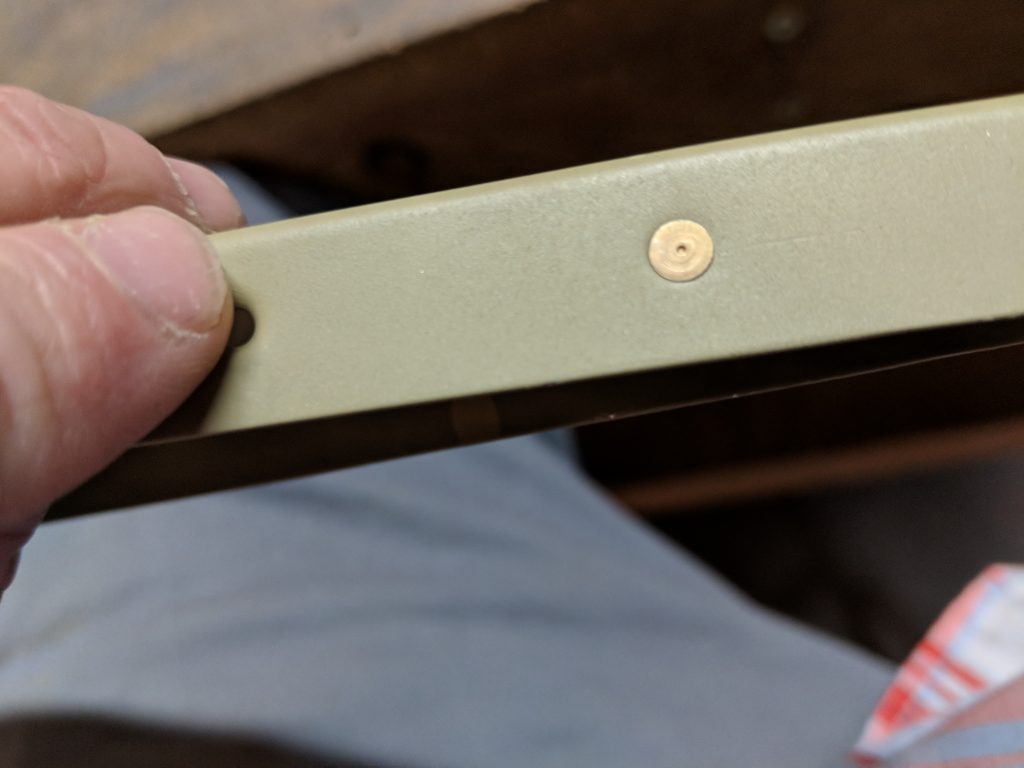
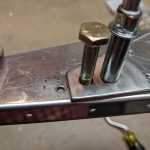
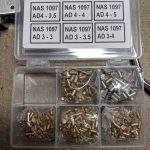
You’ll notice that in those two photos, I also have used AN470AD4-4 rivets to attach the spar to the end rib, instead of using LP4-3 pulled rivets.  I figured the squeezed rivets would be stronger, and actually look better, and since I was using a squeezer, there’s no issues with getting them set.  Once that was done, it was time to get the last few rivets: The doubler rivets! I used my squeezer to set the AN470AD4-7 rivets where the two doublers join:

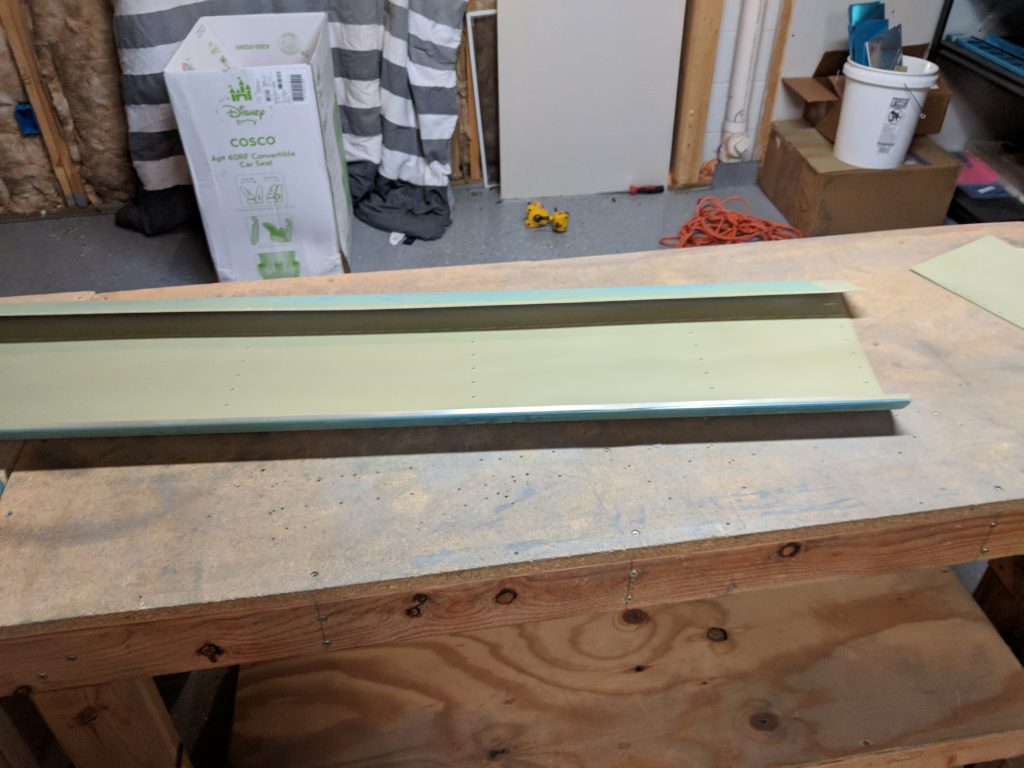
I also pulled the left flap down from the shelf, and had my wife assist me in setting the pulled rivets like she did on this right flap.  That was really all I was lacking on the left flap.  Once I had the last three pulled rivets done on it, I went ahead and squeezed the left flaps doubler plates together, and that compeleted both flaps!

Here’s all the photos from tonights work:

Google Photos Link: https://photos.app.goo.gl/TMMVCGc4jHKmACXs1

Hours Worked: 2.5

Riveting the Right Flap

After being out of town for a week, I wanted to get some work done on the build today, and then spend some time doing some stuff for work that I need to get done as well. My goal is to get this right flap completely finished up over this weekend, so I can start working on the ailerons next.  I started off by ritveting the FL-706A to the spar and then riveting FL-706B to the FL-704 end rib.  I used my squeezer to set these rivets.

Then it was time to assemble the skeleton one last time and start riveting it up.  I built the skeleton with the main spar attached to make sure everything was aligned, and then I removed it before I put it in the V-block for final riveting. But before that, I had to rivet these few spots on the very end of the ribs to the rear spar, making sure I included the shims.  The squeezer made quick work of these guys.

I then rolled a couple of the edges of the skins where they overlap to make a nice lap joint, and then fitted the top skin over the skeleton, and put the assembled flap into my V-blocks.  From here, I cleco’ed every other hole on all the ribs, and along the trailing edge where the two skins overlap and join together.  Once I was happy everything was clecoed together, I removed the spar so I could fit my arms down inside to do buck the rivets.

After clamping down the V-blocks to my bench to make a sturdy work surface, I started riveting along the lower line where the top and bottom skins lap over each other.  Like I did on the left flap, I used a 3″ yoke as a bucking bar to set these rivets, since they are in a tight spot.  I started in the center and then worked my way out to the ends of the flap to get good straight joint.  Once that line of rivets were all done, I then moved on to the internal ribs and riveted them to the bottom skin, working my way from the center out. Eventually I had all the internal ribs riveted to the bottom skin, and it was time to move on to the end ribs.

I had to buck the rivets on the inboard end rib, no biggie, but there were a couple that were hard to get to, but after some contorting, I managed to get them. The outboard end rib I was able to set using my squeezer, so they were a breeze and turned out perfect.   The very trailing edge holes Vans calls for pulled rivets (MK-319-BS) due to not being able to get to them.  I went ahead and set these 4 rivets on both the top and bottom of the rib, and then decided to call it a day.  That was a solid 3 hours of work.

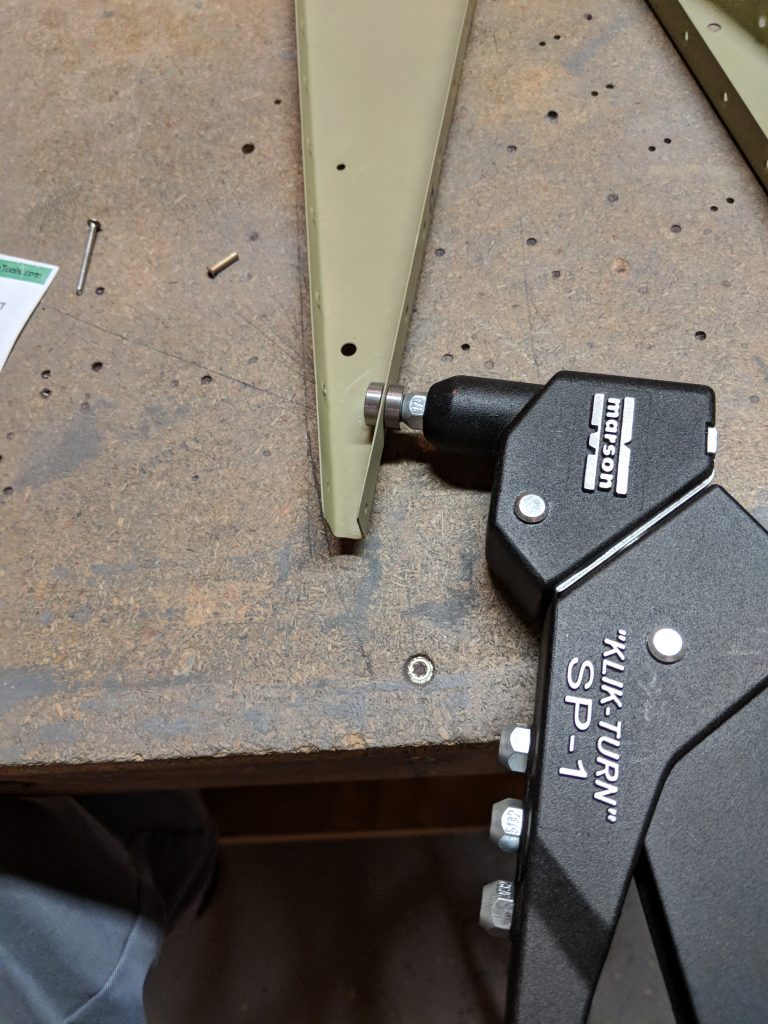
I was able to fully rivet the bottom side of the flap today.  I still need to rivet the top skin and then rivet on the main spar, but I’ll save that for another work session, possibly tomorrow.  I’d say its maybe an hour or 2 of work to get it fully completed.  I still need to figure out what I am going to do about the tight space for the pulled rivets where FL-706A and FL-706B rivet together.  I will probably have to grind down an old pop rivet tool or something.  We’ll see.  Heres the photos for tonights work:

Google Photos Link: https://photos.app.goo.gl/lsEk2DCs28KJoZp03

Hours Worked: 3


Riveting the Left Flap – Part 2

Made a LOT of progress tonight, almost 5 hours worth AND I shot a couple live videos to boot!  I am shooting the video for a couple of reasons. 1. To help prove to the FAA that I am the builder of the aircraft, so I can get the Repairman Certificate, and 2. At the request of a few other folks who’d like to see some videos.   I guess its also helpful just to have the video for memories, couldn’t hurt at least right? I ended up using my wifes Mevo camera, and live streamed to Youtube, just to get a feel for what shooting video during the build would be like.  Here’s those videos.

And the second video, where I corrected the crappy shooting of the first…somewhat.

Now, please keep in mind, I am NOT a videographer, nor am I a “creative” type, so these videos are pretty horrible, and their only purpose is to show me building the airplane. I didn’t bring the power adapter down, because I didn’t want to waste build time looking for the stupid thing, so I only had about half hours worth of battery, better than nothing I guess. Now, lets get on to the build log.

I started out by picking up from the last build.  My goal for today was to totally finish this left flap, and I was only about 4 rivets away from that goal. More on that later. I left the flap in the V-blocks from the last build so I started out by riveting up the last few rivets along the joint of FL-701 and FL-702 skins, then riveted the ribs to the bottom of the skin.  As you can see in the videos, I preferred to use the yoke as a bucking bar in this tight space, it worked really damn good. 

Now that the internal ribs were all riveted to the skin, It was time to move on and get the end ribs.  I am going slightly different than the plans since I can easily reach in and rivet with the yoke as a bucking bar, and I am going to rivet the bottom skin completely, and test it out on the granite countertop in the kitchen to make sure its not twisted. On the onboard rib, I was able to squeeze these rivets with my squeezer, but on the inboard rib I had to use the old bucking method to get them.  Also, on the inboard end rib, I left the bottom clecos installed, because there will be two MK319-BS pulled rivets going there.  Its due in part because there’s no way to get to the back of the parts to buck the rivet.  In the photo below, you’ll also see a unriveted hole about half way up.  I left that one until last.  Its sitting right under the nutplate, and other builders have had problems bucking this rivet due to space concerns with the nutplate right above it.

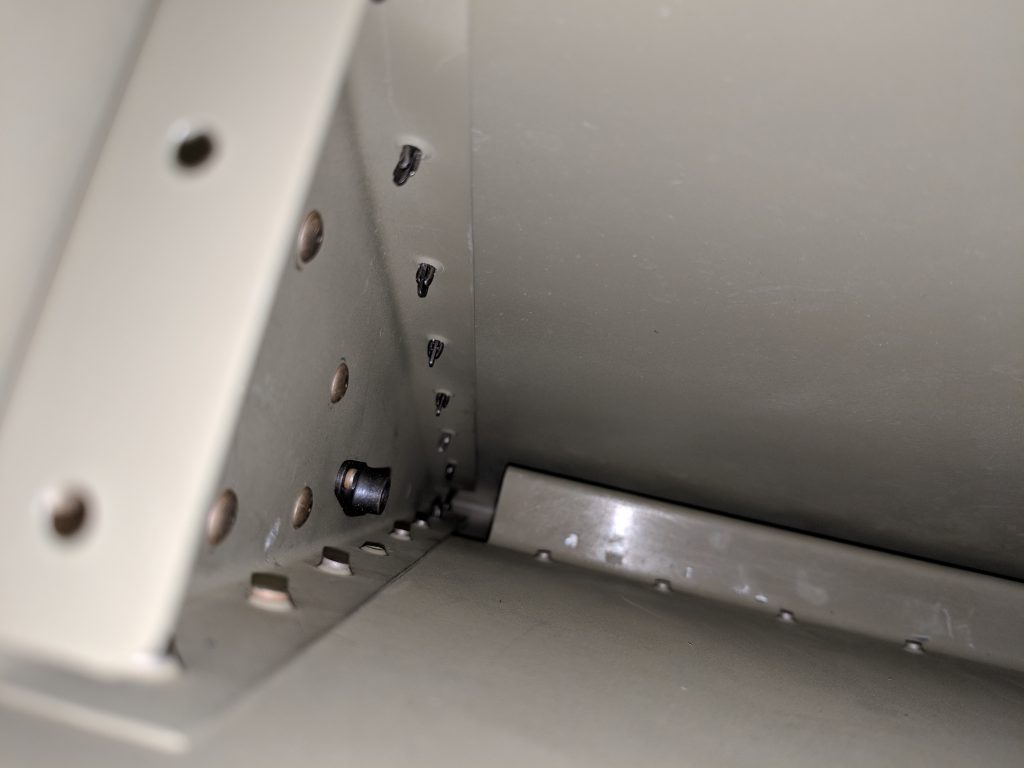
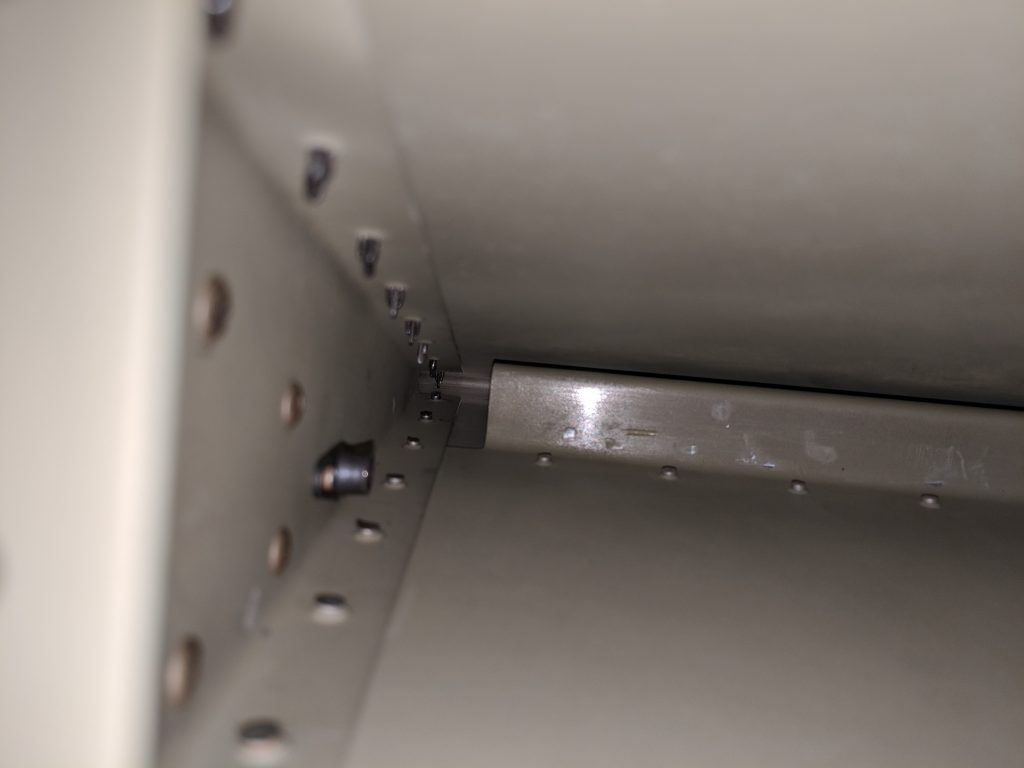
However, my tungsten bar has very steep angle on one end, that lets me work it in some really cramped spaces, which came in handy here.  I was able to get the angled end underneath the nutplate and squarely on the tail of the rivet and get it bucked.  SOOO no need for a pulled rivet in this hole!! Heres the before and after shots from the inside:

Before shot….no clearance under that nutplate!

After shot showing the fully set rivet!

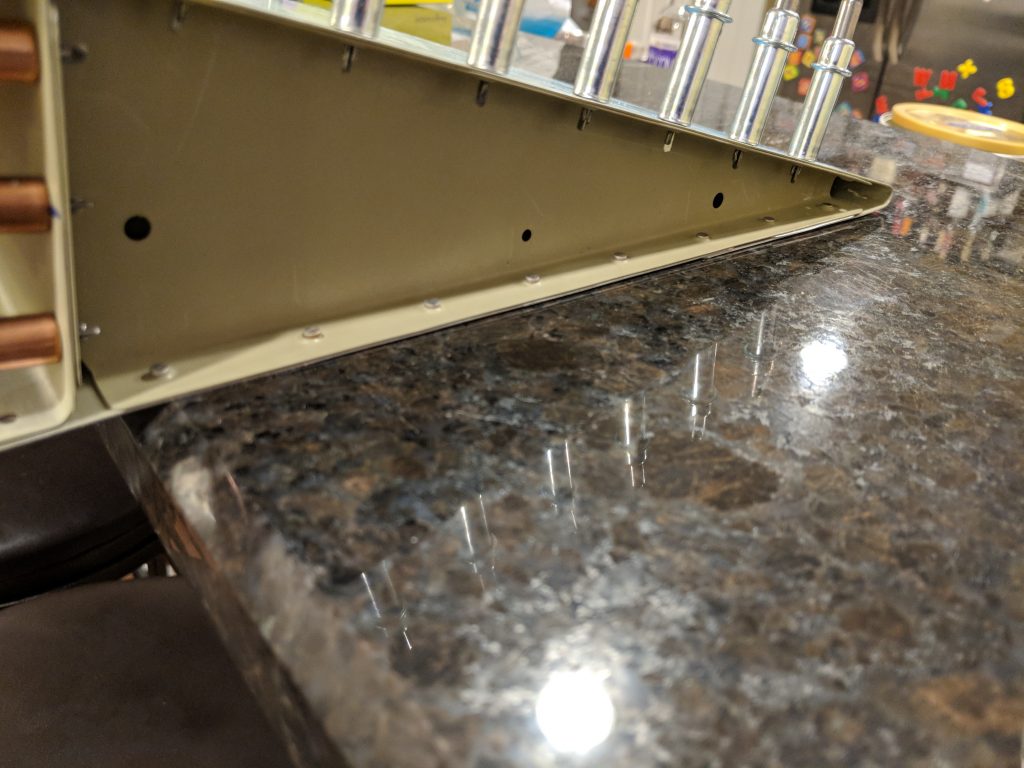
Then it was time to set the two pulled rivets on the trailing edge, and give the flap a test fit on the grainite counter top to make sure it was good and flat, with not twist before riveting the top skins.


As you can see, the bottom turned out great! The pulled rivets are nice and flush, and the flap has very little, if any at all, twist to it.  I was ready to move on and rivet up that top skin, and close her up!  I brought it back down to the shop, and back in the V-blocks so I could start riveting the top skin.  This was pretty much as usual: Cleco every other hole, and rivet.  Then uncleco, and rivet the remaining holes.  I always try to work my way from the center, up and outward as aI go to make sure everything stays nice and true.  I’m happy with the way it turned out.  No dings or dents!  I also went ahead and done the pulled rivets on the inboard end rib, just like the bottom skin has.

Now, I have not been testing every rivet at this point.  I decided that due to my big ole meat hook hands and this tight space, I would go through and check all the rivets before closing this up with the spar. That’s what I did next.  I grabbed my rivet gauge, and went over every rivet to check its size and make sure it was set enough.  I had a few that I had to put a few more hits with the rivet gun on, but no biggie.  That’s why I saved this part for right before I close it up.  Once I was happy they were all set to the right size, I clecod on the main spar and set after riveting it to the ribs with the LP4-3 pulled rivets.  I had to get my wife to come down and give me a hand with holding the curved part of the upper skin back so I could reach in with the pop rivet tool and pull them.  Once that was done, I squeezed the bottom row of rivets, with the piano hinge using my squeezer since they were easy to get to.

After that, I laid down some masking tape to protect my spar and bucked all the top skin’s rivets to the main spar.  The tape really helped keep scratching to a minimum.

I ALMOST was 100% done with this flap, but I wasn’t able to pull the last few rivets where FL-706A attaches to the FL-704 end rib and the FL-703 spar.  I forgot to grab a photo of this, but my rivet puller’s head was just too big to fit in that tight spot to pull these dang LP4-3 rivets. I left the cleco’s in their place for now as a reminder that I need to finish these things, and I’ll try to find a smaller puller tool, or may end up buying a cheap one and grinding the nose down so I can get it to fit in there.  But, thats pretty much got the left flap done!  It’s looking pretty good.

That finished up tonights session.  I head back out on the road for a week tomorrow, so there won’t be any updates until next weekend, possibly.  I am going to try and get the right flap done next weekend, and then move on to the ailerons.  Here’s all the photos from tonights session:


Google Photos Link: https://photos.app.goo.gl/qUkTWP6Ih0G2AVsL2

Hours Worked: 4.75

Riveting the Left Flap

Back to riveting! Tonight I started riveting some parts together to actually for a control surface. With the flaps being at the point they are ready for final assembly, all that was left was to build a set of V-blocks to hold them to make assembly and riveting easier.  So I started work tonight by making a V-block.  I grabbed one of the end ribs use them as a template on the 1×8 pieces of wood from the spar crates.  Van’s surprisingly uses pretty decent wood on their crates, and it comes in handy for stuff like this.

I marked out the outline of the rib with a sharpie and then extended the lines on out using a ruler.  I wanted to make the cut as true as possible, so i used my mitre saw to make the cuts.  It doesn’t make the most square cuts at the ends, due to the round blade, but it’ll be fine for what I want to do, the angles are true.  Also, to make sure I had both sides of the V-blocks cut with the same exact angle, I screwed the two pieces of wood together and cut them at the same time. I also had a piece of 2×6 left over from where I made the trailing edge bending jig and used it to make a solid base to attach the V-blocks to.  It turned out pretty nice, and works great!

Now, it was time to start riveting parts together.  I started out with the FL-704 end rib and the FL706B doubler plate.  I clecoed them together, and made sure I included the nutplate on the inside, and used my “oops” rivet on the hole in just the FL-704 end rib (see my posts earlier as to why).  This was the first time I was able to use a new tool I picked up a few months ago: A Numatx Hydraulic-Pneumatic rivet squeezer as seen here: http://www.numatx-tools.com/  It makes squeezing rivets SOOO much nicer, and much easier on the wrists because it weighs about 1/4 the weight of my old pneumatic squeezer.

After that, I riveted the FL706A doubler plate to the spar, and then began assembling the skeleton of the left flap. Once I had the ribs and spar assembled together, I clecoed on the bottom skin. Theres a few rivets that need to get set on the rear “spar” of the bottom skin, otherwise they are unreachable when the top skin goes on. I inserted the shims between the rear spar and the end of the rib and then squeezed the rivets.

With those ribs riveted on the rear spar, it’s time to fit the top skin on and get it in the V-blocks.  I cleco’d every other hole and made sure it was all trued up before removing the spar.  We have to remove the rear spar so that I can reach in and buck the rivets along the line where the top and bottom skins as well as the ribs.

Vans has us rivet the line on the bottom where the bottom and top skins join together first, and then work on the ribs.  I had read a trick from another builder that used a 3″ yoke as a bucking bar in the tight space, so I gave that a try, and it worked out pretty nicely.  It made bucking these rivets a lot easier in such a small area.

I ended up not getting this flap done tonight. I spent a good hour building the V-blocks, so I didn’t want to stay in the basement all night.  I was able to get about every other hole riveted along the line where the top and bottom skins join.  I removed the clecos from the other holes and will finish up riveting this thing together in another build session.  It felt good to buck some rivets after such a long break from not bucking.  Here’s all the photos:


Google Photos Link: https://photos.app.goo.gl/1Ri61yvzWL4zl31w1

Hours Worked: 3.25

Dimpling the Right Flap

Tonights work session was pretty much identical to last nights, and was only about an hour.  I wanted to get both flaps to the point of ready to be riveted, so I could make some V-blocks and then rivet these puppies together.  The process was the same as last night, but went a little quicker, since I already had the shop setup for dimpling work.  I started out by dimpling the flap skins on the DRDT-2.

Having the side tables and the DRDT-2 on its own rolling table was WELL worth the time and effort it took me to build that sturdy little table.  It makes dimpling these large skins soooo much easier.  This went pretty quickly, and turned out great results on the skins.

Like last night, I used the dimple dies in my pneumatic squeezer to quickly dimple the portion of the top flap that folds over,  It’s a bit unweildy and its  not easy to get under the DRDT-2.  Next up was to get those last few little pesky holes at the trailing edge of the skins.  I used the pop-rivet dimple dies to get to these buggers.

Then I grabbed all the right flap ribs and used the pneumatic squeezer on those guys with the exception of the last holes in the end of the ribs.  like last night, I used my little plate of steel to dimple them with a few quick taps of the hammer, and test fitted a rivet to make sure I had everything flush enough.

I managed to finish up all of the parts for the right flaps in about an hour.  Both flaps are now ready to be assembled, and riveted.  I will probably make a set of V-blocks to hold the flaps tomorrow night and then start riveting them together this coming week.  I am still wanting to find a nice piece of scrap stone countertop to lay on my work tables to assure I have a good straight surface, so I don’t get any twist in the control surfaces.  I may go and scrounge one up this week.  I decided to clean up the shop a little bit, I’ve got a few folks from EAA Chapter 1560 coming by the house tomorrow evening to take a look at the build.  One of them is building an RV-12.

Google Photos Link: https://photos.app.goo.gl/mXwzaTZOvv5ugz663

Hours Worked: 1.0

Dimpling the Left Flap

I came down the check the AKZO to see if it had cured enough to start dimpling, and I was happy to see the parts were cured and ready for the next step. So, I began setting up my workspace to start the dimpling process.  I figured I would be able to get one flap done tonight, and leave the other for another session.  Like every build session, this one started out by studying the plans and looking at rivet call-outs to double check which ones need dimpling, notating any special weirdness on the parts.  It’s pretty straightforward: All the skins need dimpling and their respective mating parts, with the only exception being the bottom of the spar, because I machine countersunk it earlier on in this session:  https://theskunkwerx.com/rv7/left-flap-assembly-part-3/

I started out by setting up the DRDT-2 dimpler and table and then getting the skins done.  These went really quick and easy. On the top skin, where it folds over at the trailing edge, I had to use my pneumatic squeezer to dimple the holes in this little “flap” of skin, but it was easy to get to.

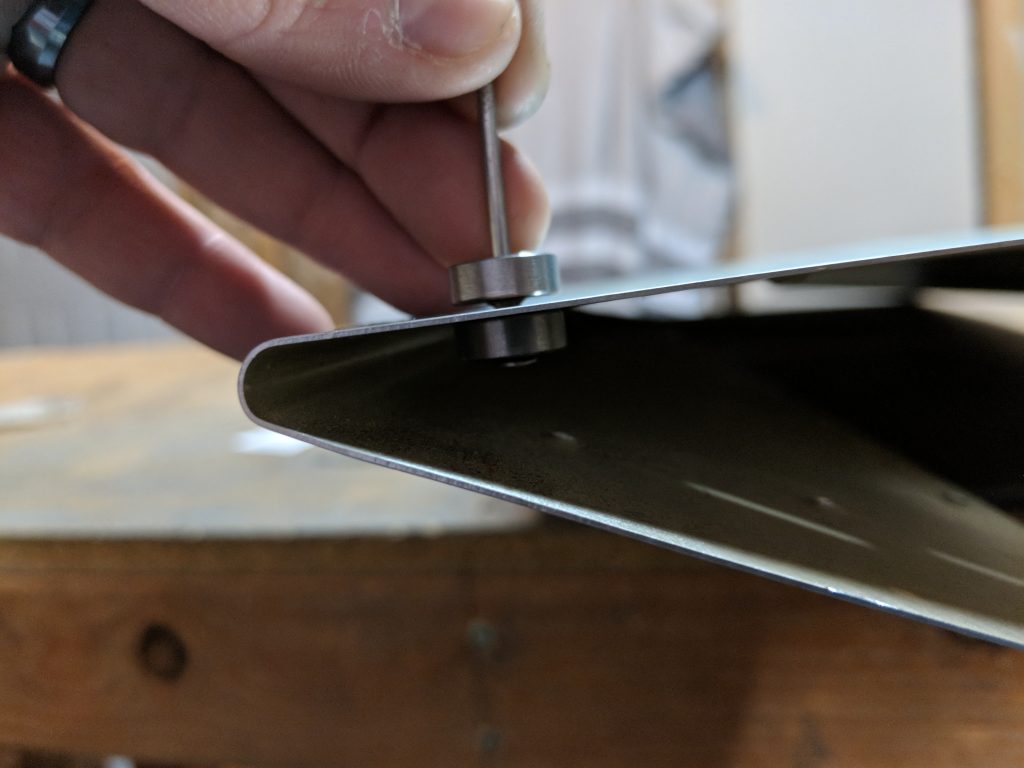
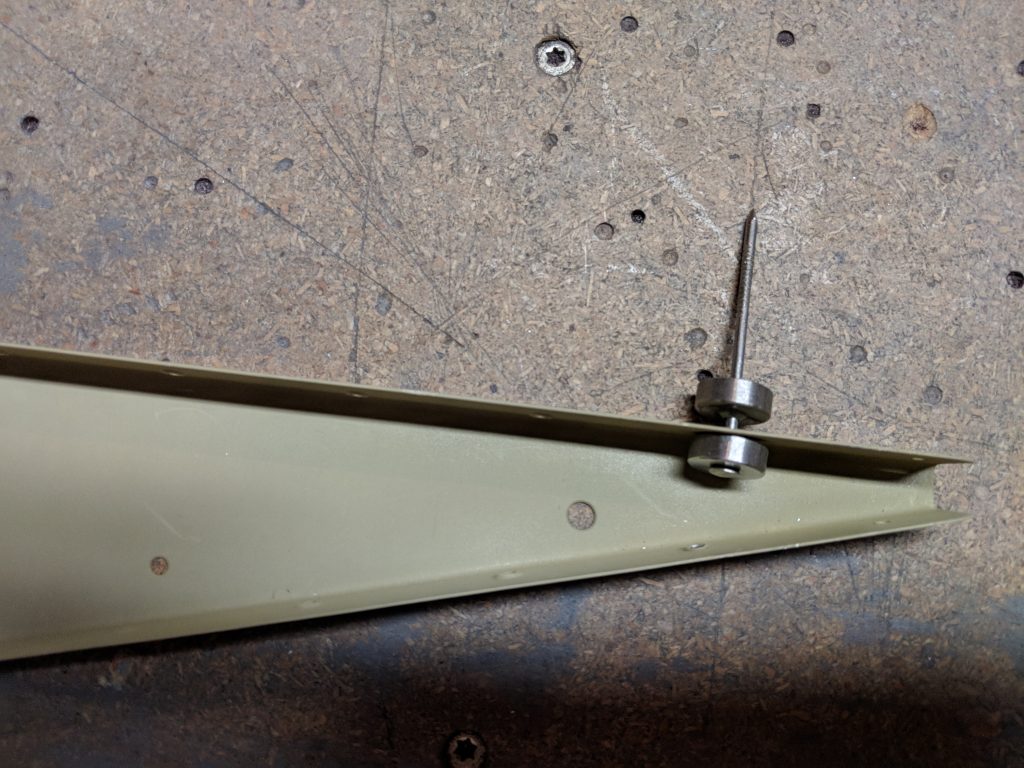
HOWEVER, there were about 2 or three holes at the very trailing edge of this fold that were a little tight to get with the squeezer’s yokes, so I pulled out the trusty old pop-rivet dimple die set.  These is a pretty clever little tool for getting these tough spots like below.  Its essentially just a nail used as a mandrel with a male and female die on each side of the skin respectively.  A pop-rivet tool it used to apply pressure to the dies and it forms a decent dimple in thin aluminum.  Now, granted its not as neat or perfect as a normal dimple die, but it gets the job done enough that a rivet will sit flush with the skin

Since I already had the DRDT-2 setup, I figured I would use it to get the main spar dimpled, since it was big enough to fit into the jaws.  The ribs were not big enough to fit in the DRDT-2 so I used a pneumatic squeezer with a dimpling set in them to get about 98% of their holes done.  The holes that were on the trailing edge of the ribs I would have to get creative on…more on that below. I ended up using the pop-rivet dimple dies on the holes I could get to with it:

BUT, as you can see, that last hole at the very very trailing edge of the rib is too tight to even get the nail in for the pop rivet dimple dies.  Luckily I had ran into this before when I was building the empennage and made a little tool: 

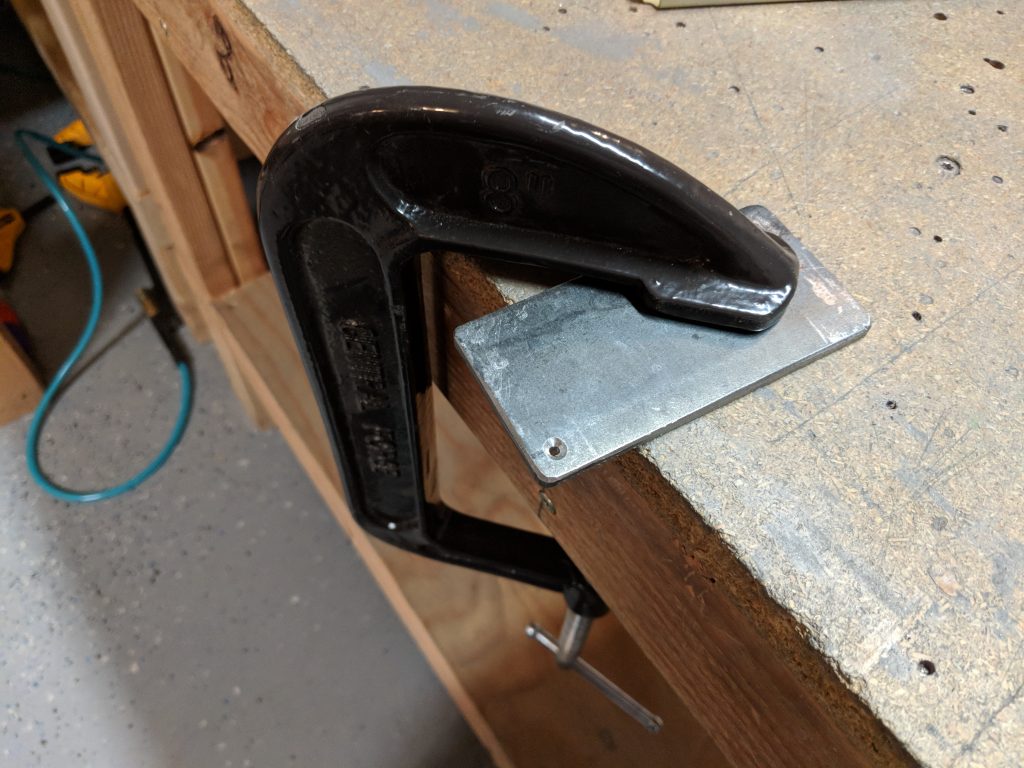
Its a piece of steel, with a #40 hole drilled into it, and then countersunk slightly deeper than normal. This piece of steel is thin enough to fit in the slim space at the end of a rib and its used as a receiver for the male part of the dimple die. You can see in the photo below that I have my normal male 3/32 dimple die inserted into an old, bent pneumatic rivet set.  The rivet set was too bent to use in my squeezer from the previous owner, but it works great for this purpose….notice that piece of square steel on the end.  It’s perfect for a hammer 🙂

I clamp it down to the work table, align the hole of my rib over the hole in the steel:

And then insert my male dimple die into the hole in the rib, making sure its also aligned with the hole in the steel plate, and then give it a good whack with a small hammer.  It usually only takes about two or three blows with the hammer, and I have a nice formed dimple in this nearly impossible-to-reach location!

That wrapped up tonights build session.  I was able to get all the parts dimpled and ready for final assembly and riveting for the left flap.  I think I will go ahead and do the same for the right flap in my next session, and then I’ll need to make some V-blocks to hold everything nice and square for final riveting. I’ve got plenty of spare wood left over from the shipping crates that I can use to make some V-blocks with.  I’m also considering picking up a scrap piece of granite or stone countertop about the size of my work benches to lay on top of my benches so I can have a true and flat working surface for riveting these things together.  I have read that it can be easy to build a twist into the flaps and ailerons if you work table is not really flat.  Anyways, heres the photos from tonights session:


Google Photos Link: https://photos.app.goo.gl/kCRrw4x6UxzVUePx2

Hours Worked: 1.75

Priming the Flaps

I recruited some help for priming my flaps 🙂  Tammy took Acacia to my parents to babysit, and she wound up helping me scuff, clean and prime both flaps.  This step takes a lot of work, and once you start, you have to complete the session.  Once you scuff the aluminum, and clean it, you need to get primer on it within an hour to so to promote good adhesion from the primer. Since I had a helper, I was able to get both flaps done in once session. We started out by scuffing up all the parts with same new scotchbrite pads.  I picked up a box of 20 maroon pads from Amazon for cheap: http://amzn.to/2EeT9Qq

With both of us scuffing the parts, this process went pretty quickly, especially with fresh scotchbrite pads.

Eventually, all the parts were scuffed, and we setup for cleaning them with acetone.  In my usual we used paper towels and plenty of acetone to get metals squeaky clean, using a fresh side of the paper towel each time until it came up clean. The we put some fresh sharpie marks on the parts to keep track of them, and set them up in the paint booth.  While Tammy was scuffing other parts, I mixed up my AKZO primer so that it could sit for the 30 minutes to kick-off and be ready.  I suited up and cleaned the HVLP gun and got the paint booth ventilation going.

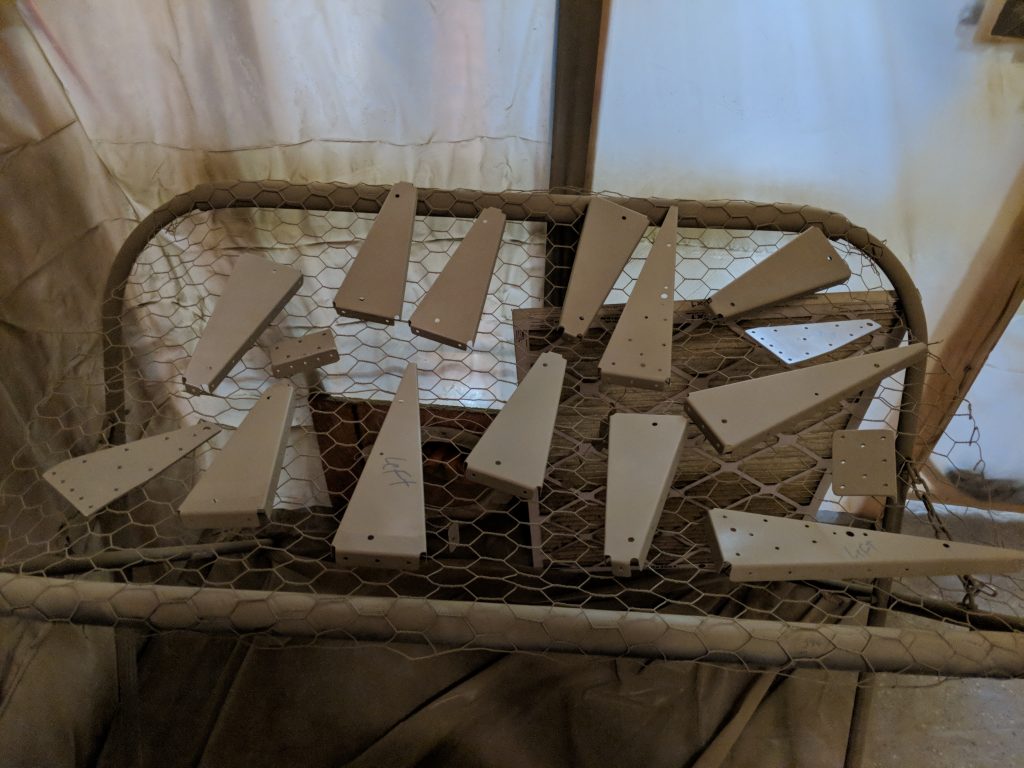
Once the AKZO was ready, I started spraying parts as Tammy was getting others ready to go.  It turned out to be a quick assembly line and we got both flaps done tonight. Here’s what they look like after a fresh coat of primer.

After a good 4 hours of work, that finished up priming of all the flap parts. I’ll let them sit for a day or so to give the AKZO time to cure.  I am not really sure if I should count tonights build session as 4 or 8 hours…heh.  While we were only down there for 4 hours, both of us were working, so thats technically, 8 labor-hours of work.  Ah, well. I will just count it as 4 to keep things simple.  Heres the few photos from tonights session.  There wasn’t really much to capture, just scuffing, cleaning and priming:

Google Photos Link: https://photos.app.goo.gl/HgkkXEy8gQ43INUp1

Hours Worked: 4.0

Re-fit nutplates on the Flap Doublers

Really short build session tonight, of about 30 minutes. I recently completed all the pre-construction for both flaps, and they are waiting on primer before dimpling and riveting, but I decided to make a small change / upgrade.  There is a small K1000-4 platenut that is used to thread the flap control rod into.  It’s affixed to the doubler and end rib, and one of the rivets is an AN4263-3.5 rivet that needs a countersink on the FL-704 end rib, and the other leg of it goes into the FL706B-R doubler plate.

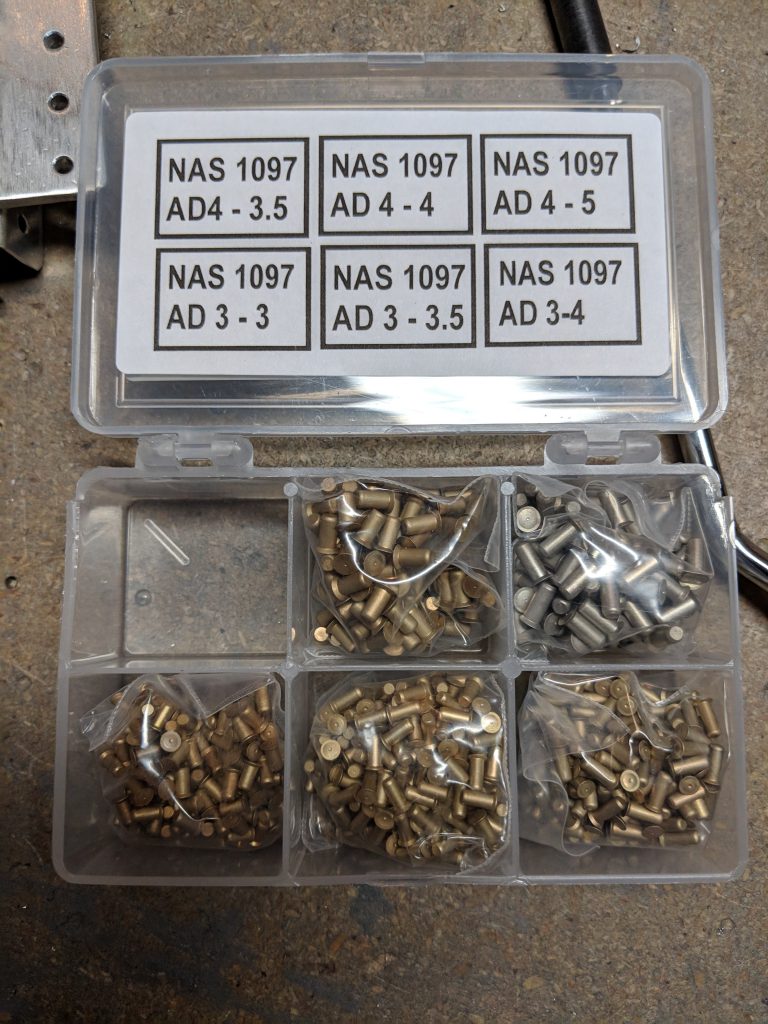
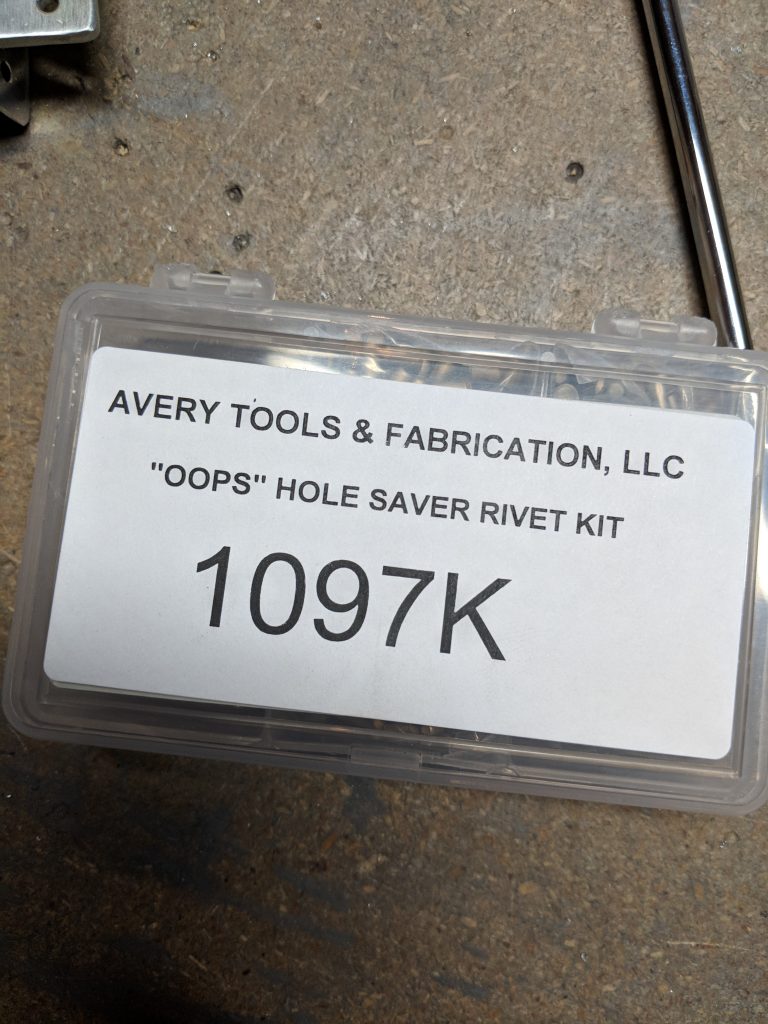
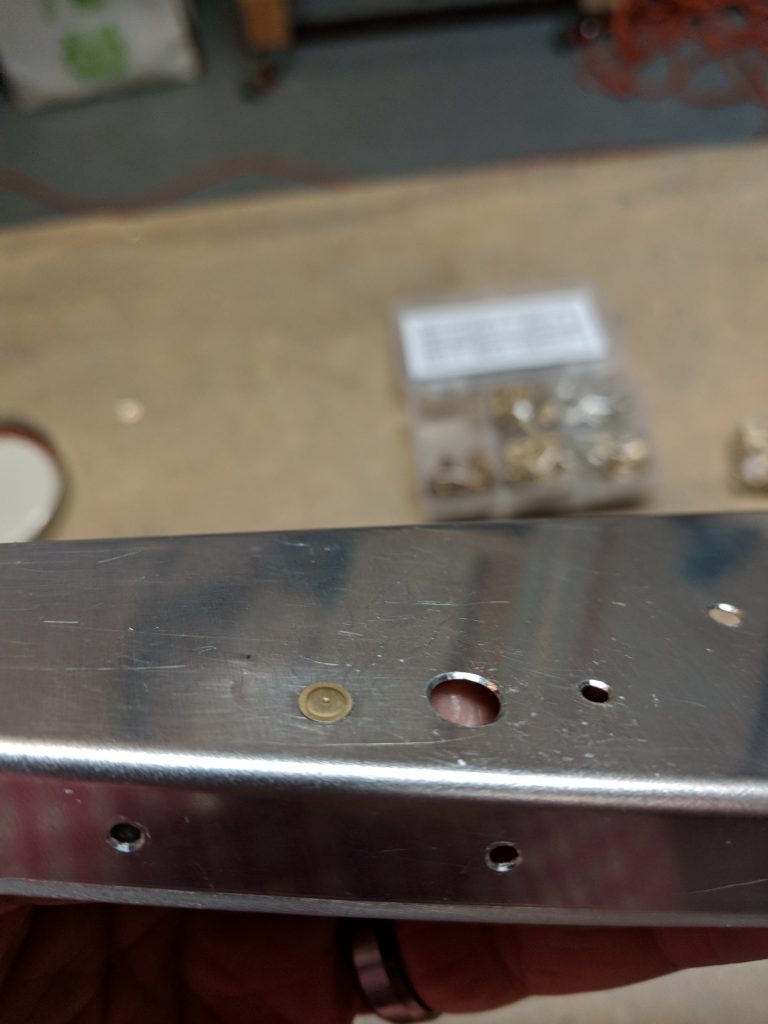
The countersink on the doubler plate is no biggie, since it has a lot of material to “bite” into with no worries of knife-edging the hole.  On the FL-704, machine countersinking this thin piece of aluminum rib can lead to knife-edging.  SOOOO, what a lot of builders are doing is enlarging that hole up to a #30 hole and using an “oops” rivet.  The oops rivets have a smaller head but a bigger shank, so you dont need to countersink them as much.  I just happen to have some 🙂

I pulled my K1000-4 platenuts and got the FL-704 ribs and clecoed the platenuts on.  Then I drilled them to a #30 hole size on the one leg that is just on the end rib and test fit a NAS1097 AD4-3.5 rivet into the hole, and it fit perfect of course.  Then I grabbed my hand countersink tool and gingerly machine countersunk the hole on each rib ever so slightly, testing fitting the rivet every 2 or 3 revolutions of the bit.  Once I had just enough material (it wasn’t much at all!) removed that the rivet fit flush I was happy and put the parts back up for priming.  All in all, about a half hour of work. Short and sweet.

While I was down in the basement, I decided to setup some tools I bought from a feller on Vans Airforce forums.  He was selling a bunch of tools for a good price, and I ended up getting a crap ton of clecos, an additional micro-stop countersink, nutplate jig, and a a Cleaveland Tools ightweight airhose kit. All of the stuff we brand new, in the original packaging!  I figured I might as well go ahead and get my tools setup for the light weight airhose.

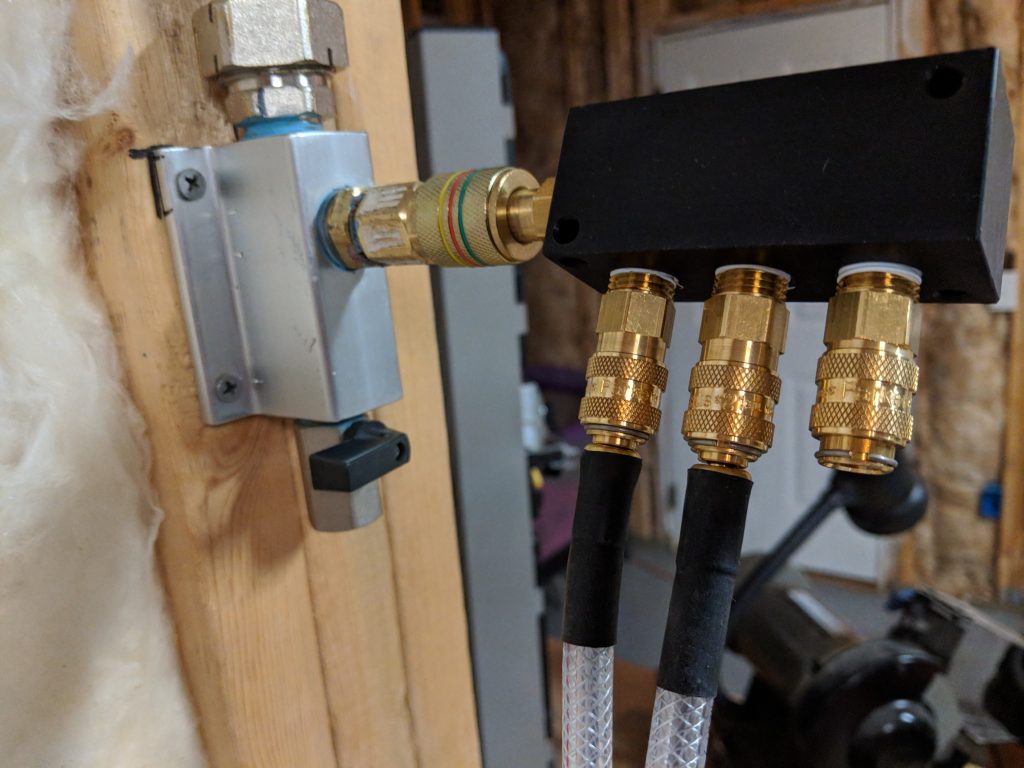
This is the kit: http://www.cleavelandtool.com/Deluxe-Airhose-and-Manifold-Block-Kit/productinfo/ACDLXKIT/  and its fantastic.  It uses smaller quick connects, and much lighter hose, which should take some strain off my wrists when using these tools.  As an added bonus, the manifold lets me use three hoses at one time, so no connecting and disconnecting my tools when I need to change!

Here’s how I setup the manifold:

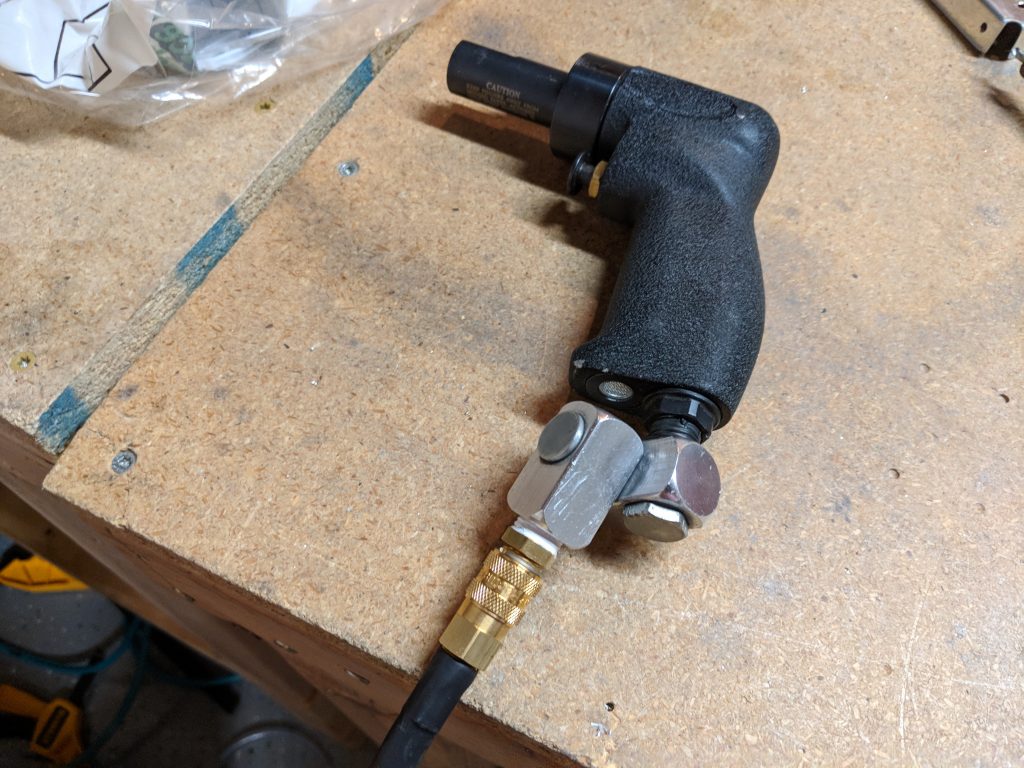
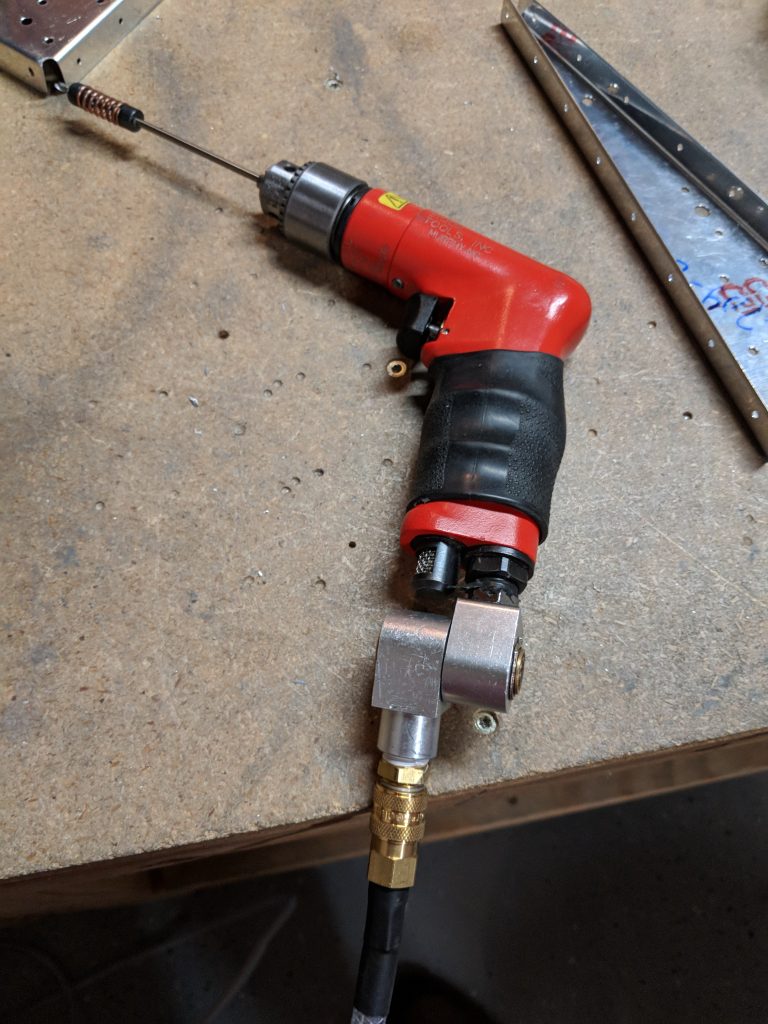
I just plugged it straight in to my existing standard quick connect (it comes with the adapter installed in one of the ports).  The other three ports are all fitted with the smaller, lighter quick connects.  Next I changed all the couplers on my tools.  The kit come with 6 male couplers for your tools, which is plenty for me.

I ended up putting them on my

  1. Sioux Drill
  2. Pneumatic Cleco tool
  3. Rivet gun
  4. Pneumatic squeezer

I still have 2 couplers left.


Google Photos Album: https://photos.app.goo.gl/0ZtmTC4hEyQreqRF2

Hours Worked: .5

Finished Deburring Both Flaps

Not really much to report in this build session.  I wanted to get all of my left and right flaps parts deburred and ready for the next step, so I started with the right flap skeleton, and deburred all the holes in those parts.  I took a few minutes break to give my aching hand a chance to recover, and then started deburring the skins for the left and right flaps.  After about 2 hours of work, I now have all of my parts and skins deburred and ready for the next step, which will be priming.  After that, I’ll dimple everything and then rivet it all together.  I haven’t decided if I want to just wait until I have the ailerons ready to prime so I spray the flaps and ailerons parts all together or if I should just go ahead and do them separately.

Anyways, heres two simple photos of the piles of parts for each flap I have ready to go to the next step:

Link to Google Photos: https://photos.app.goo.gl/rtIRxTj4JGnFyBp83

Hours Worked: 2

Deburring the Left Flap

Yeap, the time has come….deburring time.  I have come to not mind this task.  Its simple, and I can use it to clear my head from all the “computer work” I do for a living.  Its good to just do work with your hands sometimes! There is not much to post here, I decided to start on the left flap and debur all the parts.  Here is my stack of parts for the left flap:

I started off with all the small parts first, so I could put them back in their plastic bag to keep them together.  These shims are very tiny and easy to drop/loose.  Then I moved on to the doublers and ribs, and finally the long spar.  I saved the spindly hinge for last as it was like fighting a one armed octopus while trying to debur it! I also made sure all the corners were rounded off smoothly and the edges were finished.

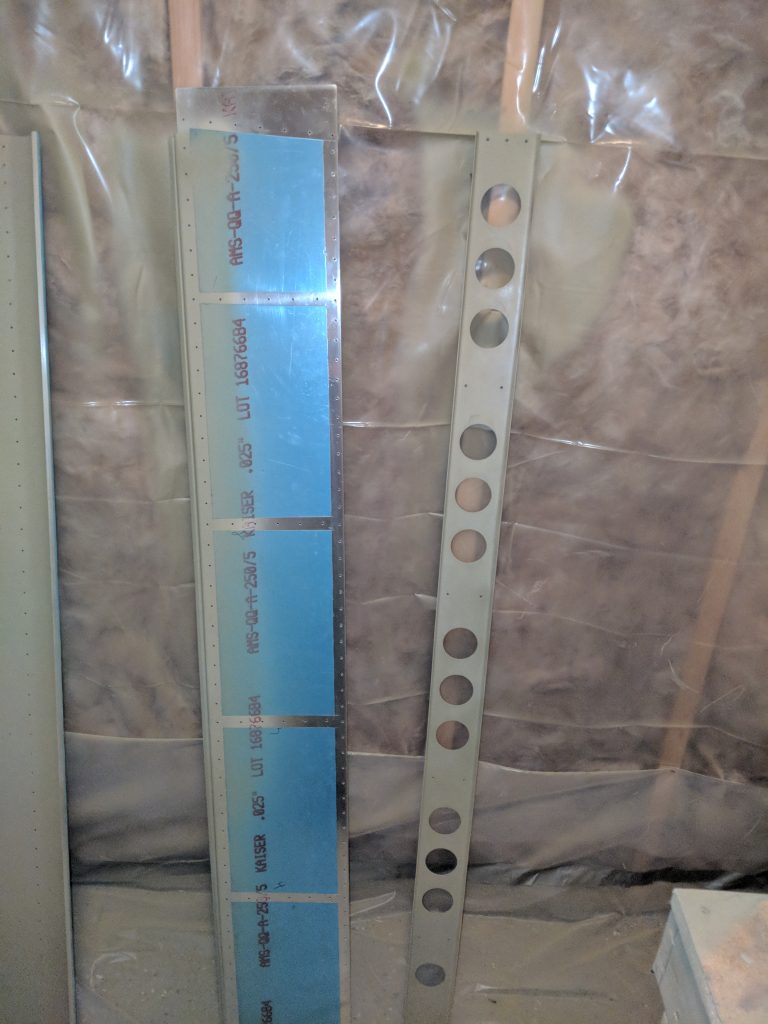
The final step I decided to do was to de-blue the skins so they’d be ready for deburring. I didn’t want to put too much time into tonights work session, so I figured I would just wrap it up by removing some strips from the protective vinyl coating to allow for deburring and riveting.  I like to leave as much of the vinyl on as I can to help keep my surfaces from scratches while the skins are being moved around and are in storage.

Since I had my iron hot, I went ahead and did top and bottom skins for both the left and right flaps.  I’ll come back and deburr these skins in subsequent build sessions.  Thats it for tonight, the left flap skeleton is ready to go for dimpling, so the next build session I will deburr the right flap skeleton, and probably all the skins.  That way I can move right on in to dimpling.

Link to Google Photos: https://photos.app.goo.gl/UGtJlaAjgB12FfPQ2

Hours Worked: 2